Realistic Stage Makeup Bloody Wound (Ben Nye Products)
by Sariinity in Craft > Costumes & Cosplay
1888 Views, 41 Favorites, 0 Comments
Realistic Stage Makeup Bloody Wound (Ben Nye Products)

This tutorial is based on using Ben Nye stage makeup products. Ben Nye sells makeup in color wheels so everything you'll need is in one place. This tutorial is not sponsored or prompted by Ben Nye, I just like their products and wanted to share my technique.
Supplies
- Makeup Products
**Spirit gum is made from tree sap and may cause an allergic reaction. Always do a spot test before you apply it to an area.
- Tools
- Makeup sponge
- Stipple sponge (link)
- Small brush
- Palette knife (optional)
- Makeup palette (optional)
Prepare Scar Wax


- Wash your hands thoroughly to remove any dirt and oils that may discolor the wax or prevent the spirit gum from adhering.
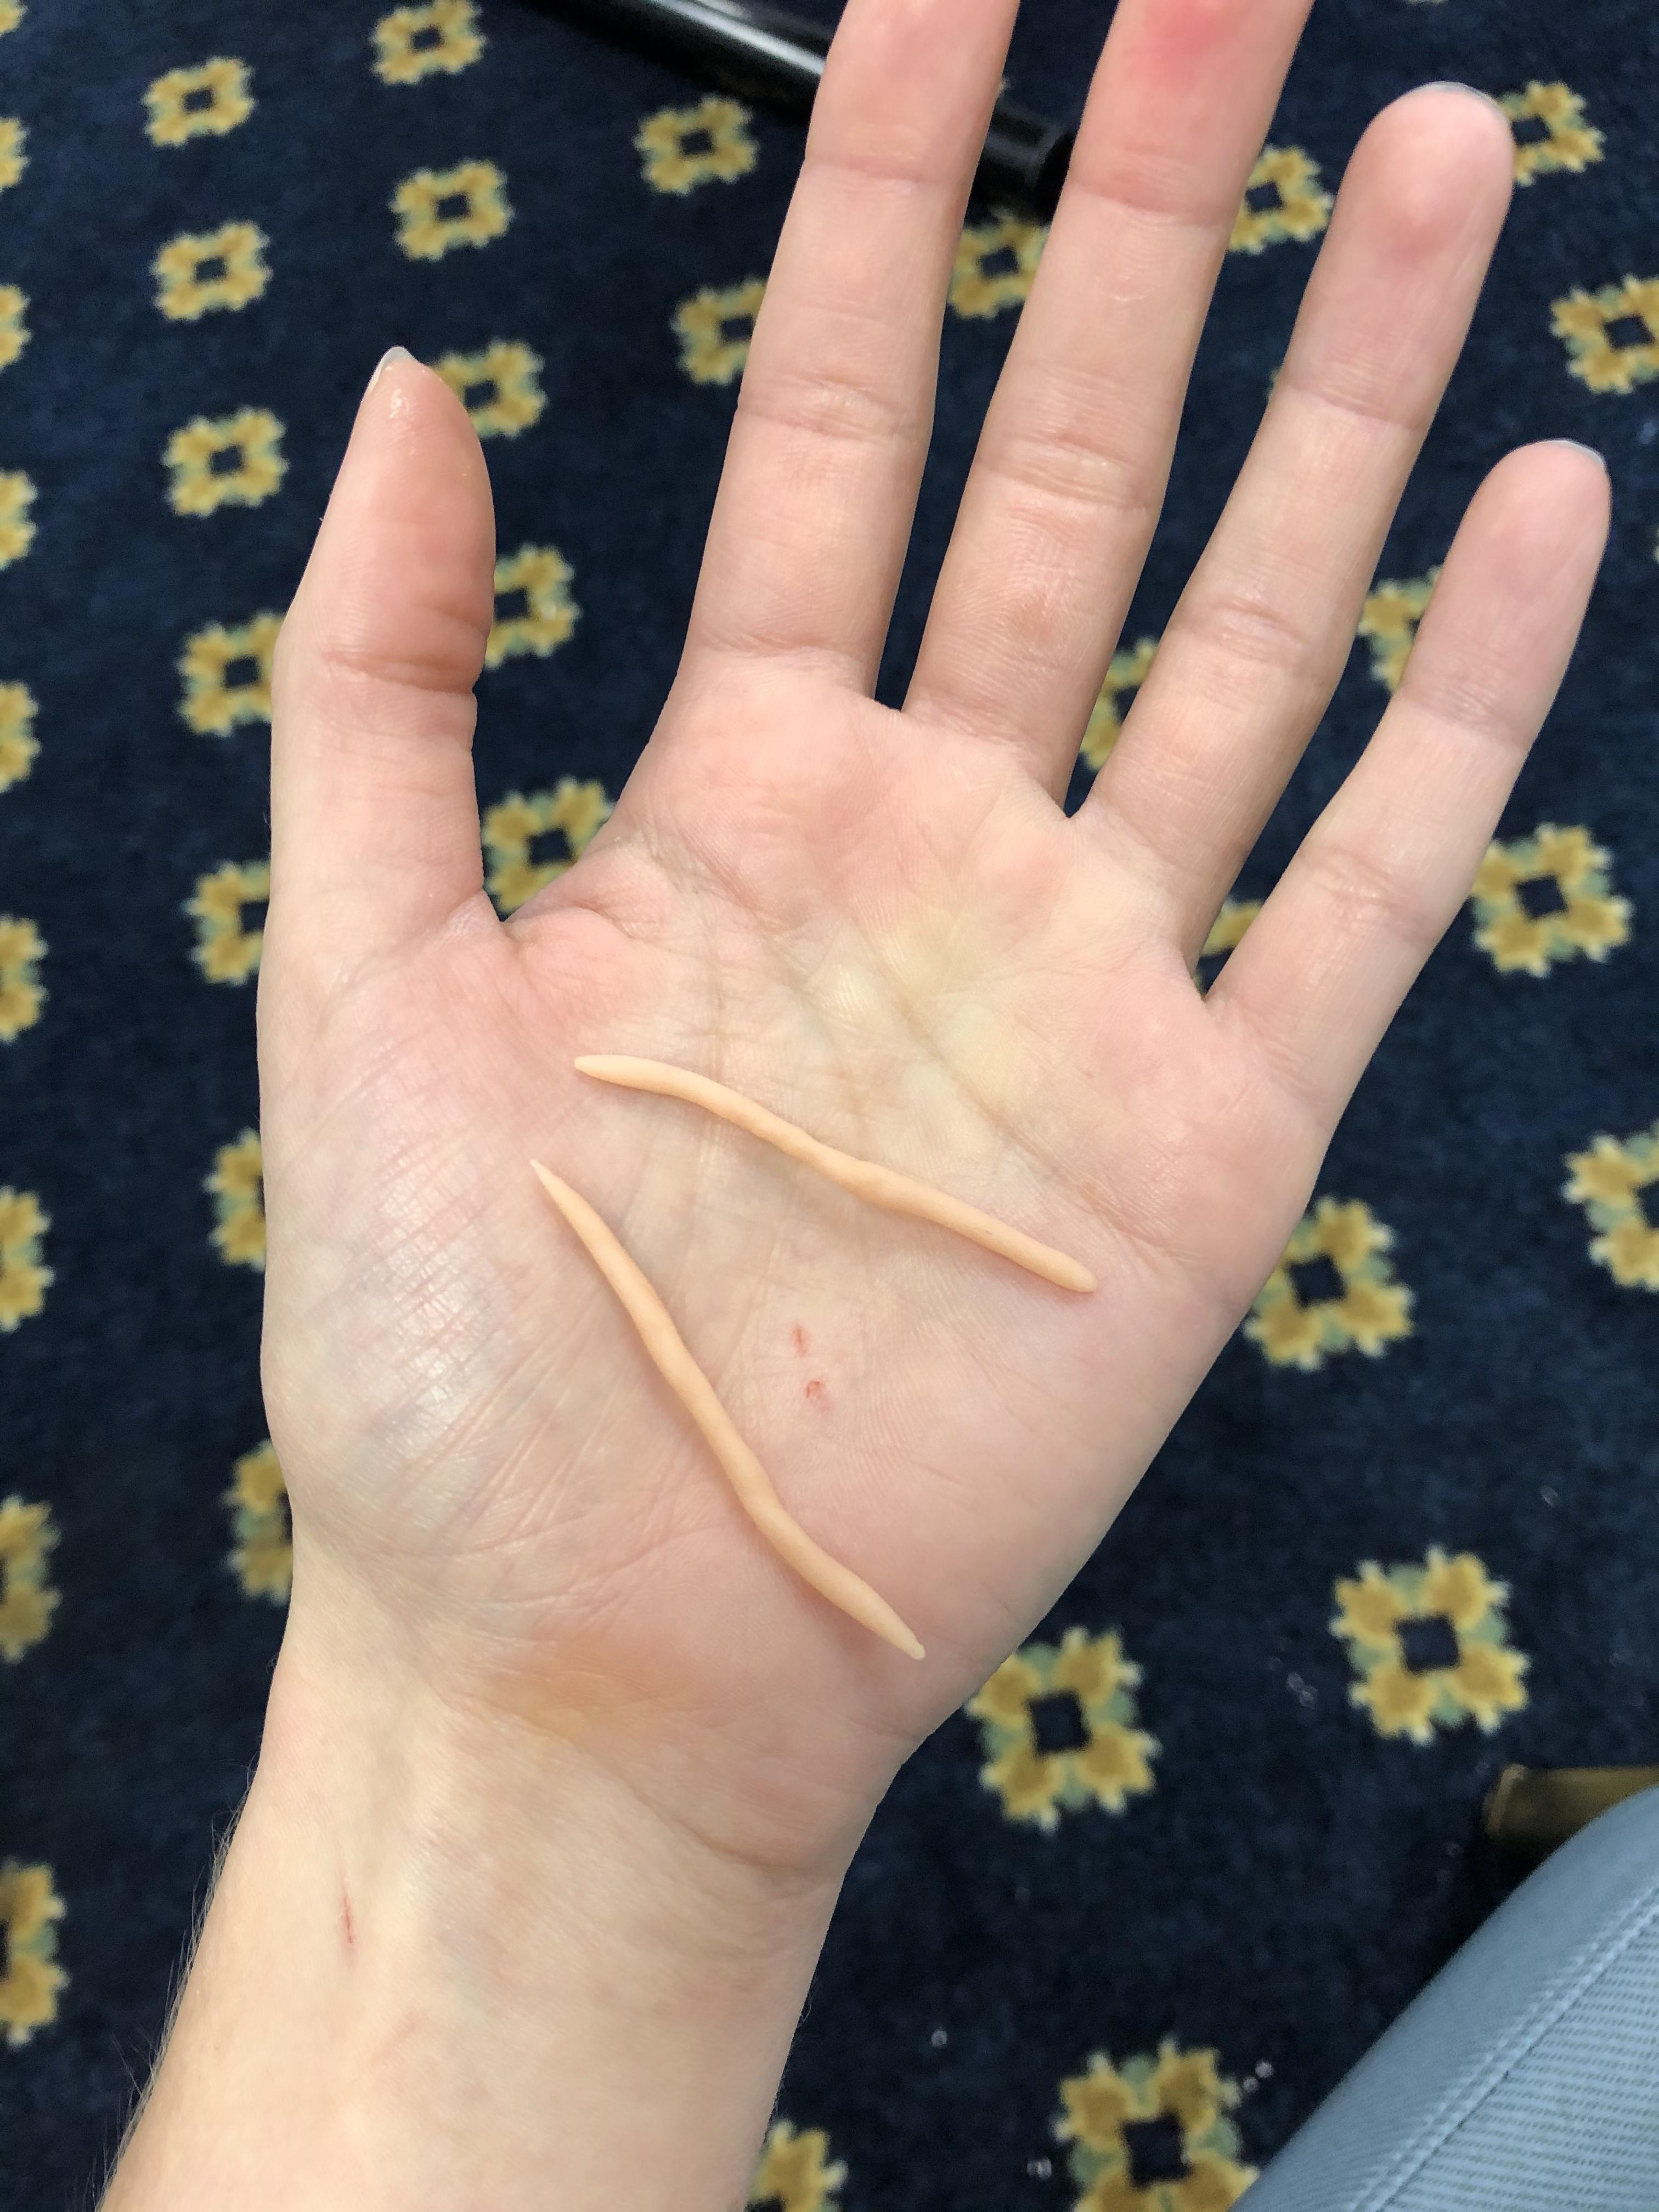
- Take out a small piece of scar wax and roll it around in your hand until it warms up and forms into a ball.
- Divide the ball in half and roll each half into long strips the length of the wound you want to create.
Apply the Scar Wax


NOTE: If you have not used spirit gum before, make sure you do a skin test before you apply it over a larger area. Apply a small dab to the inside of your wrist and wait 10-15 minutes. If you experience a rash, burning, or other symptoms of allergic reaction, remove the spirit gum with a spirit gum remover, wash the area thoroughly, and seek medical attention as needed.
DO NOT APPLY SPIRIT GUM AROUND THE EYES, NOSE, OR MOUTH.
- Apply a thin layer of spirit gum to the area you are planning to place the scar wax.
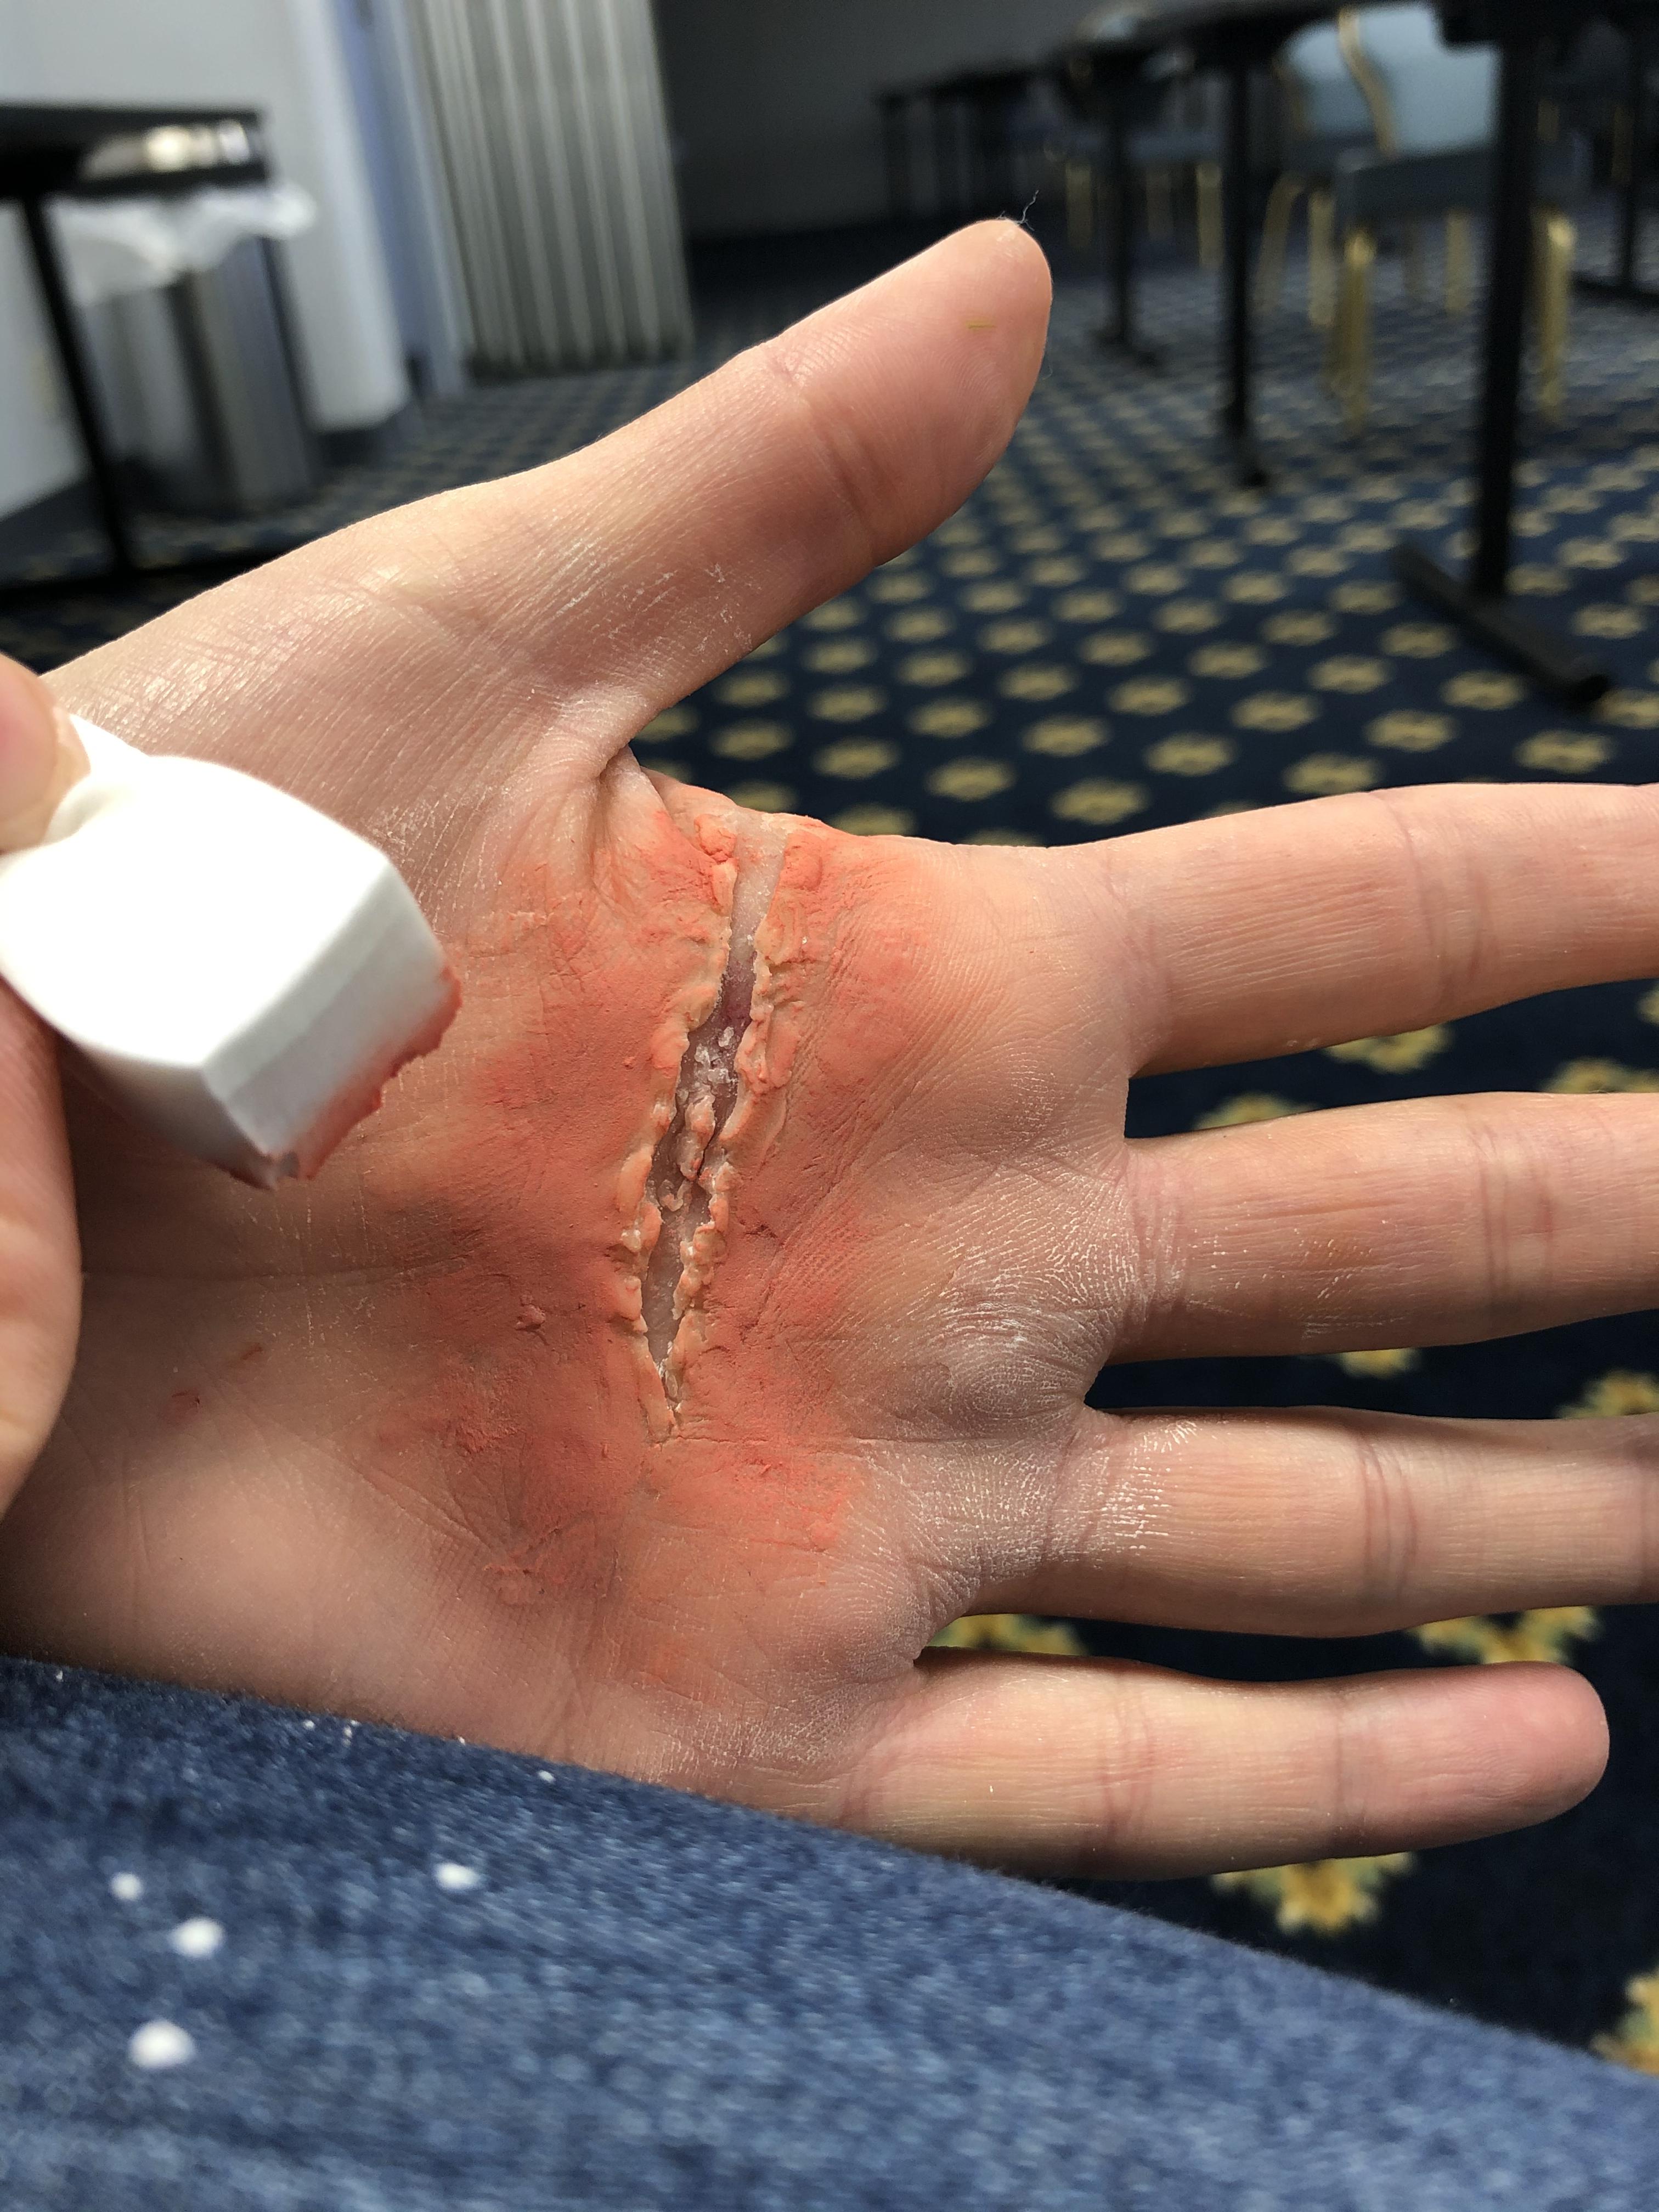
- Wait for the gum to become tacky and then place your wax strips on top and smooth the outer edges using the palette knife and/or fingers.
- Continue smoothing out into the skin to avoid a visible edge between wax and skin.
- Only smooth down the outside edges of the wax, the middle will form the ragged edges of the wound.
- Use the palette knife to form a space under the inner edges to create the illusion of depth.
Blending Scar Wax


- Pat the scar wax with setting powder to remove any excess moisture that may prevent the makeup from sticking. Brush off excess powder with a powder brush.
- Spray the area with setting spray to create an isolation layer between the wax and the makeup. Wait until fully dry before continuing.
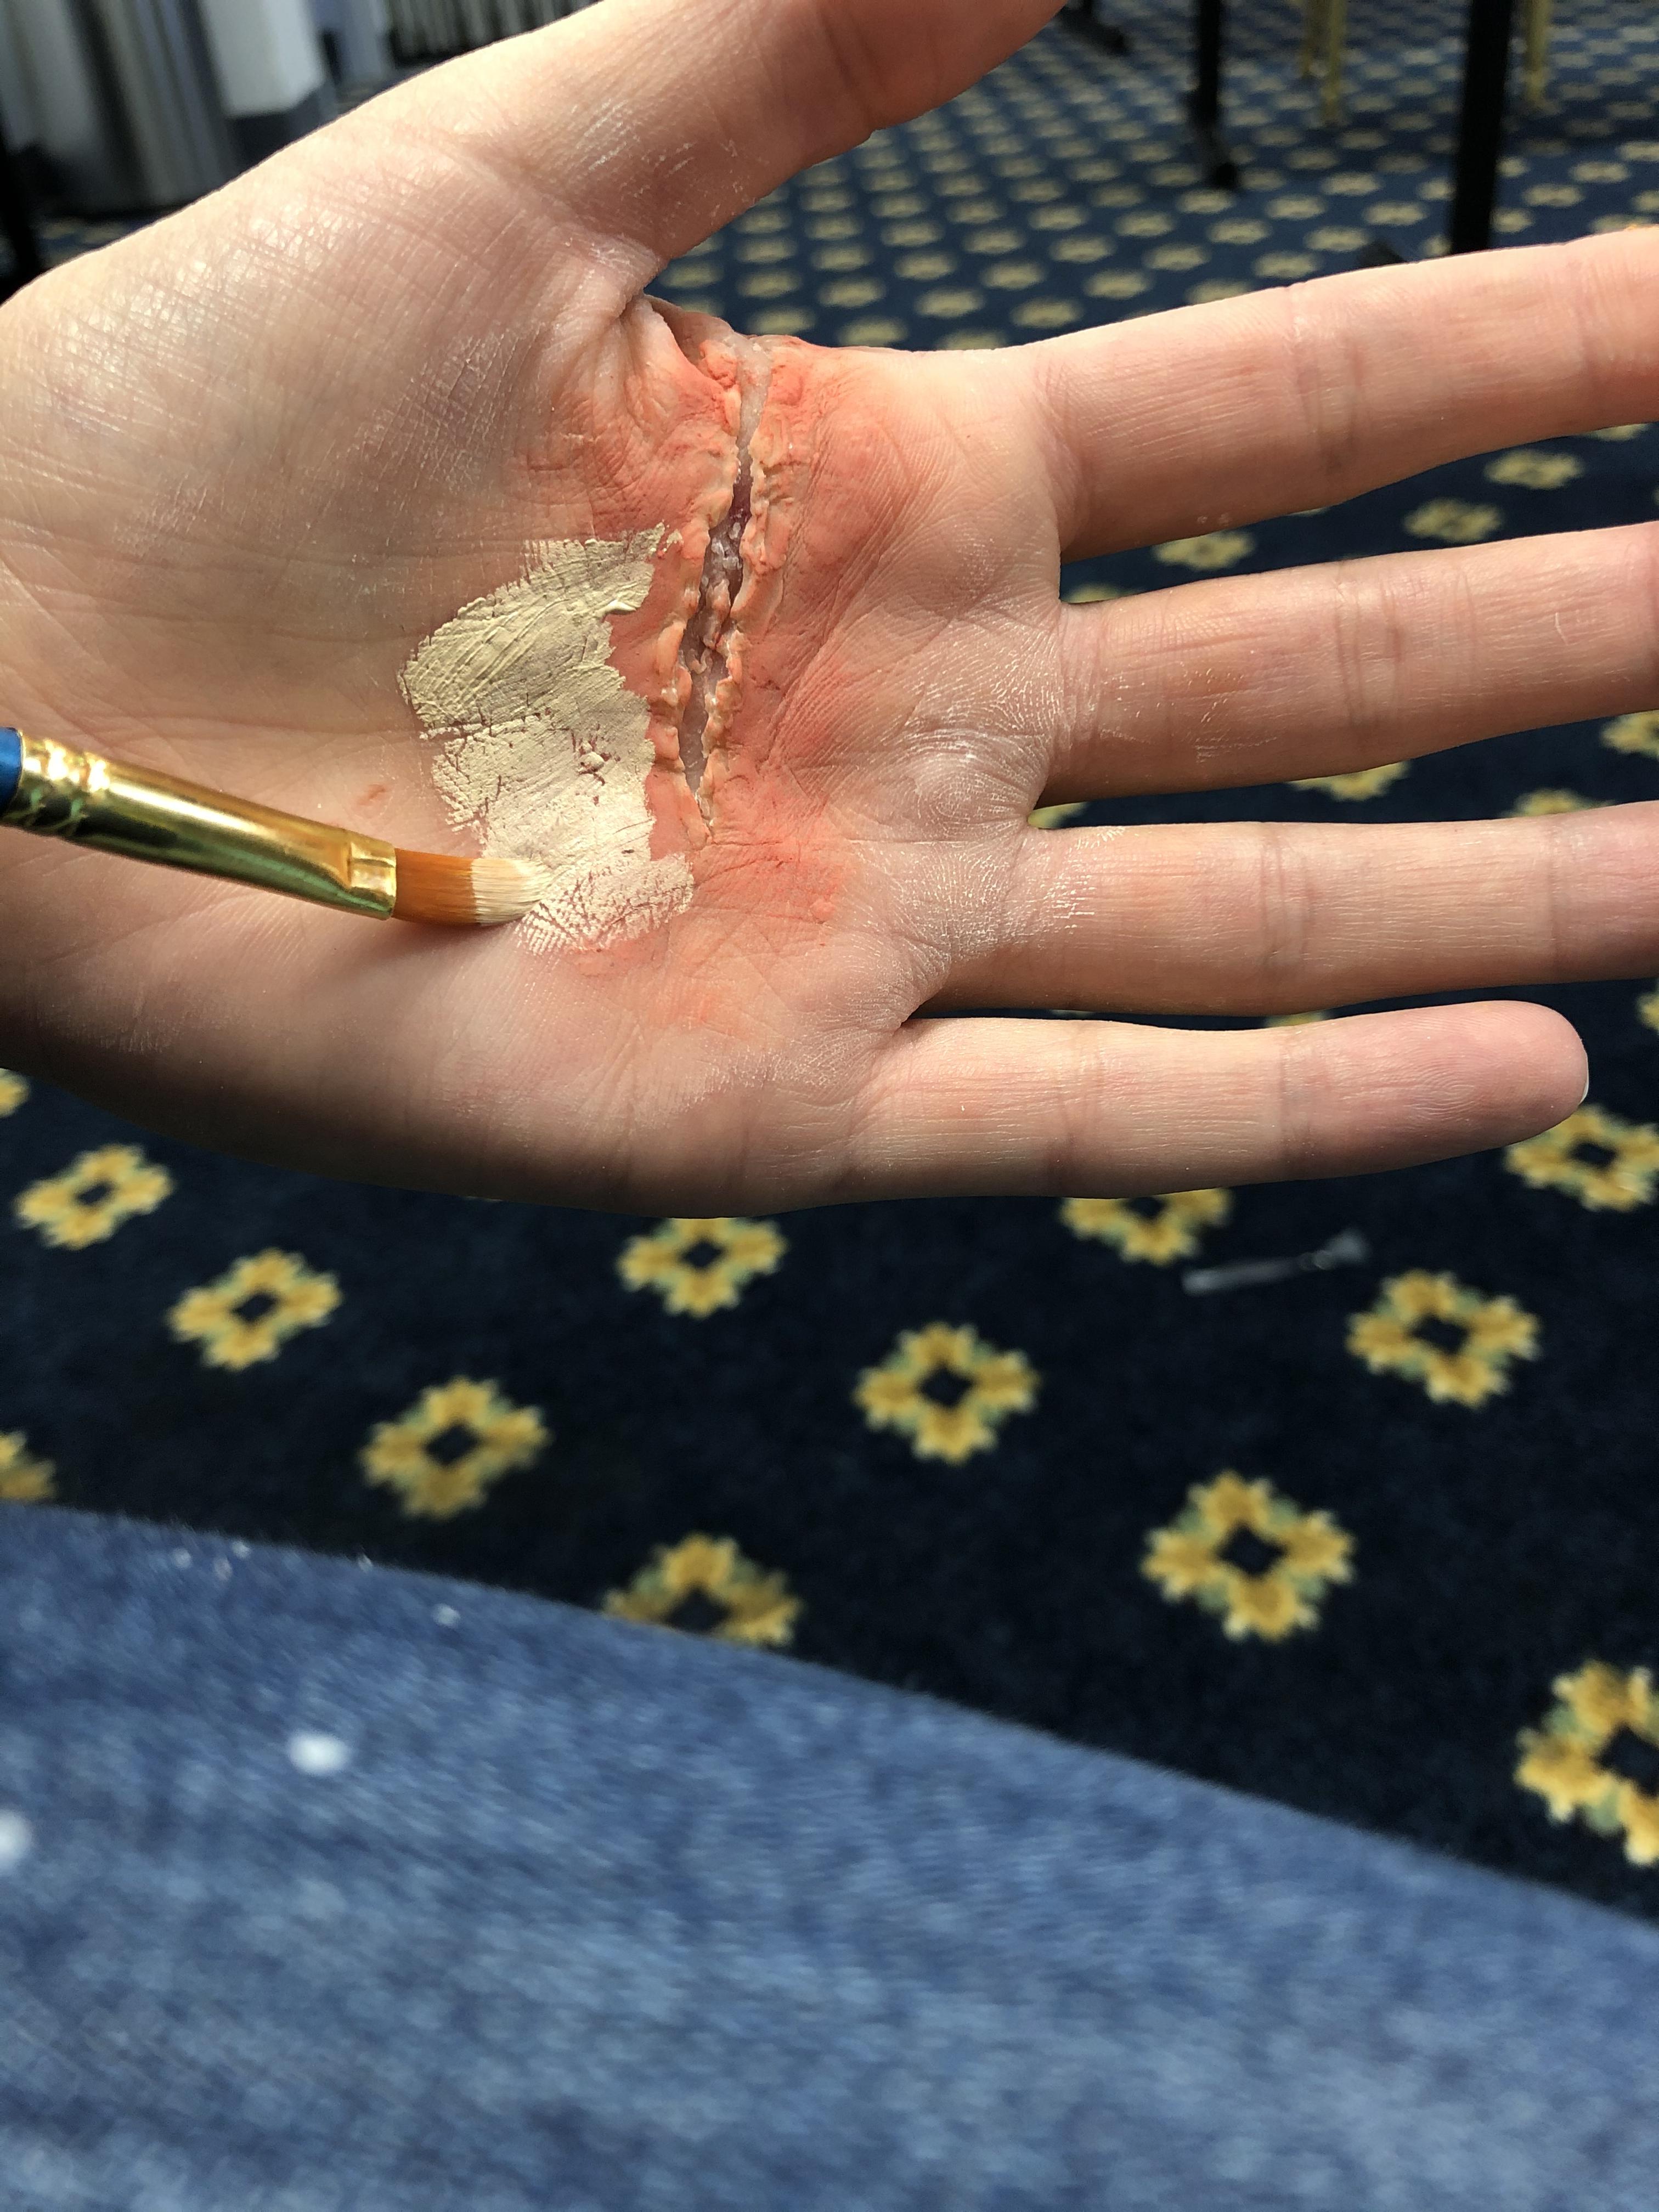
- On your makeup palette, or some other non-absorbent surface, mix a small amount of concealer and Fresh Cut (red) from the Ben Nye Bruise & Abrasion wheel. It should create a sort of sunburned skin color.
- Apply this sunburn color to the scar wax using your makeup sponge and pat to blend. Allow a minute or so to dry.
- This will add some pink to the scar wax to create the illusion of blood supply and help the wax to blend in with surrounding skin.
- Apply concealer over sunburn and blend.
- Because I wanted the skin to appear inflamed, I left some sunburn visible around the edges of the wound.
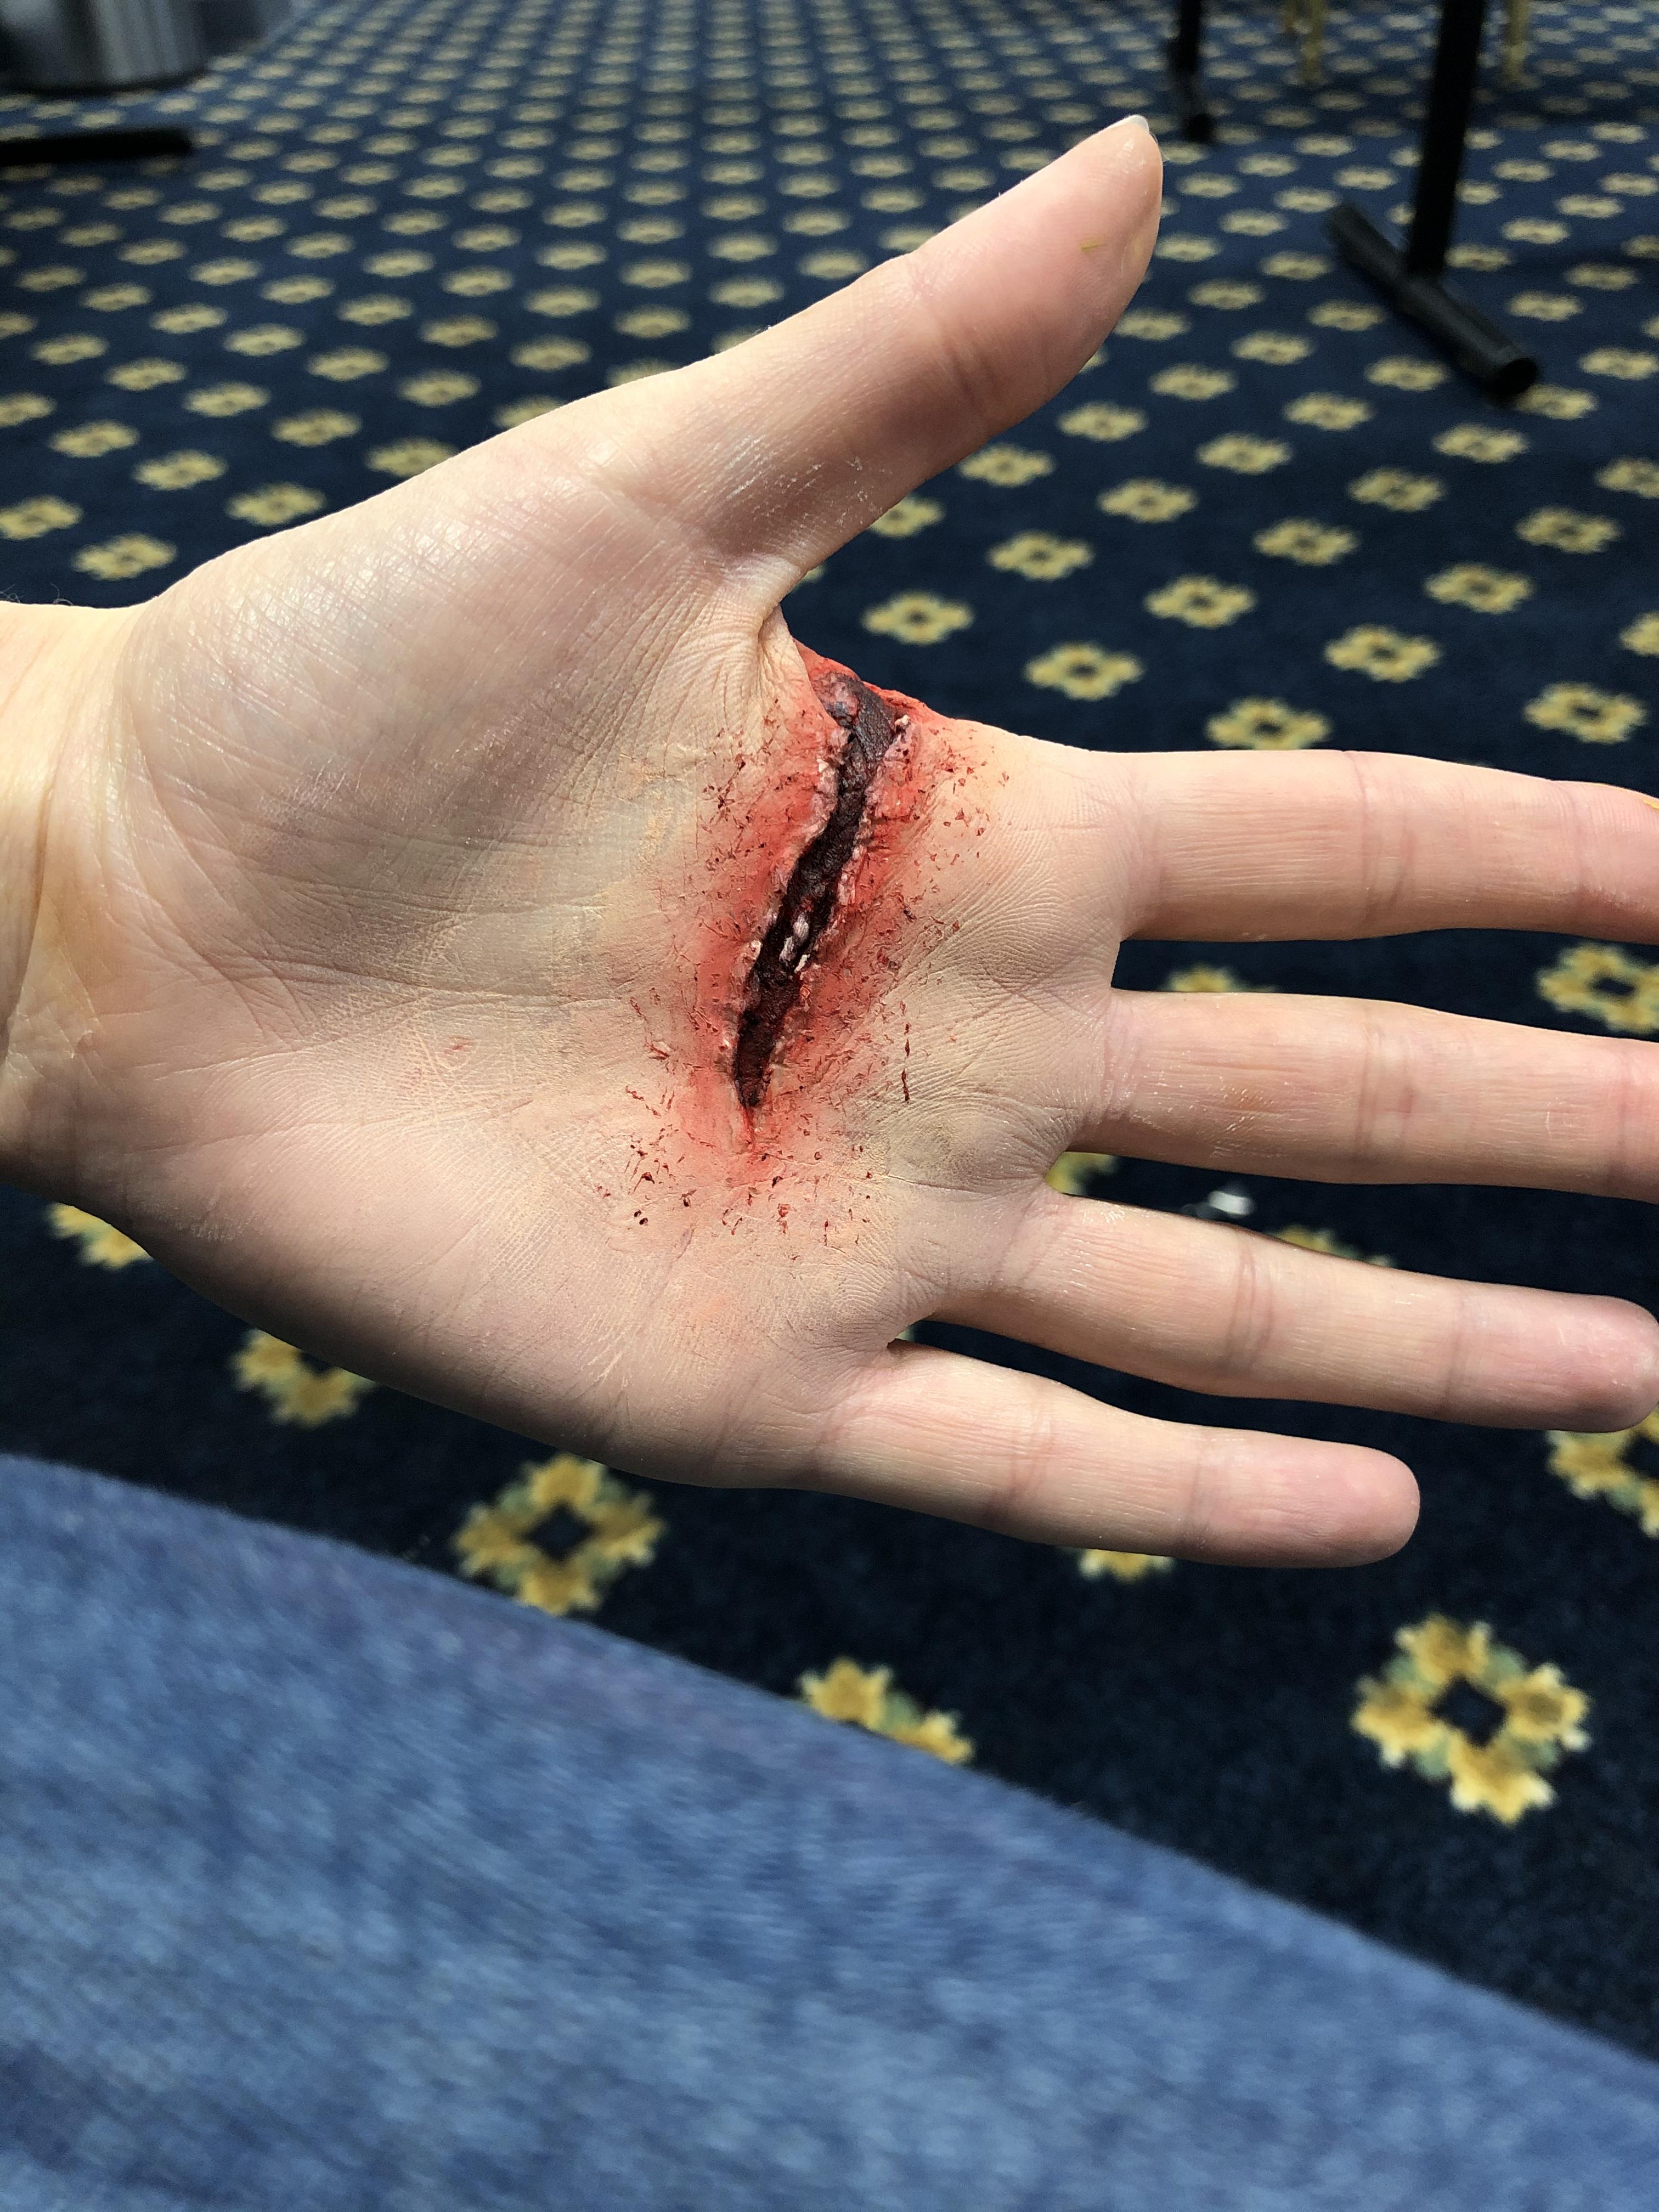
Interior of the Wound


The trick to realistic wound makeup is layering. It may seem like you're covering up the previous step, but the layers that are being created will create depth and make the wound look much more realistic.
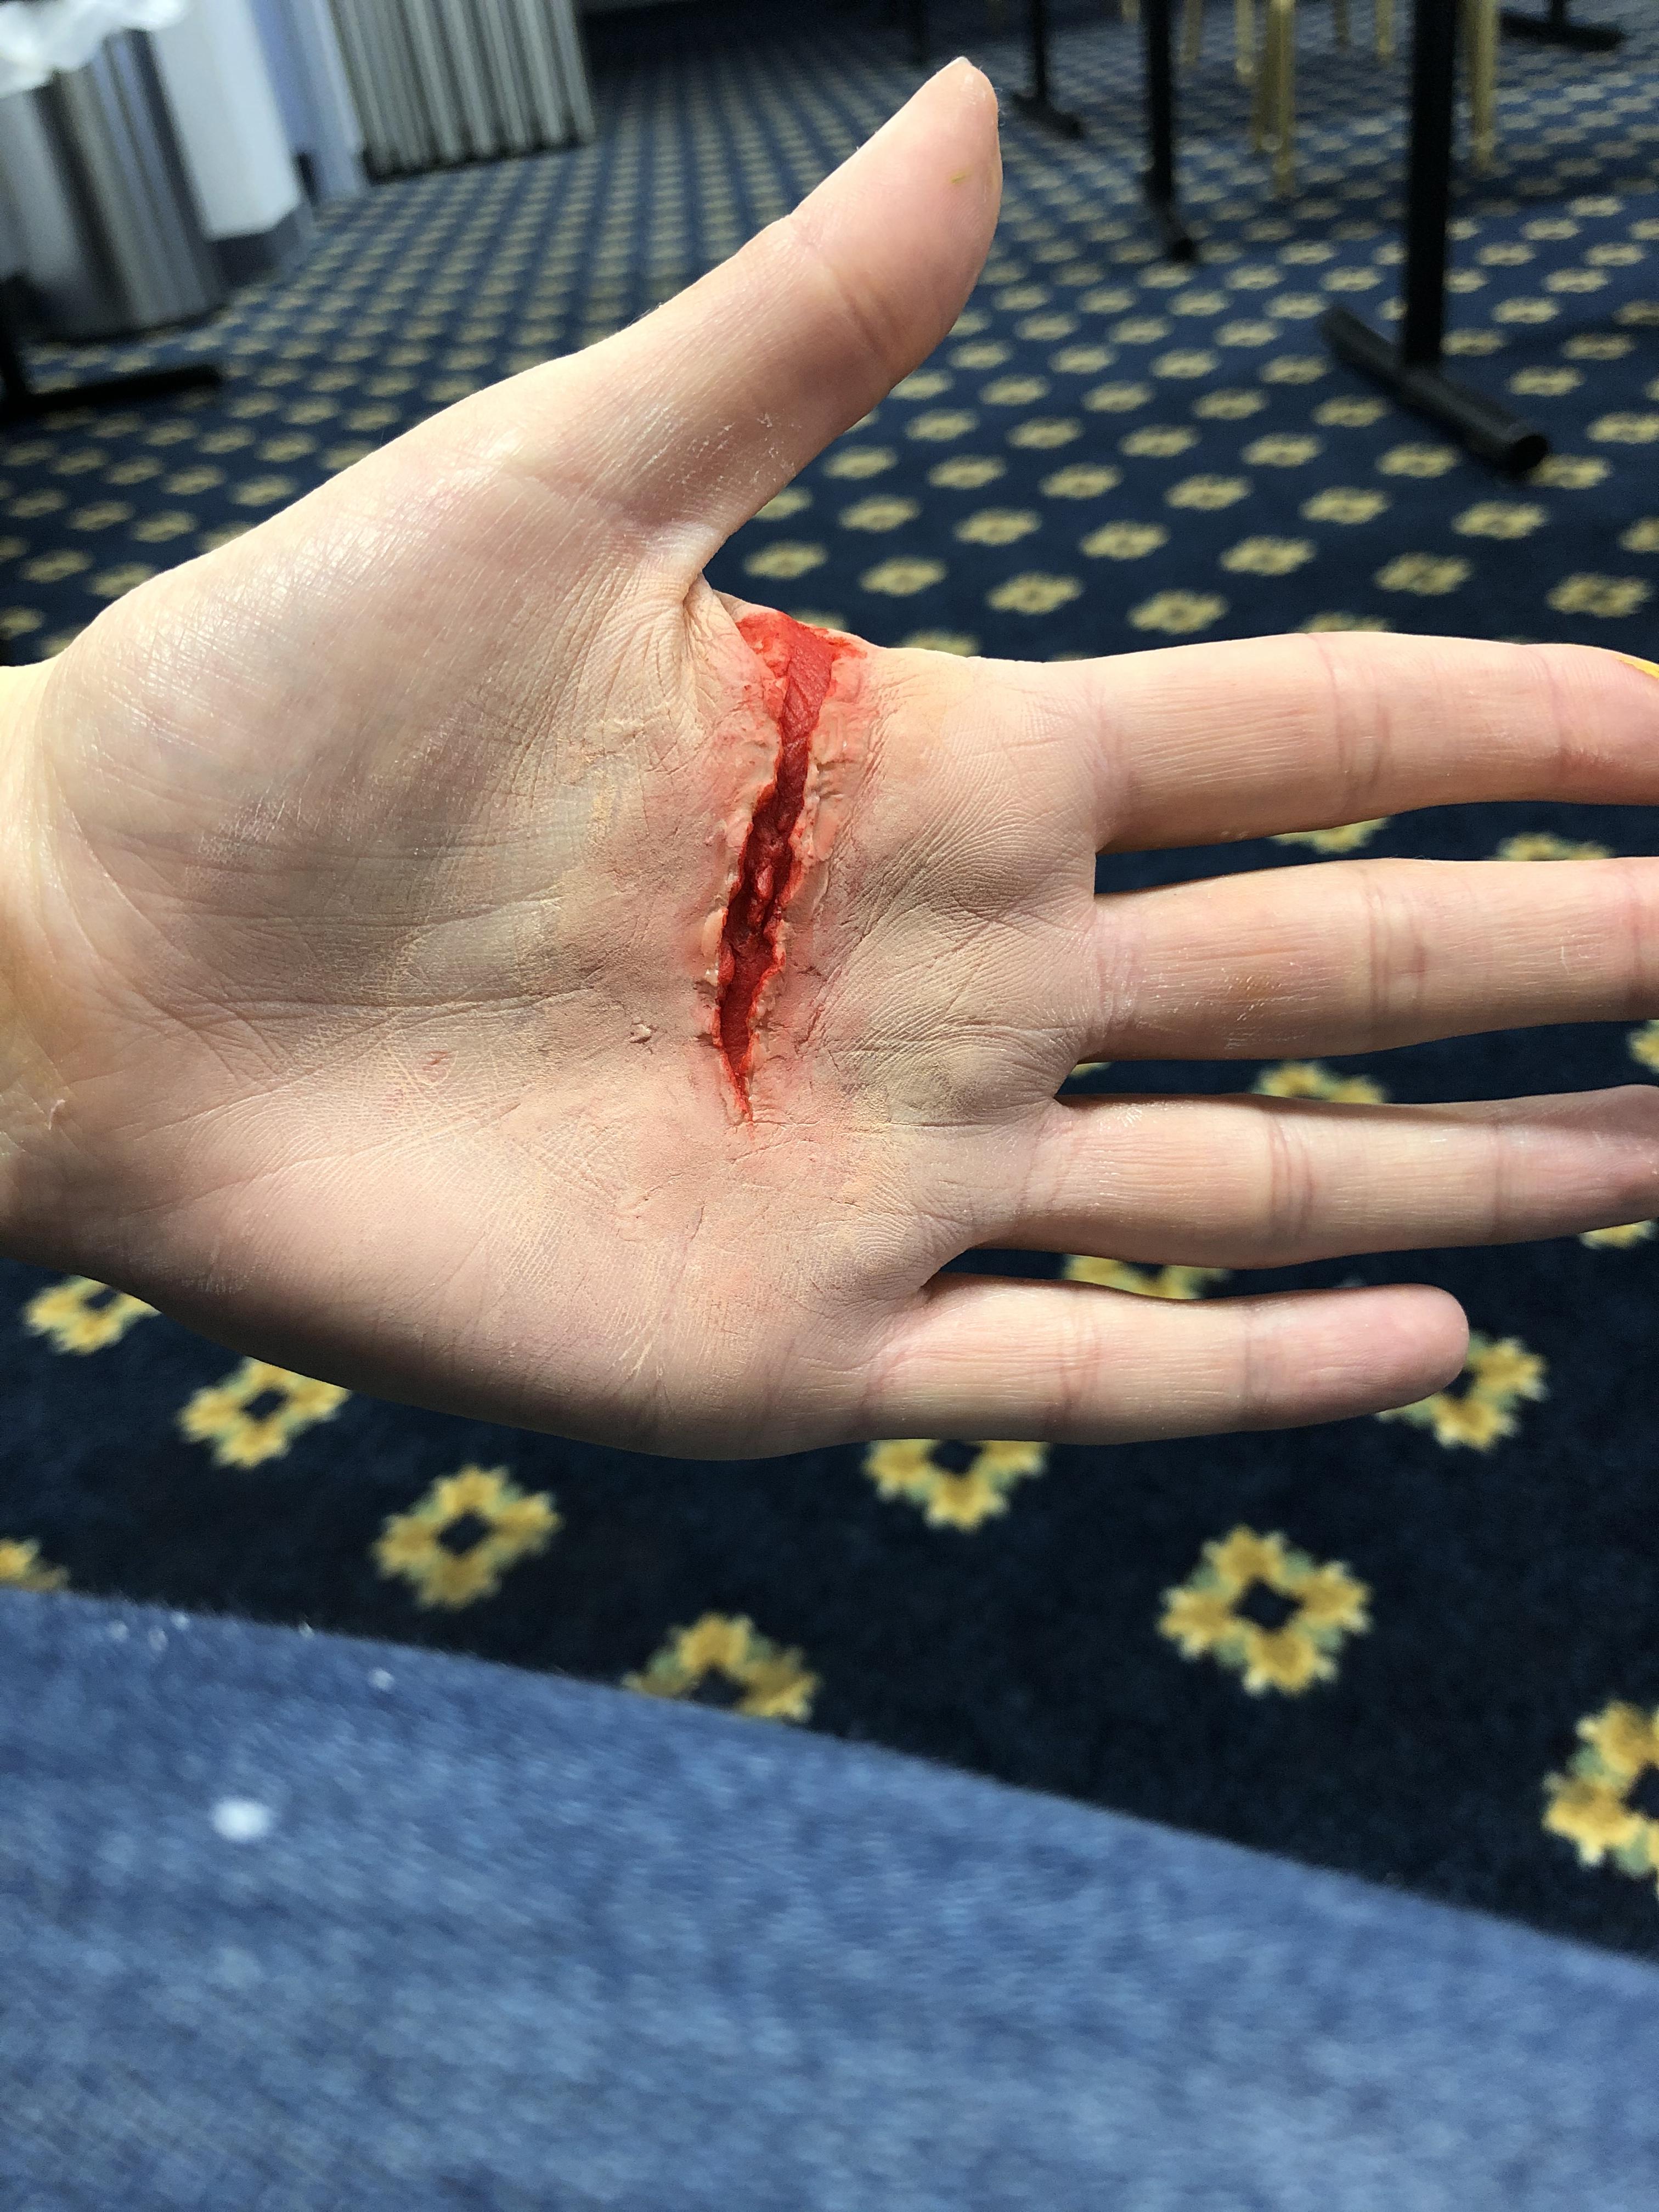
- Using your brush, apply Fresh Cut (red) to the interior of the wound.
- Make sure to get underneath the edges of the scar wax.
- Next, apply Maroon using a dabbing action to create some depth within the cut.
- Apply Misty Violet (blue purple) to the deepest parts of the wound, again using a dabbing method to avoid smearing the previous colors.
You can always go back and add more of the previous colors as needed. Play around until it looks right to you.
Exterior of the Wound

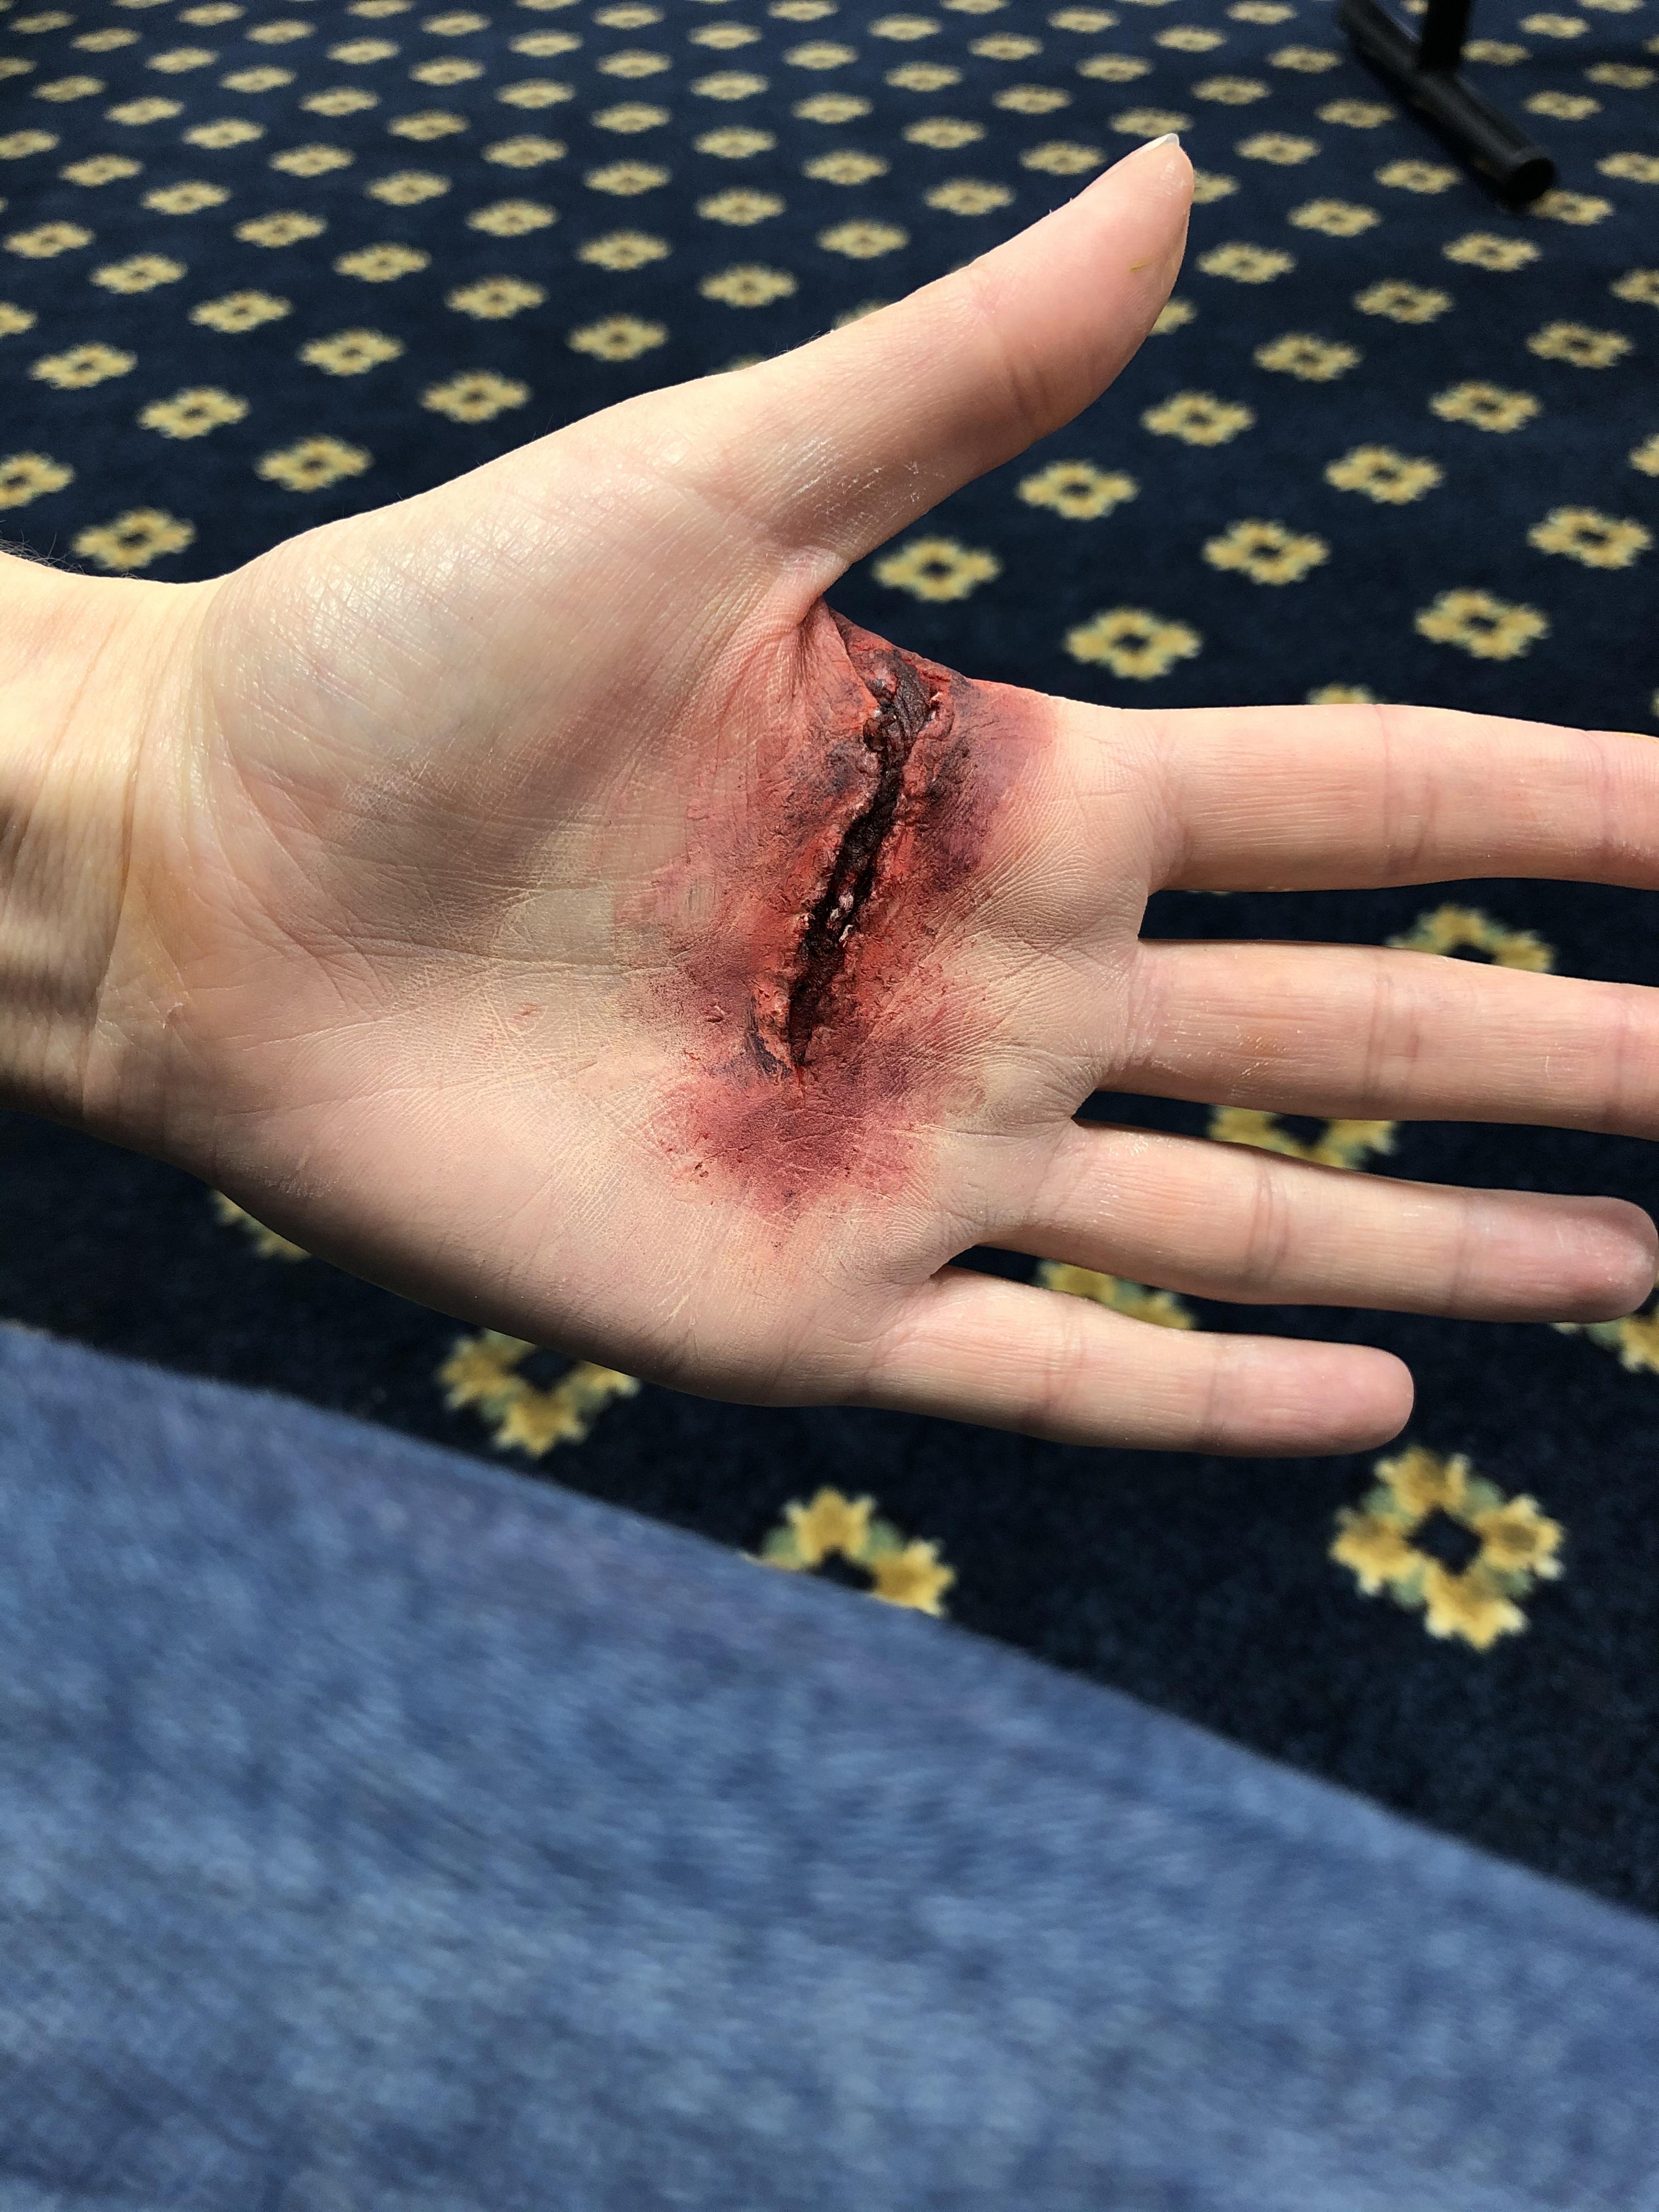

- Dab on Fresh Cut (red) around the outside of the wound using the makeup sponge. Tap to blend the color outward to avoid a line between the color and the skin.
- Apply a thin layer of Maroon using the stipple sponge and then pat to blend using the makeup sponge. This will help distribute the color irregularly to create a mottled appearance.
- Repeat with the Misty Violet (blue purple).
- Repeat these steps as needed until the exterior of the wound appears appropriately bruised.
- If you want your bruise to look old or appear to be healing, you can add a small amount of Goldenrod (yellow) around the very end of the bruising.
- As a bruise heals, the hemoglobin from the blood is broken down and reabsorbed by the body. The final ingredient to be absorbed is bilirubin which is yellow in color. I chose not to include any yellow because I wanted my bruise to look more recent.
Remember to consider the type of wound you are recreating and the other areas that may be affected. I modeled this on a defensive wound often seen when someone is attacked with a knife. I have no medical background but I figured that there would be bruising on the back of the hand between the thumb and forefinger because the skin is thinner and there is a space between the muscles where blood could settle.
Within your own comfort zone, I would suggest doing research into the type of wound you're referencing to see what sort of bruise pattern is created or any other details you might be able to add.
Adding Blood


- Using a brush, dab a small amount of Fresh Scab inside the wound. This is a jelly-like blood which will give a wet or glistening look but not drip or run.
- If you want, you can dab some Fresh Scab on the outside of the wound using the stipple sponge.
- Using a brush or applicator, drip some Stage Blood into the wound.
- Be very careful with the stage blood! It is made with corn syrup and is very sticky and runny. It is best to apply it over a sink or some washable surface and wait for it to dry slightly before moving around.
- Allow the blood to travel where it wants with gravity. You can apply multiple layers and change the angle of the drip to create multiple paths of blood drip.
Admire Your Handiwork!
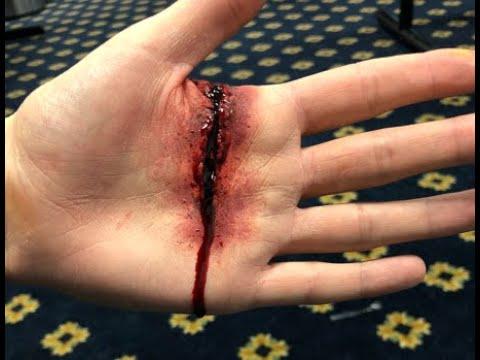
Look at you! All cut up and no place to go 😎
Make sure you are careful when touching surfaces as the blood can smear and stain.
When removing your wound makeup, try to remove the whole piece as one with the palette knife to avoid smearing the scar wax. Wash the area thoroughly with makeup remover or dawn dish soap until everything is gone and use some lotion afterwards to prevent your skin from drying out.