Real Life Moving Portraits From Harry Potter!
by Olivia Chang in Circuits > Art
18600 Views, 83 Favorites, 0 Comments
Real Life Moving Portraits From Harry Potter!
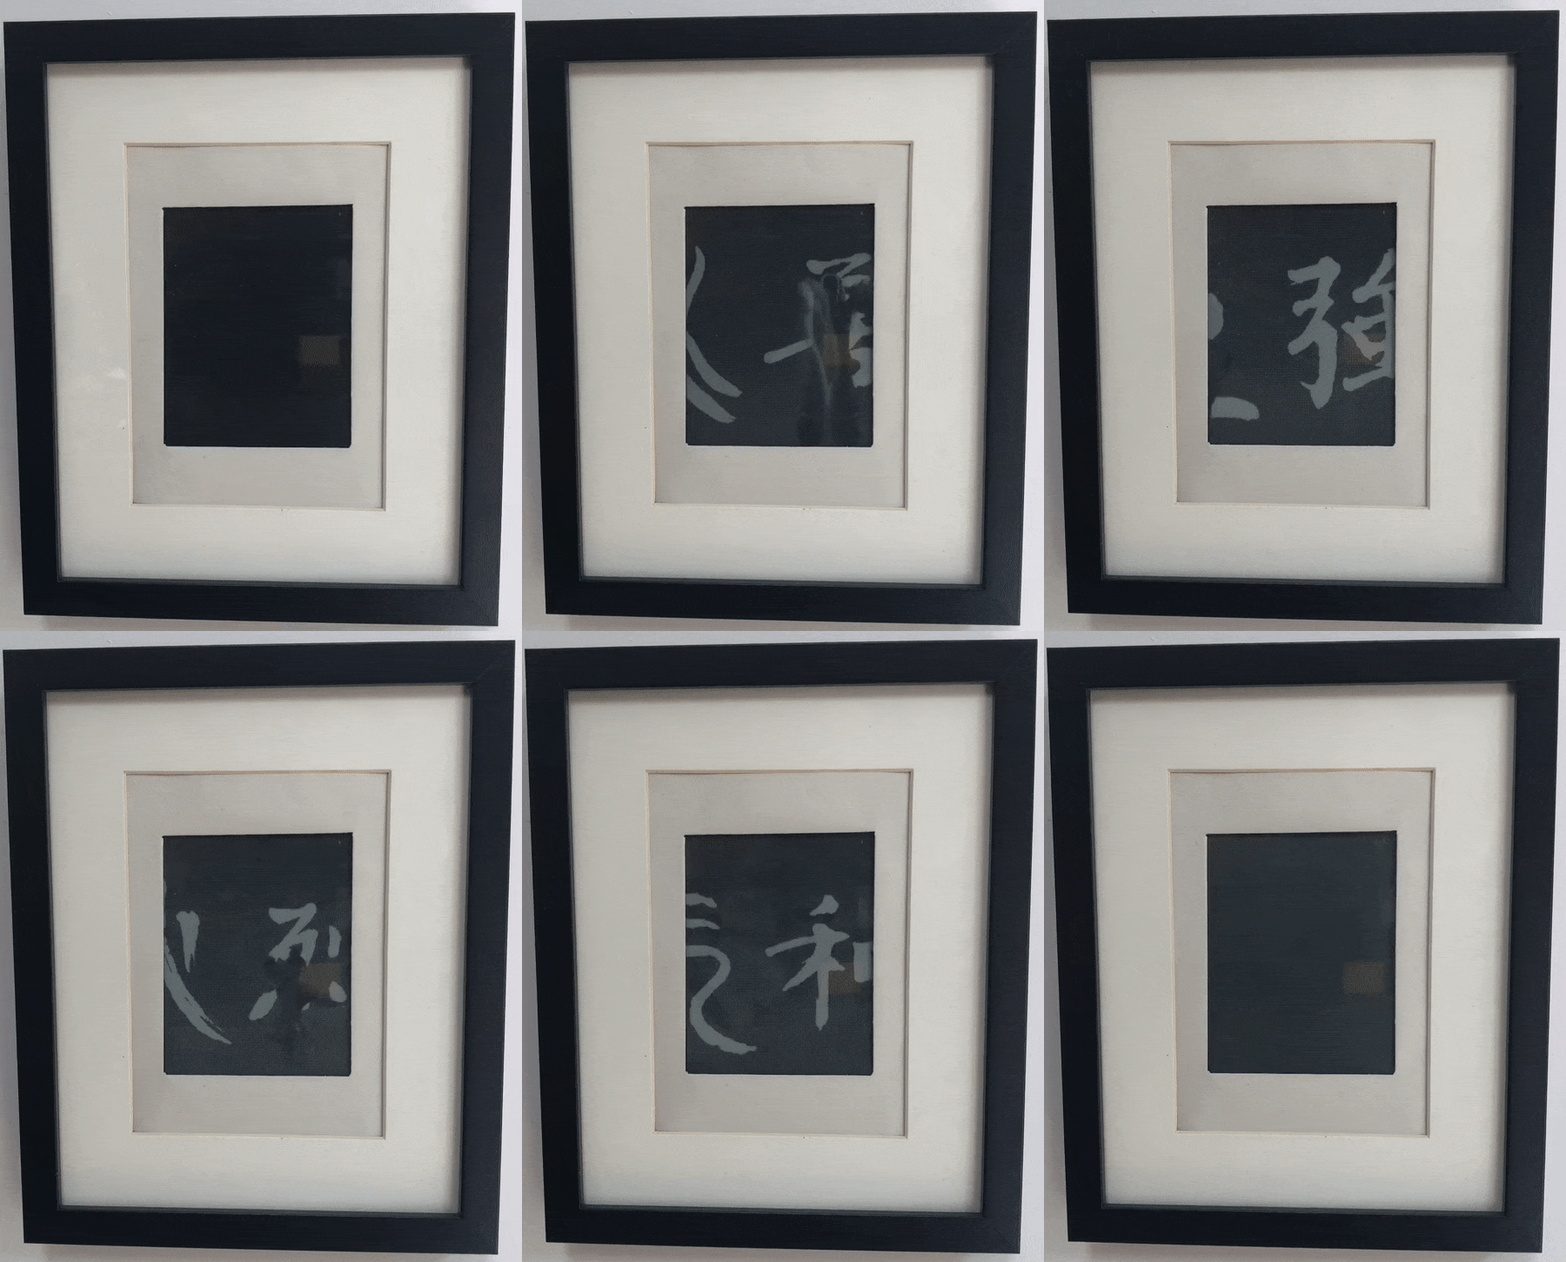.gif)
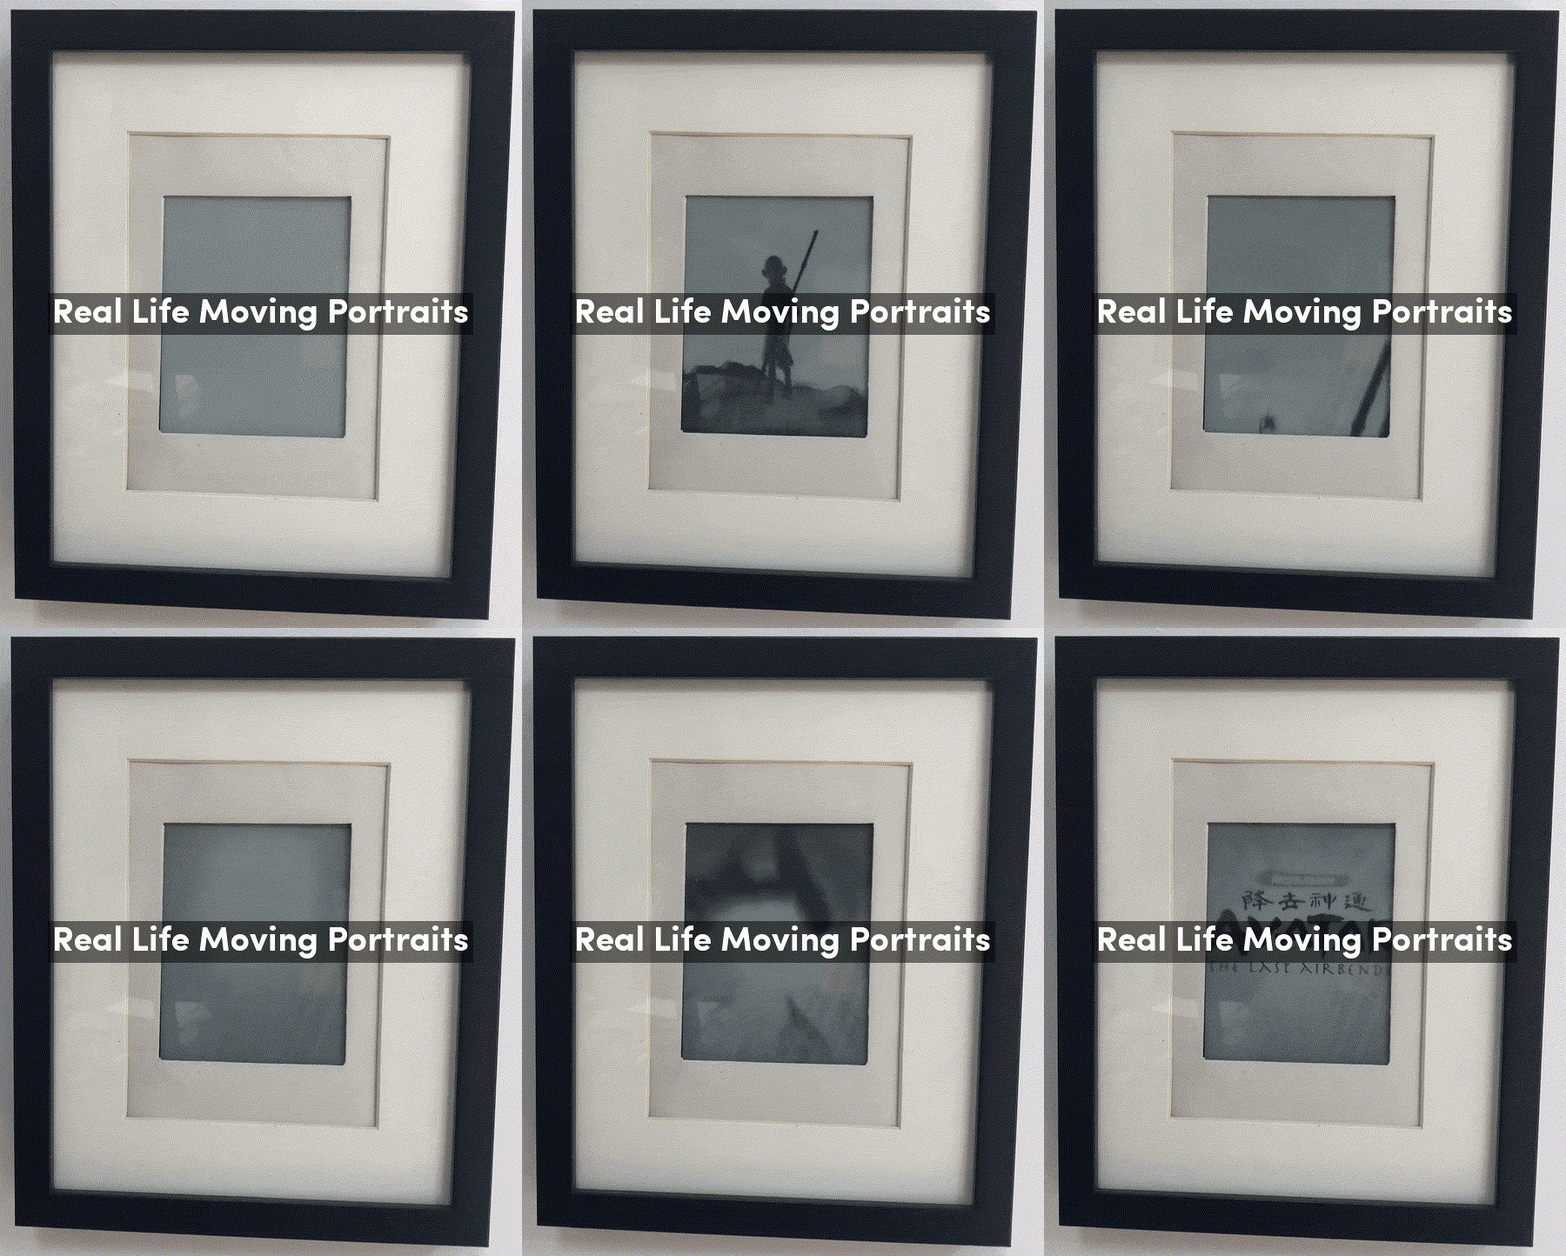.gif)
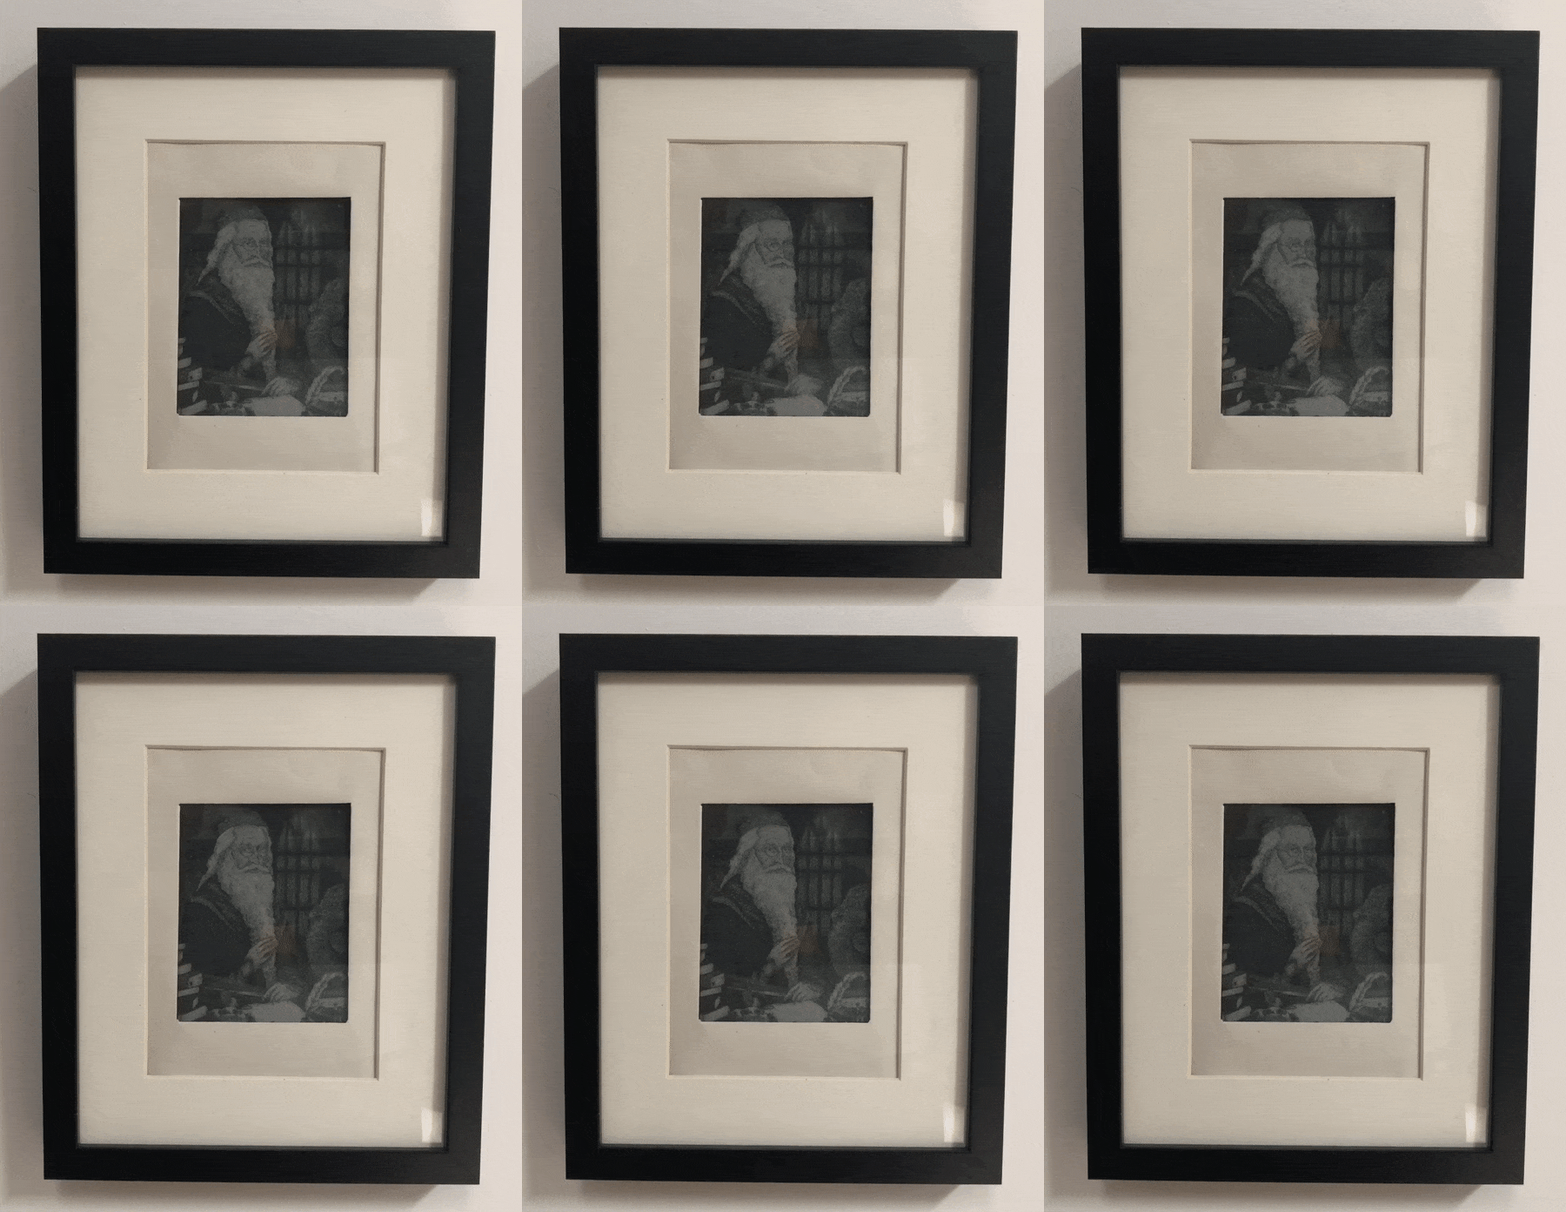
"Amazing! Amazing! This is just like magic!" - Gilderoy Lockhart
I’m a huge Harry Potter fan, and one of the things I’ve always loved from the Wizarding World are the moving portraits. I stumbled across Kyle Stewart-Frantz’s Animated Picture Frame project and realized I could adapt an old Kindle into a real-life moving portrait!
The e-ink technology in the Kindle screen makes it a much better choice than an old tablet. For one, they’re sunlight-readable, so the picture looks much more like an actual piece of paper instead of a screen. Two, the image will stay on the Kindle screen even after the battery dies.
Supplies
- Kindle E-Reader: I was able to do this with both a Kindle 4 No Touch (K4NT) and Kindle Keyboard 3G (K3G).
- USB cable for charging/connecting to Kindle
- Picture frame—needs a deep shadow box and a matte with an opening for a 5x7 photo. A smaller opening can work, but it may cover some of the Kindle.
- Picture Hanging Hook
- Wire: if you'd like to hide the hanging hook
- White or off-white construction paper
- Something solid to hold the Kindle up (I used small colorful Ello blocks)
- Twist-ties, or something to keep the Kindle in place
- Museum putty
- Duct tape
Jailbreaking Your Kindle
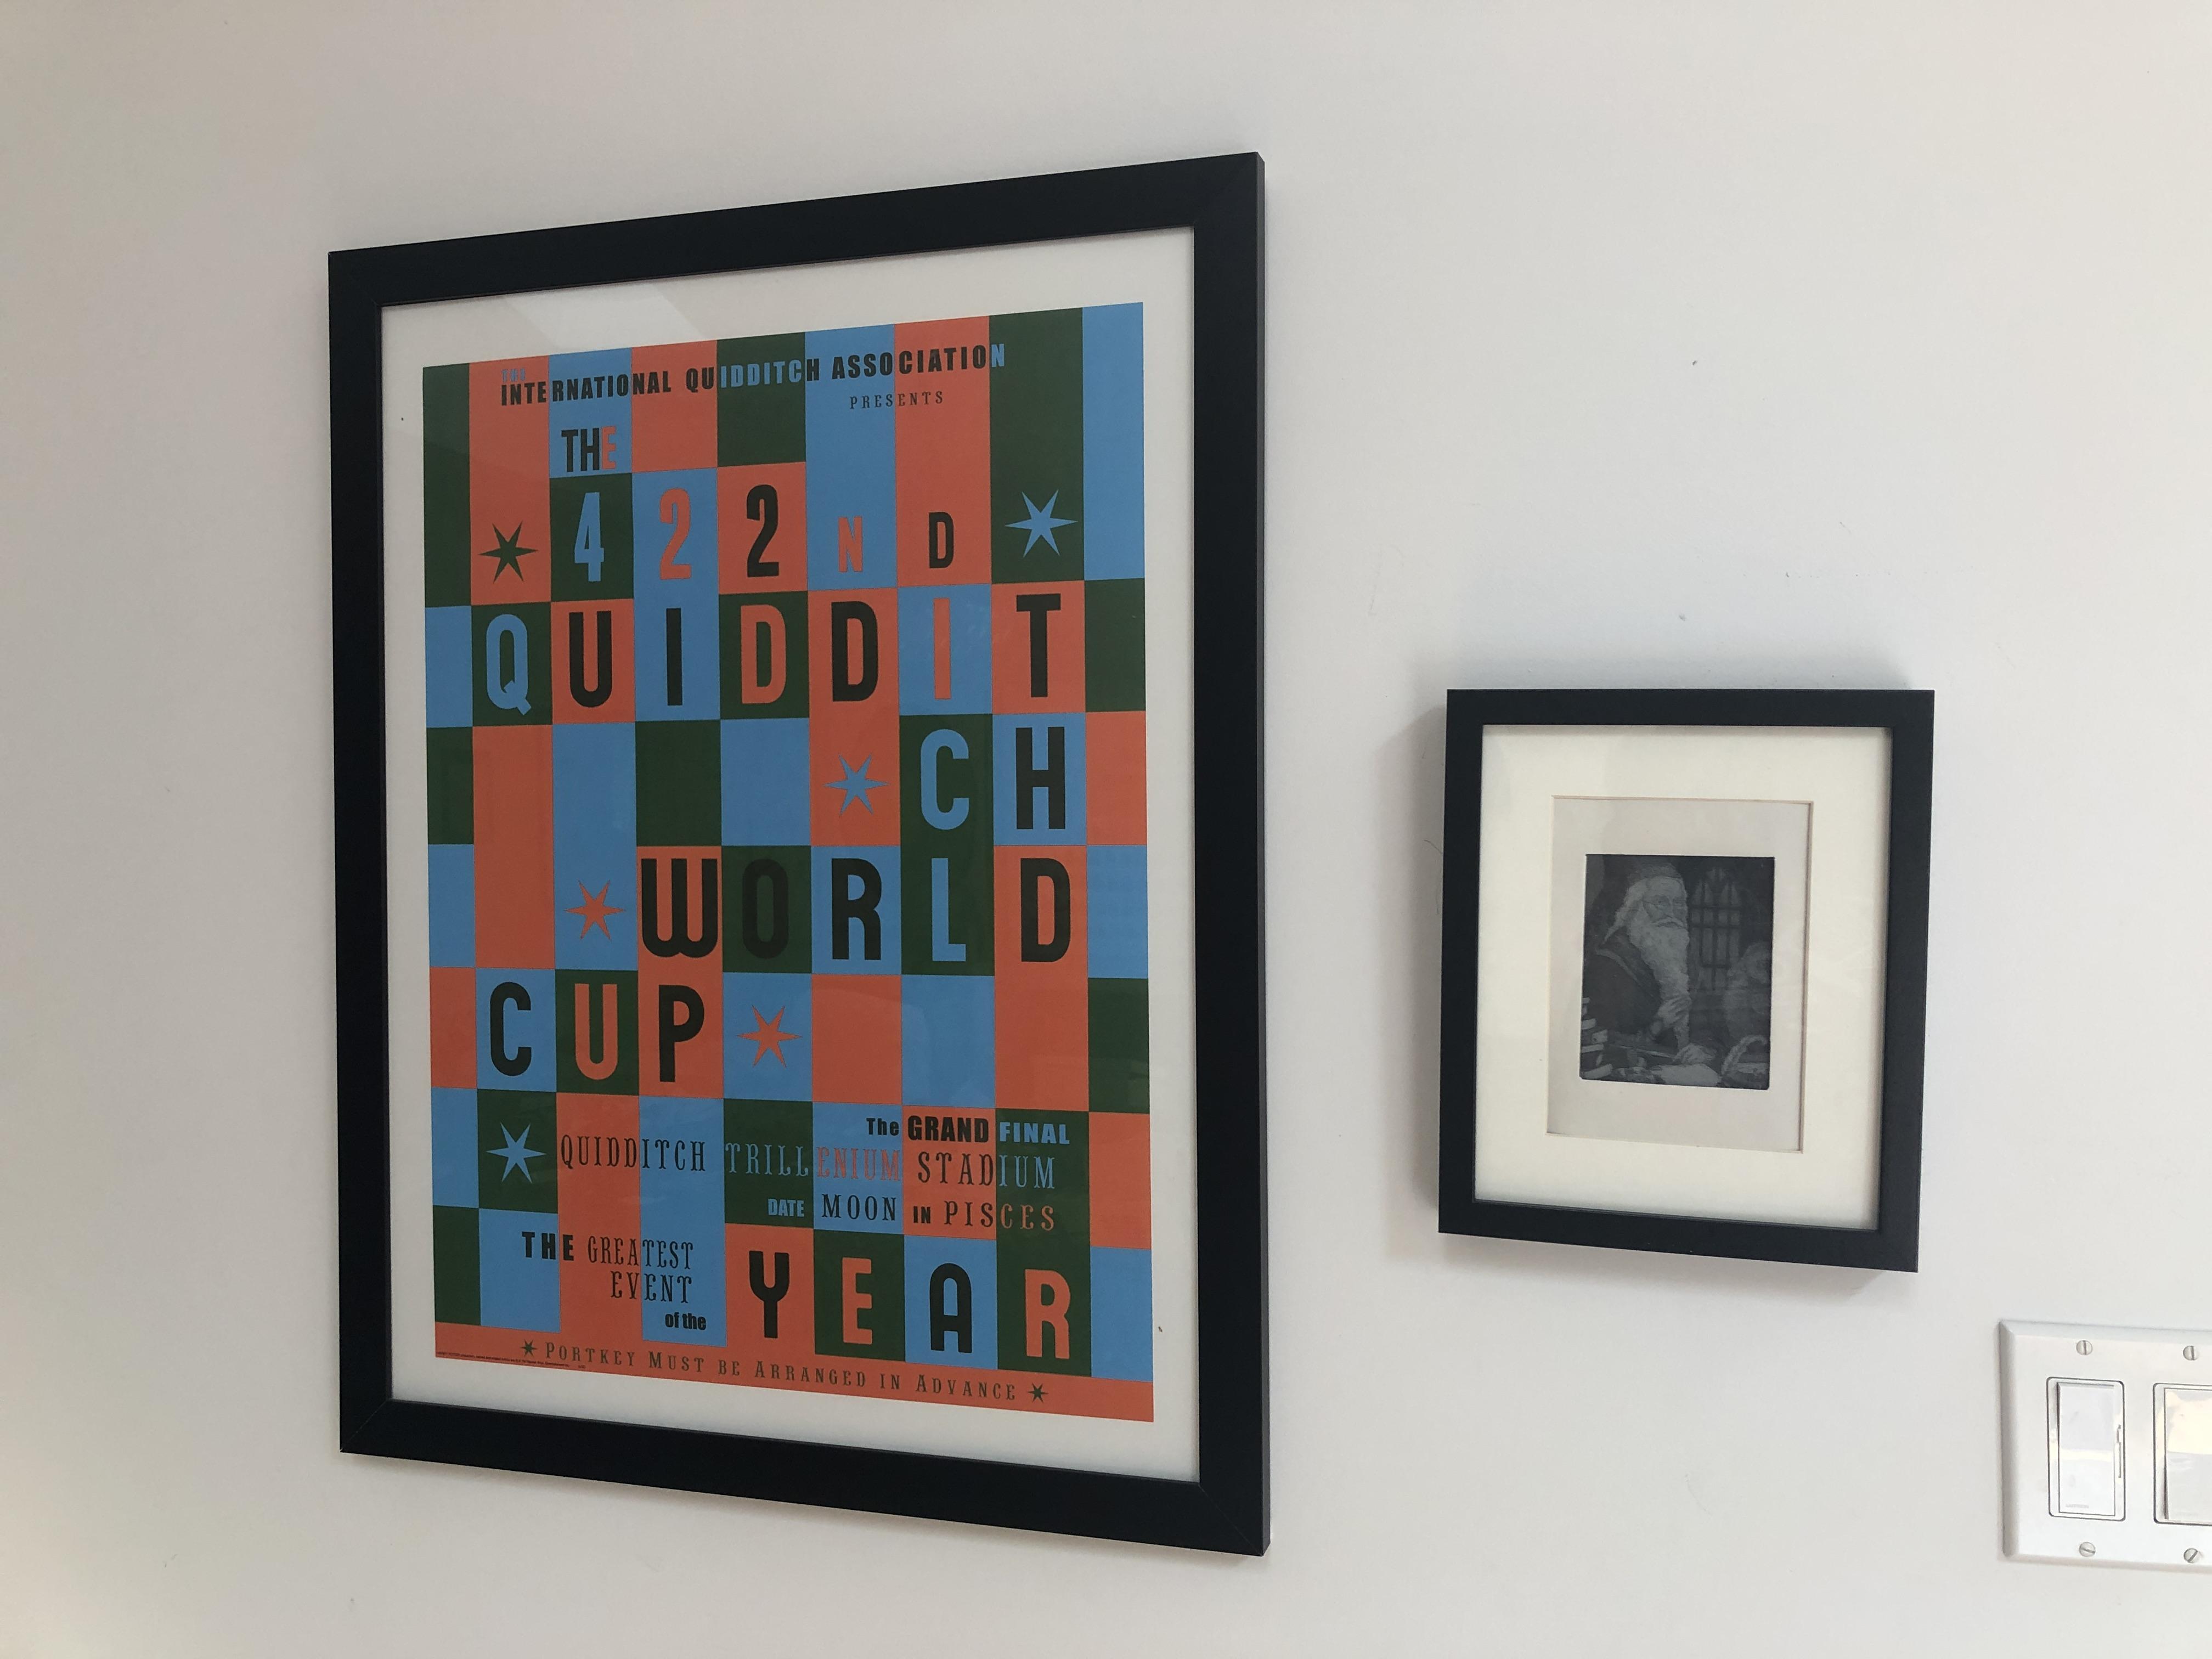
In order to do anything cool on the Kindle, you’re going to want to jailbreak it. Thankfully, the wonderful community over at MobileRead have already done all of the work for us, and jailbreaking is very simple.
That being said: It’s really easy to brick your Kindle by running commands without knowing what they do. If you do brick your Kindle, I was able to recover my bricked K4 using Kubrick, but there’s no guarantee it’ll work in every situation. I don’t recommend proceeding with this tutorial unless you know your way around a shell, and have at least a moderate level of experience with Linux :)
First, if your Kindle isn’t on the latest firmware, head over to Amazon to install those updates. Update the Kindle by connecting the Kindle to your computer, dropping the update .bin file into the root directory, ejecting the Kindle, and then heading to Settings & selecting “Update your Kindle” from the menu (this is what I’ll call the “standard updating process”).
Confirm which Kindle model you have by taking a look at the serial number. Make sure you memorize the nickname, so you’ll know which hacks apply to your particular device.
Then find the Jailbreak for your particular device here and follow the relevant instructions. The Jailbreak process is not the same for all devices, so make sure to carefully follow them. For the K3, the jailbreak process is almost exactly the same as the standard update process. For the K4NT, you will need to do something different. Follow the instructions here.
Installing Necessary Packages
Congrats, you’ve now jailbroken your Kindle! Now we need to install the following packages:
MKK: prerequisite for KUAL, allows you to run custom Kindlets. You might not need to install this if you’re running a later device—take a look at the instructions to see. If the updates keep failing, make sure your device is registered with Amazon beforehand. It’s not listed as a requisite but that’s what fixed it for me.
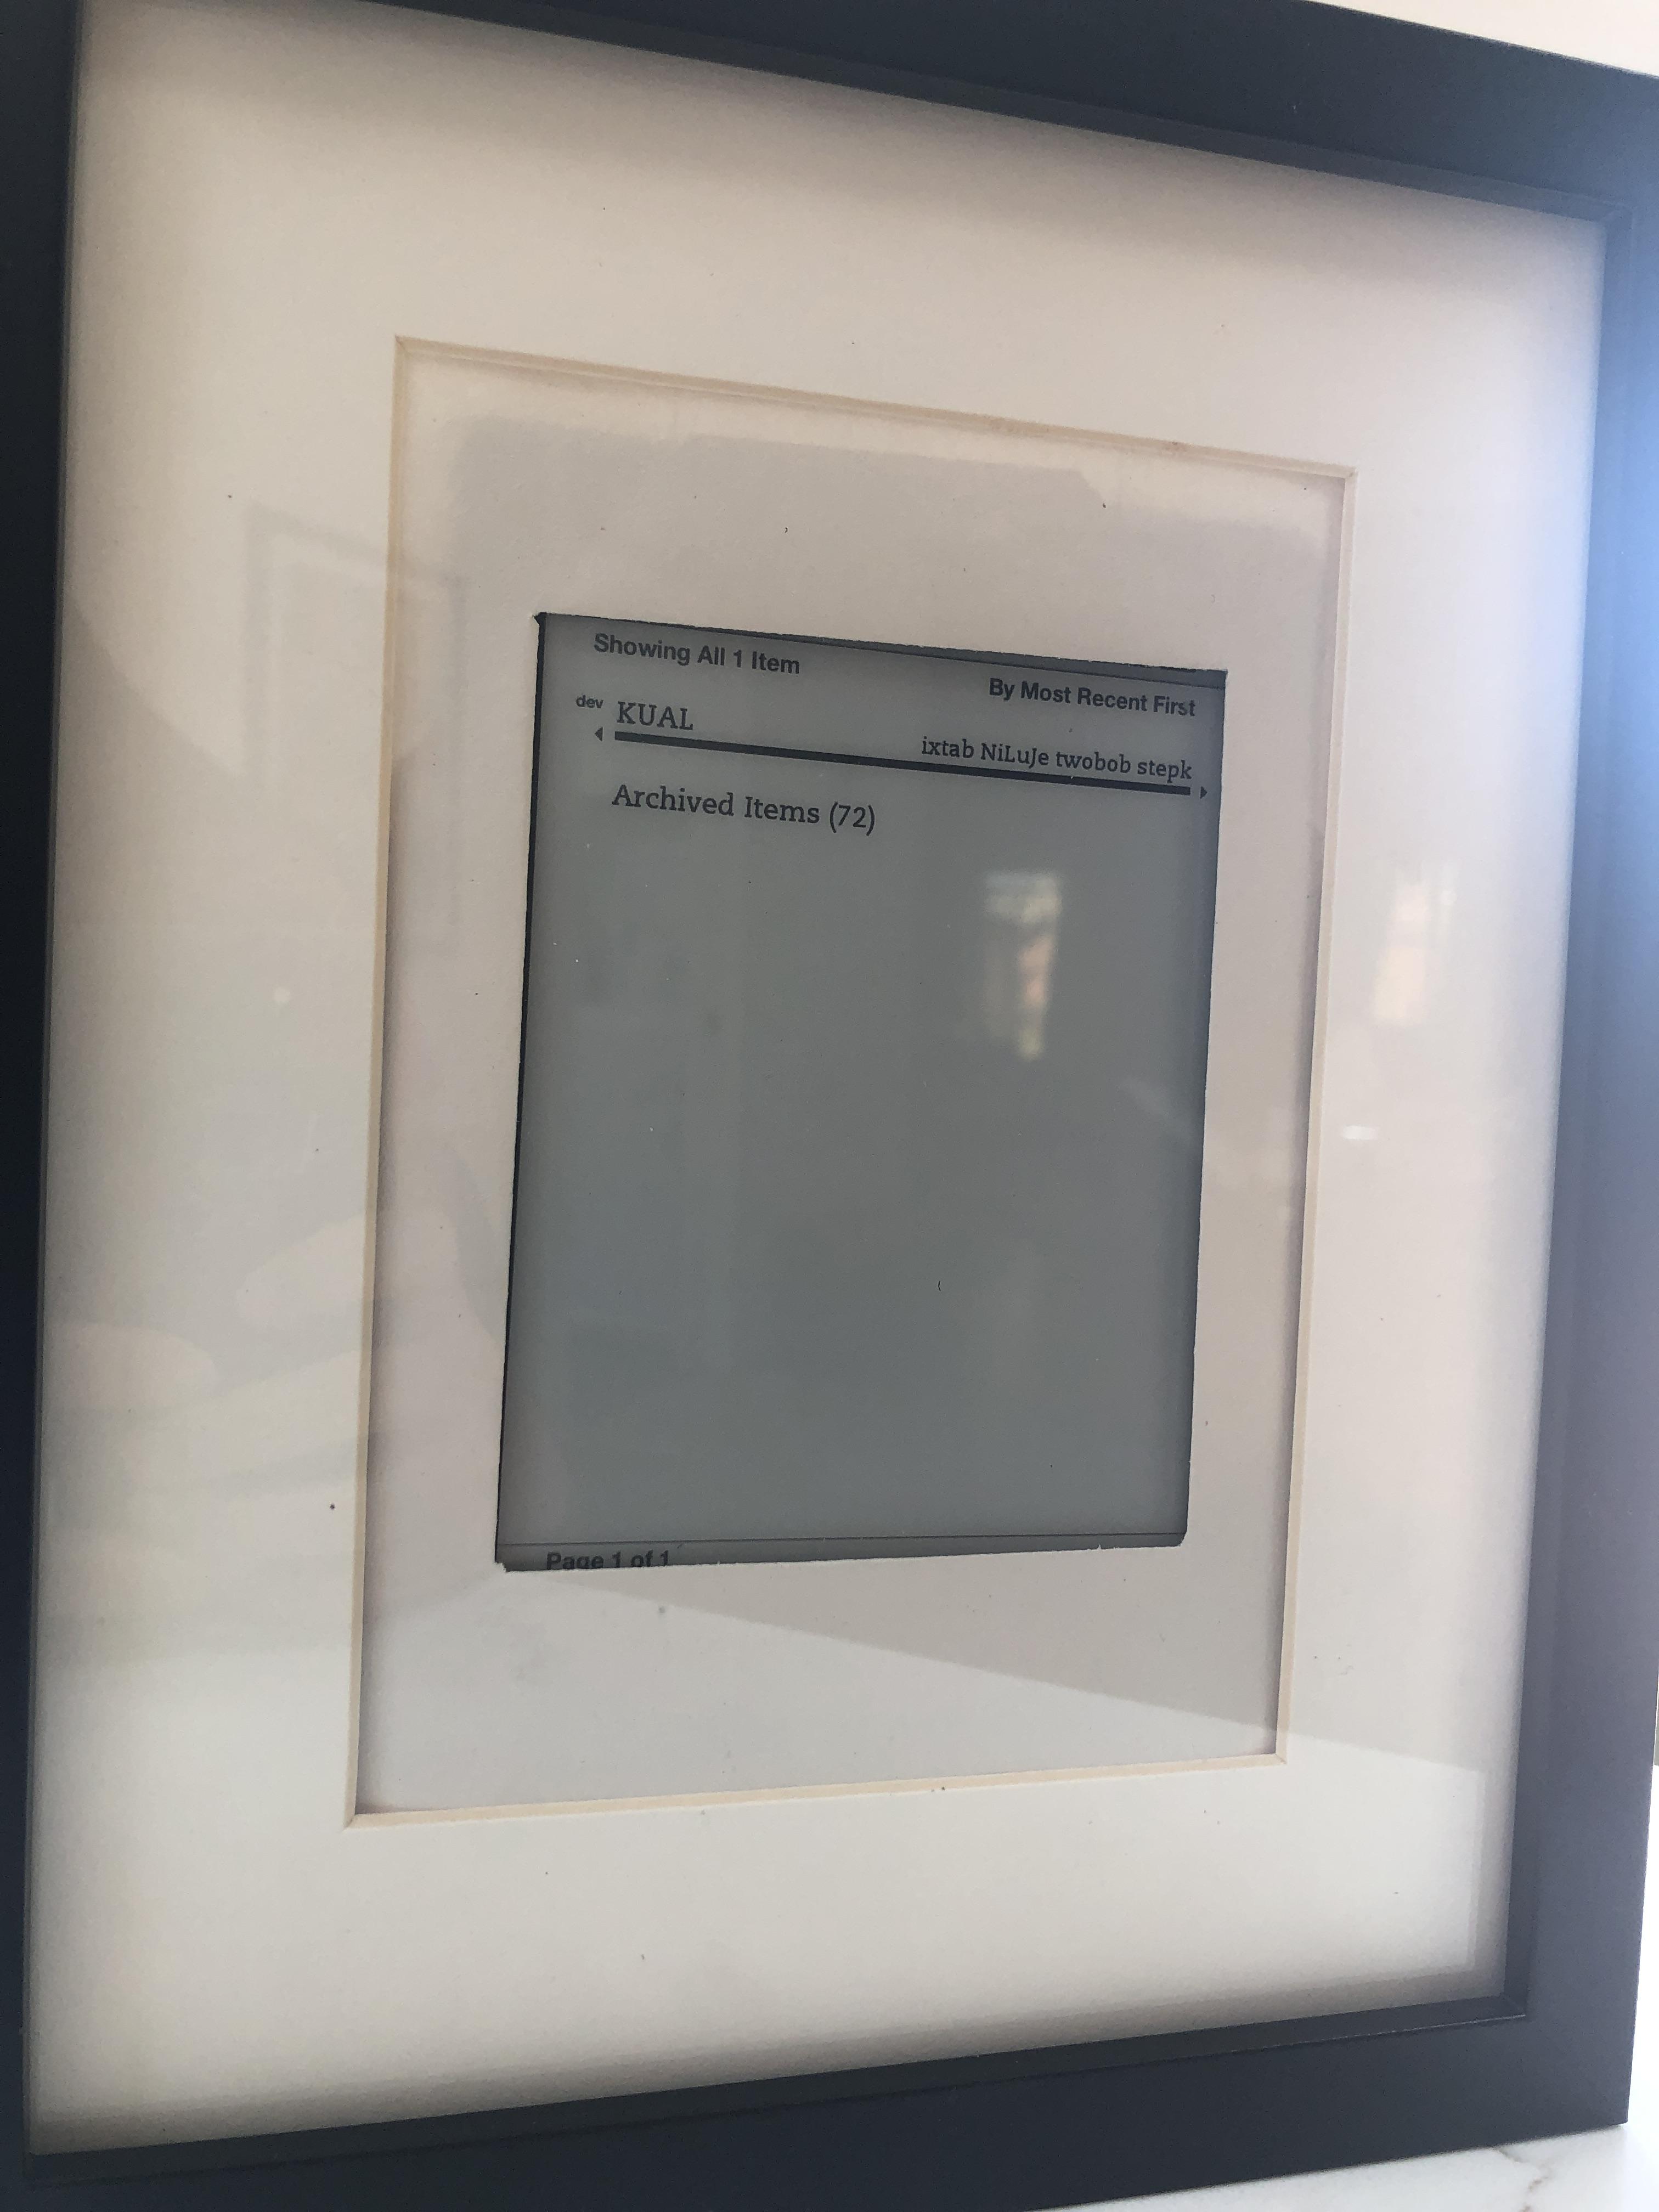
Kindle Unified Application Launcher (KUAL): allows us to do all kinds of things, but most important, 1) easily toggle USBNetwork and 2) easily start the videos. When you install KUAL, it’ll show up as a new item in your book list.
Both can be installed using the standard update process. And always read the README for each package before installing, and don't follow random commands until you're sure what they do (goes for this tutorial too)!
Now that you’ve got KUAL set up, install the Helper KUAL extension to easily prevent over-the-air updates and disable the screensaver. You’ll need to unzip the folder and drag and drop /extensions/helper to the root of your Kindle.
I should also note that I don’t deserve any of the credit for this—that would go to the mobileread users NiLuJe, TwoBob, knc1, geekmaster, and others.
Ssh-ing Into the Kindle
Now that you’ve Jailbroken and installed MKK and KUAL, it’s time to ssh into the Kindle. First install the USBNetwork hack using the standard updating process. The USBNetwork installation will automatically add an extension to KUAL.
Now, open KUAL > USB Network > and check the USBNet status. At the bottom of the screen, it should say “usbms, sshd down”—USBMS means that when you connect the Kindle to the computer, it’ll appear as a storage device.
Ensure your Kindle is not connected to a computer, then select the Toggle USBNetwork button to enable USBNet. Now if you check the status, it should say “usbnetwork, sshd up”. If you toggle it again, it’ll go back into USBMS mode.
Now, connect your Kindle to your computer. The Kindle should no longer appear as a storage device. Now follow the instructions in the README to ssh into it.
Here’s what I did on my Mac (it’ll be different on Windows/Linux):
On a Mac, I had to open System Preferences > Networks. The Kindle should show up as a RNDIS/Ethernet Gadget. If it doesn’t, you may need to install HORNDis (as of this writing, if you’re running Catalina, HORNDis does not have a compatible version, but I was able to get it installed by following the instructions on this issue). Now click the “Advanced” button in the bottom right and on the TCP/IP tab, change “Configure IPv4” to Manually. On a K3, set the IP address to 192.168.2.1. On a K4NT, set the IP address to 192.168.15.201. Don’t change anything else and click “Apply”. You will only need to do this once.
Now you should be able to ssh into the Kindle over usb. The IP address is not the same as the one you set in System Preferences.
On the K3:
root@192.168.2.2
On the K4NT:
ssh root@192.168.15.244
It’ll ask for a password: try a blank password or "mario". Both should work because the password should be disabled when you ssh over usb, but if neither work, you can calculate your Kindle’s password using the serial number here.
Once you’re in, check that it’s working by running `eips hello`. This will print ‘hello’ to the top left of the Kindle screen.
We'll want to set up ssh keys so we don’t have to enter the Kindle password every time we ssh over wifi.
On your computer, run
ls ~/.ssh
to check if you already have an SSH key generated. If not, run
ssh-keygen
Leaving it blank for no passphrase. Then move the public key over to the Kindle by running
scp ~/.ssh/id_rsa.pub root@_KINDLEIP_:/mnt/us/usbnet/etc/authorized_keys
and you'll be able to ssh into the Kindle over wifi without needing to enter the password.
Close your ssh session, disconnect your Kindle, go back to KUAL, open USB Network and toggle USB network, and check that it’s back in USBMS mode. Then go to the 2nd page of the USB network extension and select “Allow ssh over wifi”, and then go back to the first page and enable USB network again. Reconnect your Kindle & ssh into it as before, then run `ifconfig`. If your Kindle is connected to wifi, you should see an IP address next to wlan0. Copy that down—that’s its IP address on your local wifi network—then close the session and disconnect the Kindle. You should now be able to ssh into the Kindle over that IP address (using root, as before).
Your ssh connection will not drop as long as it’s Active, Screen Saver, or Ready to Suspend mode (see this post for more details). If you can’t ssh into your Kindle, make sure that
- You’re on the same wifi network (I know it’s obvious, but yes that’s happened to me before)
- You’re in active mode (just press the power button to turn it on)
- ssh-ing over wifi is enabled in KUAL
- Usbnetwork is enabled.
Installing the Videos Extension and Showing a Video
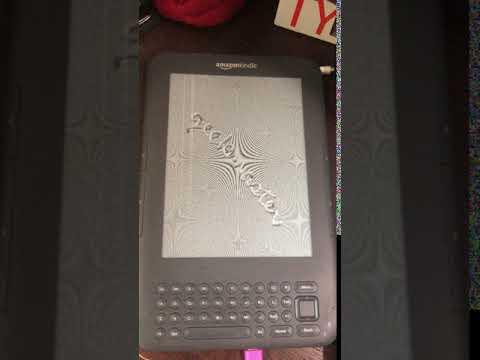
Now that you’re able to ssh, it’s time to install the Kindle Video Player extension, developed by geekmaster. First, download the Videos-KUAL-EXTENSION.zip file, which contains the KUAL extension, the video player, and an example video (gmvid.gmv.gz). In USBMS mode, drag and drop the Videos folder into the `extensions/` folder at the root of your Kindle (you created this earlier when you installed the Helper extension).
This adds the KUAL extension for Videos, but I’ve never been able to get it to work, so we need to run the video player from the terminal. Eject the Kindle, go to USBNetwork mode and ssh into the kindle, then run:
zcat -f mnt/us/extensions/videos/gmvid.gmv.gz|mnt/us/extensions/videos/gmplay
You can let the video run until it’s done (about 40 seconds) and it’ll automatically quit, or stop the video with Ctrl-C.
Generating Our Own Videos
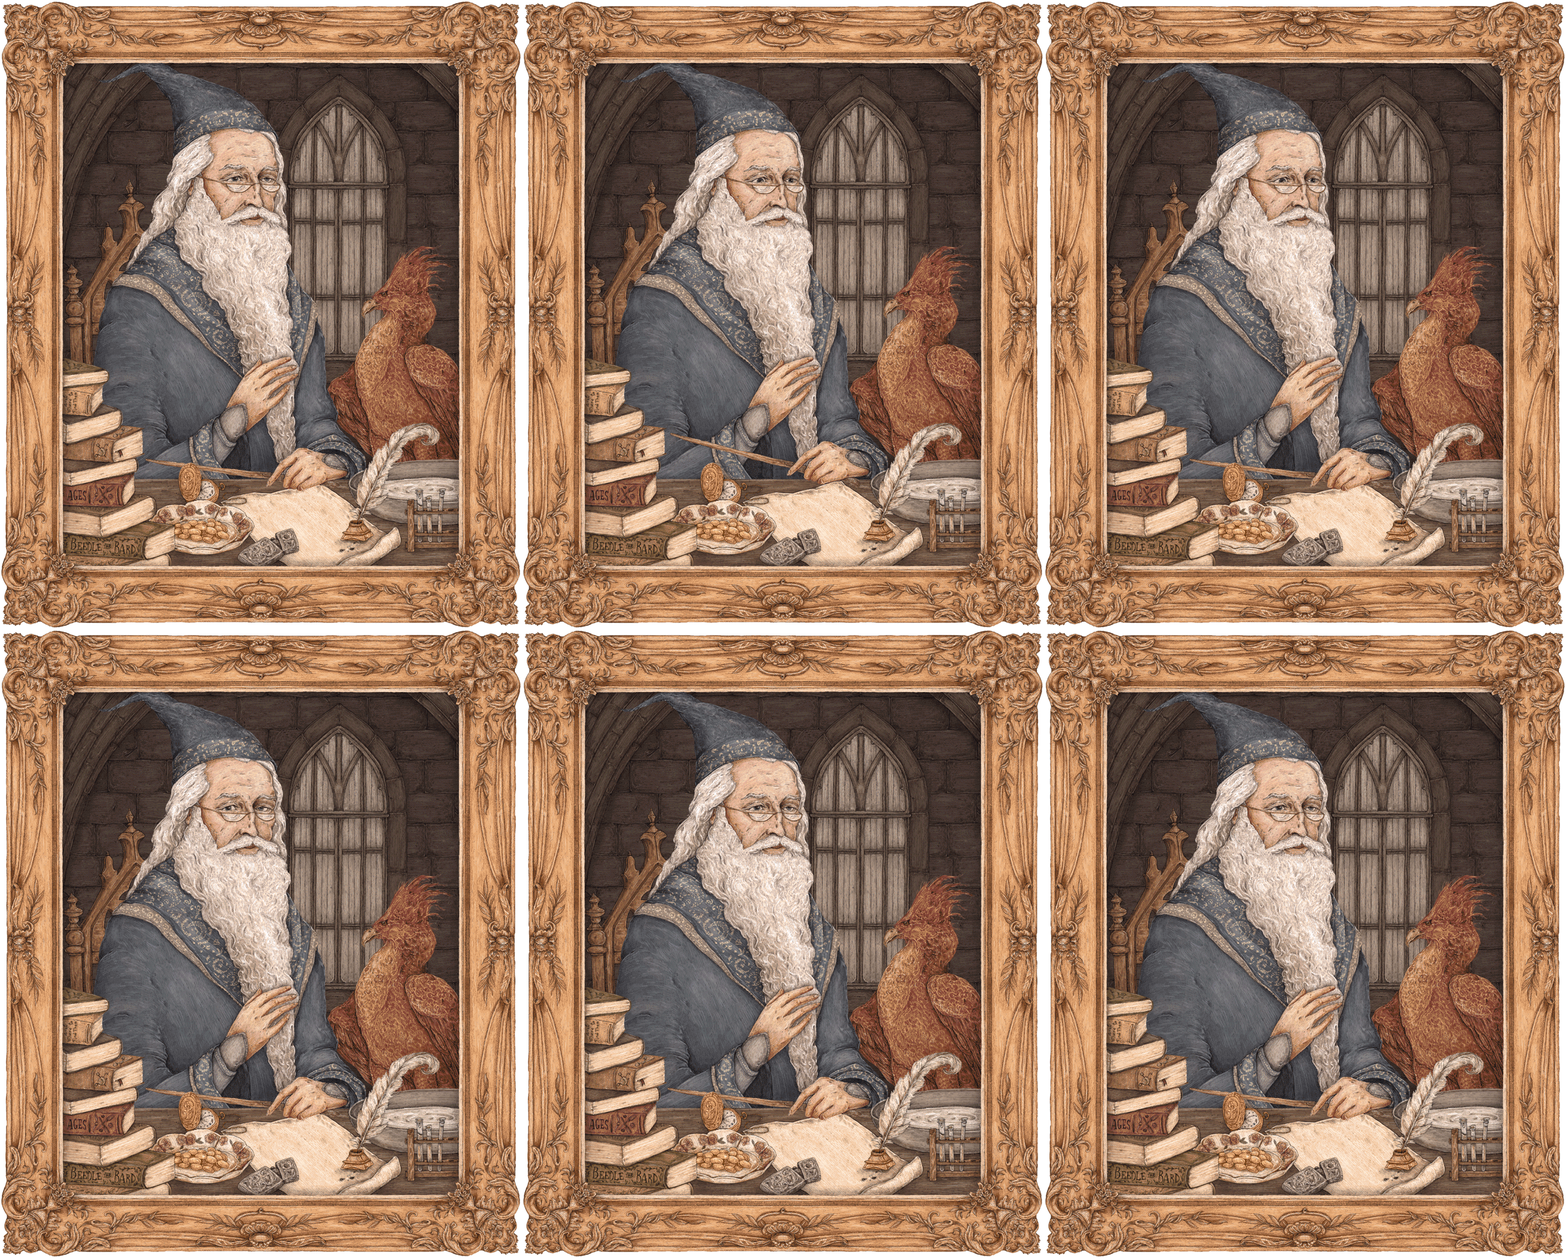
Now that we’ve successfully ran a video on the Kindle, we want to use our own video. There's a gif of Dumbledore and Fawkes sitting in his office from this Wizarding World article that looks really good, but the video player only accepts .gmv.gz files, so we need to convert the .gif into a readable format.
I’ve attached the file, so feel free to skip this conversion section if you just want to download the file.
First, on your computer, download the gif and convert the .gif to a .mp4 with ffmpeg (can be installed with Homebrew, otherwise see here for installation instructions):
ffmpeg -i animated.gif -movflags faststart -pix_fmt yuv420p -vf "scale=trunc(iw/2)*2:trunc(ih/2)*2" animated.mp4
Then, rotate the video sideways (so Dumbledore’s head is to the left) and crop animated.mp4 to 800x600 (the resolution for most Kindles) using EZGif. This could be done with ffmpeg, but it’s easier to see how it’s going to turn out with a GUI. Save the new video file as cropped.mp4.
*Why rotate sideways? The raw2gmv only accepts video that is 800x600, and is rotated to 600x800 during conversion.
I played around with adding a white border around the video, but ultimately decided fullscreen was best. However, if you want to add a border, here’s how you’d add a white 200px border on the sides and 150 px border to the top:
ffmpeg -i cropped.mp4 -filter_complex "[0]pad=w=400+iw:h=300+ih:x=200:y=150:color=white" border.mp4
Note: the value for x needs to be half of w, and the value for y needs to be half of h.
This will add a border, but the video is now 900x1200. Scale it down to 600x800 like so:ffmpeg -i border.mp4 -vf scale=800:600 cropped.mp4 # this overwrites the old cropped.mp4 video
Now you have a .mp4 video with 600x800 resolution. Now we’re going to loop the video a few times to make it longer.
ffmpeg -stream_loop 20 -i cropped.mp4 -c copy looped.mp4 # adjust number of loops if you wantIf this doesn’t work, it probably has to do with ffmpeg having a bug with looping .mp4 files. Try converting it to .mkv first, then looping it:
ffmpeg -i cropped.mp4 -c copy cropped.mkv
ffmpeg -stream_loop 20 -i cropped.mkv -c copy looped.mp4
Finally, we need to convert the file to gmv. Thankfully, geekmaster has us covered here too, and wrote a transcoder to convert raw 800x600 video into a 600x800 video in .gmv format. You can grab the transcoder download and compile it into a C executable yourself (Instructables wouldn't let me upload the actual executable):
gcc raw2gmv.c -o raw2gmv
The following command turns `looped.mp4` into raw video, with gray pixel format, then pipes it into the .gmv file format using raw2gmv. Make sure to change "/path/to/raw2gmv" to wherever you put the raw2gmv executable.
Note: this will only work if your video is truly 600x800. Also, if your kindle resolution is not 600x800 (you can check by looking up the specs on Amazon), you’ll want to edit raw2gmv and crop your videos accordingly.
ffmpeg -i looped.mp4 -pix_fmt gray -f rawvideo -| /path/to/raw2gmv >output_video_file.gmvFinally, gzip the video and you have the .gmv.gz video!
gzip output_video_file.gmz
I recommend renaming the output_video_file.gmz.gv to something more descriptive. I’ve renamed it dumbledore.gmv.gz, which is attached below.
Playing Our Own Videos

Now that you’ve either followed along with the conversion steps or just downloaded the resulting file, it’s time to play it. In usbms mode, drag and drop dumbledore.gmv.gz to /extensions/videos/. Alternatively, you can scp it over:
scp dumbledore.gmv.gz root@_KINDLE_IP_:/mnt/us/extensions/videosThen ssh into your Kindle and run
zcat /mnt/us/extensions/videos/dumbledore.gmv.gz|/mnt/us/extensions/videos/gmplay
If all went well, you should now see Dumbledore’s animated portrait on your screen!
Looping the Video Forever
while true; do
       zcat /mnt/us/extensions/videos/$1.gmv.gz|/mnt/us/extensions/videos/gmplay
done
The $1 variable means that to play a video, we need to pass in the name of the file when we run it, like so: /mnt/us/extensions/videos/loopvideo.sh dumbledore(So if you end up adding more videos, you can simply specify the name of the video) Stop the video with Ctrl-C.
Looping the Video Forever, for Real This Time.
A quick digression into Kindle power states:
- Active: runs for 10 minutes from first pressing the power button
- Screen Saver: runs for 60 seconds after pressing the power button from the Active state)
- Ready to Suspend: 5 seconds after screensaver
- Suspend: low battery mode. Your Kindle can stay in this mode for months before the battery dies, and that’s because almost nothing is running (including cron jobs).
Because the video extension will NOT run in suspend state, we want to prevent the Kindle from turning off entirely by going to KUAL > Helper > Prevent Screensaver.
Finally, we can run/mnt/us/extensions/videos/loopvideo.sh dumbledore &
The & keeps the script running in the background, so the videos will play forever, or until you stop the process:
pkill -f loopvideoIf this doesn’t work, then just do:
ps aux | grep 'sh'
and find the PID for loopvideo.sh, then kill it manually.
Note: yes, this means that you won’t be able to use the Kindle for reading. But if you were going to hang it up on the wall, did you really want to do that in the first place?
Customizing the Frame
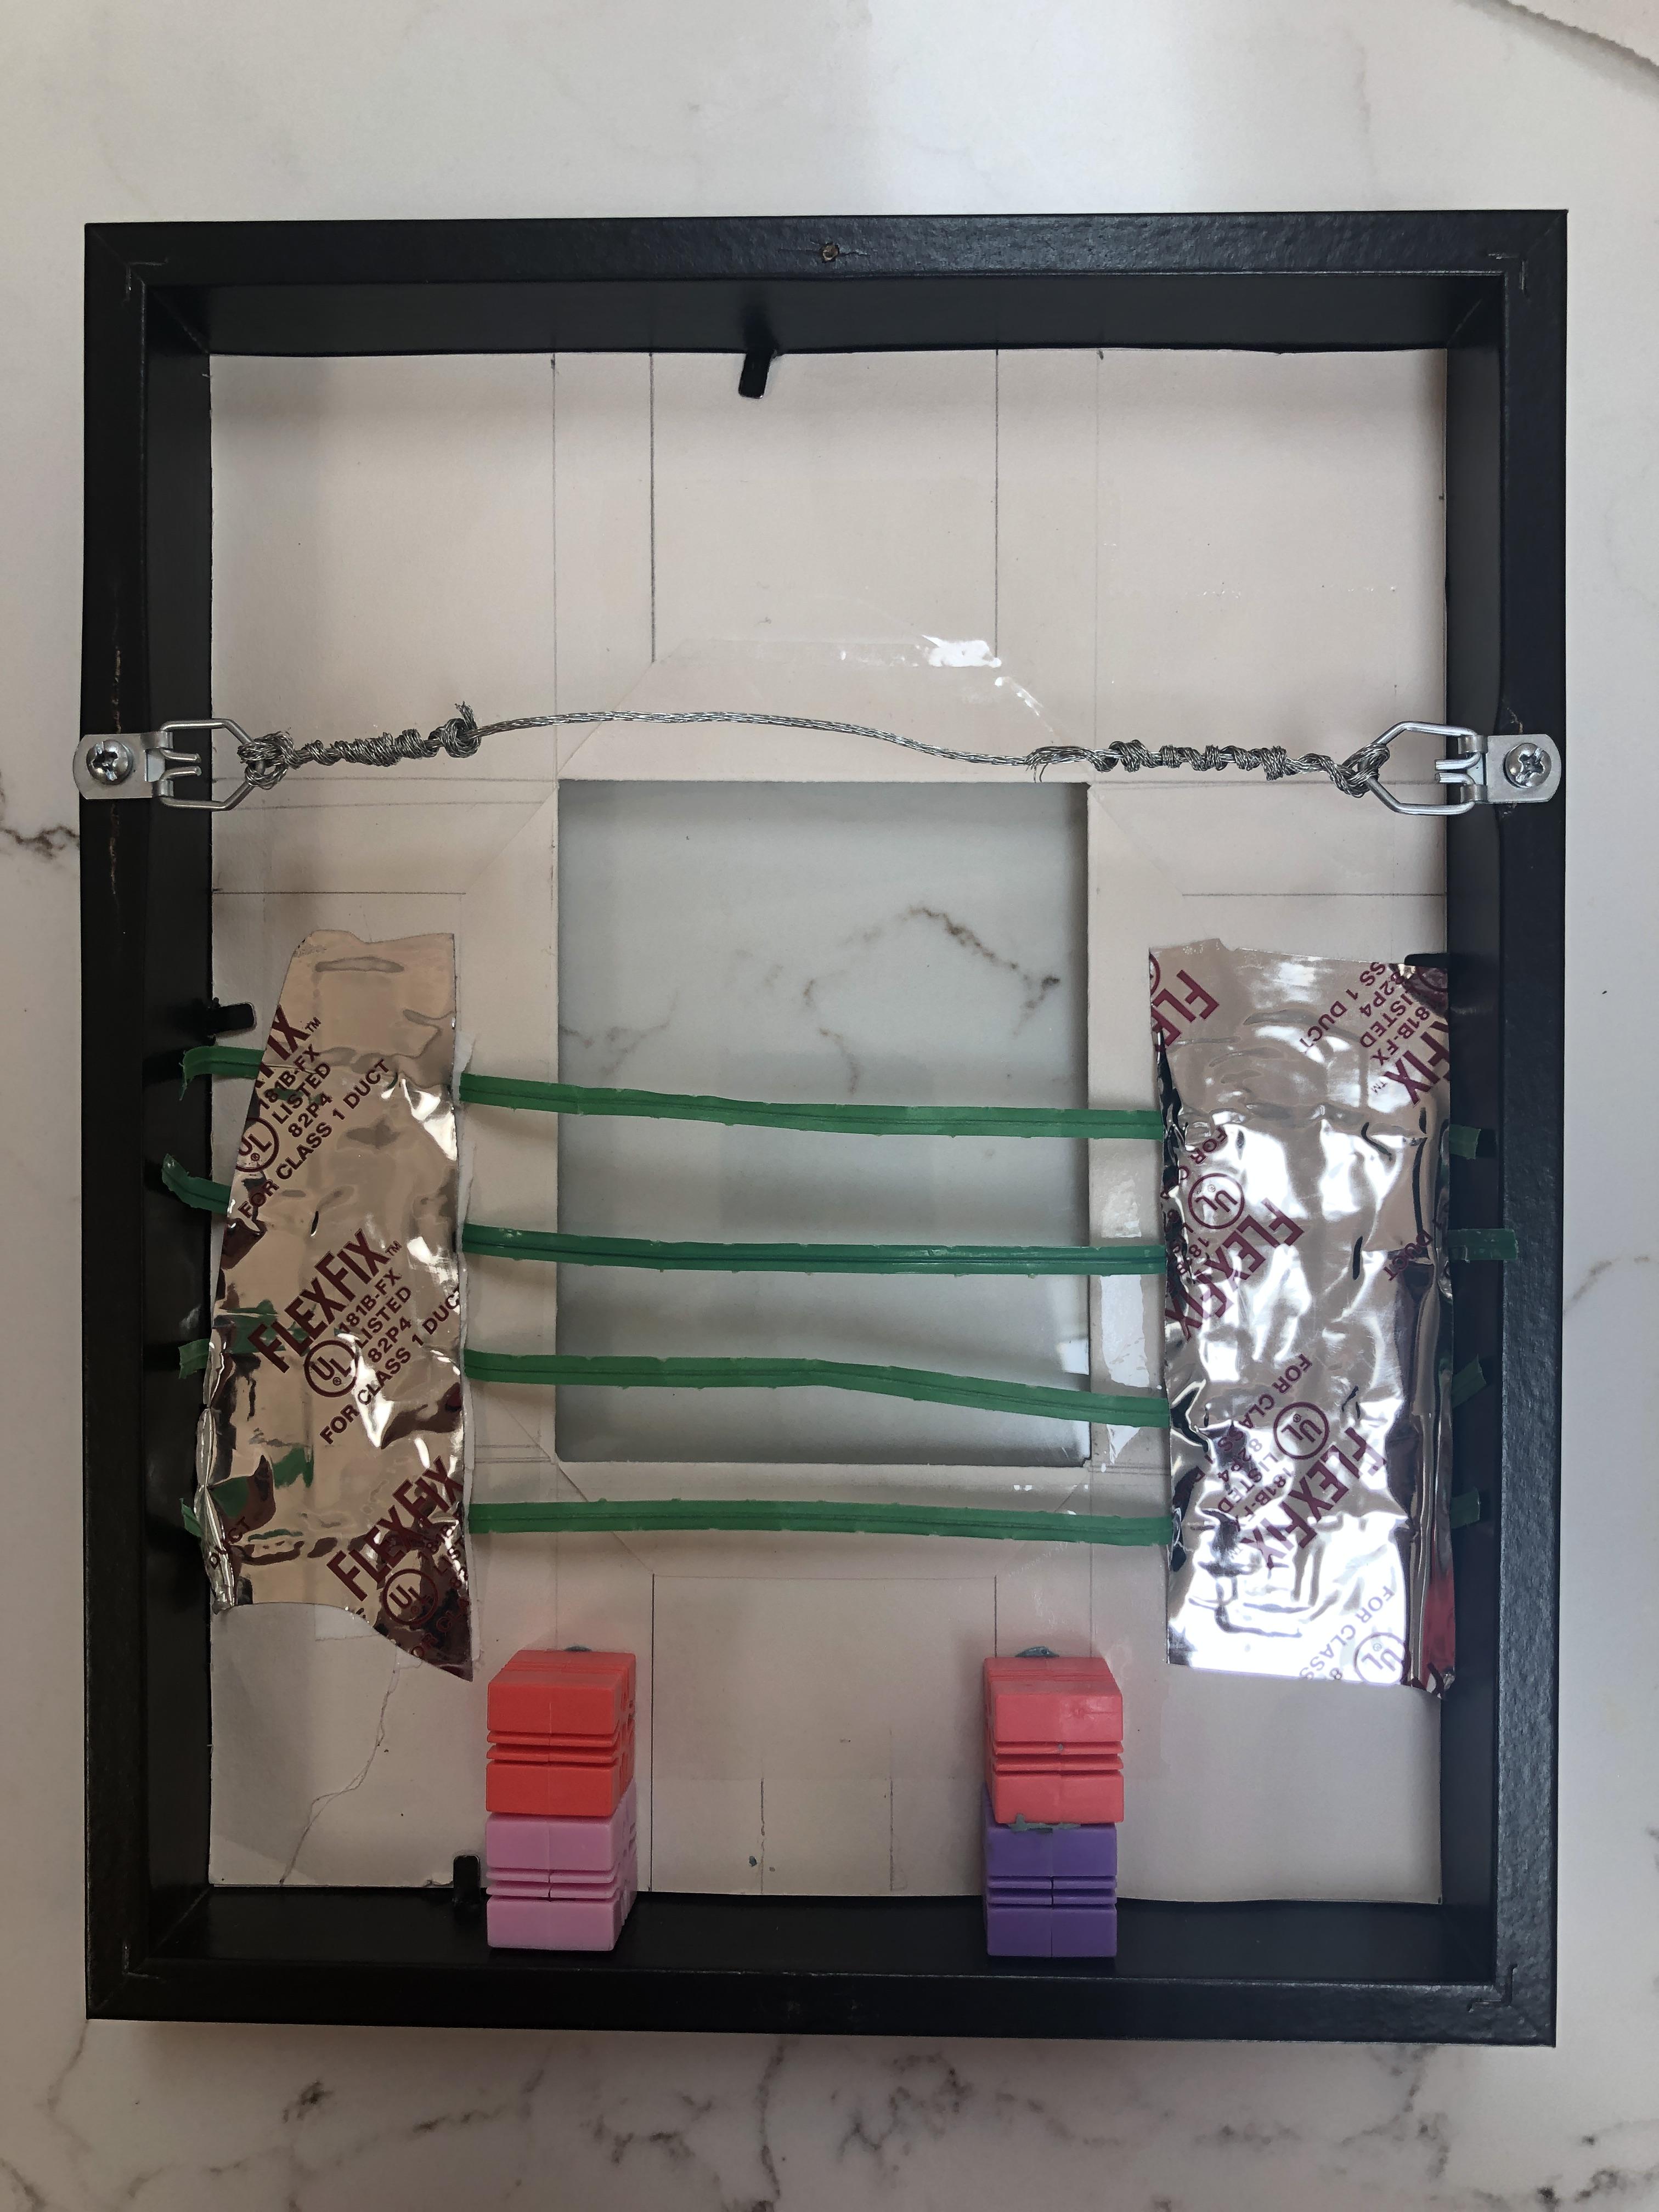
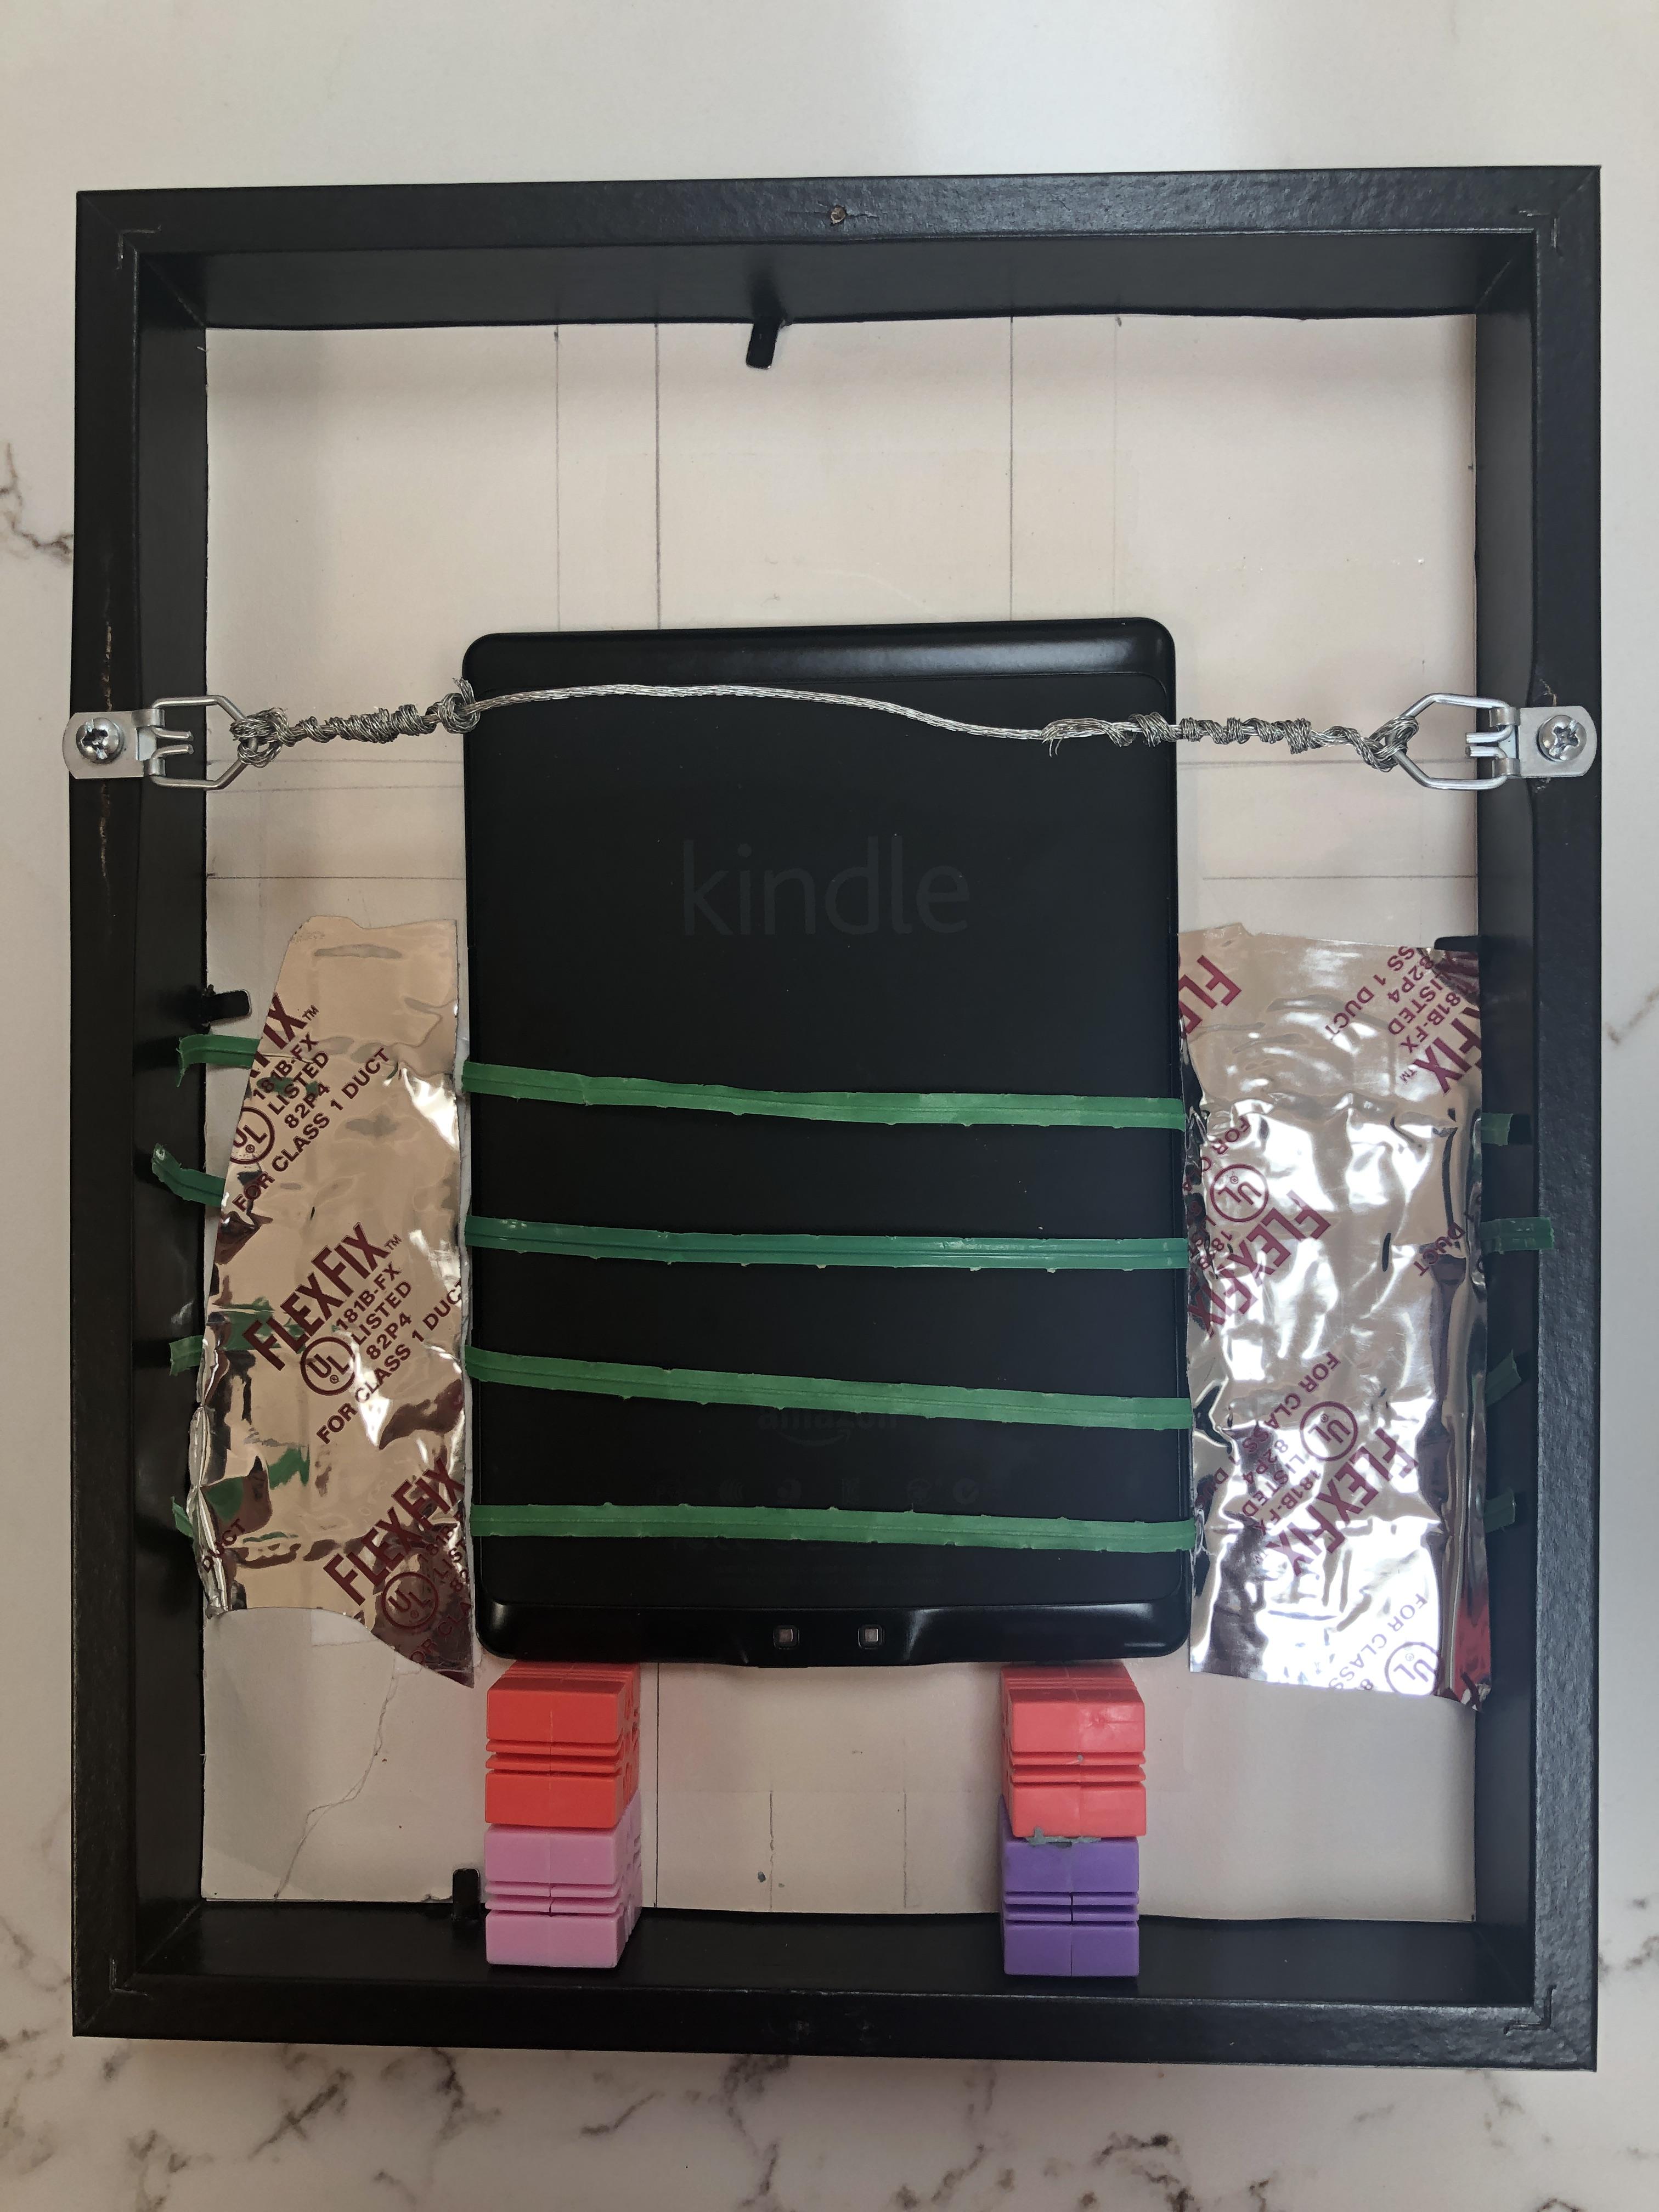
Now that we have the Kindle doing what we want, we just need to put it in a nice frame.
I didn’t have enough woodwork experience to build a custom frame, but I had an unused cheap 8x10 RIBBA frame from IKEA, so I was willing to mess around with it. Any frame with a depth larger than the Kindle’s depth will do.
The frame came with a matte, but it didn’t fit the Kindle’s size, so I took a piece of off-white construction paper and cut a rectangular Kindle-screen-shaped hole into it, then taped it to the matte.
Here comes the super hacky part: I wanted the Kindle to both stay flush with the frame, and be easily removable. I’m sure there’s a much better and sturdier way to do this, but here’s what I did:
- I took these weird colorful blocks that were lying around the house and museum putty-ed them to the bottom of the frame, leaving space for the power button and charging port. They were the right size and aligned the Kindle perfectly with the matte. I won’t link them here because you definitely should not buy them just for this project, and because you probably can find something in your house that works.
- Putting the Kindle on top of the blocks, I stretched some spare grocery zip-ties and taped them to the matte using duct tape. This keeps the Kindle flat against the matte, but still able to be slid in and out of the frame.
Hanging It Up
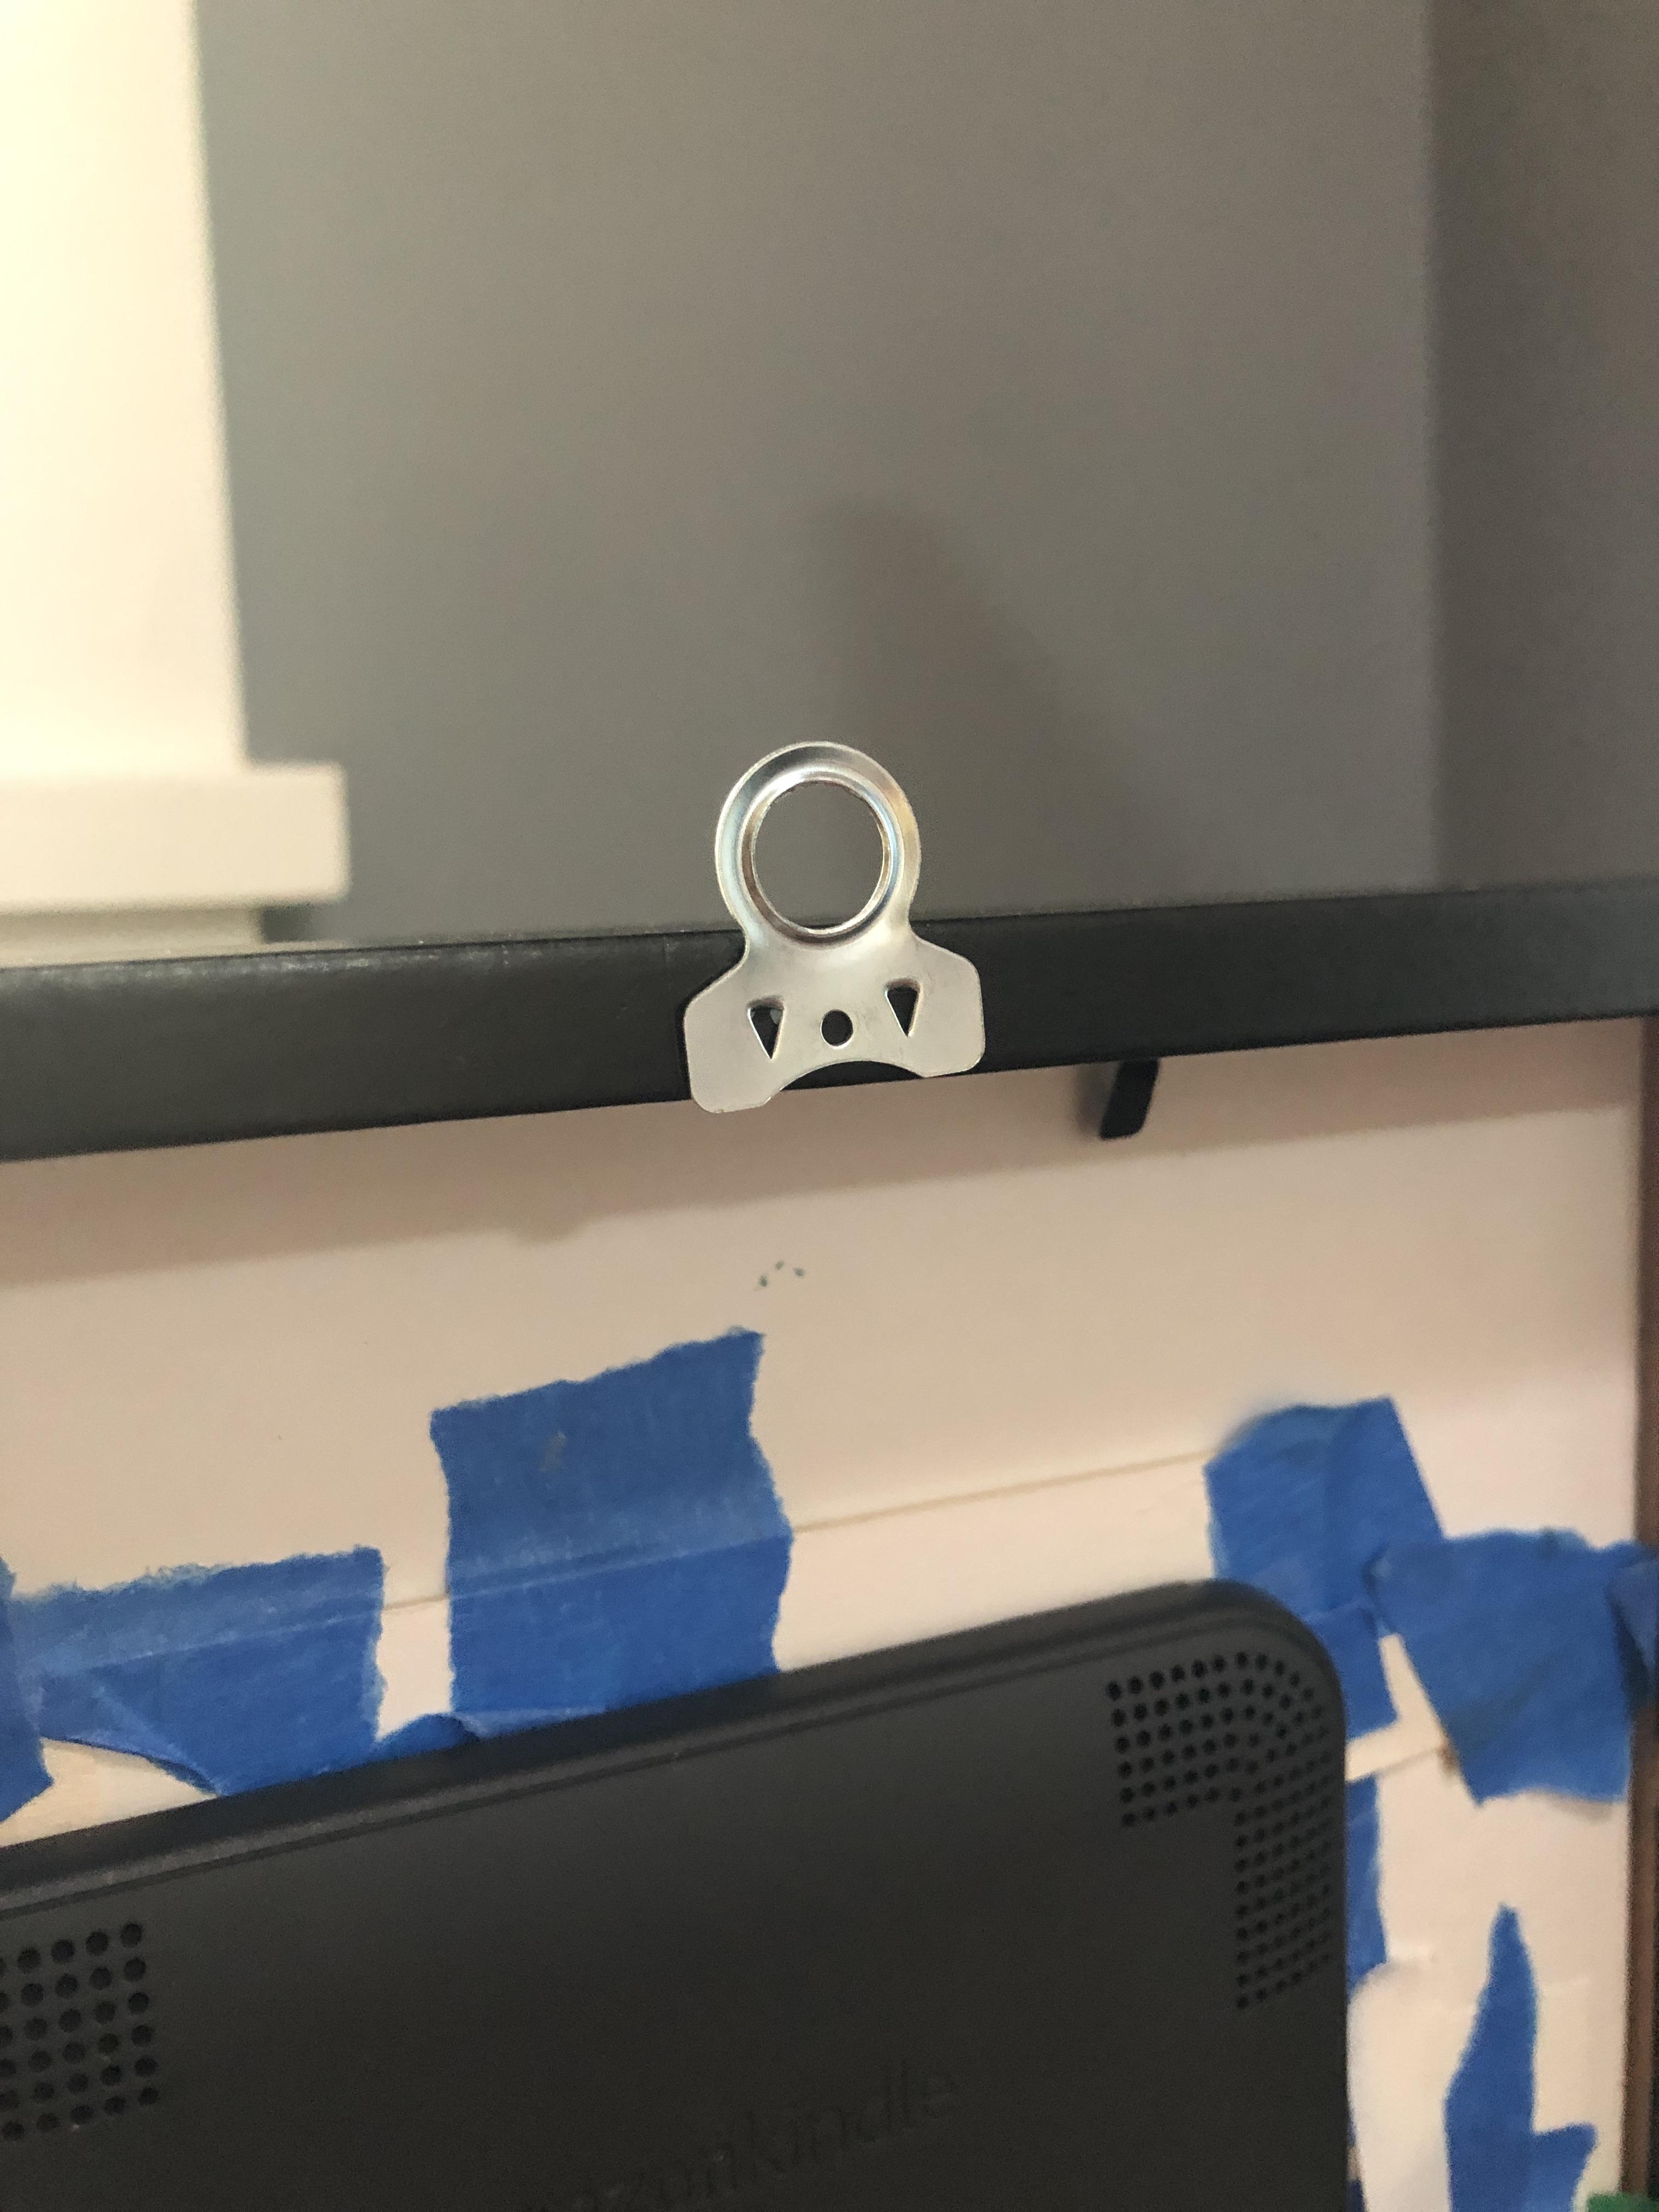
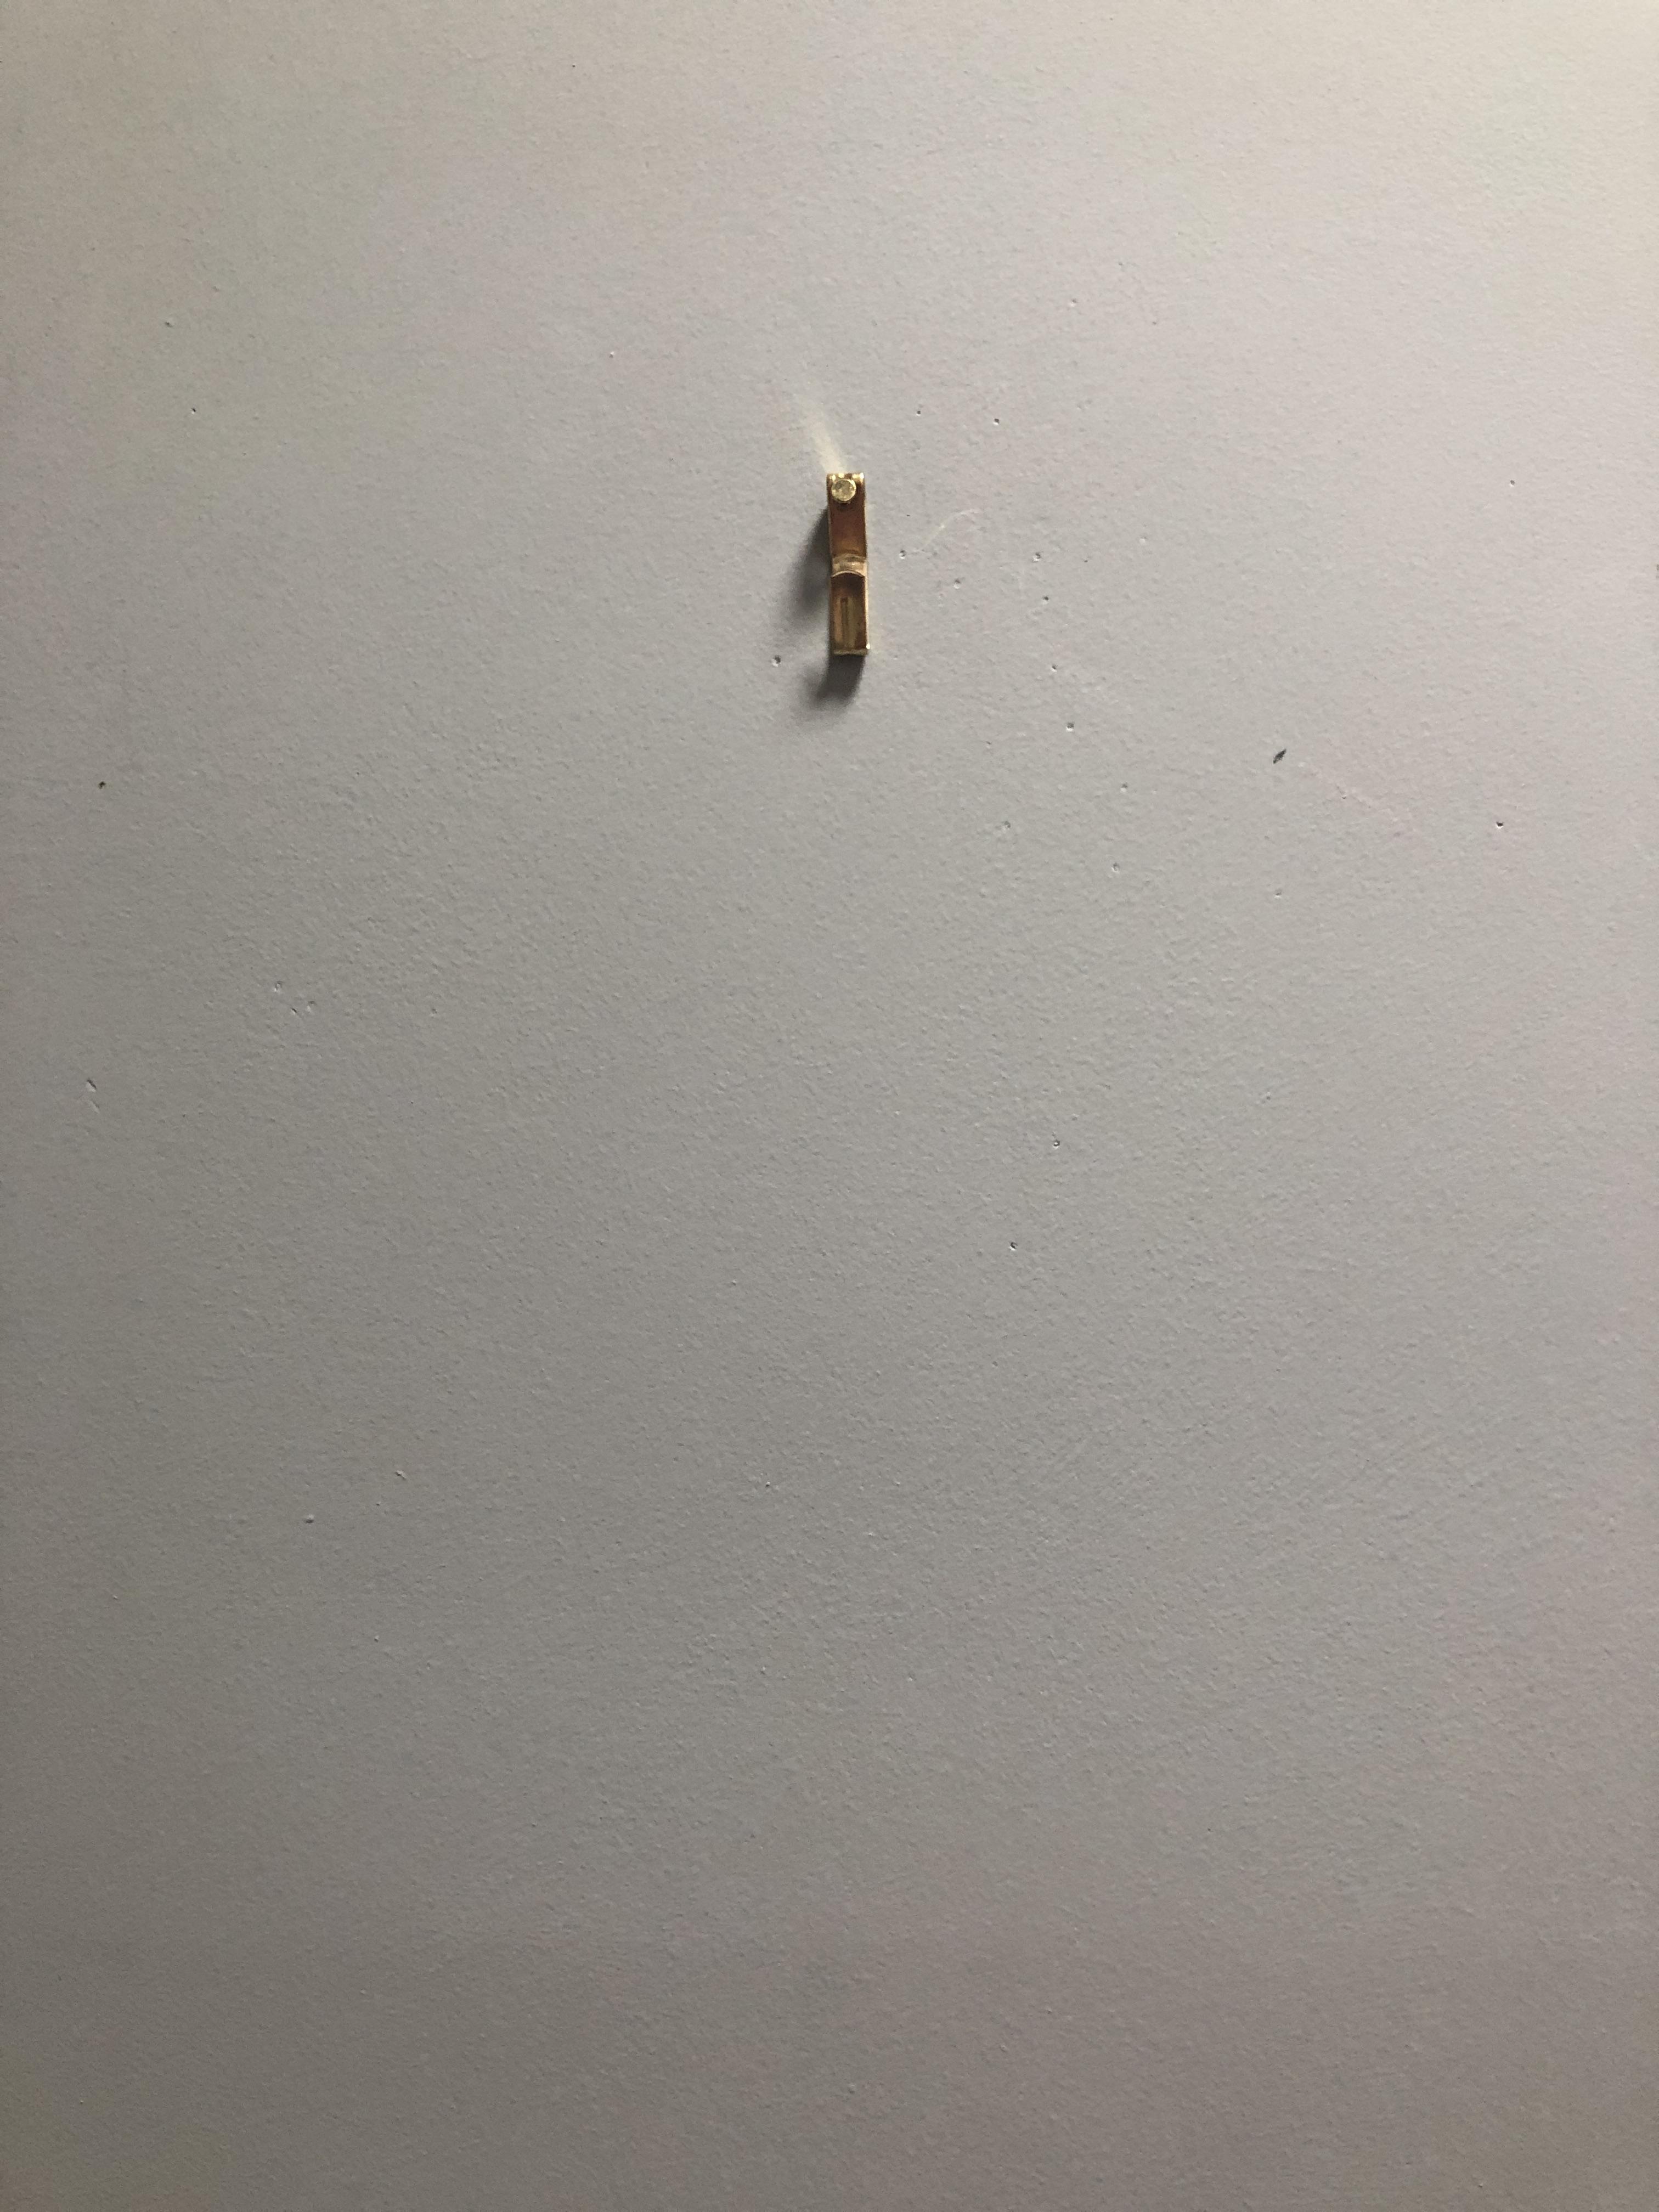
Finally, I added a picture frame wire, nailed in a picture frame hook, and voilà—the end result!
Alternatively, instead of the wire, you can attach a hanger to the top of the frame, and hang it that way—I did this in a previous iteration. However, I like the effect the wire creates with the hook not being visible, so it’s up to you.
All Was Well
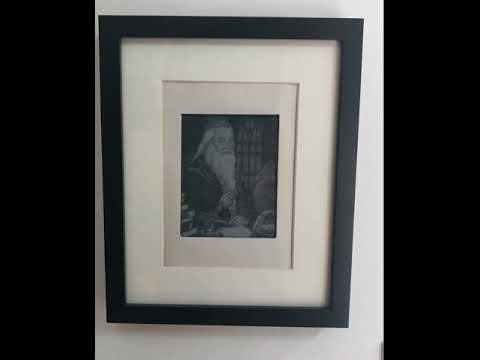
The portrait looks extremely cool, and the Kindle screen turned out better than I thought.
Here are some things I hope to do in v2:
- Having the video play all the time definitely drains the battery. One might be able to save power by disabling it during certain times of day, e.g. midnight to 5am.
- Run loopvideo.sh automatically when the Kindle reboots. Unfortunately, /etc/upstart is missing on the K3 and K4, but I’m looking into Kite as an alternative.
- A warning for when the battery is at 5%.
- Getting the KUAL extension to work therefore run the video without needing to ssh.
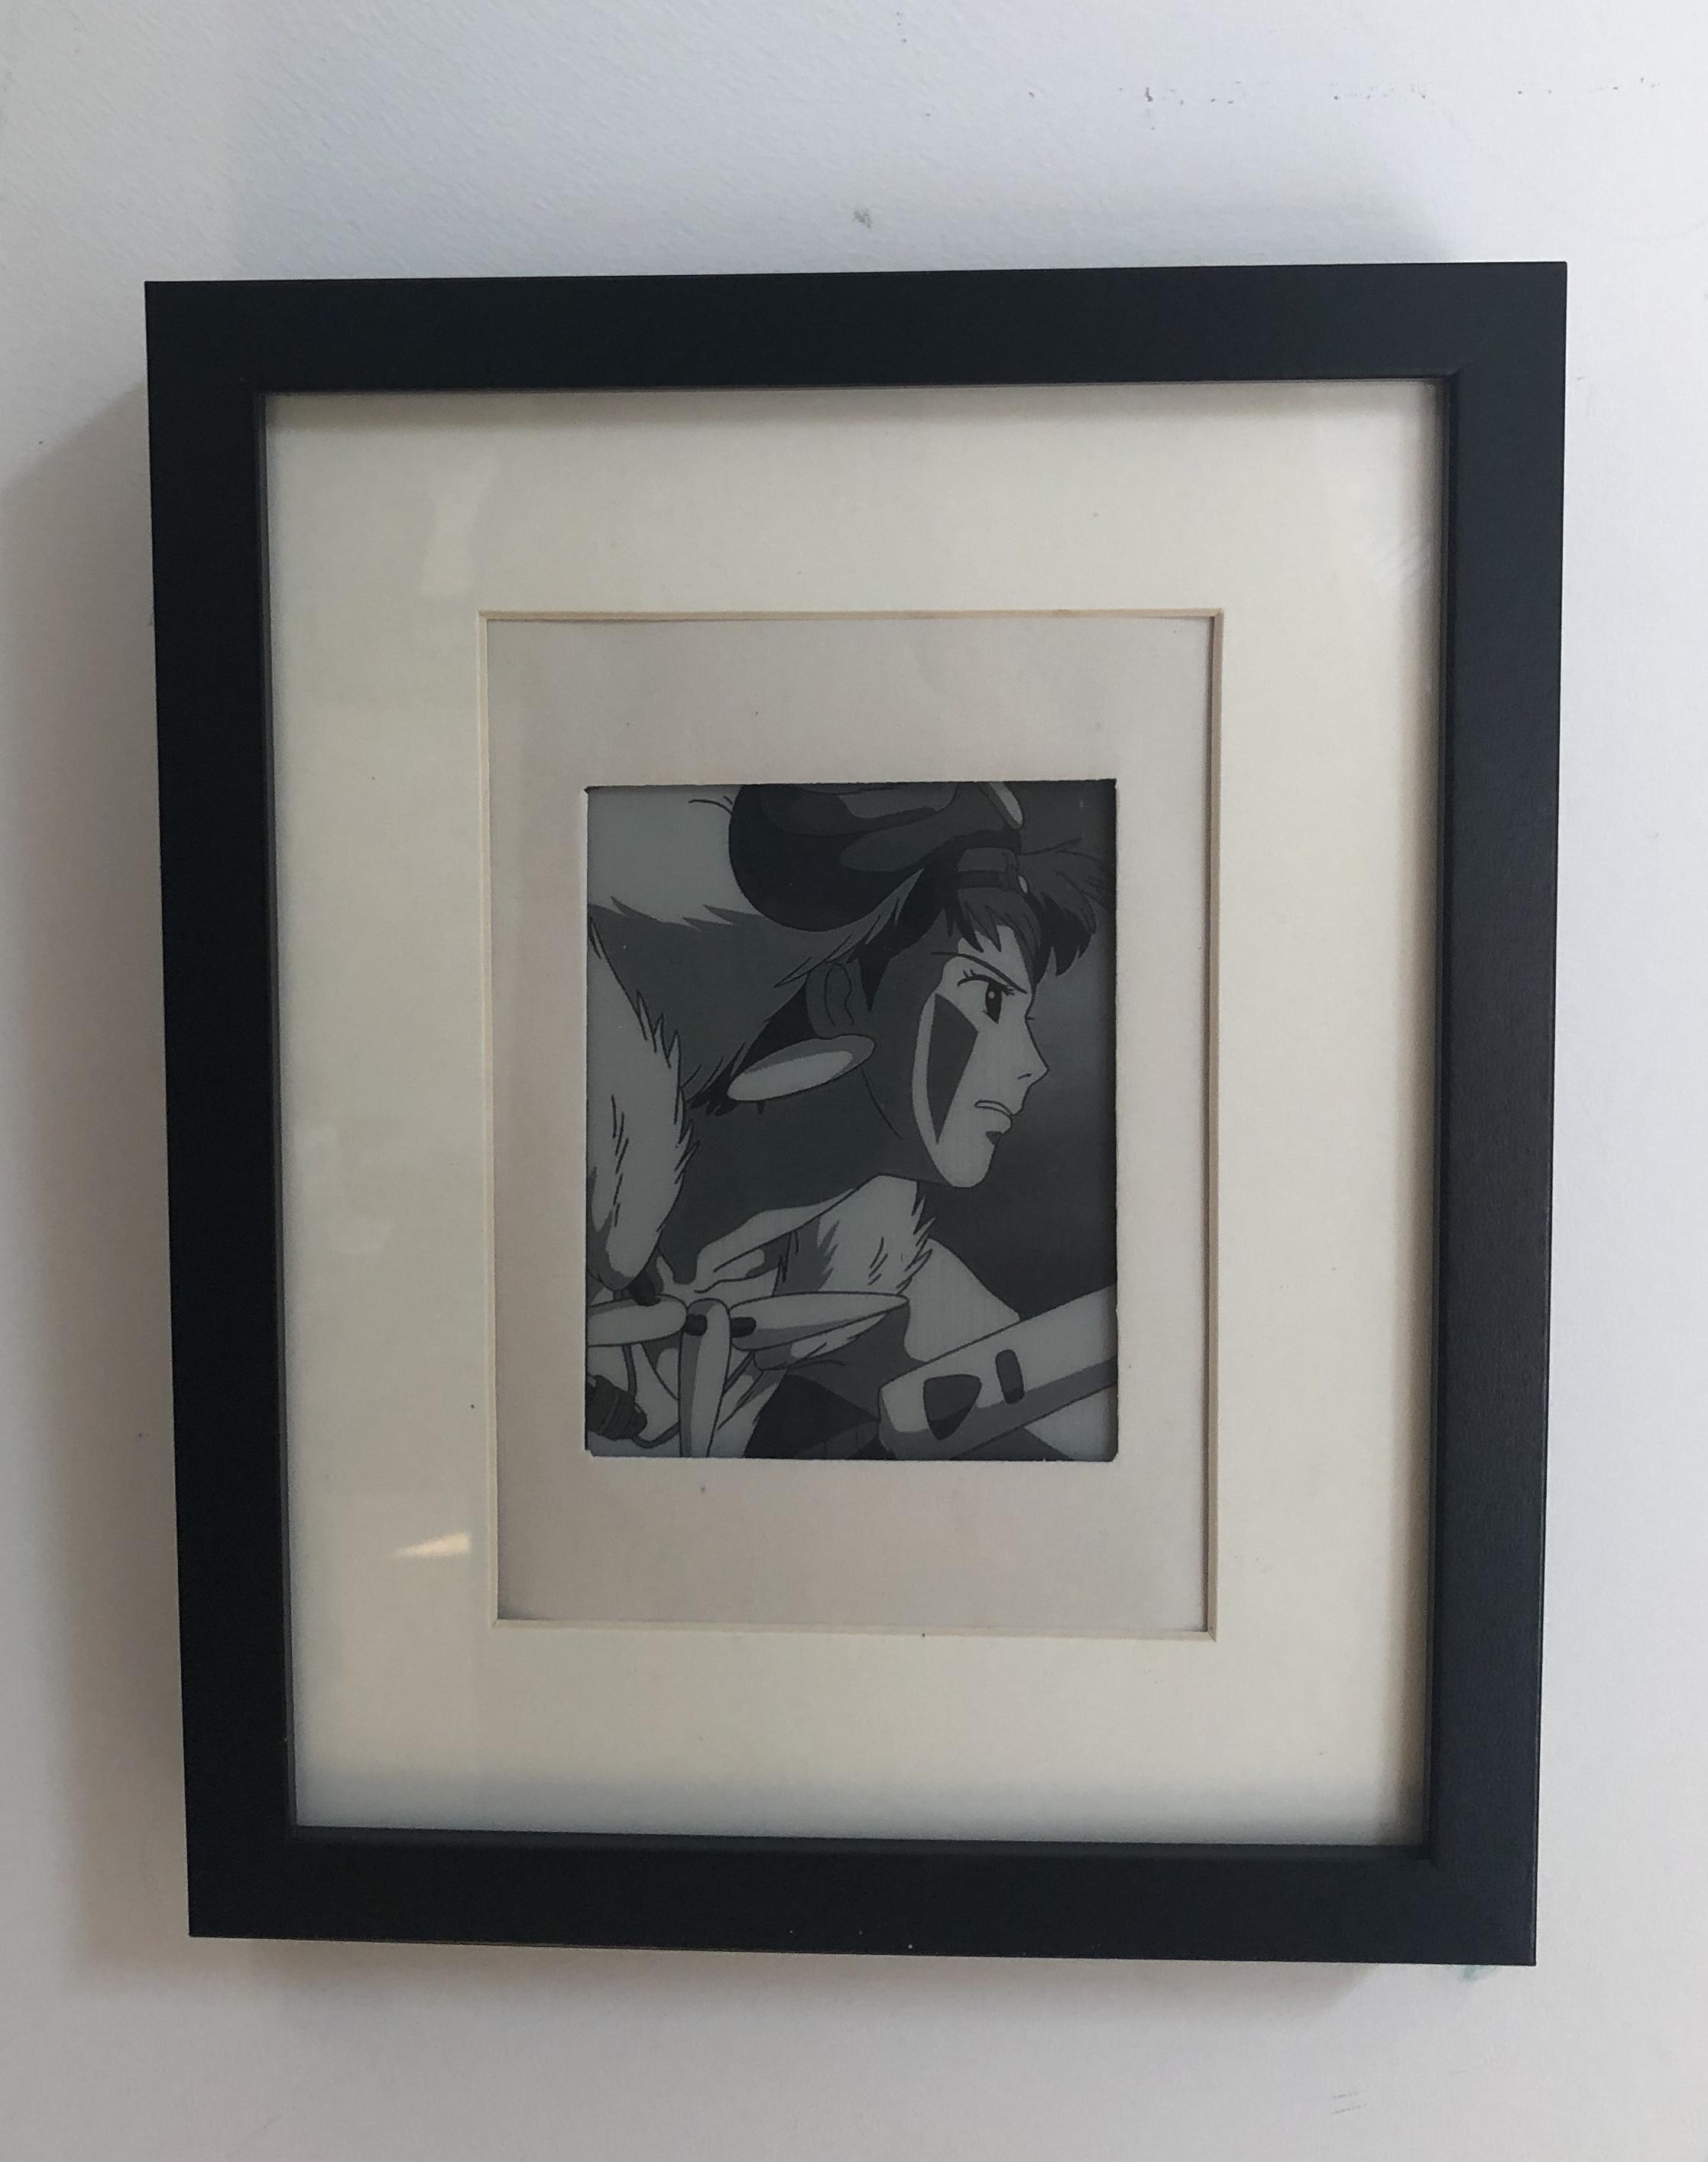
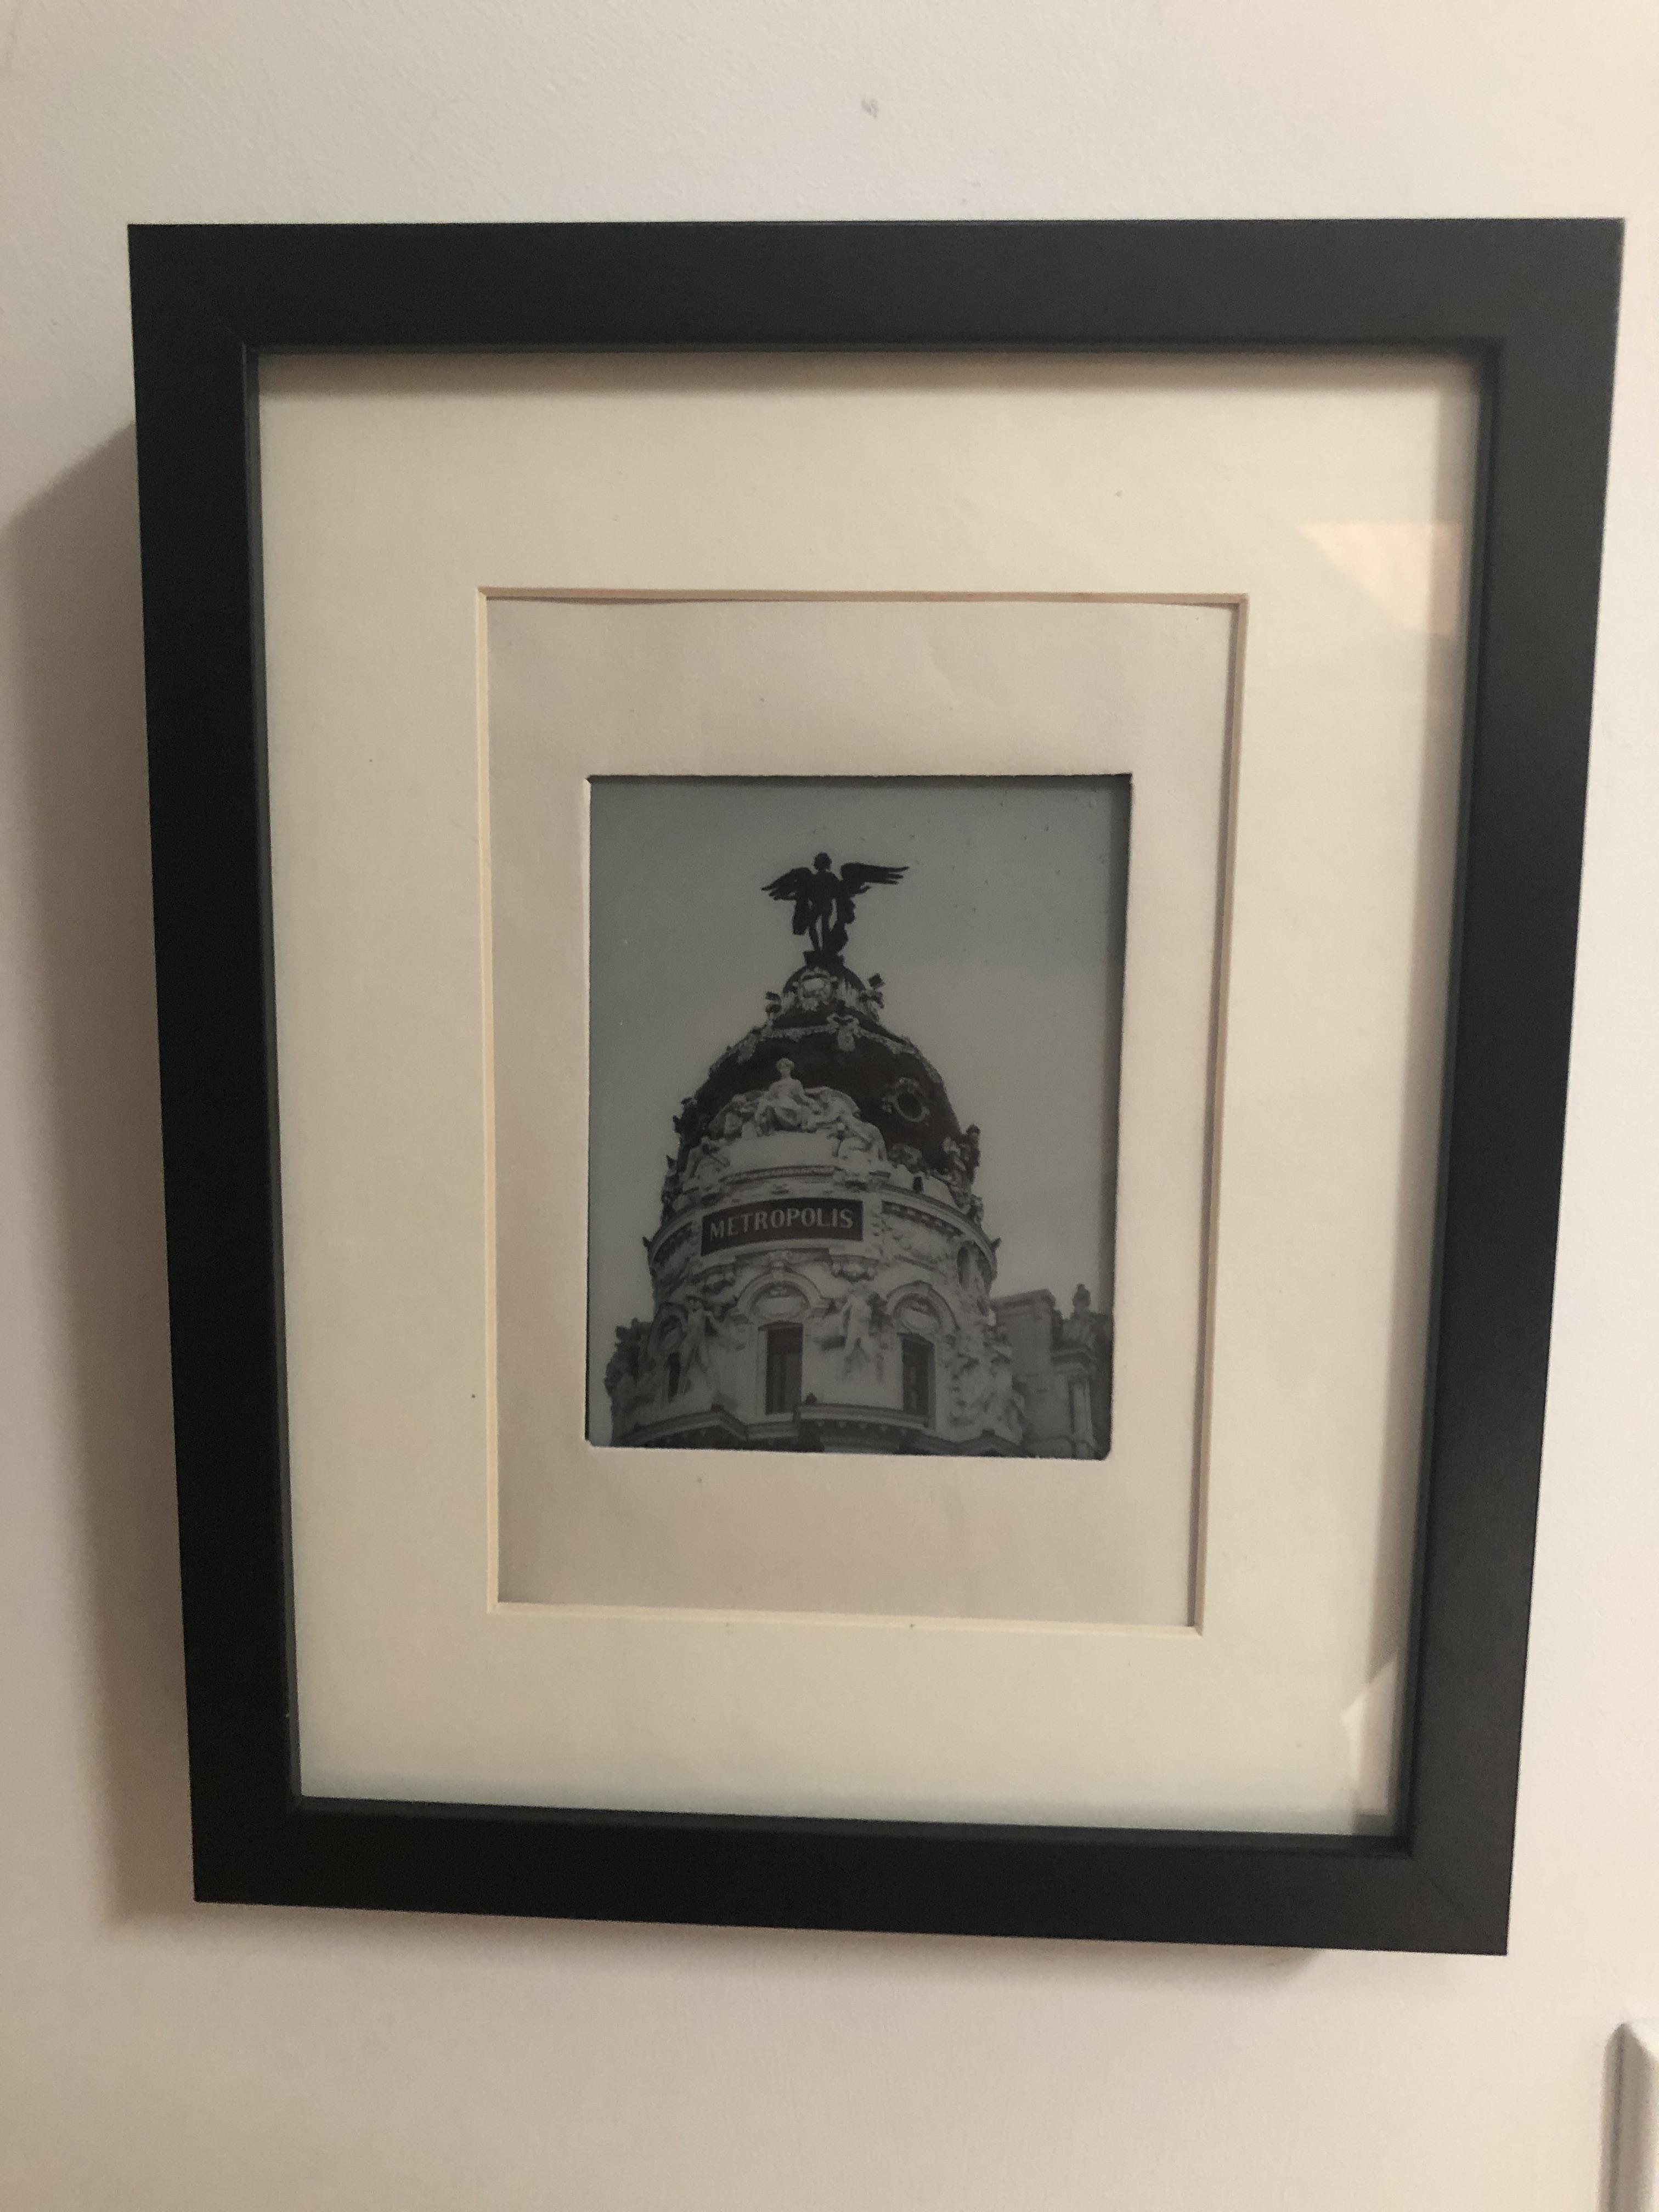
The Kindle can also be used as a static picture frame, for which I've also attached pictures. I've set it up to pull a random image from Unsplash.com and from a personal server, and if there's interest I'll make a tutorial for that too.
I hope you enjoyed this tutorial, and I’m looking forward to hearing your questions and suggestions!
“Any sufficiently advanced technology is indistinguishable from magic.” - Arthur C. Clarke