Re-creating a Favorite T-shirt
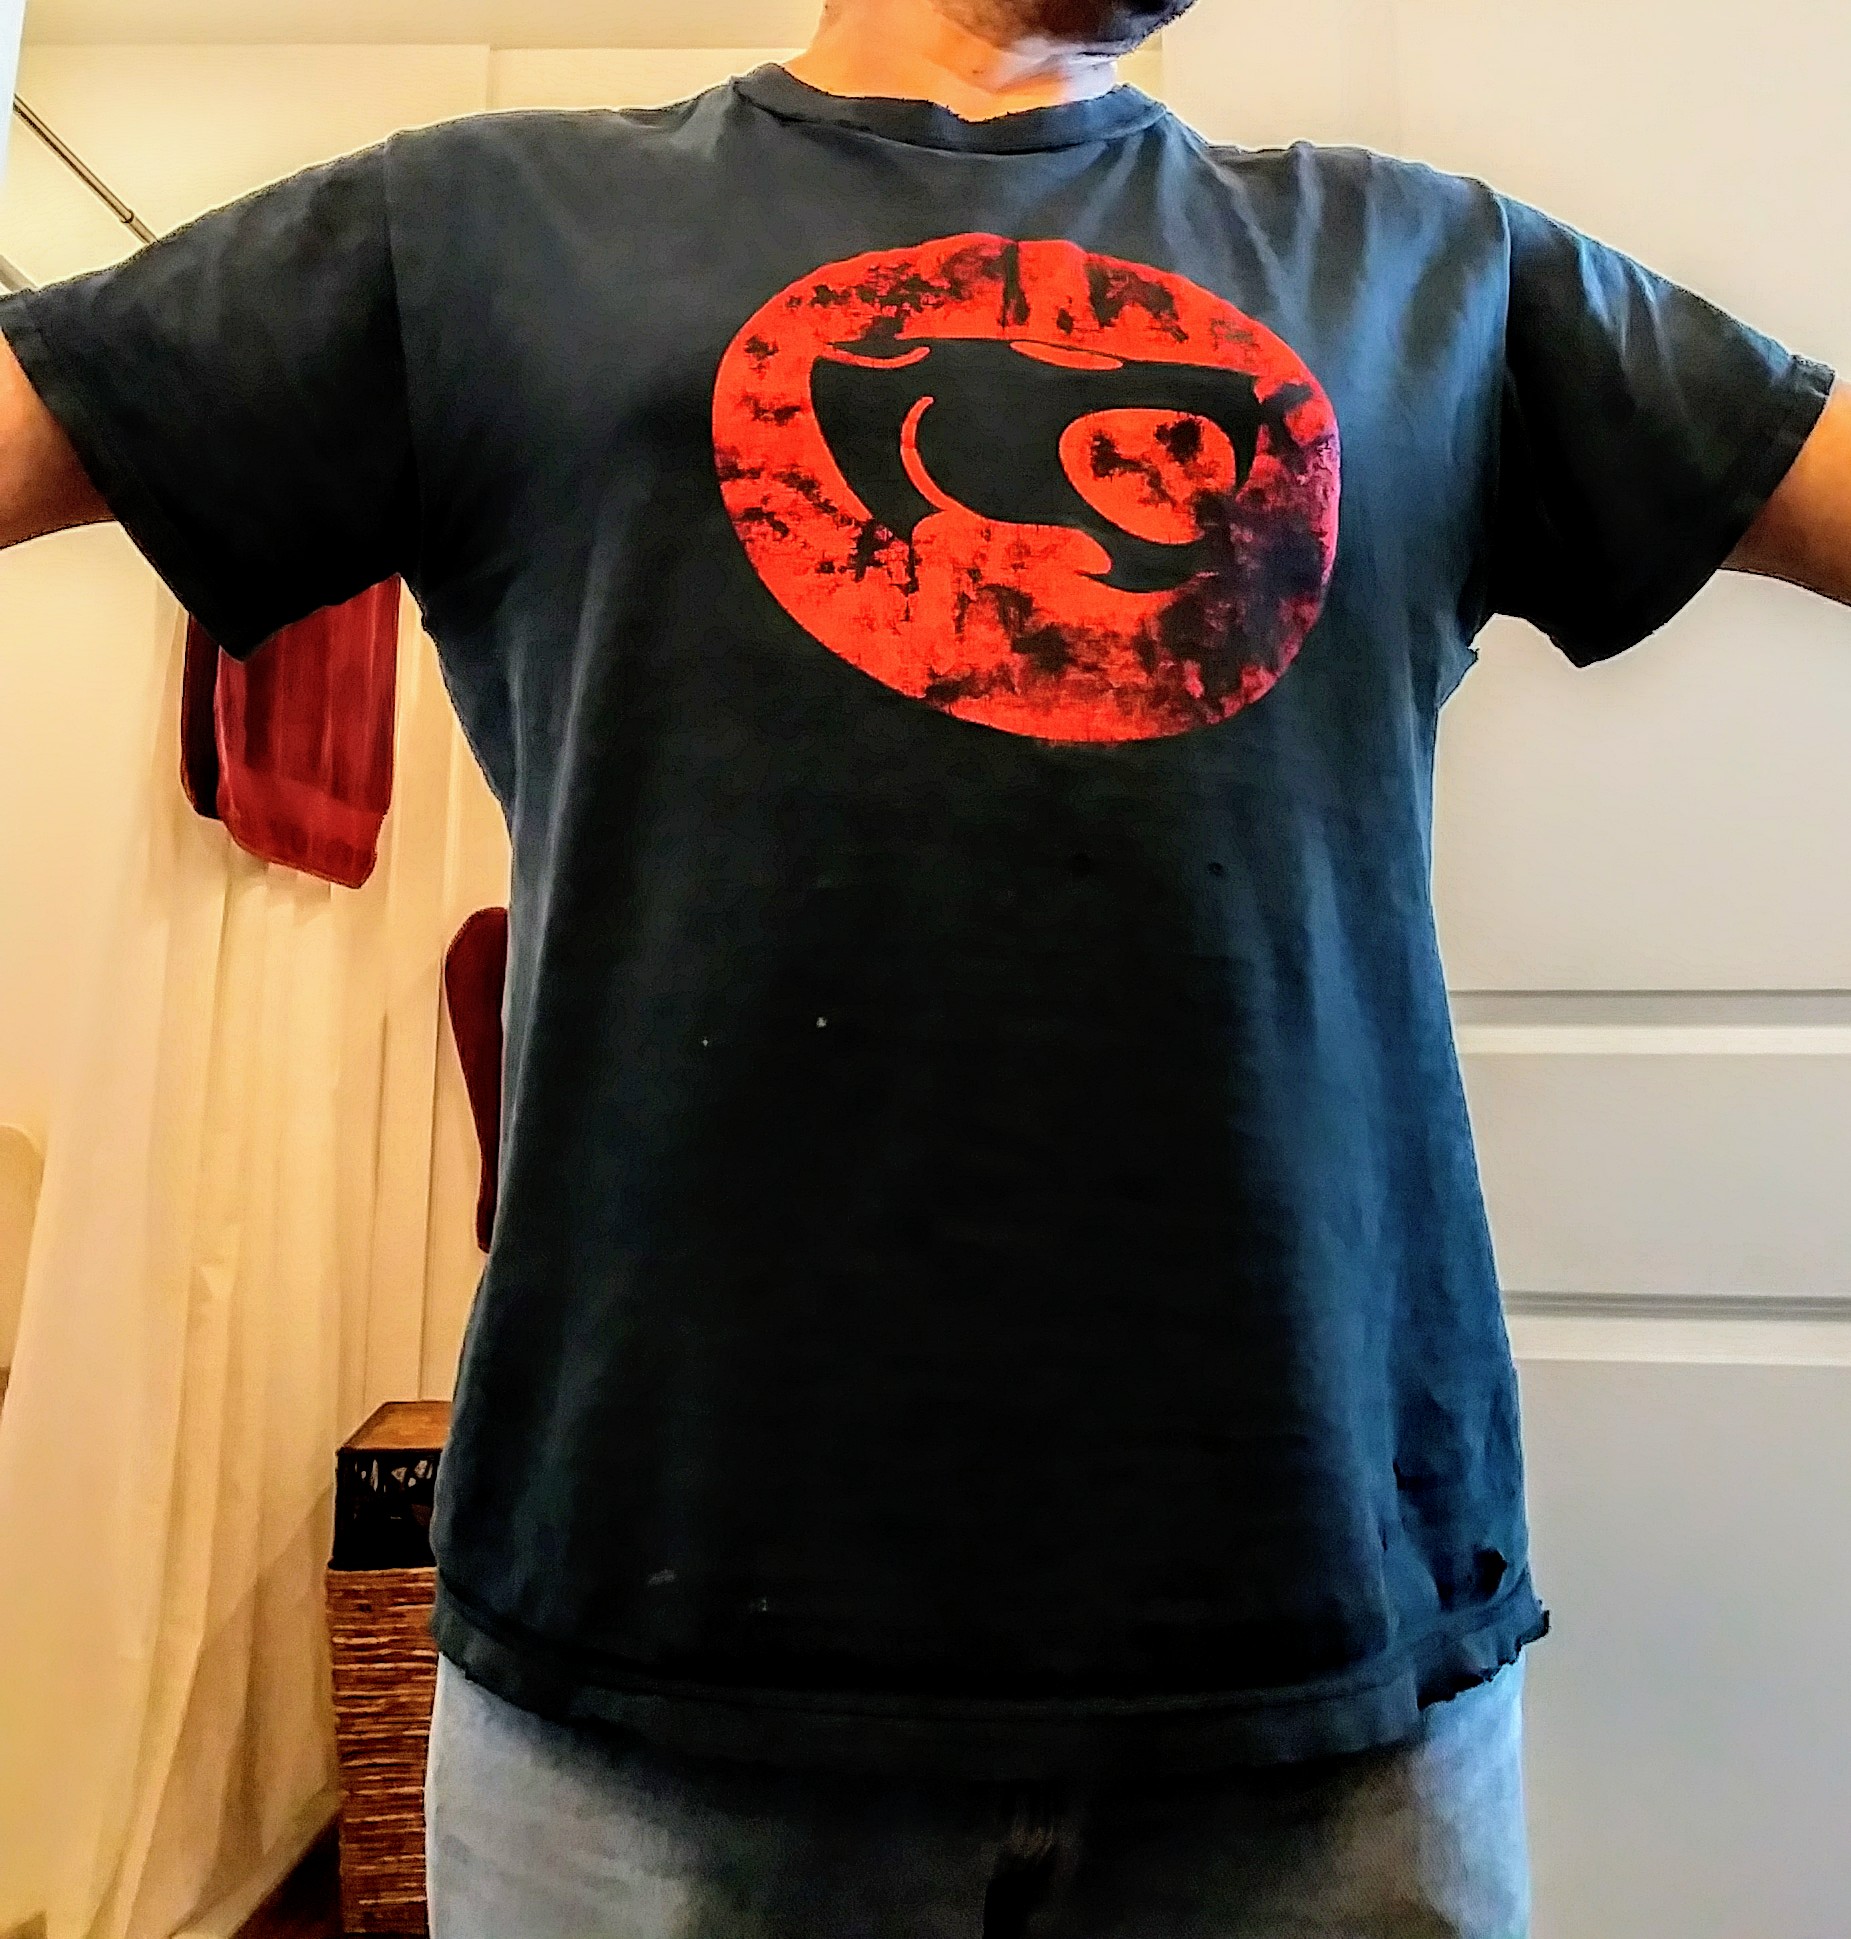
So I have a favorite t-shirt that I have obviously worn into near non-existence. The shoulder seams are starting to fray and separate, both arm pits have holes in them and the bottom hems are starting to fall apart. Not to mention that awesome Thundercats (silk screened) logo is fading. As much as I kind of like the actual faded look, this shirt won't be around much longer in it's current state so I thought I would bring it back from the dead.
Materials Needed:
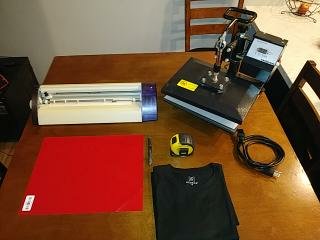

- Graphic design of choice
- PC with software capable of creating vectored art (Basically outlined artwork)
- Vinyl cutter ("vinyl plotter" is the industry standard name, there are a lot of different brands of plotters such as Cri-cut, Roland XS-15, Graphtec, and many more under $300)
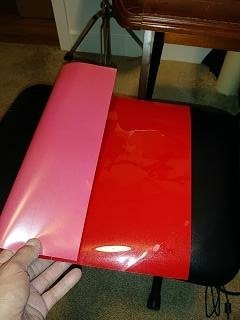
- Heat transfer vinyl material
- Weeding tools (tweezers or Xacto blade)
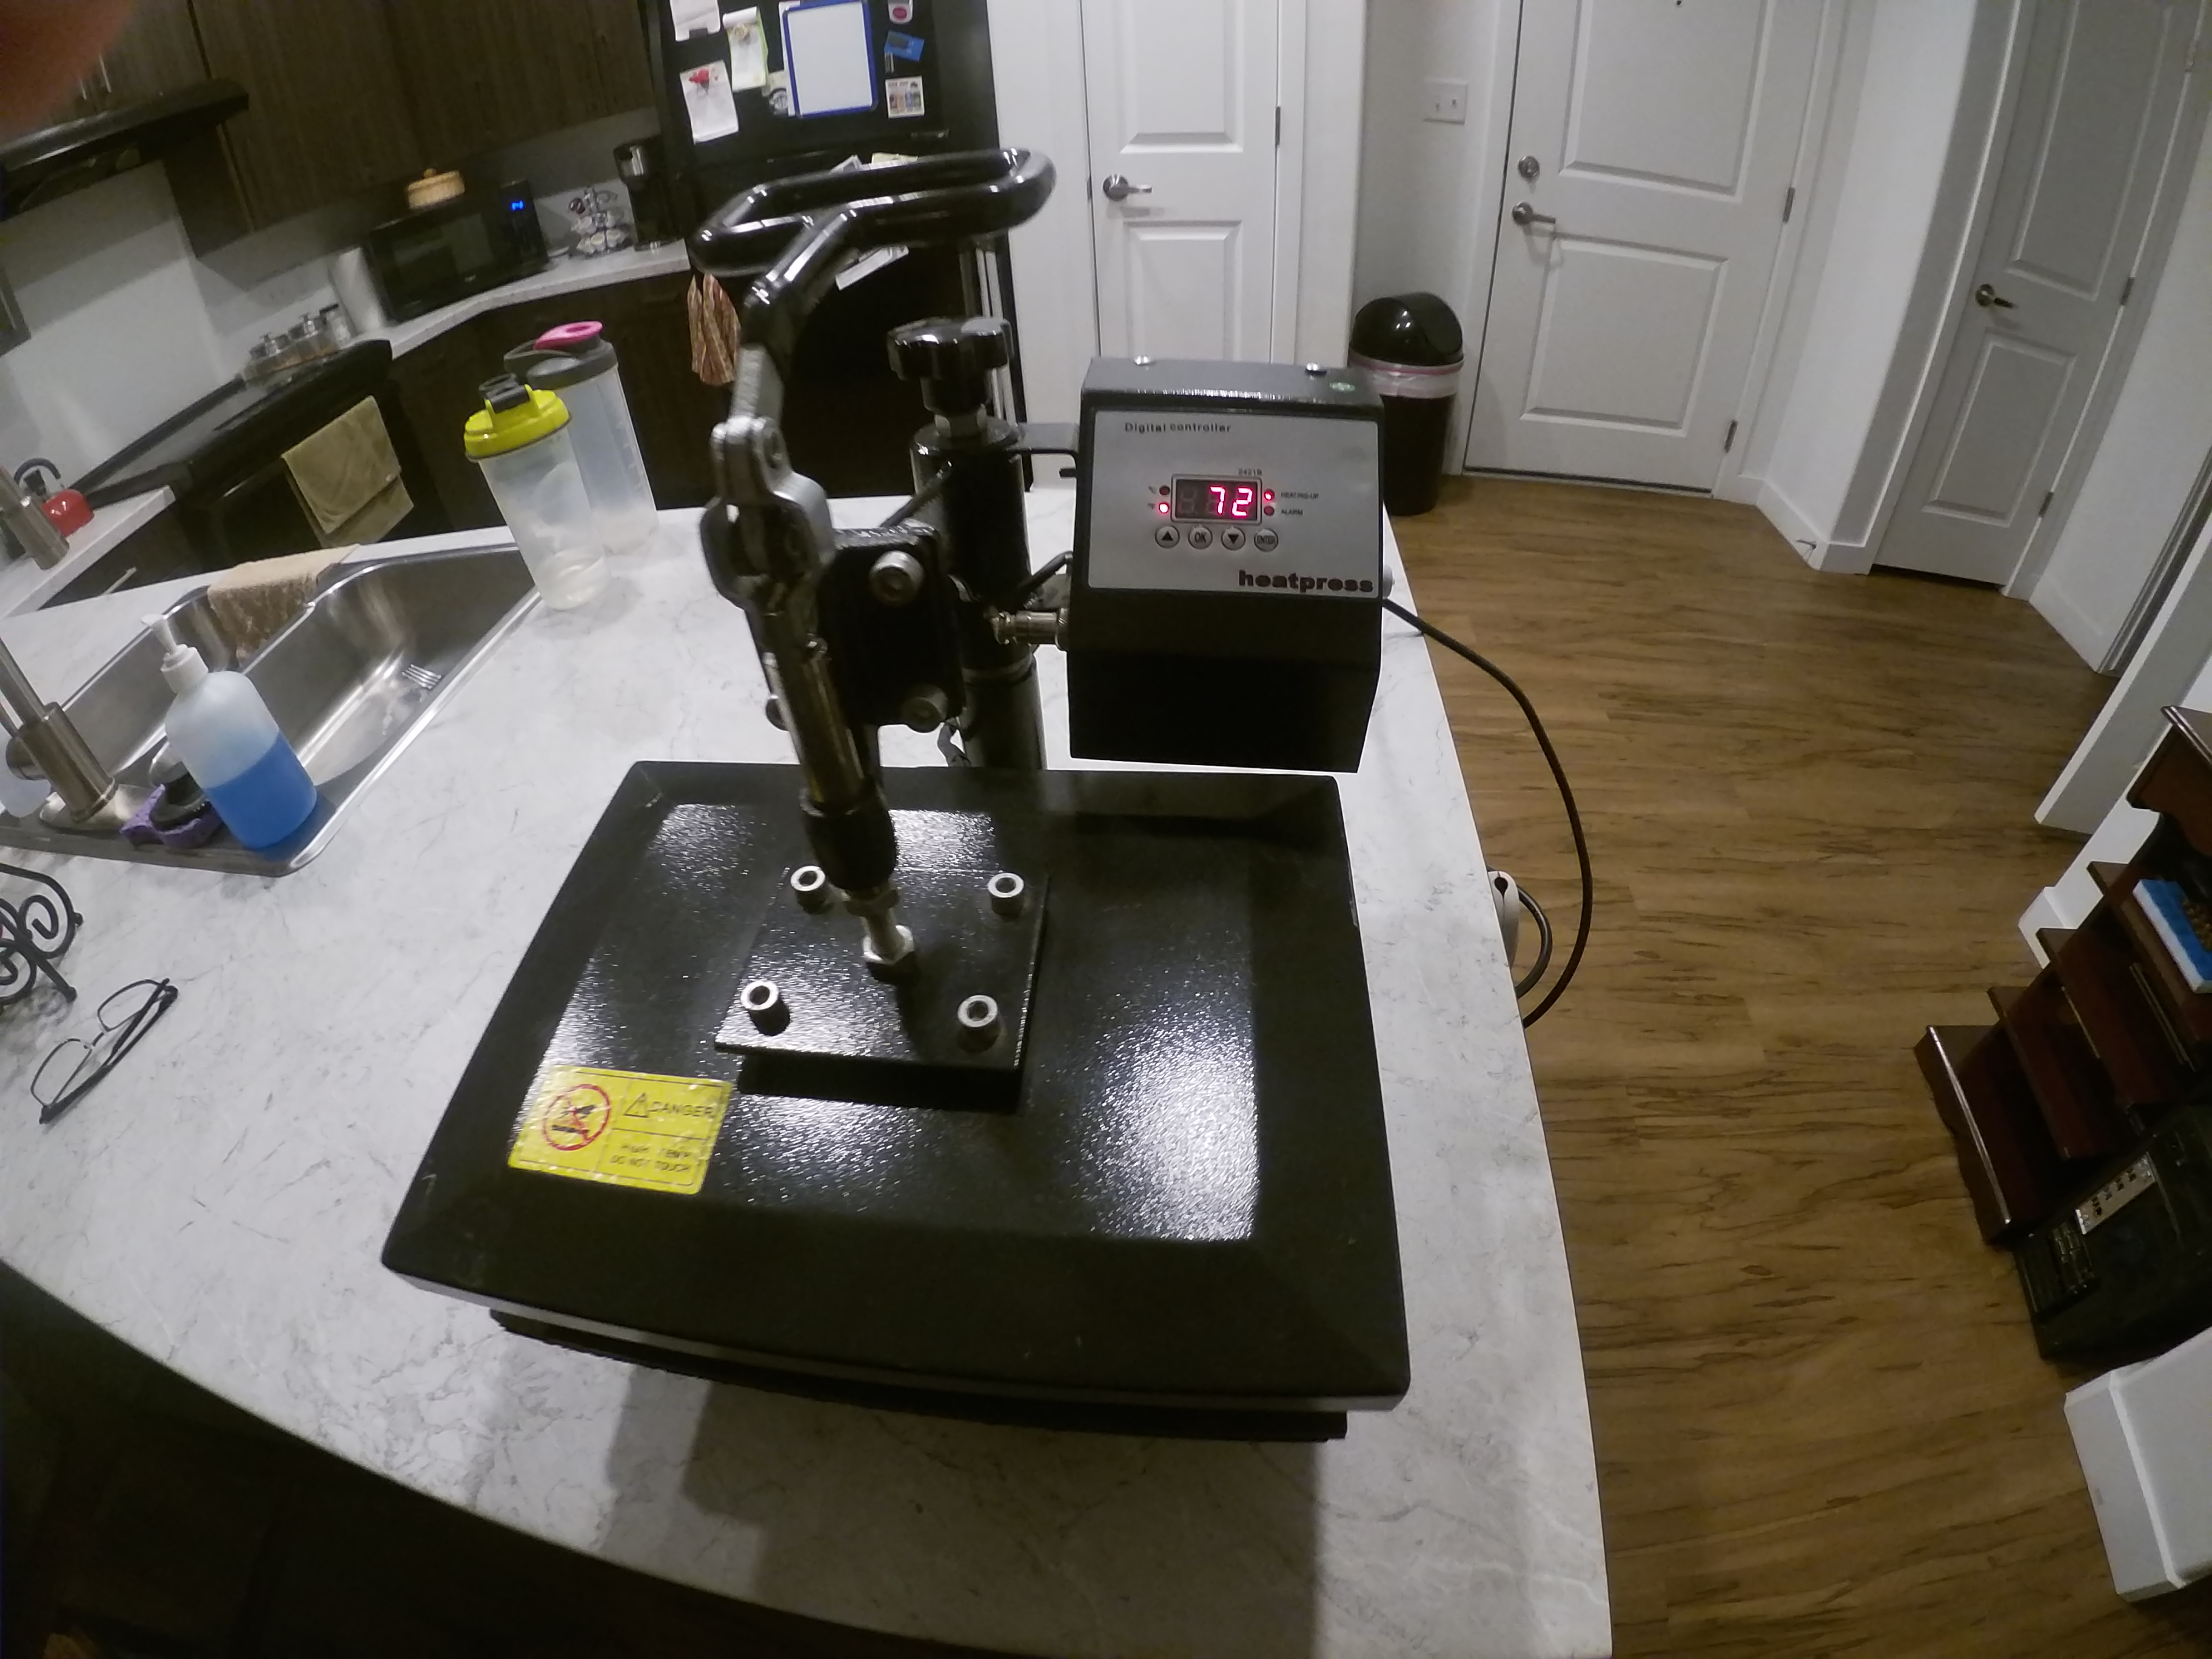
- Heat press for t-shirts ( a regular iron won't get hot enough and apply even enough pressure to get the job done efficiently, I got this one online years ago for around $160 but there might be some less expensive ones out there. NOTE: A larger plate size would be better, my design was already maxed out on the plate so I did press in sections to ensure proper transfer)
- T-shirt (watch the fabric content, I always use either 100% cotton or a mix of 65% polyester and 35% cotton, they seem to work just fine)
Recreating the Design
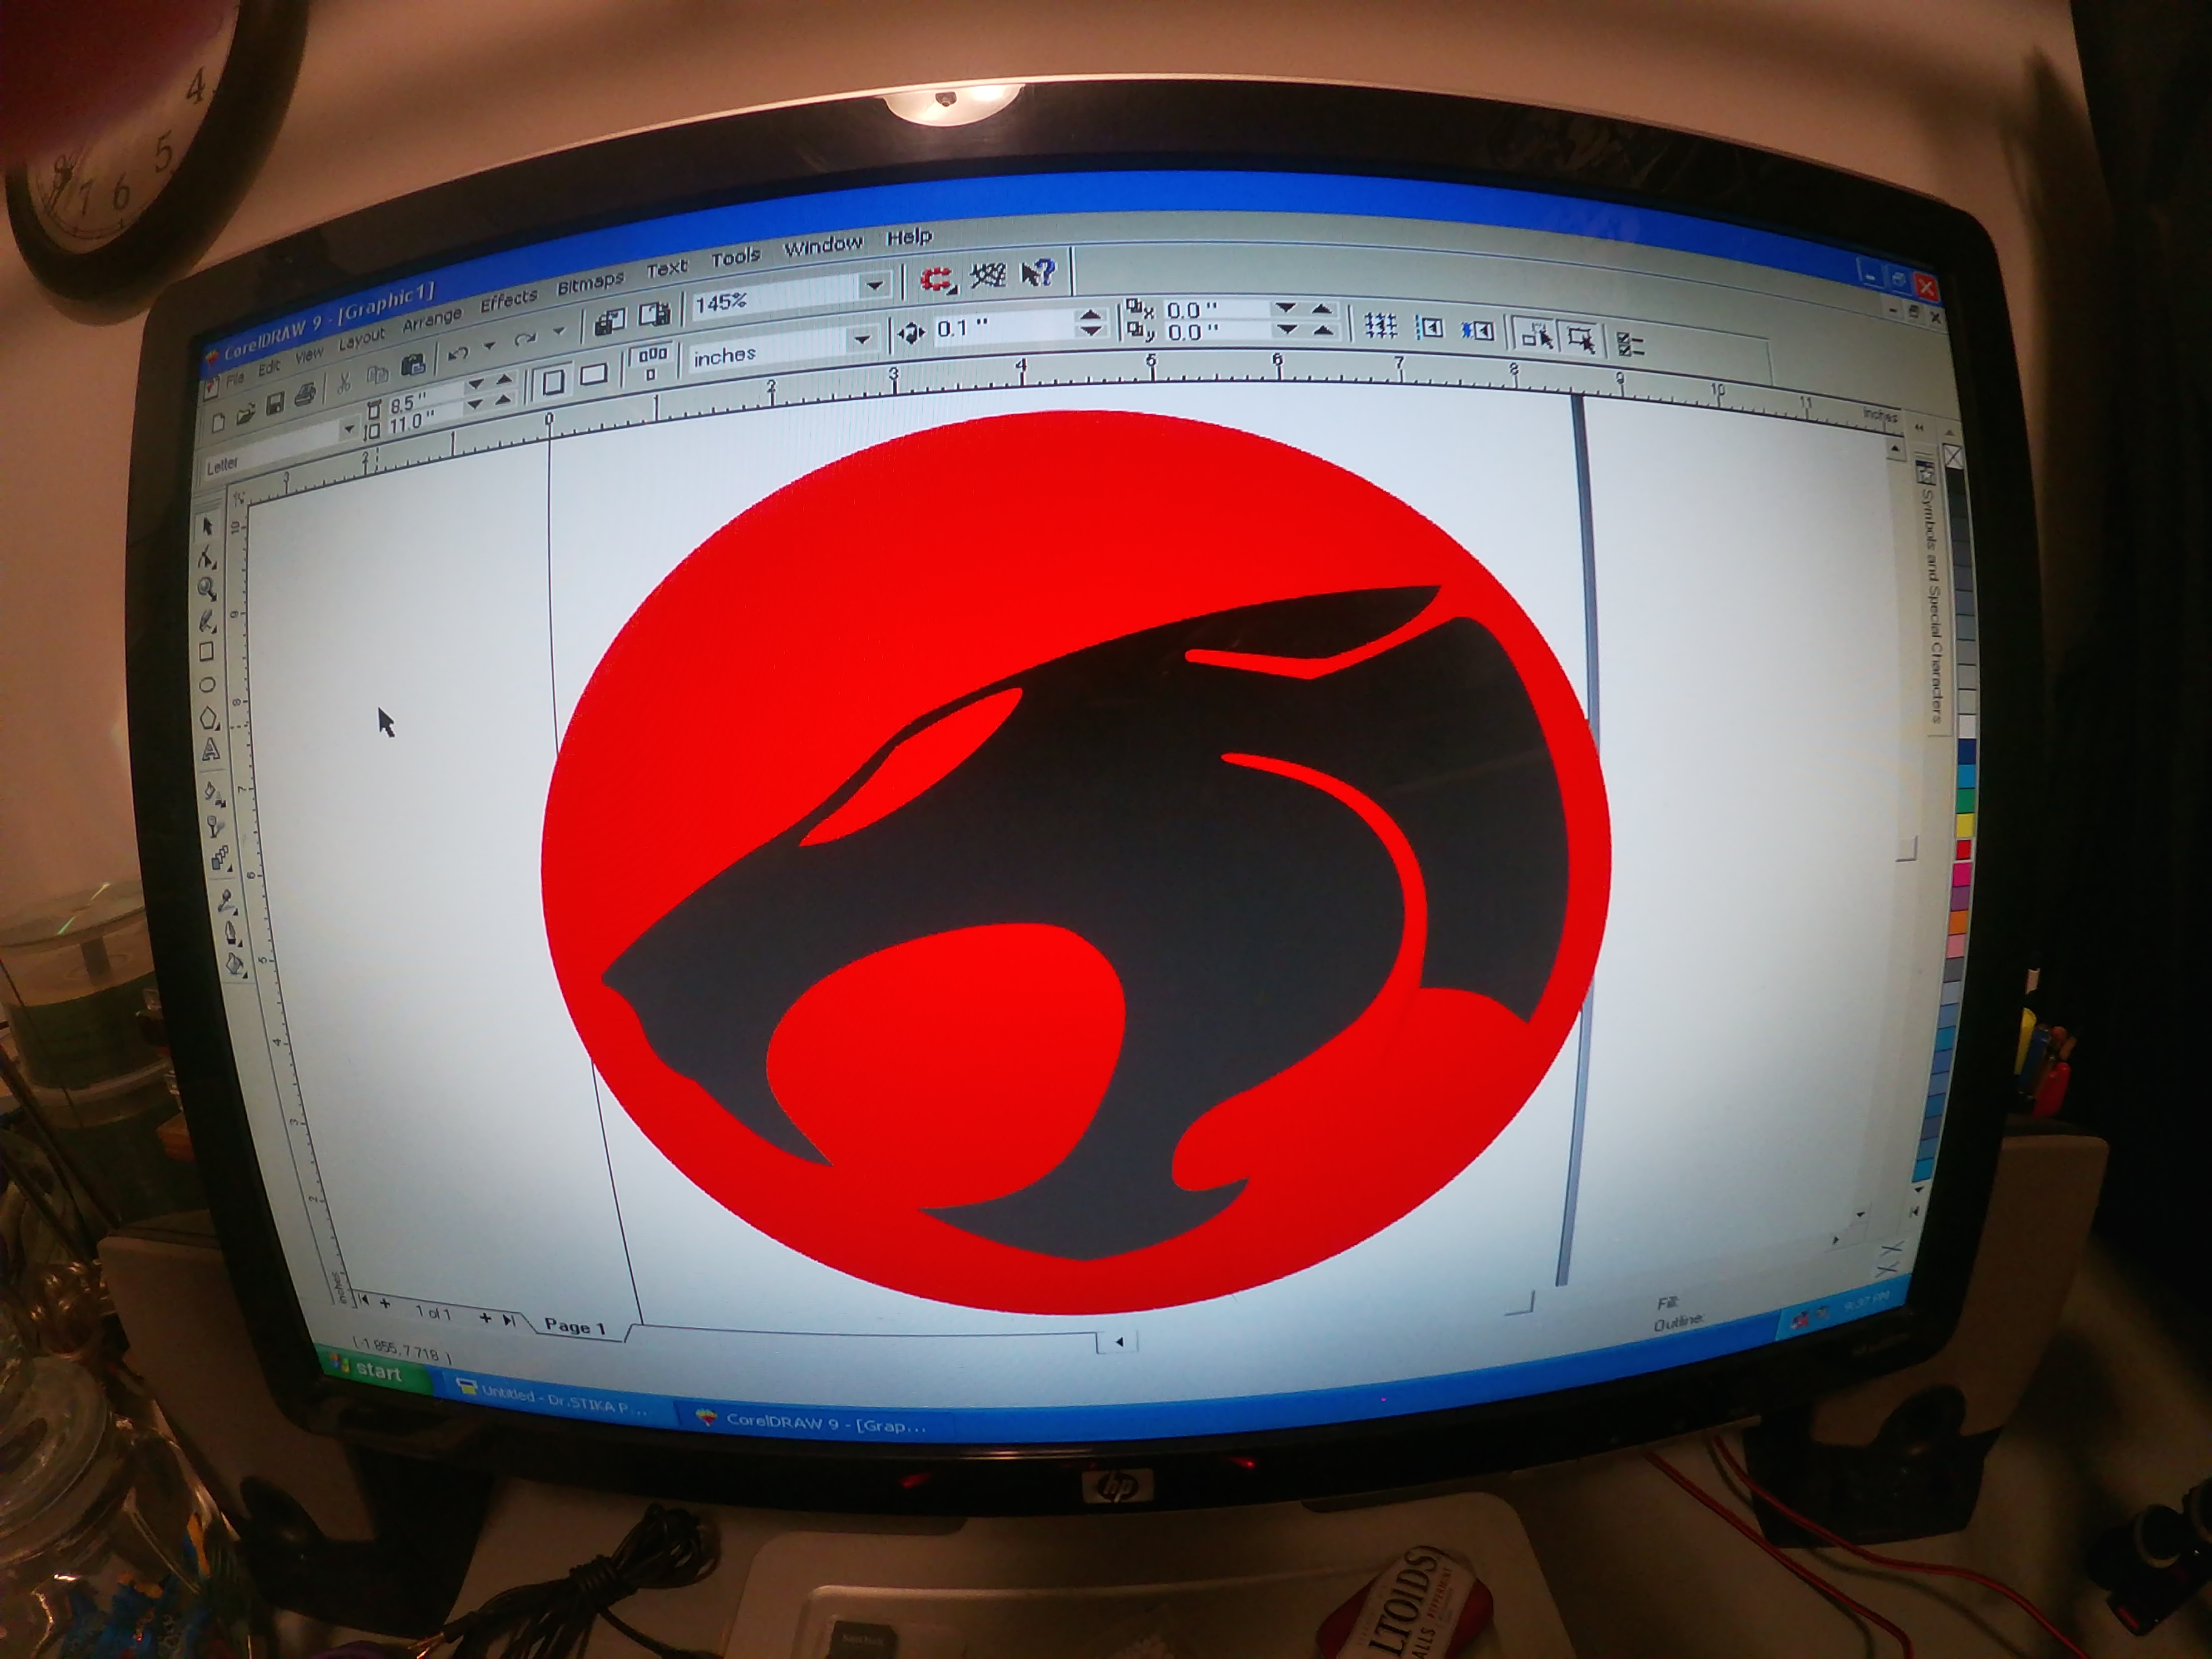
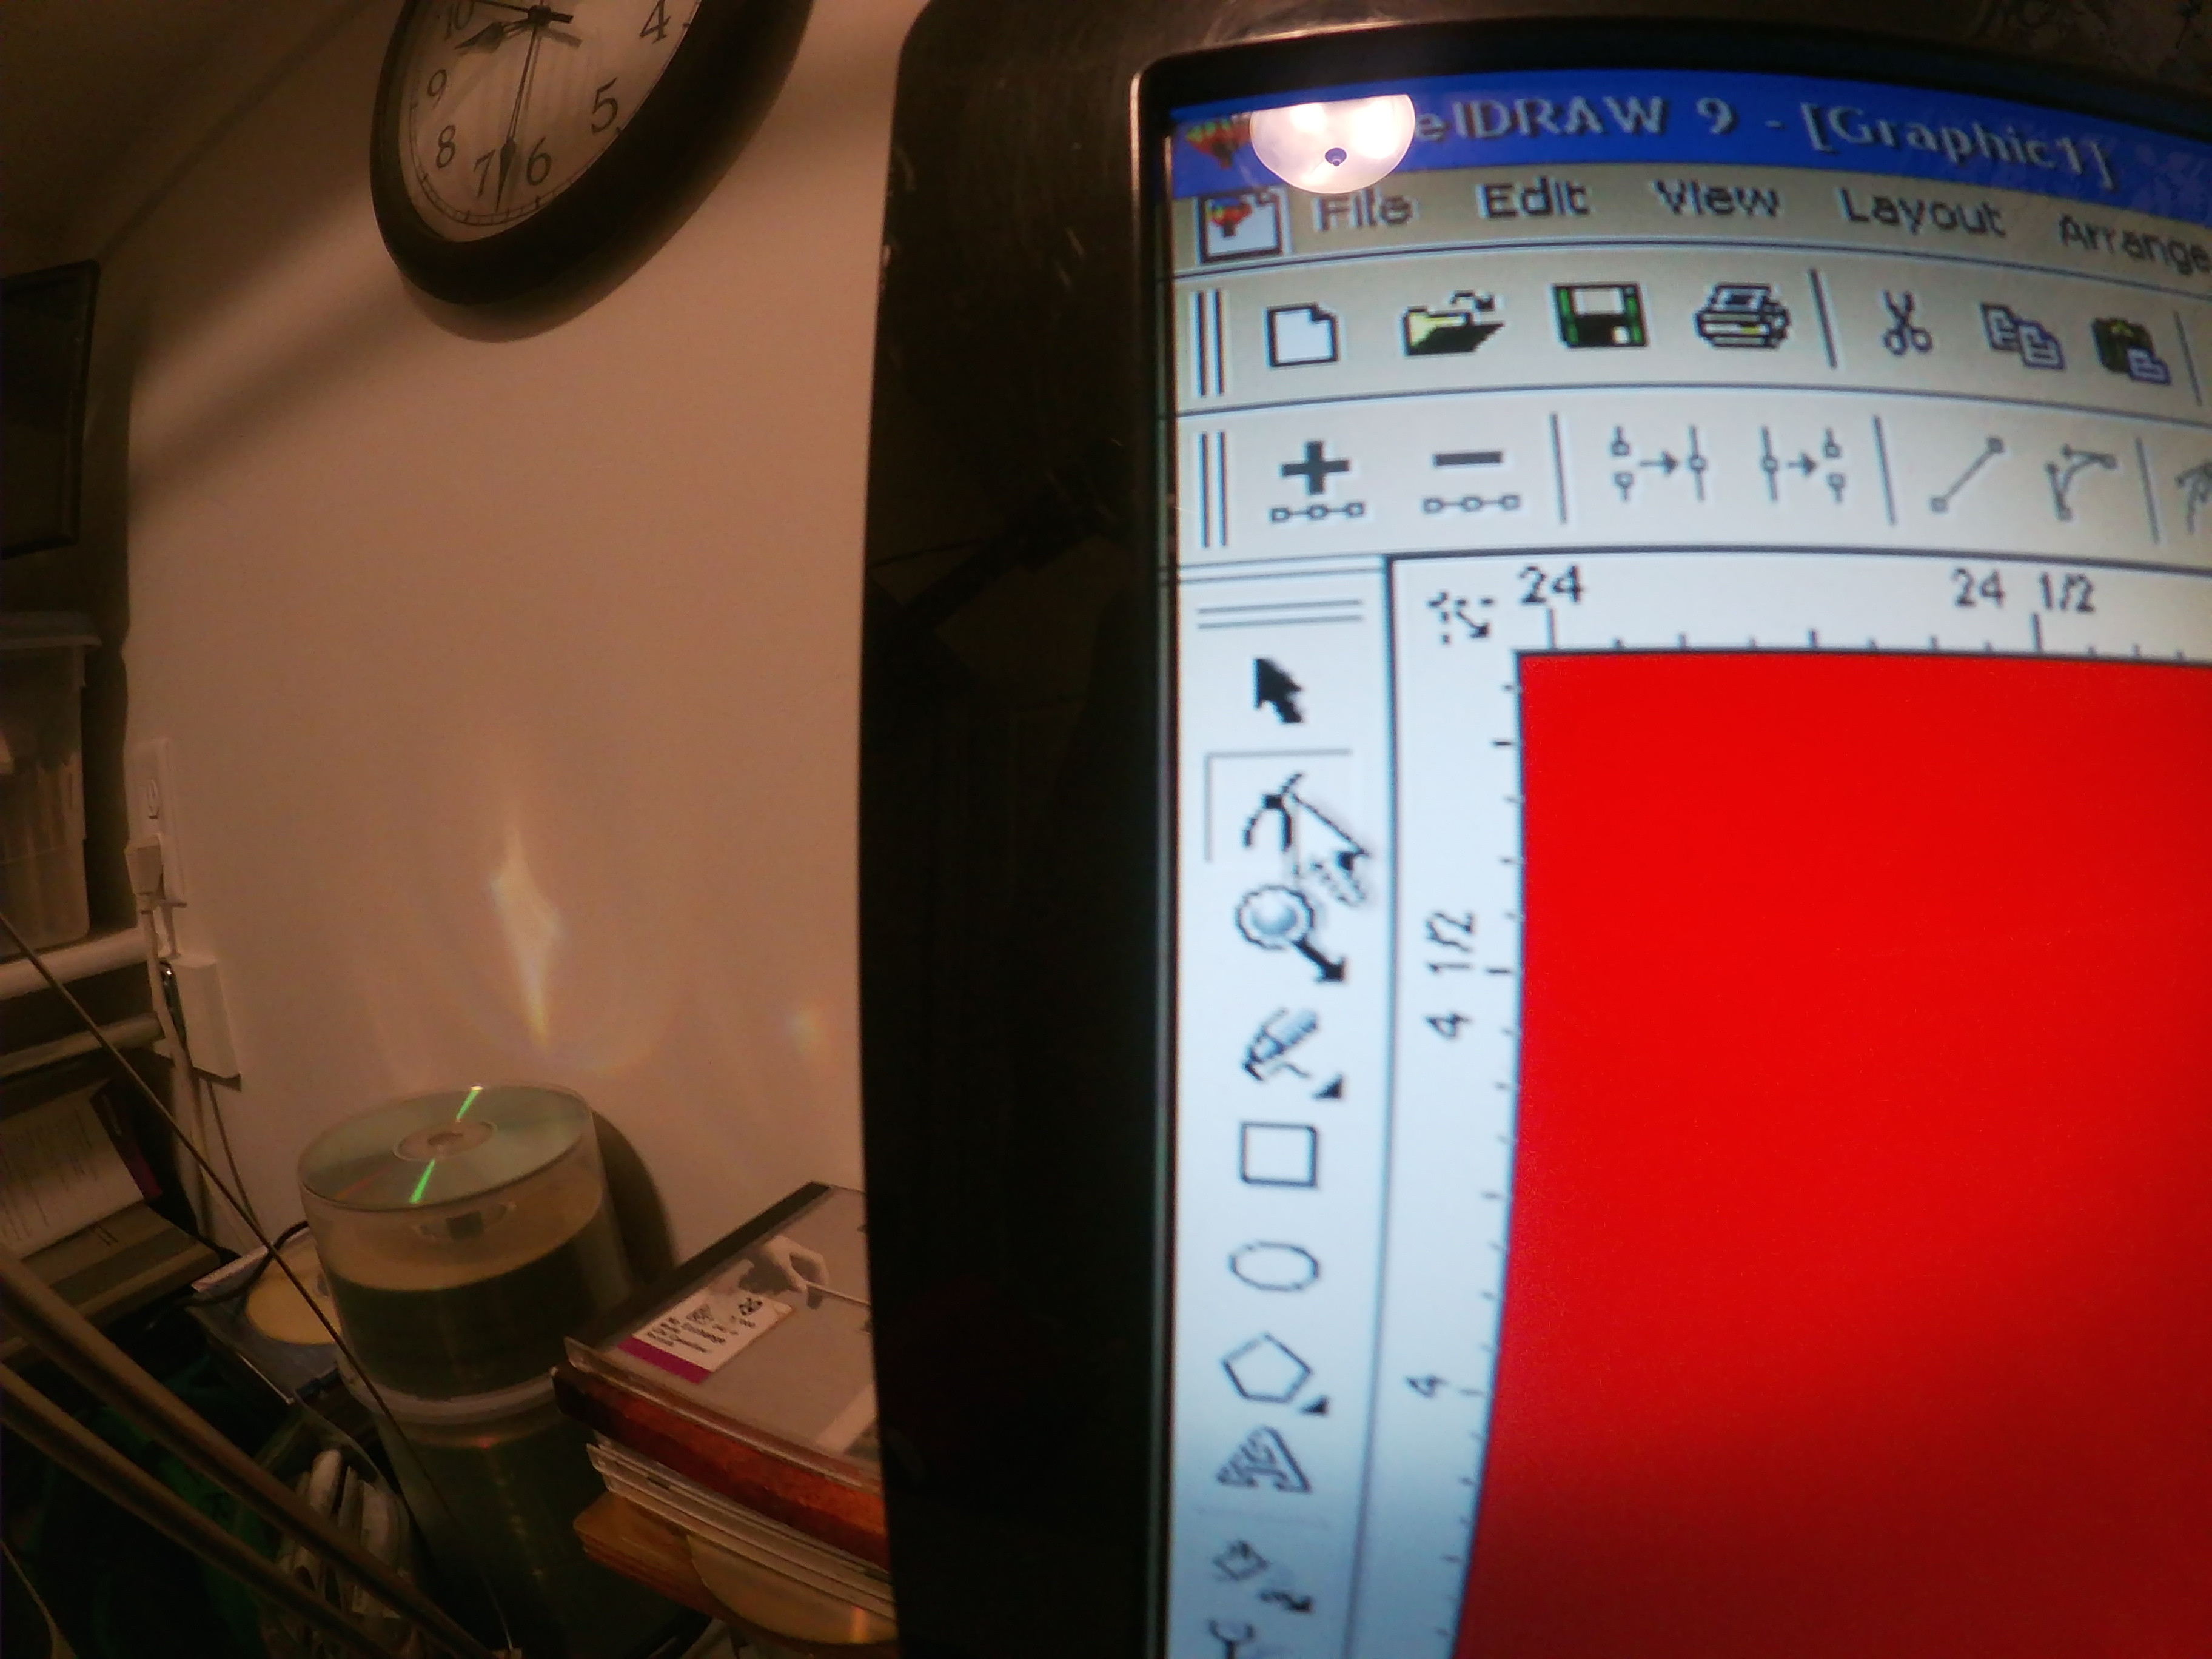
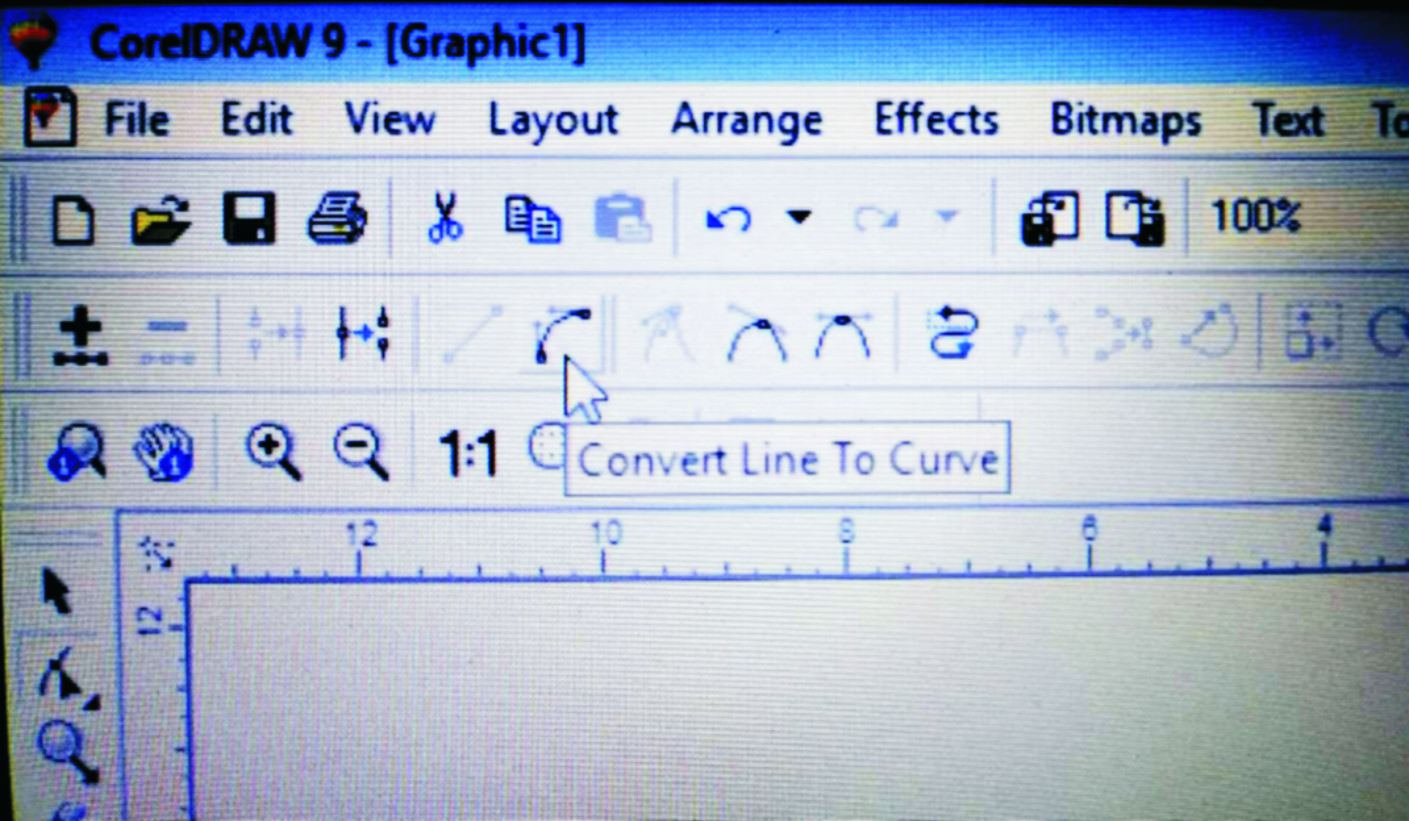
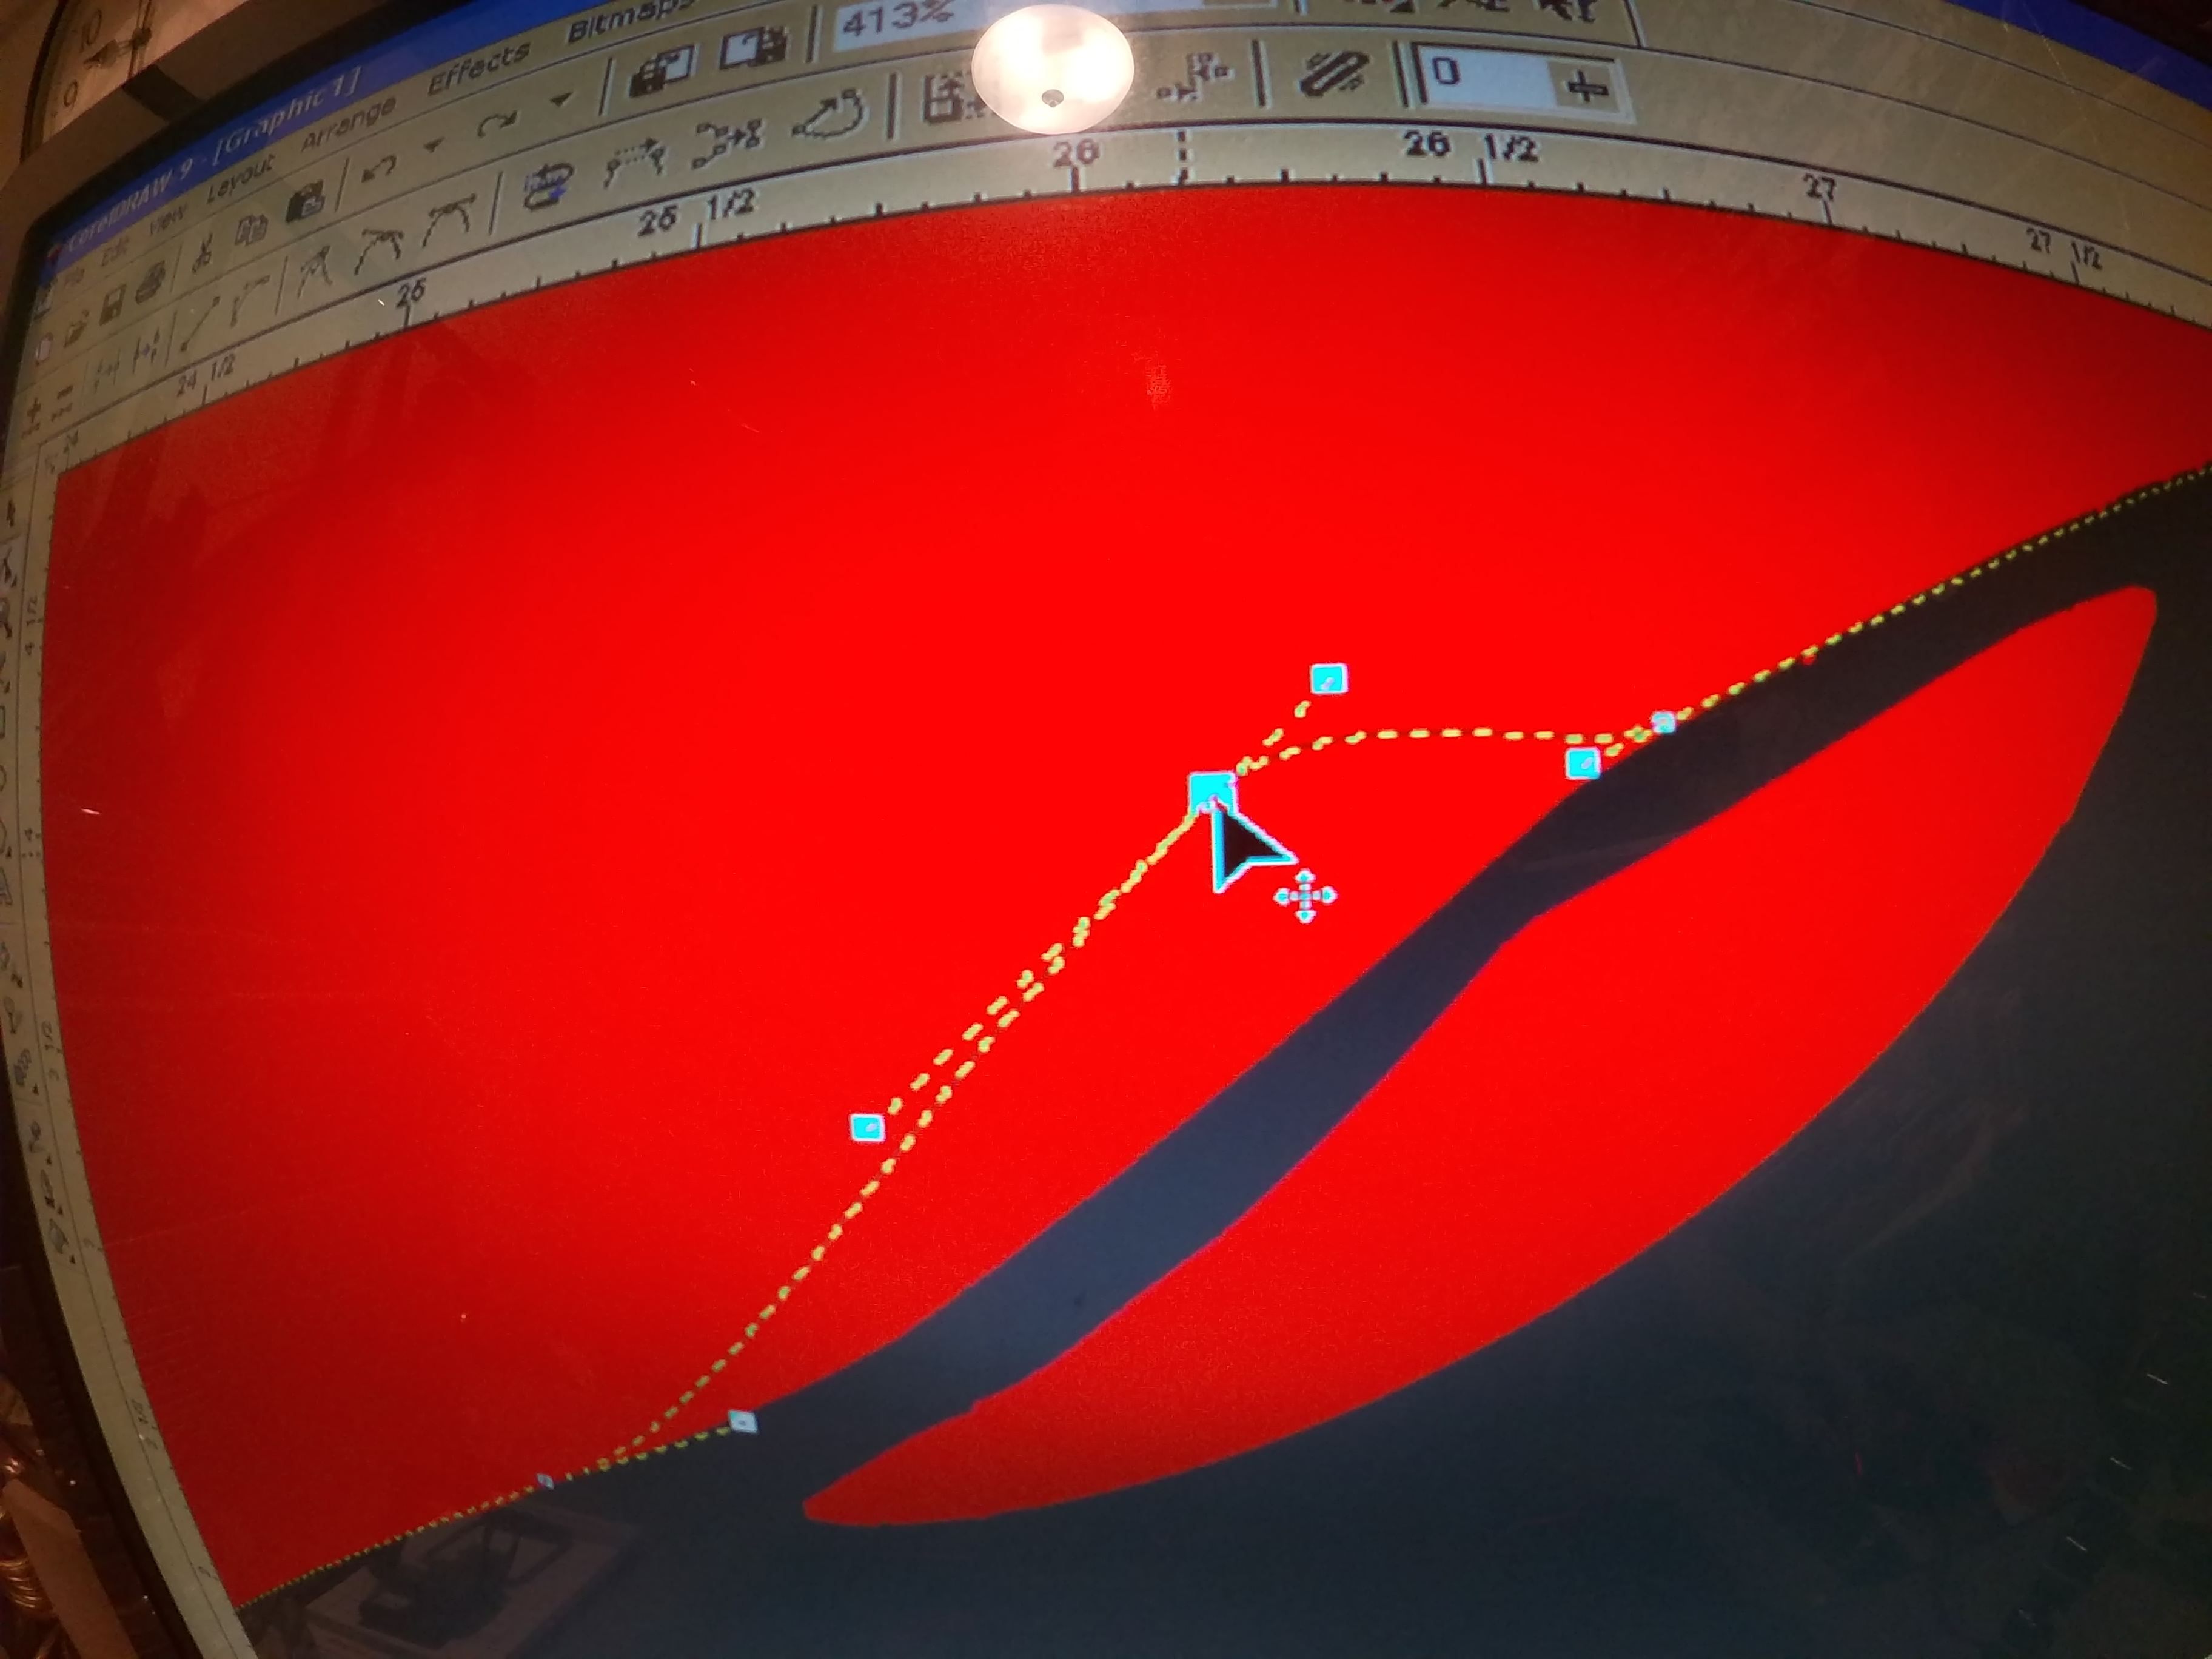
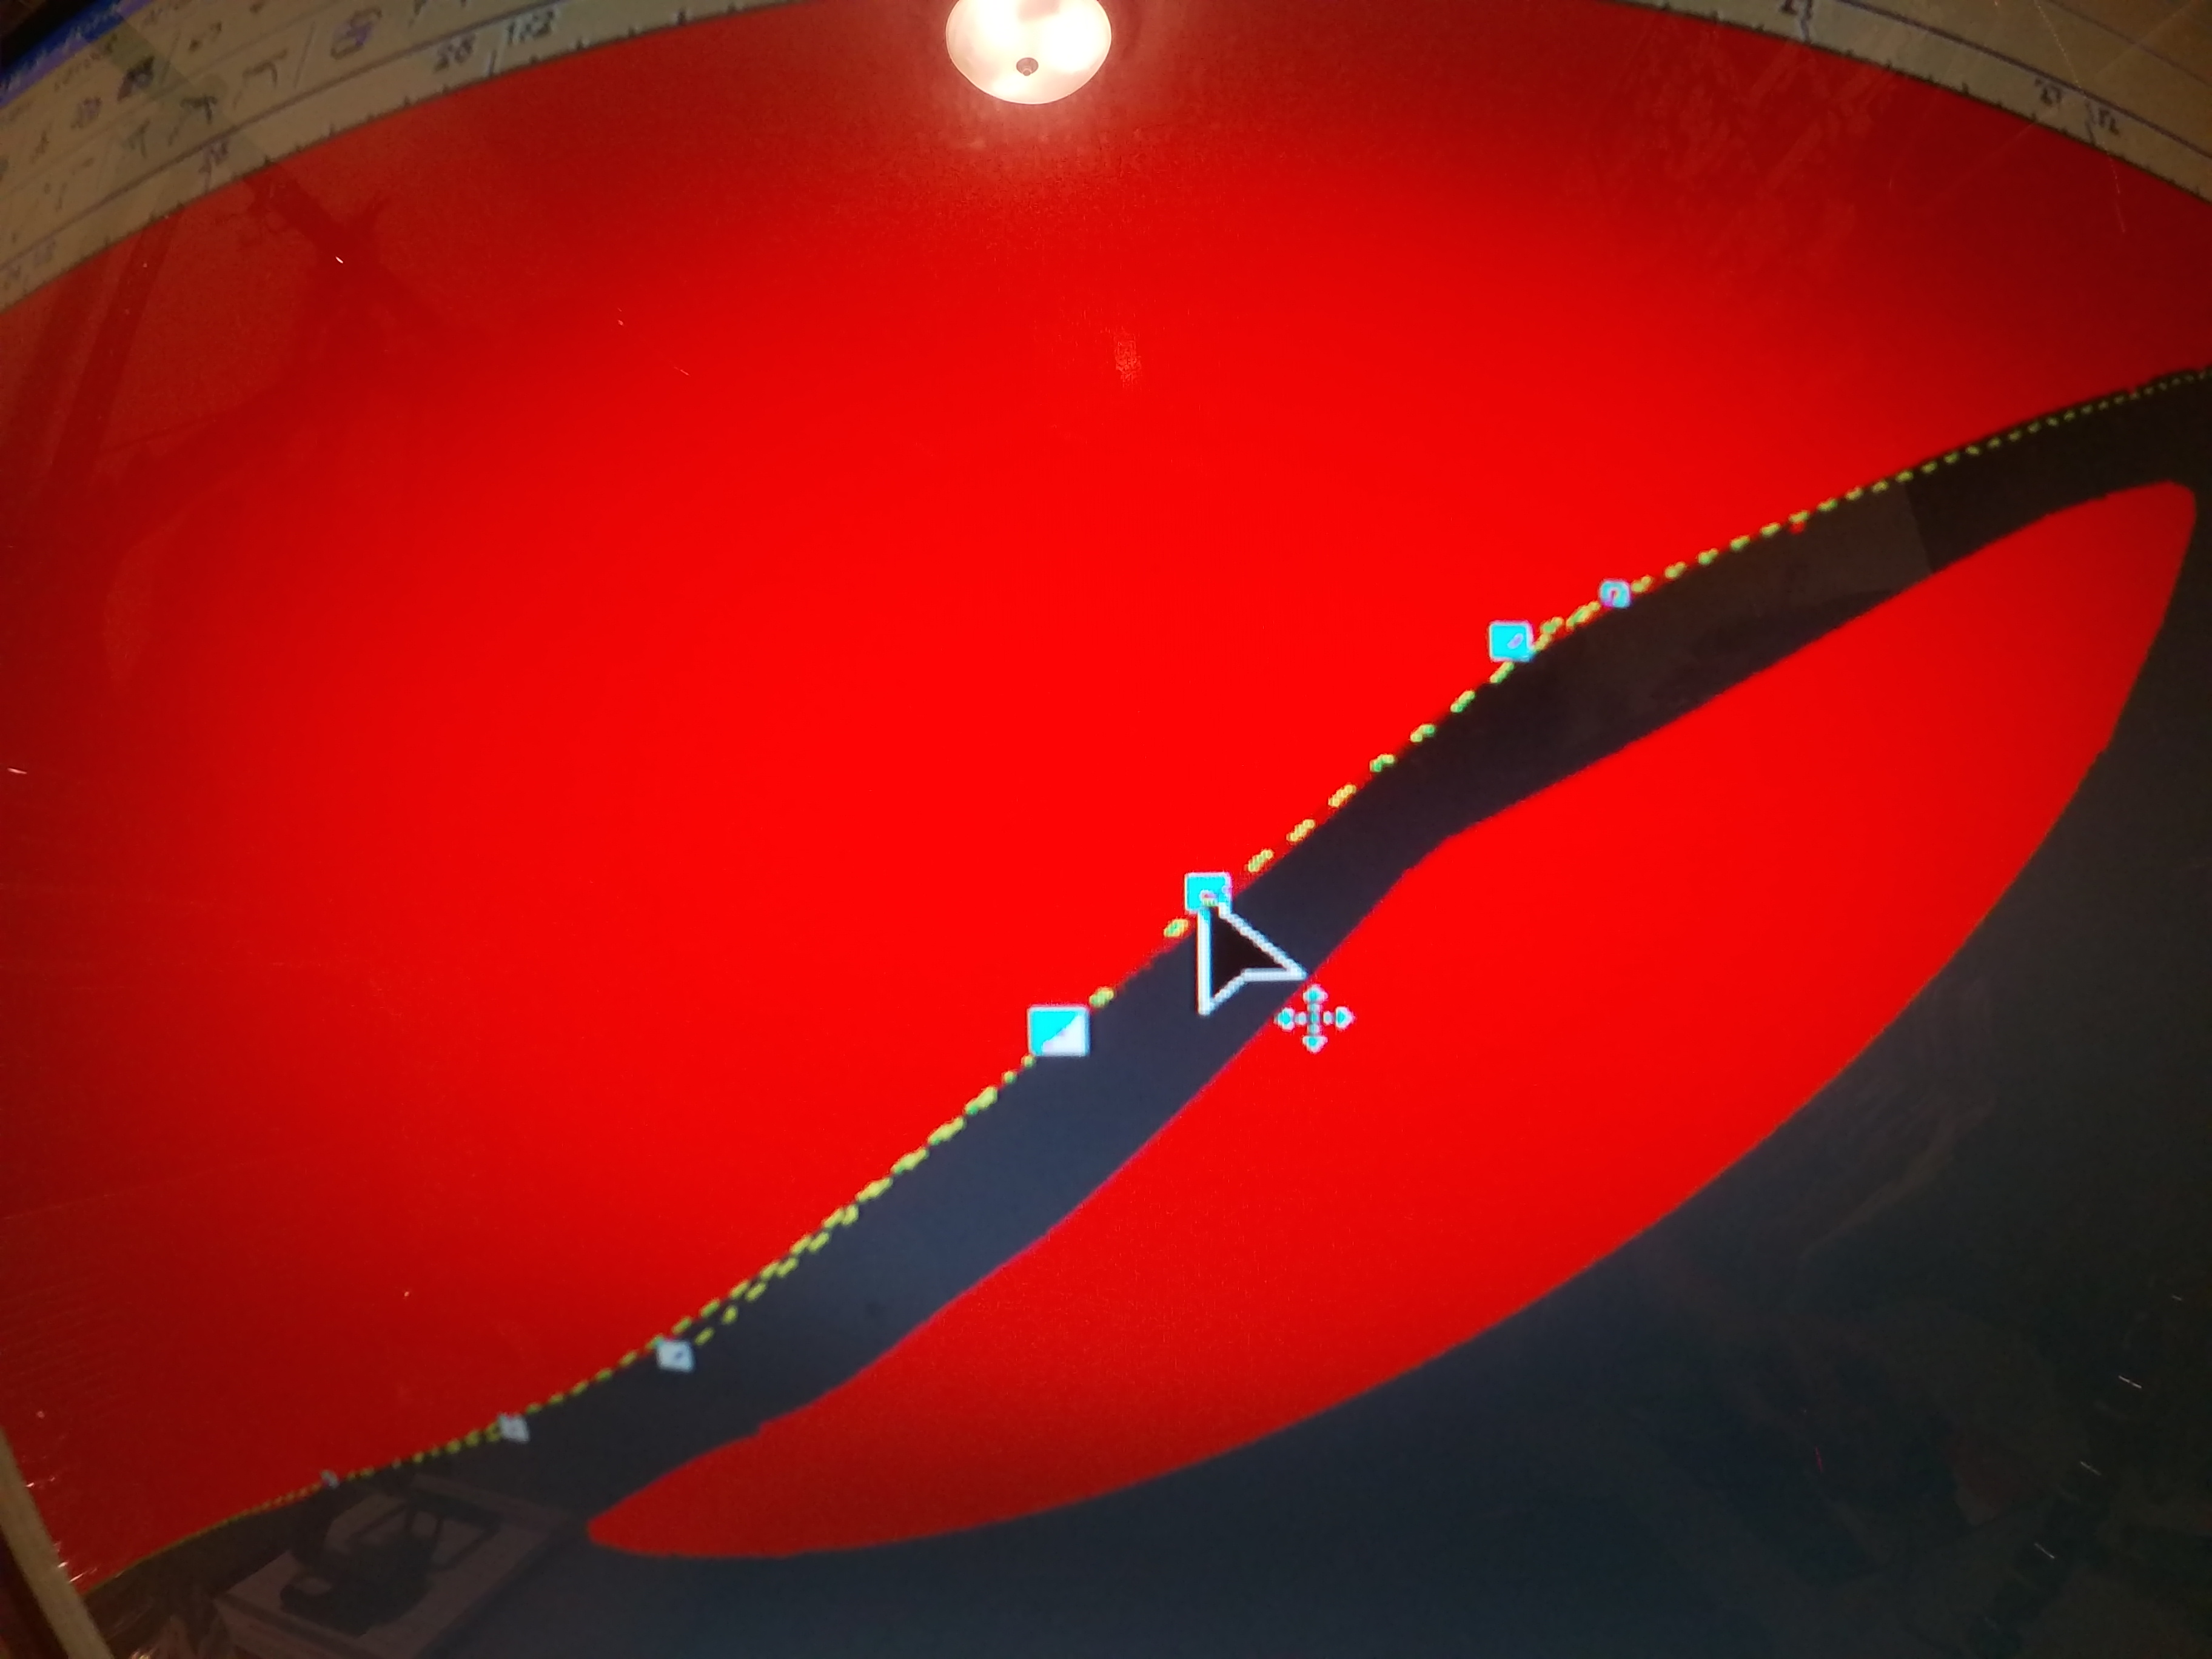
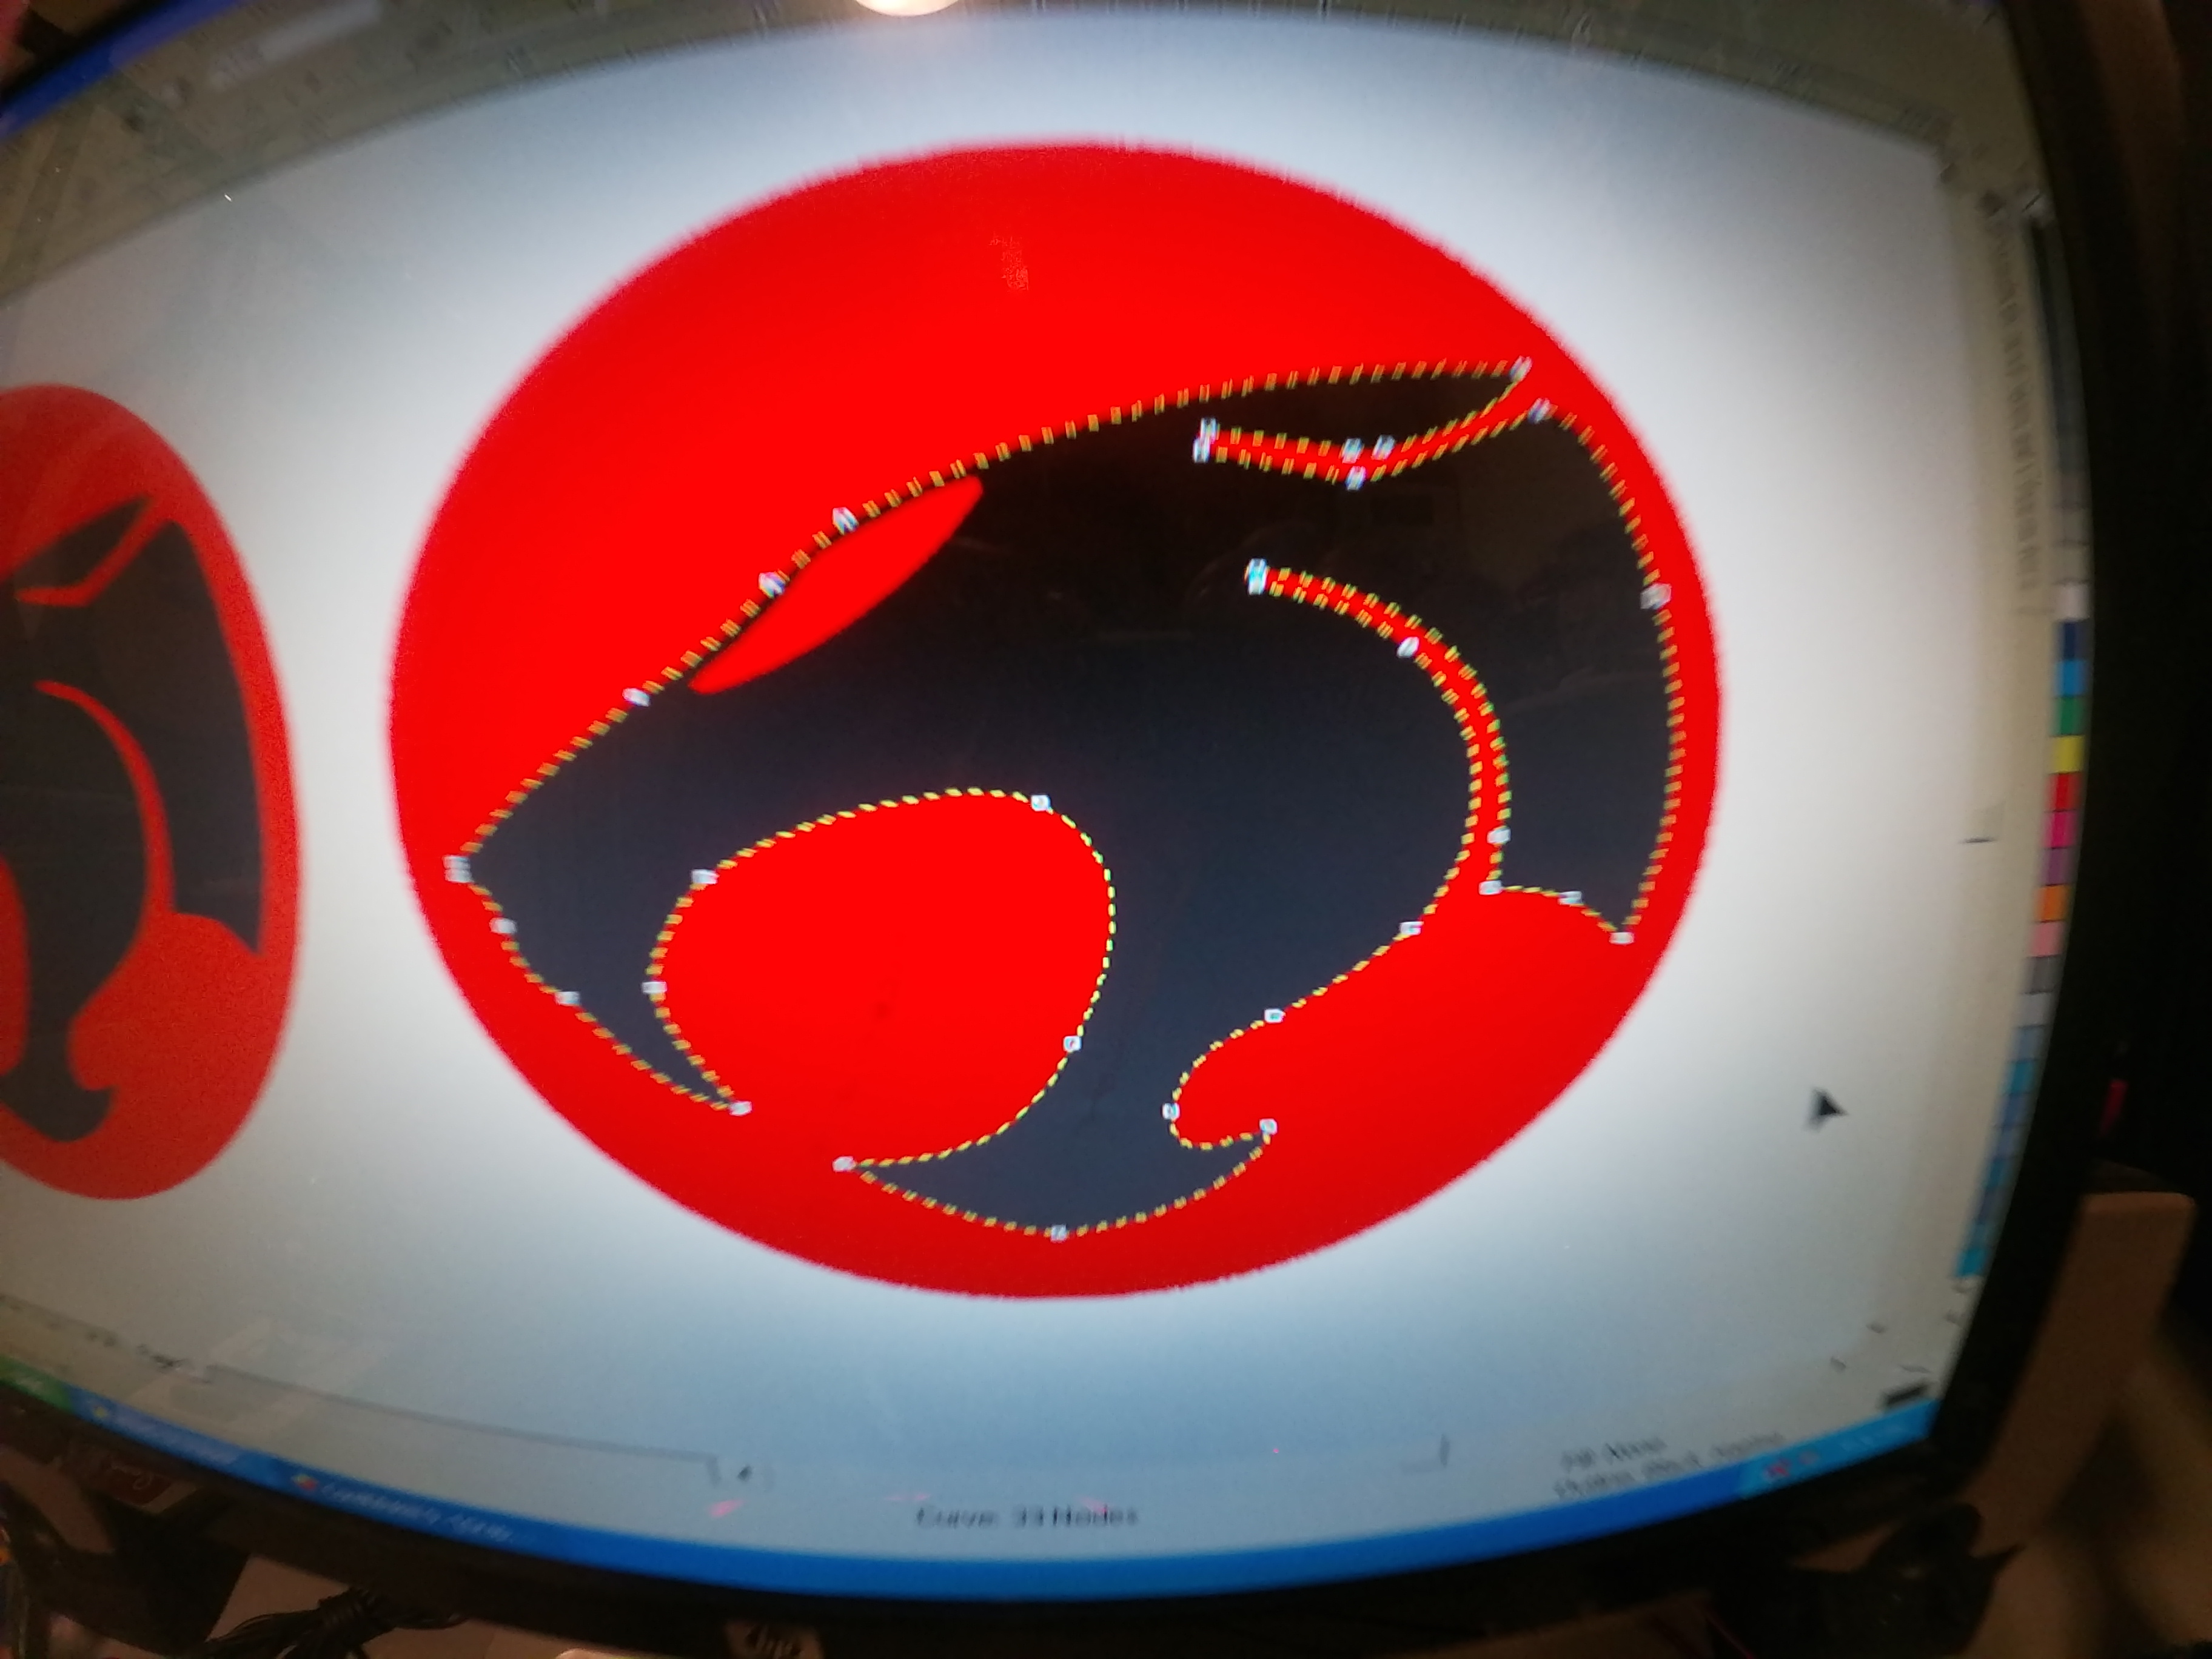
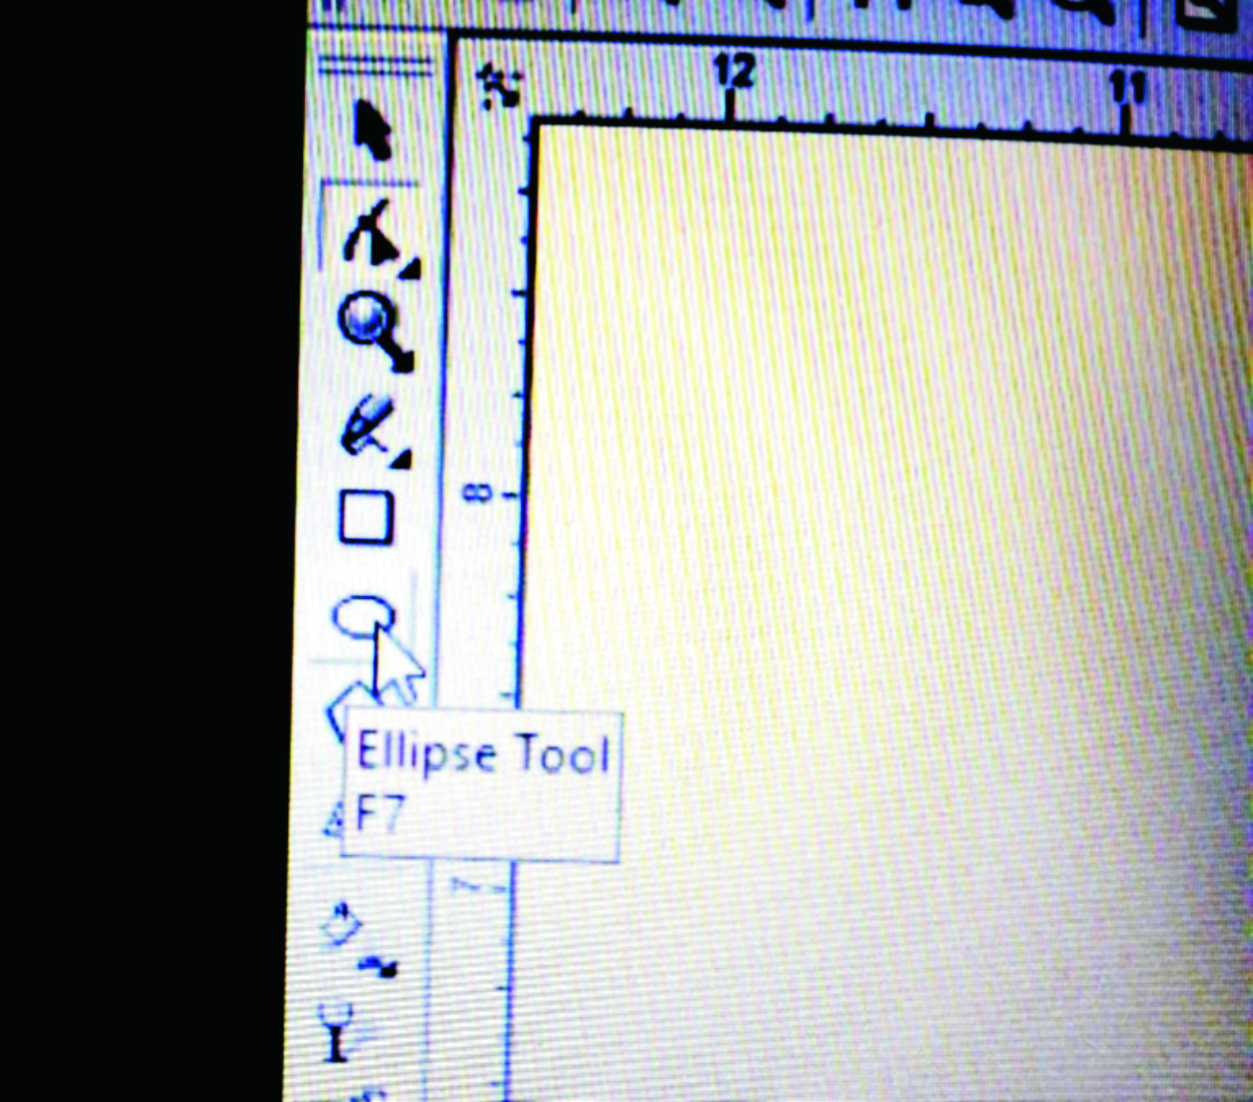
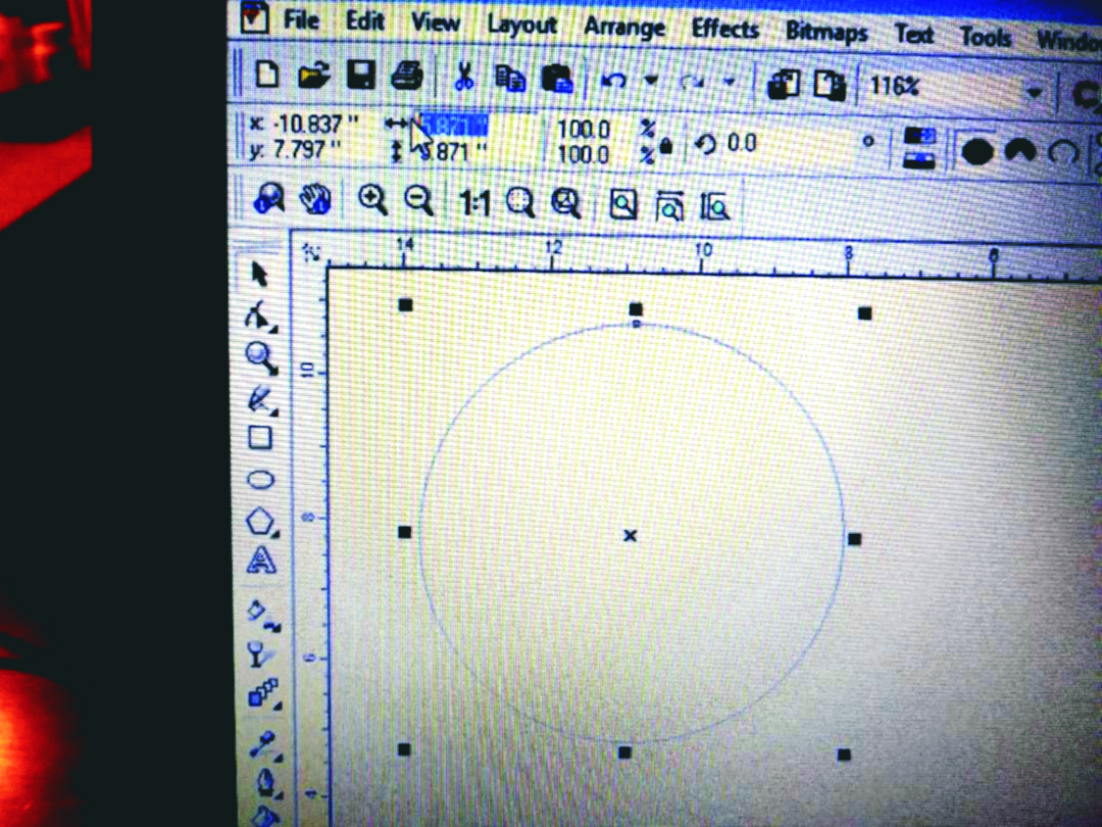
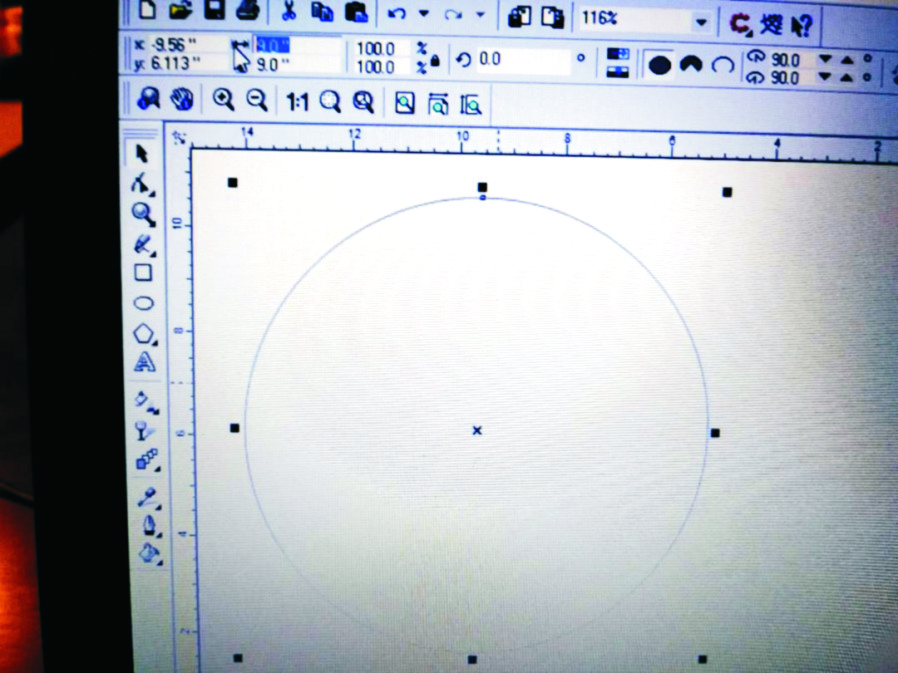
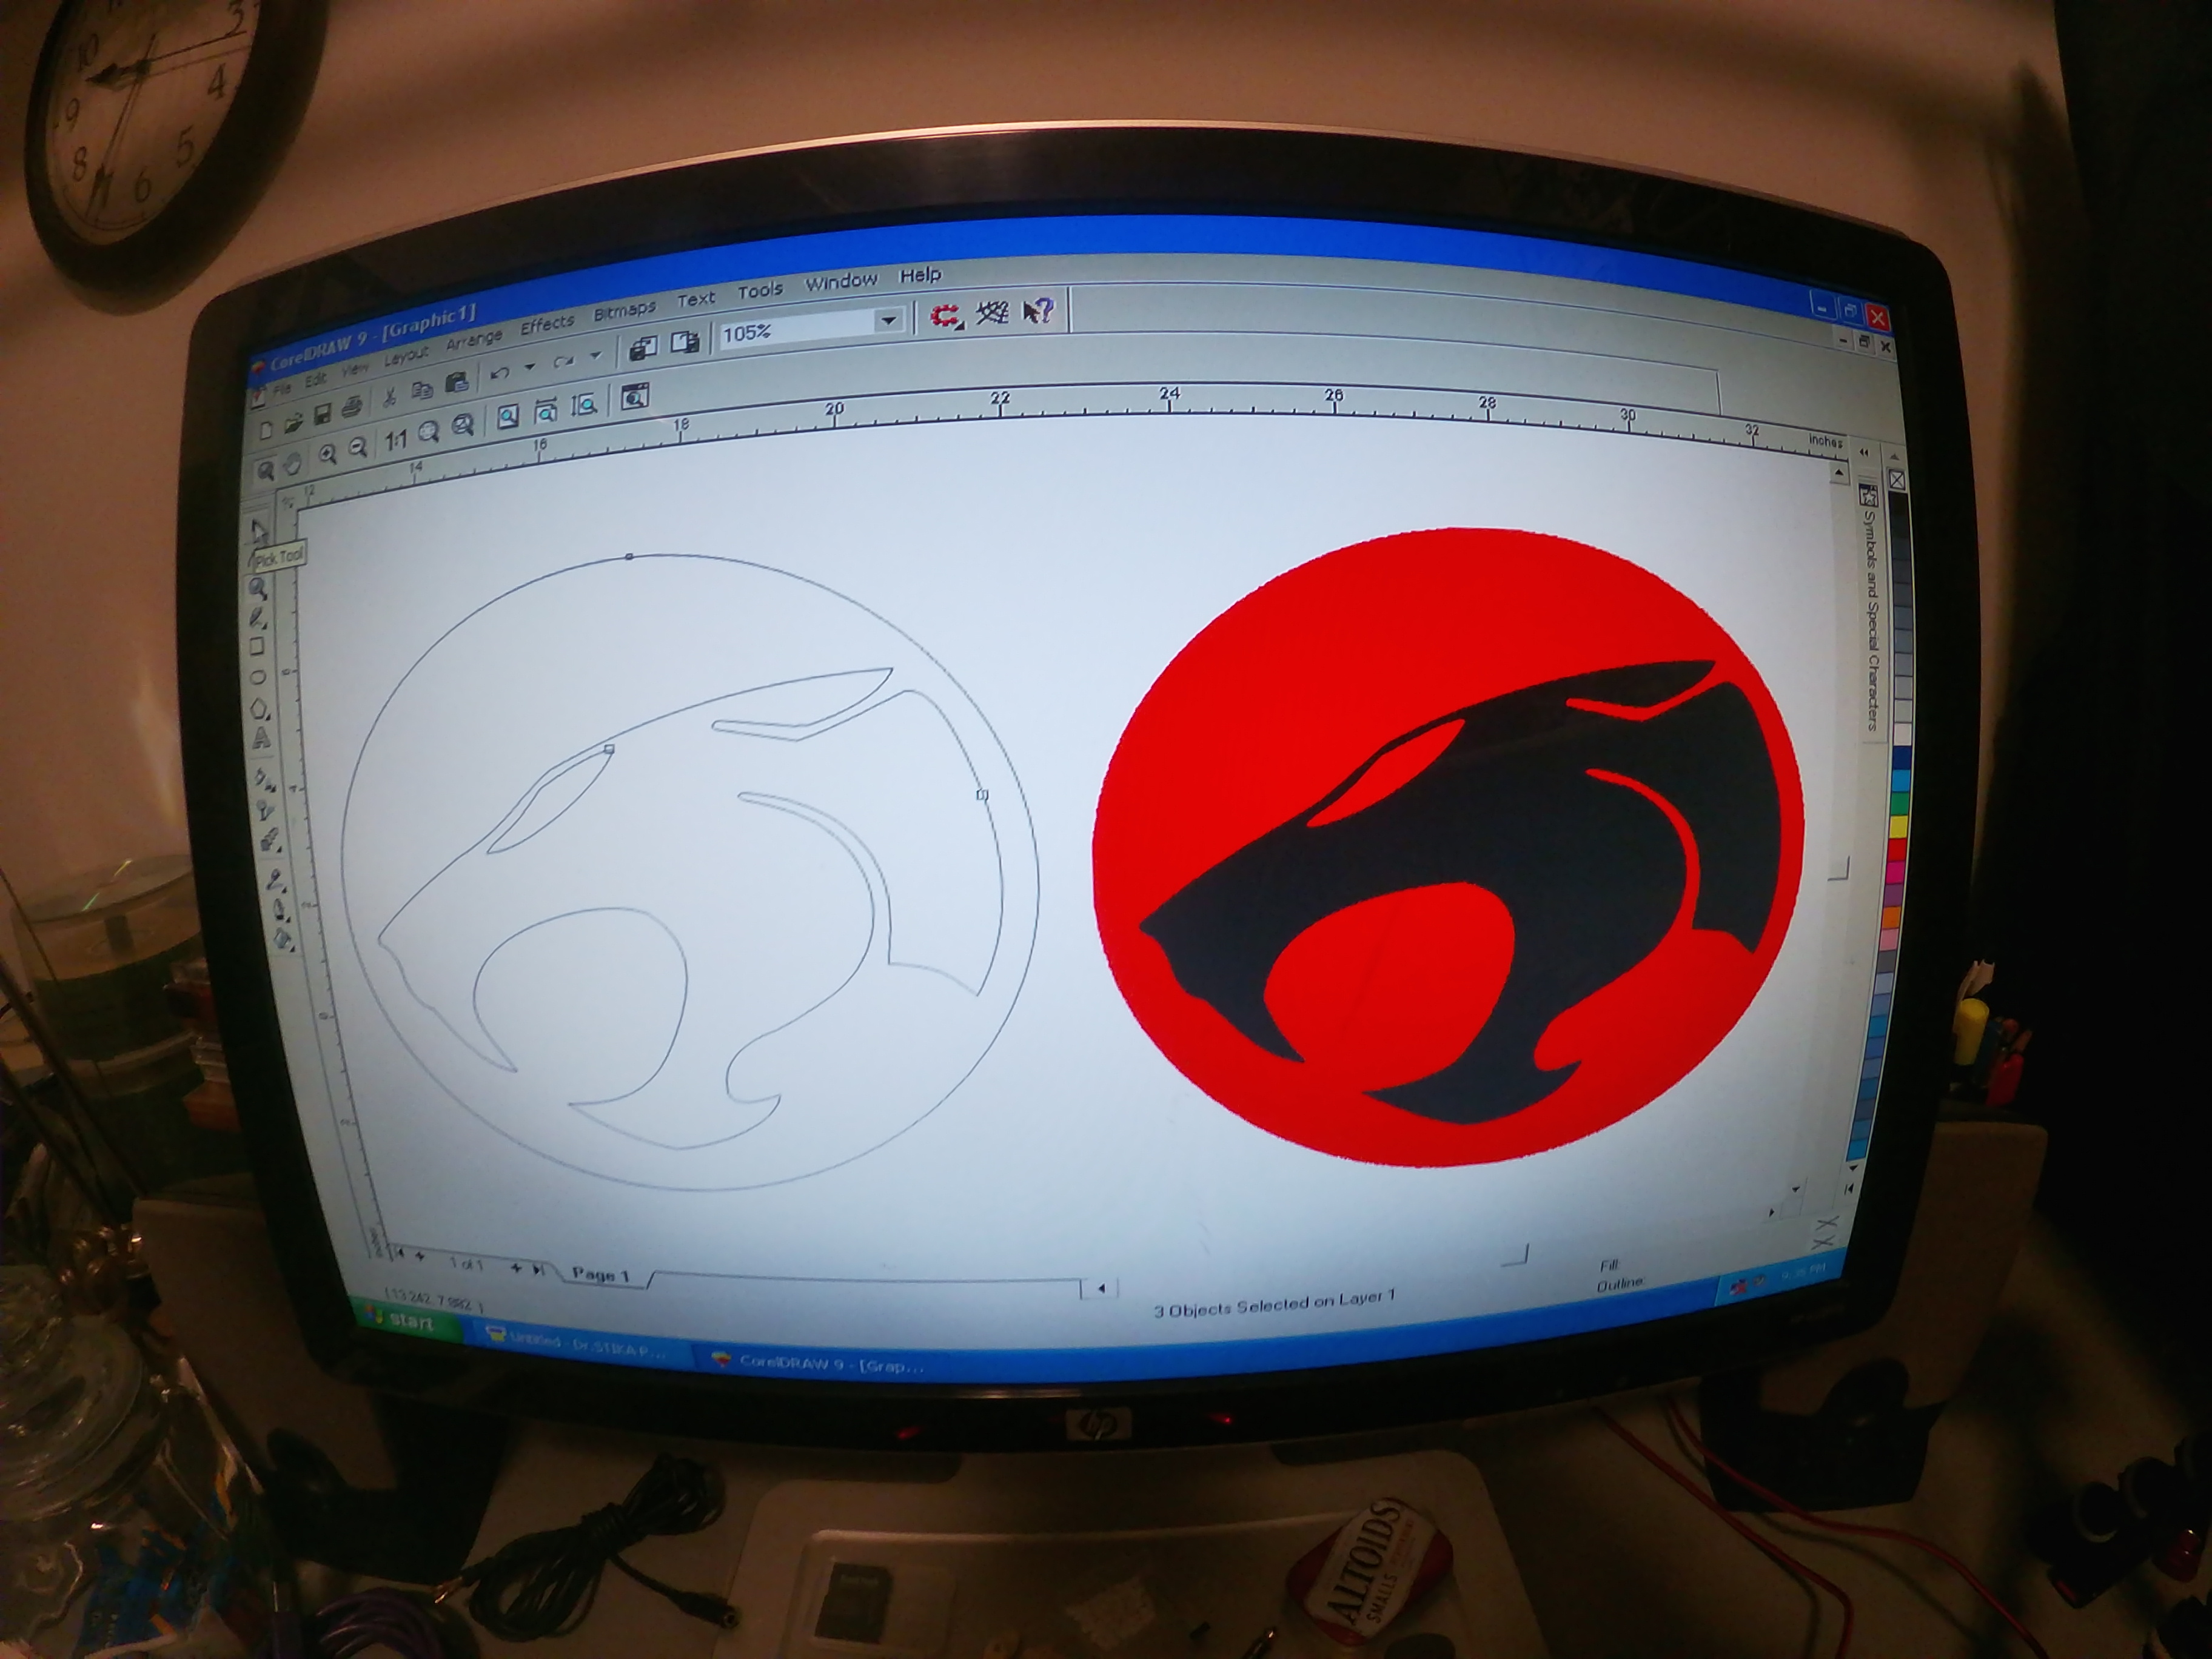

(I've placed little side note into each image so make sure you look at those)
- So I took the downloaded image of the logo and imported it into CorelDraw because it was downloaded as a jpeg. file.
- Initially I tried to do a trace in Corel but since the image was jagged even after bumping up the D.P.I. I decided to just go ahead and re-draw it by hand using the tools available in the software. It was a quick ten minute job and gave me perfect, clean lines.
- Using a simple square shape, and converting that square into "curves" in order to make the shape work-able, I used the "shape tool" to add points by double clicking on a line which adds points and "anchors" which you can grab with the shape tool and once placed in certain points, can then be selected by clicking once on a line and grabbing the shape tool + selecting in the "tools" area to "convert line to curve"
- Once curves are created then you can grab anchors or (for lack of a better word) "handles" and shape the curve in the direction needed. (Hopefully this makes some kind of sense)
- Continue to re-draw the design to your liking and once you've finished the first part of the design, don't forget to add the eye section doing the same and finally adding a circle around the design.
- A perfect circle can be added by selecting the "ellipse tool" and holding down the Shift+Ctrl key and the left mouse button and dragging out a circle. The size doesn't matter because we will assign the size according to what the size is in the original design. In this case it was a 9" circle so we go into the "object size" and enter 9.0". Since the "non-proportional scaling/ sizing ratio" (the small padlock icon) is in the "locked" position the size will remain proportional so only one dimension is needed, if it were "unlocked" the image would only grow or shrink in one direction so you would end up with an actual oval.
- So our design is complete and clean now. Select the entire image and "copy" the image onto the clipboard.
Cut the Design
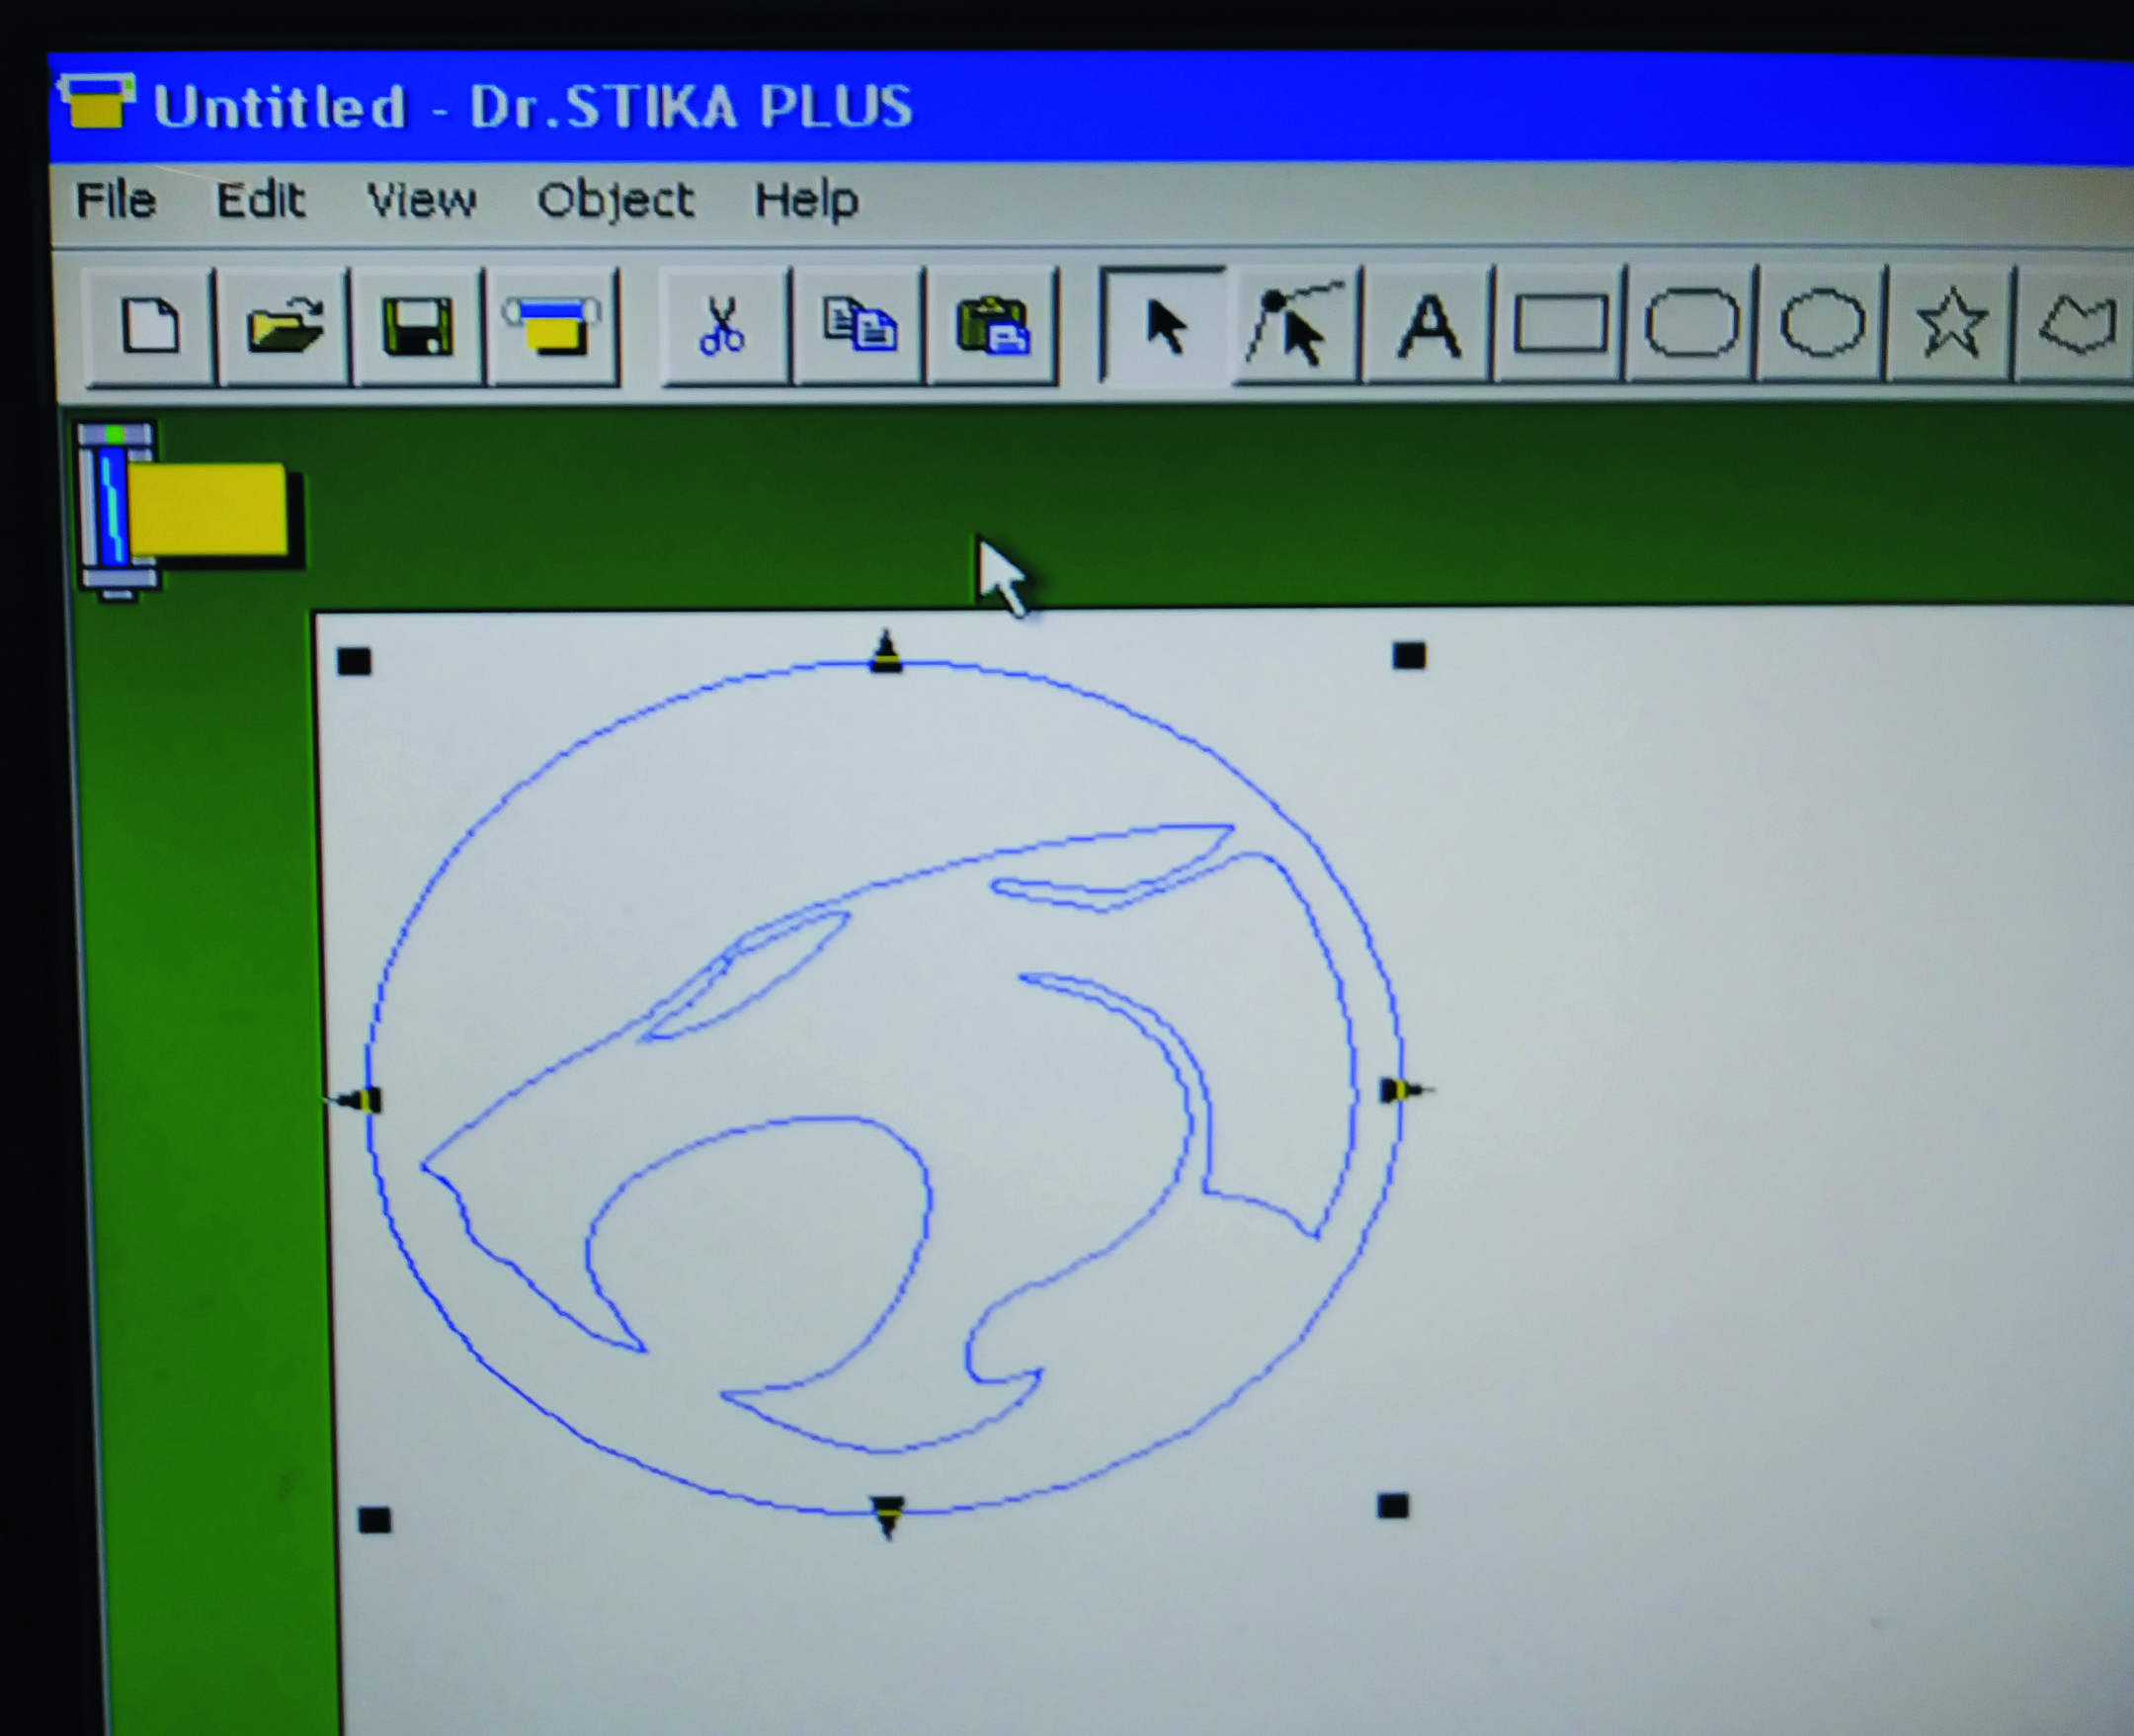
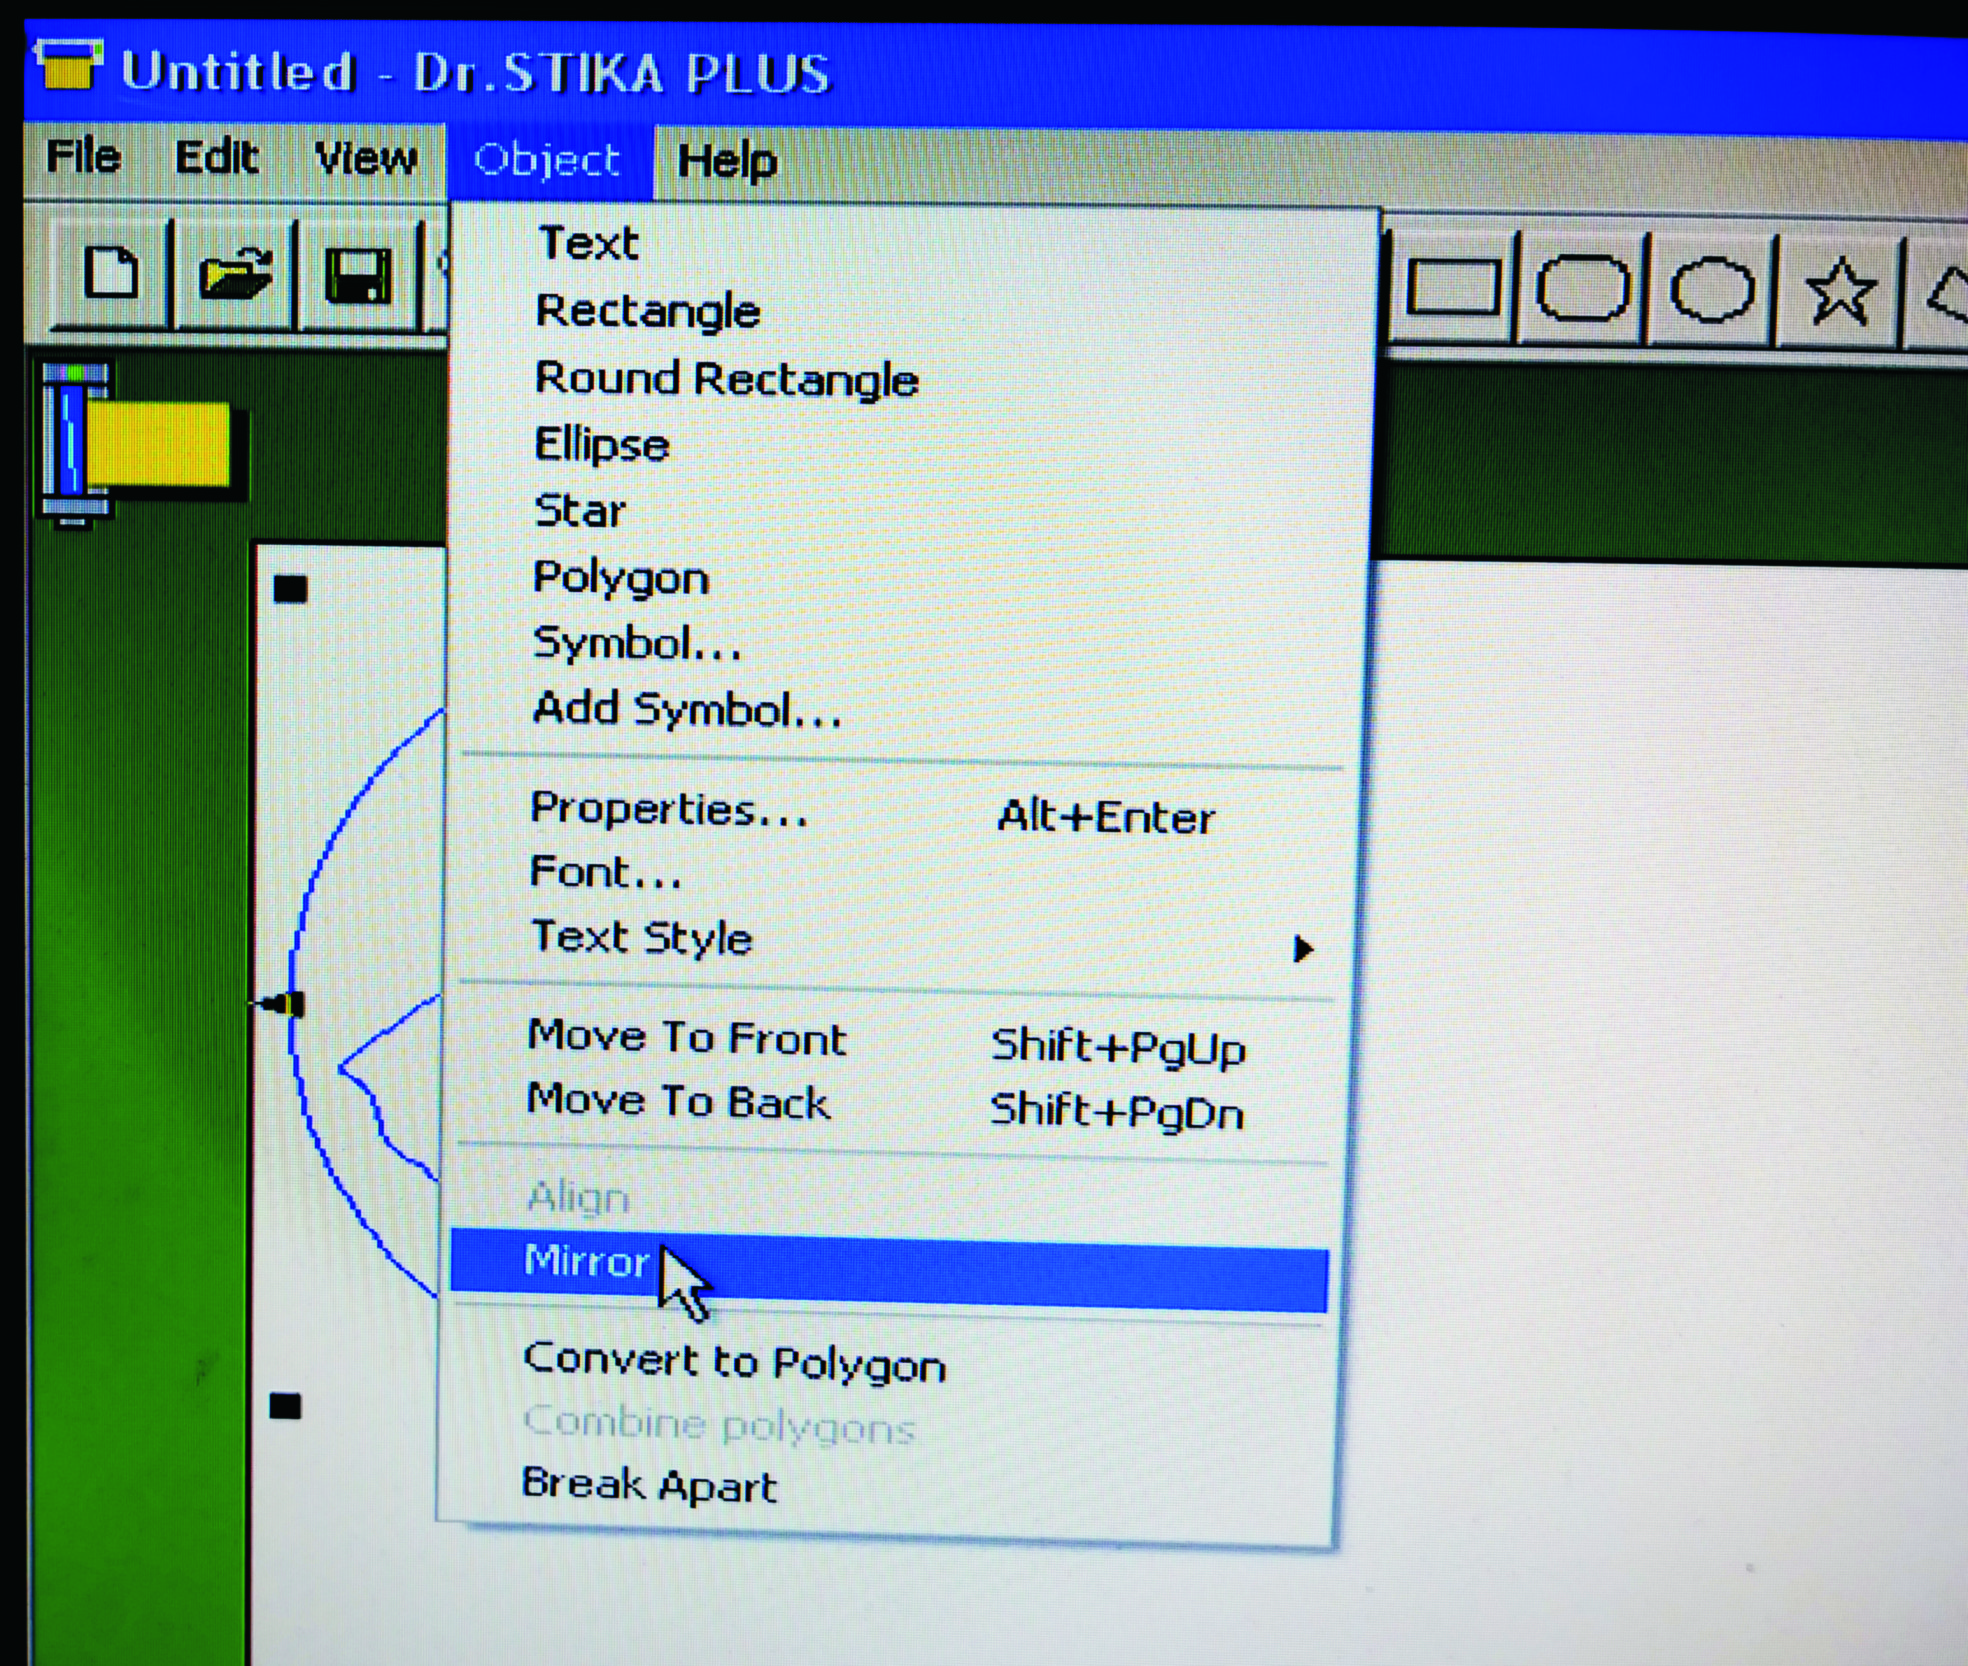
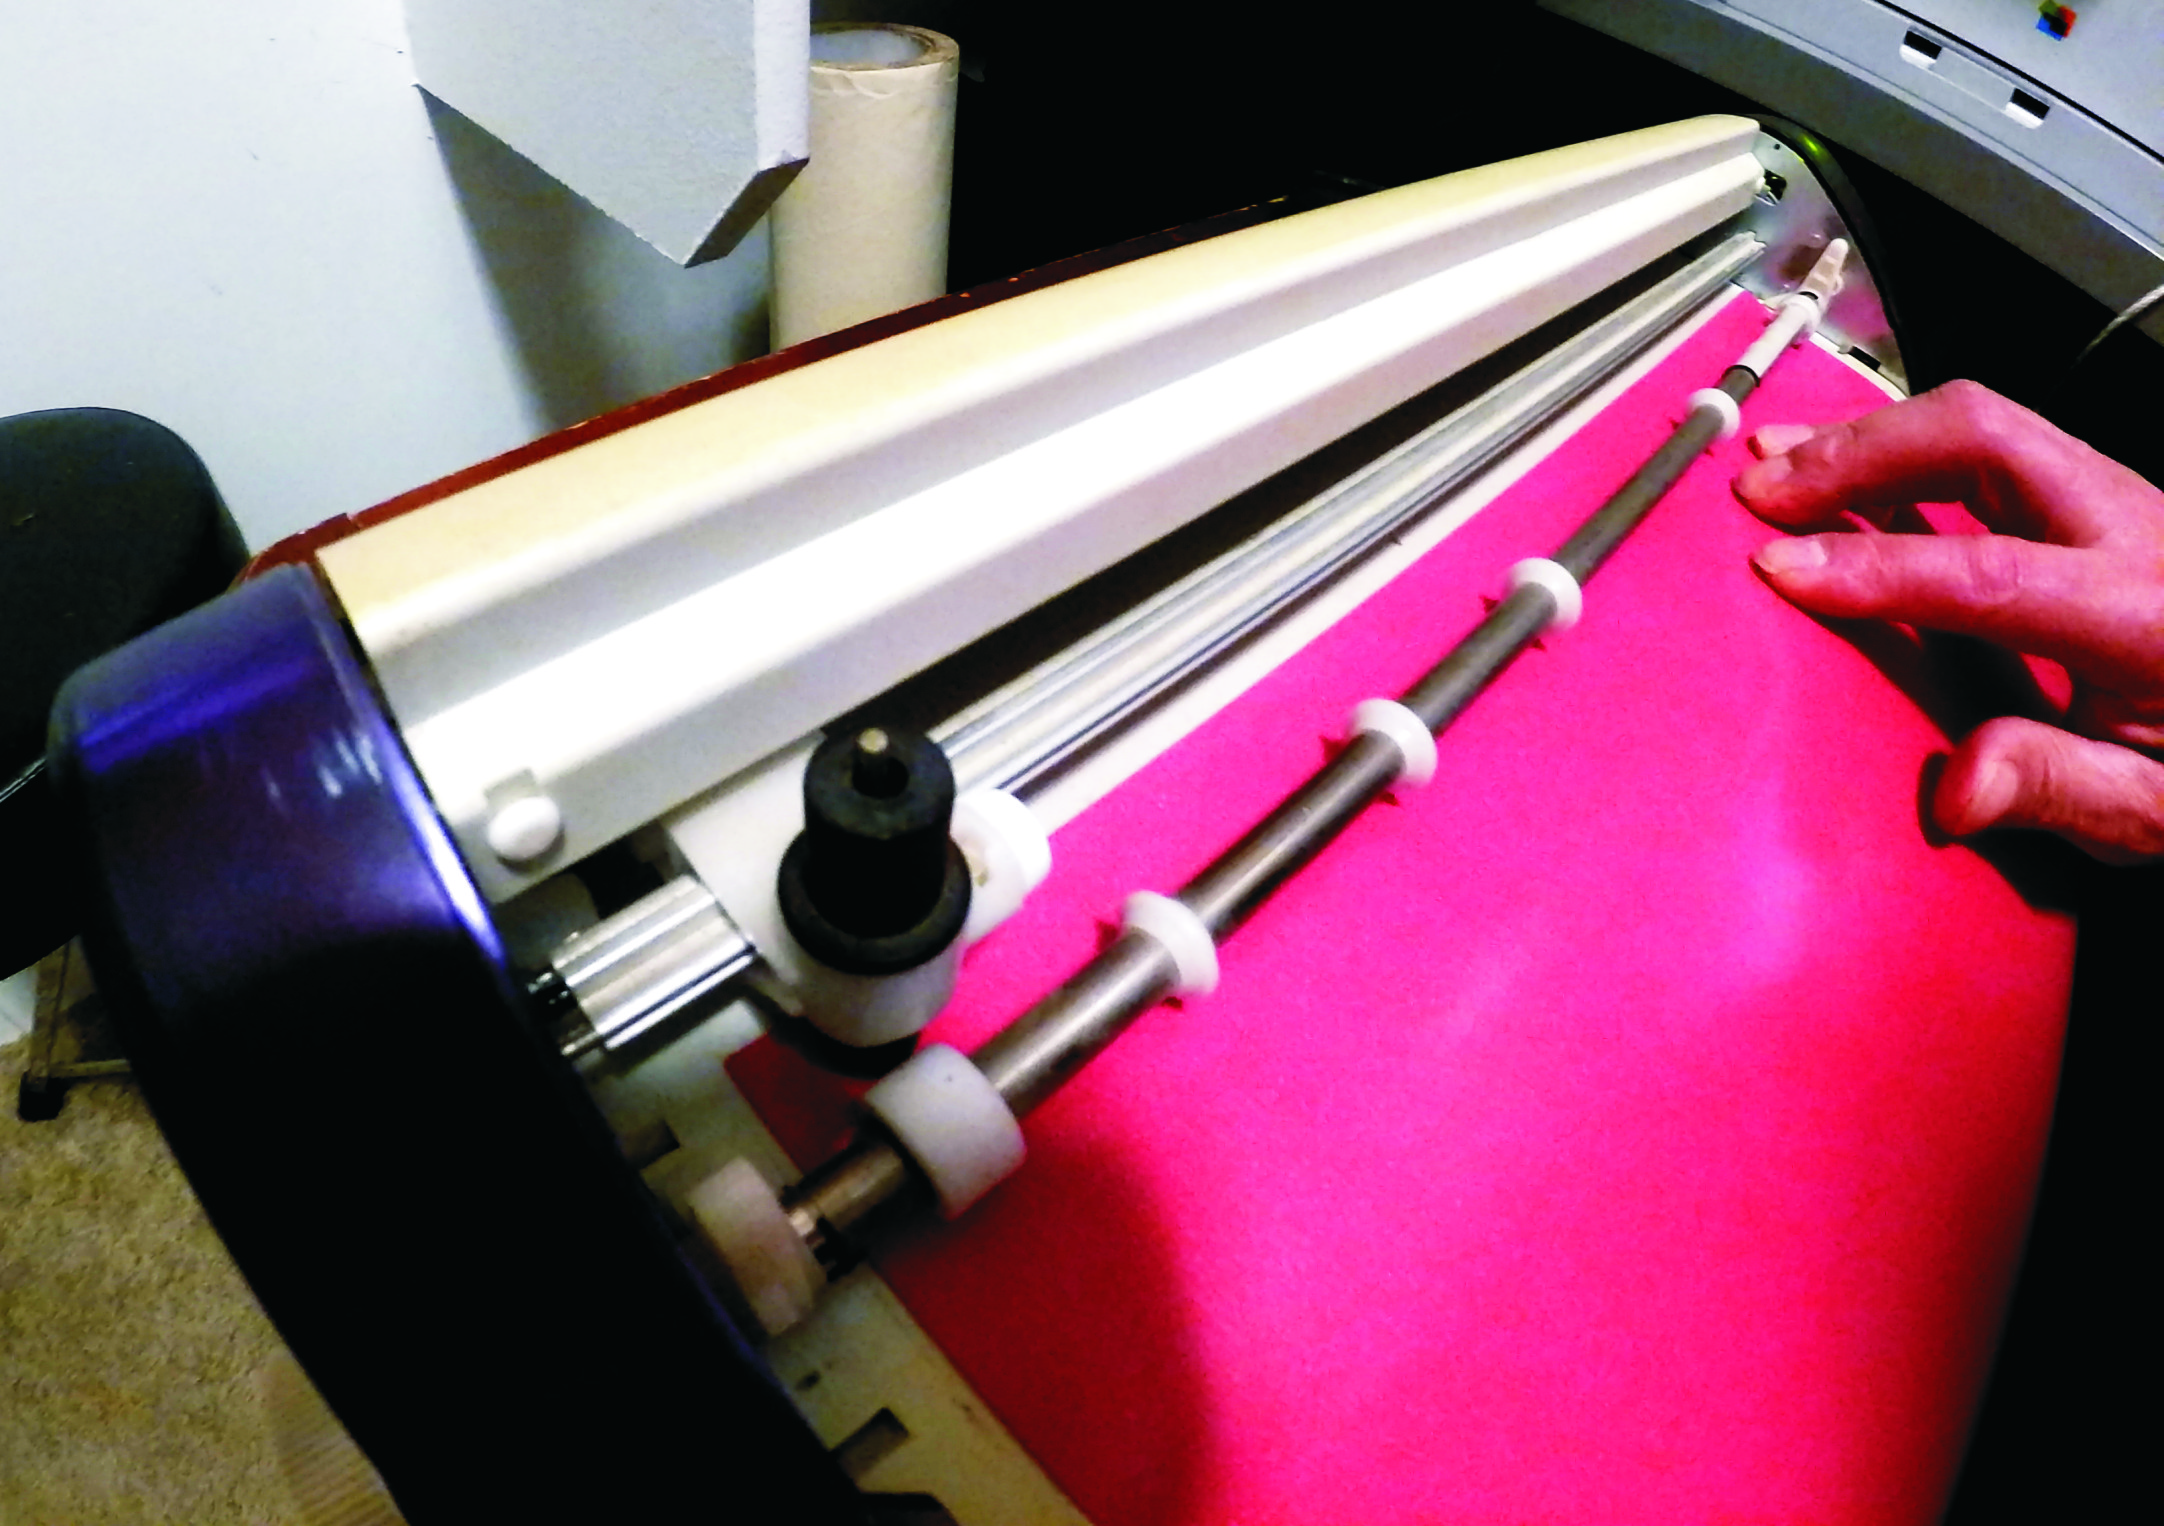
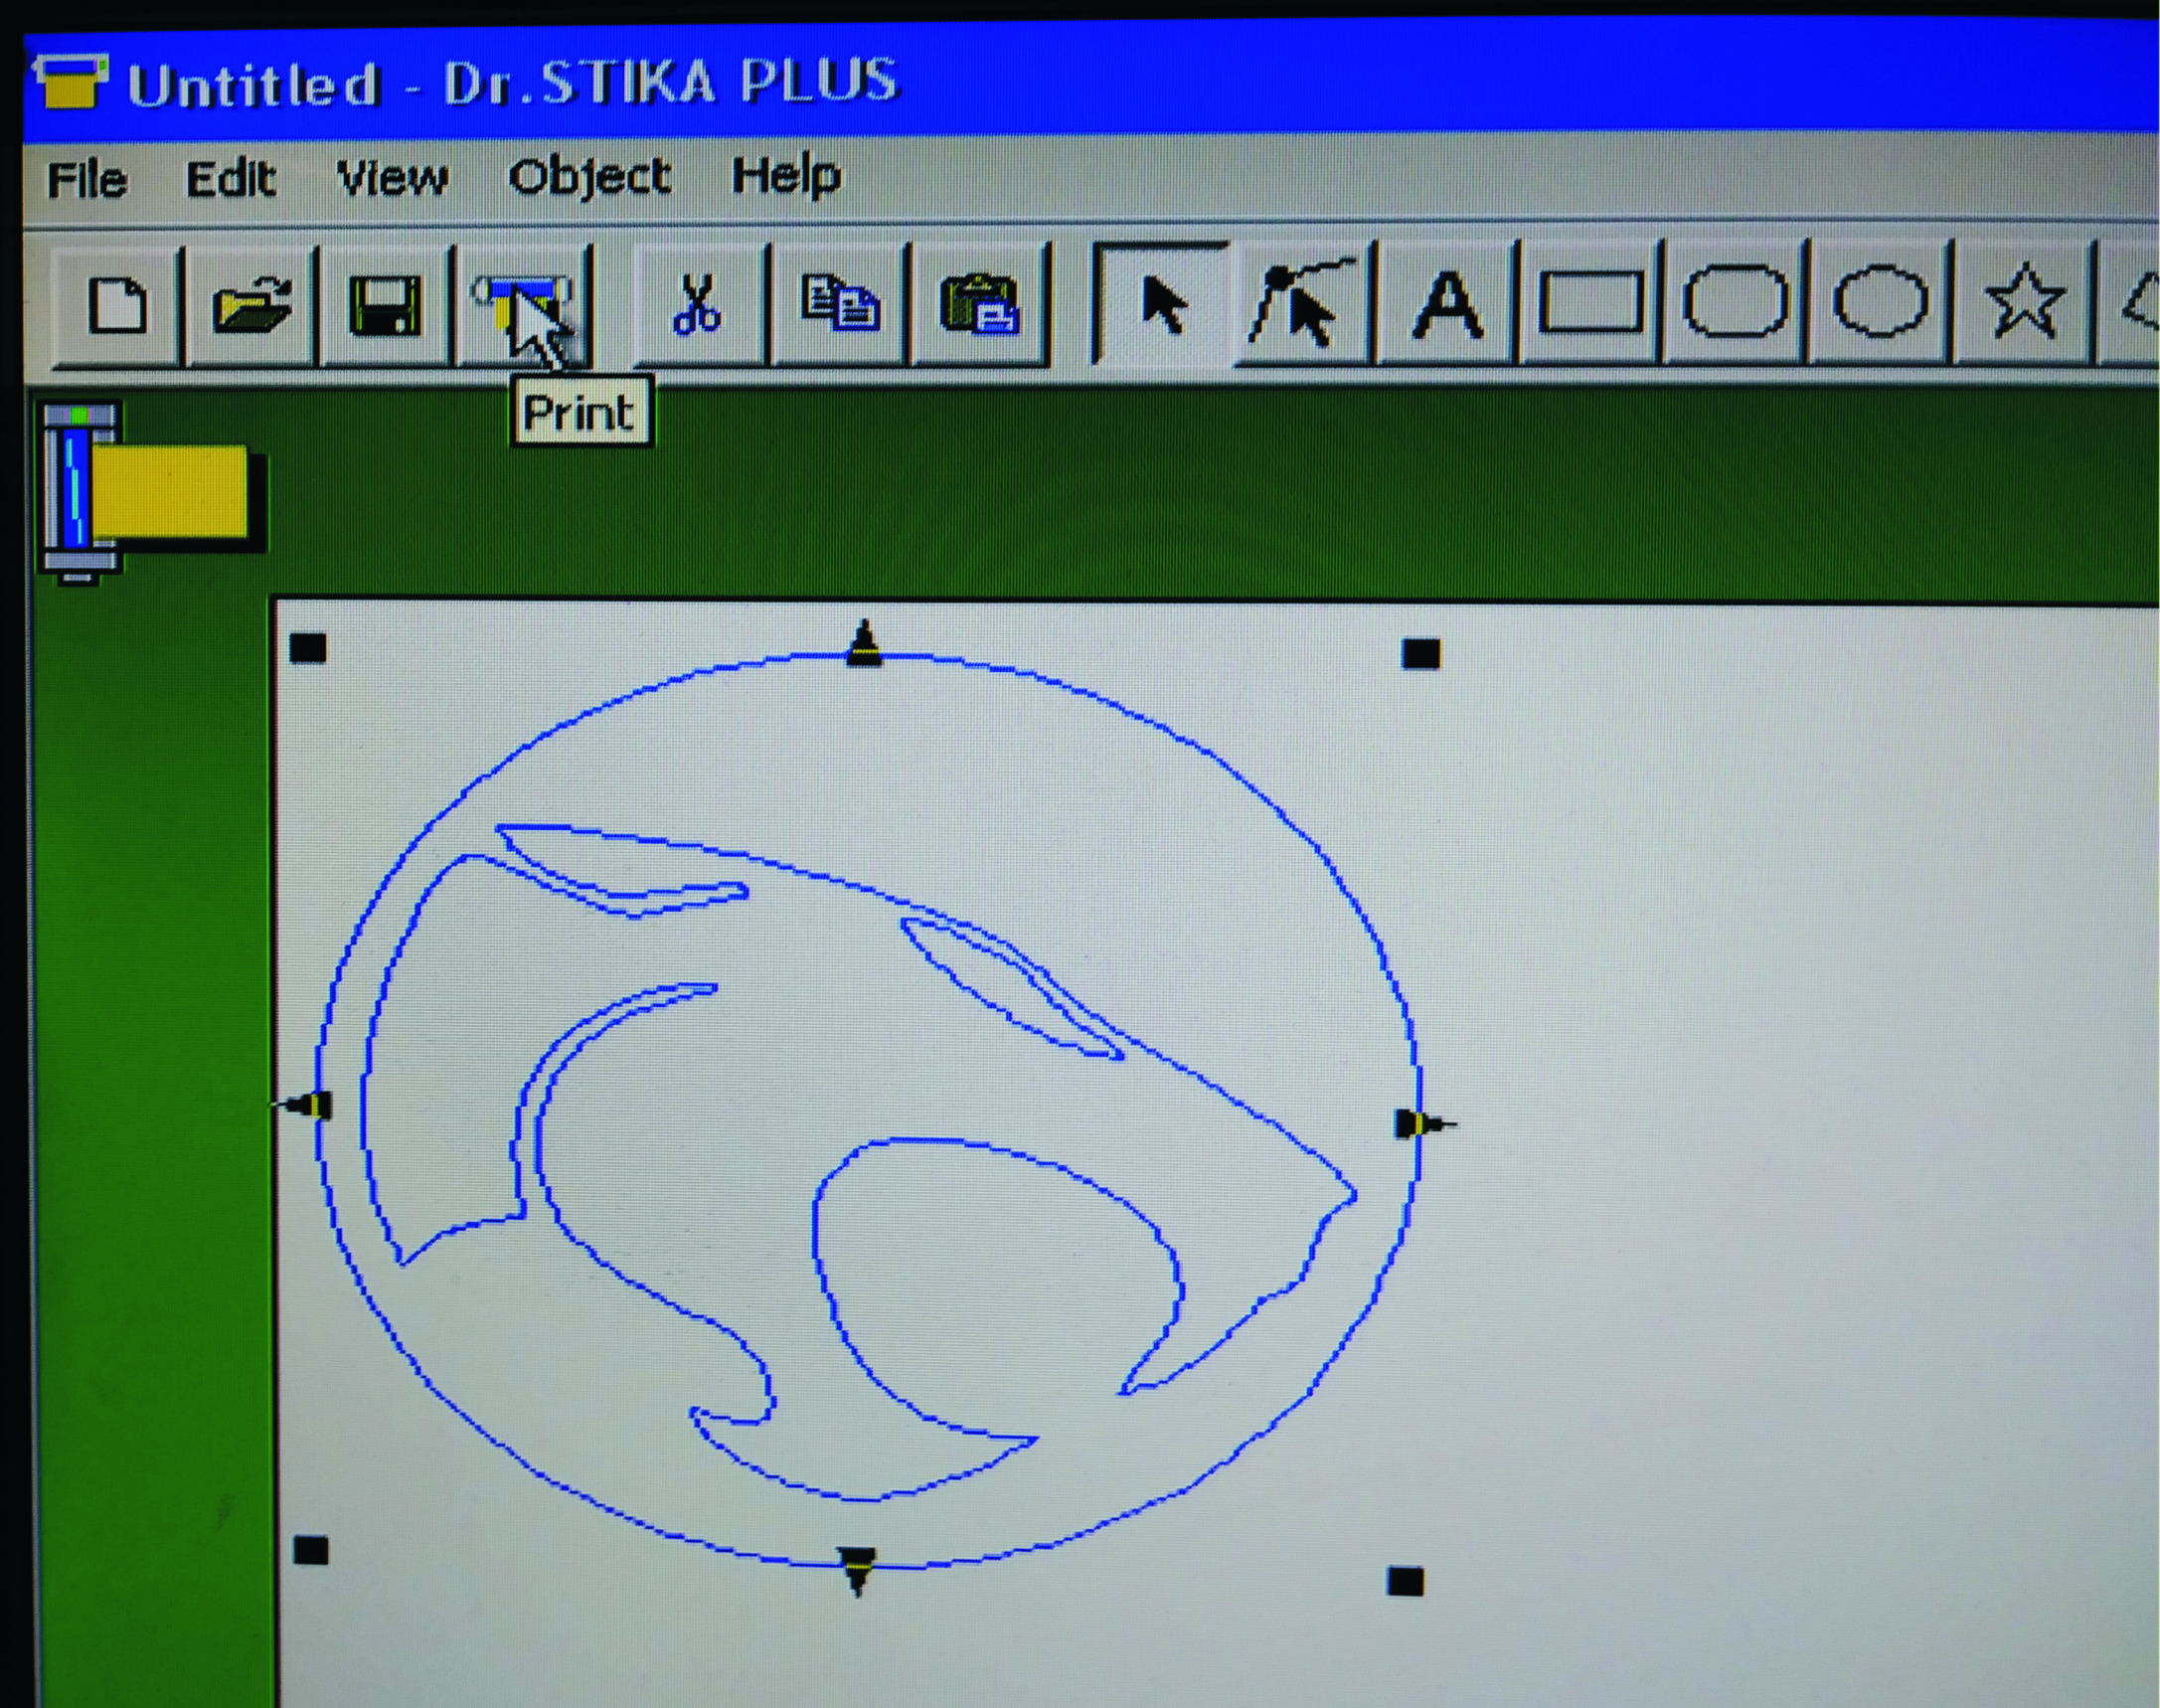
Now that you have copied the design in Corel onto the clipboard...
In Dr. Stika or whichever vinyl plotter software and plotter you have, paste the design onto the working surface of the software.
We have sized the logo up previously to 9" but just ensure that the logo is still the same size as the original design of the "dead shirt" which was 9"
Please,Please, PLEASE don't forget to "mirror" the image because we have to cut it in reverse as the "working" surface of the material is facing out of the heat transfer material.
Next, we load the material into the vinyl plotter (REMEMBER to put the matte side of the material facing up) ensuring that it goes in straight and keeping it as centered as possible in the plotter to make sure the material doesn't hit the locks on either side of the cutting bed.
And now we simply click on the "printer icon" and once the printer selection screen pops up, make sure the plotter/cutter is correct and then, FINALLY, click on cut/print/ok/do it already!!!
Weeding, Transferring and Finishing
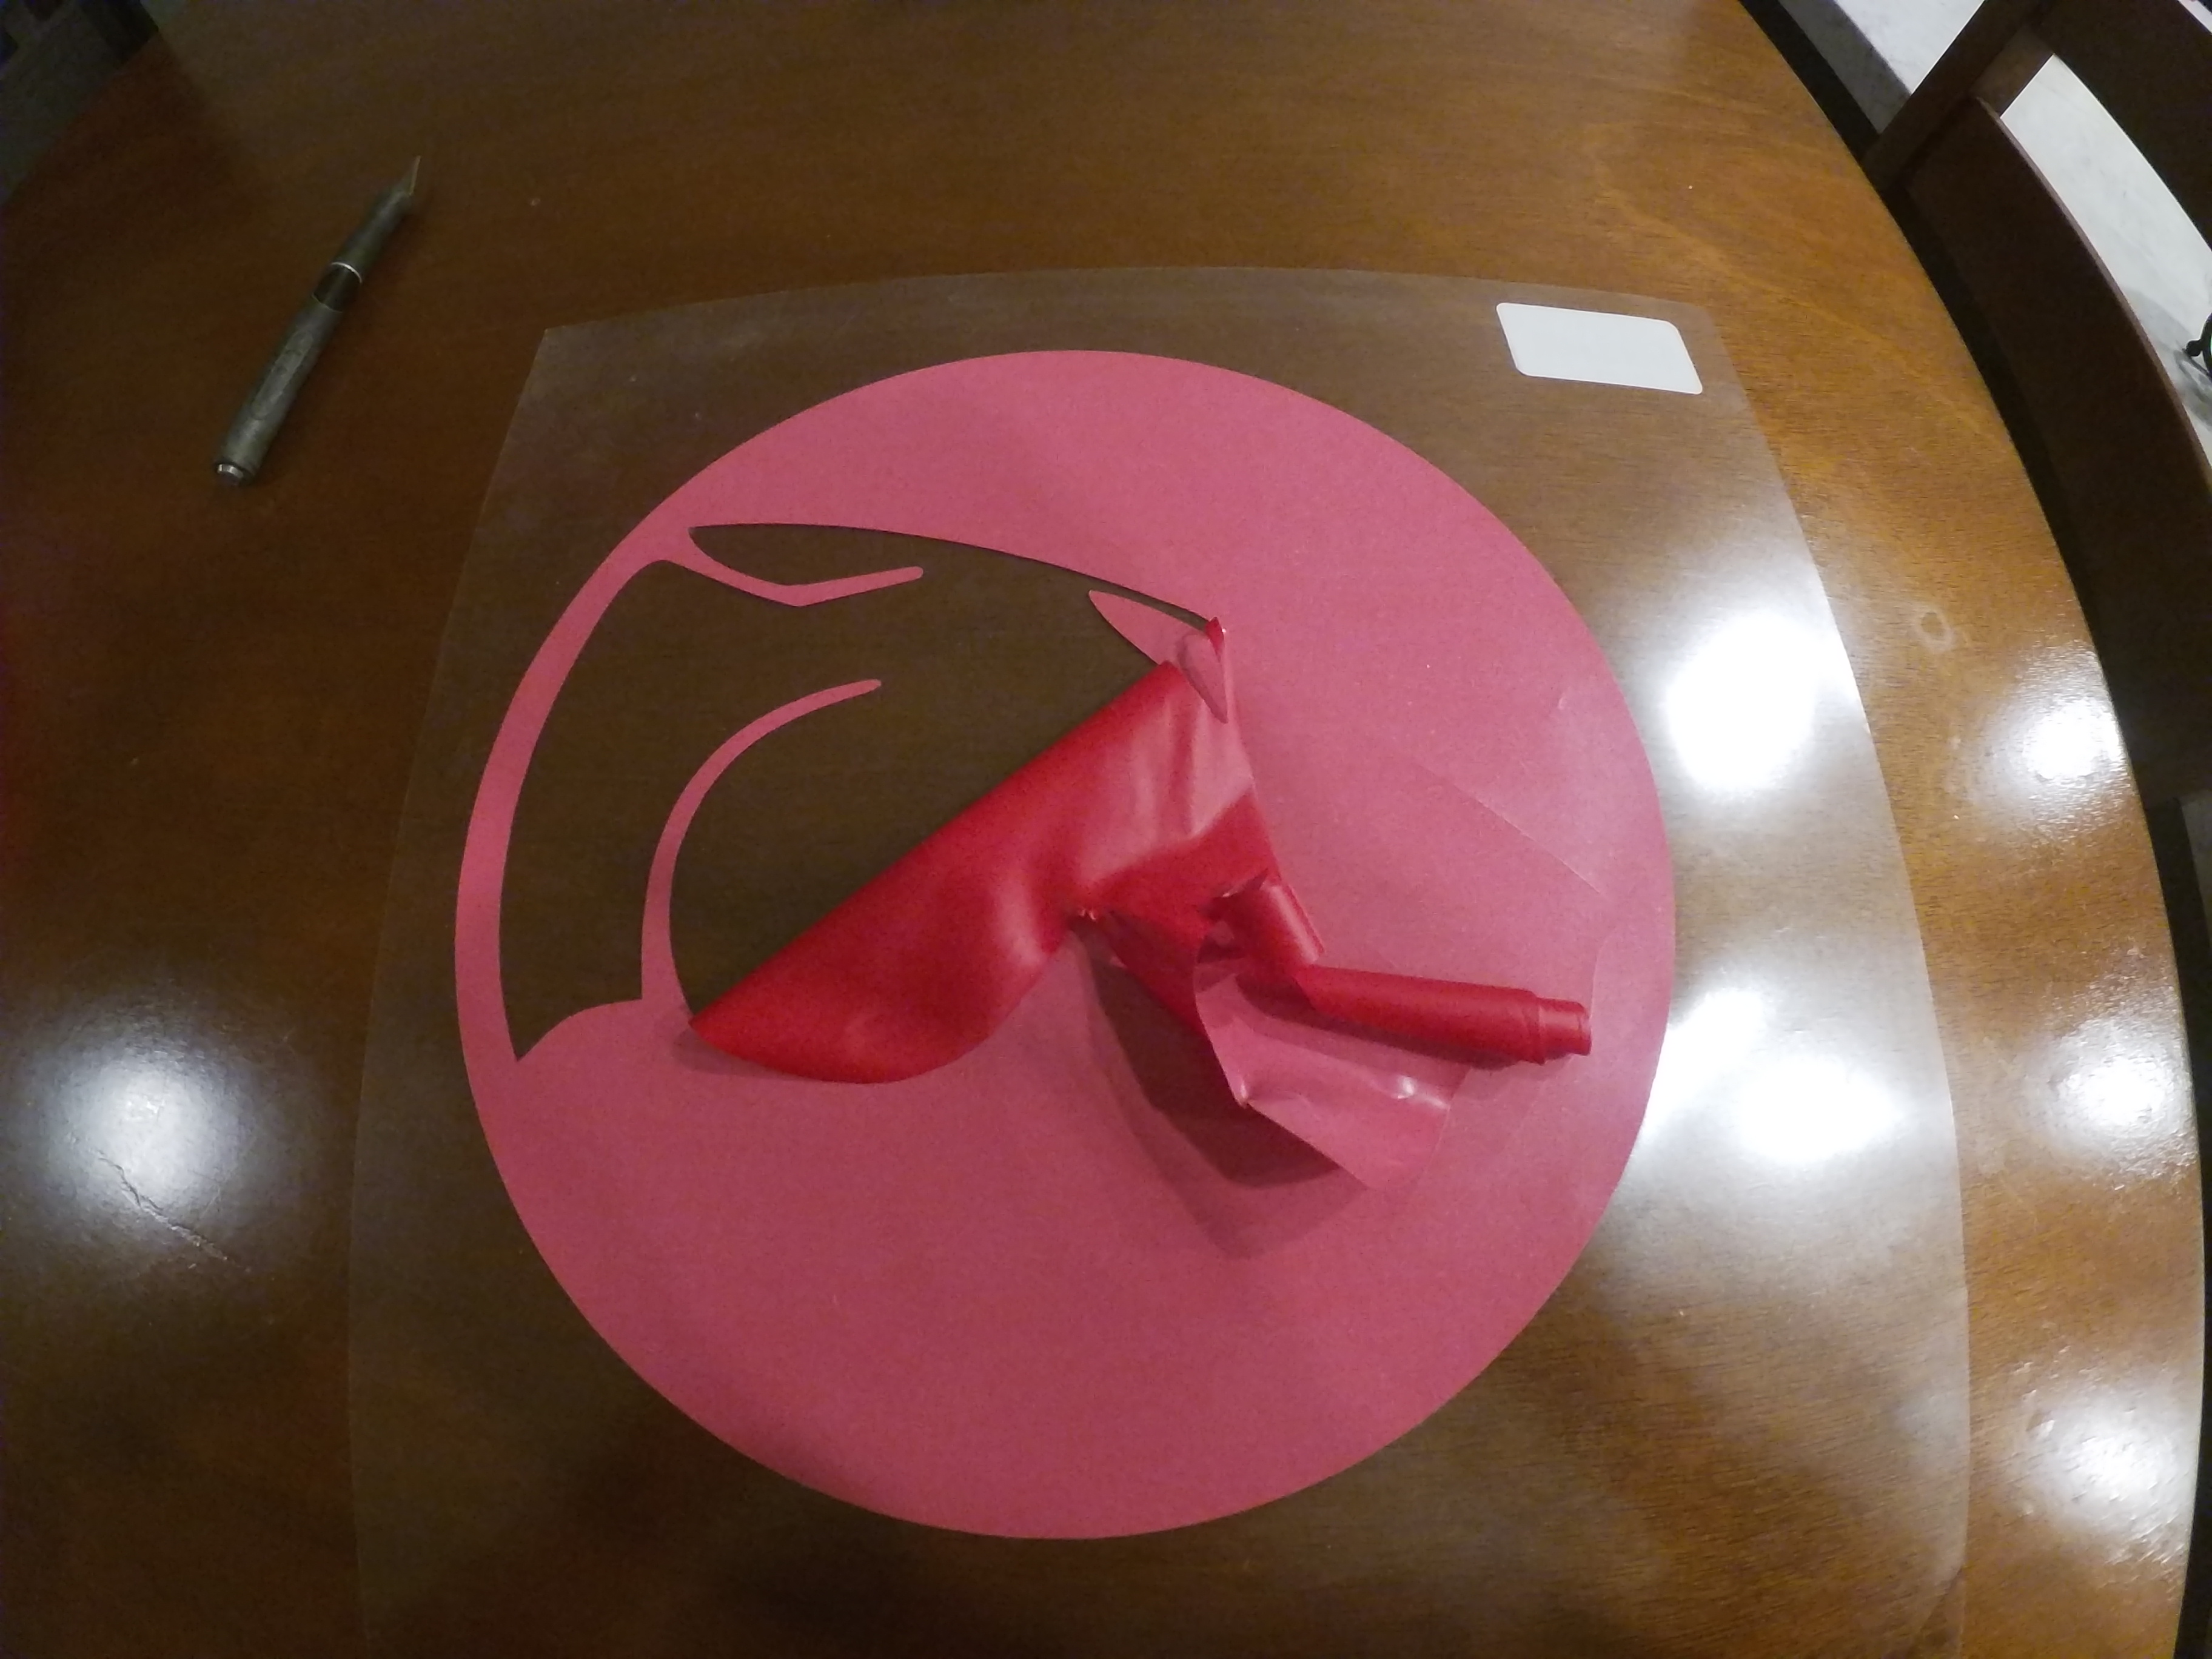
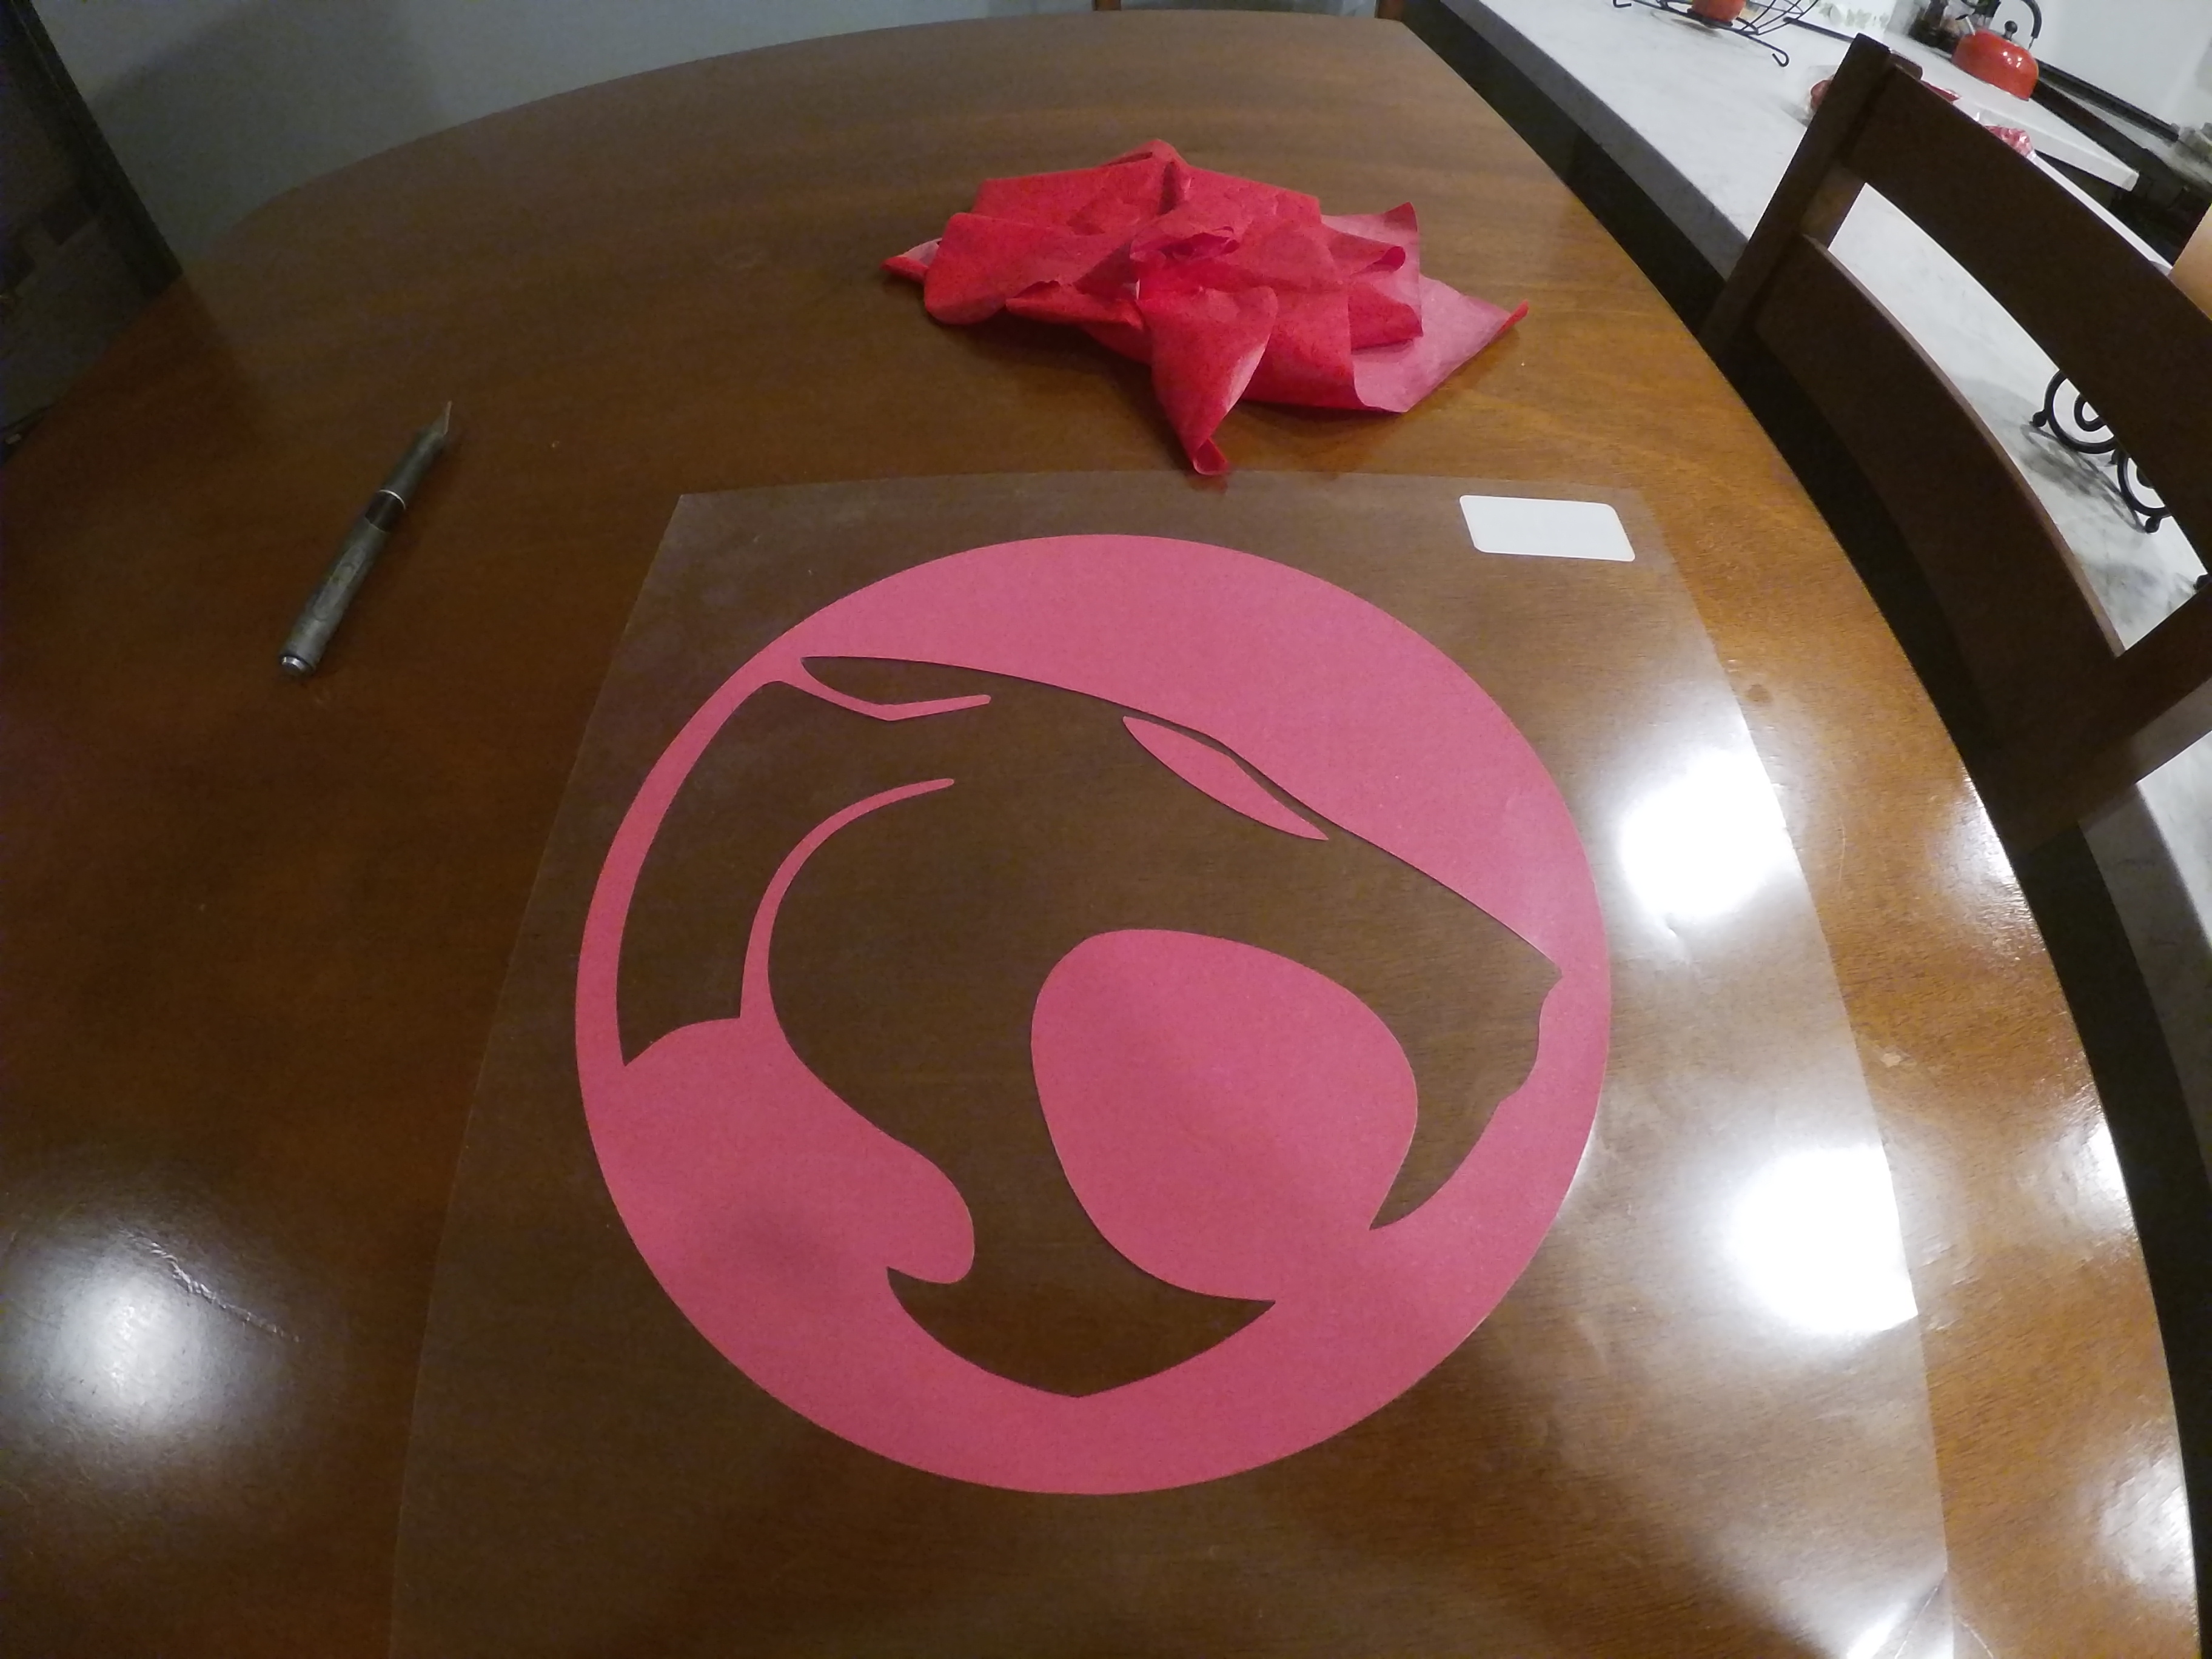

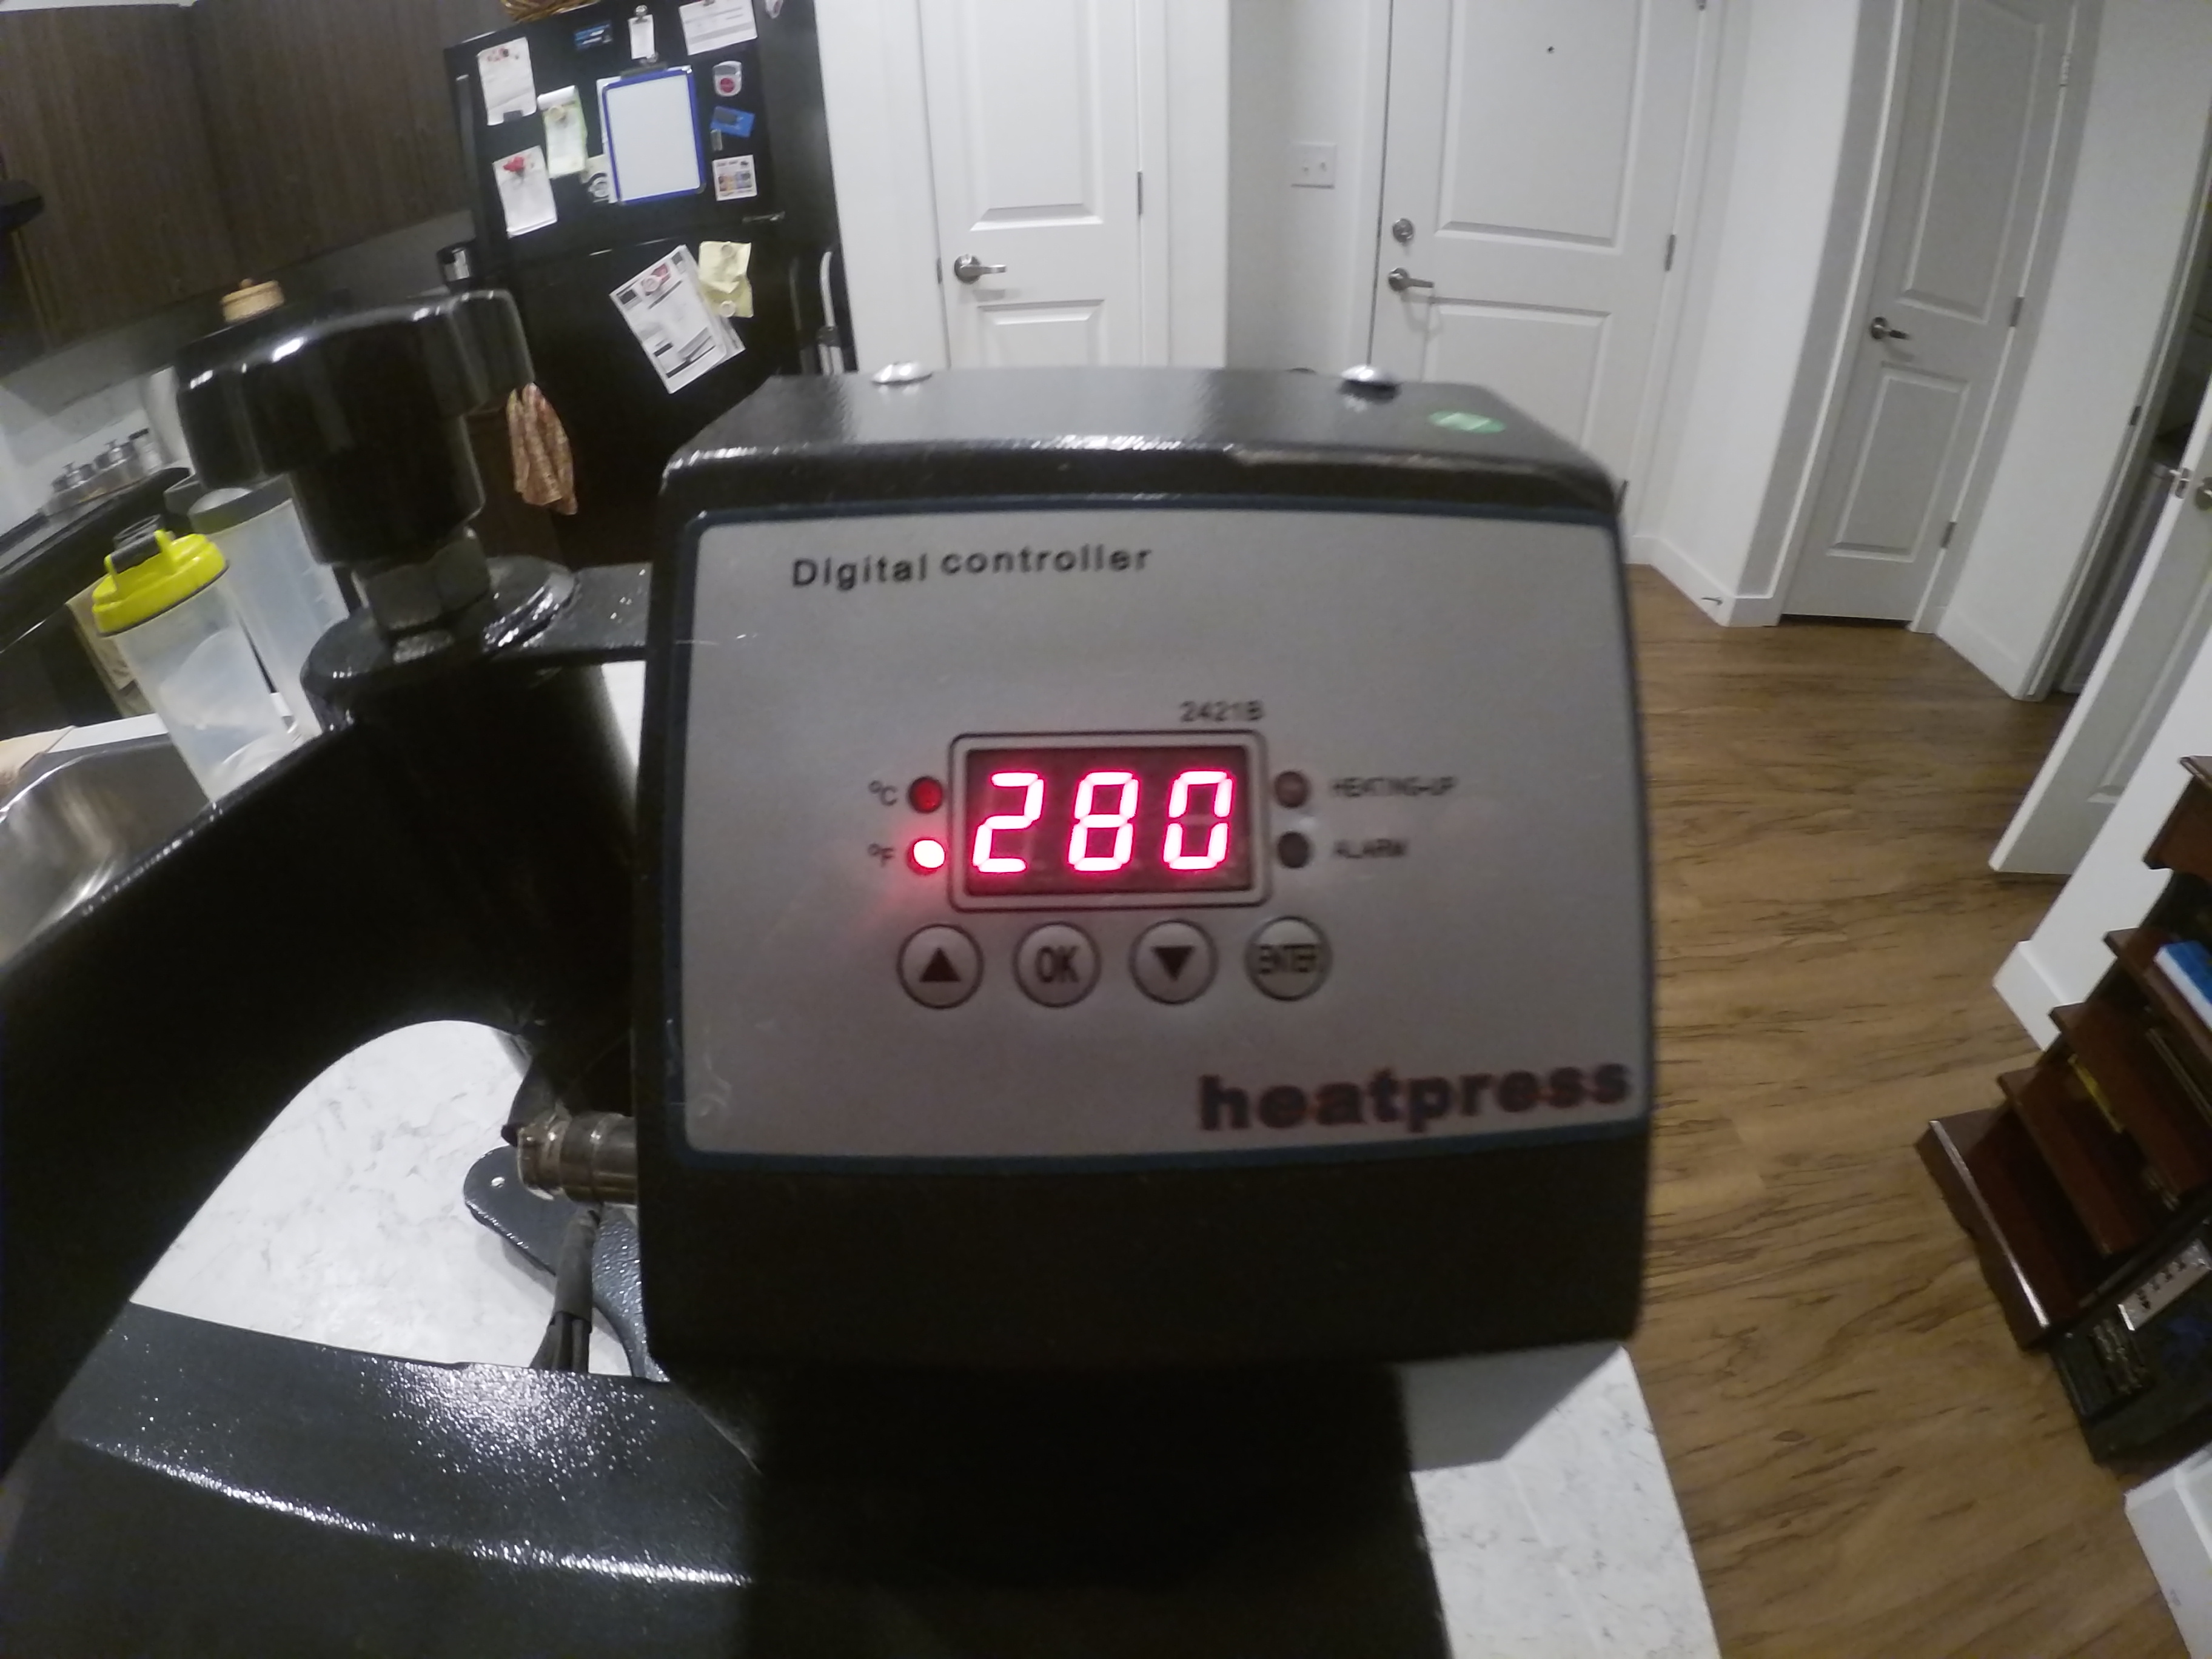
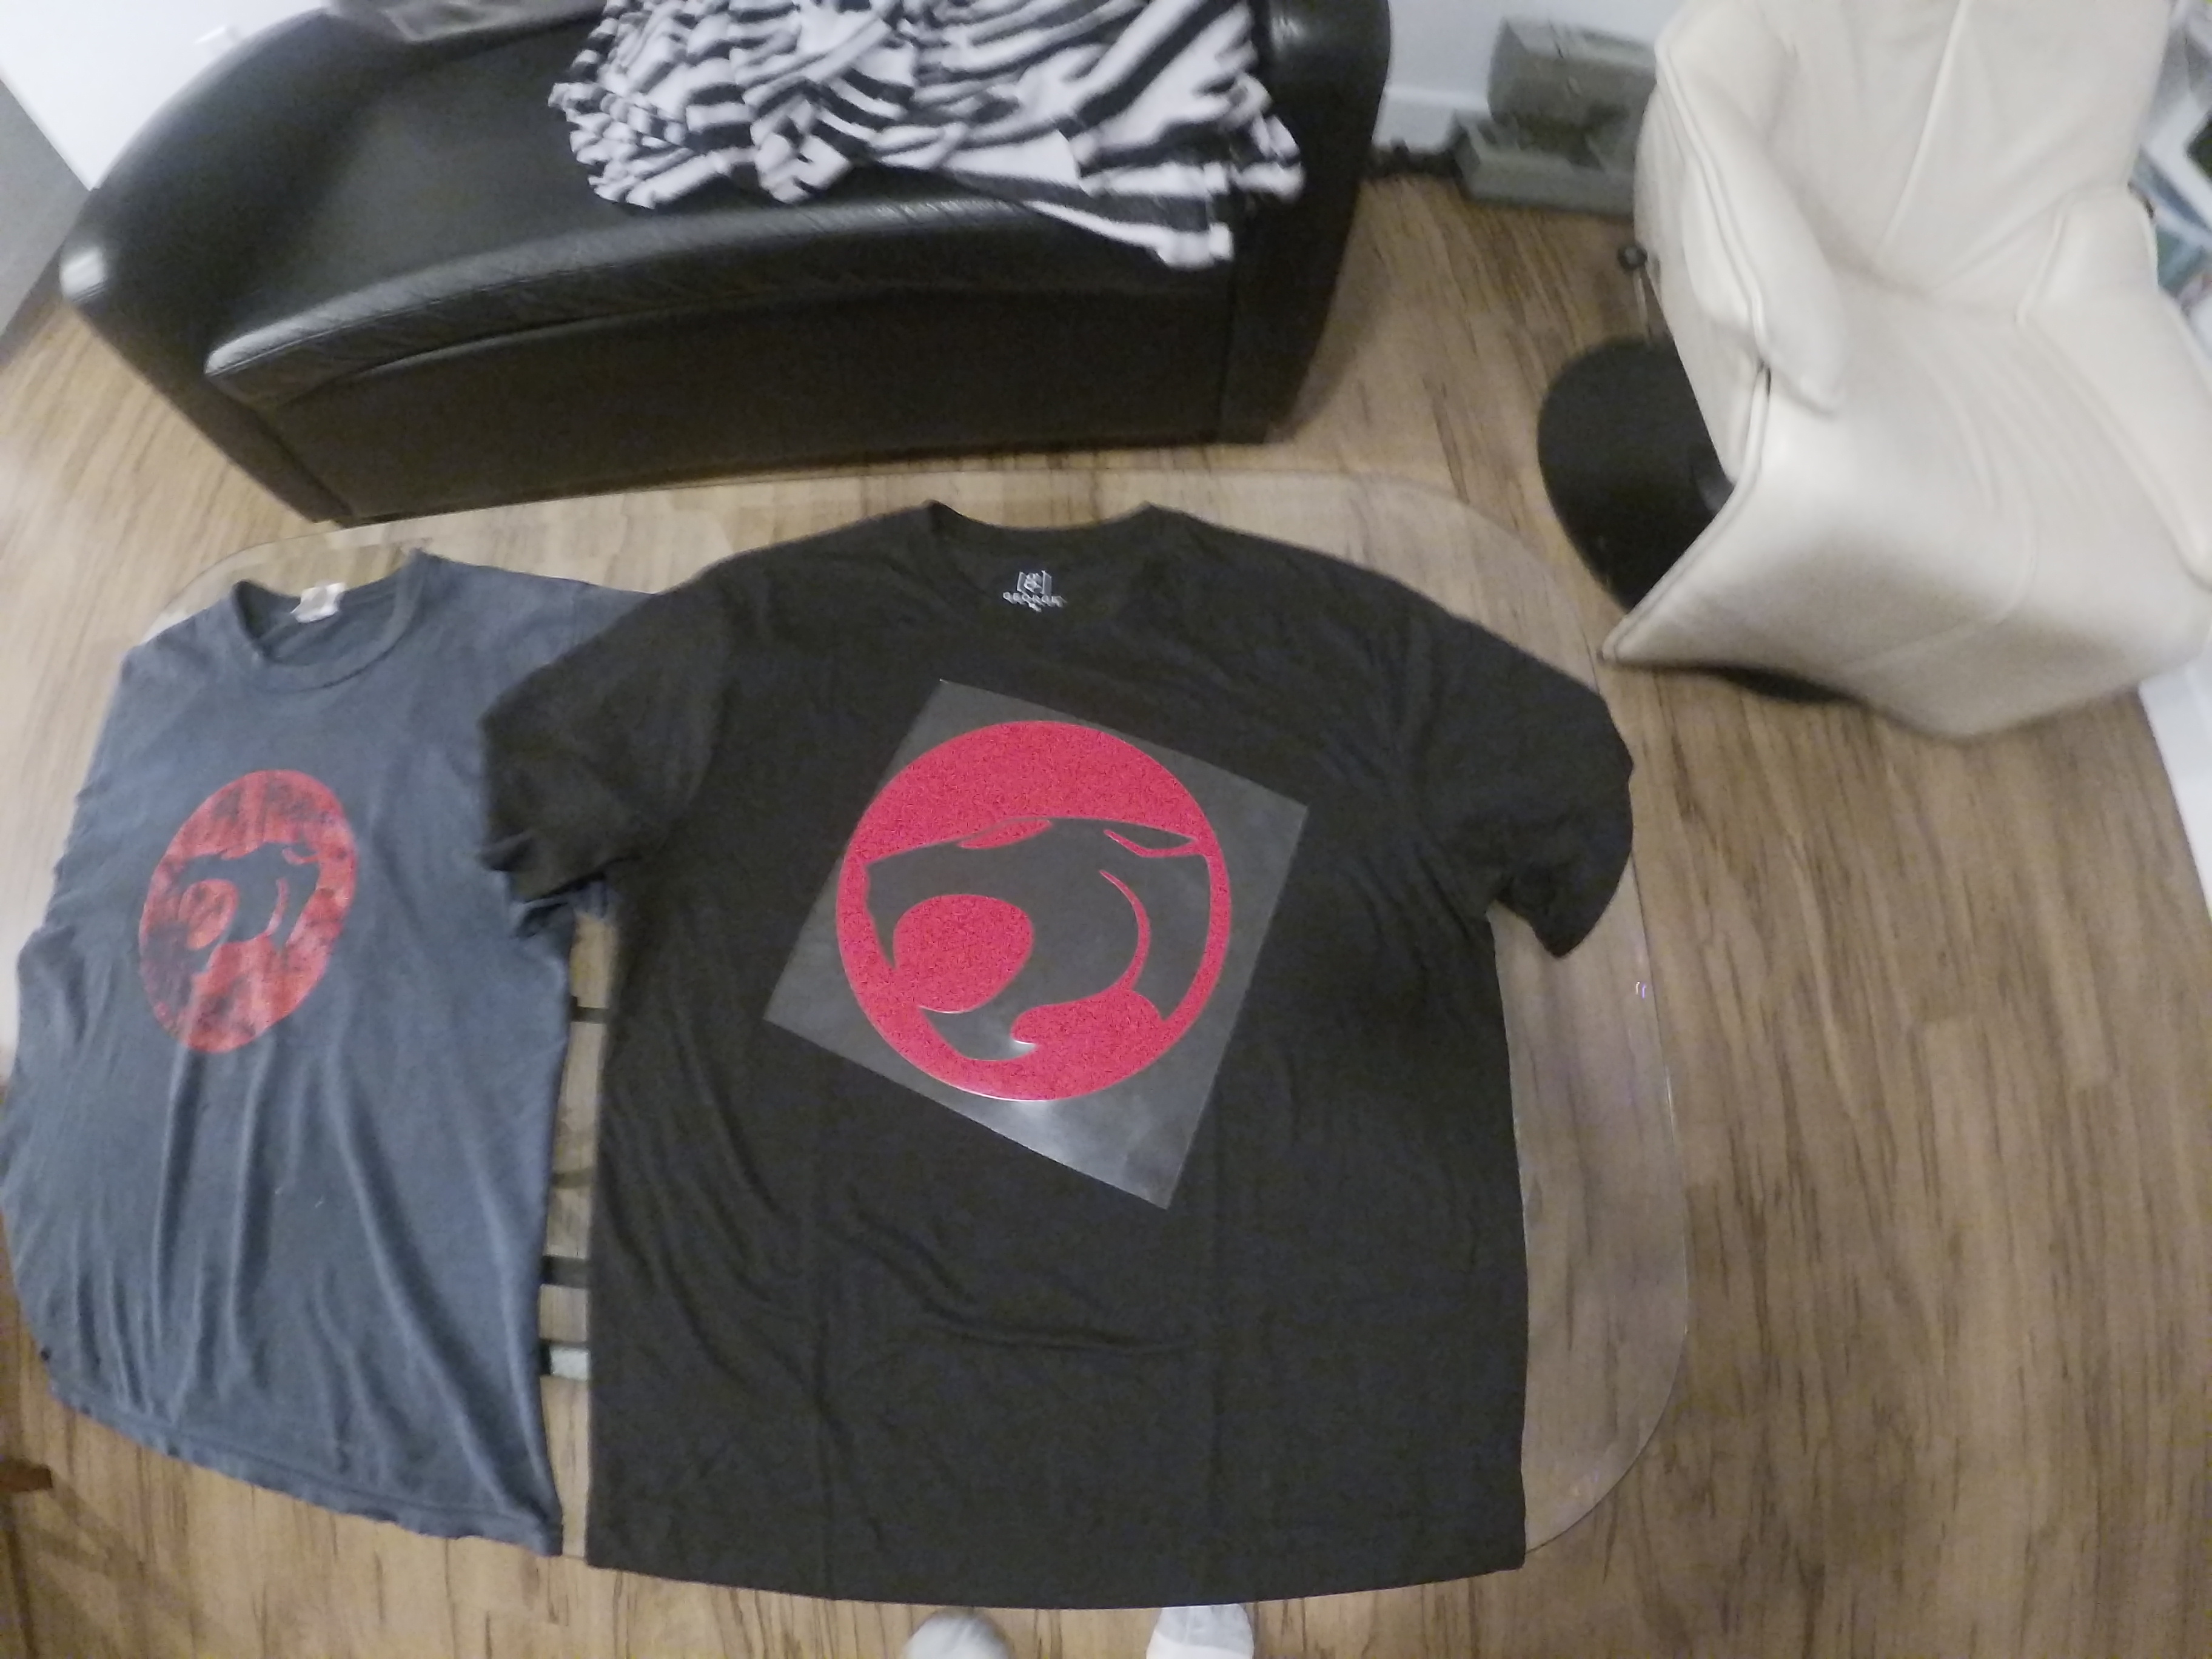
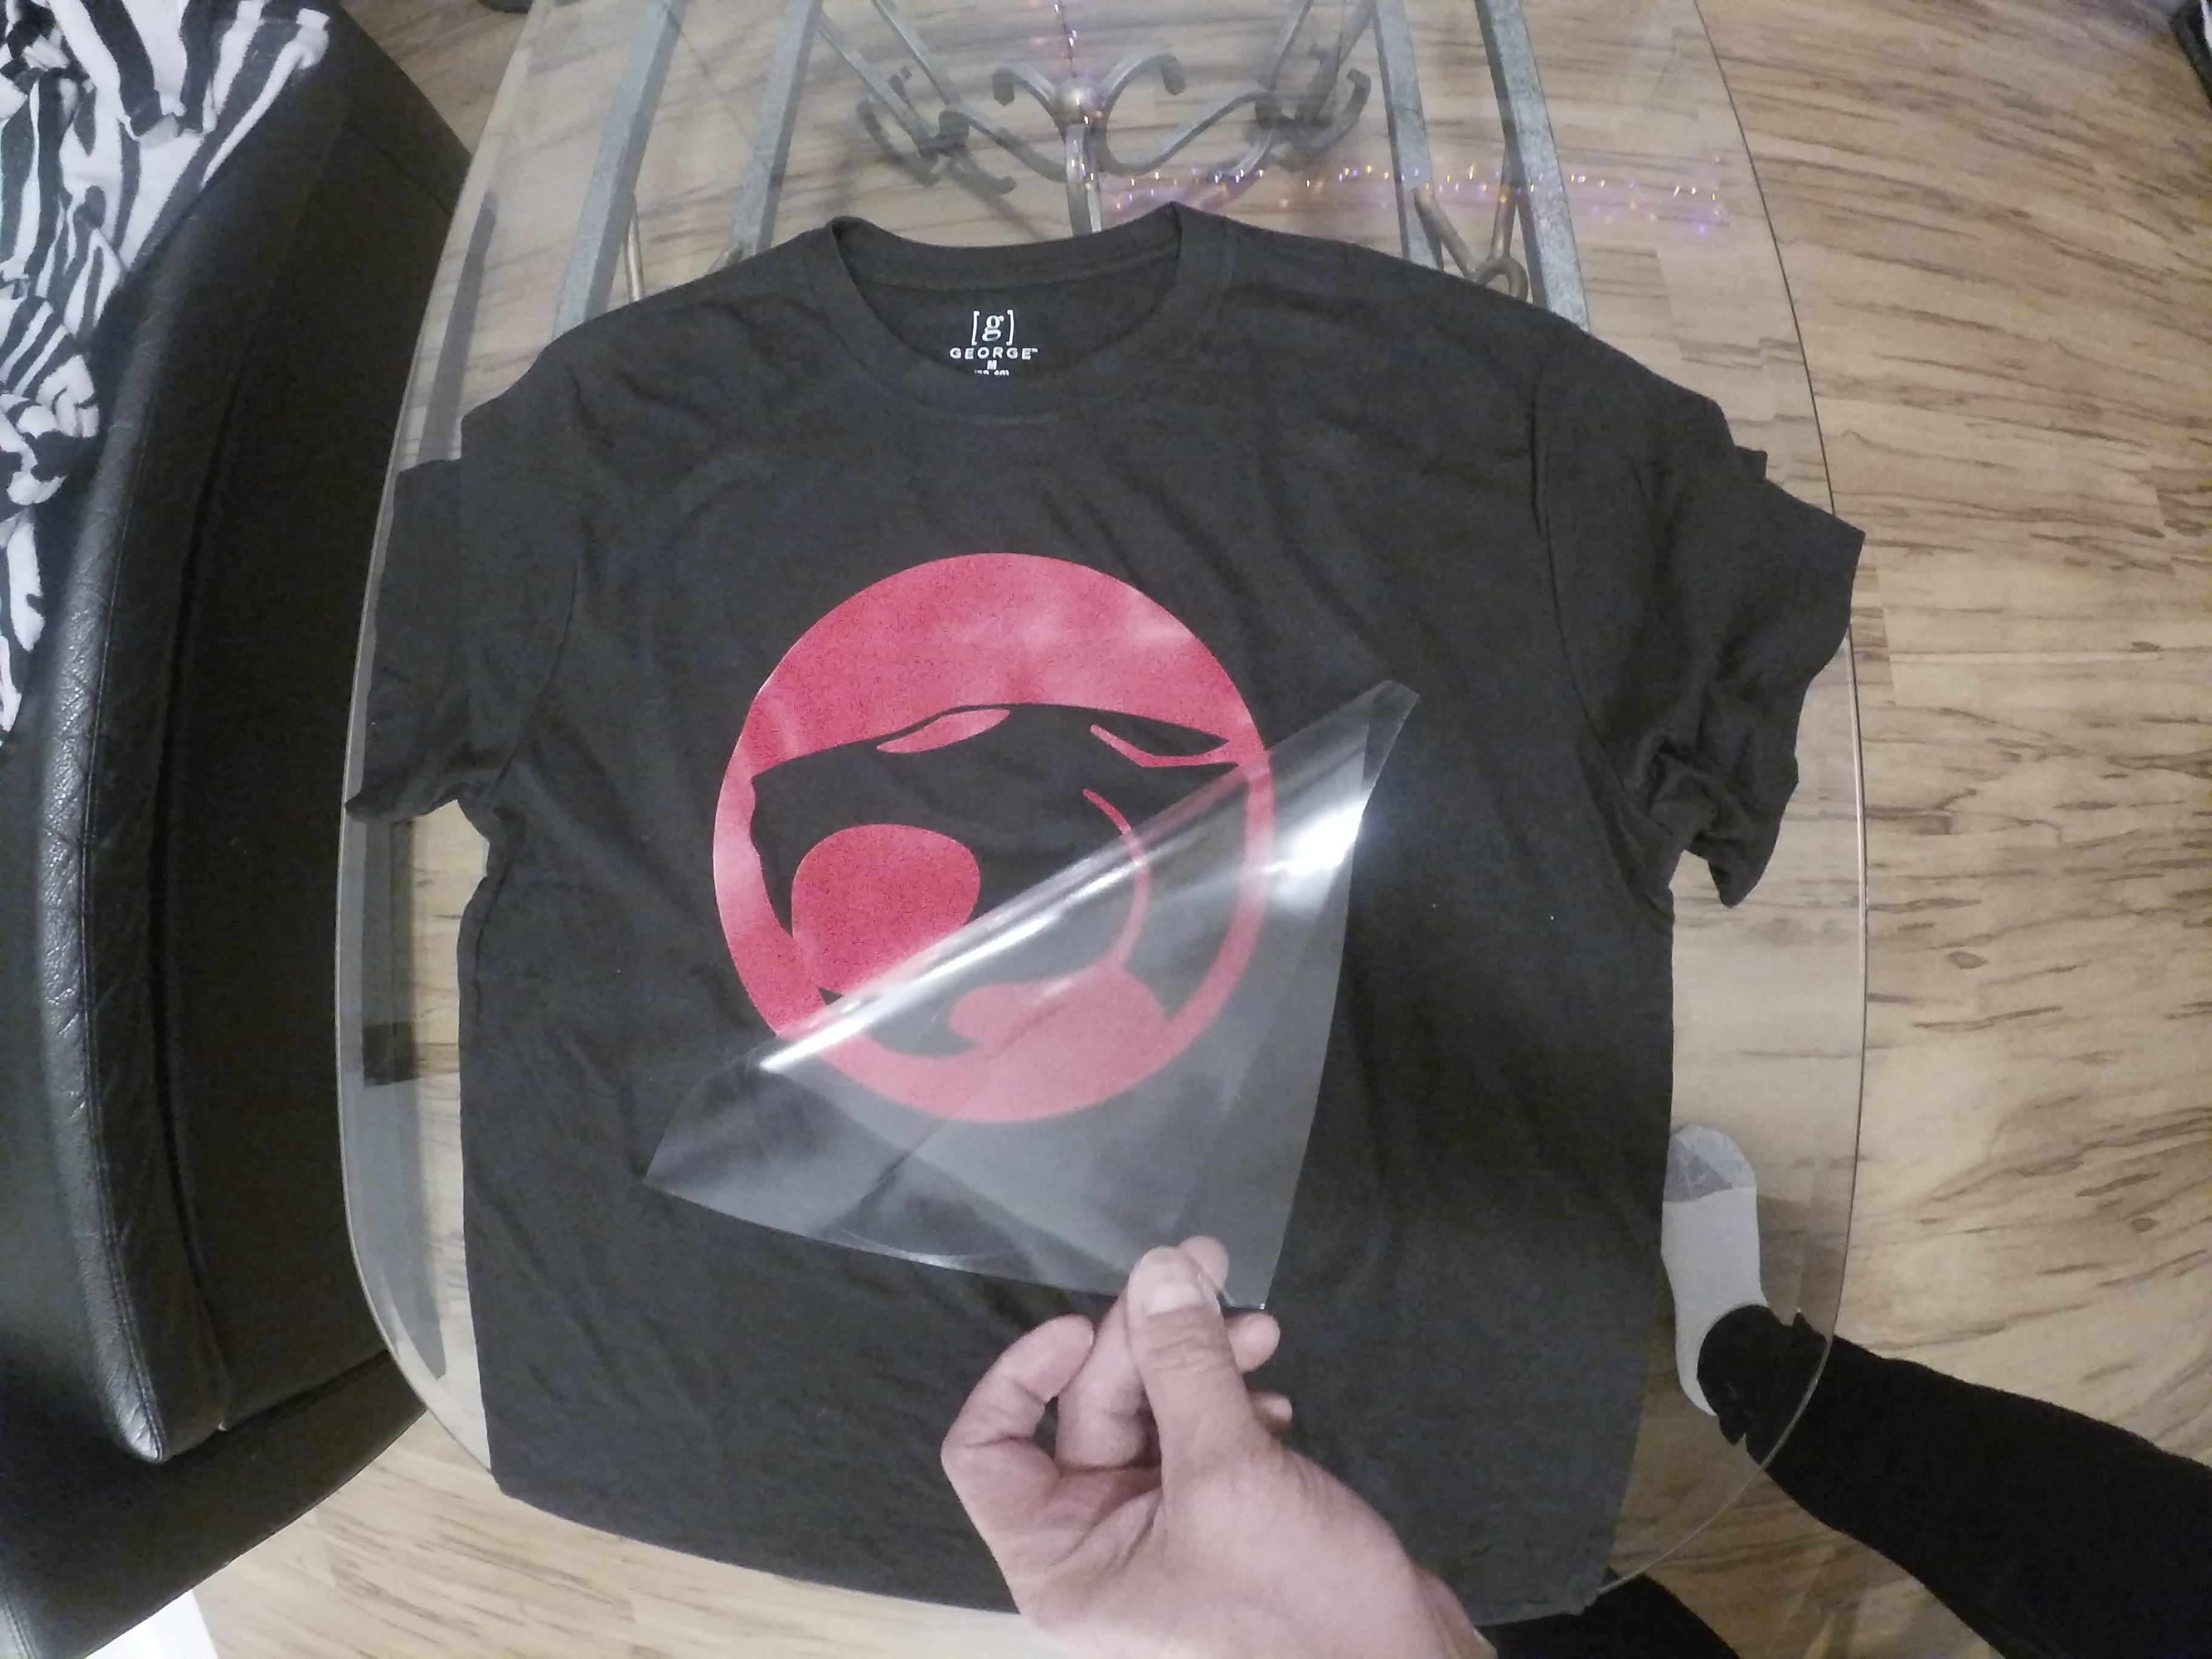
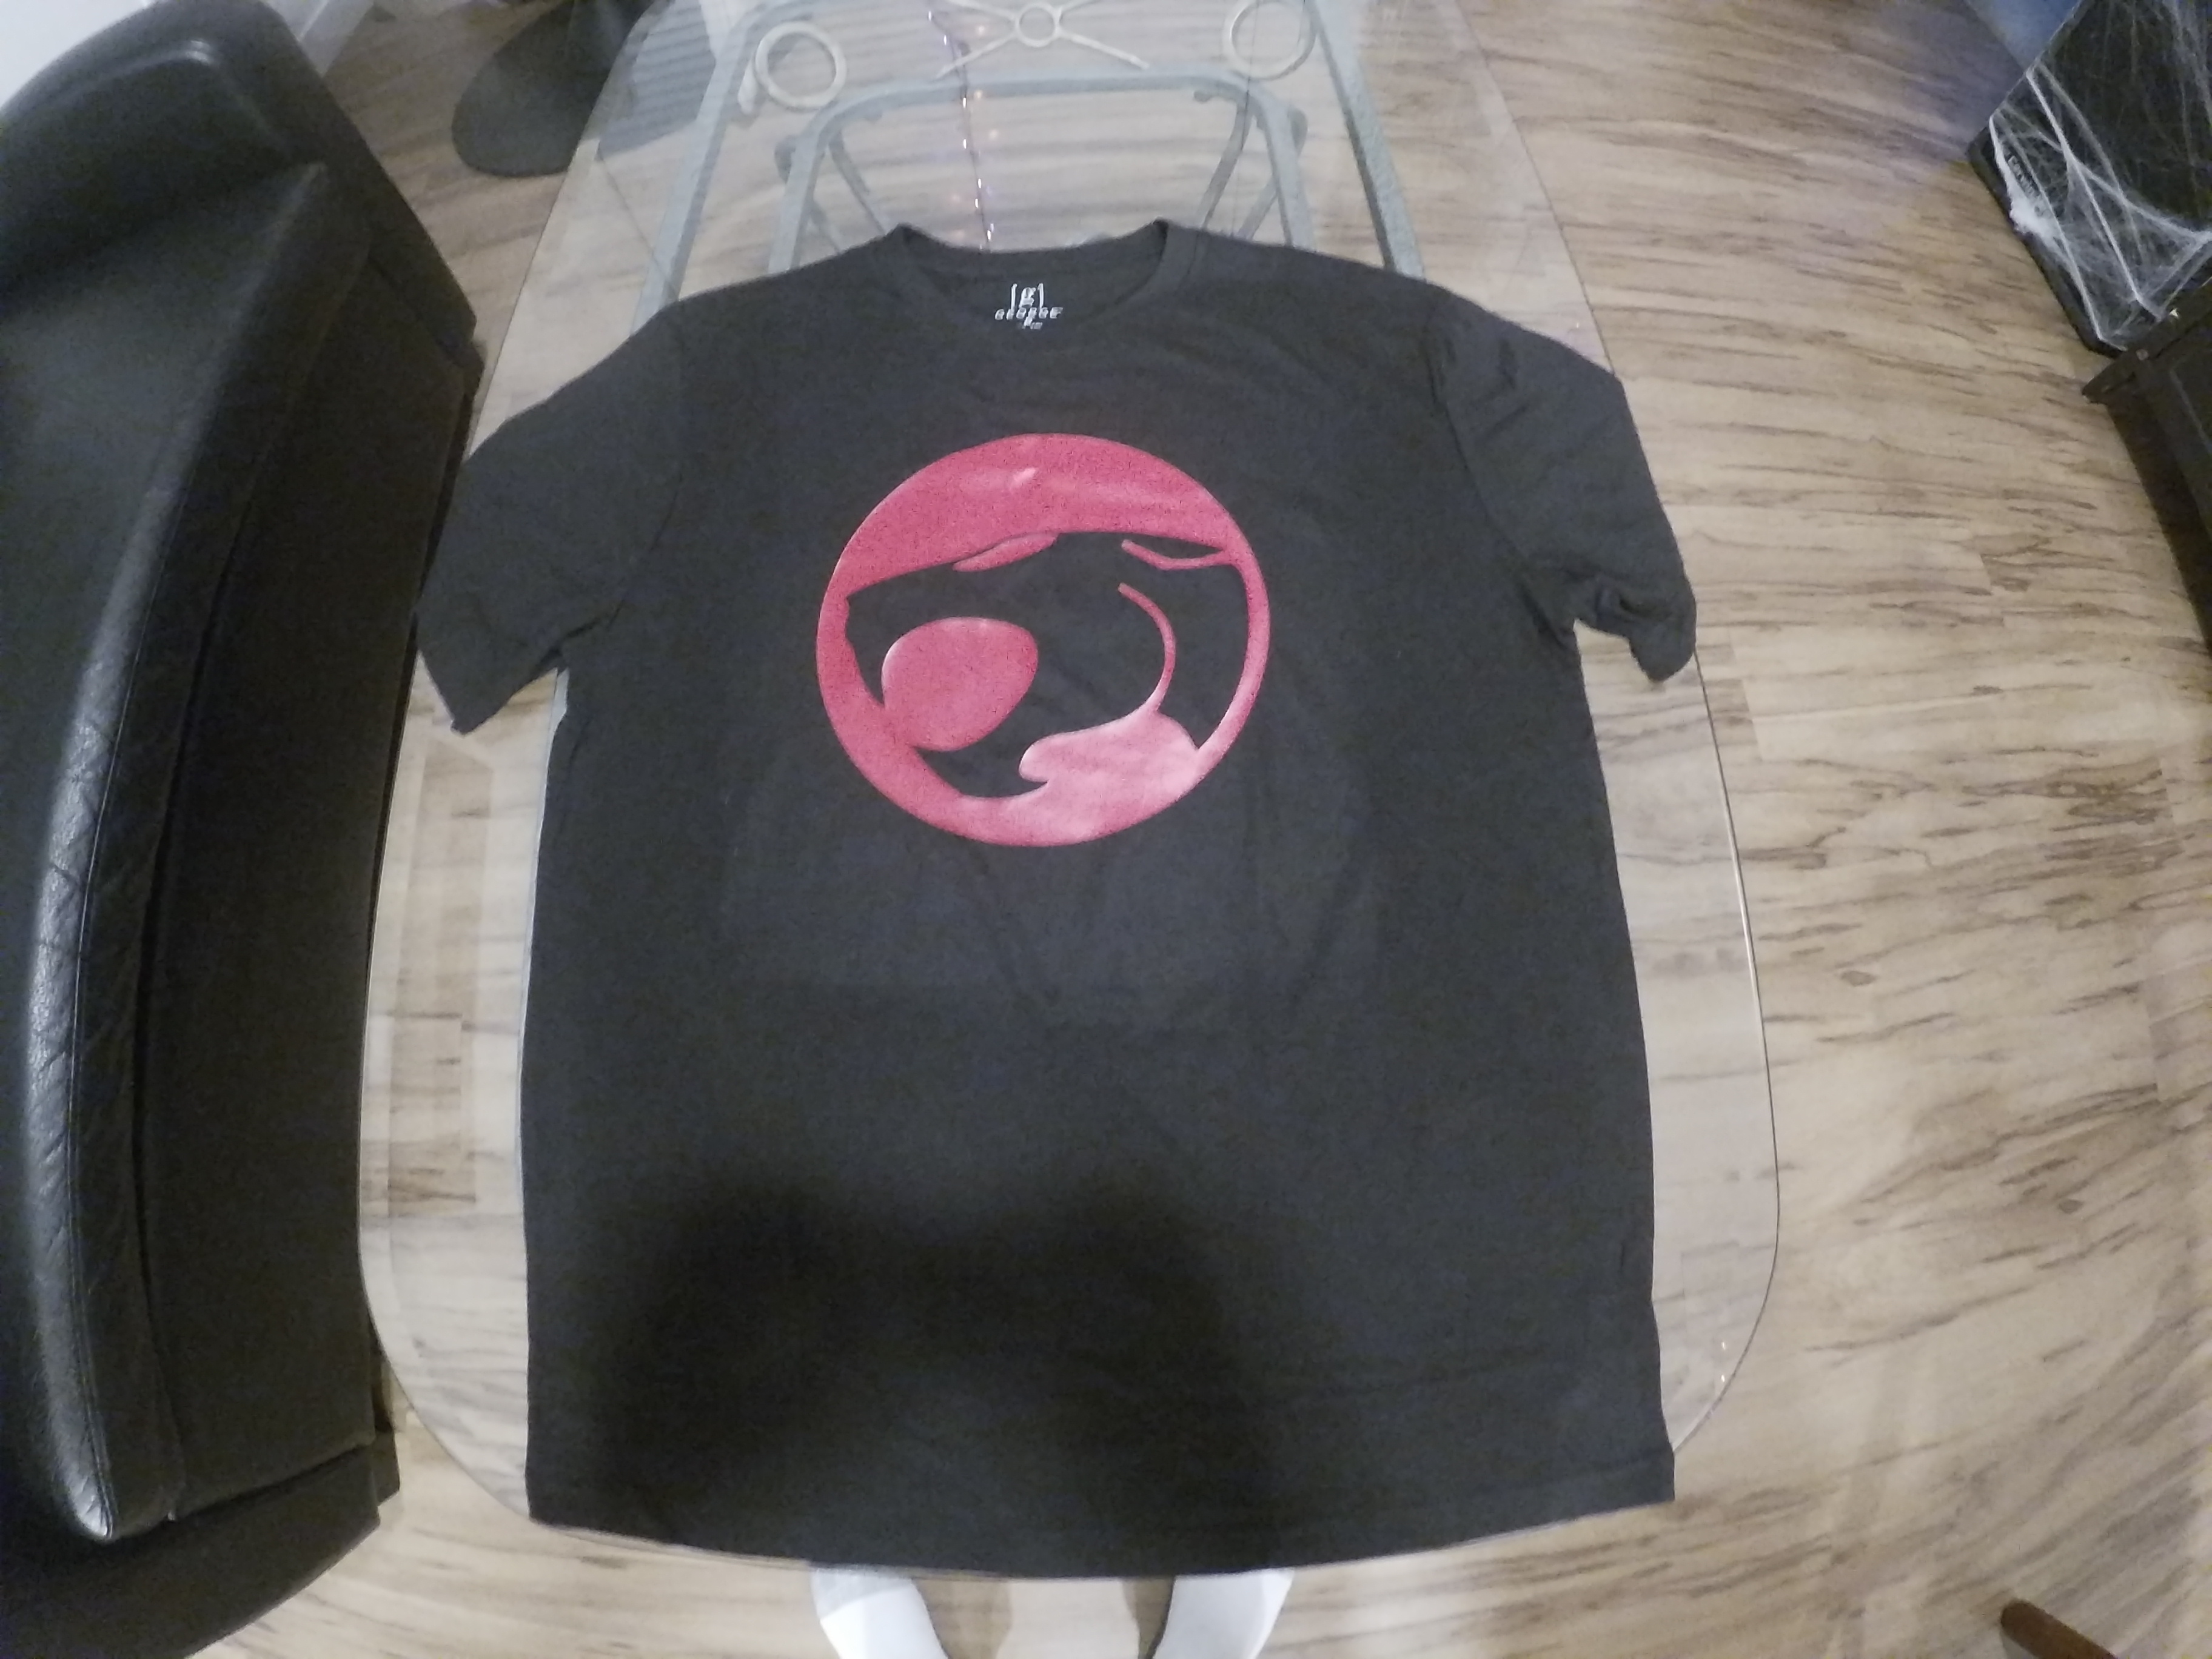
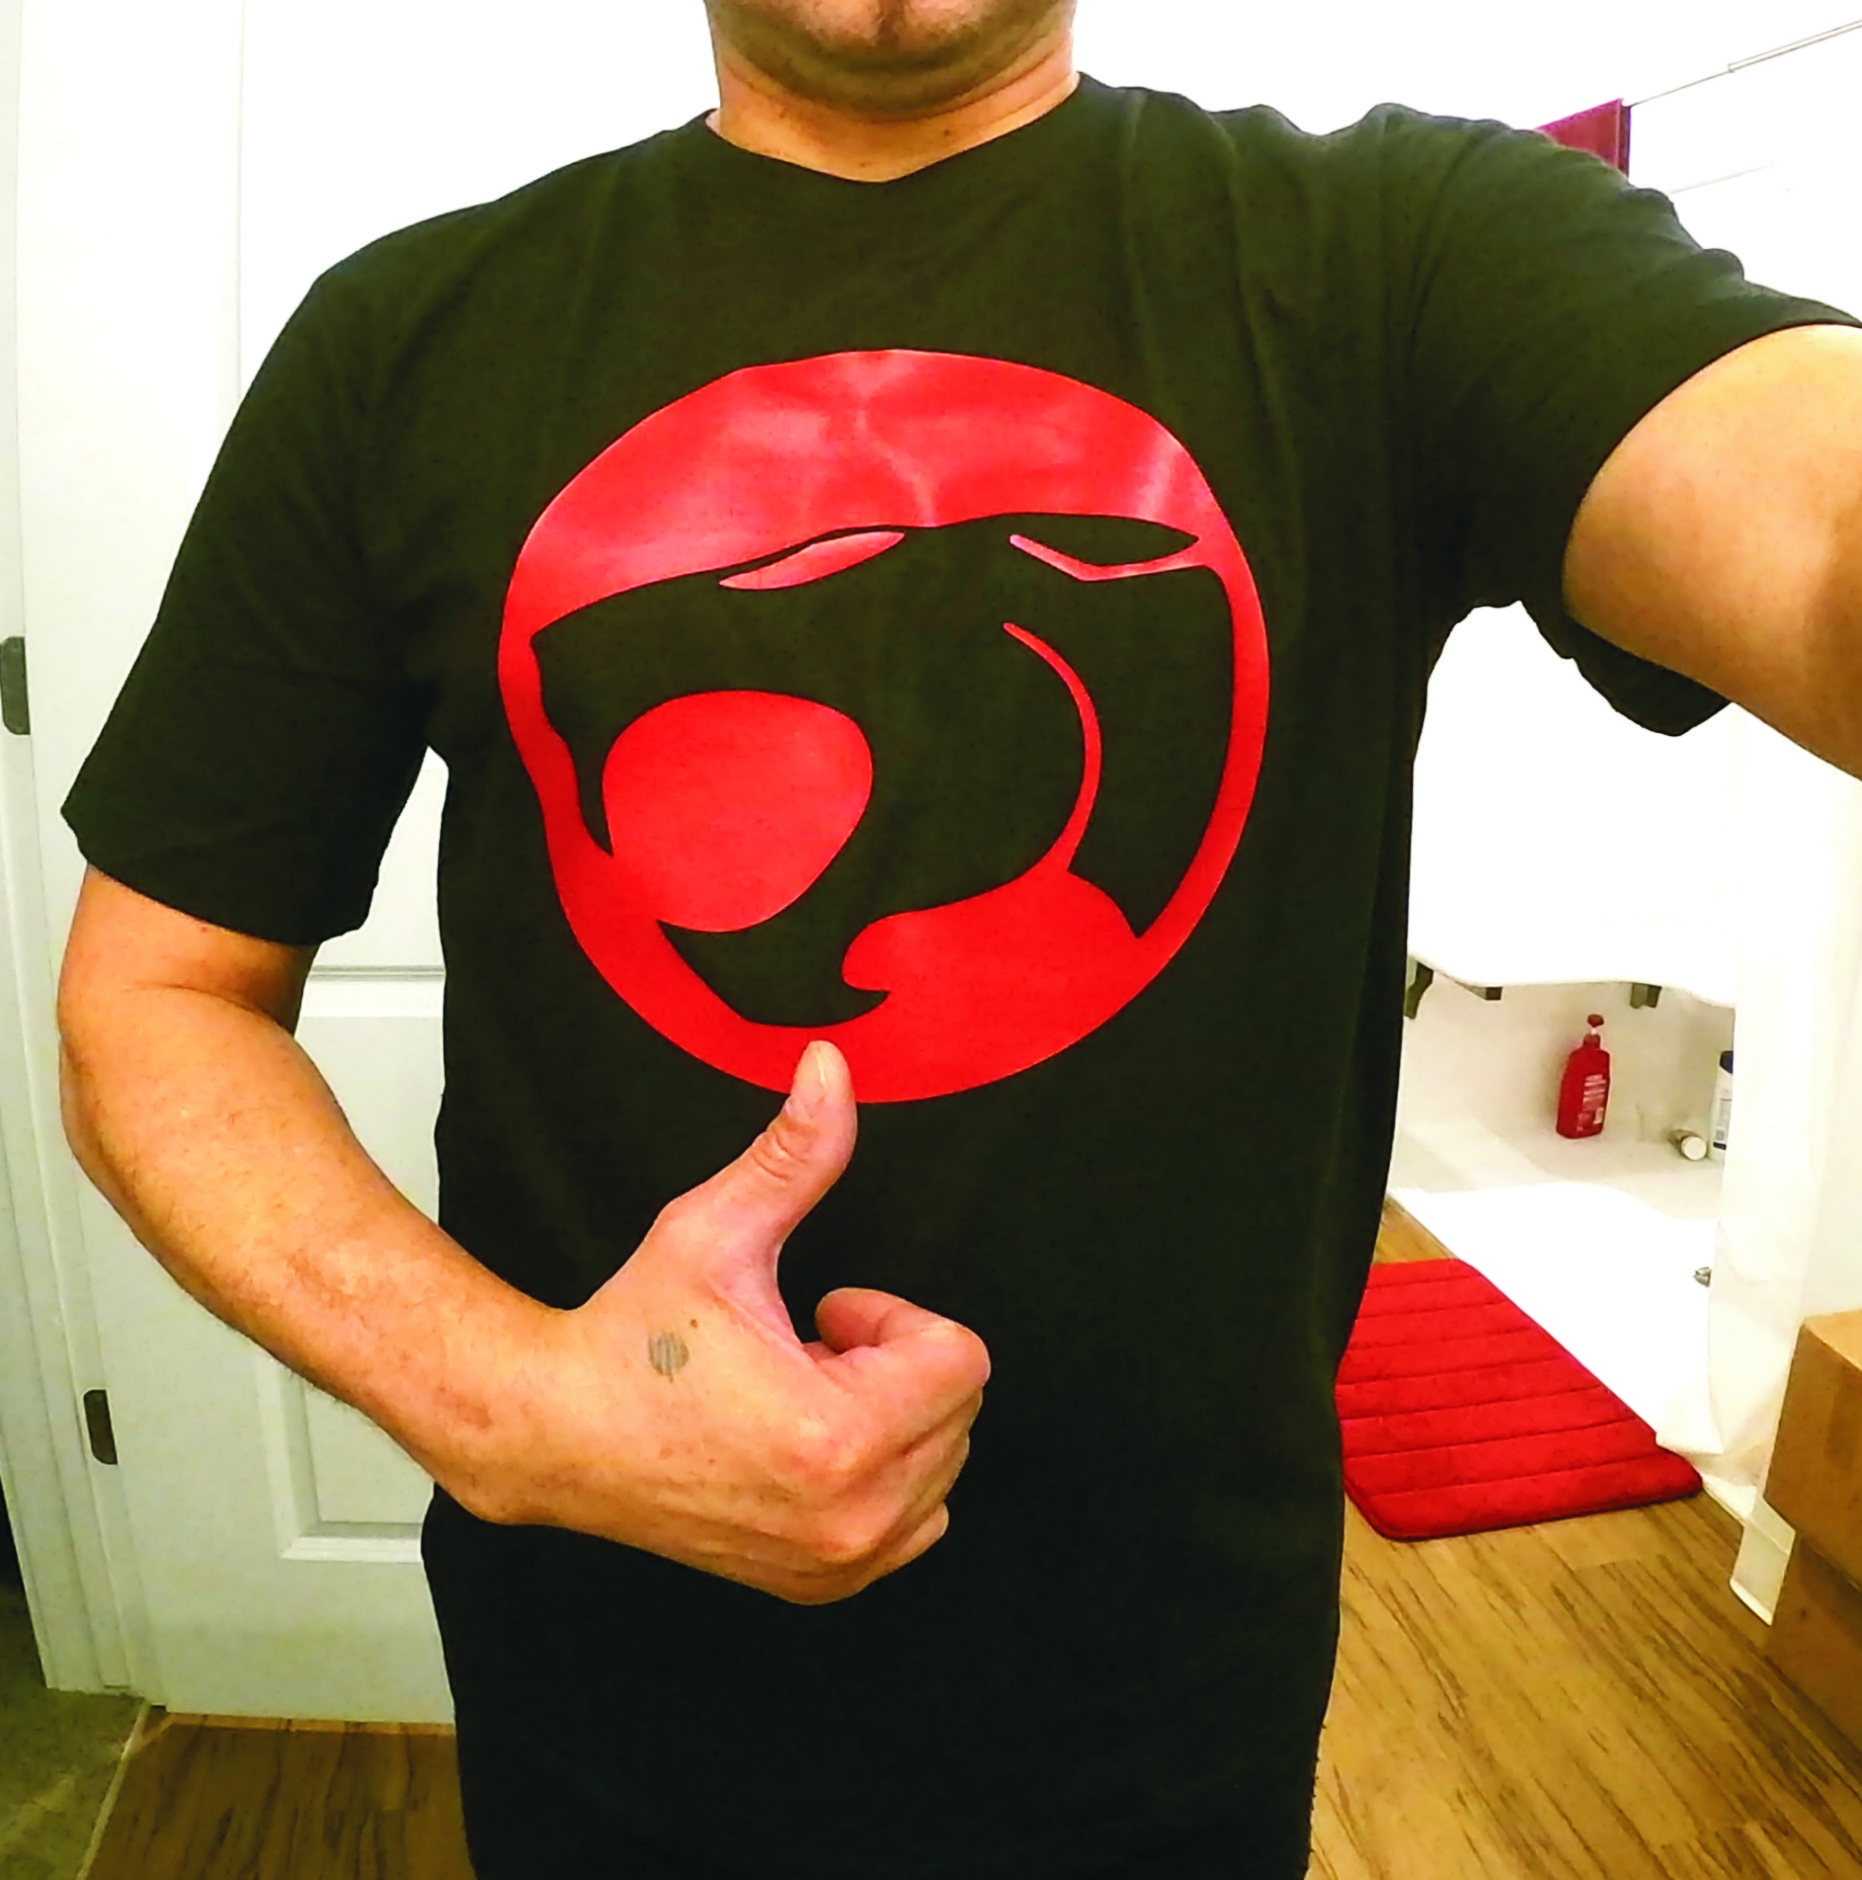
So once the plotter stops cutting...
Place the design on a flat surface, I always cut away the excess blank material just to make a smaller piece to work with, then I start removing the unnecessary pieces starting with the outside area of the design to expose the circle portion of the logo.
Once all the excess is removed, you have a clean reversed out design ready to be placed on the t-shirt.
I had already plugged in my heat press and my temperature settings are saved in the press' memory, I have my temperature set at 280 degrees fahrenheit at 25 seconds.
Once the press reaches it working temperature, the alarm goes off on the system letting you know it has reached it's operating temperature. At this point we load the shirt, The heat transfer material has a semi-adhesive finish under the excess material that will allow you to place the logo while on the flat surface and a little pressure gives it just enough "grab" to hold the design in place while you move the shirt over to the press.
There is a protective cover that goes between the shirt, design and "hot plate" of the heat press which protects the shirts finish while allowing the heat press to do it's job without marring the surface of your shirt.
Once the shirt is located, the protective sheet is placed and all looks good, simply lower the upper heat plate using the heat press handle and push down until the press locks in place. Immediately press the "timer" button and the countdown starts.
Once the 25 second timer gets to zero, the alarm will sound and it's time to pull up on the heat press handle / lock
and remove the shirt, DO NOT allow the shirt to cool as this will complicate the removal of the carrier liner if it cools off back onto the design. You should peel back only 1 corner of the carrier/liner about 2-3 inches and check the heat transfer finish, if it looks smooth without a bit of a texture, replace the corner back down and run the heat press once more. I had to run mine twice due to the material chosen. Usually 100% cotton will go just one run but this shirt is a 65% poly/35% cotton mix so that made a difference.
Once the second round of heat and pressure was finished the transfer is complete and we see the final product.
In the final shot we have a happy once more, owner of a brand new Thundercats t-shirt.
Now We're Done!
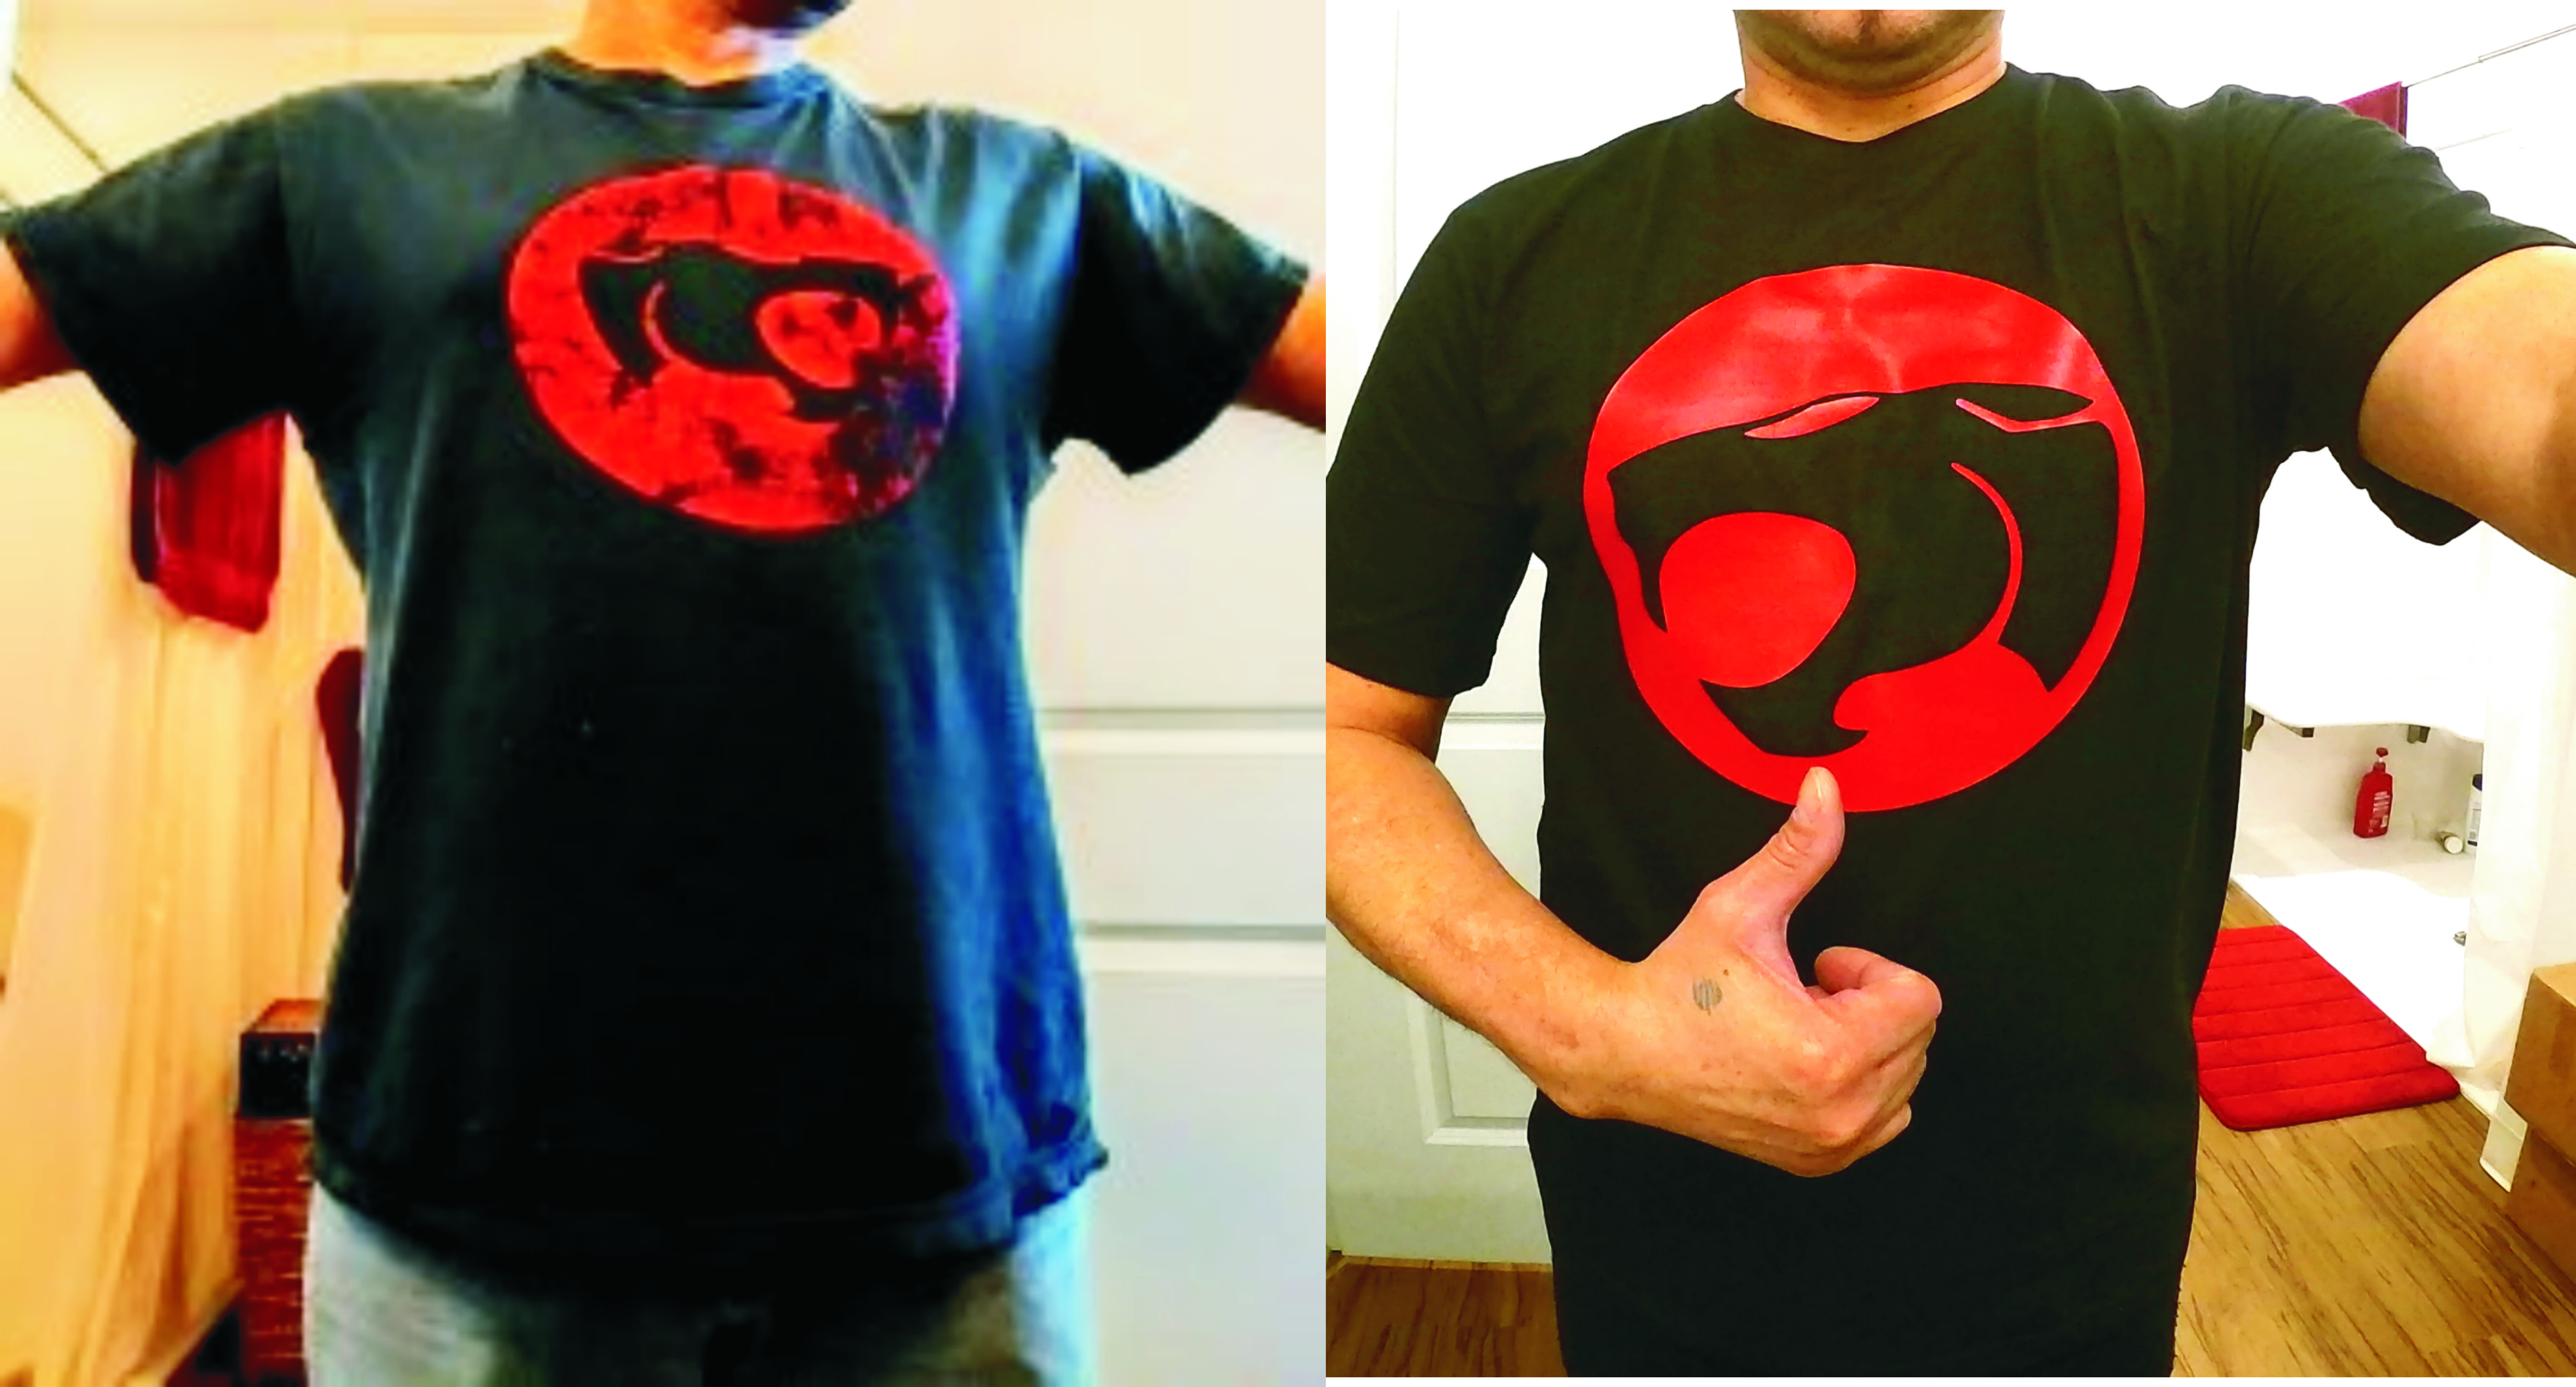
So here's one last look at a side by side comparison of what we started with and what we ended up with. Remember folks, don't start mass producing these things and trying to sell them online, that's another world of licensing infringement that you don't want to walk down. I only do these for me and my direct family and they are always gifts because I don't need that kind of headache.
Hope you enjoyed this little journey and in later instructables I'll go more into the design aspect of working with digital files and creating vectored artwork. On a side note... these heat transfer materials can also be "stacked" meaning you can do multi-colored designs as the material can be heat pressed on top of each previous color. More on that later.
Thanx for the follow along and leave comments if you see fit.