Raspberry PiPhone: a Cheap Sim Card Less Phone
by PiCreate in Circuits > Raspberry Pi
1485 Views, 12 Favorites, 0 Comments
Raspberry PiPhone: a Cheap Sim Card Less Phone
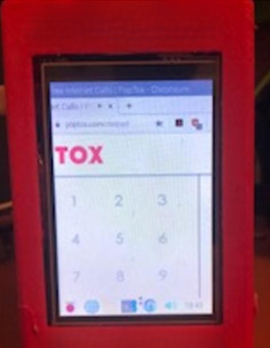
A few years ago I found a project for this raspberry pi phone, and it looked amazing! It could text, call, take photos, for around $100. But you needed a 2g sim card for it, which I could not get my hands on. So I wanted to invent my own, without a simcard, that could do a lot that a normal phone could for around $50. The phone does not work perfectly, but the calls are good, and the texts go through smoothly. I have a hackaday project link down below.
https://hackaday.io/project/187640-raspberry-pi-phone
Supplies

For Main Part of Phone:
Raspberry Pi 4: If you can't get this you can also get the Raspberry pi 3b+
https://www.microcenter.com/product/637834/raspberry-pi-4-model-b-4gb-ddr4
Inland LCD Screen from Microcenter: Pretty Cheap, pretty good screen with touch.
https://www.microcenter.com/product/632693/inland-35-inch-tft-lcd-touch-screen-monitor
Wifi wireless adapter: It inhances the performance of the phone.
https://www.microcenter.com/product/604932/tp-link-archer-t2u-nano-ac600-nano-wireless-usb-adapter
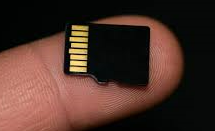
Micro Sd card 16gb: You can get this from anywhere. Maake sure it is the right size.
For Battery:
Switch: You can really use any switch you want, but there is a link below.
https://www.microcenter.com/product/395540/nte-electronics-single-miniature-toggle-switch
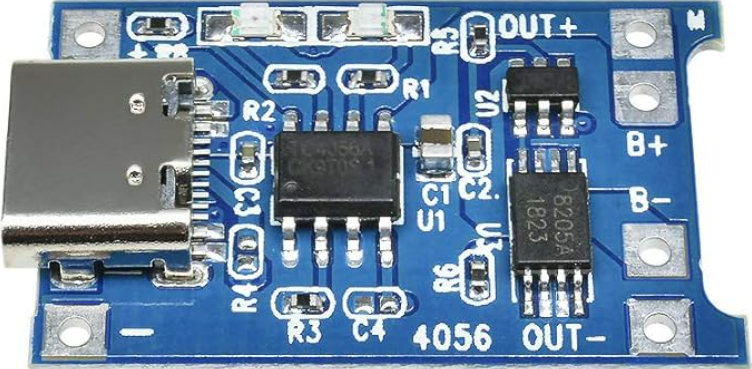
Battery Charging Board: This is to charge the battery for the phone.
https://www.amazon.com/gp/product/B091N5L7J2/ref=ppx_yo_dt_b_search_asin_title?ie=UTF8&psc=1
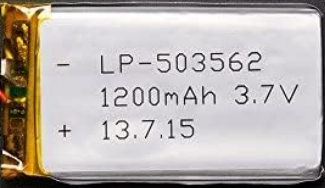
3.7 volt 1200mAh battery: This battery is a amazing battery by Adafruit.
https://www.amazon.com/gp/product/B00J2QET64/ref=ppx_yo_dt_b_search_asin_title?ie=UTF8&psc=1
Pack of wires: You can get wires practicly anywhere. These are for soldering.
Finally, you need the RaspiAudio Mic Ultra+. This provides speakers and the microphone.
You can find it here:https://raspiaudio.com/produit/ultra
Software
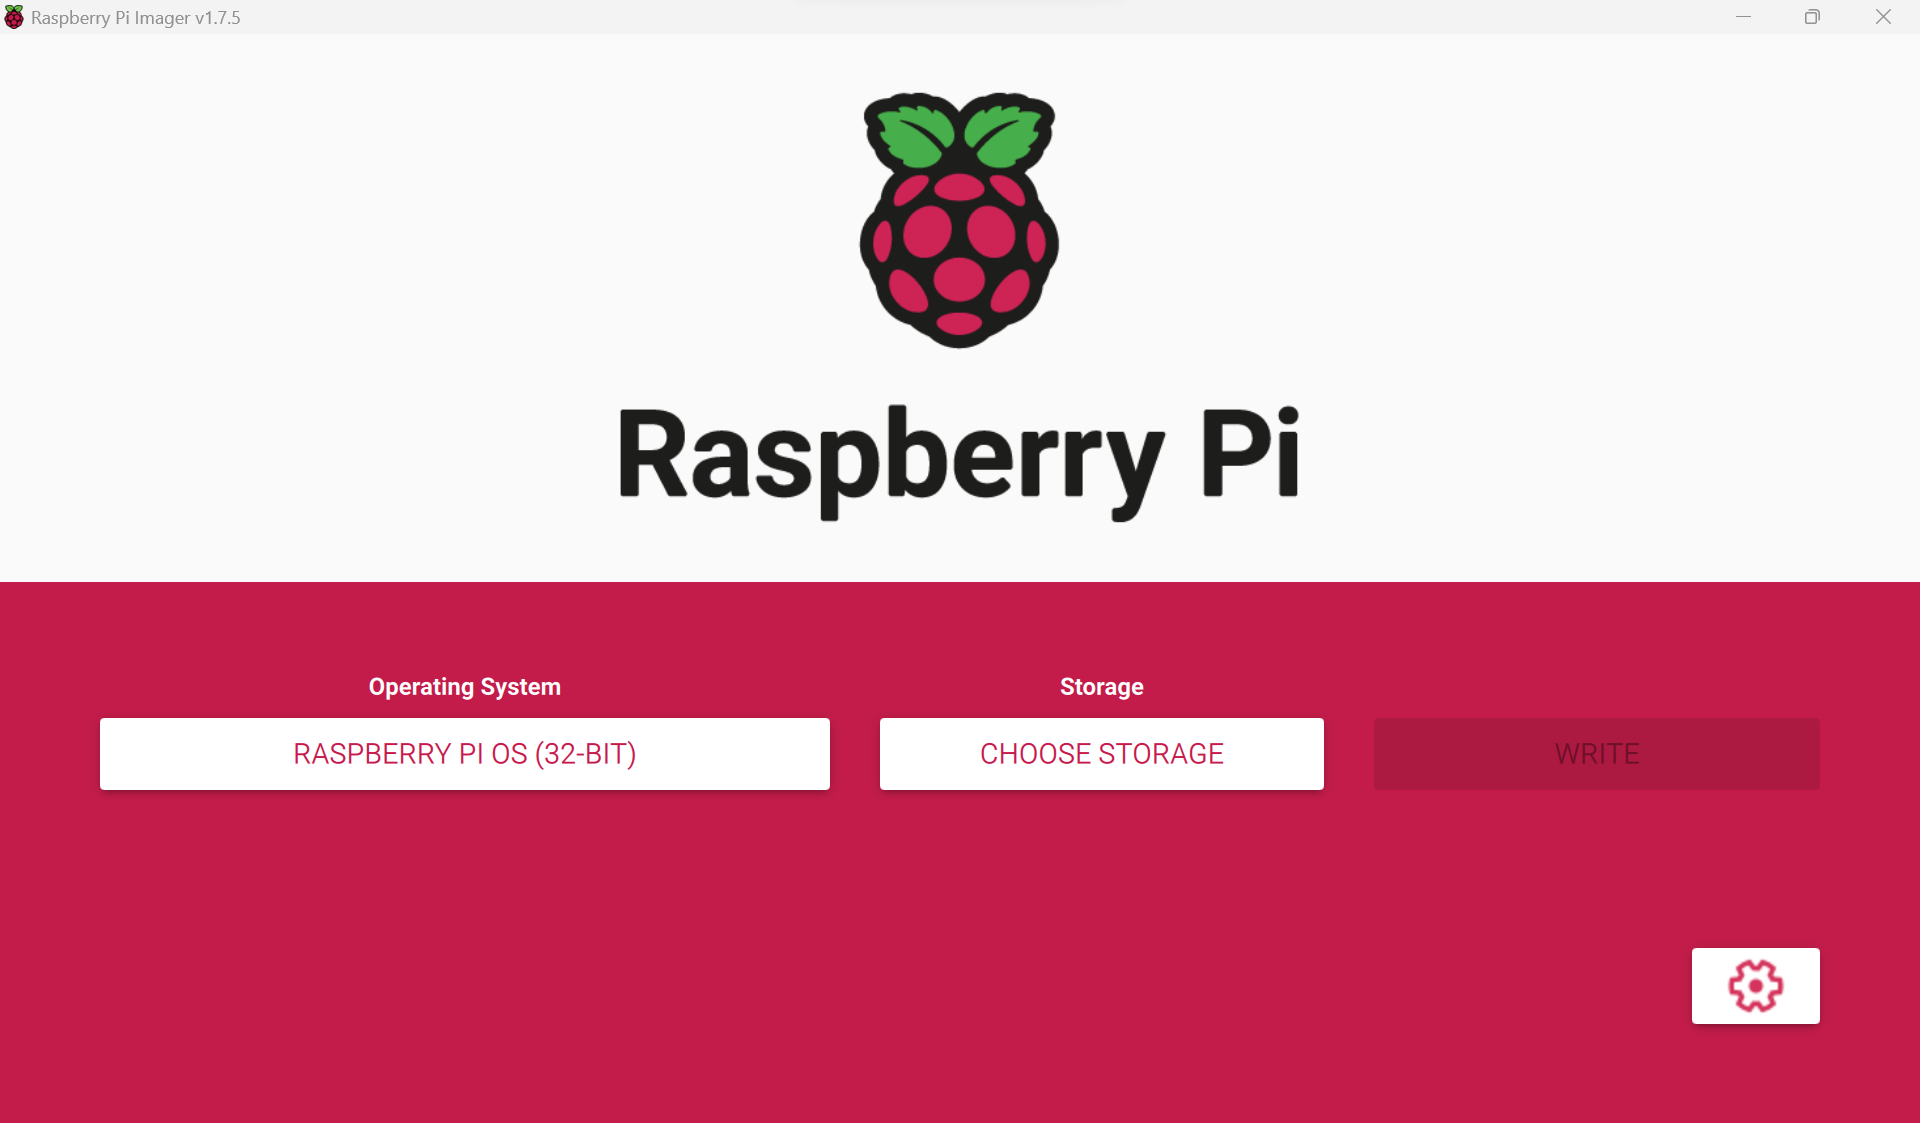
First, you need to install the software. If you do not have it all ready, download the raspberry pi imager. Open the app and click on the button that says operating system. Click on the first one, it should say Raspberry Pi OS. It should return you the the home of the app, so now click on the button that says Storage. Now, insert your Micro Sd card into your computer. In the storage part of the app, it should say something like SD Card, or SD card 16 gb. Click on it and you should return to the home of the app. Click the write button to start the program. Do not pull the sd card out until the program is done writing and verifying.
Soldering

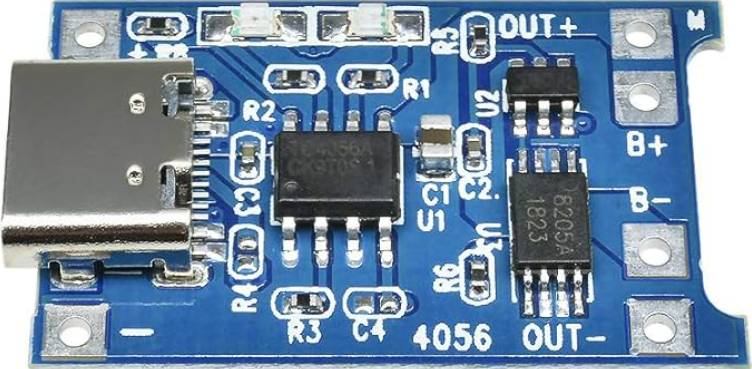
Okay, so now comes the hard part. If you have never soldered before, I reccomend that you watch an instruction video (https://www.youtube.com/watch?v=Qps9woUGkvI&t=42s). Soldering is very dangourous so I reccomend that you be very careful with your soldering iron. First solder the positve wire of the battery (red) to where the board says b+. That means battery positive. I will add a picture above. After you solder that, solder the battery wire negative (black) to where the board says b-. Take a wire and solder one side of it to one of the positive of the switch. Take another and solder it to the negative of the switch. Solder the one that is negative to where the board says out-. Now take another wire and solder it to where the board says out+. Now heres the tricky part. Take your raspberry pi and flip it over. You need to solder one wire from the raspberry pi to the board, then another from the raspberry pi to the switch to complete the circuit. Look up raspberry pi pinout and that will help you. Solder the board wire (out+) to the 5v pin on the raspberry pi. Be careful, because if you connect two pins your raspberry pi could break. Now solder the wire on the switch to the gnd (ground) pin on the raspberry pi. If your battery is charged, and you did everything correctly, then when you flip the switch the lights on the raspberry pi should light up.
Adding the Screen
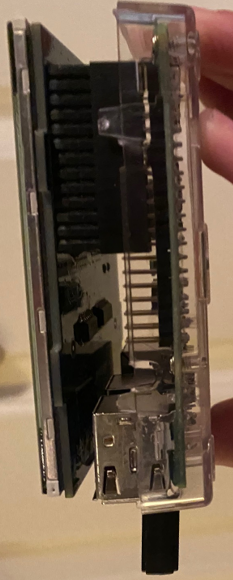
First, take your Mic Ultra+ and slide it on to your raspberry pi. Take your raspberry pi and your screen and carefully line up the pins. See the picture above to make sure yours is correct. If you turn the power on or you plug the raspberry pi in, then the screen should light up white, depending on the screen you used. Take the sd card and put it in your raspberry pi. Now it's time to code.
Coding
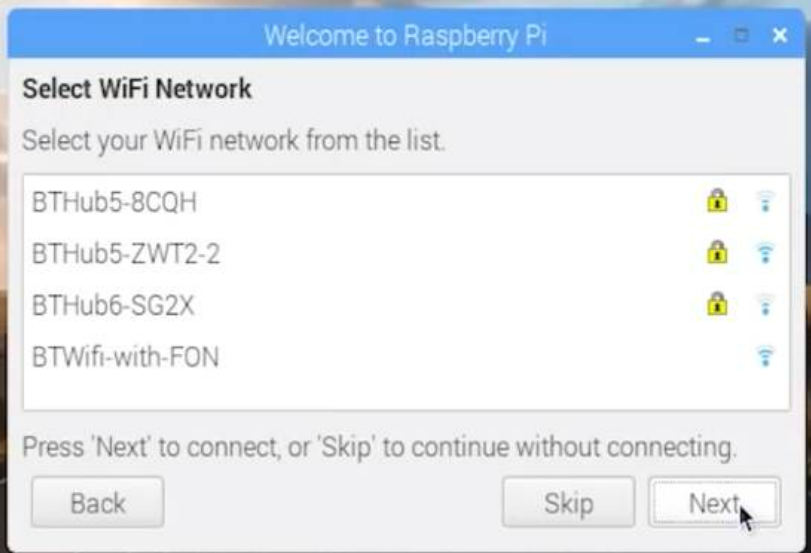
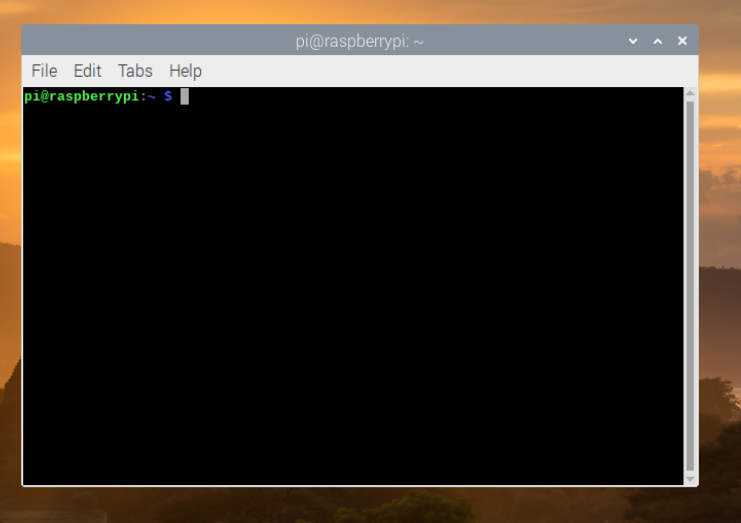
First install the speaker and the microphone. To do this, I reccomend using their instructions here: https://forum.raspiaudio.com/t/ultra-installation-guide/21. Test by playing music, or try and do a google meeting. So depending on your screen you need to do different things. First, connect your raspberry pi to a monitor and use a keyboard to go through the setup on the monitor. Connect with an hdmi cable and turn the raspberry pi on. Add the usb keyboard and mouse. Set your lanuage, wifi, etc in the setup. You do not have to update, but if you want to you can. After, you should go into what looks like a computer menu. On the top you should see somthing black and blue on the top. This is the terminal. If you can't find it, do Ctrl+Alt+T and it will open the terminal. First type in this command then press enter:
sudo rm -rf LCD-show
Next do:
git clone https://github.com/goodtft/LCD-show.git
After that do:
chmod -R 755 LCD-show
Next do:
cd LCD-show/
Okay now after this next line of code the screen will start working. The raspberry pi will reboot.
sudo ./LCD35-show
Wait for around a minute and then the screen should work! Now we have to rotate it!
Type in the terminal:
sudo nano /boot/config.txt
Go to the bottom and type in:
display_rotate=3
Poptox, Calling
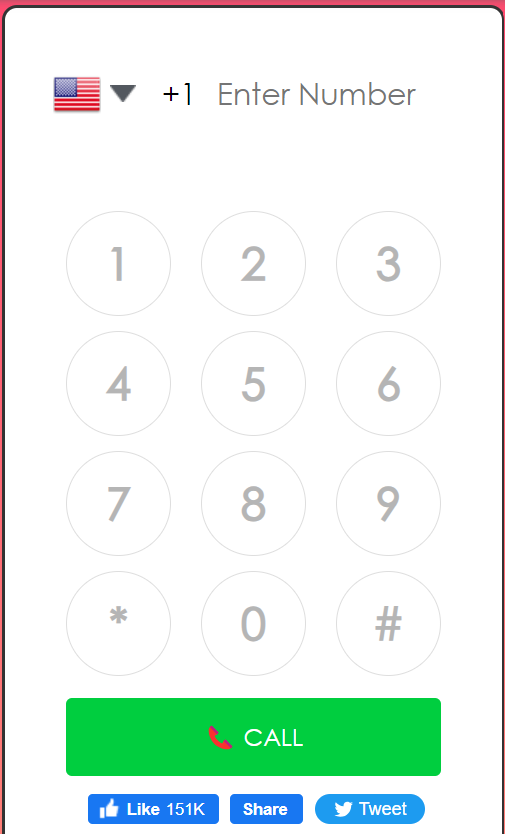
Okay, now that you are done with making the phone, on your computer go to poptox.com. Look at the top of the page and click the Plans button. Get the basic plan when you know your phone is working. Test calling your your phone or other phones. It will not work if you are calling from your phone. So this version does not have everything a phone does, but in another instructable I tell you how to make a phone that runs on a android type operating system and is amazing! This is my first version and is obviosly not the best, but it still works! Open your phone and go into google, type poptox.com, and login. Bookmark it and save the link so all you need to do is press the button and you can go to the site.
3d Printing: Optional
If you have access to a 3d printer, print the files below. This files are from the build by Mach5, 8 years ago Raspberry Pi Phone. If you do not have access to a 3d printer, use zip ties or a glue gun. Thank you so much for building this! Please visit my youtube and hackaday page, links on the top!