Raspberry Pi E-mail Push Button Device Using Gmail
by sunnyjim444 in Circuits > Raspberry Pi
13249 Views, 24 Favorites, 0 Comments
Raspberry Pi E-mail Push Button Device Using Gmail

Instructable for Raspberry Pi e-mail push button device
by Peter and Owen Czerny at Yukonstruct
Don’t have access to a commercial mobile e-mail communication device or laptop / desktop computer? Need an inexpensive way to e-mail a routine message to someone on a regular basis?
The goal of this project: To use a Raspberry Pi to send a preset message to a predetermined e-mail address via Gmail with the push of a button.
What we set out to learn through this project: 1. connecting a button to a Raspberry Pi, 2. learn some programming in Python, 3. connecting the Raspberry Pi to the Internet and communicating with an e-mail server.
Materials:
Raspberry Pi 2 Model B with access to a screen and keyboard (via USB cables)
breadboard
tactile button switch, see: https://www.adafruit.com/products/367
2 Male to Female jumper wires, see: https://www.adafruit.com/products/367
WiFi dongle
USB drive for storage
Also: know your existing Gmail address and password as well as the address you want to send your message to. Note: you need to allow your Gmail account to let less secure apps log on. See your settings under 'Connected apps&sites / Allow less secure apps (switch to 'ON')' at: https://myaccount.google.com/security?pli=1#connec...
Source for code: www.razzpisamples.oreilly.com/ch07.html
Wire Button to Raspberry Pi
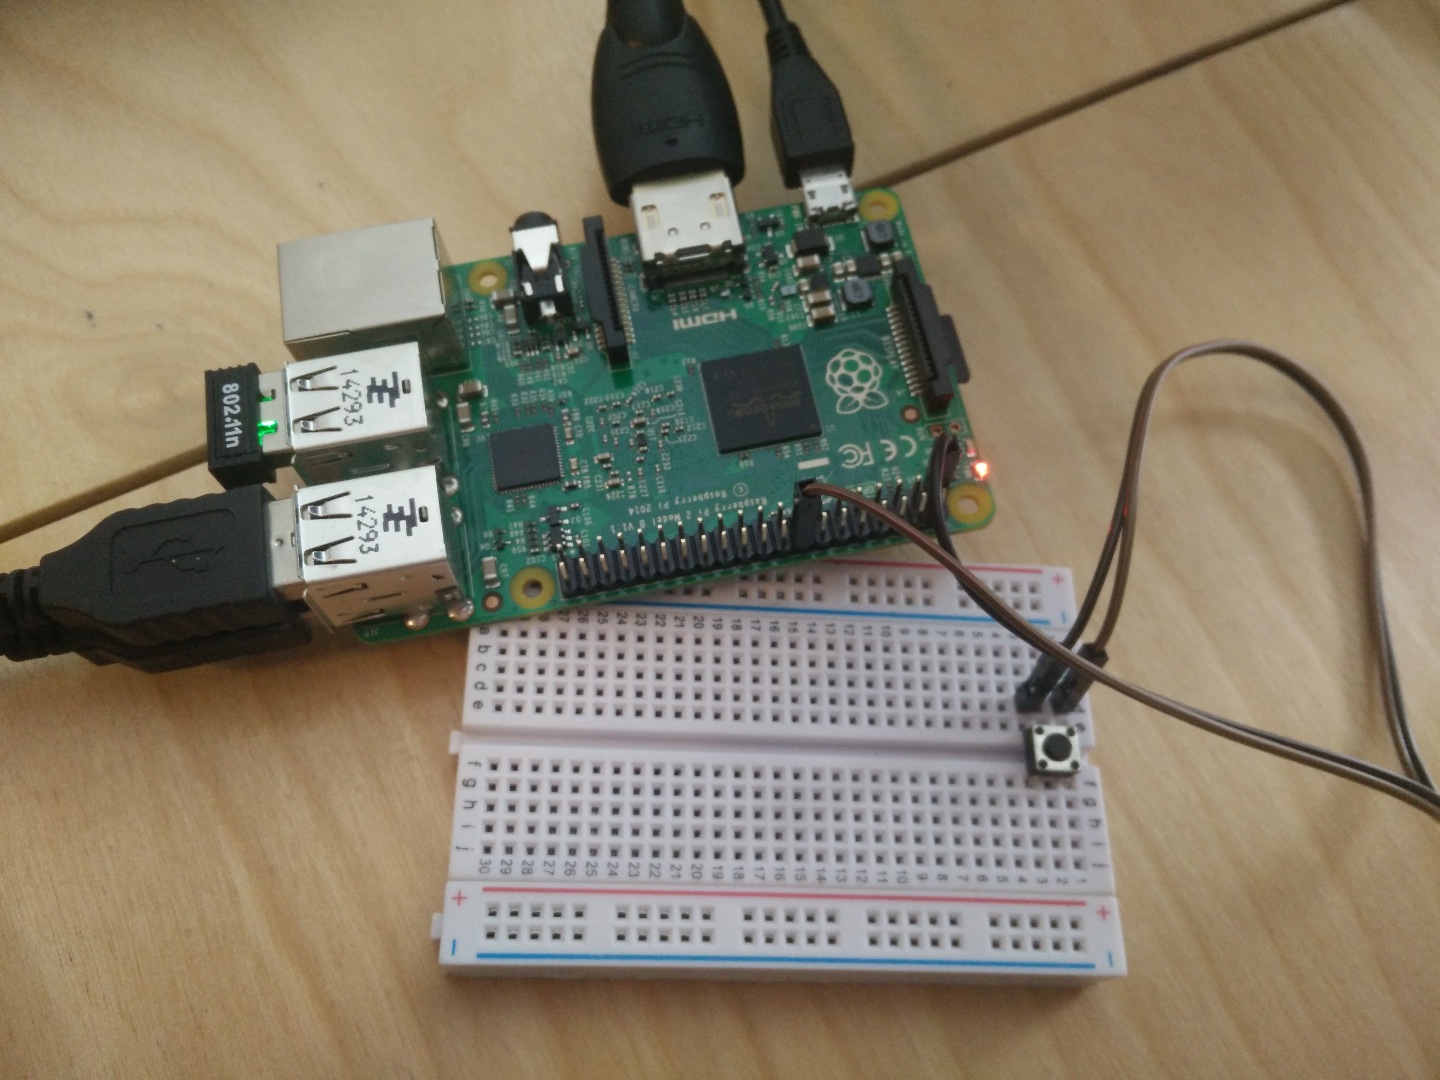
Connect switch to a power pin and a GPIO pin - we used pin 1 (3.3 VDC power) and pin 16 (GPIO4)- see photo and example at http://razzpisampler.oreilly.com/ch07.html - see pin layout diagram at http://razzpisampler.oreilly.com/ch07.html
Enter the Code
Boot up Raspberry Pi and login (default username: pi and password: raspberry)
Type ‘NANO /tmp/button_test.py’
Enter code (see first program in the attachment).
Note: ensure that you keep the tabs in the sample code as the Python language needs them to run the program.
Note: ensure you put in the code - in the spaces indicated - i) your message to send, ii) your Gmail address and password, and iii) the address where you want the e-mail message to be sent to.
Press 'control-o' to save [in tmp subdirectory, e.g. /tmp/button_test.py]
Press 'control-x' to exit text editor
Downloads
Run the Program ... Send the E-mail!
To run program, type ‘sudo python /tmp/button_test.py’ - and press the button to send the preset message!
Press 'control-c' to exit program run mode.
----------------------
If nothing happens, check to make sure that the wires are connecting the right pins to the button. See the second program in the attachment in Step 2 for suggested code to test the button.
Note: Gmail will stop the Raspberry Pi from sending too many of the same message.
Ideas for improvements to evolve this Raspberry Pi device:
Include a time-out cycle in the program code to avoid sending repeated e-mails when button is pushed.
Combine preset text phrases into a message to send to a preset e-mail with the push of several buttons.
Create a case for a more handy device with labeled buttons.
Autorun the program after the Raspberry Pi boots or reboots.