Raspberry Pi Zero W Datalogger
by BartSchilperoort in Circuits > Raspberry Pi
15756 Views, 42 Favorites, 0 Comments
Raspberry Pi Zero W Datalogger
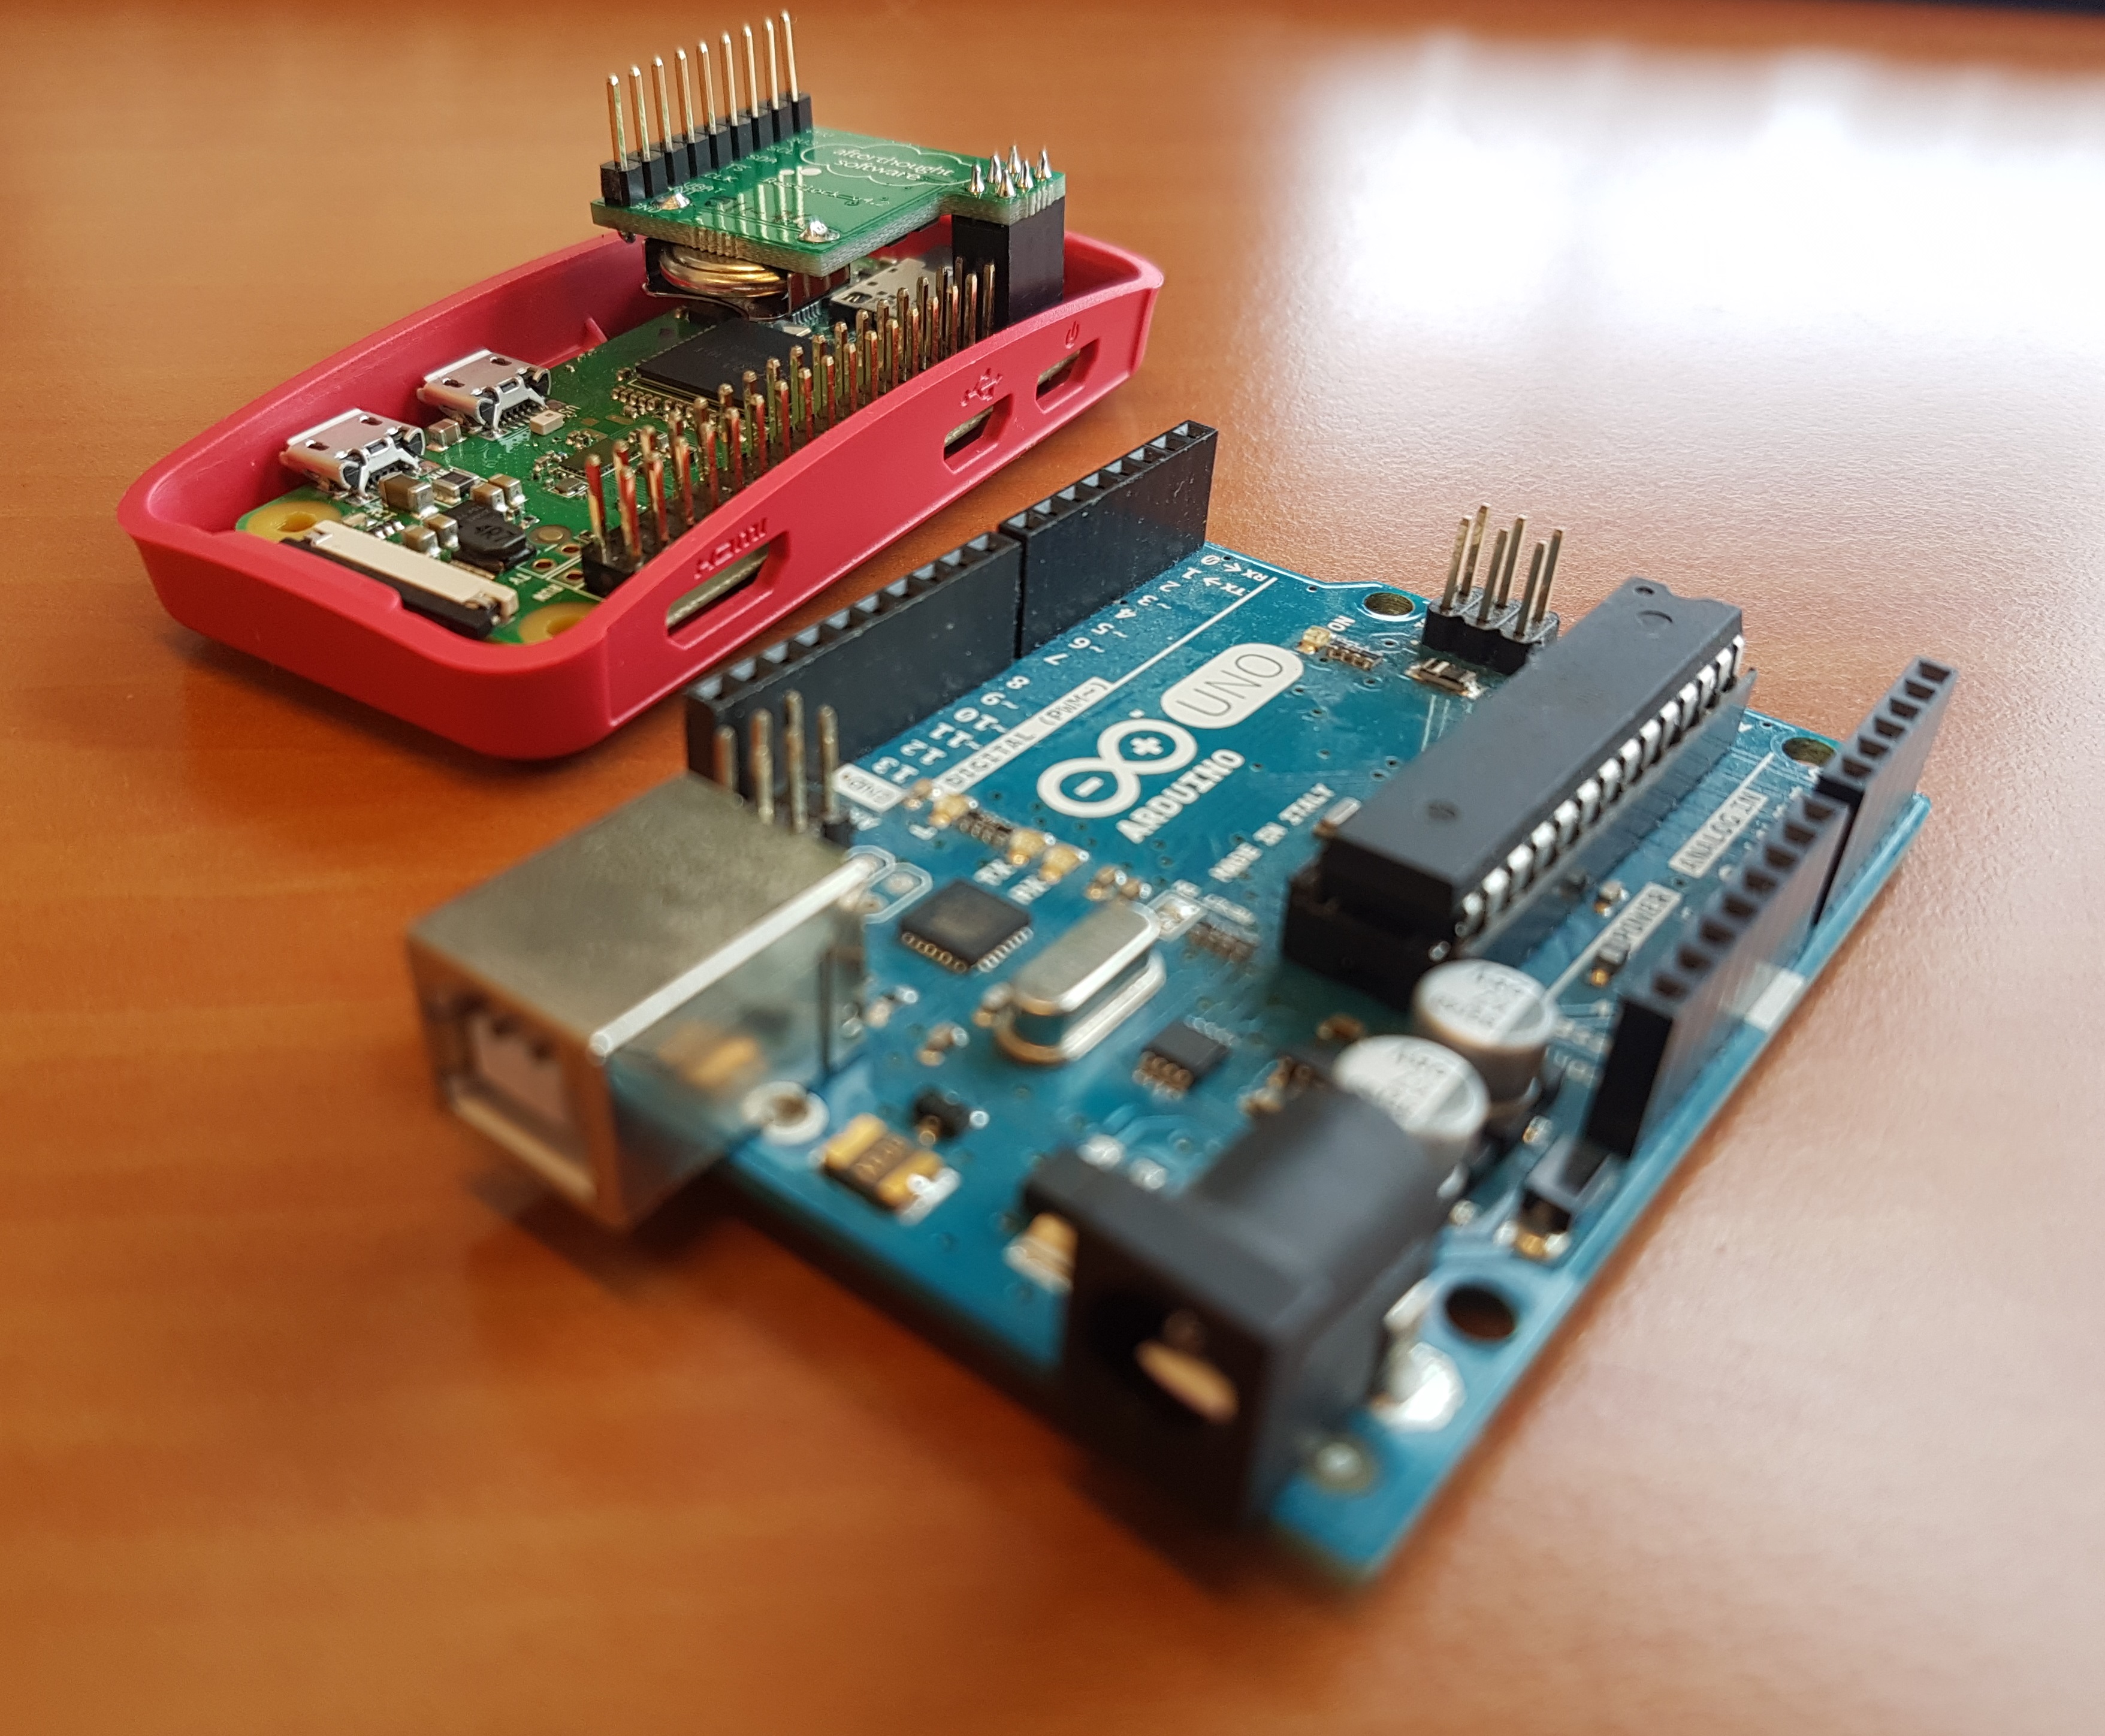
Using a Raspberry Pi Zero W, you can make a cheap and easy to use datalogger, which can be either connected to a local wifi network, or serve as an access point in the field which allows you to download data wirelessly with your smartphone.
I presented this setup at the American Geophysical Union Fall Meeting 2017, as a way to make your own data logger setup. You can find that presentation here.
What you will need:
- A Raspberry Pi Zero W
- A micro SD card
- a USB cable or USB power supply
- A computer with a USB card reader
- Optional (but useful):
- miniHDMI -> HDMI adapter (to connect the Pi to a screen)
- USB OTG adapter (to connect a keyboard to the Pi
Set Up Pi Zero W
To get started, put a Rasbian image on a microSD card (in this tutorial I used 2017-07-05-raspbian-jessie-lite, available here). A lite version can be used (without a desktop) as the set up will be done via the command line.
Insert the SD card into the Pi, connect the screen and a keyboard, and power it up by plugging in the power cable. Headless setup is also possible, but would require connecting over SSH.
After the Pi has booted up login (default username: pi, password: raspberry), and change the password with the command "passwd".
The keyboard can be configured by entering "sudo raspi-config" in the terminal.
Connect to WiFi
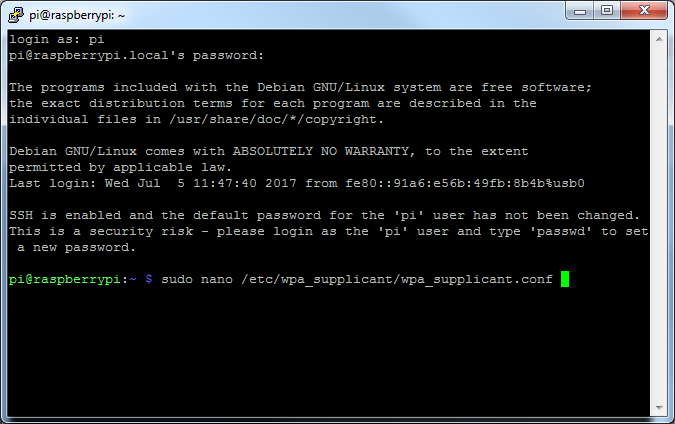
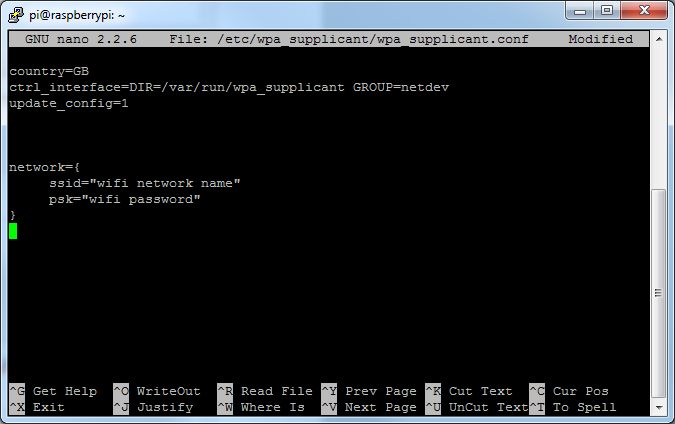
To connect to the internet, we'll tell the Pi which network to connect to. Start by opening the following file;
sudo nano /etc/wpa_supplicant/wpa_supplicant.conf
In here, add the network information at the bottom;
network={
    ssid="network name"
    psk="network password"
}
In the case of an enterprise network, you can use the following setup (adjust WPA-EAP // TTLA // MSCHAPv2 to the applicable settings).
network={
    ssid="ssid"                        #Enter your network name
    key_mgmt=WPA-EAP
    eap=TTLS
    identity="xxxxx"                   #Enter your login account
    password="xxxxx"                   #Enter the passwork
    phase2="auth=MSCHAPv2"
}
Save by pressing CTRL+O, and exit with CTRL+X.
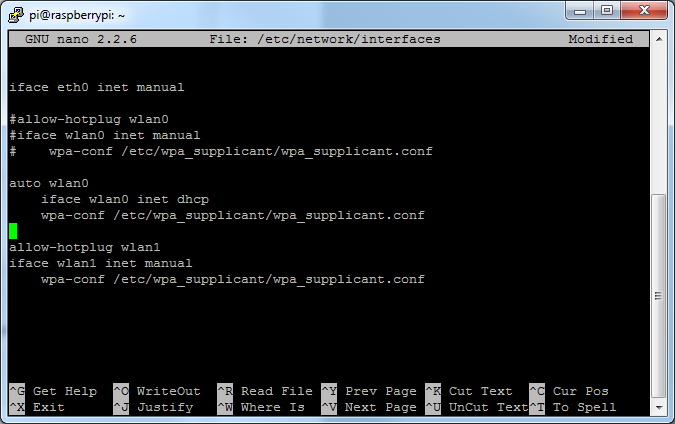
Now reference your configuration file in /etc/network/interfaces
sudo nano /etc/network/interfaces
Change the wlan0 part to:
auto wlan0
    iface wlan0 inet dhcp
    wpa-conf /etc/wpa_supplicant/wpa_supplicant.conf
Again, save the file (CTRL+O) and then exit (CTRL+X).
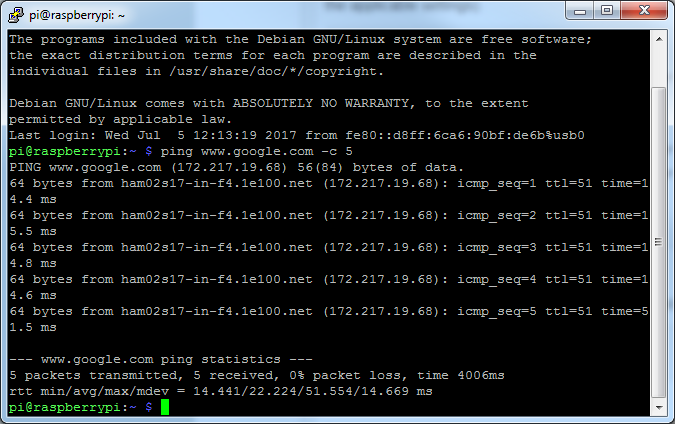
After rebooting (sudo reboot), your wifi connection should work. You can test this by pinging a website;
ping <a href="http://www.google.com"> www.google.com</a>
Cancel the ping with CTRL+C
To connect to the Pi over SSH wirelessly, you should enable SSH:
sudo raspi-config
Navigate to "5 Interfacing Options", and enable SSH. Then go back and exit the configuration.
Look up the IP address of the Pi:
ifconfig
The IP will be under "inet addr:" of the wlan0 interface.
Now you can connect to the Pi over WiFi, if you are on the same network. Download Putty (for windows), enter the IP address you found under "Host Name", and press "Open". After accepting the warning you should now be able to see the command line and login.
Update and Install Required Software
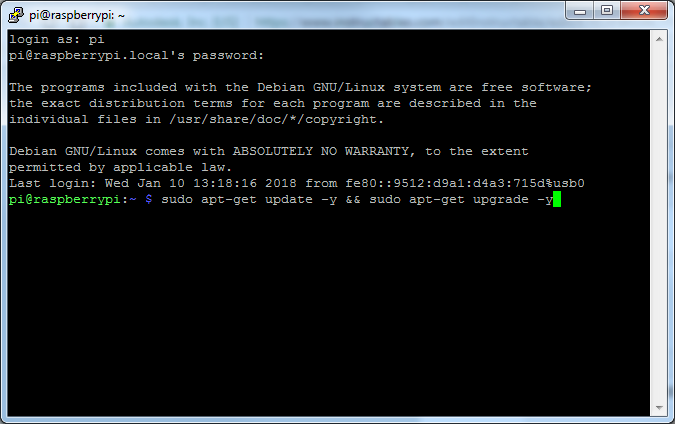
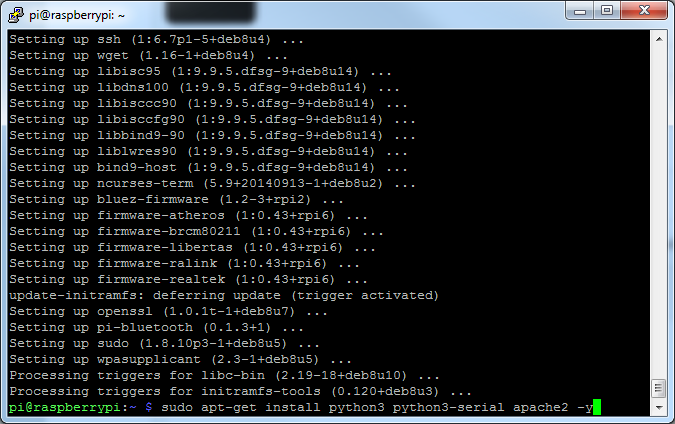
After WiFi is working, update the Pi with:
sudo apt-get update -y && sudo apt-get upgrade -y
After the update has finished (it can take a while), install the software we will be using with;
sudo apt-get install python3 python3-serial apache2 -y
Connect to a Sensor (in This Example an Arduino)
Either connect the Arduino together with a keyboard using a USB hub, or connect the Arduino via the single USB port, and do the setup with SSH over WiFi.
To be able to access the serial port the Arduino is connected to, it is useful to give access to the default pi account. As the Arduino usually is assign to port "/dev/ttyACM0", use the following command to give the 'pi' user access to the port:
sudo chown pi: /dev/ttyACM0
Assuming, that the Arduino has already been set up to send data over the serial port, you can view the data in python in the following way:
Open python;
python3
Import serial:
import serial
Open the com port:
ser = serial.Serial(port     = '/dev/ttyACM0',
                    baudrate = 9600,
                    timeout  = 5)
Where the baudrate of the Arduino was set to 9600 in this case.
You can read and print a line by running the following code:
ser.readline().decode('utf-8')If you have it working, you can close the connection and exit Python with:
ser.close()
exit()
Set Up WiFi Access Point Capabilities
By setting up your Pi Zero W in wifi access point mode, you can connect to it with any wifi device. This allows setting up the logger and downloading data over wifi, no cables or drivers required.
For this, Adafruit has a good tutorial available. Some small remarks:
- For the /etc/hostapd/hostapd.conf driver, use don't use the driver line.
- The "Update hostapd" step should not be necessary.
If the access point does not work at the end of the tutorial, try rebooting the Pi (sudo reboot).
Switching Between Wifi Access Point and Client Modes
Sometimes you will want to update software, or install new software onto your Raspberry Pi, but this requires an internet connection. Luckily switching between the two is very easy.
Connect to the Pi with SSH (over a cable, not wifi!). Start by stopping the access point services:
sudo cystemctl stop hostapd.service
sudo cystemctl stop isc-dhcp-server.service
Then edit the network interfaces file:
sudo nano /etc/network/interfaces
Here you should comment out the hosting parameters, and un-comment the network connection parameters. Change it from this:
#-Hosting parameters:
allow-hotplug wlan0
iface wlan0 inet static
     address 192.168.42.1
     netmask 255.255.255.0

#-Network (client) parameters:
#auto wlan0
#     iface wlan0 inet dhcp
#     wpa-conf /etc/wpa_supplicant/wpa_supplicant.conf<br>
To this:
#-Hosting parameters:<br>#allow-hotplug wlan0
#iface wlan0 inet static
#     address 192.168.42.1
#     netmask 255.255.255.0

#-Network (client) parameters:
auto wlan0
     iface wlan0 inet dhcp
     wpa-conf /etc/wpa_supplicant/wpa_supplicant.conf
Save and close the file.
Next you run the following commands:
sudo systemctl start wpa_supplicant.service
sudo ifdown wlan0
sudo ifup wlan0
Now your Pi should connect to wifi again, allowing you to update and install software.
To get back to access point mode, switch around the comments in /etc/network/interfaces, and reboot the Pi.
Final Remarks
Website setup
The apache server is located in /var/www/. To change the default page, edit the /var/www/html/index.html file.
You can make files here available to download over the wifi connection, by navigating your browser to the Pi's IP address (192.168.42.1). Any wifi enabled device can then download them without any extra software.
SFTP connection
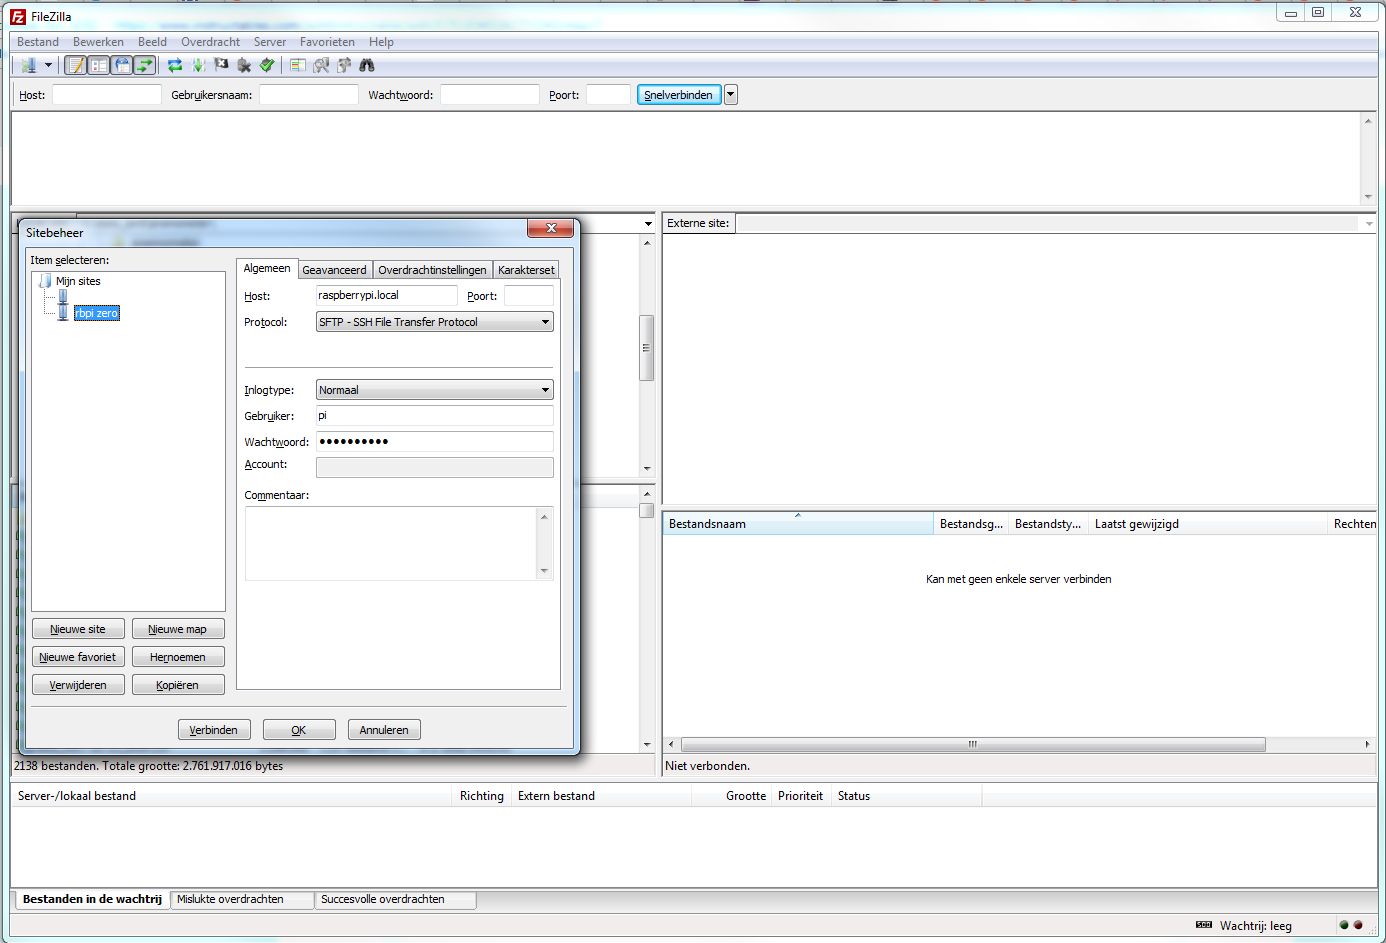
Over SSH, a FTP connection can be made. You can use Filezilla to quickly and easily transfer a large amount of files (see image).
Real Time Clock
As the internal clock of the Pi will drift significantly if there is no connection to the internet, a real time clock (RTC) module will be needed if accurate timekeeping is required. One such module is the RasClock, installation instructions can be found here. Other i2c based clocks are also available (ie. DS3231)
Conclusion
If everything went correctly, you should now have a working Pi Zero datalogger! A python logging script example is included in the next step.
Example Python Logging Script
import os
import serial
from time import time
from datetime import datetime
import numpy as np

ser = serial.Serial(port     = 'COM4',
                    baudrate = 57600,
                    timeout  = 5)

directory = r'\var\www\html\data\anemometer\WMPro1352_'

ser.flushInput()
ser.flushOutput()

try:
    while True:
        day_timestring = datetime.strftime(datetime.now(),'%Y%m%d')

        file_today = directory + day_timestring + '.dat'

        #Read out data and immediately get the time
        line = ser.readline().decode('utf-8')
        nowtime = datetime.strftime(datetime.now(),'%Y-%m-%d %H:%M:%S.%f')

        line = line.split(',')

        try:
            u = float(line[1])
        except:
            u = np.nan

        try:
            v = float(line[2])
        except:
            v = np.nan

        try:
            w = float(line[3])
        except:
            w = np.nan

        try:
            c = float(line[5])
        except:
            c = np.nan

        Ts = 1/403 * c**2 - 273.15

        try:
            Ta = float(line[8])
        except:
            Ta = np.nan

        if (os.path.isfile(file_today)):
            with open(file_today, 'a') as fileobject:
                fileobject.write(nowtime+', ')
                fileobject.write(str(u)+', '+str(v)+', '+str(w)+', '+str(c)+', '+str(Ts)+', '+str(Ta)+'\n')
                fileobject.close()
        else:
            with open(file_today, 'w') as fileobject:
                fileobject.write('"Time","u","v","w","c","Ts","Ta"\n')

                fileobject.write(nowtime+',')
                fileobject.write(str(u)+','+str(v)+','+str(w)+','+str(c)+','+str(Ts)+', '+str(Ta)+'\n')
                fileobject.close()

except KeyboardInterrupt:
    ser.close()