Raspberry Pi Web Stream Kit - Part 2 (Pi Video Streaming)
by JimB52 in Circuits > Raspberry Pi
4573 Views, 8 Favorites, 0 Comments
Raspberry Pi Web Stream Kit - Part 2 (Pi Video Streaming)
Okay, I didn't think this needed photos, but the website likes pictures. These are mostly a series of commands and steps for you. There are a number of other sites which can address any peculiarities.
This is what worked for me. This combines other pieces from all over to generically setup a webcam & raspberry pi system to stream the output to some other computer, in this case, an OBS Studio run.
I use the cameras to provide multiple points of view of a FIRST LEGO League competition. I've also put together a 4 camera kit for my children's high school to allow the streaming of events (concerts, graduations, etc) to Facebook. I've also tested with Twitch and Youtube. OBS Studio provides multiple options
There is no real limit to the number of cameras, other than bandwidth. I prefer to use hard lines, as it preserves the bandwidth better. Wireless has latency issues, especially in a crowded signal environment with lots of metal (discovered this during a dry run at a school fund raiser).
Supplies
Computer with Internet Access
Raspberry Pi, with keyboard/mouse/video access. Ethernet access to the Internet as well.
Logitech c920 webcam
Configure the RPi Memory Card
For a Card with a NOOBs installed
I'm starting with a card that came with the kit I just received from ABOX. Noobs v3.0.0 was on the card.
I have a 32GB uSD card. A 16 GB will also work. I suppose smaller may work, but for the cost difference, just get the 16, 32, or larger cards.
- If you have a card, you can skip to Step 2
For a new installation from scratch,
- Download latest NOOBS from https://www.raspberrypi.org/downloads/noobs/
- Download tools for SD Card configuration
- For formatting the SD Card only: SD Card Formatter
- For reading from card / writing to SD card
- Use an uSD adapter to USB, or SD card to attach to your Windows PC
- Format the SD card, using the SD Card Formatter
- Load NOOBs.zip onto the SD card, using win32diskimager,
- Eject SD card from your device
This is similar to the steps at https://projects.raspberrypi.org/en/projects/raspberry-pi-setting-up/3
Setup the RPi Installation
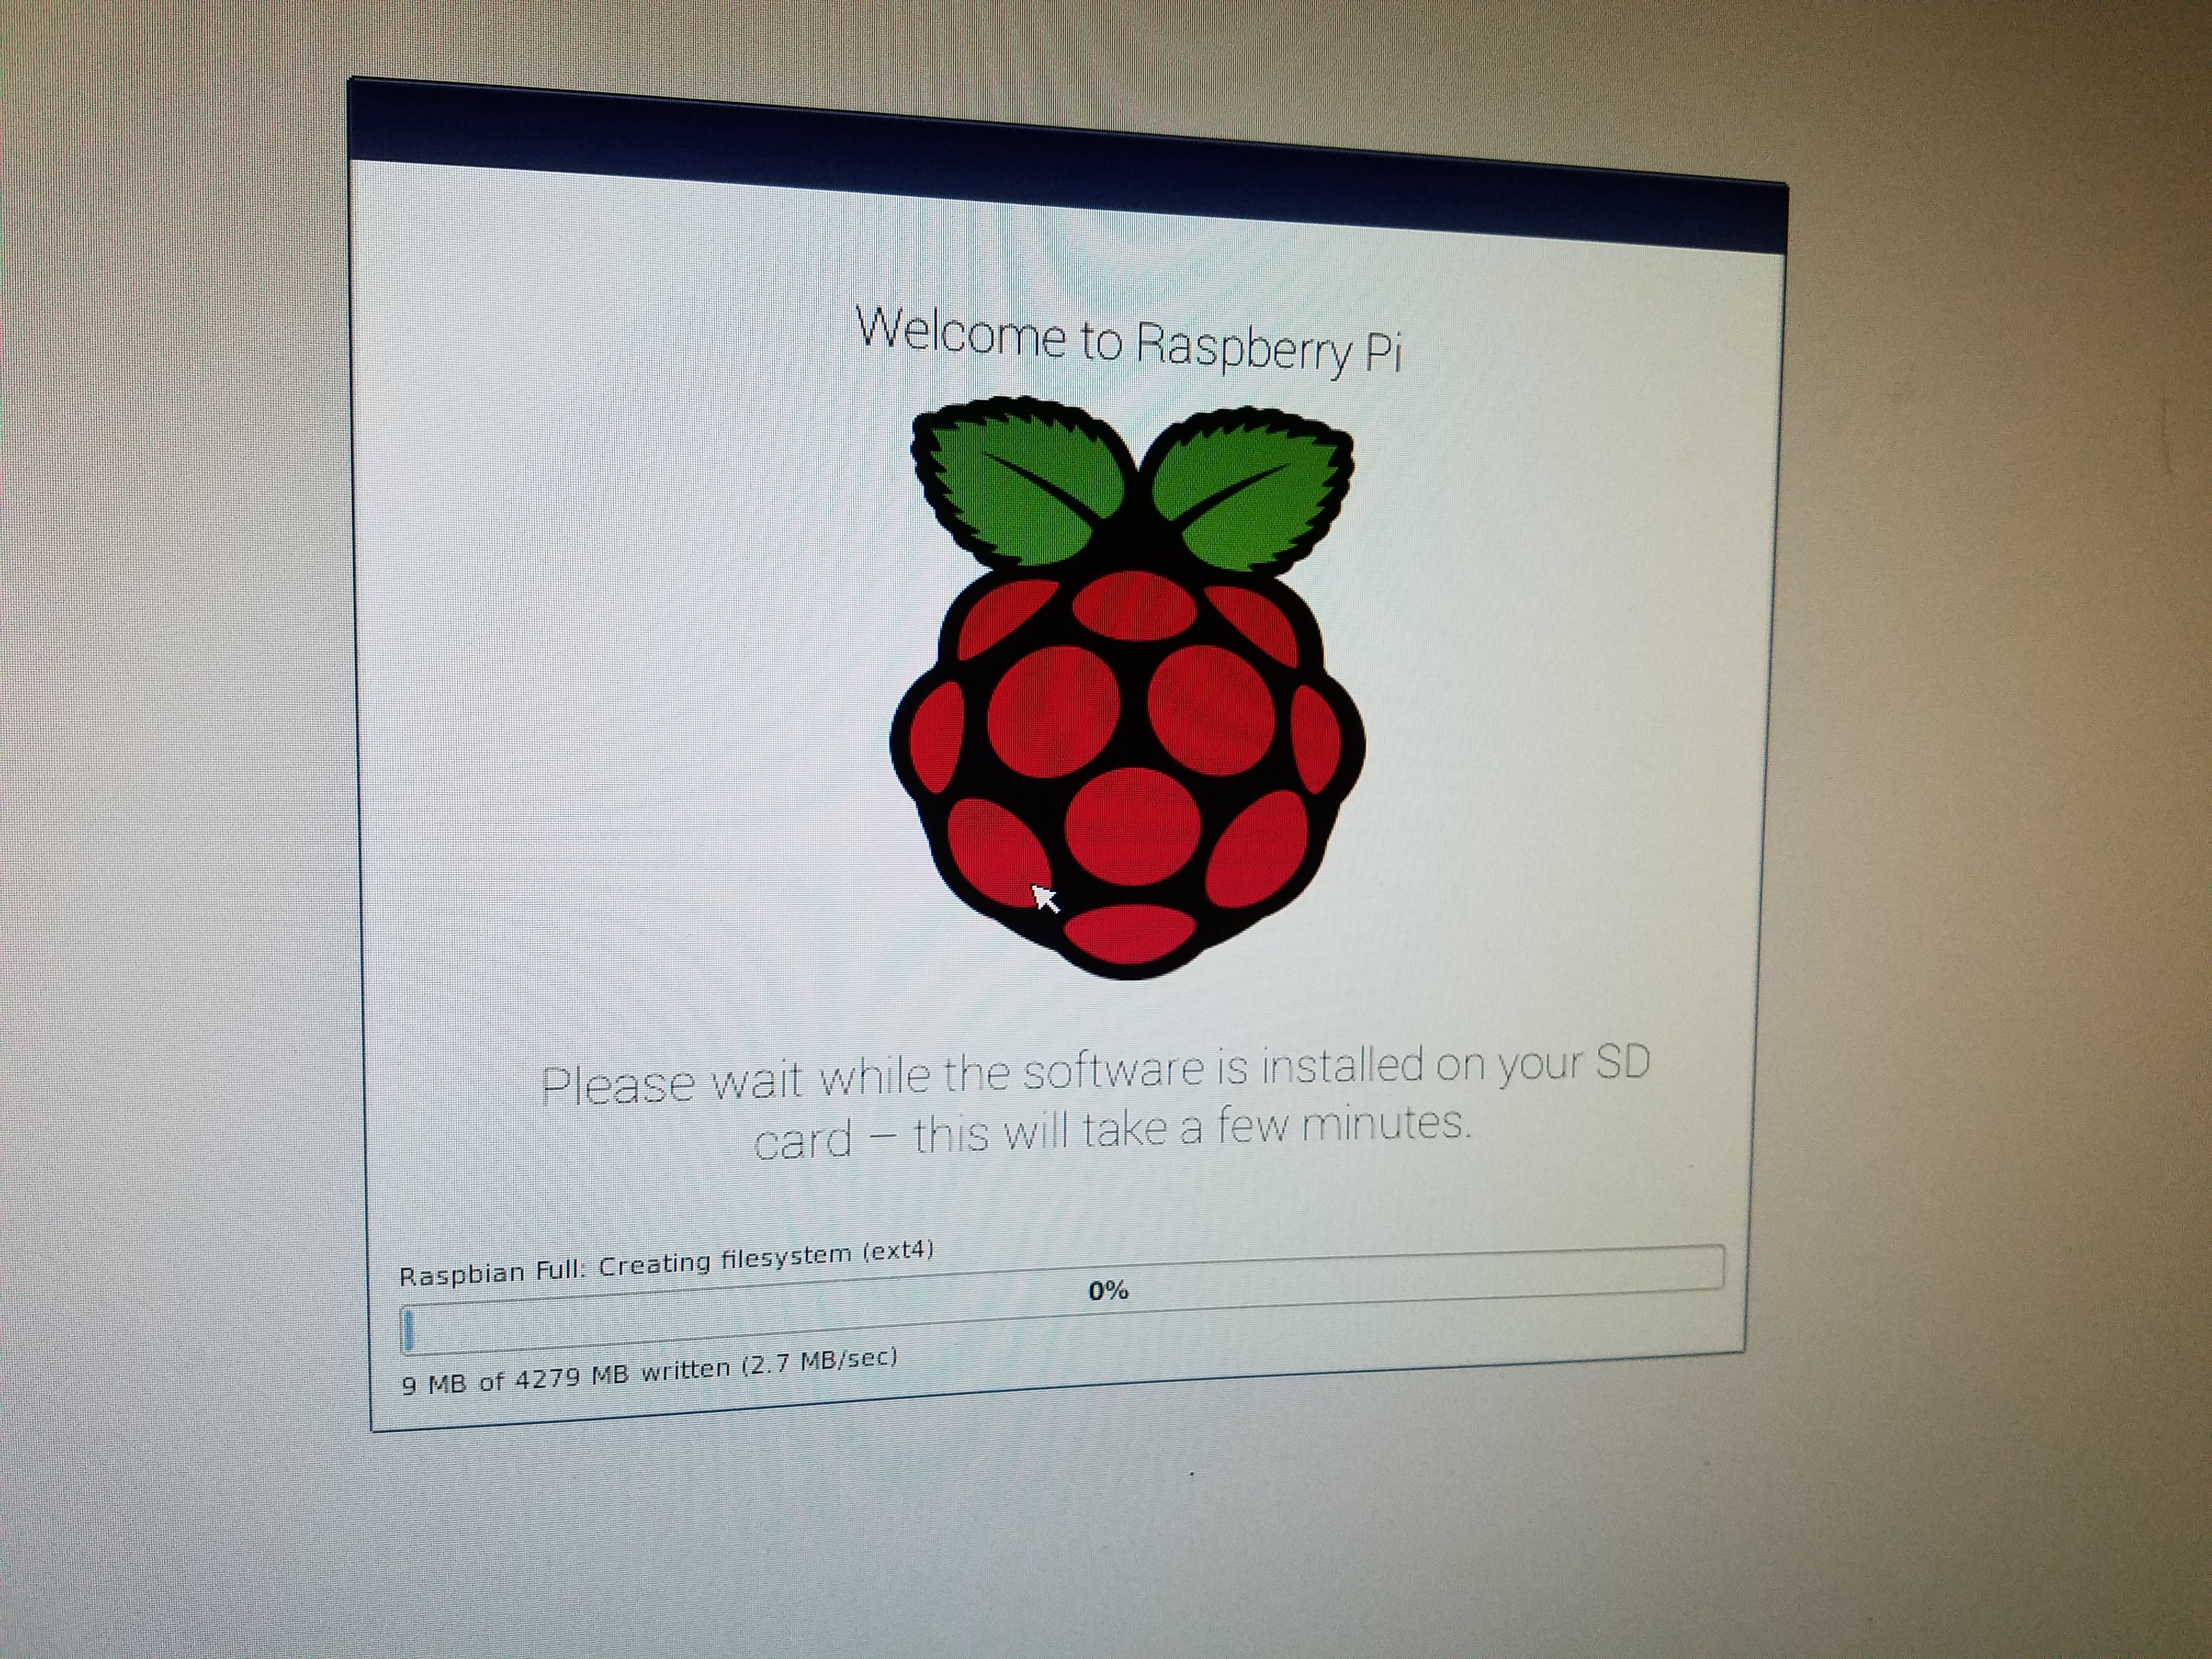
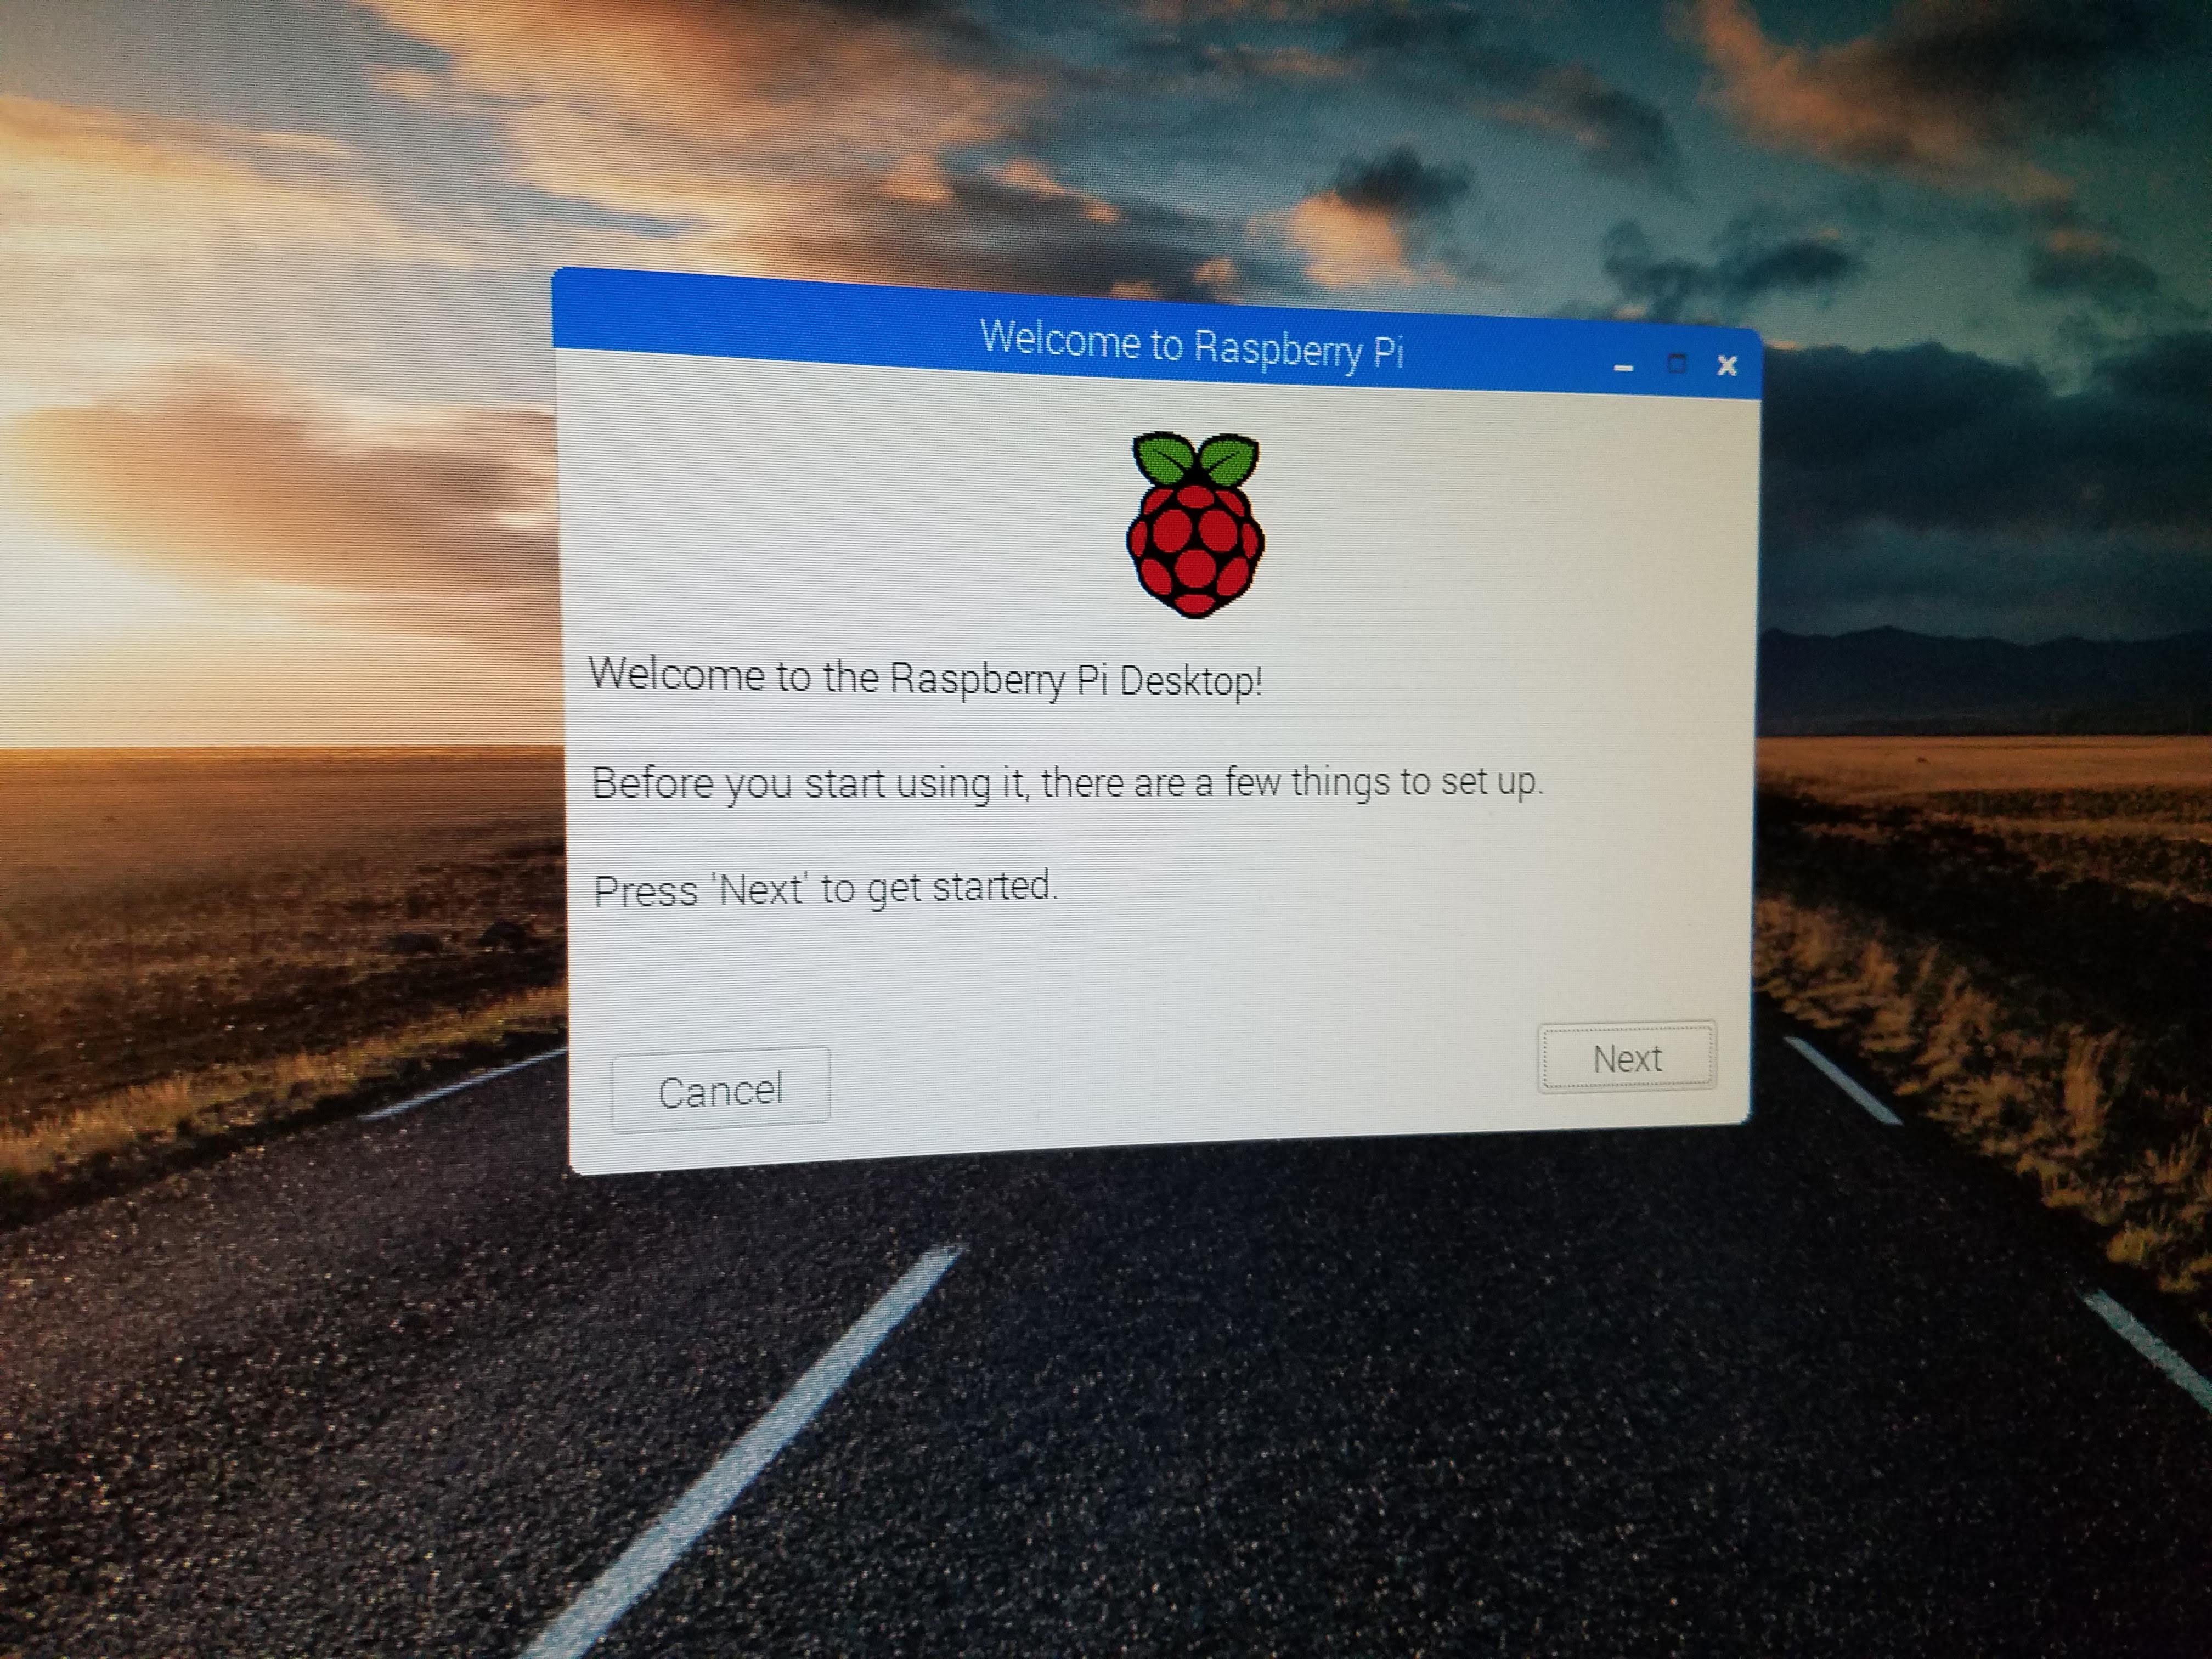
- Insert SD card into rPi
- Ensure rPi has video output, Enet, Keyboard, Mouse, and Video connections
- Apply power to unit
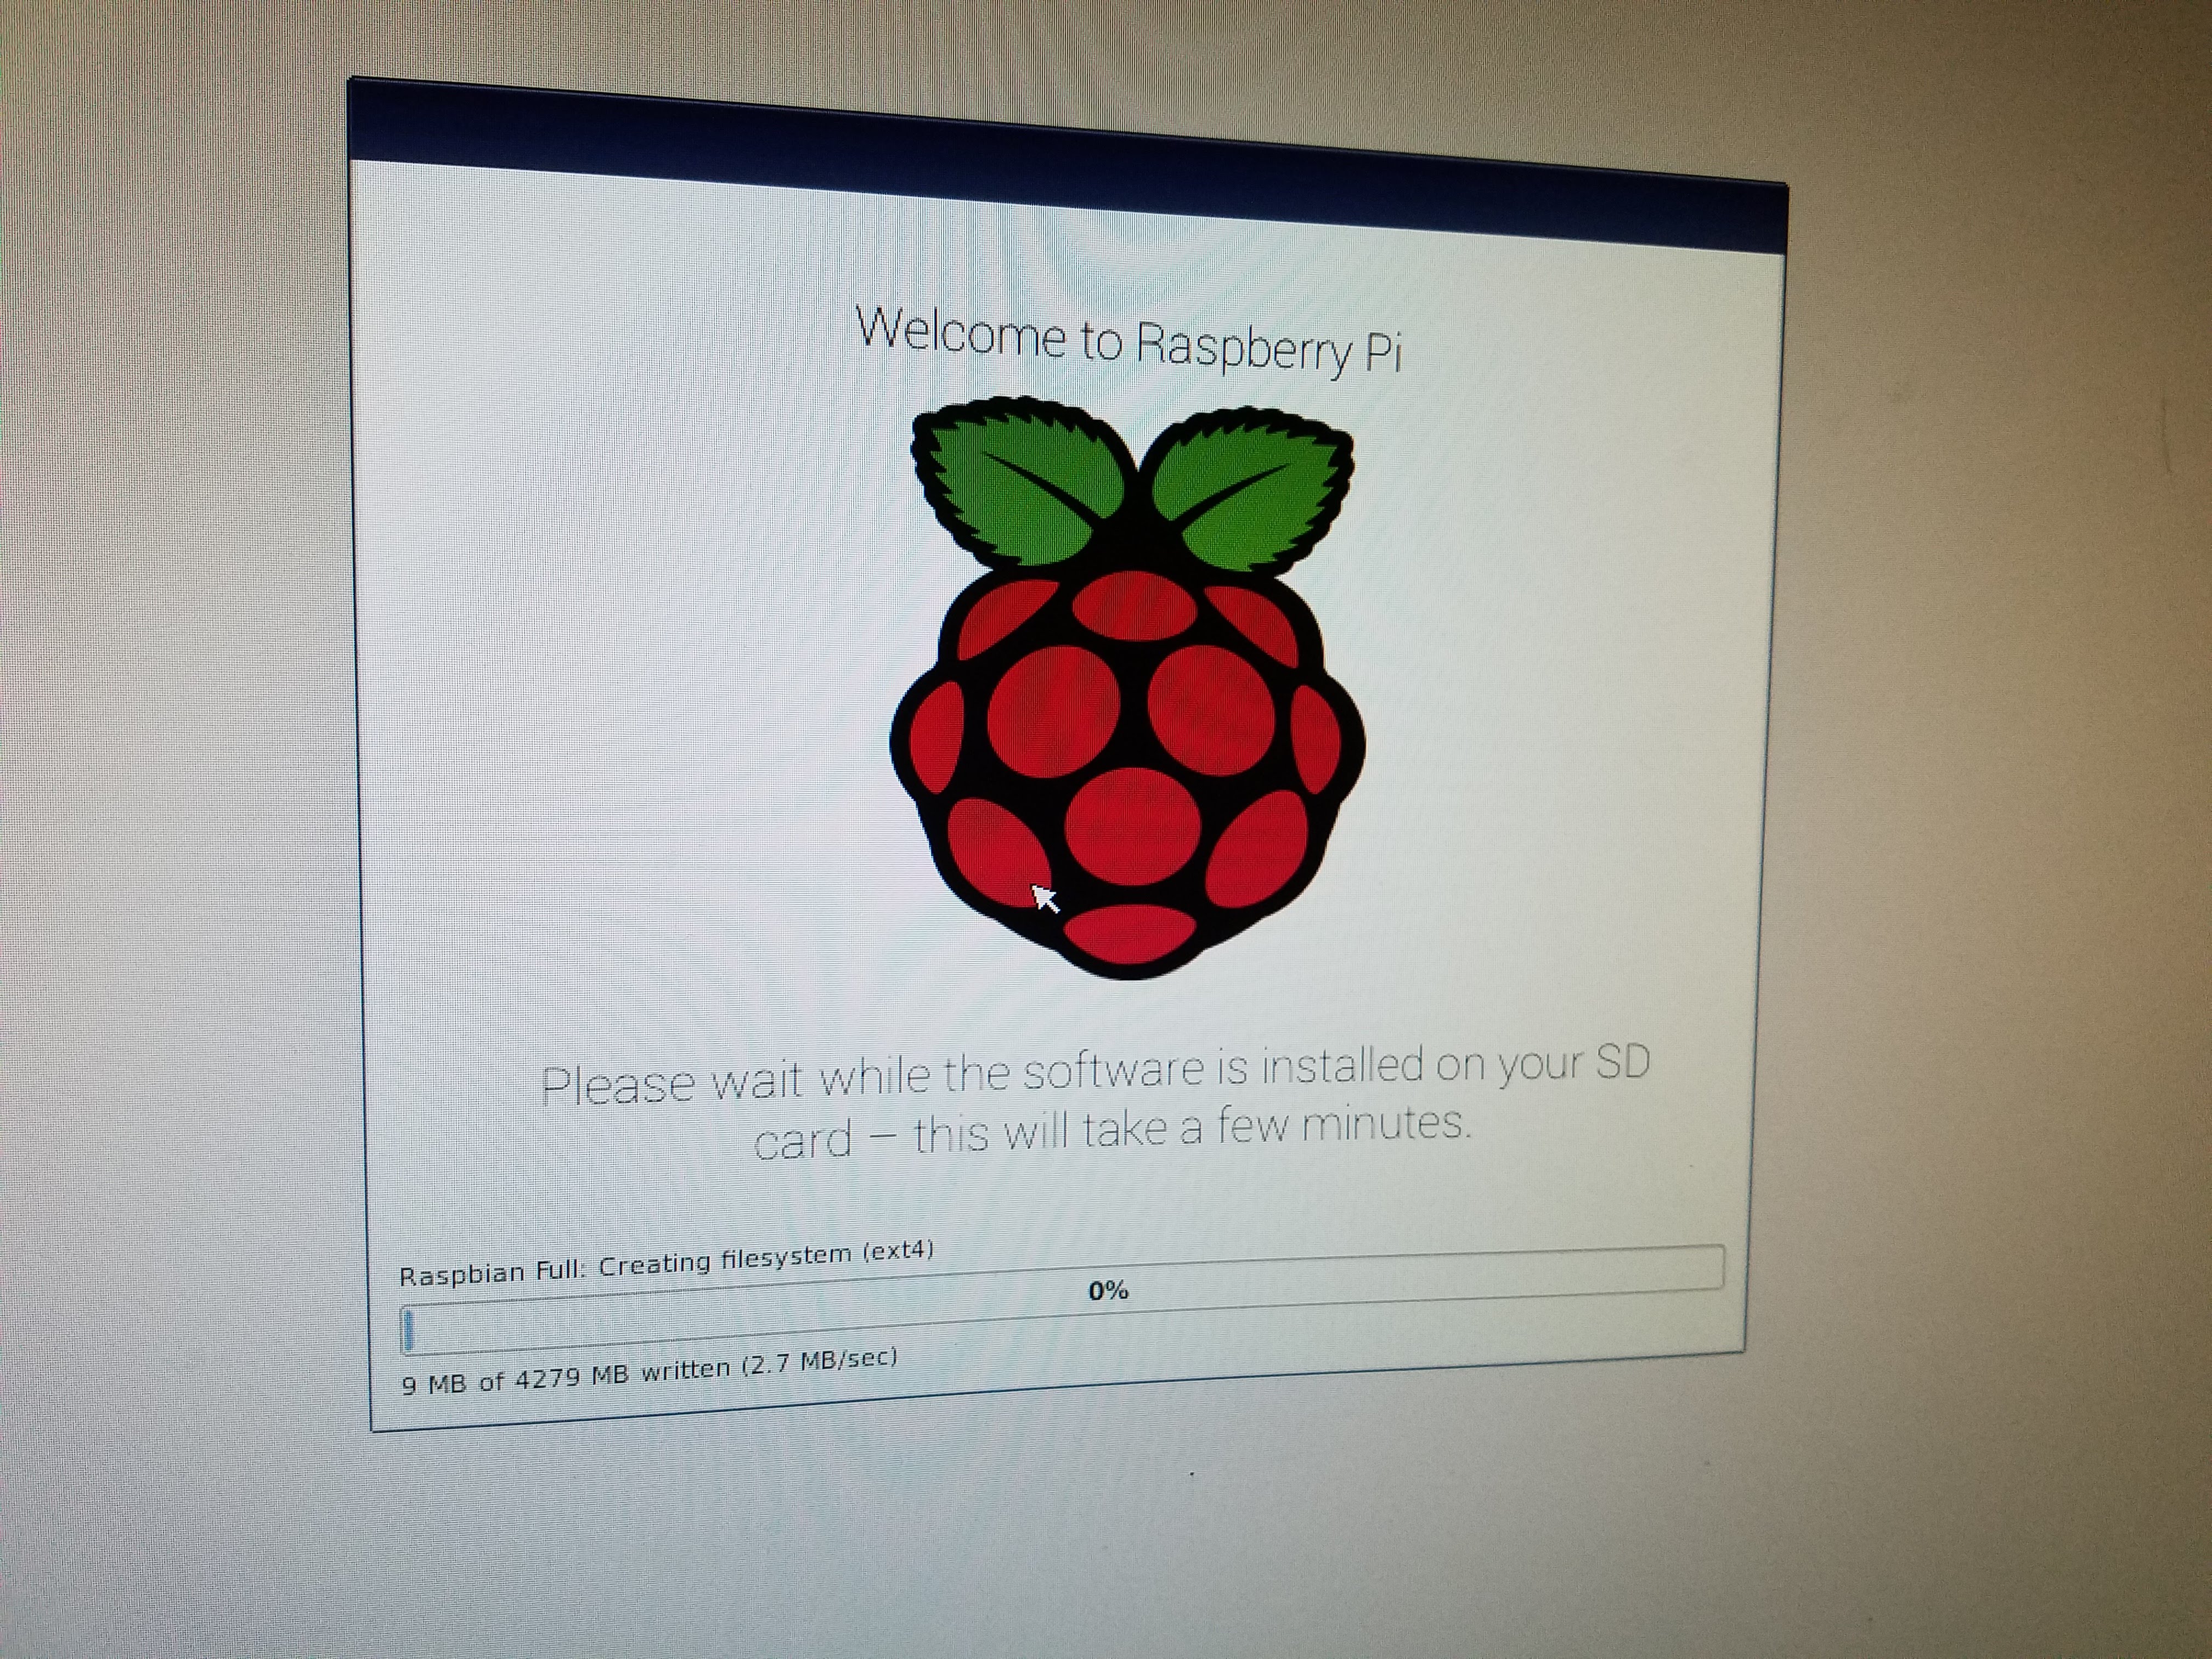
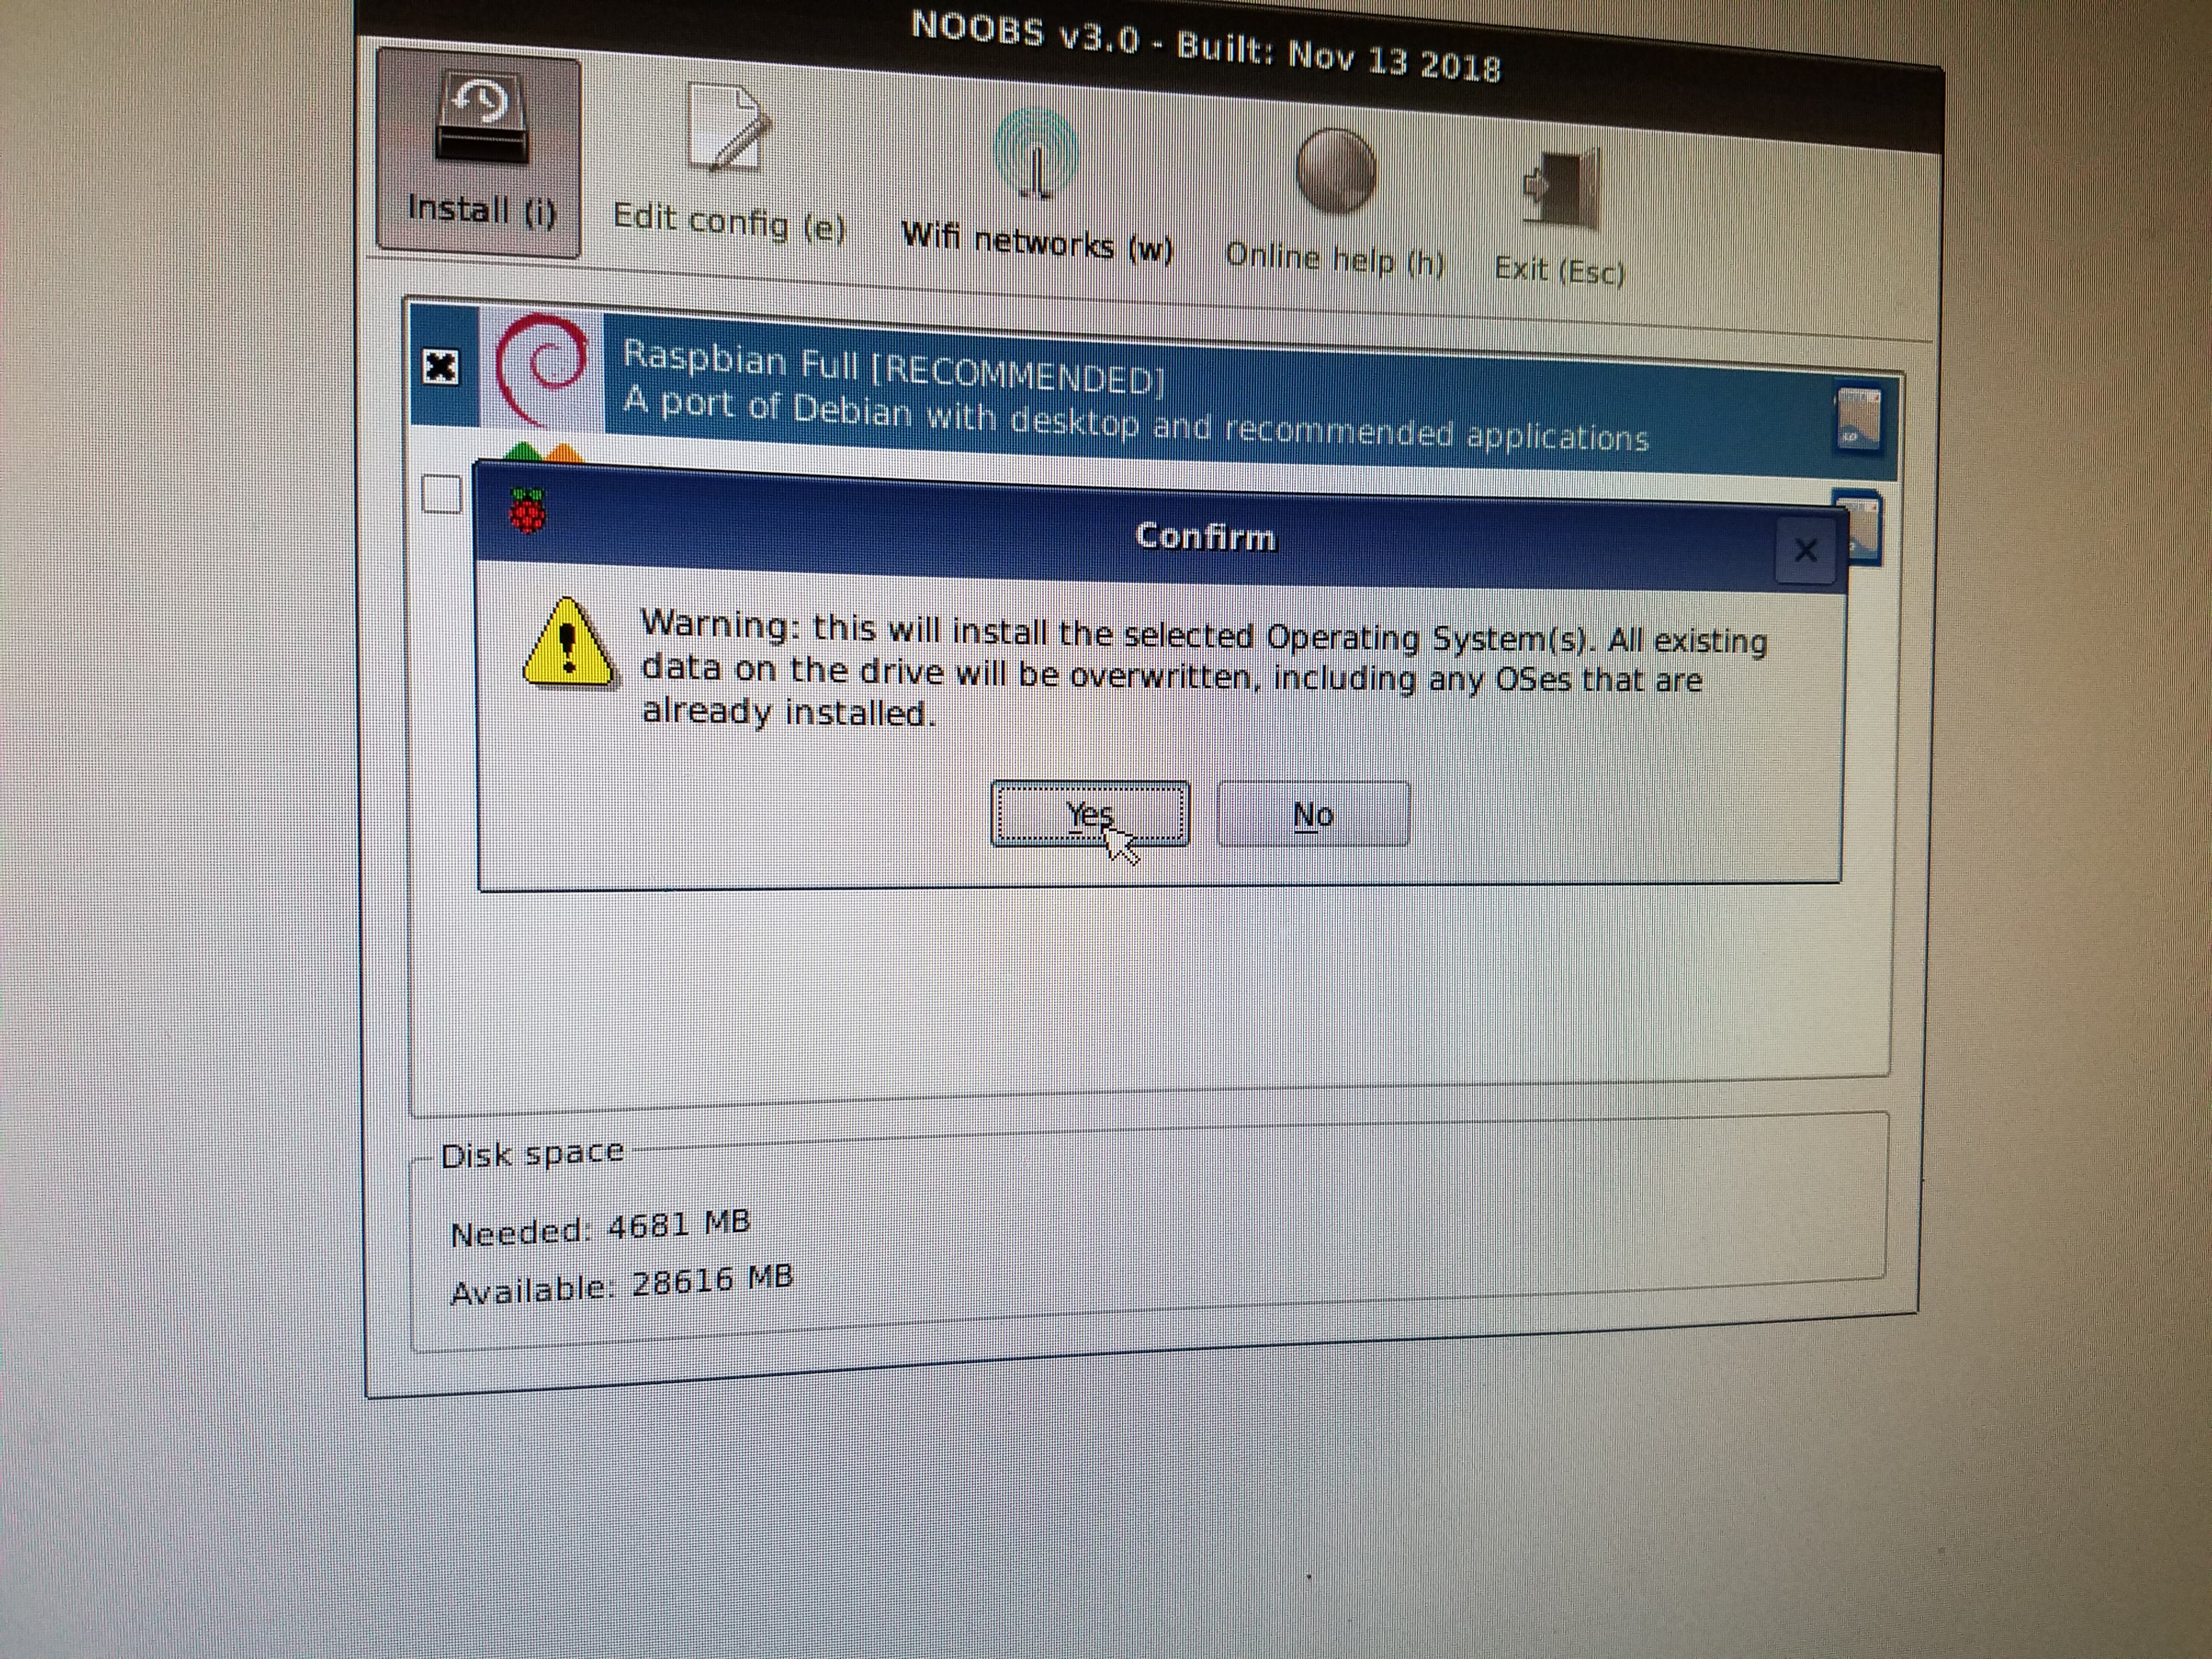
- At the install window, Select OS to install (Raspbian was used for this example)
- This will take some time (about 20 min)
- Configure country, language, keyboard...
- Perform any updates (automatically checked at setup)
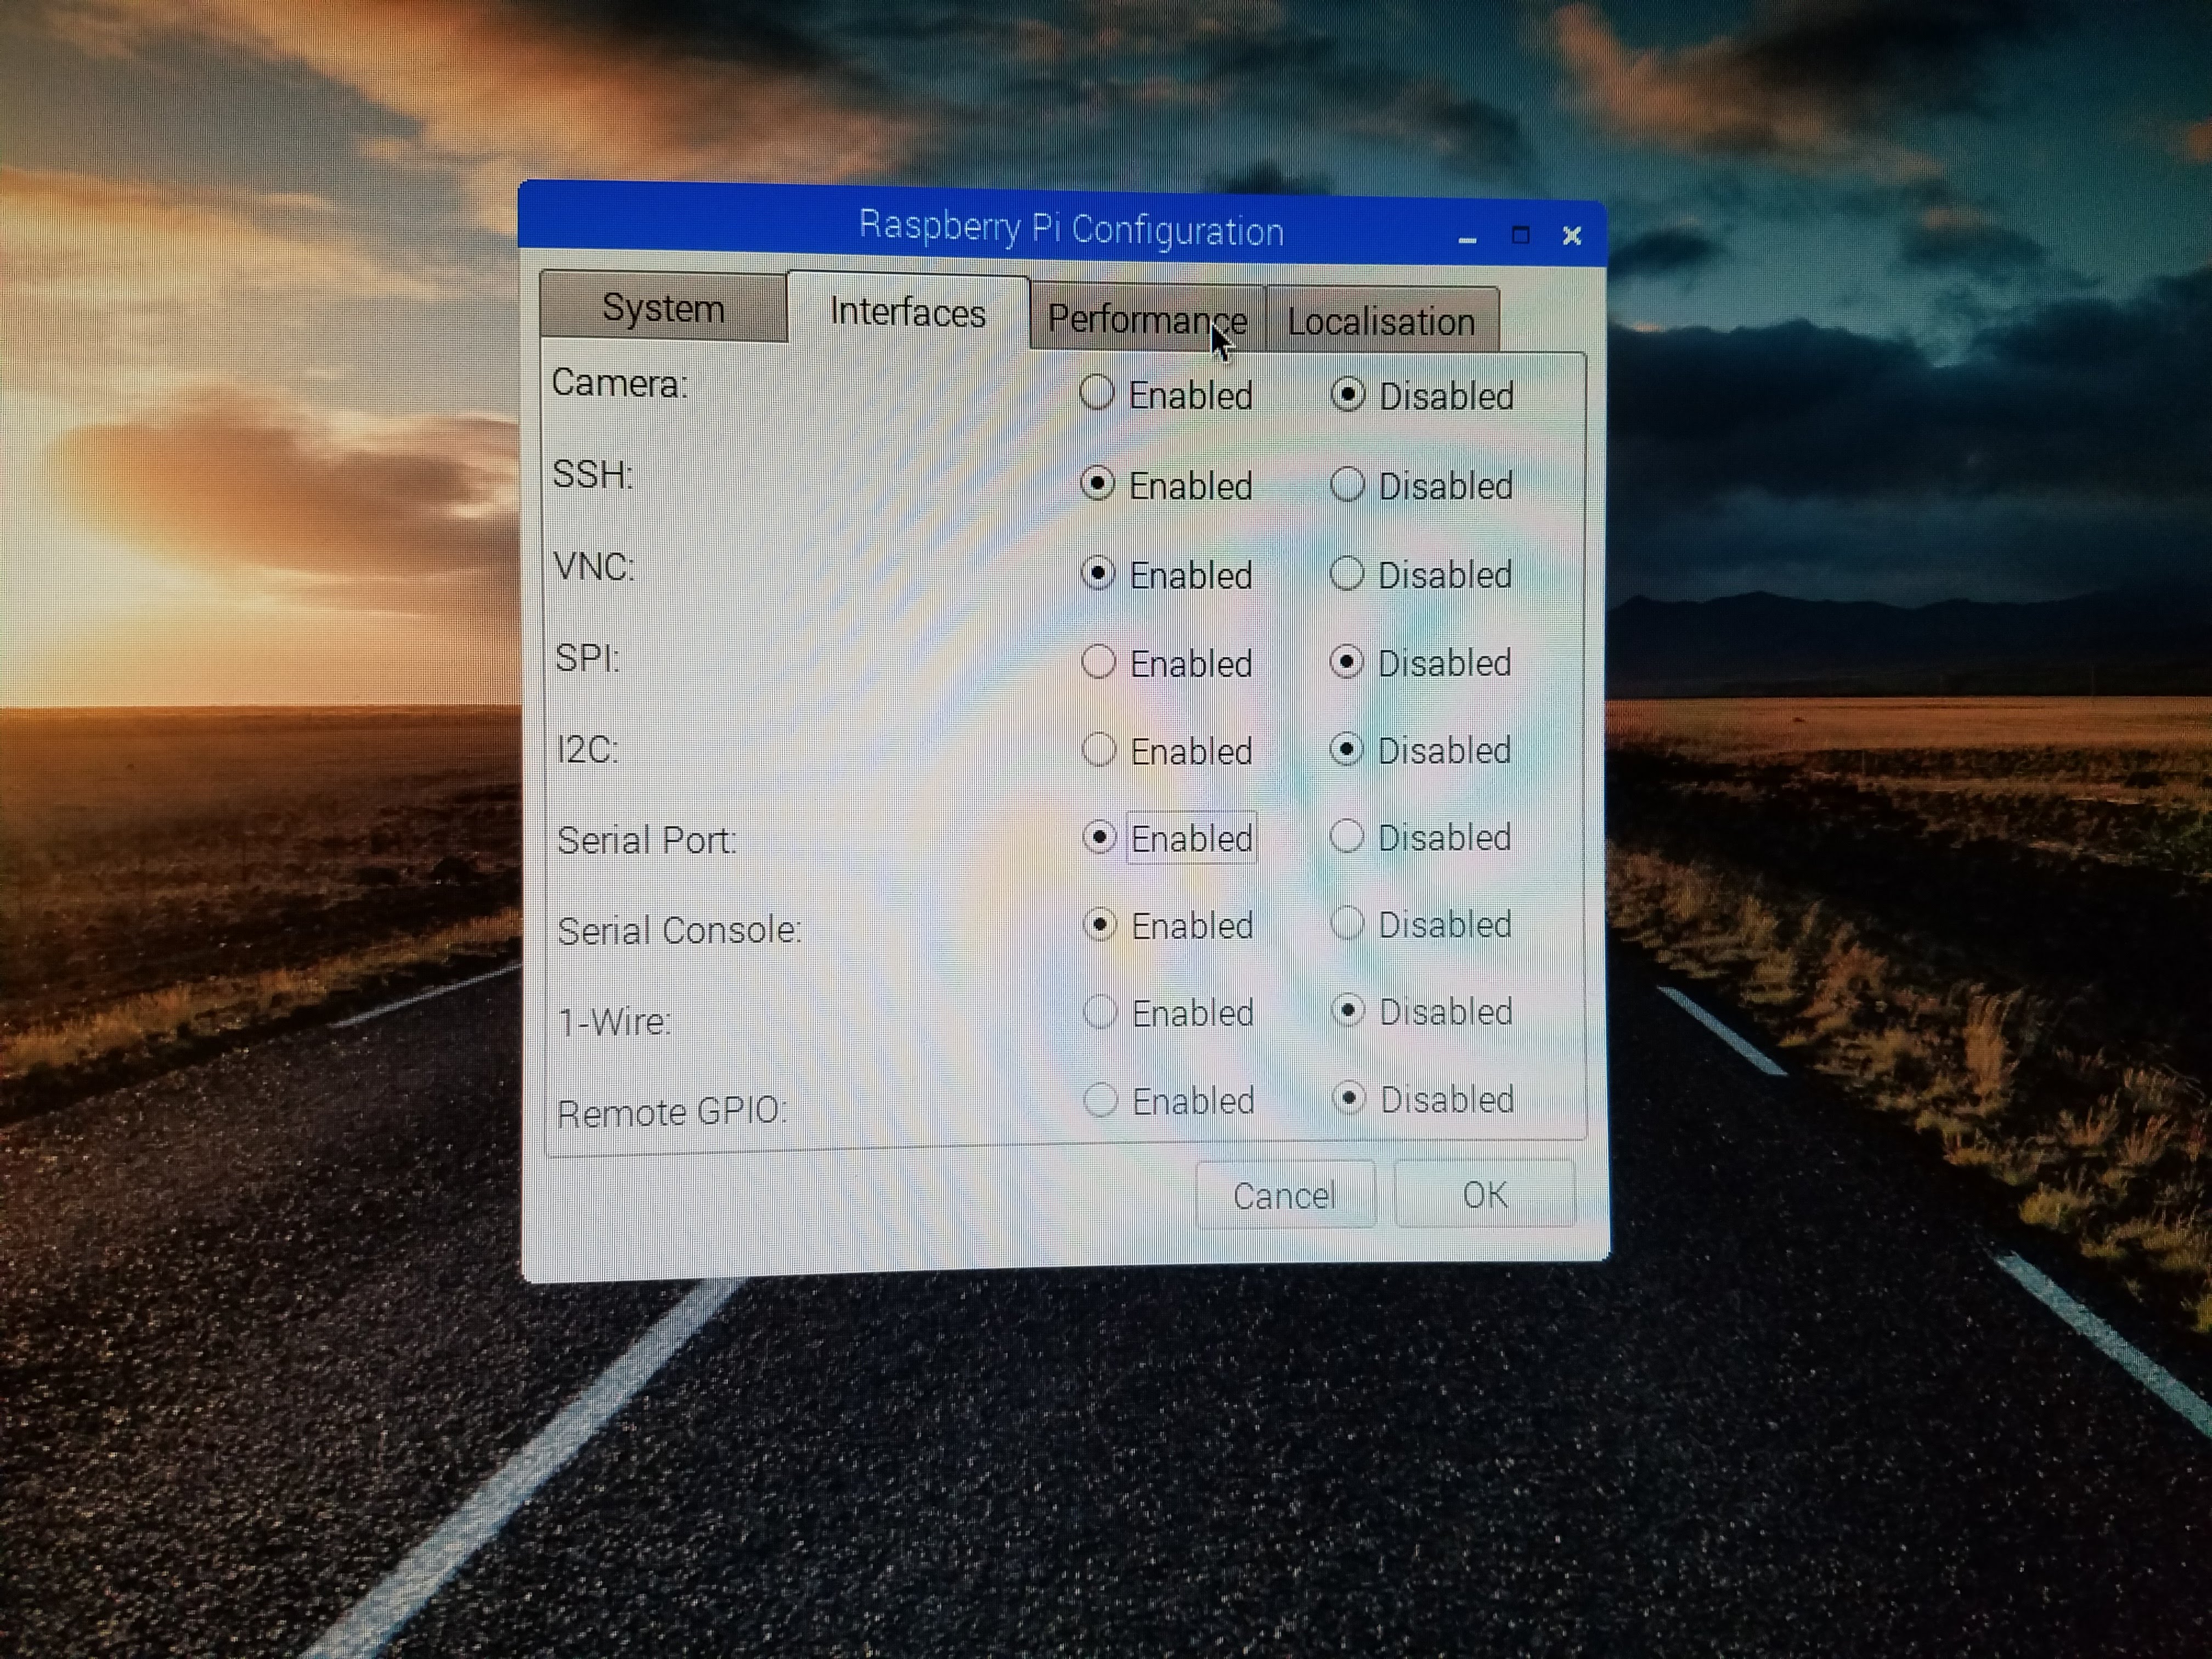
- After Reboot, perform other configuration via the Raspberry Pi Configuration Dialog
- Update the host name to the desired value
- Enable SSH, VNC, serial port, serial console
- Disable the other items
- No performance updates
- No localisation (should be set fine from the initial setup)
Install the Software Needed
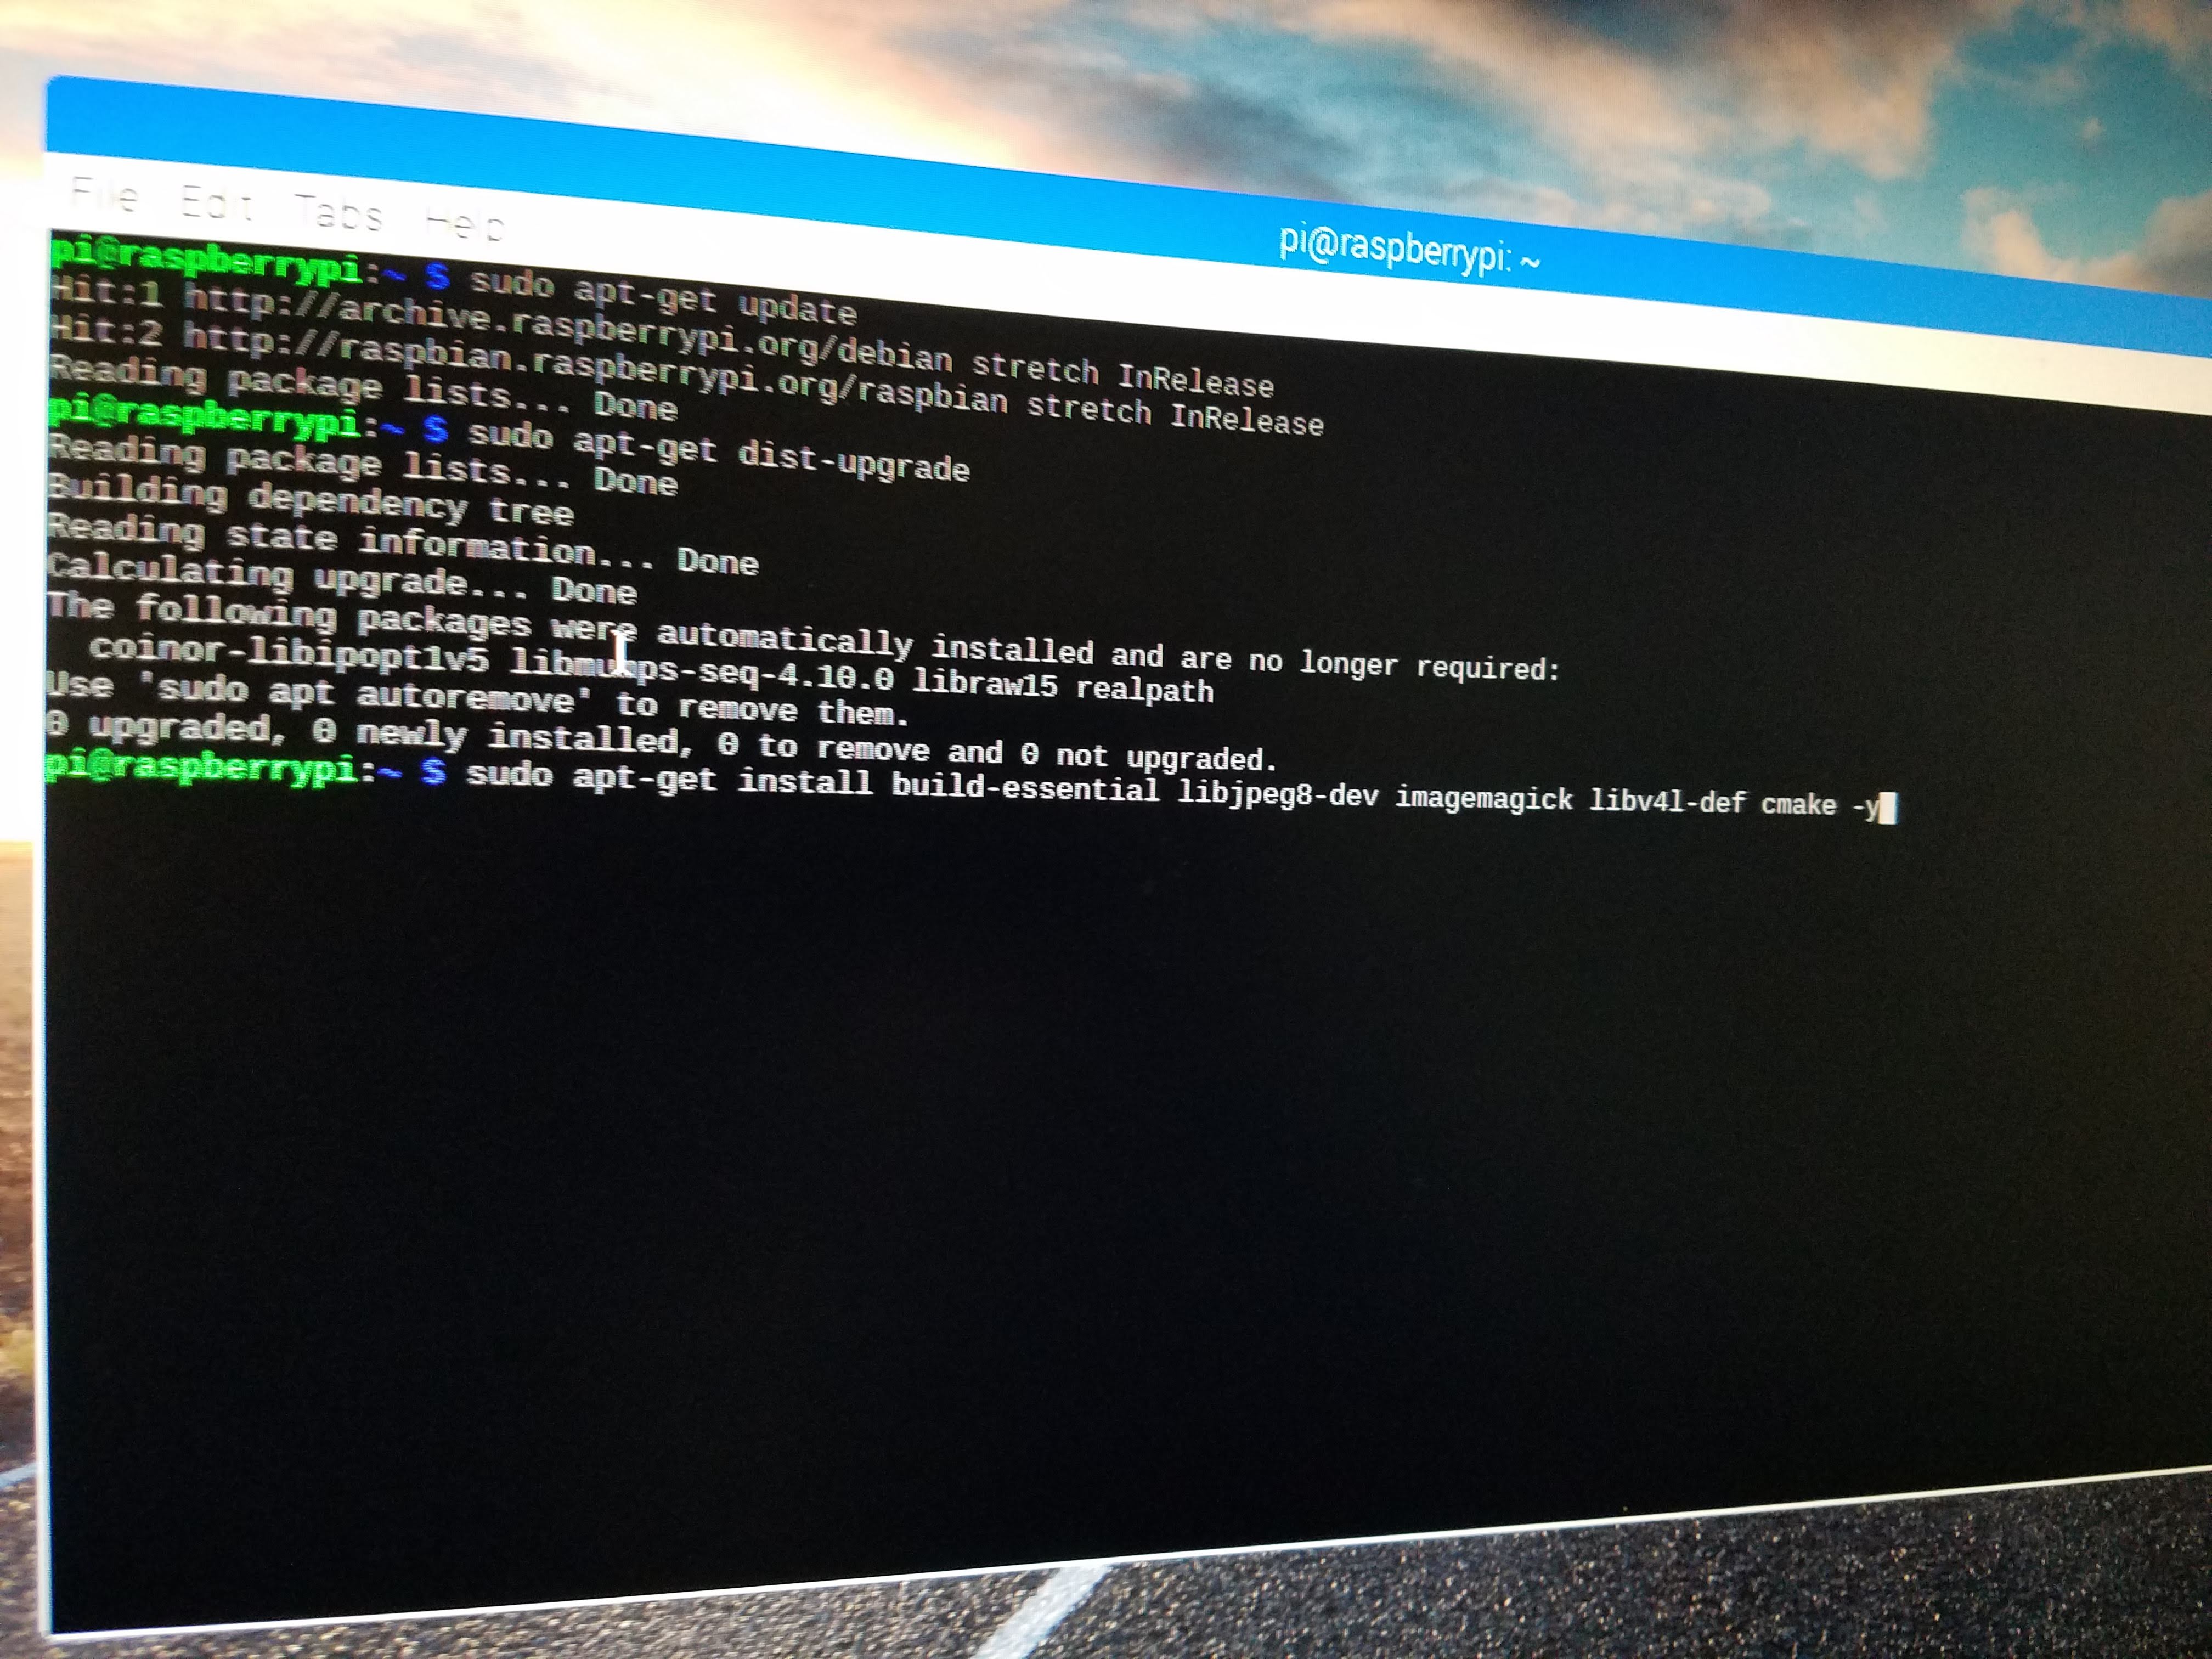
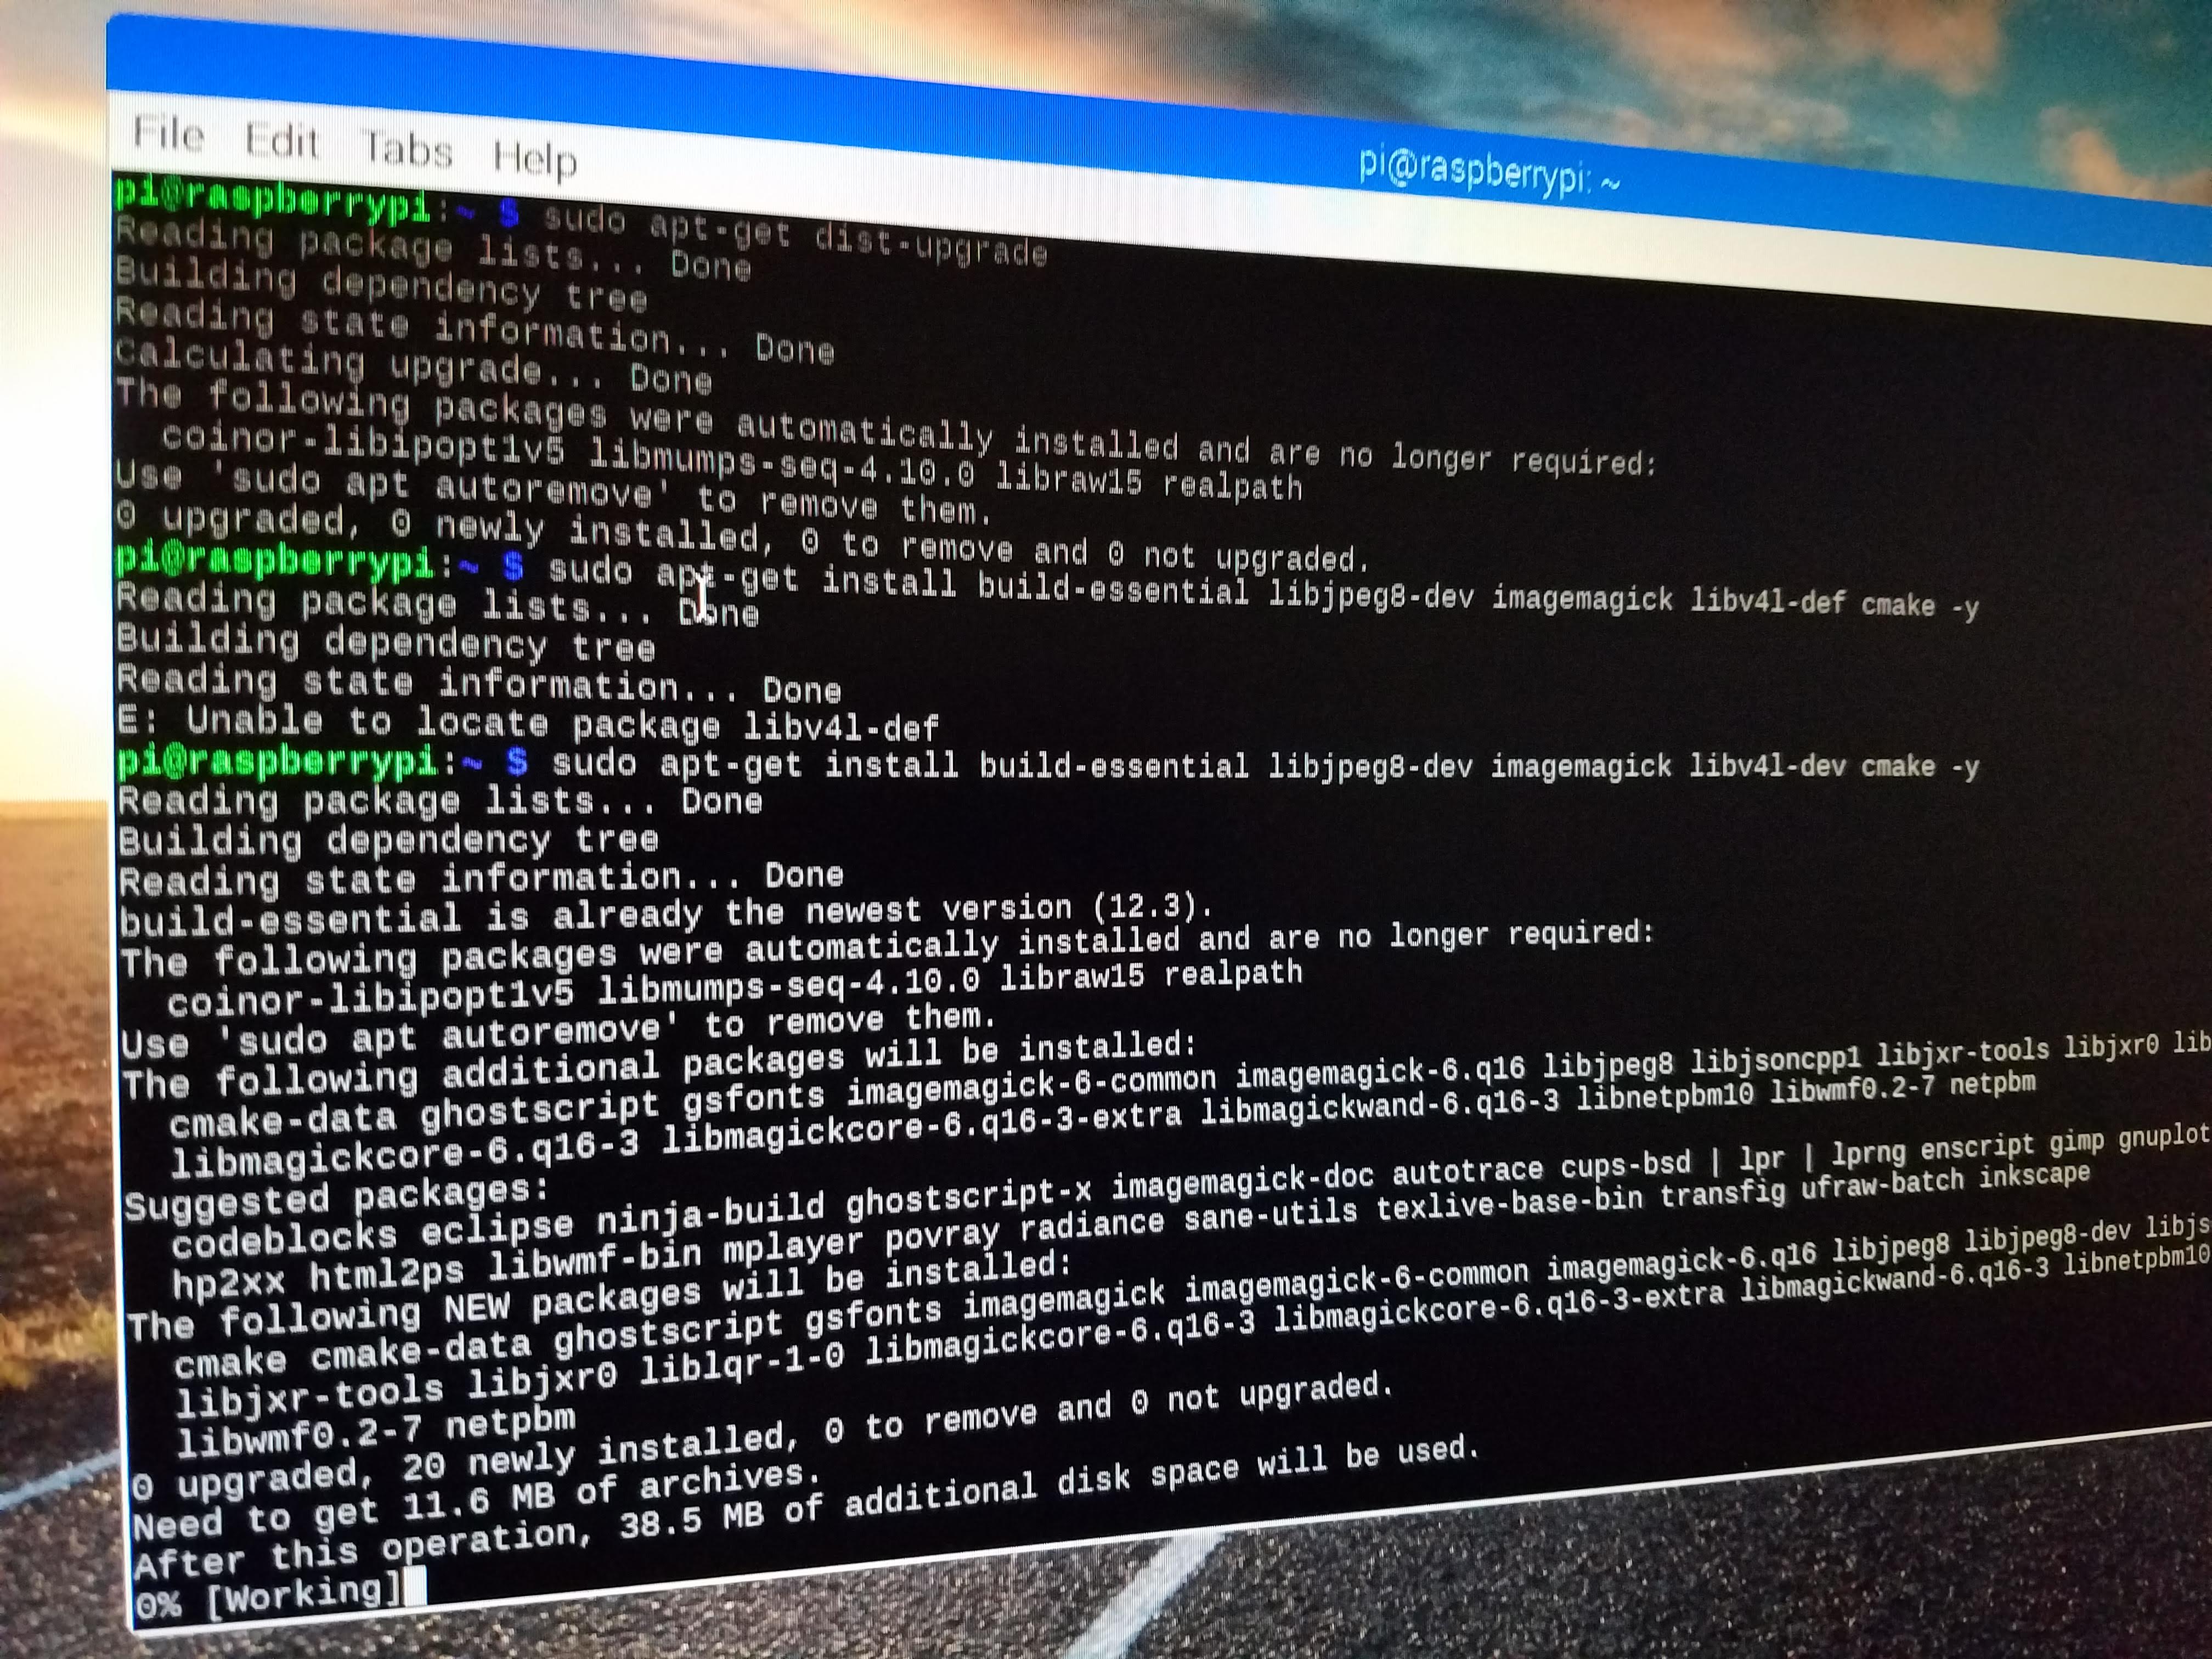
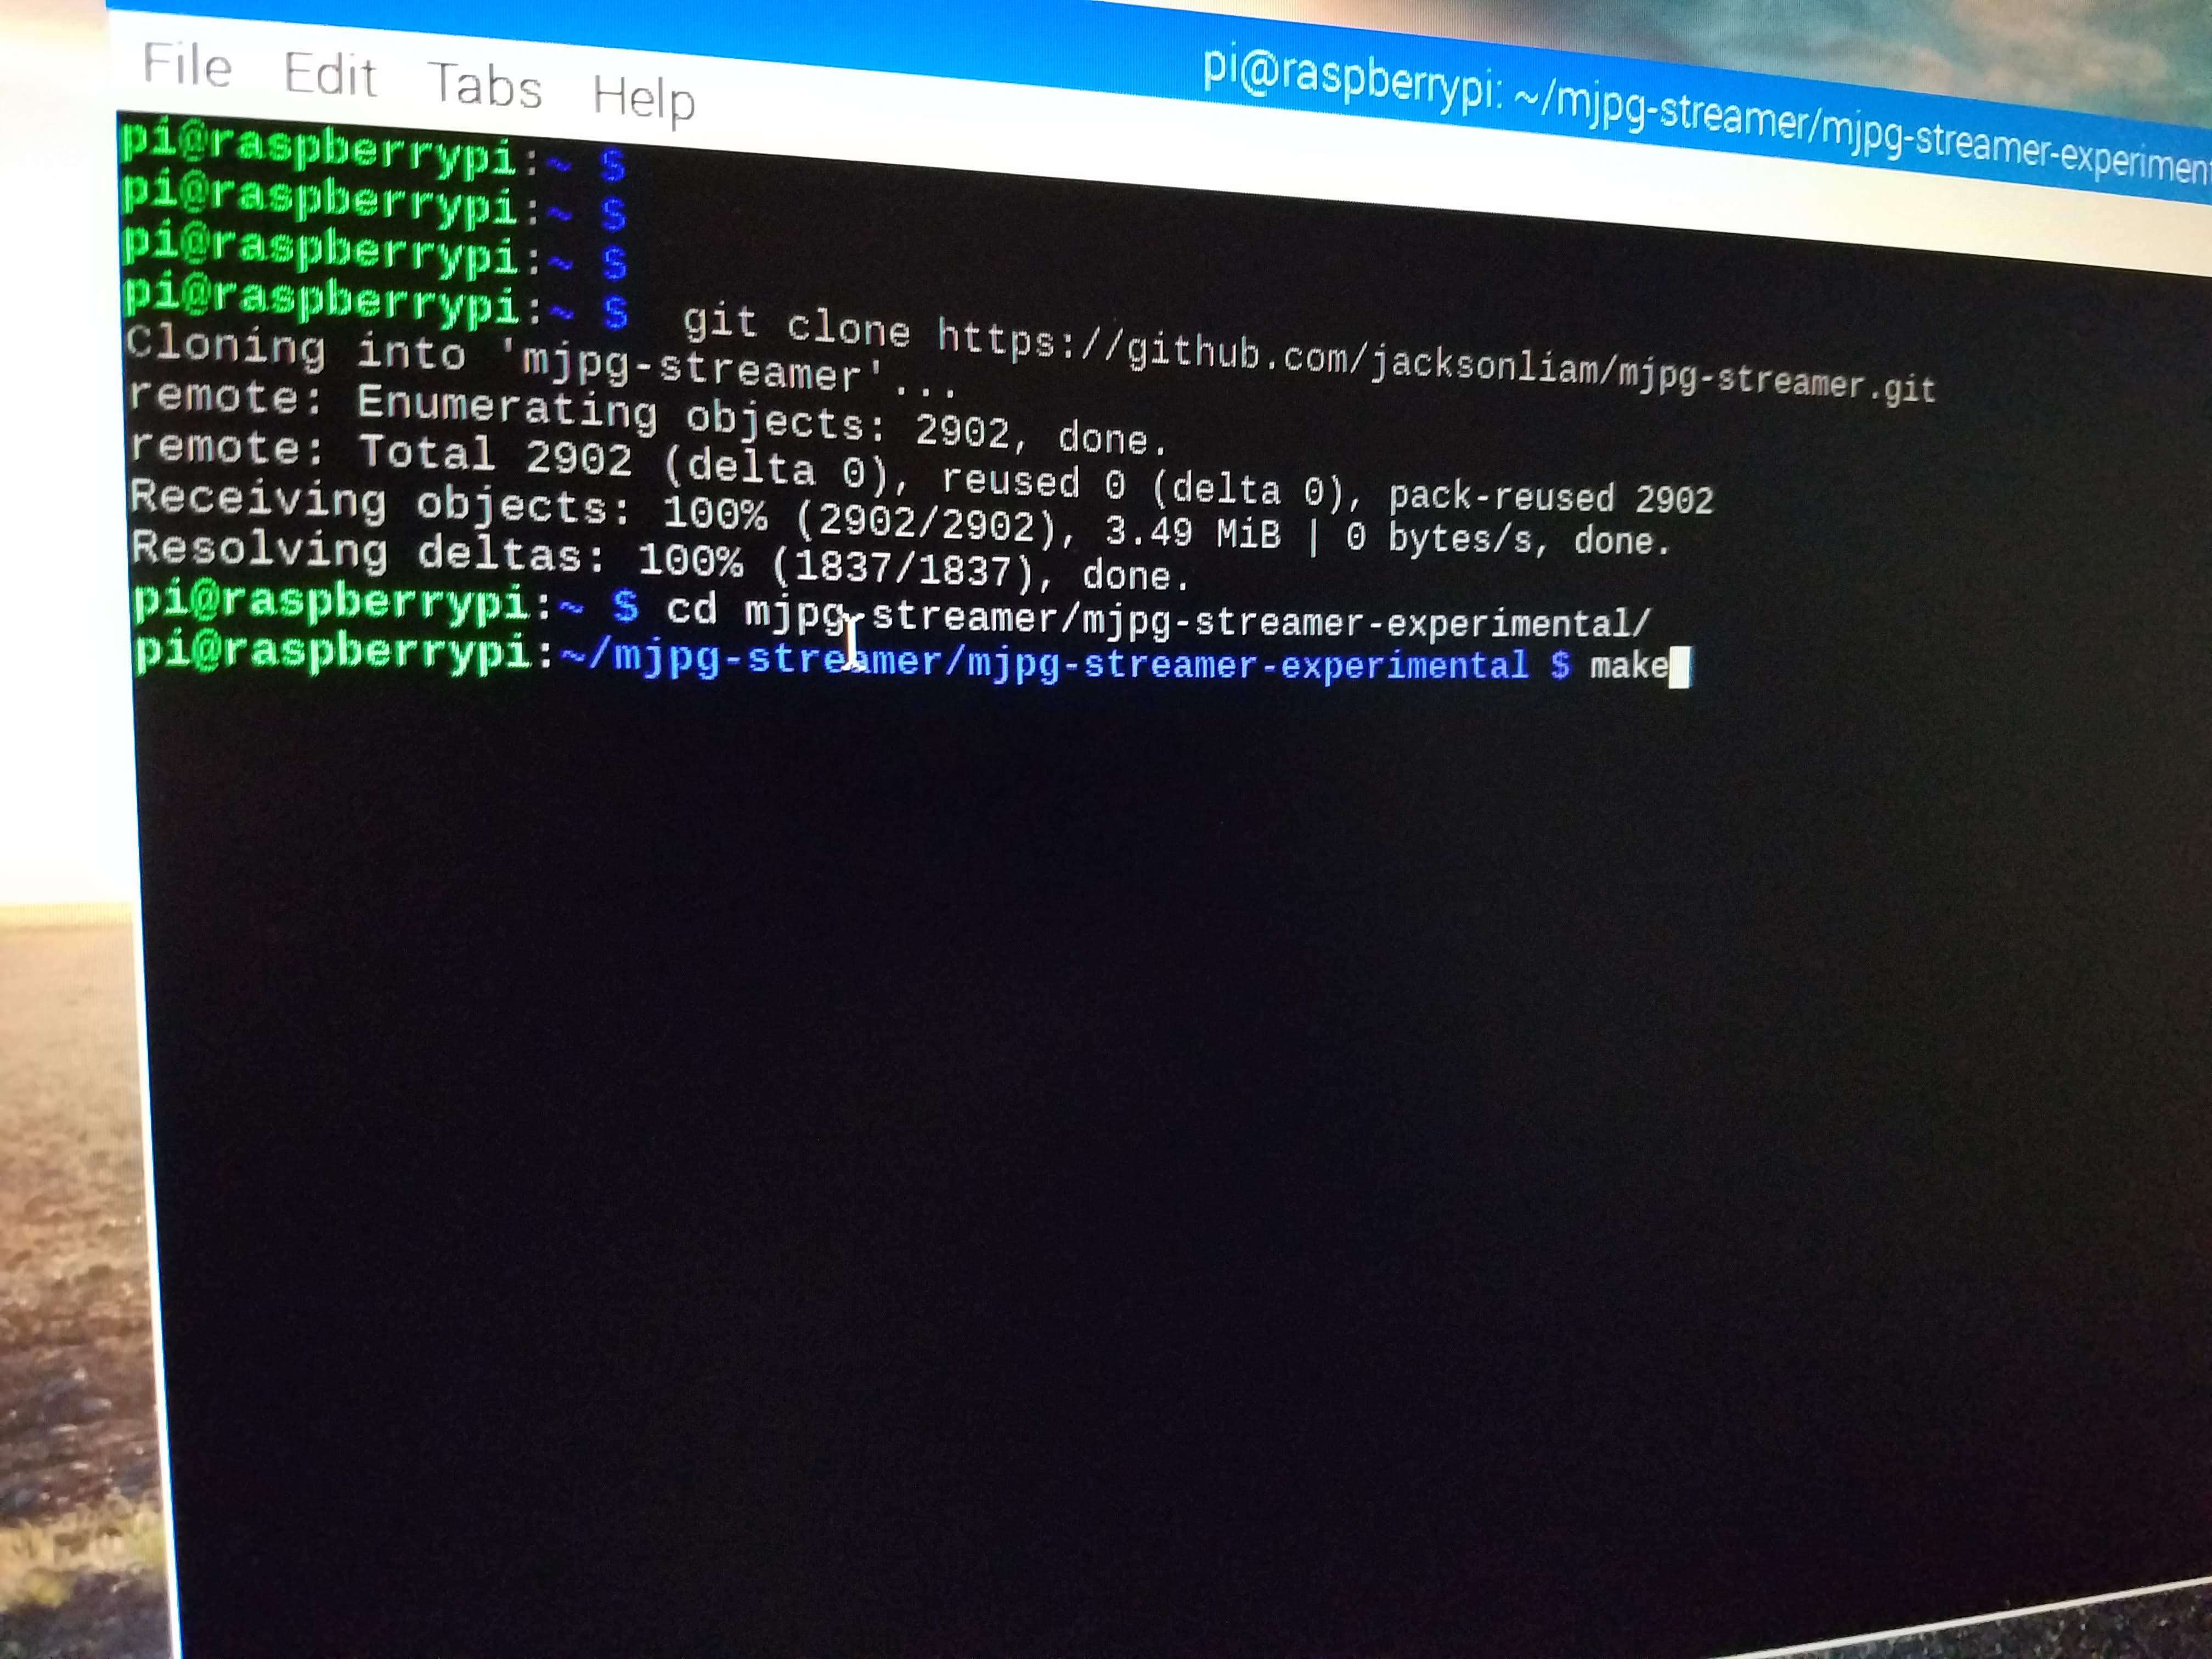
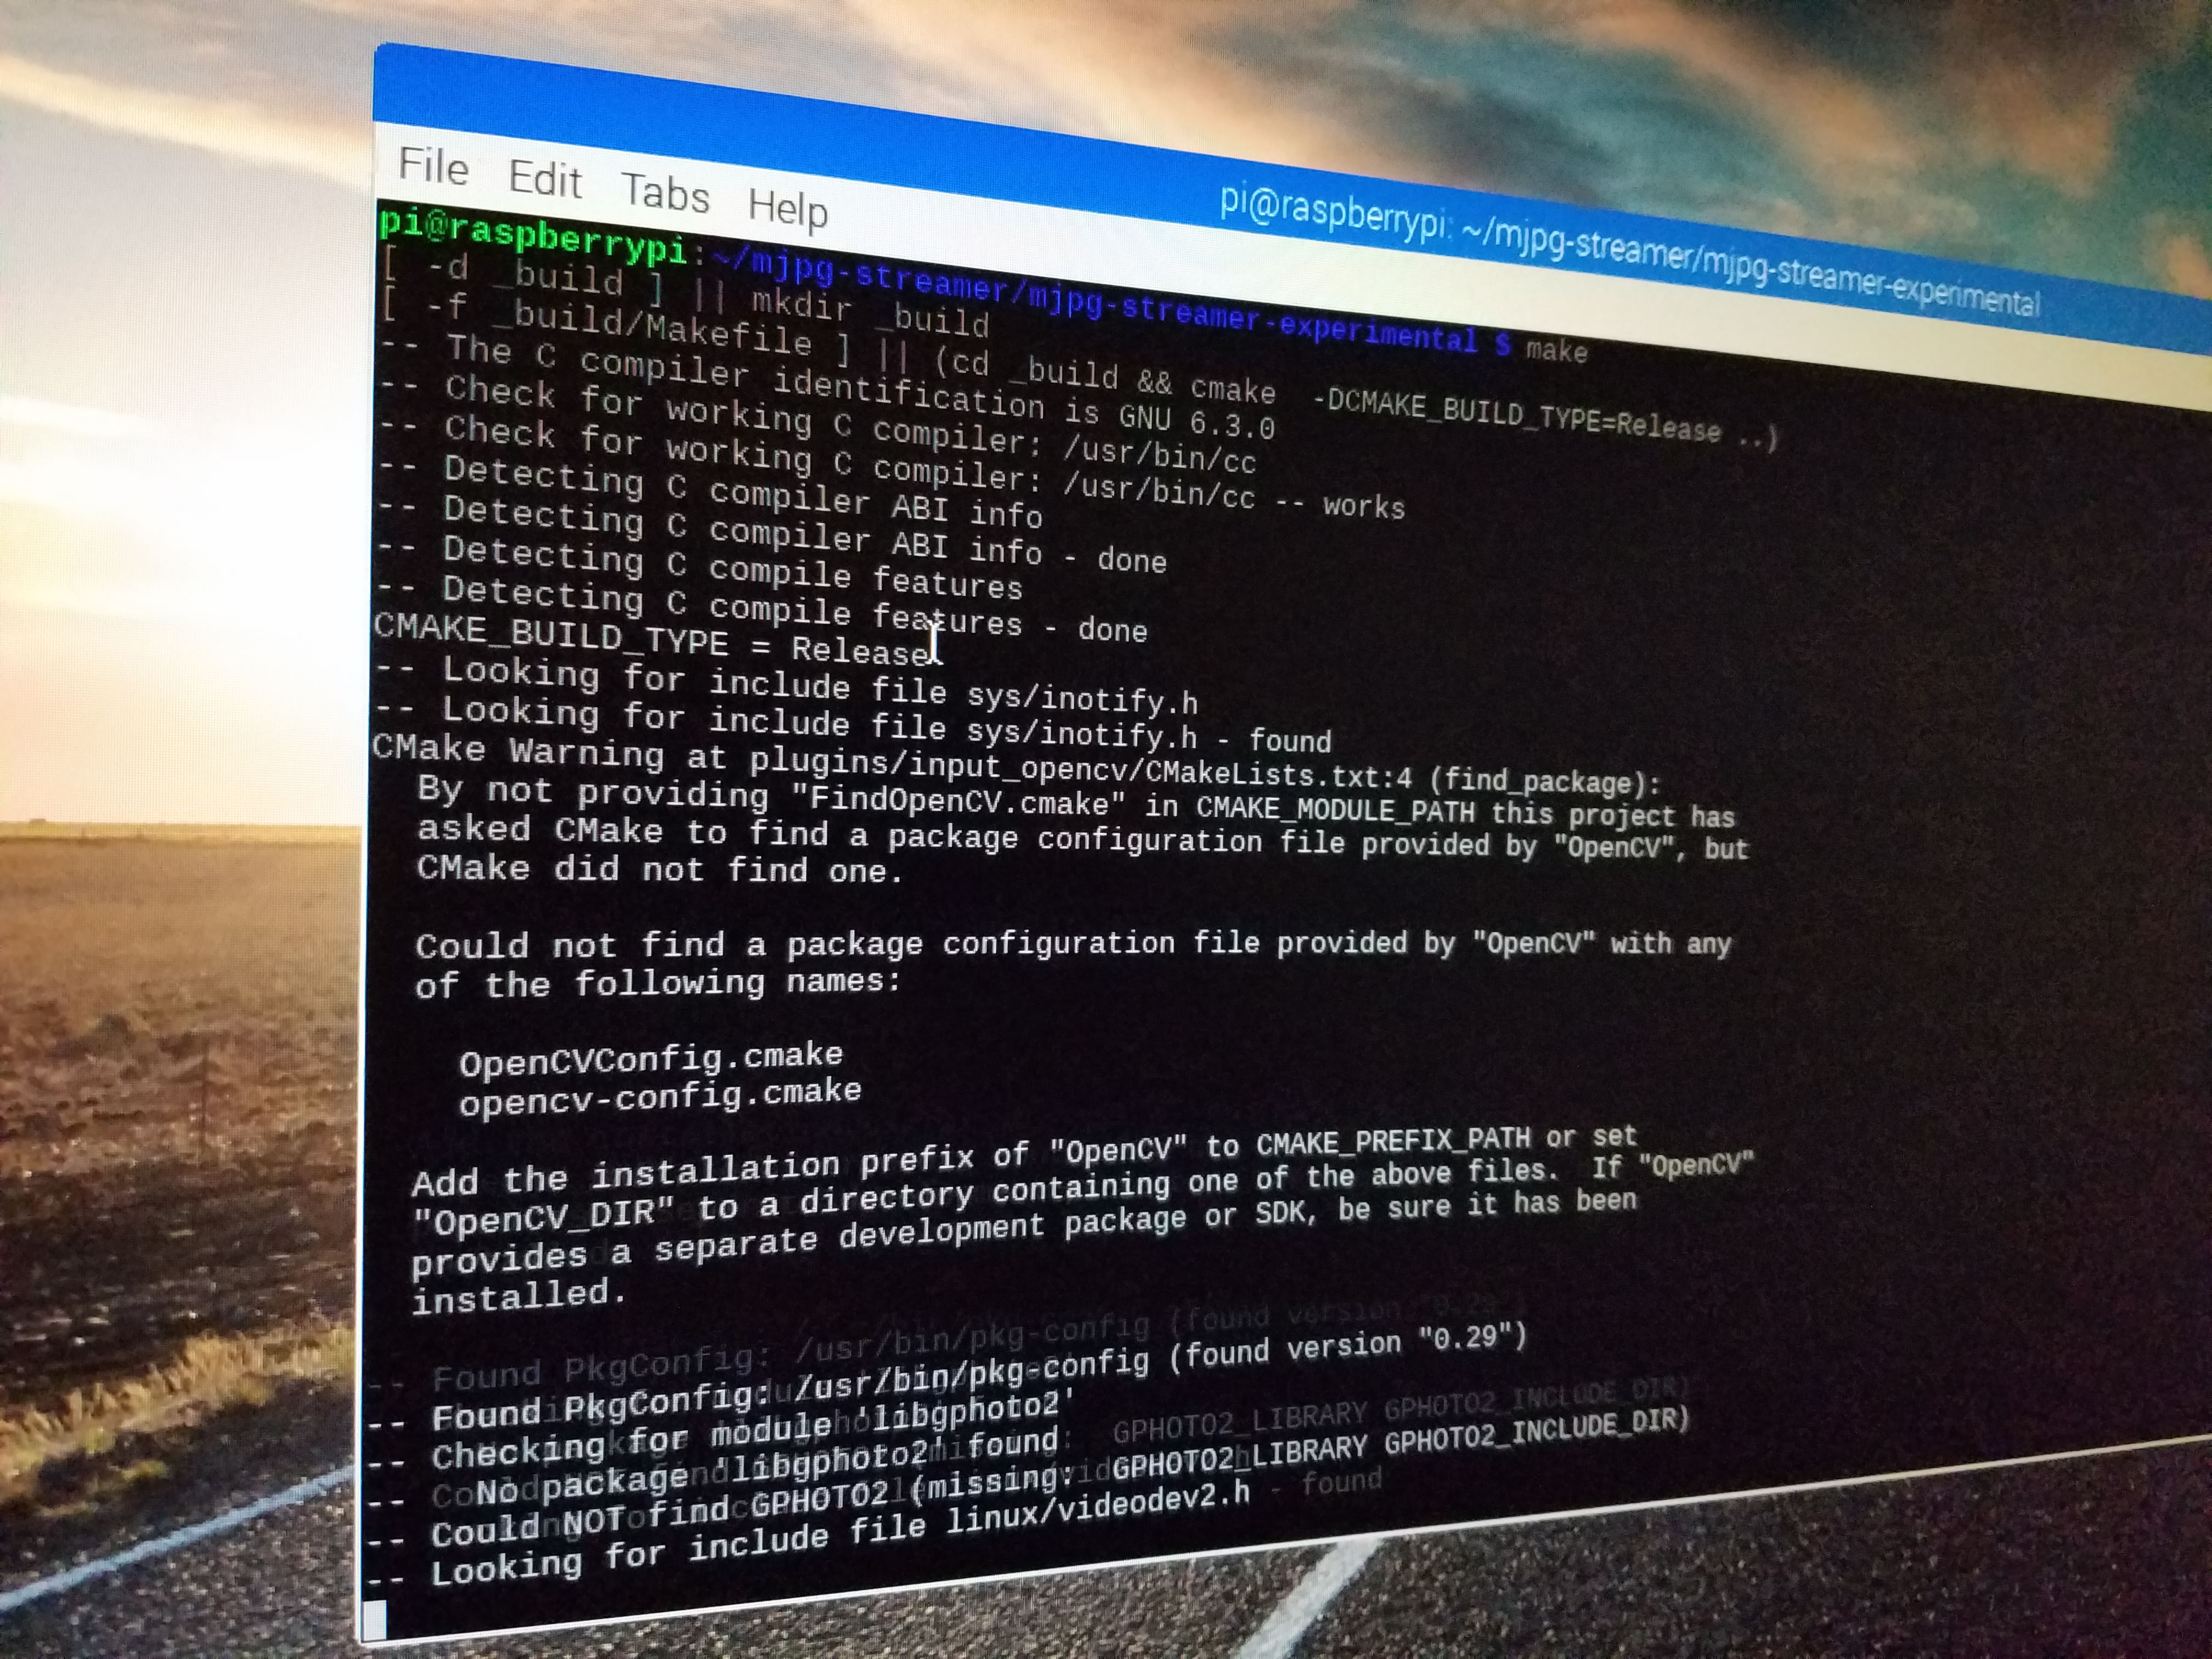
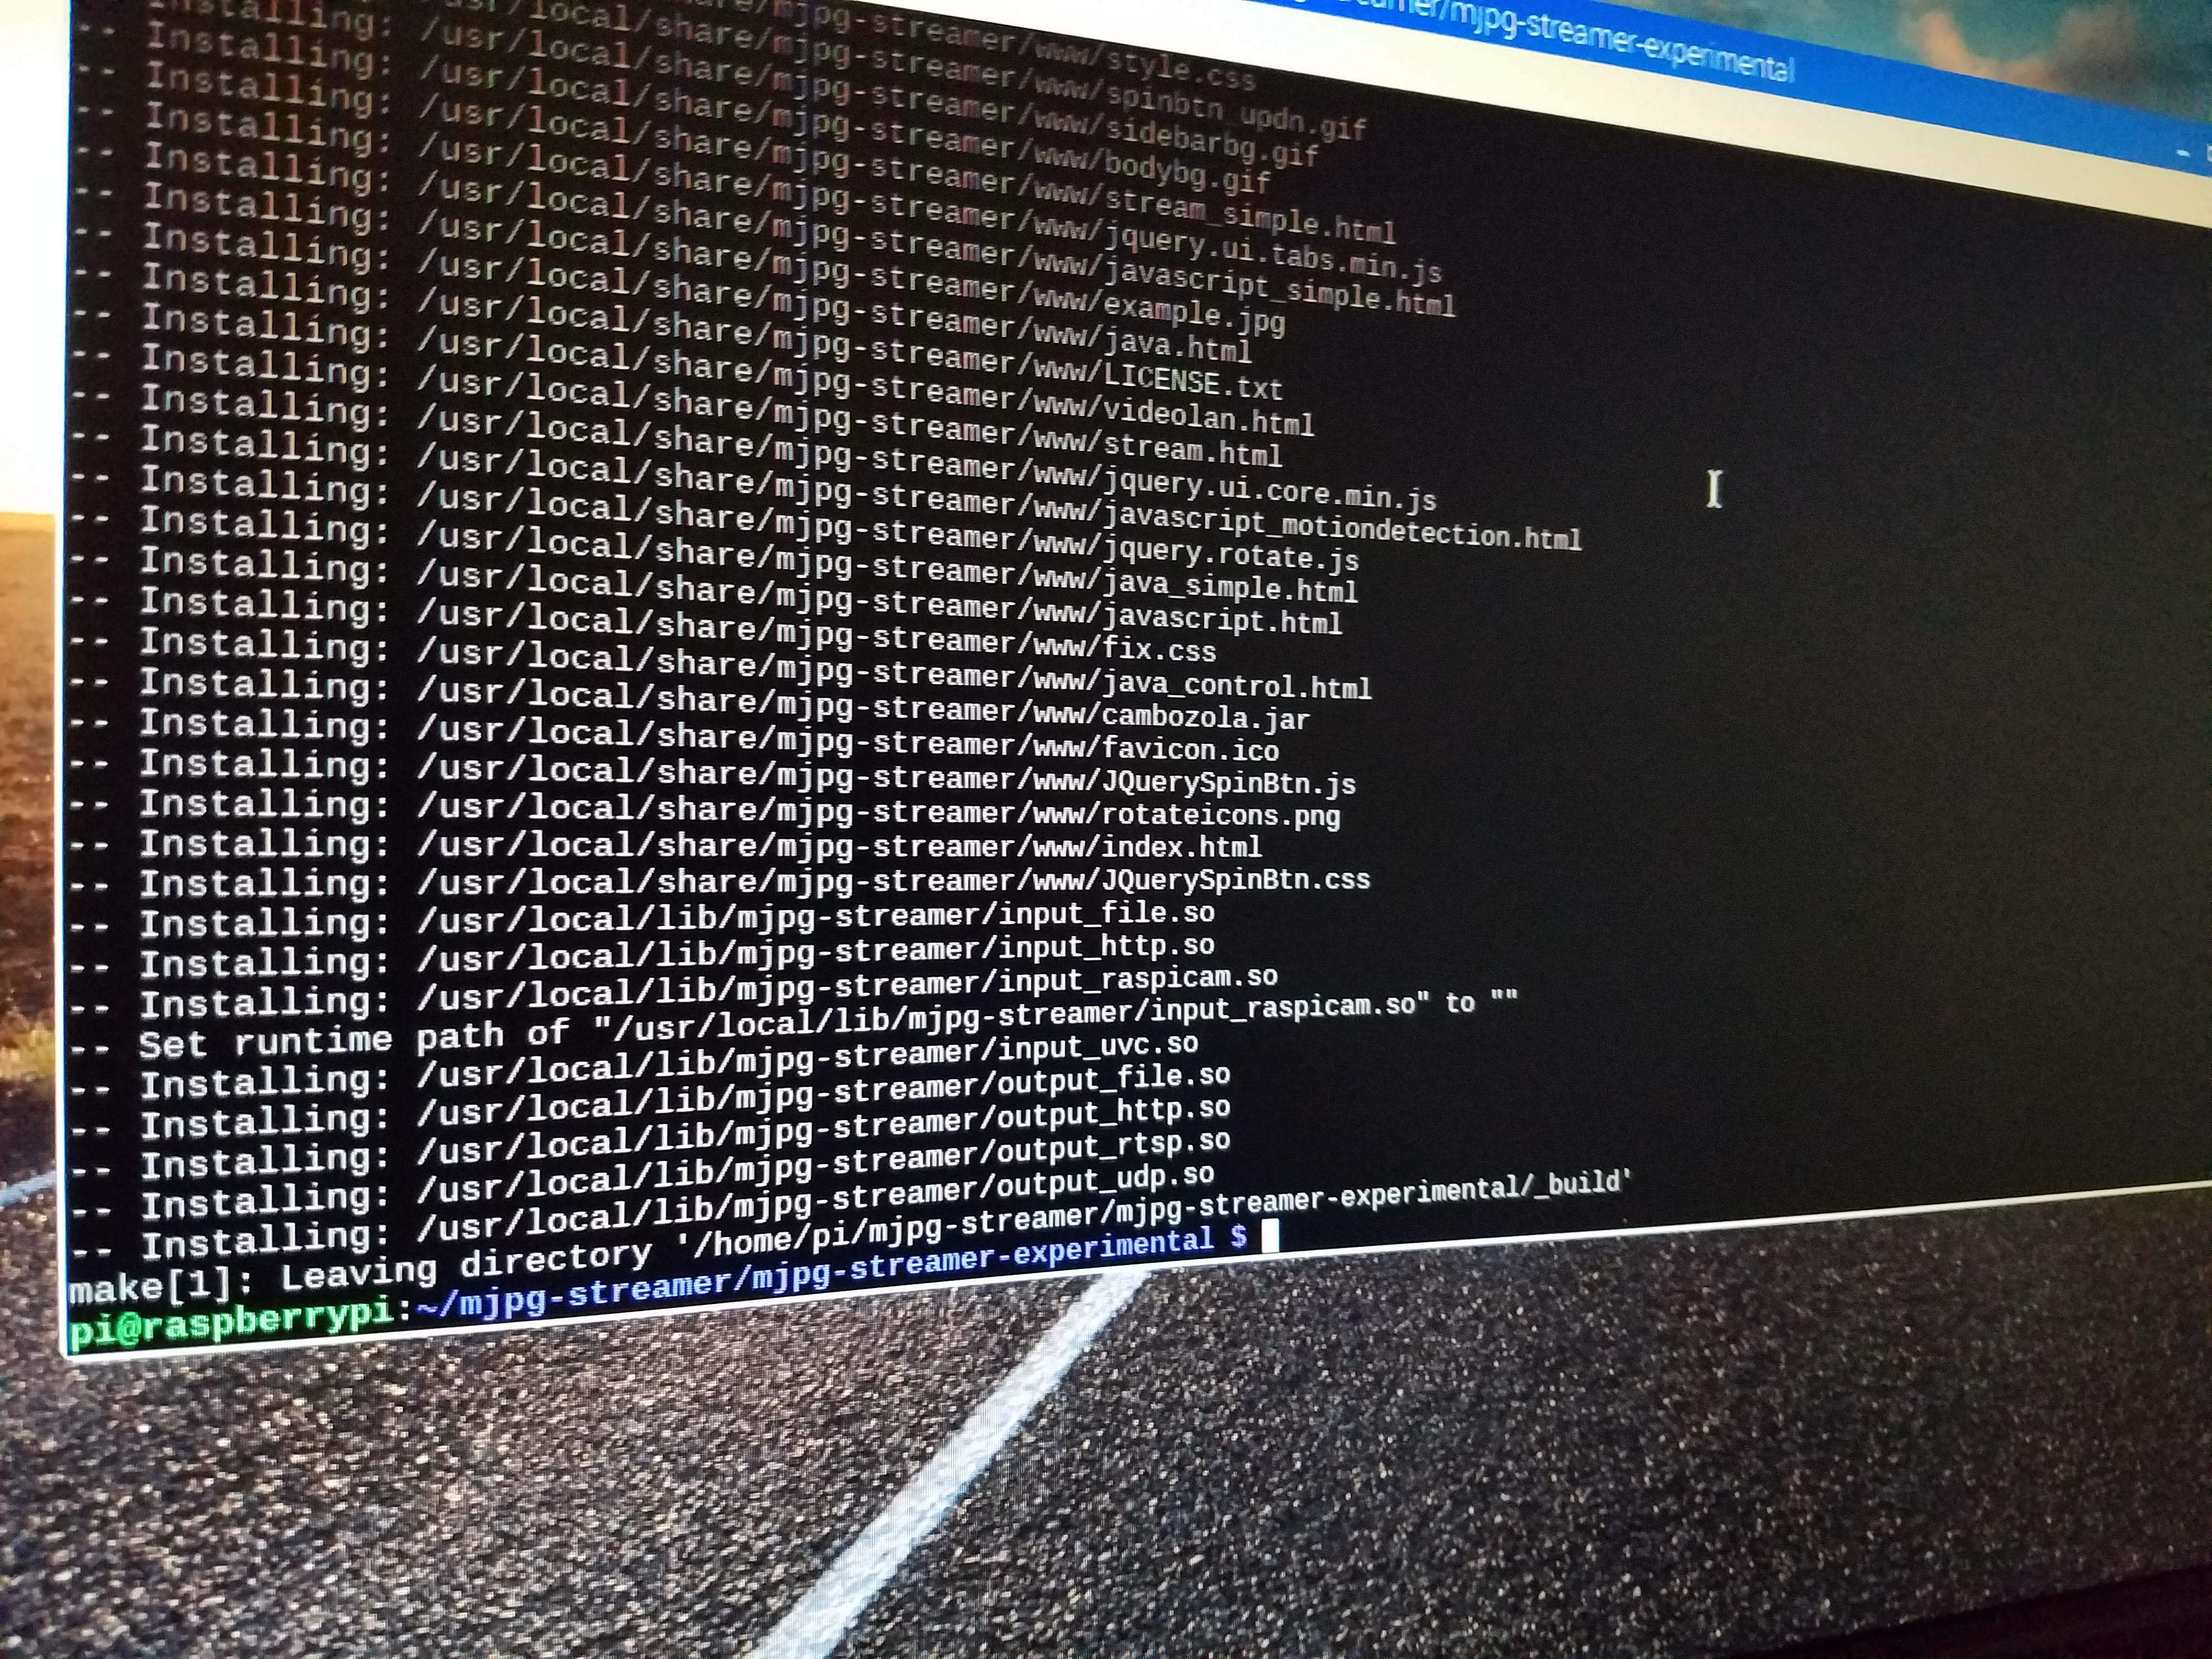
FIRST - Launch a terminal window and update the rPi distro
sudo apt-get update
sudo apt-get dist-upgrade
Second - Download the basic libraries needed and build
sudo apt-get install build-essential libjpeg8-dev imagemagick libv4l-dev cmake -y
sudo ln -s /usr/include/linux/videodev2.h /usr/include/linux/videodev.h
(I don't remember the link for the videodev2.h linking. It was in the history of my original install a year ago. It doesn't seem to hurt for this usage)
Last - Download the mjpg streamer, compile the code, and install it
cd
git clone https://github.com/jacksonliam/mjpg-streamer.git
cd mjpg-streamer/mjpg-streamer-experimental
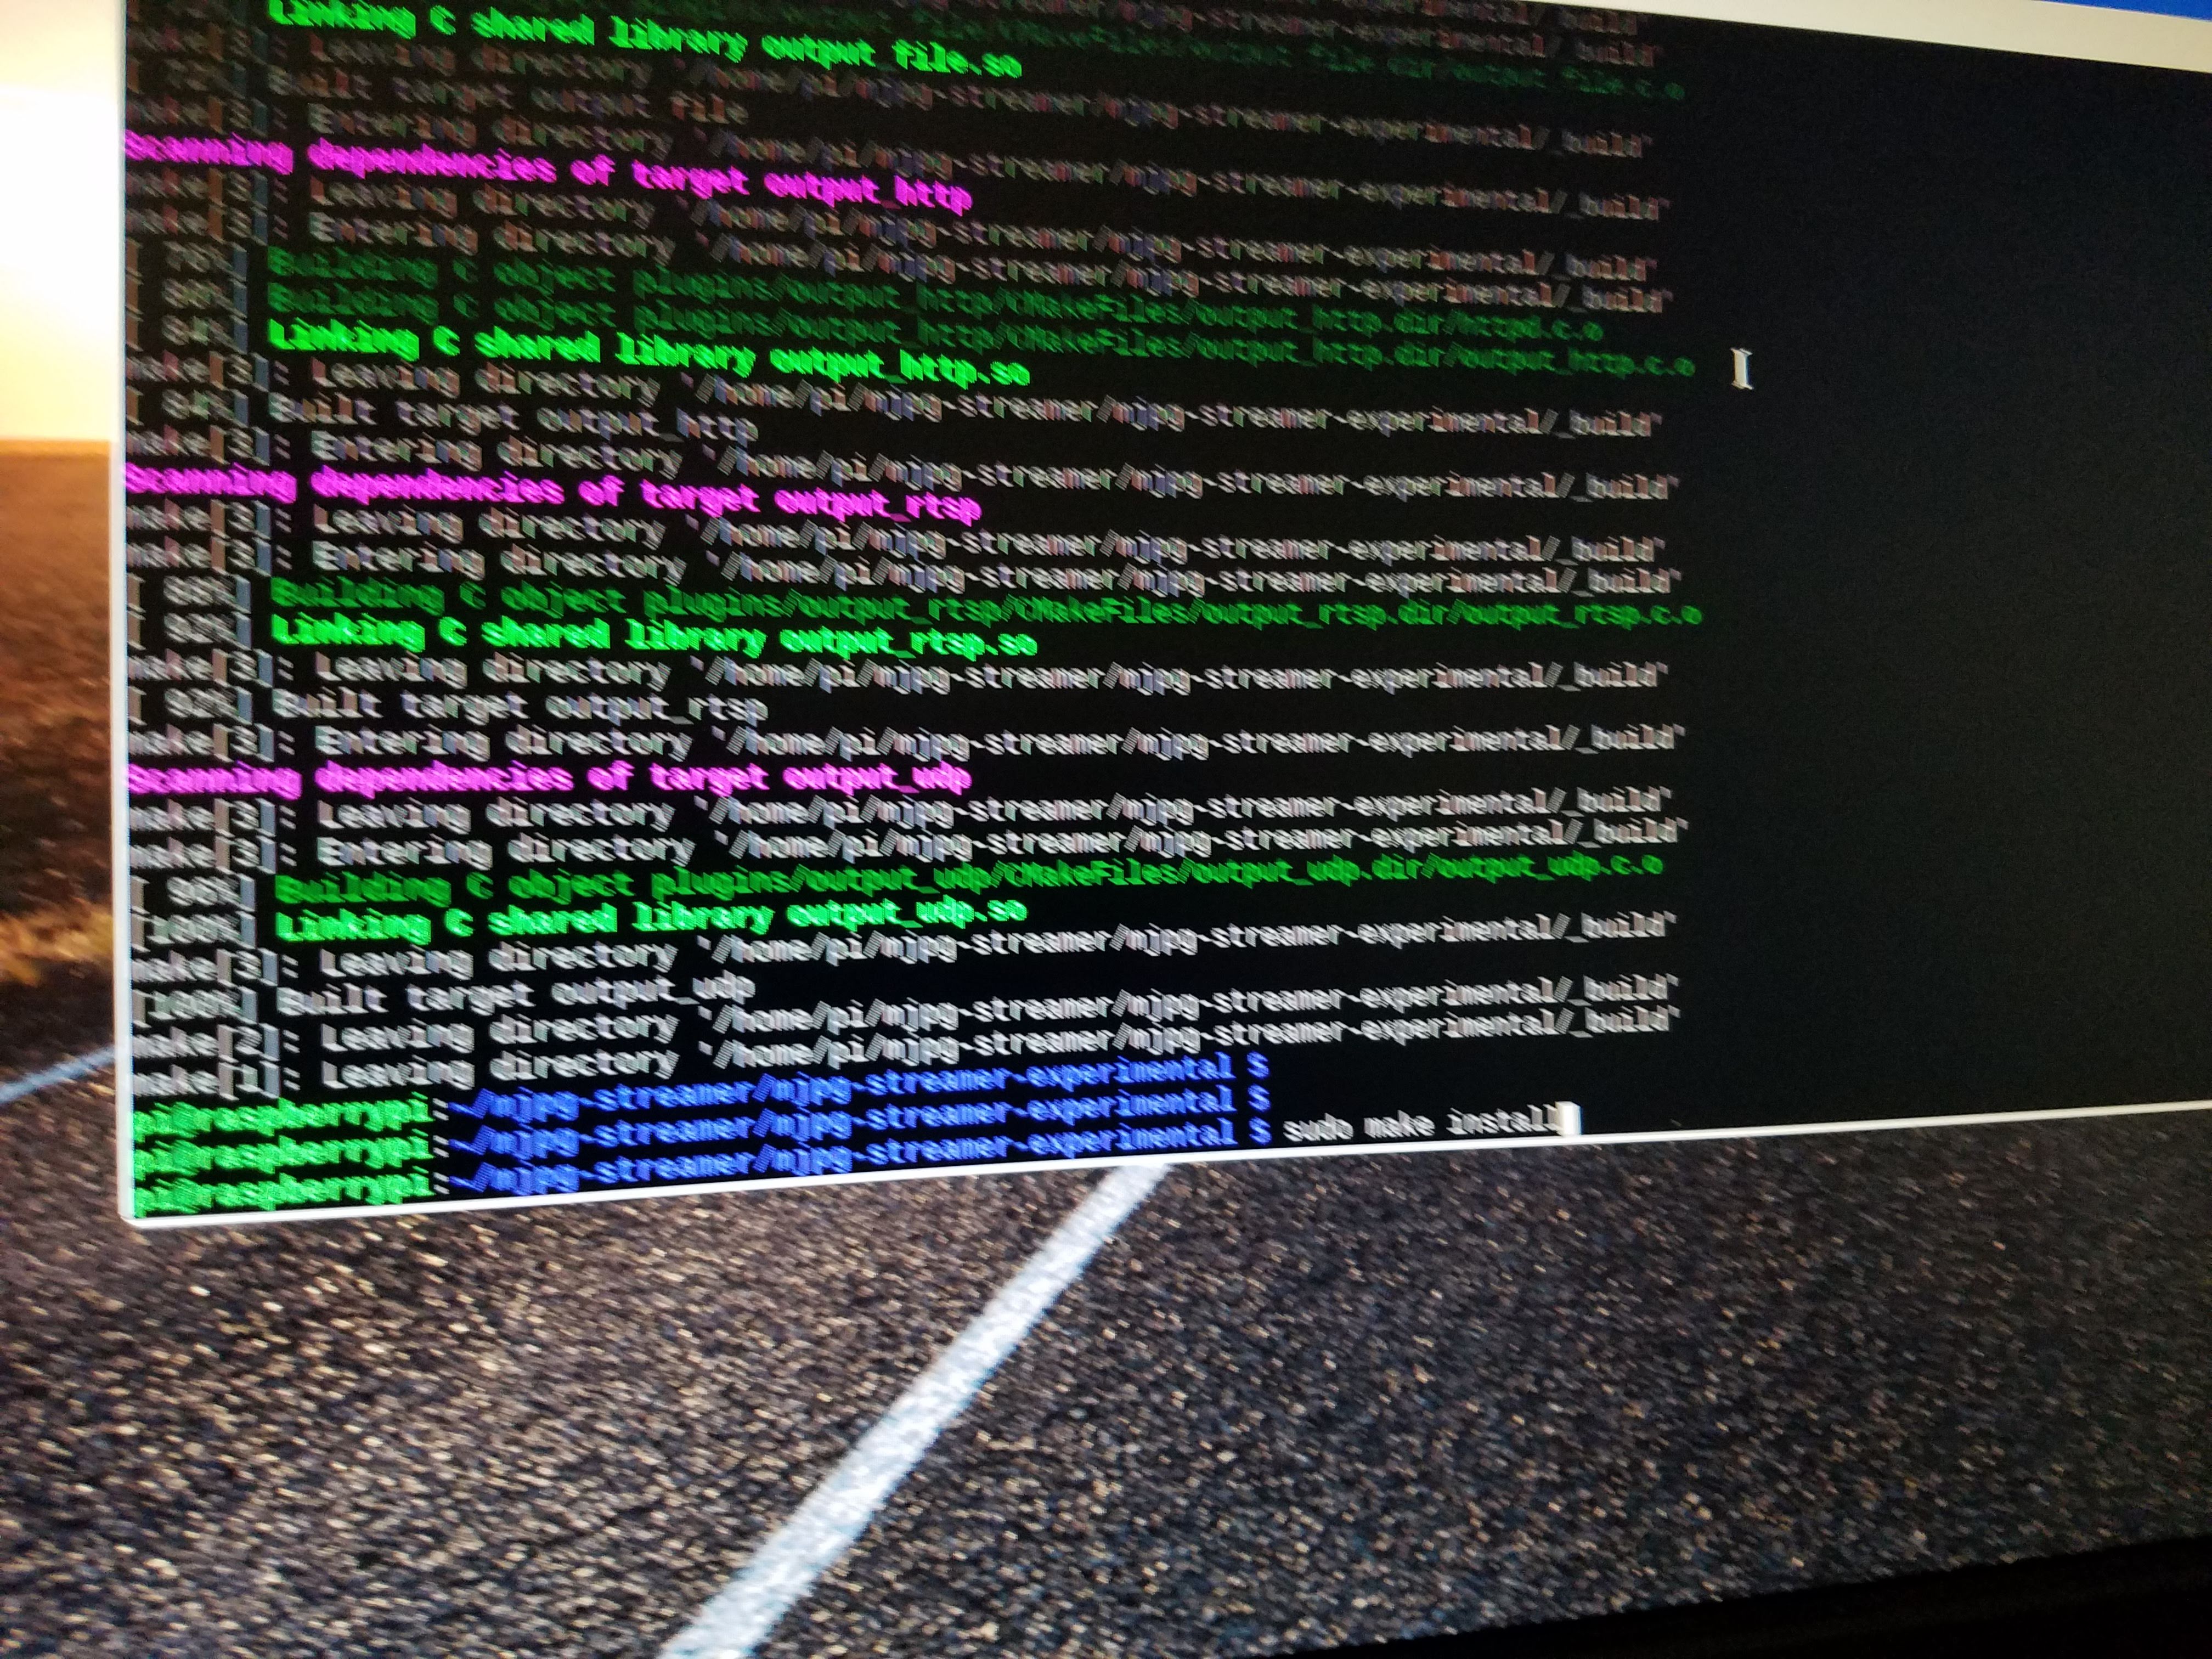
make
sudo make install
Testing the Streaming
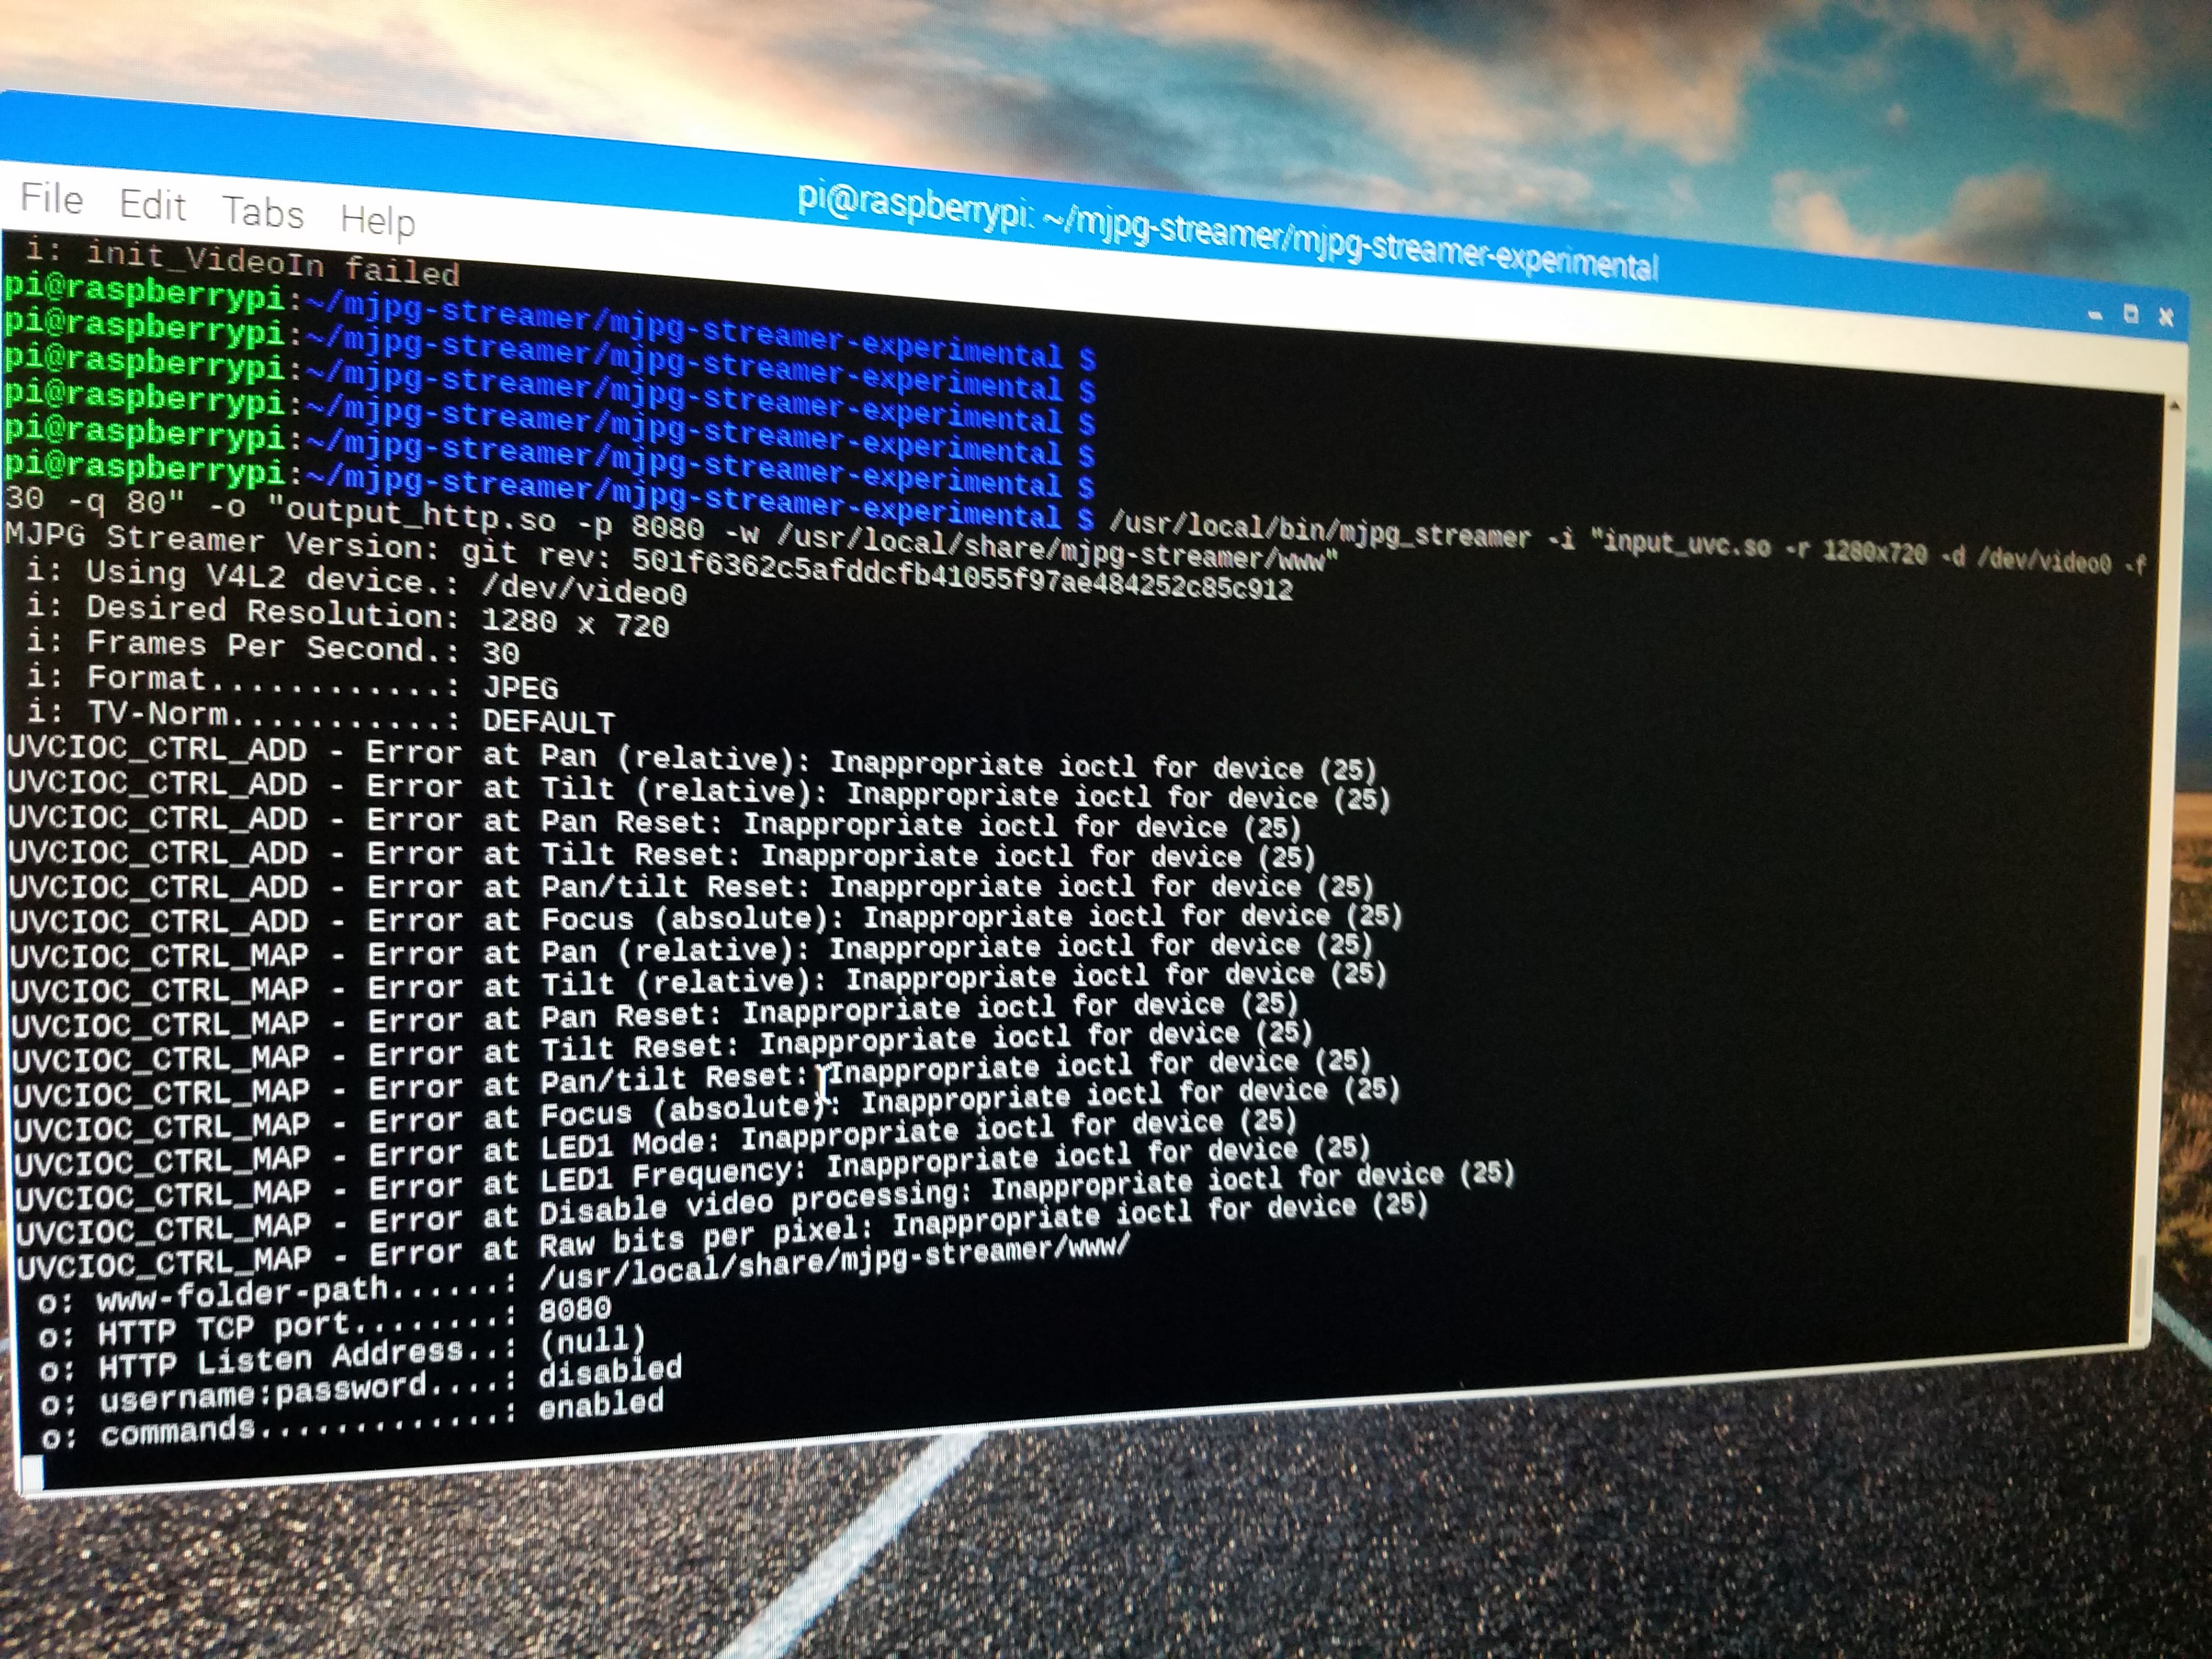
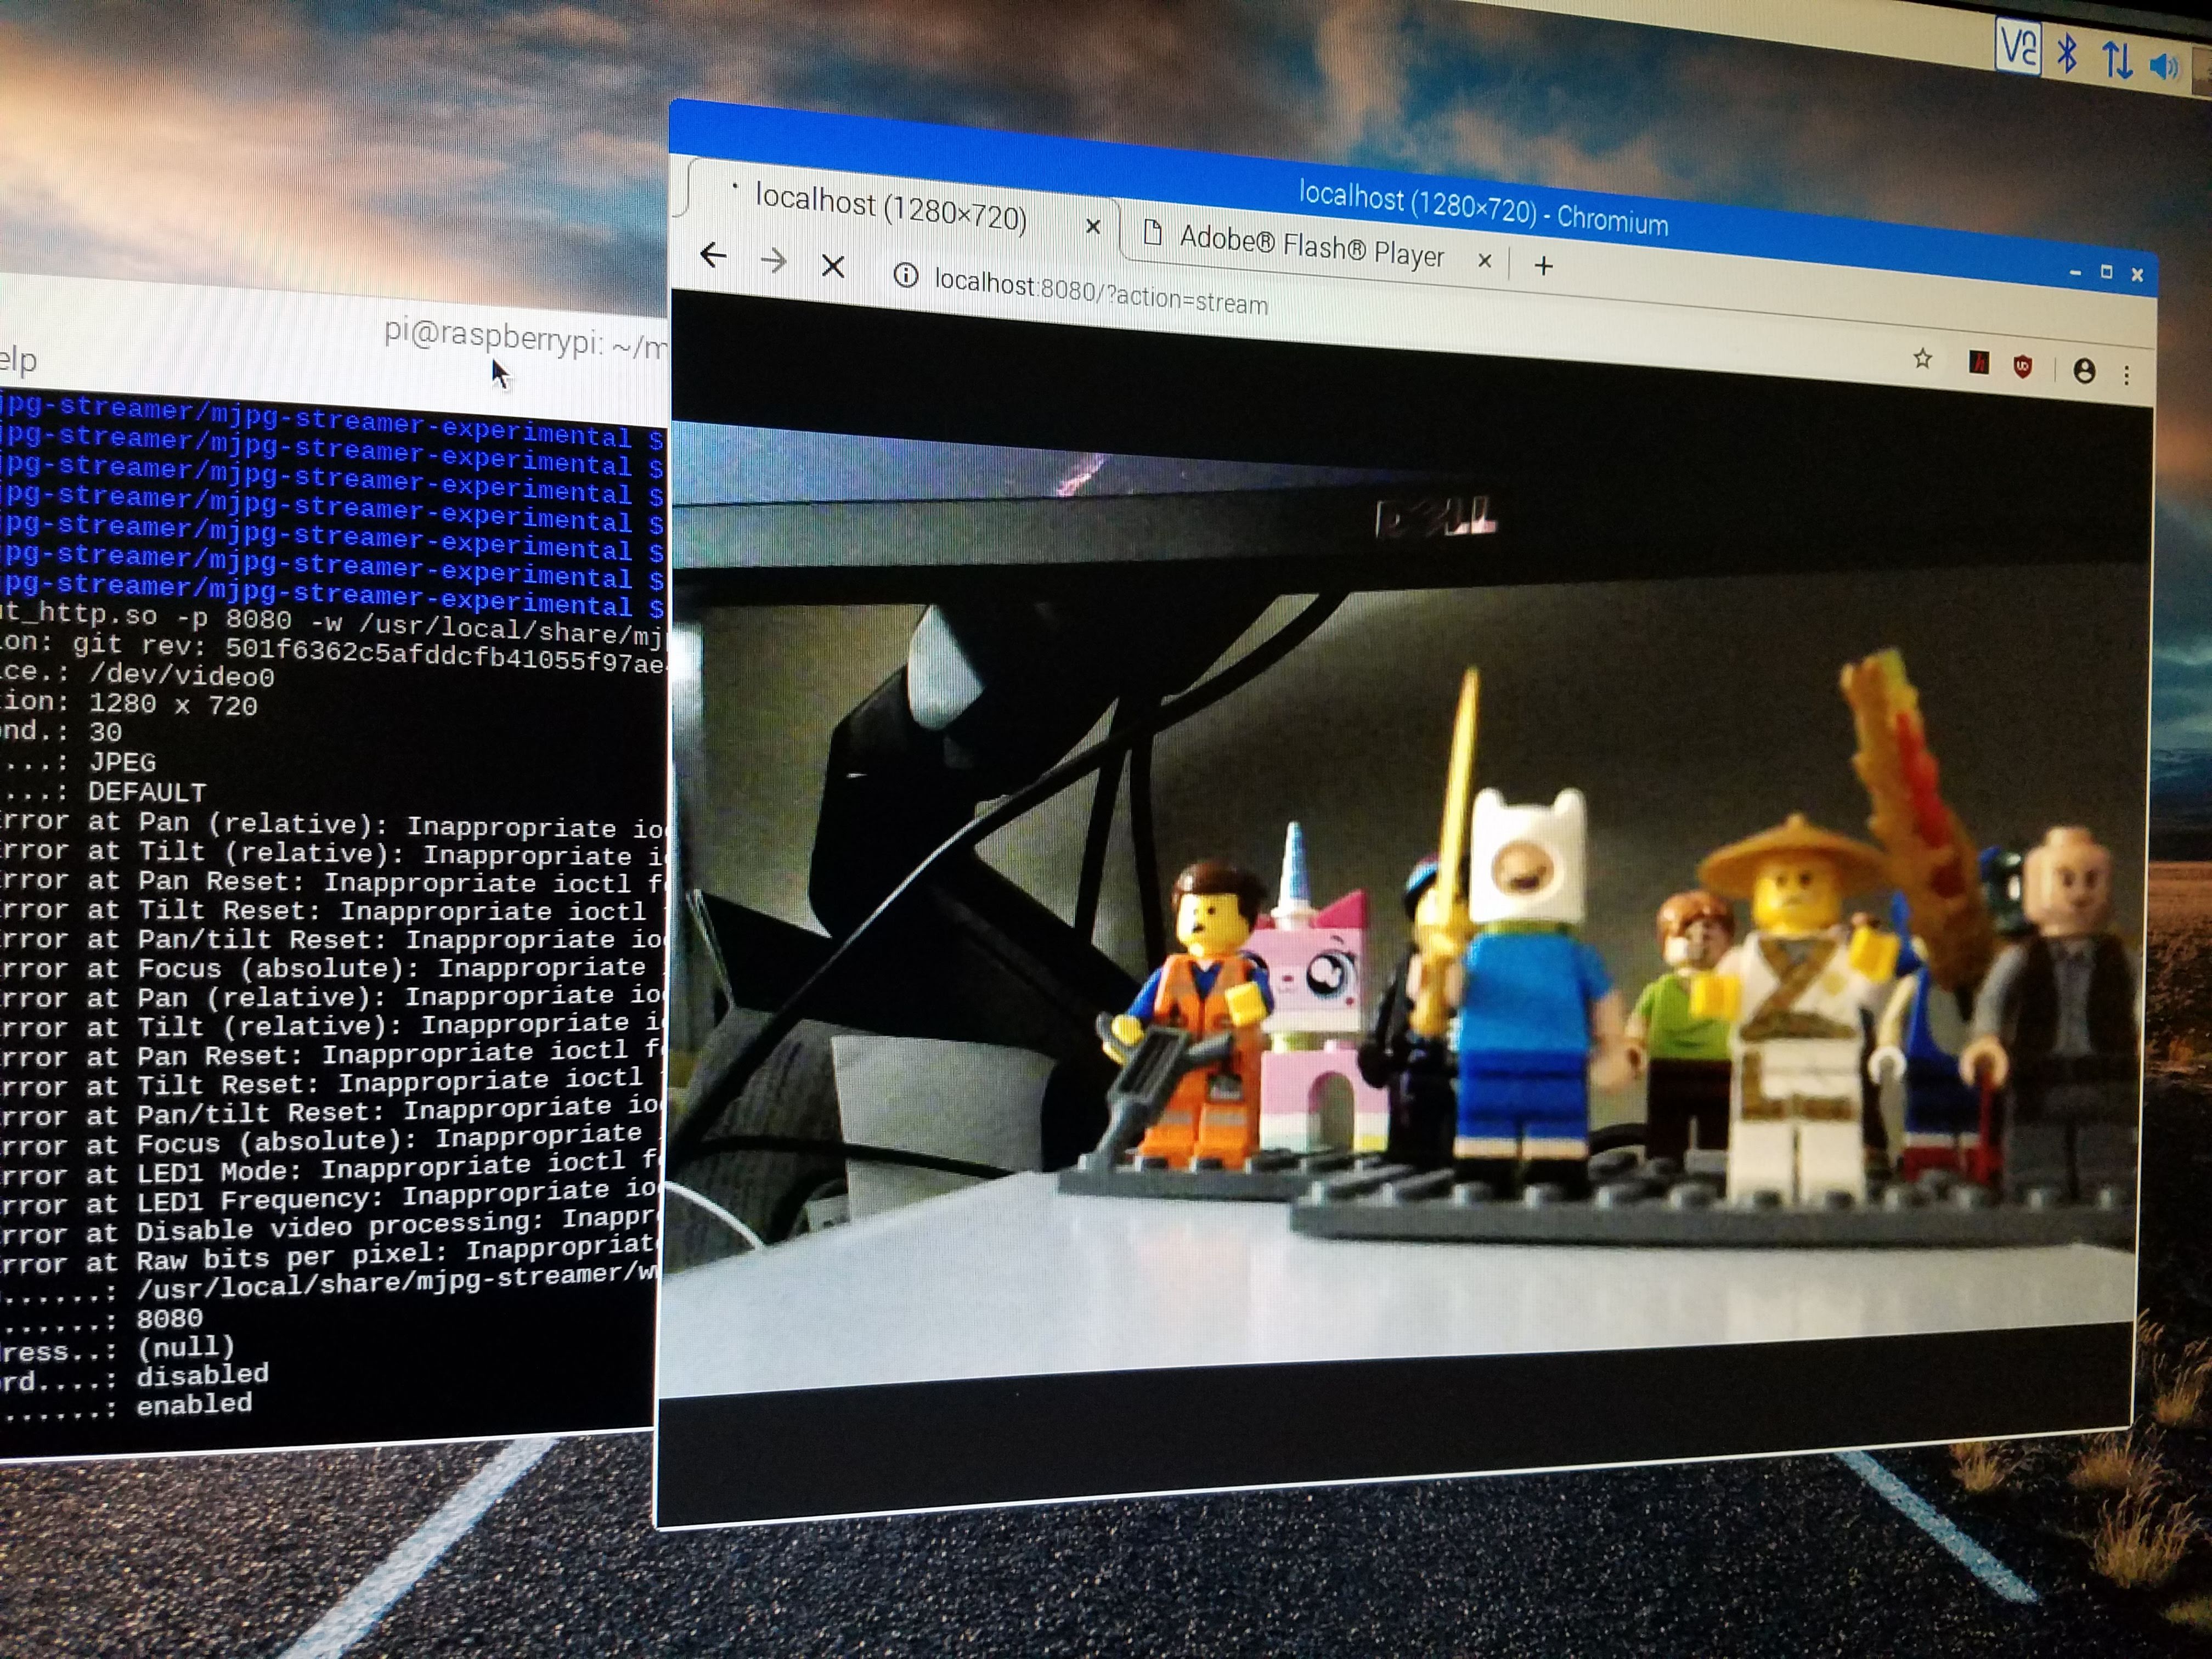
At the terminal windows, perform the following
/usr/local/bin/mjpg_streamer -i "input_uvc.so -r 1280x720 -d /dev/video0 -f 30 -q 80" -o "output_http.so -p 8080 -w /usr/local/share/mjpg-streamer/www"
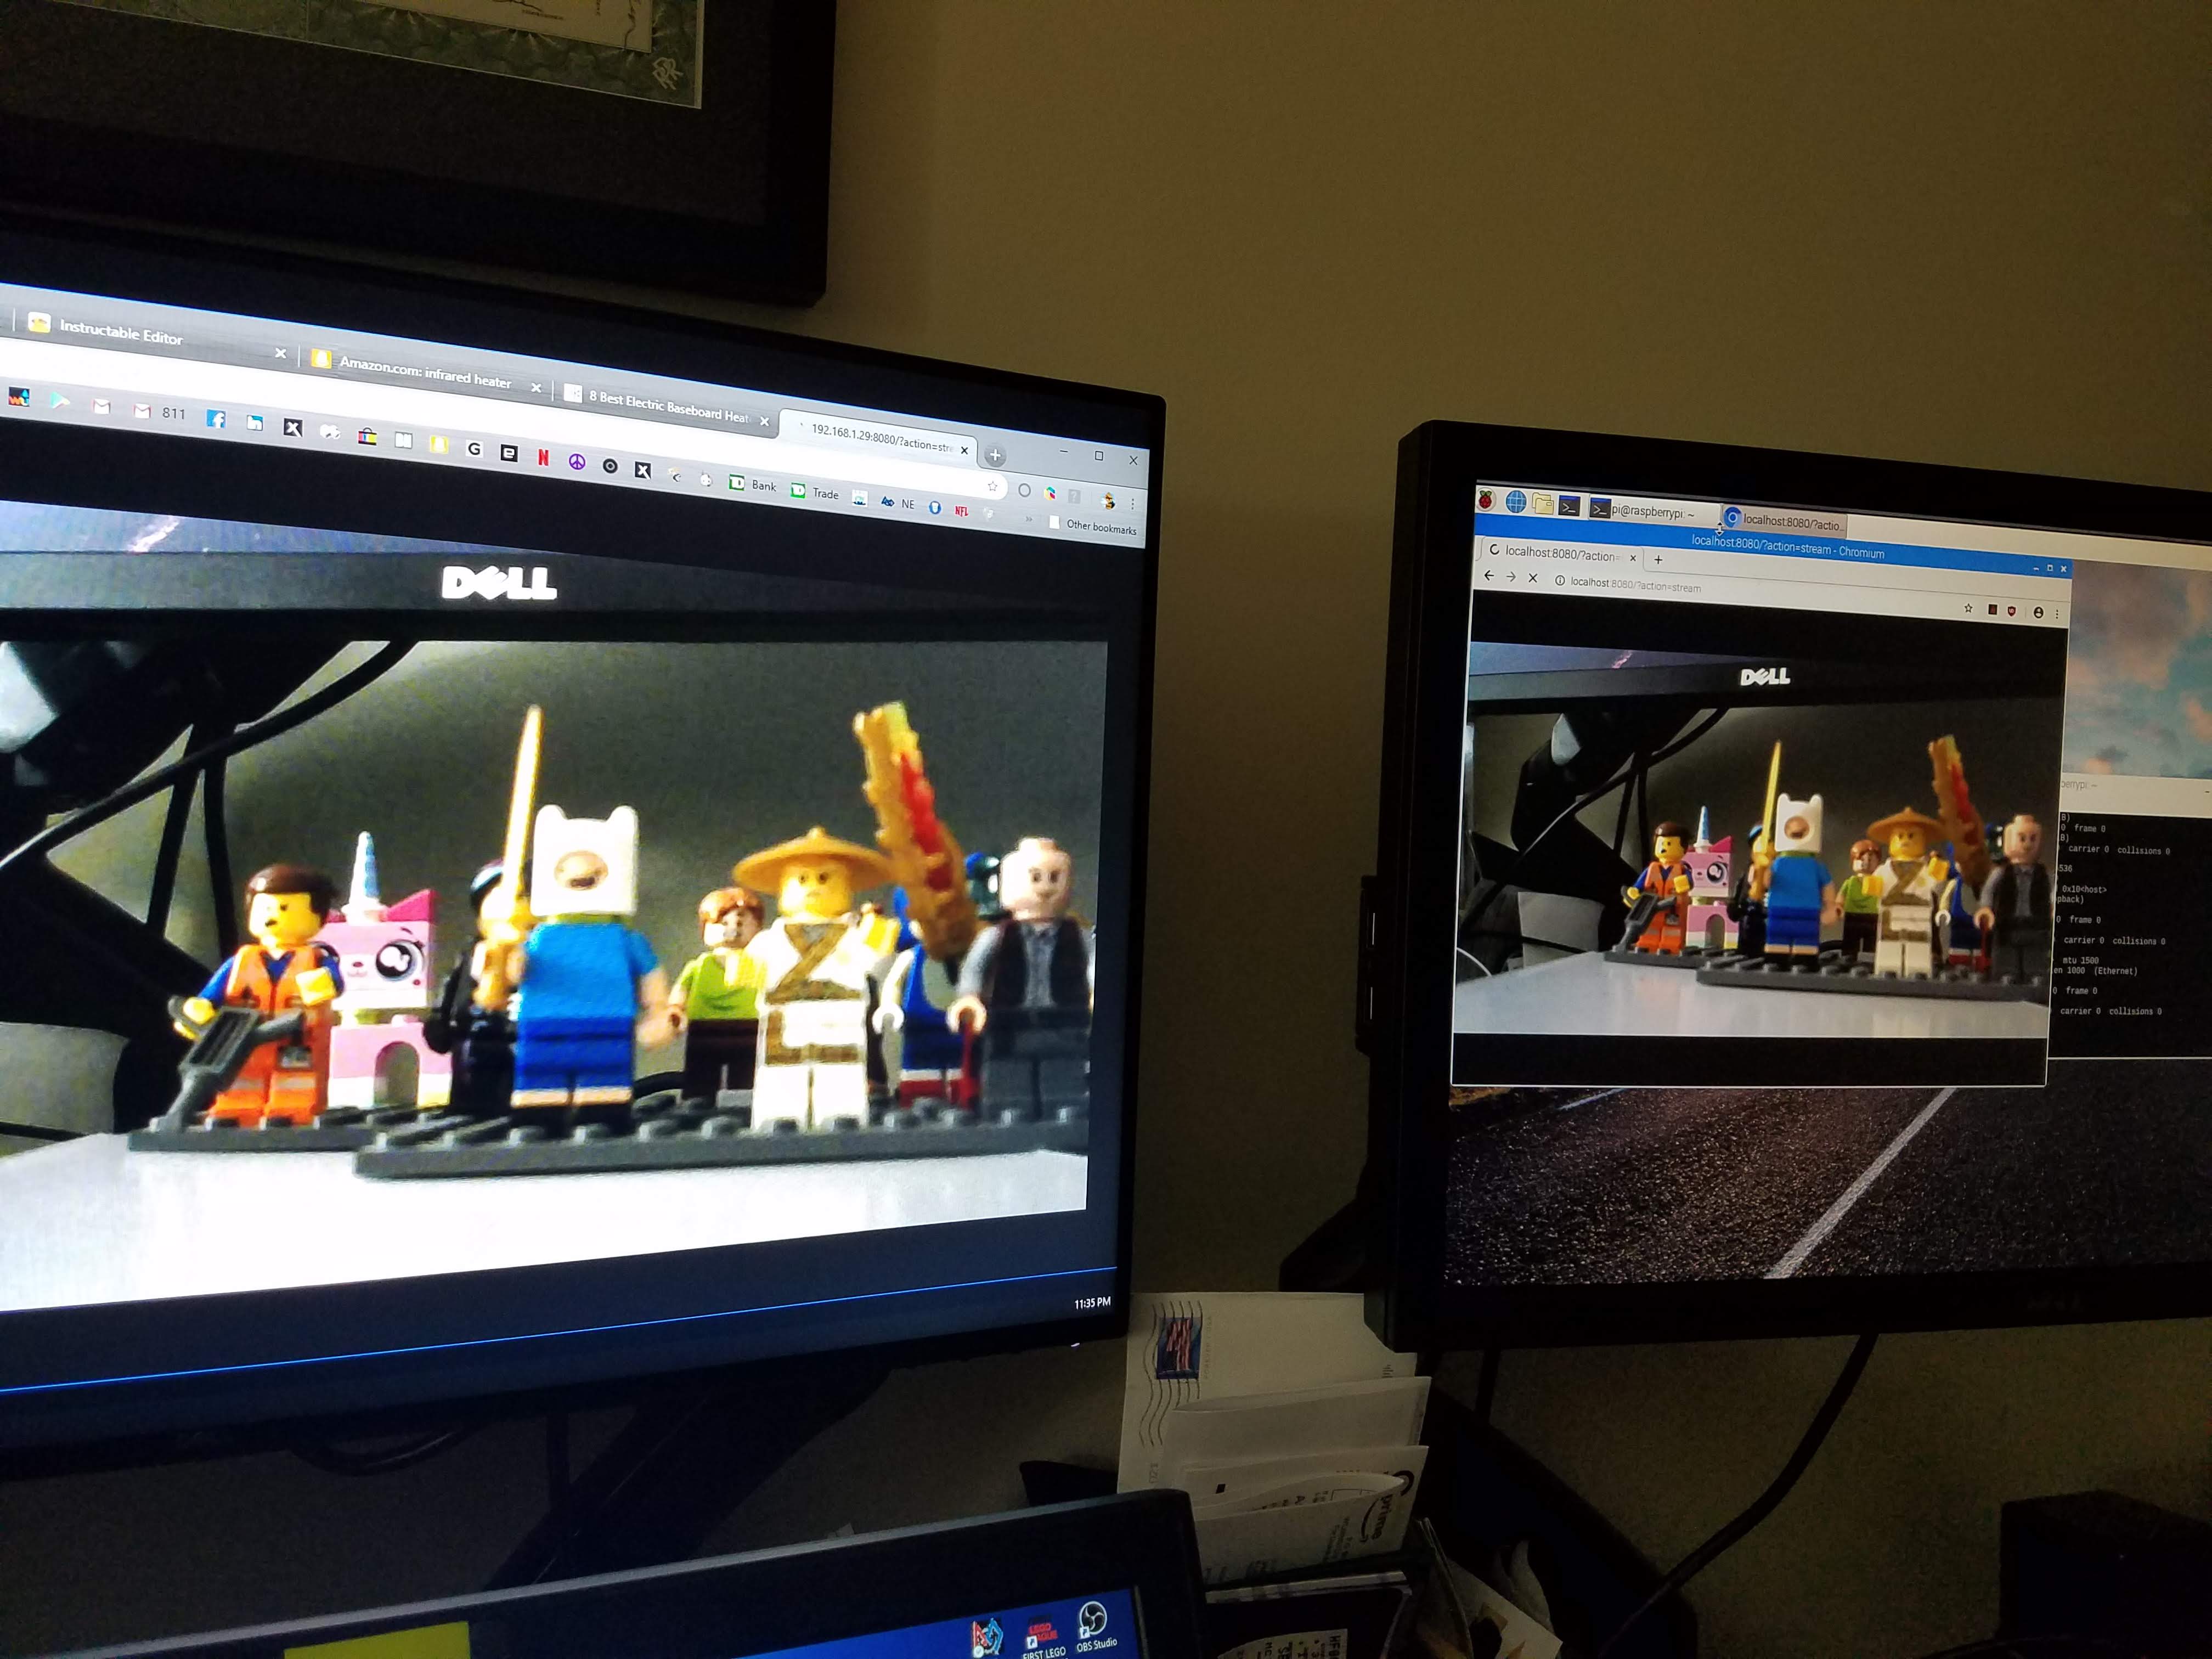
View Stream at the rPi
open the brower for "localhost:8080/?action=stream"
View stream at your PC
At the rPi, get the IP address for the unit (ifconfig) (eth0: 192.168.1.36, for example)
Open your PC brower for "http://192.168.1.36:8080/?action=stream"
Configure to Autostart
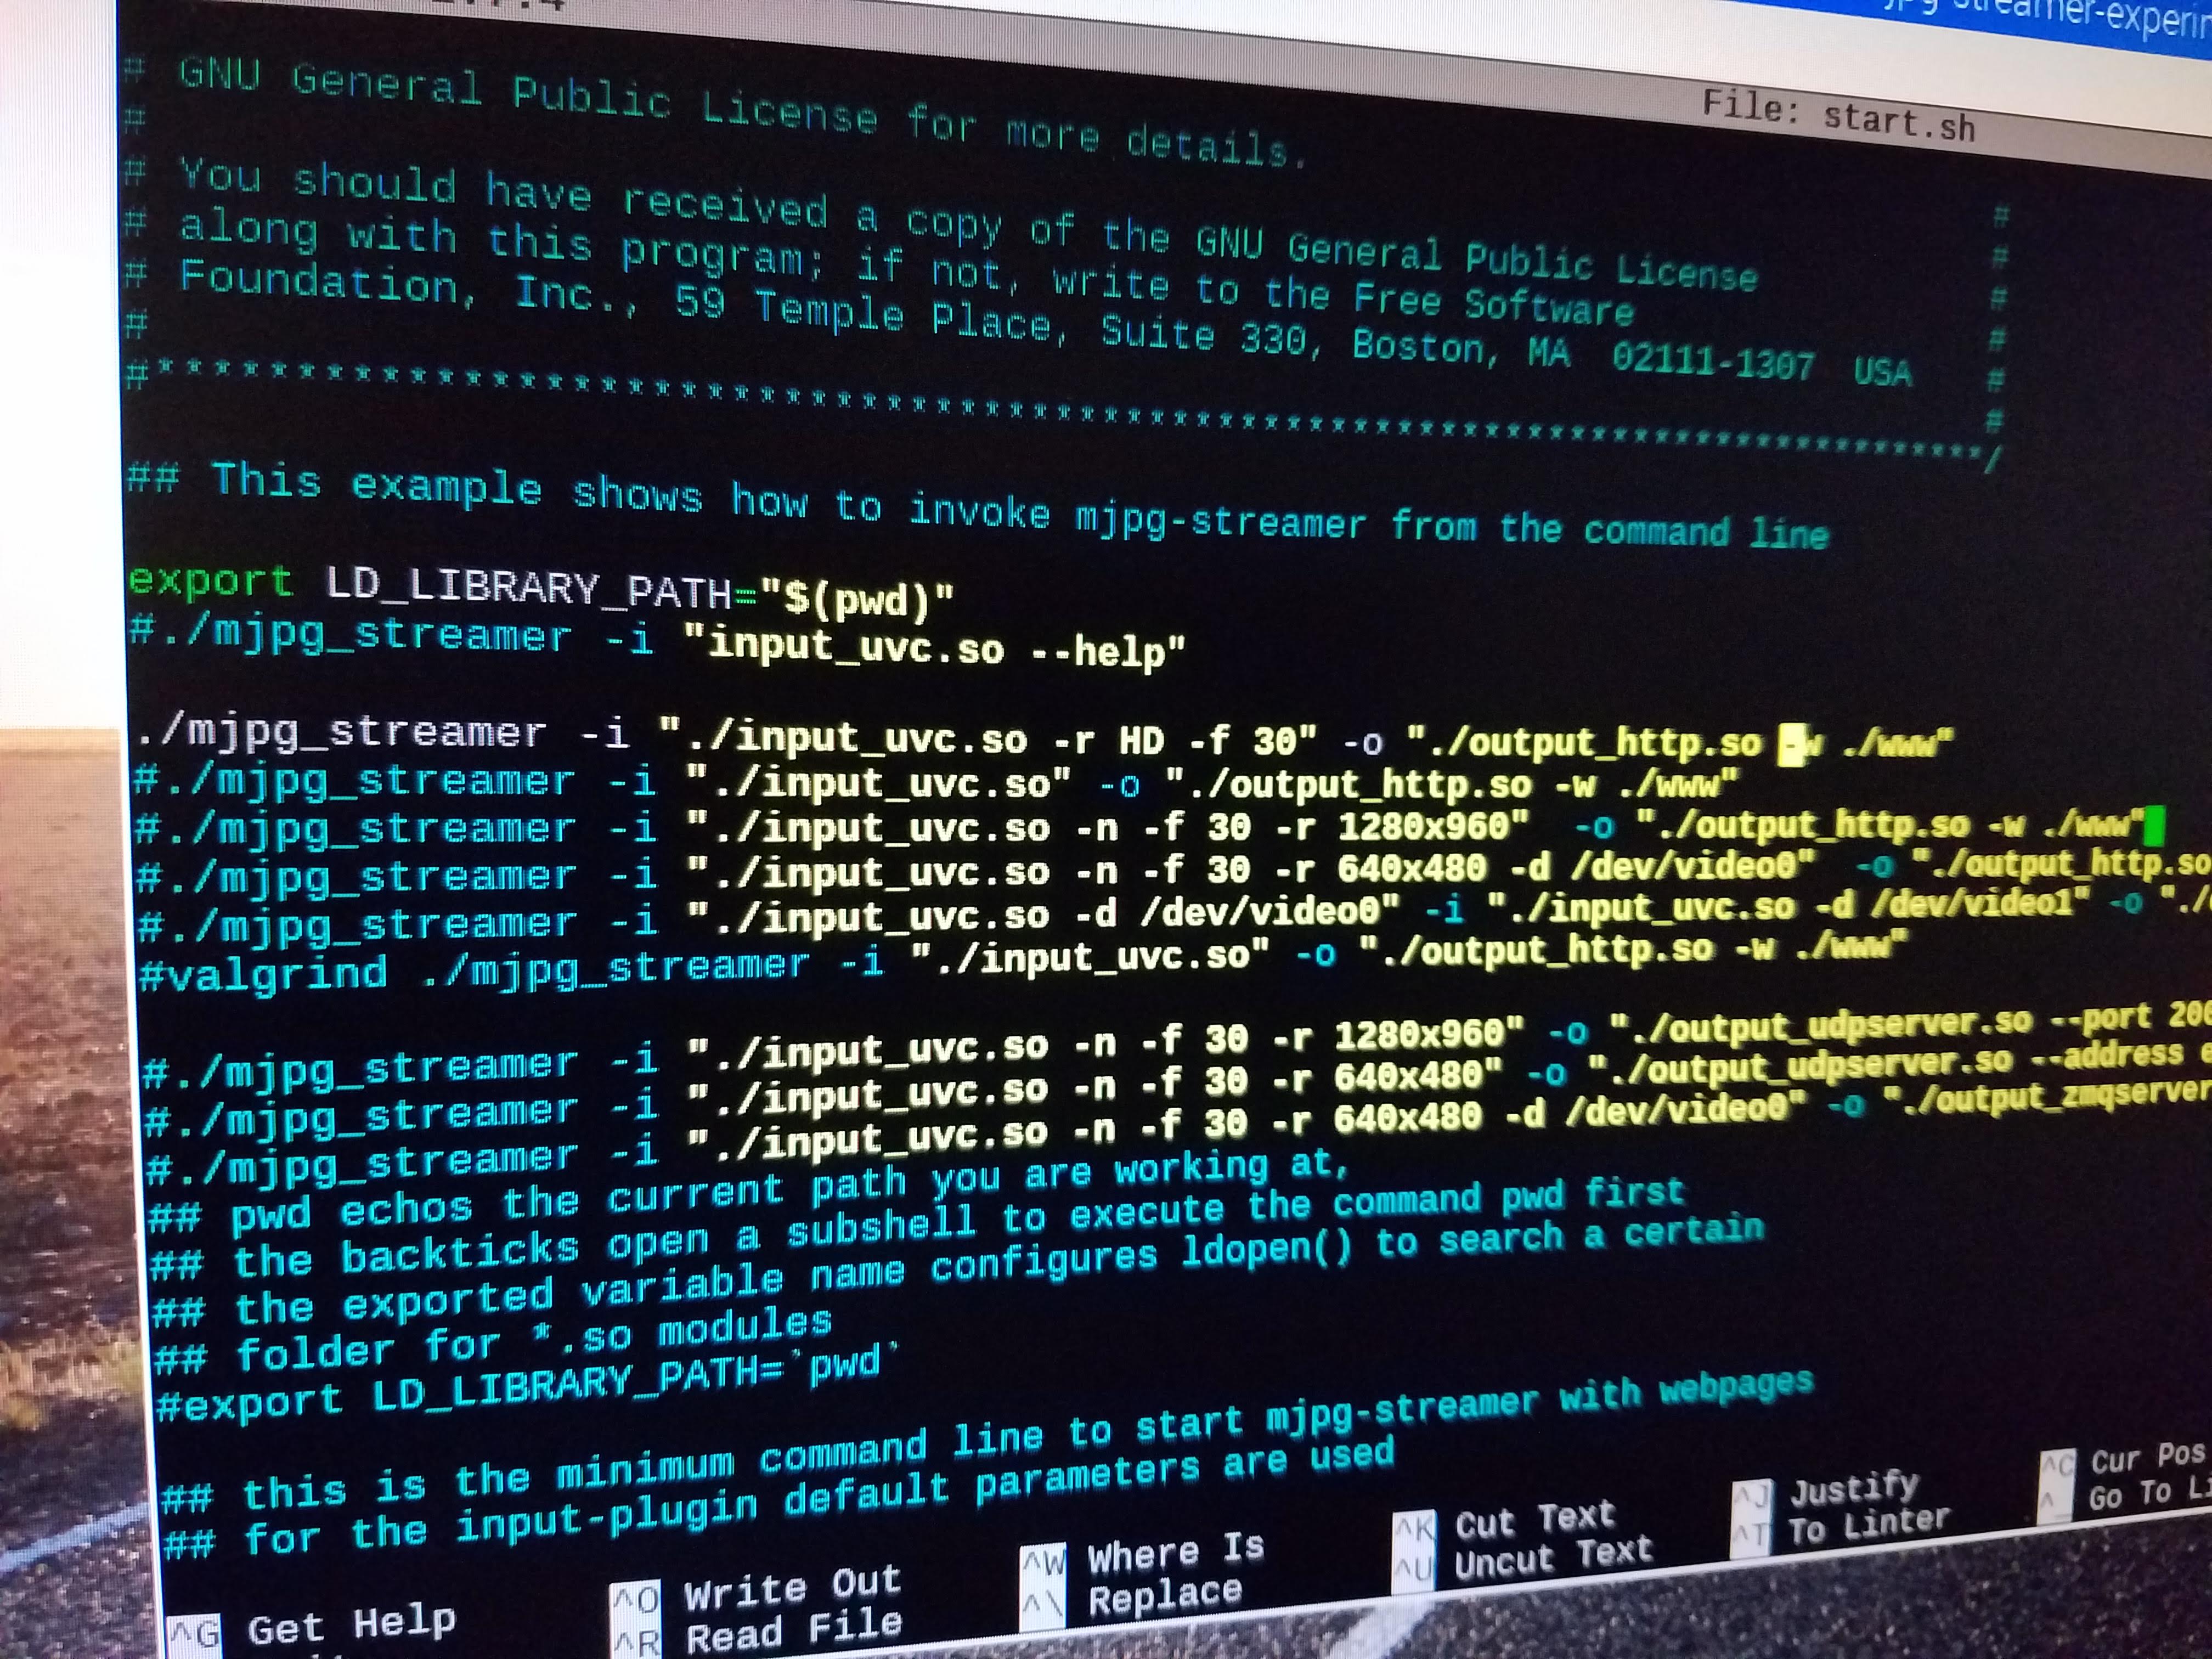
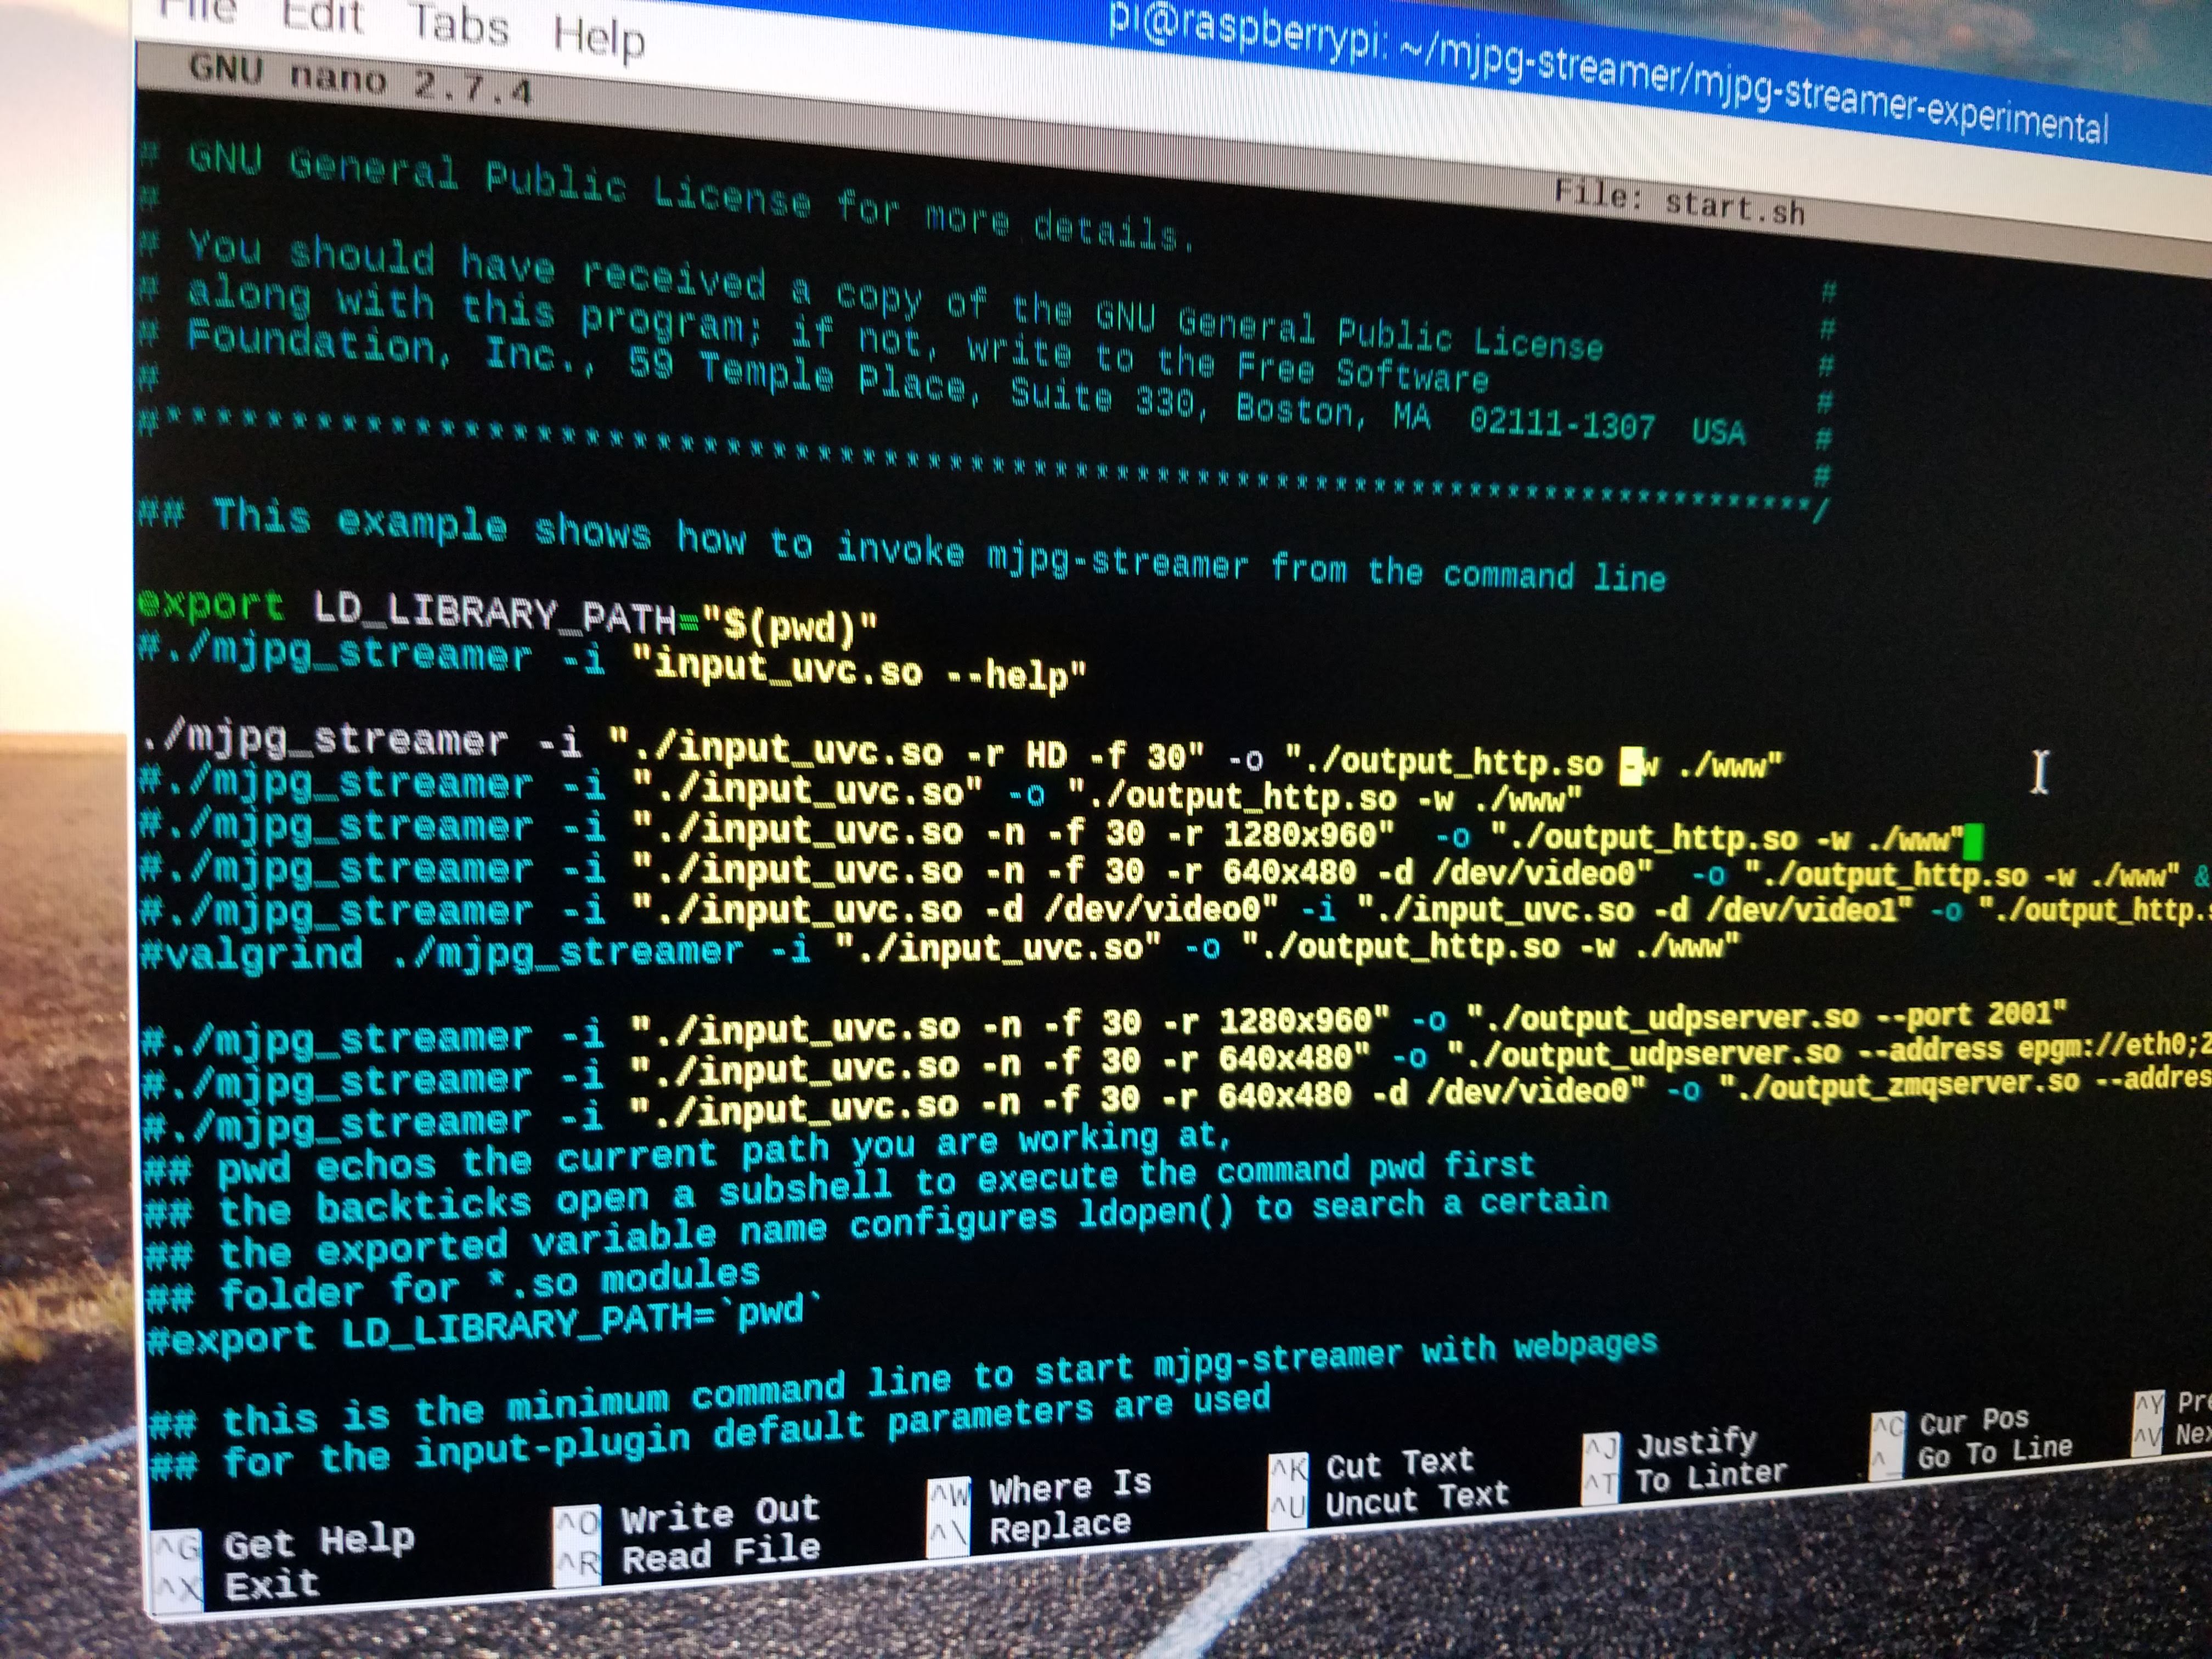
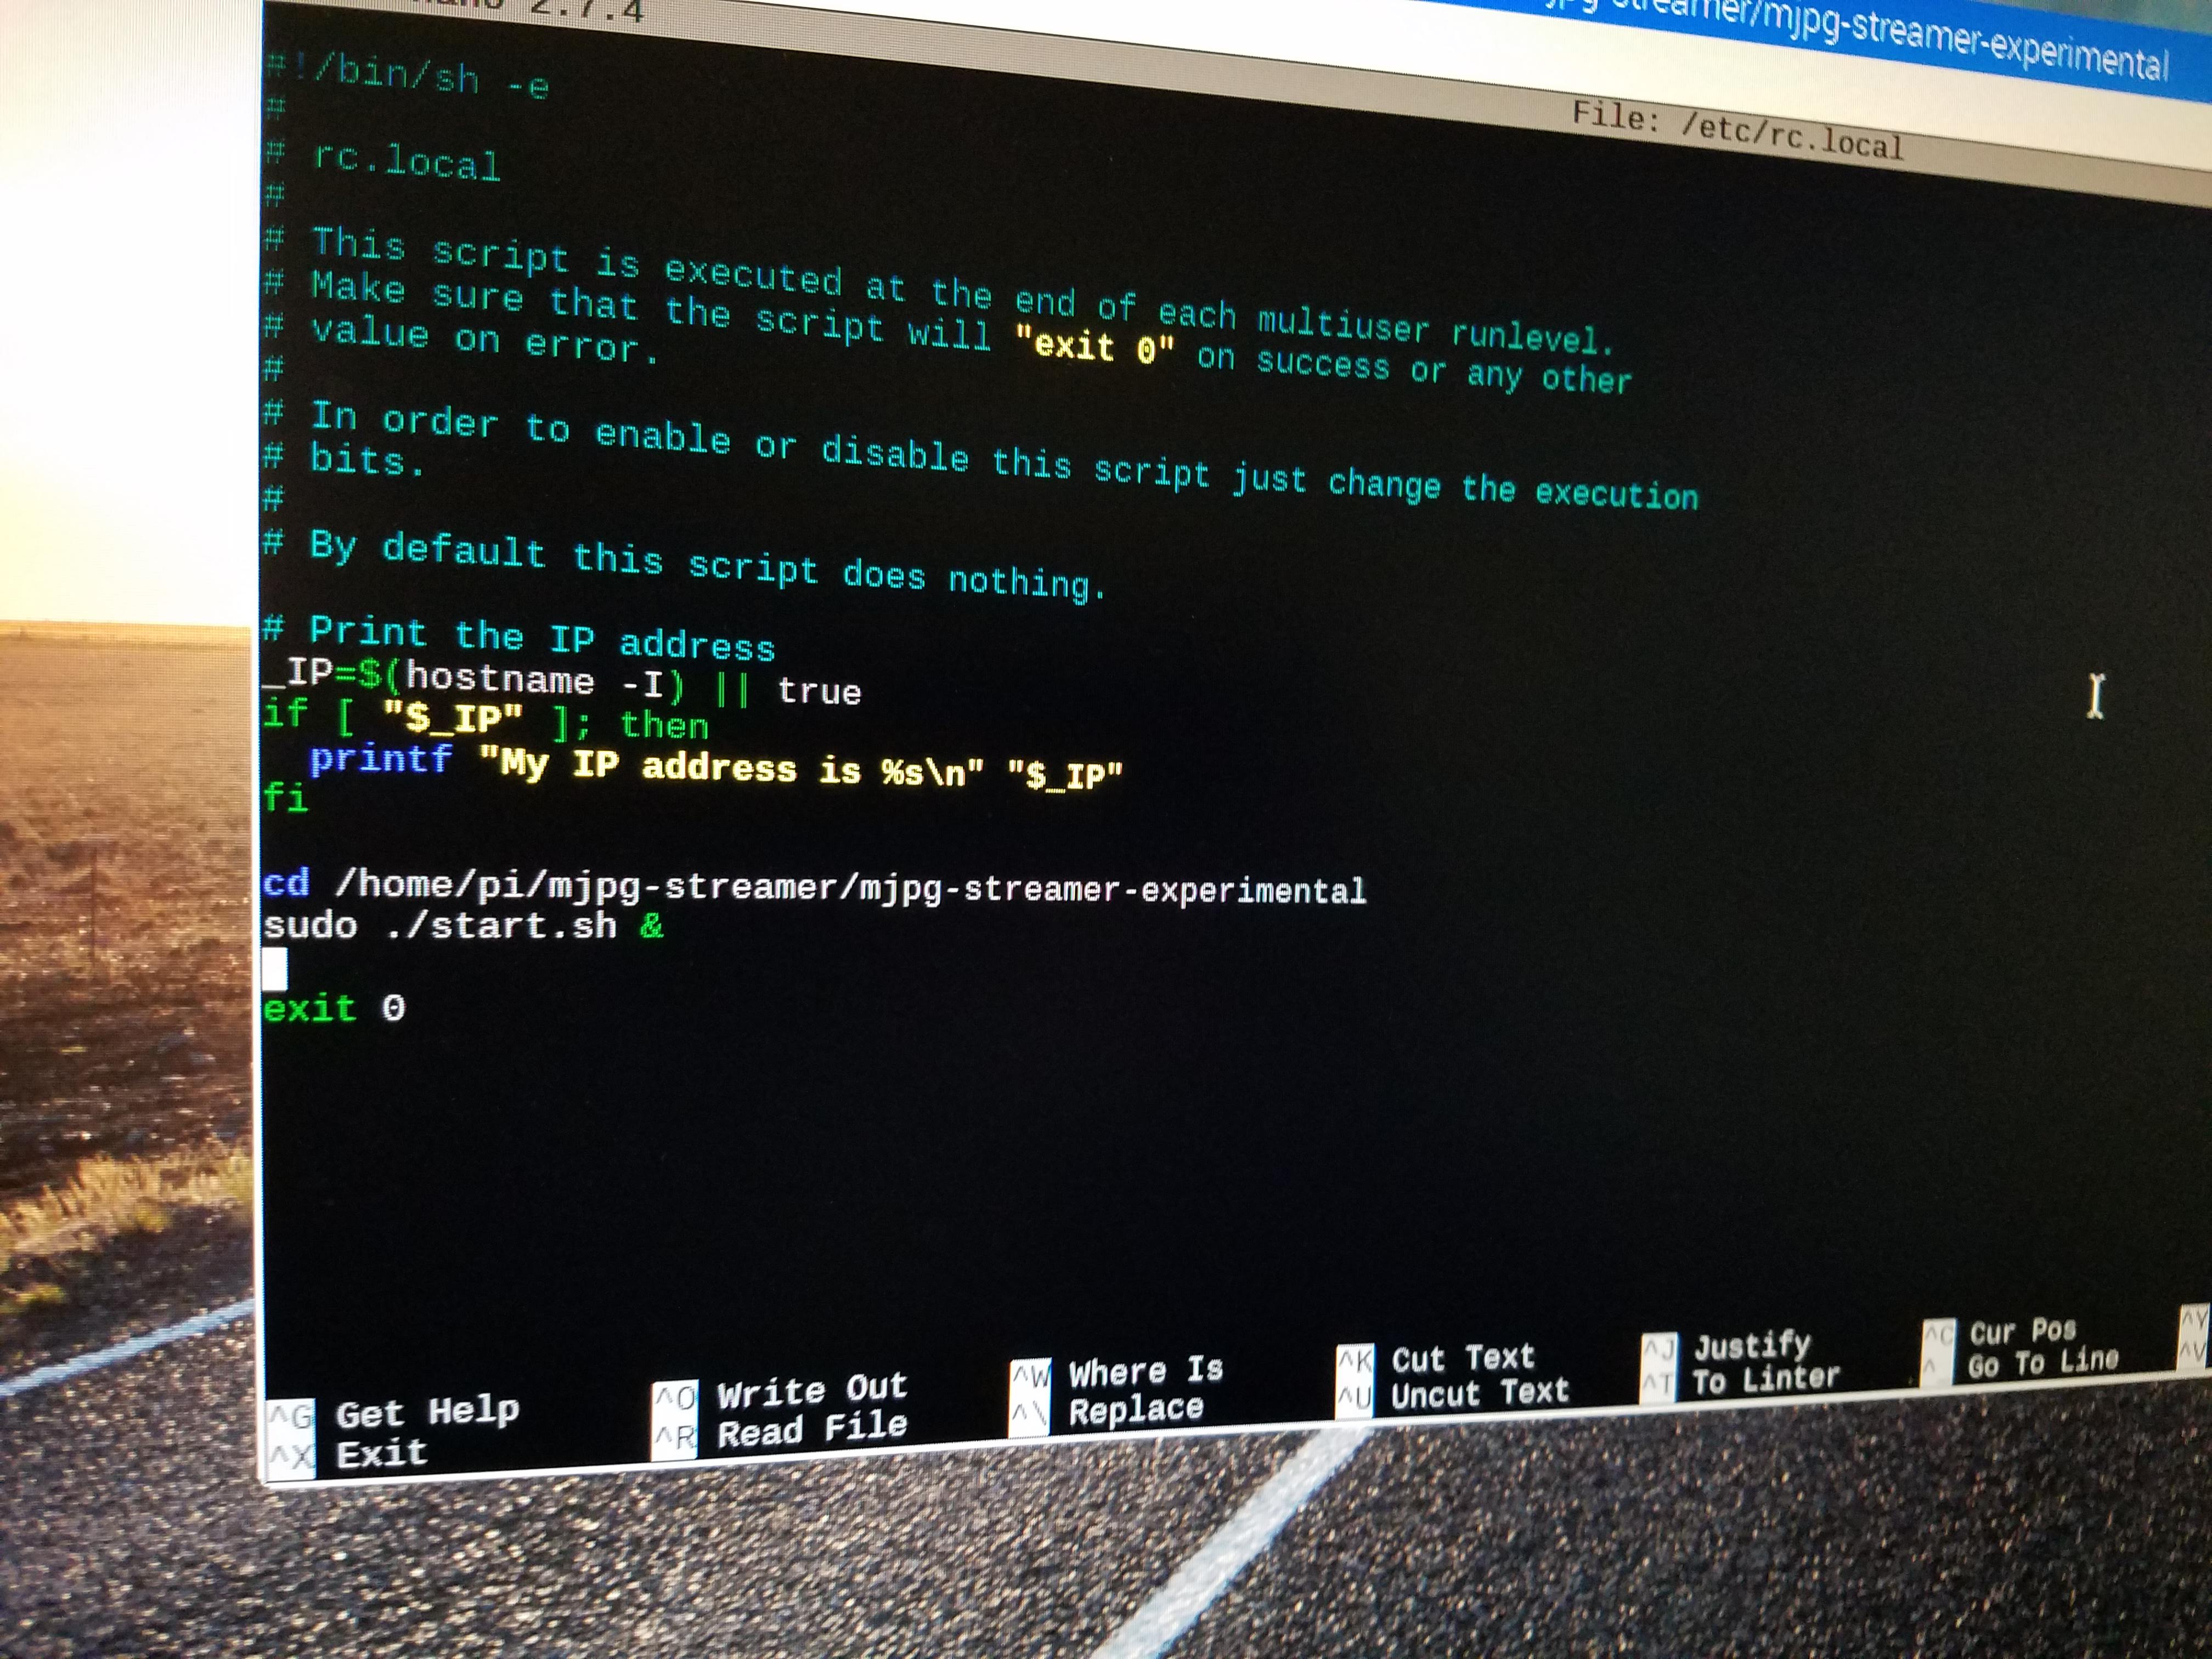
Update ~/mjpg-streamer/mjpg-streamer-experimental/start.sh
Make sure this line is added and not commented out:
./mjpg_streamer -i "./input_uvc.so -r HD -f 30" -o "./output_http.so -w ./www"
Update /etc/rc.local
Replace the "exit 0" at the end of the file with:
cd /home/pi/mjpg-streamer/mjpg-streamer-experimental
sudo ./start.sh &
exit 0
Reboot the raspberry pi and repeat Step 4, to check things out
Optional Static IP Address
The default DHCP addressing may be adequate for your needs.
You may also want setup your own static IP configuration. My configuration for my hardware was meant to have a closed network.
My LAN configuration was:
- (4 qty) Logitech C920 USB camera <=> RPi
- Each RPi is attached to an unmanaged switch.
- A laptop with OBS Studio is also attached to the switch.
- All of these ports were setup to my own personal IP address configuration.
- At the RPi, in /etc/dhcpcd.conf, I set these settings
<p>interface eth0
inform 8.11.2.12</p><p>static routers=8.11.1.1</p><p>interface wlan0</p><p>inform 8.11.2.102</p><p>static routers=8.11.1.1</p>
To get the OBS studio routed to the "outside world", use your laptop or a USB Ethernet adapter to push stream the output to Facebook, YouTube, Twitch, or other video server services.