Raspberry Pi Terraria Server
by XPGeek in Circuits > Raspberry Pi
52324 Views, 83 Favorites, 0 Comments
Raspberry Pi Terraria Server
Looking for a cool Raspberry Pi Project? How about a Terraria Server!
Running a Terraria server with your Raspberry Pi is a great way to reduce the load on your gaming PC and have a low power, always on server that you and 5-10 of your friends can play on, lag free!
In this Instructable, you'll learn how to turn your Raspberry Pi into a fully featured Terraria server that can host a small LAN party in less than two hours!
Let's get started!
Here's what you need:
- Raspberry Pi (Model 2 or newer)
- Newer Raspberry Pi's have faster CPUs that can handle more users
- A Raspberry Pi 3 has built-in Wi-Fi for networking, which can be handy
- SD Card
- 8GB or larger
- Ethernet Cable
- Wi-Fi connections can also be used, but may be slower and less reliable
- Micro-USB Cable
- USB Power Supply (1.5A+)
- Make sure your USB power supply can output at least 1.5A
- HDMI Cable
- For OS installation only, we won't need this to run the server
- Monitor/TV
- For OS installation only, we won't need this to run the server
Download Raspbian OS
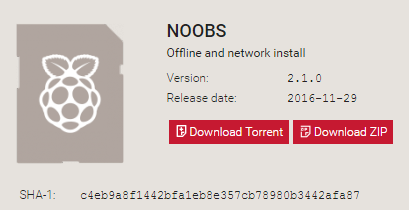
Go to the Raspberry Pi NOOBS OS download page and download NOOBS by clicking "Download ZIP".
Note:
There are two methods you can use to download NOOBS, a torrent or a ZIP file. A torrent is usually faster, but requires you to install a third-party client program, such as qBitorrent. Use the ZIP option for an easy download!
Setup Your SD Card
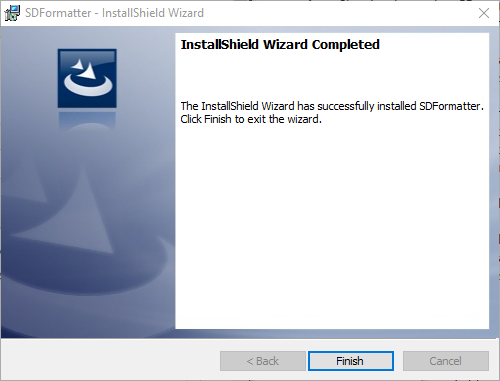
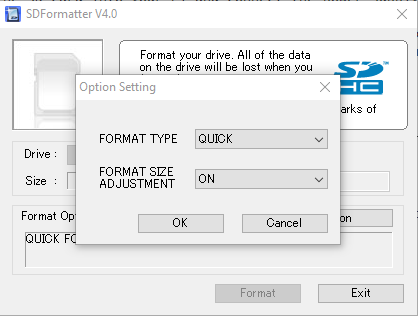
In this step, we will prepare the SD card to install the Rasbian OS.
WARNING: Before formatting your SD card, make sure to backup your data! Formatting will erase your entire SD card!
- Insert your SD card into your computer and then download the SD formatting tool.
- After extracting the ZIP folder from the download, run setup.exe to begin the installation process. Keep all the default options selected (unless you want to change them) and then hit Finish after the setup completes.
- Open SDFormatter, and change the FORMAT SIZE ADJUSTMENT to ON by using the Option button on the main screen. After you're sure that you have NO IMPORTANT DATA on your SD card, click Format
- After formatting your SD card, copy the files you extracted from the NOOBS ZIP archive in the previous step over onto the SD card.
You are now ready to begin installing the Rasbian OS on your Pi!
Note:
If you are having trouble getting the SD Formatting Tool to work, or have an SDXC card (64GB or larger), check out this support article! SDXC cards cannot be formatted with the tool above, and you will need to download a separate program (some options are described in the article). I used MiniTool Partition Wizard Free Edition to format my 64GB Samsung SDXC card as FAT32, and then proceeded to the next step. Everything worked as intended!
Install Rasbian OS
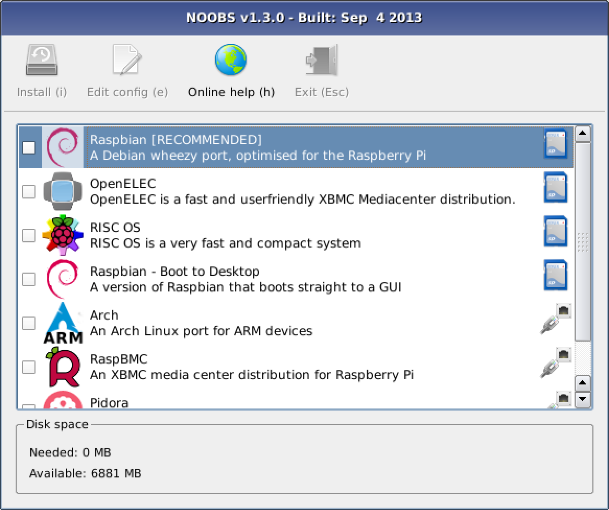
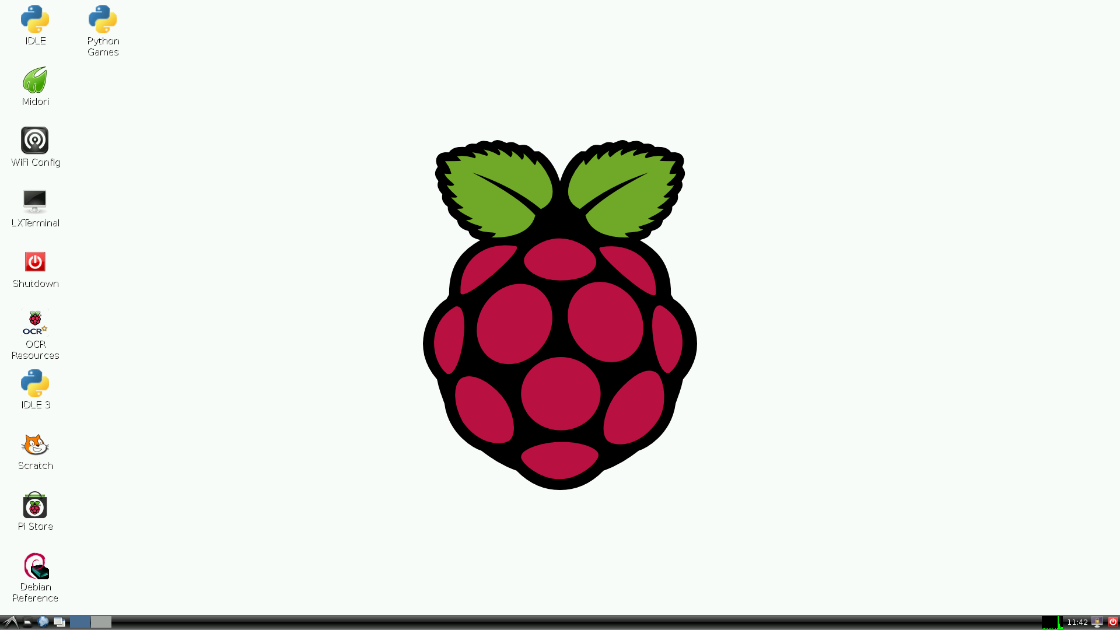
In this step, we will install the Rasbian OS on your Pi.
WARNING: Make sure your USB power supply meets the requirements described in the material list (1.5A or higher)! An under-powered supply may cause the Pi to unexpectedly shut down, or not work at all!
- Insert your prepared SD card into the SD card slot on your Raspberry Pi.
- Plug your Raspberry Pi into your HDMI enabled external monitor.
- Connect your Raspberry Pi to your router (or any internet connected port) with the Ethernet cord.
- Connect your Raspberry Pi to your external USB power source, it should boot automatically.
- After booting, select Rasbian OS from the lists of available operating systems, click Install in the upper left hand corner of the screen, and select Yes on the last prompt to begin the installation process.
- After the OS finishes installing, click OK to reboot the Raspberry Pi.
When booting Rasbian for the first time, you may need to answer some setup questions, but after that, you should be presented with the Rasbian OS desktop, and are ready for the next step!
Note:
The installation process will take a long time (up to an hour), especially if your SD card is slower, so grab a snack or go outside.
Install/Update Mono on Rasbian OS
Mono is an open source implementation of Microsoft's .NET Framework (a programming interface for Windows applications) which is used to support our server application. To install/update Mono on the Rasbian OS, we will use the terminal, or the command line interface. Open a terminal by clicking on the terminal icon in the upper left hand corner of the desktop and then copy/type the following commands:
sudo apt-key adv --keyserver hkp://keyserver.ubuntu.com:80 --recv-keys 3FA7E0328081BFF6A14DA29AA6A19B38D3D831EF
echo "deb http://download.mono-project.com/repo/debian wheezy main" | sudo tee /etc/apt/sources.list.d/mono-xamarin.list
sudo apt-get update
sudo apt-get upgrade
sudo apt-get install mono-complete
Mono is now installed, updated, and ready to use for our server!
Note:
If these commands fail, you may not be connected to the Internet. Check your connections, and try again!
Note:
More information about the Raspberry Pi's terminal can be found here.
Download TShock (Terraria Server)
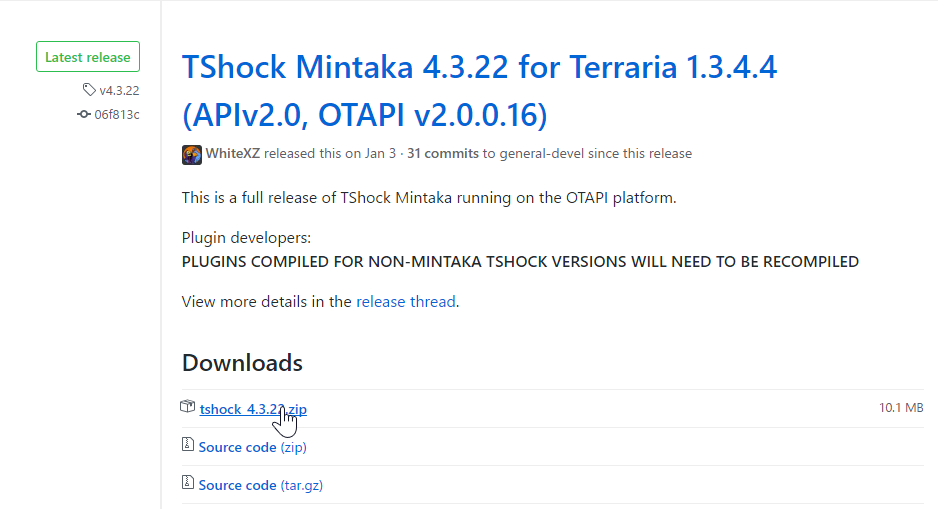
TShock is a Terarria server that offers several enhanced management features not present in the default server. Before downloading TShock, you may find it useful to start the GUI, which can be invoked by typing startx into the terminal.
Using your favorite internet browser (there's a ton for the Pi, but one comes preinstalled), download the "Latest Release" of TShock by visiting this page, and then extract the ZIP file. Remember where you extracted the download to, we'll need it in the next step!
Note:
Despite having a lot of functionality, TShock is very easy to use, so don't worry! As you learn more about TShock, you can add more functionality to your server! To learn more about TShock, check out the wiki here.
Setup TShock
- Open a terminal and navigate to the directory where you extracted the TShock ZIP file. Then, run the following command to start the server: mono ./TerrariaServer.exe
- Select a world for the game server to host (you can generate new one, or use an existing one) and a port to host the game on (7777 is the default, and it should be kept unless you want otherwise).
- After the server starts, you should see a terminal message that says "To become superadmin, join the game and type /auth [authcode]."
- Using another computer, connect to your Terraria server, and type in the previous command (/auth [authcode]) to finish the TShock setup!
Note:
To find what your local IP address is on Rasbian, just use the command: sudo ip addr show
Note:
To navigate around the Linux file system, you will need to know two commands: ls and cd. If you're unfamiliar with these commands, that's OK! Check out the Ubuntu Wiki to learn more! Also, remember the TShock wiki, which contains more info in case you get stuck!
Add Your Friends

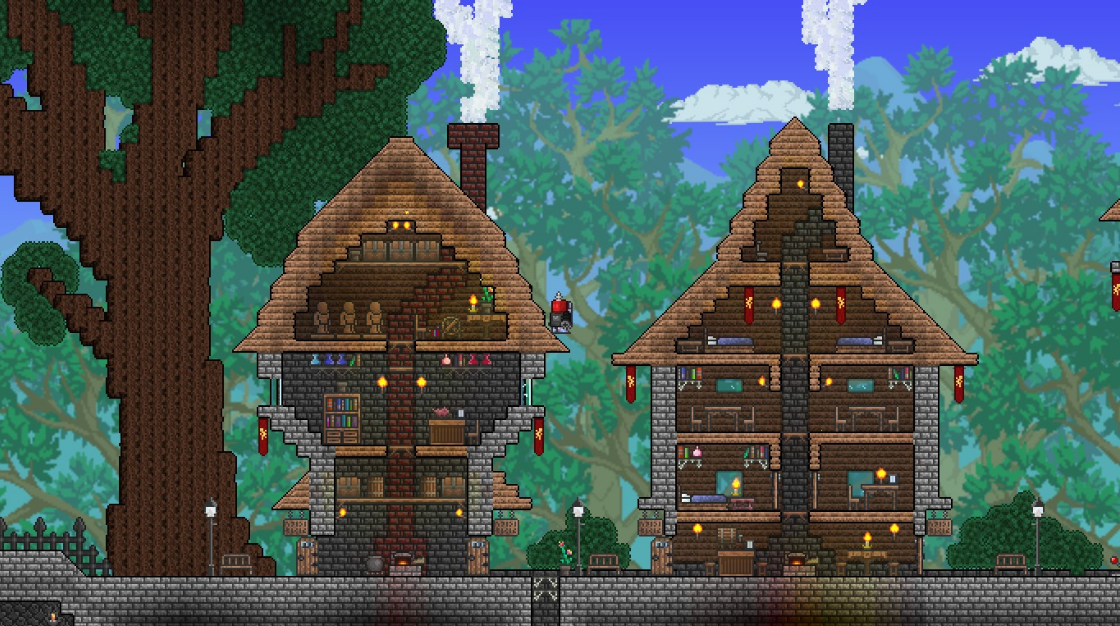
After completing TShock's initial setup, it's time to play with your friends!
If your friends are connected to the same local network, aka the same WiFi/Ethernet connection as you, they can use the same IP address you used to connect in the previous step!
If your friends are not connected to the same local network, things are a bit more complicated, but don't worry! Here is what you need to do to get your friends collected, and in the game!
- Search "what is my ip" with Google.
- Tell your friends your entire, Public IP address. They should be able to use that to connect to your server.
Note:
If your friends are having issues connecting to your server, you may need to port forward your router, or add a rule (exception) to your router's firewall. Configuring these settings is different for every router, so you will need to do some research to see what you need to do! To begin, find the model number of your router (look around the router for a sticker, or other ID), and Google it with the terms "port forwarding" or "firewall".