Raspberry Pi Samba Local File Server
by Abhishek Bestha in Circuits > Raspberry Pi
449 Views, 4 Favorites, 0 Comments
Raspberry Pi Samba Local File Server

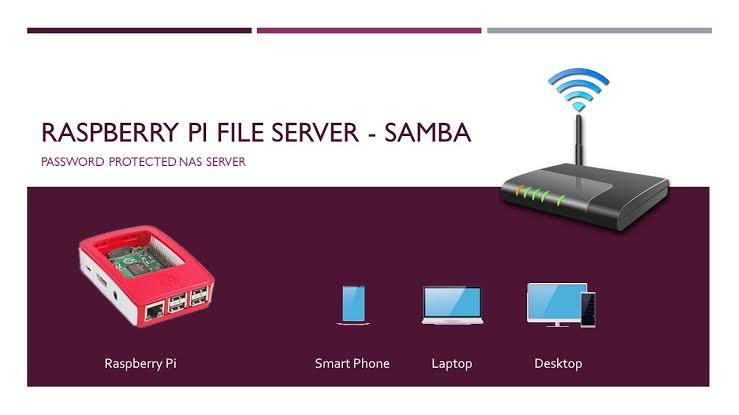
Step by step procedure for installing local file server
Requirements
- Raspberry pi
- 8GB SD card
- hard disk
Optional
- monitor
- keyboard
- mouse
- 8GB SD card
- hard disk
Optional
- monitor
- keyboard
- mouse
Installing Raspberry Pi OS
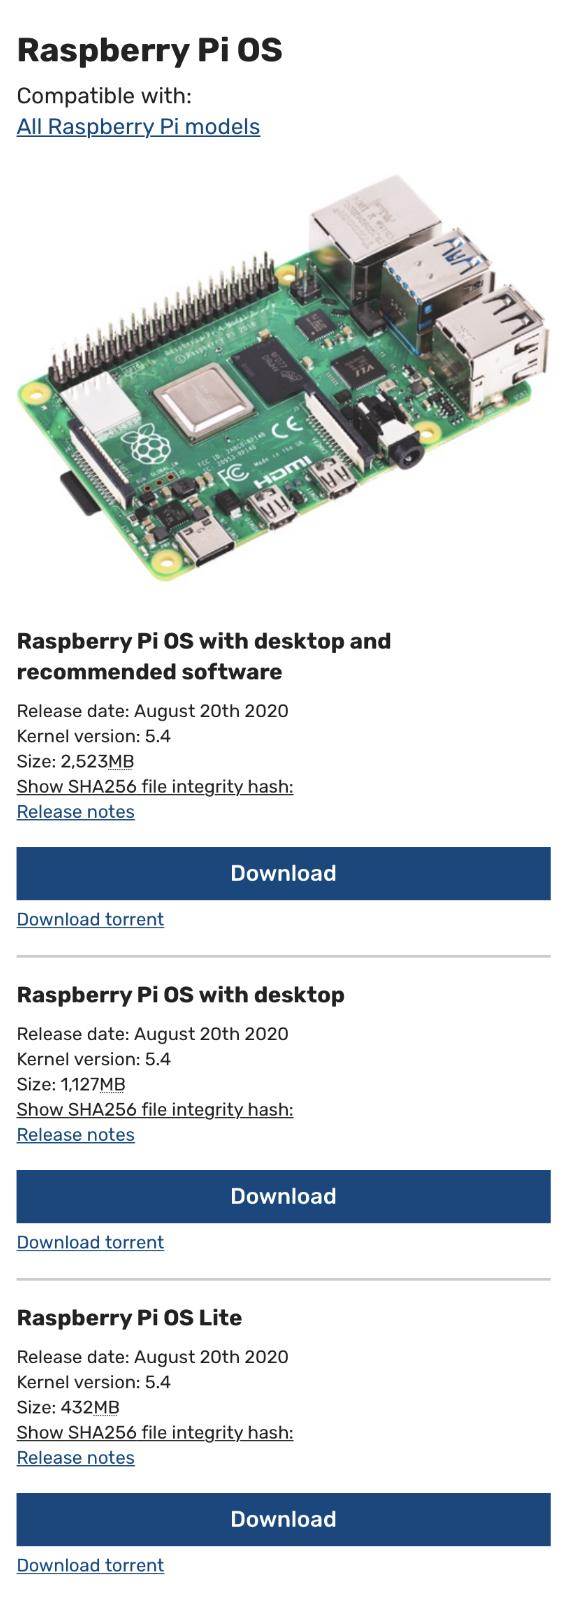
1. Download Raspberry pi OS from Raspberry official website
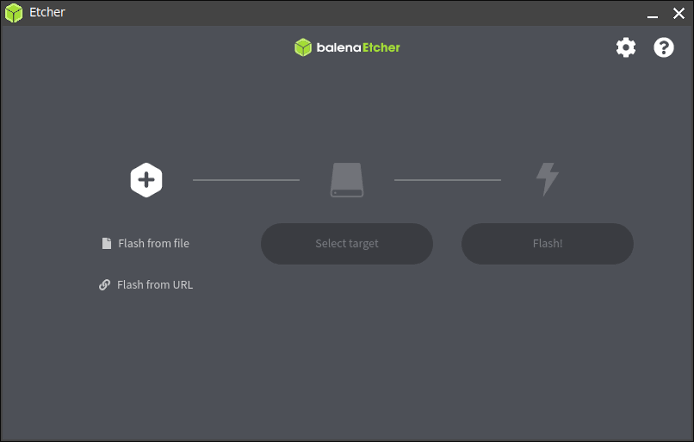
2. Download balena etcher from below link
- https://www.balena.io/etcher/
3. Next insert an 8GB memory card to your PC or laptop
4. Just your inserted SD card and choose OS
Click on FLASH
2. Download balena etcher from below link
- https://www.balena.io/etcher/
3. Next insert an 8GB memory card to your PC or laptop
4. Just your inserted SD card and choose OS
Click on FLASH
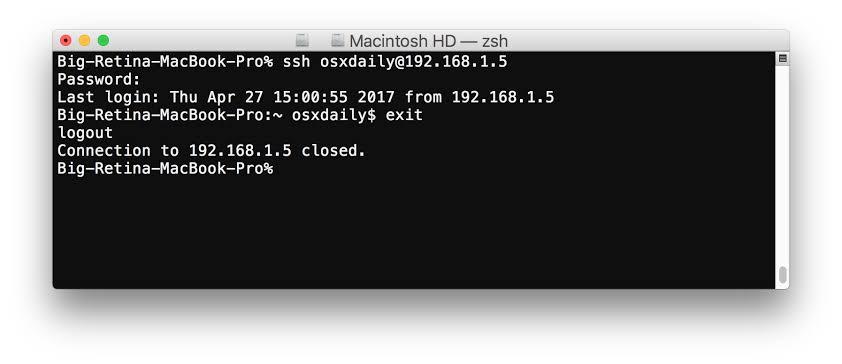
Connecting Raspberry Pi Through Ssh
- Once flash is completed, open memory card and and create an empty notepad
- Name it as “ssh” remove extensions.
After this insert SD card to raspberry pi and wait for sometime to boot up.
- Open terminal from your PC or laptop
- Type “ ssh pi@IPADDRESS OF YOUR PI ”
Note:
If now you have monitor directly connect to monitor no need of ssh.
- Name it as “ssh” remove extensions.
After this insert SD card to raspberry pi and wait for sometime to boot up.
- Open terminal from your PC or laptop
- Type “ ssh pi@IPADDRESS OF YOUR PI ”
Note:
If now you have monitor directly connect to monitor no need of ssh.
Follow Terminal Commands
Open terminal and follow below commands
sudo update && sudo upgrade
INSTALL SAMBA
sudo apt-get install samba samba-common-bin
NTFS
Sudo apt-get install ntfs-3g
TO SEE ALL CONNECTED DRIVES MOUNTED OR NOT
Sudo lsblk
FIND DRIVE UUID
Sudo blkid
DRIVE SETUP IF NOT MOUNTED
sudo nano -Bw /etc/fstab
Hard Drive mount
UUID=0000000000000000 /mnt/USB1 auto defaults,user,nofail 0 2
UUID=0000000000000000 /mnt/USB2 auto defaults,user,nofail 0 2
Note: copy and paste UUID number from blkid
SAMBA SETUP
sudo nano /etc/samba/smb.conf
[Movies] //This is the folderswhichwecan share
comment = Movies
public = yes
writeable = yes
browsable = yes
path = /mnt/USB1/Movies
create mask = 0777
directory mask = 0777
guest ok = yes
only guest = no
[TV]
comment = TV
public = yes
writeable = yes
browsable = yes
path = /mnt/USB2/TV
create mask = 0777
directory mask = 0777
guest ok = yes
only guest = no
RESTART SAMBA SERVICES
sudo service smbd restart
Accessing the Server Files
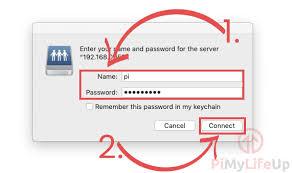
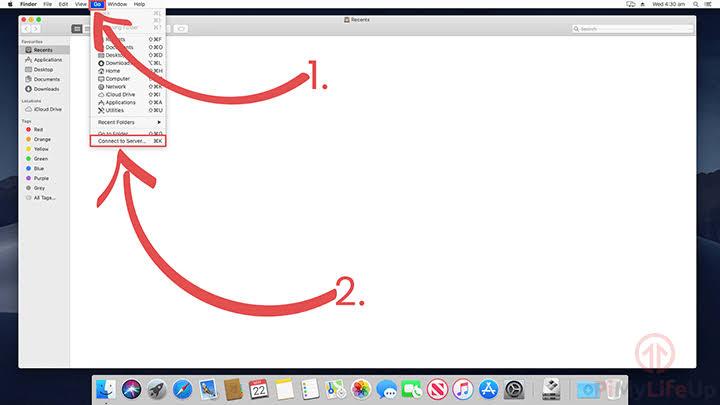
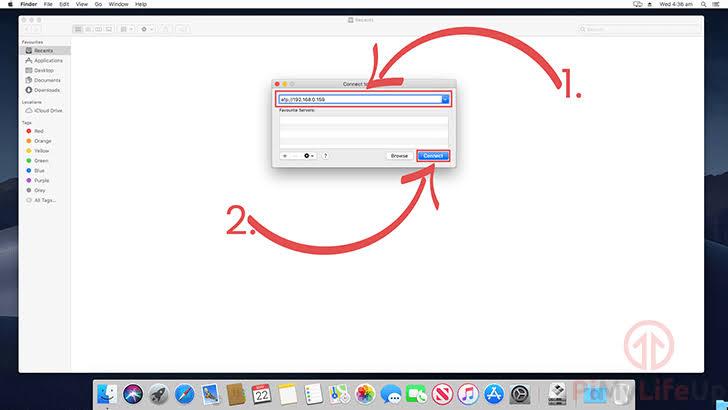
In Mac
- Go ➡️ Connect to server ➡️ Type IP address of your pi
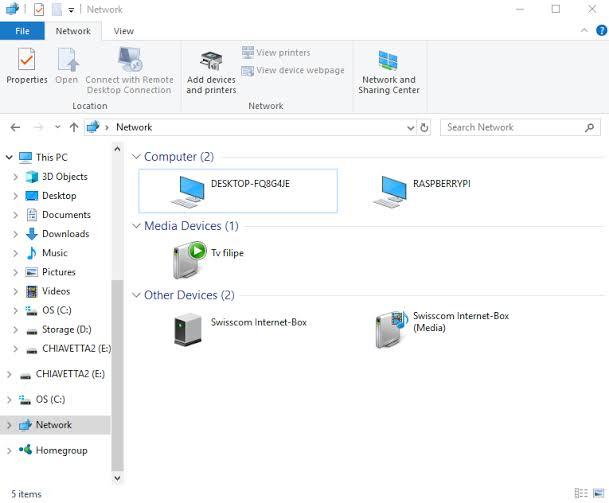
In windows
- This PC ➡️ Networks
- Go ➡️ Connect to server ➡️ Type IP address of your pi
In windows
- This PC ➡️ Networks