Raspberry Pi Retro Gaming Machine Setup
by hughessj in Circuits > Raspberry Pi
899 Views, 4 Favorites, 0 Comments
Raspberry Pi Retro Gaming Machine Setup
For replicating retro arcade games from the early days of computing, the Rasberry Pi and accompanying the Retropie system is great for doing an at-home setup on any old games you may want to play or as a hobby for learning Pi. This system has been lauded by many as a universal system, as you can run games from a variety of platforms such as NES and Atari (full list of compatible systems can be found on retropie.org.uk). On top of this, the Raspberry Pi and this project are a great way to learn more about Raspberry Pi's operating system and applications to use as a foundation for learning more. With that, let's get started on setting it up!
Supplies
Materials List:
Raspberry Pi 3B+
(Optional) Heat Sink for CPU
(Optional) Case. Doesn't matter what, just one you enjoy
Micro USB Power Input 5V @ 2A AC Adapter
SanDisk 16-32 GB SD Card
2x - 8Bitdo SN30 USB Gamepad
HDMI Cable Emulation System/Files from retropie.org.uk
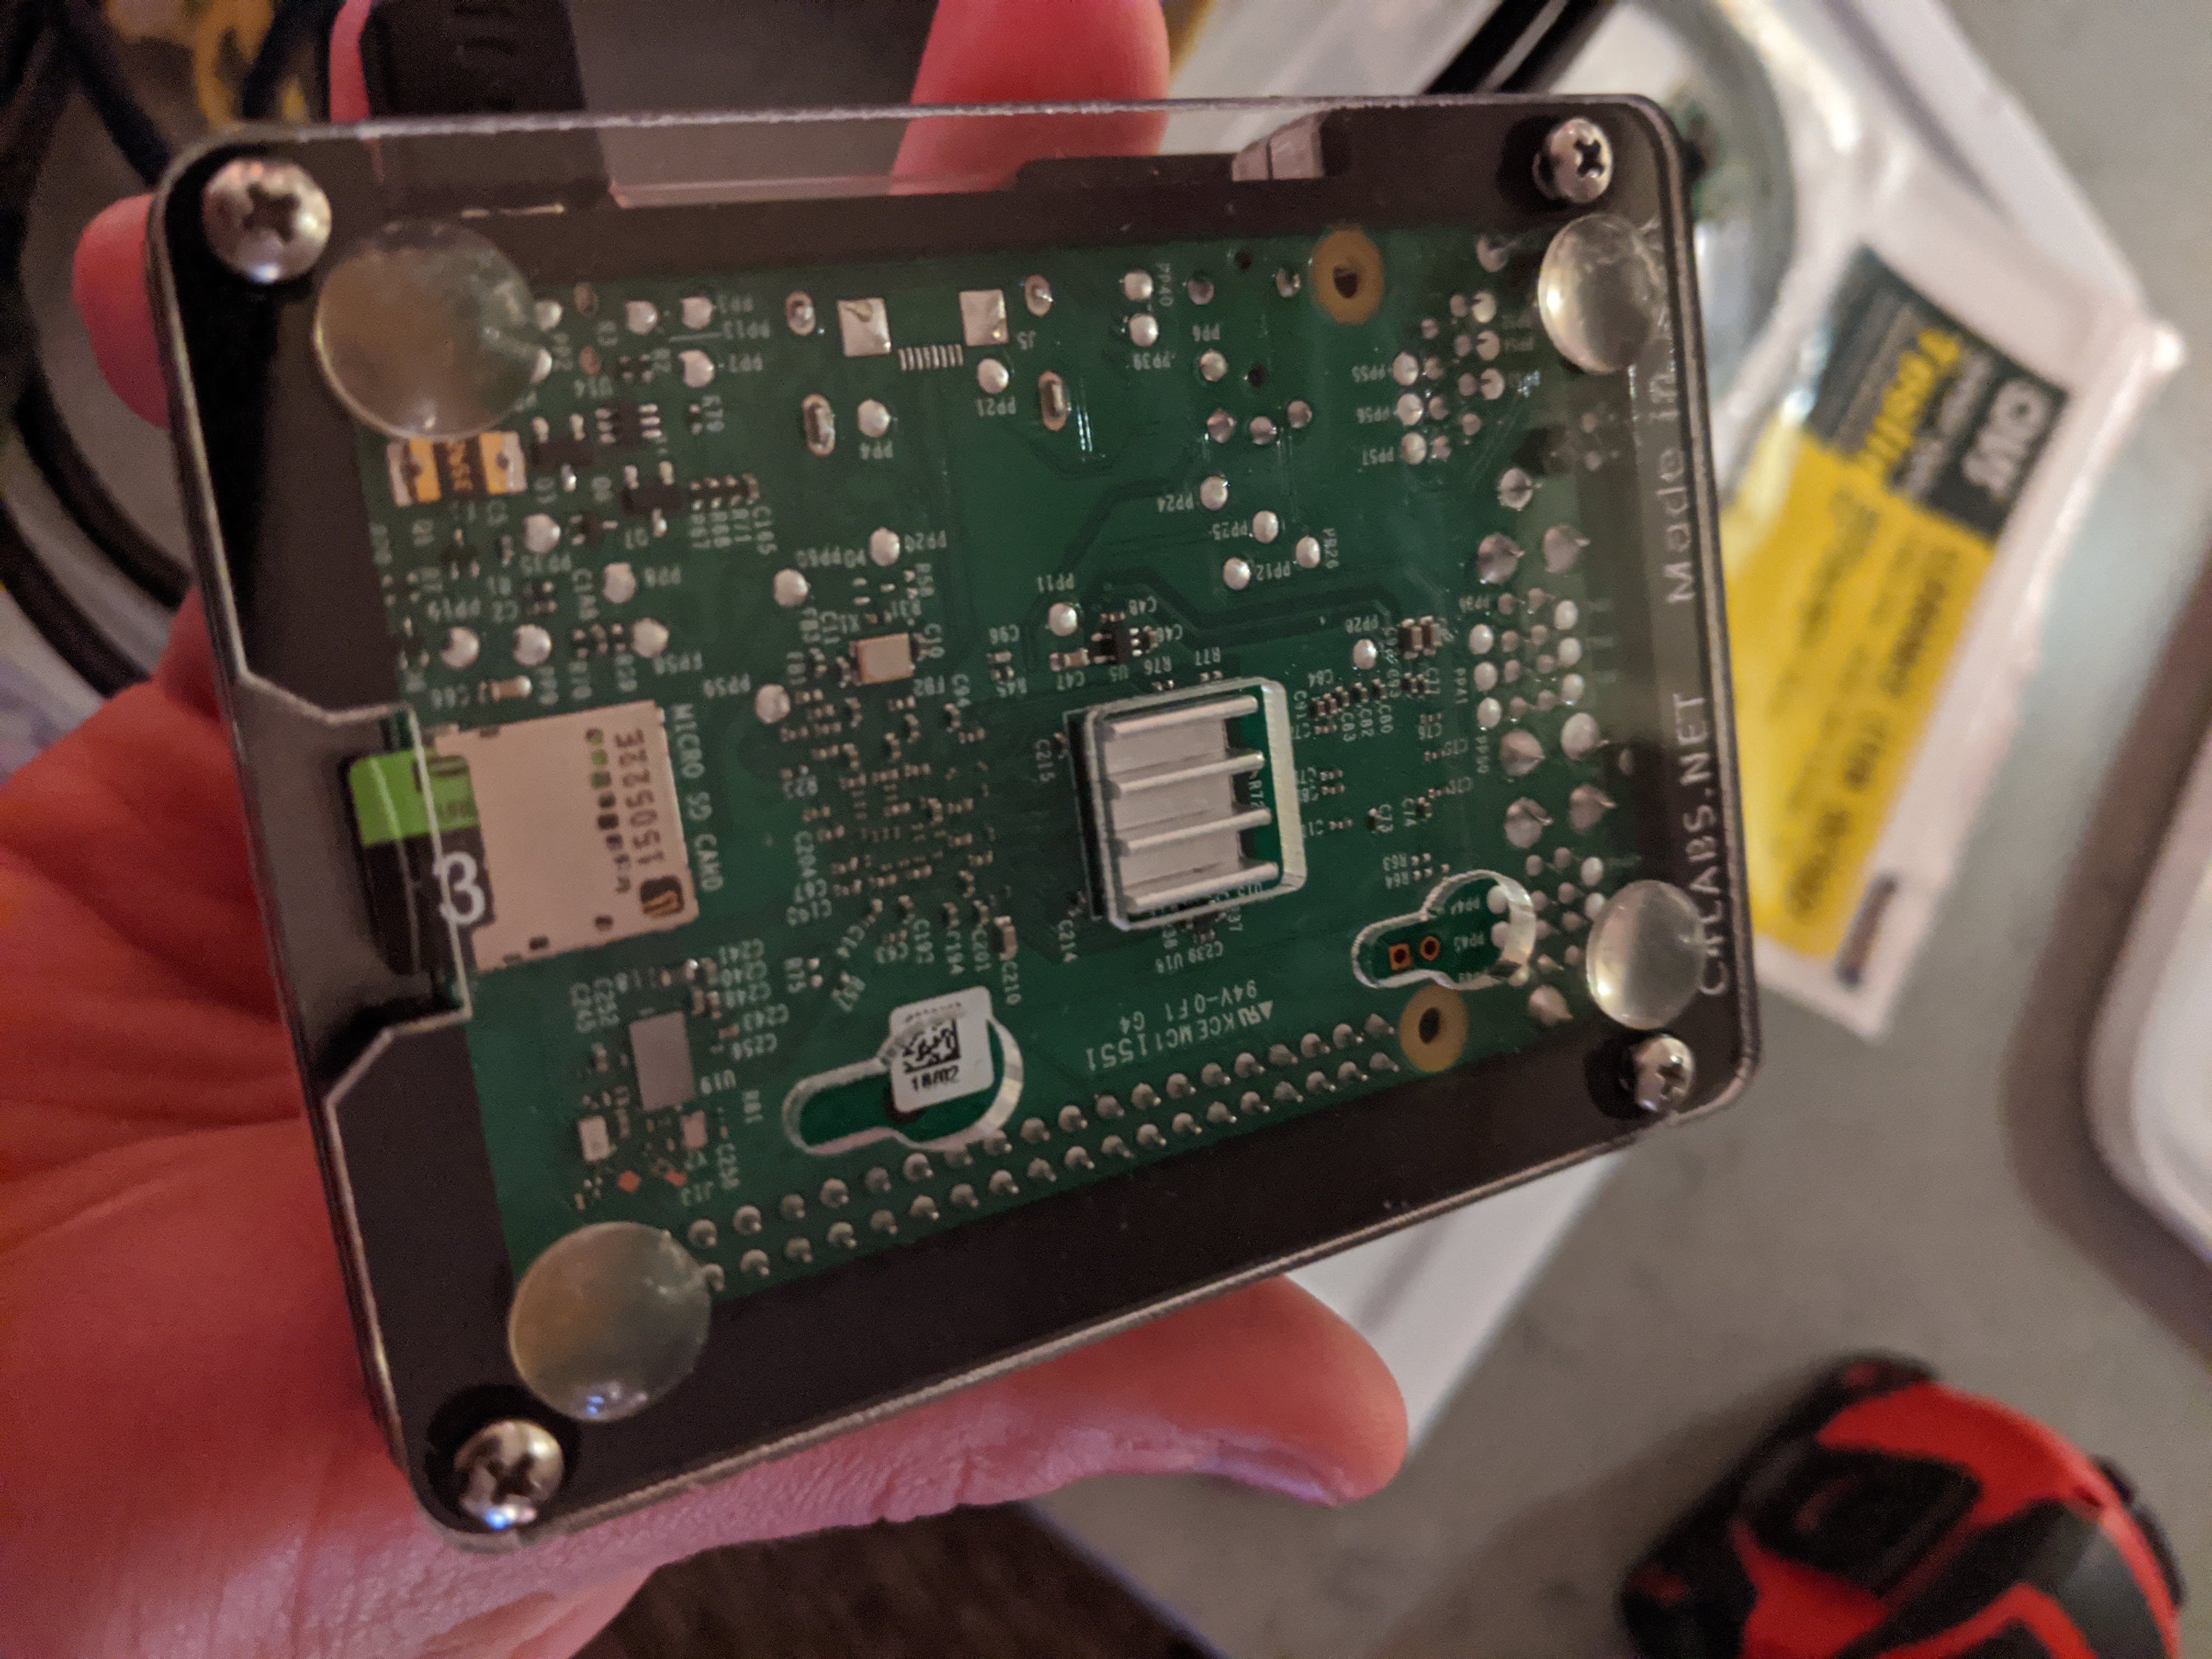
The Raspberry Pi 3B+ works the best, as it is Bluetooth and Wifi capable, has all necessary ports, as well as the processing power to run these games efficiently at good framerates. On top of this, the emulator-- A system designed to mimic other devices as close to reality as possible-- was designed and updated with a Pi 3B+ in mind. (Skip this step if you aren't using a case). We will get to the software later, for now just assemble the Pi, add heatsinks, and on top of that a case if you want one. Personally, I went with the Vilros retro gaming case as it simply fits with the project and only cost 15 dollars. The photo is a bit misleading but I wanted to show where to put the heatsink on the system. If you use a case with a fan such as the Vilros, you'll be needing to power the fan as well by plugging it into the GPIO, the row of pegs down the side of the Pi. They moved in ascending order, you'll need to use position 1/2 for the first peg and 14 for the second, peg 1 makes the fan run slower and quieter, while peg 2 is for "performance mode" and runs at higher RPM. Once you have the case assembled and power ready, you may move onto the next step.
Booting Up and Setting Up RetroPie
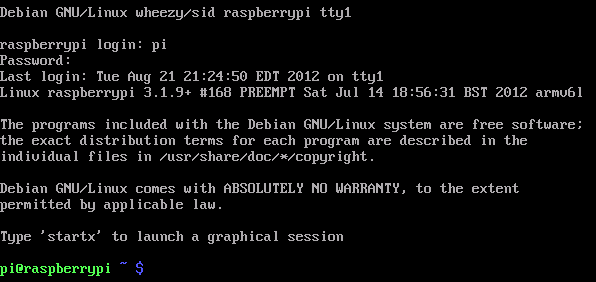
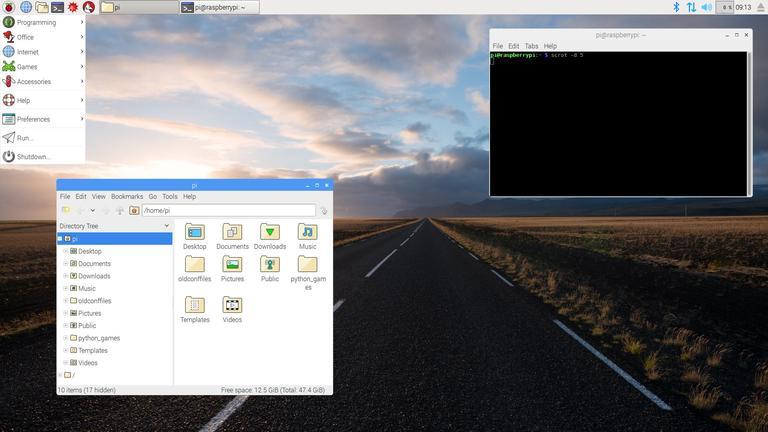
Once plugged into the power supply, you'll need a USB keyboard and a mouse to plug into the Pi and run the command prompt. On top of this, you'll need to insert the MicroSD so the Pi has a dedicated spot to setup it's OS and Retropie. You will set up the basic Pi Operating System, I recommend full install instead of basic so you have access to a variety of tools in the future if you wish to branch out with uses for the Pi. Once the download is complete, the command prompt will ask you if you want to start a 'graphical session' into the basic desktop browser. Type 'startx' and verify that the Pi boots up with no problems. Eject the SD card and switch back to Windows or Mac and navigate your way to an SD chip writer: If you have Windows, download Win32 Disk Imager- if you have a Mac, download ApplePi Baker. Finally, if you've already had experience with Linux, you don't need this tutorial and I doubt you'll be in need of this. Once you've downloaded a writer, navigate to retropie.org.uk and download the setup files for Retropie and write to the card. BE POSITIVE YOU WRITE ONTO THE SD CARD. I foolishly had it write to the wrong folder on my computer that was named similarly and it caused all sorts of strange problems in my desktop until I rolled back to the previous update of Windows and deleted the files. I don't have experience doing this in Apple, but the process should be fairly similar-- if necessary search Google or Youtube for a tutorial in writing to SD Cards in Apple if you're unsure. You're now ready to move onto the third step.
Emulation Station + Controller Setup

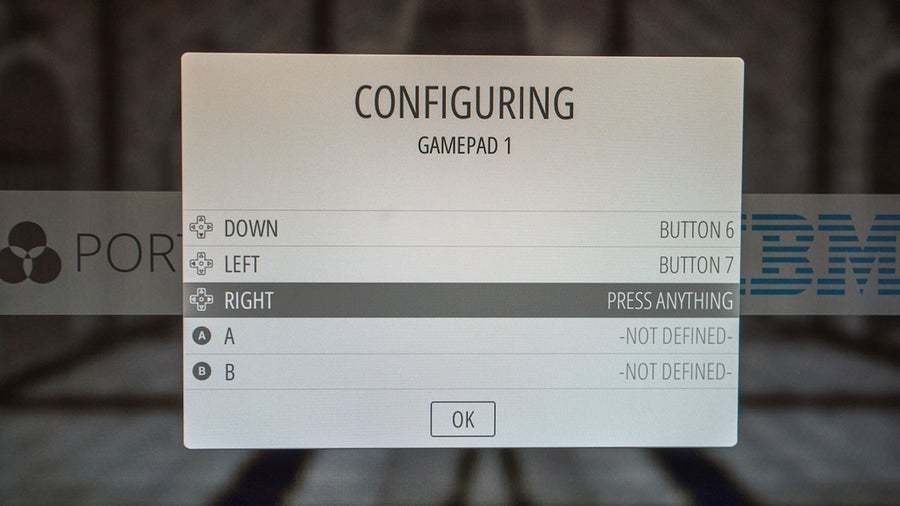
If everything is set up alright, you should see a grey screen pop up with a welcome message asking you to configure your controller. I'm assuming at this point you, the reader, have a controller, but if not I direct you to the internet and Amazon to order one-- just pick one to your liking with good reviews. NOTE: I did everything wired so I could avoid the complicated process of setting up the wireless controllers. I've read online from places like Github that setting up wireless controllers is a fair bit more complicated and takes a variety of steps that can change depending on the controller model. Follow the on-screen instructions-- holding down a button so the Pi detects your controller then going through the controls setup. Don't worry if you dislike some of your controls initially, you can always circle back to the emulation station main menu and change them in the future. Once that's done, you're ready to move on to the next step and set up the game files.
ROMs

Giant note: I didn't realize this when I started so I was not aware of this until after the fact. In the US of A, it is illegal to copy ROM files of games that you have not bought or licensed to own, so do this at your own risk. There are sites you can ethically source ROM files and purchase the games for personal use, but just proceed with this in mind as well as avoiding internet scams to download "free" games that are viruses.
To move files, you'll need to be in Windows OS in Windows File System, called "Samba" in the Linux/Raspbian world. Type the Raspberry Pi systems hostname-- default //retropie-- into the search bar. If you've changed the name of your Pi for whatever reason, just type // and the name. You'll see a large list of folders under ROMS in the folder with names like "NES" or "atarilynx". Correspond the games into the proper file locations, such as your Nintendo games going into the Nintendo files and so on. Once this is complete, start the Pi back up; Emulation Station automatically recognizes the game files as long as they are in the proper location.
Have Fun! Expand on This System.
I hope this tutorial provides a simple insight into the Raspberry Pi system and playing some great, old fashioned games to last through this crazy quarantine. On top of this, it can be a great stepping off point into learning a little more about Raspberry Pi systems and Linux related operating systems. Add more games, try new projects, and keep going!