Raspberry Pi Retro Gaming Console
by teamlighthouse in Circuits > Raspberry Pi
6867 Views, 78 Favorites, 0 Comments
Raspberry Pi Retro Gaming Console
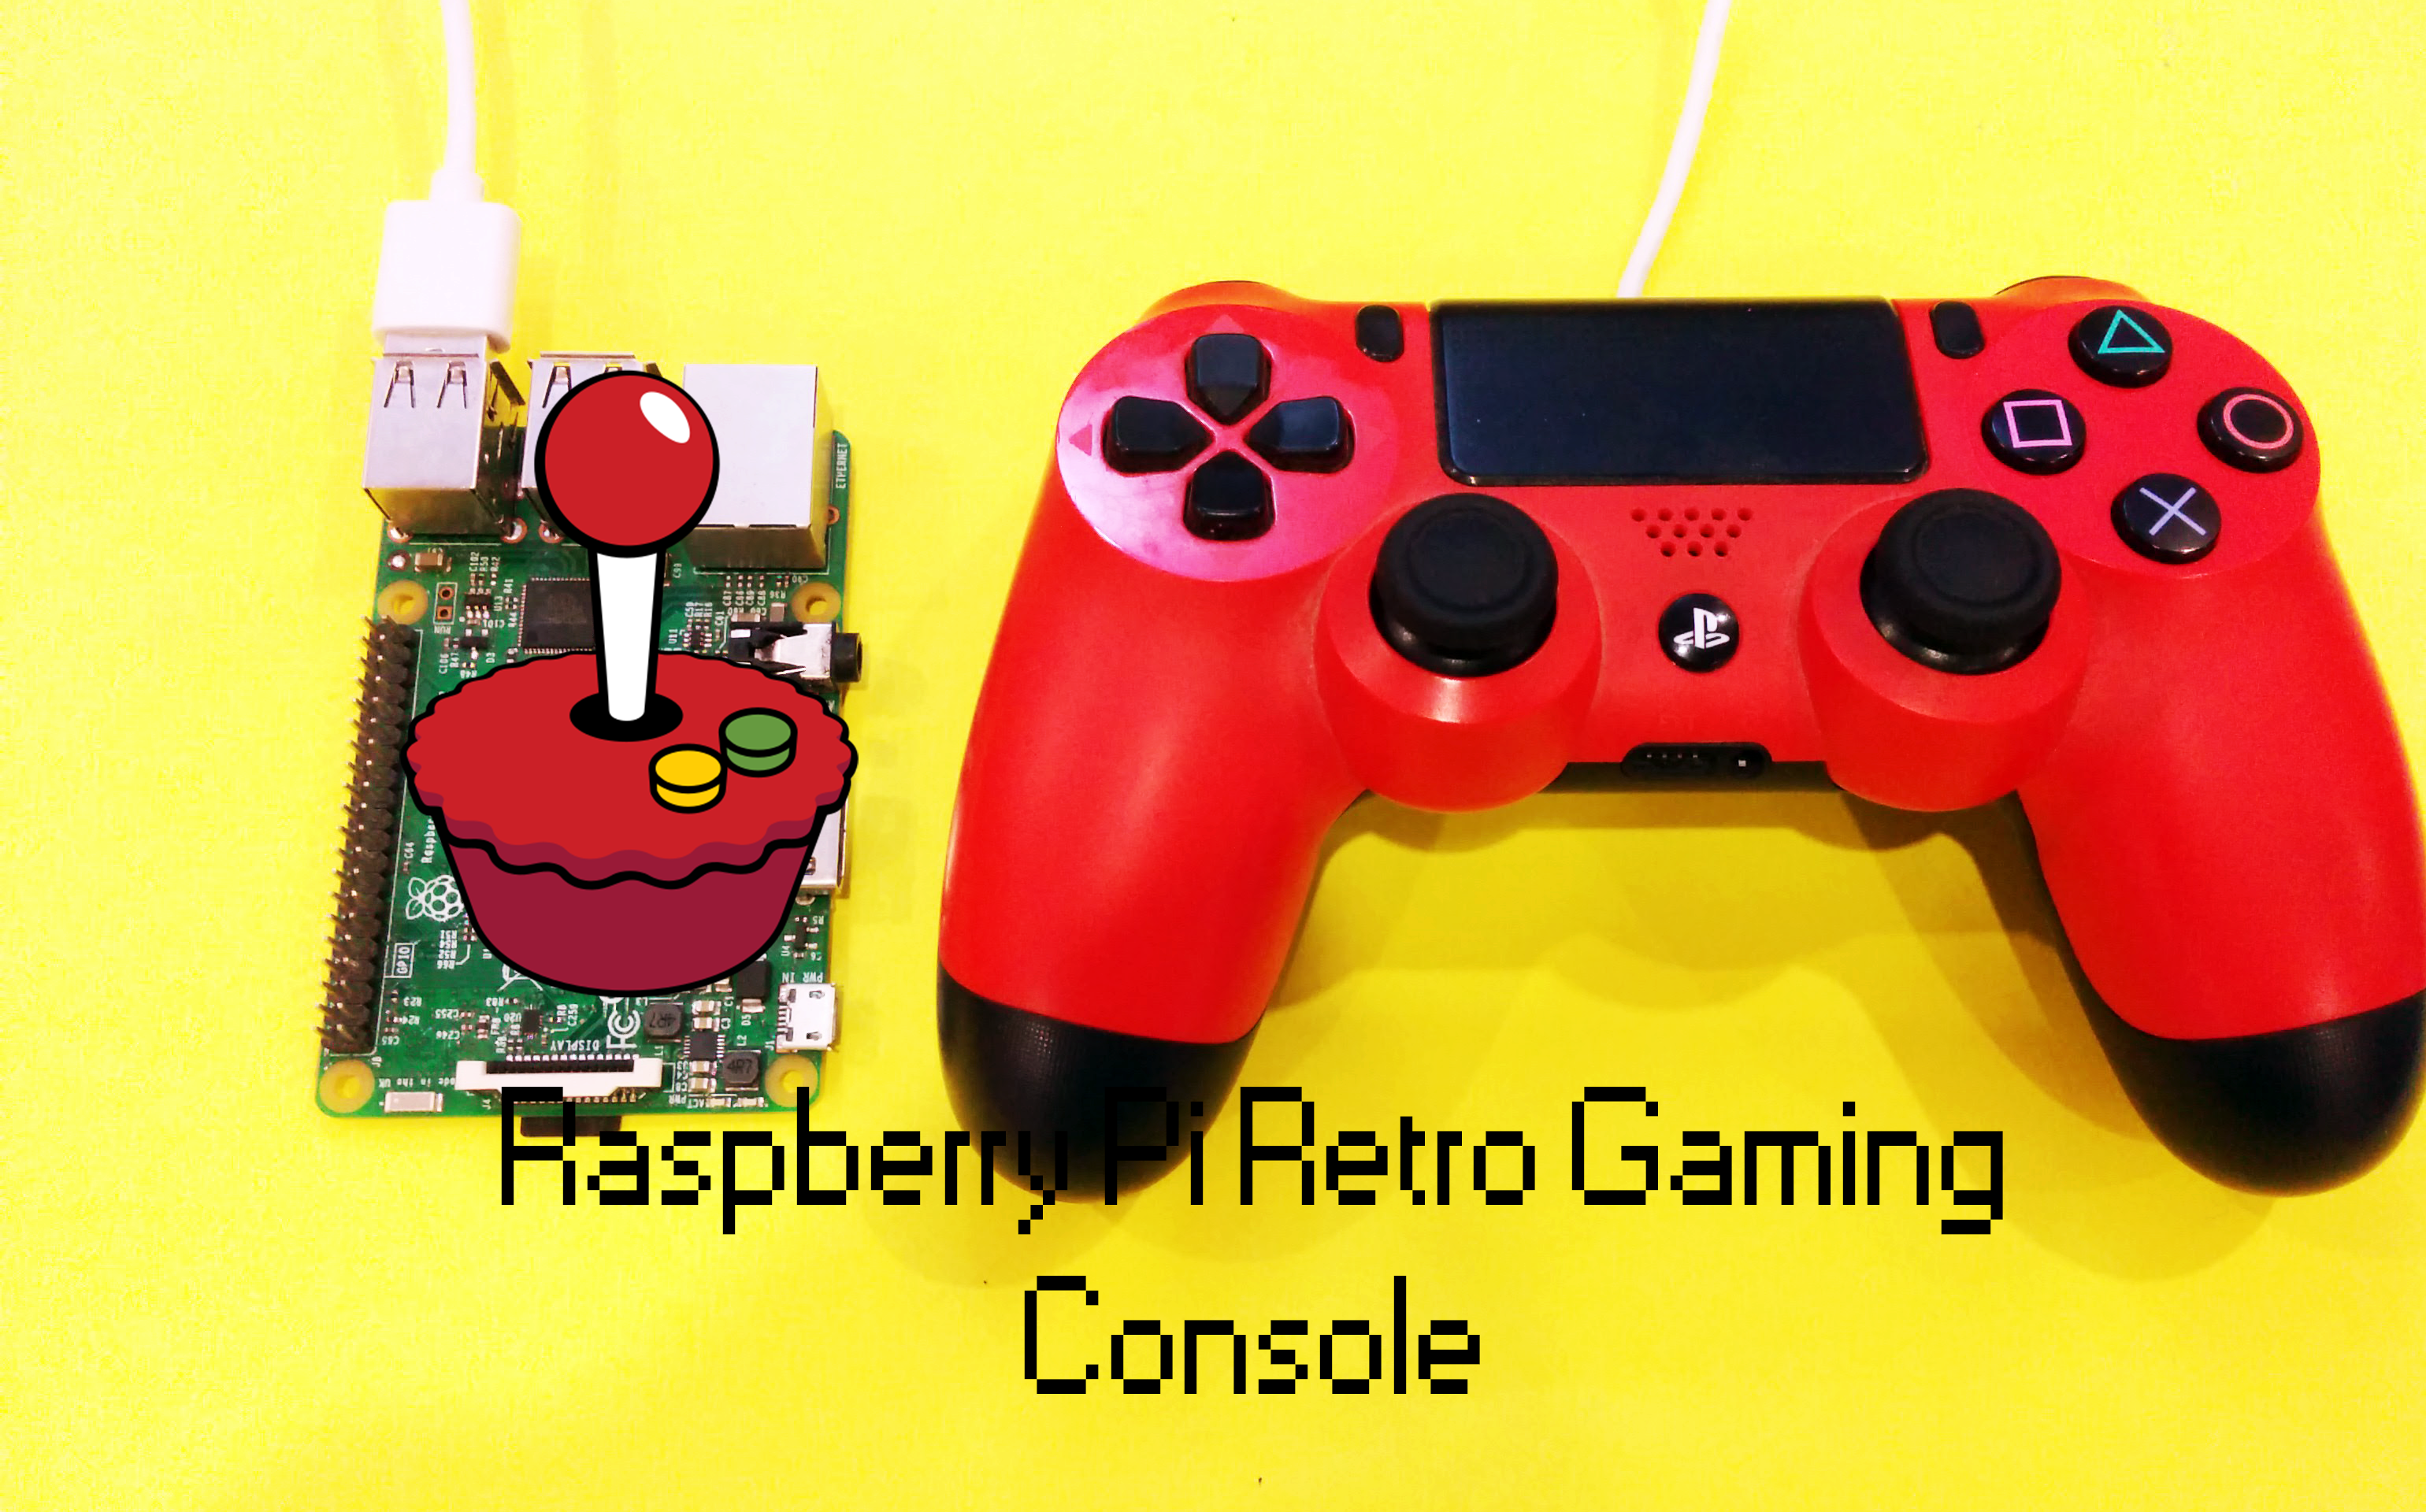
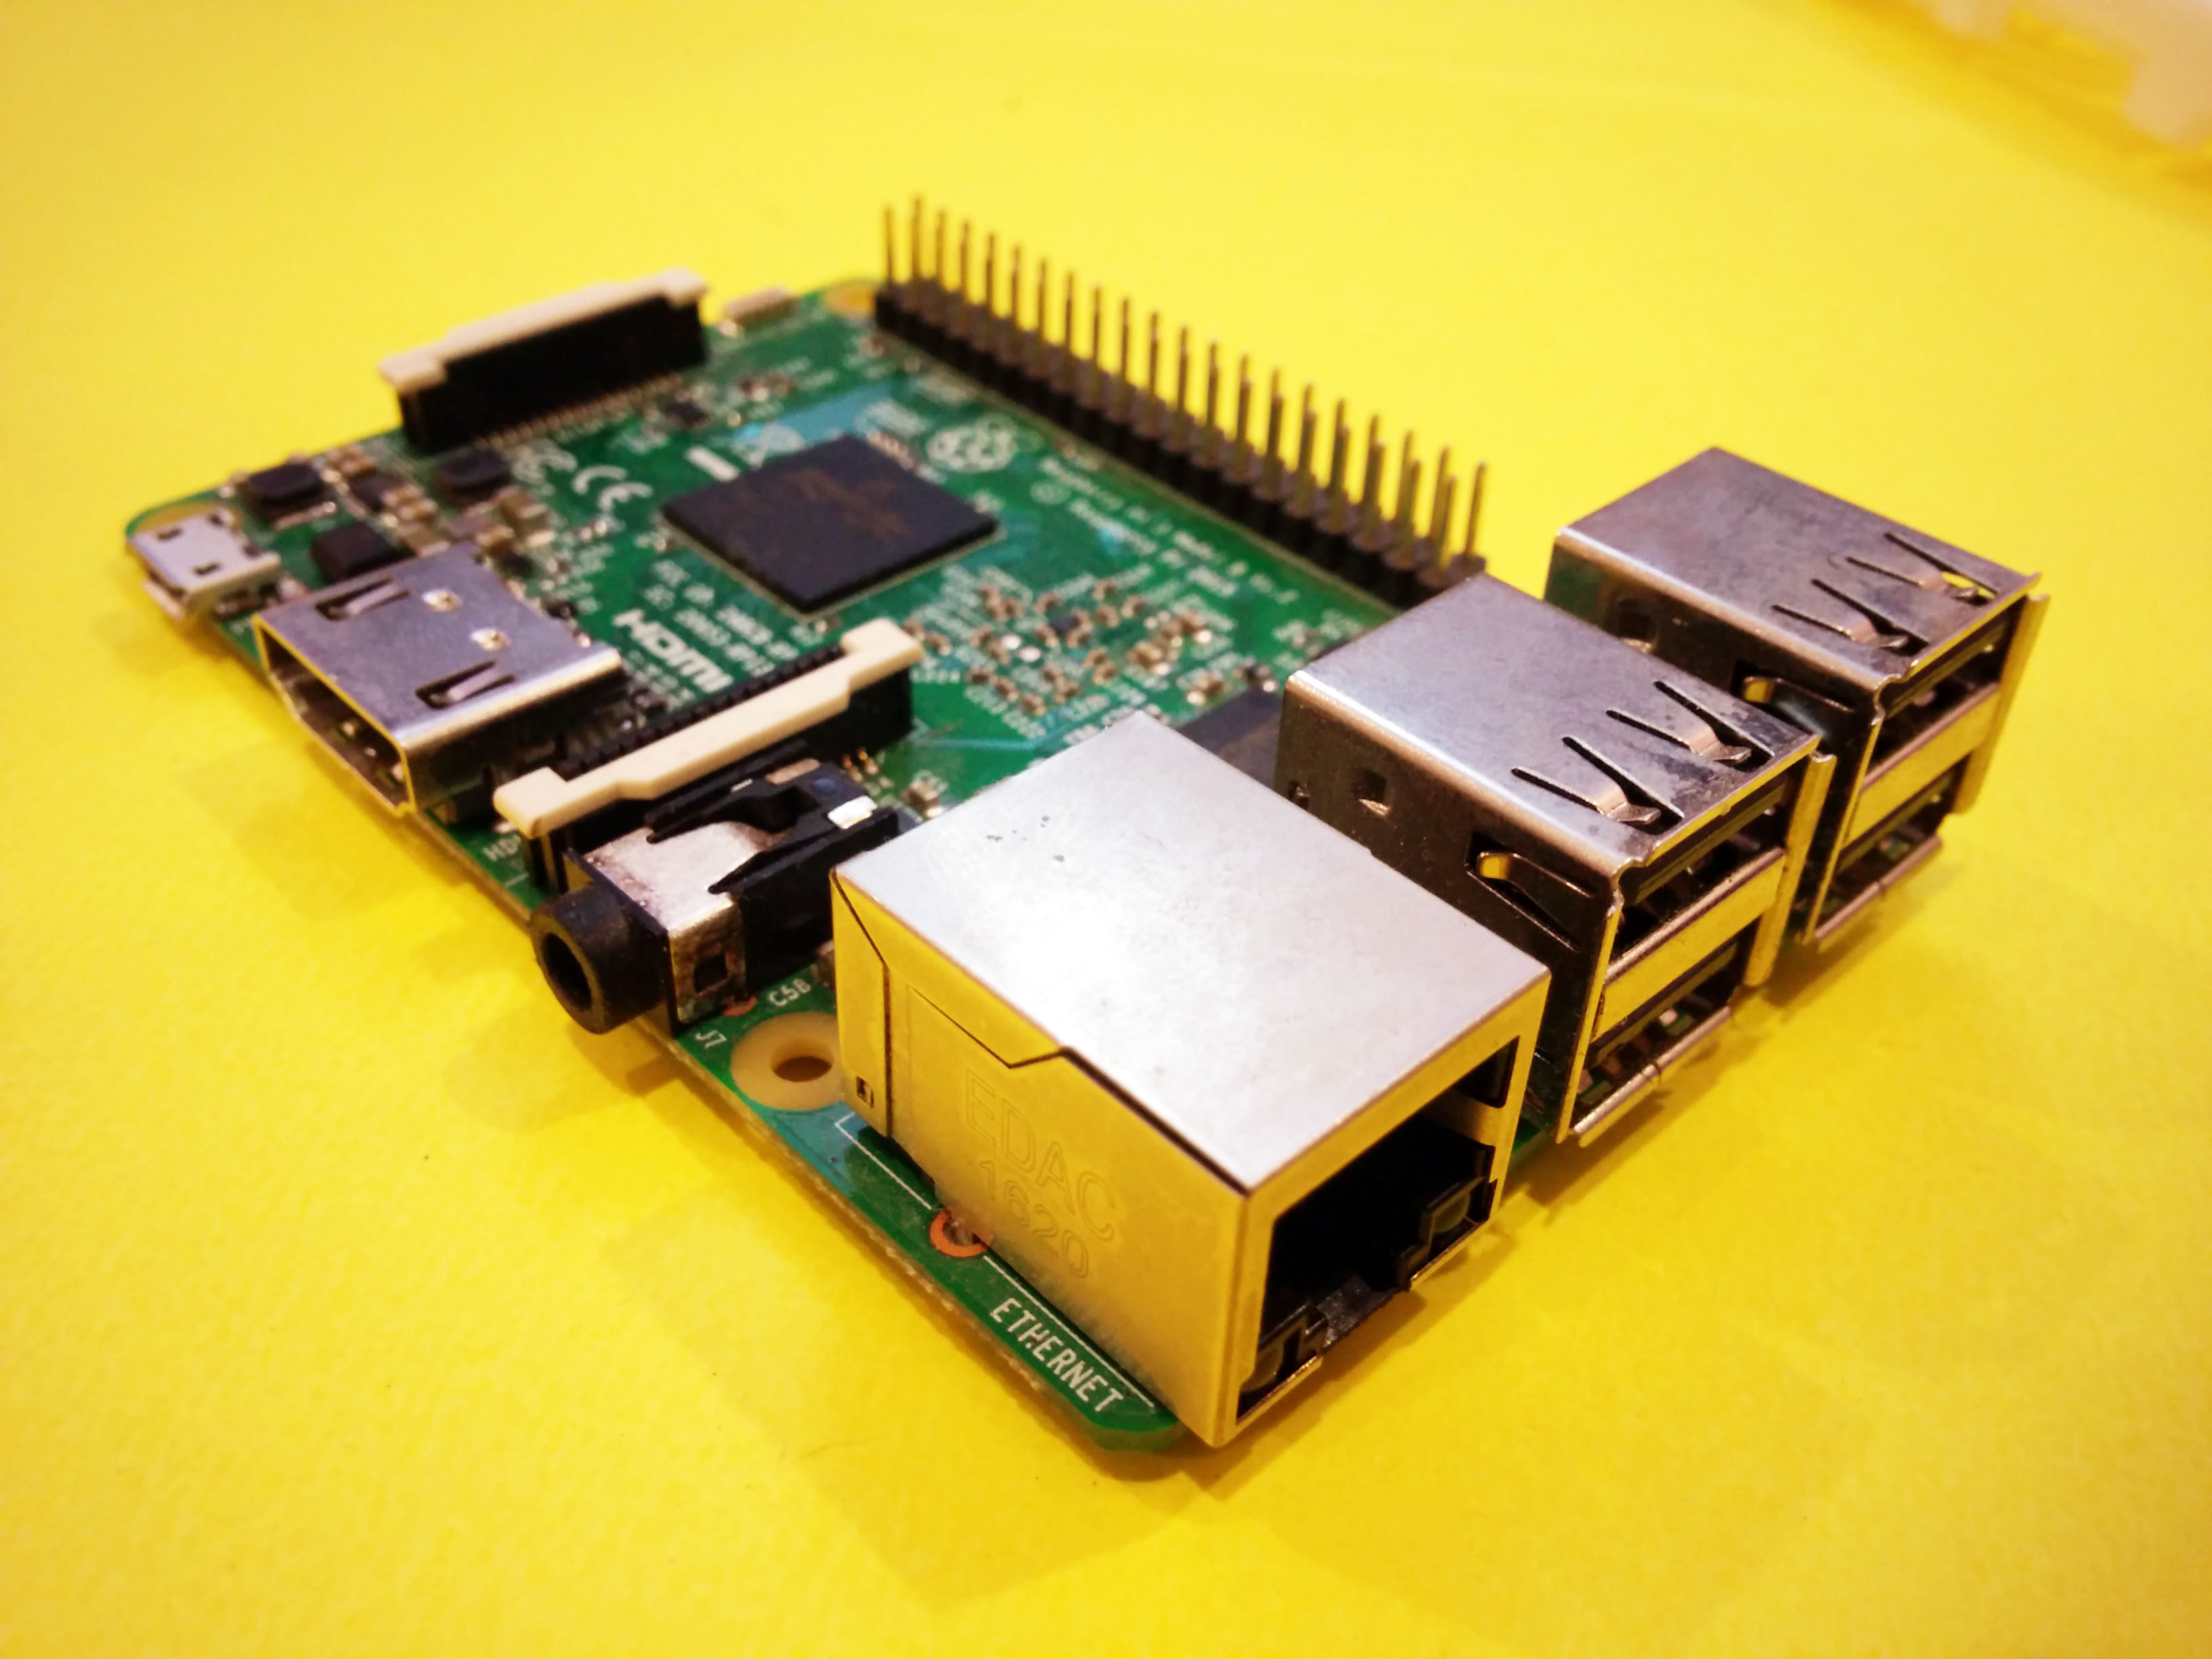
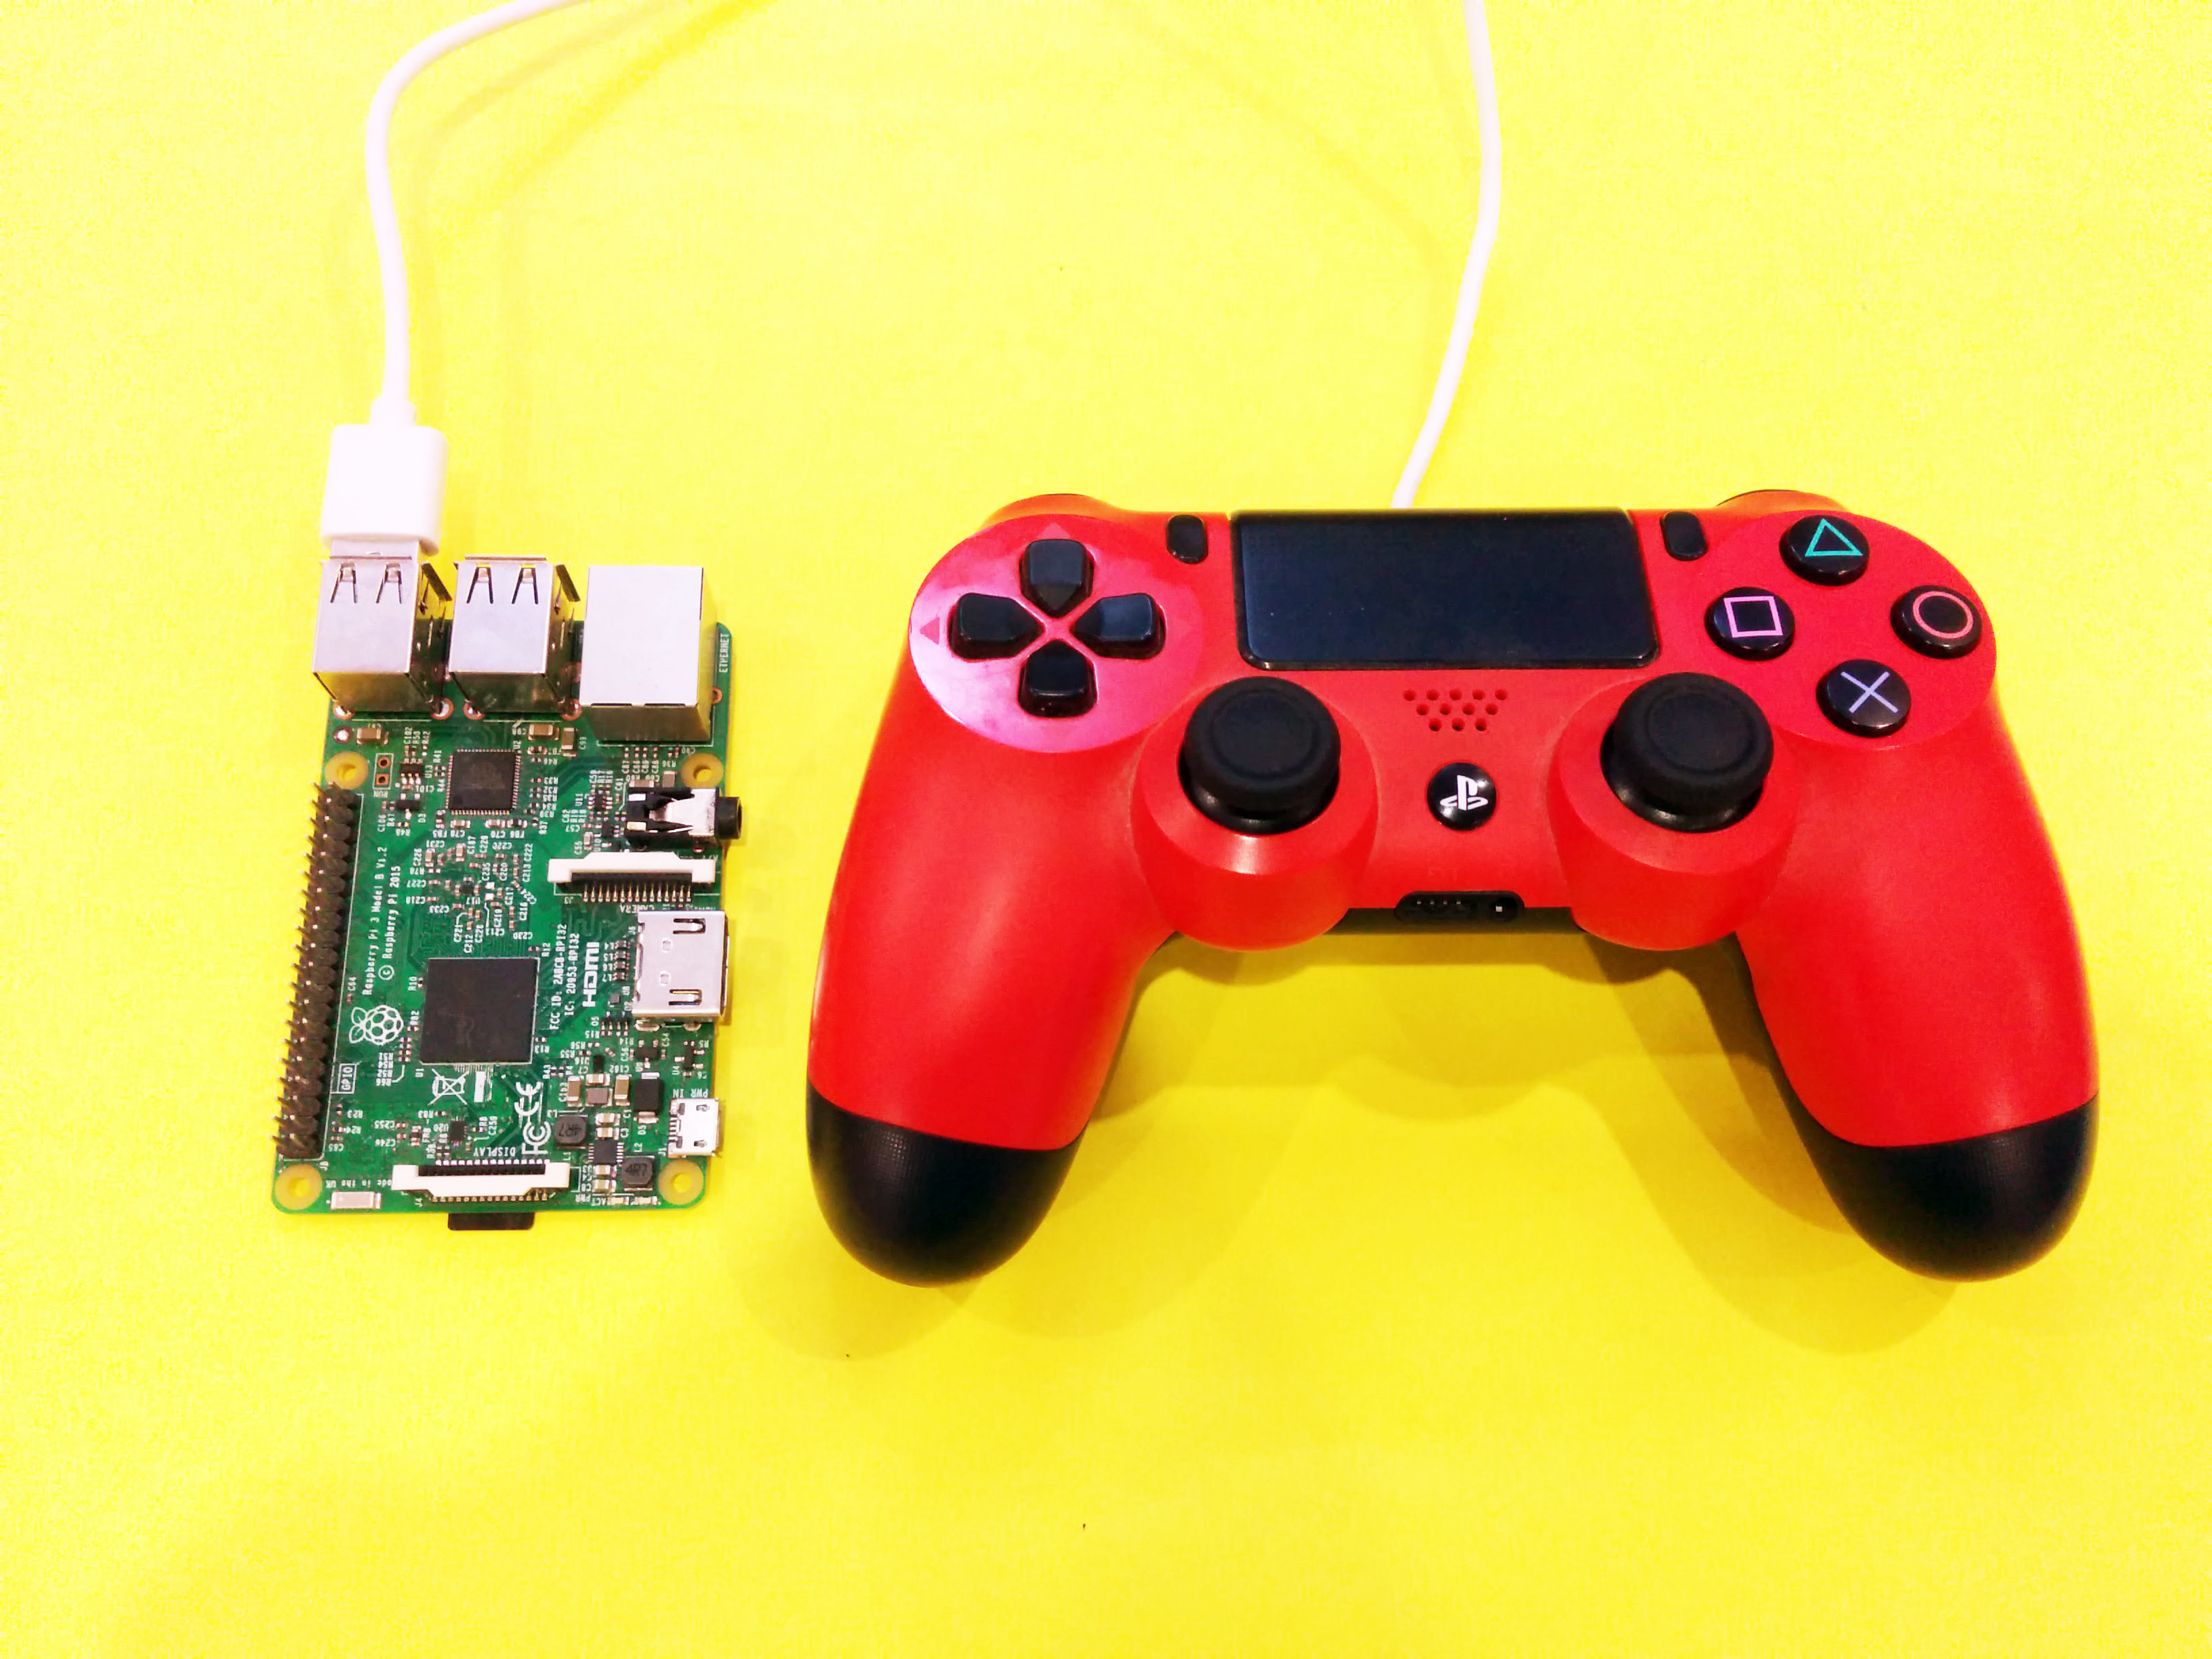
The Raspberry Pi is a cool piece of hardware to get started with both hardware and software, with a wide range of projects. I always love PC Games and ever since I was a kid, I used to play games, as the games evolved into more and more graphics intensive and started to depend on the GPU for performance it is still nice to play old school retro games and the fun part is you do not need a PC to play the games you could do it on a Raspberry Pi.
In this instructable I'm going to show you how to build a Raspberry Pi retro gaming console, which is capable of emulating thousands of old school games from different gaming consoles, like the GBA, Atari, etc. RetroPie also comes with a popular media center KODI which can be easily installed by executing the built in scripts.
So lets get started...
Tools and Components
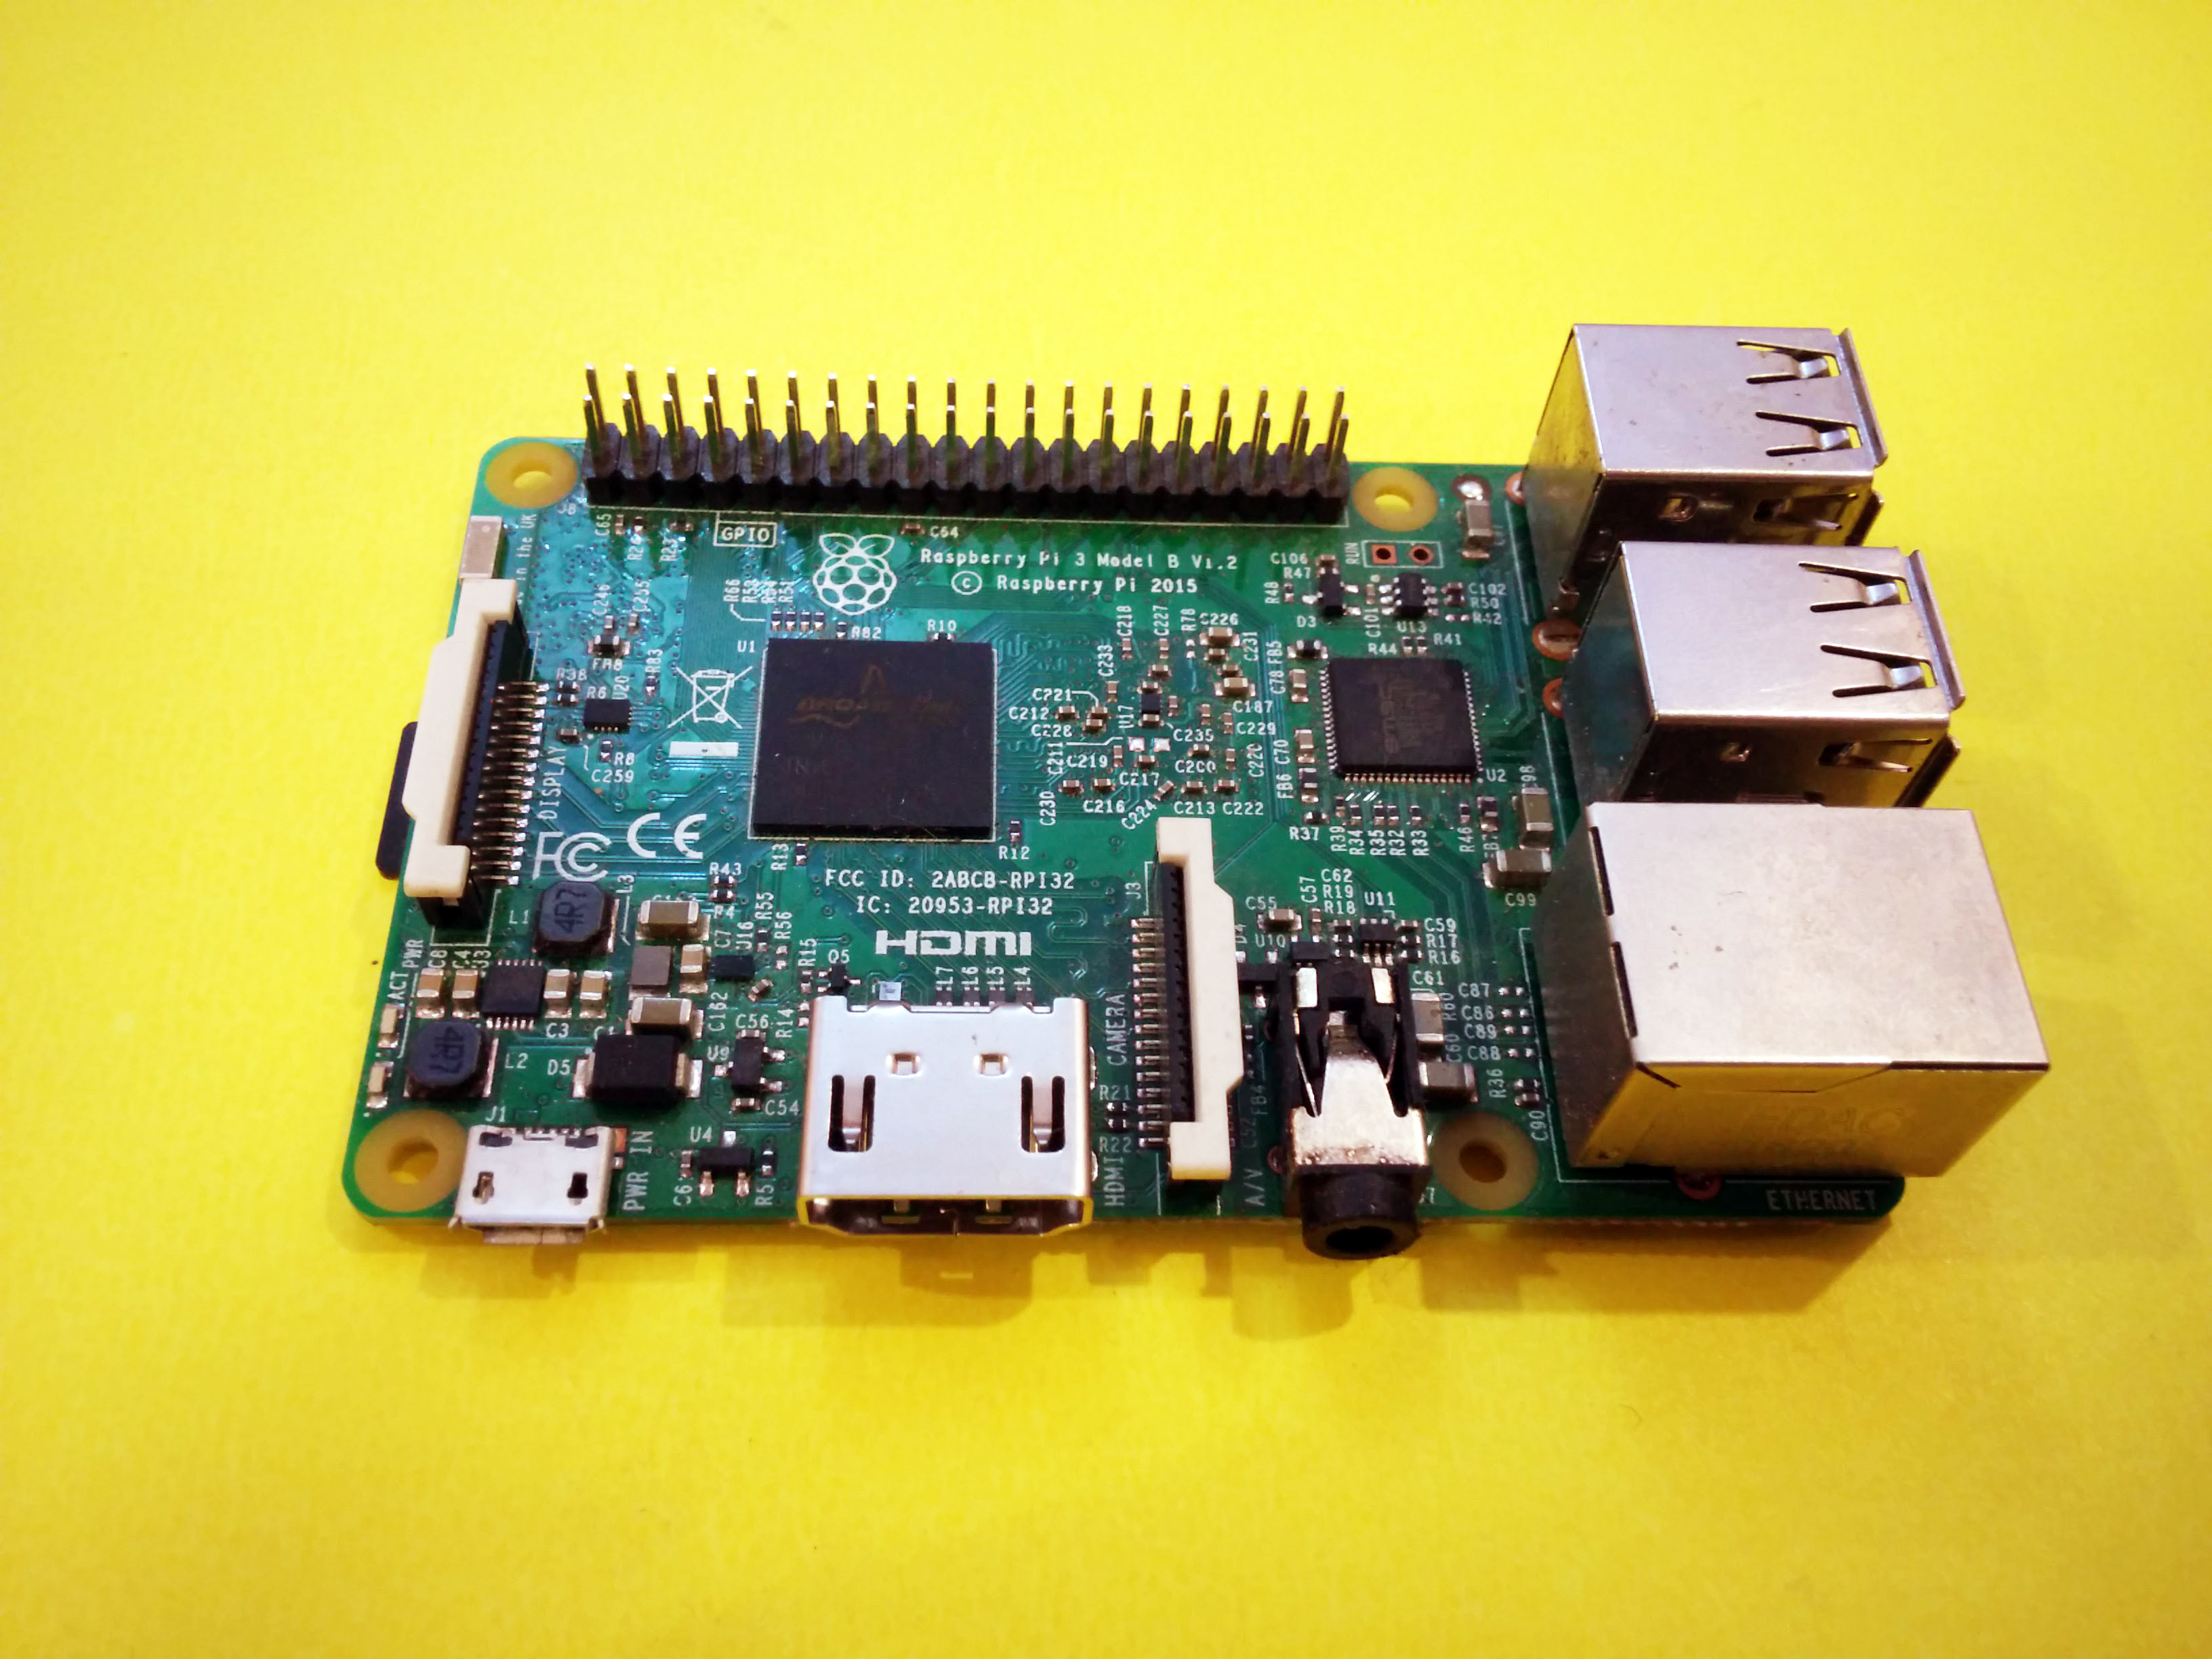
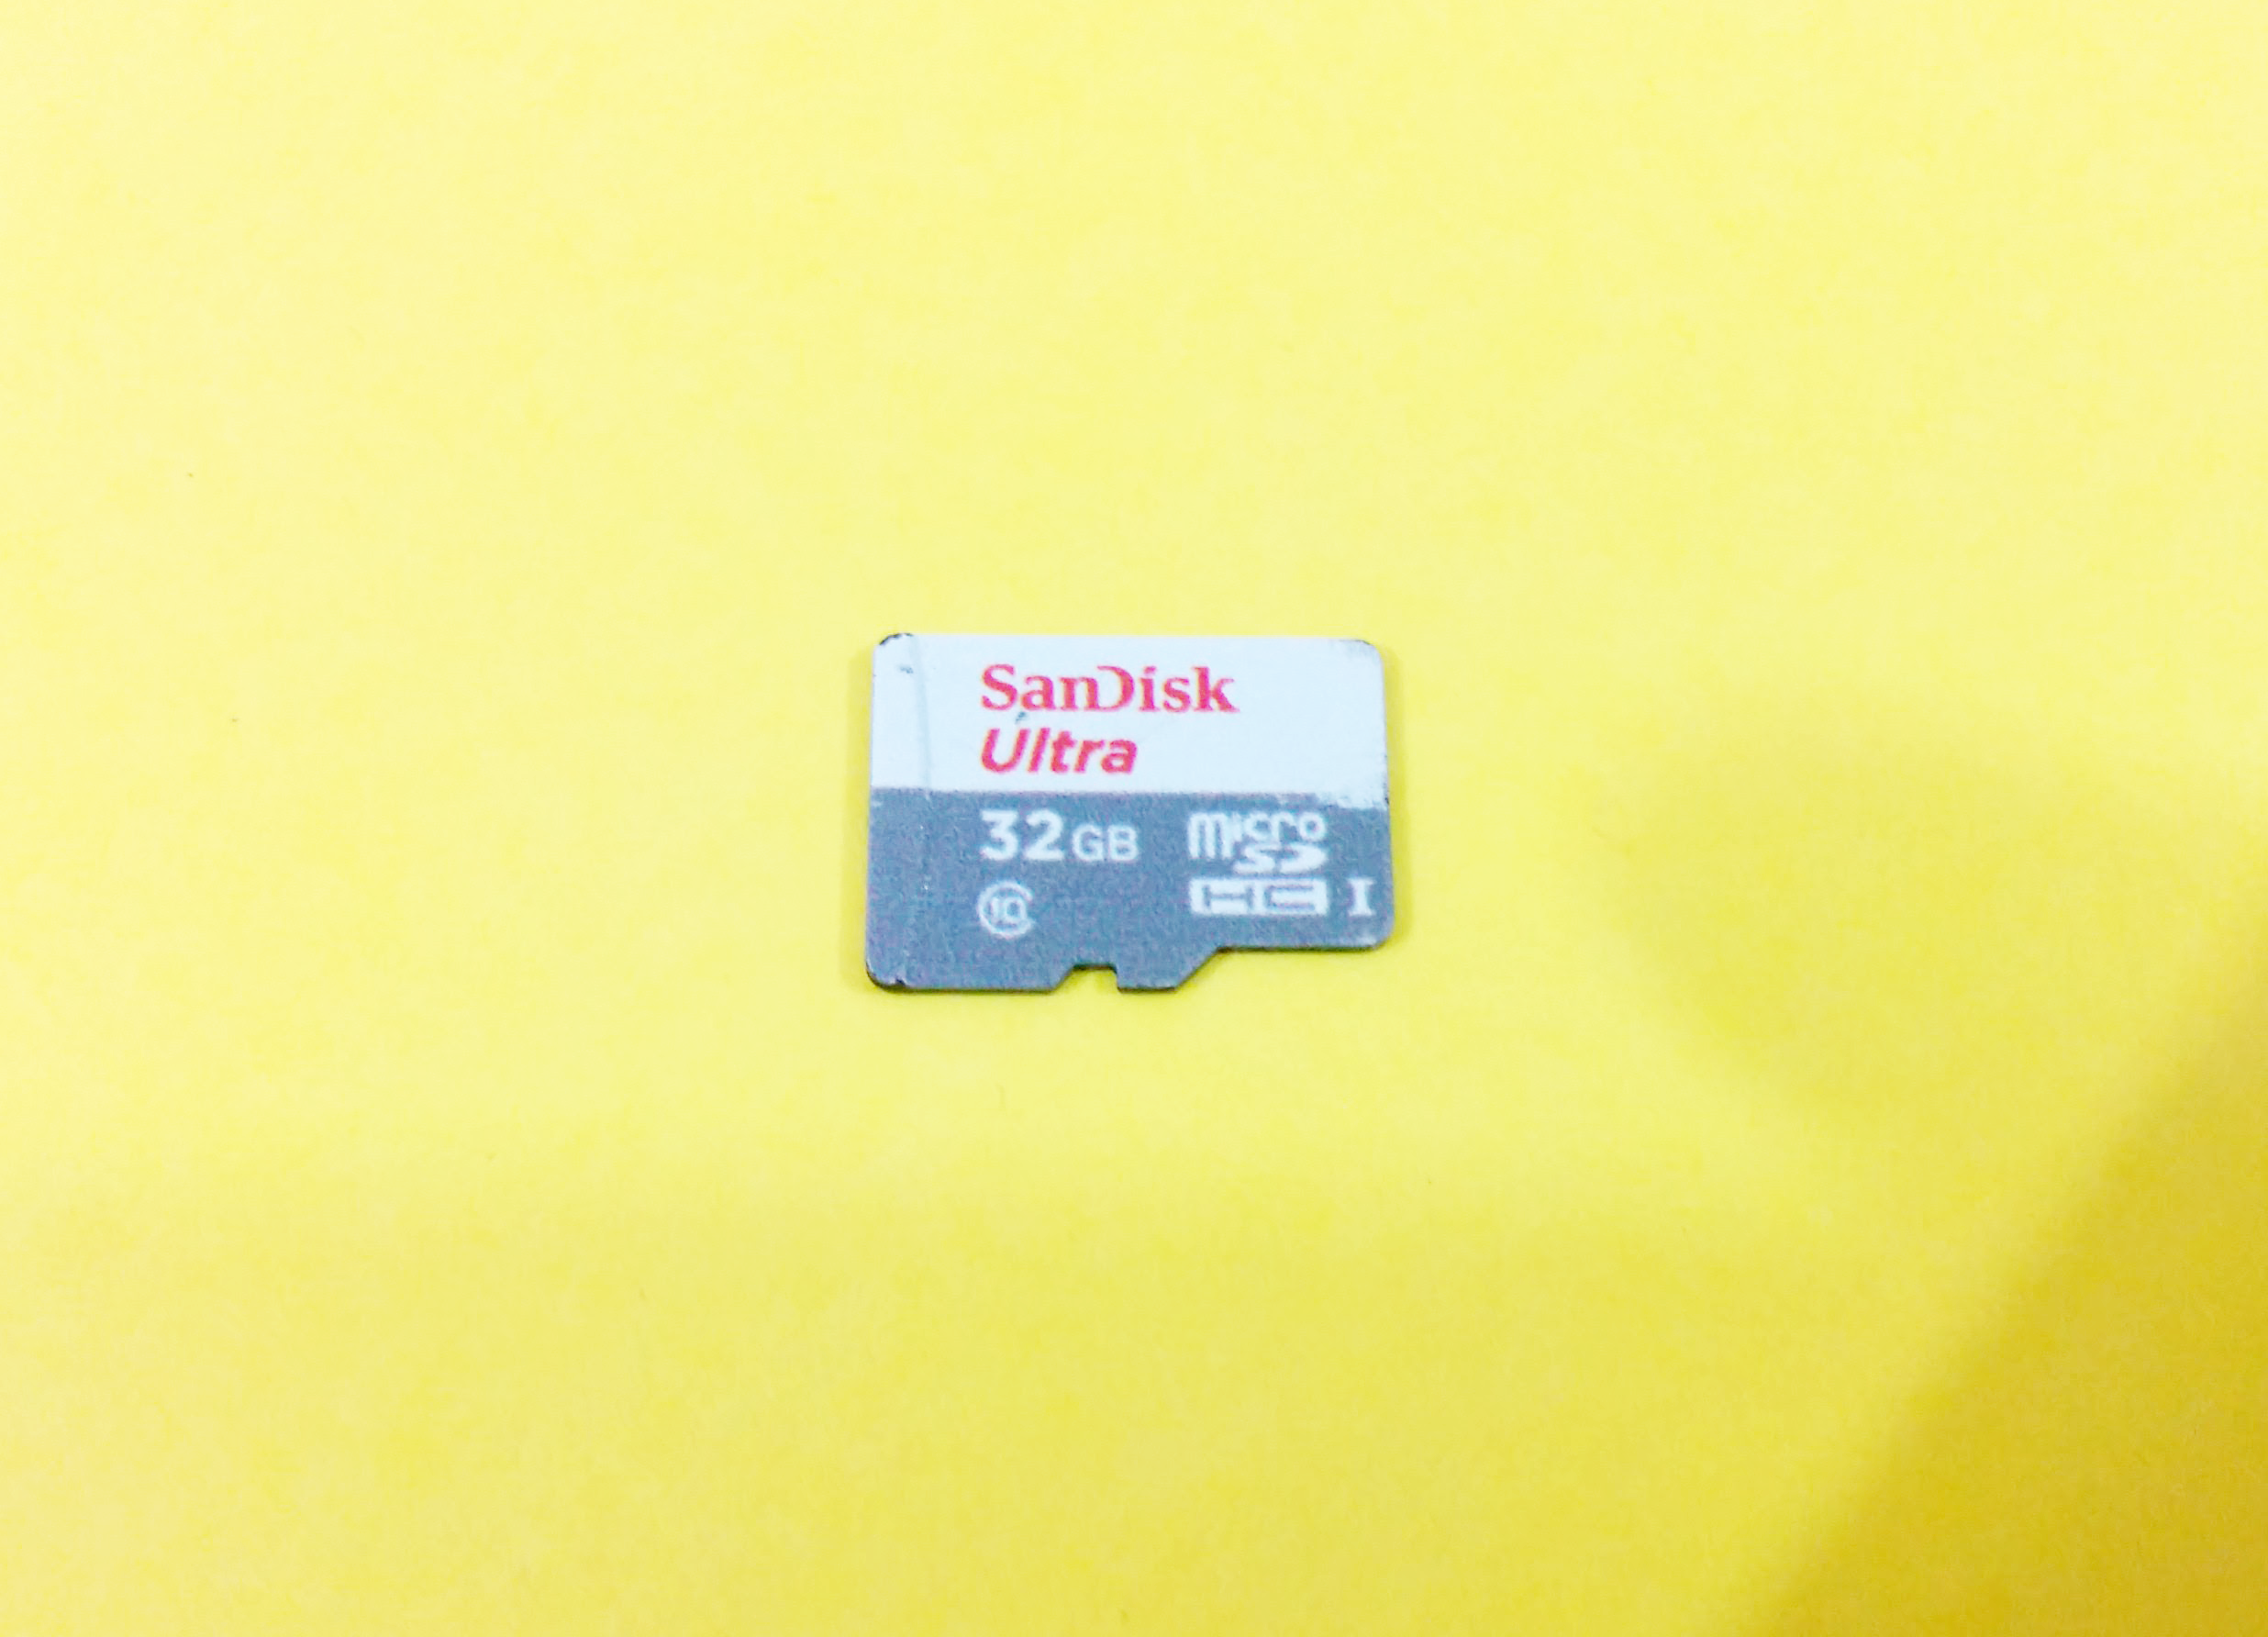
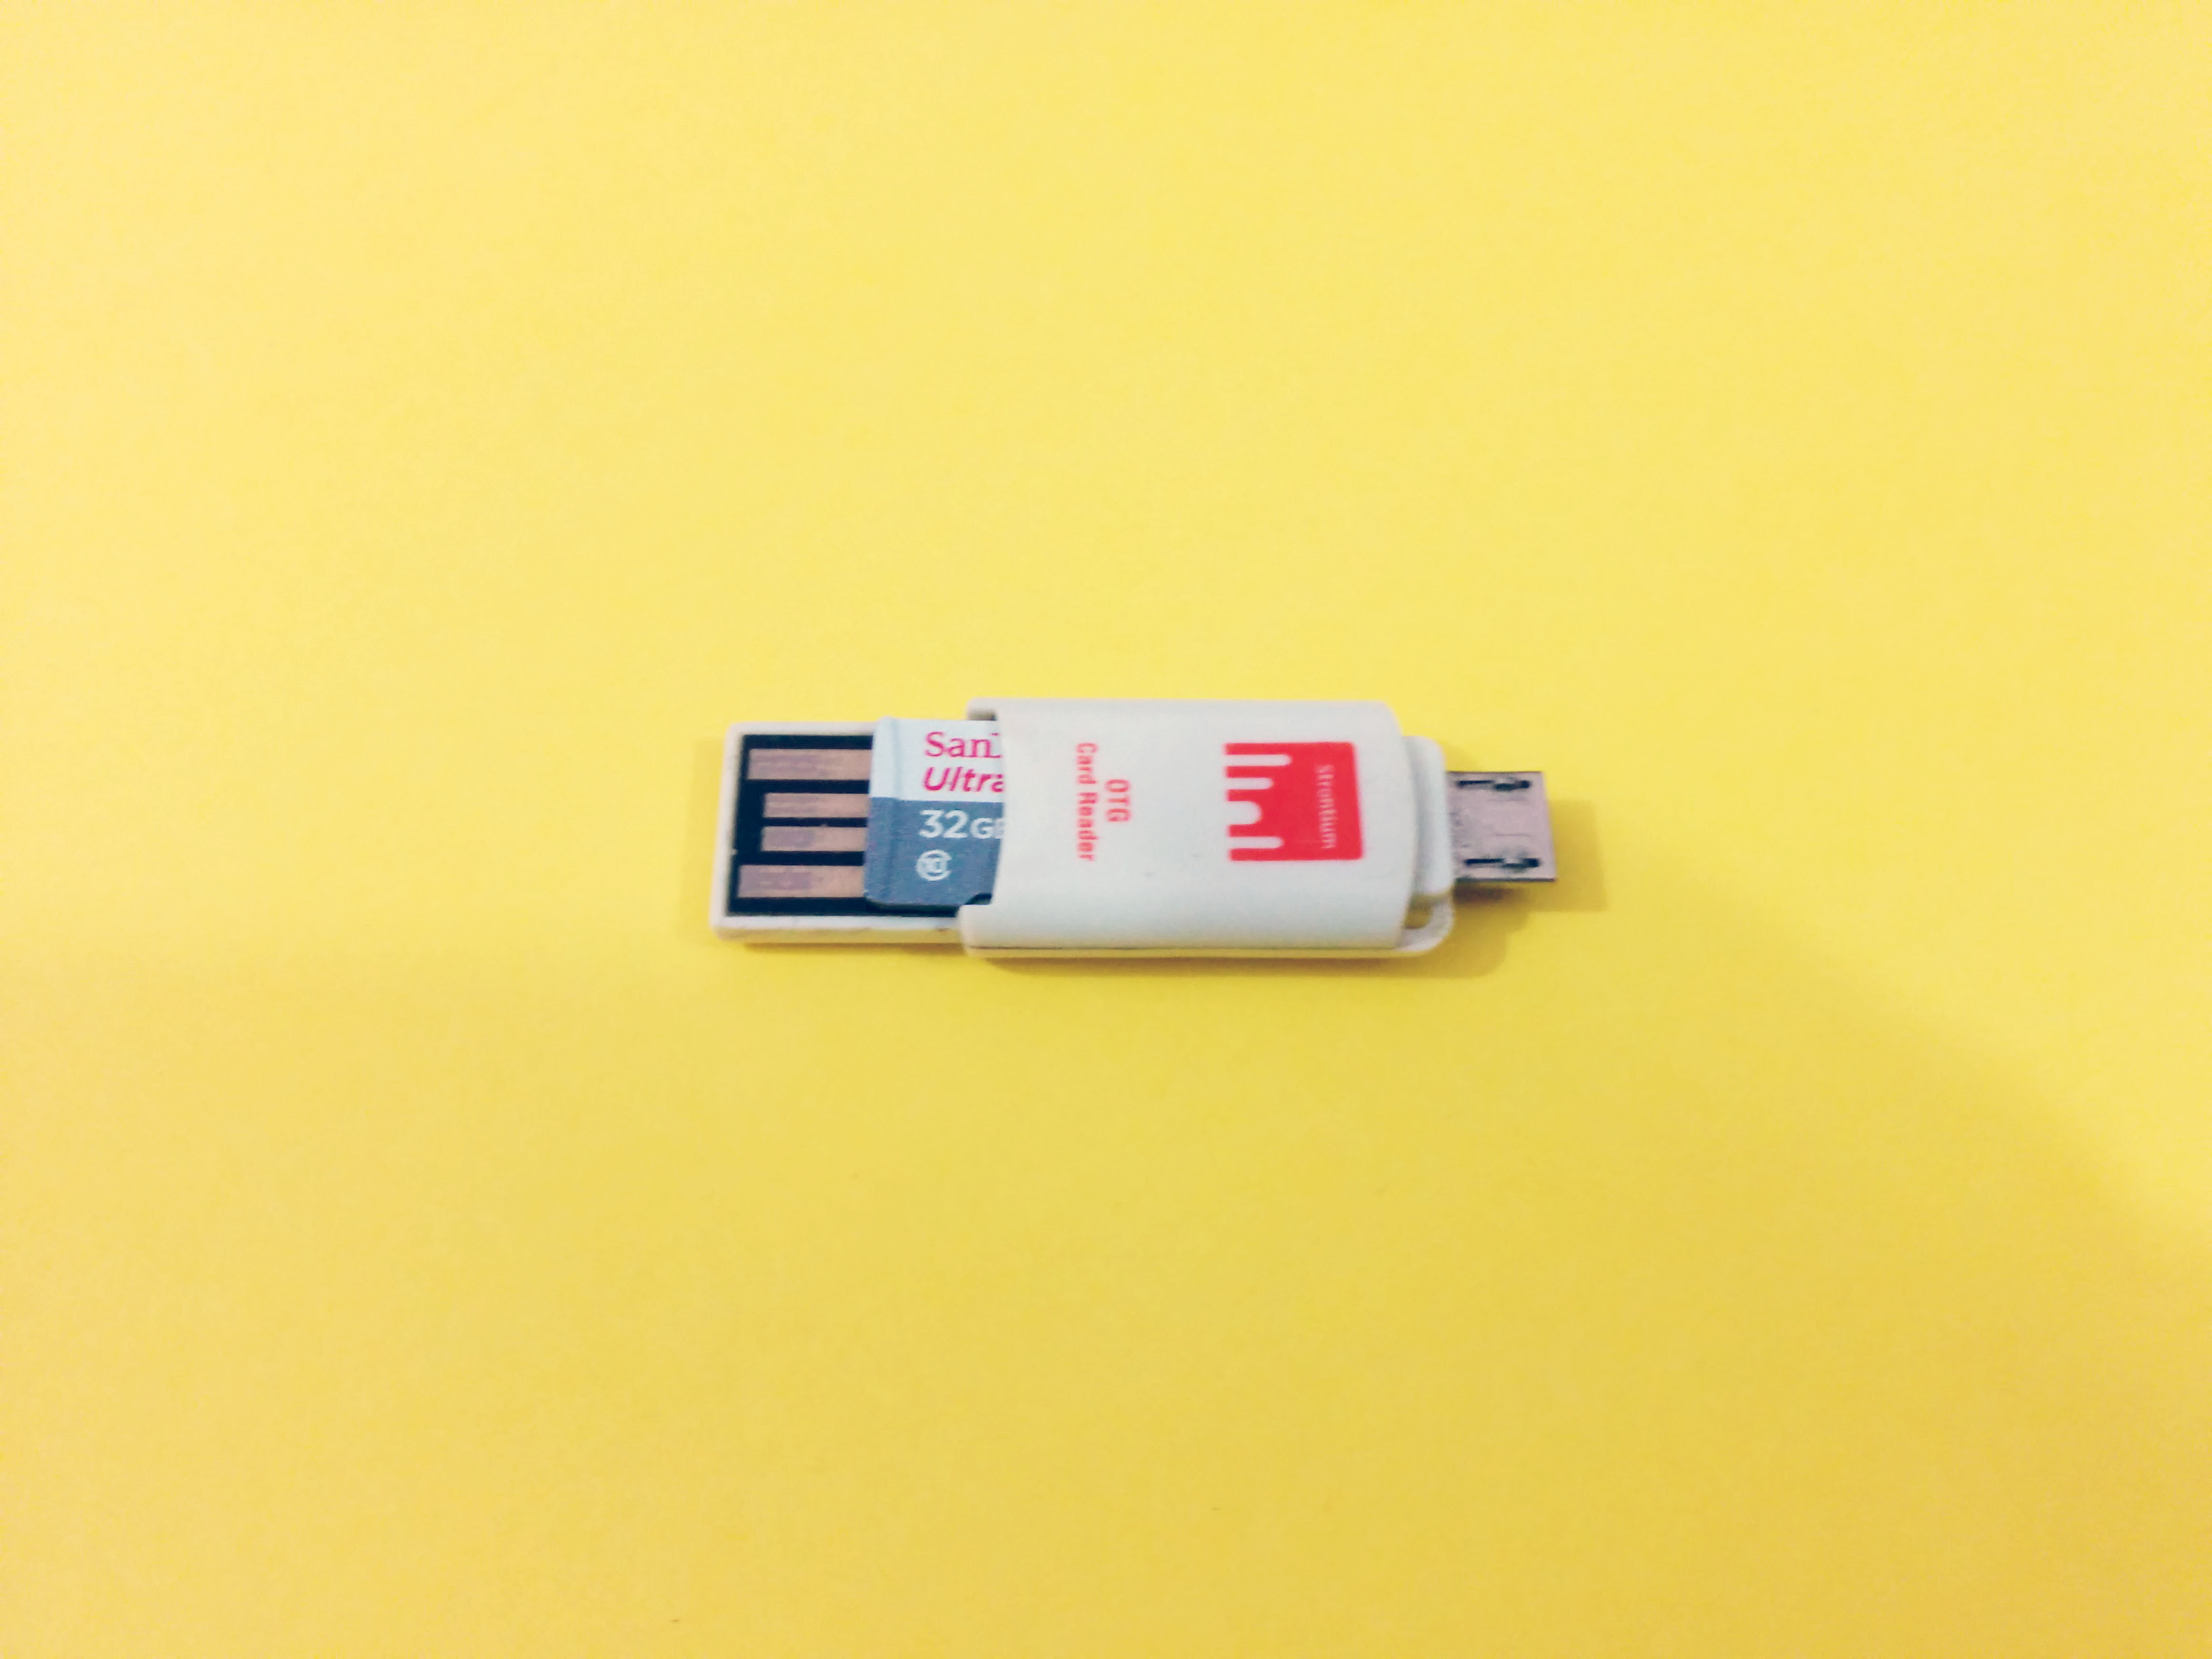
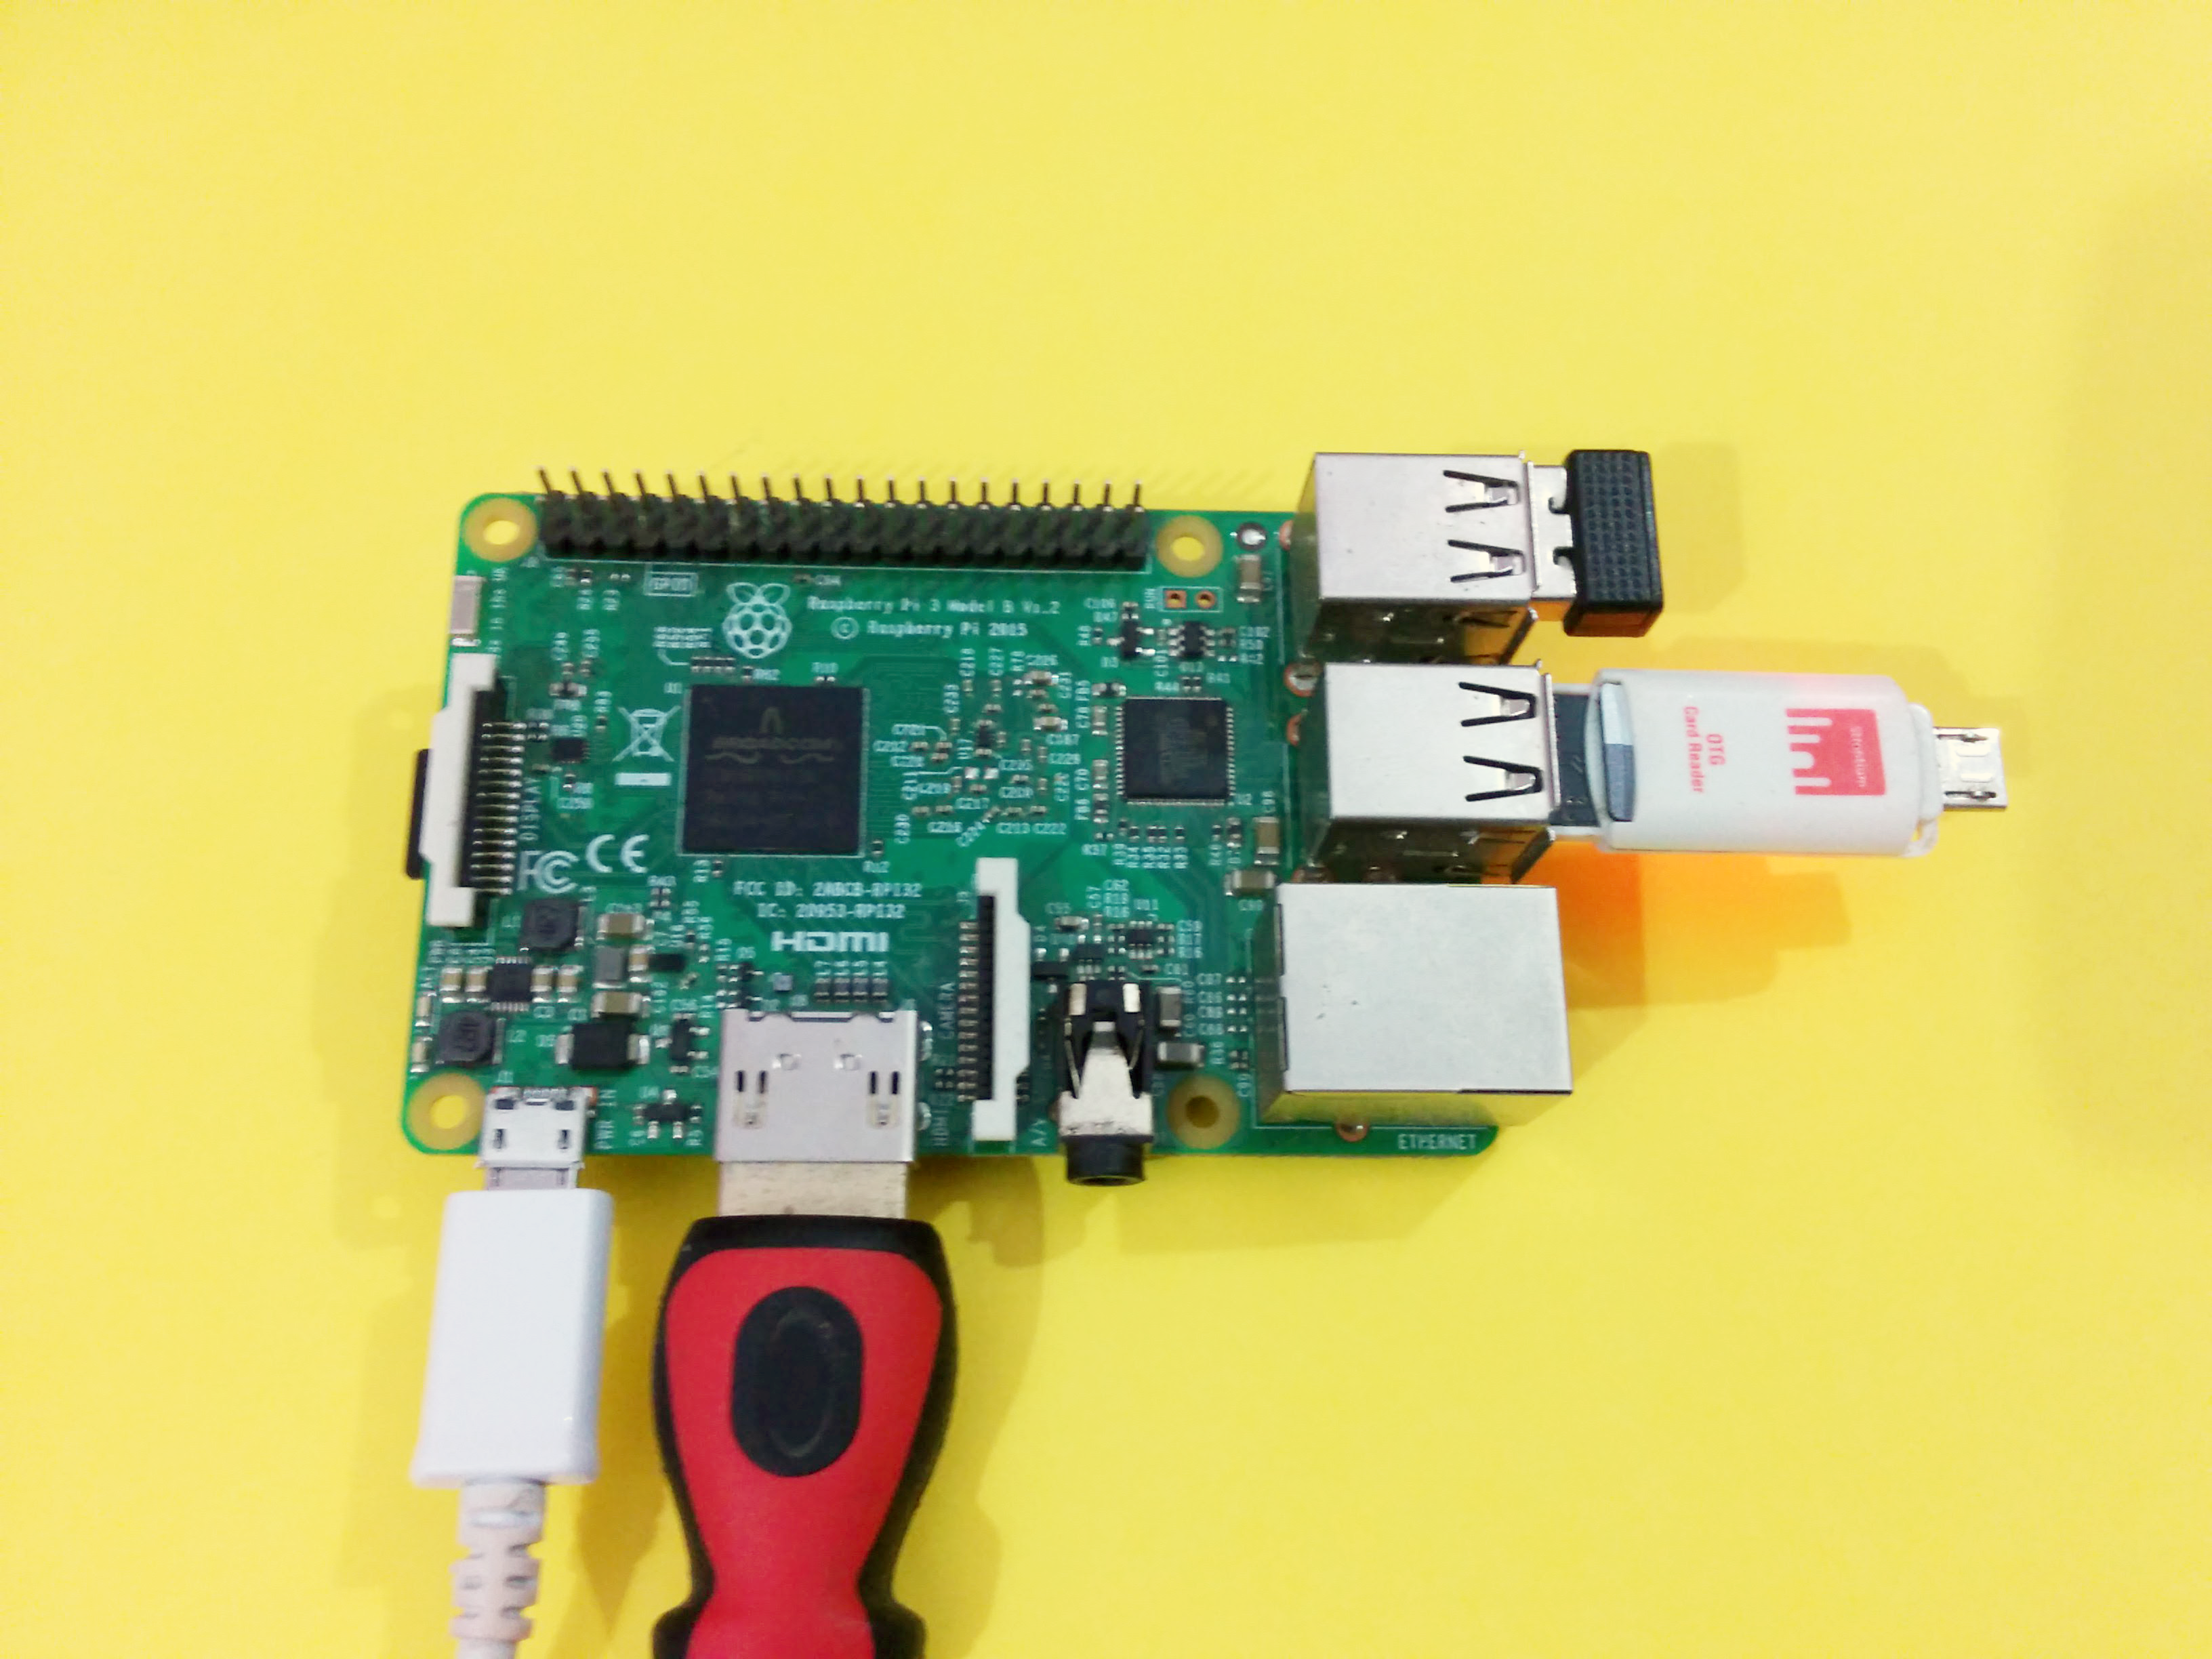
Here is a list of components you will need most of the components are optional or you may require it only during first install.
- Raspberry Pi 2/3
- Monitor or TV
- HDMI Cable
- Keyboard (Optional)
- Micro SD Card (8Gb or more)
- Card Reader
- Micro USB Cable
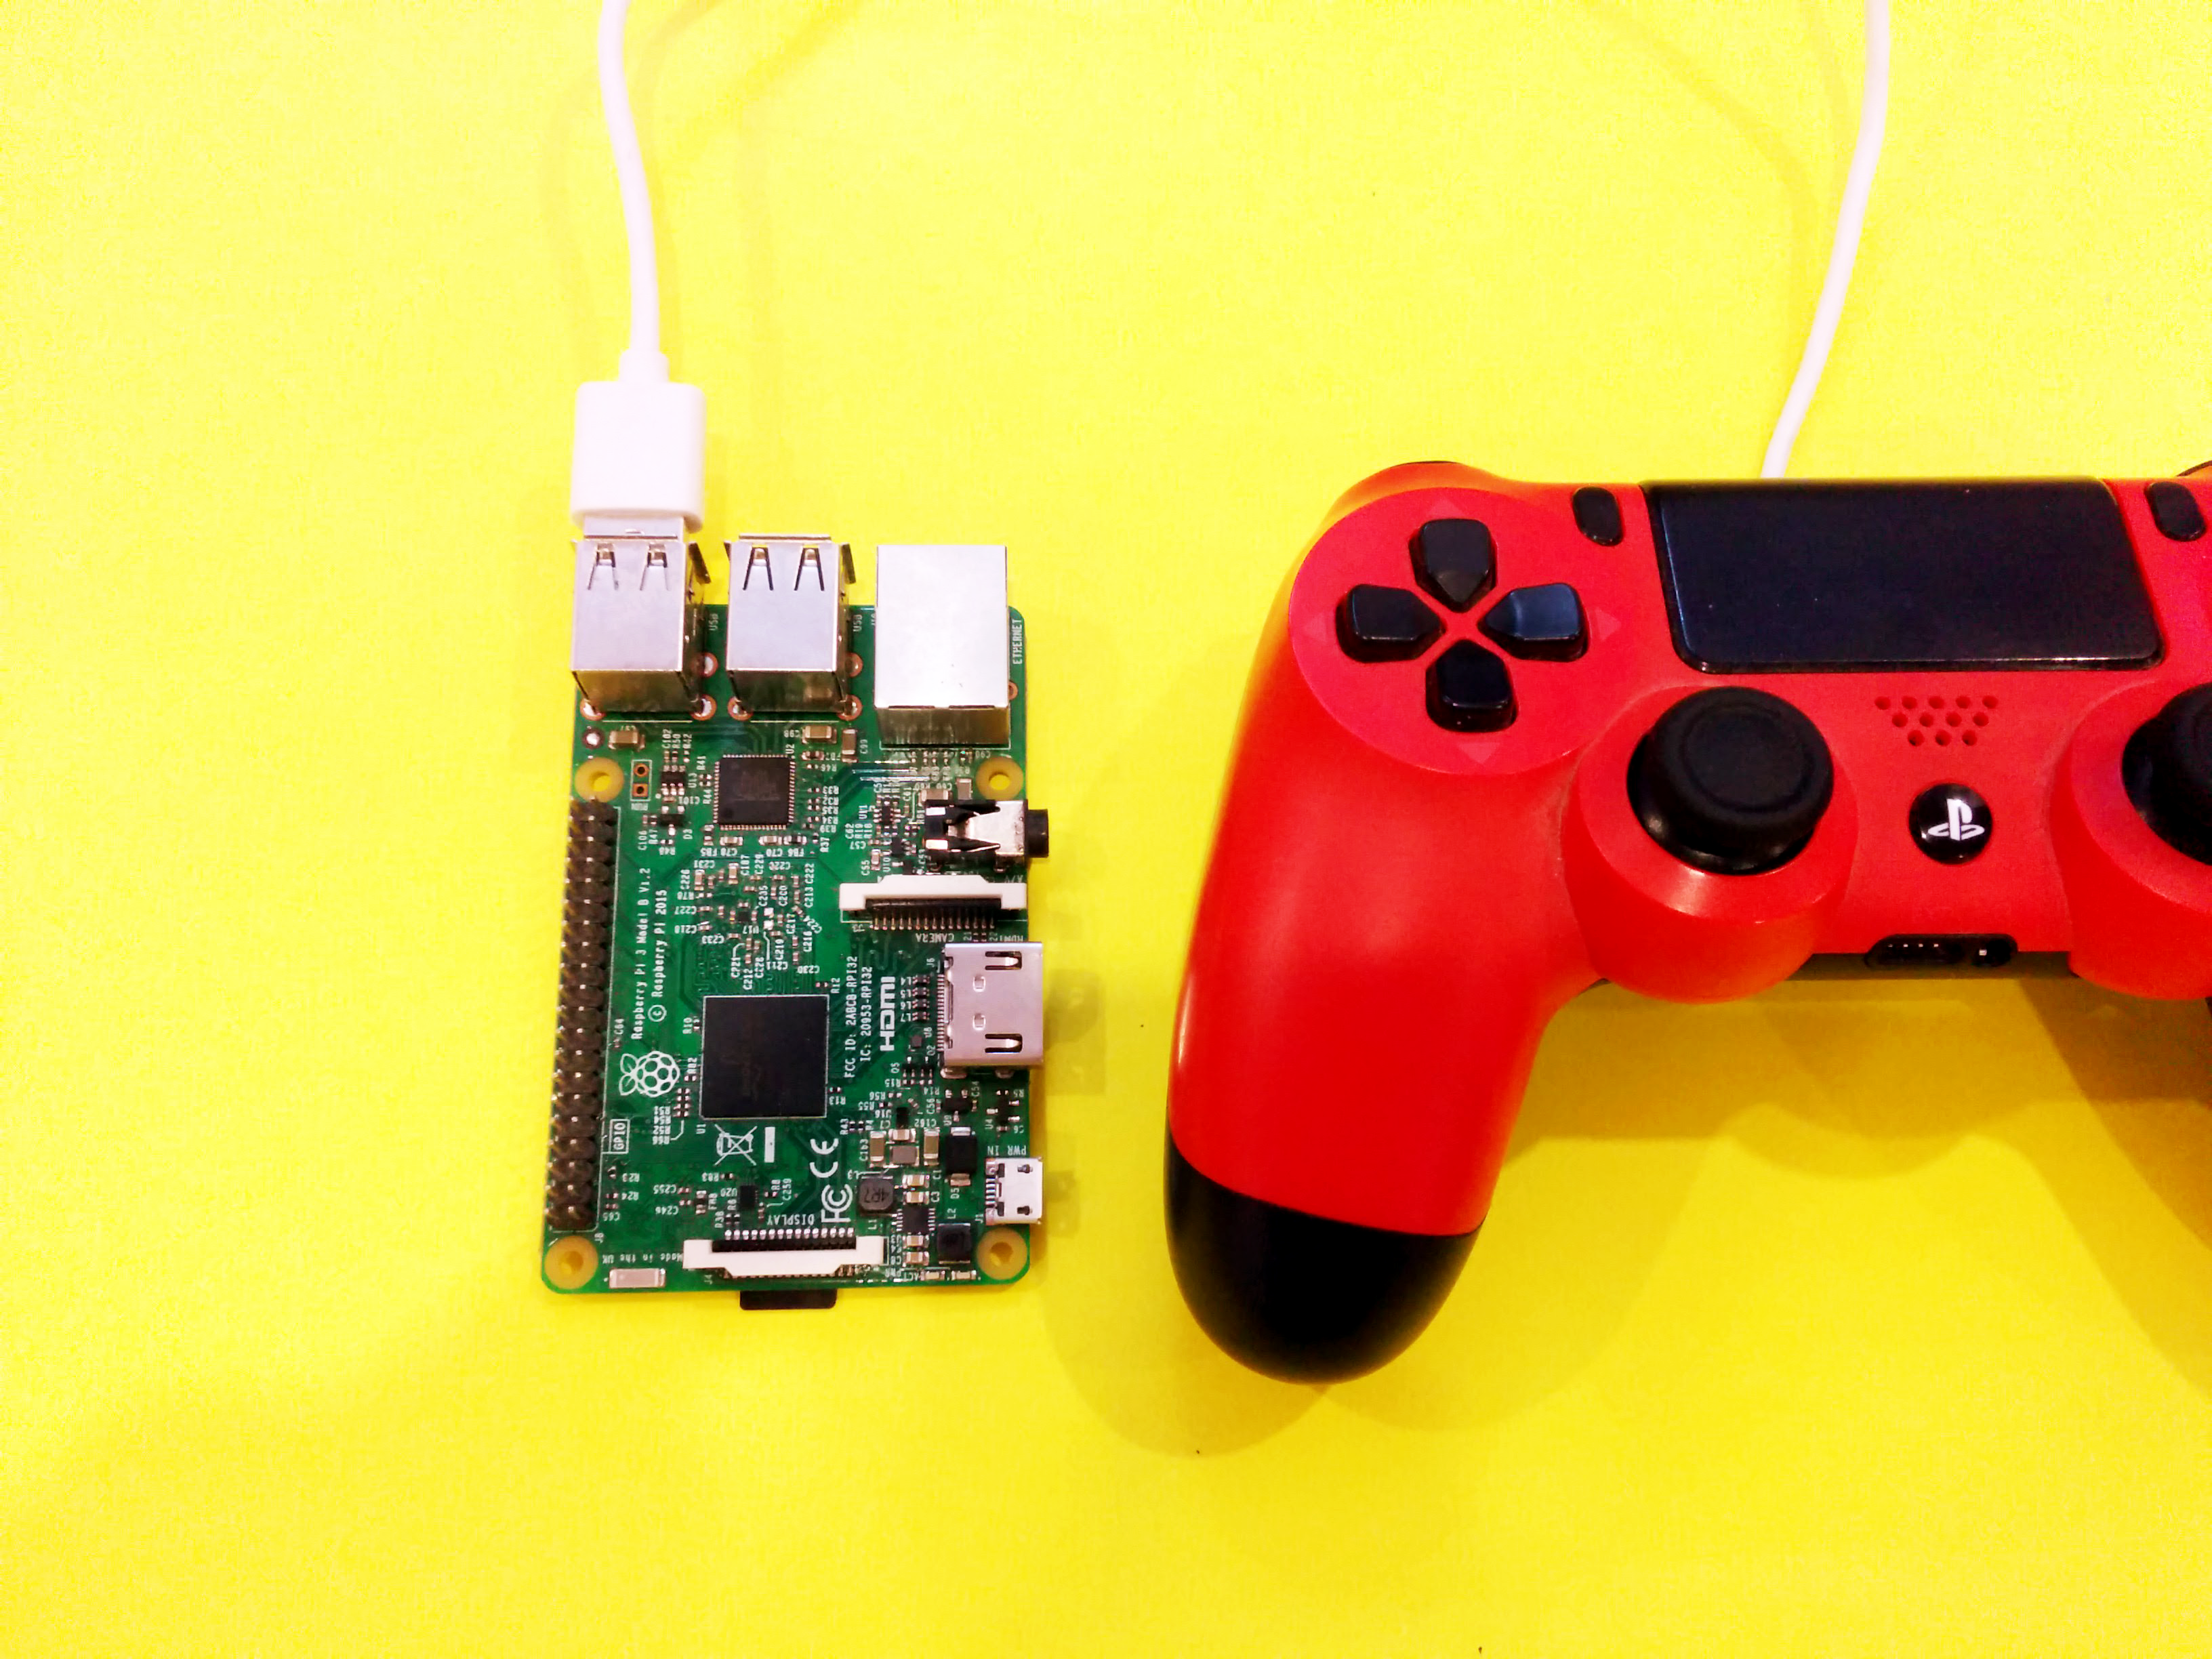
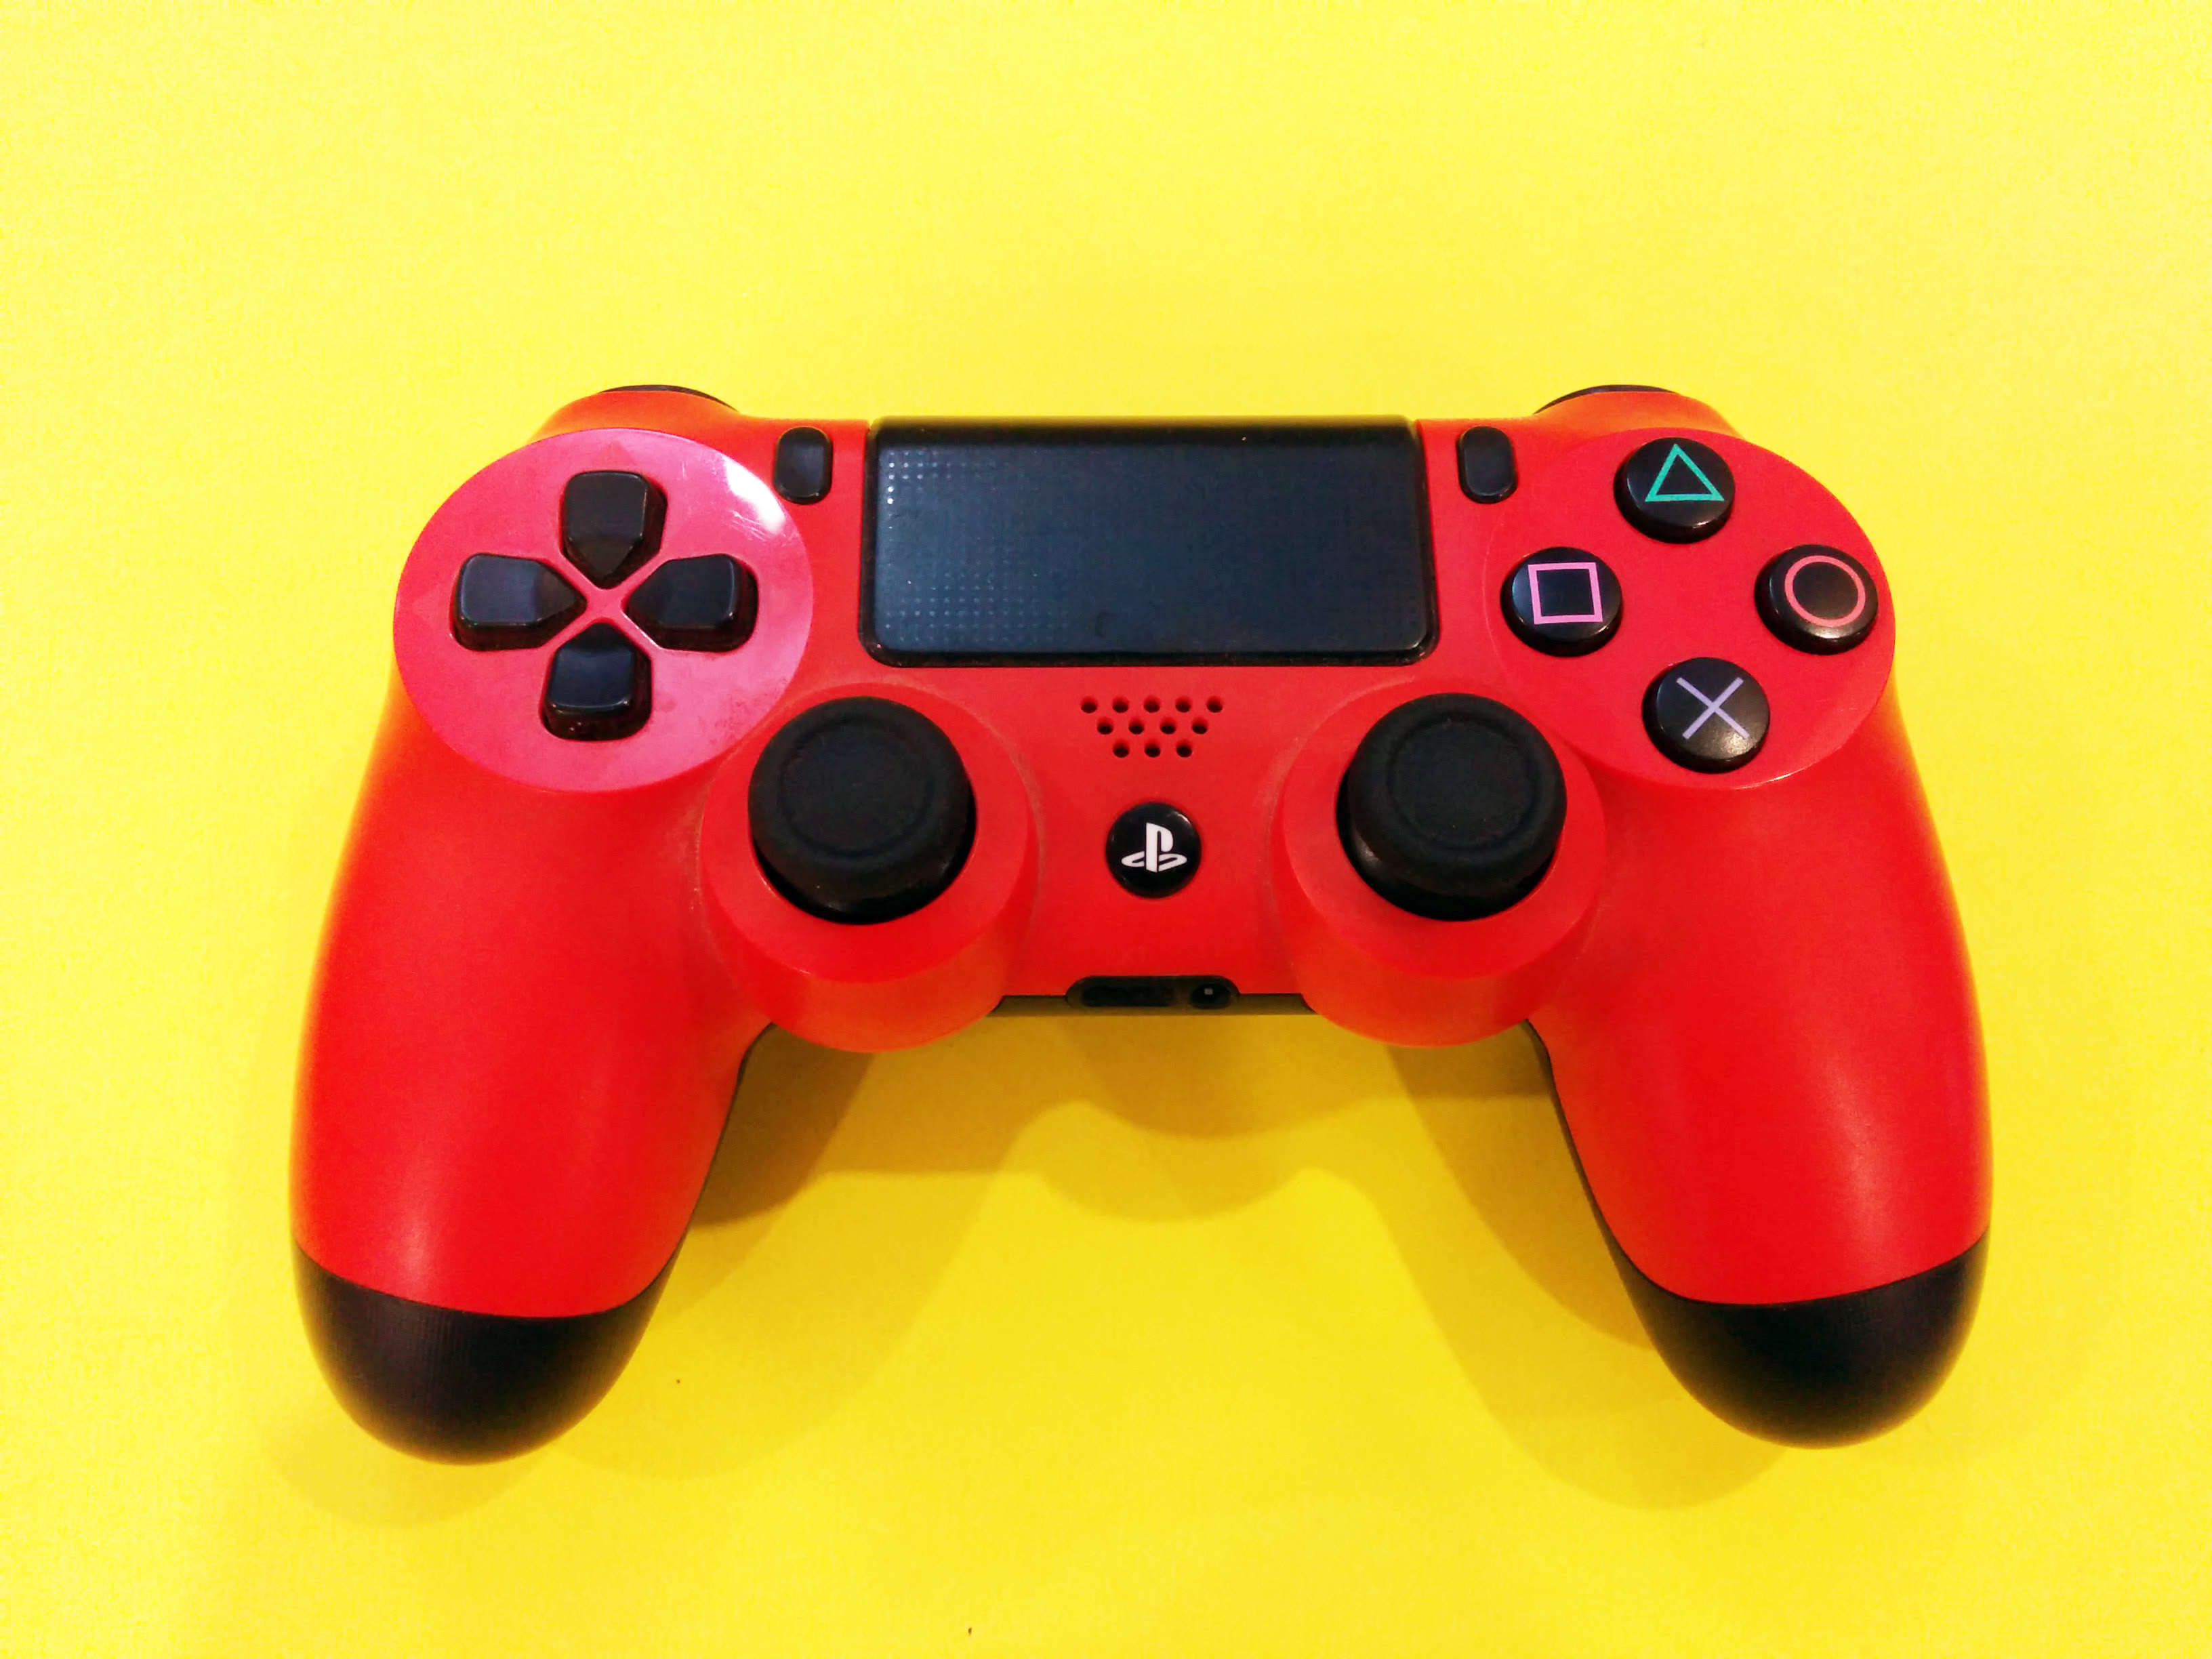
- A Gaming Controller (I used the Dualshock 4)
- A cup of coffee (Optional - To spend time while installing)
Getting Started
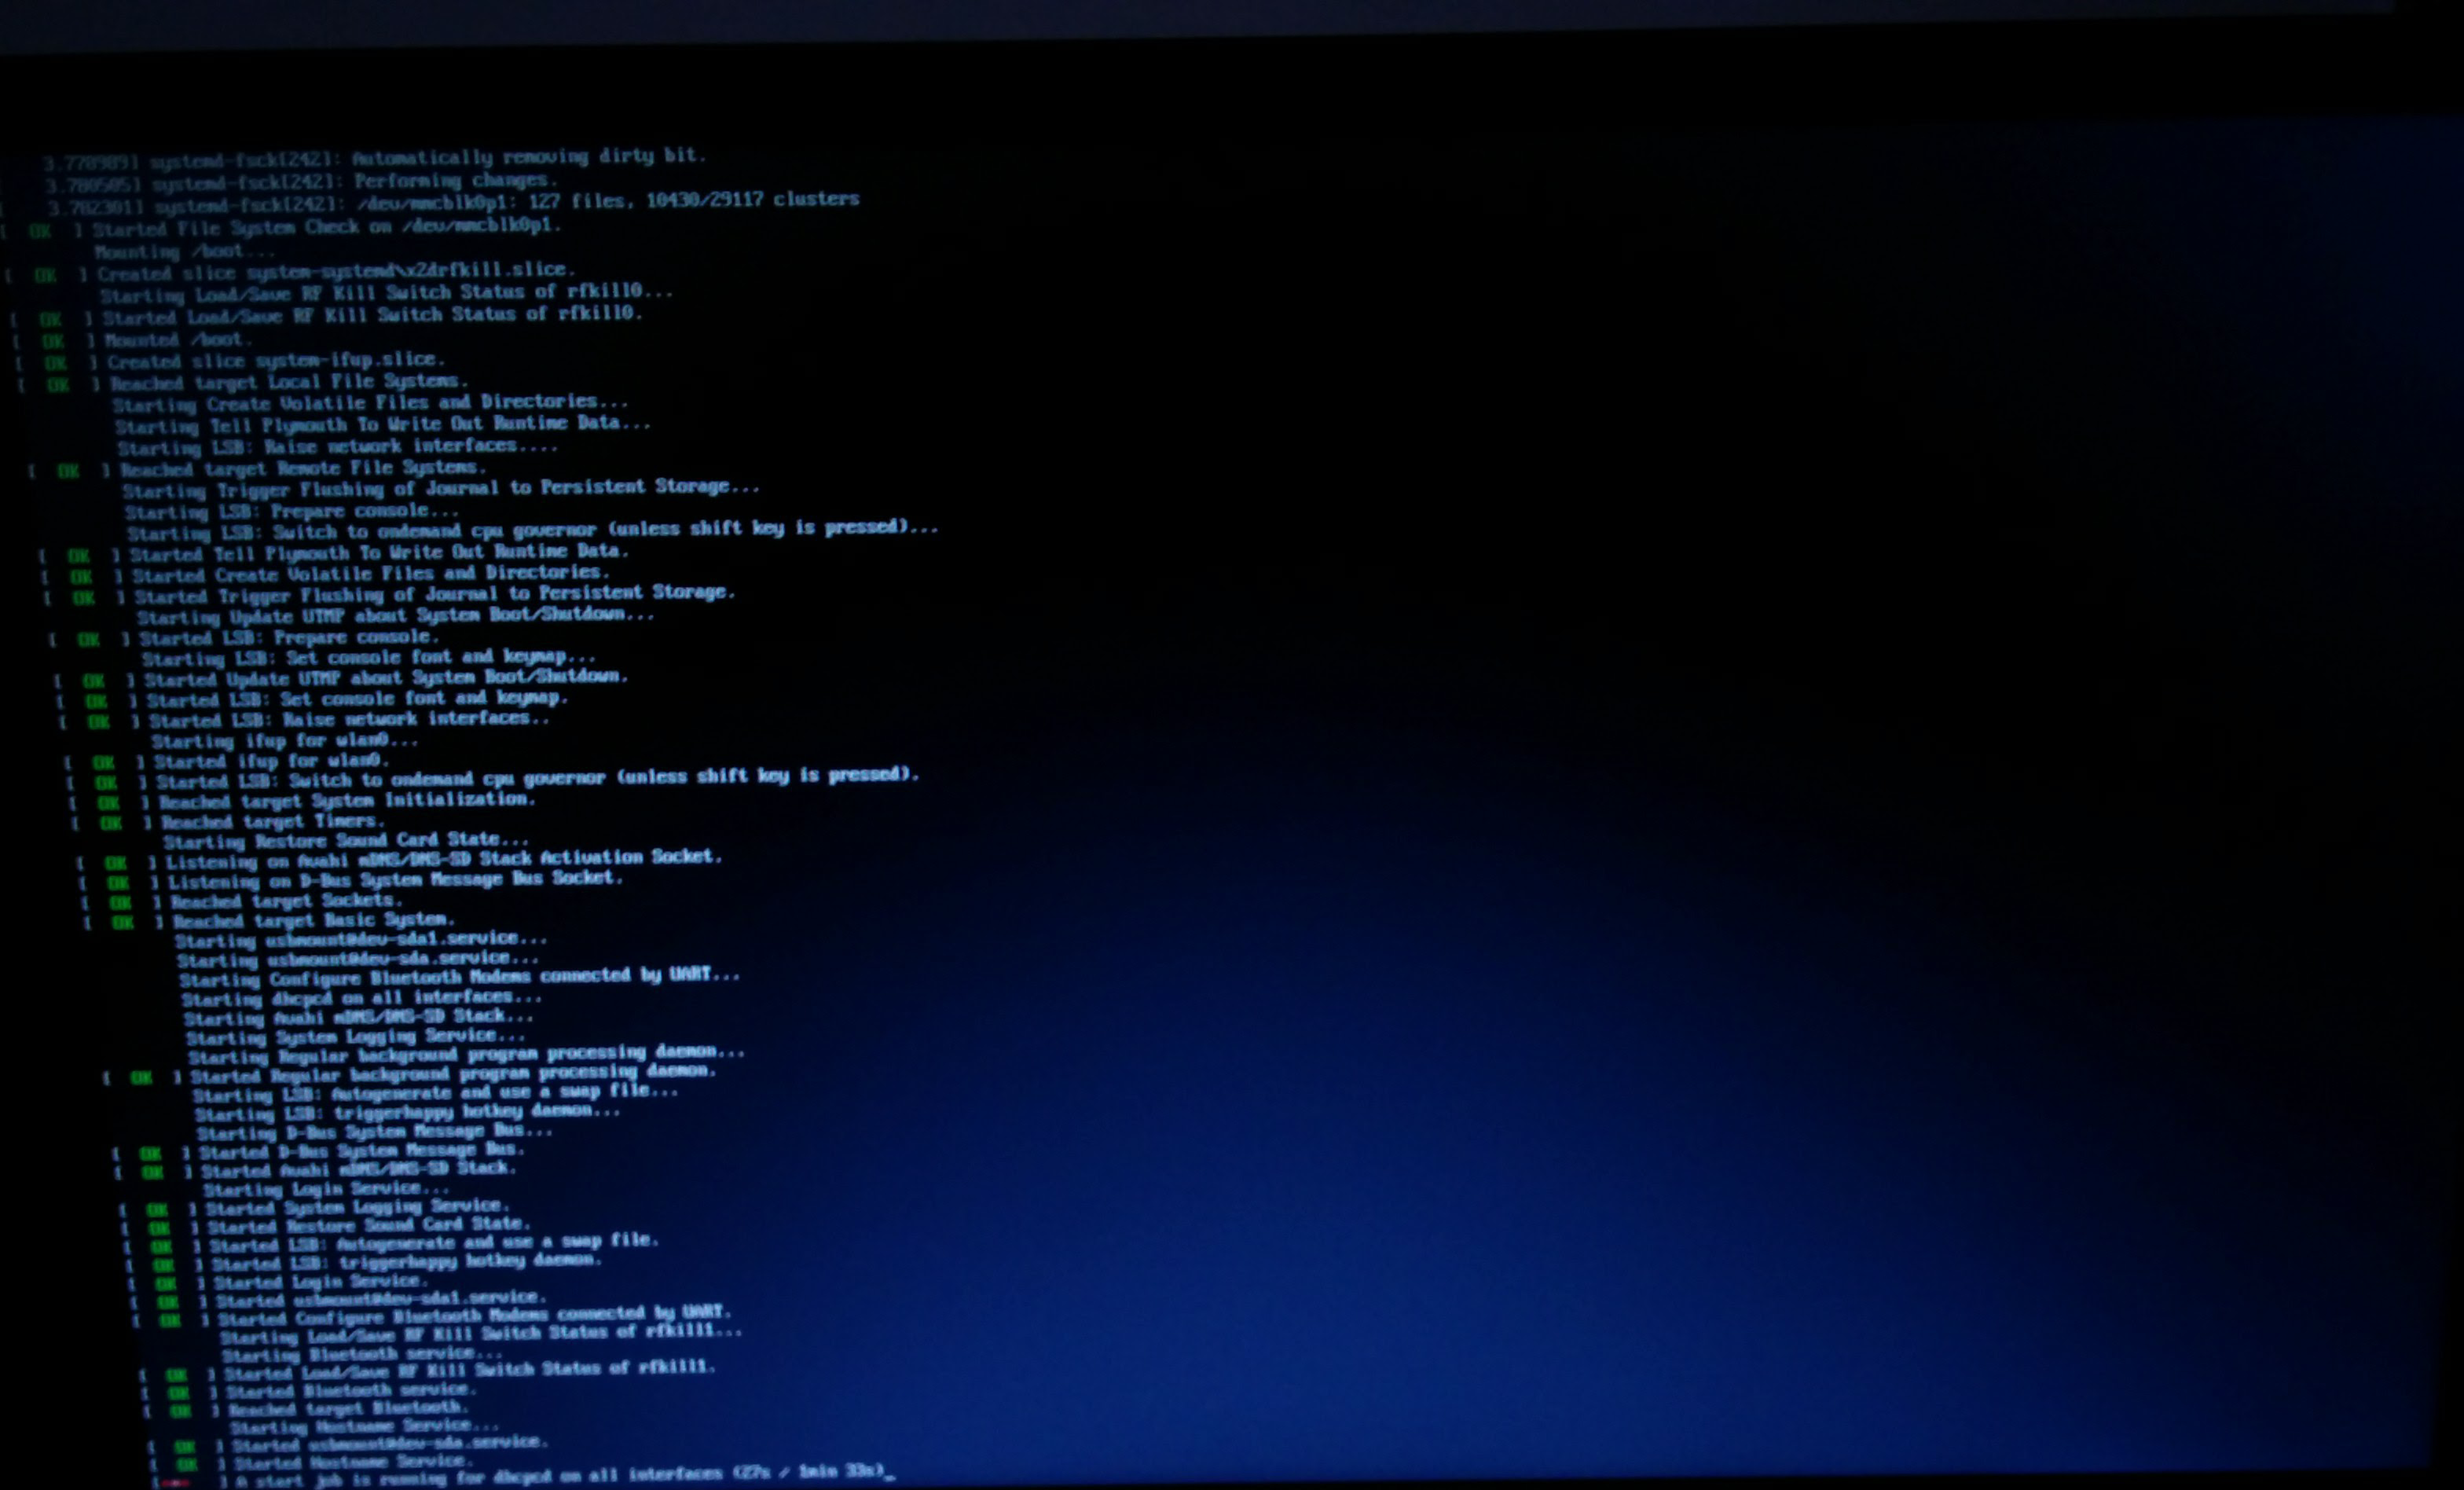
There are two ways to install RetroPie, the easy way is to use the compressed image file. For that, all you have to do is download the image and write it to the SD Card and you should have RetroPie running out of the SD Card without any further installs. I would recommend using this method as getting retro pi running hardly took me 10 minutes to do.
The second is to install RetroPie over a preexisting OS, this is slightly harder to do than the first method, but is still easy to do if you are familiar with the Raspberry Pi. I will show you how to install Retro Pie in both the mentioned methods.
BerryBoot Bootloader (Recommended)
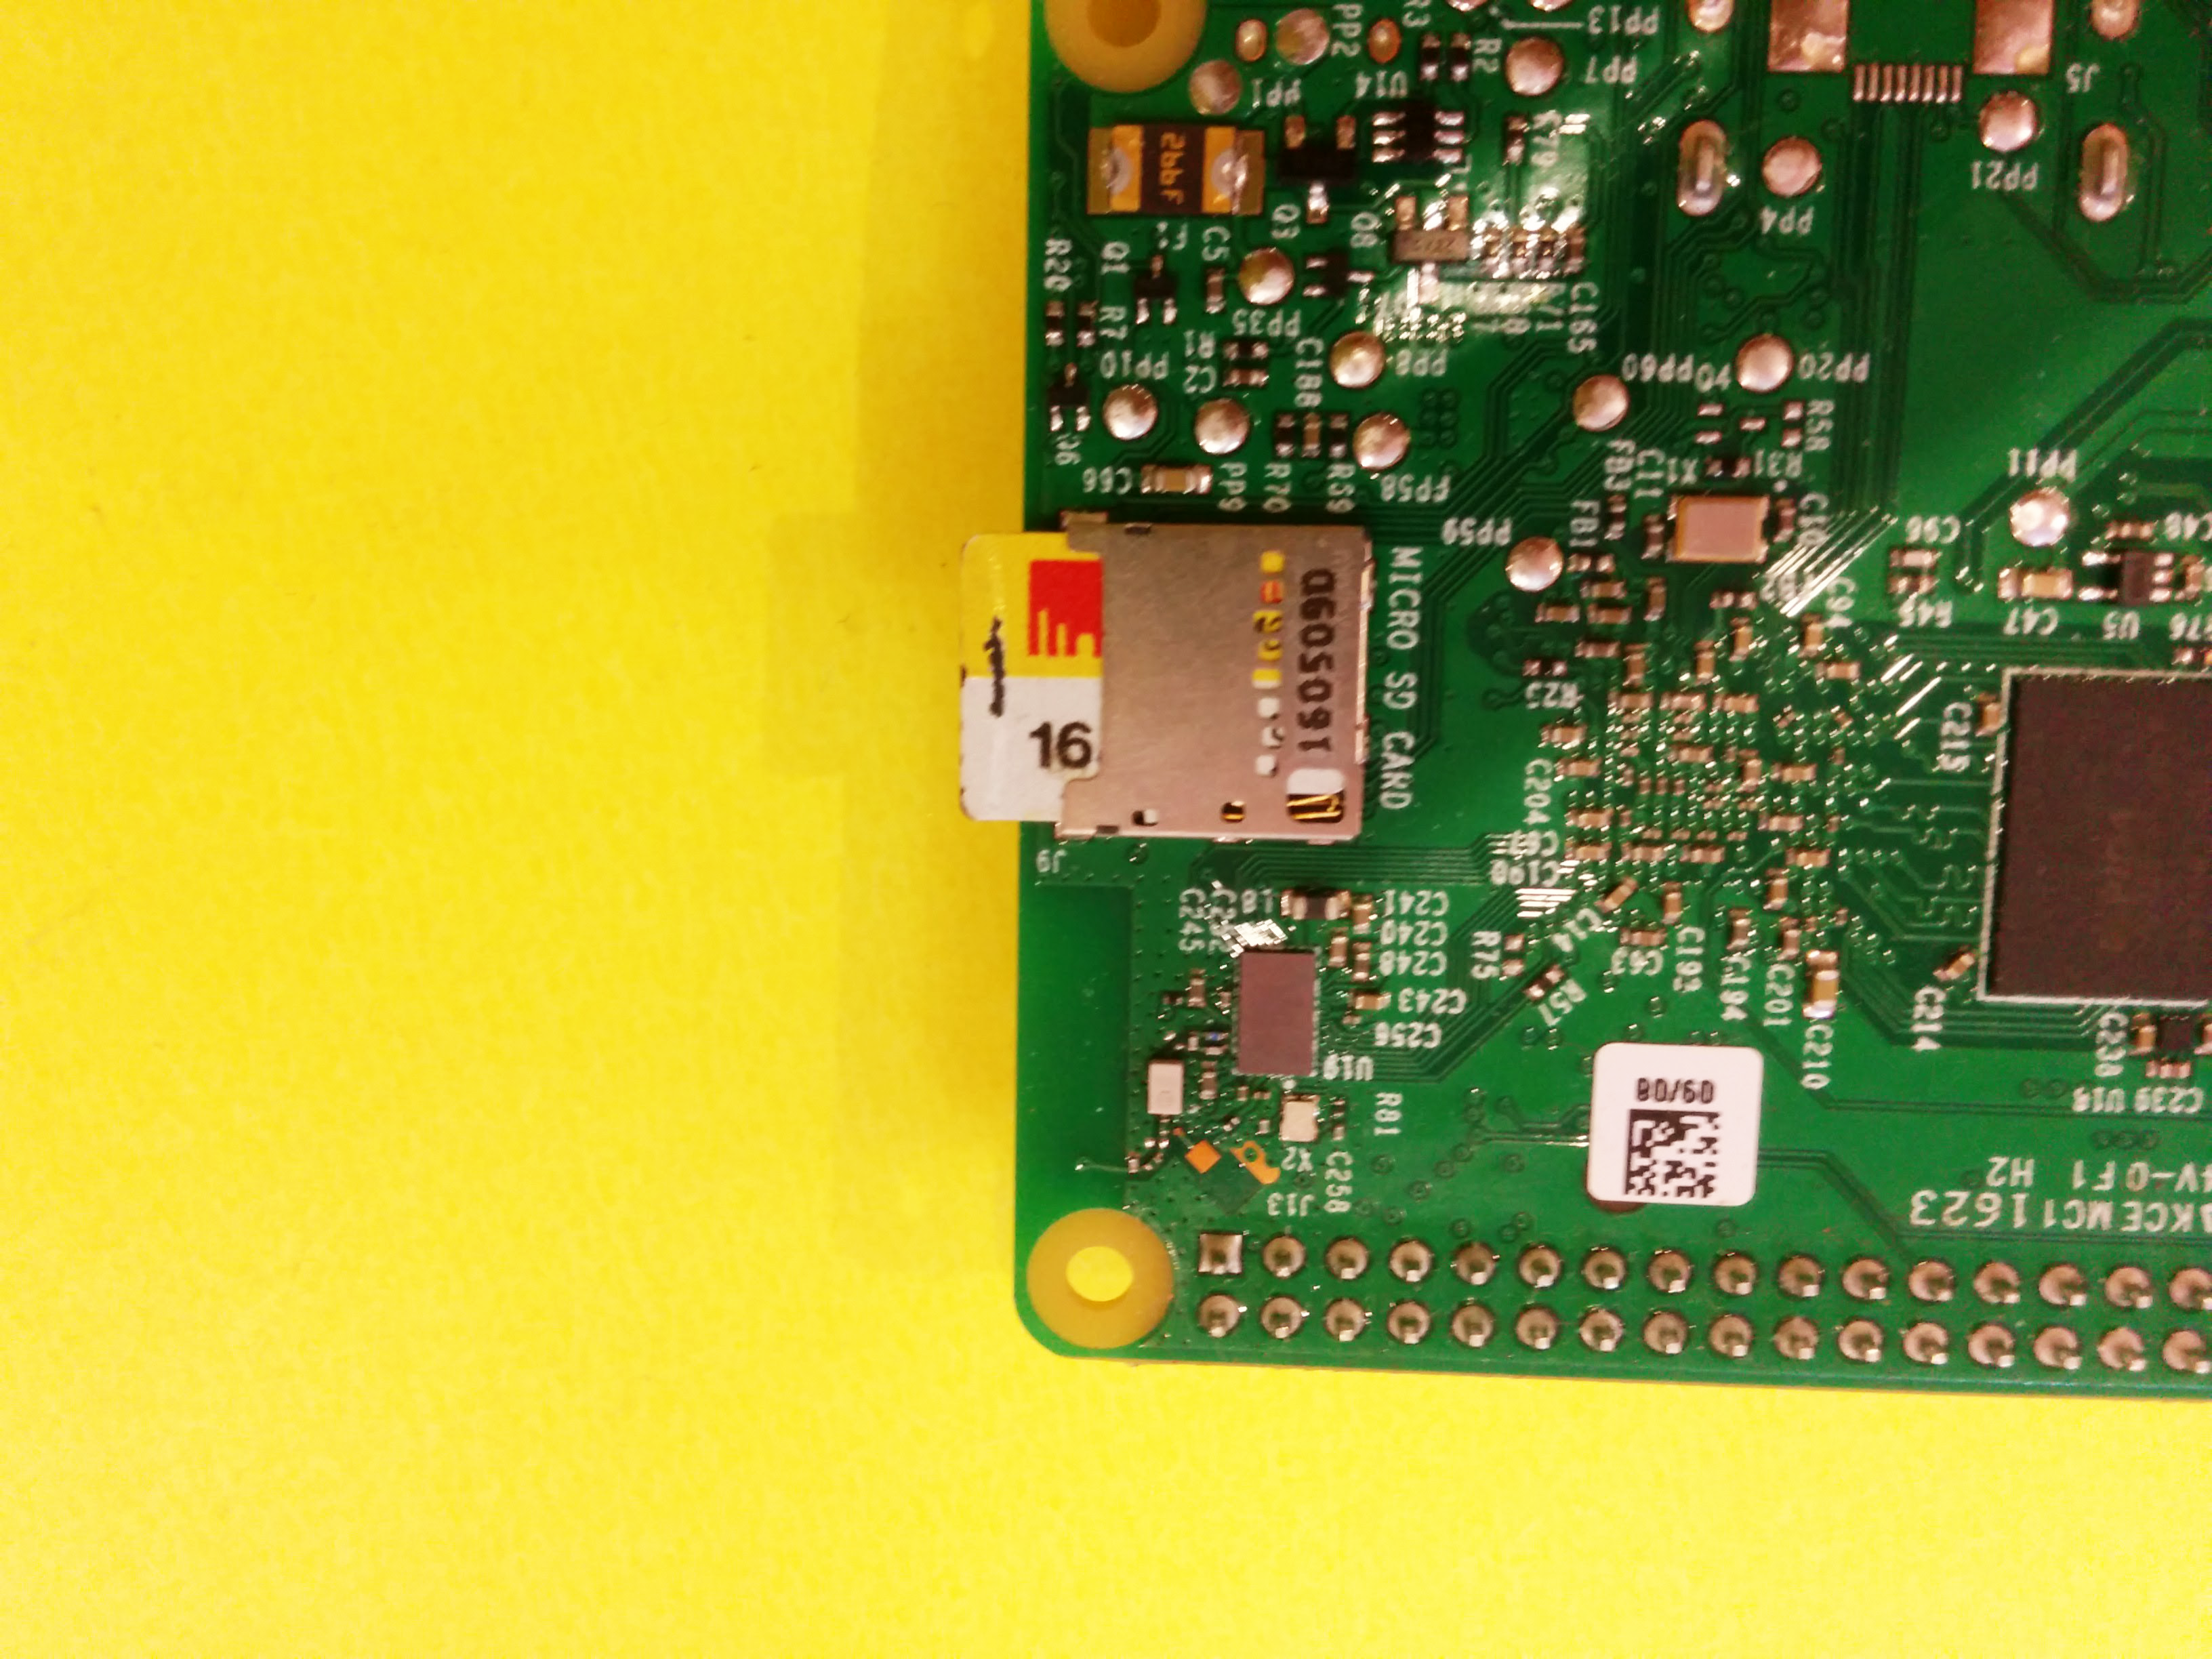
Lets start with the recommended and easy way to get retropi running on your raspberry Pi, Retro Pie comes in a pre compressed image file which get you running with Retro Pie in a matter of minutes. To install this you will need to download the BerryBoot version of Retro Pie from RetroPi official website.
After downloading the image file you will need to burn it on to a micro SD card there are different software to do this, but I would recommend PowerISO which is a free software to do the task. PowerISO can be downloaded form the official website.
After Burning the image plug the micro SD card into the raspberry pi and connect the pi to a monitor or TV via HDMI cable and you should be able to boot into RetroPie Emulation Station.
Manual Install
You can also install Retro Pi on an existing Raspbian OS, this not as simple as the previous step but is still easy to do. Installing Raspbian is similar to installing Retro Pie via Berry Boot. To install Retro Pie over Raspbian you need to spend some few additional minutes and you should have some basic knowledge of the linux terminal.
First you need to start by installing the git and lsb release packages you can do that by typing in the below command on a terminal window.
sudo apt-get install git lsb-release
After installing the above packages lets get the installation files needed to setup Retro Pi this can be done by typing in the following commands
cd
git clone --depth=1 <a href="https://github.com/RetroPie/RetroPie-Setup.gitNext"> https://github.com/RetroPie/RetroPie-Setup.gitNex...</a>
lets make the installation script executable and proceed with the installation.
cd RetroPie-Setup
chmod +x retropie_setup.sh
sudo ./retropie_setup.sh
The installation from here should be straight forward, just follow the on screen instructions to setup Retro Pi
Post Installation
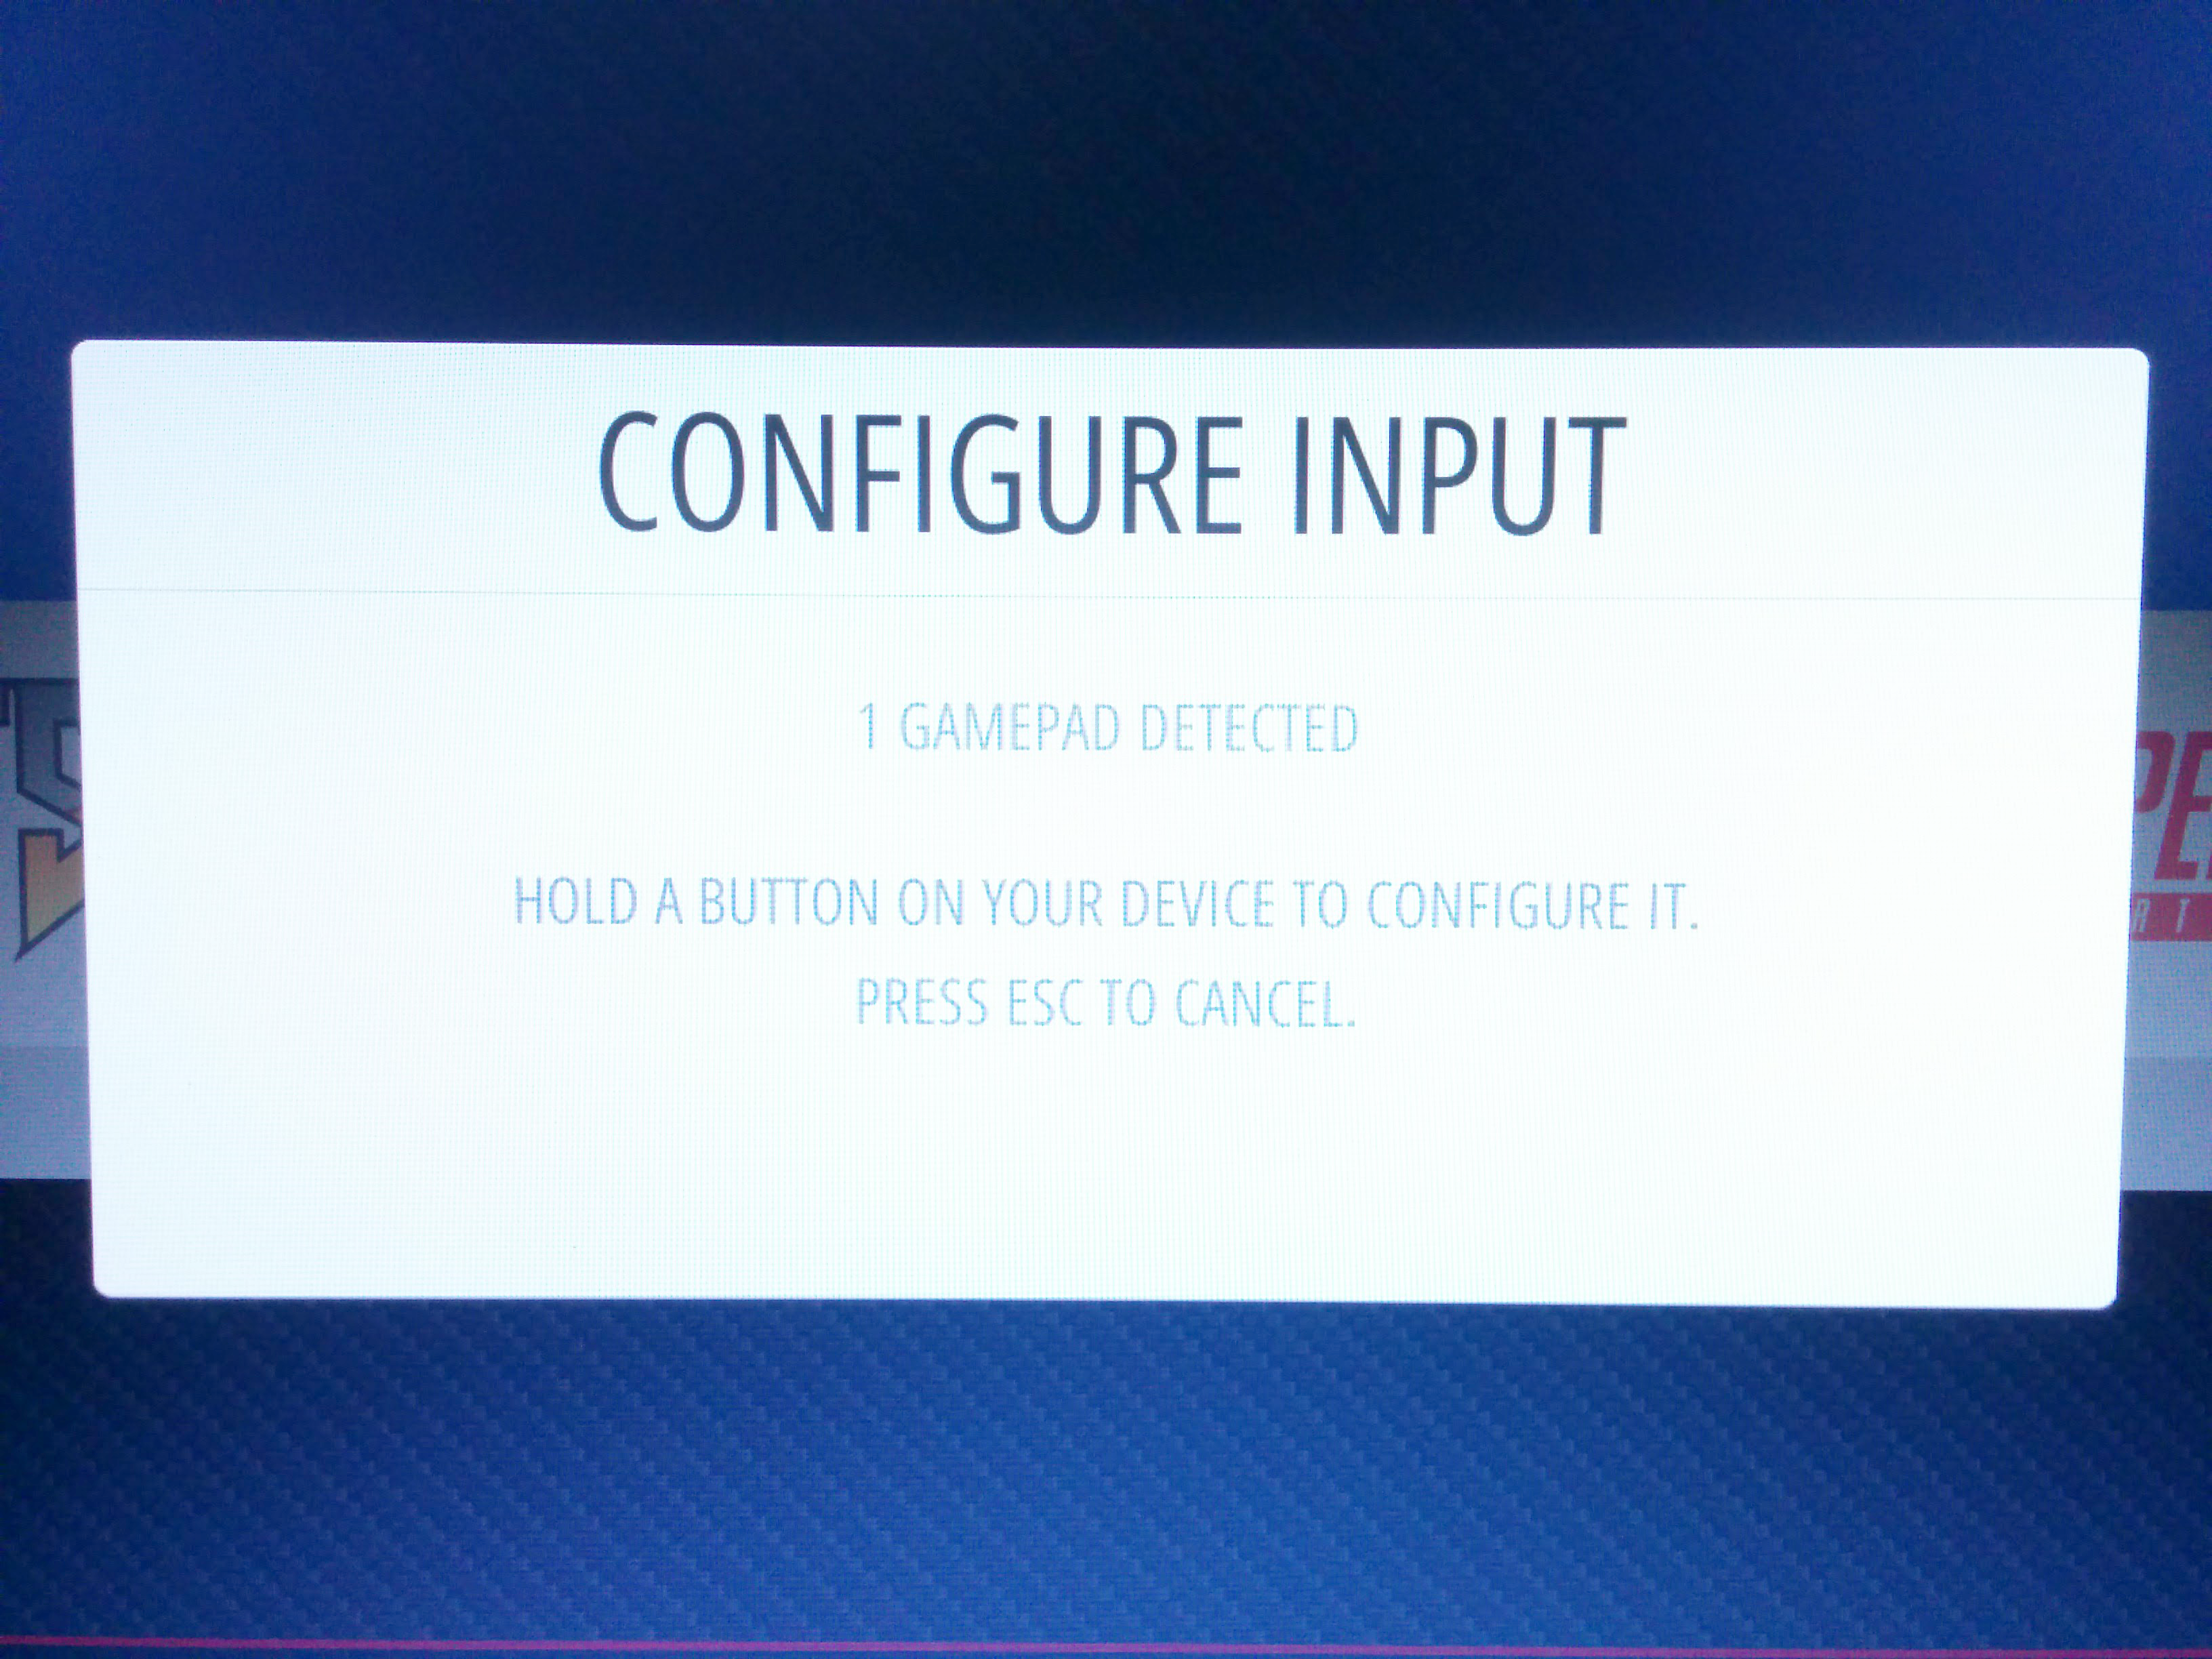
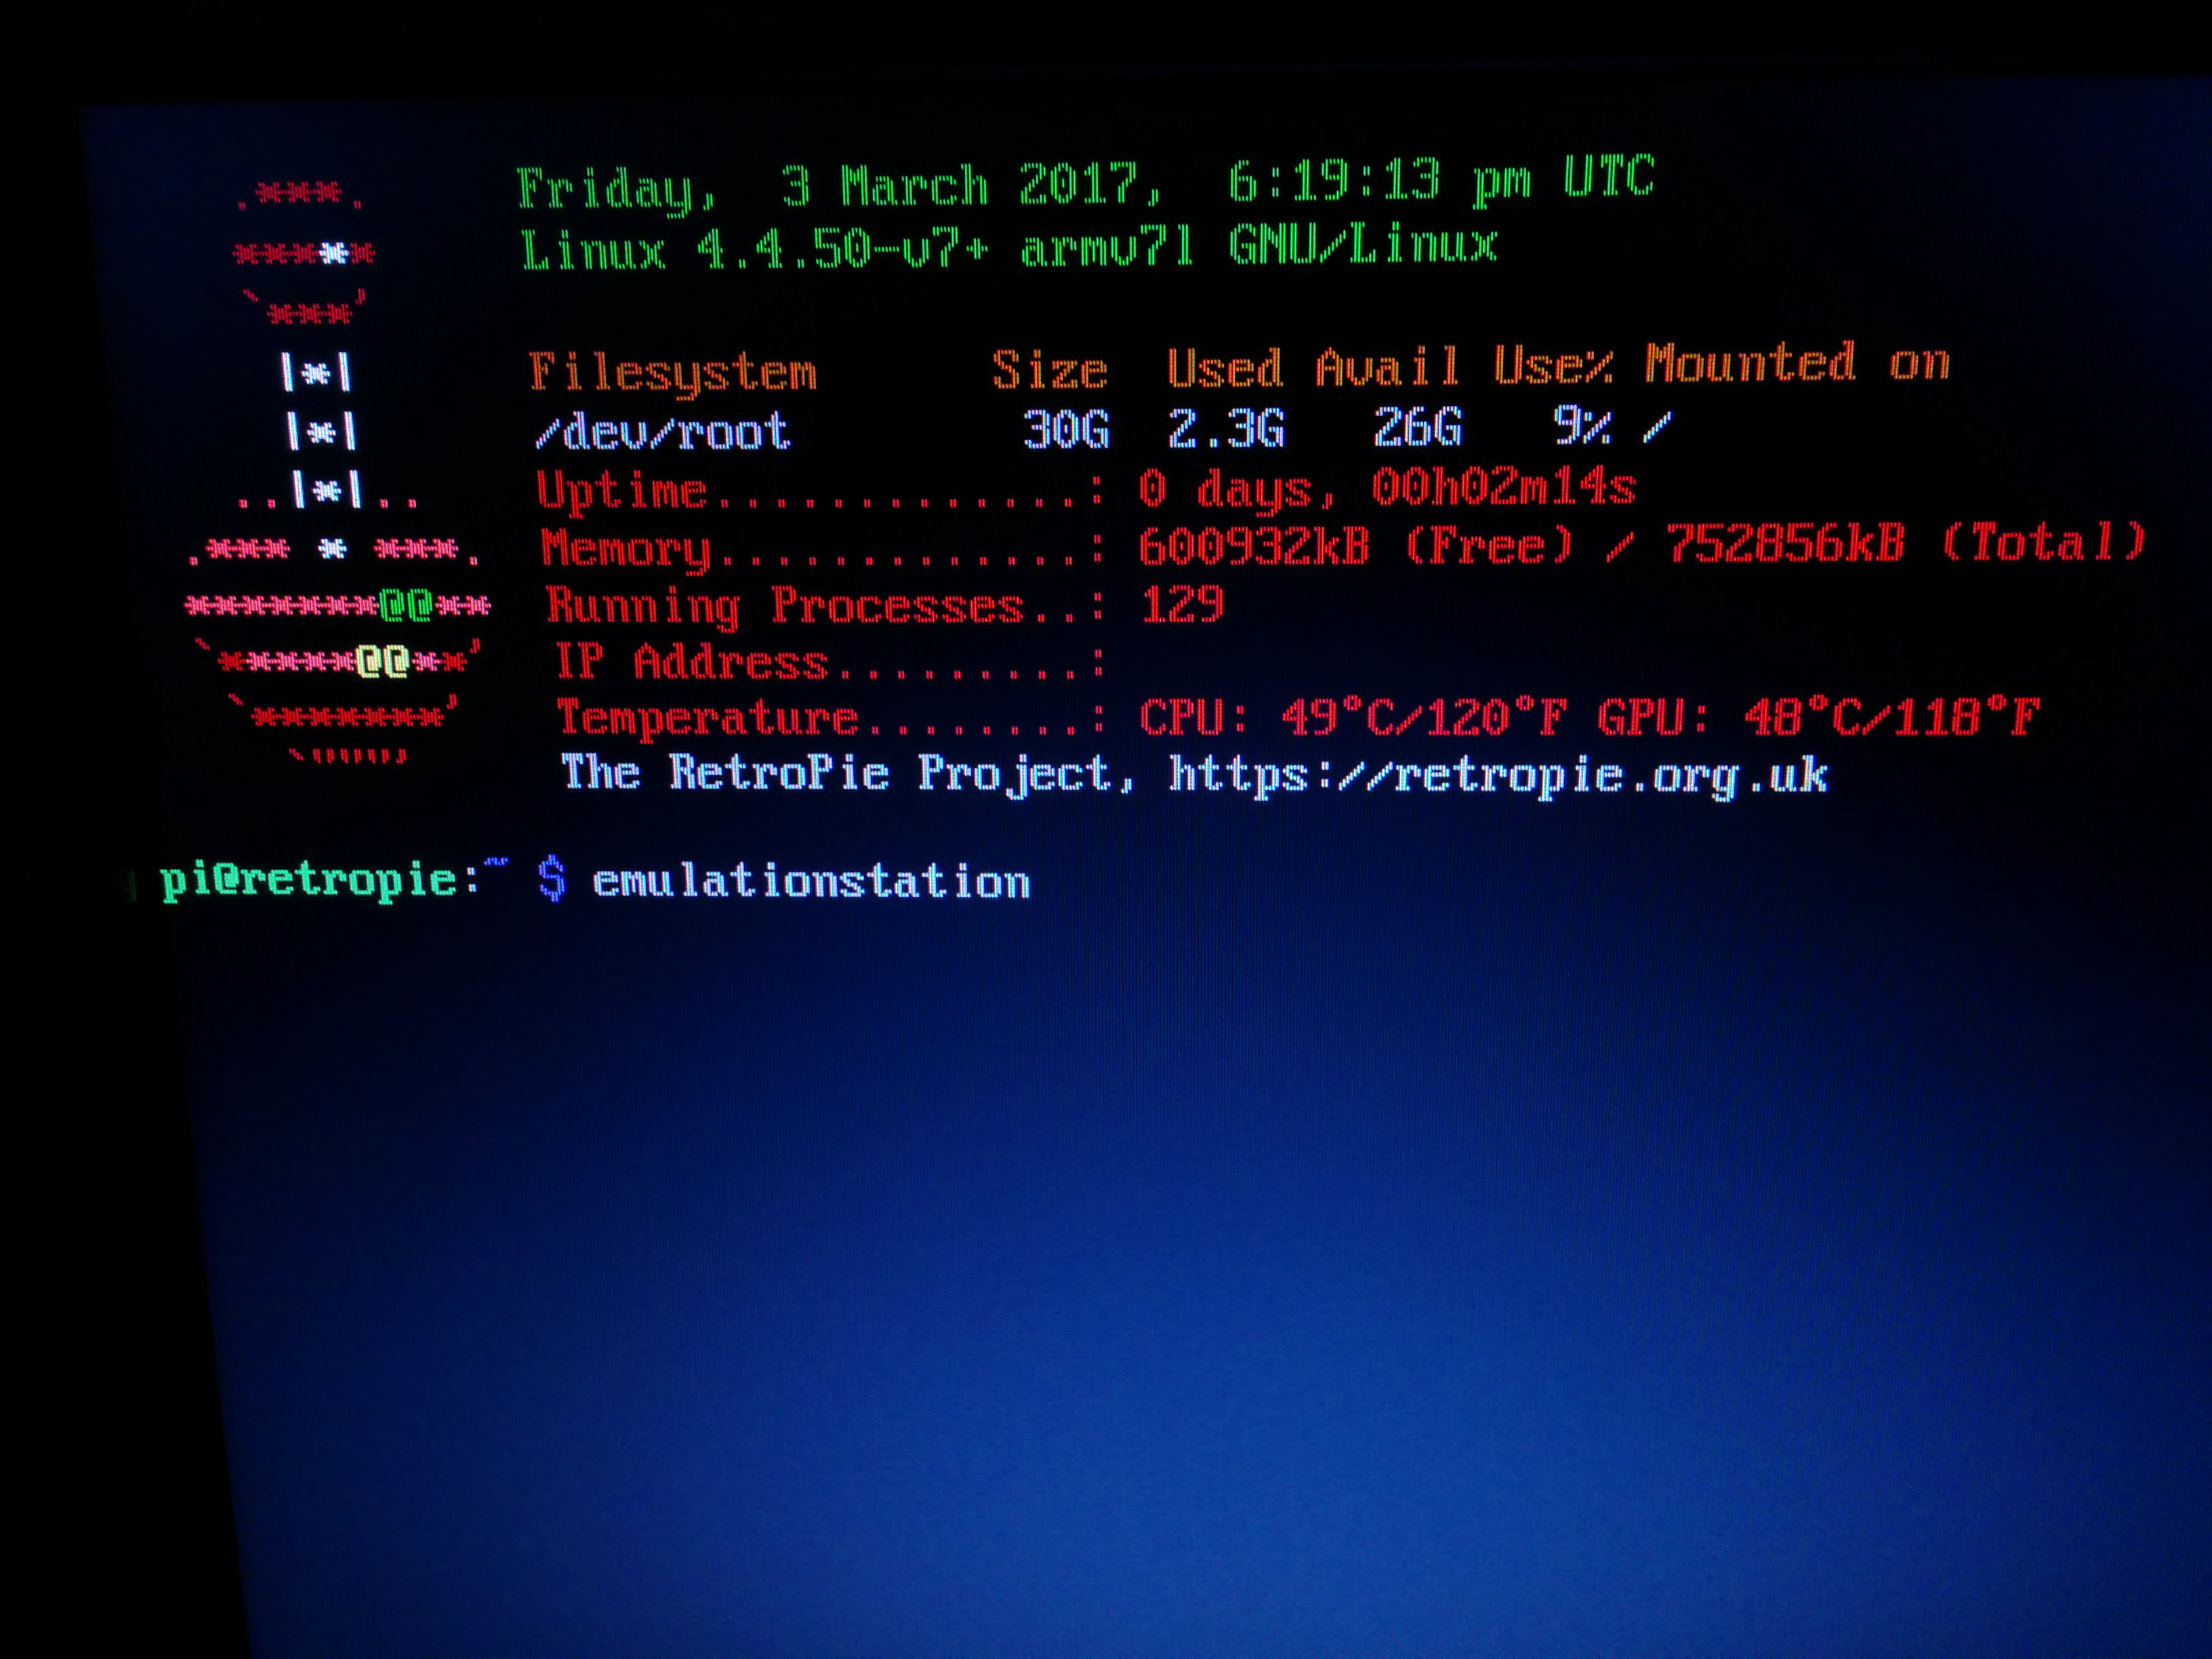
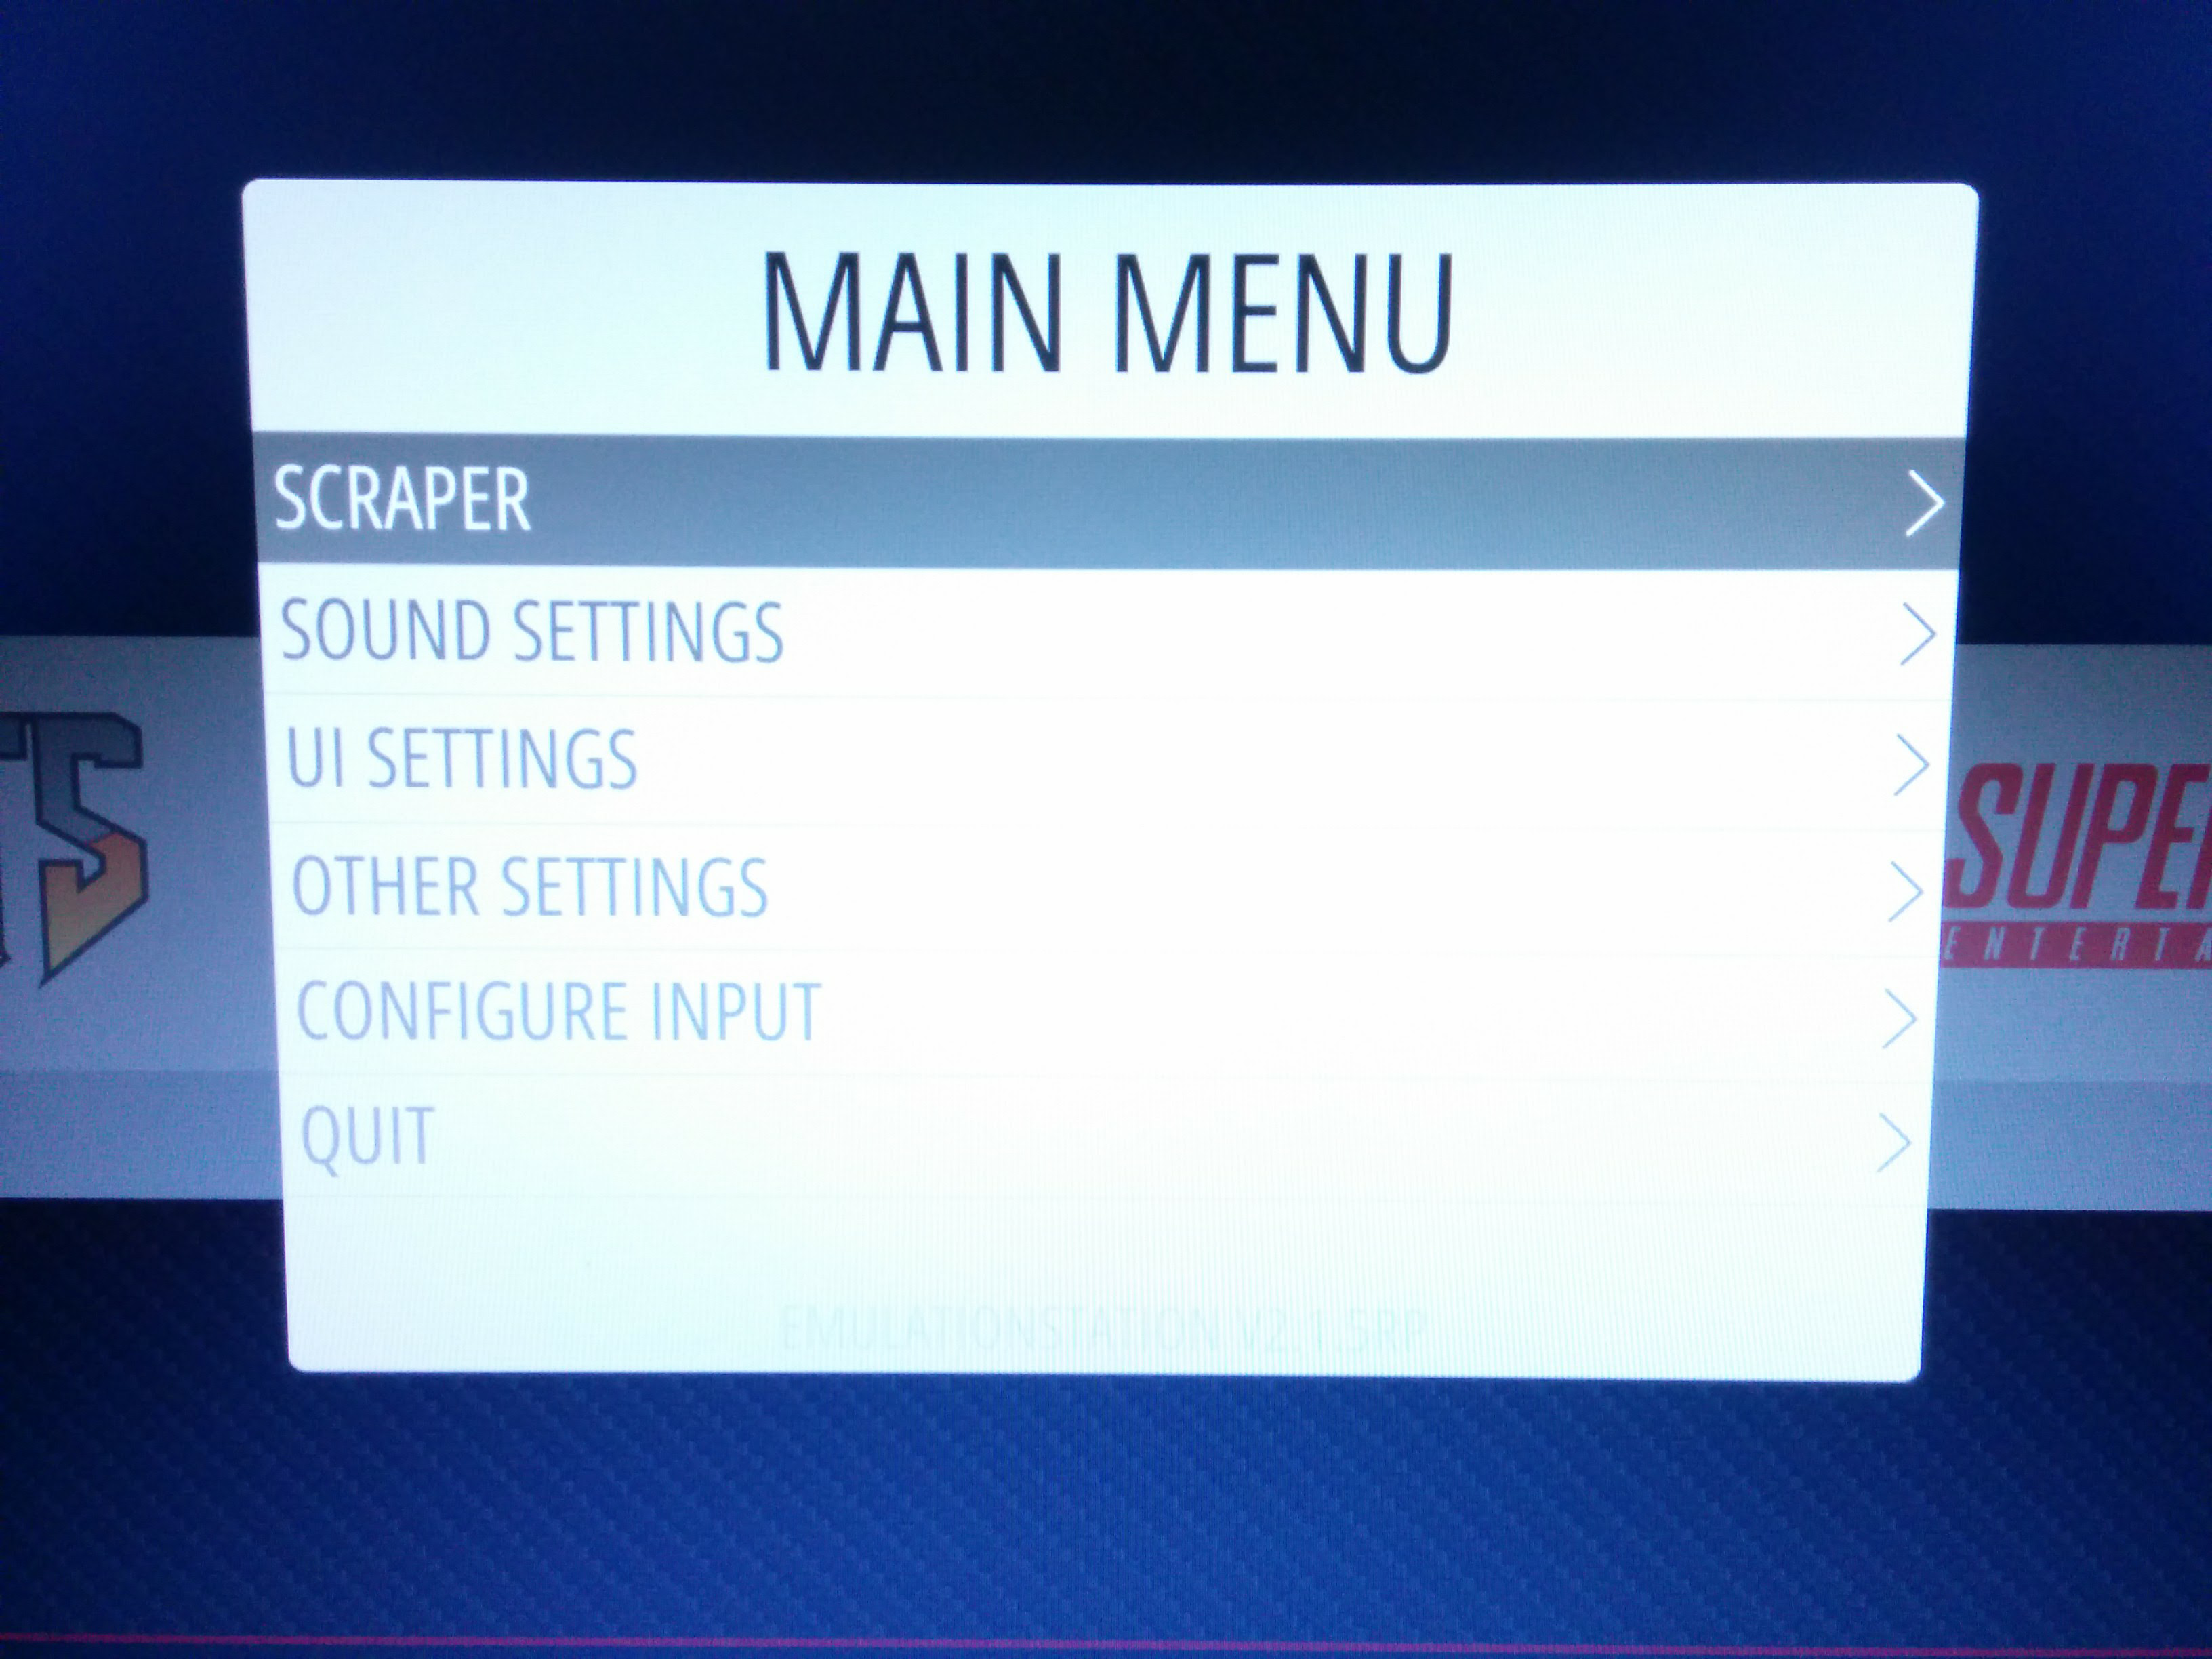
After you got the retro pie installed either way, you should now be able to boot into emulation station automatically, to run the emulation station via the terminal, all you have to do is type emulationstation and hit enter in the terminal window.
At first install you will be asked to do a controller key map, you can add any wired controller or a keyboard to complete this step. After setting up the controller you should now see the emulation station home screen.
Next lets start with adding some games to start playing.
Adding Games
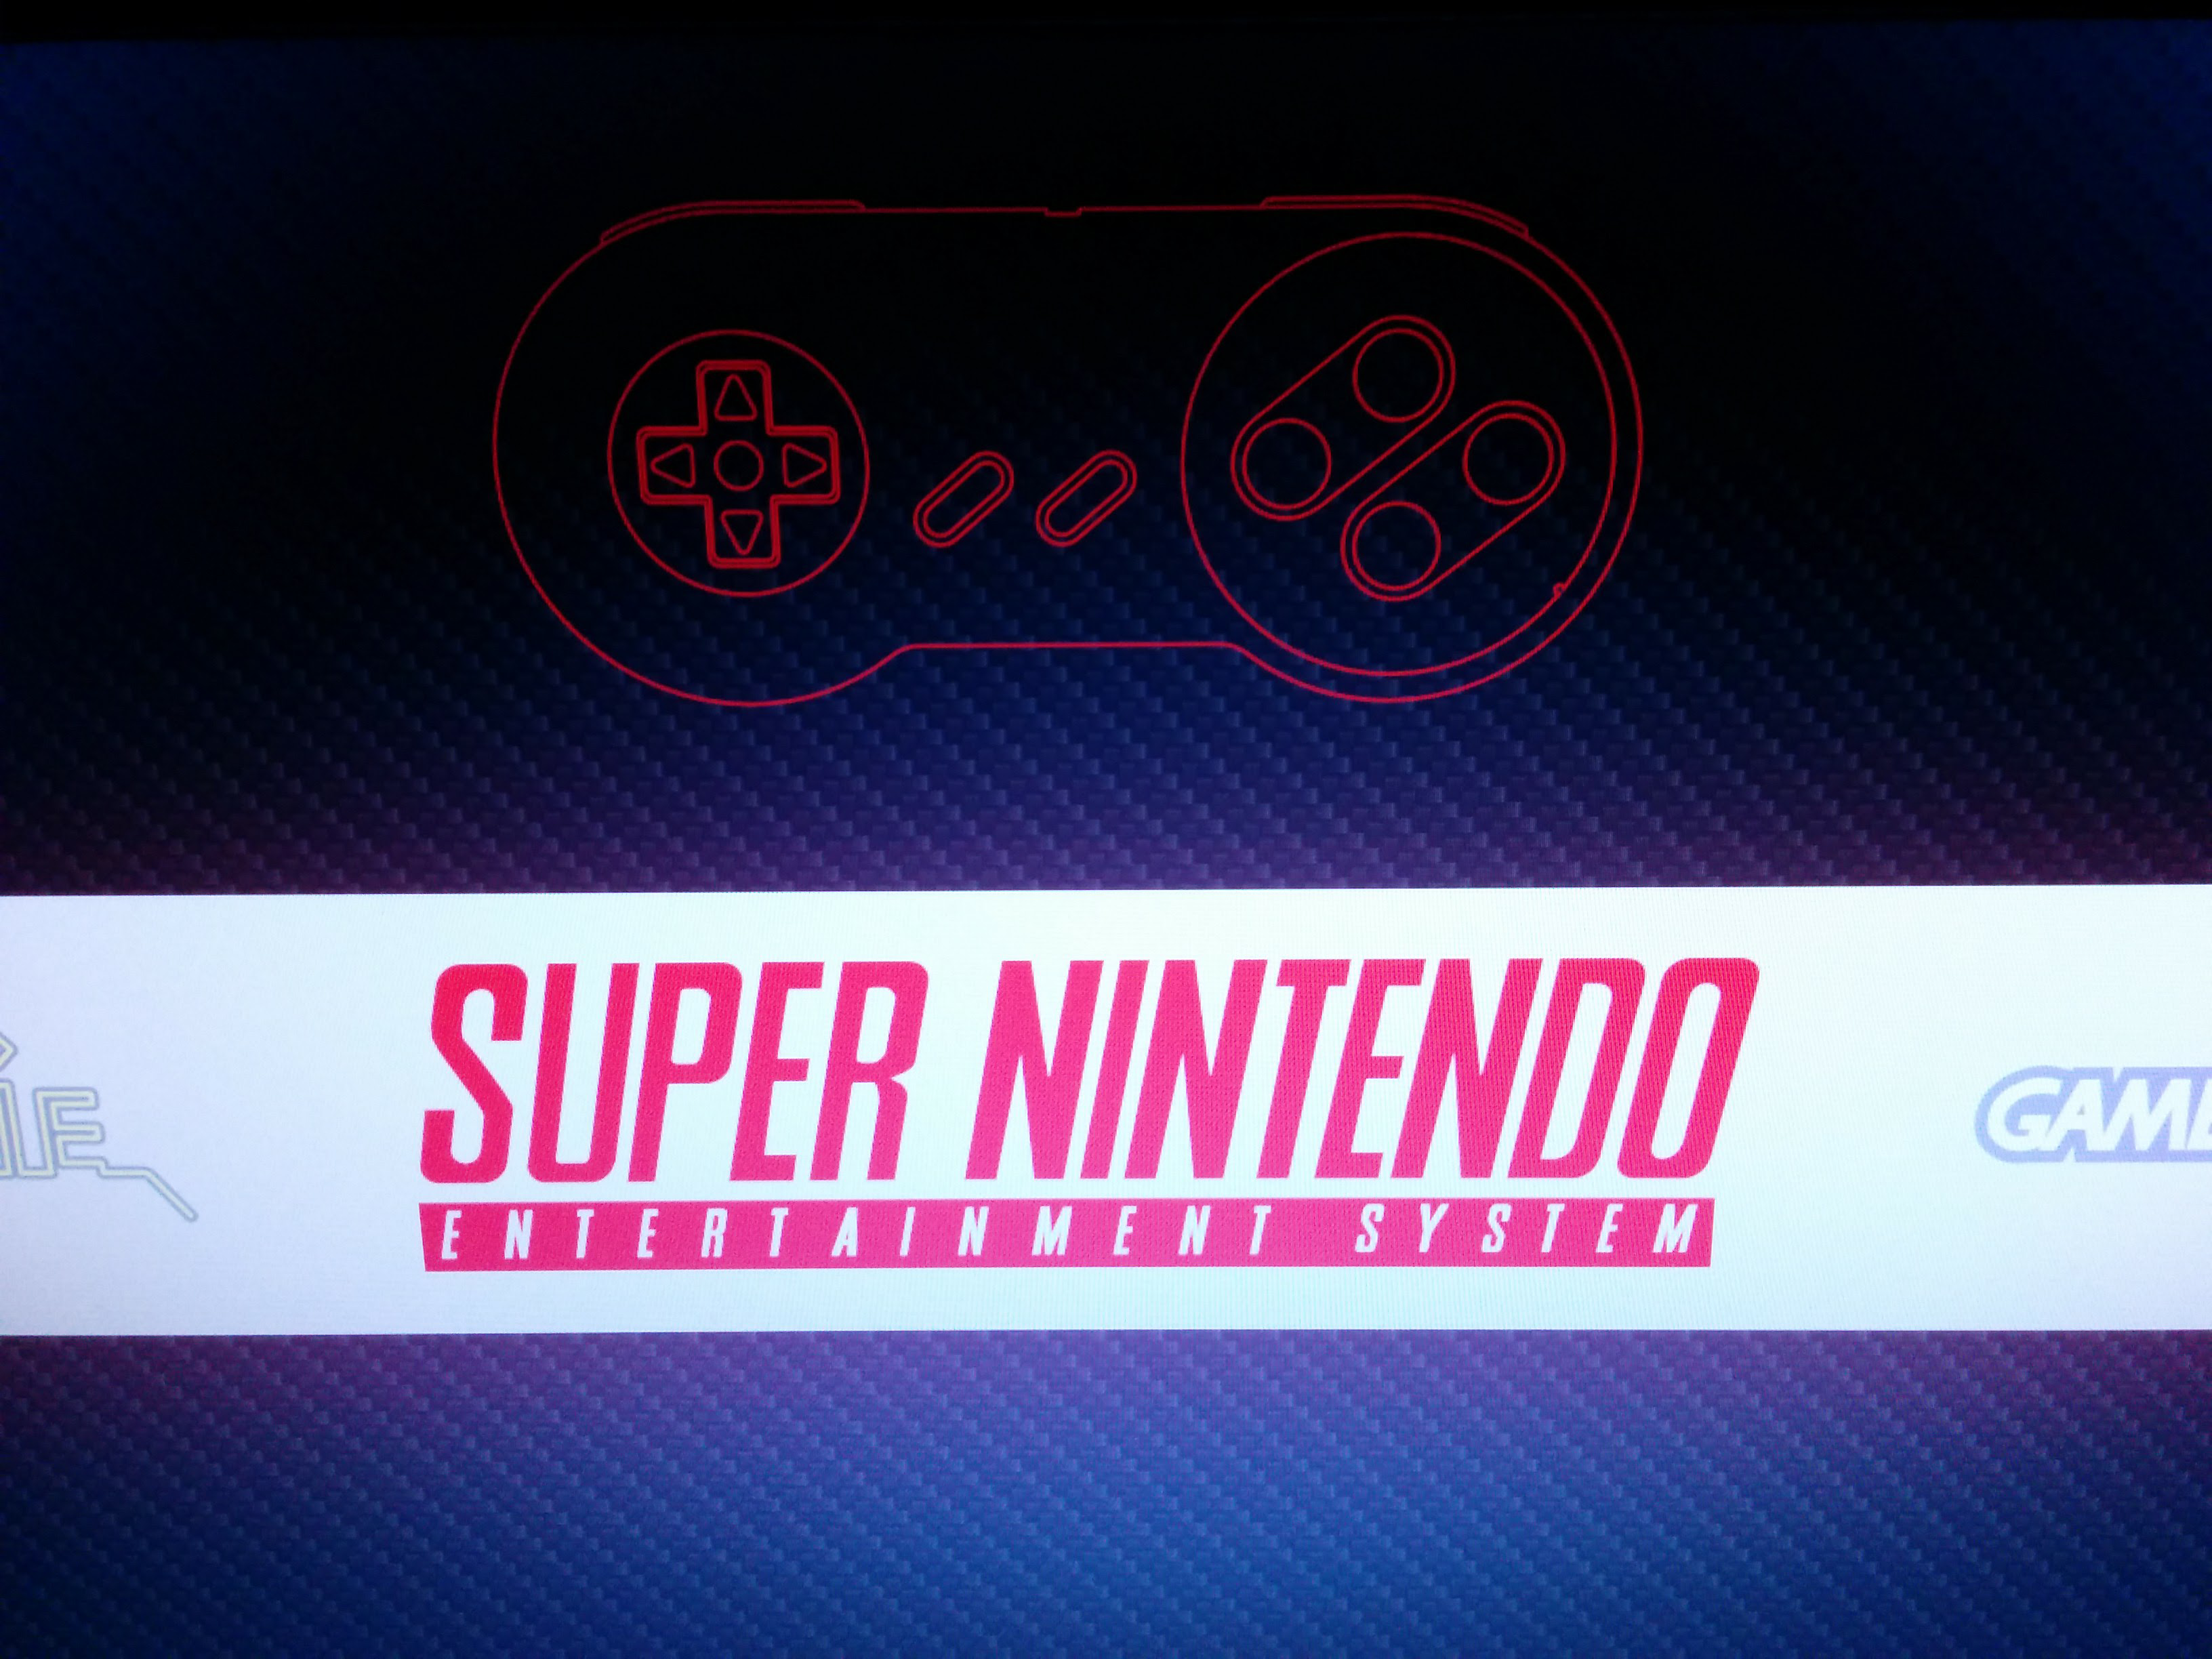
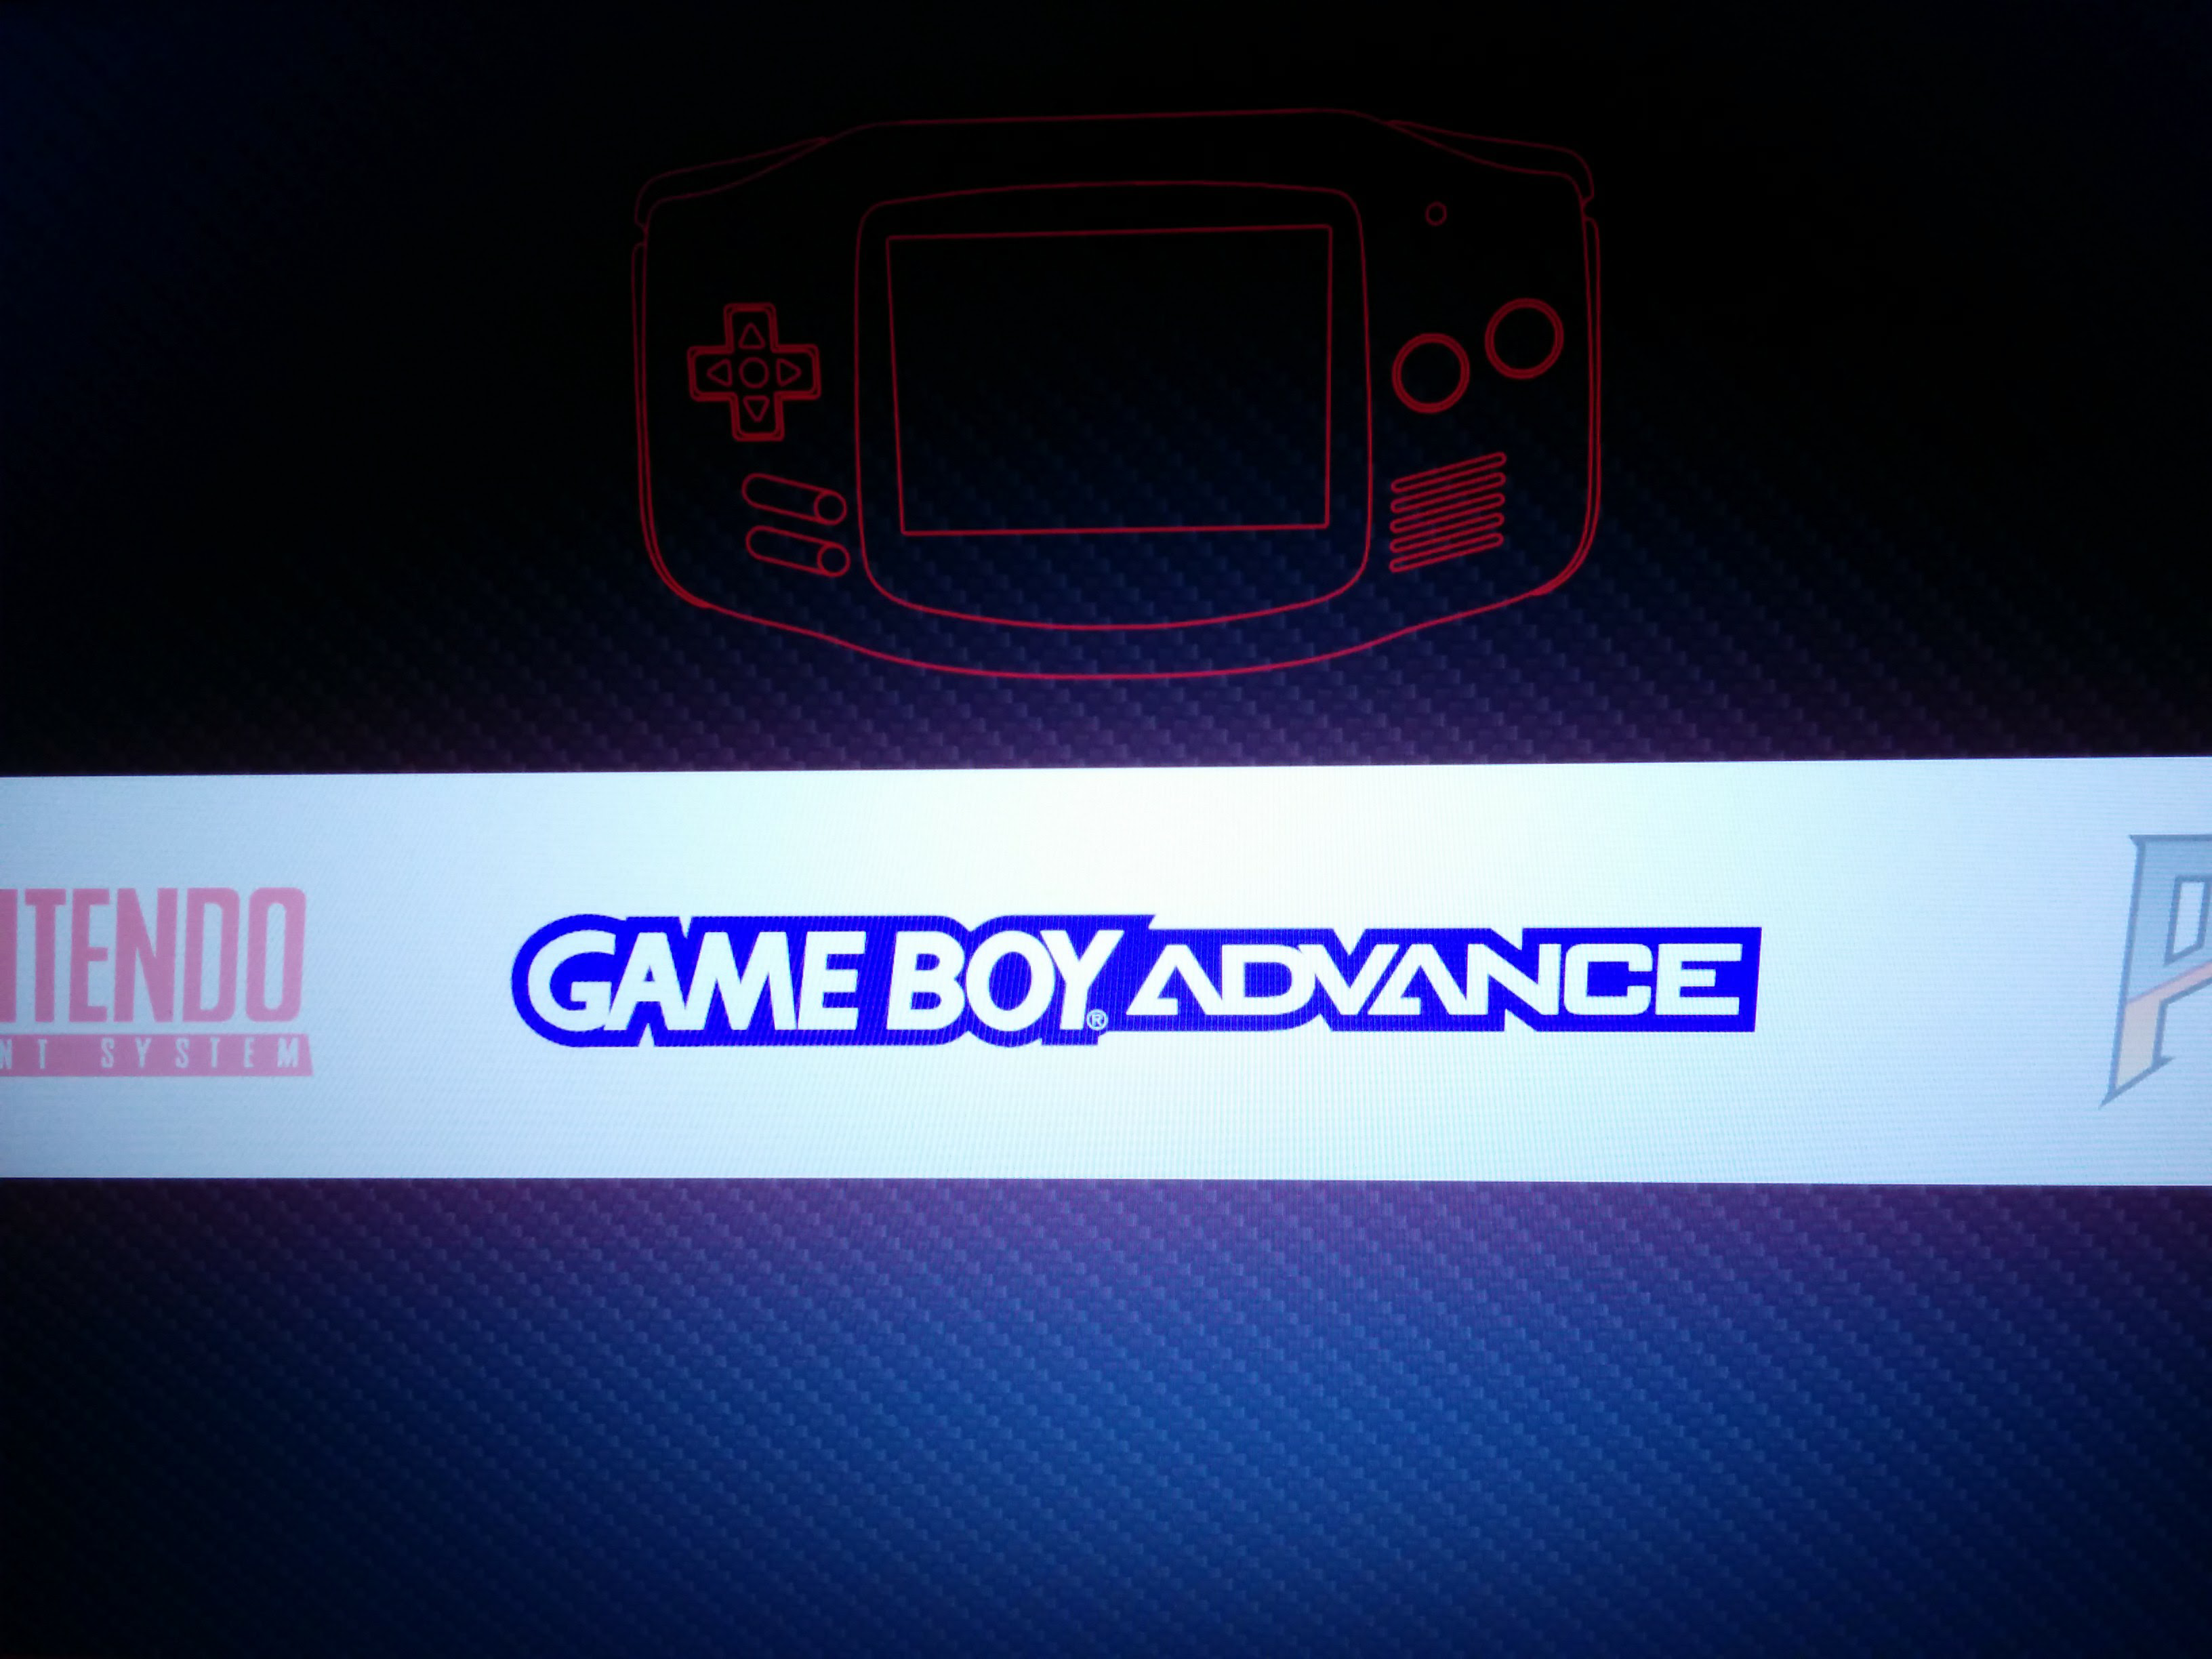
Adding Games to the RetroPi emulation Station is quite simple all you need to do is have a additional flash drive. Plug the flash drive into a PC and create a folder named "retropie", after creating the folder disconnect the flash drive from the computer and plug it into the raspberry pi and wait for about a minute.
The raspberry Pi creates a bunch of organized folders to add the roms or games, you can download your favorite games and add it to the different emulator folder and plug it back into the Pi and wait for a minute for it to copy on to the SD card.
After that you should see an additional emulator on the emulation station home screen from where you can start playing the game.