Raspberry Pi Neural Network
by 21bershe in Circuits > Raspberry Pi
3677 Views, 7 Favorites, 0 Comments
Raspberry Pi Neural Network
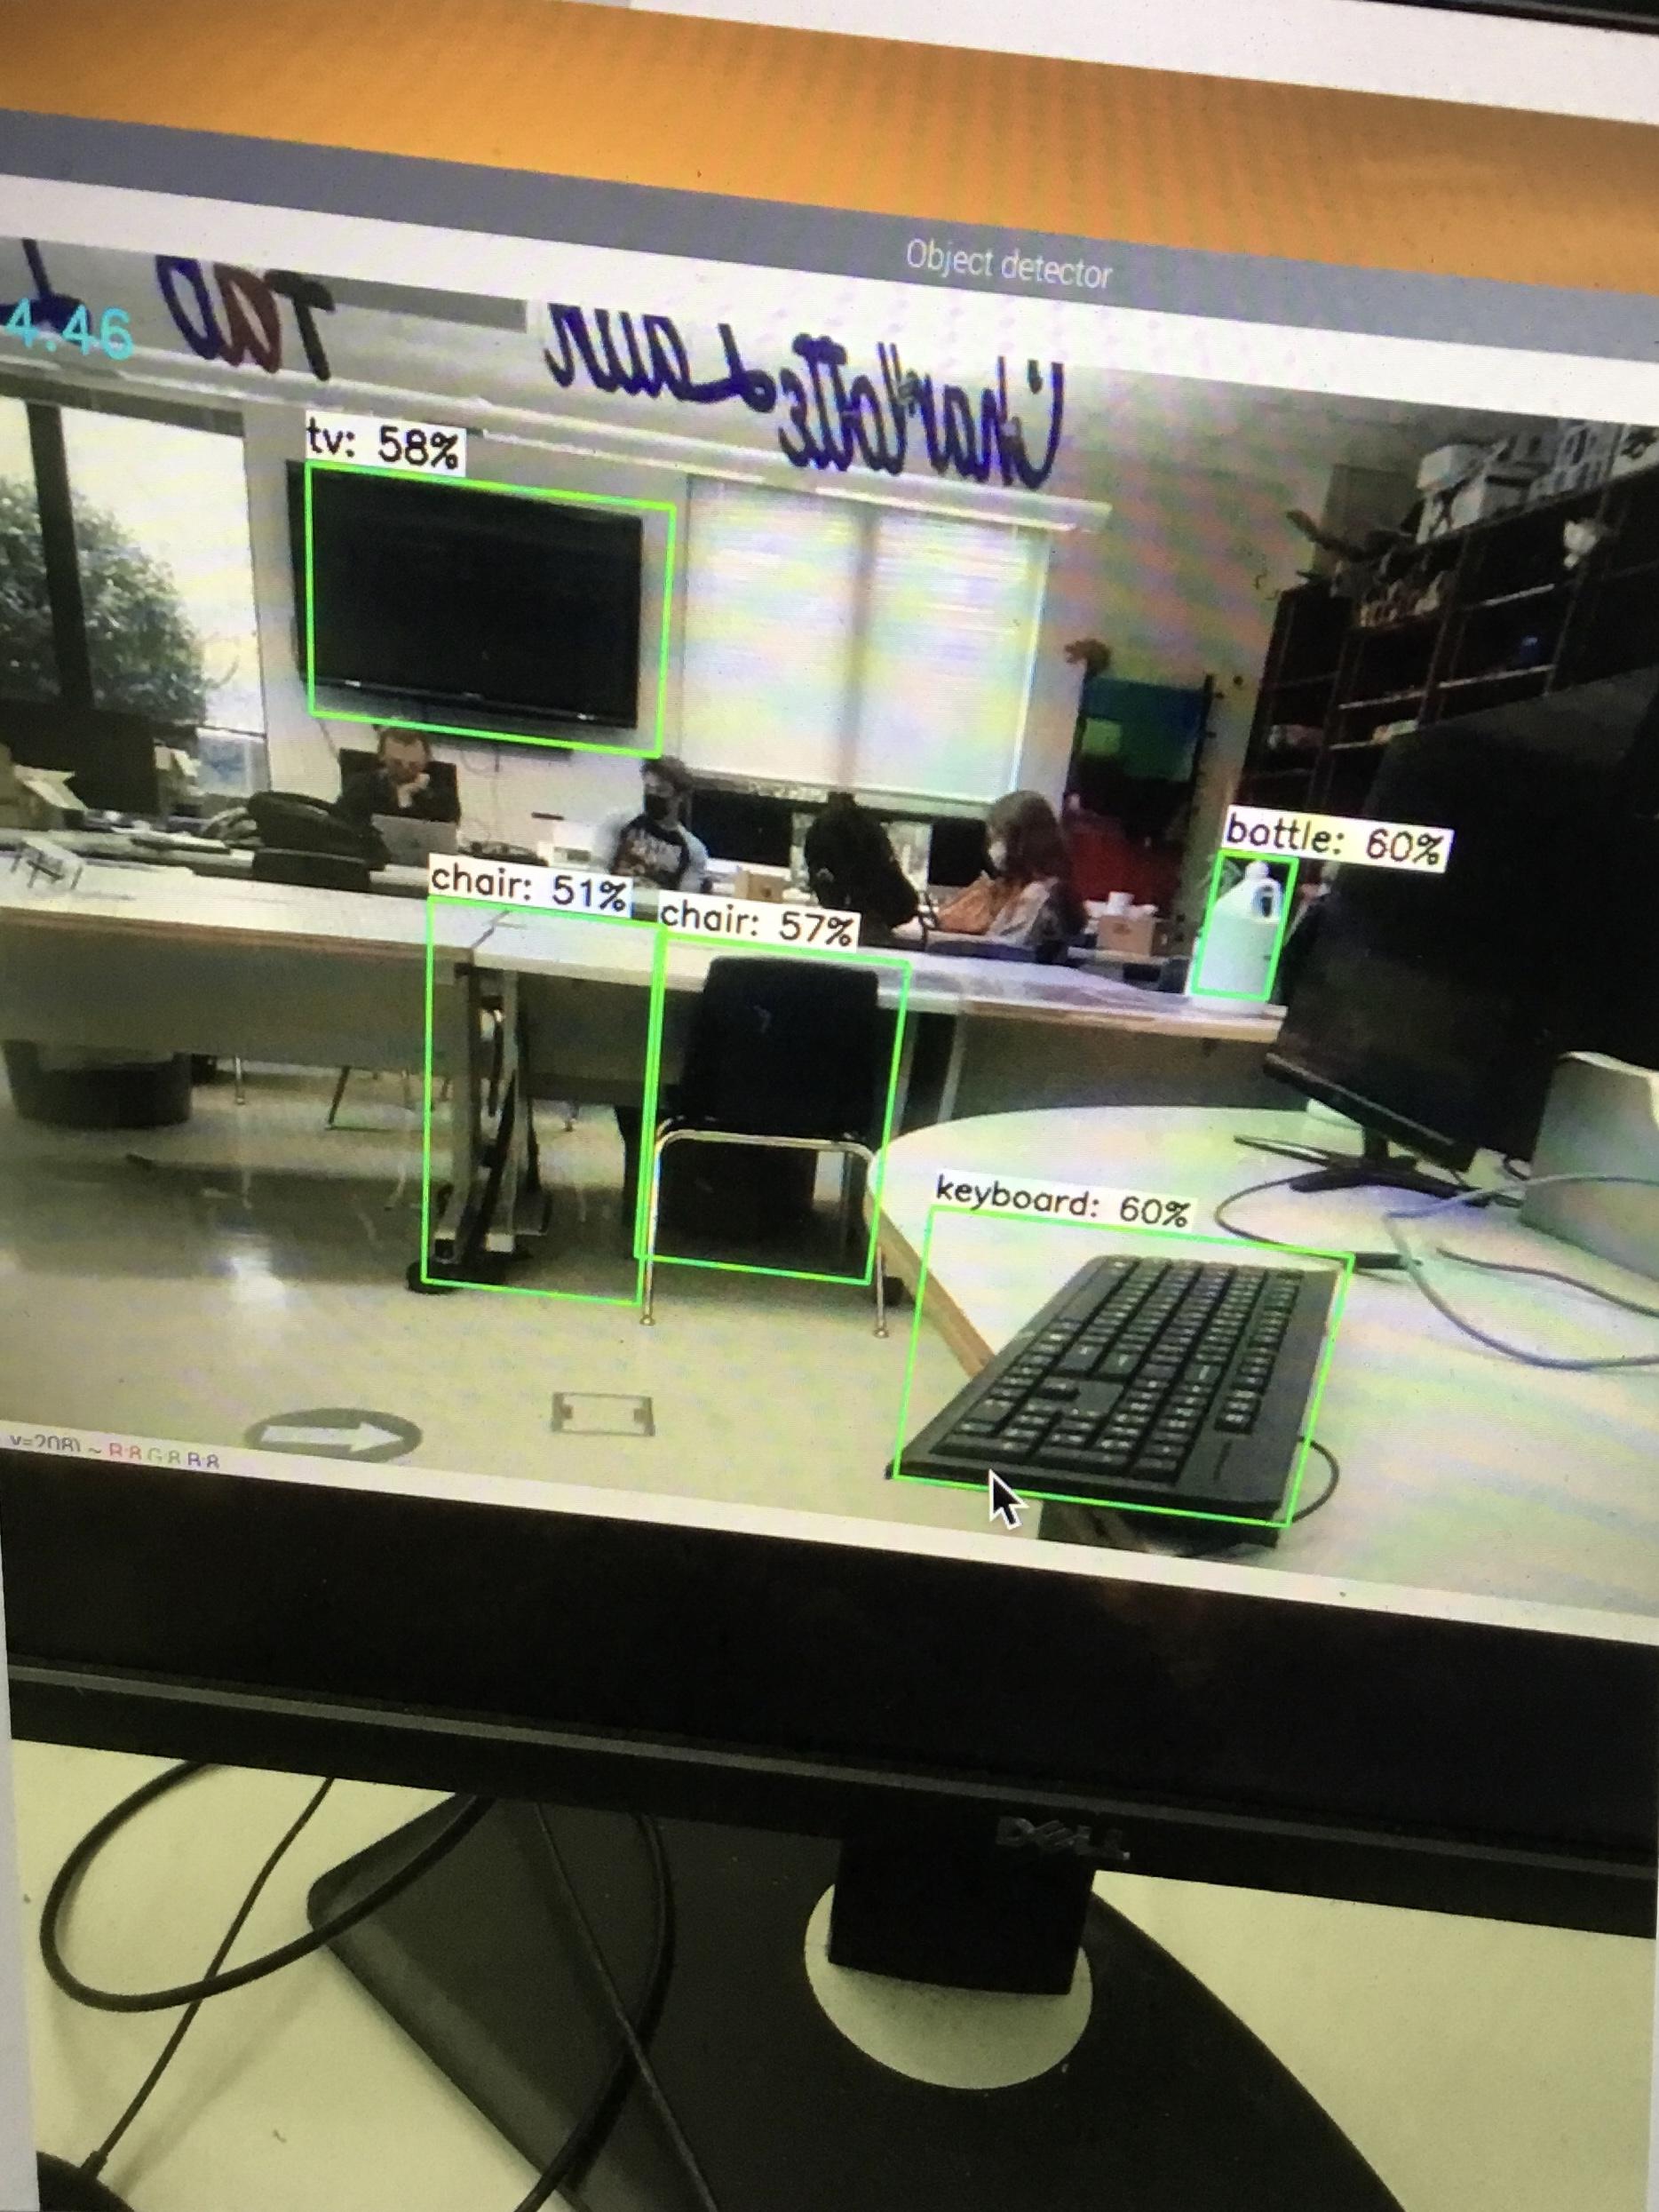
An overview of my whole progress with the project is here:
A thorough daily journal documenting my progress as I completed the project is here:
https://docs.google.com/document/d/1aj25FXS11DOEBoRhBqgz7OQQo-RIIwRrkGnJXZzfTNg/edit?usp=sharing
This project is based off of this Youtube tutorial:
Much of the electronics will follow along closely, but the physical aspect is not included in the tutorial.
Supplies
PiCamera
Raspberry Pi Board (I used 3B version)
8GB SD card
HDMI cable
Ethernet cable
Power source
Keyboard
Mouse
Planks of wood
Format SD Card
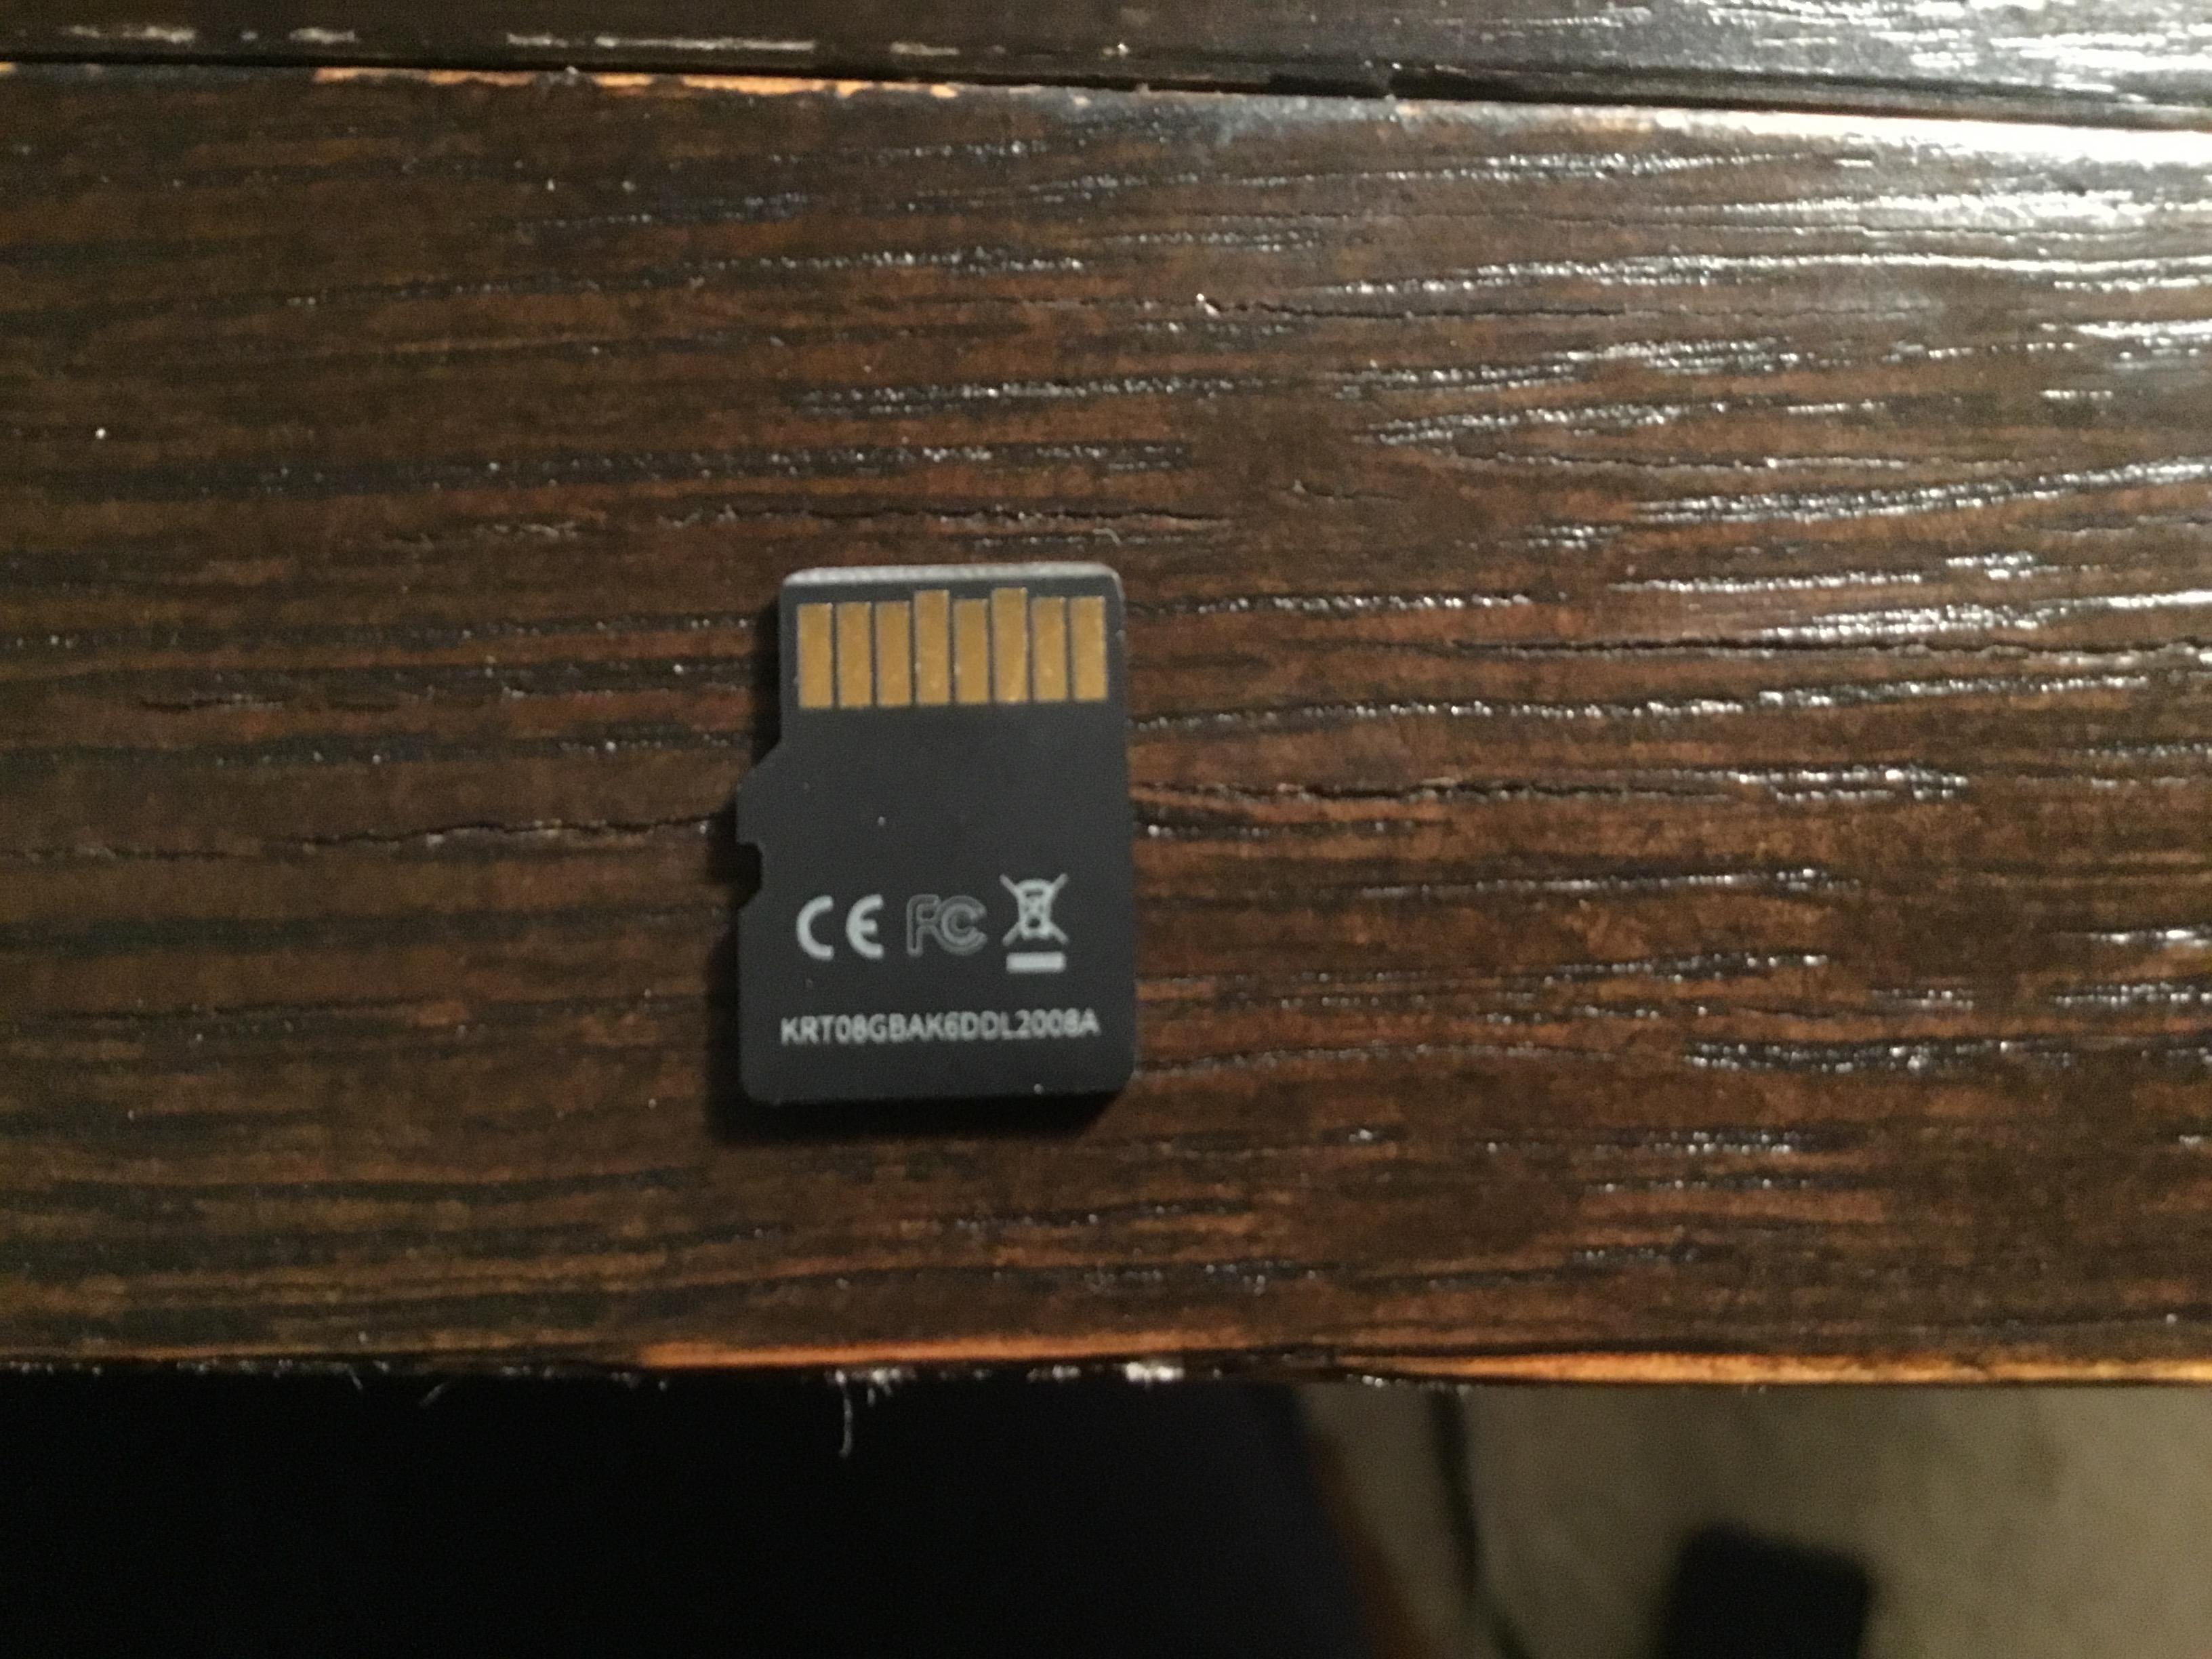
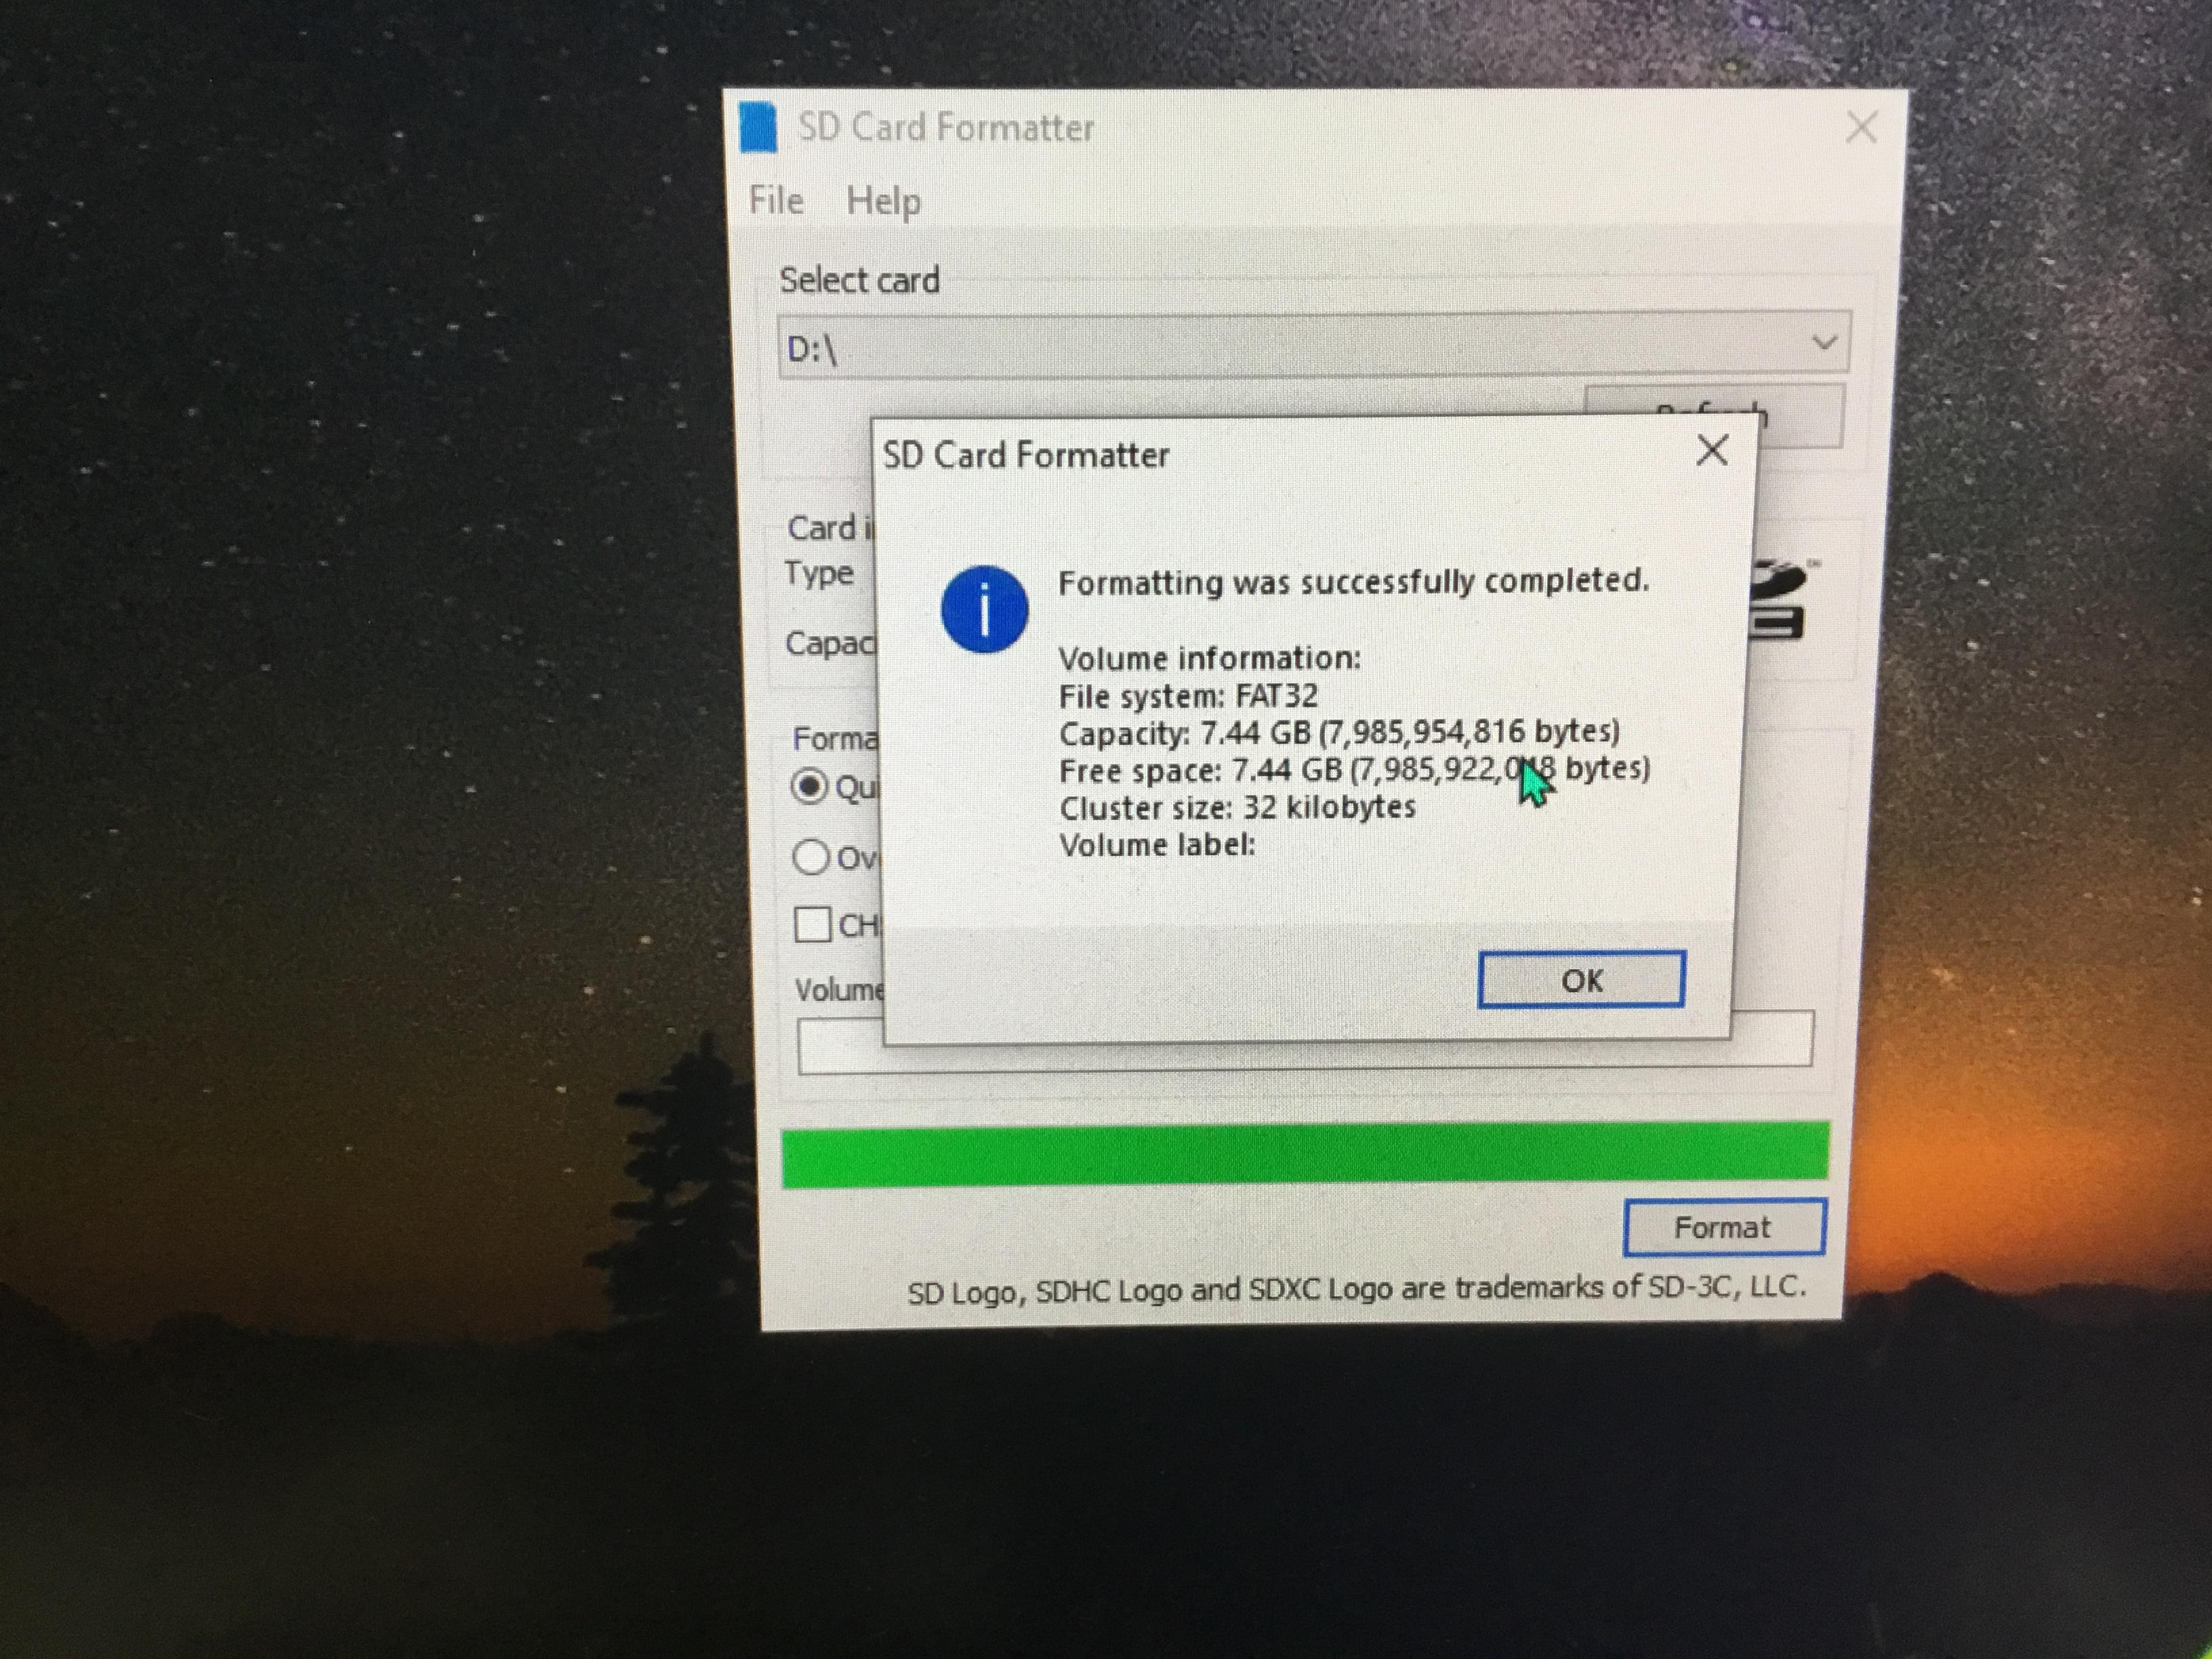
Format your 8GB SD card using https://www.sdcard.org/downloads/formatter_4/index.html
Physical Setup
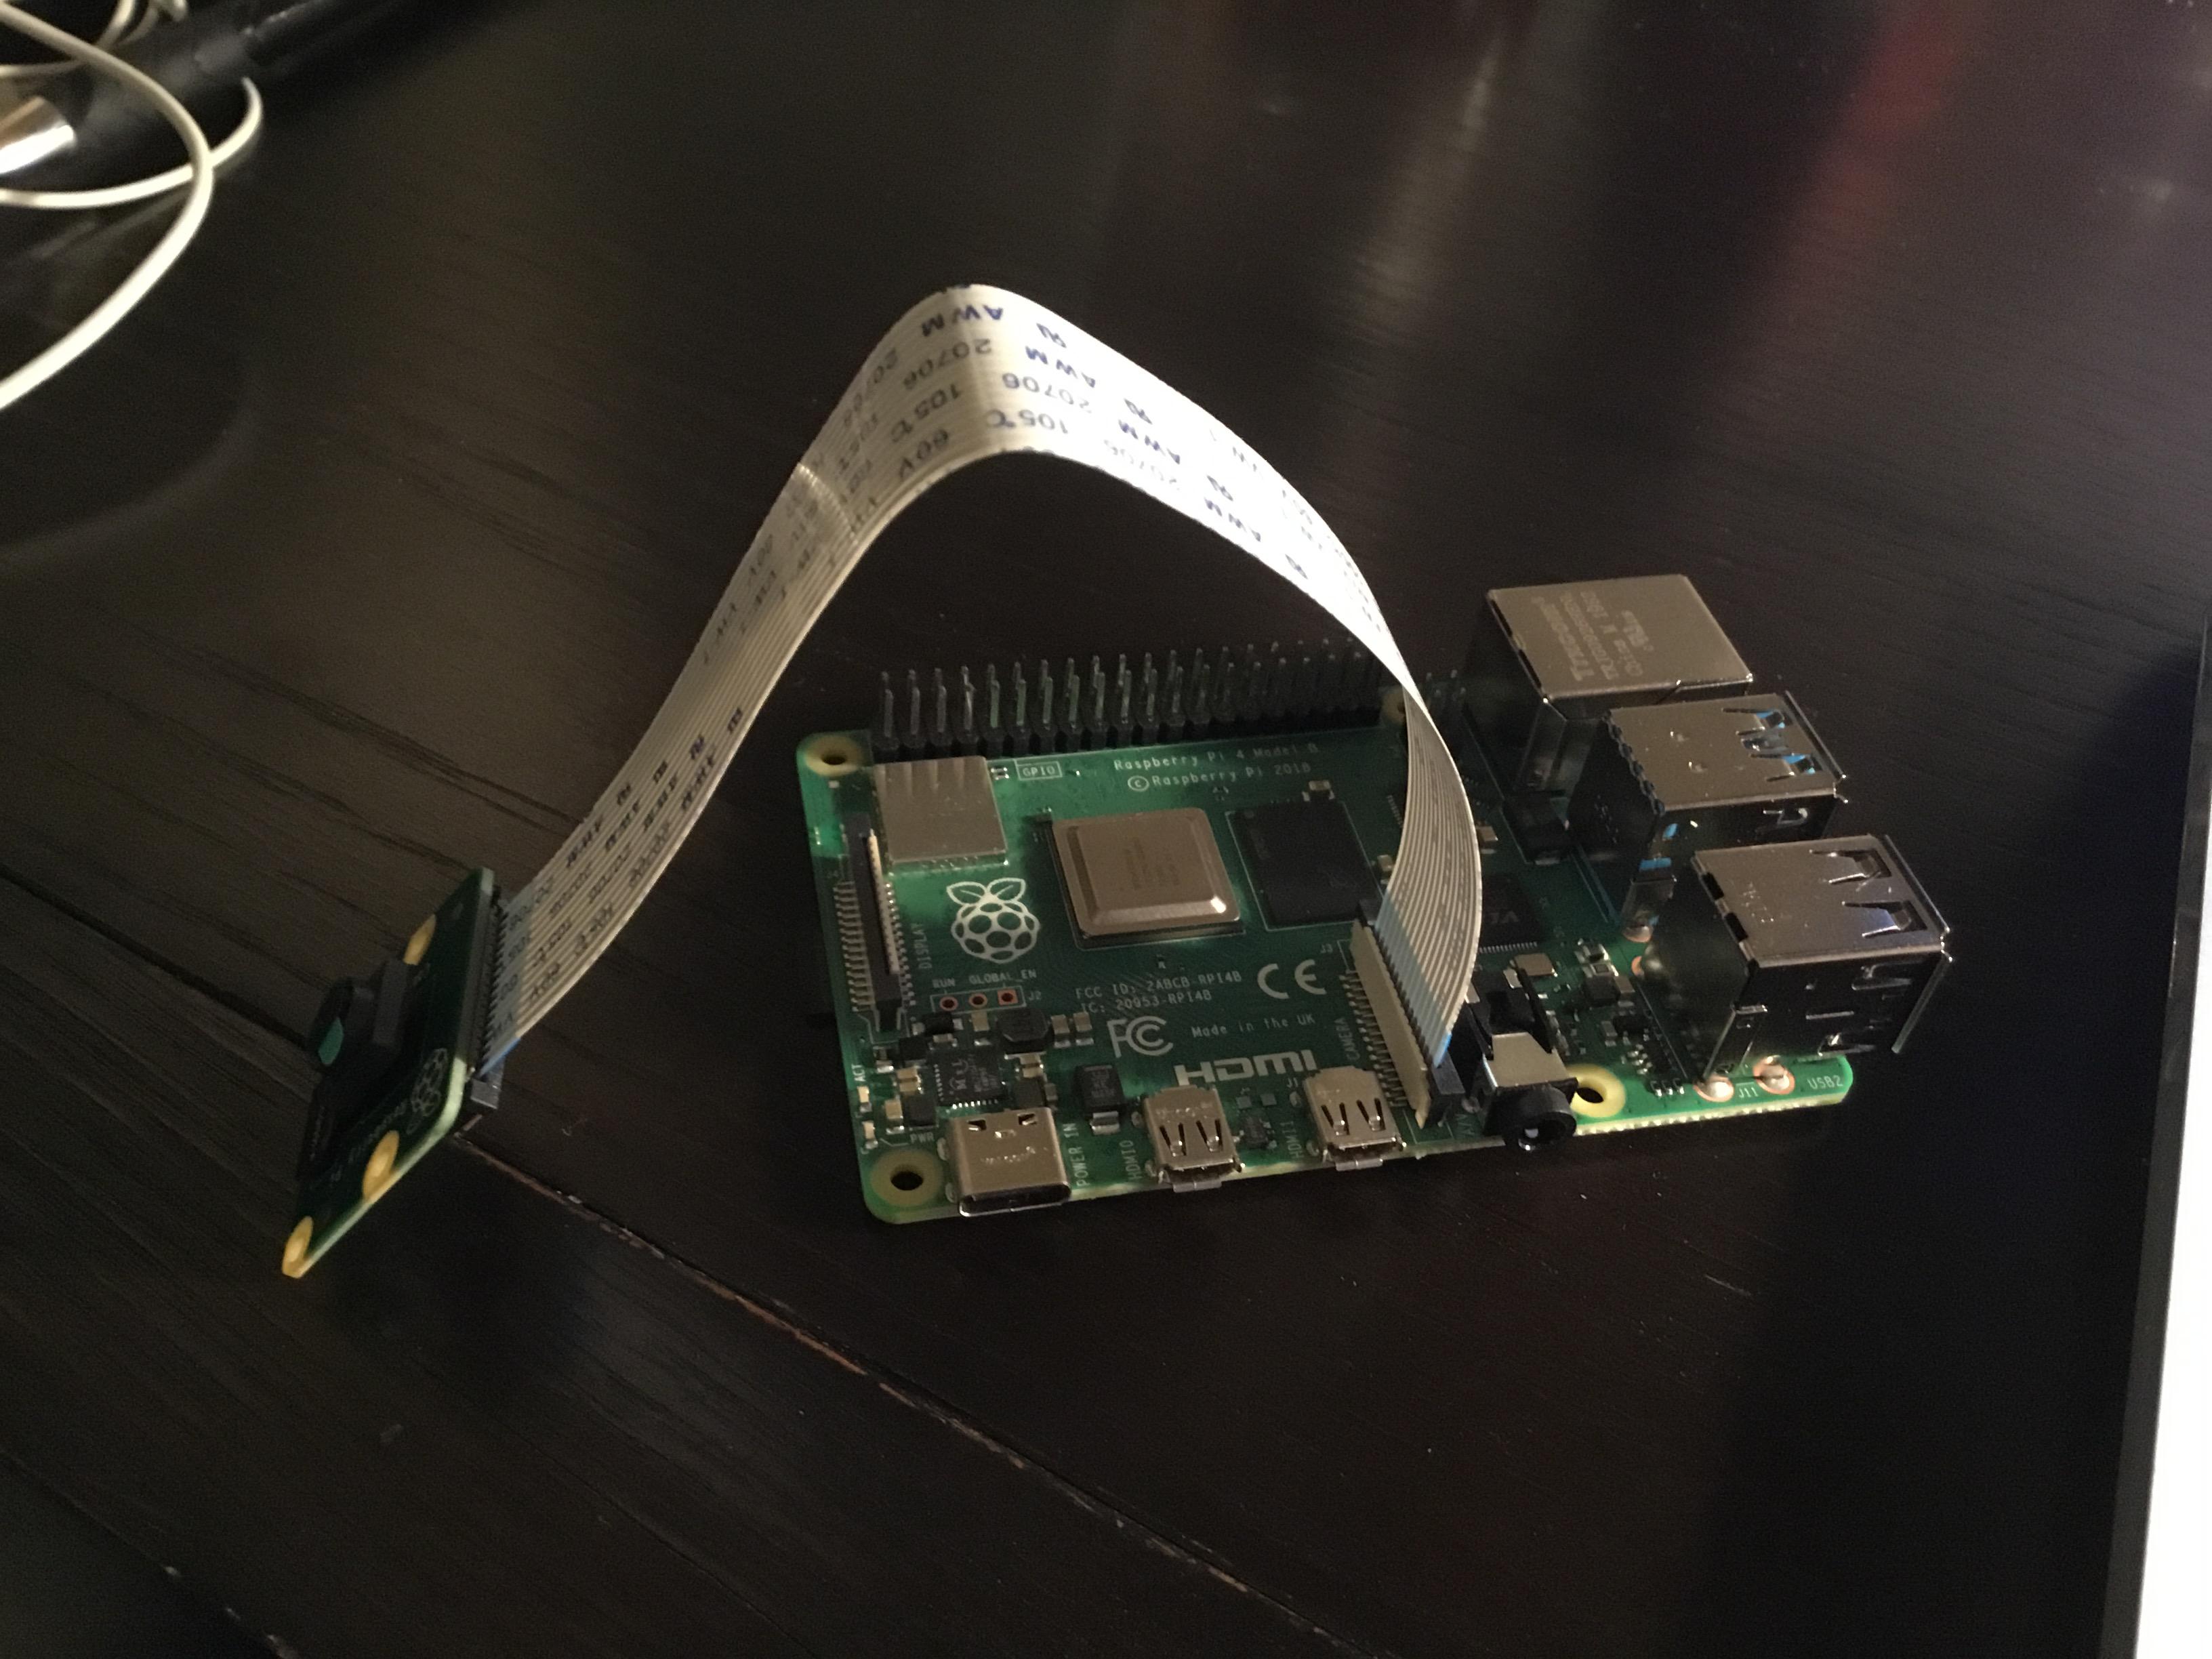
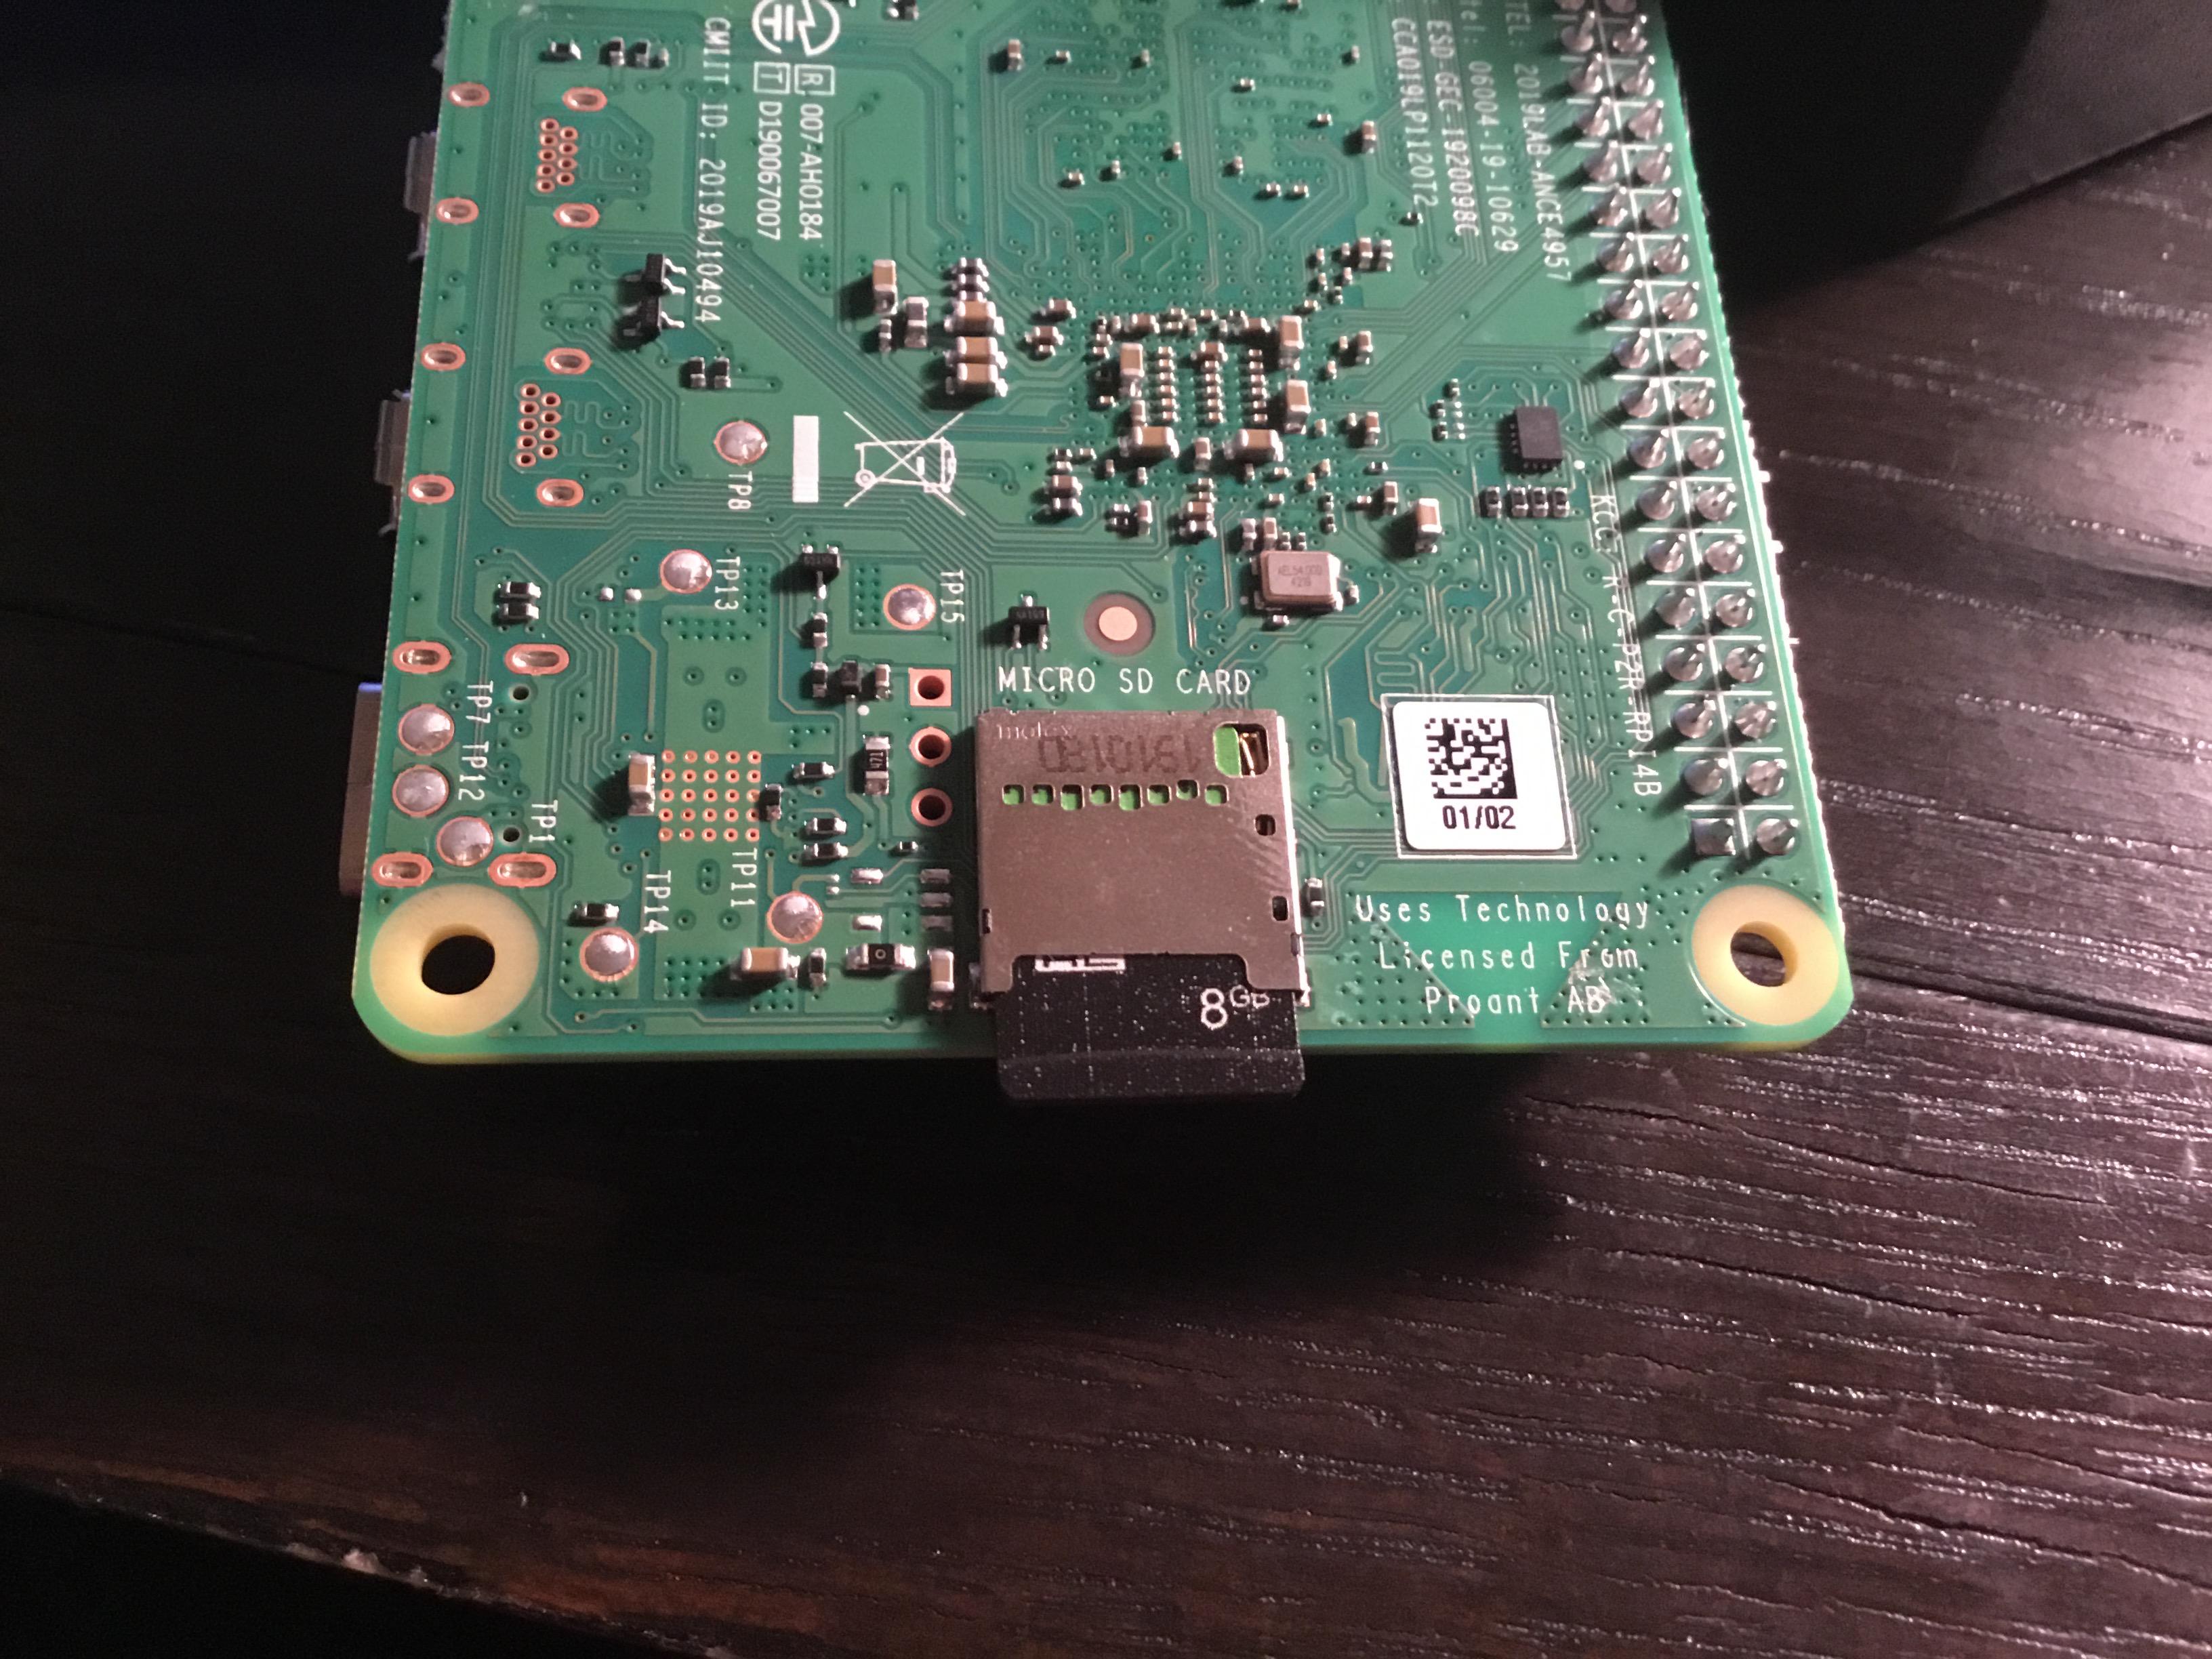
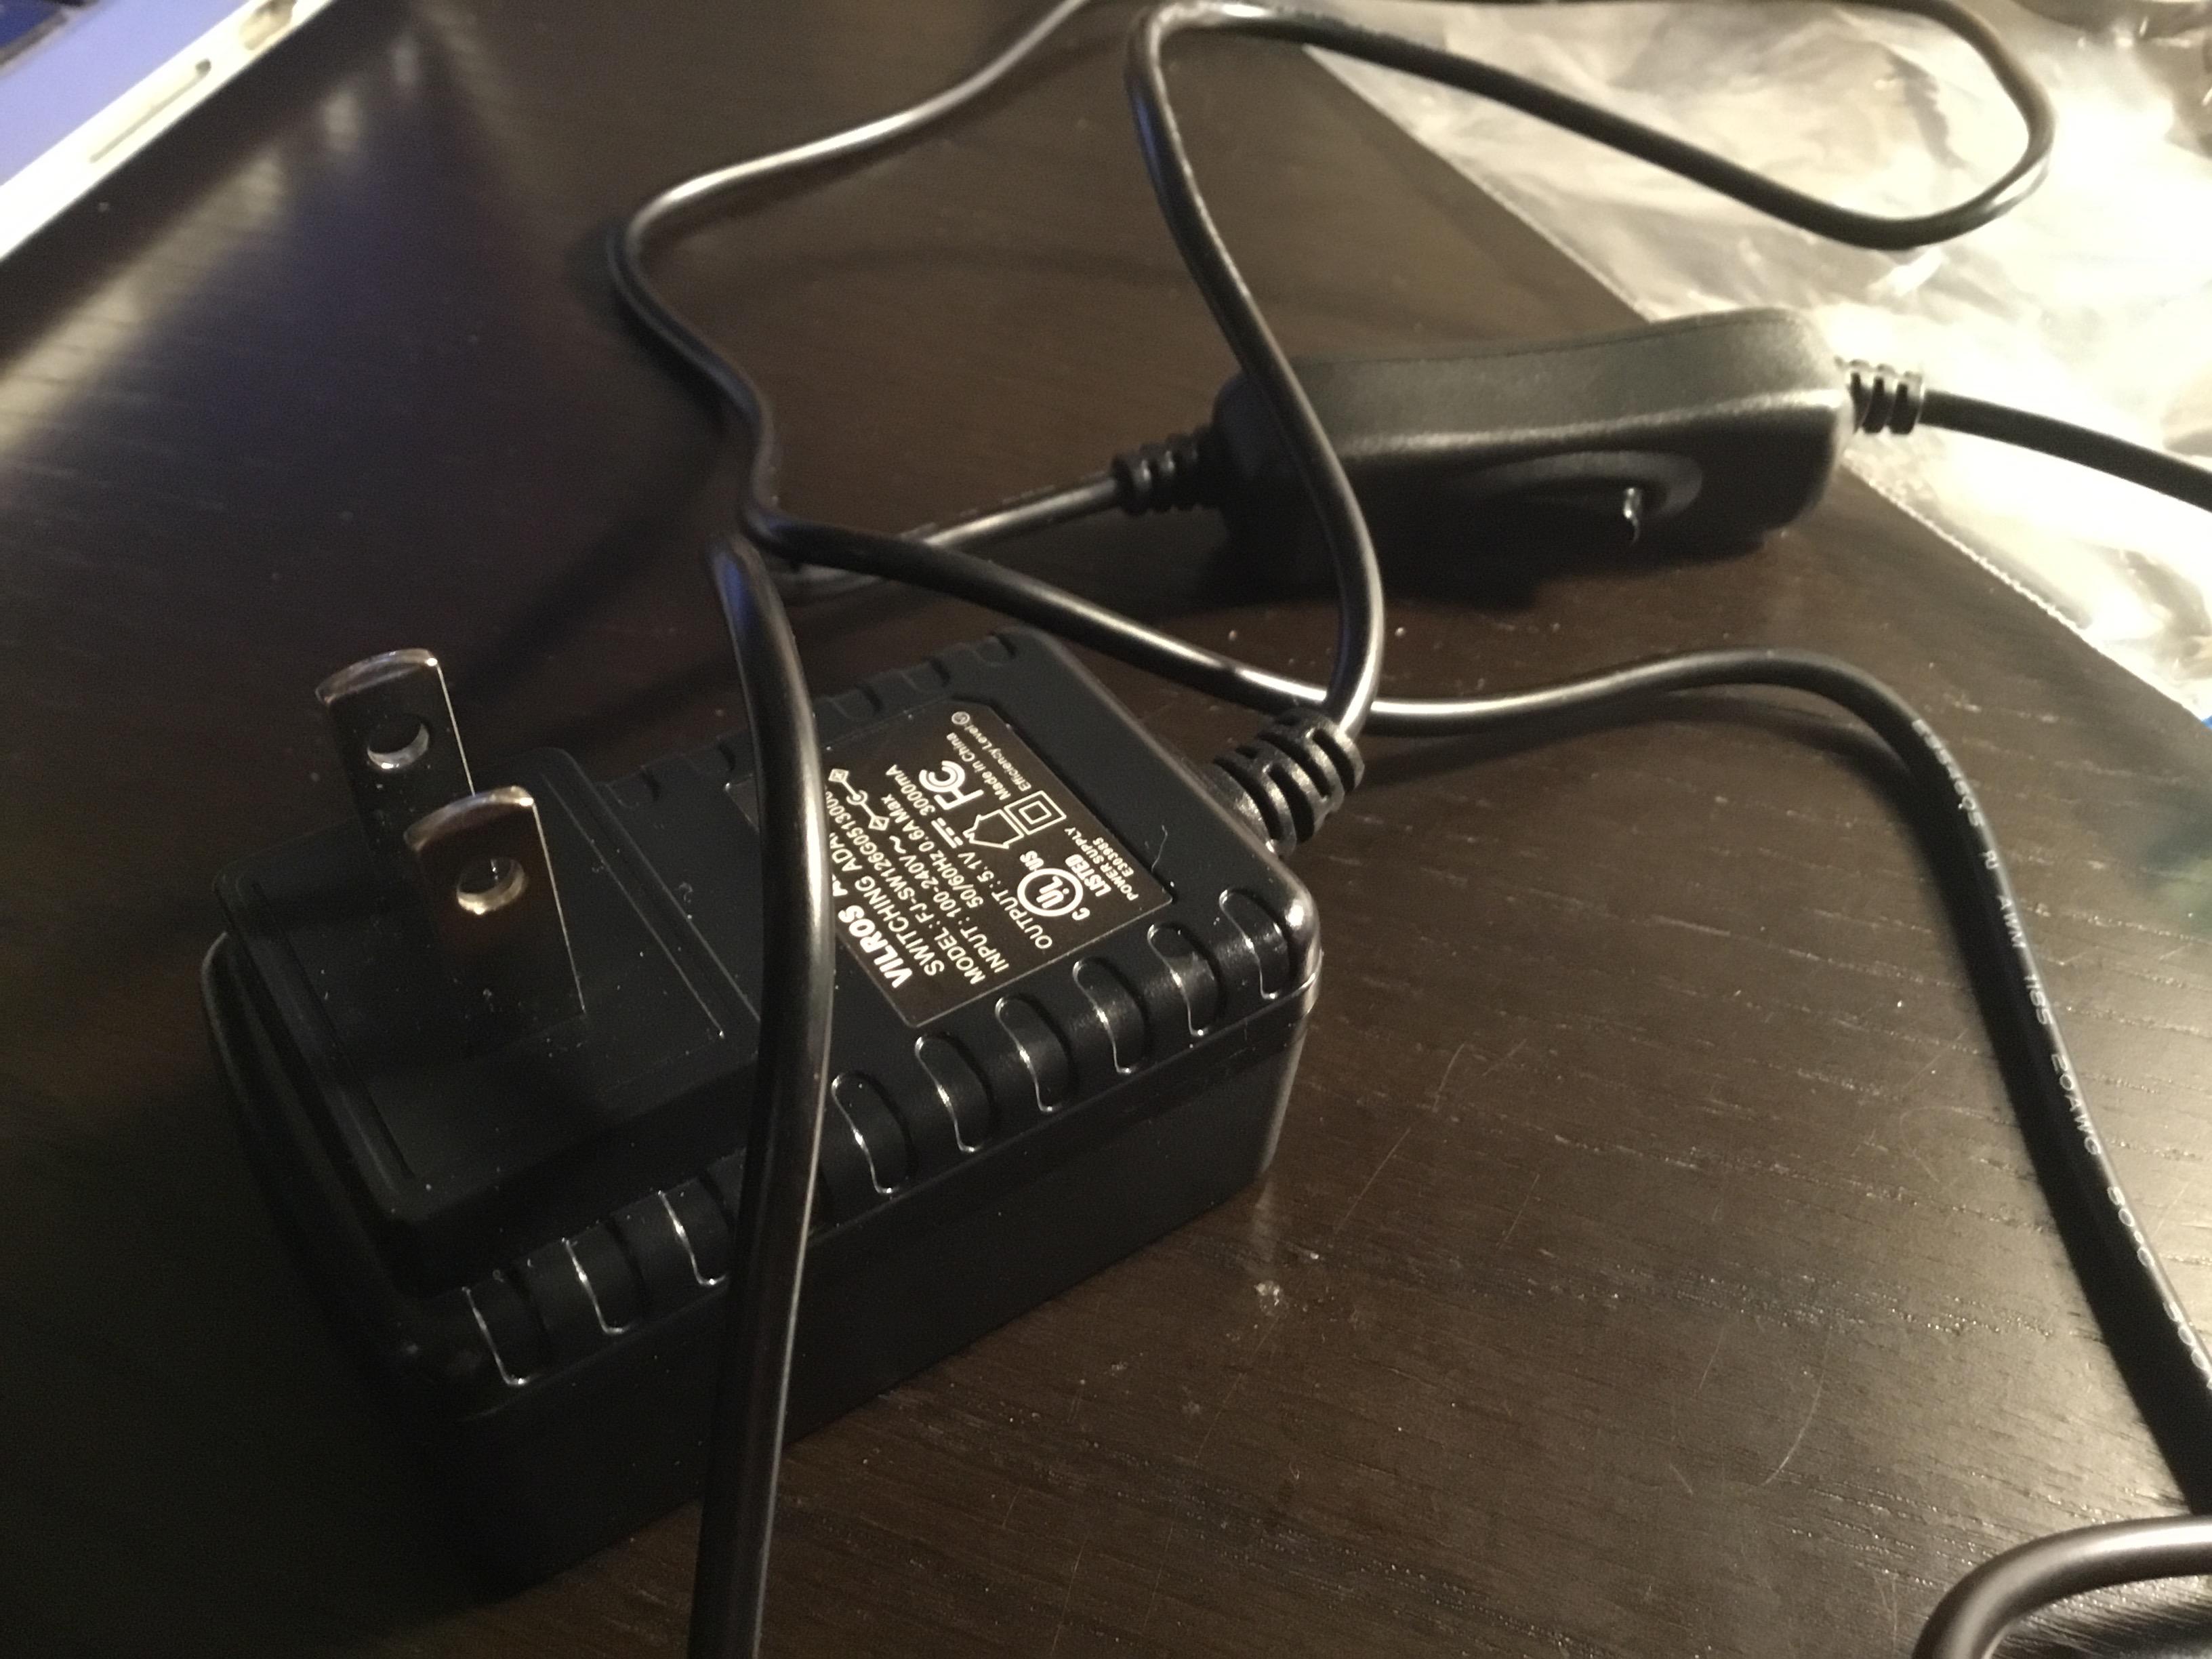
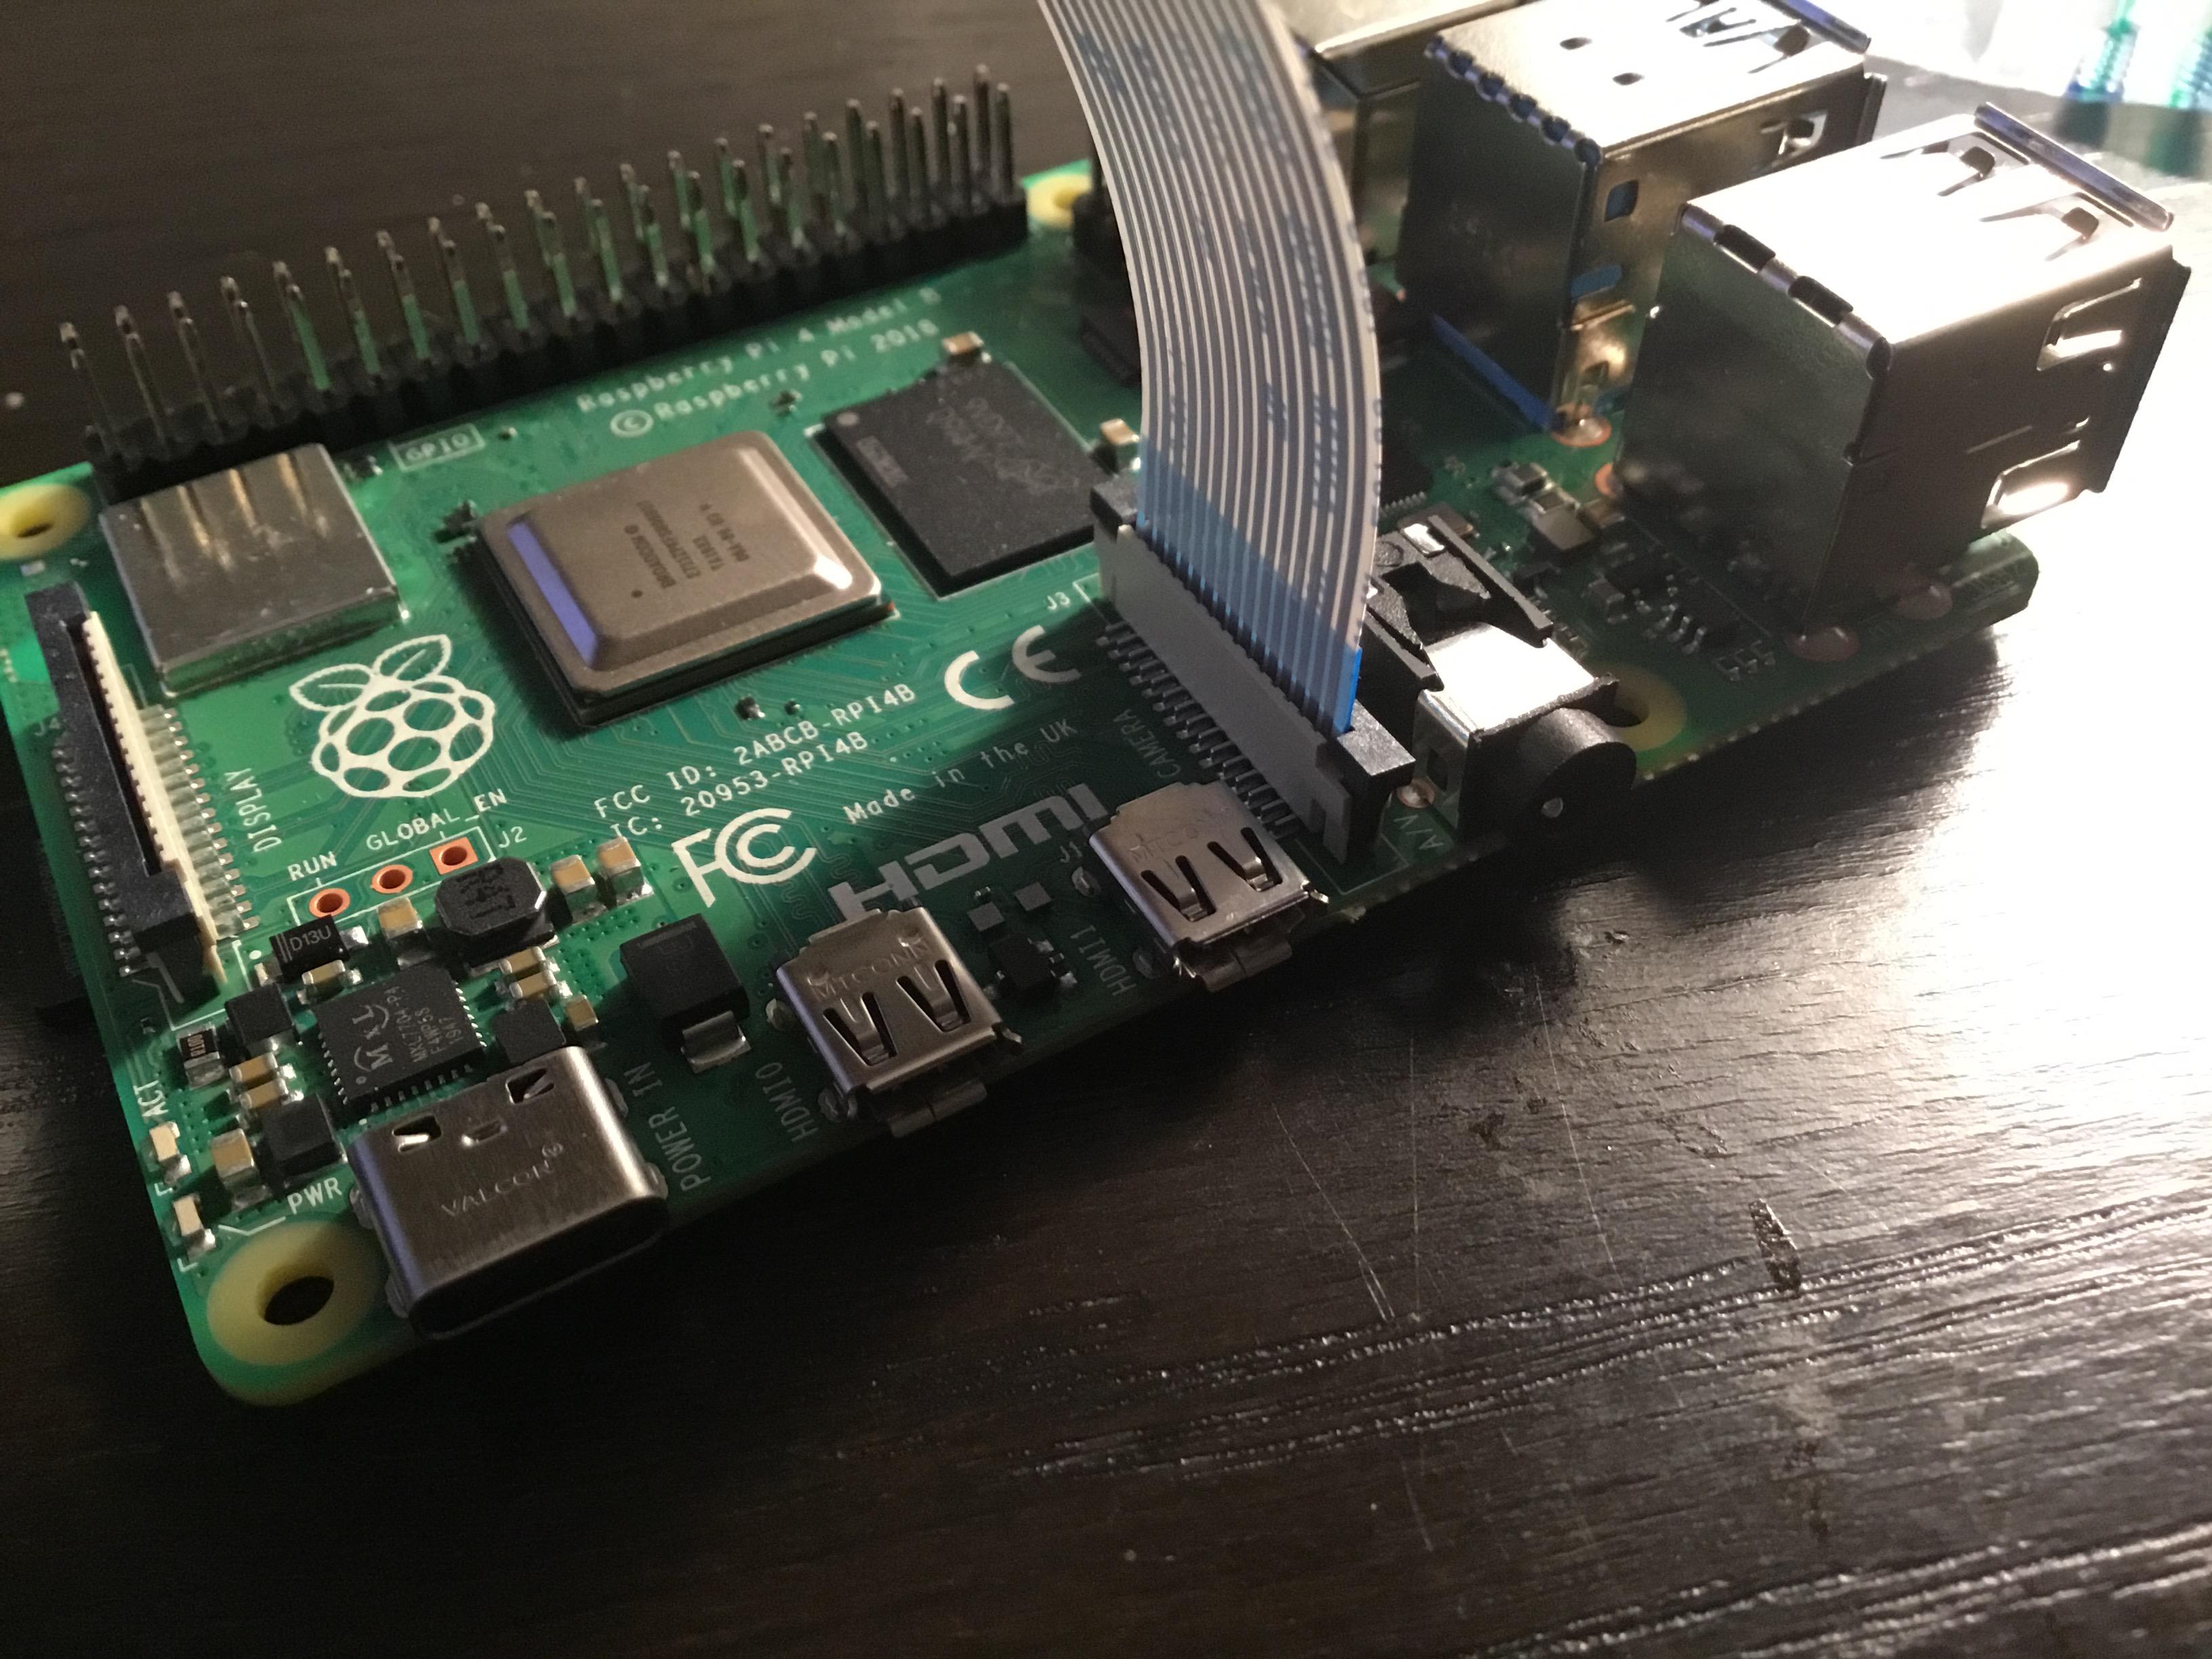
Plug in ethernet, HDMI, SD card, keyboard, mouse, and PiCamera to Raspberry Pi. Then connect power source to an outlet and HDMI to a monitor. Turn on the Pi.
Software Setup
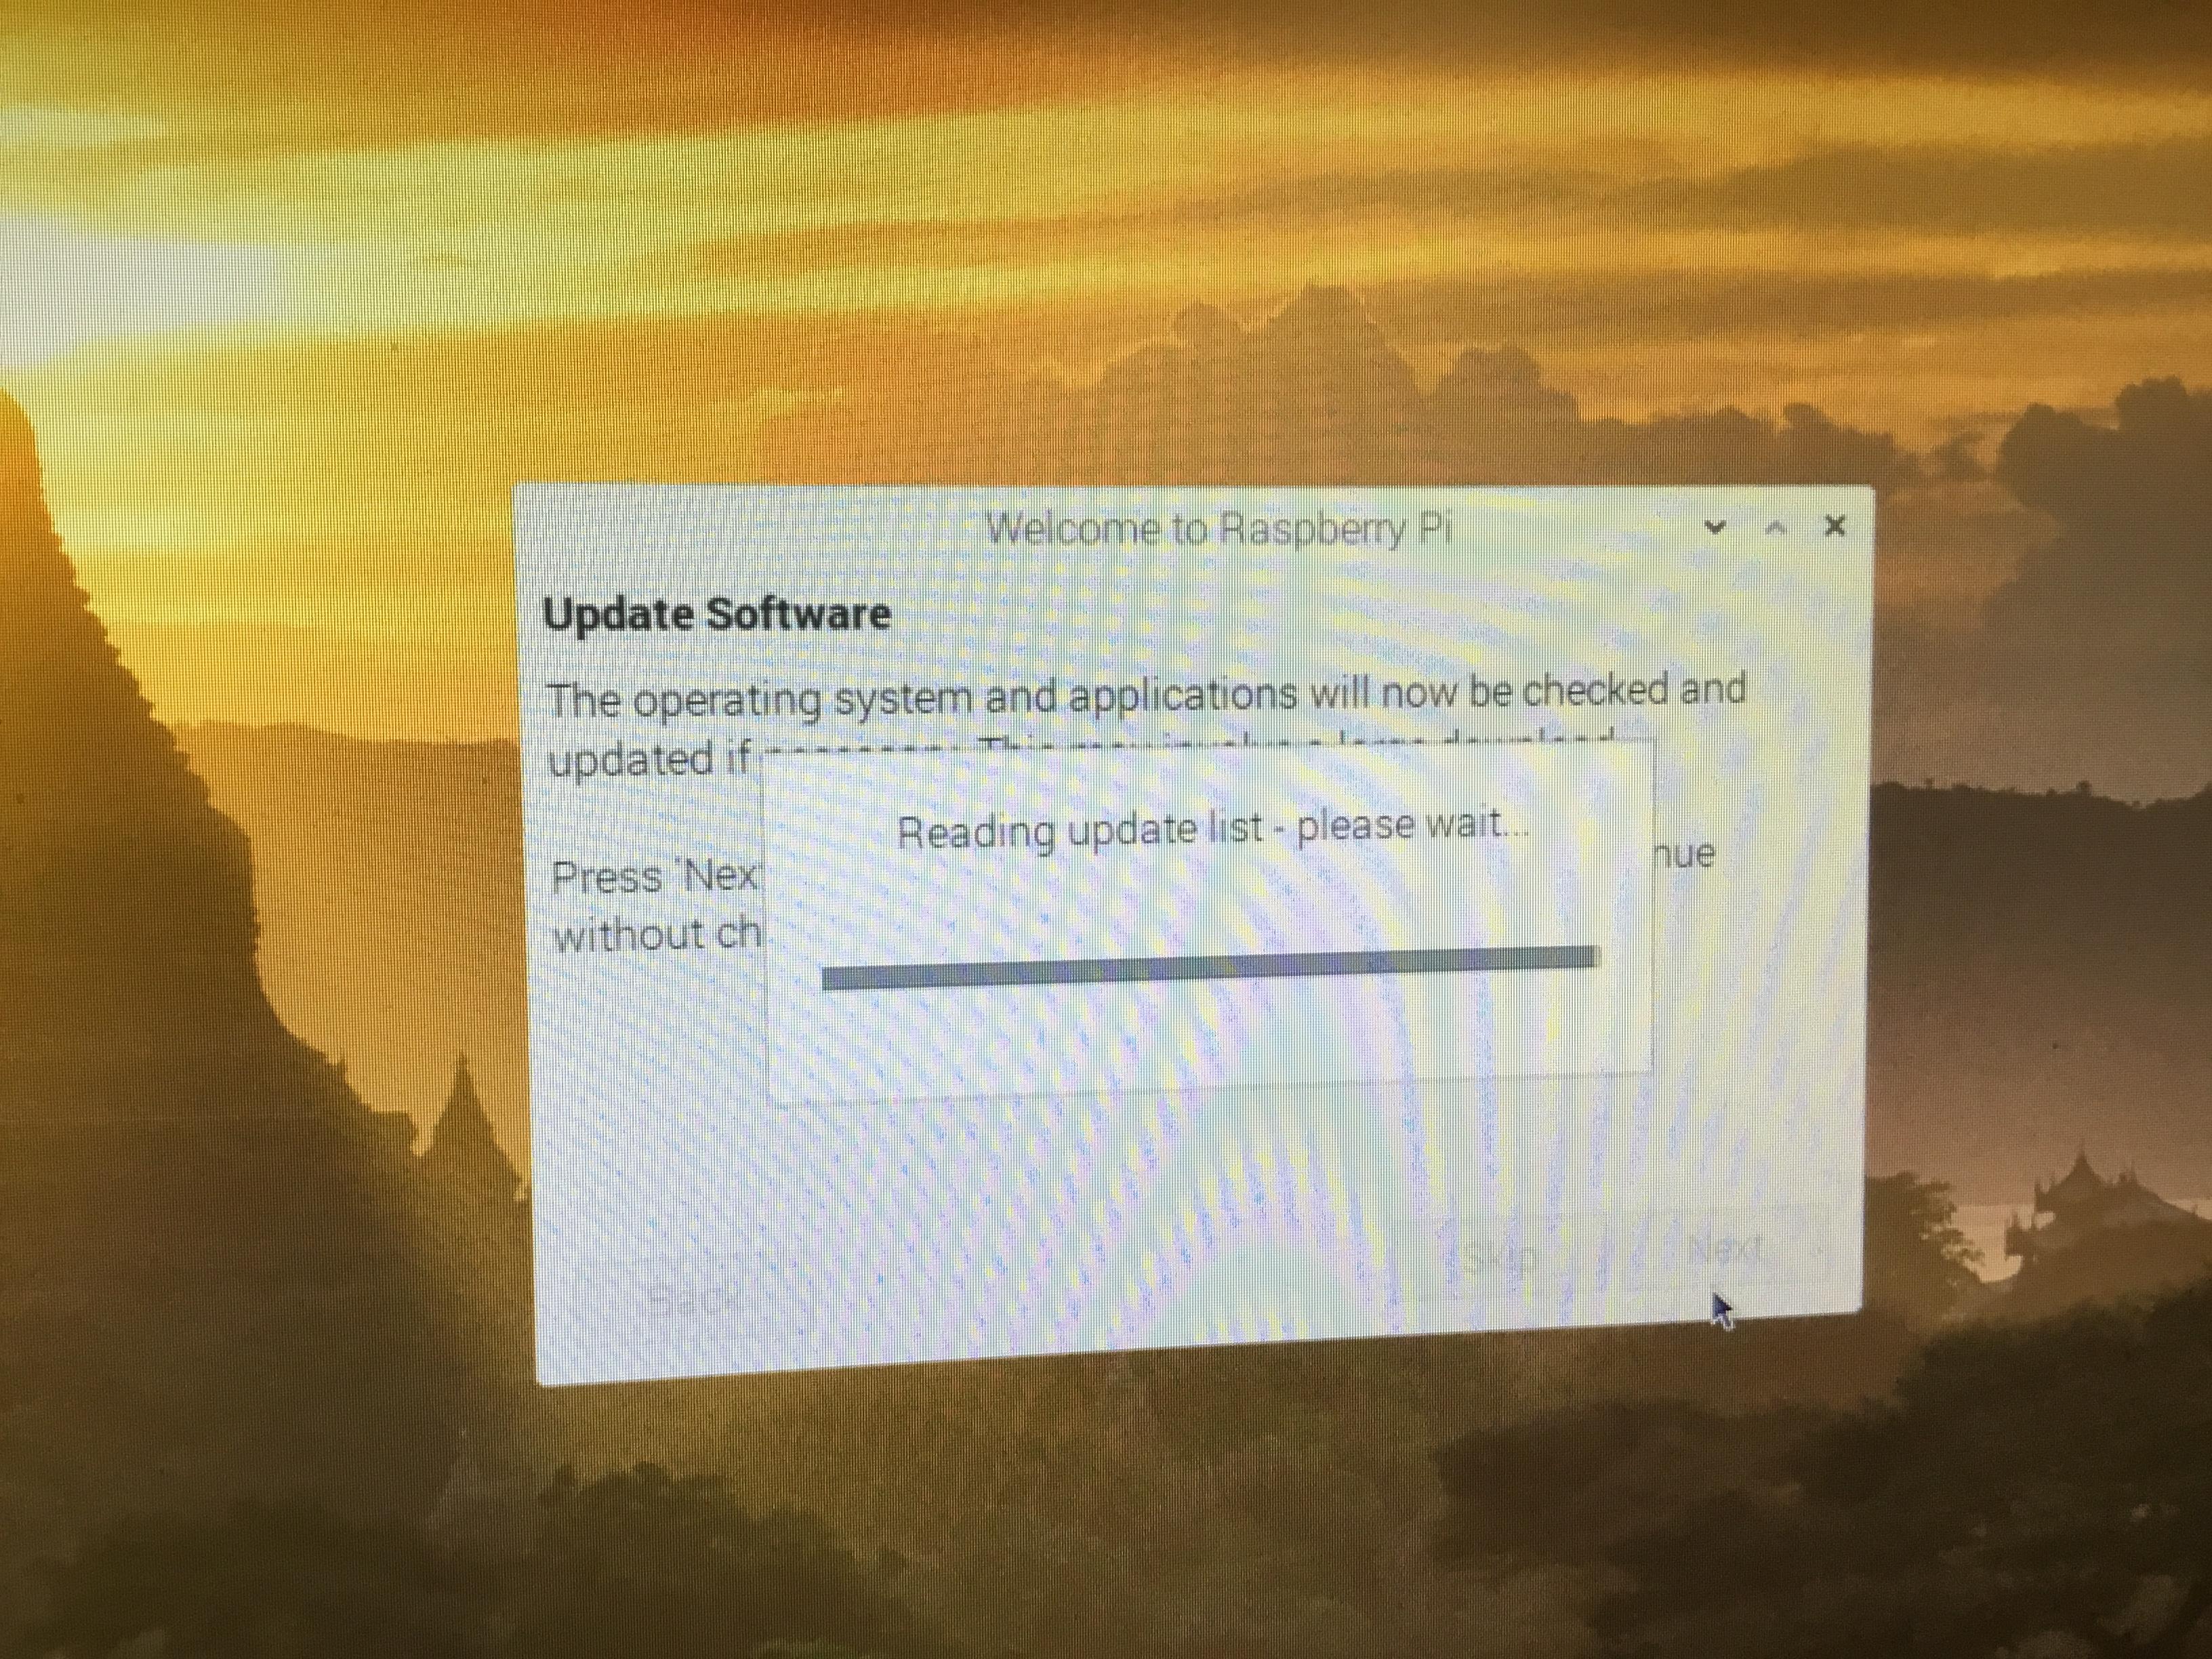
Update the Pi in the terminal by using:
sudo apt-get update
sudo apt-get dist-upgrade
Then ensure the camera is enabled in the Raspberry Pi configuration menu.
Download Repository
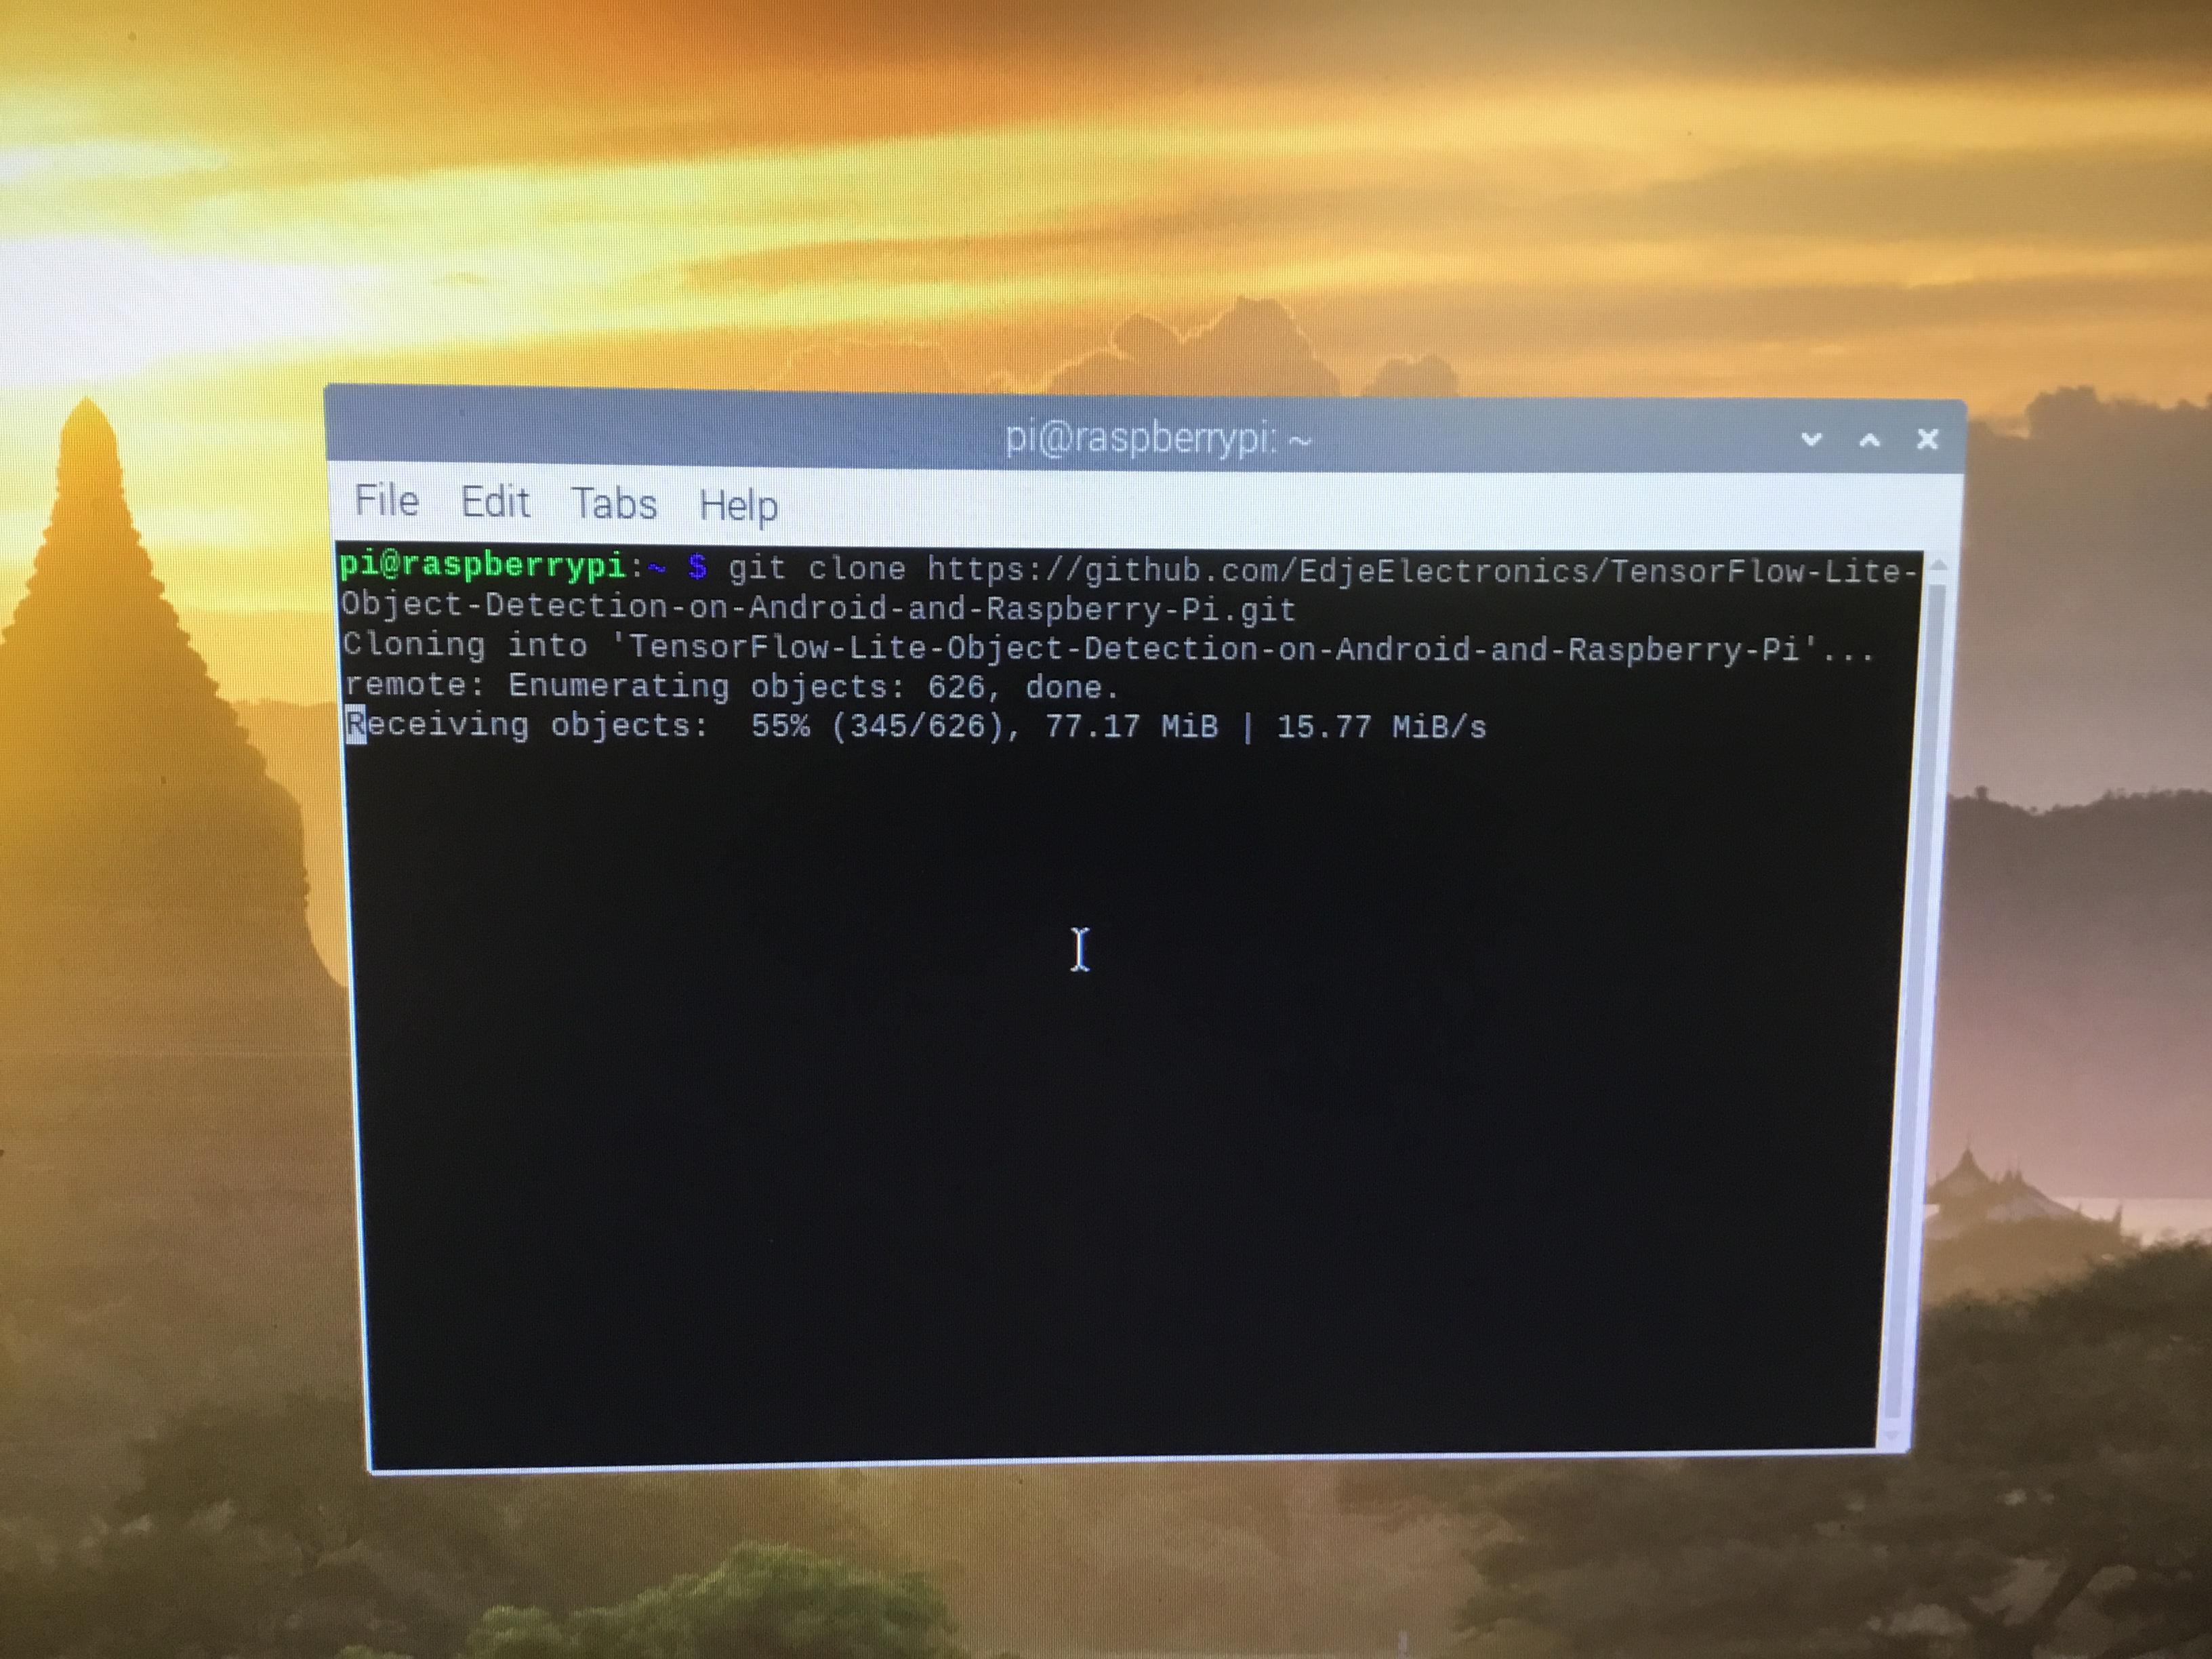
Download GitHub repository with TensorFlow Lite scripts from https://github.com/EdjeElectronics/TensorFlow-Lite-Object-Detection-on-Android-and-Raspberry-Pi.git and, for easier use, rename the folder it creates to tflite1 with commands:
mv TensorFlow-Lite-Object-Detection-on-Android-and-Raspberry-Pi tflite1
cd tflite1
Install Virtual Environment
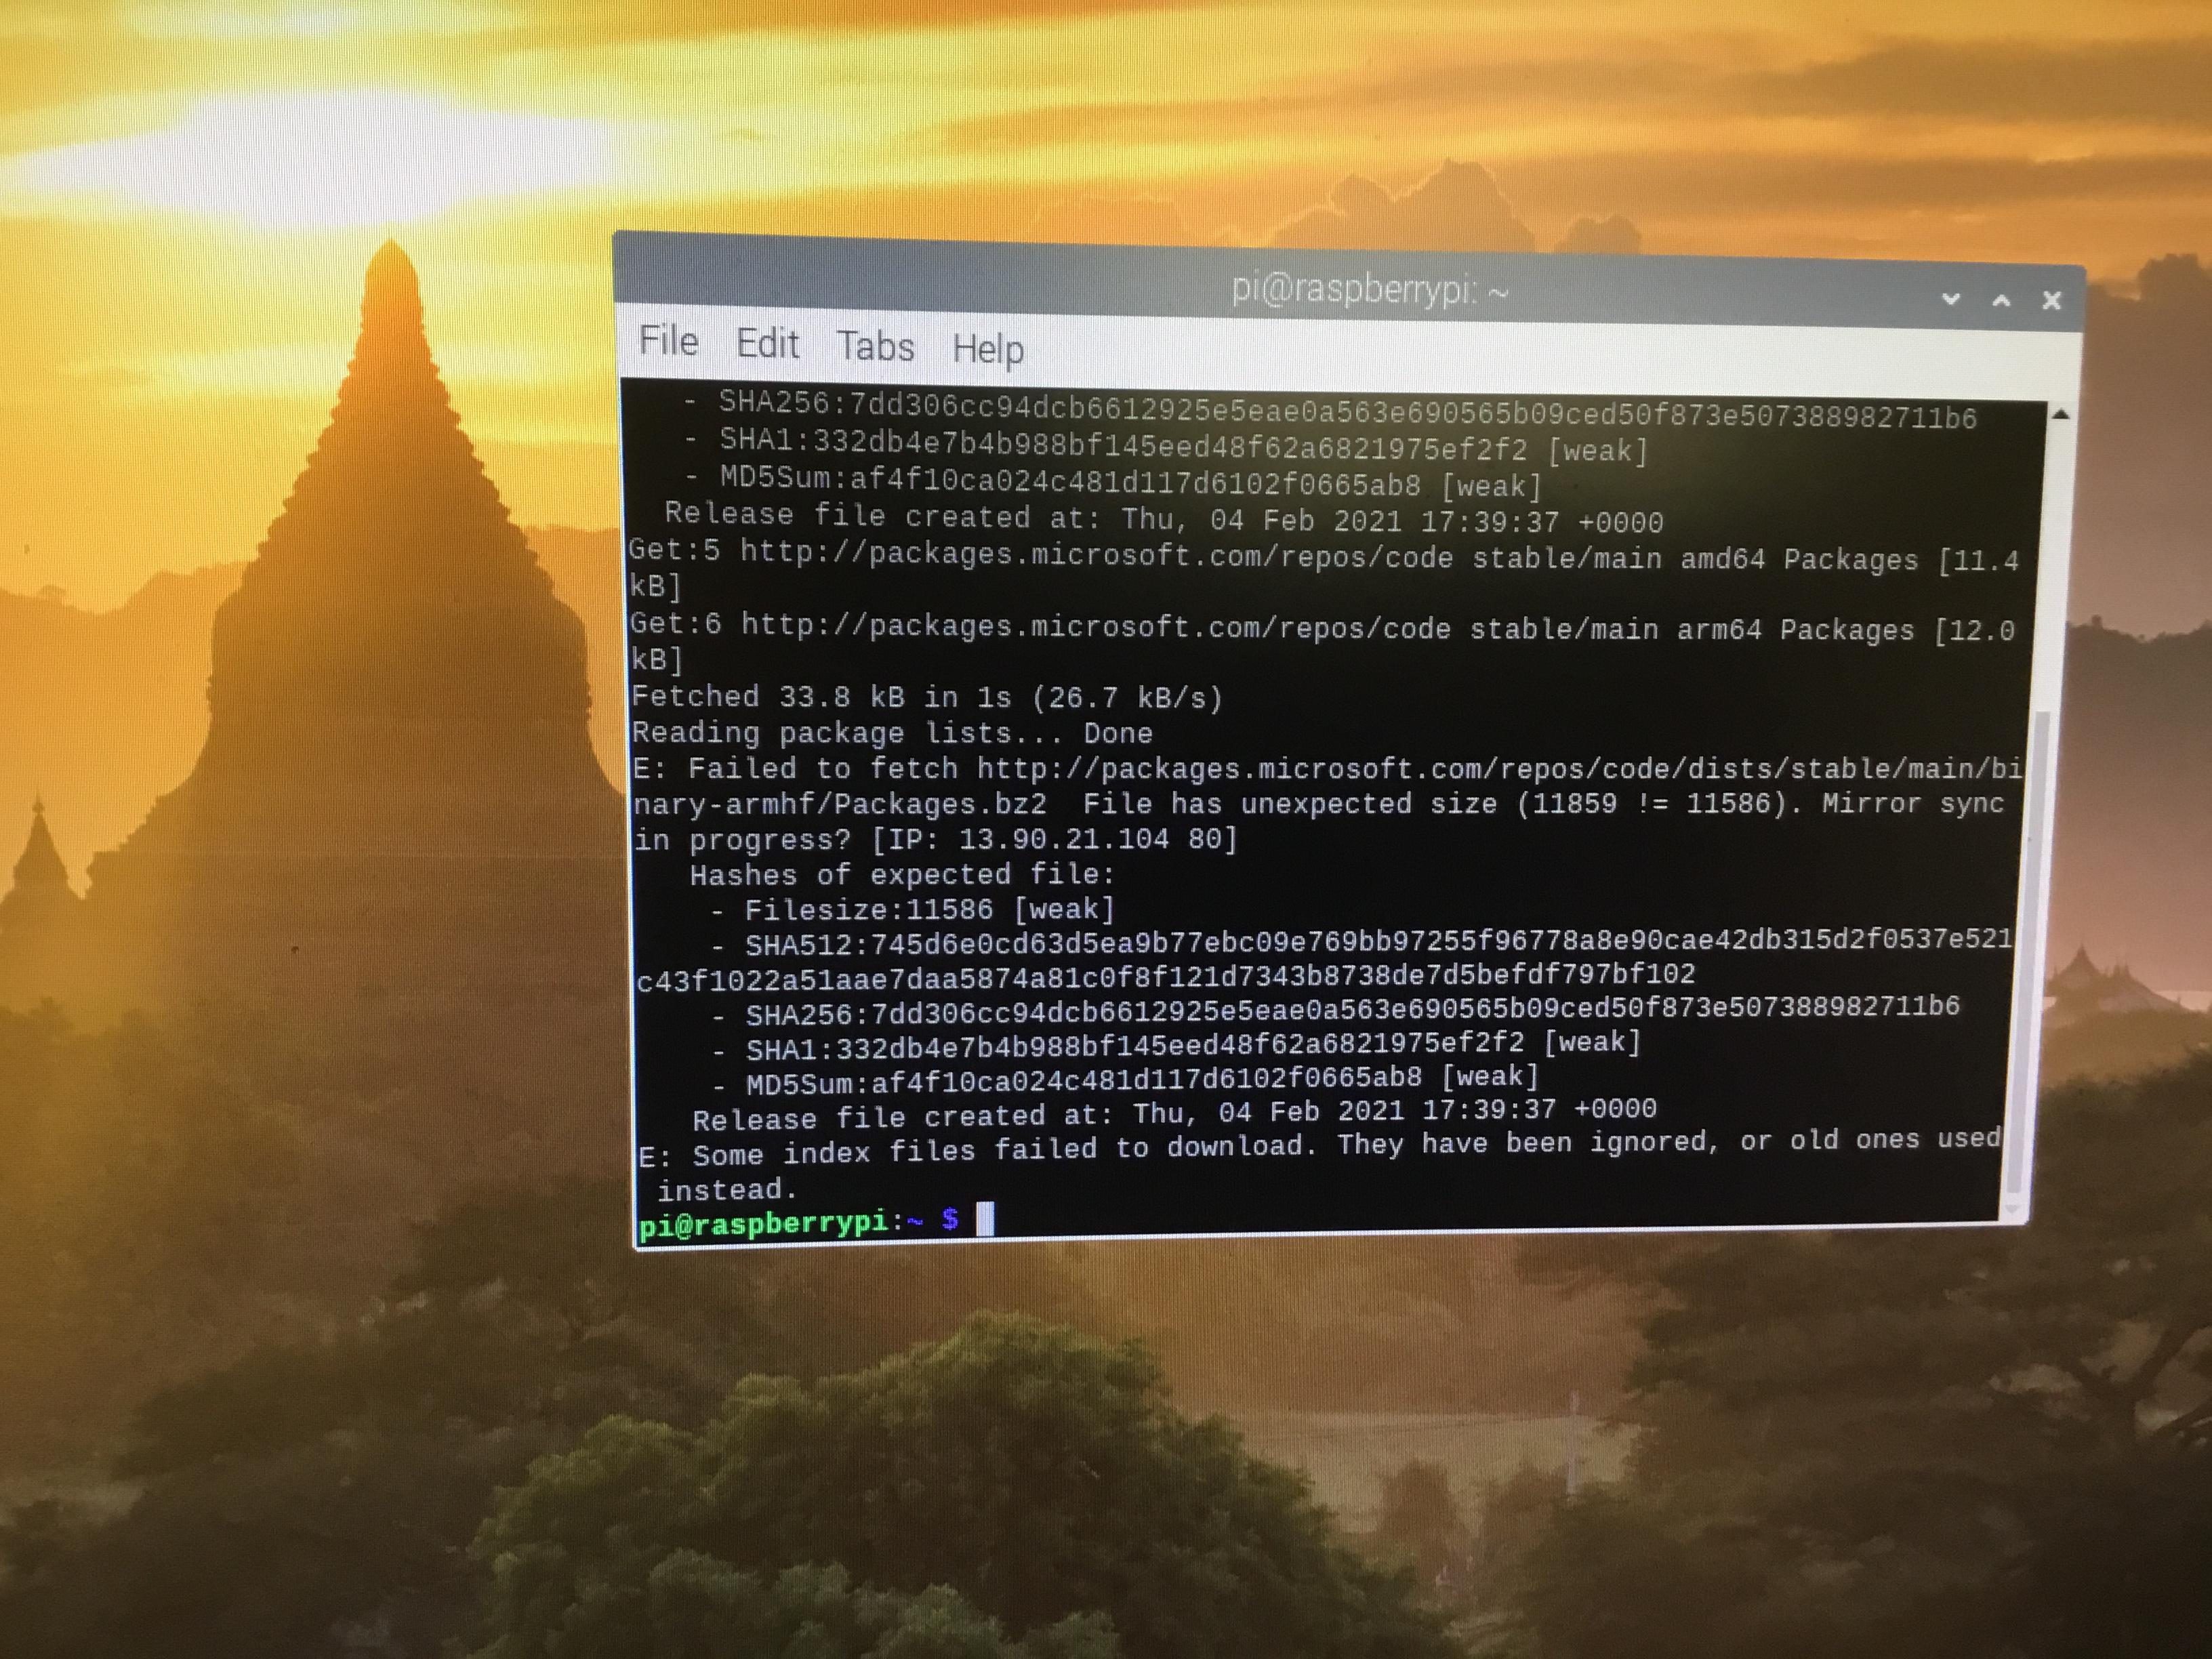
Use:
sudo pip3 install virtualenv
and
python3 -m venv tflite1-env
Turn on This Environment
Use:
source tflite1-env/bin/activate
***Any time you want to turn on the neural network you will first need to issue:
cd tflite1
to be inside the folder containing the neural network followed by:
source tflite1-env/bin/activate
to make sure you are inside the virtual environment where TensorFlow is situated.
Install TensorFlow and OpenCV
The creator of the github repository created a script that downloads the packages and dependencies to make it much easier. To install TensorFlow, OpenCV, and the dependencies needed for both use:
bash get_pi_requirements.sh
Set Up TensorFlow Lite Detection Model
Here I used Google's neural network initially and then later went back and began the process of training my own network. These instructions will detail Google's network, but both options are possible at this point. To download Google's network, issue:
wget https://storage.googleapis.com/download.tensorflow.org/models/tflite/coco_ssd_mobilenet_v1_1.0_quant_2018_06_29.zip
unzip coco_ssd_mobilenet_v1_1.0_quant_2018_06_29.zip -d Sample_TFLite_model
Run Neural Network
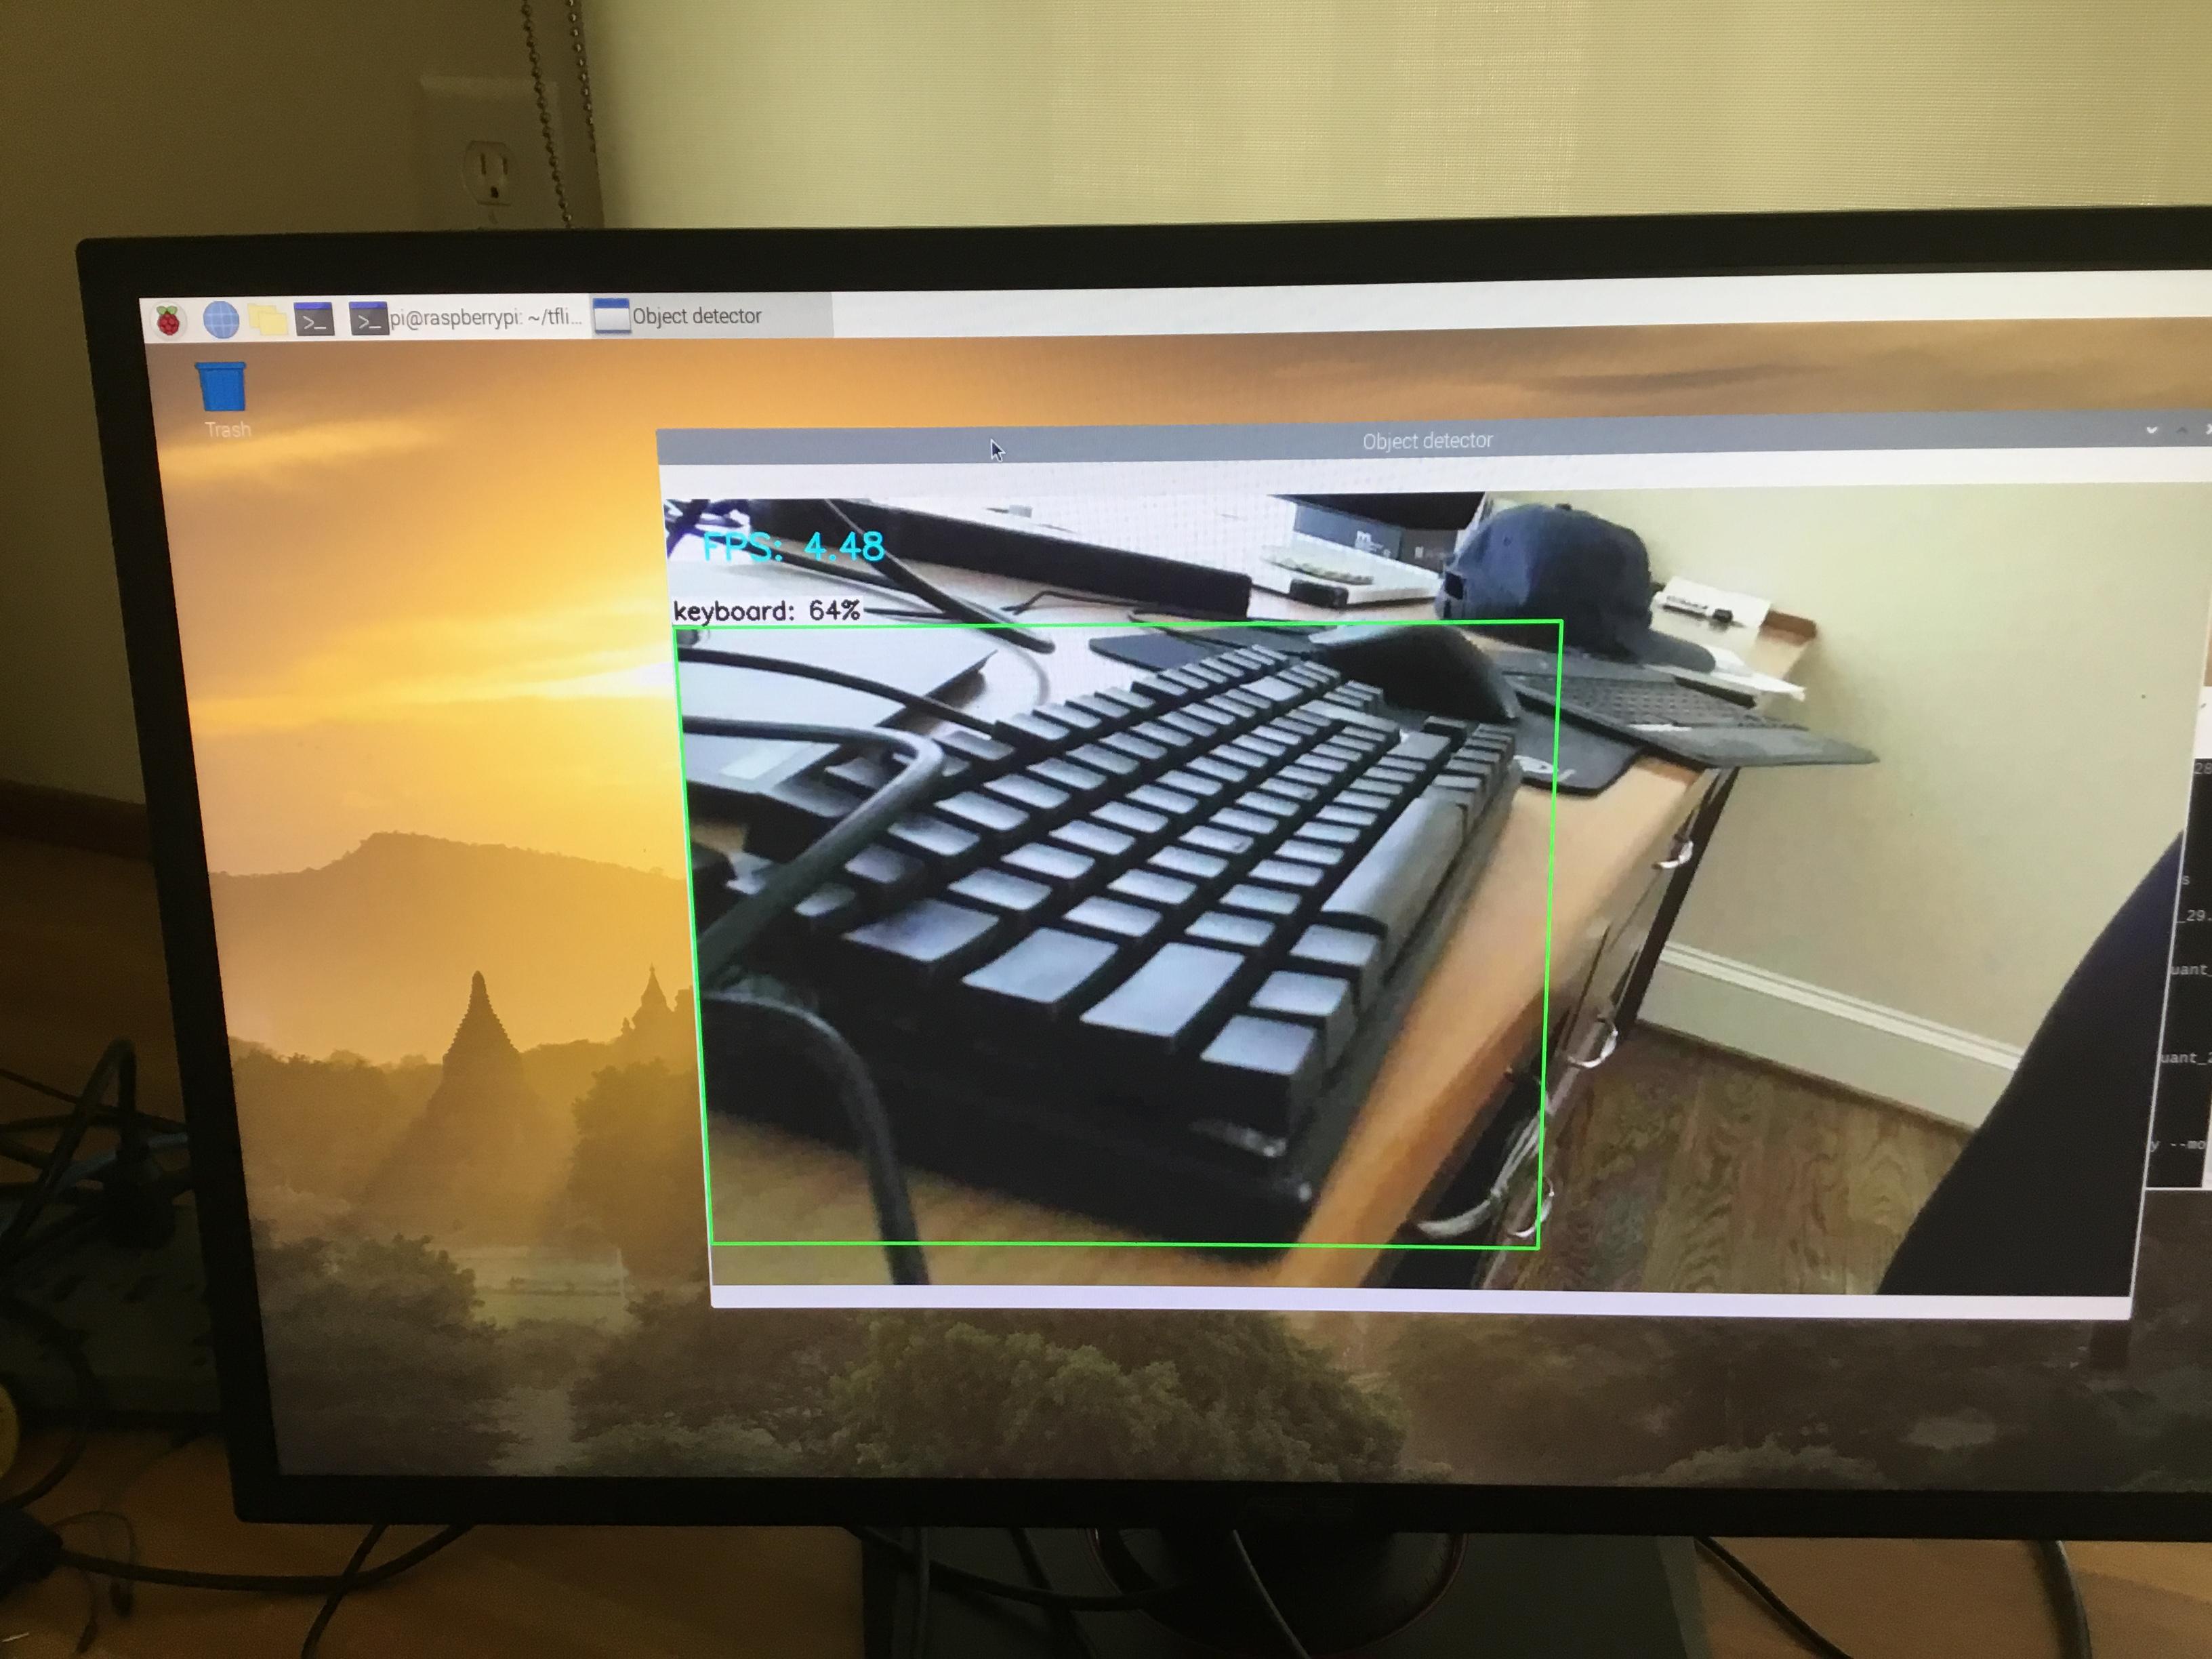
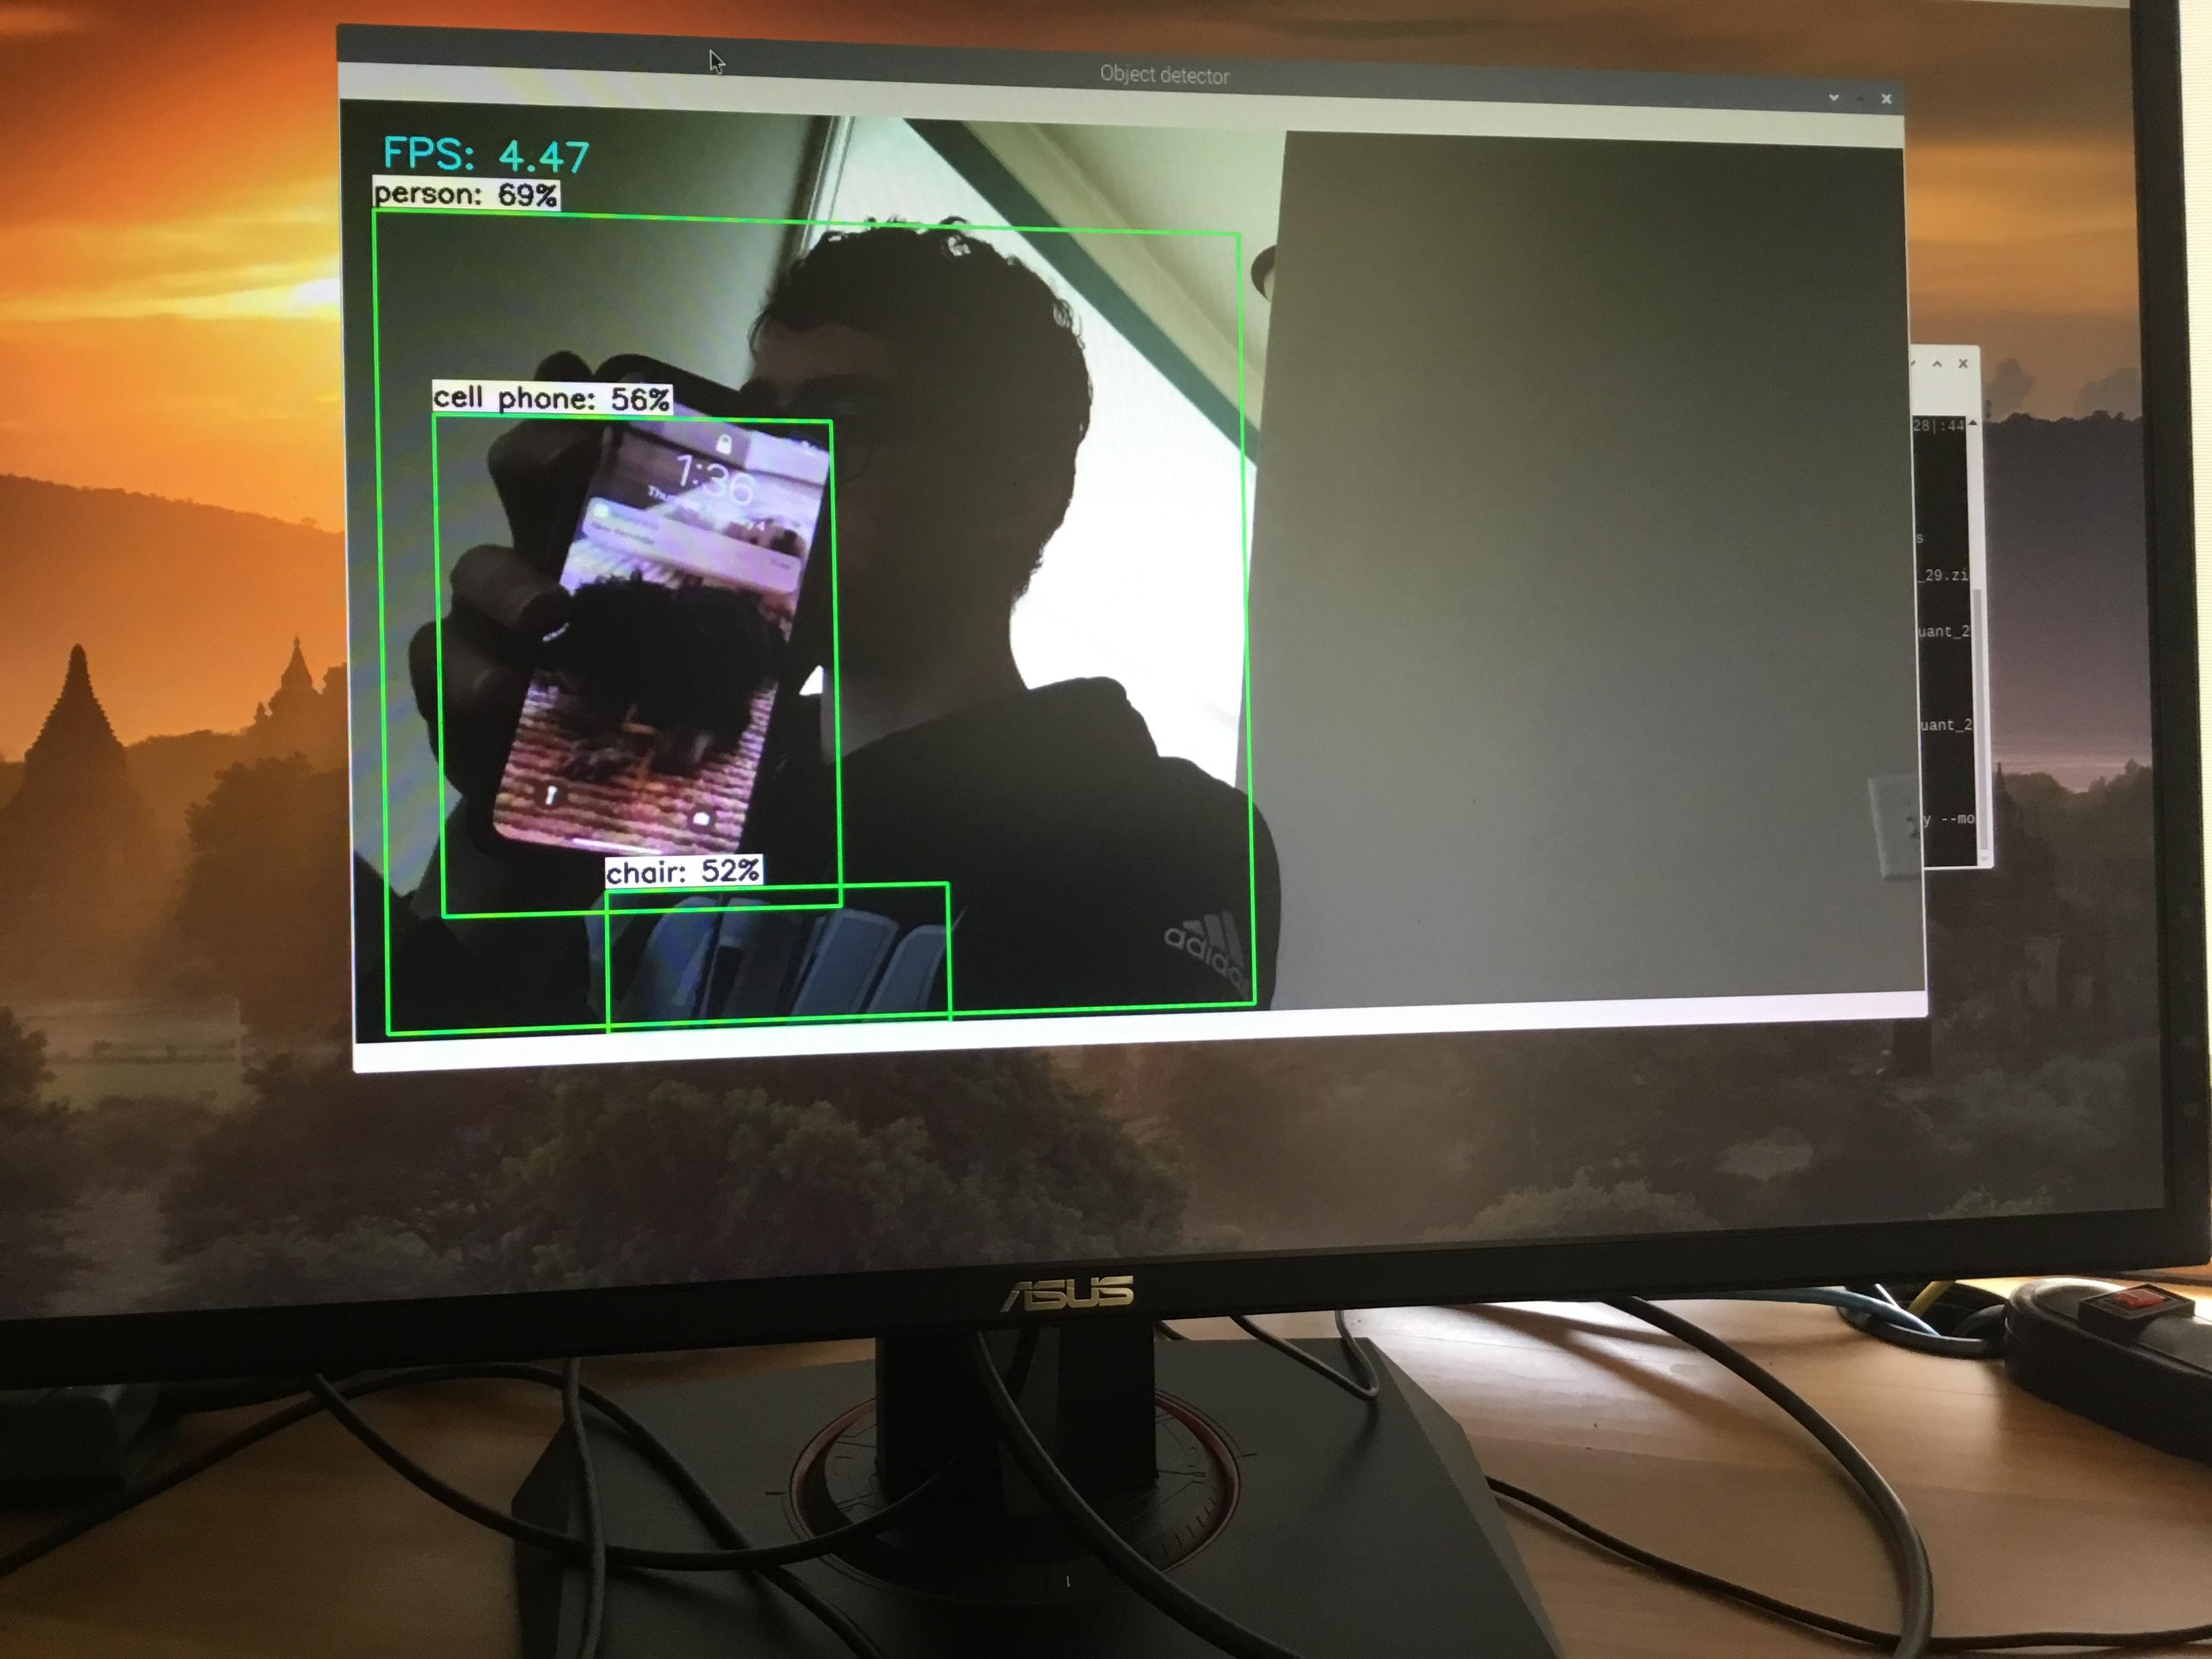
Finally, ensure your camera is plugged in and in the terminal issue:
python3 TFLite_detection_webcam.py --modeldir=Sample_TFLite_model
This runs the webcam script and should make a screen pop up with the neural network successfully running.
Trace Out Box
Note: All the steps that follow are no longer part of the Github guide
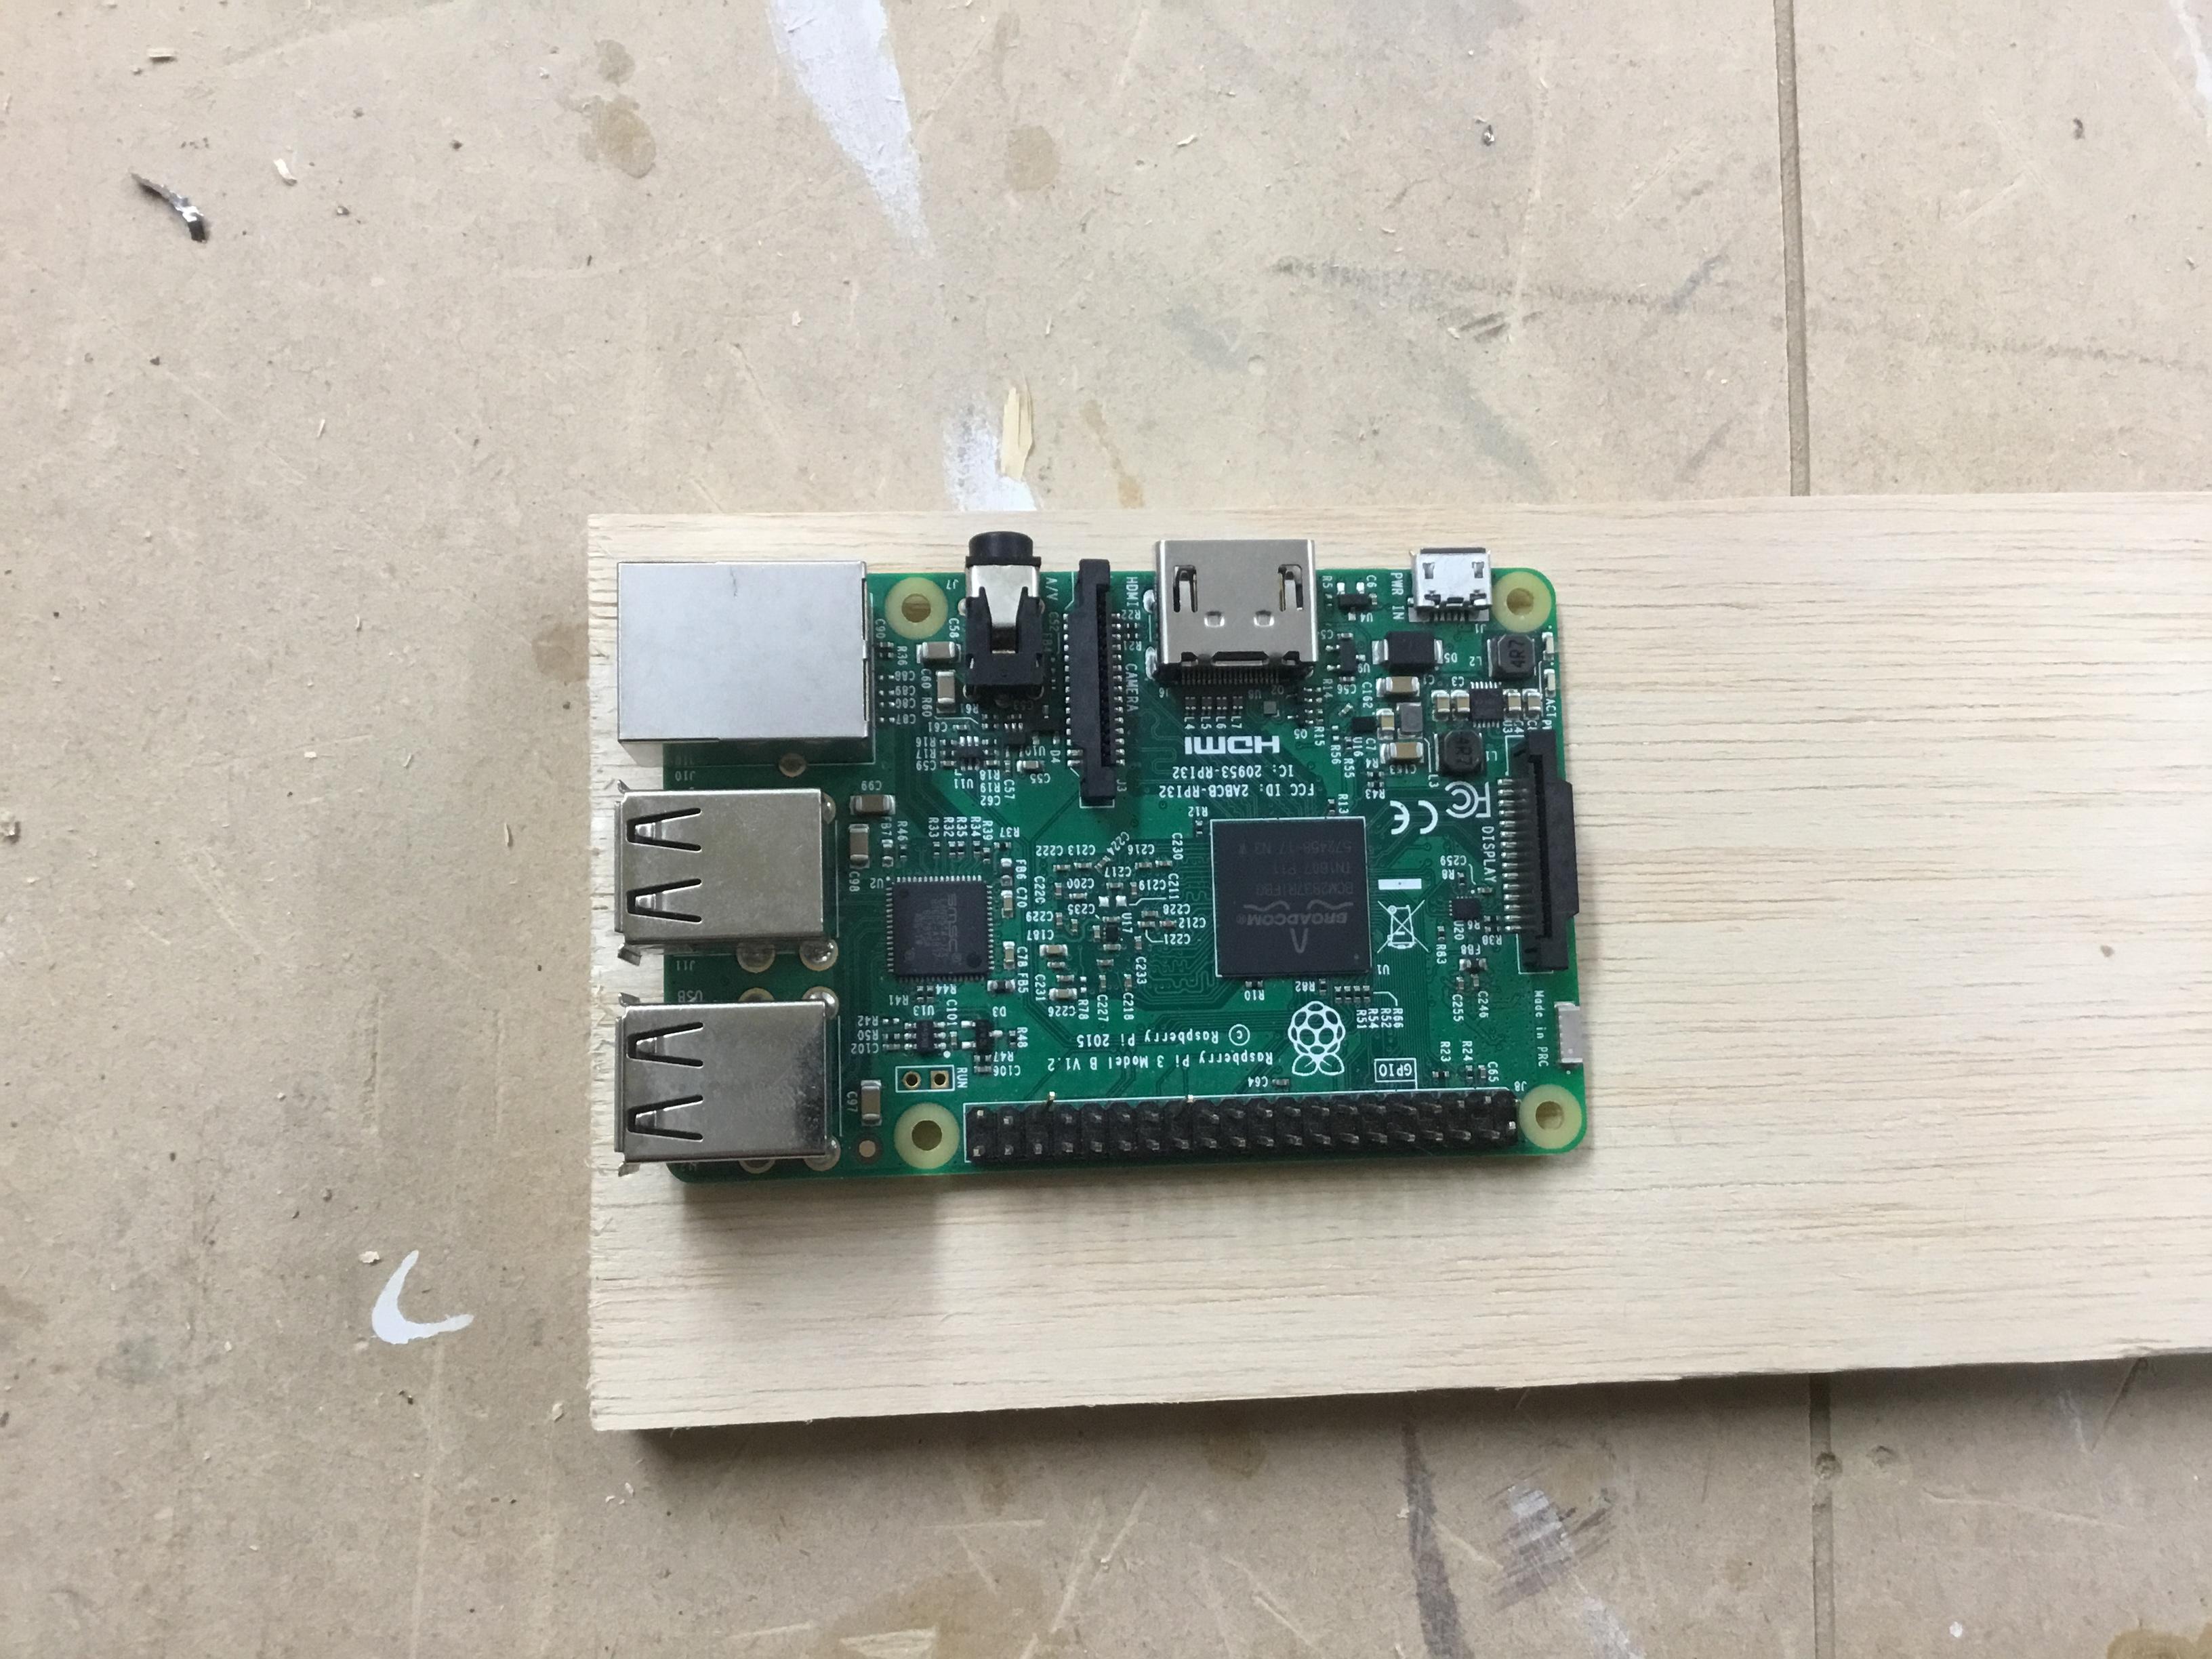
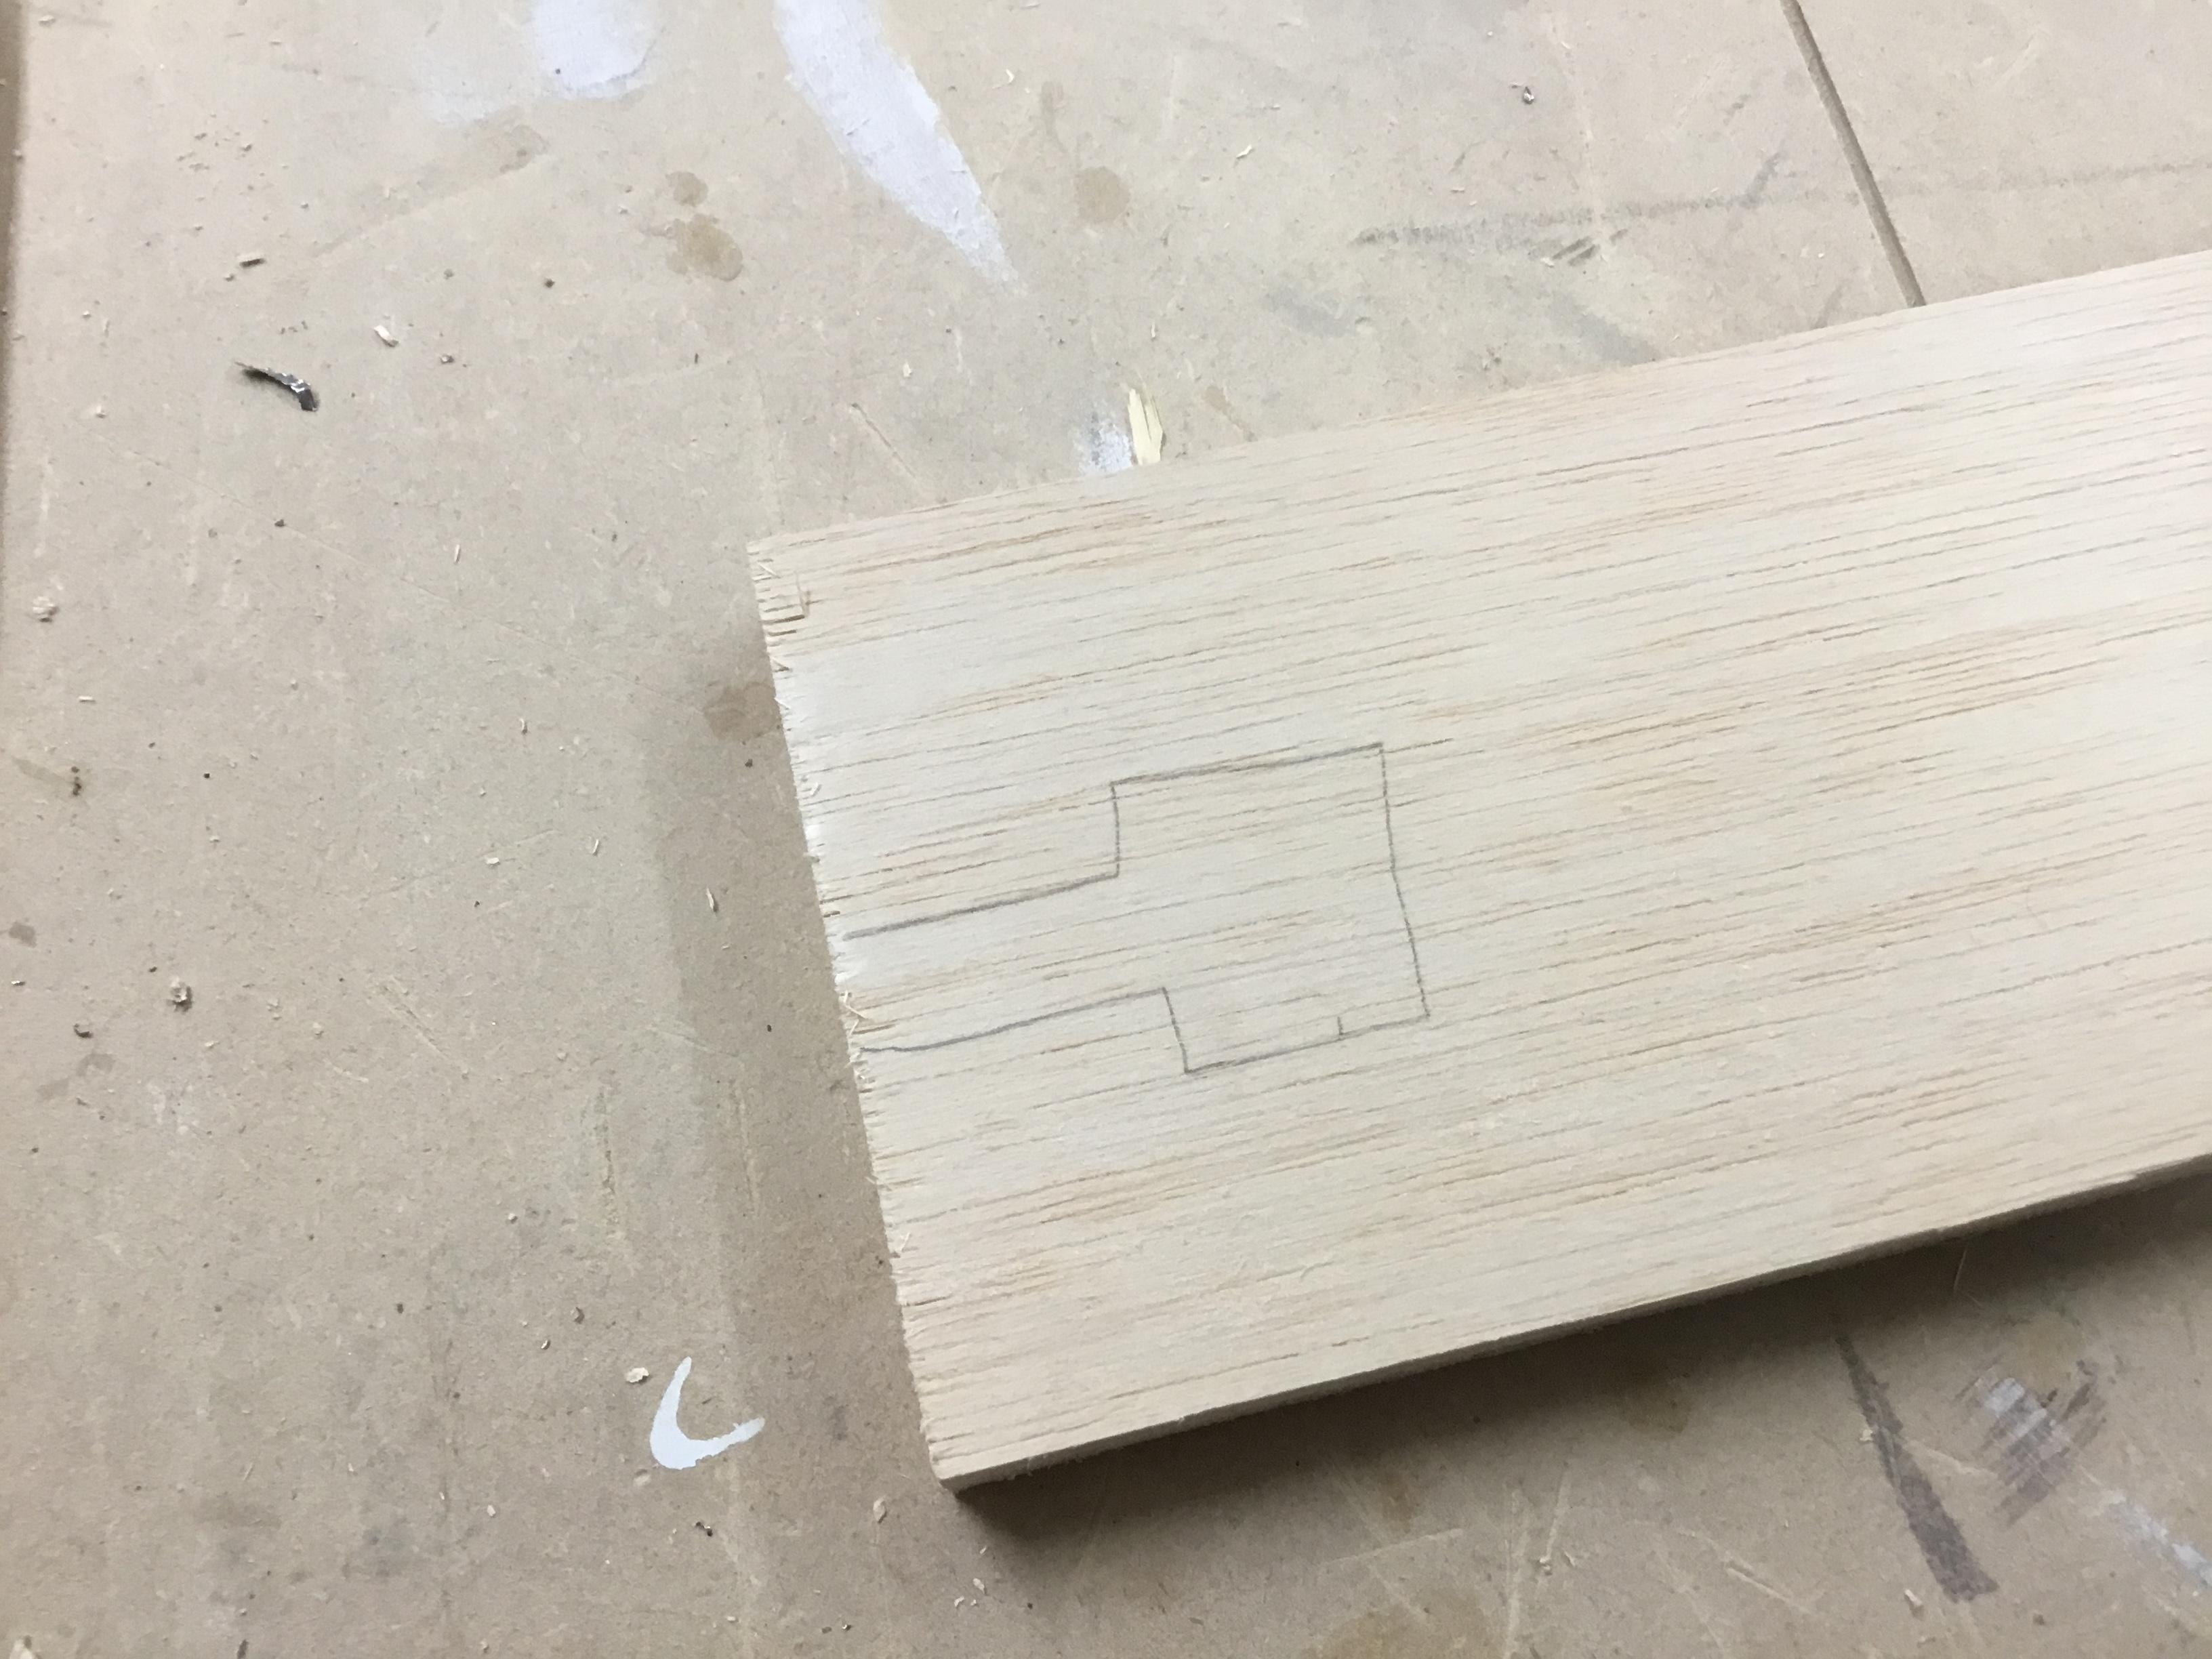
To create the box first place the Pi on a plank of wood and trace around the Pi the dimensions you want for the box. I recommend leaving some space inside the box for the camera and wires instead of a tight fit.
Create Base of Box
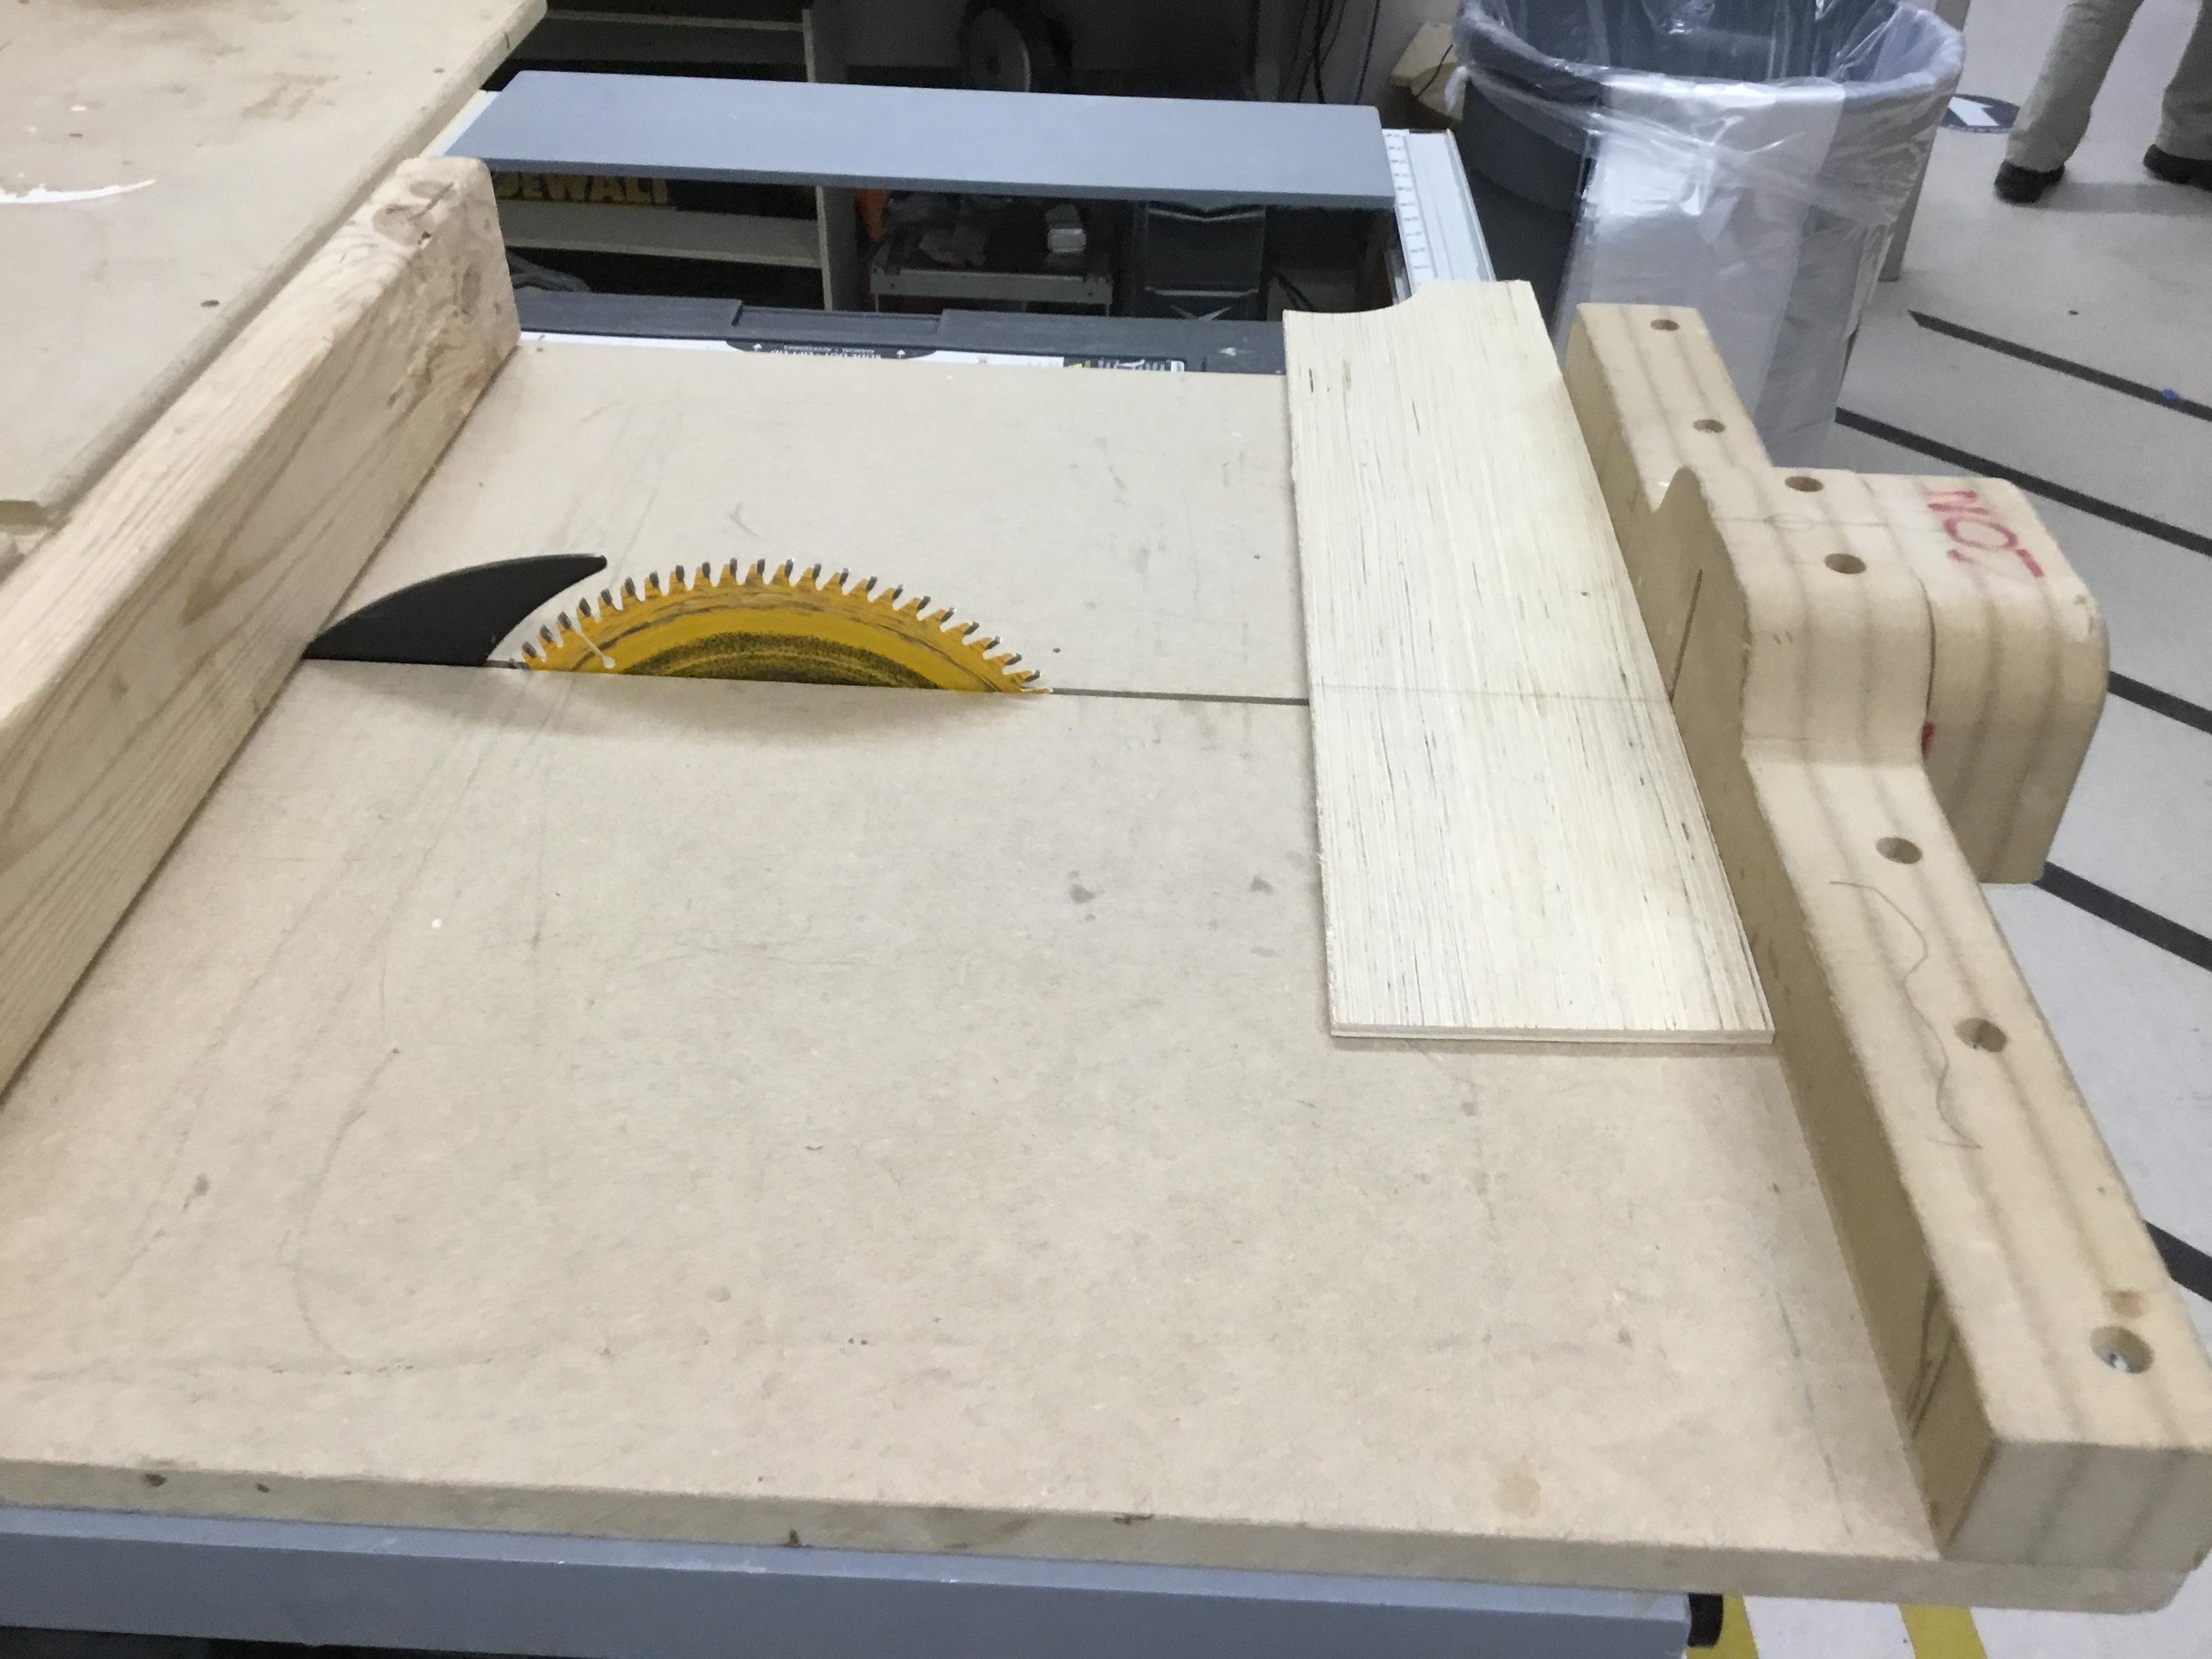
Use a table saw to cut out the base of the box.
Attached file is a video of using the table saw to cut out a piece of wood.
Downloads
Create Rabbit Joints
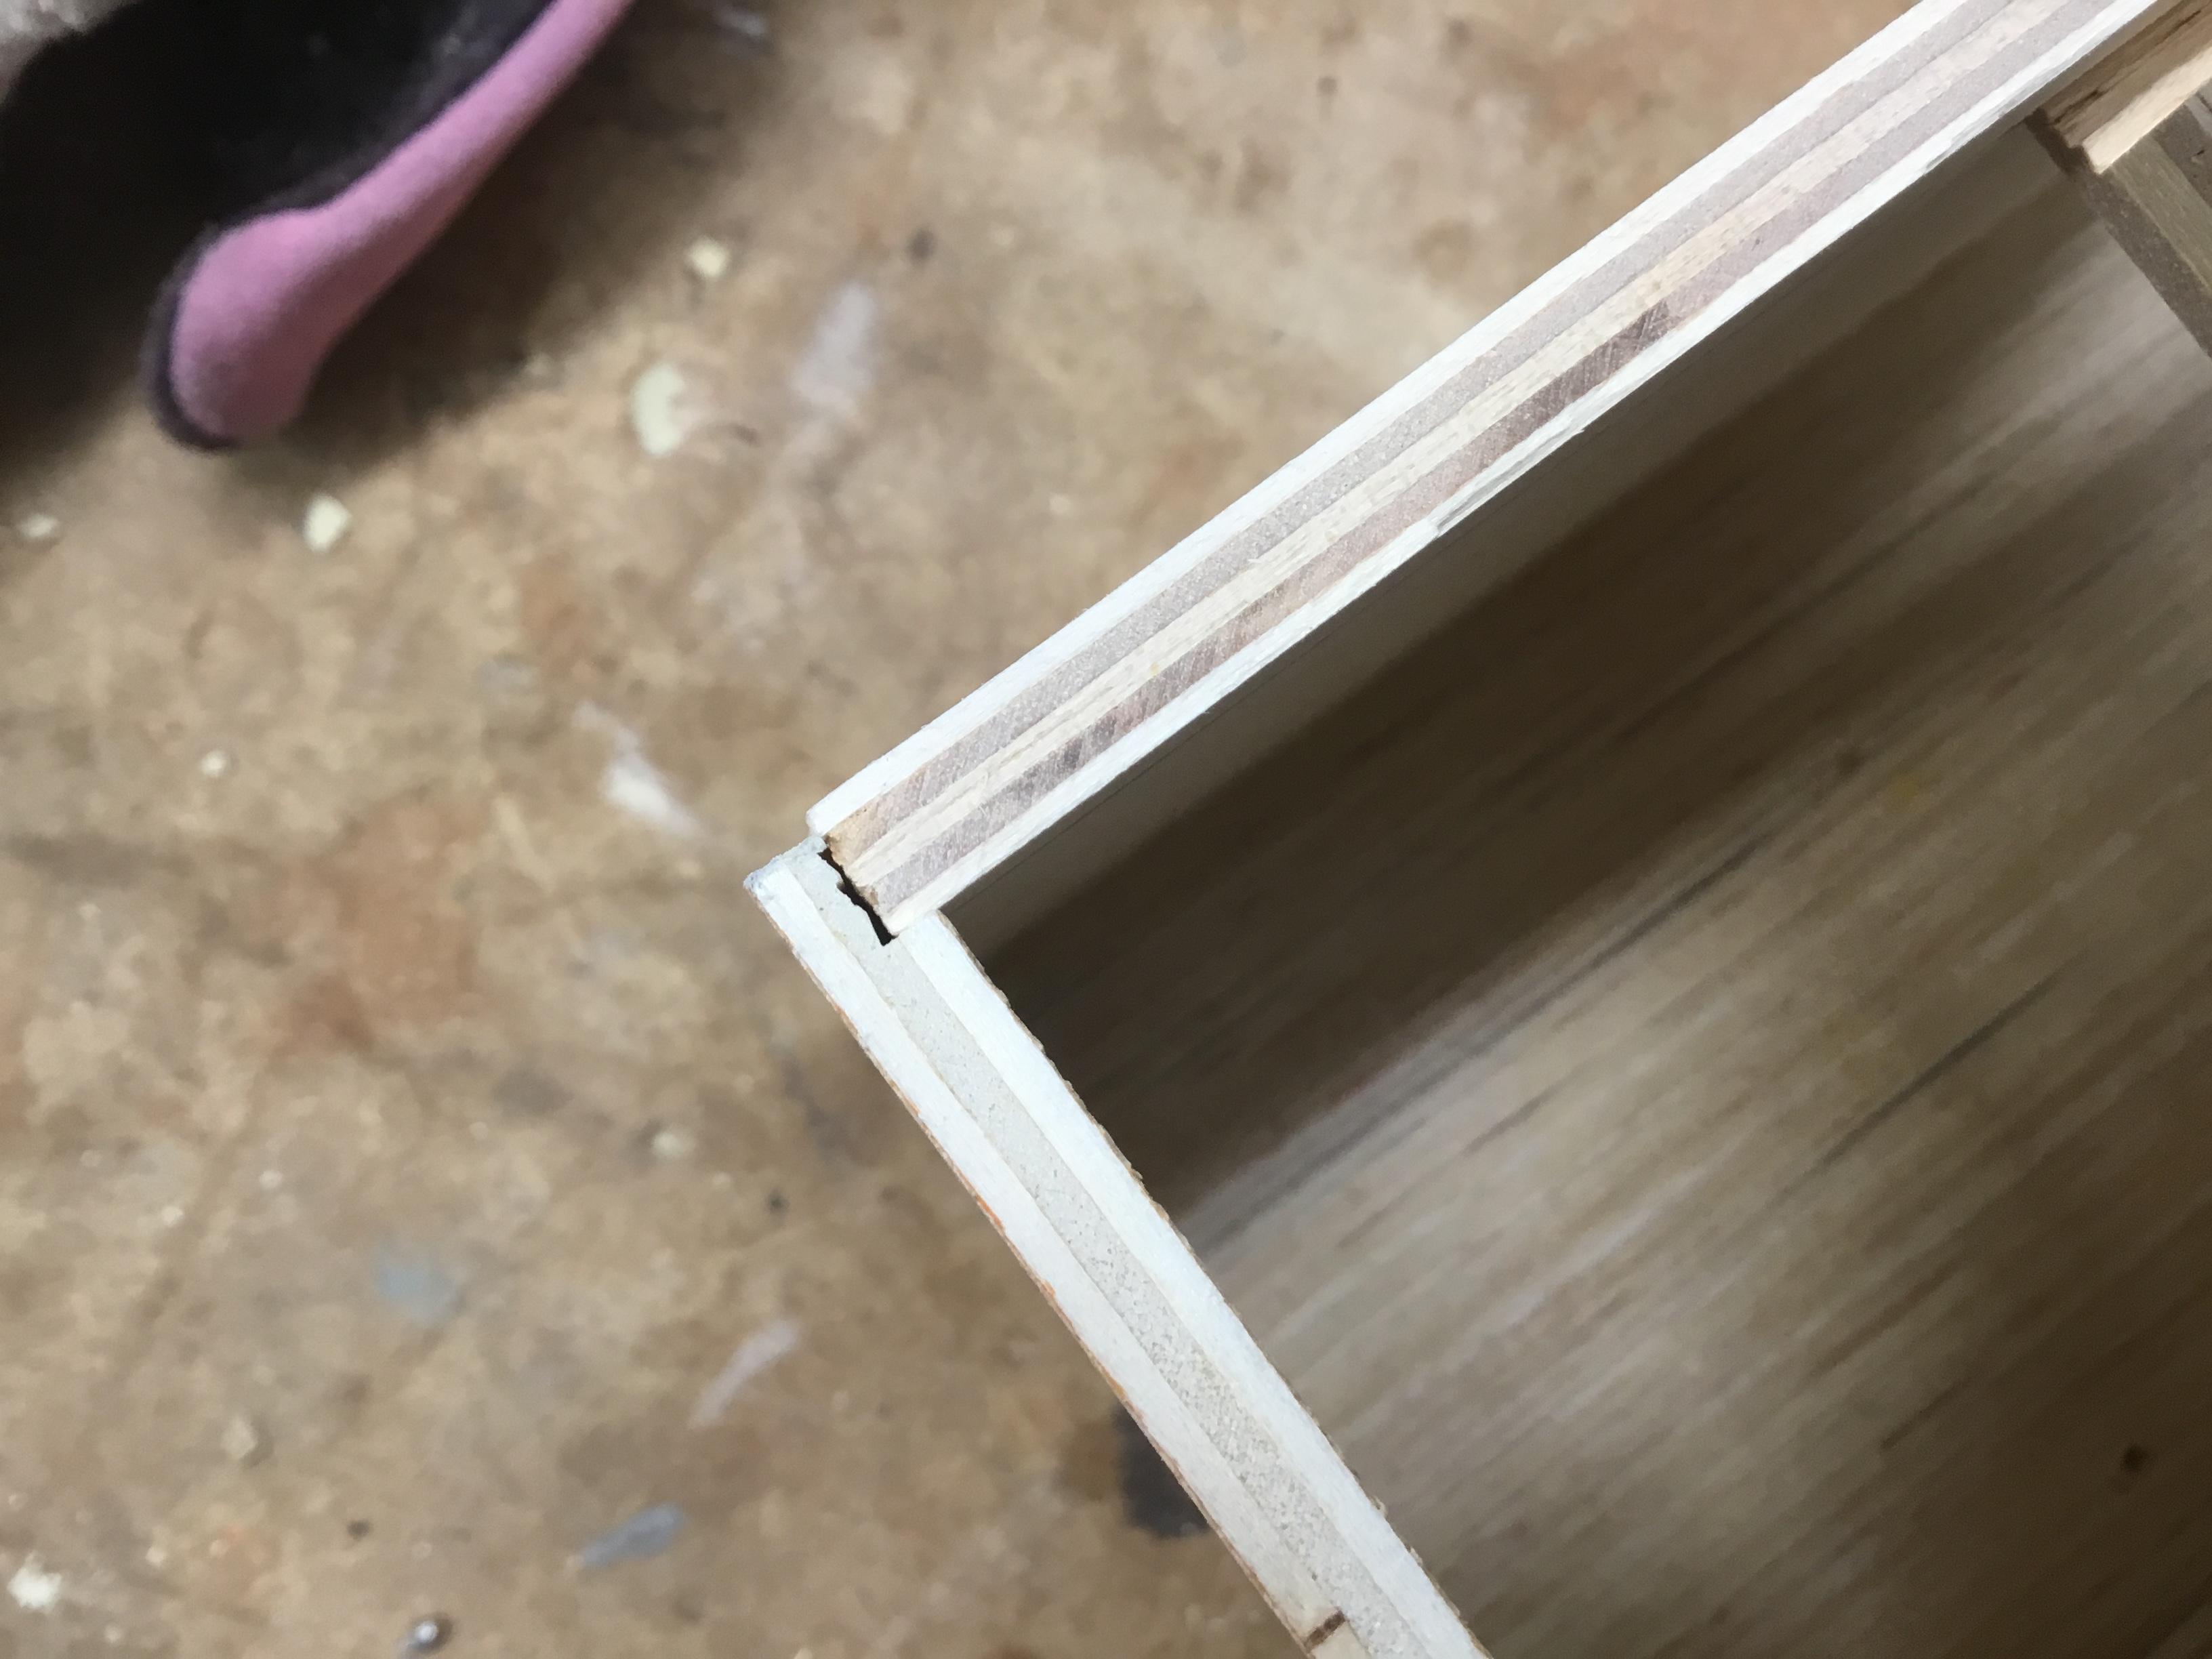
Draw a line down the 2 longer sides and the back of the base about 1/2 of an inch from the outside. Lower the saw down to roughly 3/8 of an inch and cut from the line drawn to the edge of the base. You are not trying to cut through the wood, only to reduce the thickness in this precise area. This will likely take more than one cut. Repeat for both sides on the same side of the wood.
Create Sides of Box
Mark and cut out two identical sides for the box. Their length should be equal to the length of the base. The height of the box is a personal preference, just ensure enough space will be left for the camera in the front.
Create Sliding Top
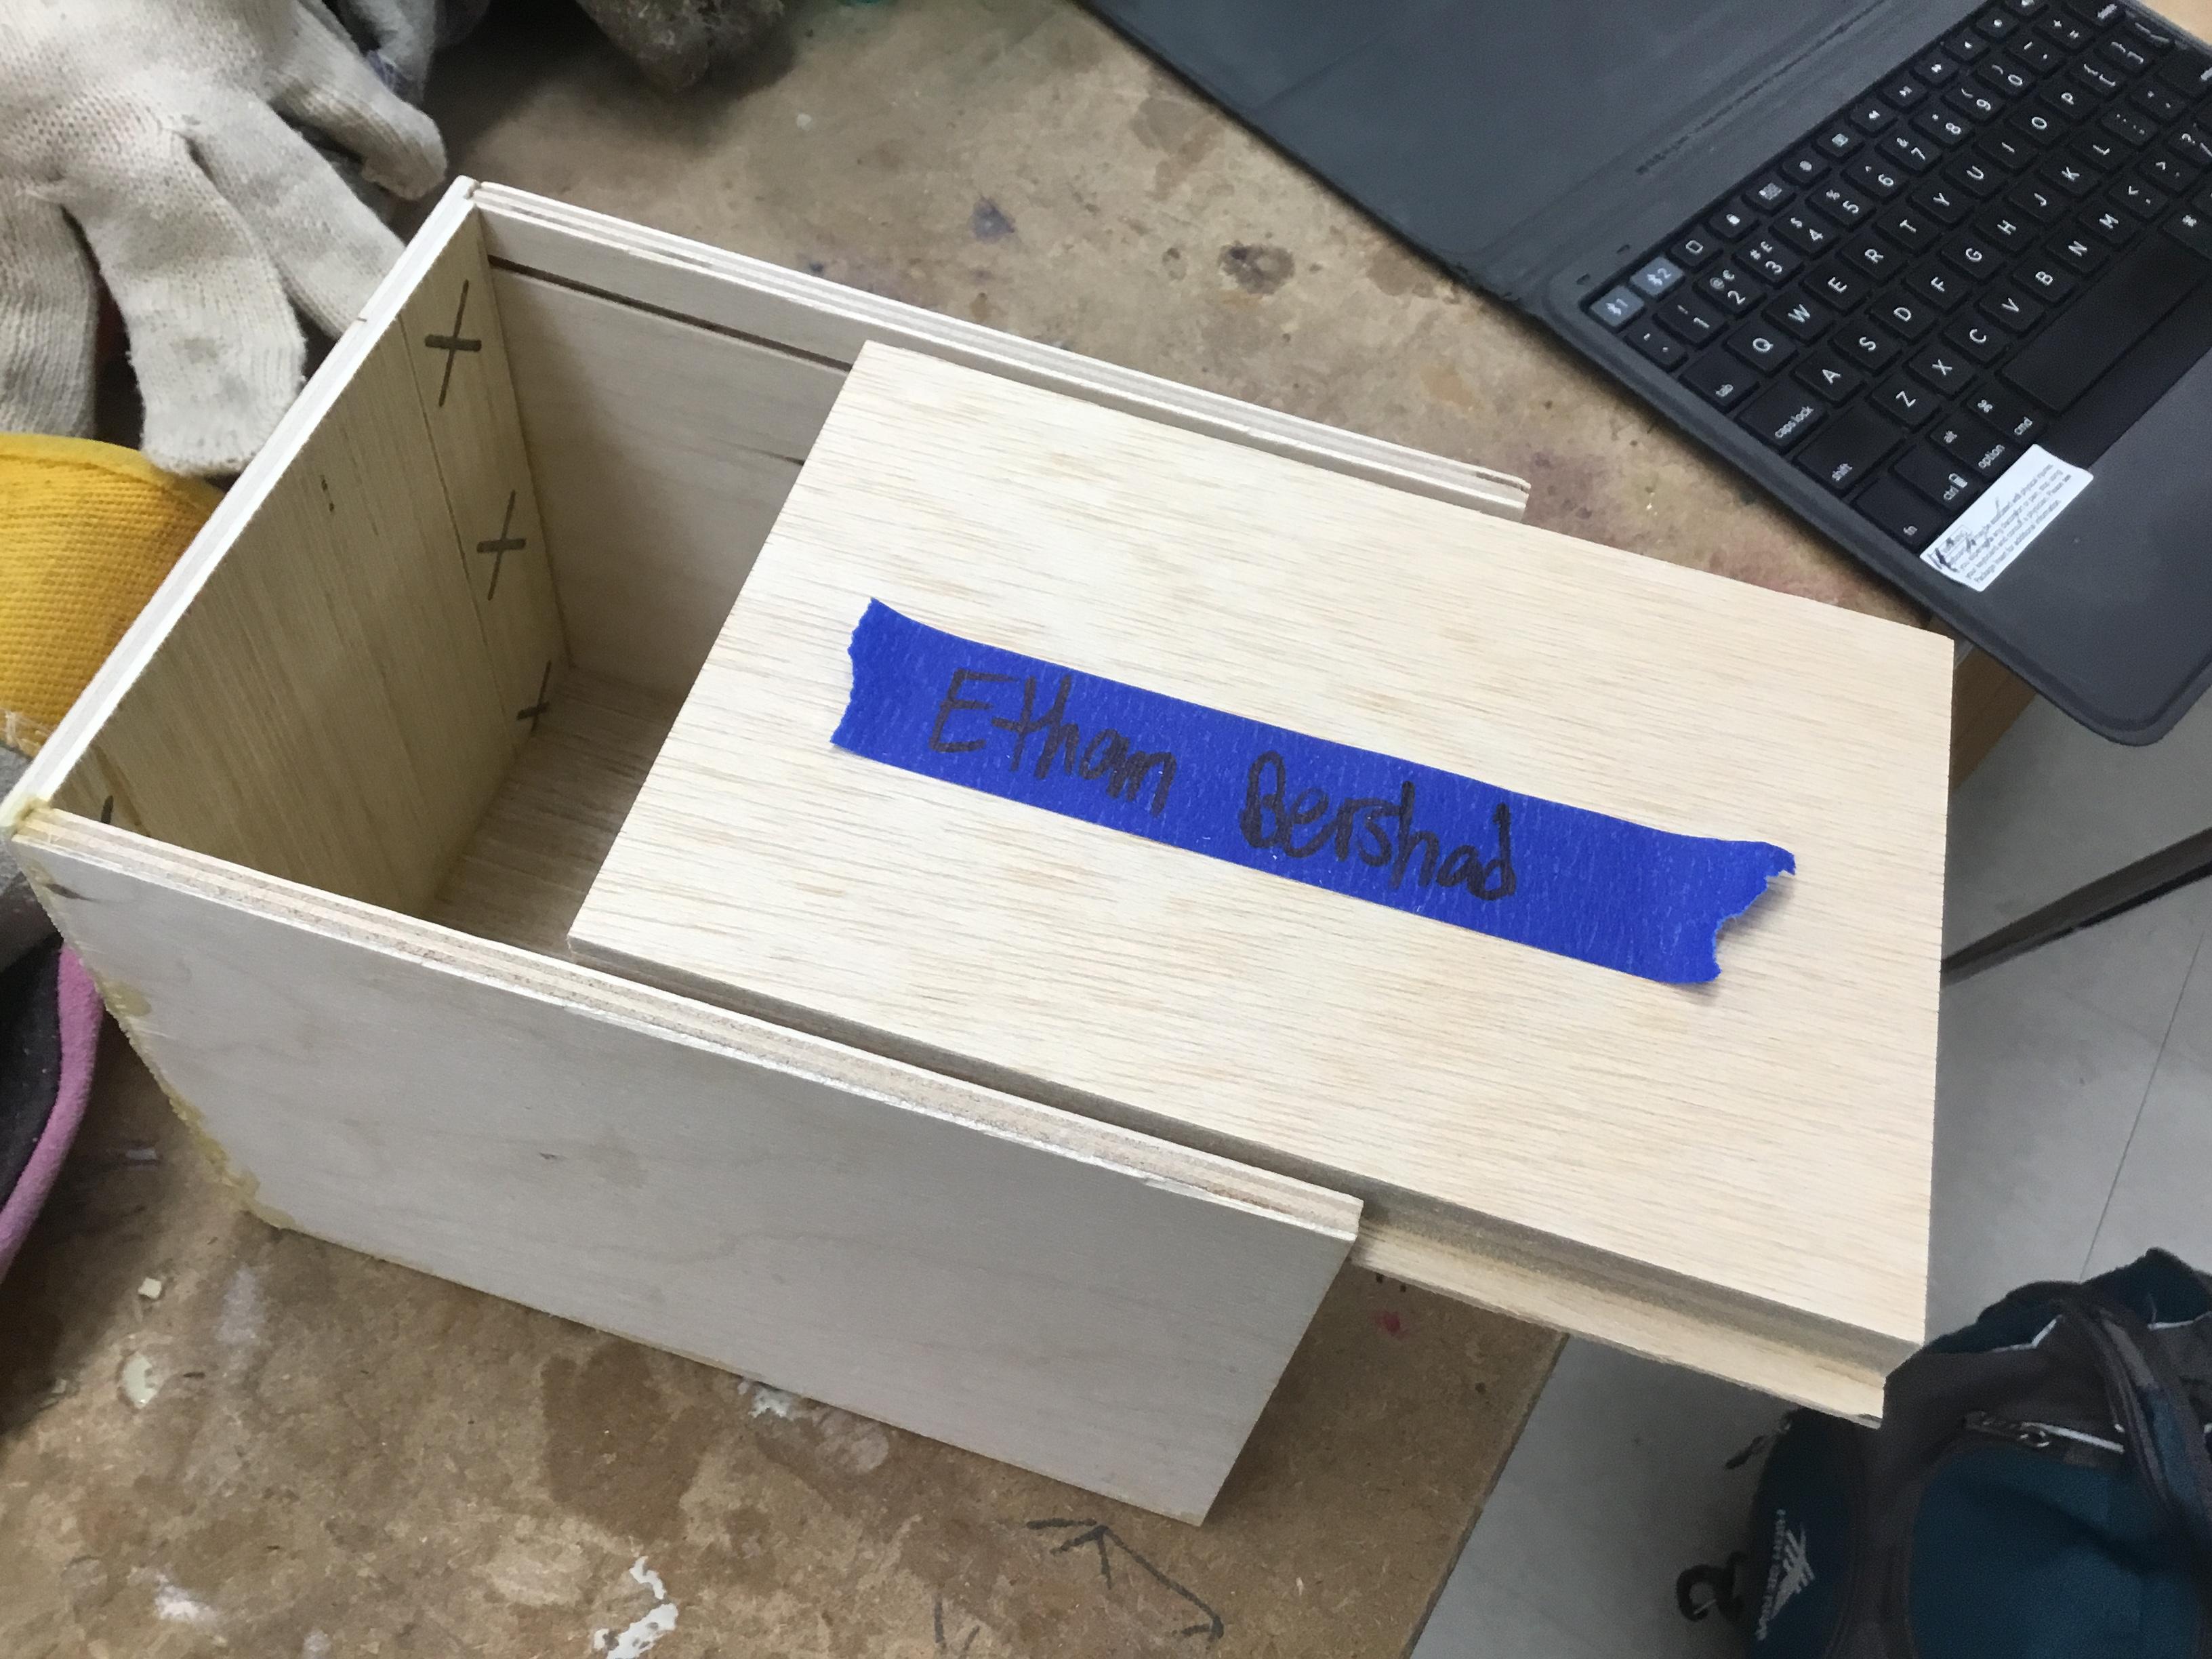
Raise the saw to 1/2 of an inch and mark out a rectangle at the top of each side. The rectangle should be the length of the box and about the width of the saw wide. Draw the top of the rectangle starting about half an inch below the top of the sides. Then cut out the rectangle.
Create Back of the Box
For the back of the box the dimensions should already be determined. The height is the height of the sides and the width is the width of the base. Cut out the back.
More Rabbit Joints
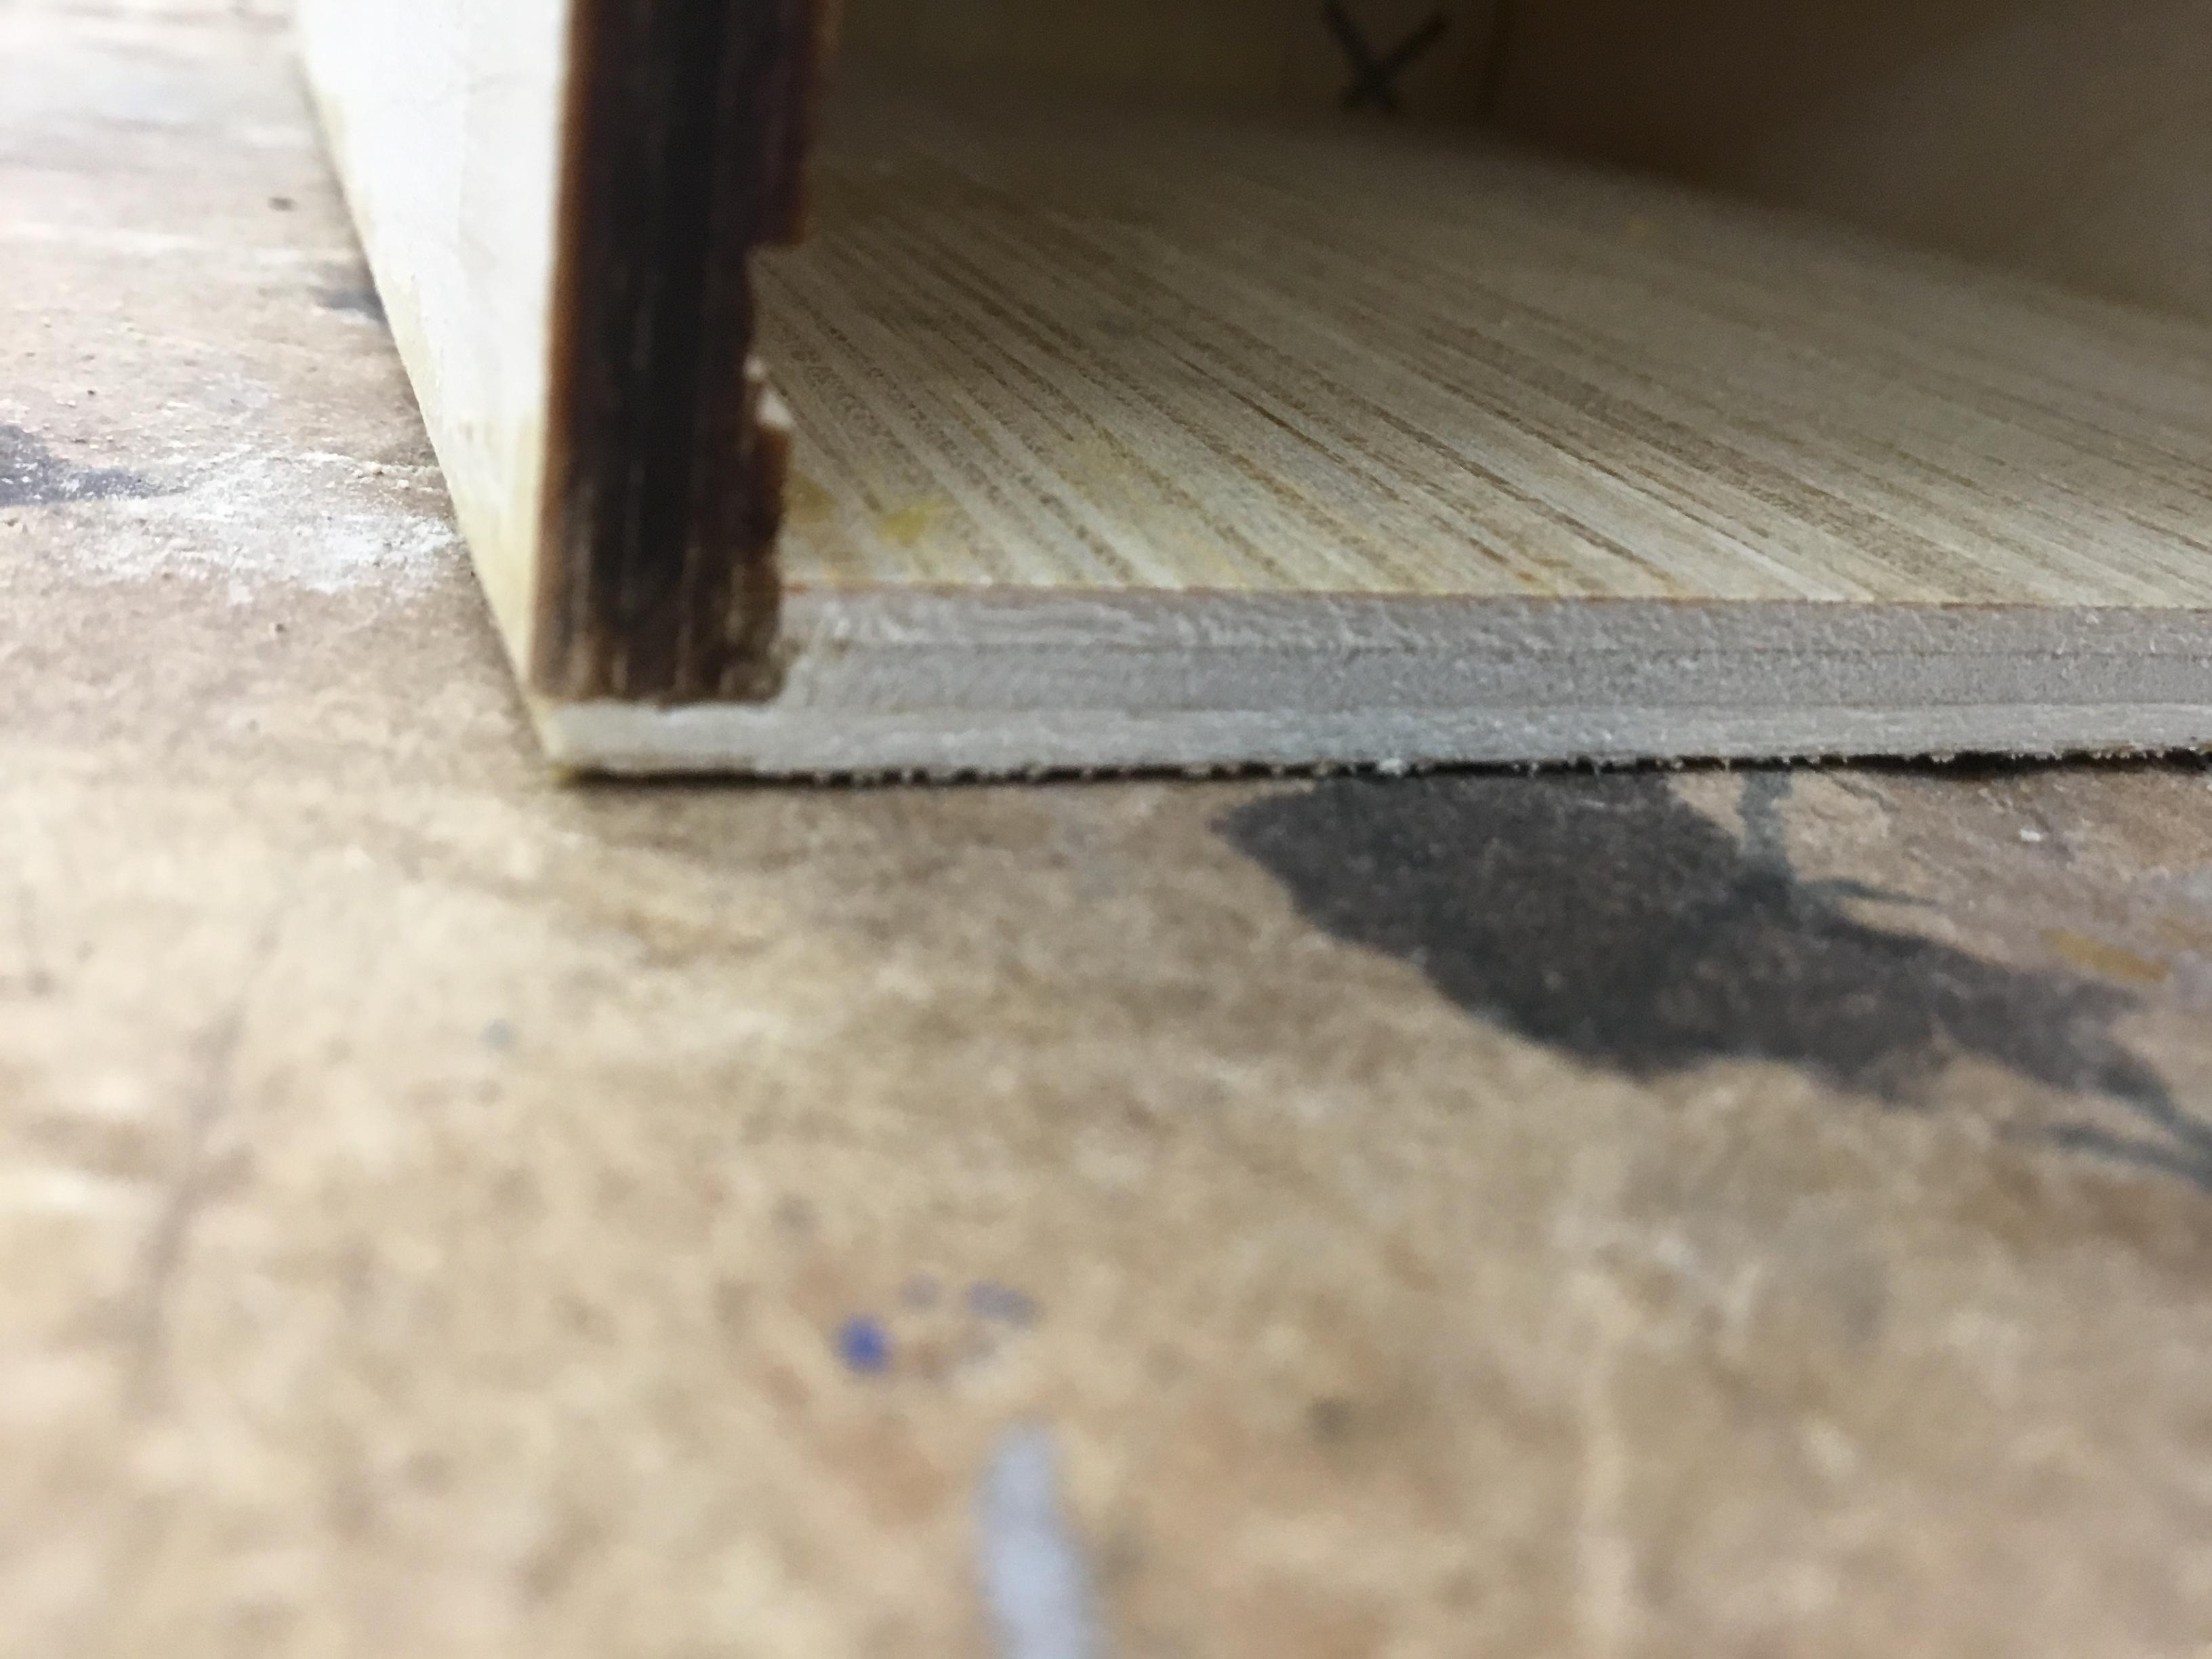
Measure the width of the sides. On the back of the box draw a line along the sides and bottom this width away from the edge. Lower the saw to 3/8 of an inch again and cut the same way as in step 12 for both sides and the bottom of the back.
Assemble and Glue Box Together
At this point you should have 4 pieces of wood cut out (base, back, and two sides). Put together these pieces to get a sense of how they will fit together and align the rabbit joints to maximize points of contact. I recommend first attaching the back of the box to the base, then moving to the sides. Place wood glue along one side of each contact point then hold the pieces in place together for roughly 10 minutes or until the pieces are stuck together and you cannot wiggle them without excess force.
Begin Top of Box
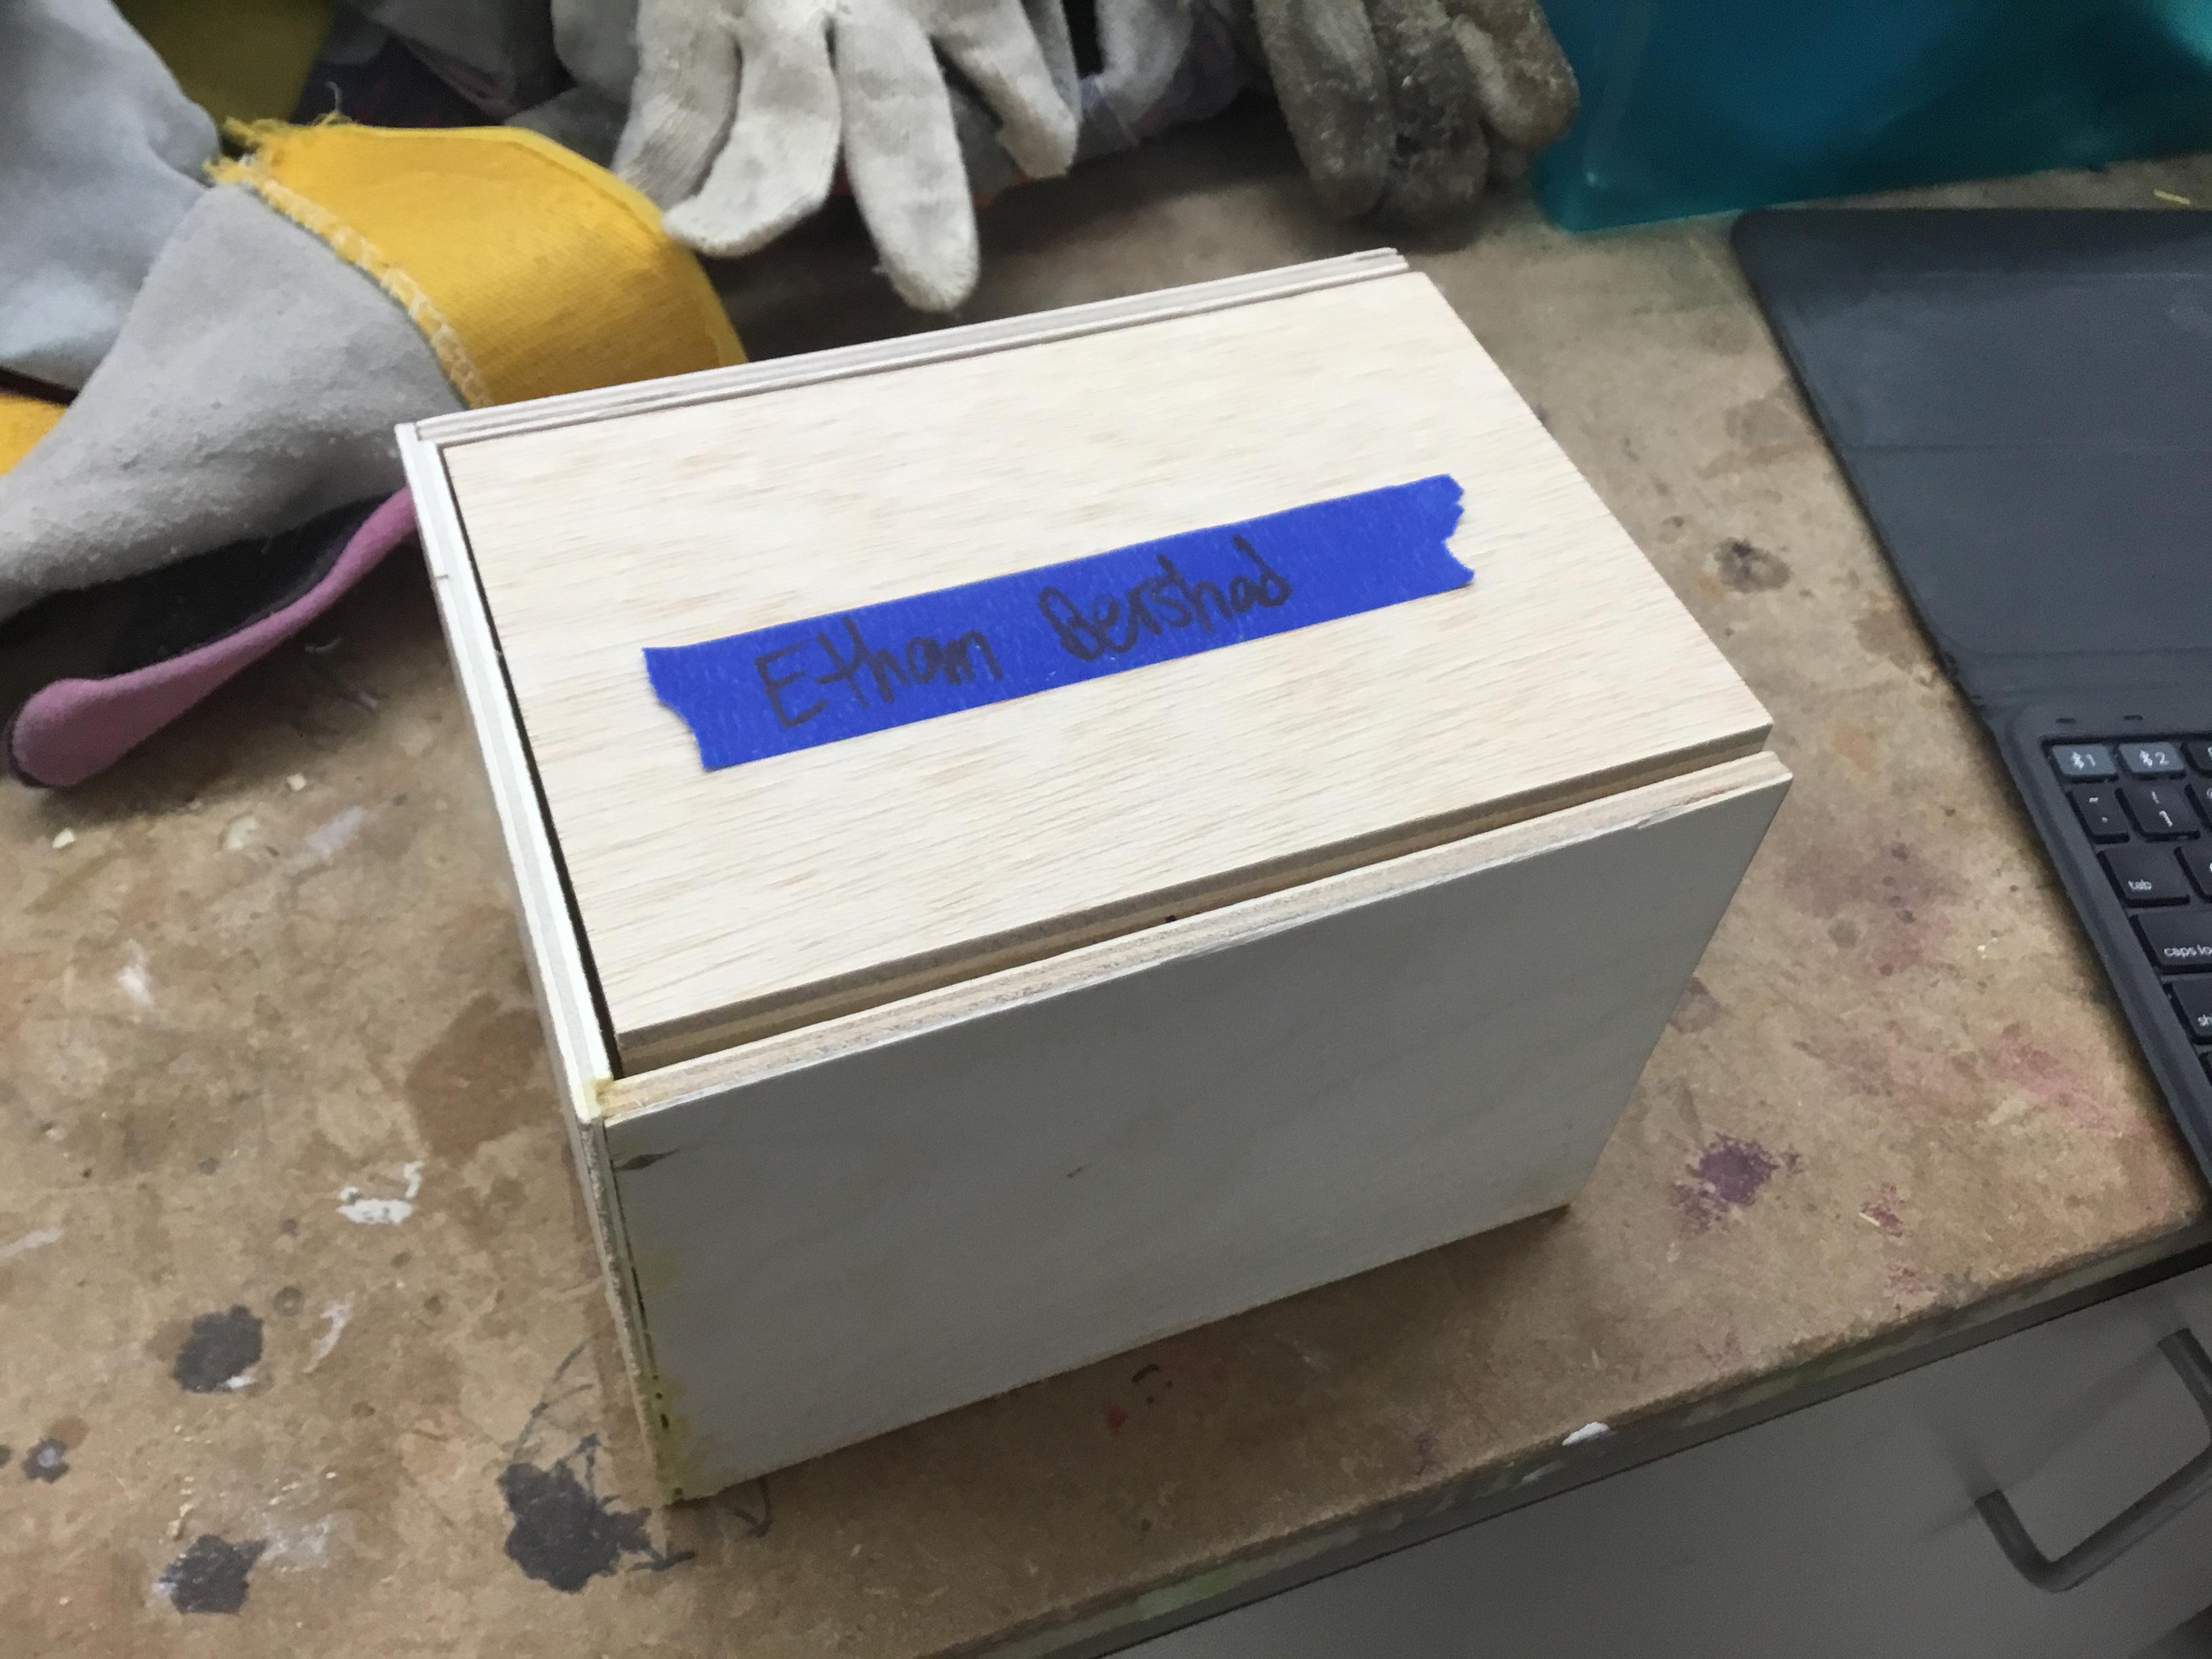
For the top of the box try to find a thicker piece of wood. Measure the length of the base of the box and width of the box and cut this piece of wood to fit those dimensions. Note: it's better to start out too big and then cut smaller than having to find a new piece of wood because you cut too much initially.
Make Top Slidable
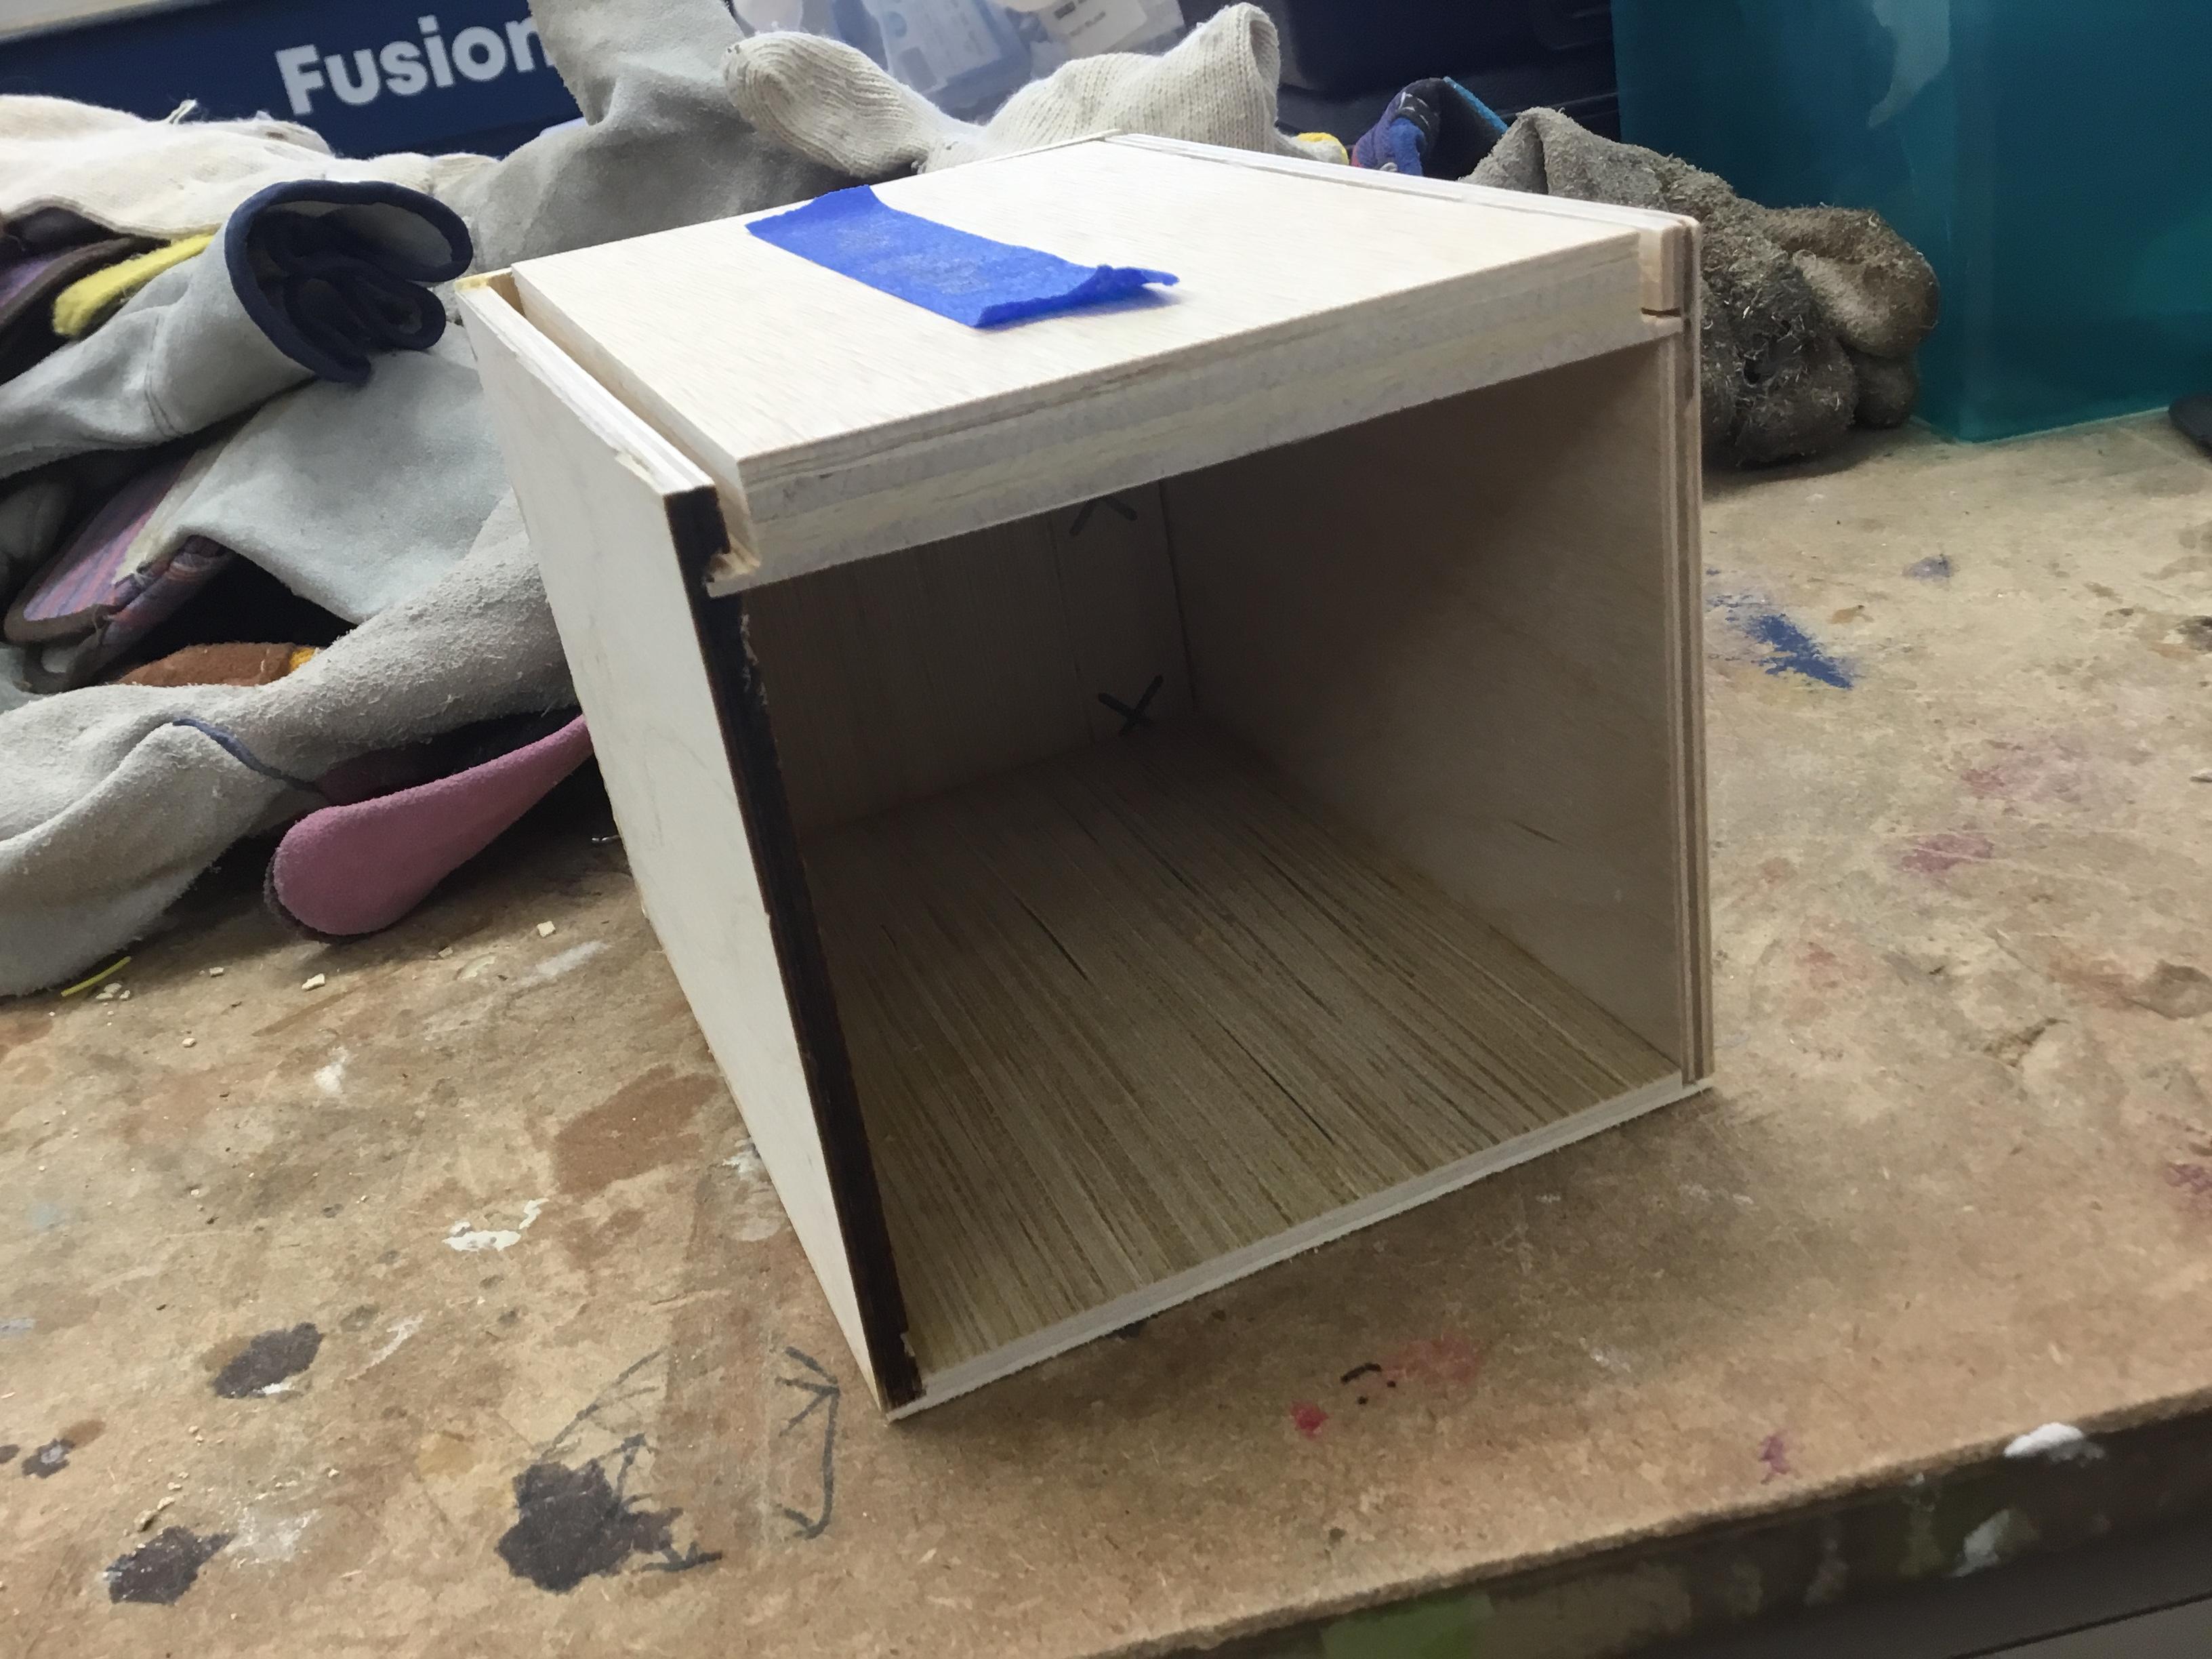
To make the top slidable, measure the width of the rectangle cut out on the sides of the box. On the longer sides of the top, mark slightly more than this width down from the top. For the depth of the cut, I recommend starting with 1/4 inch and then cutting more if necessary. This should leave a significant area that needs to be cut out. Make this cut.
Finish Top
The top of the box should now slide in and out of the rectangles cut in the sides. To create a level surface on top, either sand or use a saw to cut out any excess. Do not wood glue the top onto the rest of the box because it will no longer slide and allow access to the electronics inside.
Front of Box
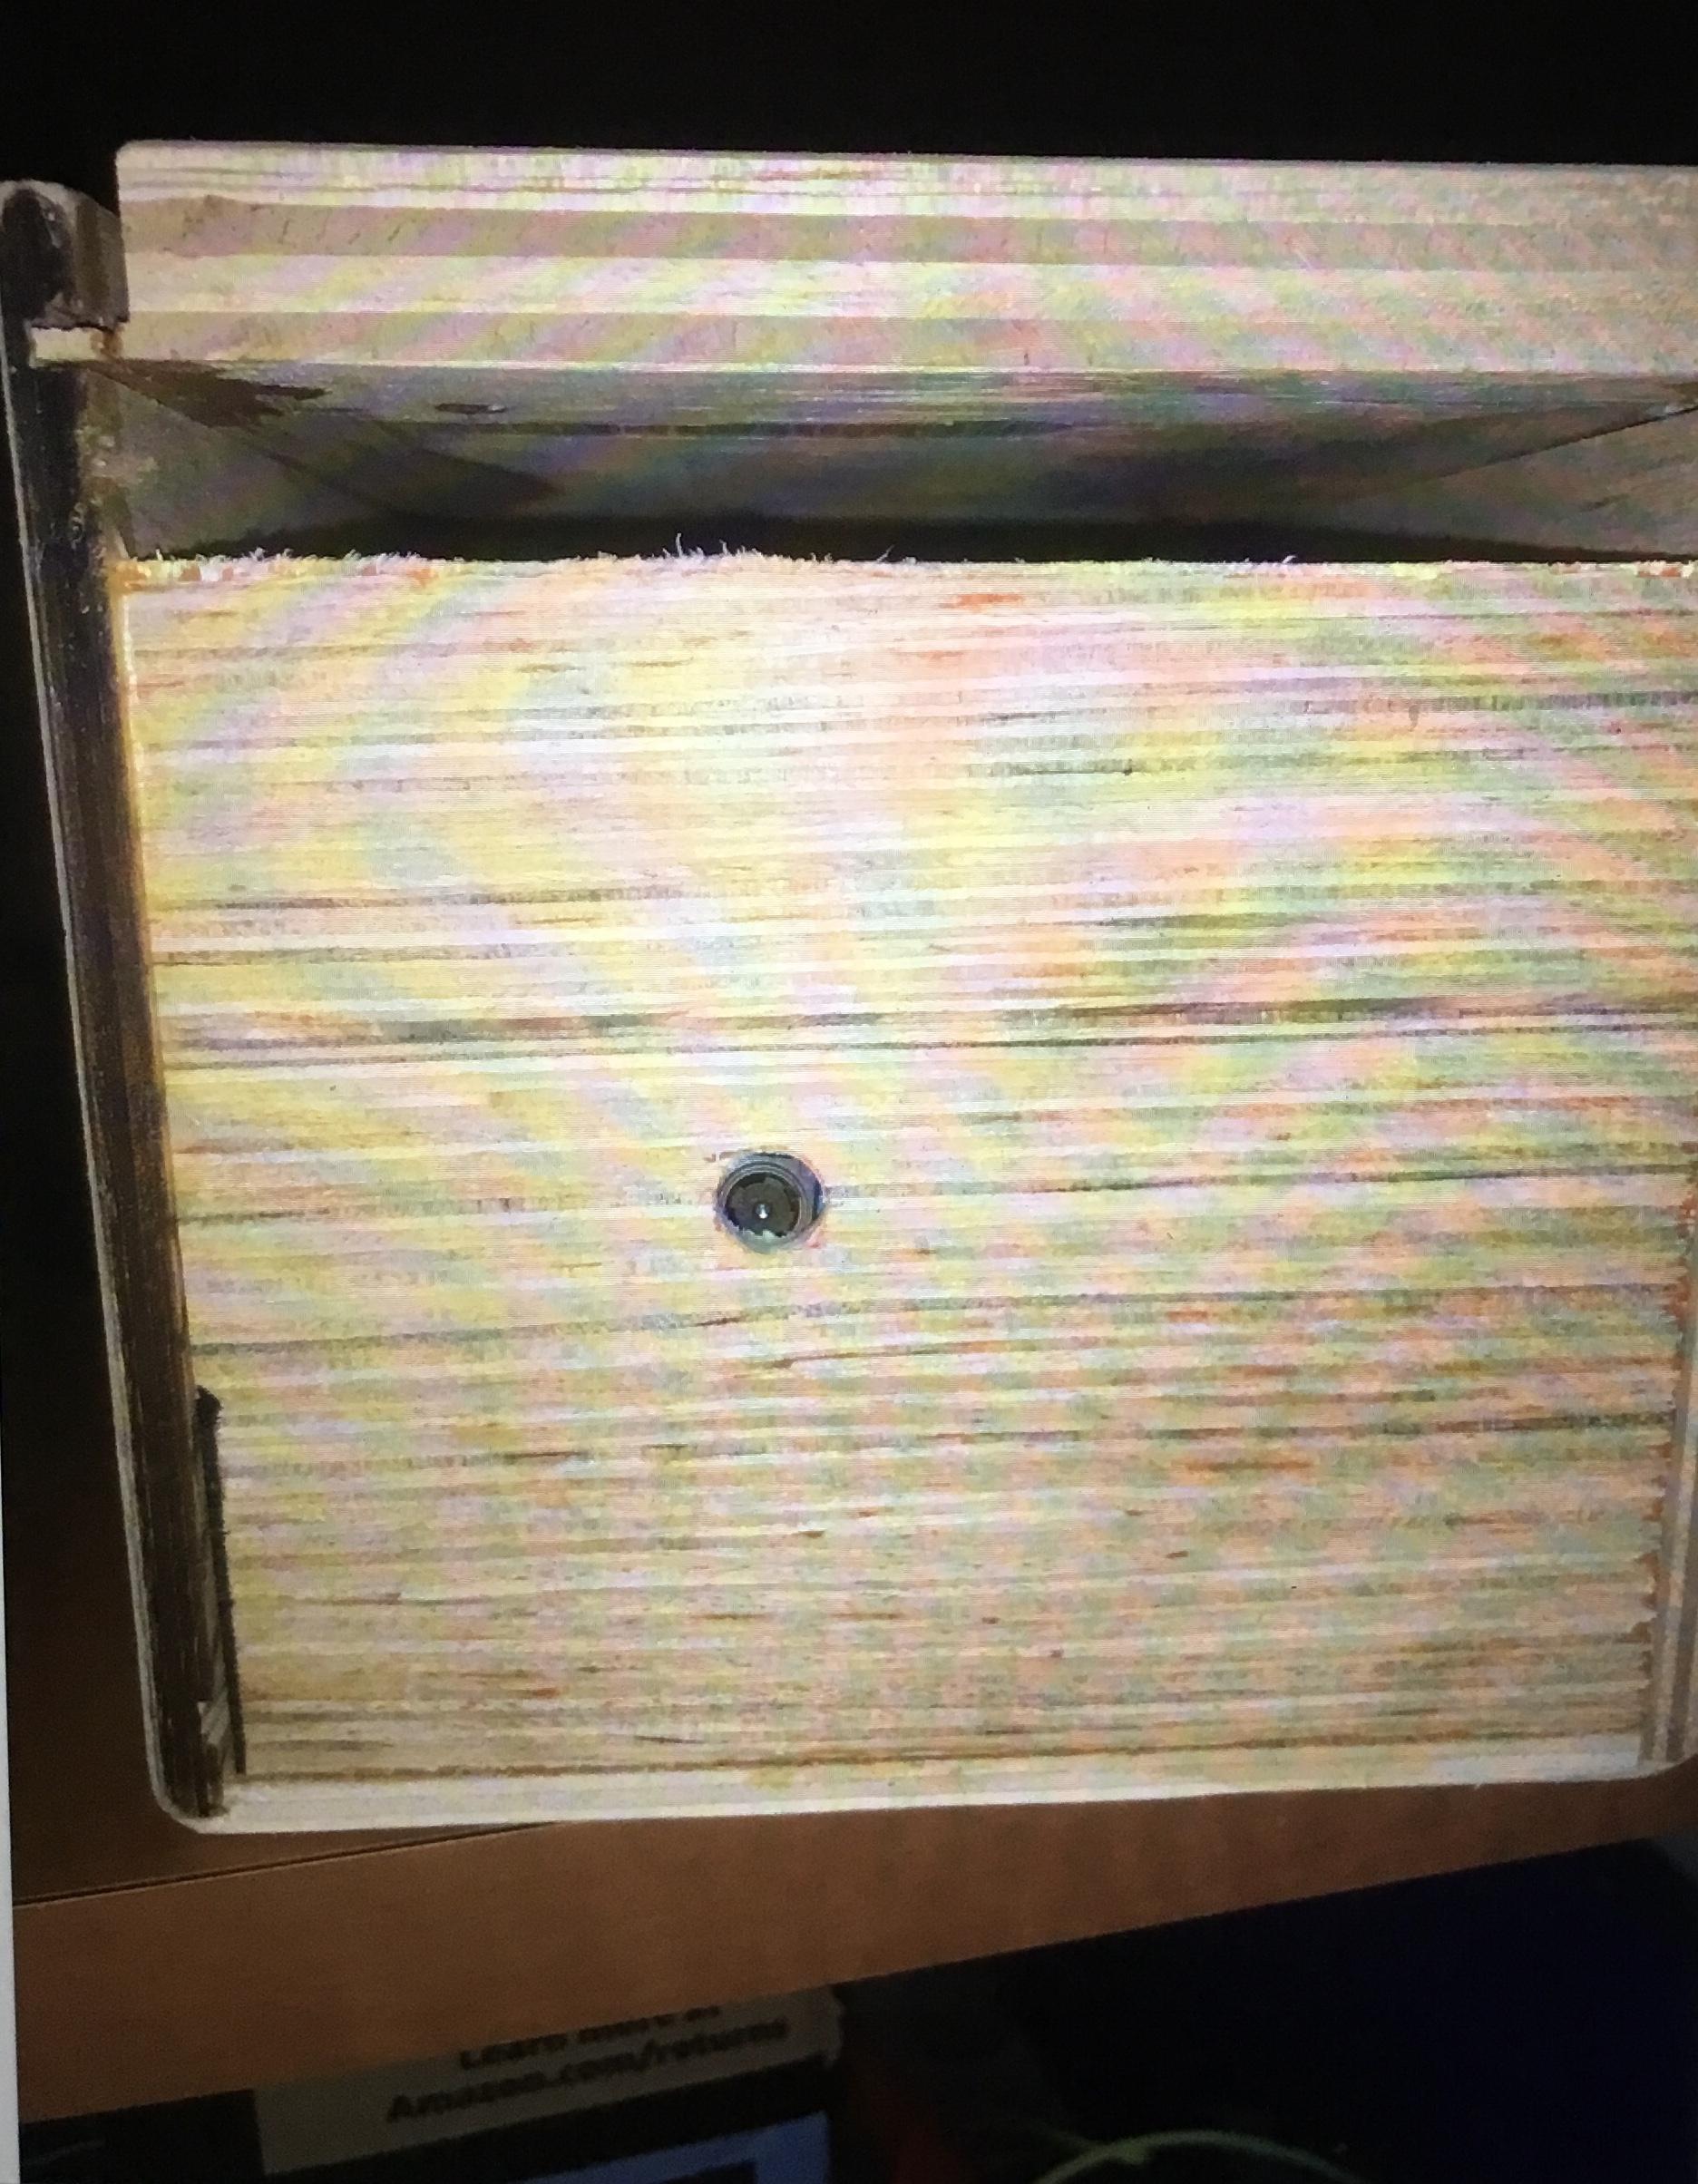
For the front of the box use a thinner piece of wood. Measure the remaining width of the base for the width of the front. For the height make sure some space is left to allow the user to pull the sliding top on and off. Cut out the front on the table saw and wood glue it to the front of the box.
Hole for Wires to Go Through
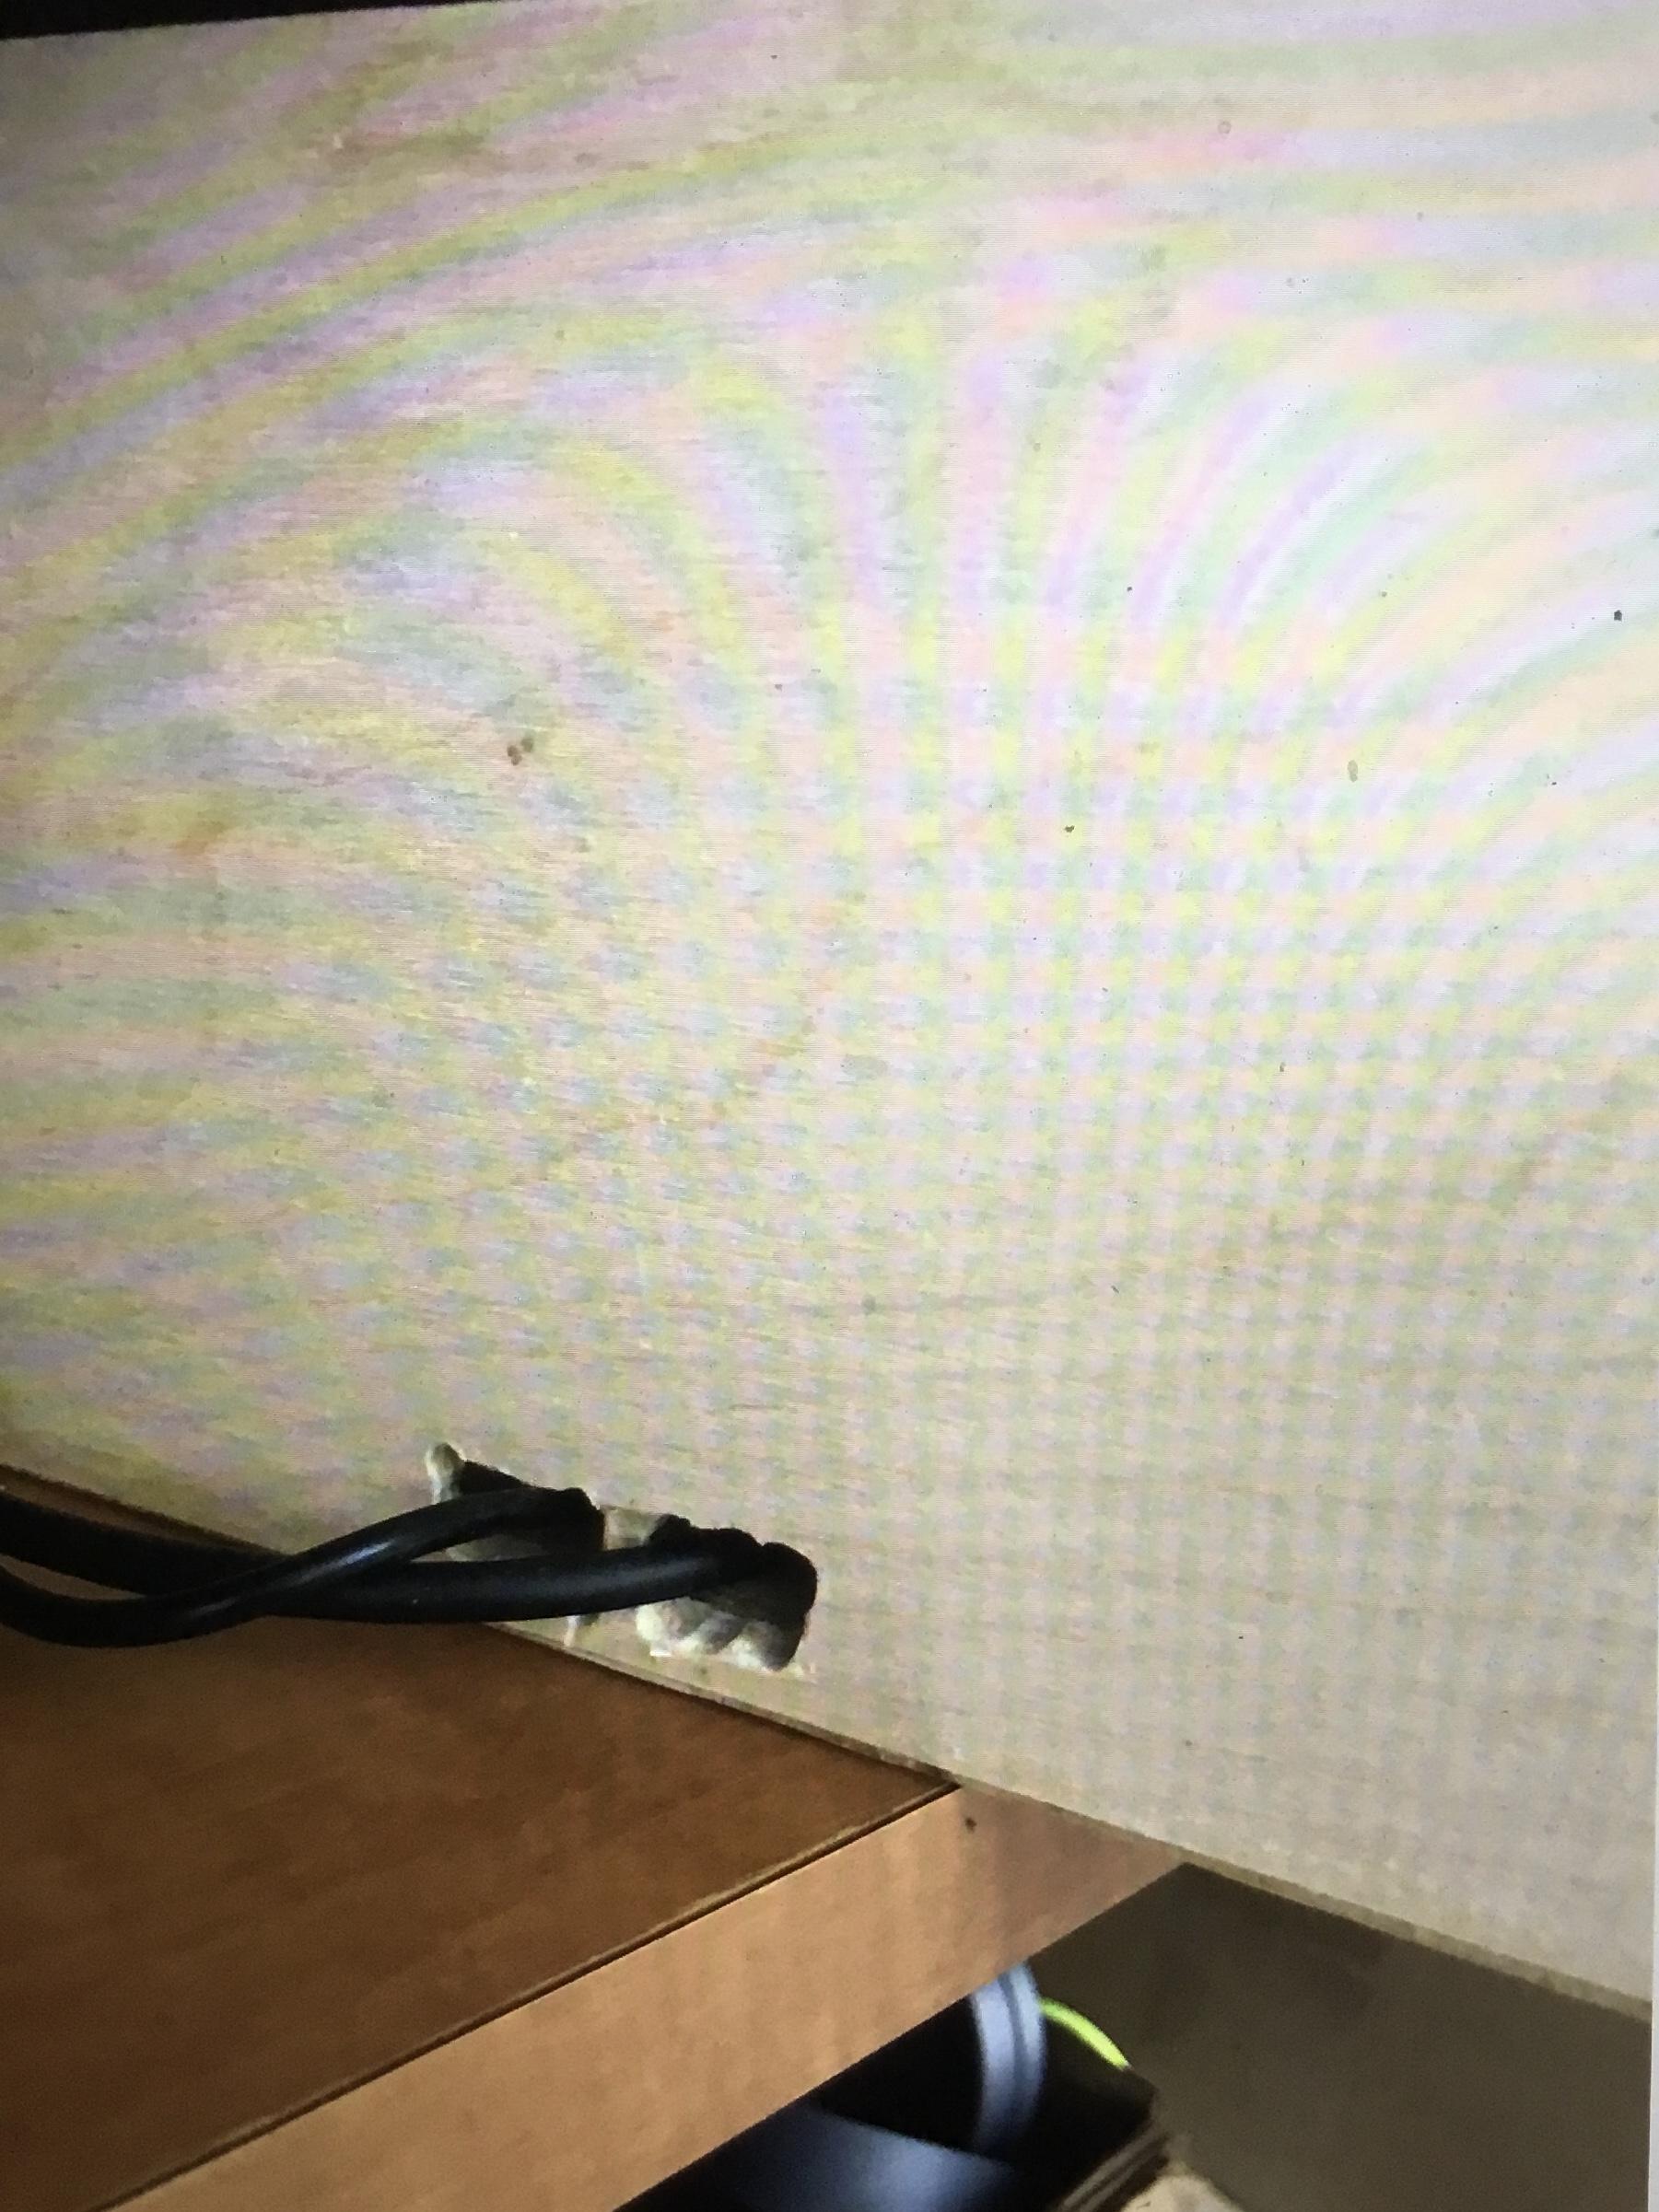
Place the Raspberry Pi inside of the box and orient it so the PiCamera will face the front of the box. On the side of the box where the power source and HDMI cable will be plugged in drill out two oval holes wide enough for the cables to fit through. You do not need to drill holes for the keyboard, mouse, or ethernet. These can simply be attached through the open top and then unplugged once they are used to turn the network on.
3D-Printed Case for PiCamera
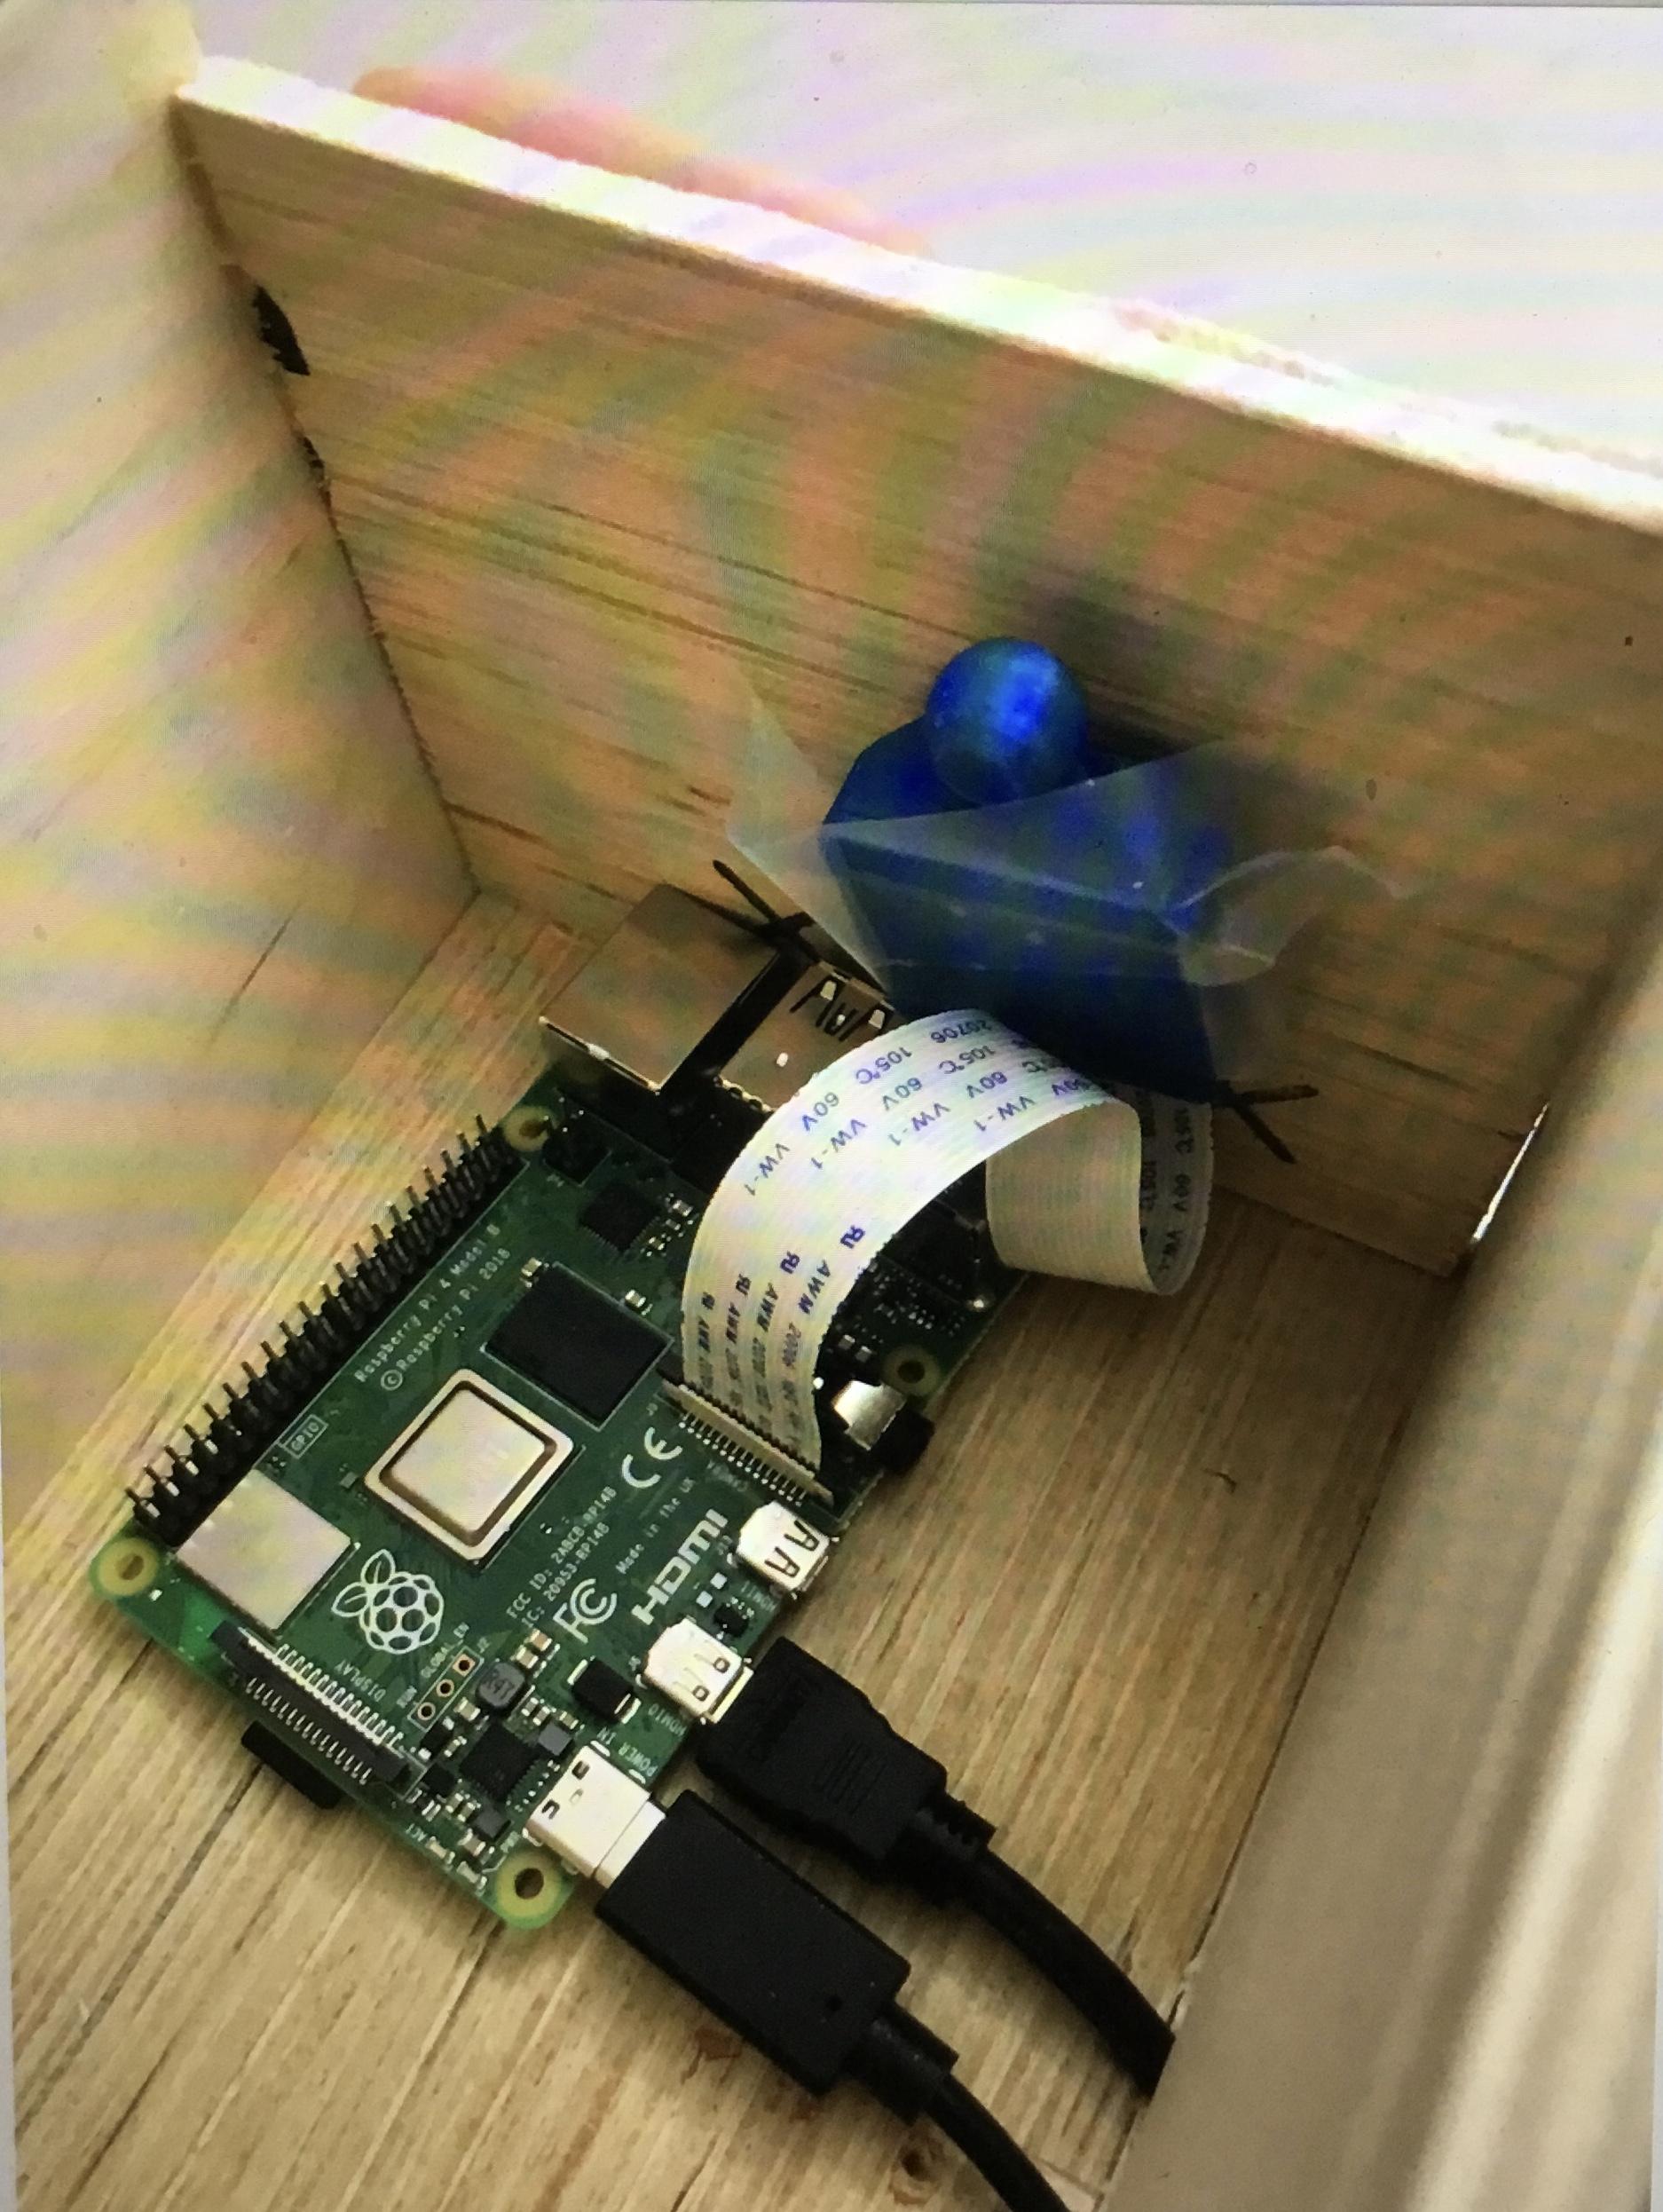
Optional: 3D-print out a case for the PiCamera. Place the Camera inside the case
Hole for PiCamera (See Picture on Step 21)
On the front of the box, drill a hole the radius of the PiCamera regardless of if you are using the case. Then place the PiCamera inside the box up to the front with the camera inside of the hole. Run the webcam script from step 8 to ensure the camera's visibility is unimpeded. Take the camera/case to the inside of the front of the box and ensure it does not wiggle around as this will block the camera's view.
Run Final Code
Plug in all components except the ethernet. Run:
cd tflite1
source tflite1-env/bin/activate
python3 TFLite_detection_webcam.py --modeldir=Sample_TFLite_model
Unplug the keyboard and mouse.
Enjoy!
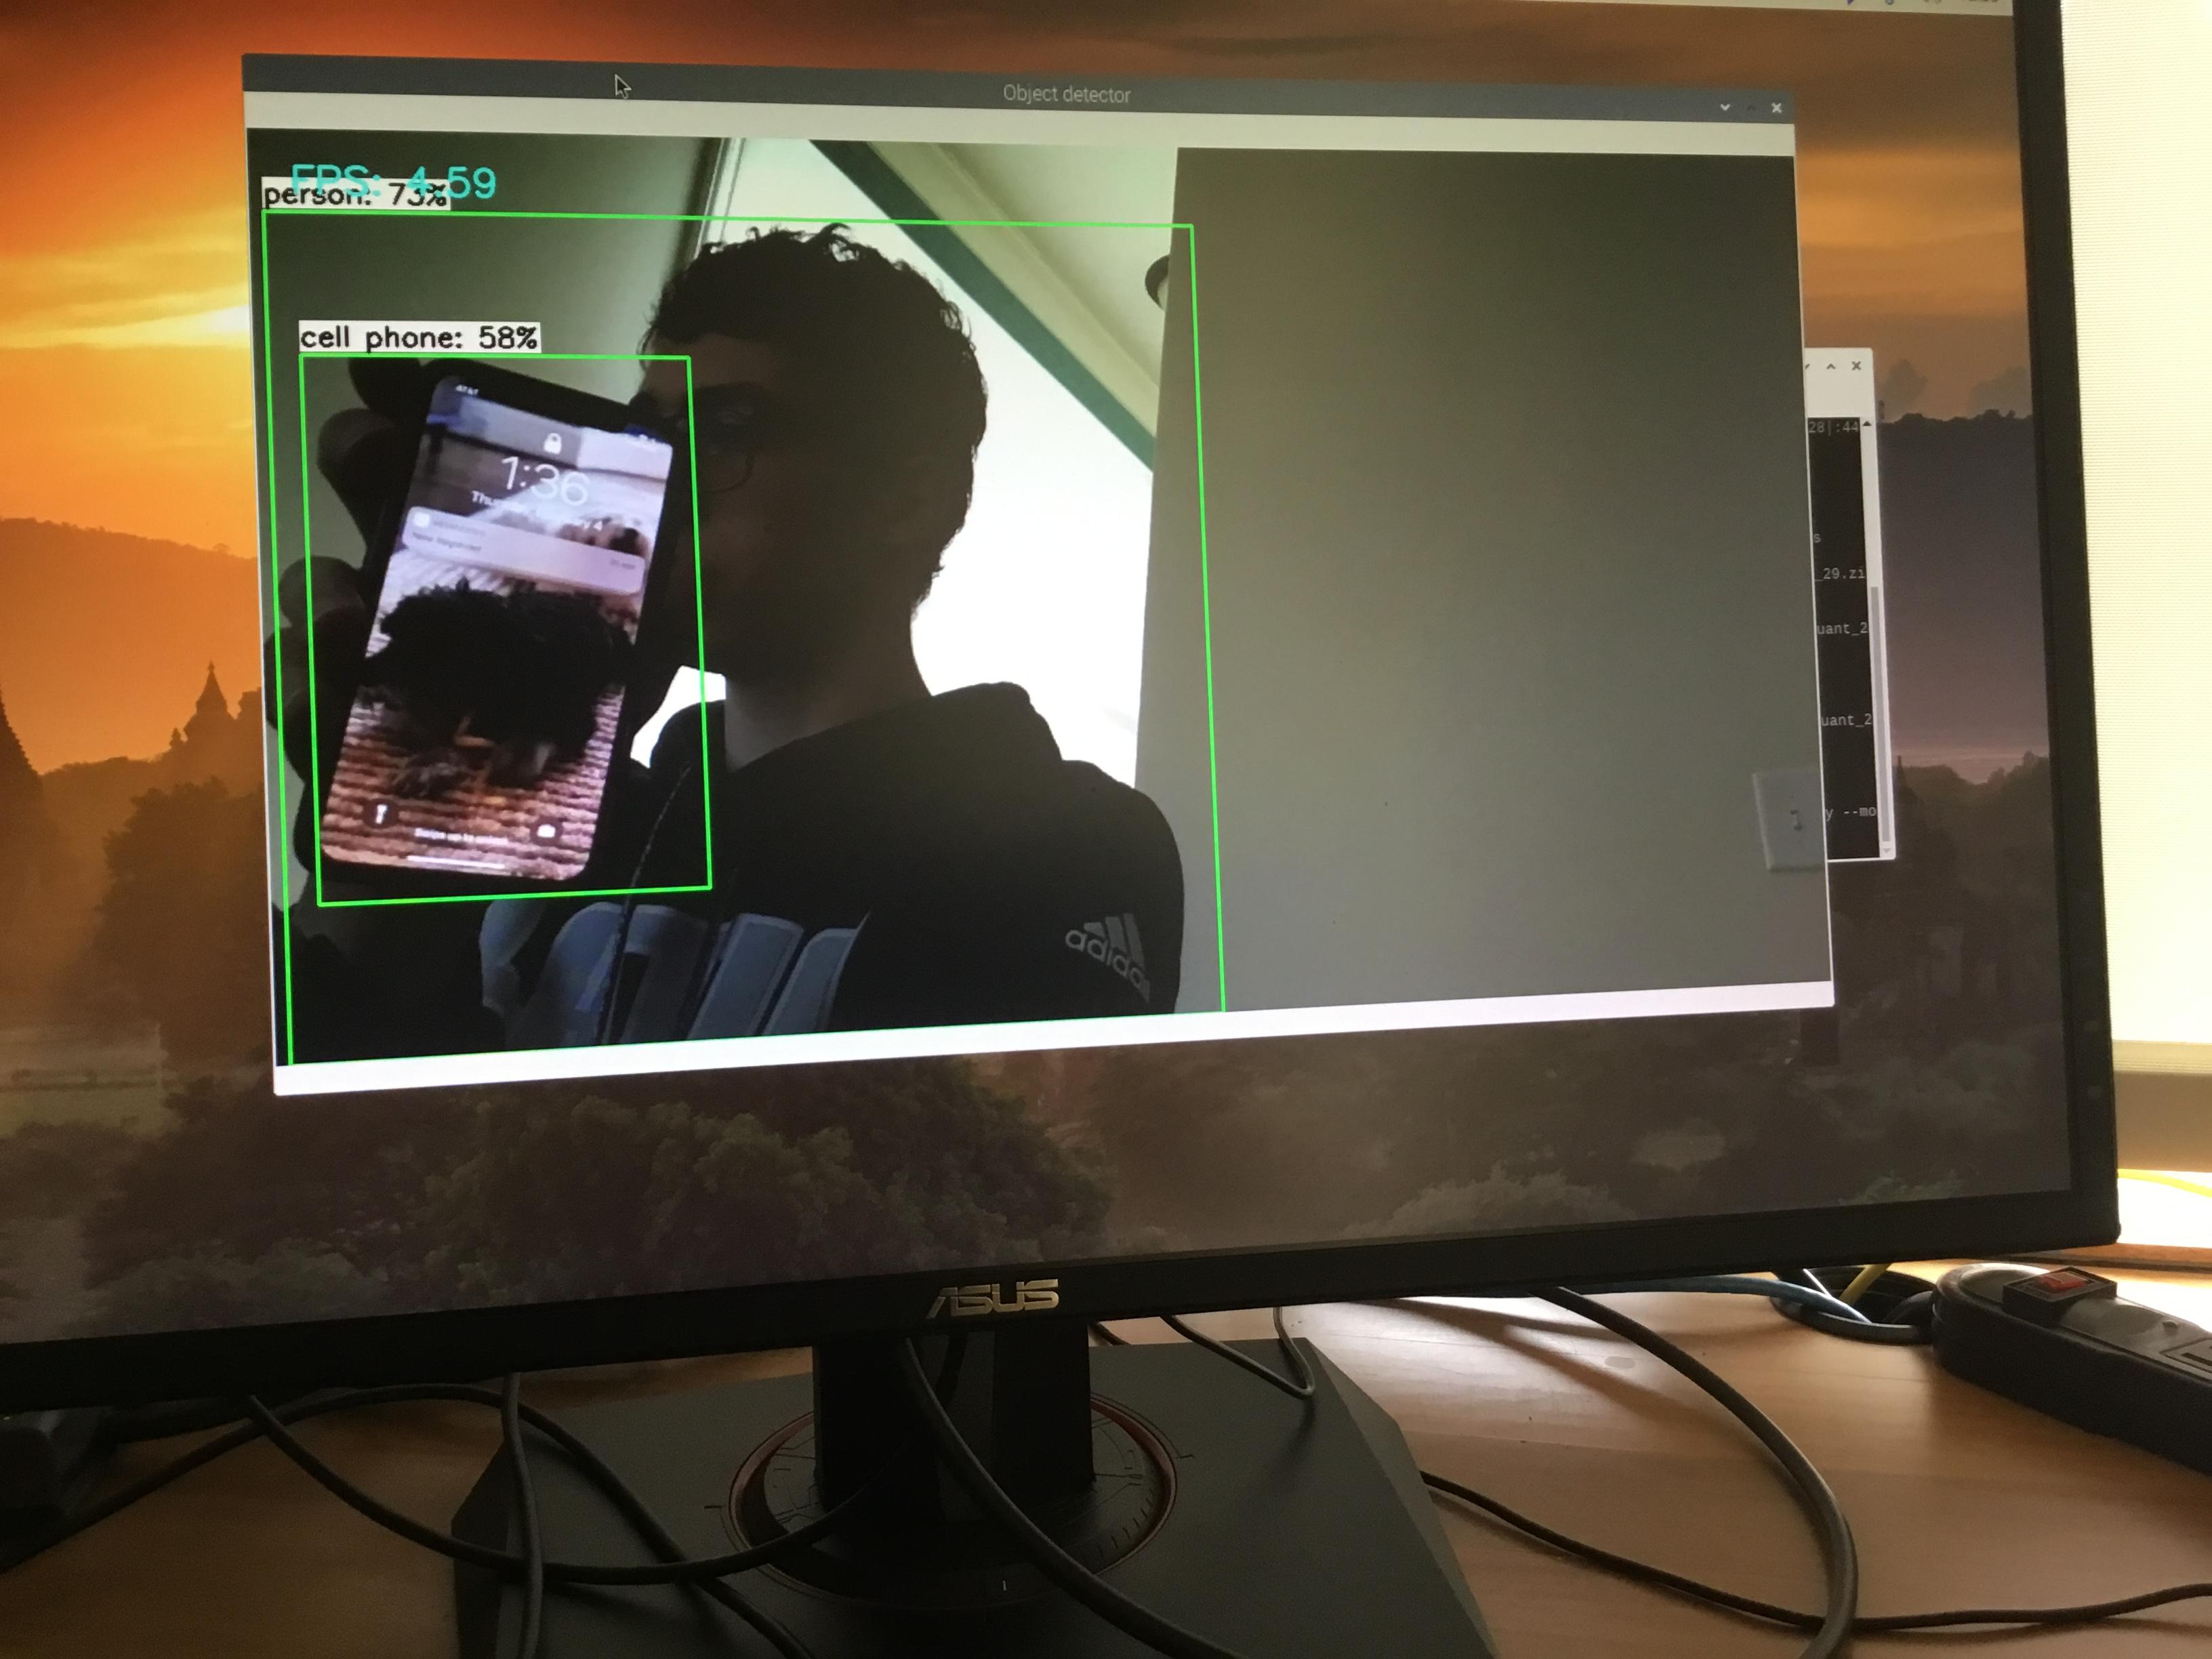
Congratulations! You have created a portable image recognition neural network.
Feel free to test out different uses for the network!