Raspberry Pi Intercom

This project was inspired by my existing hard-wired conventional intercom failing. I thought to myself that a smart alternative which game me a push notification on a button press would more than satisfy my intercom needs.
IoT devices have become so commonplace and I wanted to start a project to encourage DIY IoT projects and especially inspire beginners.
The core components of this project are simple:
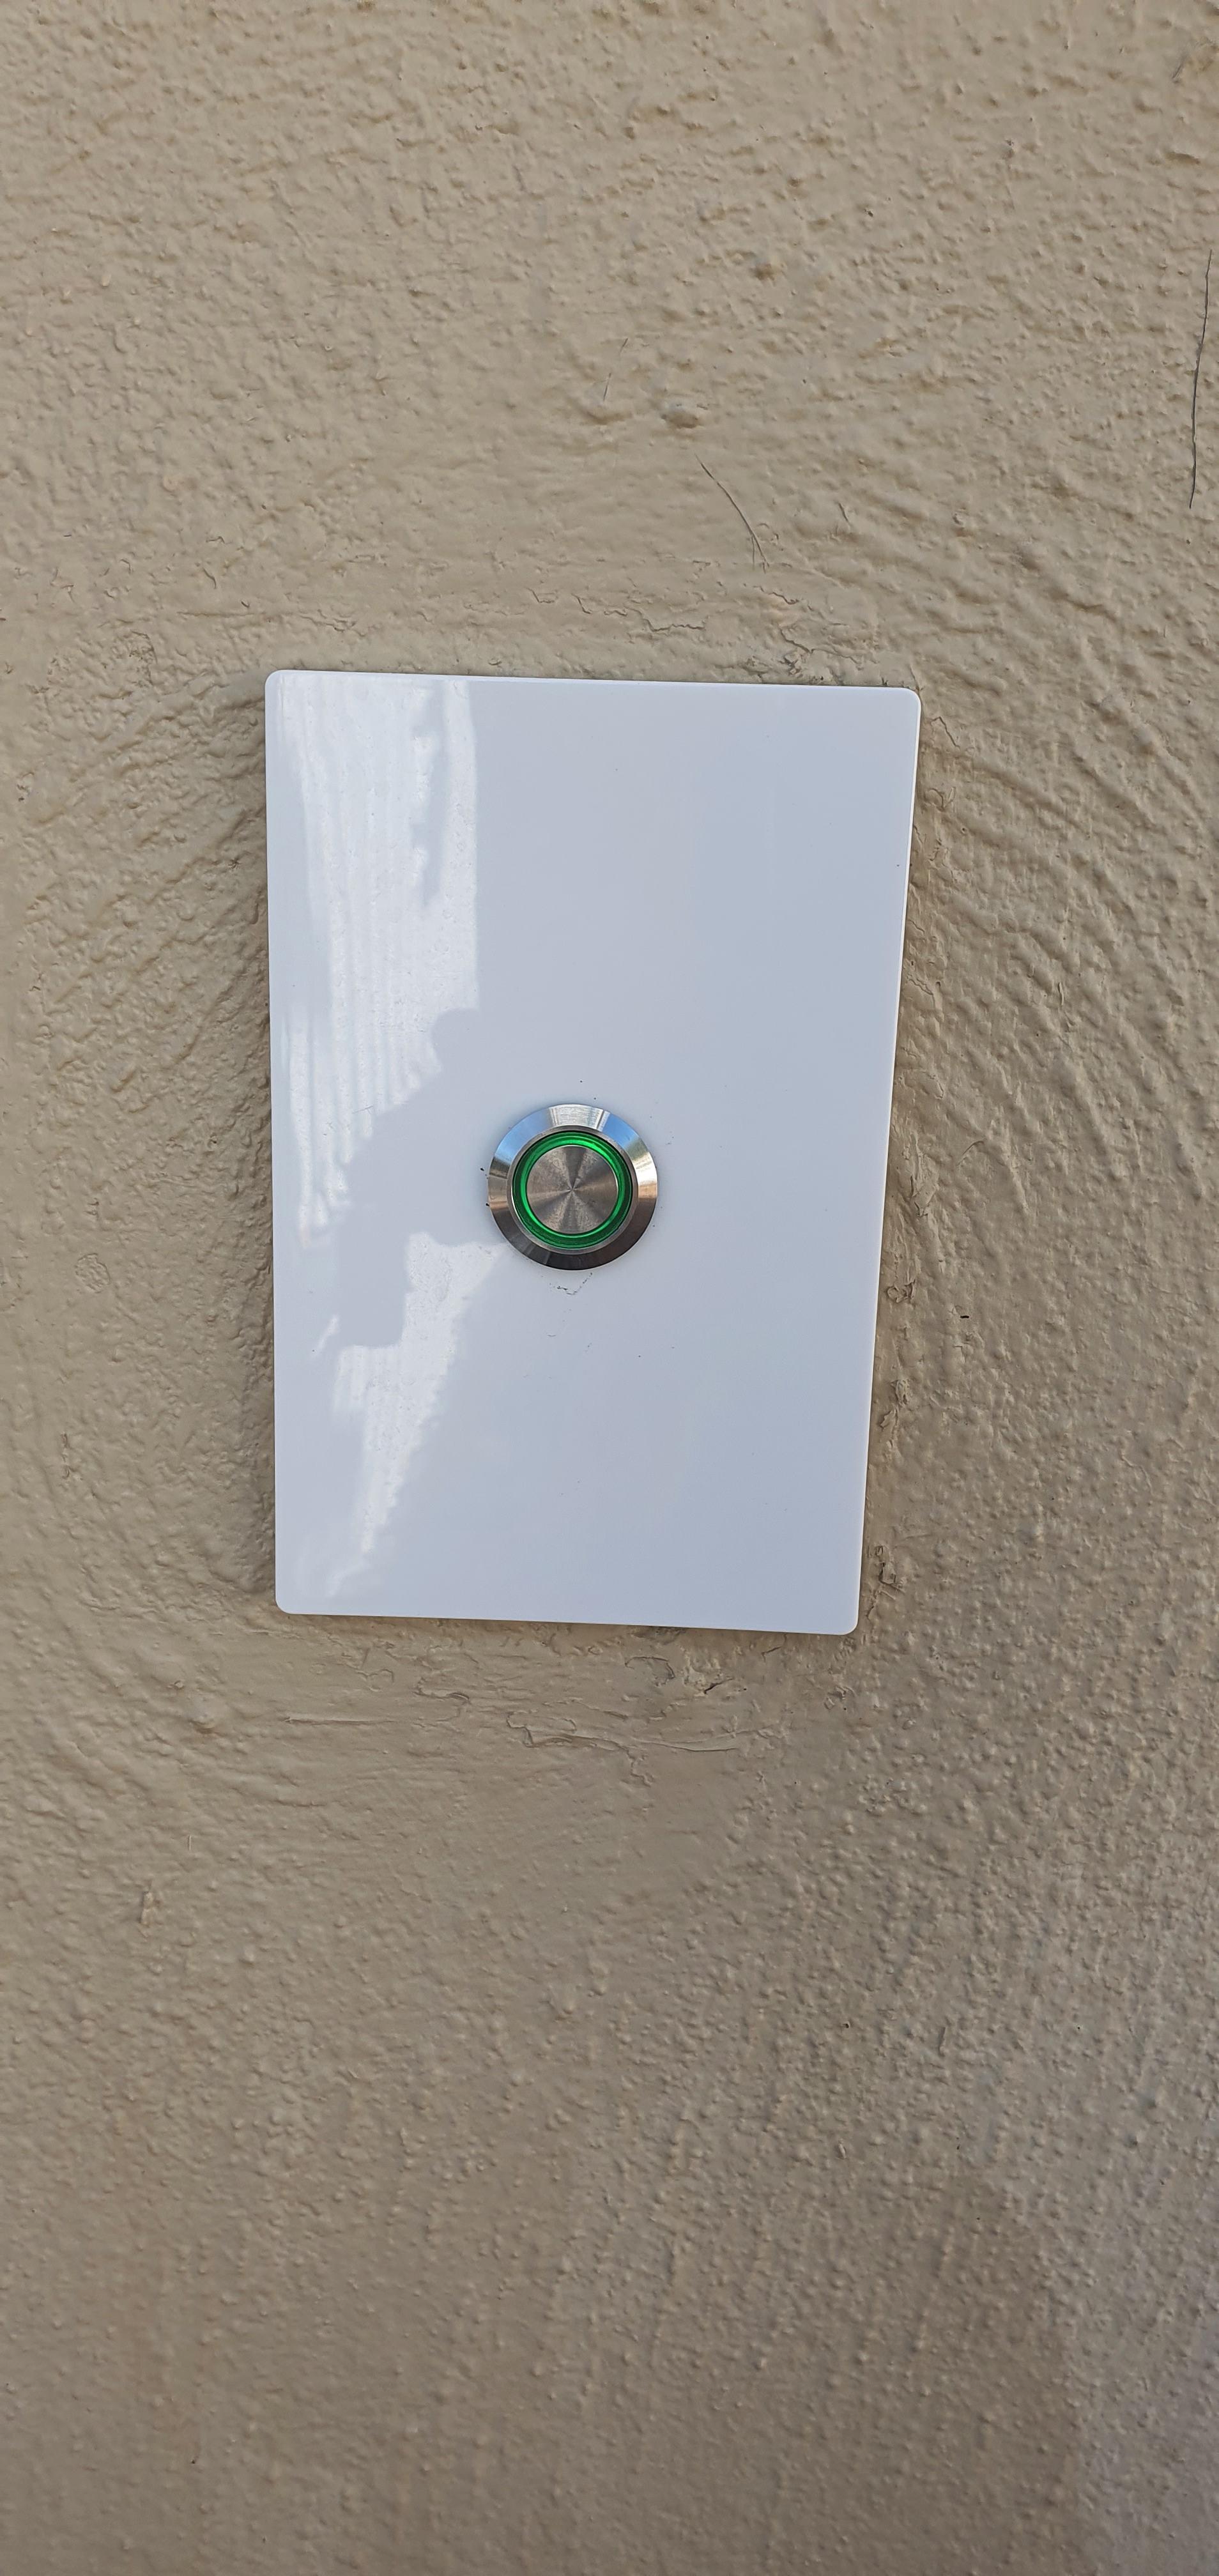
- A pushbutton - used as the intercom button
- A Raspberry Pi - runs a python script with a Button Listener which is used to send a push notification to an Android App
- An Android App and hosted Back-End which handle the push notification and also allow for an action to be sent back to the Pi (in my case used to open my gate)
The app and web back-end are not required, but are there to use as a resource or testing, to make this project simpler for a beginner to follow, and is there to demonstrate how easy it is to implement a custom IoT project.
For any beginner I recommend doing some research into the following topics to familiarize yourself with the basics:
- Raspberry Pi GPIO usage for digital input and output. Output using an opto-coupled relay for switching 230VAC
- Raspberry Pi Apache, PHP and Python implementation
- Dynamic DNS services and Port-Forwarding Rules
- Crontab Scheduling
Supplies
Pushbutton for intercom button (IP65 if used outdoors)
- Raspberry Pi (I used 3B+). As this is a headless setup running not very resource intensive tasks earlier versions would also work. I found that the built in WiFi helped me not have to run an ethernet connection to the device. A Pi Zero Wireless would probably be the most cost effective solution.
- A Pi Camera - not essential, but I have used this to build in a video feed into the app
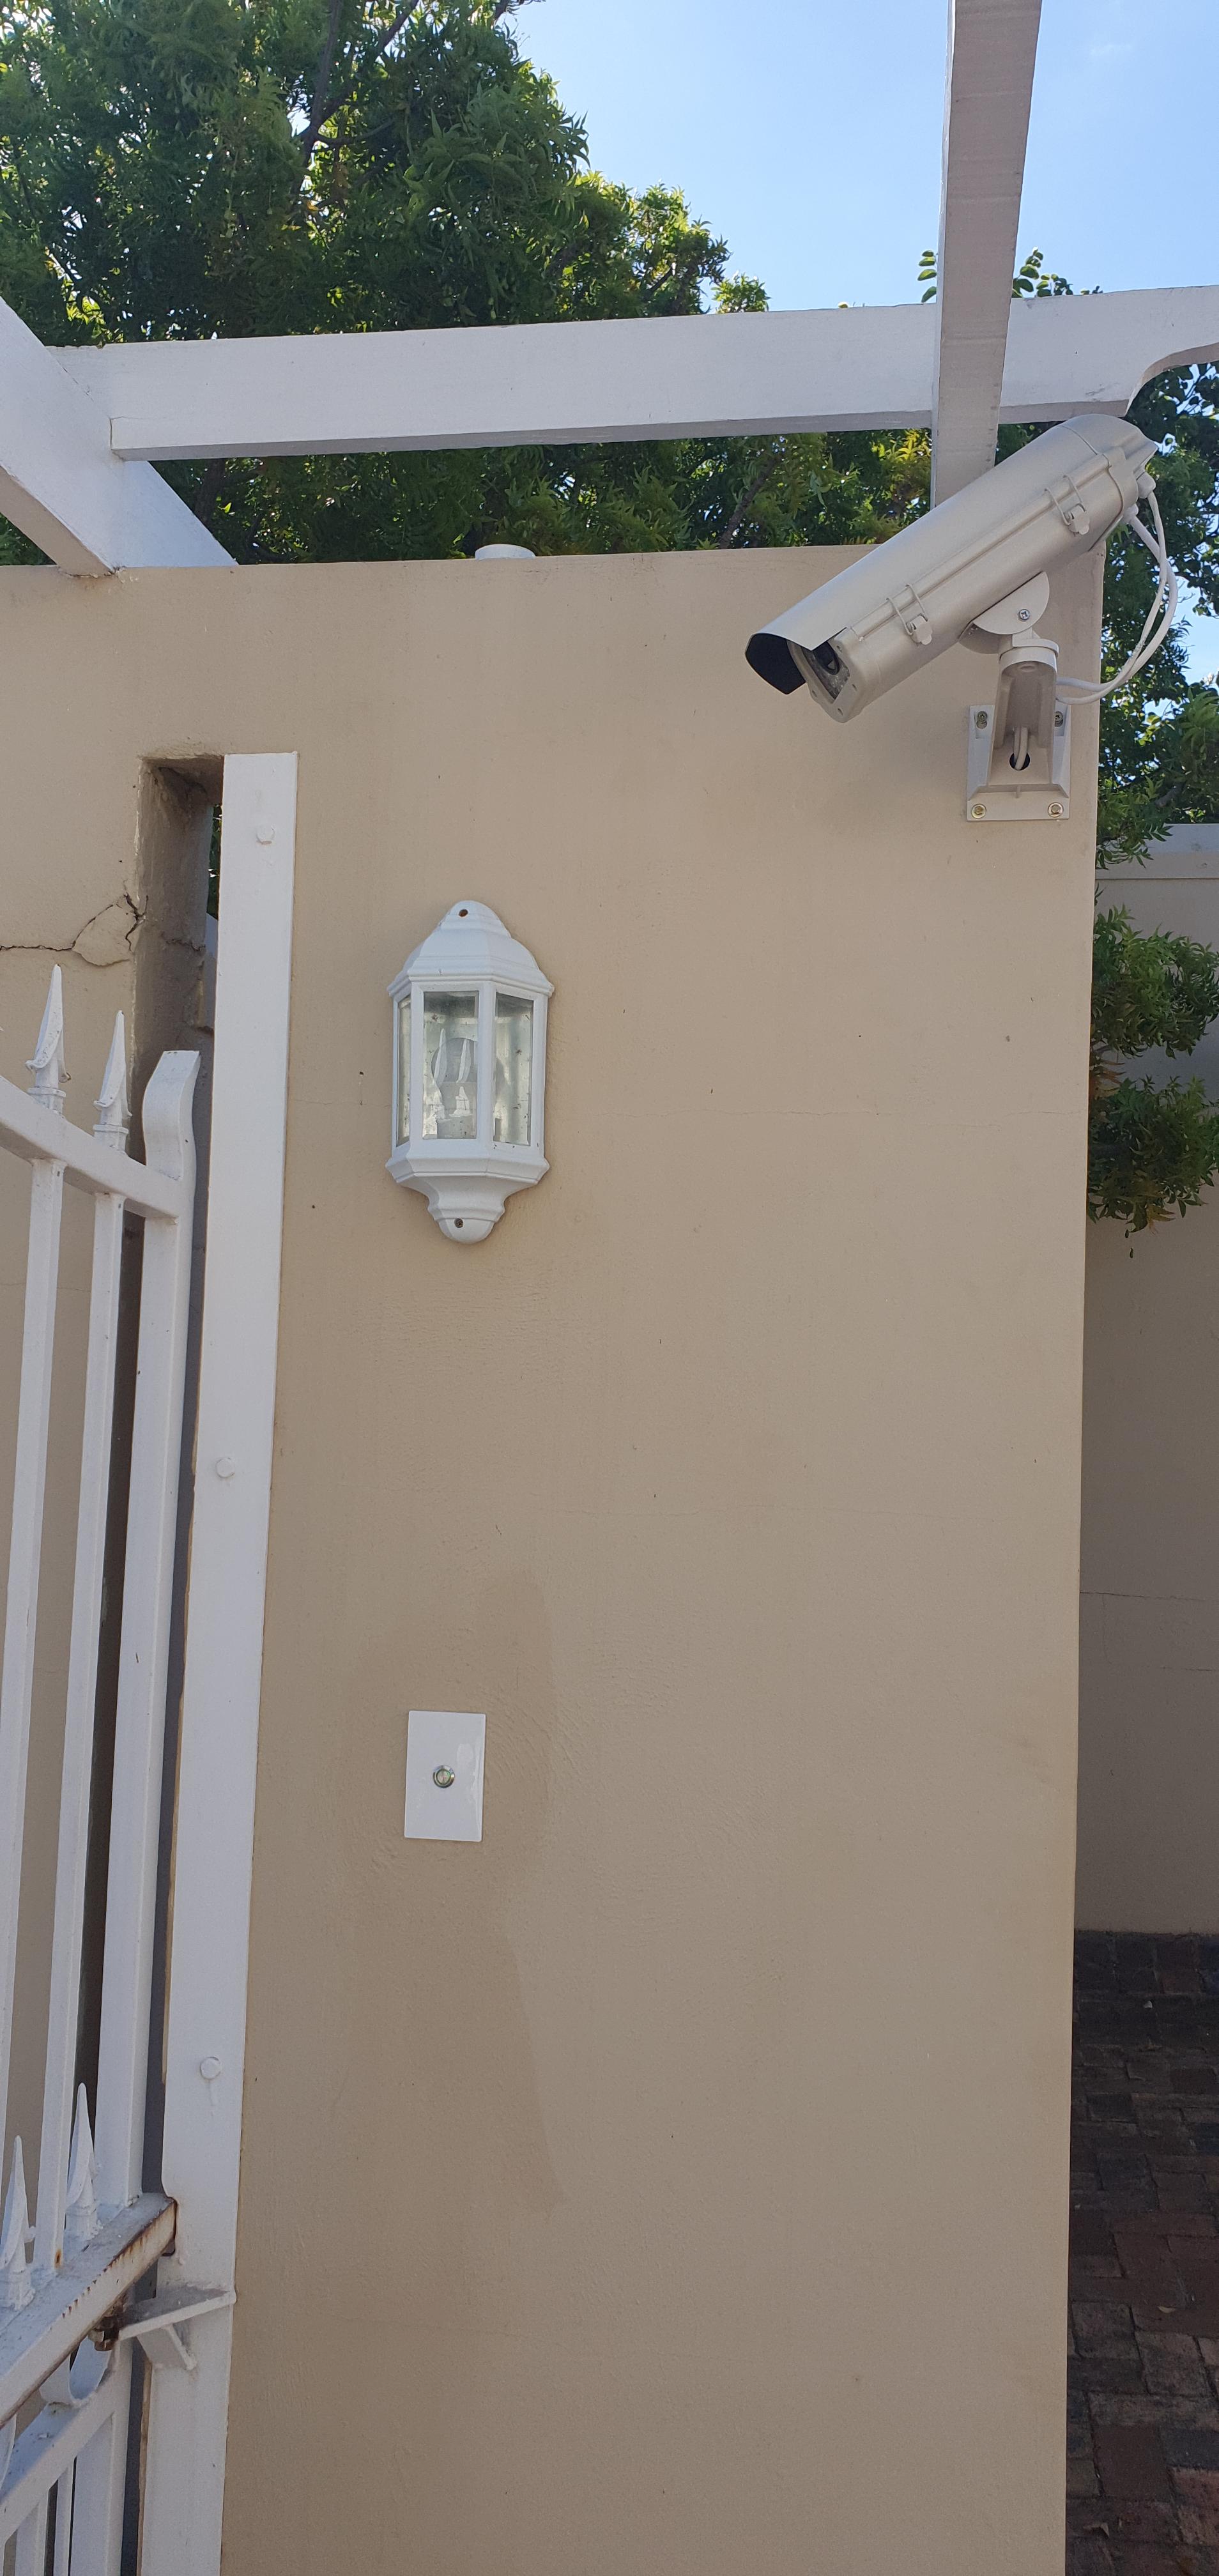
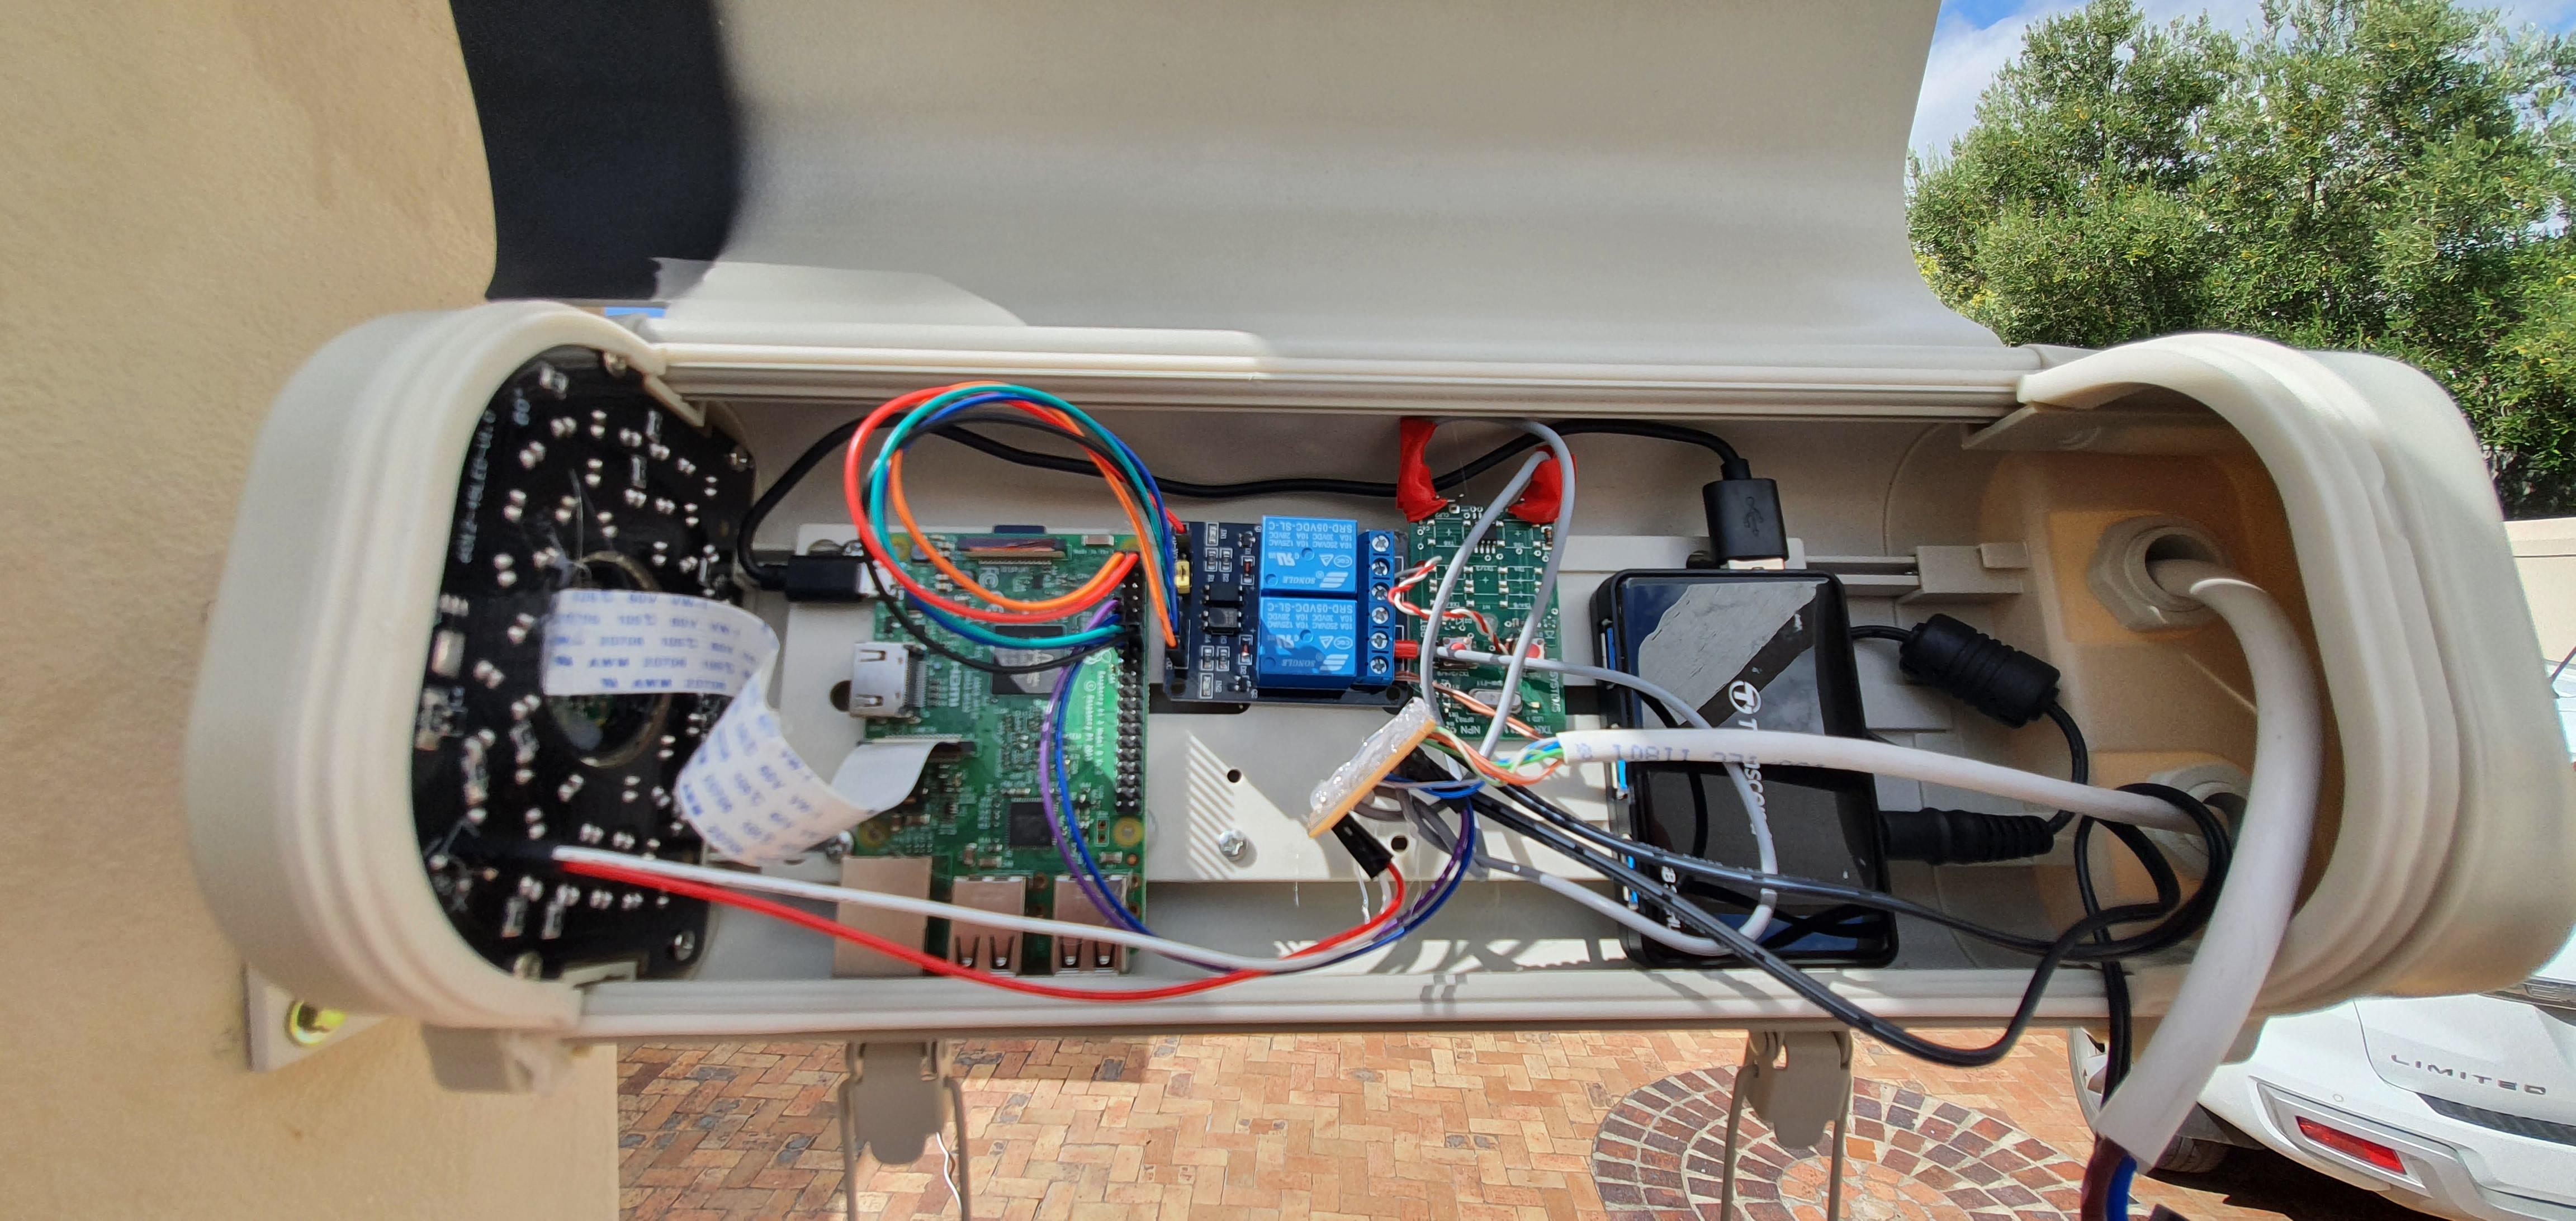
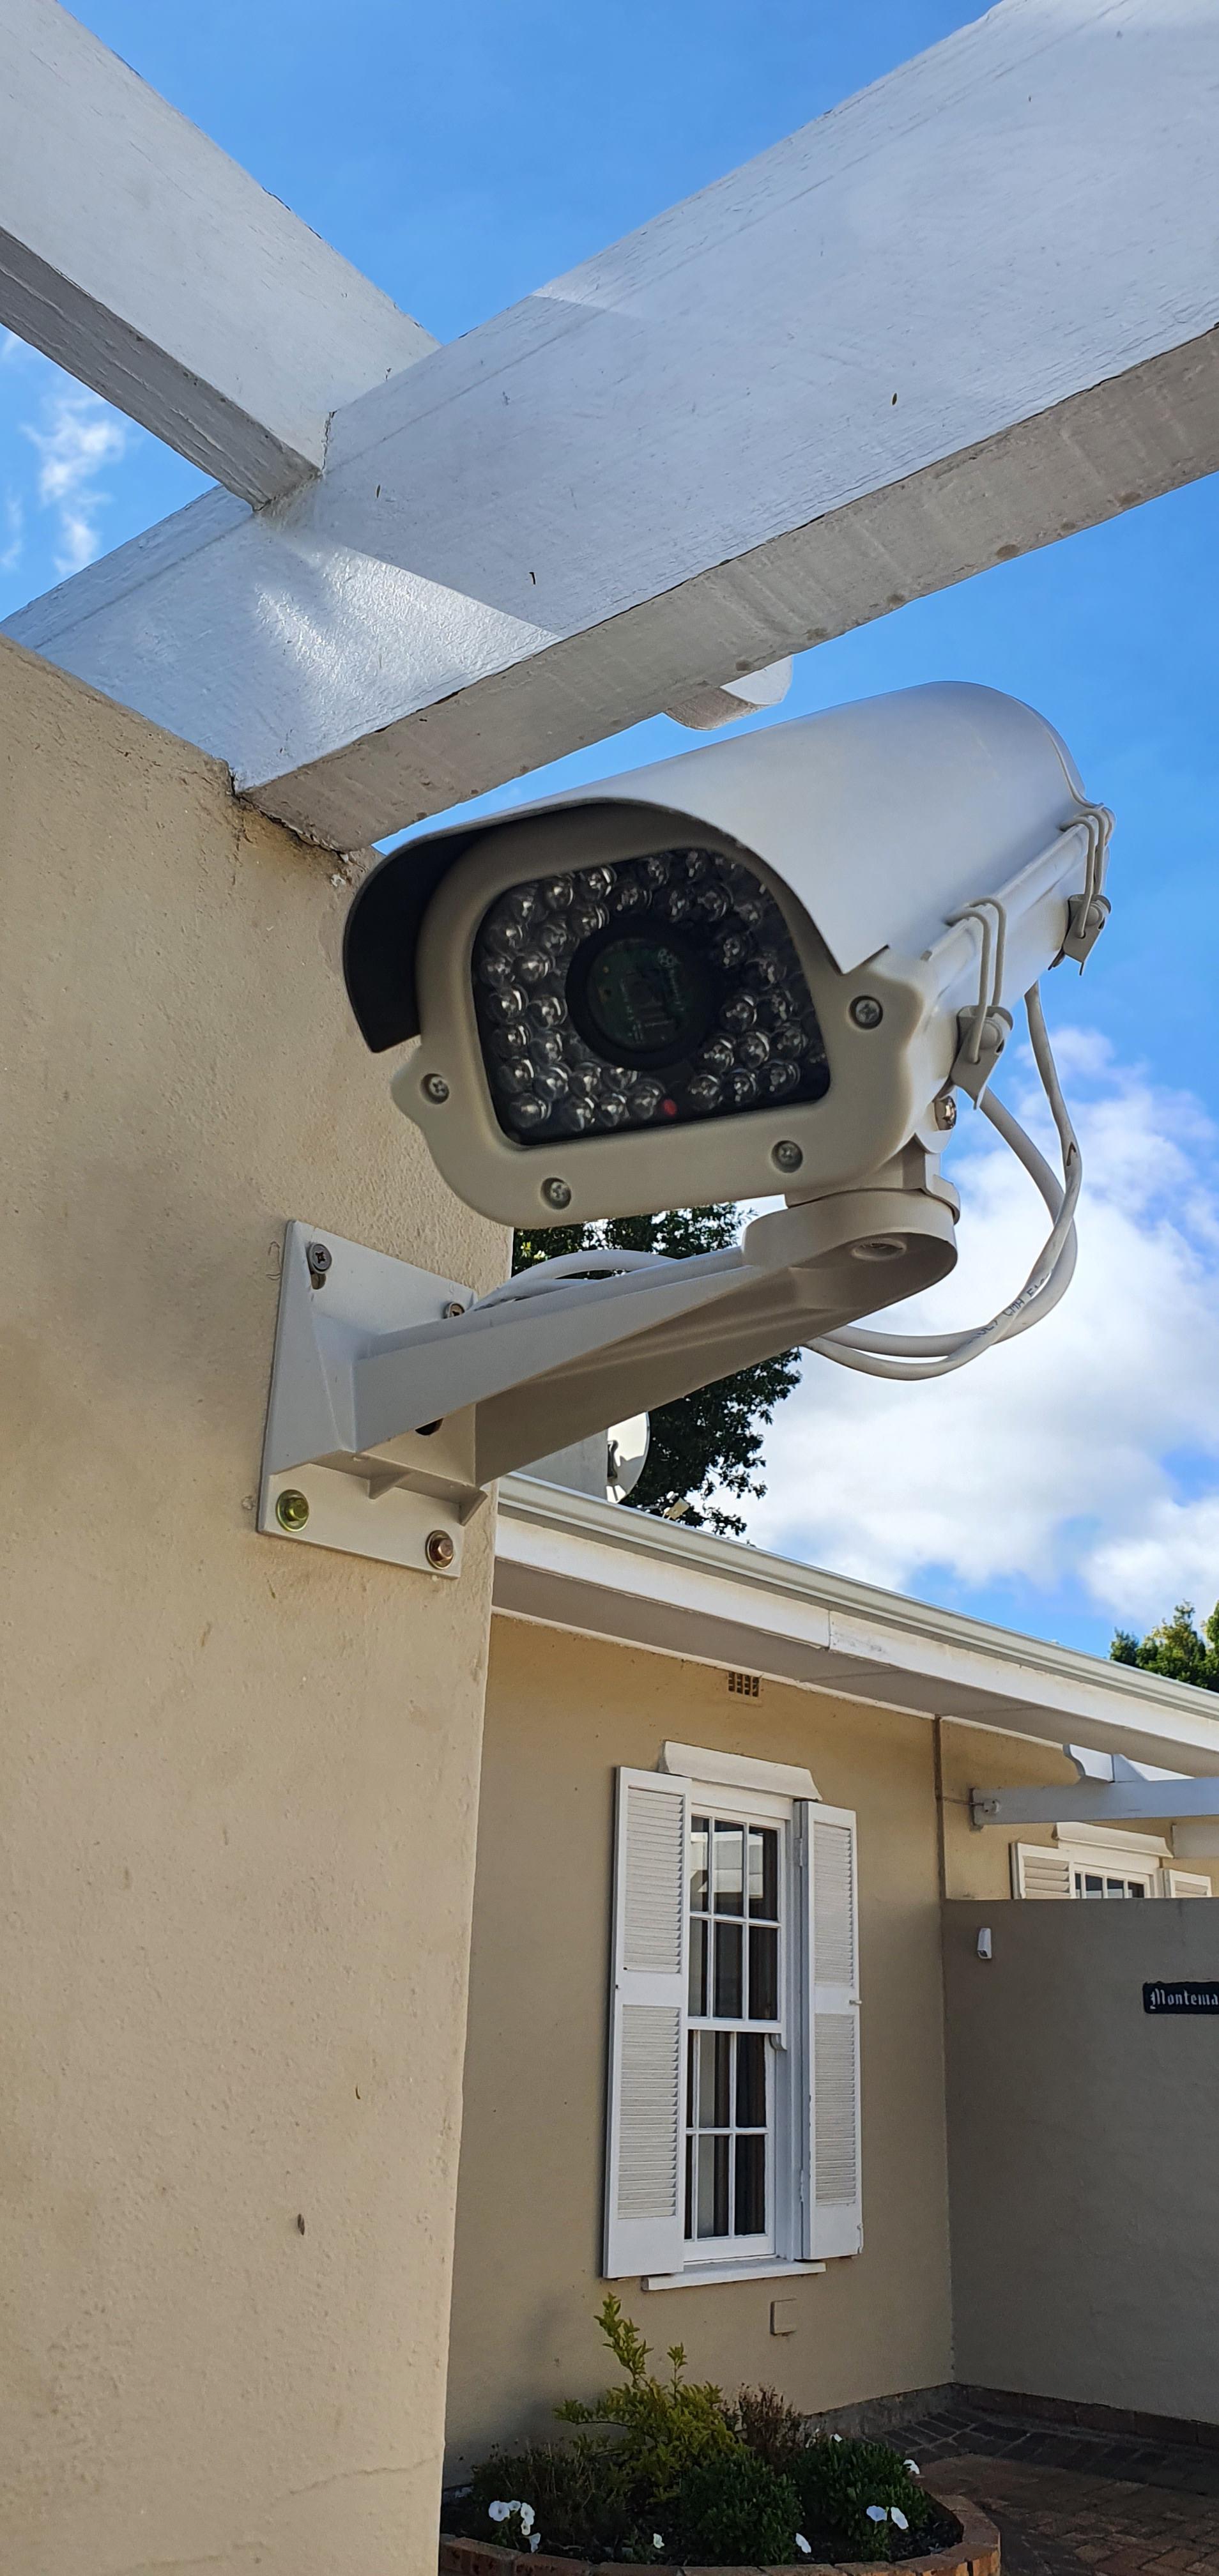
- An enclosure for the intercom components - this is up to you and what suits your environment - I found that it was simpler for me to house the components in a CCTV camera housing and wire the pushbutton back to the enclosure than try and squeeze the components into an intercom box (this also allows you to angle the camera view towards the pushbutton).
Register Your Project for Cloud Service
I have created a Web Hosted Back-End for handling the push notification and actions, which interfaces to an android app. You can obviously create your own web based handlers to interface your intercom to the cloud. If you wish to use the service I created you need to create an Intercom ID by registering your project on the page below:
https://selkirkhome.co.za/intercom/
On registration you will receive an email with the Intercom ID; you need to insert this ID into your code where indicated in order to interface to the hosted service.
If you want to play with hosting your own service I have attached a sample of the PHP code I have used on the web server back end to handle the button pressed listener implemented later. As can be seen this code uses Google Firebase for pushing a notification to the app, but can be customized to send an email, using a bulk SMS service to send an SMS or any other action possible within PHP.
Downloads
Configure the Pi
Download Raspbian Image and write to SD card using Etcher. Raspbian Stretch with Desktop was used here. Desktop is not necessary, but for beginners makes the installation process easy. Boot up connecting keyboard, mouse and monitor for configuration.
Enable SSH and Camera using Pixel (can also be done in terminal)
SSH is enabled in order to access and make changes to the configuration/files once the monitor is disconnected.
- Launch Raspberry Pi Configuration from the Preferences menu
- Navigate to the Interfaces tab
- Select Enabled next to SSH and camera (if required)
- Click OK
- Reboot Required
Set Static LAN IP Address using Pixel (can also be done in terminal)
A static LAN address is required if you want to be able to use port forwarding rules to route an action request from the cloud. This is done as an HTTP request to an Apache Server (configured later on)
- Wireless connections can be made via the network icon at the right-hand end of the menu bar
- Click on desired network and enter PSK
- Set up static IP for the selected SSID (reboot will update LAN IP address after static address is selected)
Install Camera (if required) and check operation
- Provided camera is enabled in the steps above; test that it is operational by taking a still photo and saving to the desktop with the following command in terminal
- raspistill -o /home/pi/Desktop/image.jpg
- A preview window will briefly show camera stream and then image should be stored on the desktop
Configure Web Server
Install Apache and PHP
Apache is the Web Server hosted locally on the Pi which is used to receive an action request from the cloud. PHP is the scripting language used to handle the action request on the server.
- Run "sudo apt-get update" and "sudo apt-get upgrade"
- Run “sudo apt-get install apache2 -y”
- Test web-server by browsing to http://localhost/ in the Raspbian web browser. The default apache page should be shown.
- Change ownership of public html folder “sudo chown pi: /var/www/html”
- Install PHP5 “sudo apt-get install php libapache2-mod-php -y”
- Test PHP is installed correctly by creating a test.php file in the public HTML folder (/var/www/html) containing
- Browse to http://localhost/test.php in the Raspbian web browser. PHP info page should be shown
Create the Python Button Listener
Add Python Button Listener
Files to add (attached to this step):
- /home/pi/button.py
- /home/pi/config.py (Insert your Intercom ID in the config file to link to Web Server)
The code is commented to try and describe each step. I have included an internet connectivity watchdog, which I use to light up an LED in the intercom button which shows that the intercom is online.
The button listener in my example sends a message to be sent as a push notification via a hosted PHP scripts. The message is customizable in the python script.
Change permissions of button.py in terminal
sudo chmod +x /home/pi/button.py
Add PHP Action and DNS Updater
Files to add (attached to this step, change extension to files from .txt to .php - PHP not allowed as attachments on Instructables):
- /var/www/html/action.php
- /var/www/html/config.php (Insert your Intercom ID in the config file to link to Web Server)
- /var/www/html/update_ip.php
This code is commented to try and describe each step. The action.php script is used on an HTTP request to the local Apache Server to trigger an action on the Pi. In this case to trigger an output. I used a relay board to close a pushbutton on a gate remote in order to open the gate. You could use hard wired contacts if you have easy access for wiring, or wire to the contacts of an electronic strike lock.
I have used update_ip.php to create a kind of Dynamic DNS server, to let the cloud know when your IP address changes in order to send the HTTP requests from the App to the correct address.
Change permissions of update_ip.php in terminal
sudo chmod +x /var/www/html/update_ip.php
You can test that this is working correctly by opening the following URL in your web browser:
http://[Pi_IP_ADDRESS]:[HTTP_PORT]/update_ip.php
If working correctly you will see the following:
2021-02-25 09:39:39 DNS Update Result: {"success":1,"message":"Intercom successfully found on database, IP Address Updated"}
Create Video Feed
Create a Video Feed (Optional)
This step is optional, and I admit is still a work in progress. The feed works in the app, however I have not yet secured it, so feed can be viewed with no security measures.
Files to add (attached to this step):
- /home/pi/camserver/appCam.py
- /home/pi/camserver/camera_pi.py
- /home/pi/camserver/config.py (Insert your Intercom ID in the config file to link to Web Server. Also include internal IP address and Ports to be used for port forwarding)
- /home/pi/camserver/static/style.css (rename from .txt - .css not allowed as attachments on Instructables)
- /home/pi/camserver/html5video.html (rename from .txt - .html not allowed as attachments on Instructables)
- /home/pi/camserver/camserver_start.sh
edit camserver_start.sh with sudo nano camserver_start.sh and enter the following
#!/bin/bash
/usr/bin/python /home/pi/camserver/appCam.py &
Save file and close
Make all files executable
sudo chmod -R +x camserver
You can test your video feed is running by running the python code appCam.py and then in your web browser going to the following URL:
http://[Pi_IP_ADDRESS]:[VIDEO_PORT]/video_feed
If working correctly you will be able to view the video feed in your web browser
Crontab Scheduling
Add the following Crontab entries to make sure that the button listener, Dynamic DNS and Camserver scripts all start on startup and check that they keep running.
sudo crontab -eu root
@reboot nohup python /home/pi/button.py &
@reboot nohup python /home/pi/camserver/appCam.py &
*/5 * * * * pgrep -f button.py || nohup python /home/pi/button.py &
*/5 * * * * pgrep -f appCam.py || nohup python /home/pi/camserver/appCam.py &
*/15 * * * * wget -O ~/DNS_log.txt 'http://localhost/update_ip.php'
UPDATE
I found that the camserver was not running using Crontab for scheduling. I added the .sh file in the previous step and edited the following file in order to start the service on startup:
sudo nano /home/pi/.config/lxsession/LXDE-pi/autostart
And added the following line to start the service on startup:
@bash /home/pi/camserver/camserver_start.sh
Port Forwarding Rules
Log into your router and add rules for port forwarding to the Static IP Address of the Pi. Forward ports for HTTP, Video and for SSH if you wish to be able to make configuration changes remotely.
This step is not required if you do not wish for the remote server to trigger any action, but is necessary if you want this function.
You can test this by using your external IP address and port number in your web browser to see if your video feed and web server are accessible from outside of your LAN.
Assemble the Intercom


Now assemble the intercom, wiring the input to the correct GPIO pin as per the Python Script, the Output to whatever you want to trigger using the GPIO as per the PHP action script.
I have attached some pictures of the setup I completed. I removed my old intercom and fished the power and button cables through the hollow wall back to the Pi housed in the CCTV camera housing.
Install the Android App
I used the following app on the Android App store to receive the push notifications.
https://play.google.com/store/apps/details?id=com.project.gselkirk.intercom
Once installed:
- tap the menu bar and then link intercom
- Scan the intercom ID QR code received in the registration email, or just enter the ID manually
- Enter your user details and tap - ADD
- You will receive an email requesting that your email address is verified
- Once verified, restart the app and you should be linked to your intercom provided you followed the previous steps correctly
You can use the chat interface on the main screen to communicate with other users linked to your intercom (in my case - useful to ask my wife if she is home to receive a package). The action button (green padlock) on the main screen is used to send the action request to your Pi Webserver (requires your ip_address updater is running and that your port forwarding rules have been set up correctly).
The link intercom screen can be used to remove the user from the intercom once added.
The video feed screen is used to view the video feed if this has been set up correctly, your ip_address updater is running and that your port forwarding rules have been set up correctly