Raspberry Pi Inside Pandora's Box Arcade SuperGun System
by f1racer in Circuits > Gadgets
33989 Views, 53 Favorites, 0 Comments
Raspberry Pi Inside Pandora's Box Arcade SuperGun System
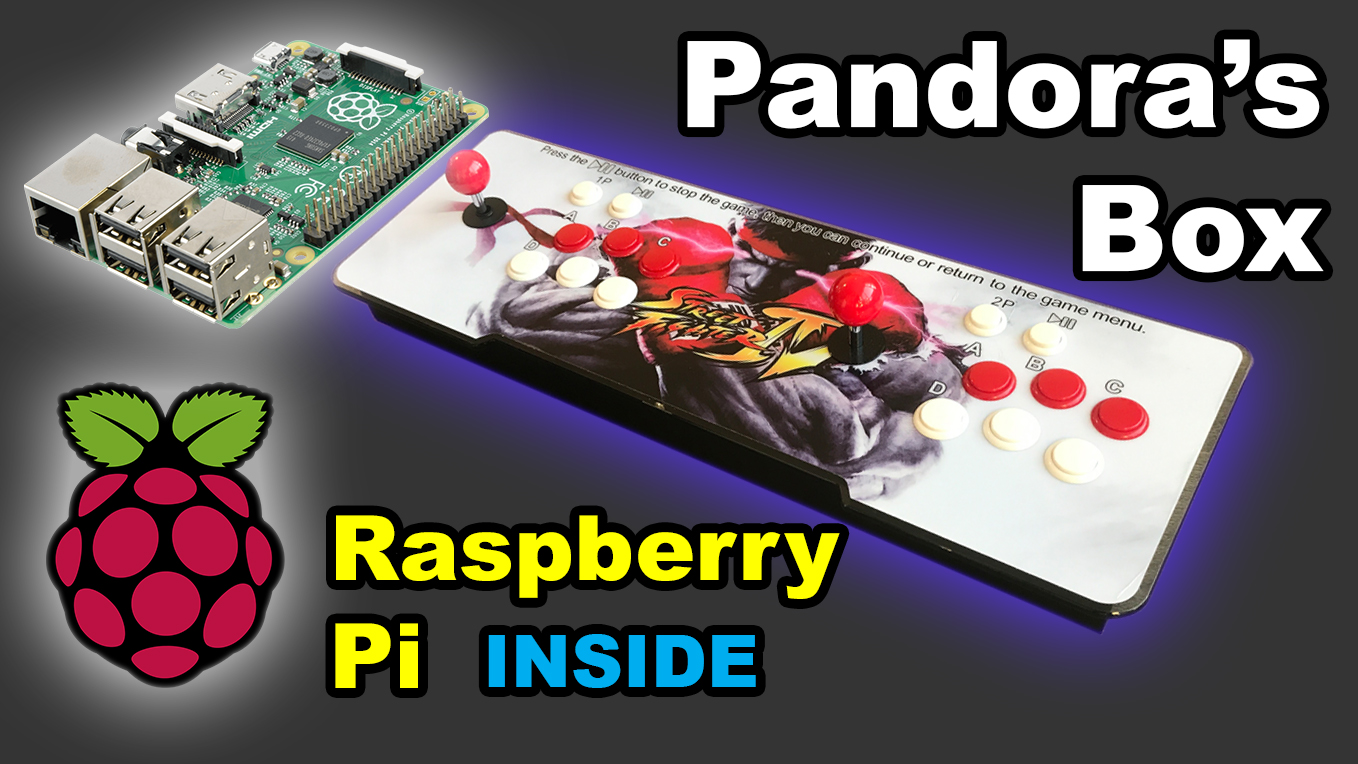
** NOTE: I have another Instructable HERE, that shows you how to remove the PB circuit board and replace RPi entirely if you don't want to have both installed. It's simpler, depends what you want. **
These Pandora's Box arcade systems are great in that they have hundreds of arcade games builtin but they are missing a lot of games for home consoles. Using the Pandora's Box controls as a USB controller for the RaspberryPi, allows access to more emulators and games.
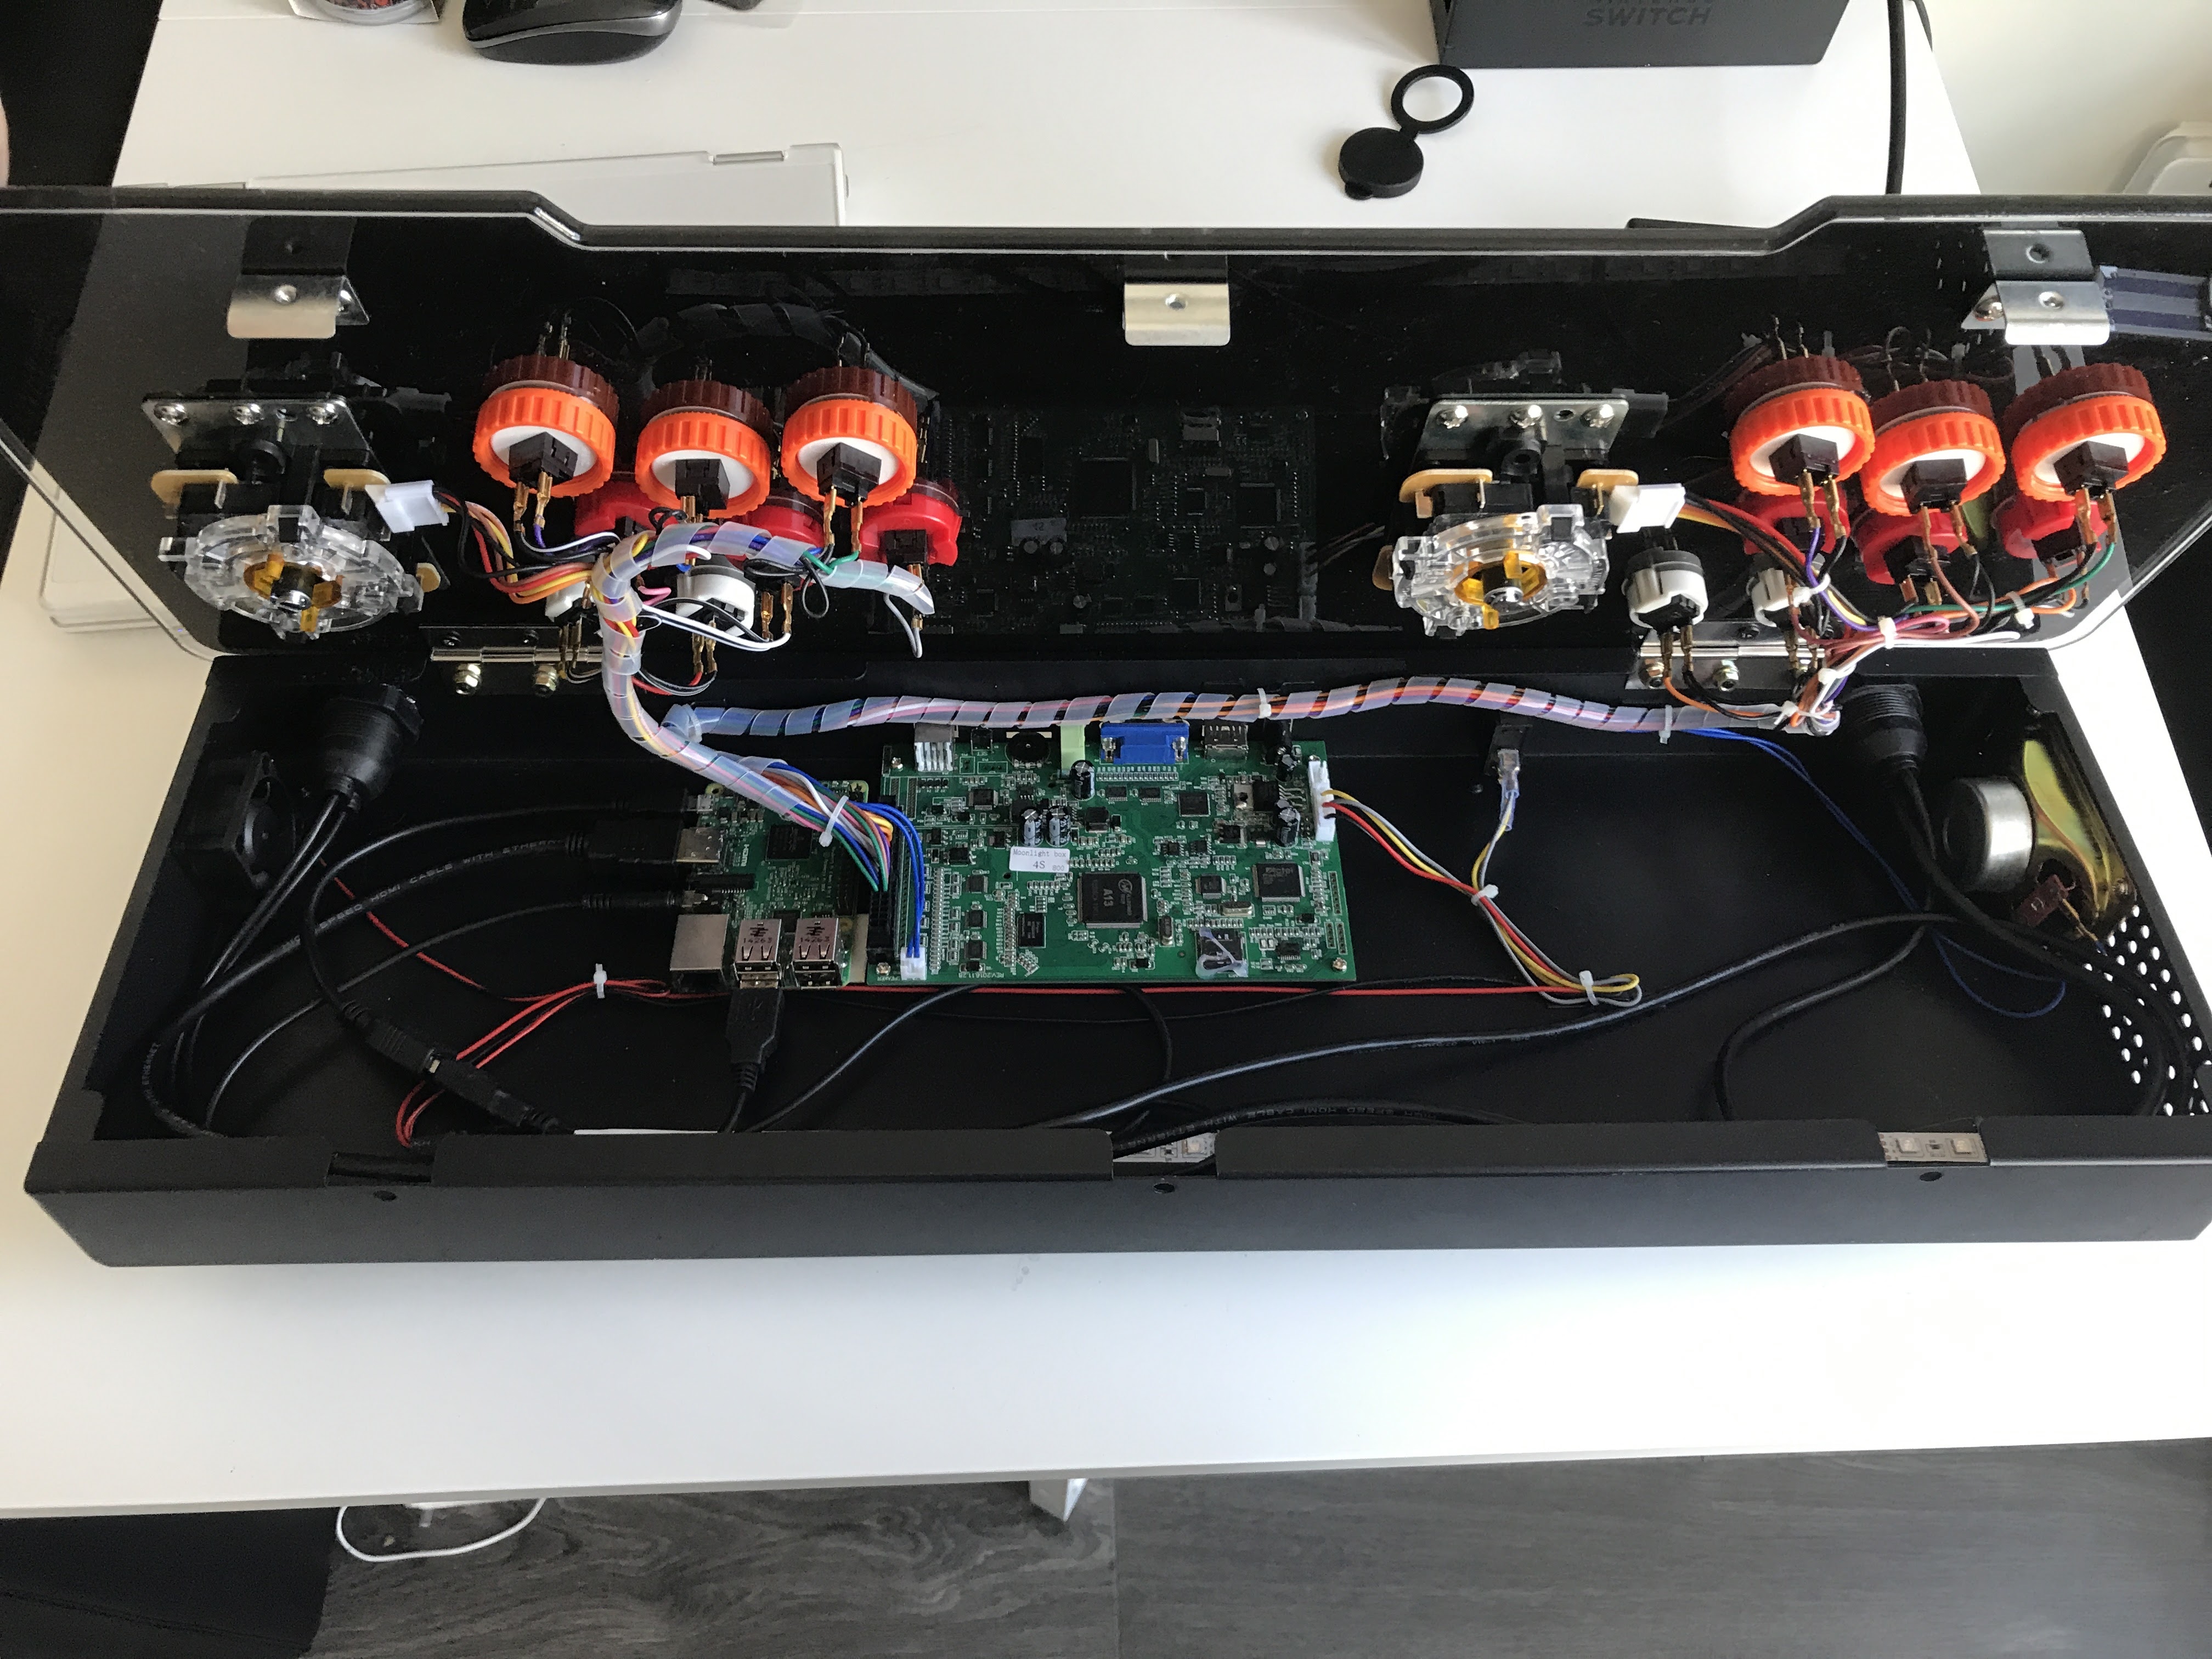
In this instructable, I'm going to show you how I installed a Raspberry Pi inside the Pandora's Box arcade system while still keeping the Pandora's Box arcade board with the 800 builtin games functional. Essentially, they will be 2 separate systems with their own power and video output but sharing the same controls. Please watch the youtube video for more details.
800 in 1 Backlit Arcade Console
Stuff Needed

800 in 1 Backlit Arcade Console
http://bit.ly/2wwFwI6
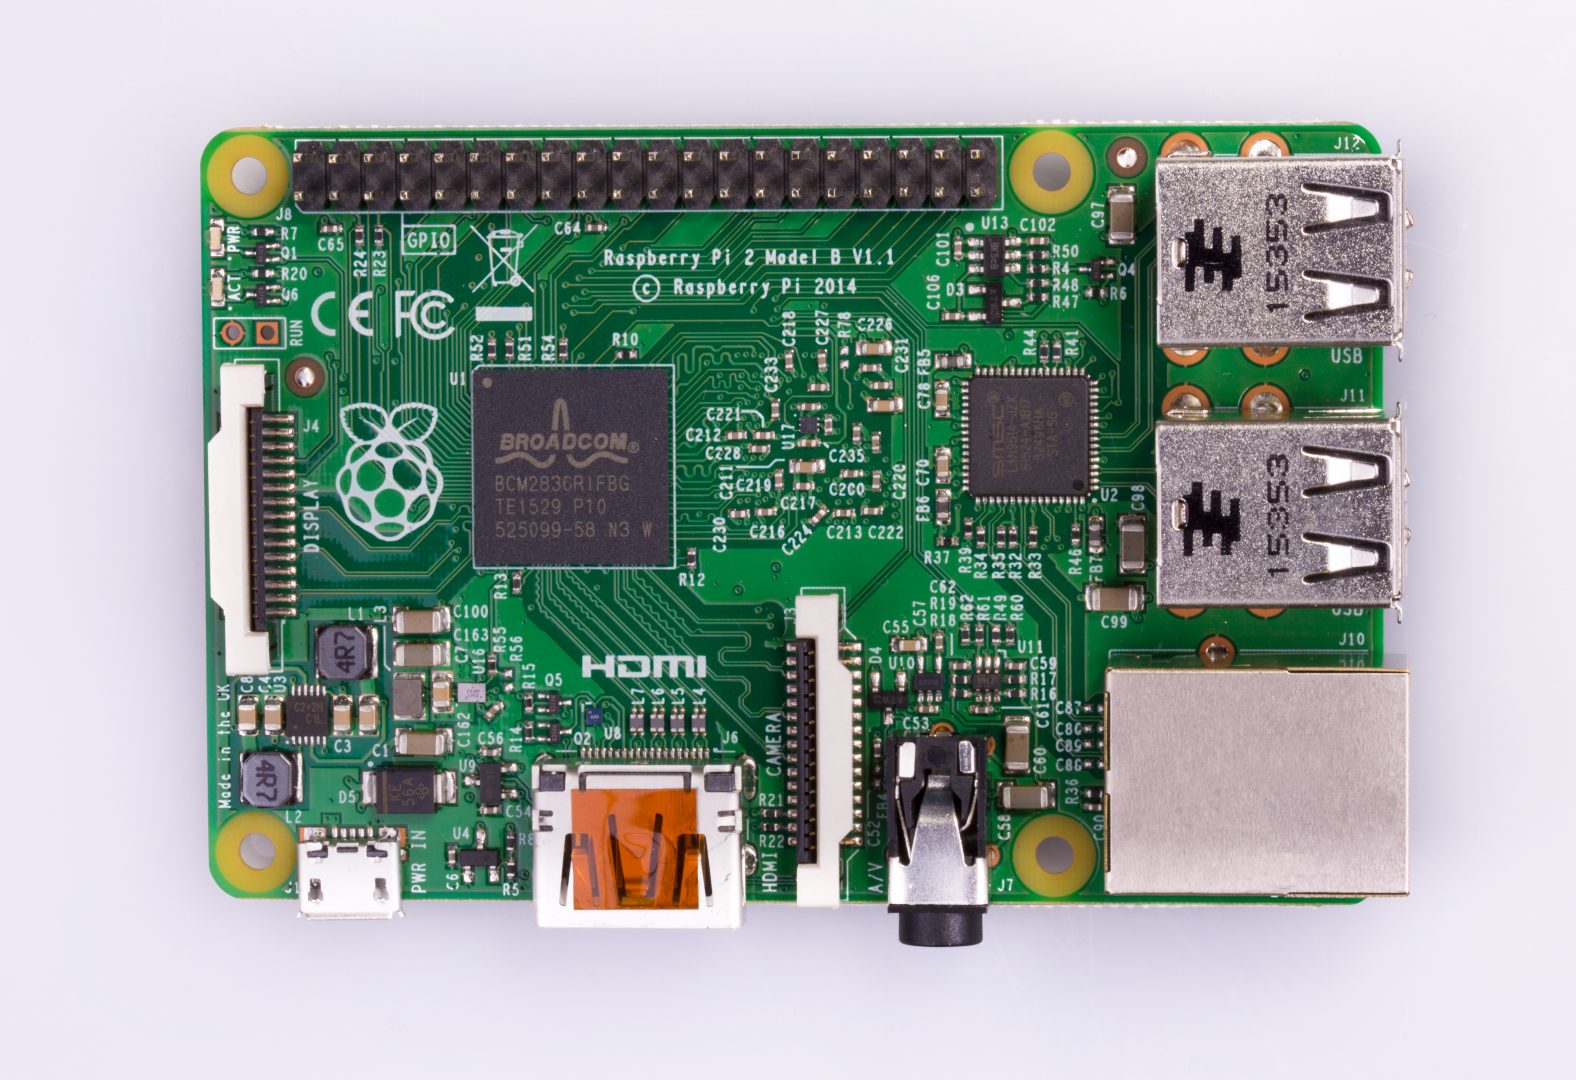
Raspberry Pi 3
http://amzn.to/2wMfCiX
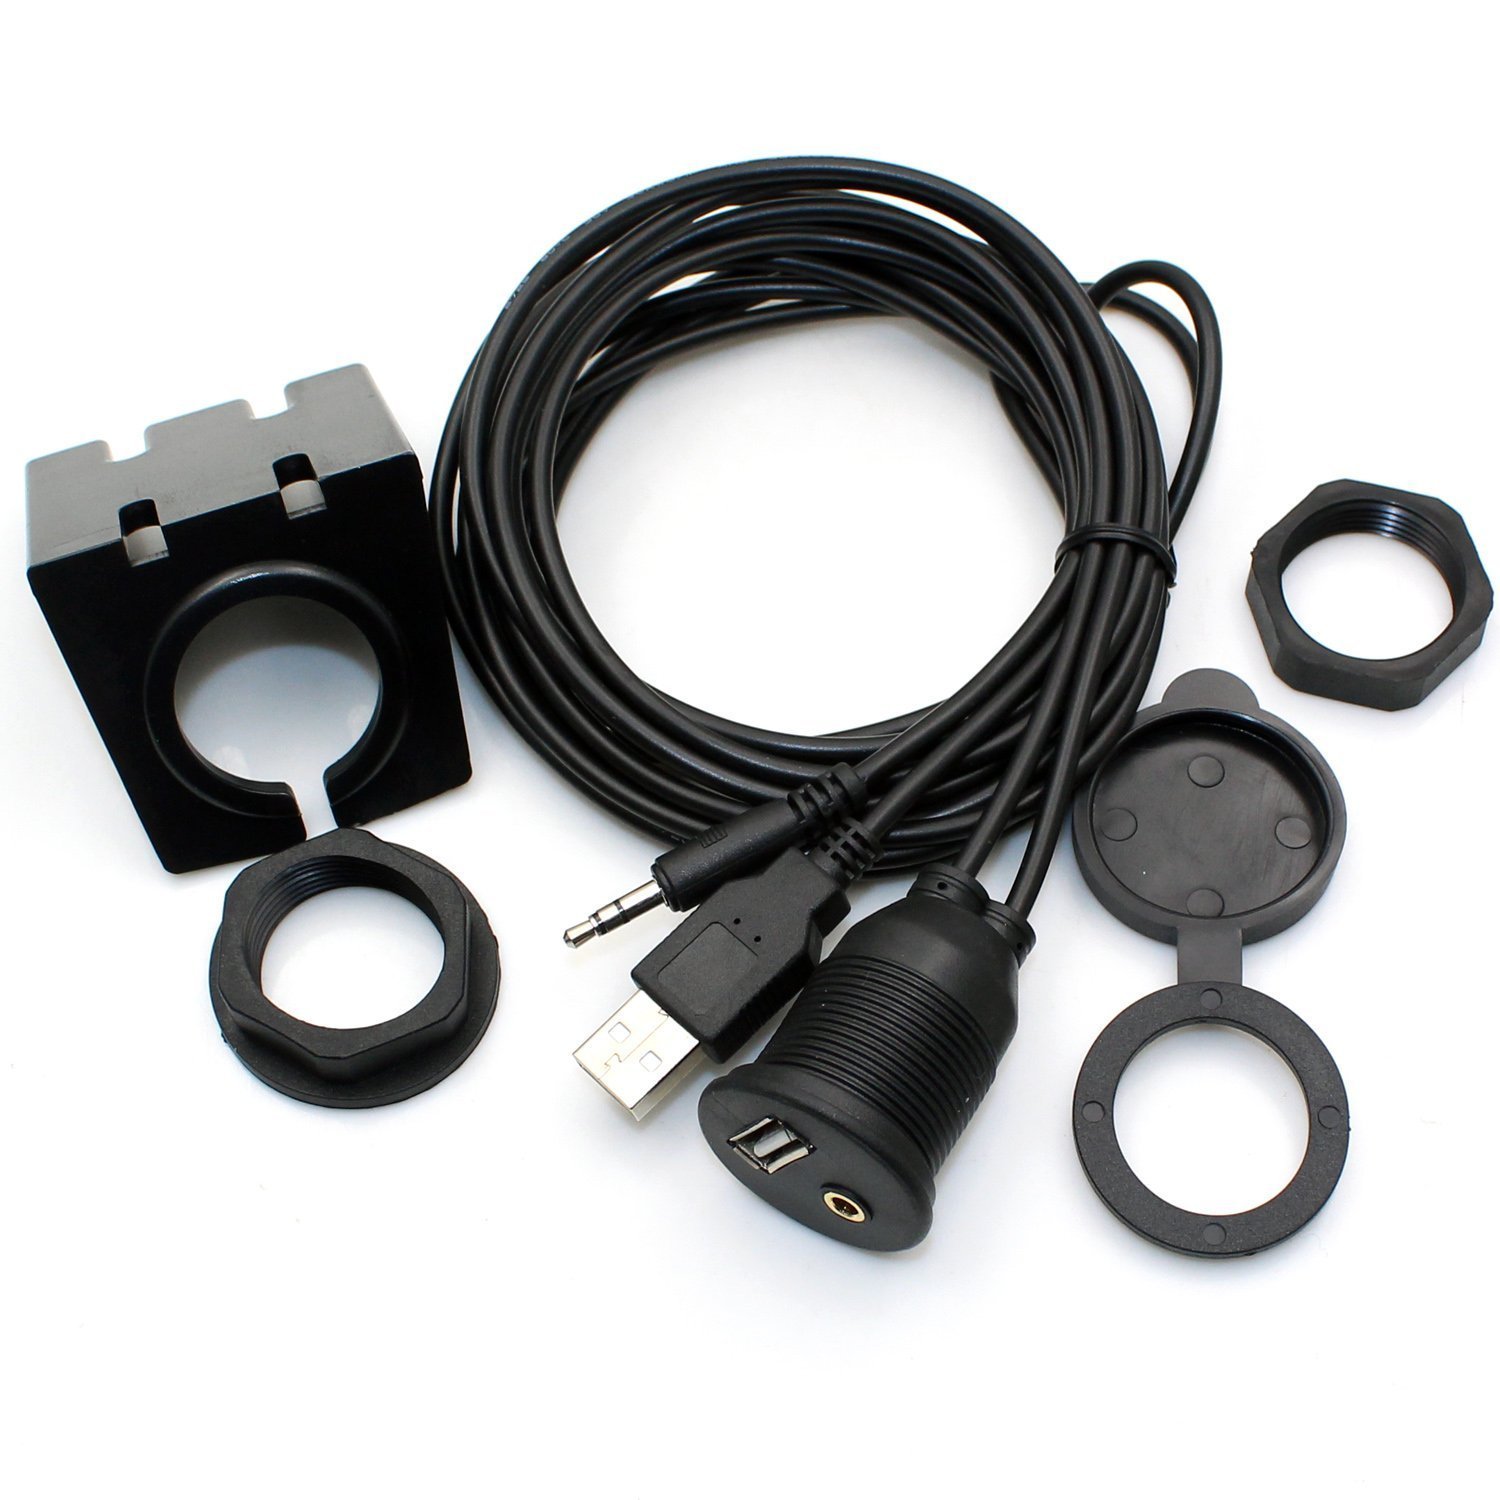
HDMI/USB Mount Cable
http://amzn.to/2vlKveo
USB/3.5mm Mount cable
http://amzn.to/2iKTv71
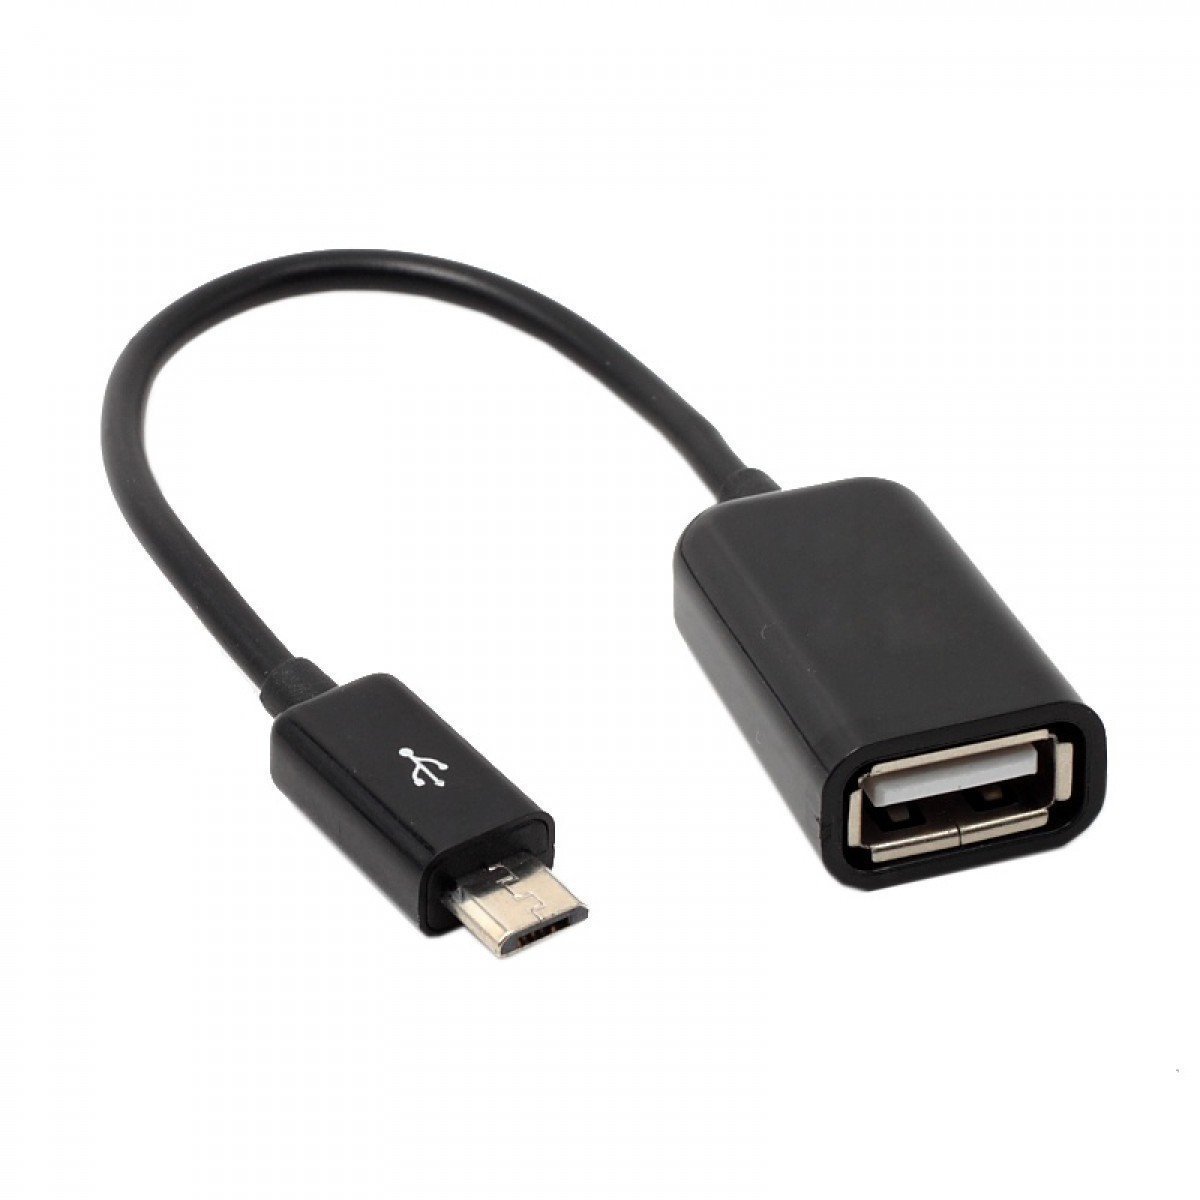
USB OTG cable
http://amzn.to/2vIz5gL
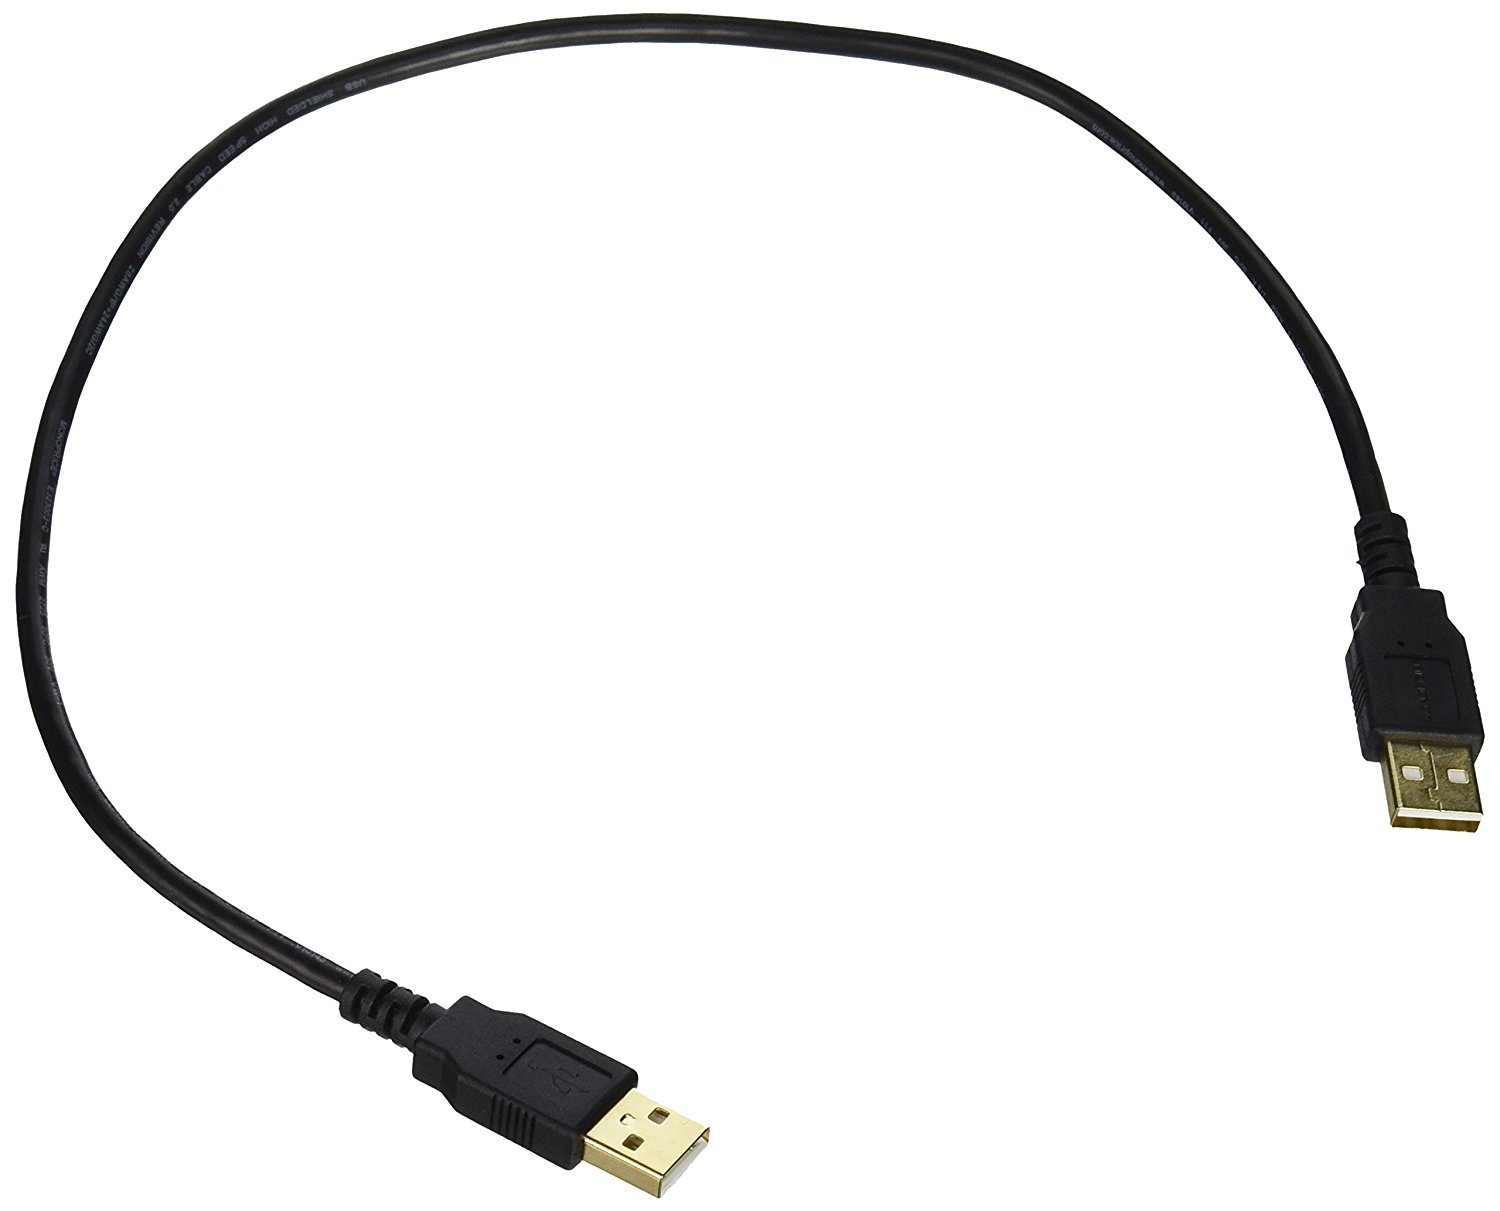
USB A male to male (short)
http://amzn.to/2gs69ac
USB A male to male (long)
http://amzn.to/2vJcbpw
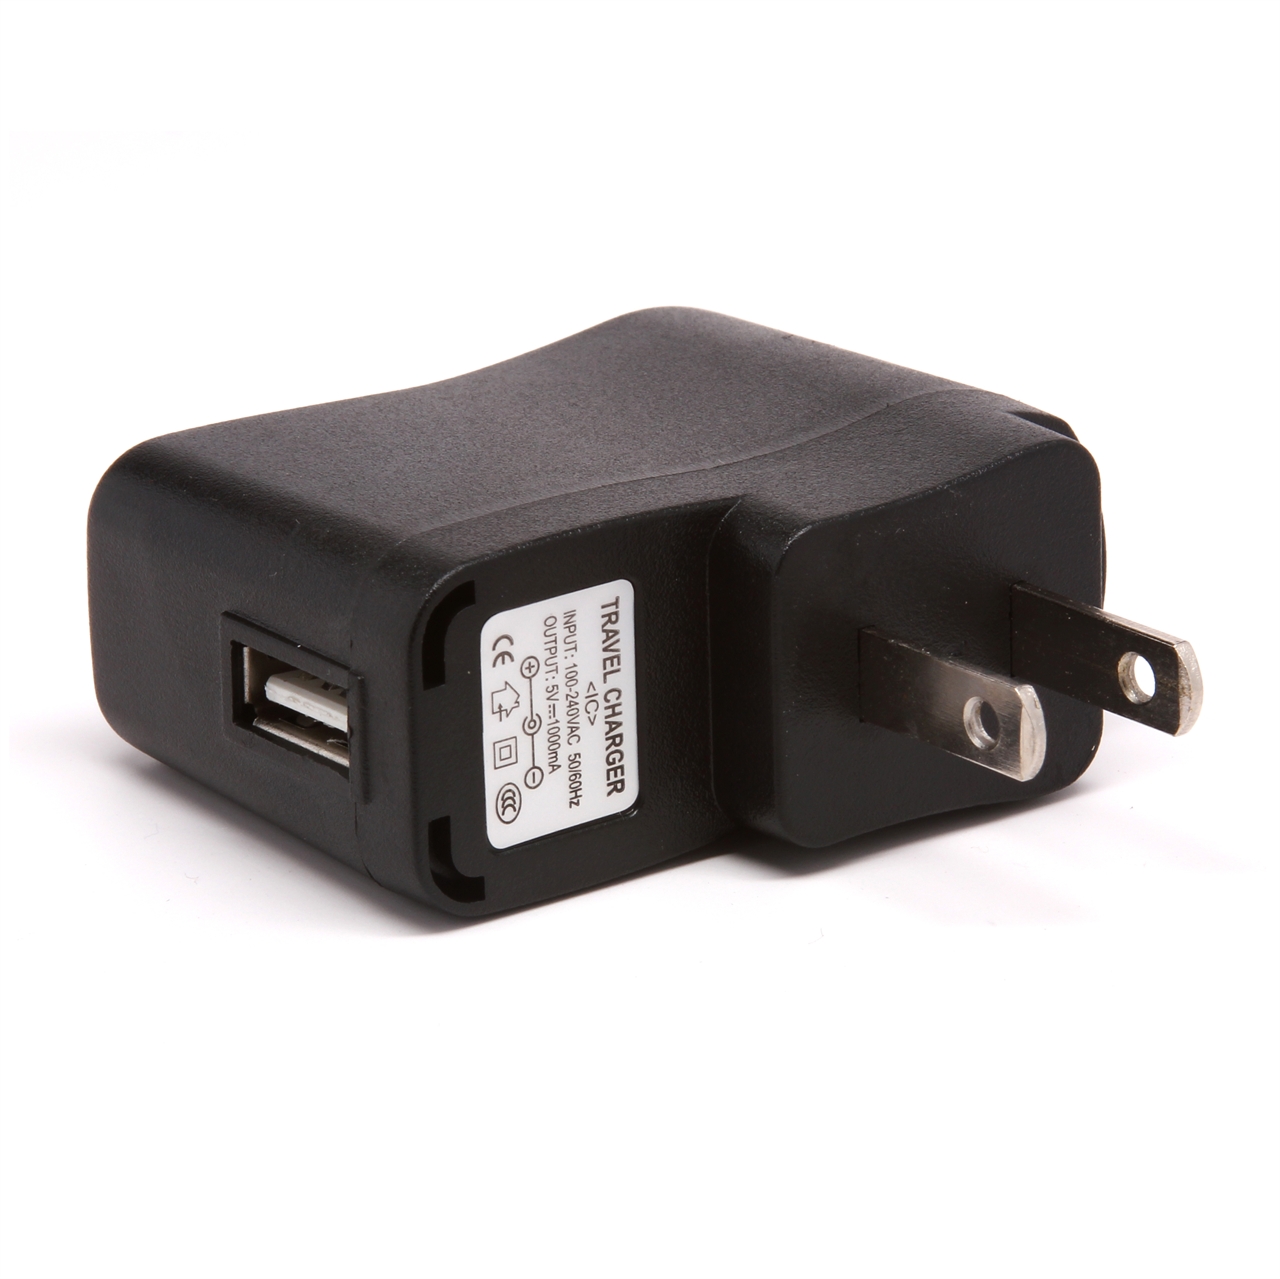
USB power adapter
http://amzn.to/2wpX1s4
Drilling Holes
.jpg)
.jpg)
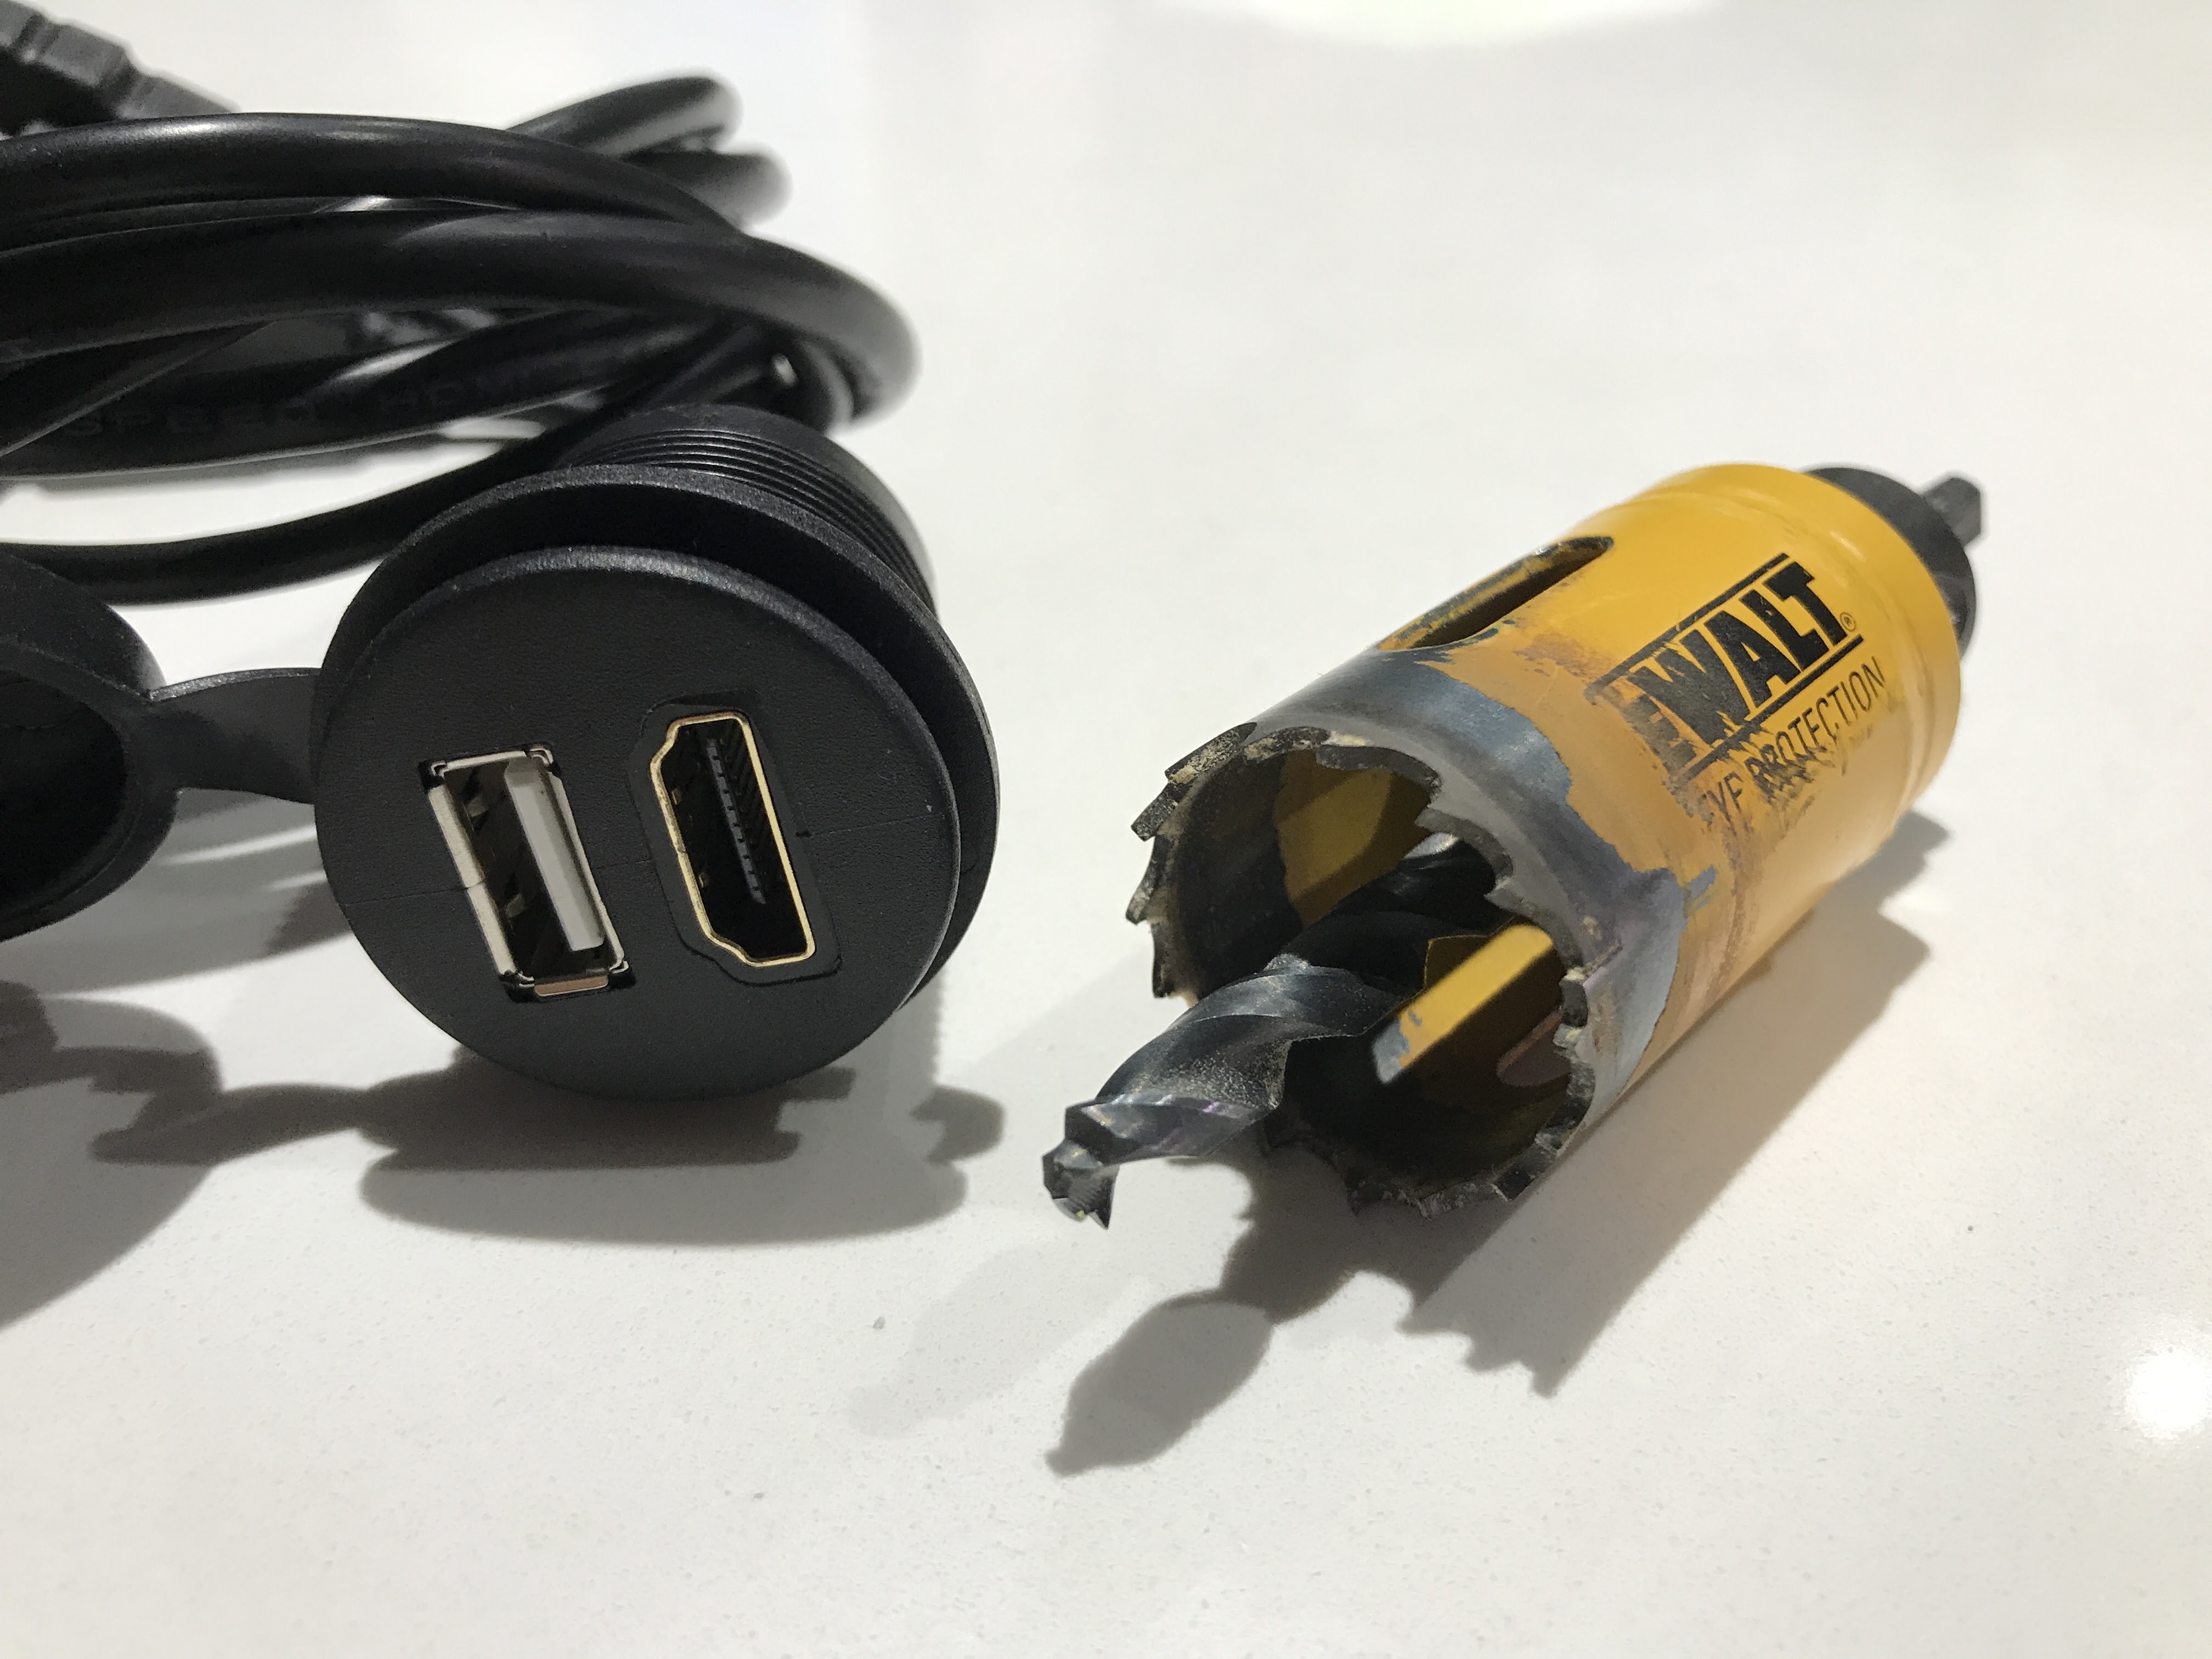
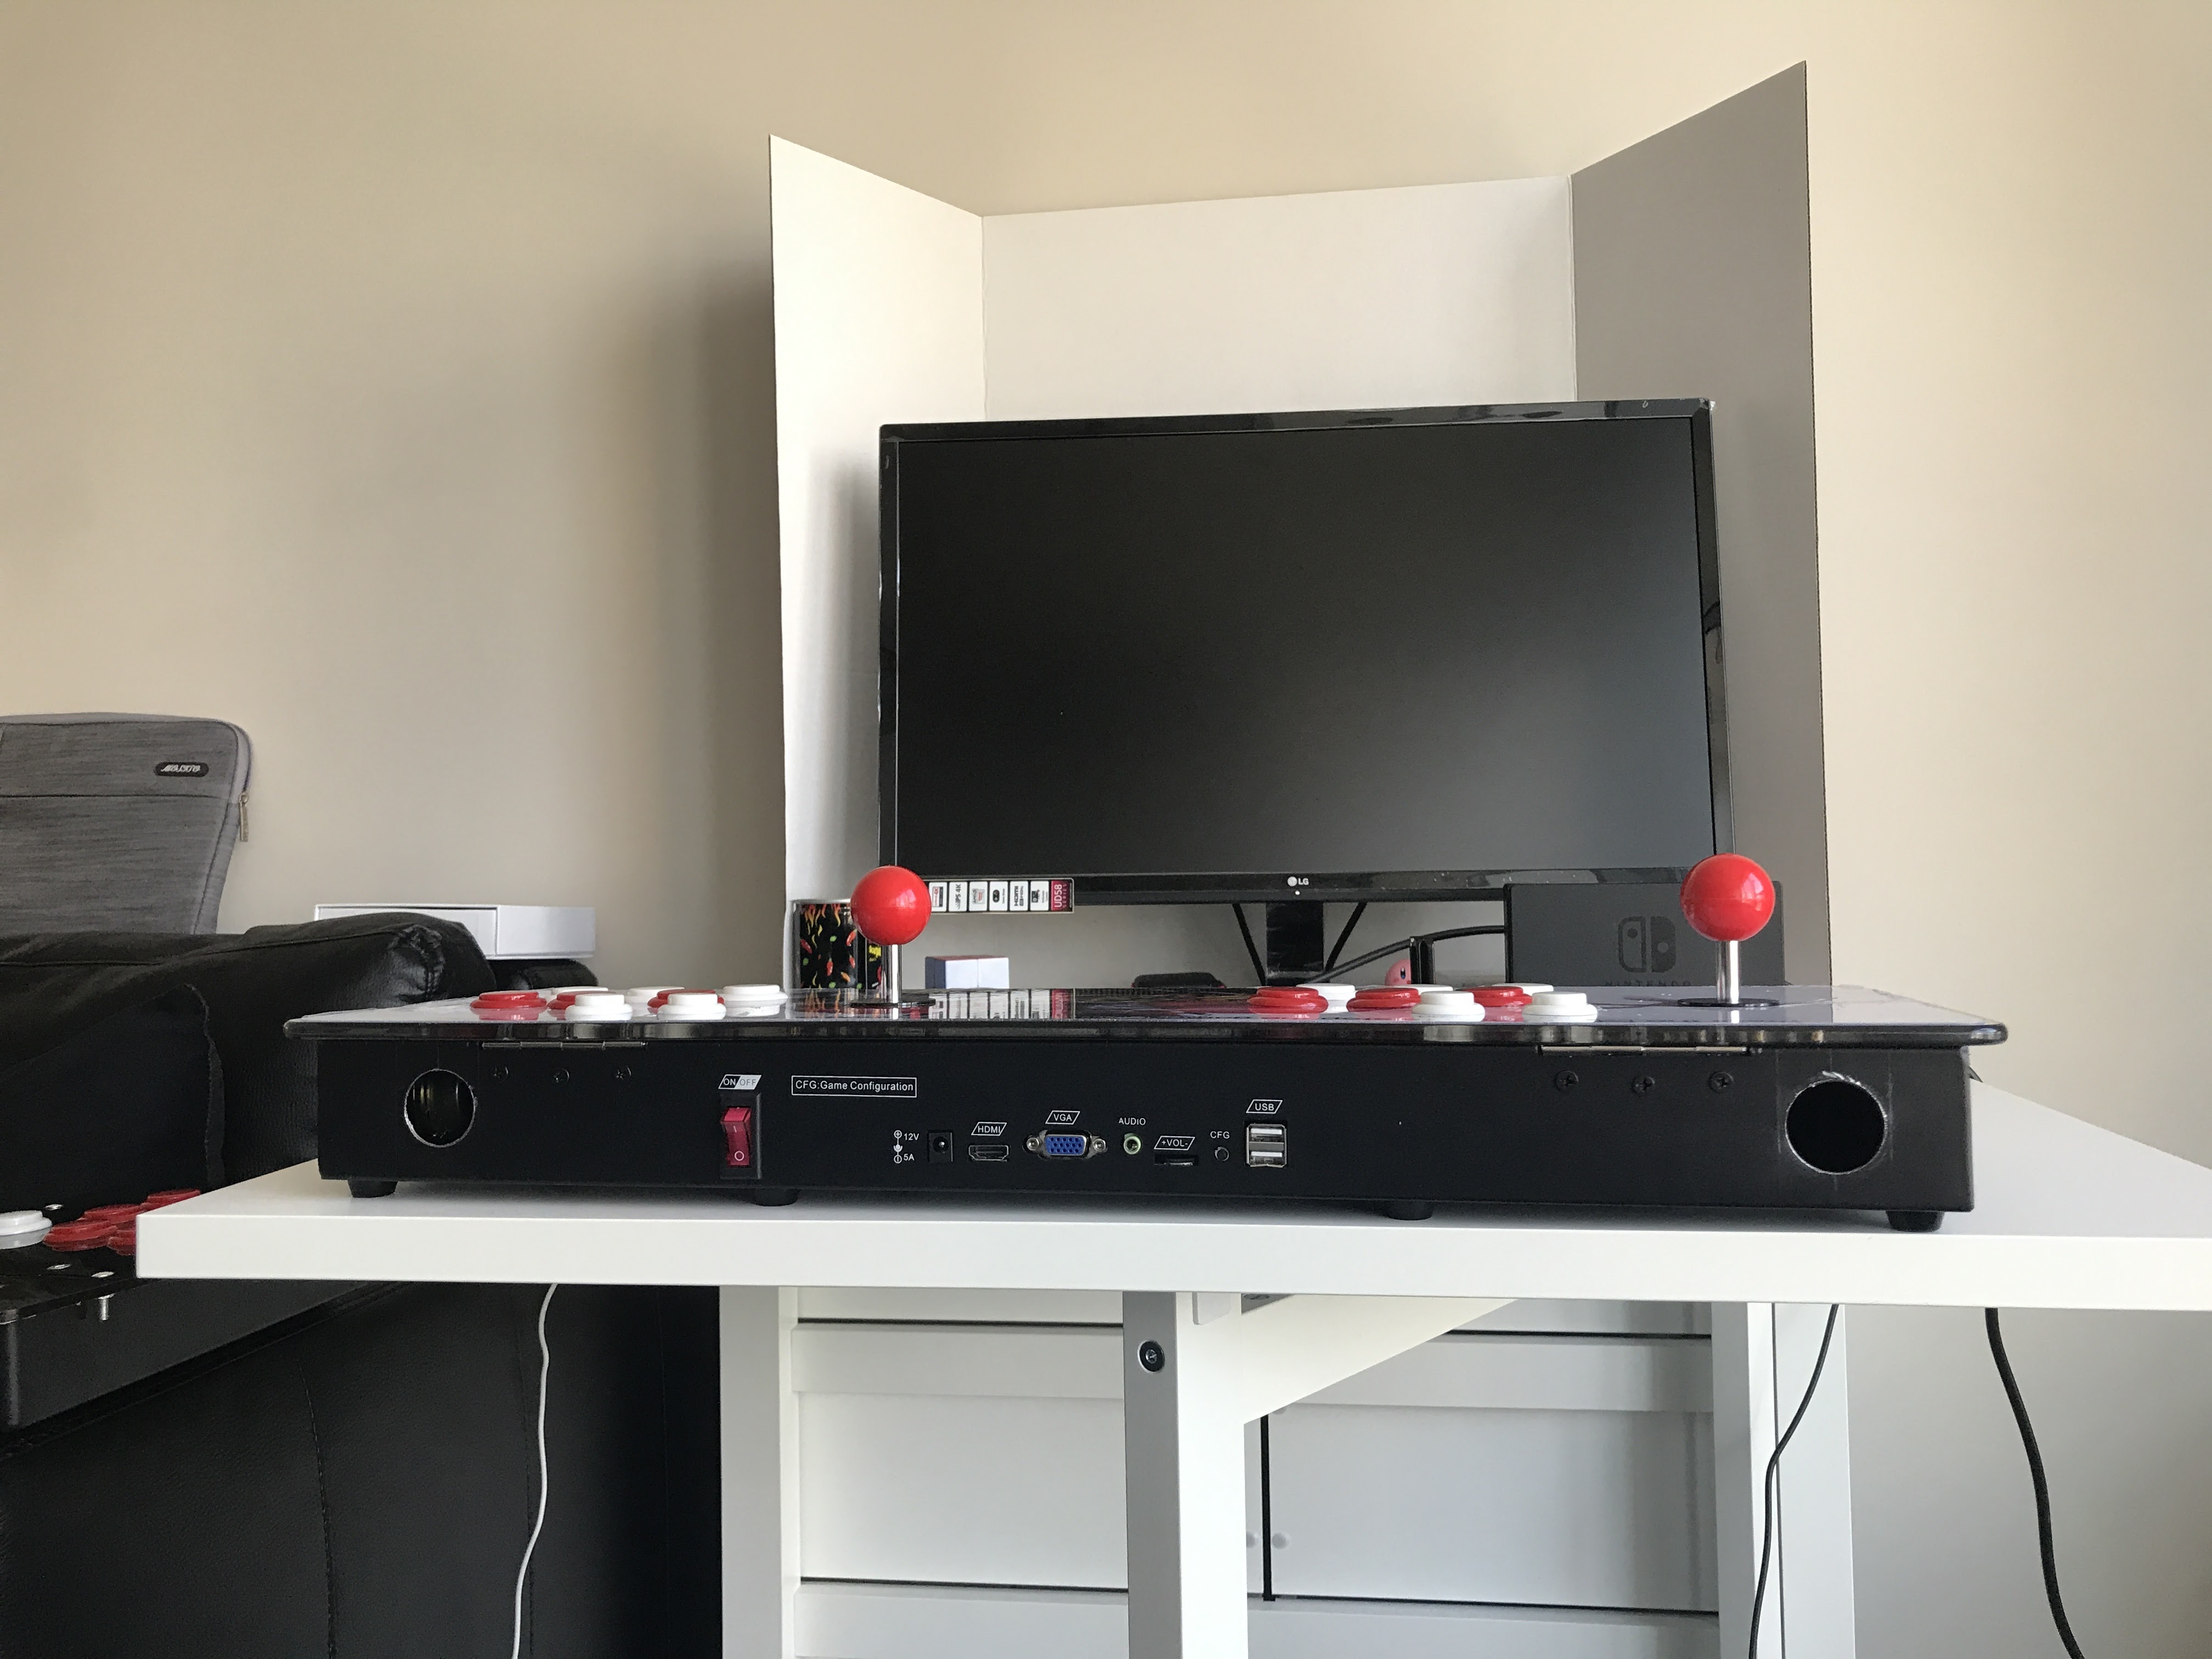
Drill two 30mm for the HDMI, USB, and power.. The extension cables are designed for fitting into 29-30mm holes.
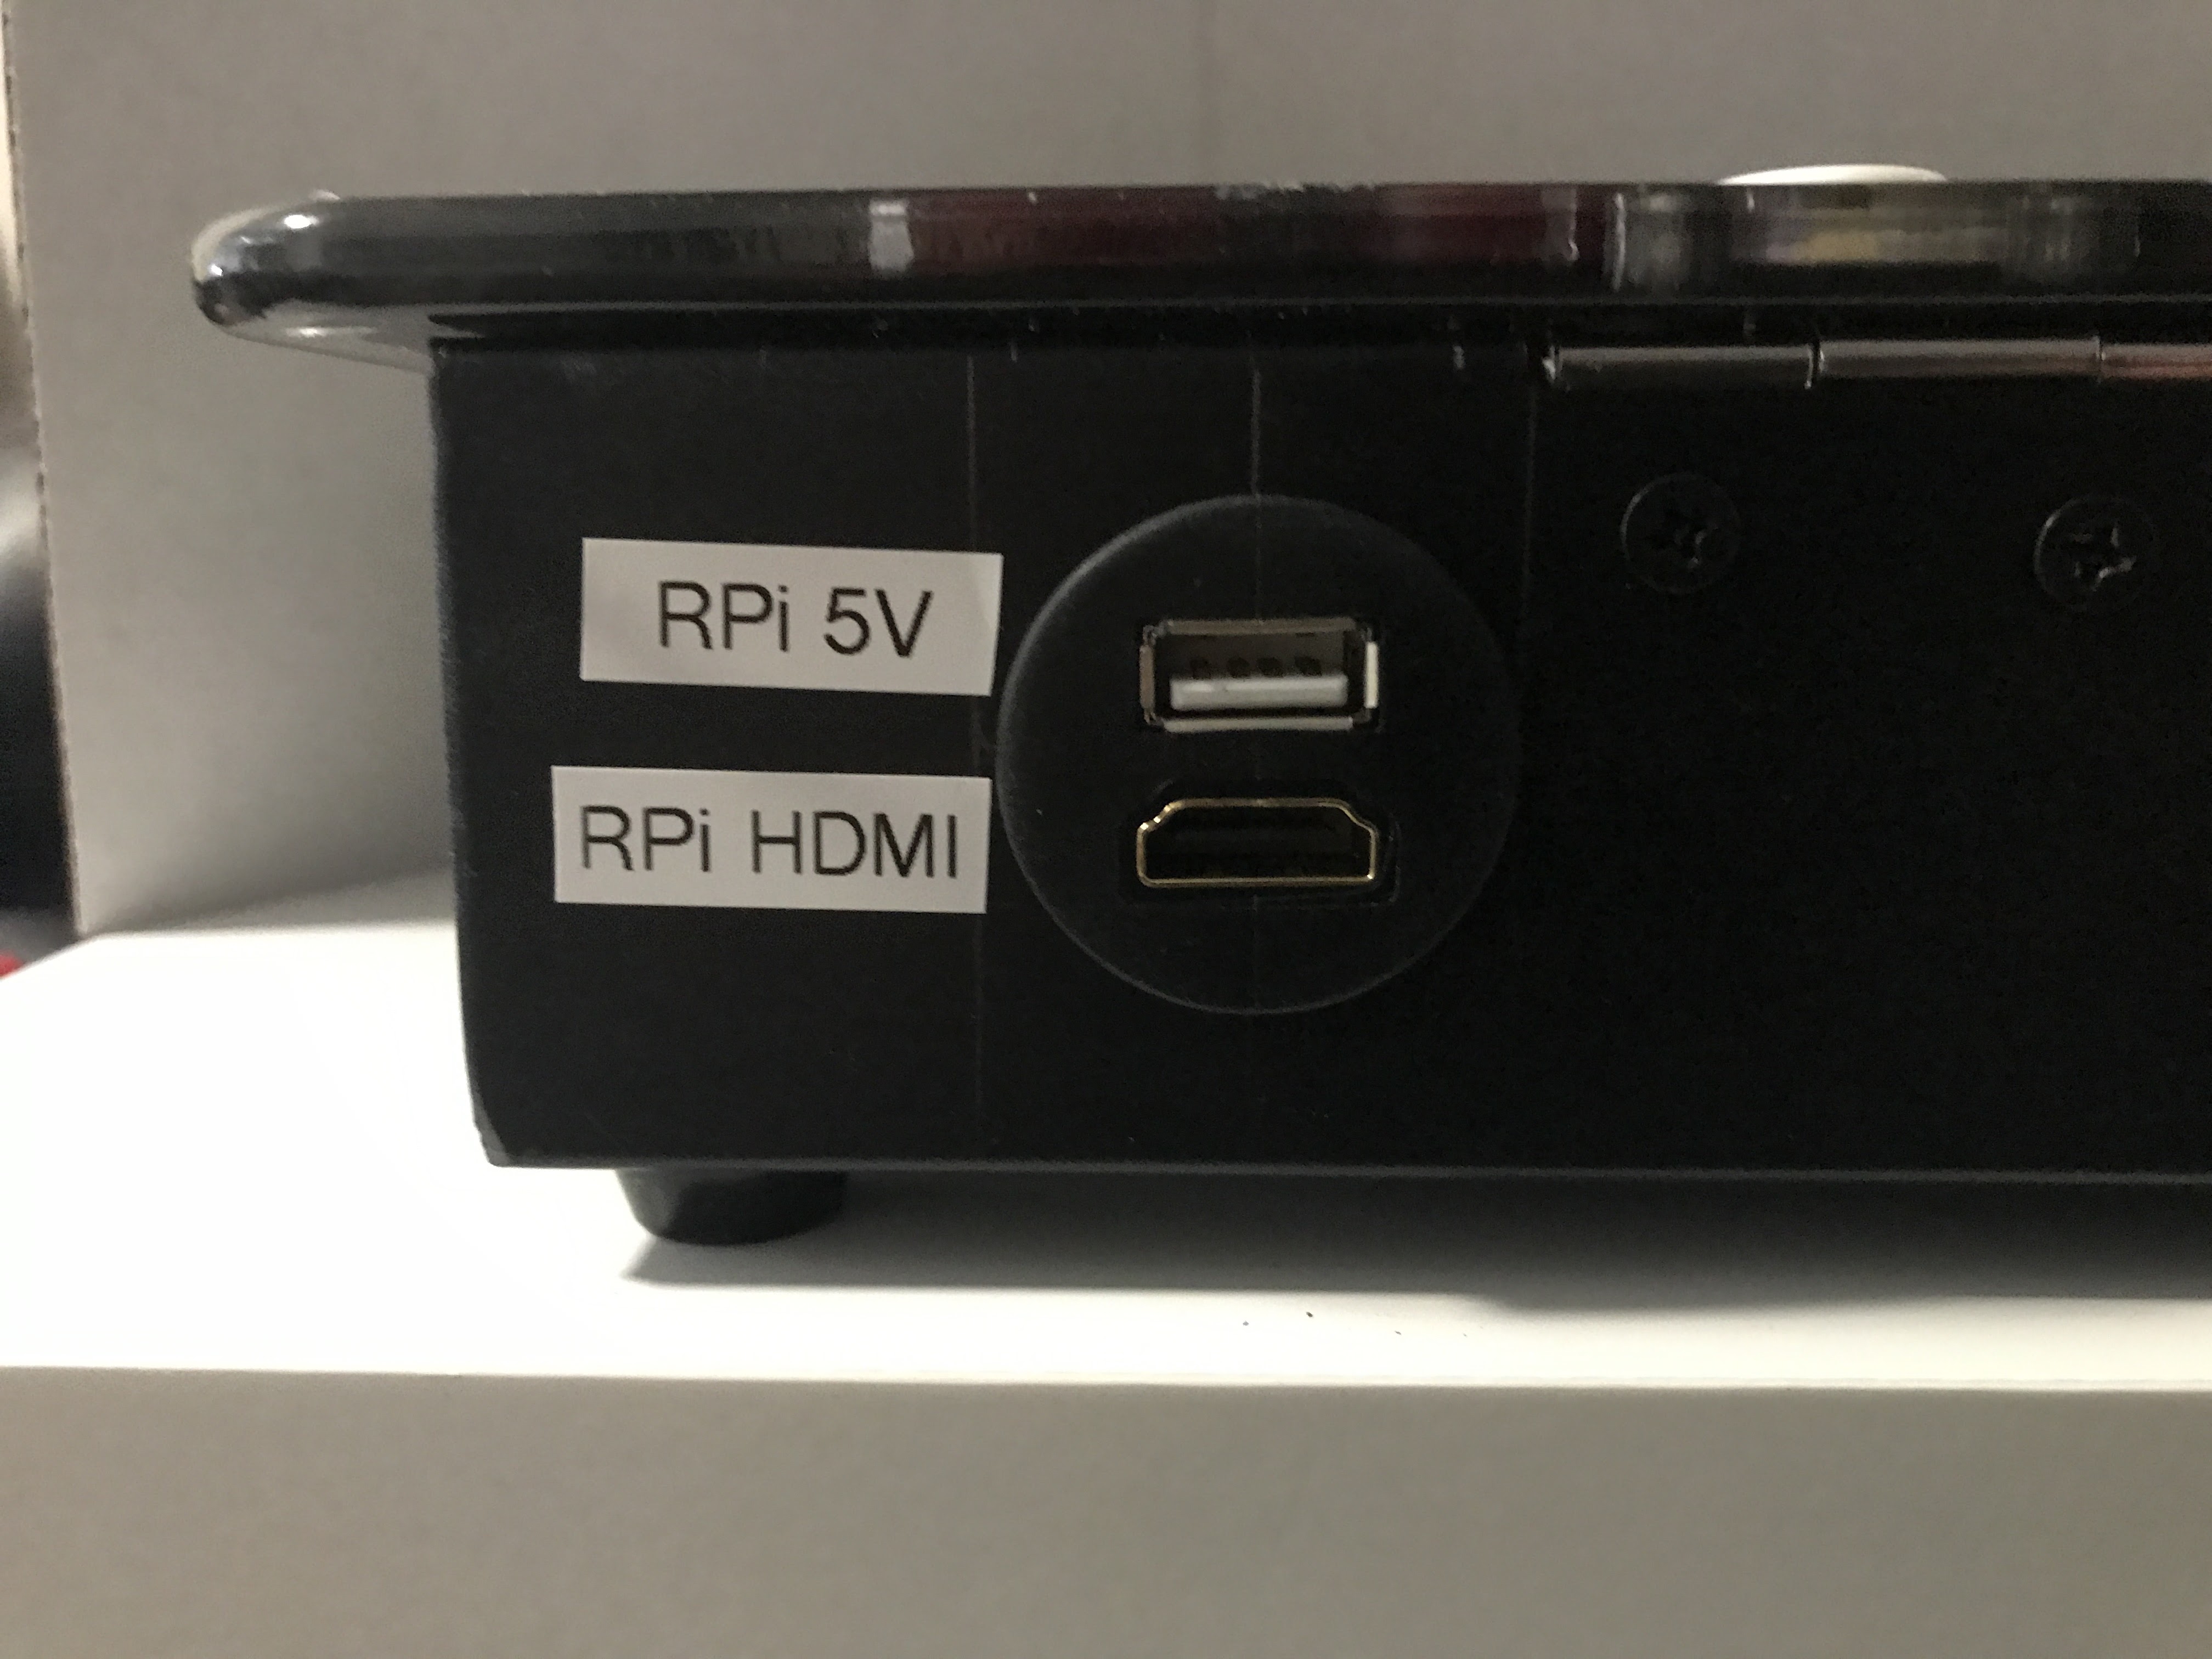
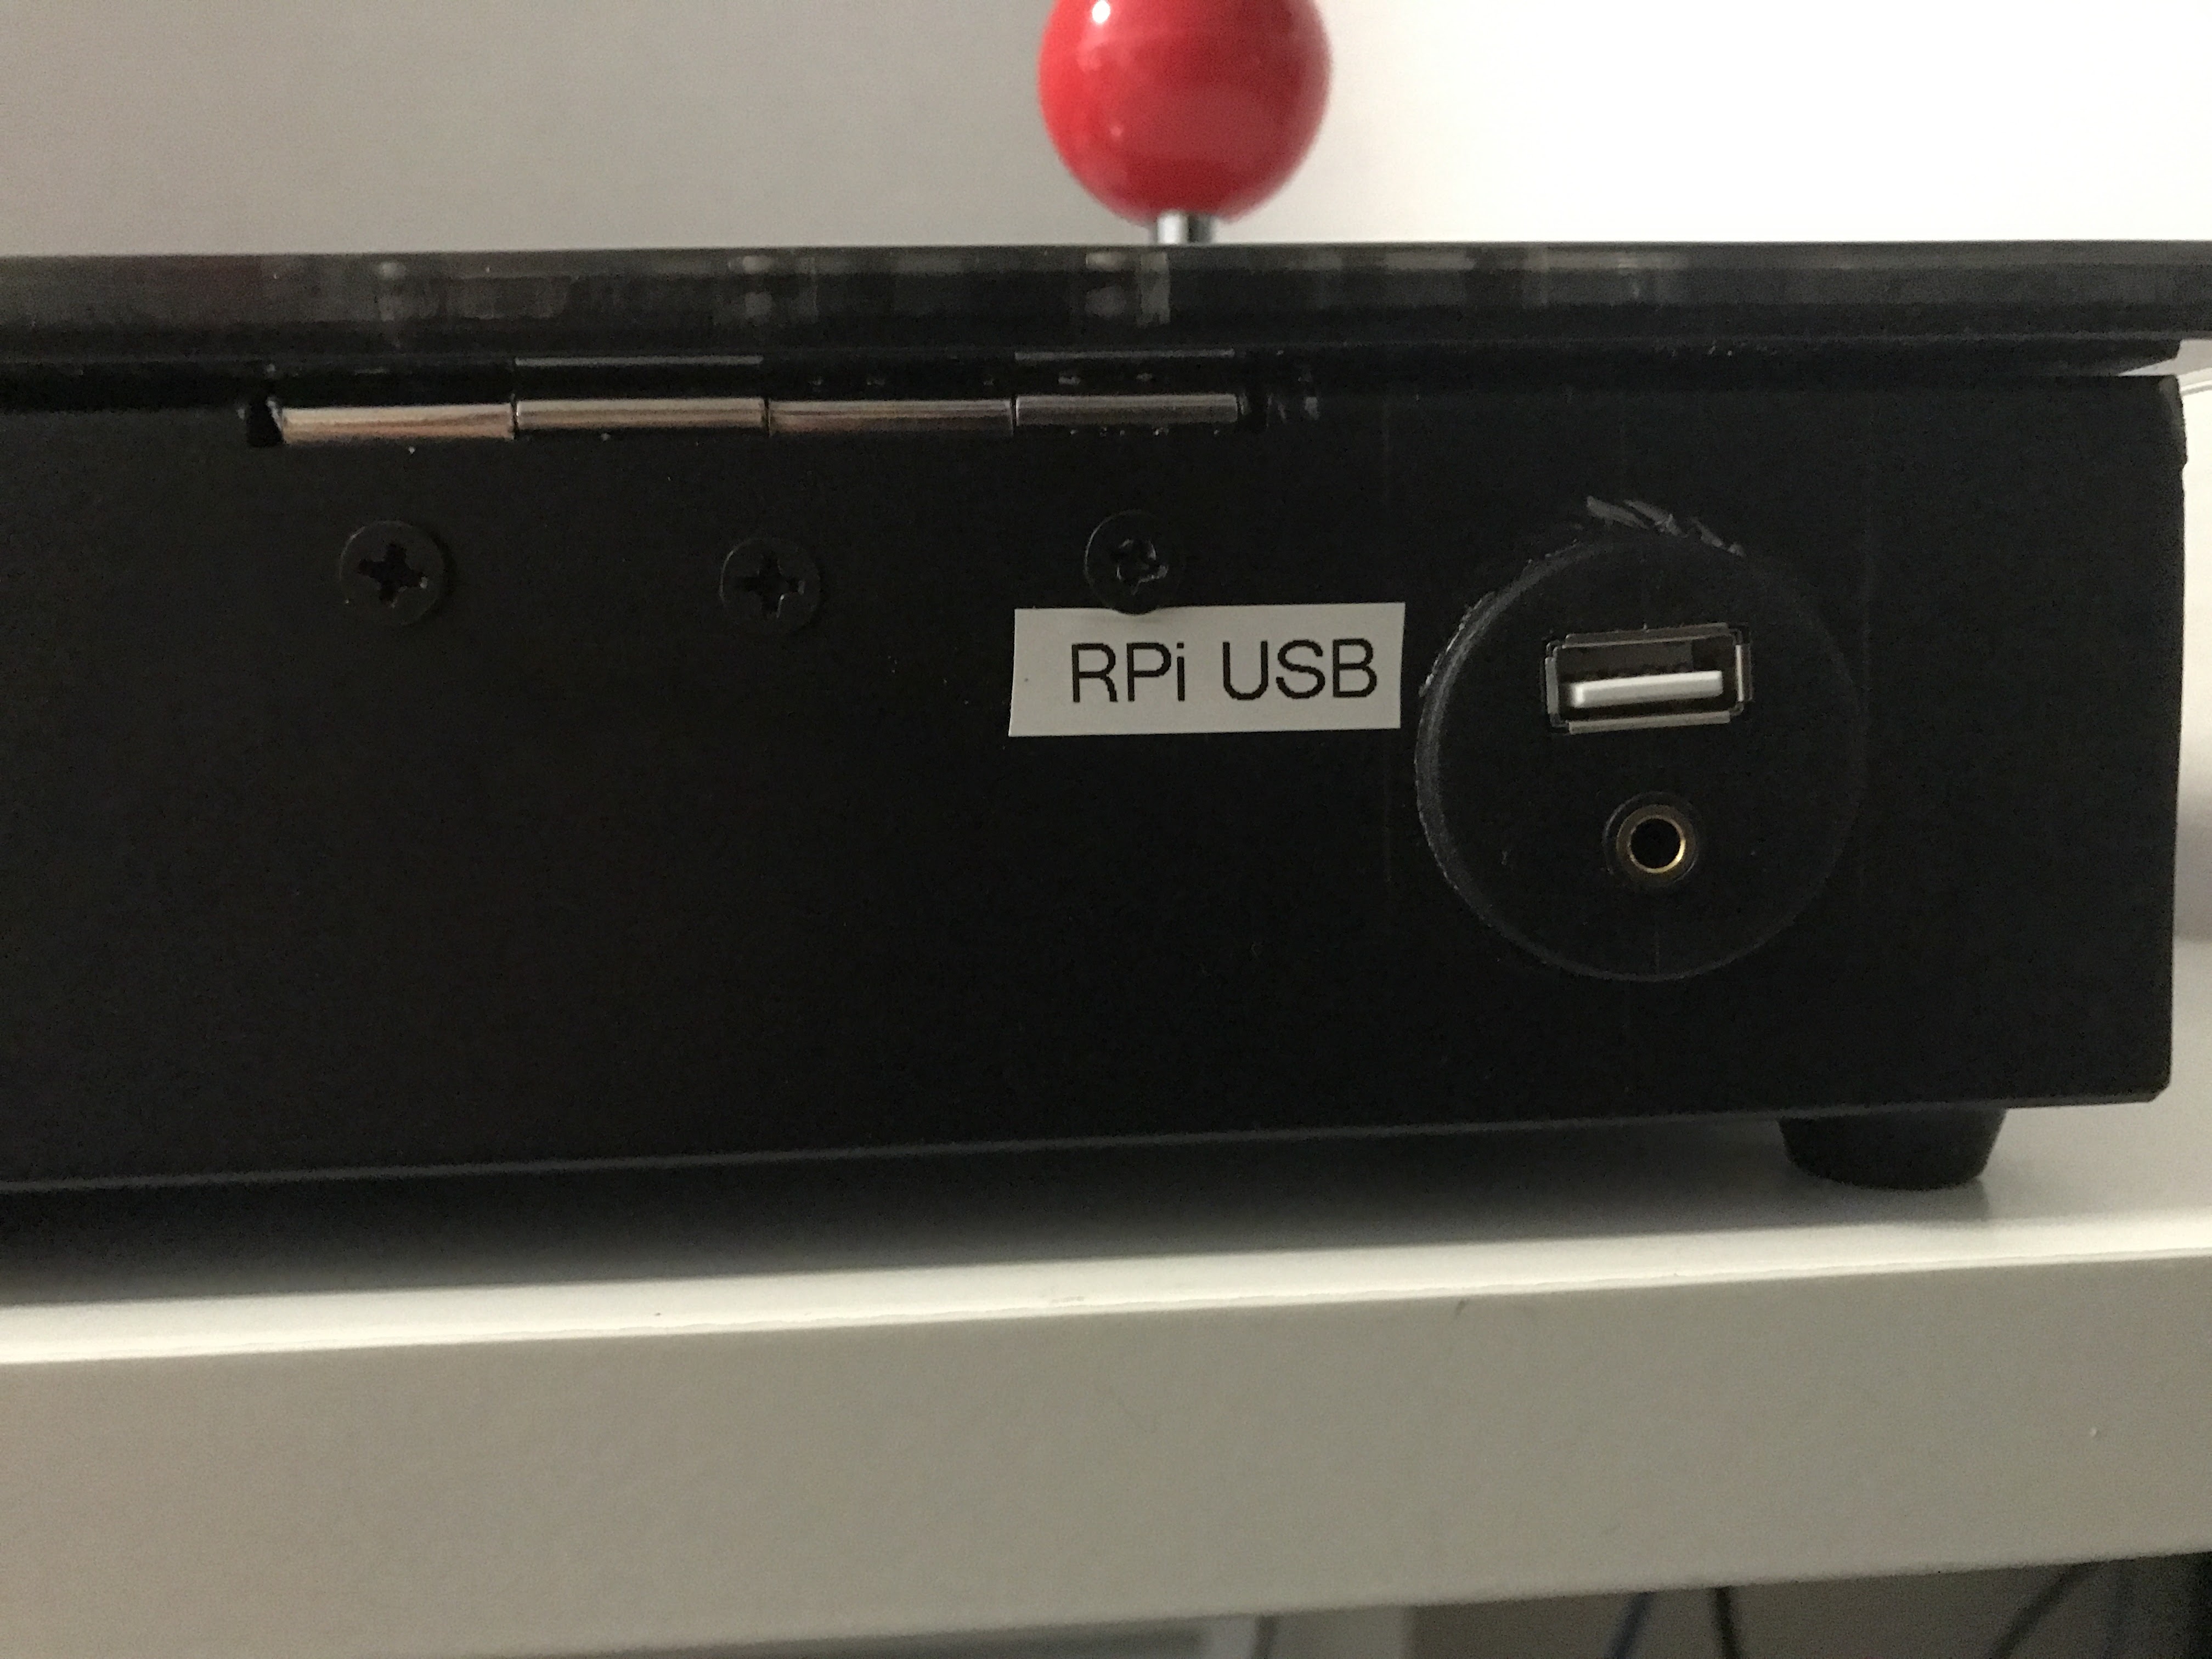
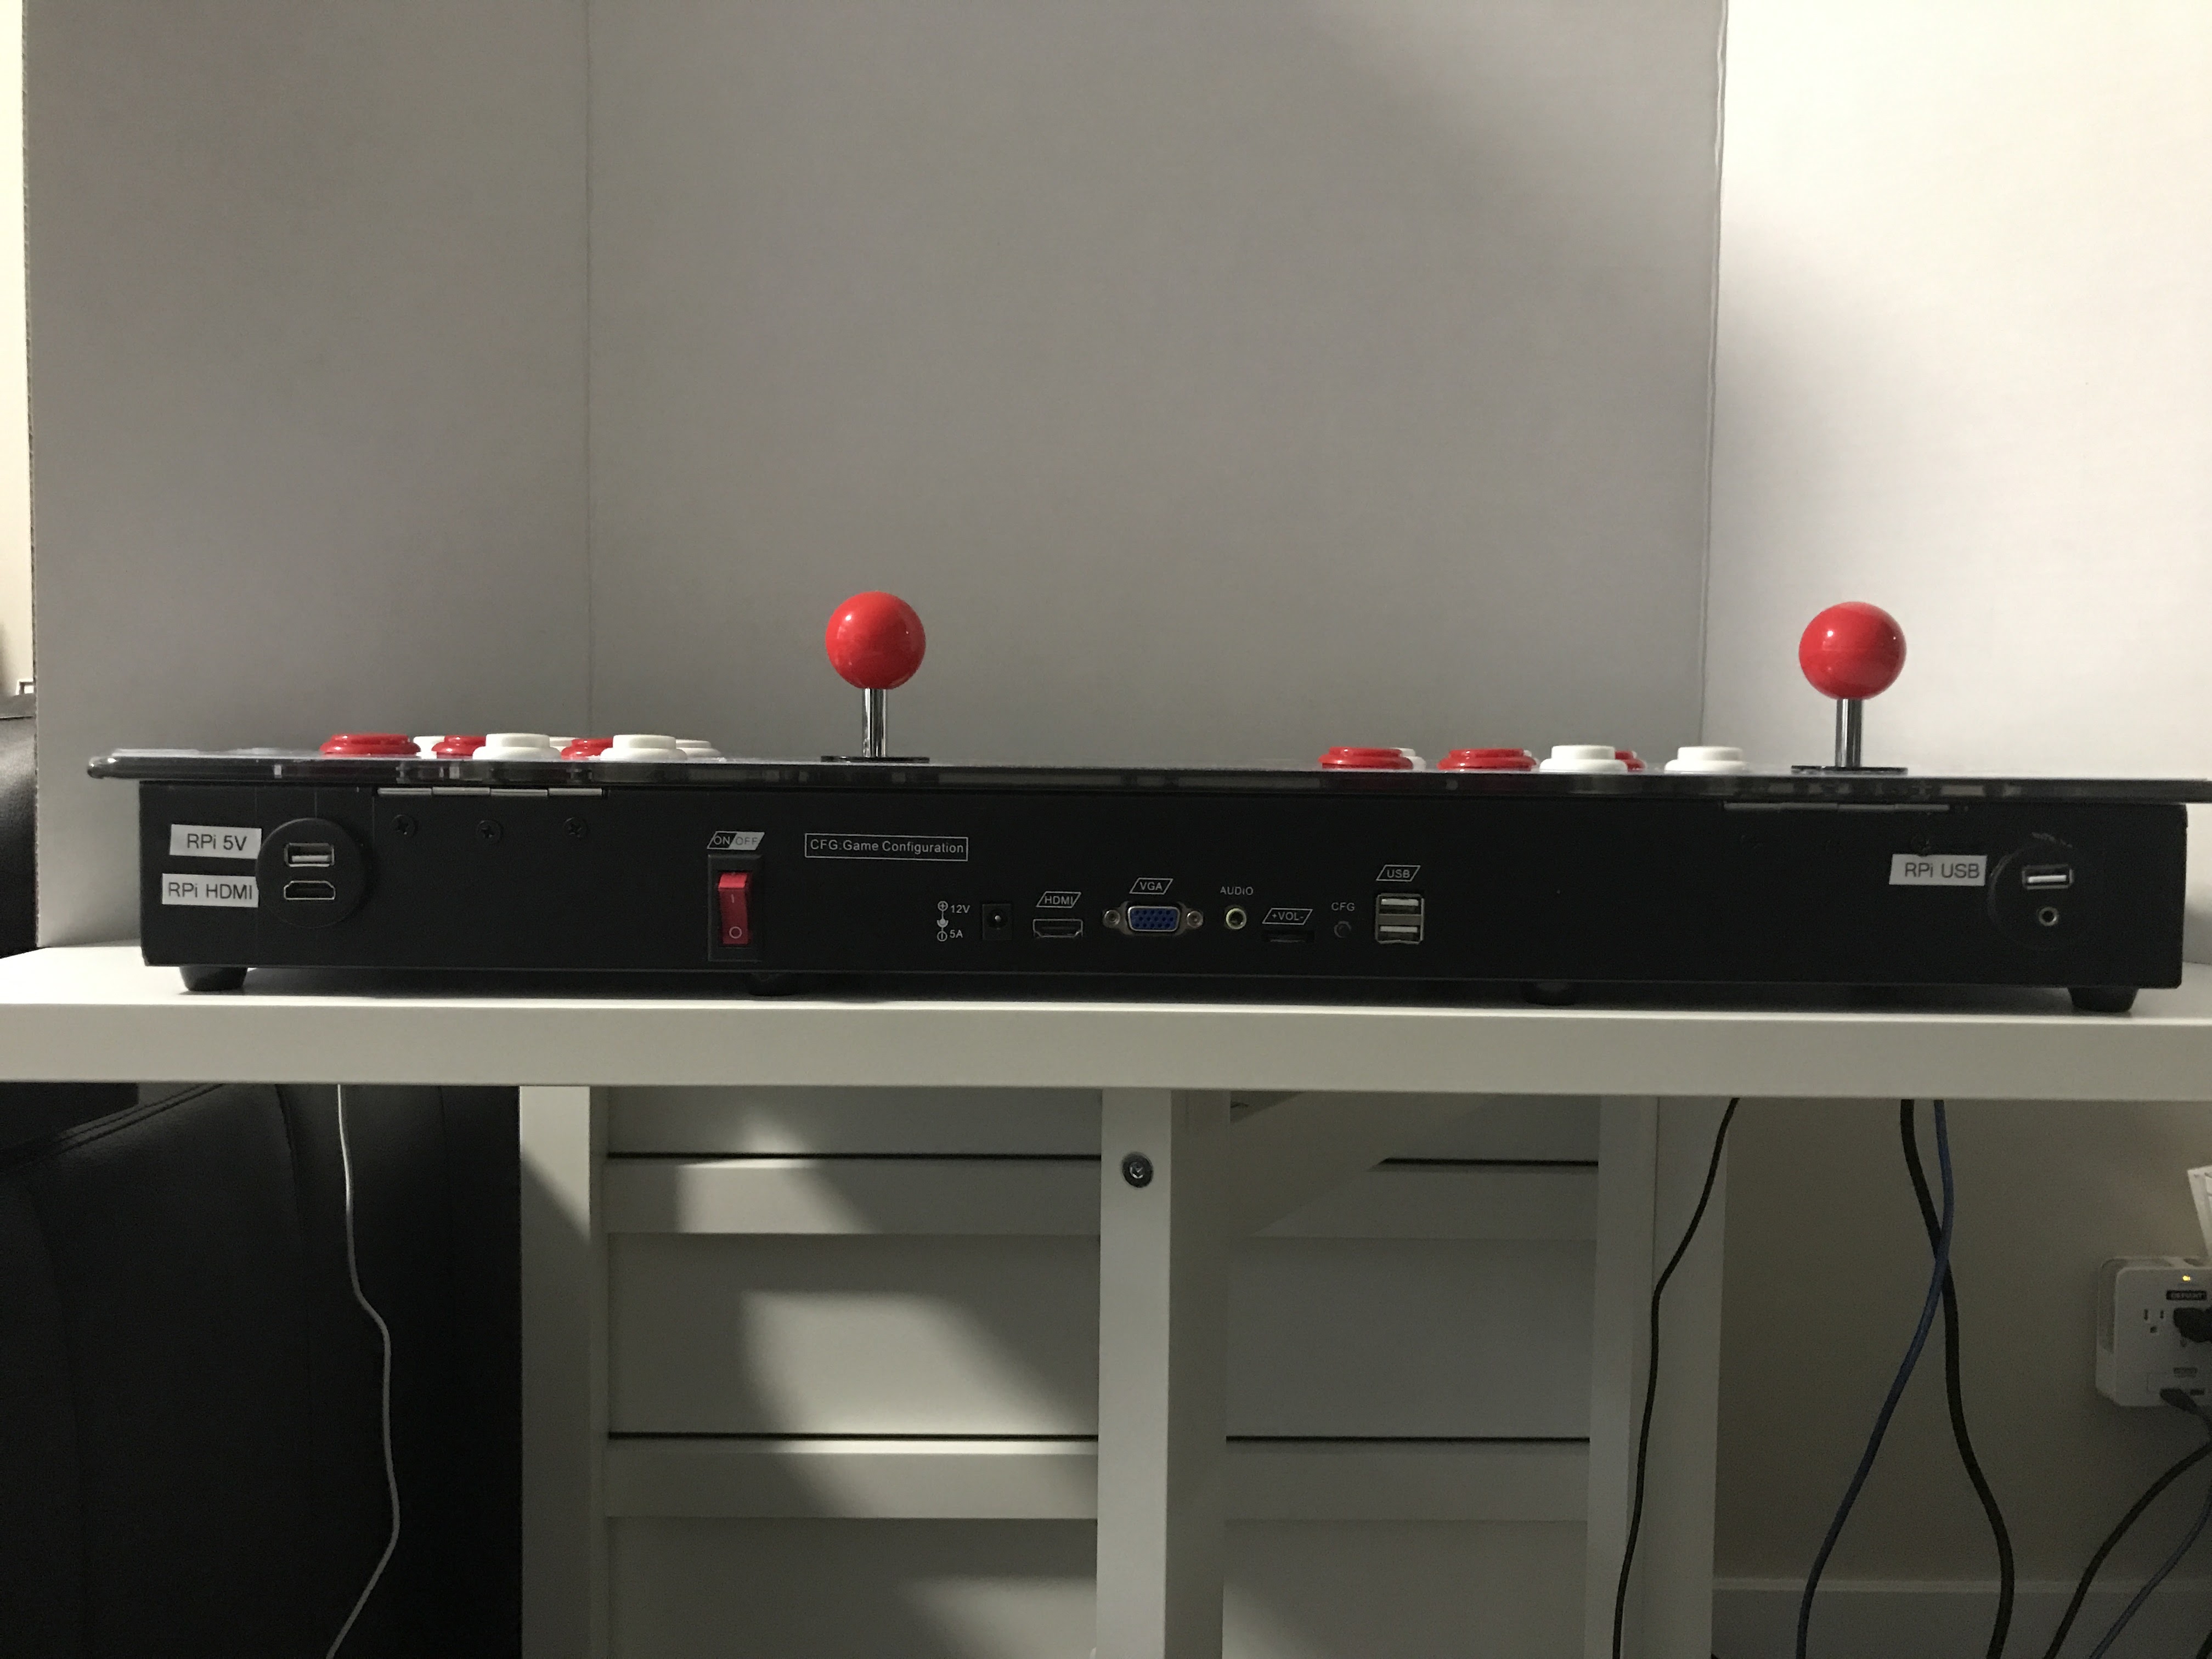
One of the extensions has an HDMI and USB socket which is for video output to the monitor and connecting power for the RPi. Another extension will ahve the headphone jack and a USB to connect the PB controls to the RPi.
The metal is pretty thin, so it shouldn't be too hard to drill. Make sure you find a good place to drill your holes. Test fit and mark where the extension mounts should go to ensure It's not blocking anything or preventing you from closing the lid.
Use a center punch to mark the start of the hole so your drill bit doesn't wander. Then drill a small pilot hole. You can then use the hole saw. The hole doesn't have to be perfect or exactly 30mm since there is a lip on the extensions that should cover up any inperfections. Remember to always wear safety goggles when using any power tools. When drilling go at a slower speed and pulsate drill and it'll cut through easily.
It's also a good idea to vacuum the shavings as you go
Use a file to remove any burrs
Installing Recalbox
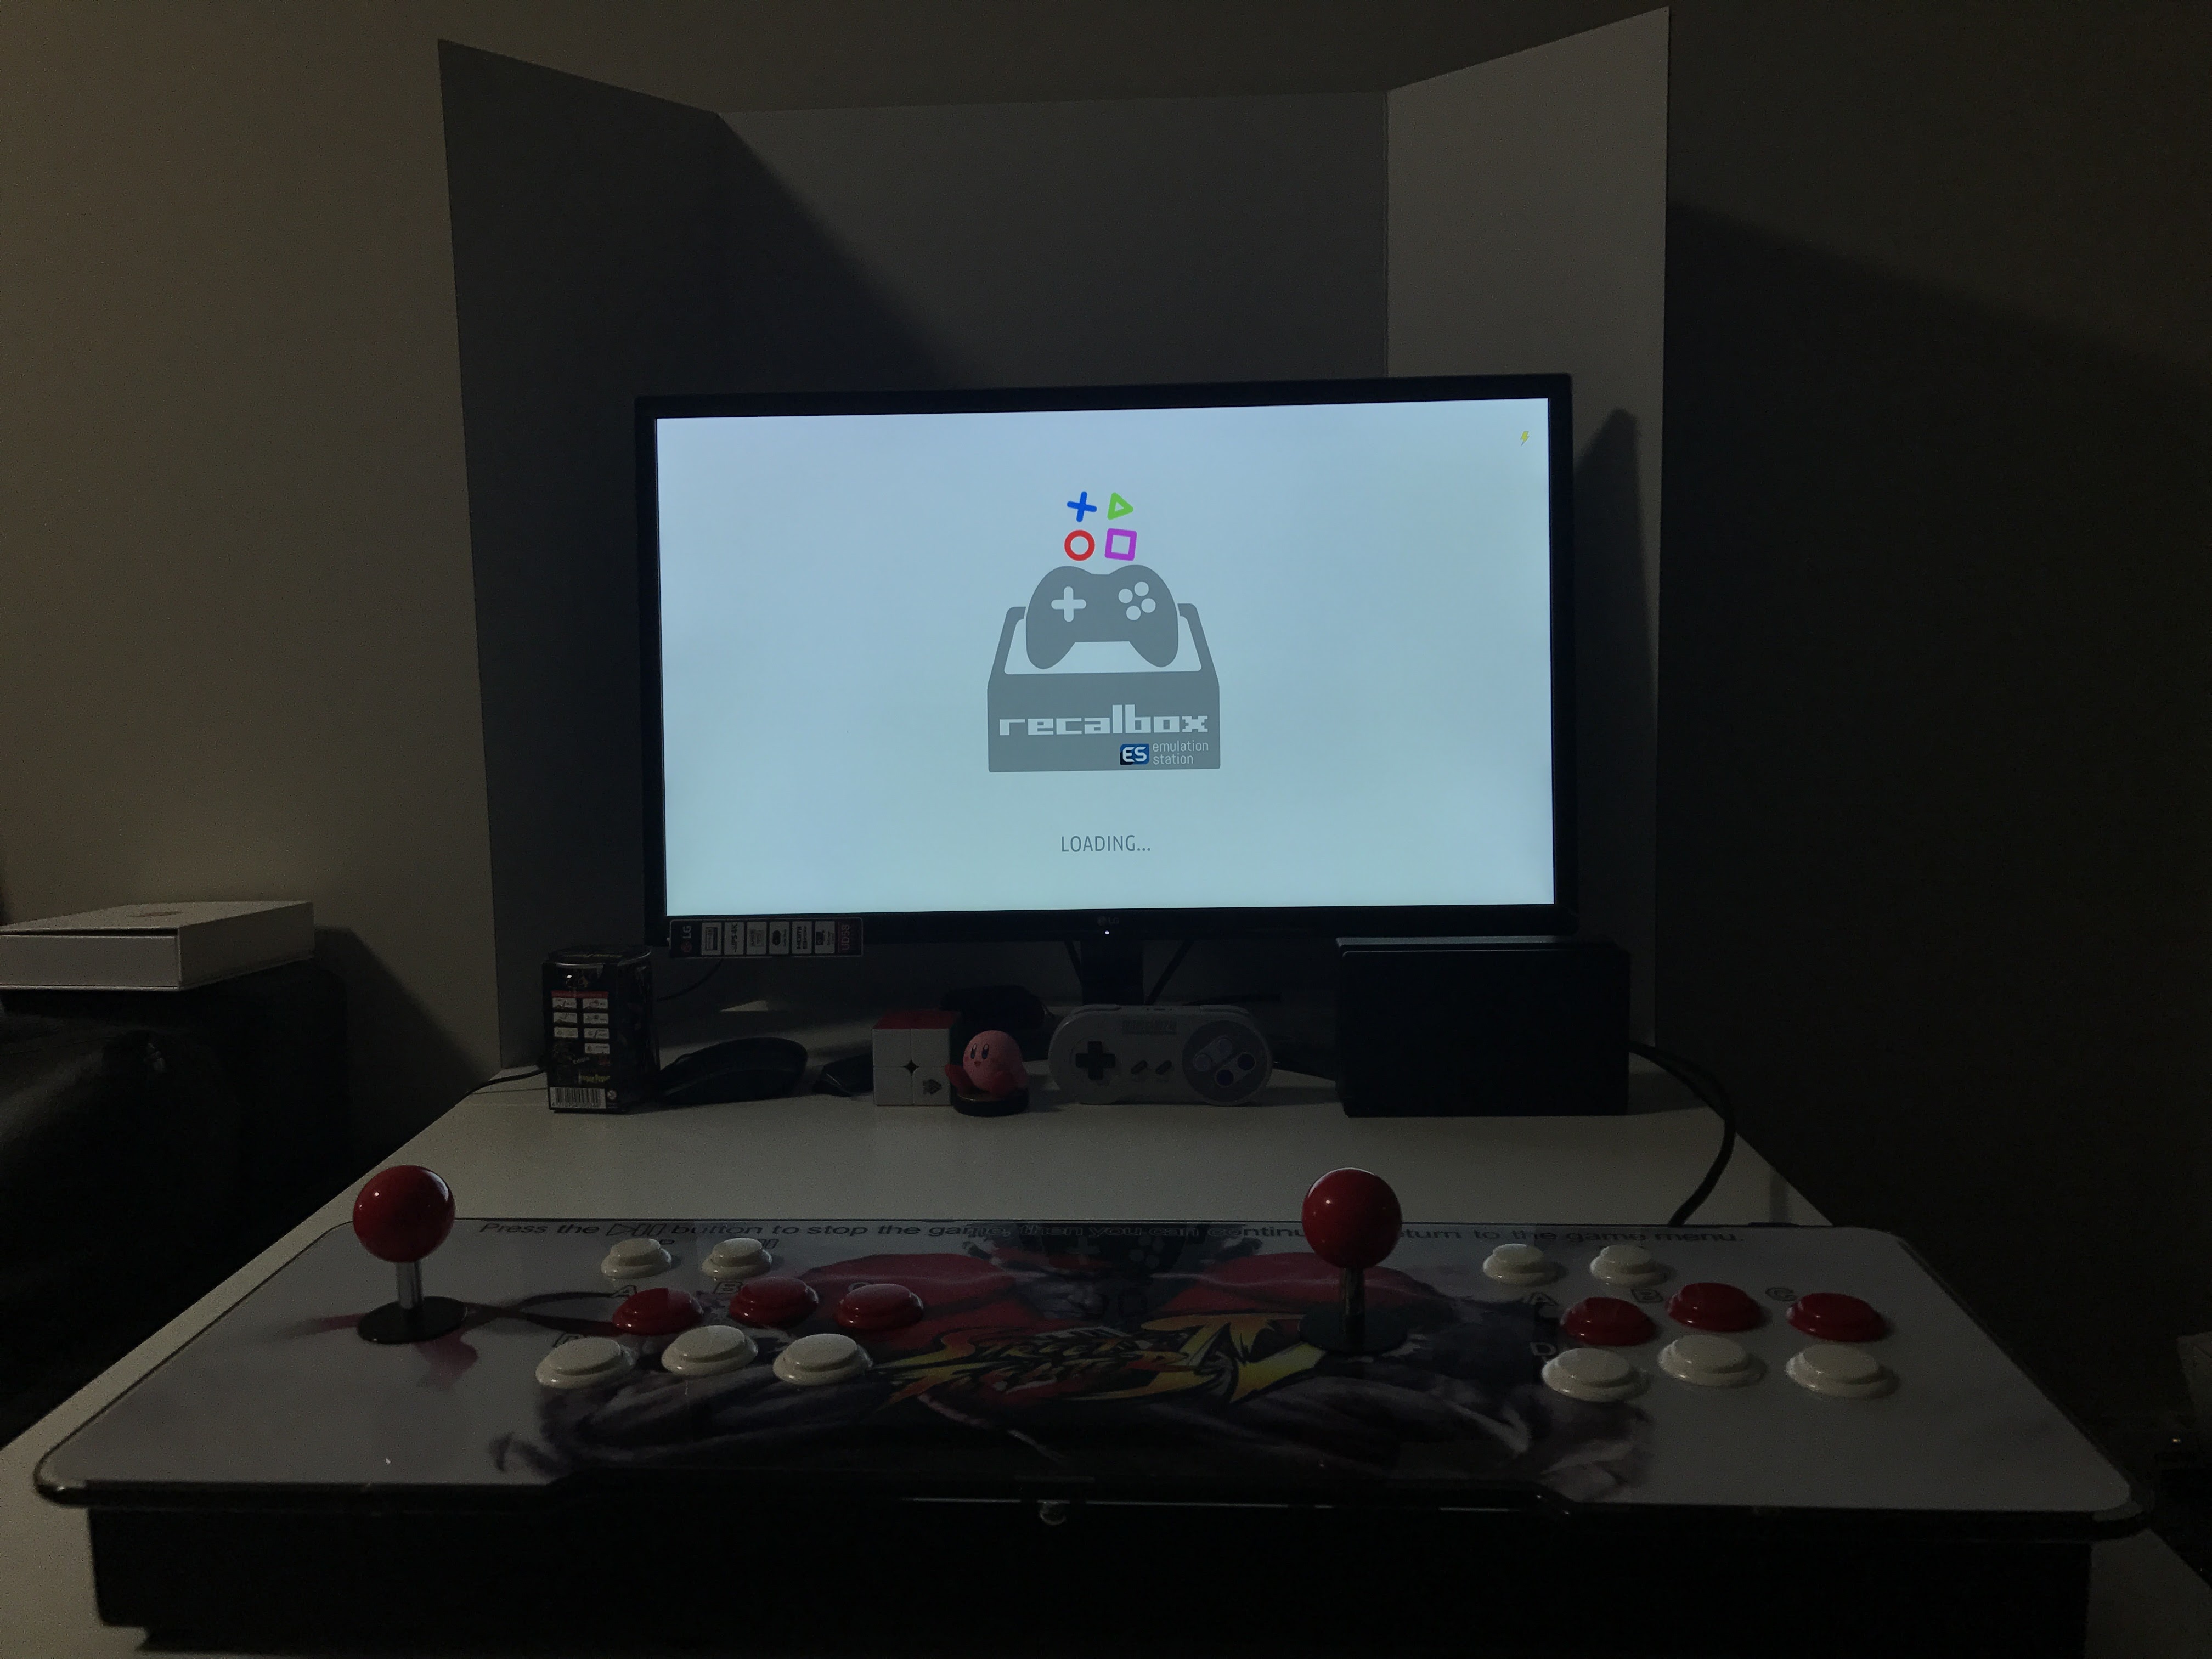.JPG)
Download the latest release of Recalbox and write to a 8GB-16GB microSD card with either Etcher or Win32DiskImager.
Recalbox for Raspberry Pi 1 / 2 / 3
https://github.com/recalbox/recalbox-os/releases
Win32 Disk Imager
https://sourceforge.net/projects/win32diskimager/
Etcher
https://etcher.io/
Mounting Raspberry Pi
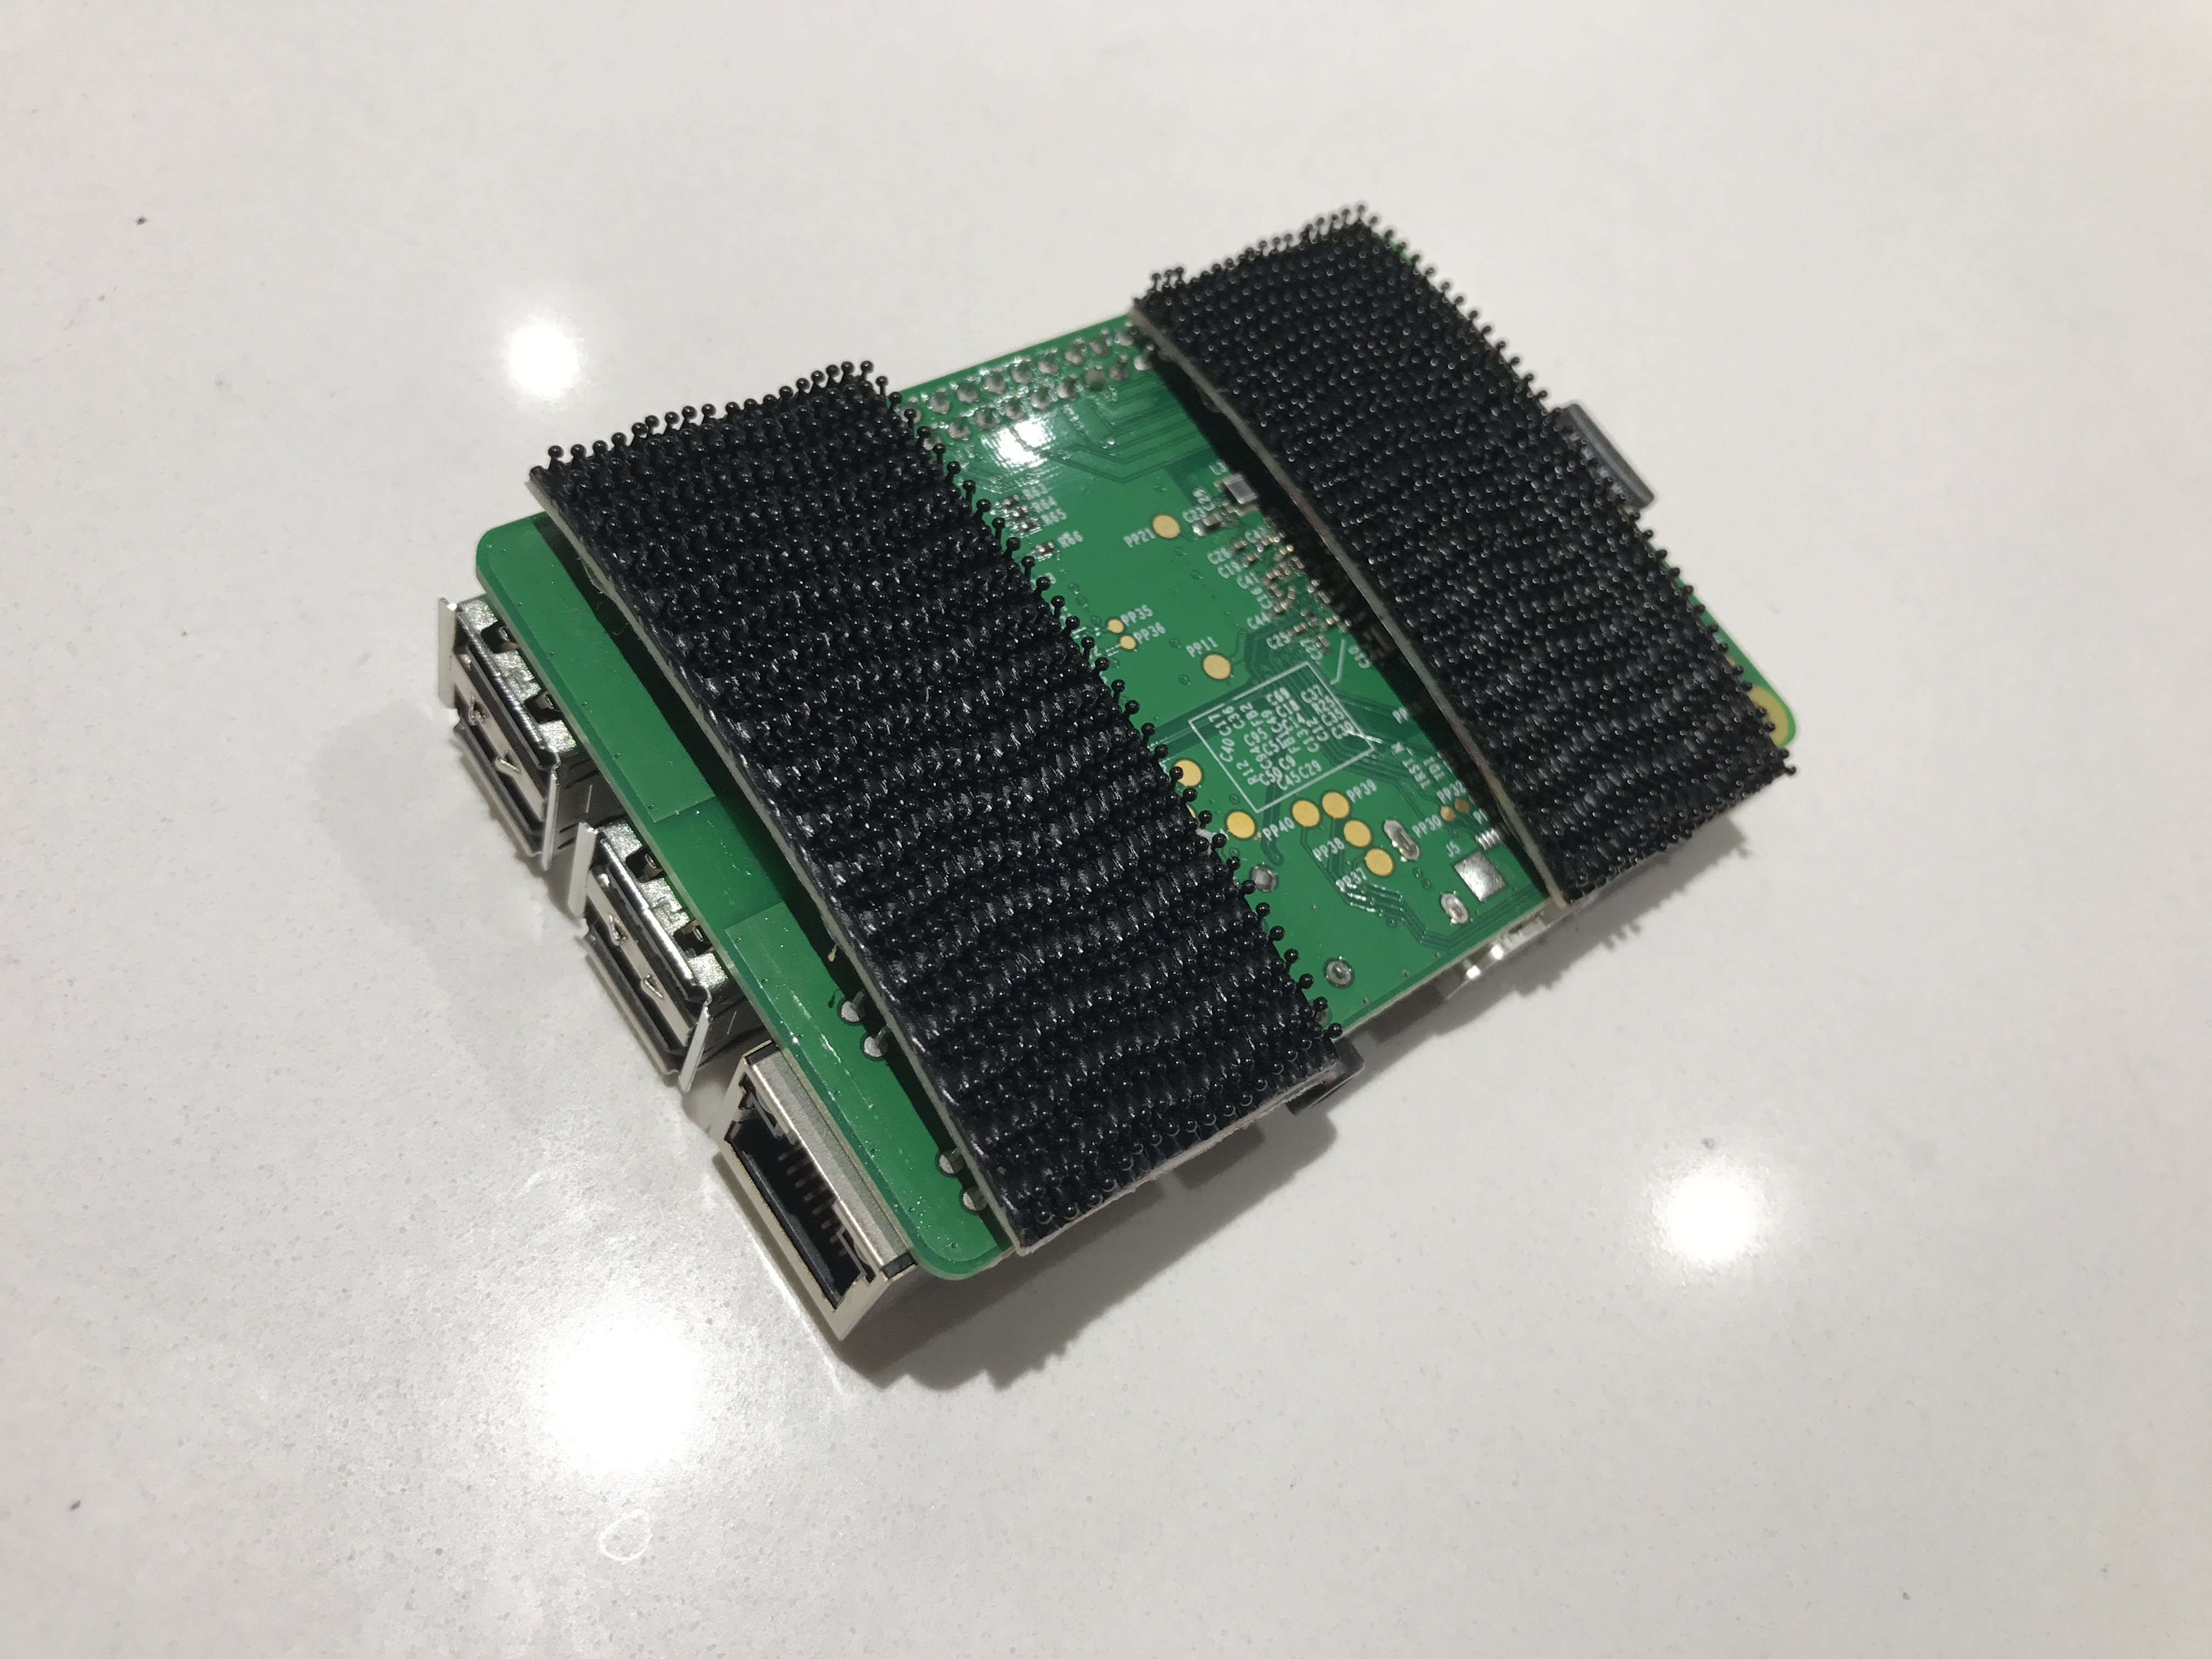.jpg)
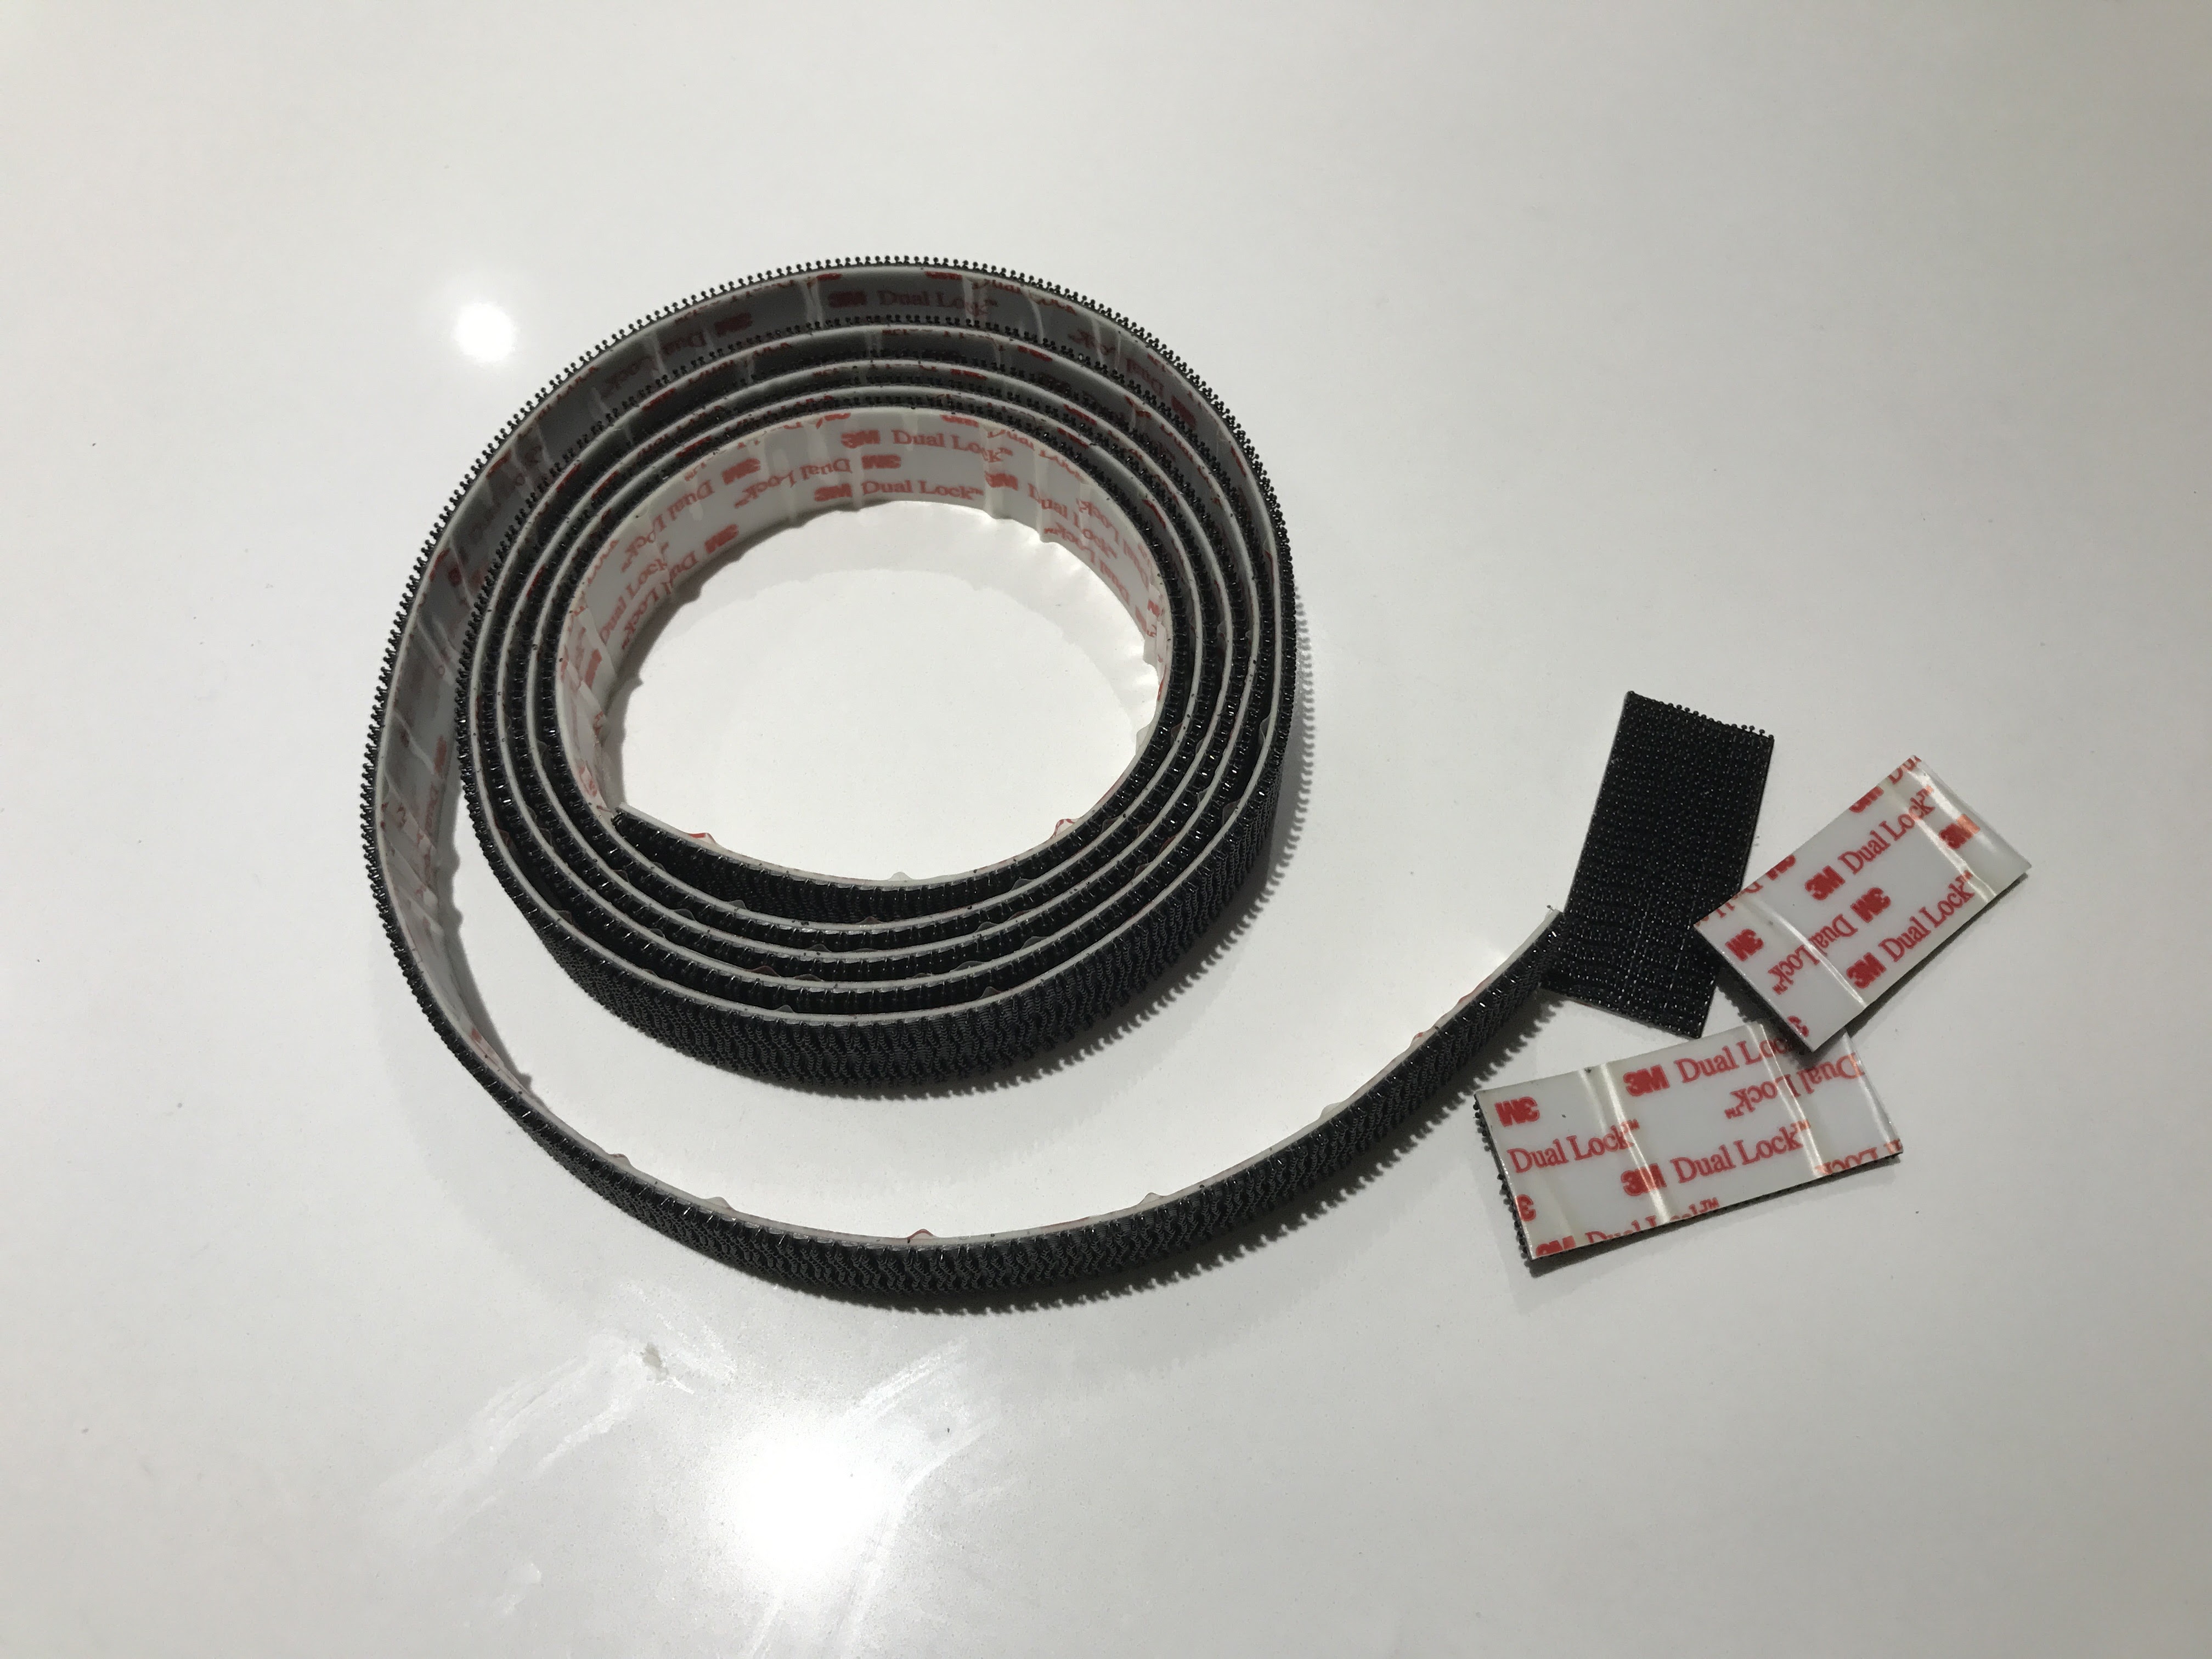
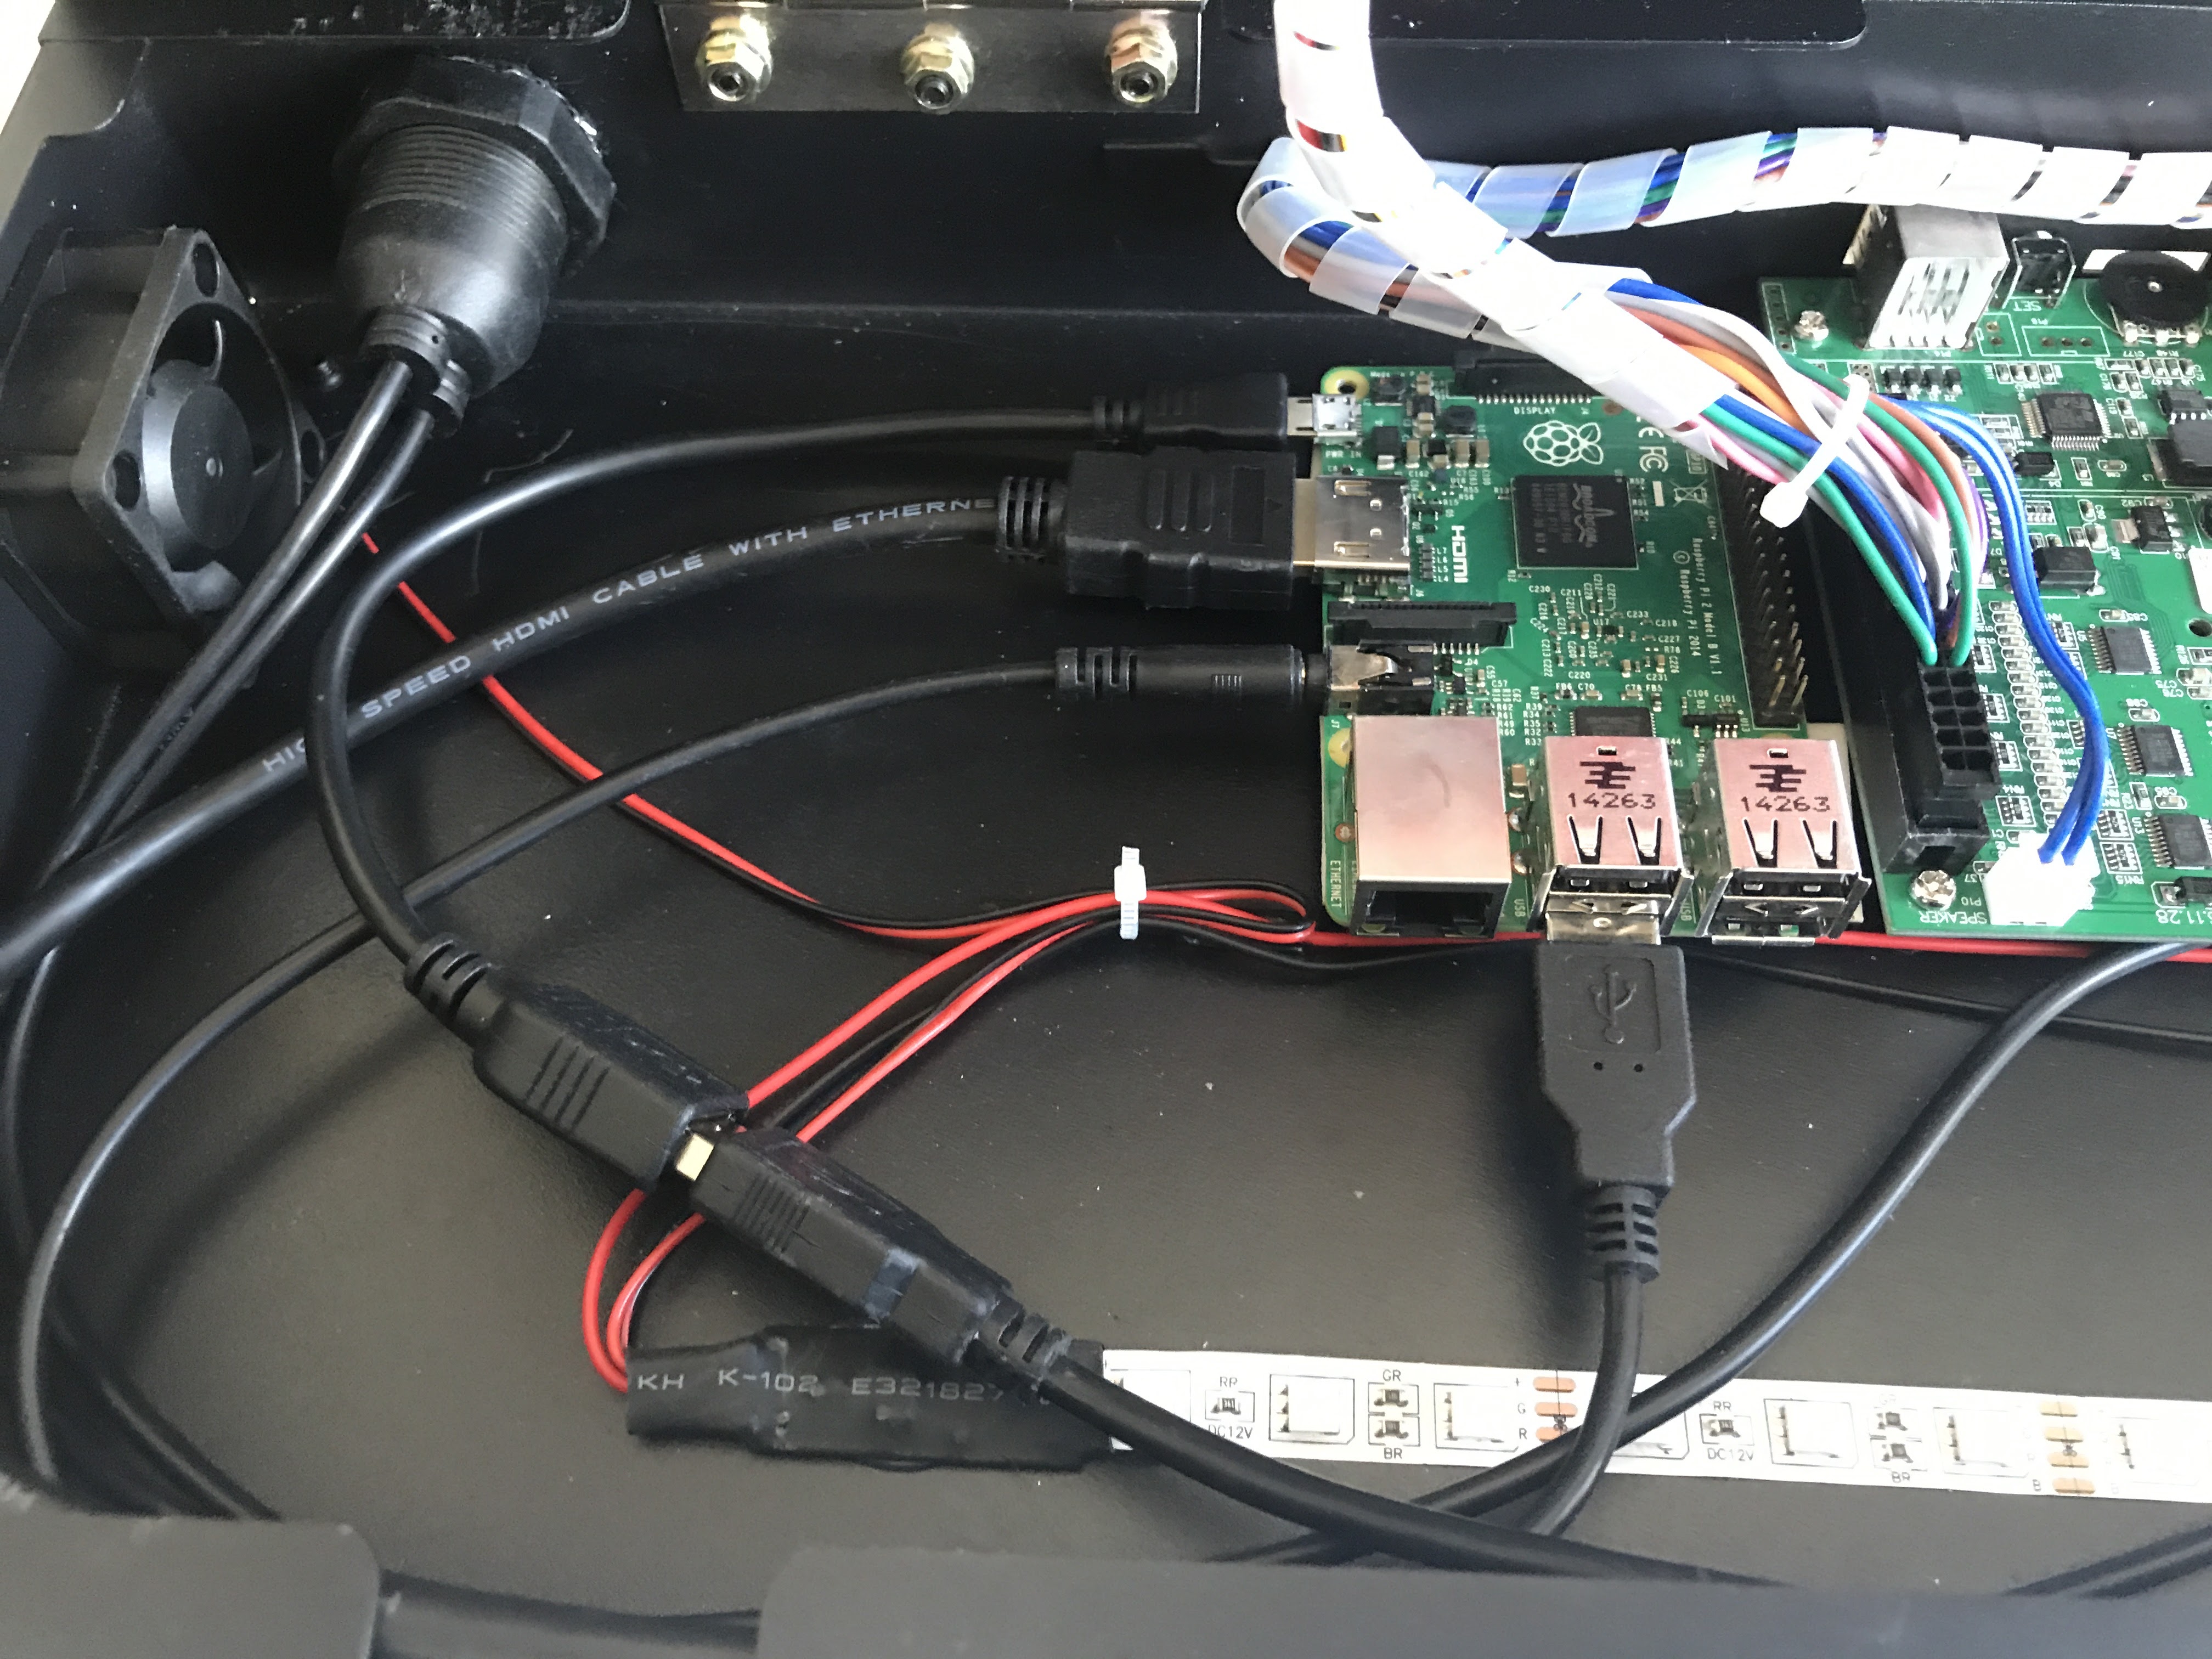.jpg)
To mount the raspberry pi into the enclosure, use some 3M dual lock. It's basically like velcro in that it helps keep the RPi place and at the same time, it prevents the metal from the enclosure from shorting the contacts under the RPi board.
Installing Extensions
.jpg)
.jpg)
.jpg)
.jpg)
.jpg)
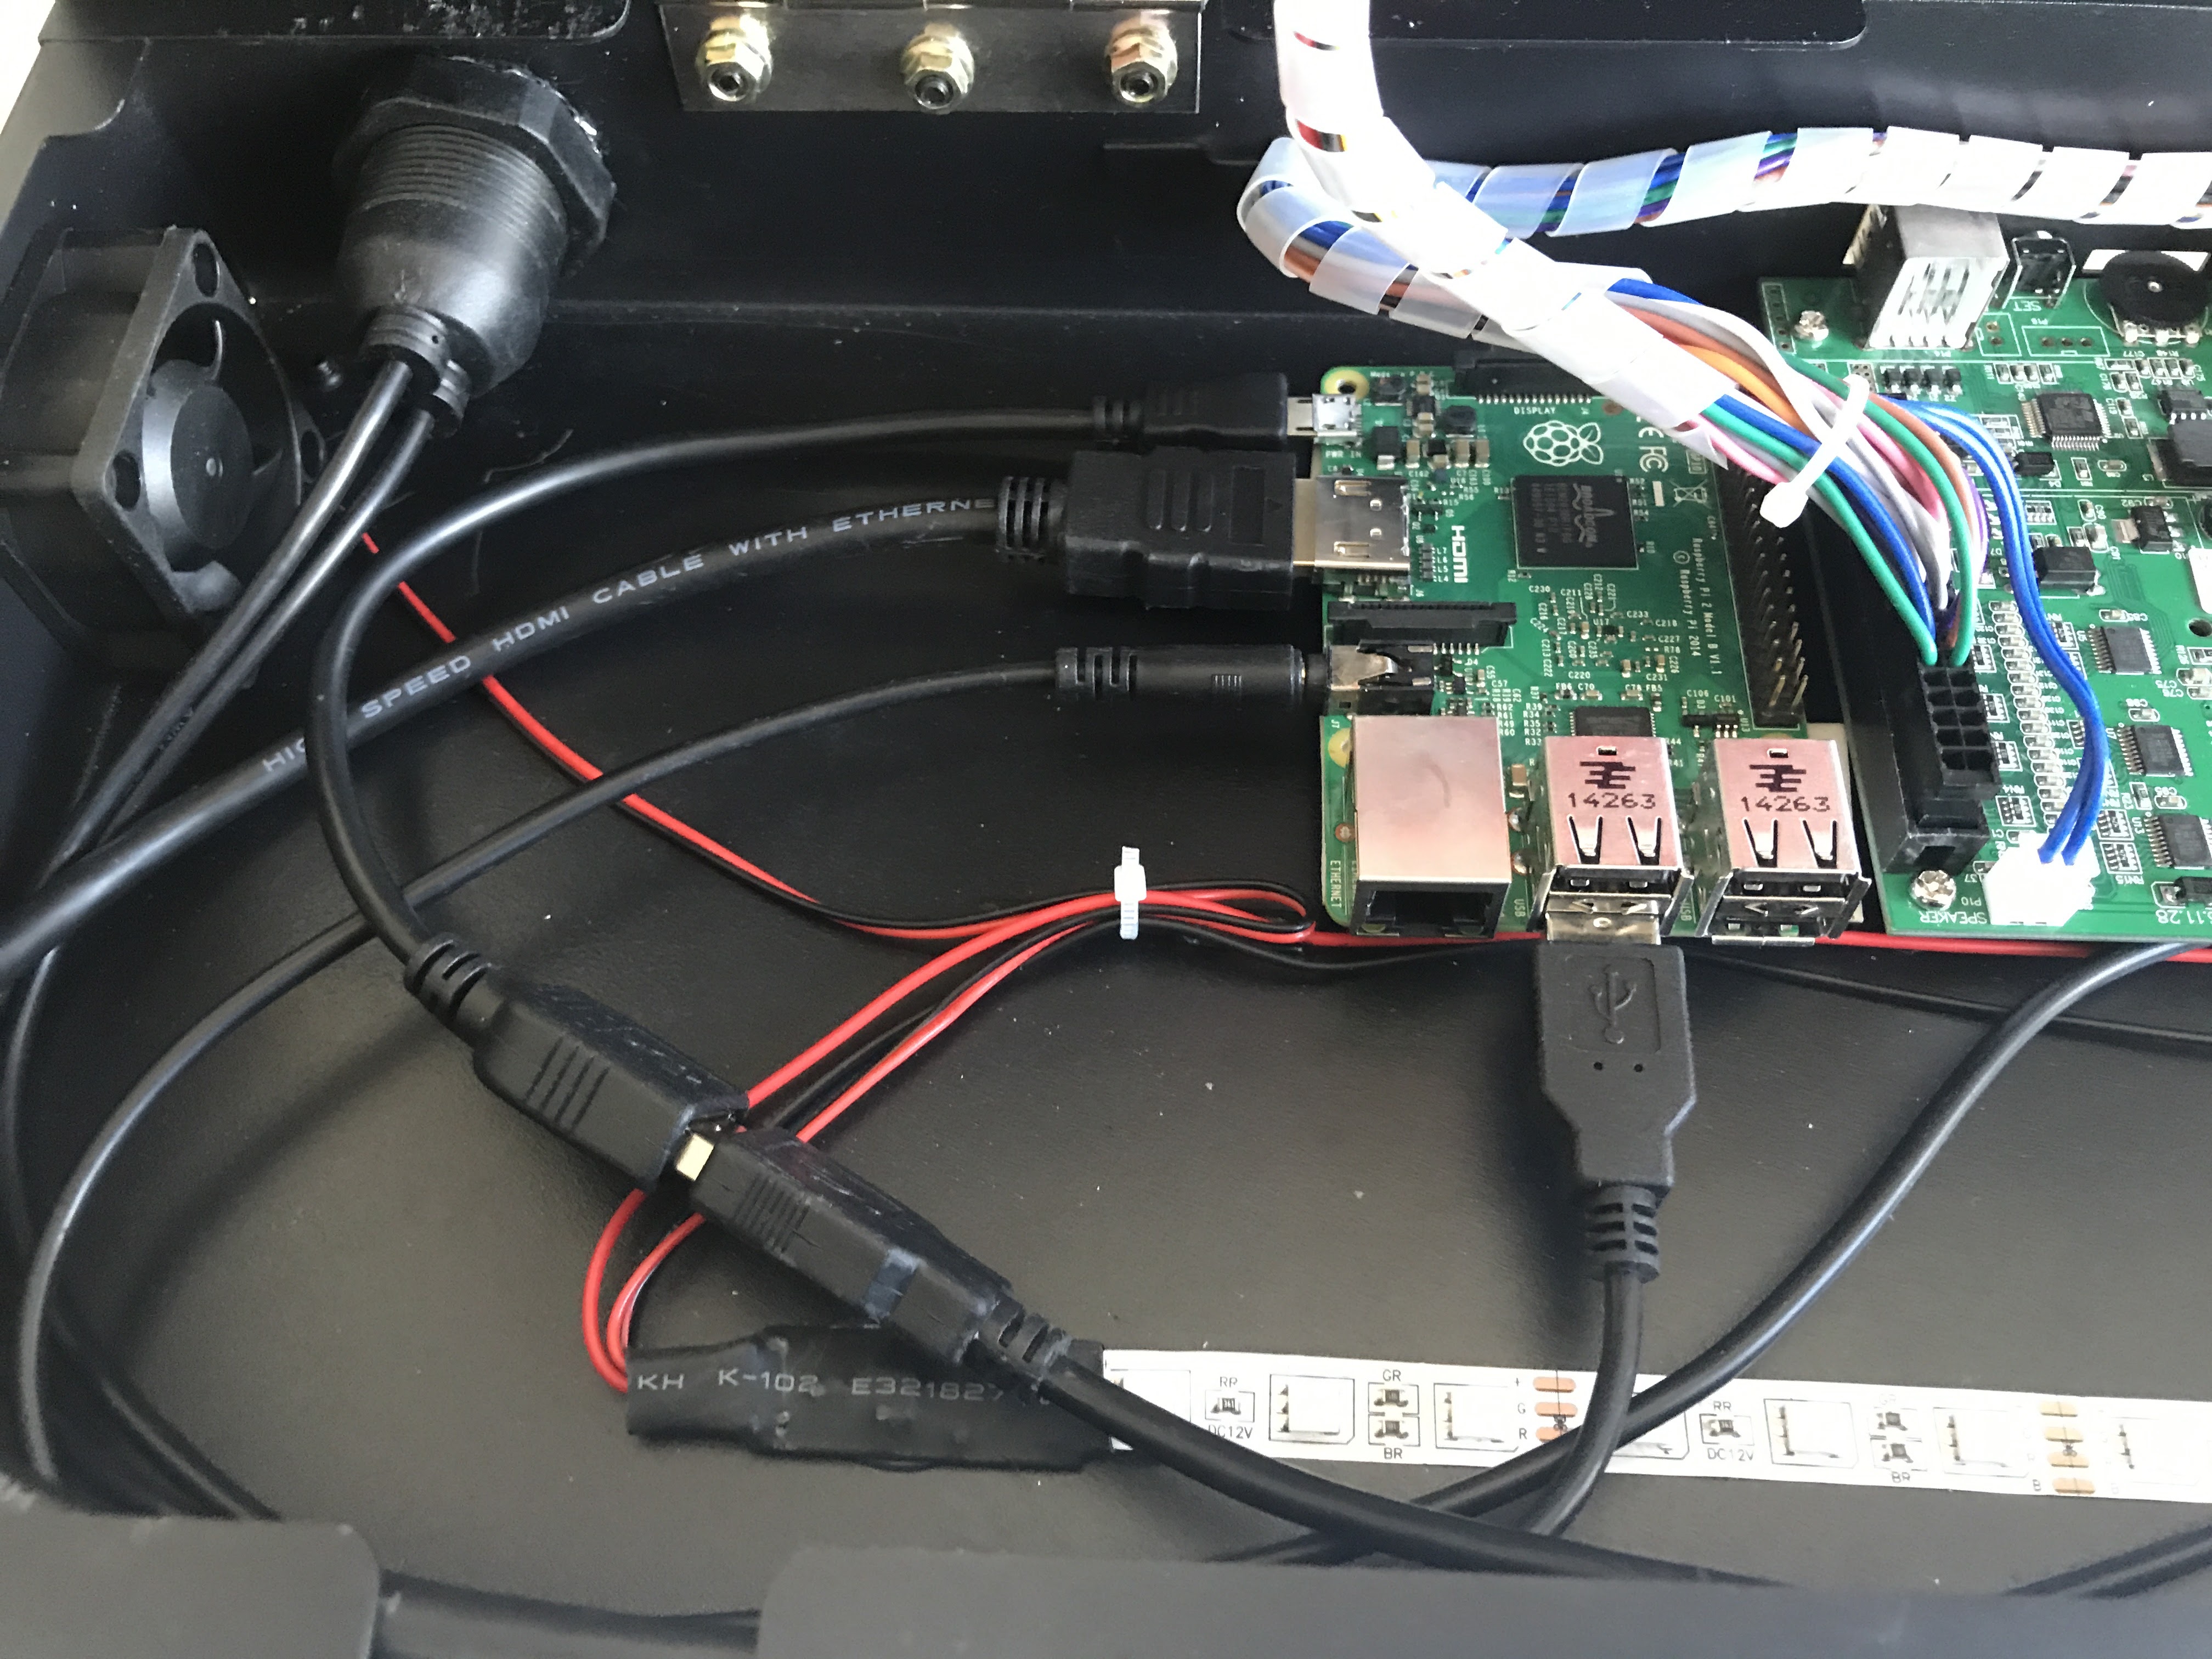
1st extension cable
Plug the HDMI into the RPi Plug USB into RPi (this will be used to connect to the pandora's box)
2nd extension cable Plug 3.5mm cable into RPi
Plug USB into OTG cable which converts the USB A down to a microUSB plug which can then be plugged into the RPi and used as power
Label all the ports to avoid confusion.
Power Button for Raspberry Pi
.jpg)
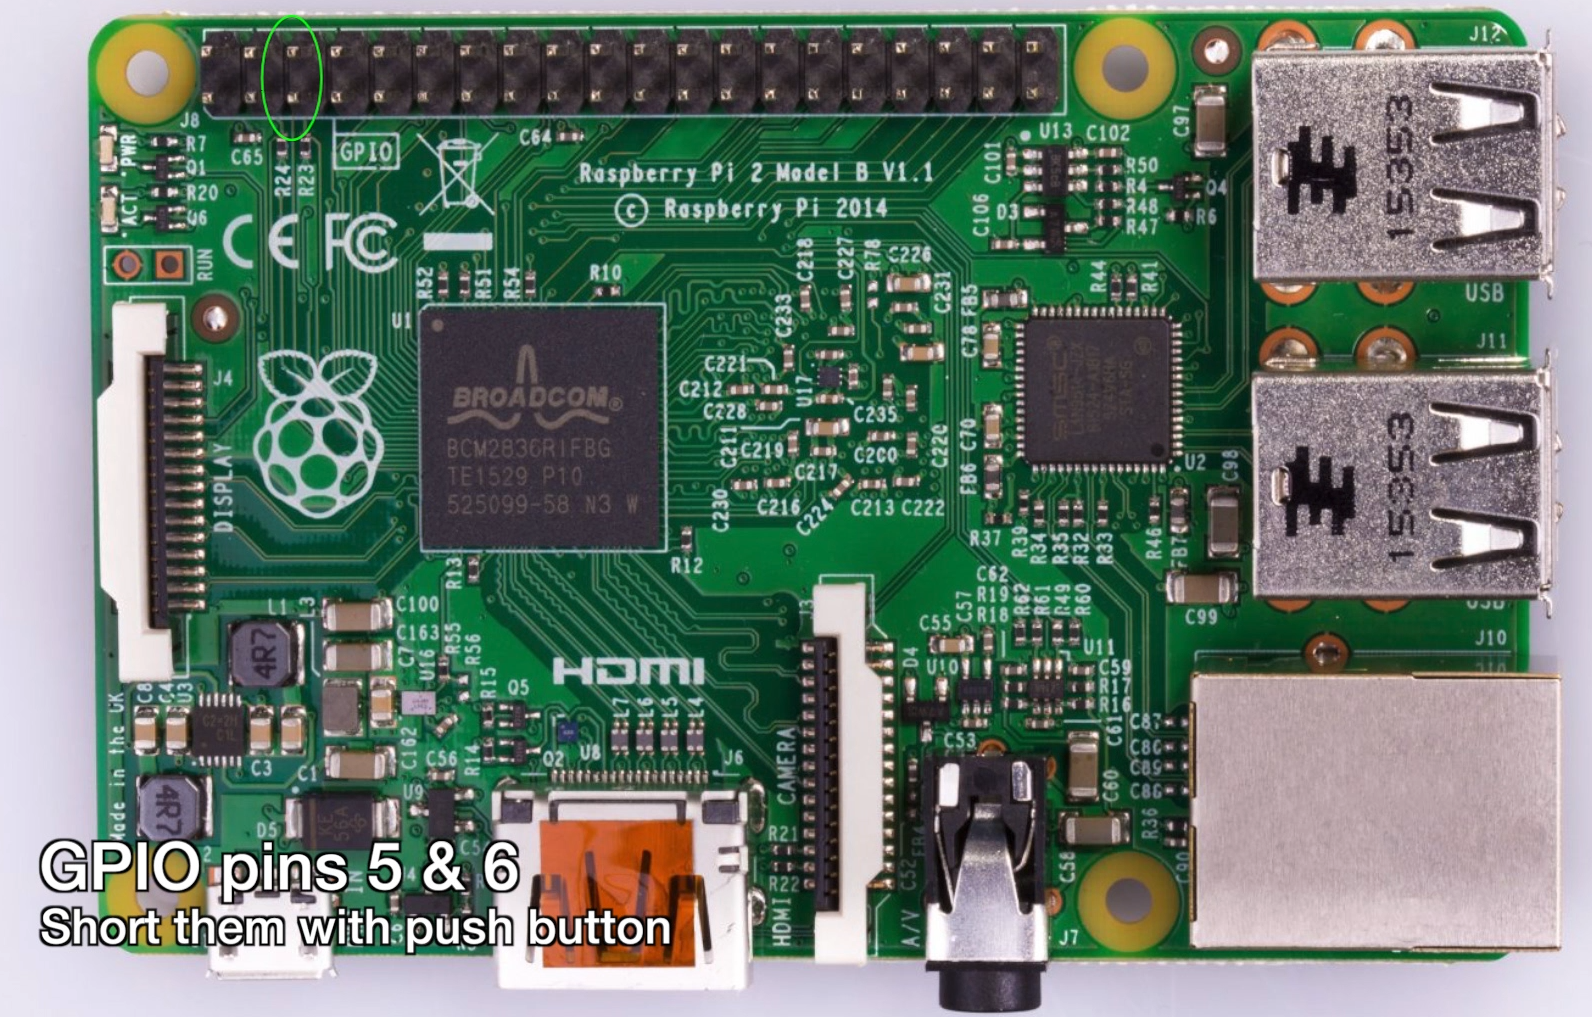
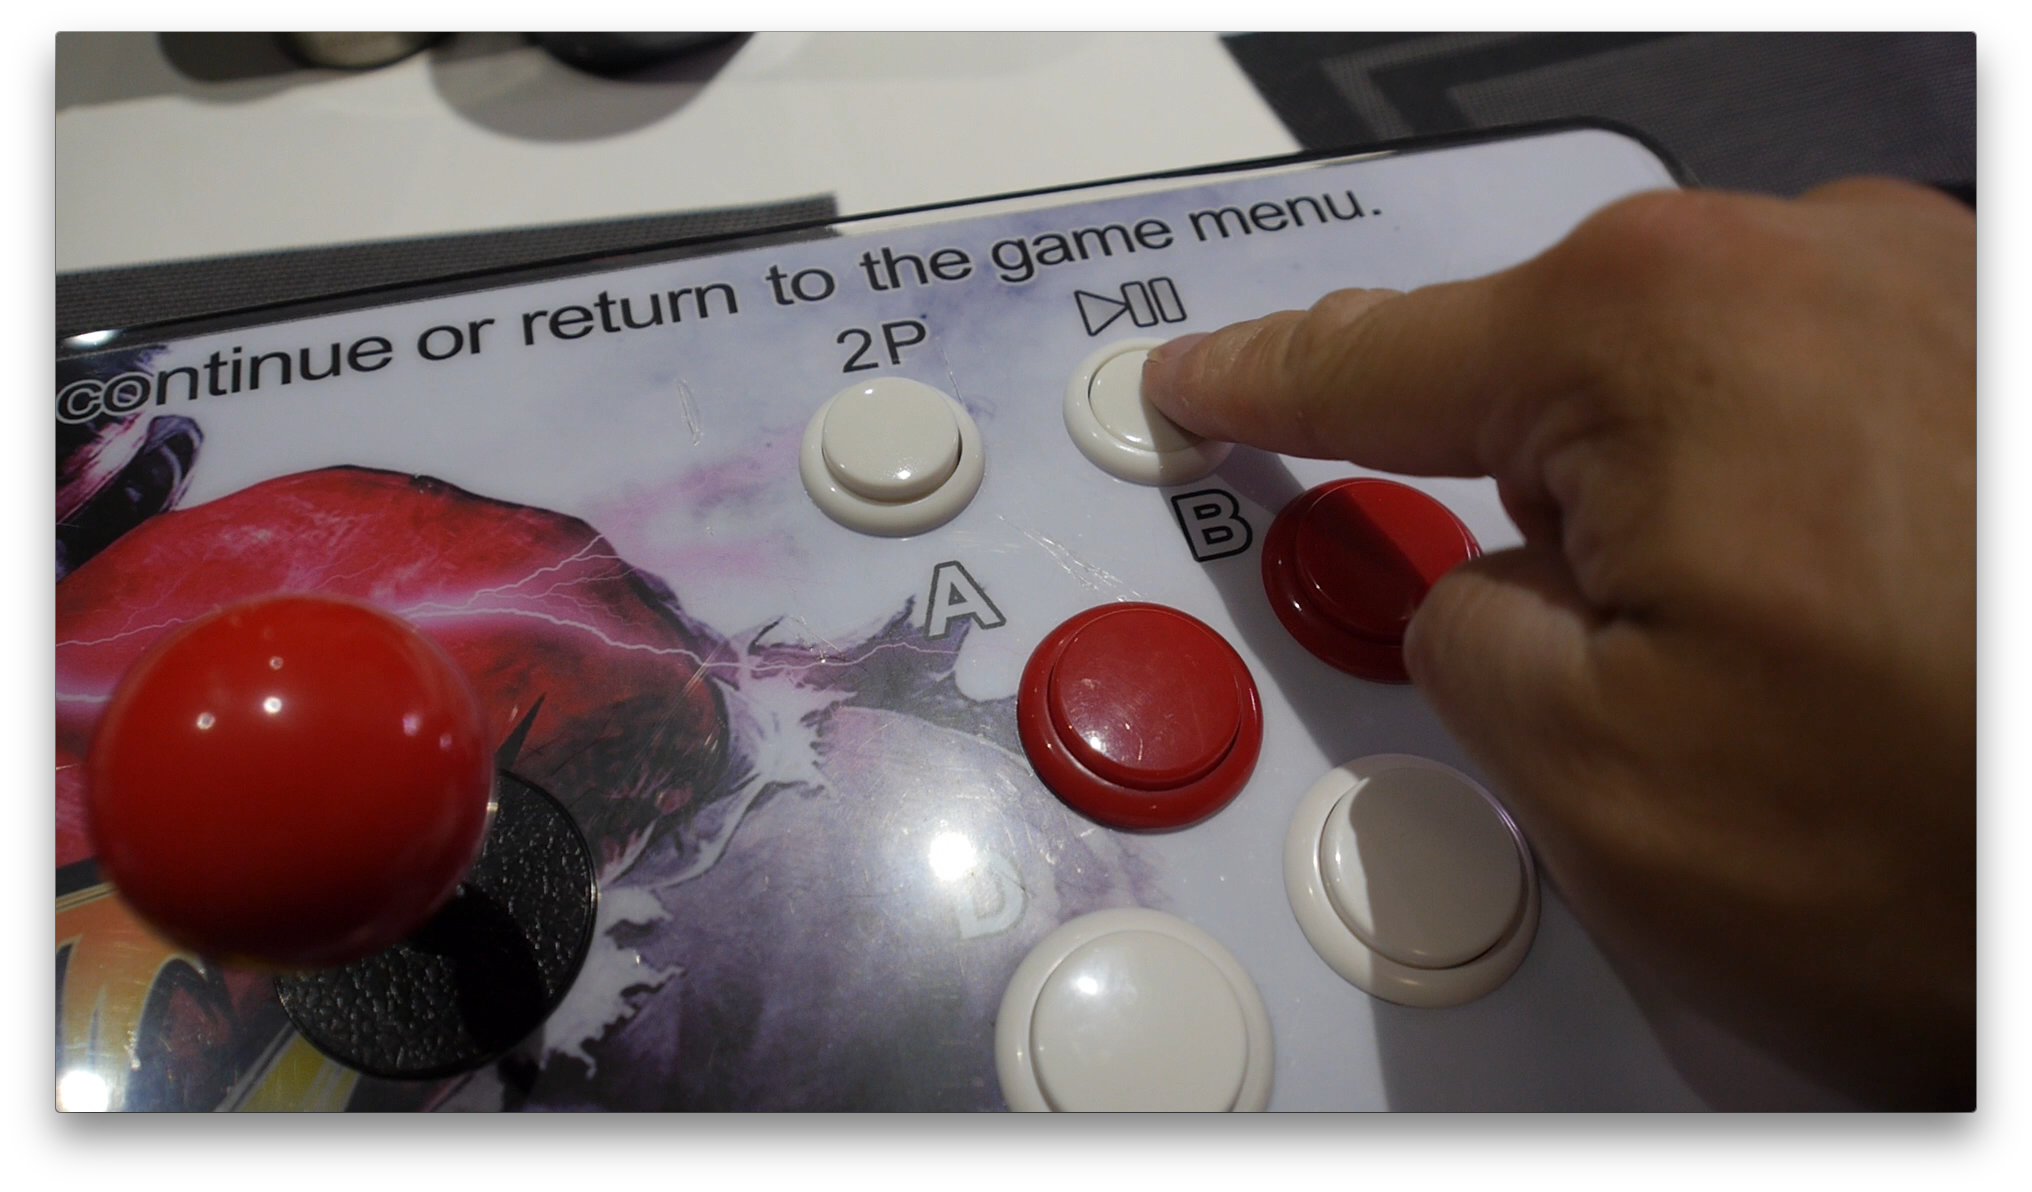
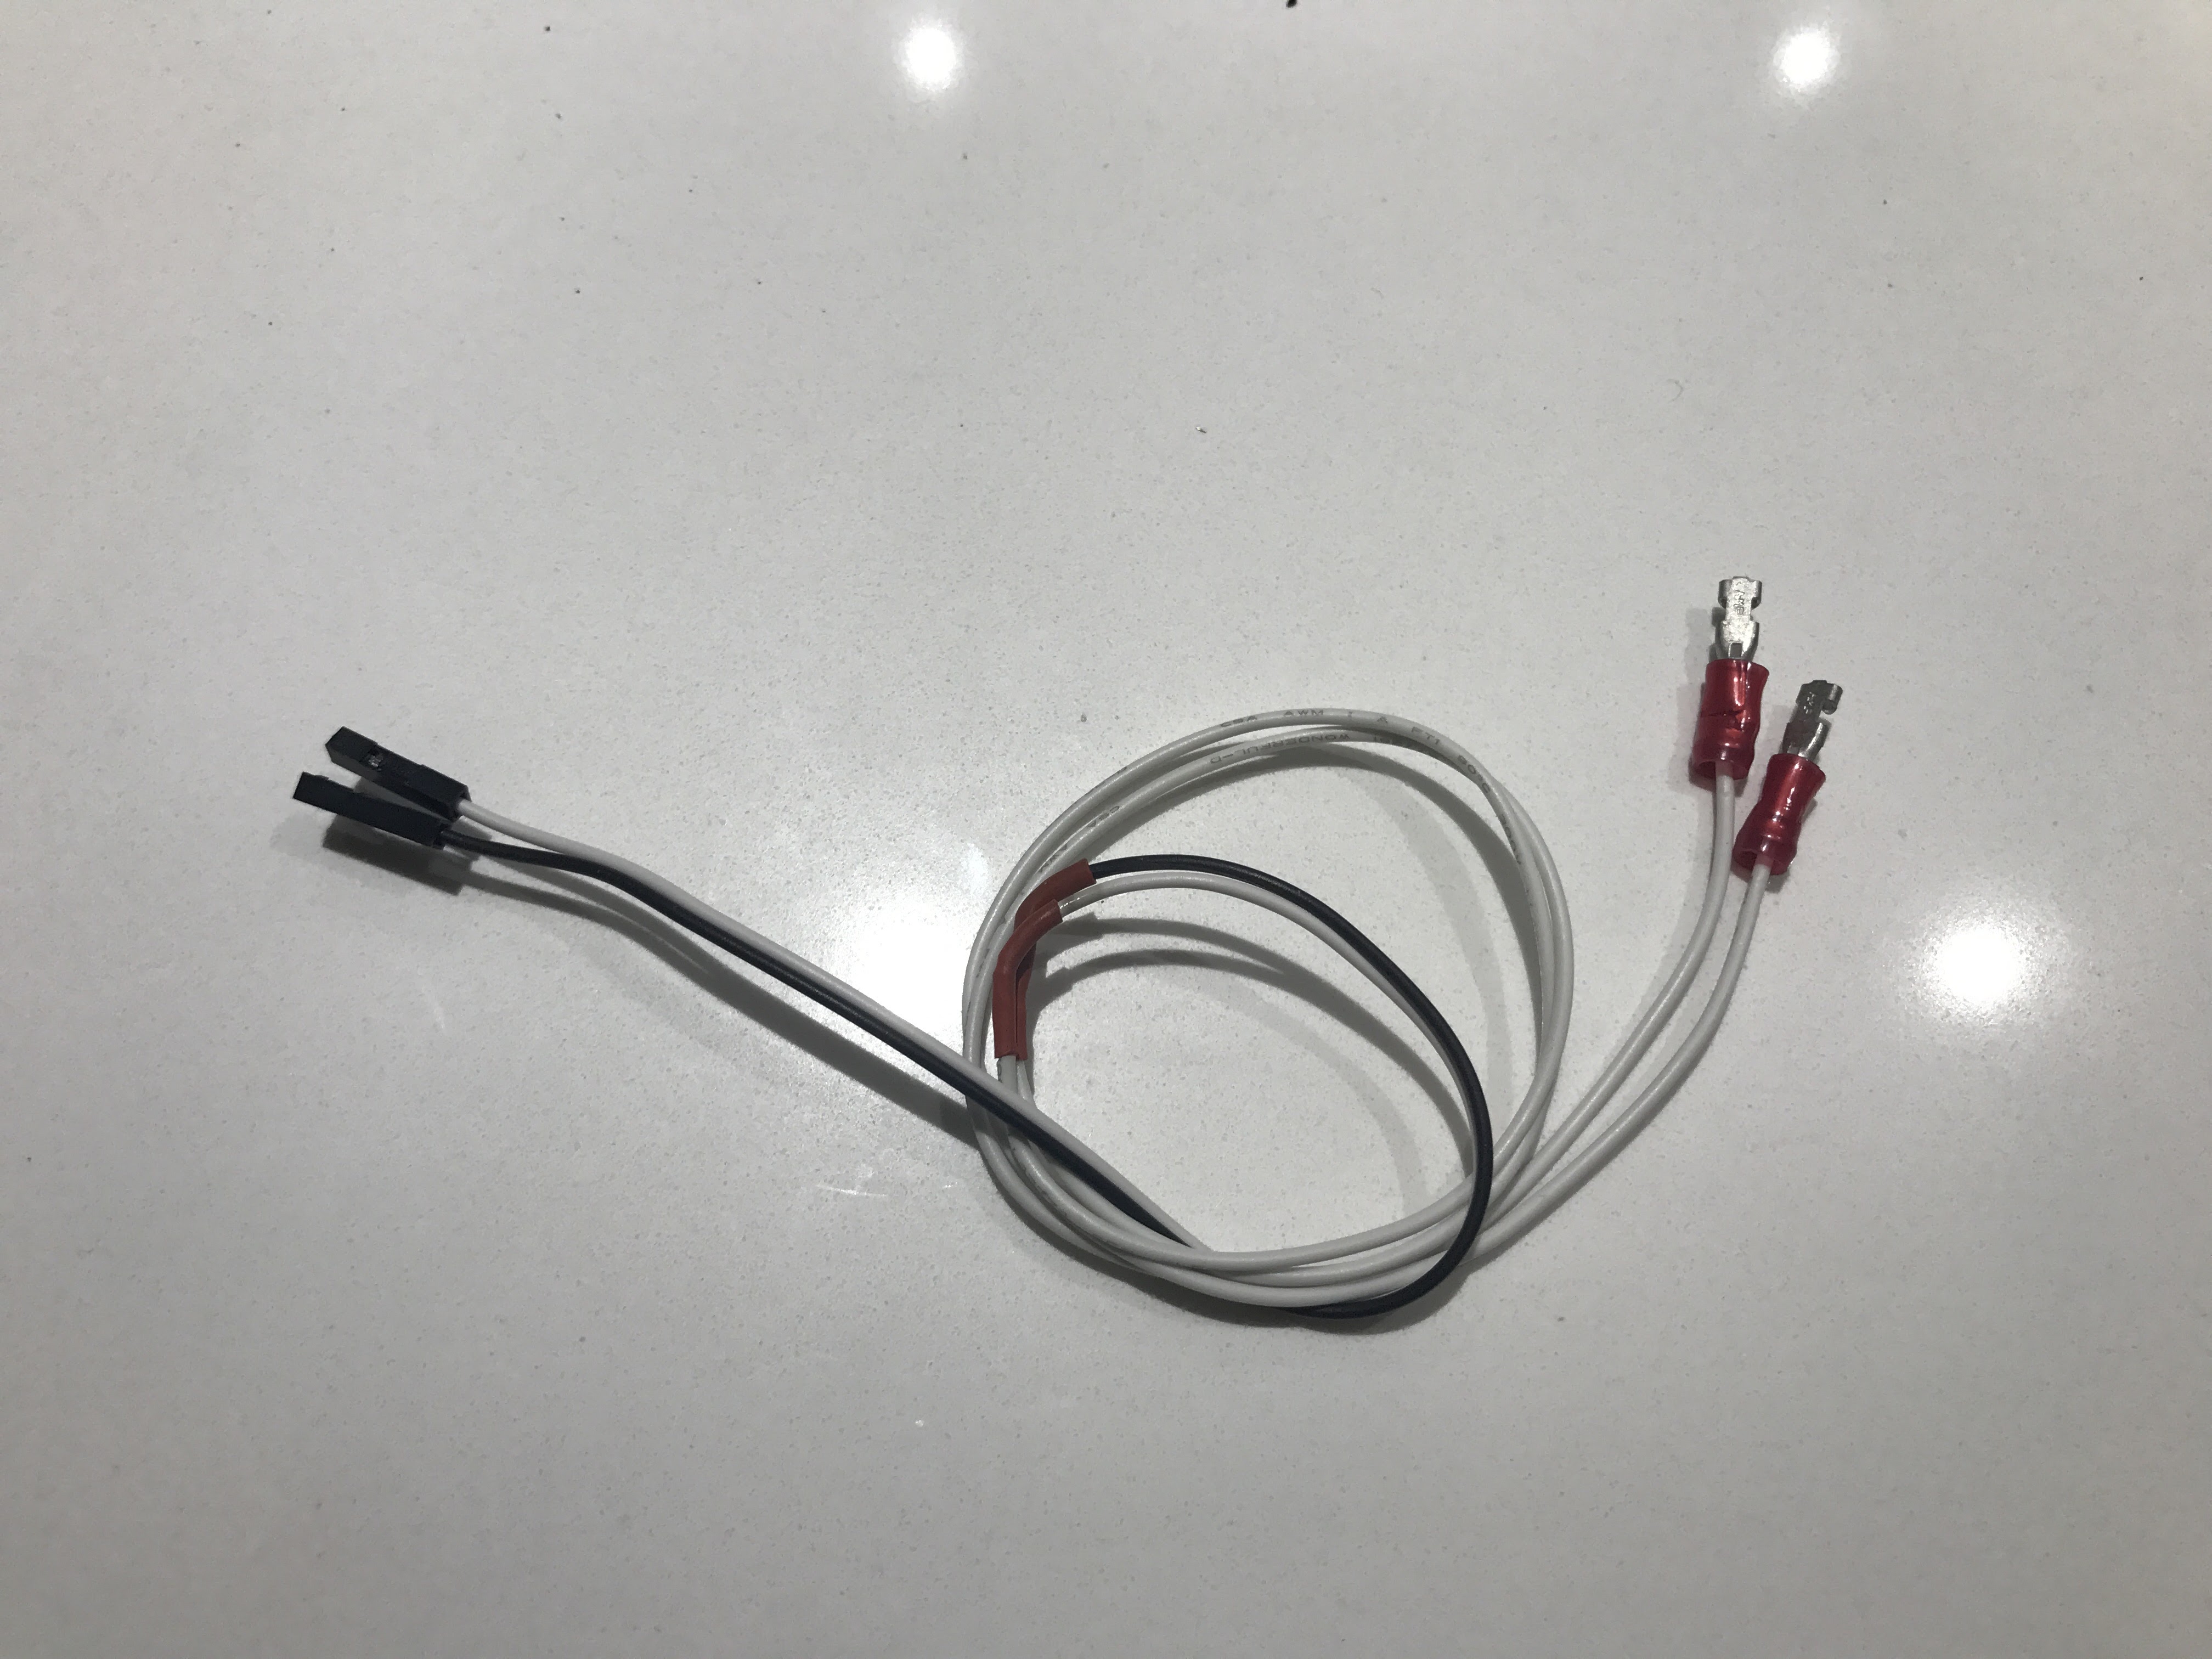
Next we'll configure the P2 pause button to used as power button,. To do this, we're going to wire the pause button to GPIO pins 5 &6 on the RPi. I'm using a couple of bread board wires and extending them so they can reach the RPi. I also put on some quick disconnects at the ends to plug up to the buttons. Plug the breadboard end to pins 5/6 on the RPi GPIO ports.
We have to make a change in Recalbox to shutdown/turn on RPi when the button is pressed. Go to the WEBUI of Recalbox, you can find the IP from the network settings of Recalbox. Go to the configuration settings.
Uncomment this line:
system.power.switch=PIN56PUSH
Now when you push the pause button, it'll make cause the RPi to shutdown. Pressing the button when it's off will power it up gracefully.
Dual Input From Single USB Cable
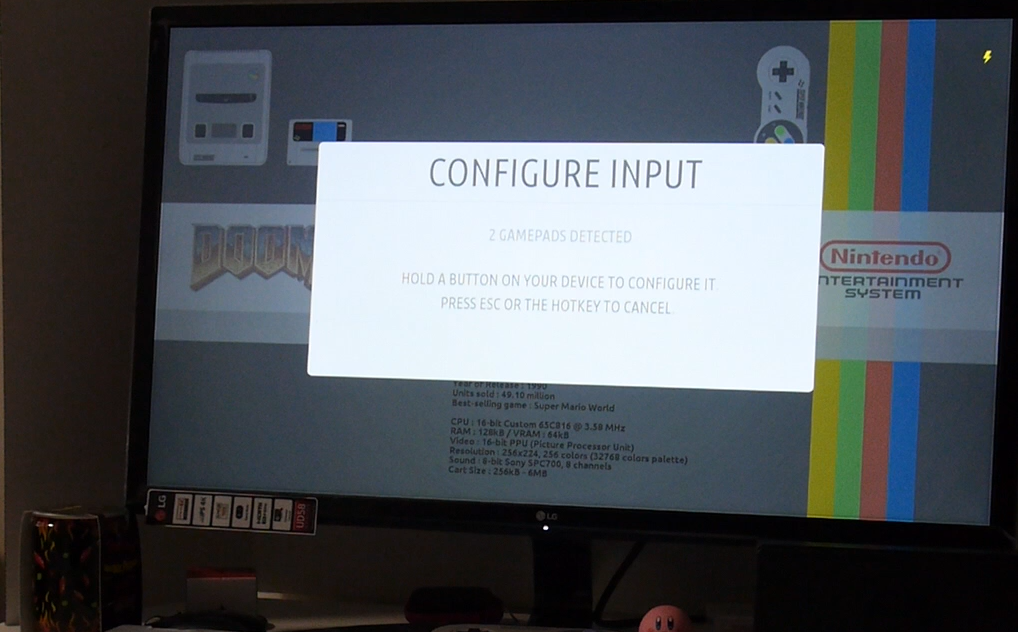
When you plug the PB controls to the RPi, it'll show up as 1 gamepad. This is because the OS doesn't know they are actually separate gamepads coming from the single USB cable.
You have to modify the /boot/cmdline.txt and add an usbhid.quirks entry to let the OS know to treat the PB controls as 2 separate controllers. You have to add usbhid.quirks=0x16c0:0x05e0:0x040 to the end of cmdline.txt file. This could be different for you if you don't have the same arcade system as mine.
If you have the exact same PB arcade system as mine, you can just add this usbhid.quirks=0x16c0:0x05e0:0x040
If not:
ssh into the RPi,
- ssh root@192.168.168.185
- log in as root / recalboxroot
- Don't plug in the pandora's box up to the RPi yet
- run LSUSB to list the current USB devices - plug in your PB, then run LSUSB again, now you'll see a new entry - Write down those # and put them in the /boot/cmdline.txt of the RPi
After adding the usbhid.quirks entry, you can configure controls again and the RPi should see 2 gamepads now.
Testing
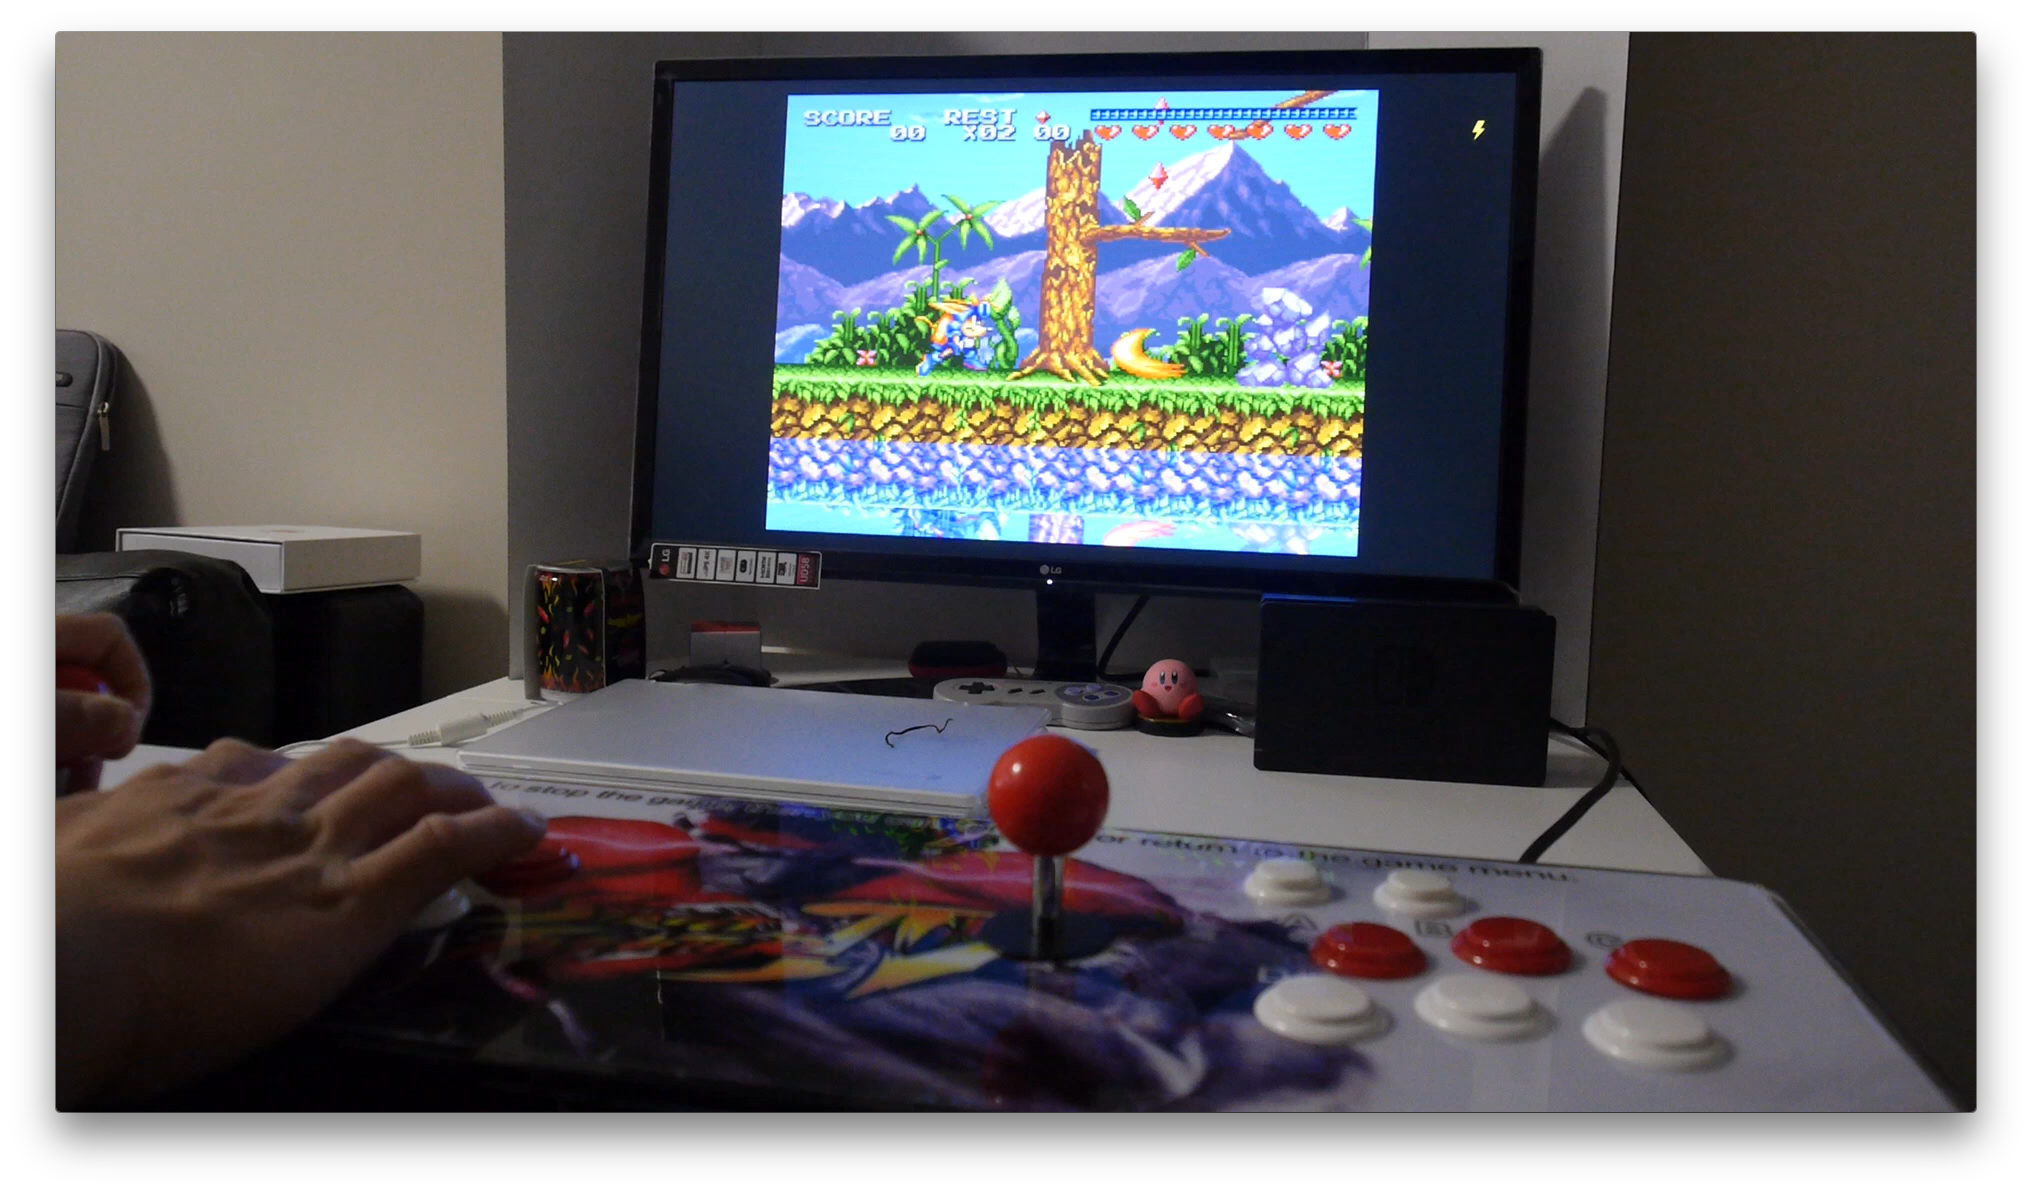
You can now test it out. Plug HDMI from monitor into HDMI port connect the USB from RPi to Pandora's box bottom USB port with a USBA male2male, preferrably a short one.
To power the RPI, we'll use another USB A male2male and plug it in the other USB port. Then plug that into a 5V usb adapter. This is what powers the RPi
Finale
It's really nice to be able to have both the Raspberry Pi with Recalbox and the Pandora's Box arcade games in the same enclosure. Watch my youtube video to get more details since it's hard to explain everything in words.
800 in 1 Backlit Arcade Console
http://bit.ly/2wwFwI6