Raspberry Pi Human Detector + Camera + Flask
by song_f1 in Circuits > Raspberry Pi
8731 Views, 17 Favorites, 0 Comments
Raspberry Pi Human Detector + Camera + Flask
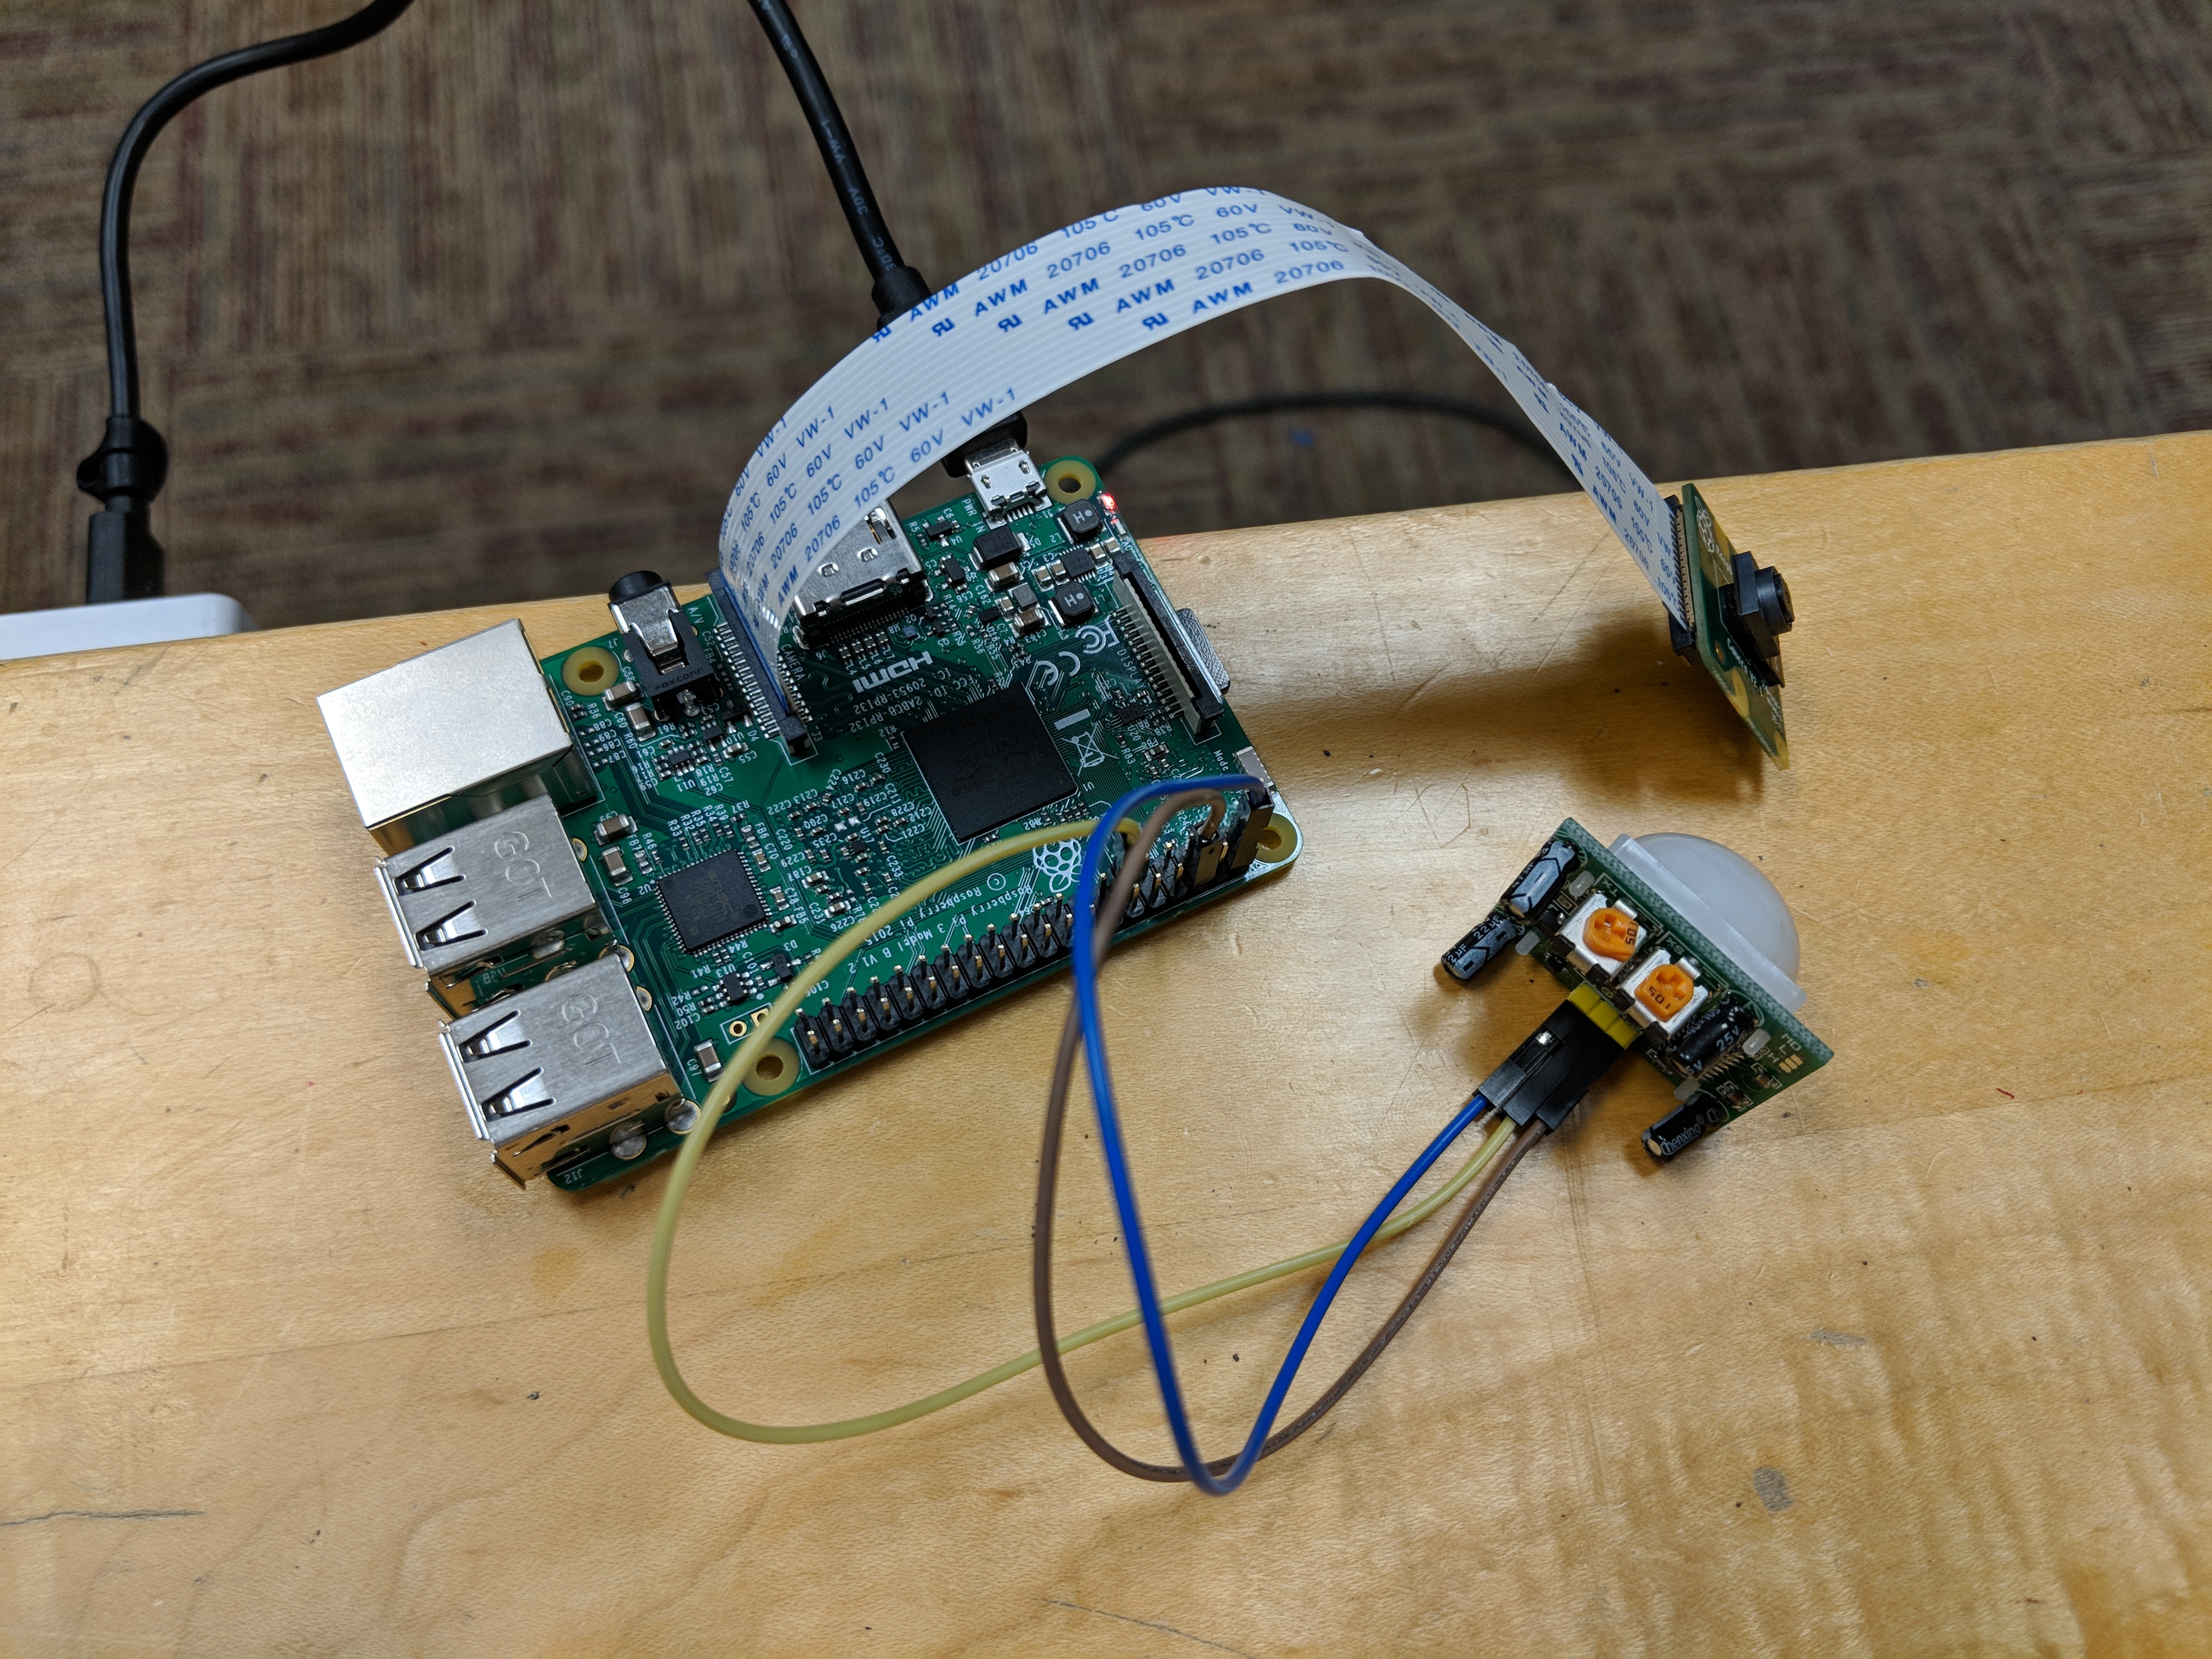
In this tutorial, I will walk through the steps for my Raspberry Pi IoT Project -- Using PIR Motion Sensor, Raspberry Camera module to build a simple security IoT device, and Accessing the detection log with Flask.
PIR Motion Sensor
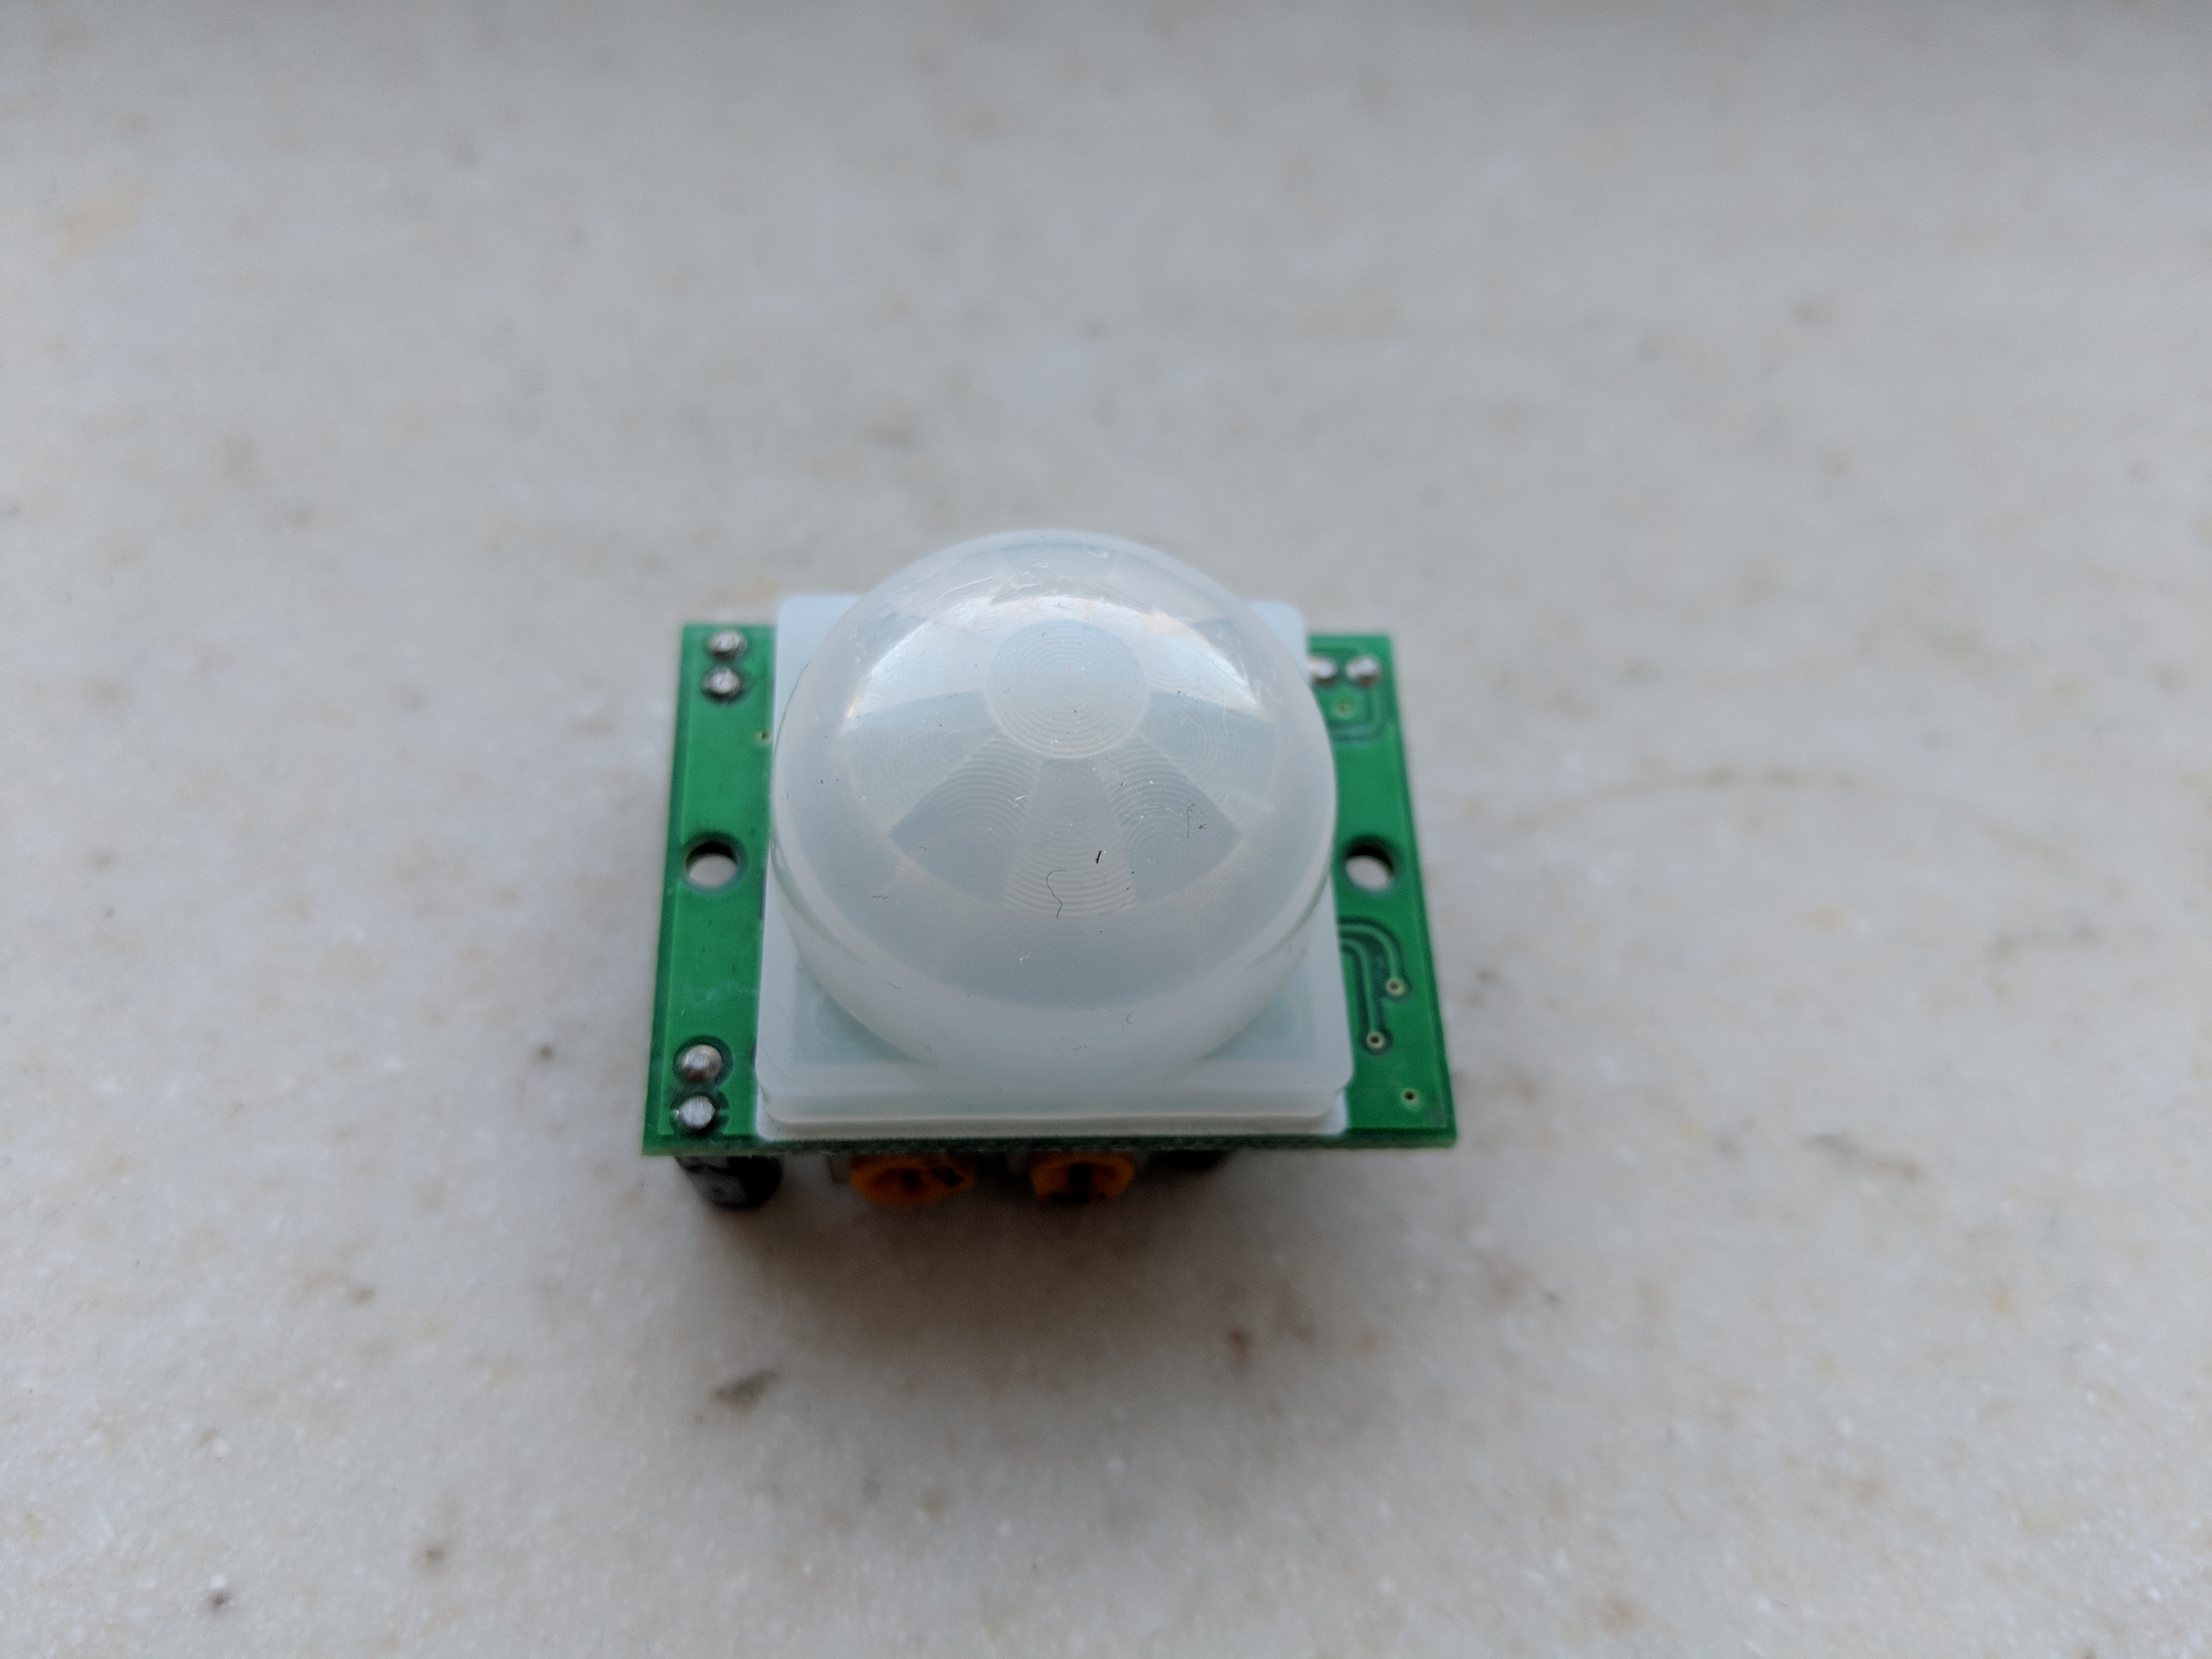
PIR stands for "Passive Infrared" and this motion sensor picks up motions by watching the infrared view and picking up the infrared changes. Therefore, with a leaf and a human passing the sensor, it only detects human since we as humans generates heat and thus emits infrared ray. Hence, the motion sensor is a good choice for detecting human movements.
PIR Motion Sensor Setup
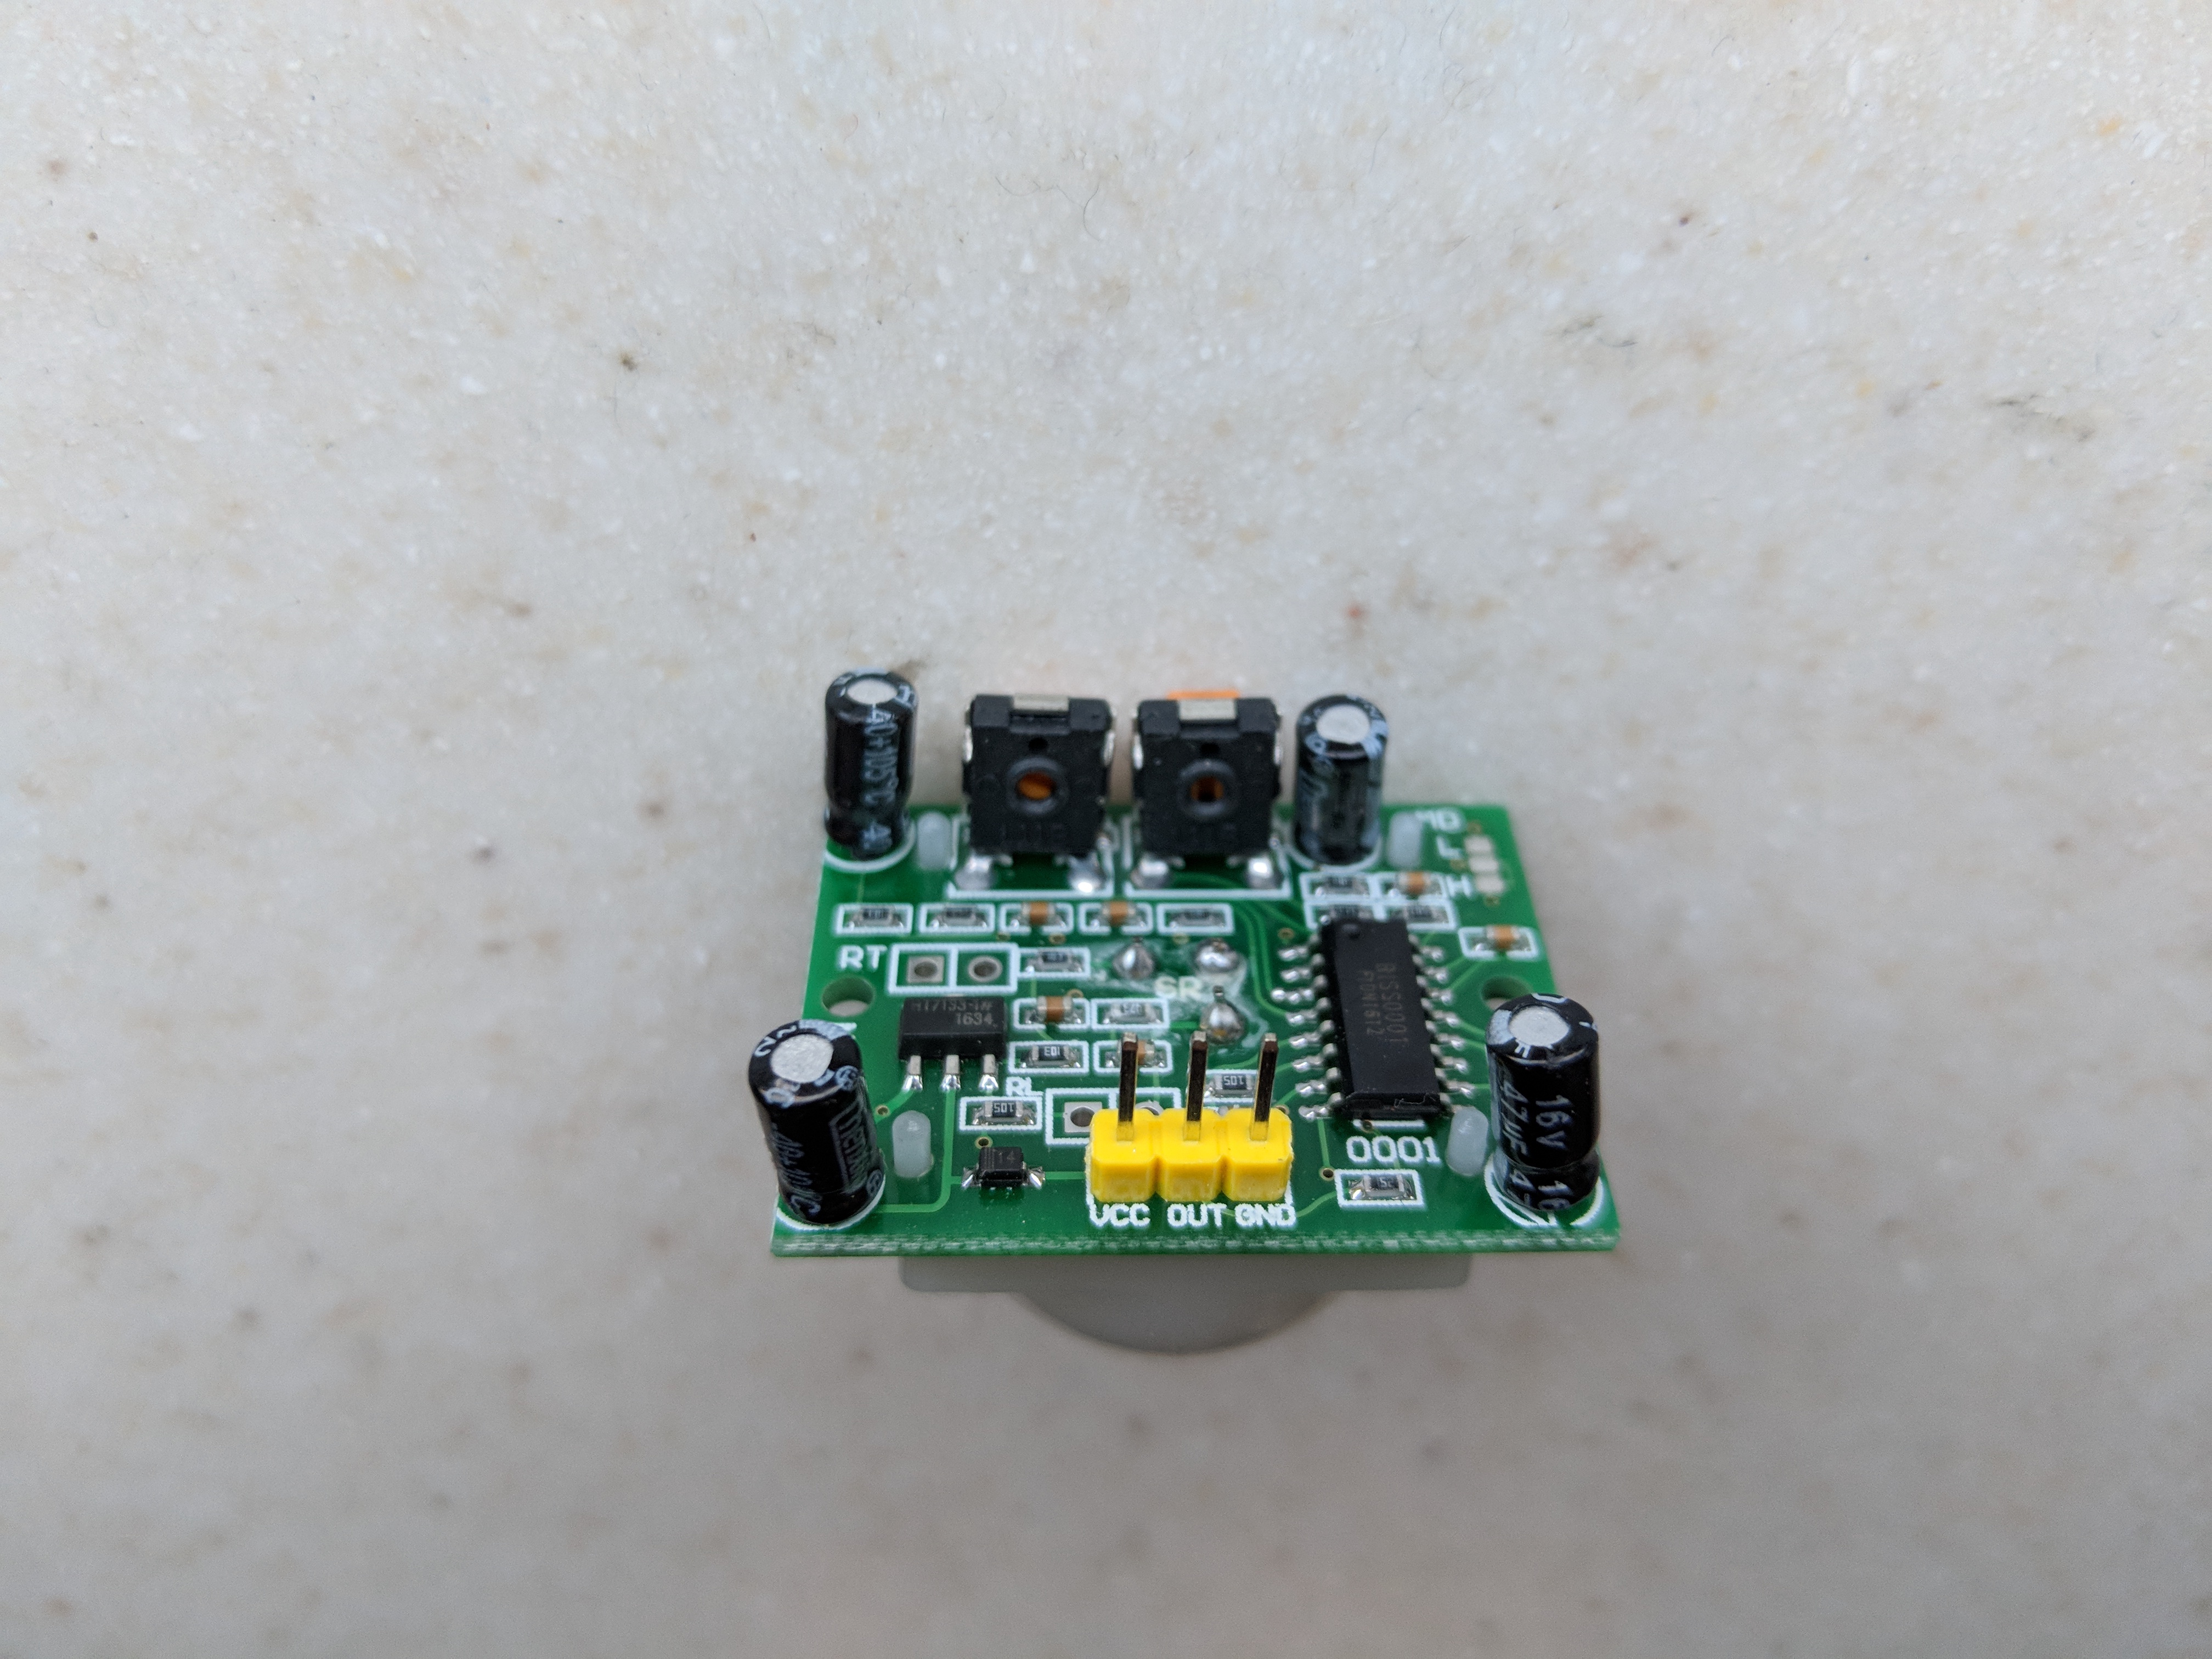
There are three pins for PIR motion sensor, Power, Output and Ground. Under the pins you can see the labels, VCC for Power, Out for Output and GND for ground. When the sensor detects movements, the Output pin will output a HIGH signal to the Raspberry Pi pin that you connect the sensor with. For Power pin, you want to make sure that it connects to the 5V pin on Raspberry Pi for power. For my project, I choose to connect the Output pin with Pin11 on Pi.
After connecting everything, you can text your sensor by running scripts like the one below:
import RPi.GPIO as GPIO
import time
GPIO.cleanup()
GPIO.setwarnings(False)
GPIO.setmode(GPIO.BOARD)
GPIO.setup(11, GPIO.IN)         #Read output from PIR motion sensor on Pin 11
while True:
	i=GPIO.input(11)
	if i==0:                 #When output from motion sensor is LOW
		print "No detection",i
		time.sleep(0.1)
	elif i==1:               #When output from motion sensor is HIGH
		print "Movement detected",i
		time.sleep(0.1)
Run the script on your Pi, and put your hands or your friend in front of the sensor to check if the sensor picks up the movement.
Raspberry Pi Camera Module and Setup
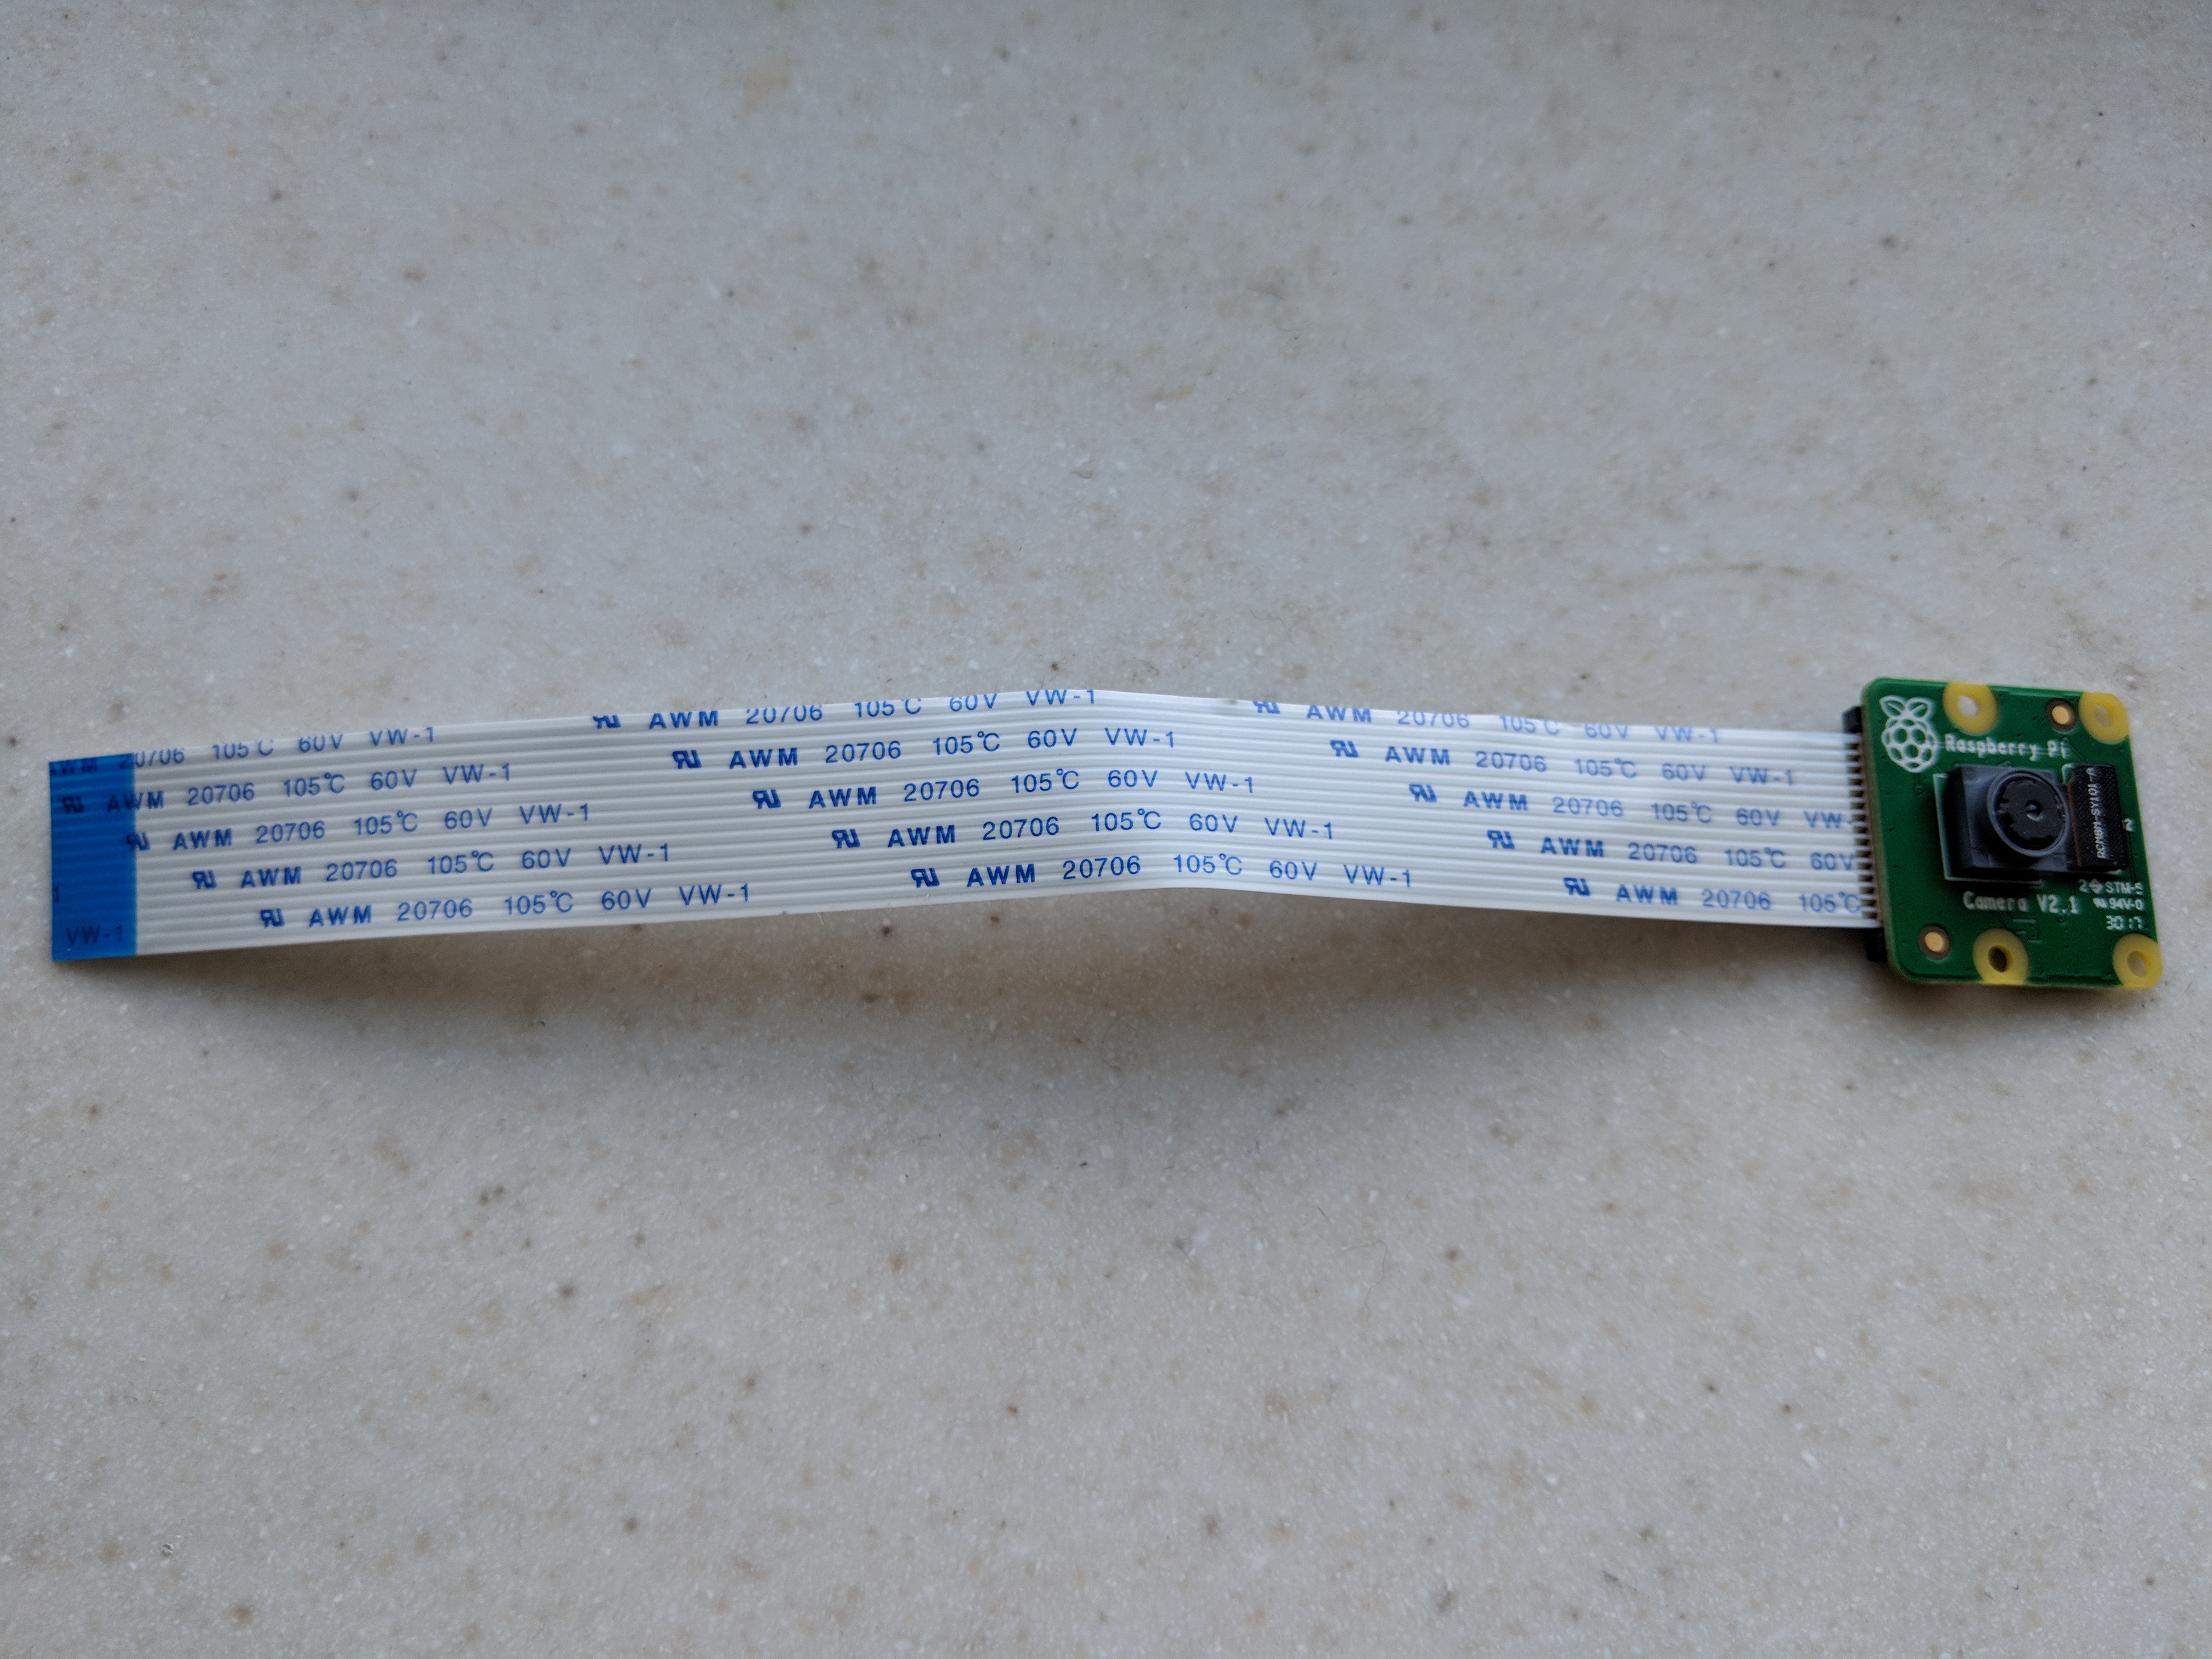
Human emits infrared ray due to the heat, and so does objects with temperatures. Therefore, animals or hot objects can trigger the motion sensor as well. We need a way to check whether the detection is valid. There are many ways to implement, but in my project, I choose to use the Raspberry Pi camera module to take pictures when the motion sensor picks up movements.
To use the camera module, you first want to make sure the pins are plugged into the camera slot on Pi. Type
sudo raspi-config
on your Pi to open configuration interface, and enable the camera in the 'interfacing options'. After rebooting, you can test if the Pi is actually connected to the camera by typing
vcgencmd get_camera
and it will show you the status. The last step is to install the picamera module by typing
pip install picamera
After all the setups, you can test your camera by running scripts like the one below:
from picamera import PiCamera
from time import sleep

camera = PiCamera()
camera.start_preview()
sleep(2)
camera.capture('image.jpg')
camera.stop_preview()
The picture will be stored as 'image.jpg' at the directory as the same as the one of your camera script. Notice, you want to make sure 'sleep(2)' is there and the number is greater then 2 so the camera has enough time to adjust light condition.
Combine PIR Motion Sensor and Camera Module
The idea of my project is that the motion sensor and camera will face at the same direction. Whenever the motion sensor picks up movements, the camera will take a picture so we can check what causes the movements afterwards.
The script:
import RPi.GPIO as GPIO
from datetime import datetime import time from picamera import PiCameraGPIO.cleanup() GPIO.setwarnings(False) GPIO.setmode(GPIO.BOARD) GPIO.setup(11, GPIO.IN) #Read output from PIR motion sensor message = 'start' counter = 0 log_f = open('static/log.txt', 'w') log_f.close()
camera = PiCamera() pic_name = 0
camera.start_preview() time.sleep(2)
while True: i=GPIO.input(11) if i==0: #When output from motion sensor is LOW if counter > 0: end = str(datetime.now()) log_f = open('static/log.txt', 'a') message = message + '; end at ' + end + '\n' print(message) log_f.write(message) log_f.close() final = 'static/' + str(pic_name) + ".jpg" pic_name = pic_name + 1 camera.capture(final) counter = 0 print "No intruders",i time.sleep(0.1) elif i==1: #When output from motion sensor is HIGH if counter == 0: current = str(datetime.now()) message = 'Human detected:' + 'start at ' + current counter = counter + 1 print "Intruder detected",i time.sleep(0.1) camera.stop_preview()
The directories for 'log.txt' and images are 'static', which is necessary for Flask to work.
Setup for Flask

Flask is a micro web framework written in Python and based on the Werkzeug toolkit and Jinja2 template engine. It is easy to implement and maintain. For a better tutorial for Flask, I recommend this link: Flask Mega Tutorial
The main script, 'routes.py', of my project:
from appfolder import appFlask
from flask import render_template, redirect import osAPP_ROOT = os.path.dirname(os.path.abspath(__file__)) # refers to application_top APP_STATIC = os.path.join(APP_ROOT, 'static')
@appFlask.route('/', methods=['GET', 'POST']) def view(): log_f = open(os.path.join(APP_STATIC, 'log.txt'), 'r') logs = log_f.readlines() final_logs = [] for log in logs: final_logs.append(log.strip()) name = str(len(final_logs)-1)+'.jpg' return render_template('view.html', logs=final_logs, filename=name)
The HTML file 'view.html' is at the top bar (because when I copy the HTML codes here, it actually turns to HTML FORMAT...)
And the structure of the project should look like something below(but of course there are more files than these):
iotproject\
	appfolder\
		routes.py
	templates\
		view.html
	static\
		log.txt
		0.jpg
		1.jpg
		...
Result
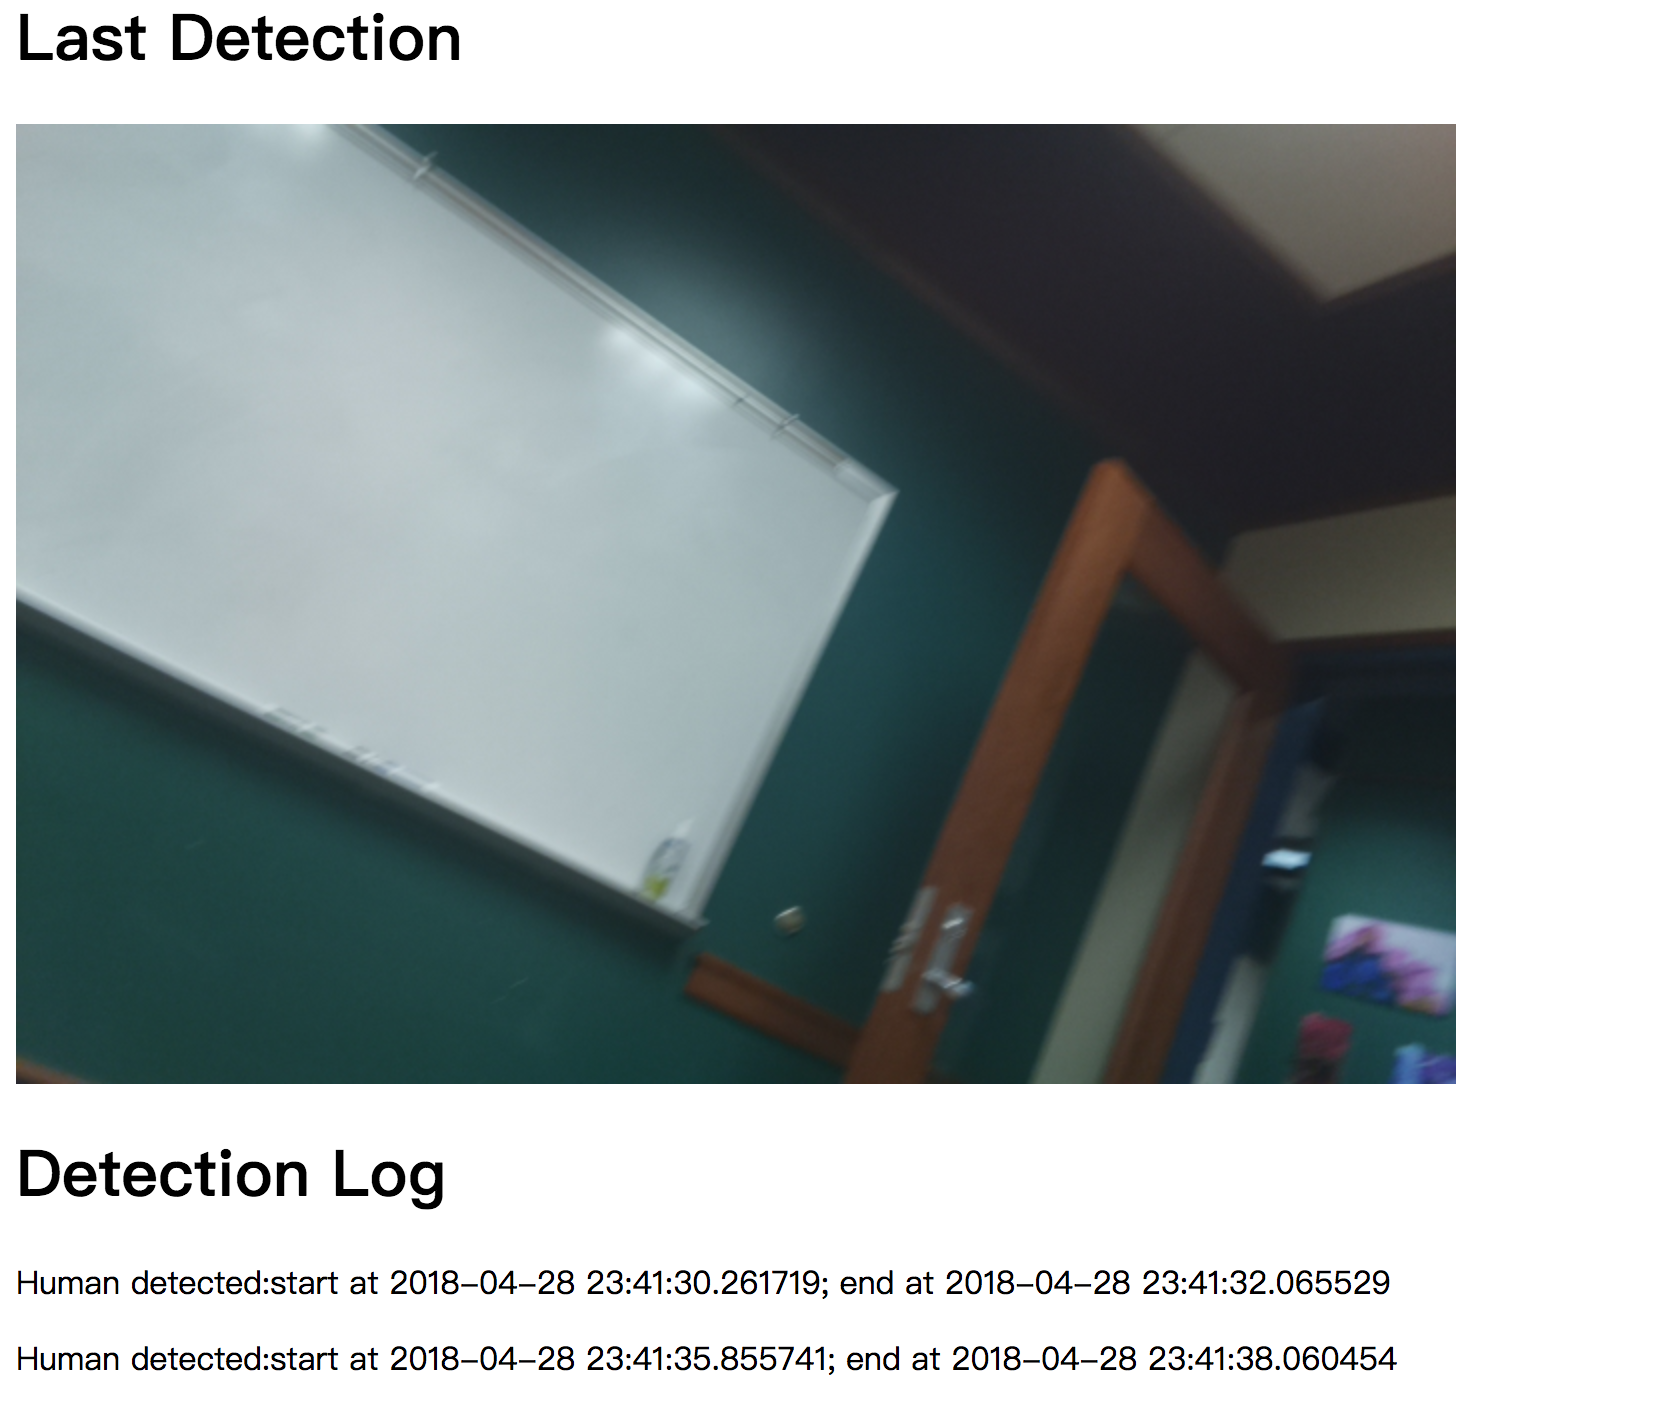
For this implementation, after everything setting up correctly, you should be able to access your Raspberry Pi by typing its IP address on the browser, and the result should look like picture at top bar at this step.