Raspberry Pi Door Notifier
by bobbylcraig in Circuits > Raspberry Pi
10546 Views, 51 Favorites, 0 Comments
Raspberry Pi Door Notifier
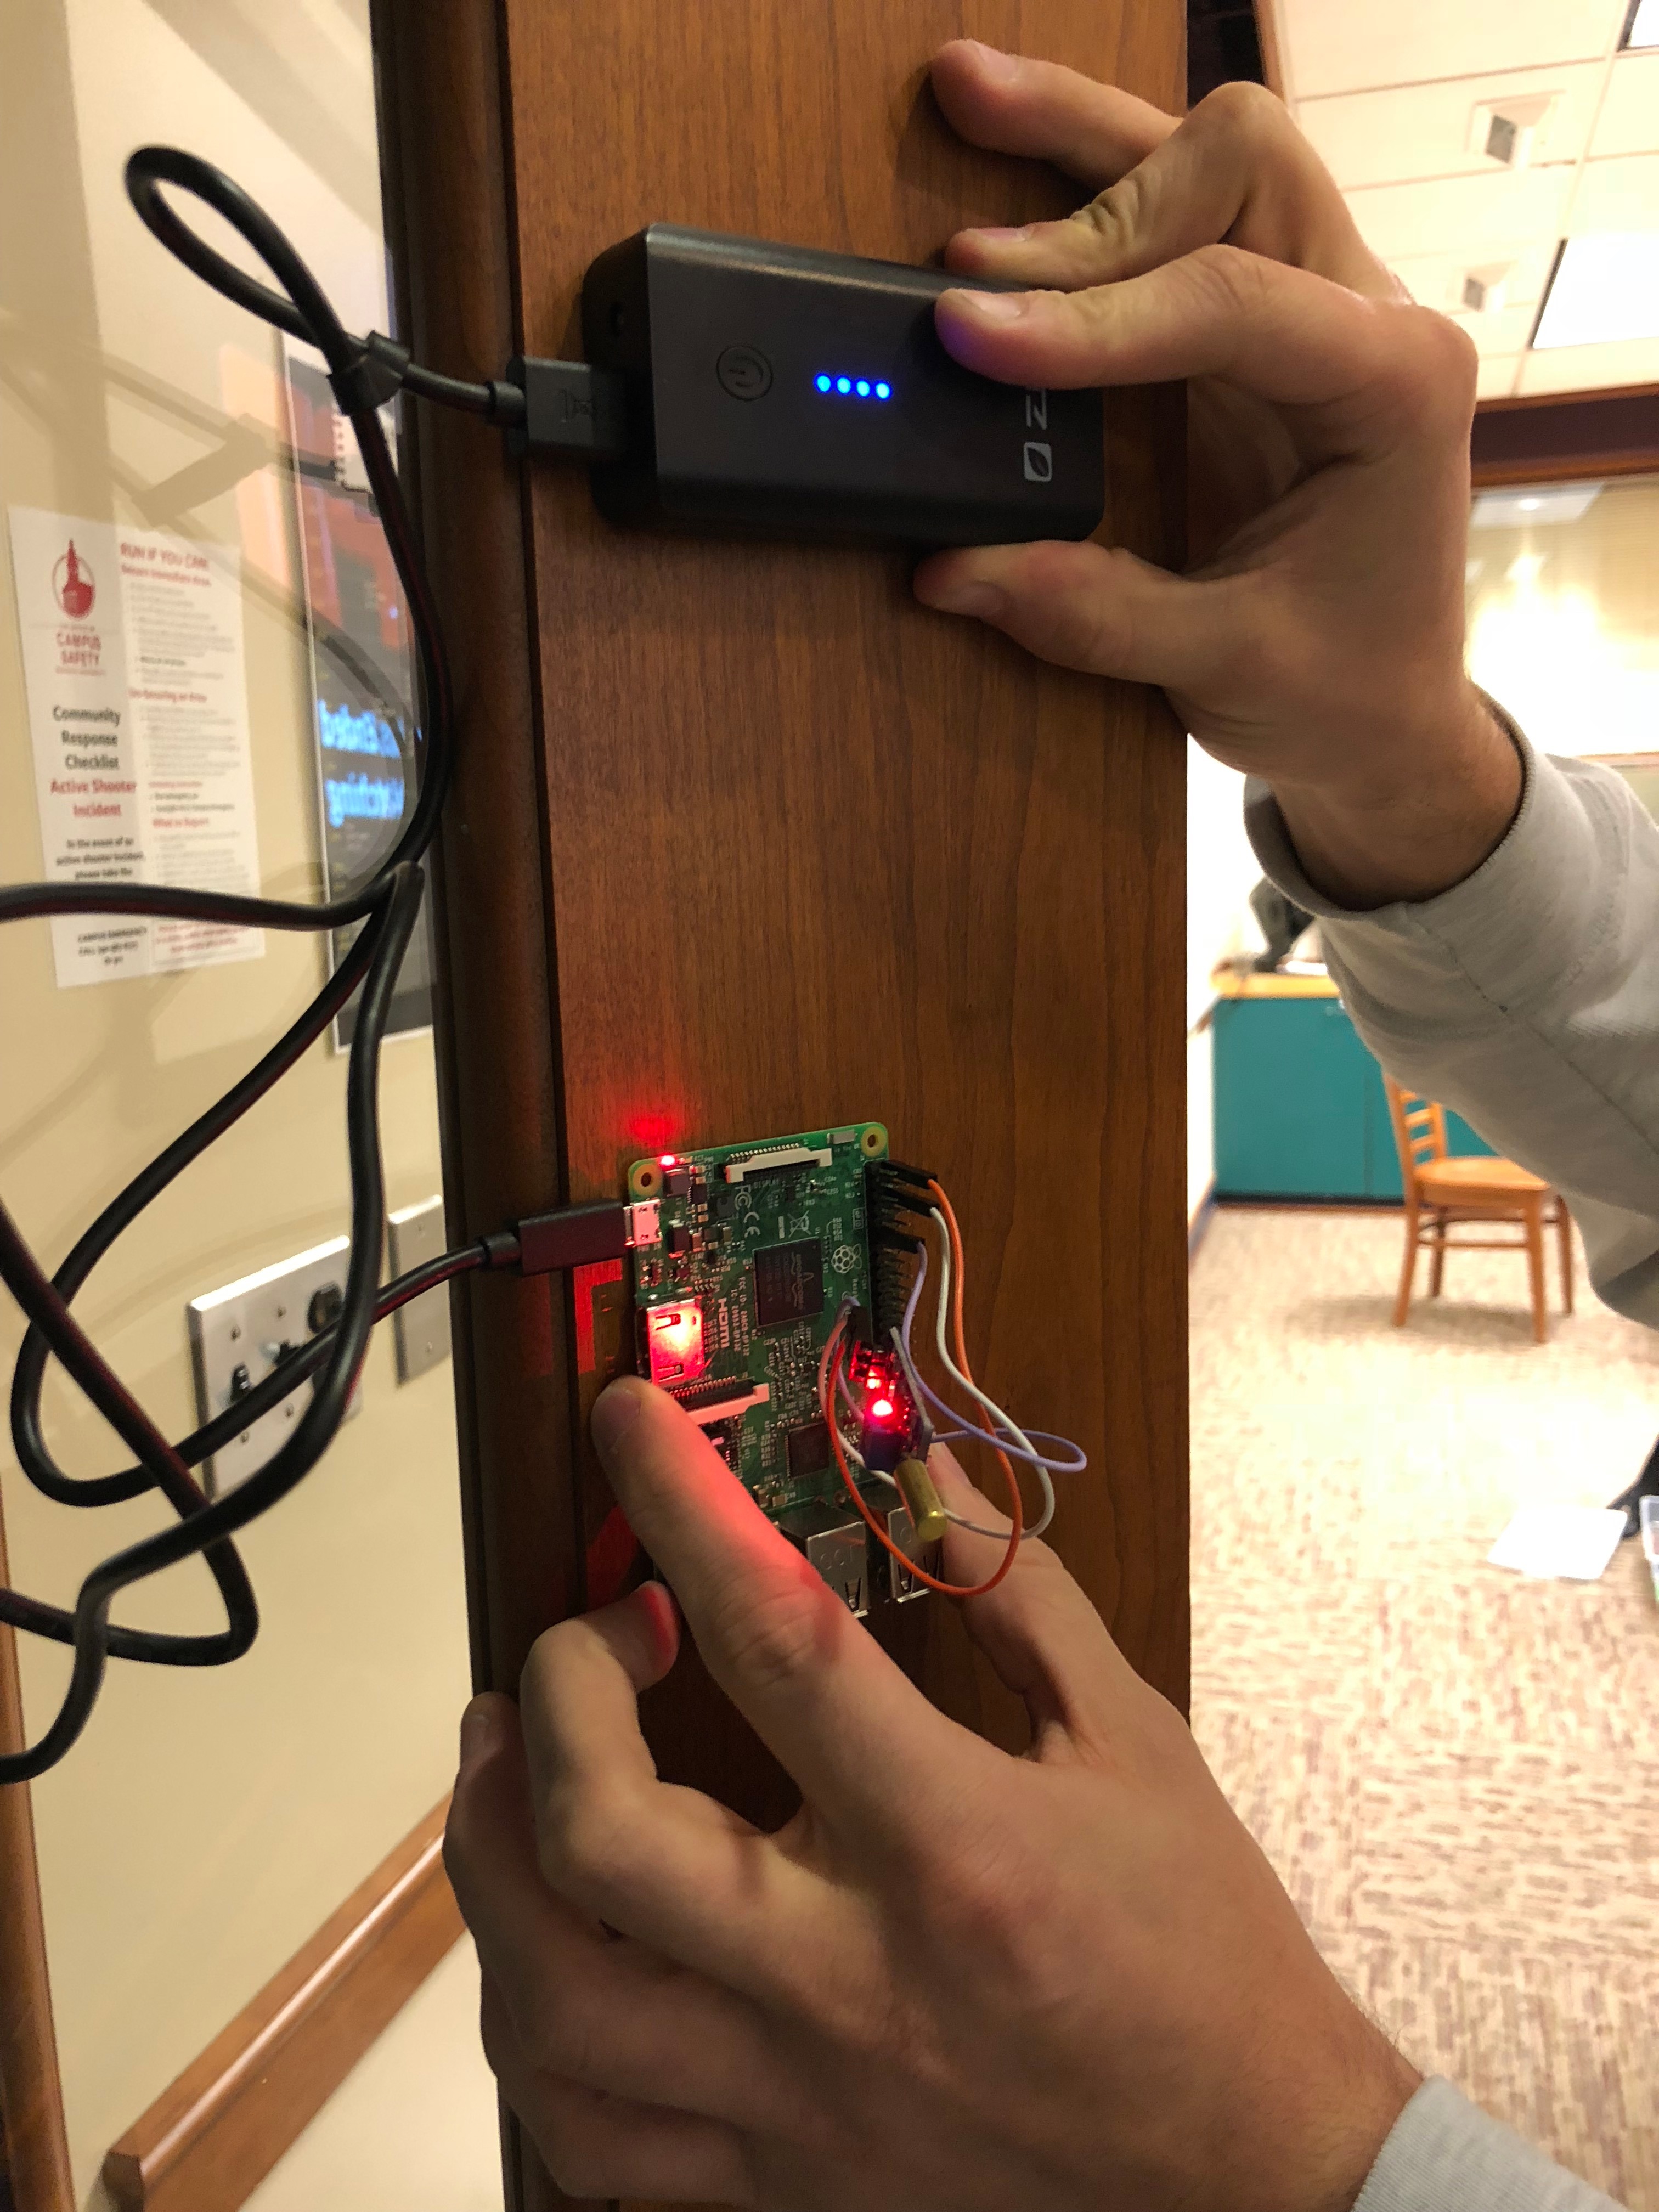
Have you ever wondered if or when people are accessing doors? Do you want a discreet, cheap, and quick way to monitor door movement...and maybe a little project? Look no further! This simplistic device will track vibrations given off from moving doors and report back to the user with an email to a specified email address.
This project will give you some practice with Flask, Raspberry Pis, GPIO sensors, and the Mandrill API! Not only is it fun to build but it has a lot of utility. Intruders beware...
Supplies
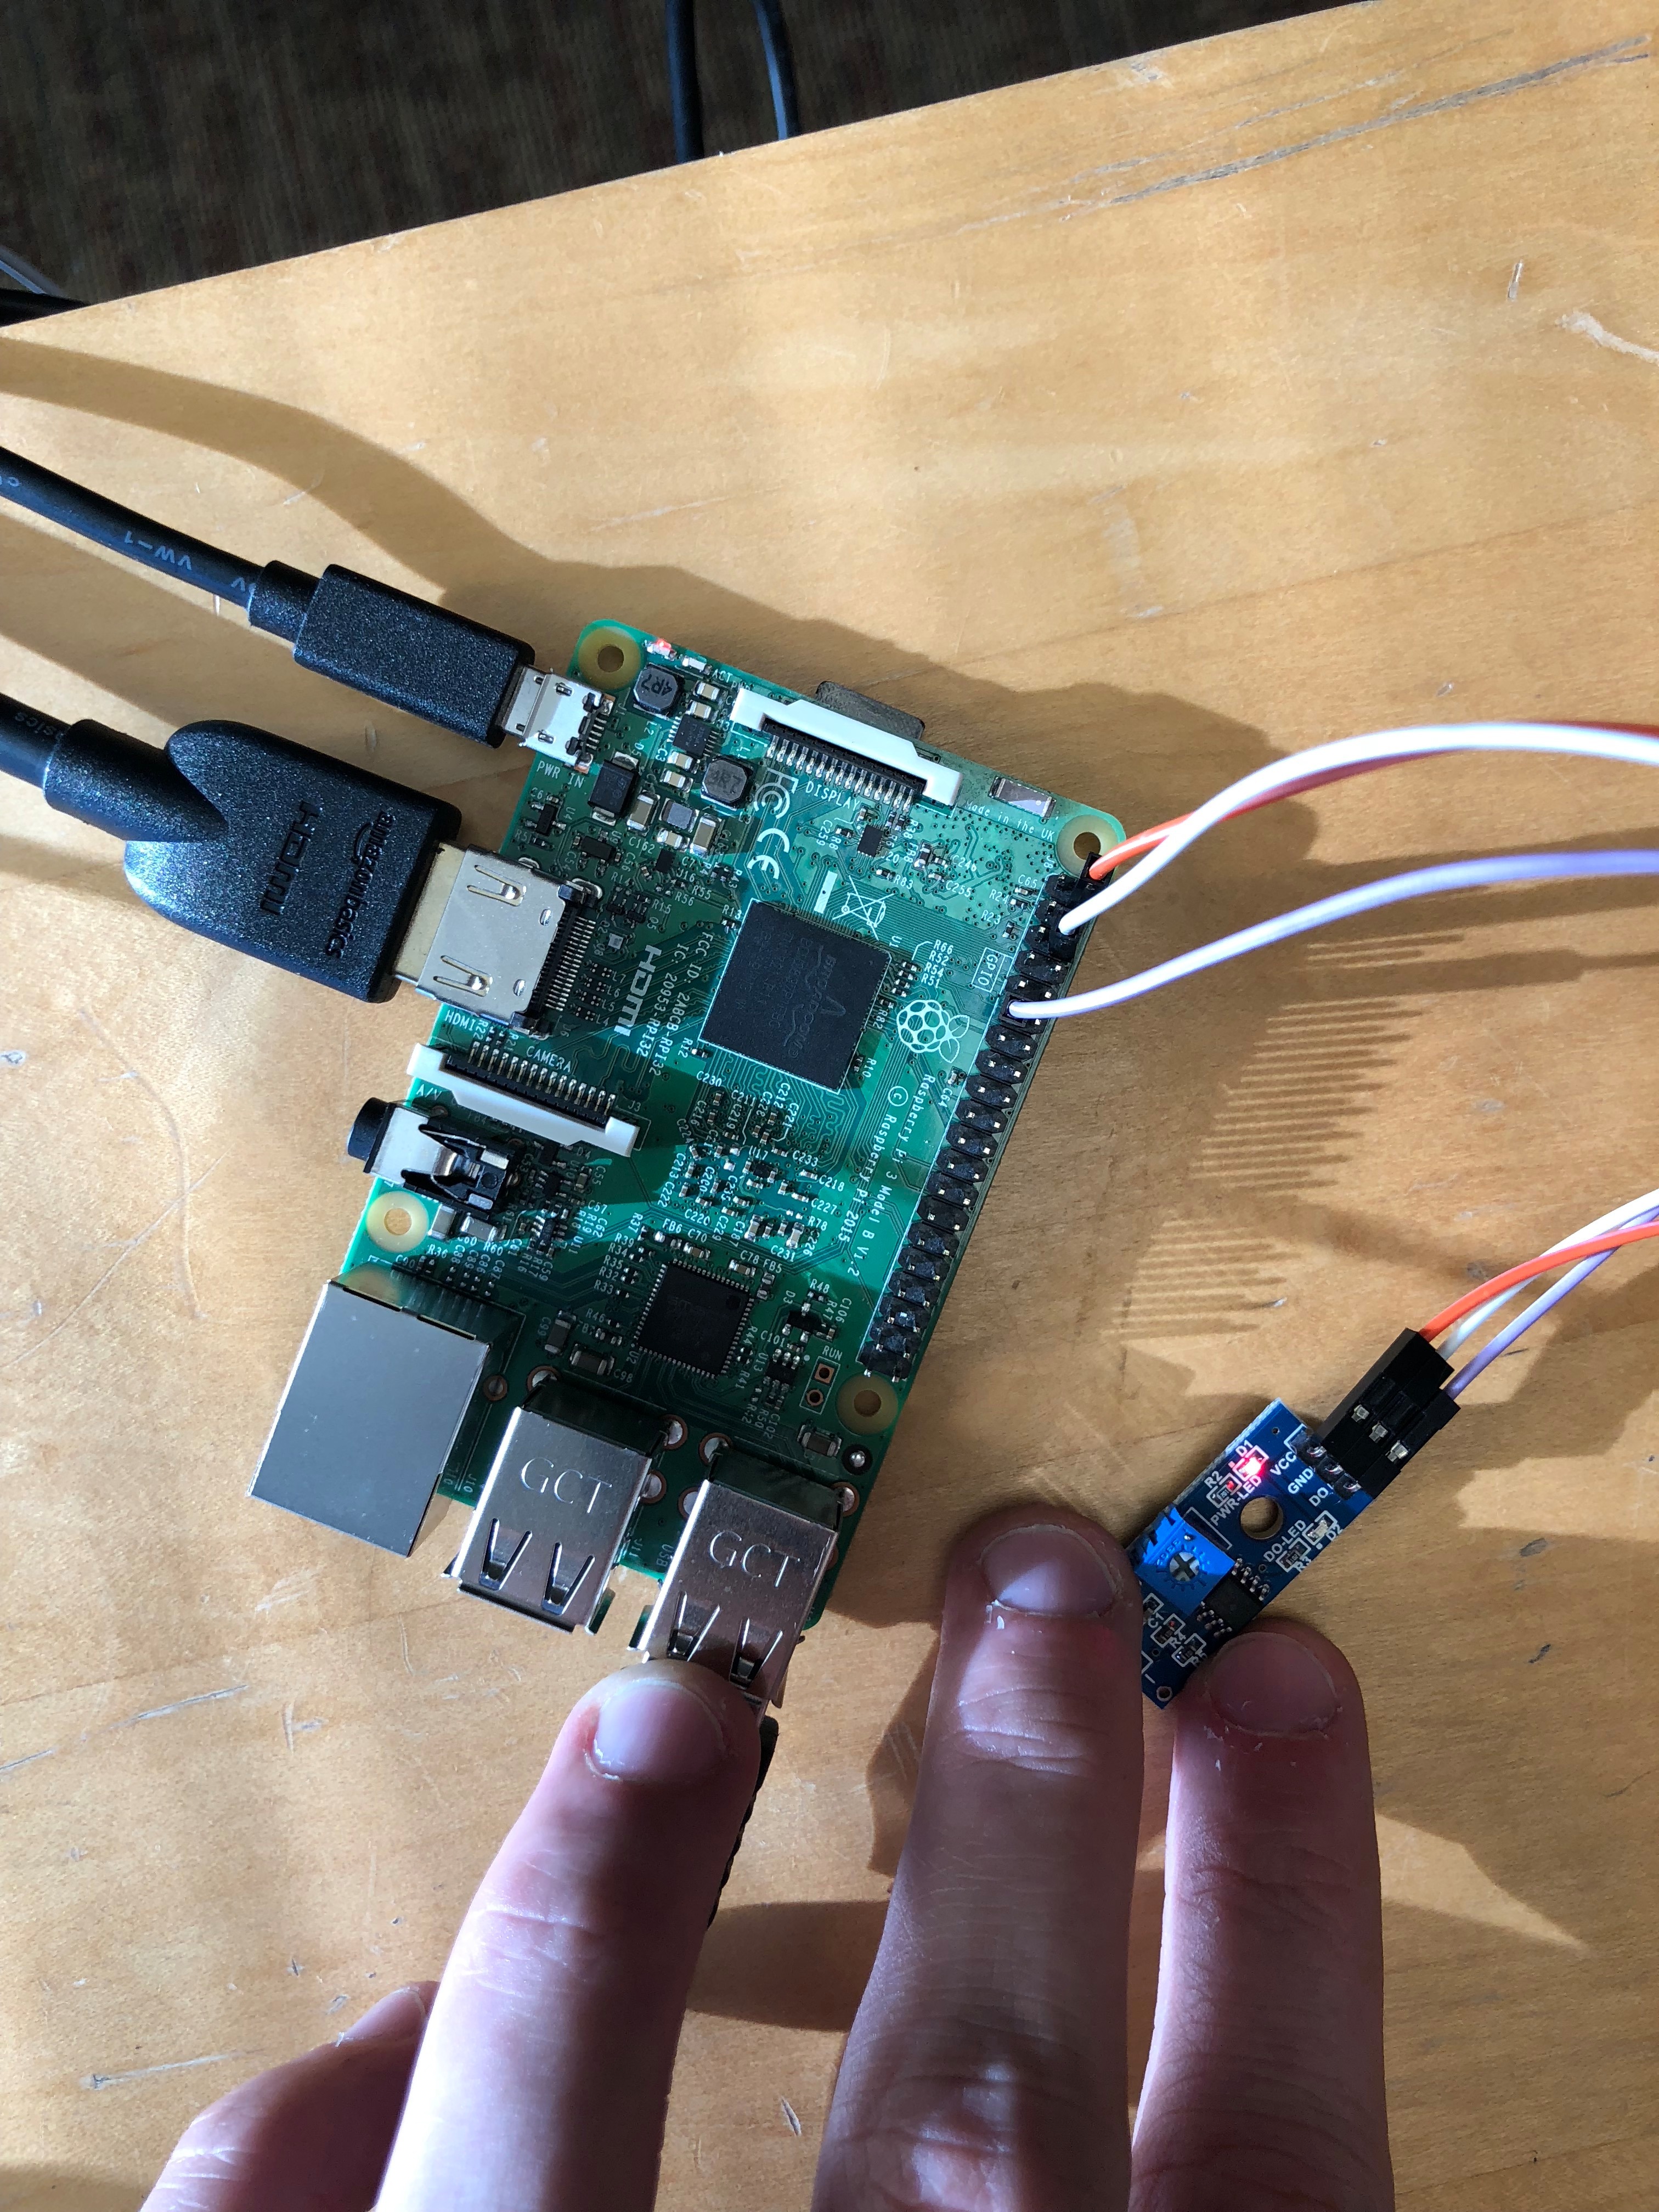
Still planning on building this contraption? Here's what you'll need:
- Raspberry Pi 3
- Micro SD card
- 3 female-to-female wires
- 1 vibration sensor
- A power bank
- Command strips
If you're planning on building this project for multiple doors, multiply each of the supplies by how many devices you'll need.
If you're in the process of building/testing this device, it's not necessary to have the following...however, it'd definitely be very helpful.
- A computer monitor
- A USB keyboard
- Micro USB charging kit
Wiring
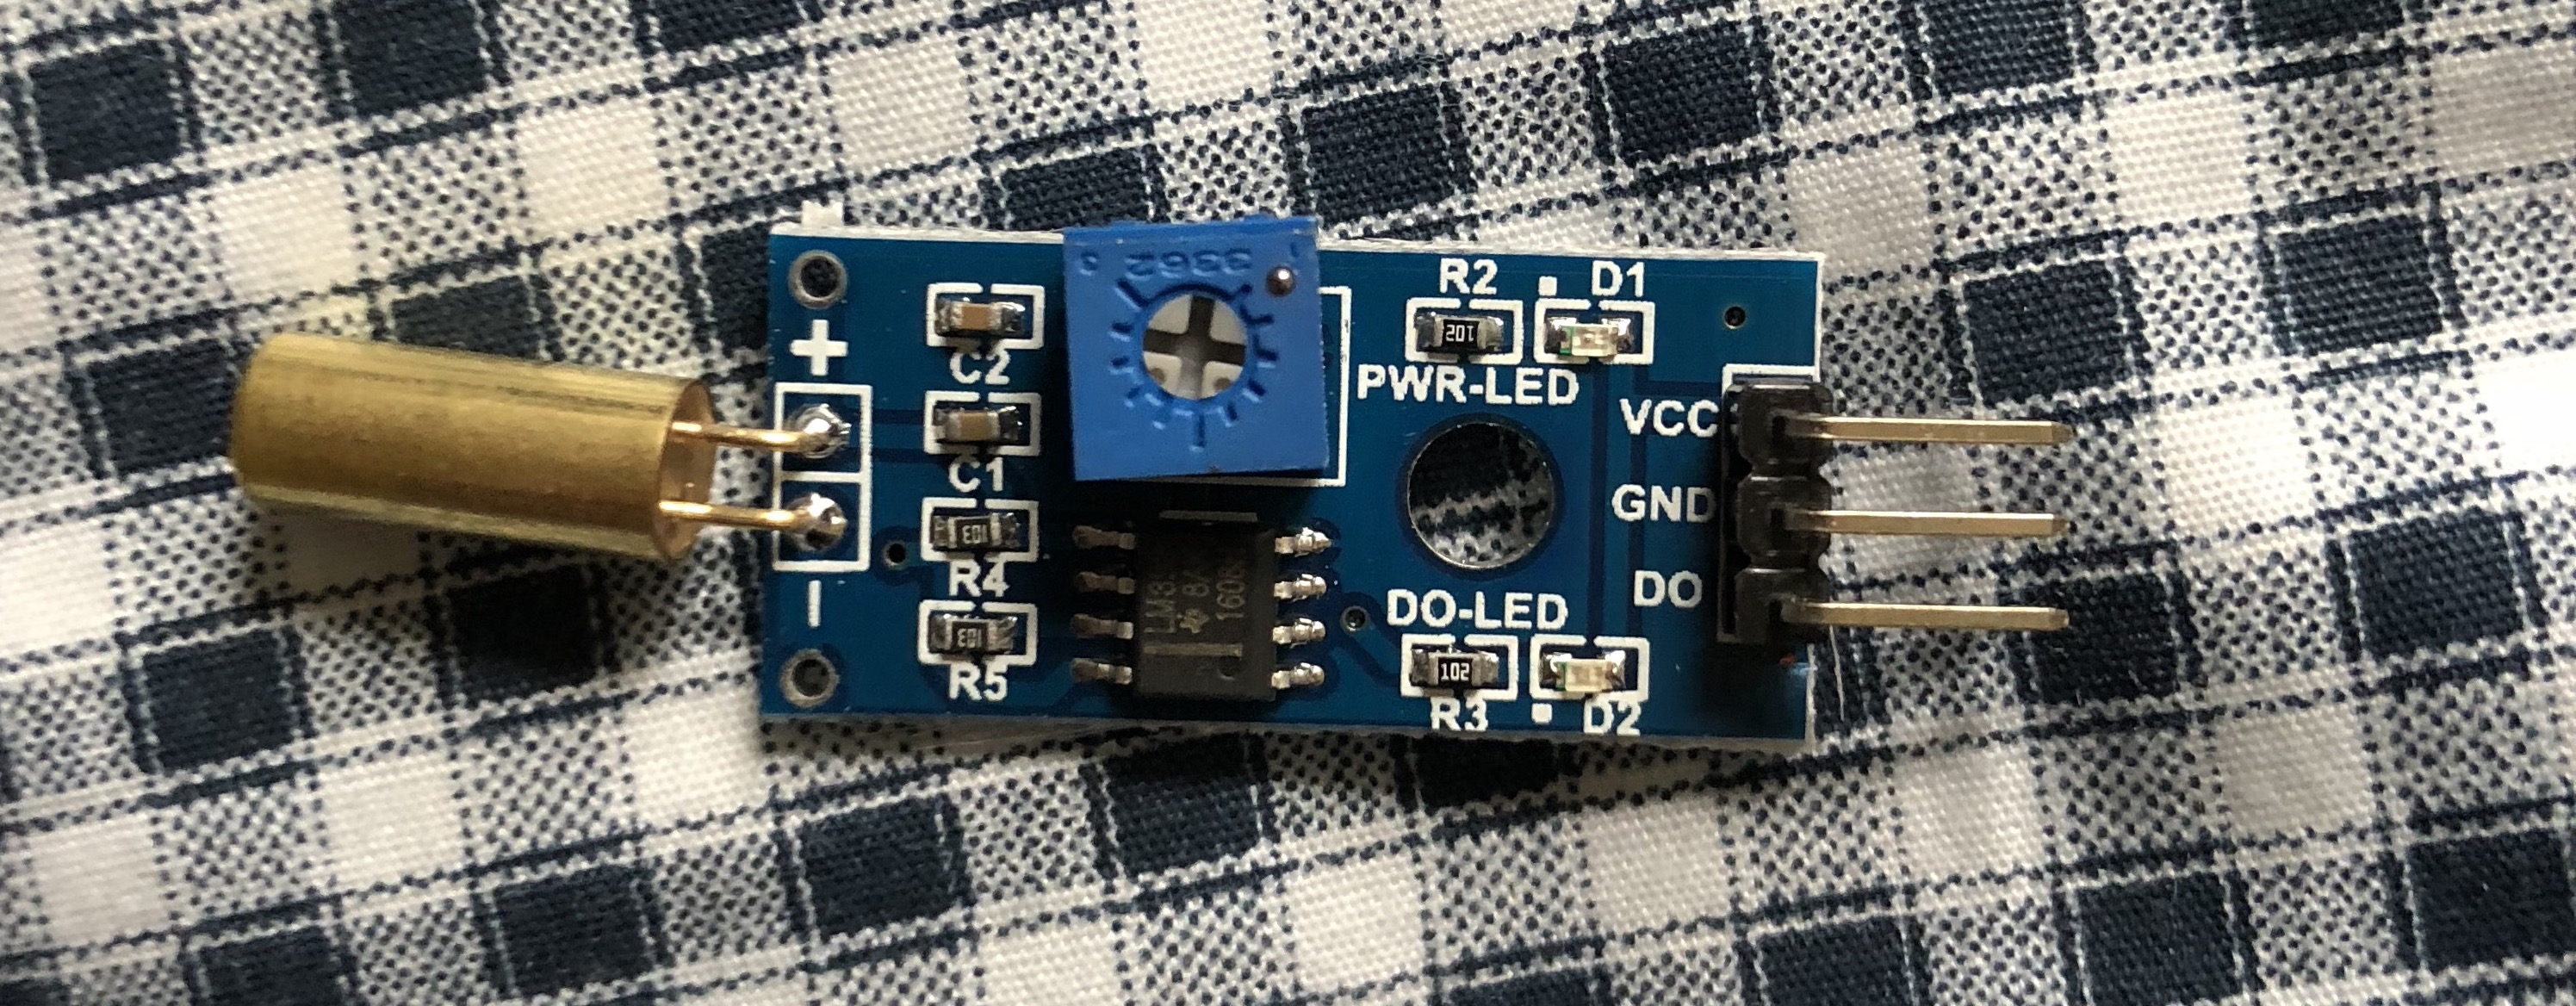
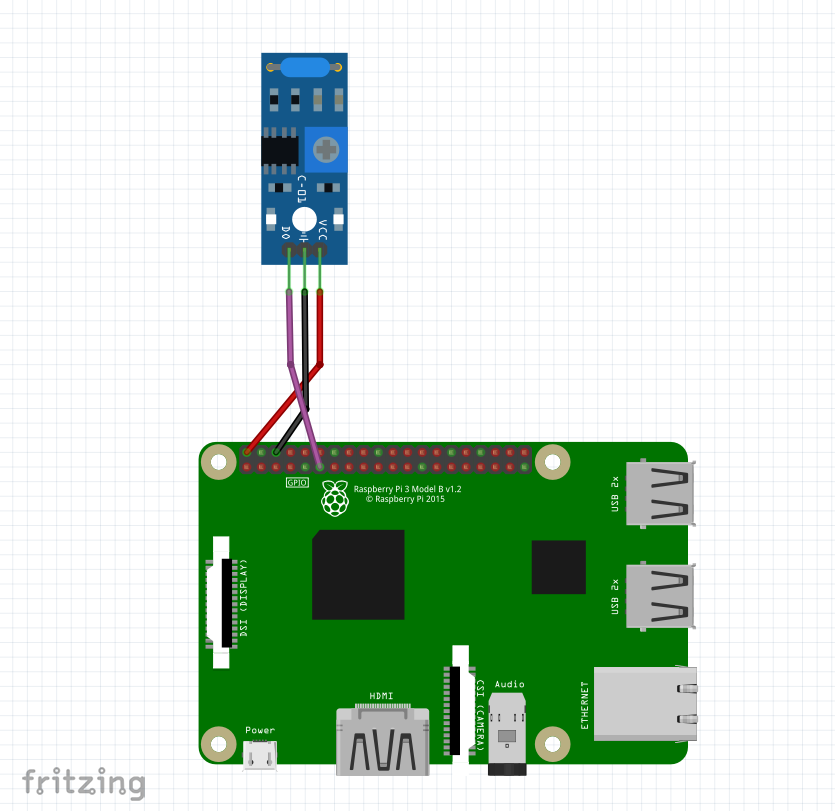
While the Raspberry Pi is a nifty devices that comes included with lots of different sensors and peripherals, we need to add the main sensor to the wiring of the Pi so it can make the measurements we need. The main sensor used in this project can be seen in the picture above––it's a vibration sensor with high sensitivity. While we could use a breadboard or some other mounting device to place this sensor on and run our wires through, we simply connected it via female-to-female wires directly to the pins on the Raspberry Pi device.
A wiring schematic can be found above (originating from http://www.piddlerintheroot.com/vibration-sensor/). Simply connect all of the wires as shown in this image and your vibration sensor should be good to go. Also note that you'll eventually need a battery pack for this project, but if you're testing it is probably helpful to have the device plugged into a wall outlet.
Setting Stuff Up
Congrats! You've made it this far. Let's keep going!
We're now going to start working directly with the Pi. All of the following can be done on the device with a keyboard and monitor (or through SSH if you're comfortable).
There is a great deal of preliminary set up to get any GPIO sensor working with a Pi and Flask. Patience is a virtue. There are quite a few Python libraries you'll have to install first. This can be done with Pip, a library/package manager for Python. To use, type in `pip install ` To name some of the libraries you'll need:
- requests
- RPi.GPIO
- flask
- flask_restful
- flask_wtf
- wtforms
- mandrill
You might want to grab a coffee while you wait for these to install––it can take a little bit of time.
Now that all of your libraries are installed you're ready to start your Flask project. Flask is a lightweight framework that serves up pages from the device it's running on. In this case, the Raspberry Pi becomes a server. Pretty nifty, eh? You can learn how to set up a very simple Flask application here. Please do this before attempting any of the instructions after this.
Code and Running
Once you've completed this, you're ready to start building out the project files. I've included all of the files you'll need below––you should probably rewrite the code, however, and not just copy the files over (YOU'LL LEARN MORE!).
Here's what the directory organizations should look like:
.
+-- iotapp
|   +-- appFolder
|       +-- templates
|           +-- index.html
|       +-- __init__.py
|       +-- forms.py
|       +-- mcemail.py
|       +-- routes.py
|   +-- iotapp.py
|   +-- vibes.py
Place all of these files in this correct order and you should be able to get your project up and running in no time. In order to then run your Flask server you should navigate to the root directory. You should then type:
$ export FLASK_APP=iotapp.py
$ python -m flask run --host 0.0.0.0
With this, you should get a message that indicates your server is running and you should be able to serve up the page from the device to another device on the network.
Now would be a good time to look through your files and really try to get a jist of what the code is doing. Of course, none of the code is set in stone...it can all be updated/changed to fit project-specific needs. For example, as of right now when the device POSTs upon receiving input from the vibration sensor it sends the timestamp of when the input occurred. However, the server isn't saving this data. This could be done if the user preferred to keep historical information and wanted to show it somewhere.
One thing you'll likely notice is that THE CODE IS NOT COMPLETE. This project makes use of an external API for sending out notification emails upon vibration (door opening). To set this up, you'll need to create a Mandrill account and create an API key.
Once you've verified your sending domain and have an API key you can place your key in the `mcemail.py` file (where <input valid API-KEY here> is present) and adjust the sending information (either by changing the default parameter in the same file or by passing in a different email in the `routes.py` file. If you'd like more documentation on Mandrill and how to use it, you can find that here.
Testing
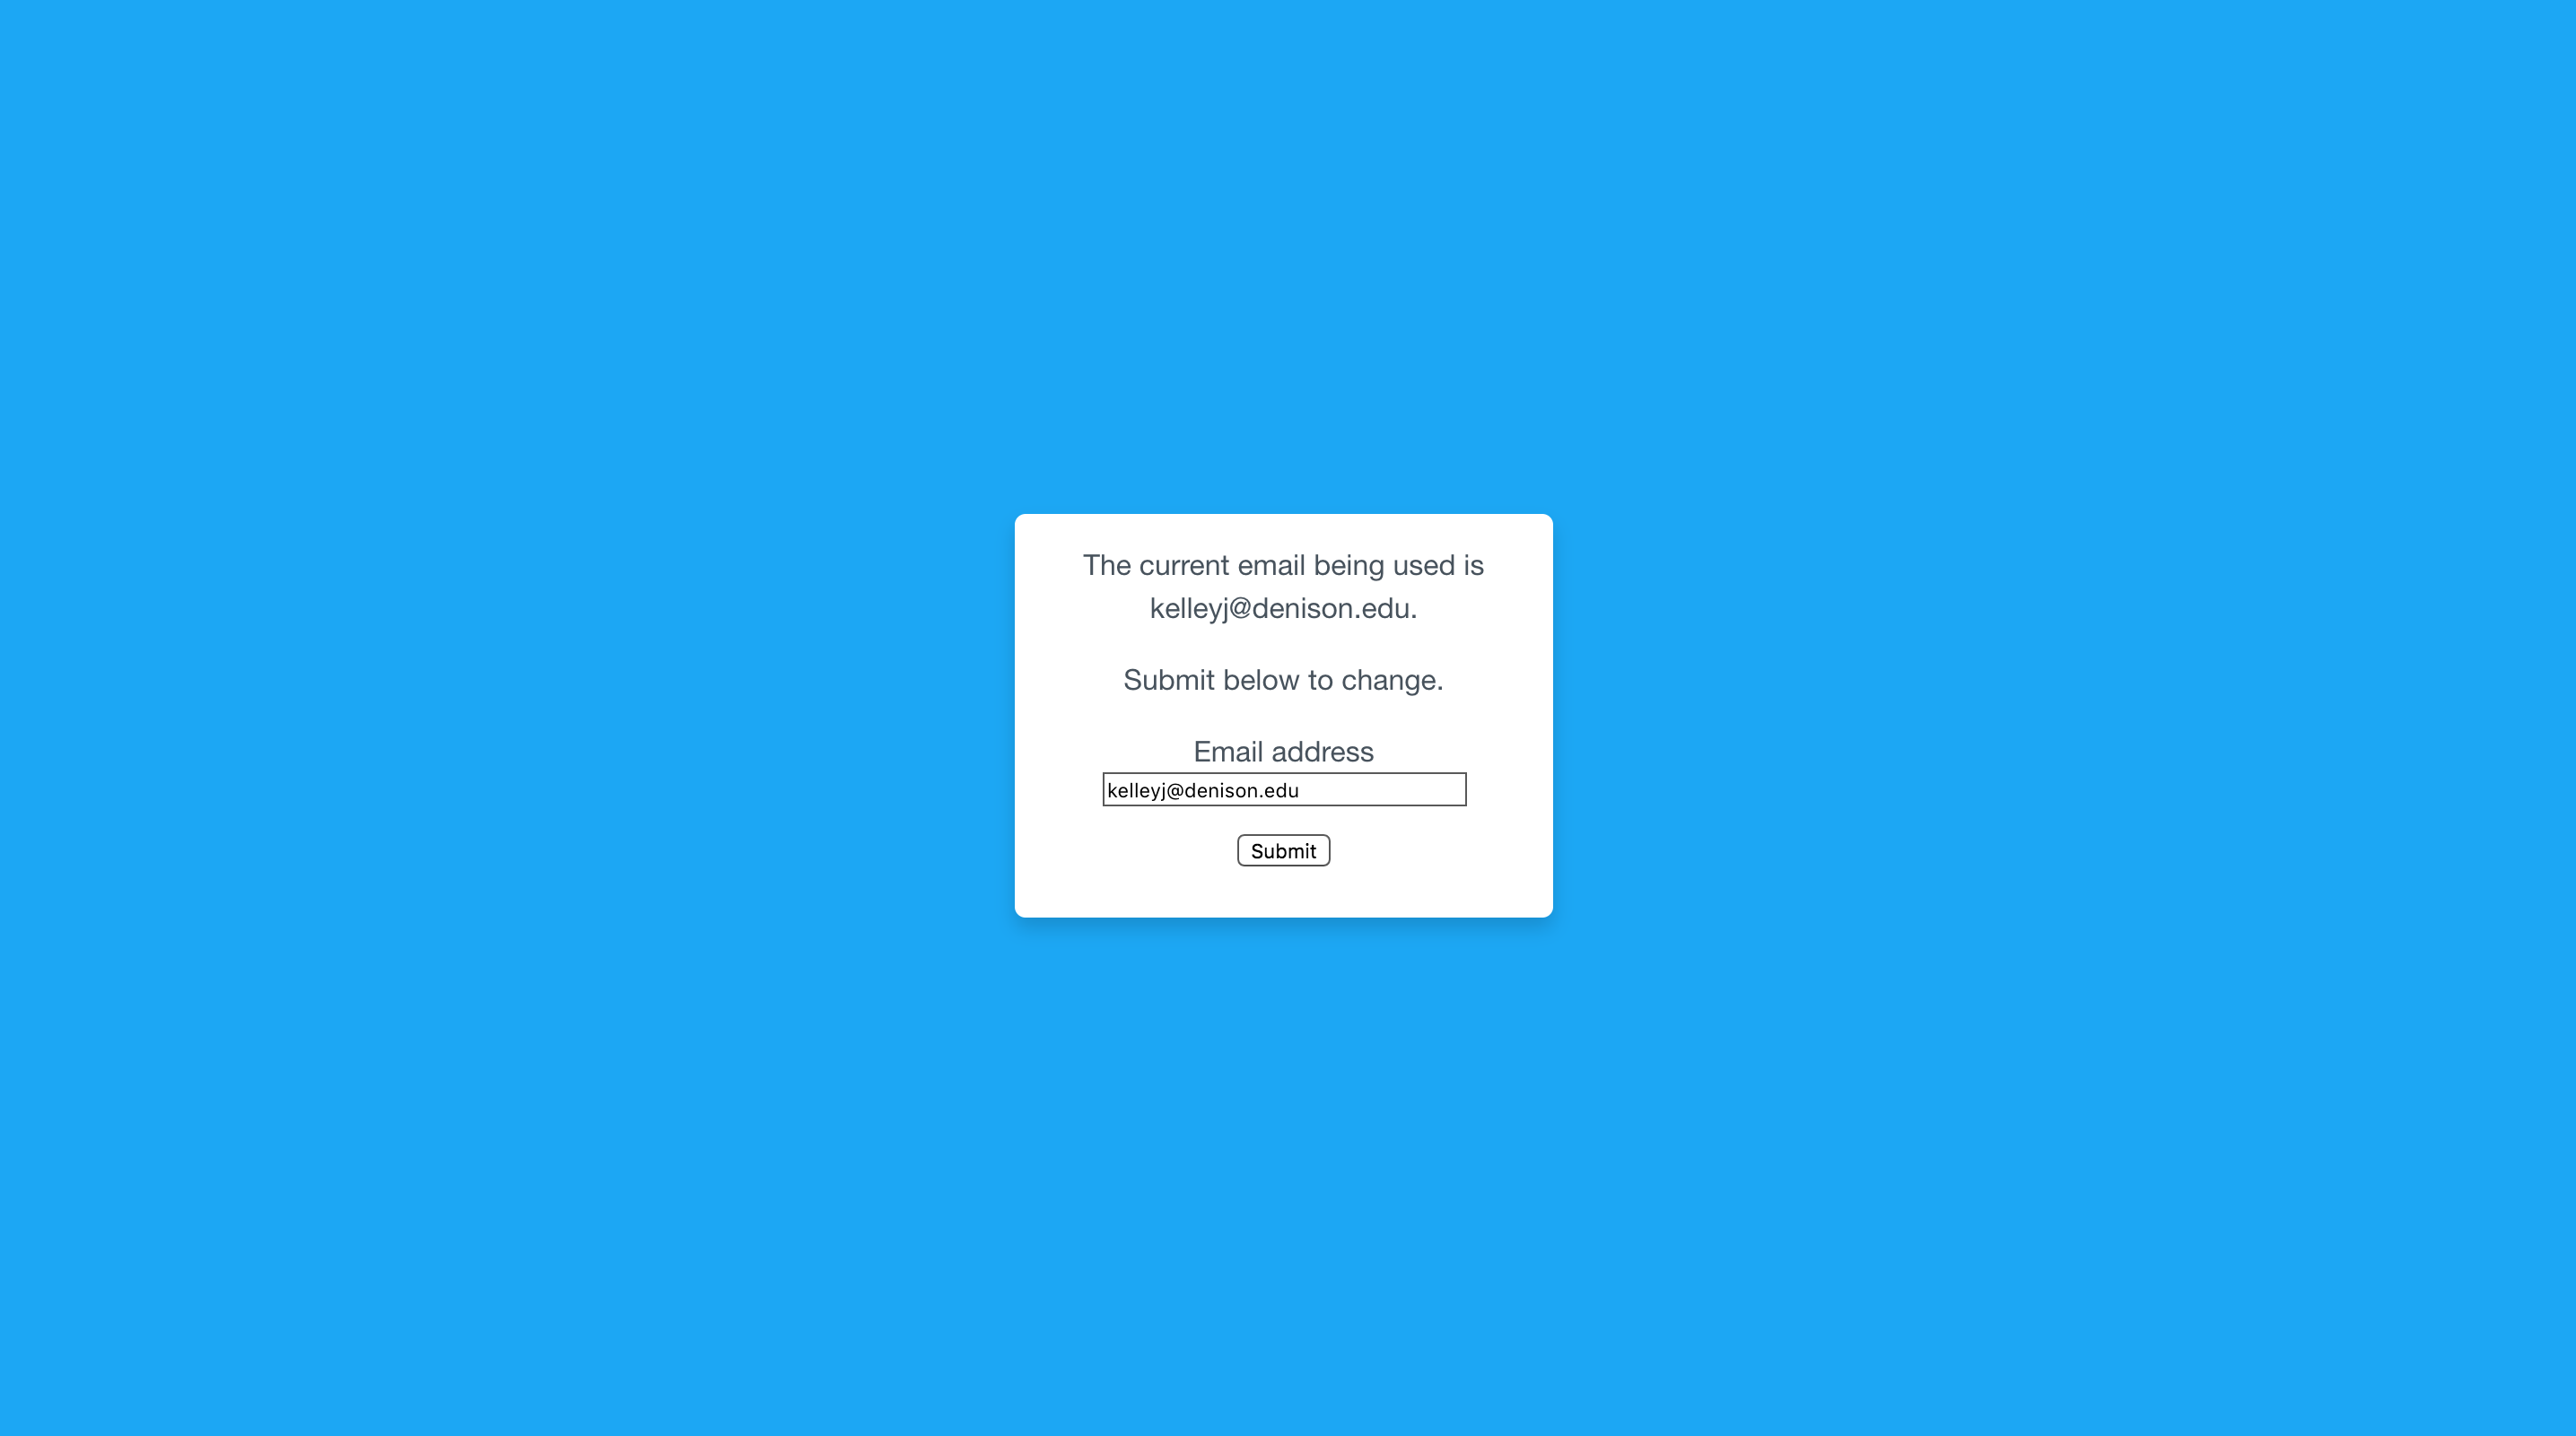
Before you mount the device in its permanent location, it's probably a good idea to test everything that it's doing. Here's how you run the stuff.
The device is actually running two programs: `vibes.py` and the Flask server. The former should be run first in the background and then the Flask server can be run. `vibes.py` is simply POSTing to the server and the server interprets the POST request.
$ python vibes.py &
$ python -m flask run --host 0.0.0.0
You should then be able to navigate to the correct URI/IP and set the email address you'd like to send all of your notifications to. You should tap the vibration sensor to try sending some test emails and ensure that the project is working.
Everything look good? Okay, we're ready for business!
Mounting
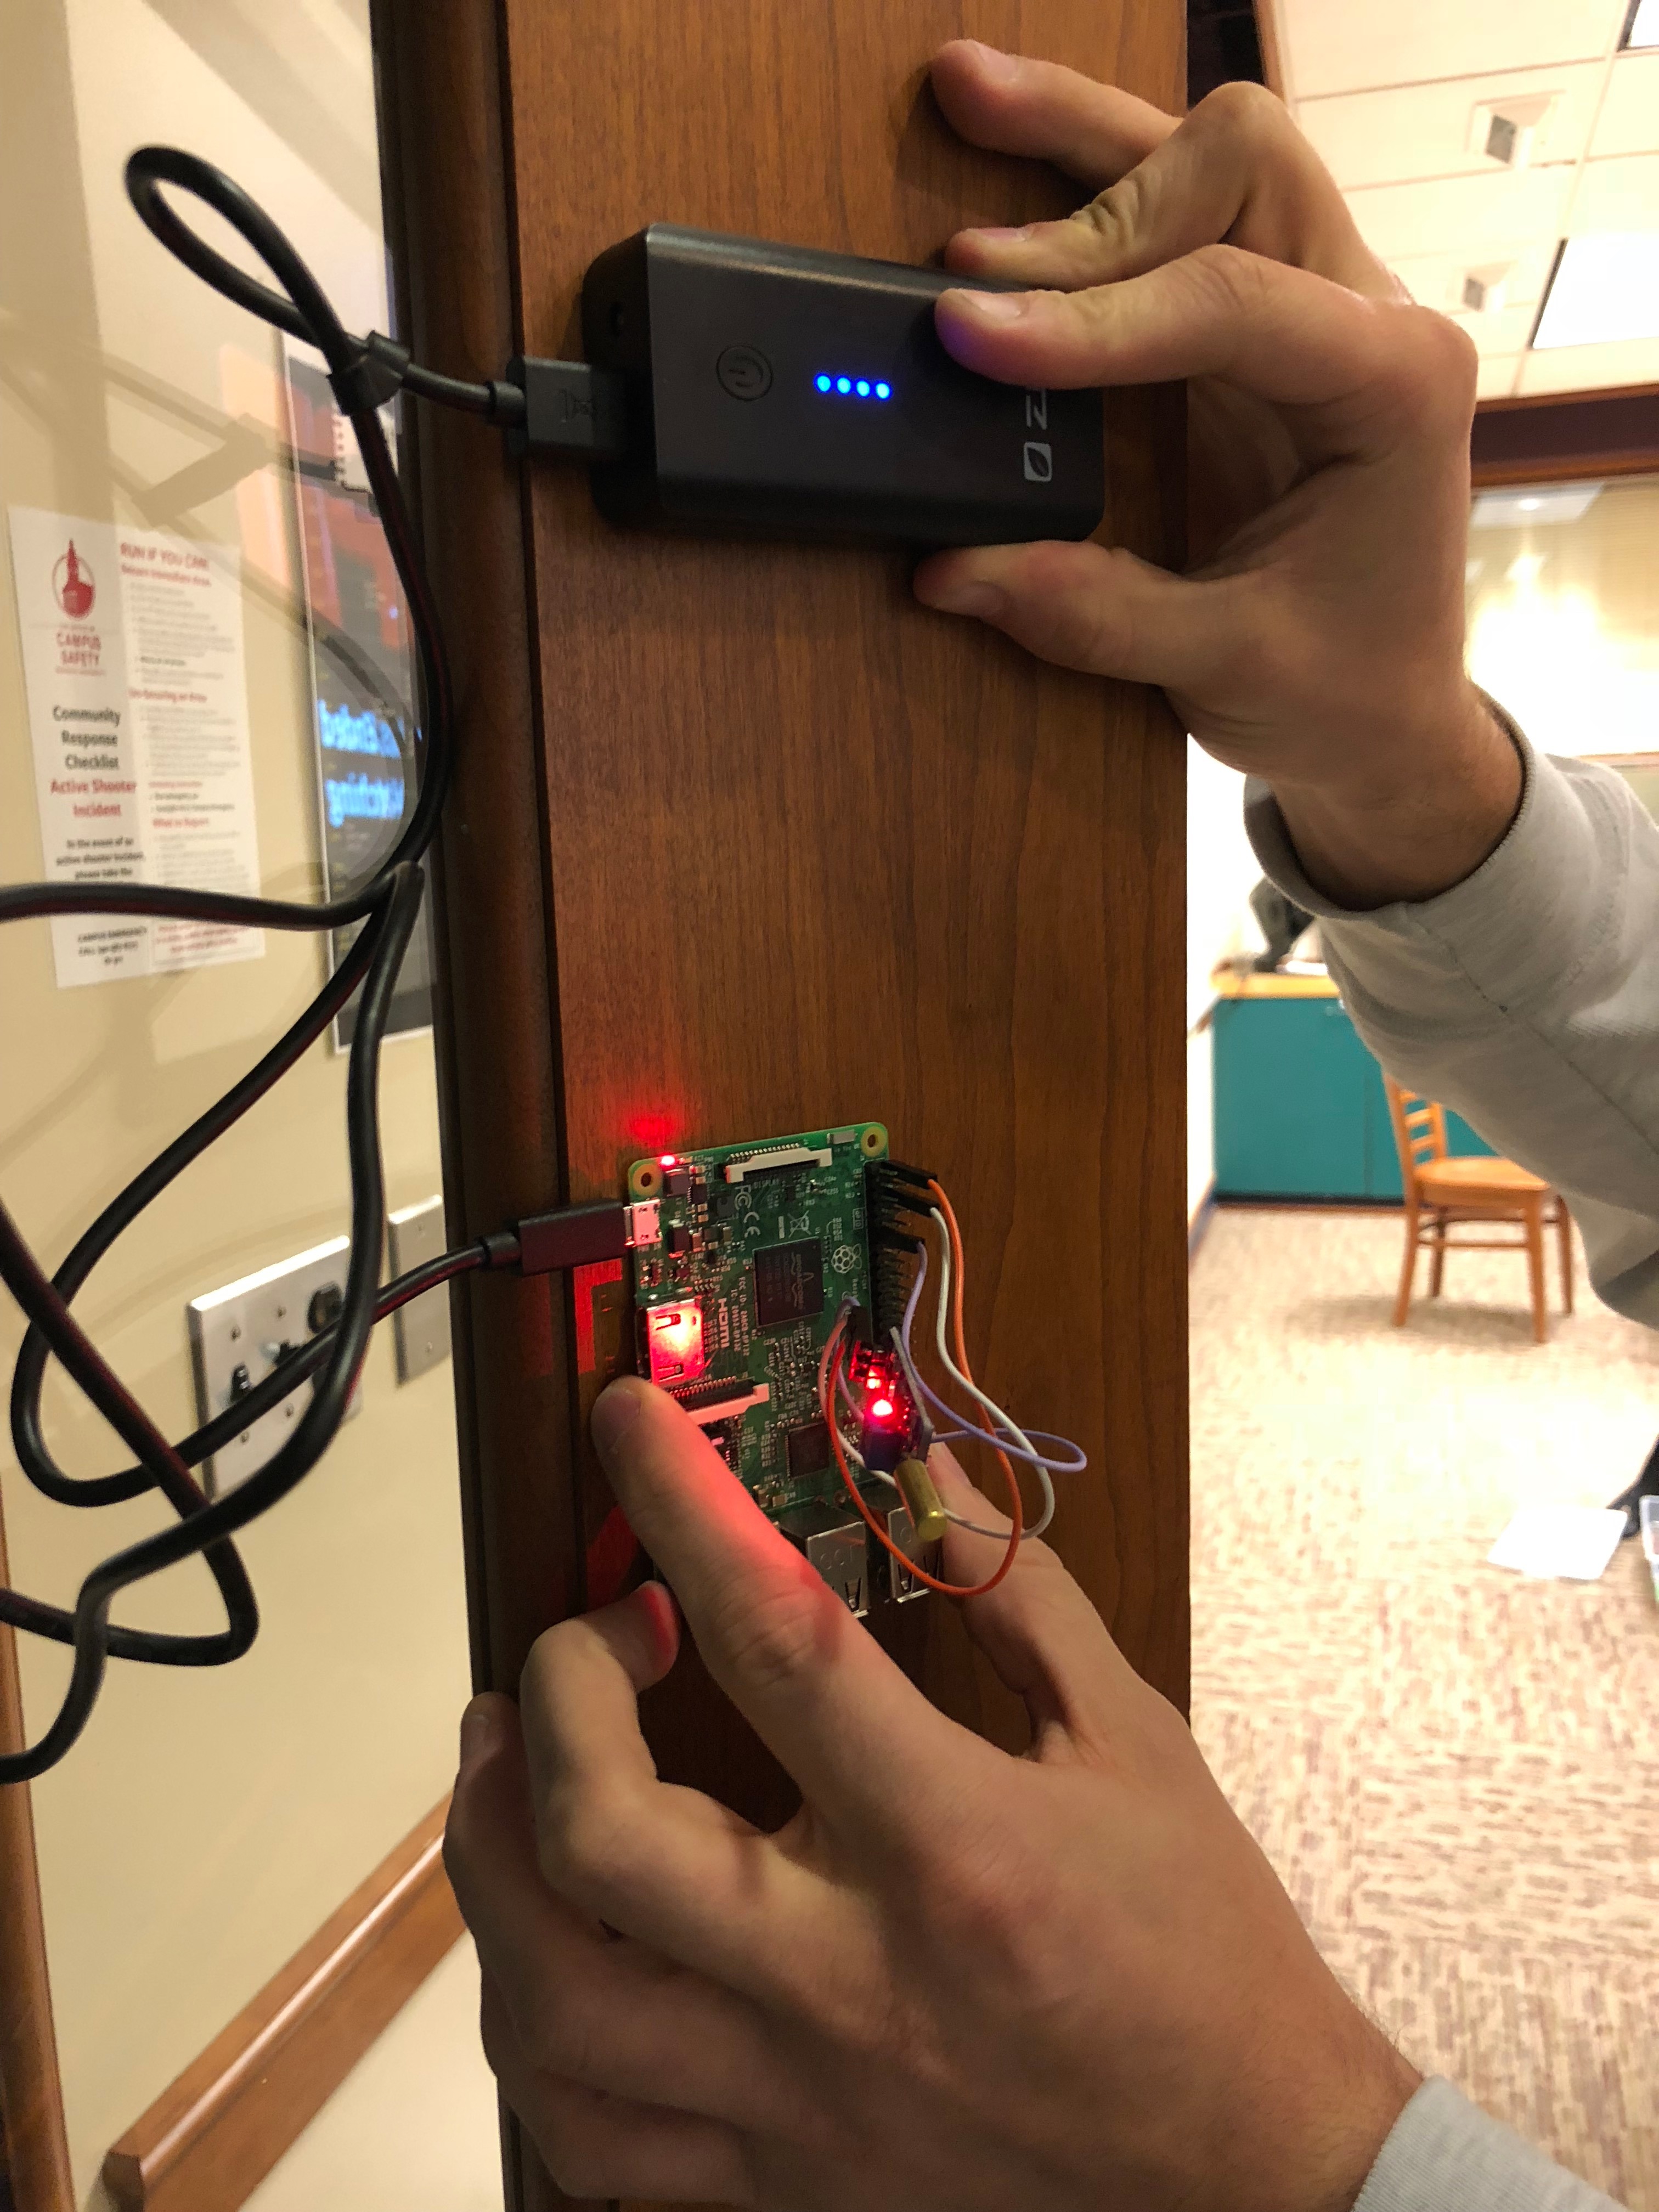
Mounting the device is pretty self-explanatory. Basically, you just have to ensure that the device is connected to the battery pack and use command strips to affix the device to the door.
Note: the device must be positioned with the vibration sensor perpendicular to the door for the sensor to catch the motion of the door.
Once this is completed, you should be able to SSH into the device and run the programs as mentioned in the previous step and wait for intruders!
For extra points, try to hide the wires/device so intruders aren't suspicious of your clever device!...or just don't place it on a glass door. ¯\_(ツ)_/¯