Raspberry Pi As a Samba Server
by VictorF128 in Circuits > Raspberry Pi
3005 Views, 5 Favorites, 0 Comments
Raspberry Pi As a Samba Server

I needed a way to share files between two computers without using Google drive, dropbox, or any cloud-based solution.
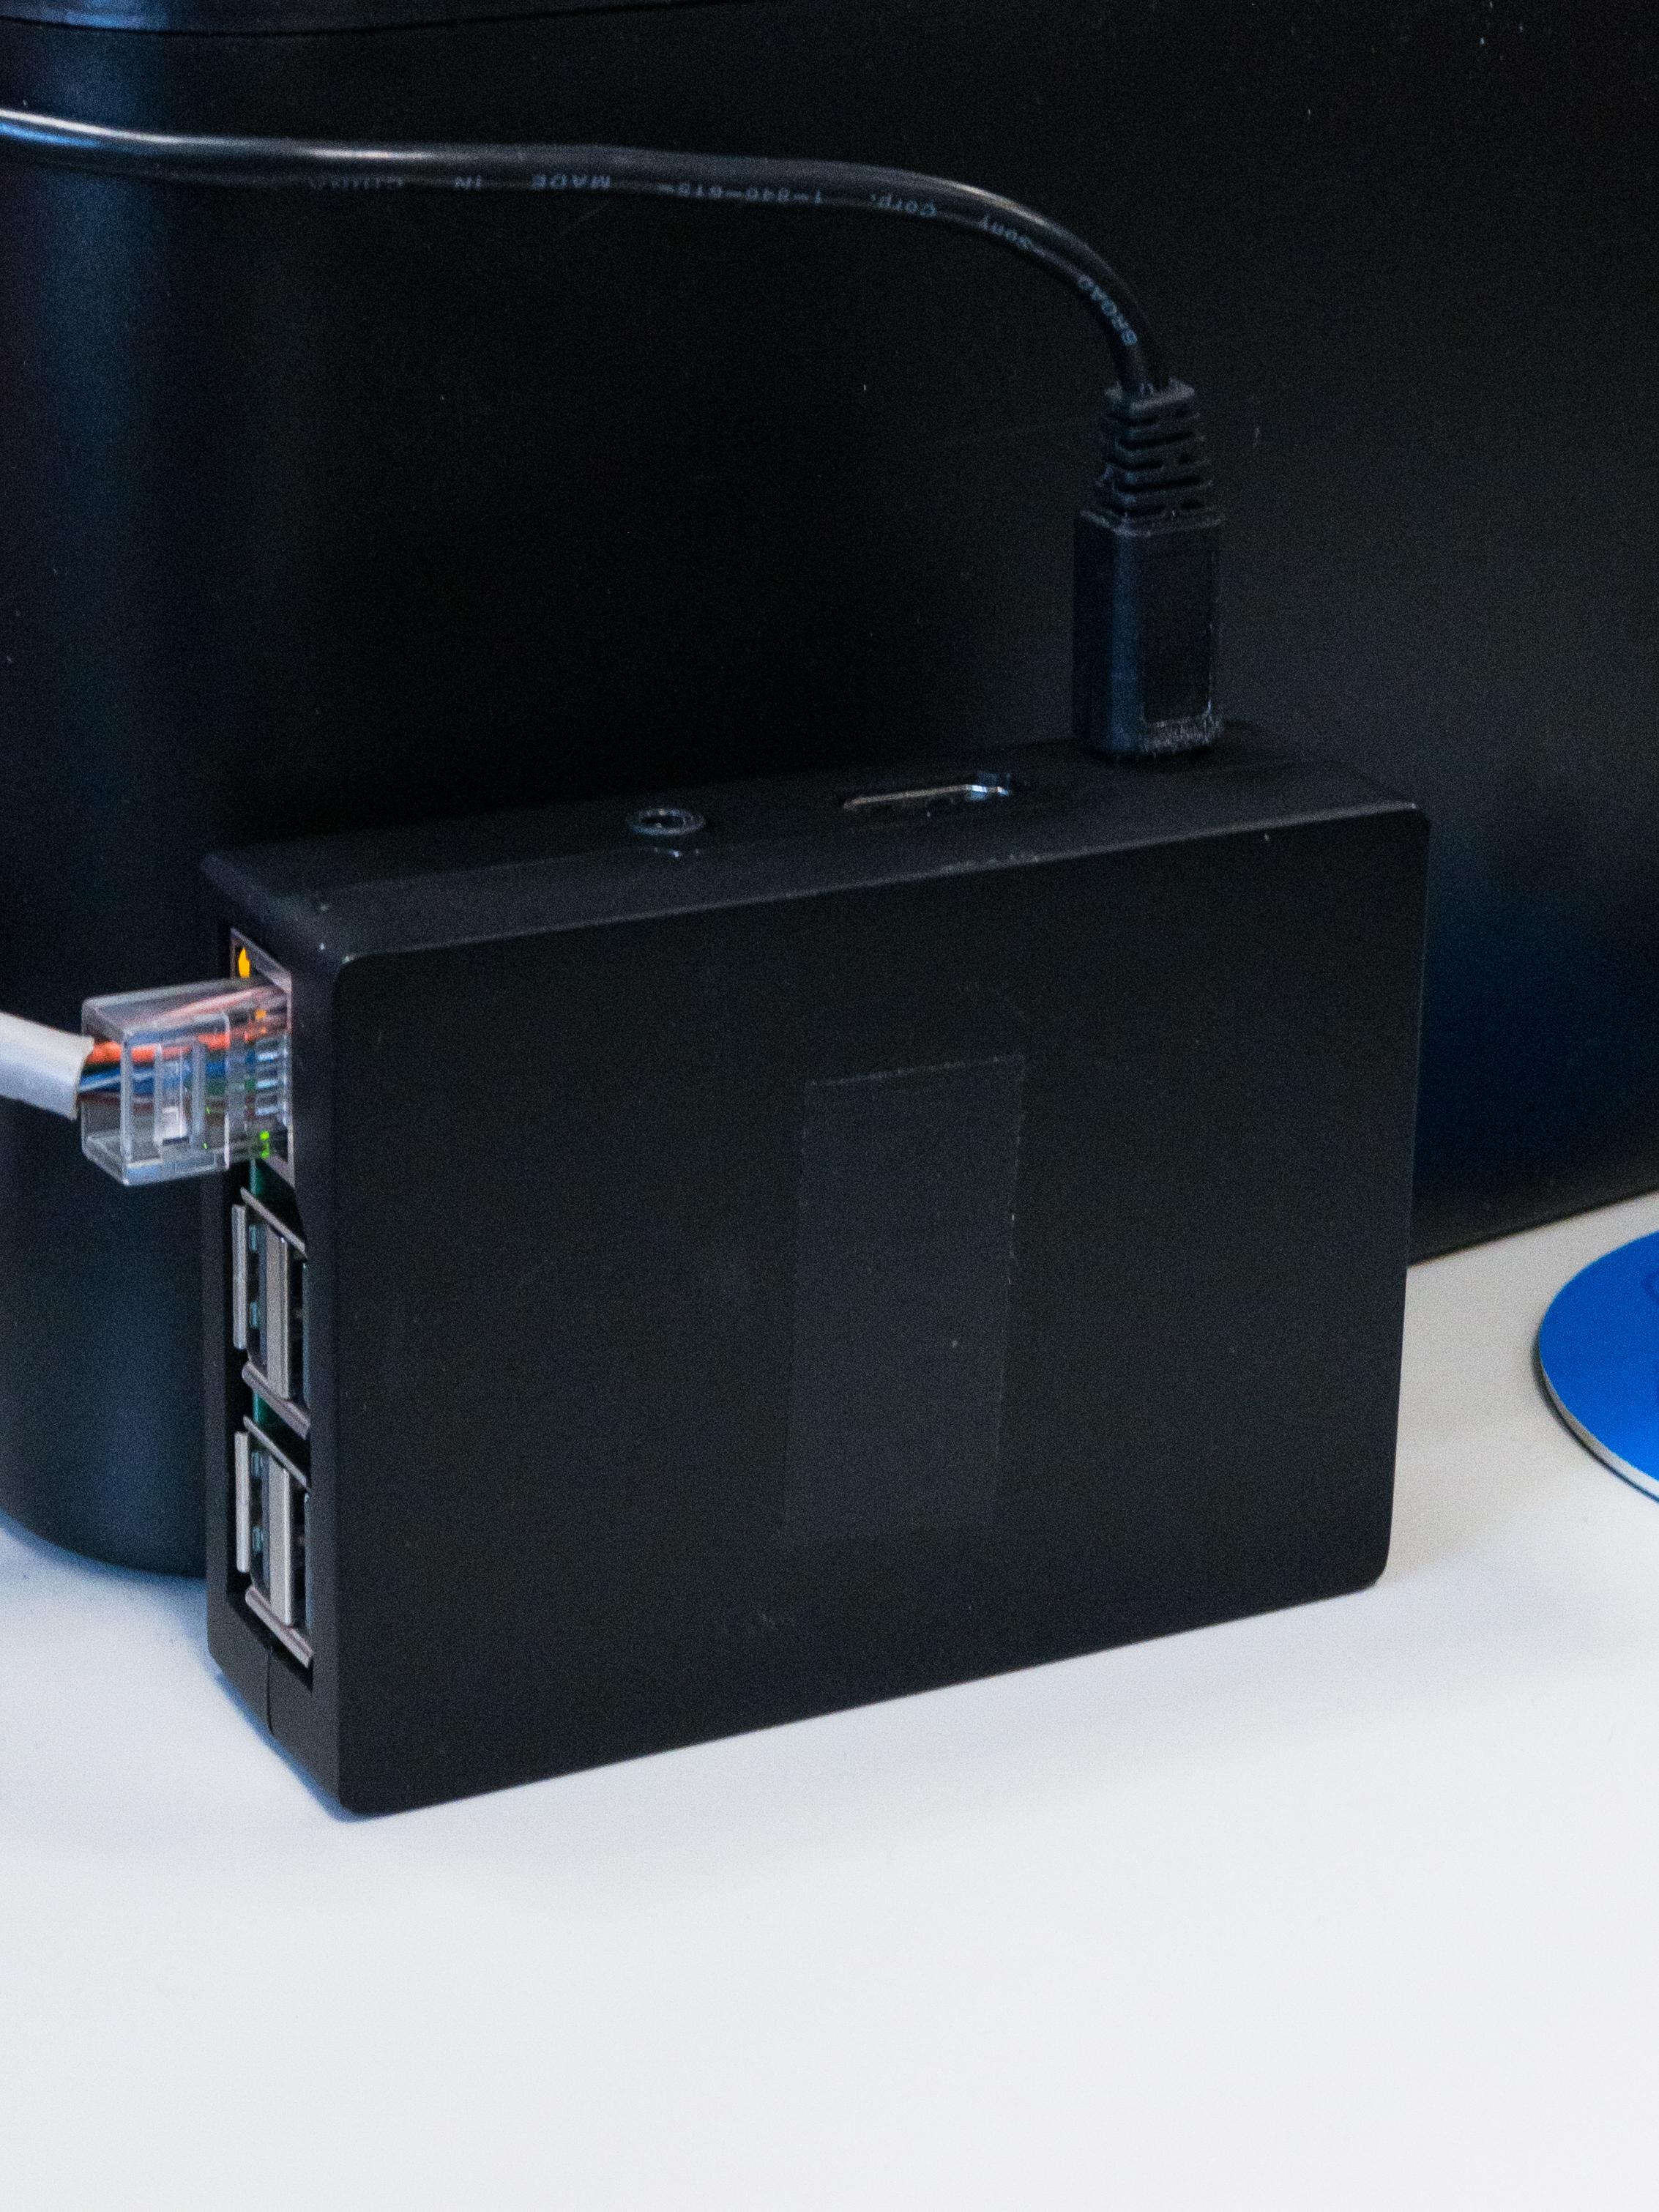
My solution is to use a Raspberry pi as a Samba server and use it as a network drive so both computers will have access to the same folder.
Supplies
- Raspberry Pi (I used pi3 but 4 or zero W will work )
- Adapter or cables to power the Pi
- SDcard
- USB (optional)
What Is Samba
It is open-source software, initially designed for Unix/Linux-based systems but it is able to communicate with windows clients, also it supports support for several file systems.
Raspberry pi runs a Linux distribution, it is not expensive and is small in size so can be placed without causing much of a problem.
I think a NAS will provide more functionalities and higher security, netless to say NAS like Synology has many applications and instructions that will drive you through the configuration to access the directories out of the local LAN, but I just need a way to transfer files from two PC in the same isolated network.
Setting the Samba Server
Let's start but updating and upgrading the Pi
sudo apt-get update
sudo apt-get upgrade
Next, we need samba.
sudo apt-get install samba samba-common-bin
After the installation samba is finished, we can move to the next step.
Creating the Shared Folder
We need to define the folder/directory we are going to use, this will be the folder that PC A and B will have access to.
💡 tips: The folder can be located anywhere, even in an external folder. you can create a folder in a USB so in case the SDCard on the Pi fail.
mkdir /home/pi/shared
The next step is to modify the file smb.conf to let samba knows where the folder to share is and how to handle the access.
sudo nano /etc/samba/smb.conf
[pimyshare]
path = /home/pi/shared
writeable=Yes
create mask=0777
directory mask=0777
public=no
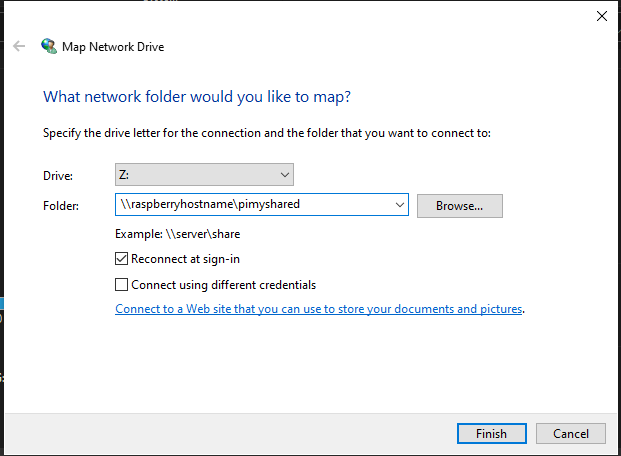
- [pimyshare] the text in brackets define the point where we will access the folder itself. example: //raspberrypi/pimyshare. this will be important later when we configure PC a and B to access the folder.
- path is the path to the directory we are going to share.
- writeable set as yes allow the user to write in the folder (we need this to add new files to the folder).
- create mask and directory mask define the permission for both folder and files, it is set as 07770777 users are allowed to read, write and execute (some cases will be better avoid the execution for security reasons).
- public if is set to no it will require a valid user to grant access to the folder.
Save the document in this case Ctrl + X and Y
Set a User for the Samba Share
To control the access to this folder, I add a user and a password.
With this command, we can set the password
sudo smbpasswd -a pi
Restart the server now
sudo systemctl restart smbd
If we need to get the hostname, we can obtain it with hostname -I
Connecting to the Samba Server


The final step is to configure access to the shared directory
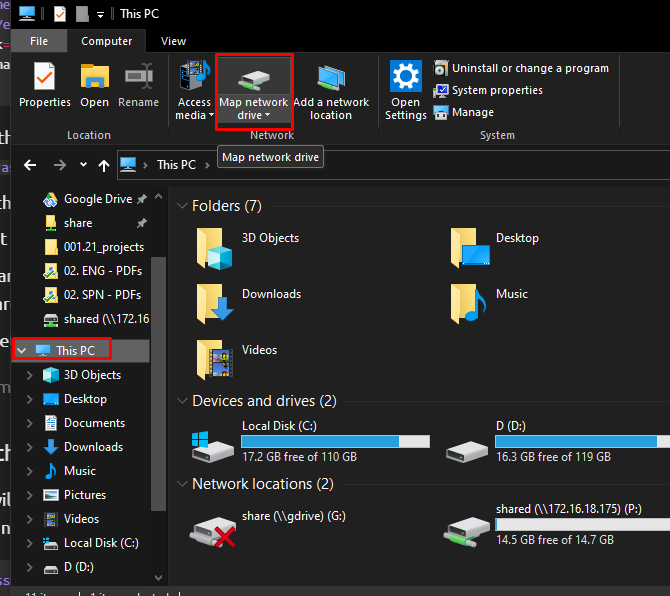
- File Explorer > Computer > Map network drive.
- now we need to input the name of the host or the IP address followed by the name of the folder ( name in brackets in the configuration file)
It will prompt a message requesting the User and password, in this case, the user will be "pi" and the password is the one set in a previous step.