Raspberry Pi-Arduino Based Simple Blind Navigation Device (AIDA2)
by ahmed_mo2nis in Circuits > Raspberry Pi
2967 Views, 17 Favorites, 0 Comments
Raspberry Pi-Arduino Based Simple Blind Navigation Device (AIDA2)
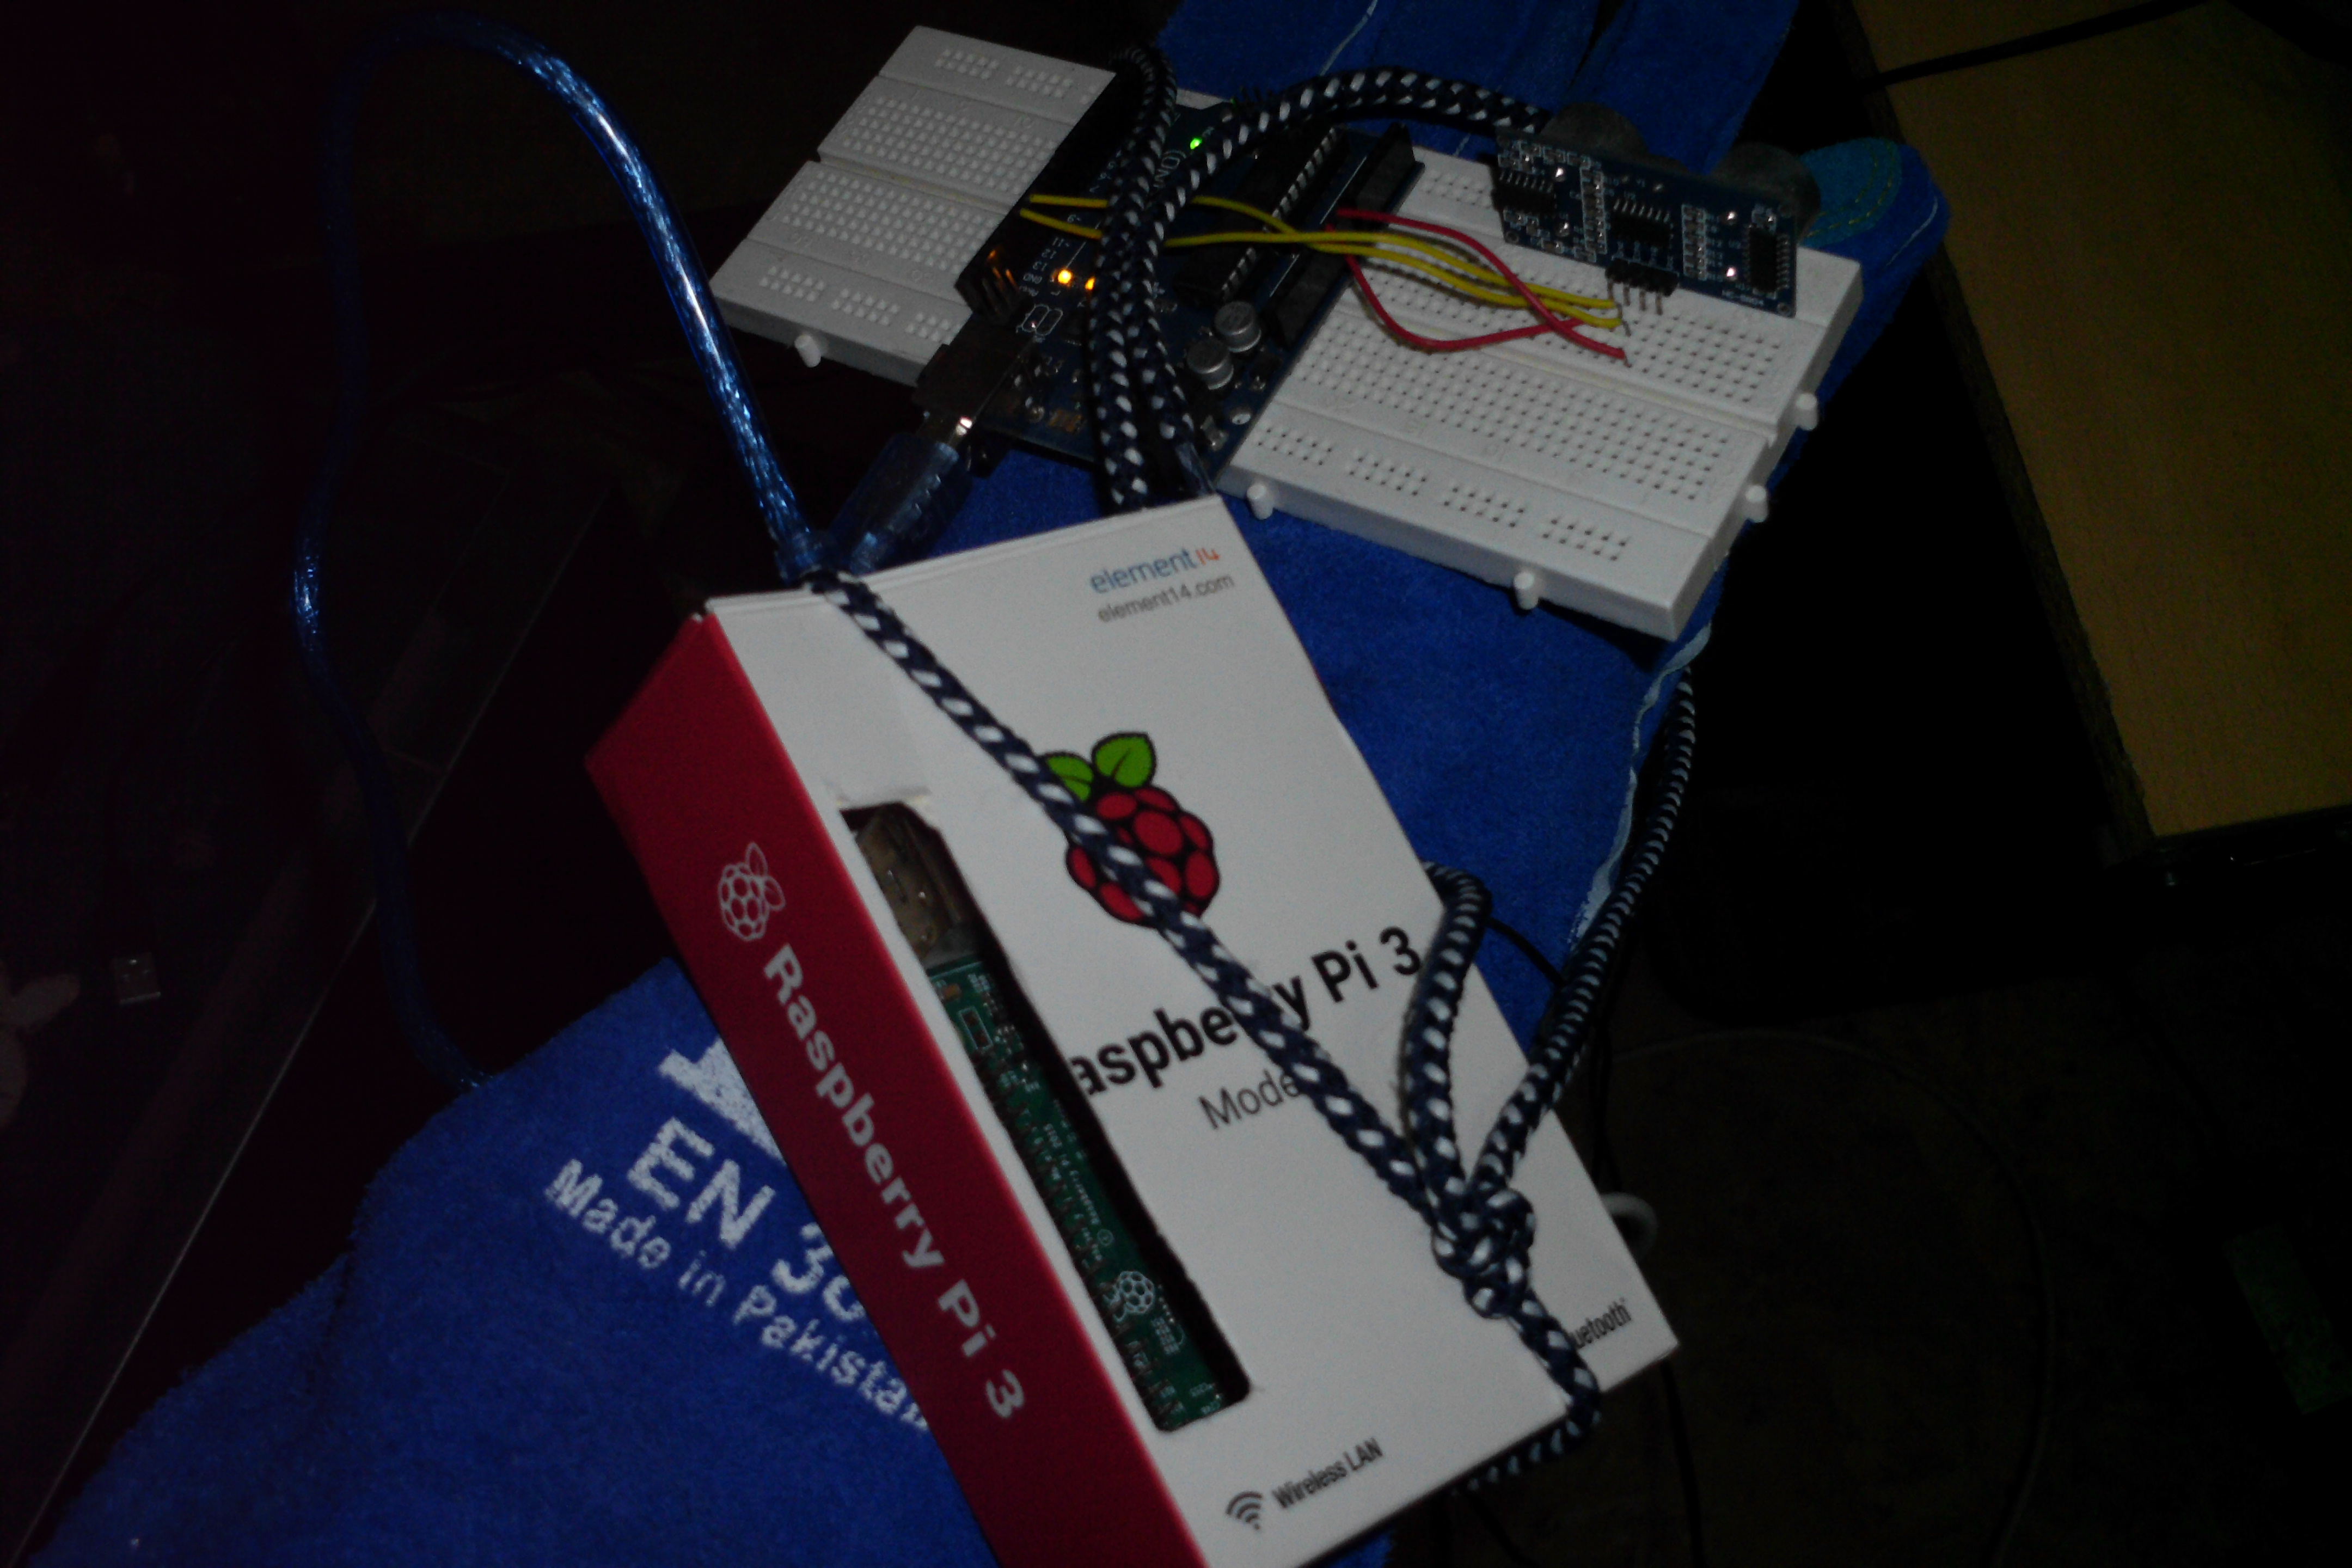
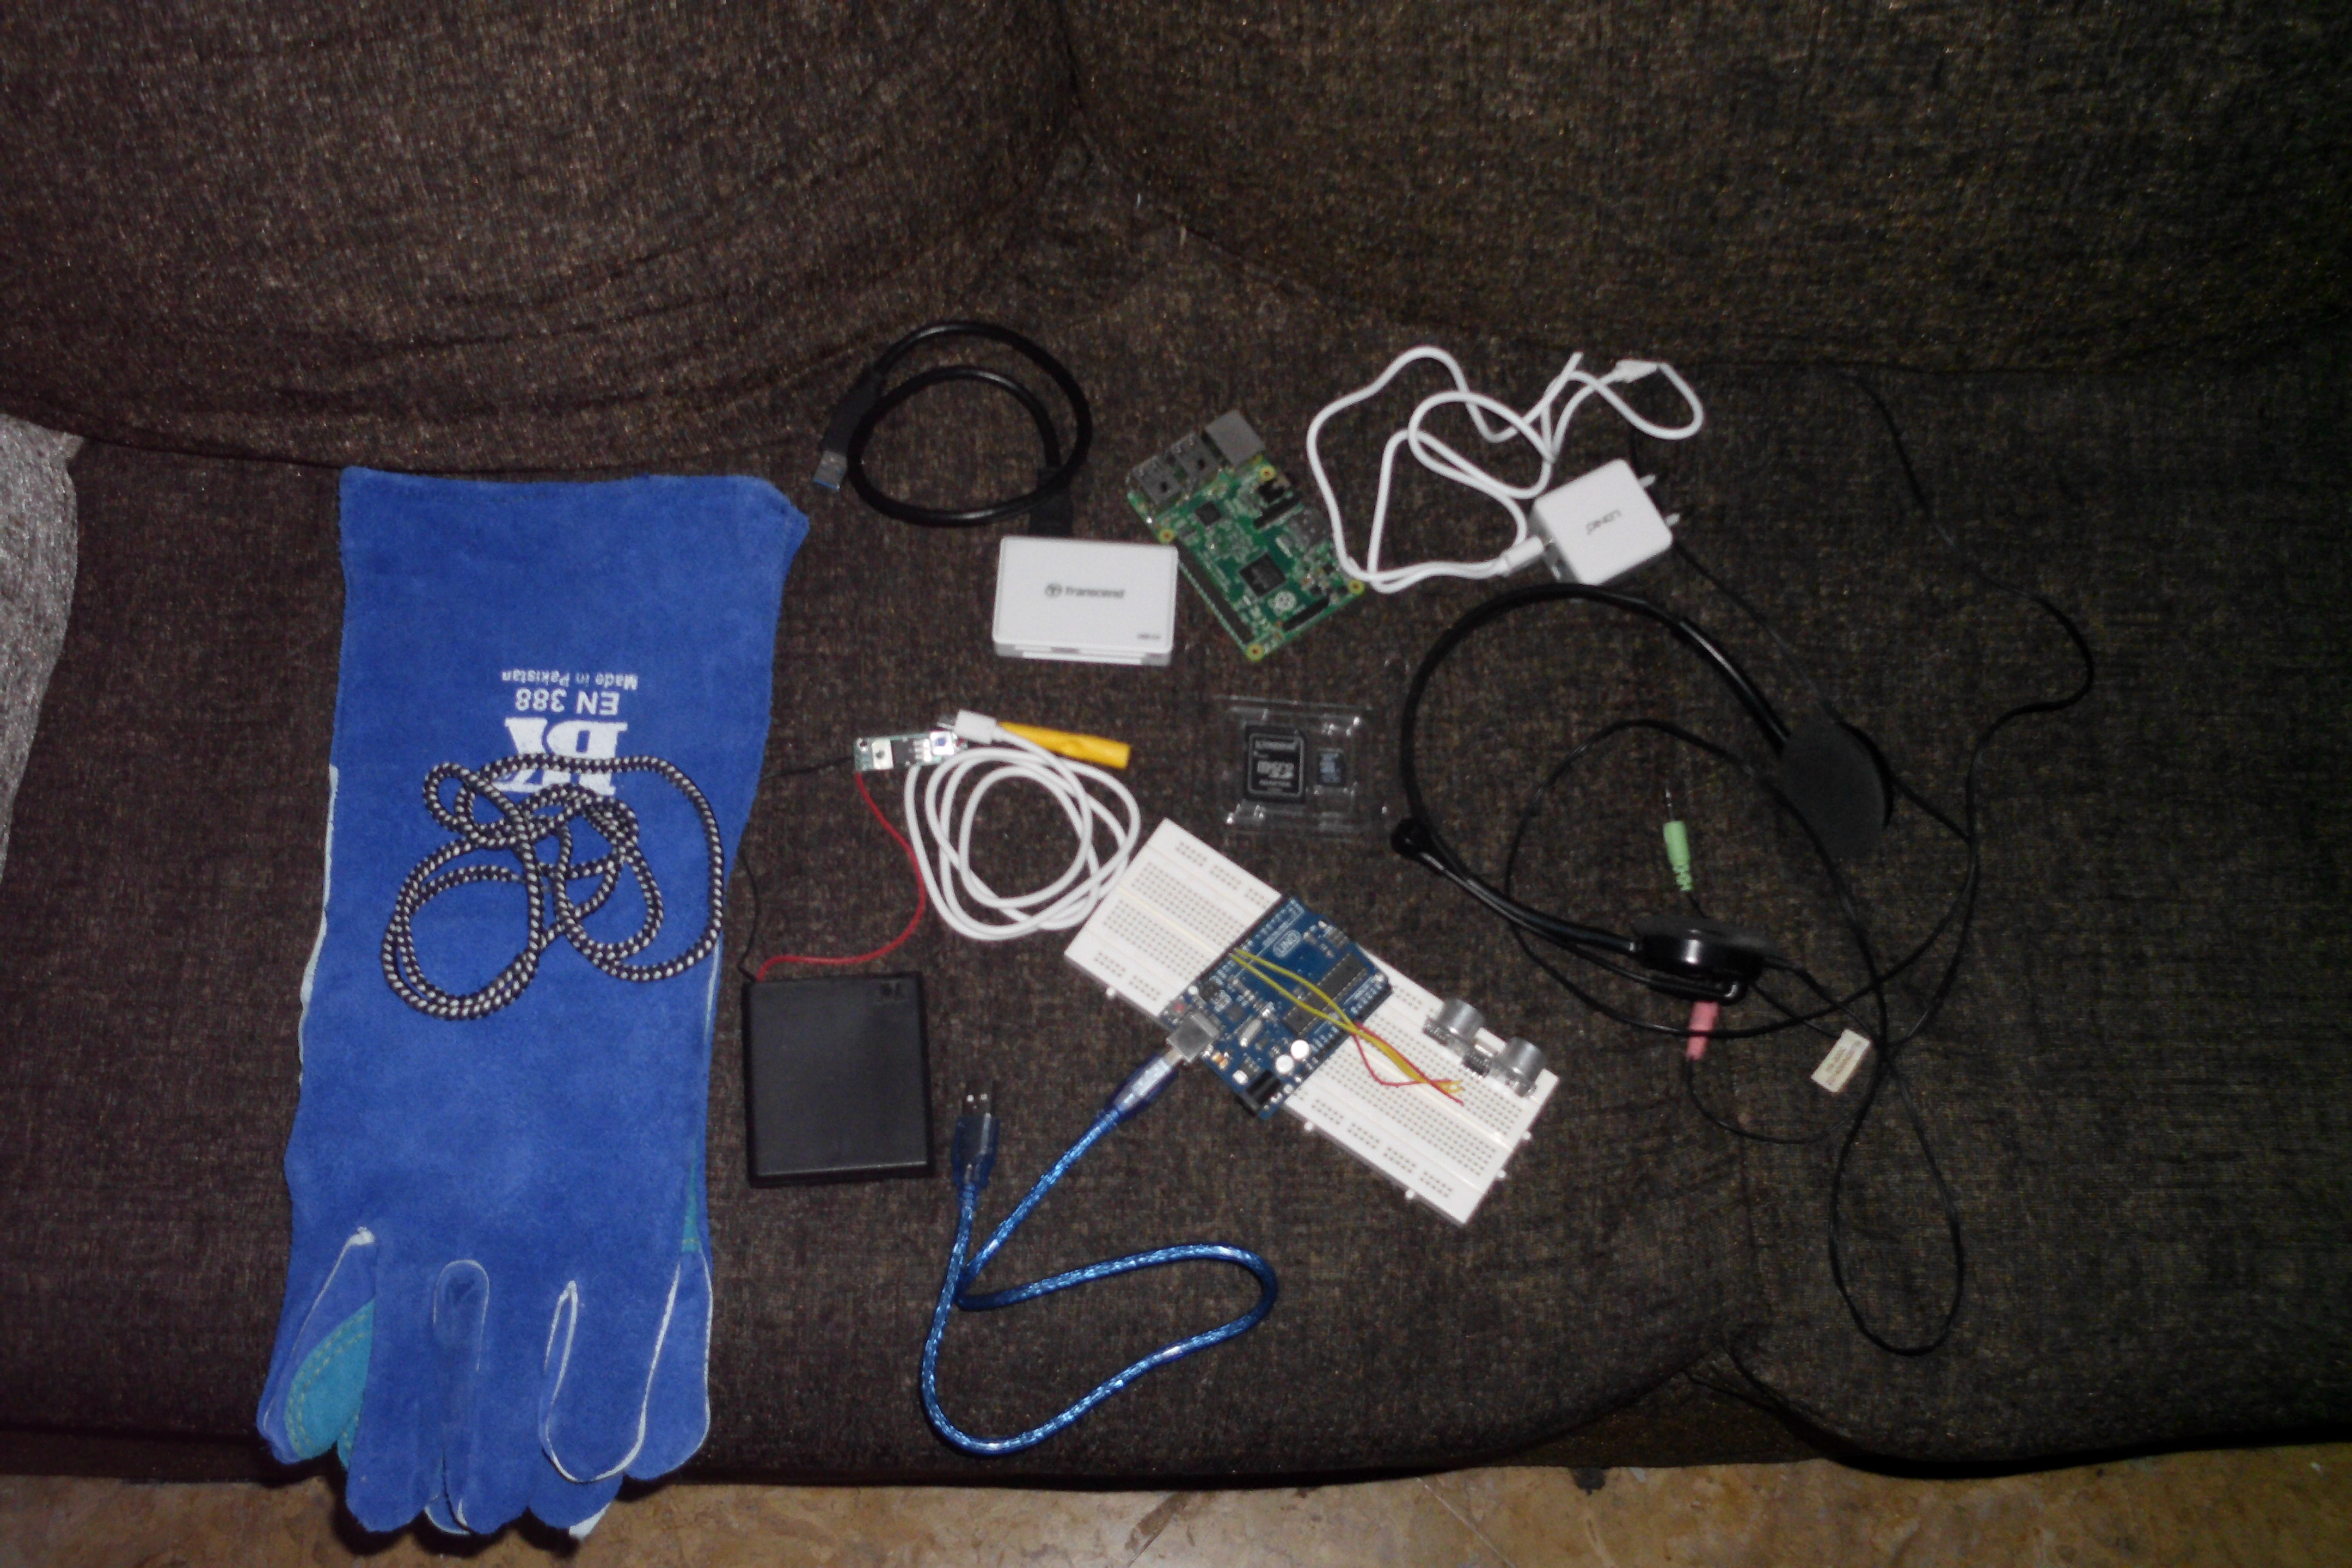
This is a very brief and simple instructable on how to make a small wrist navigation device to help blind people walk.
I wanted to upgrade what I previously made here so I added a raspberry pi 3 to make the device actually talk to the blind person through headphones. I called the device AIDA2 since it's the 2nd version & hopefully I will improve it further in the future. If you found this instructable useful or if you found any other limitations to it please let me know. If you can improve it that would be great too :)
The previous version only produced a buzzer sound when it faced an obstacle. This one talks (or to be more precise plays a MP3 file with recorded talking in it) to the blind person thus specifying exactly what's in front of them. The theory of operation here is simple, the ultrasonic sensor sends a signal from the Arduino board to the Raspberry Pi Computer whenever he sees an obstacle and the Raspberry Pi responds by playing A sound file telling the blind person through the headphones that they wear that an obstacle/obstruction is ahead of them. During the making process of this idea I did suffer a small glitch which I'll explain later but first I want to elaborate that I did try to use Arduino MP3 shield since it's much cheaper than using a raspberry pi but it failed miserably! So if you actually managed to do it using the shield and without the pi that would be much better than what I did here, if that's the case let me know. Also one of the problems of using a raspberry pi (other than the cost) is that it requires a lot of power so either use a smart phone power supply (which limits the motion obviously not what we want!) or buy a USB battery pack for raspberry pi like this one or if you have the time and/or can't afford buying a battery pack (like me) build one using a simple AA battery box (or even without it) and connect its wires to a 5v regulator and solder the regulator wires to the wires of the smart phone charger cable (the end that goes to the plug) and connect the end that goes inside the raspberry pi and it will work just as good (more on that later)
What you will need for this is :
- Arduino board (I tested it on Arduino Uno but you can try it on Mega will also work)
- USB Cable - Standard A-B (for connecting the Arduino to the Raspberry Pi)
- Raspberry Pi 3 (You can use 2 if you want)
- Micro SD Card for Raspberry Pi (8 GB or more)
- SD Card Reader (I'm assuming some knowledge in Raspberry Pi, but if that's not the case I've included all what you need to get started just in case)
- Smart Phone Charger Power Supply for Raspberry Pi (Option 1 - not very practical)
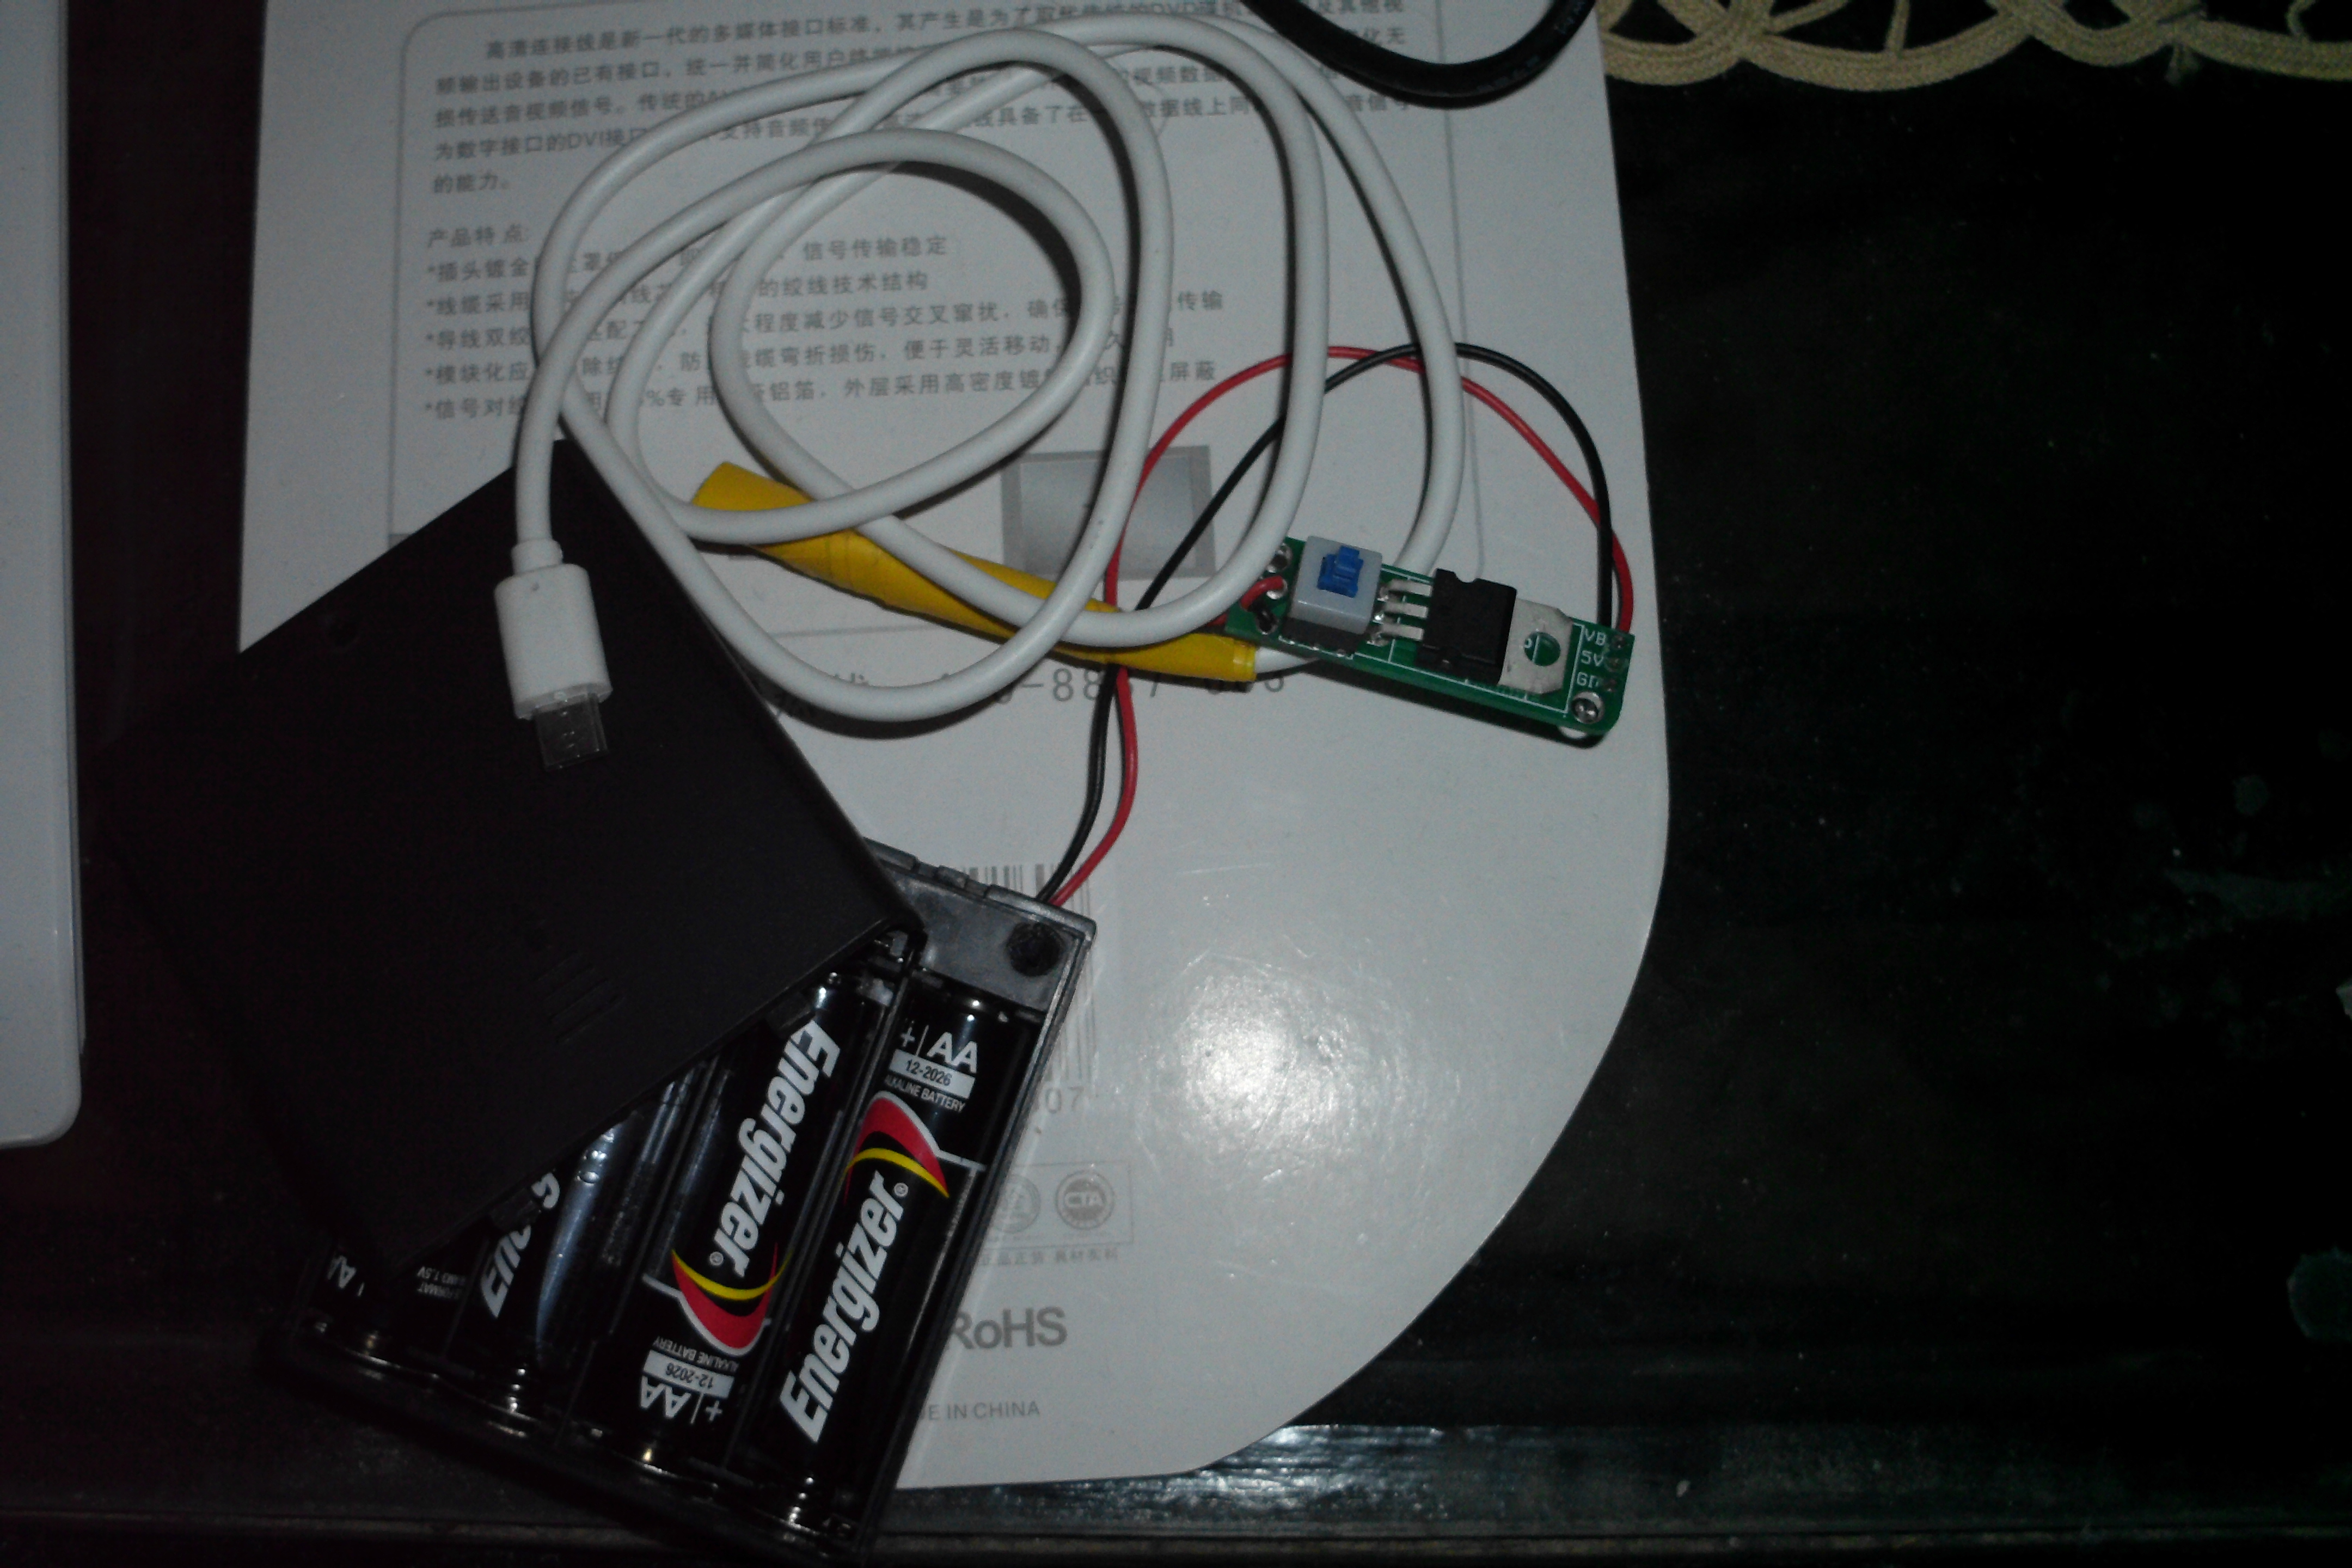
- 5v Regulator + 4 x AA battery box + some solder wire and some duct tape & a wire cutter/stripper for connecting the wire between the Raspberry Pi jack and the regulator and the battery box which will need some soldering and covering the soldered parts with duct tape (Option 2 - In case you want to make a portable power source by yourself, a picture of one I did I put here)
- 4 x AA batteries (In case you are going with option 2)
- USB battery pack for Raspberry pi (Option 3 - It will save you some time and easier to charge so it's more sustainable than Option 2 + Portable So for sure better than Option 1). I never got one but I think you can buy one from here I suppose
- Headphones to be connected to the raspberry pi audio jack (I prefer the big ones since they are more comfortable to the ears)
- Ultrasonic Sensor Module for Arduino (HC-SR04)
- Breadboard
- Jumper Wires
- A single glove or an oven mitten or an industrial protection glove (that will serve as the talking hand)
- A Shoelace or a string or a small rope for tying up every thing together (this pretty optional, you can use a glue if you want but since this project has a glitch I wouldn't advise you to do that)
Connecting the Device
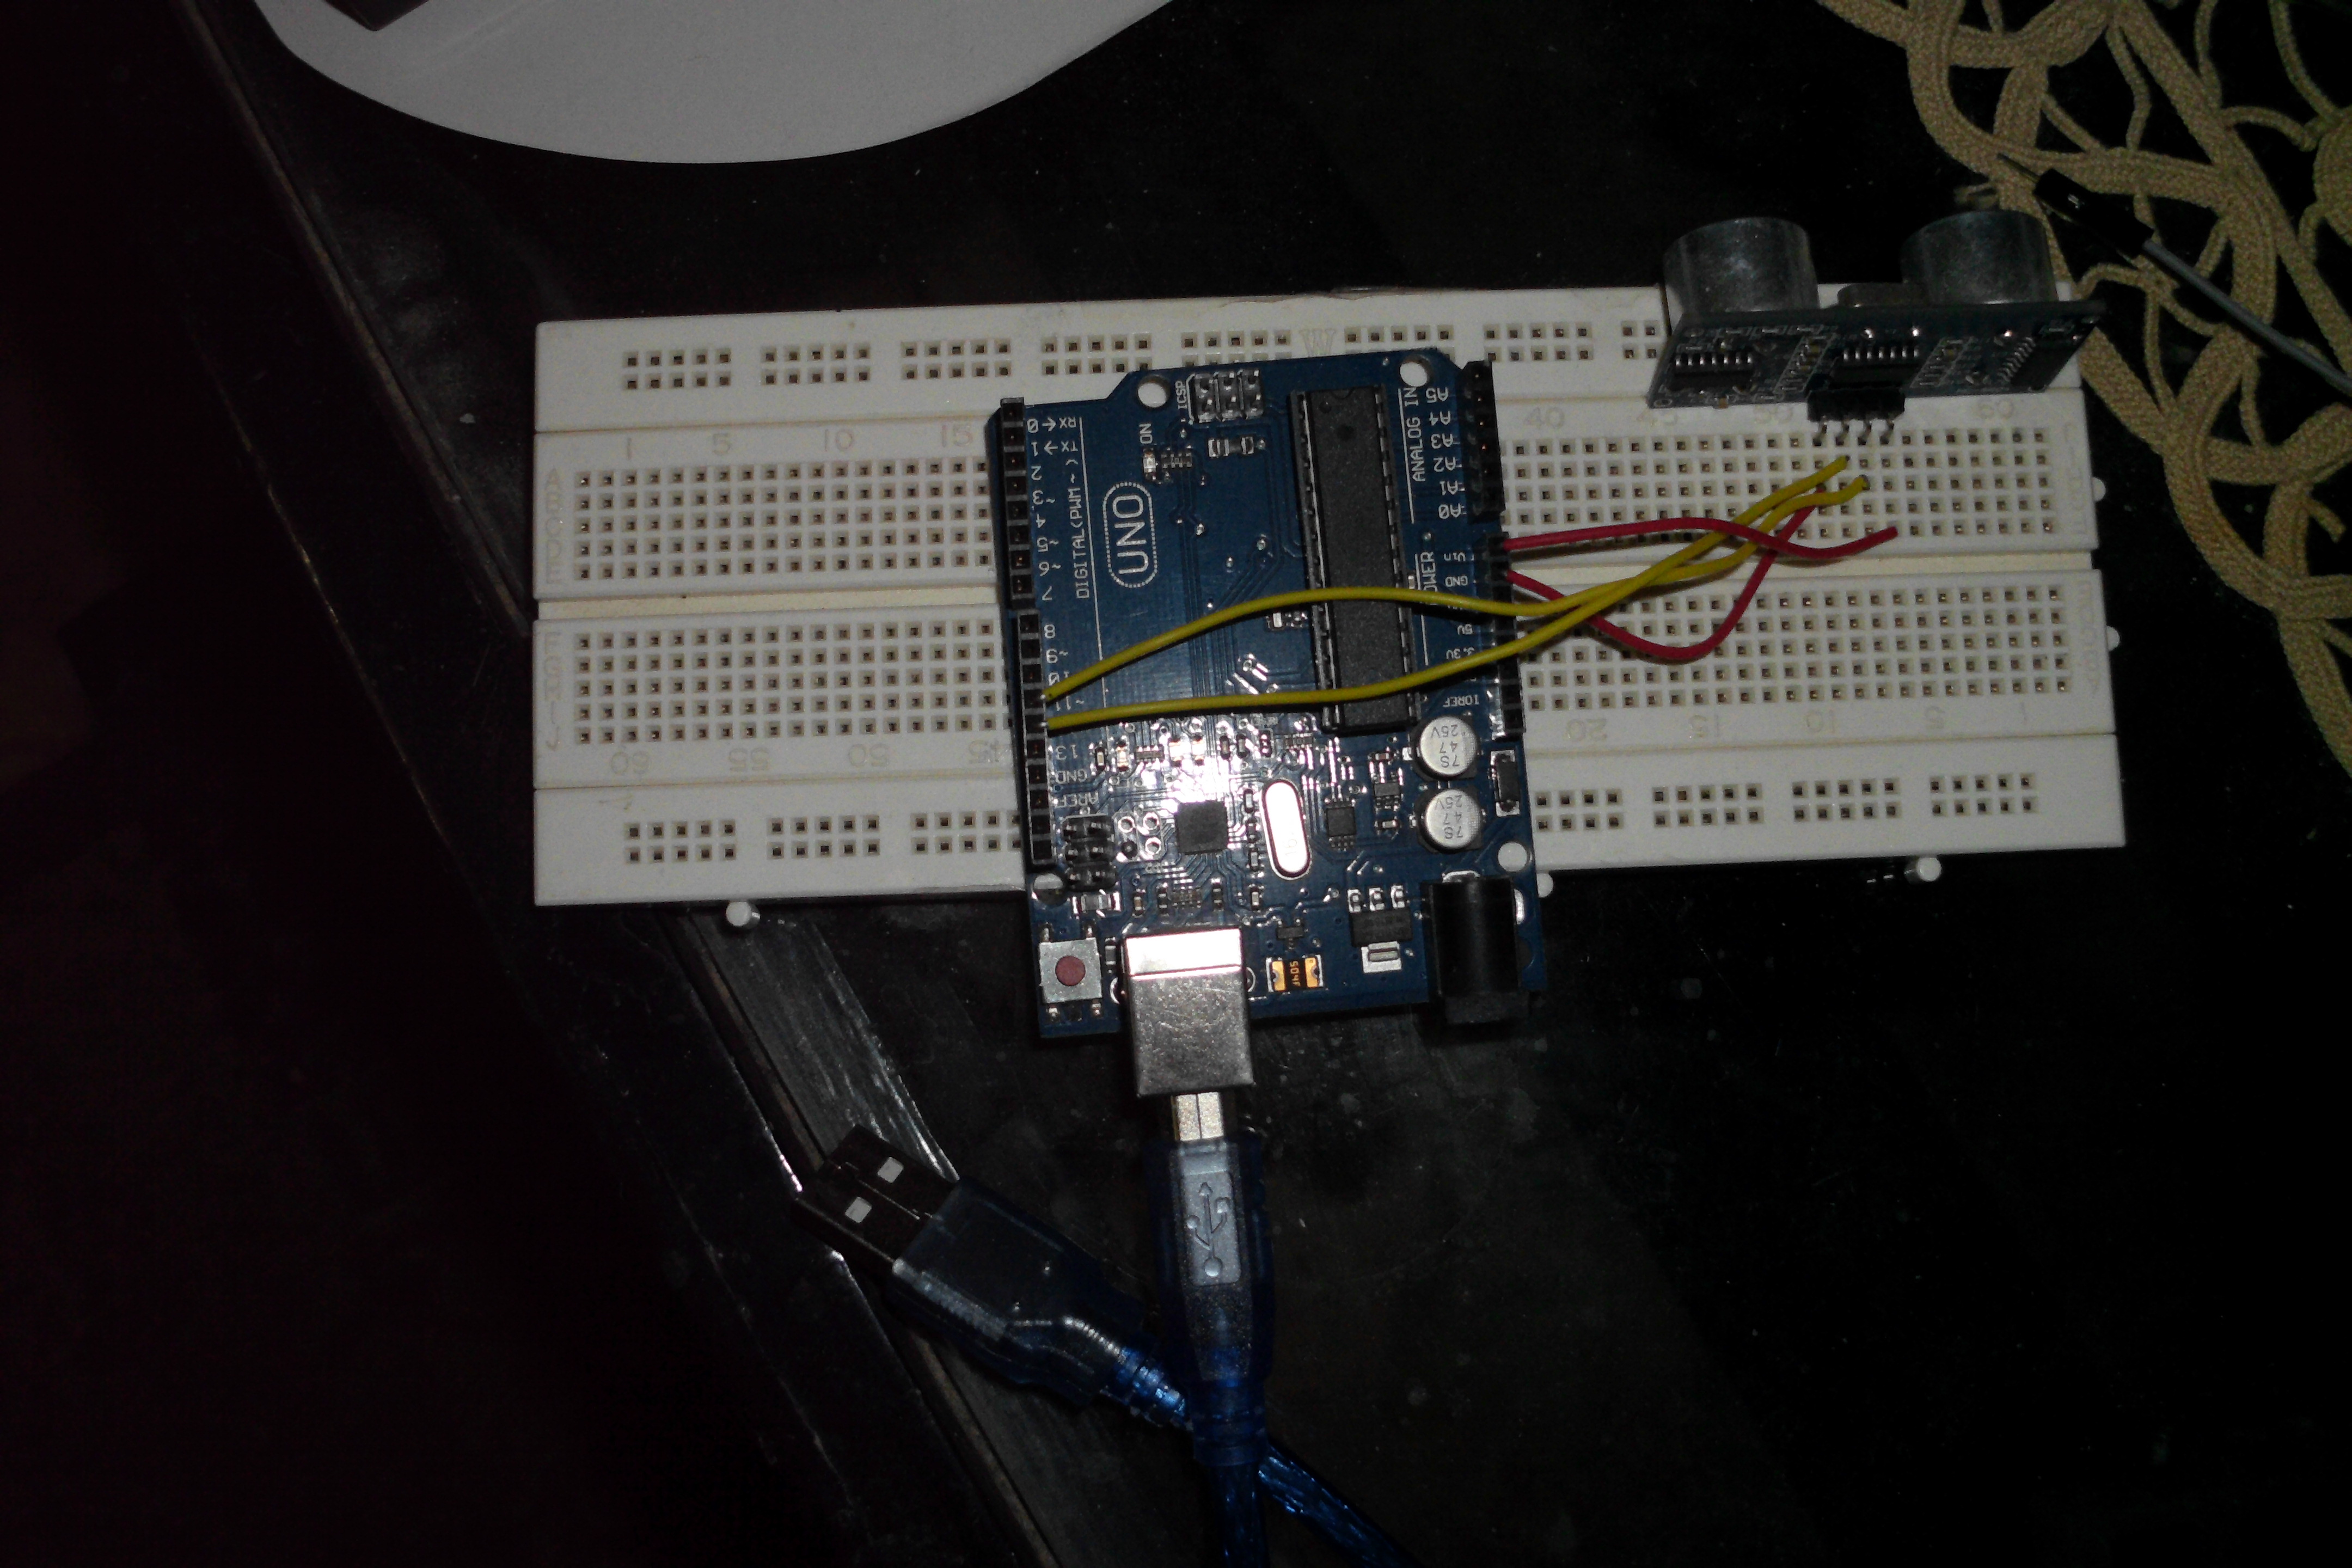
Before starting it' worth mentioning that you could just connect the ultrasonic sensor to the GPIO pins of the Raspberry Pi directly and not use an Arduino at all. But for some unknown reason that didn't work with mey so I had to add Arduino until I know what the problem is.
use the wires to connect the parts of the Arduino UNO as follows :
For the ultrasonic sensor :
Echo pin to pin 12 on the Arduino, Trig pin to pin 11 on the Arduino, Vcc to Vin, GND to GND and finally the USB Cable to the USB hub. Here's a picture showing the actual connections on the breadboard.
For the Raspberry Pi :
I'm assuming you have some knowledge of setting up the Raspberry Pi, formatting the SD Card, burning an ISO image of Raspbian OS on it using the SD Card reader and then powering up the Raspberry Pi using one of the power Supply options mentioned above then configuring the Raspberry Pi for the first time after connecting the display, keyboard & mouse to the pi,...etc. If you don't know how to do all that I suggest you stop reading this right now and check links like these : https://www.raspberrypi.org/help/videos/ , https://www.raspberrypi.org/learning/quick-start-guide/quickstart/ and do some searching on each of the brief steps I mentioned above.
After successfully configuring the Raspberry Pi we move on to the next step.
The Code
Start by programming the Arduino by connecting the USB Cable to your PC and opening the IDE and enter the following code. make sure to adjust your IDE before connecting the board to your PC depending on the type of Arduino board you're using, then connect it and write down the following code. I tried to explain as much of the code as possible in the comments, I even added some options in case you want to test the sensor first on the serial monitor (as I did) in case something isn't clear please leave a comment and I will try to answer.
The code to be written & uploaded to the Arduino board is as follows :-
/* AIDA 2 : Blind Navigation Device
HC-SR04 Ping distance sensor:
VCC to Arduino Vin
GND to Arduino GND
Echo to Arduino pin 12
Trig to Arduino pin 11
USB Cable To Raspberry Pi */
#include <NewPing.h> //downloaded from the internet & unzipped in libraries folder in Arduino Directory
#include <Time.h> //downloaded from the internet and installed in the Arduino\libraries to enable interfacing with the raspberry pi
#include <TimeLib.h>
#define TRIGGER_PIN 11 // Arduino pin tied to trigger pin on the ultrasonic sensor.
#define ECHO_PIN 12 // Arduino pin tied to echo pin on the ultrasonic sensor.
int maximumRange = 70; // Maximum range needed
int minimumRange = 35; // Minimum range needed
long duration, distance; // Duration used to calculate distance
void setup()
{
Serial.begin (115200);
pinMode(TRIGGER_PIN, OUTPUT);
pinMode(ECHO_PIN, INPUT);
}
void loop()
{
// The following trigPin/echoPin cycle is used to determine the distance of the nearest object through reflecting soundwaves off of it (like a Bat!)
digitalWrite(TRIGGER_PIN, LOW);
delayMicroseconds(2);
digitalWrite(TRIGGER_PIN, HIGH);
delayMicroseconds(10);
digitalWrite(TRIGGER_PIN, LOW);
duration = pulseIn(ECHO_PIN, HIGH);
distance = (duration/2) / 29.1; //formula to convert the value measured by the ultrasonic sensor into centimeters
if (distance >= maximumRange || distance <= minimumRange)
{
Serial.println("0"); // 0 => Clear Path
}
else
{
Serial.println("1"); //1 => Obstruction Ahead
}
delay(50); //Delay 50ms before next reading.
}
After Programming the Arduino board (which is connected to the Ultrasonic sensor) , we need to program the Python code on the Raspberry Pi to determine what will it do once it recieves and processes the data sent to it from the Ardiuno. But before we start Programming the Pi, we need to add some sound files to the Raspberry Pi, these are the sound files to be played when the ultrasonic sensor faces an obstruction. I used a text-to-speech software (https://www.naturalreaders.com/) and I have made the sound files I made available (they speak in both English and Arabic) but you can use/create any MP3 files of your choosing (you'll have to change the name of the file in the python code off course).
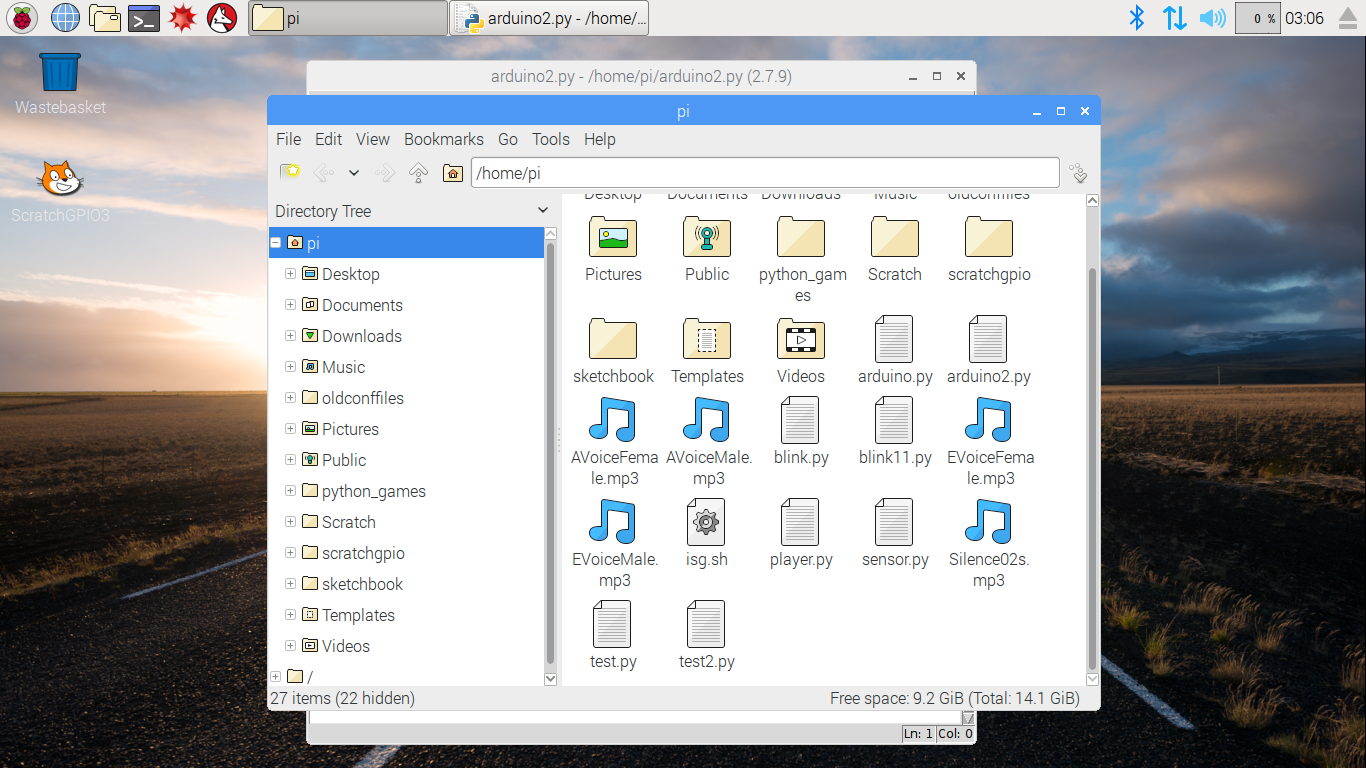
Here's a screenshot of the home directory of the Raspberry Pi after I moved the MP3 sound files to it using a USB.
From the Raspberry Pi start menu choose 'programming' and choose IDLE and write the following python code :-
import serial
import RPi.GPIO as GPIO #import GPIO library
import sys #import sys module
import os #import os module
from subprocess import Popen #import subprocess module, Popen command
from subprocess import call #import subprocess module, call command
import time #import time library to allow us to use the sleep function
import multiprocessing
import datetime
GPIO.setmode(GPIO.BOARD) #activate all pins
GPIO.setwarnings(False) #disable Warning Messages from the compiler
arduinoSerialData = serial.Serial('/dev/ttyACM0', 115200, timeout = 0.1)
def main():
while True:
time.sleep(0.01)
if(arduinoSerialData.inWaiting()>0):
myData = arduinoSerialData.readline().rstrip()
print (myData)
if (myData == b'1'): #since this is written in python 2, 1 was made string print('Obstruction Ahead')
os.system('omxplayer AVoiceFemale.mp3') #Arabic Female Sound File
#os.system('omxplayer EVoiceFemale.mp3') #English Female Sound File
#the previous line sends a command to the terminal to play a MP3 file
else:
print('Clear Path')
#os.system('omxplayer Silence02s.mp3) #this was an attempt to solve the glitch
if __name__ == "__main__":
try:
main()
except KeyboardInterrupt: #In case you want to debug, use Ctrl + C
print >> sys.stderr, '\nExiting by user request. \n'
sys.exit(0)
NOTE : Due to formatting issues when copying the code here the indents were not made properly. PLEASE MIND THE INDENTS OTHERWISE THE CODE WON'T WORK !
Connecting the Raspberry Pi and the Arduino Together
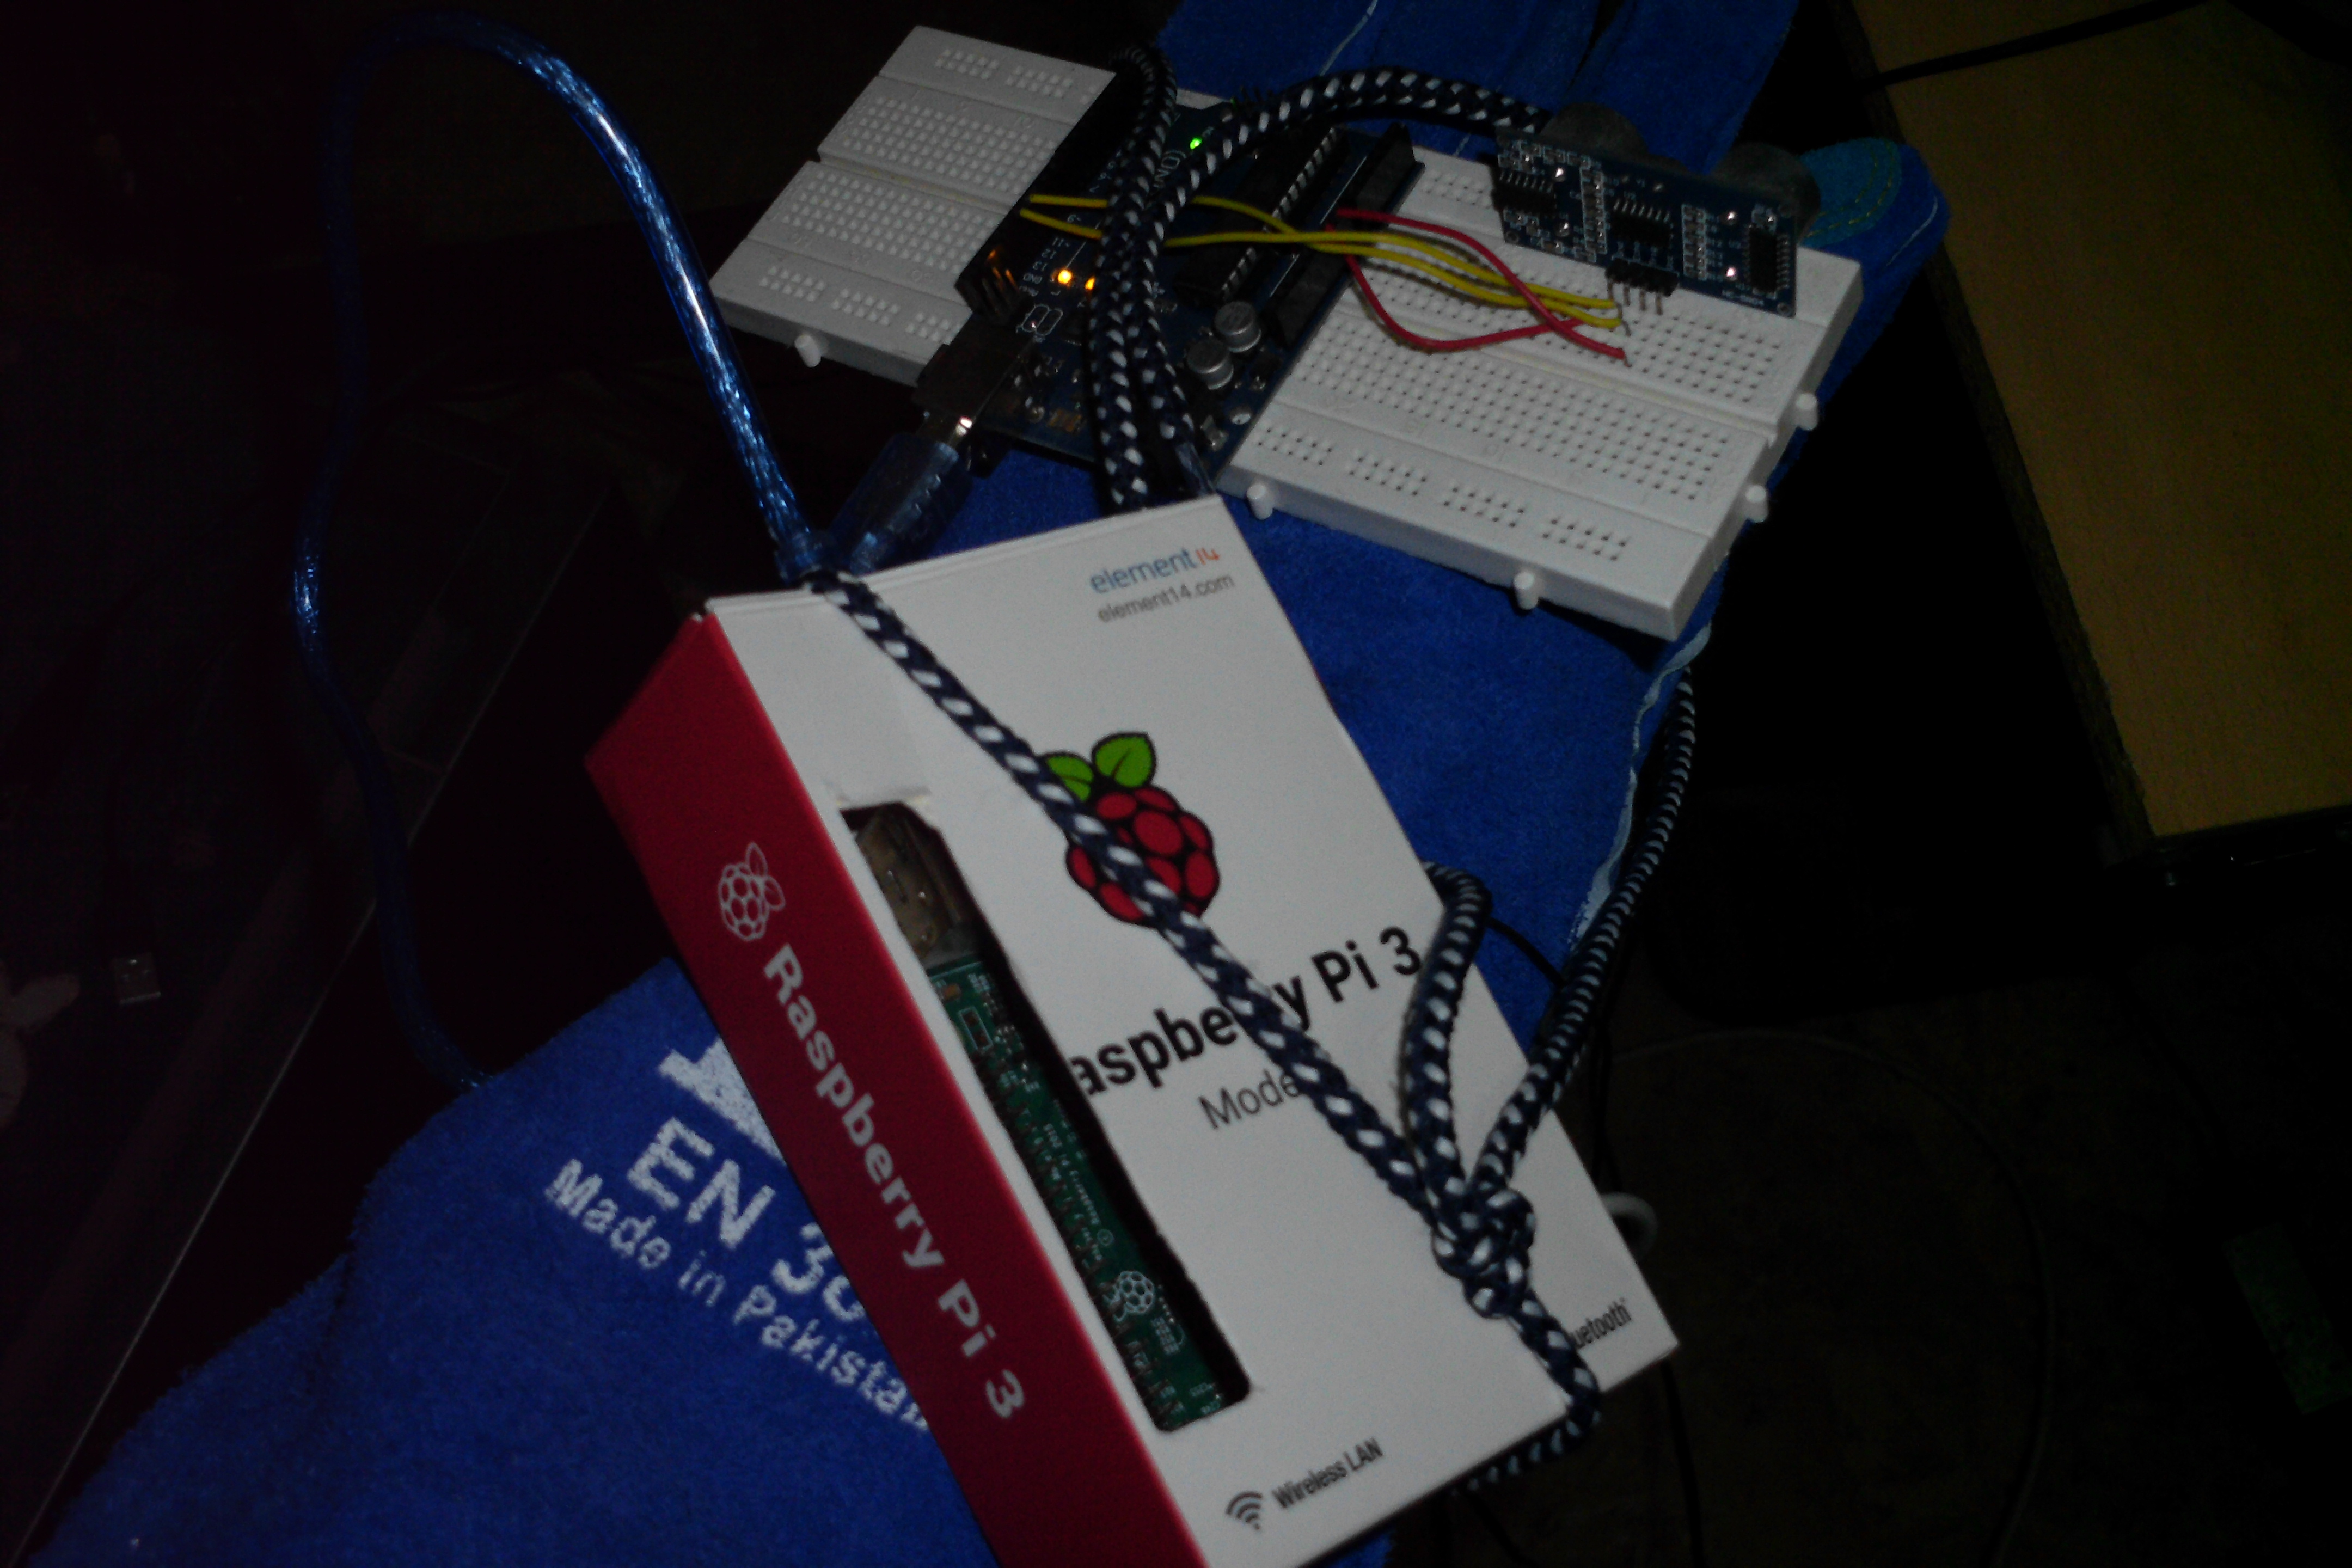
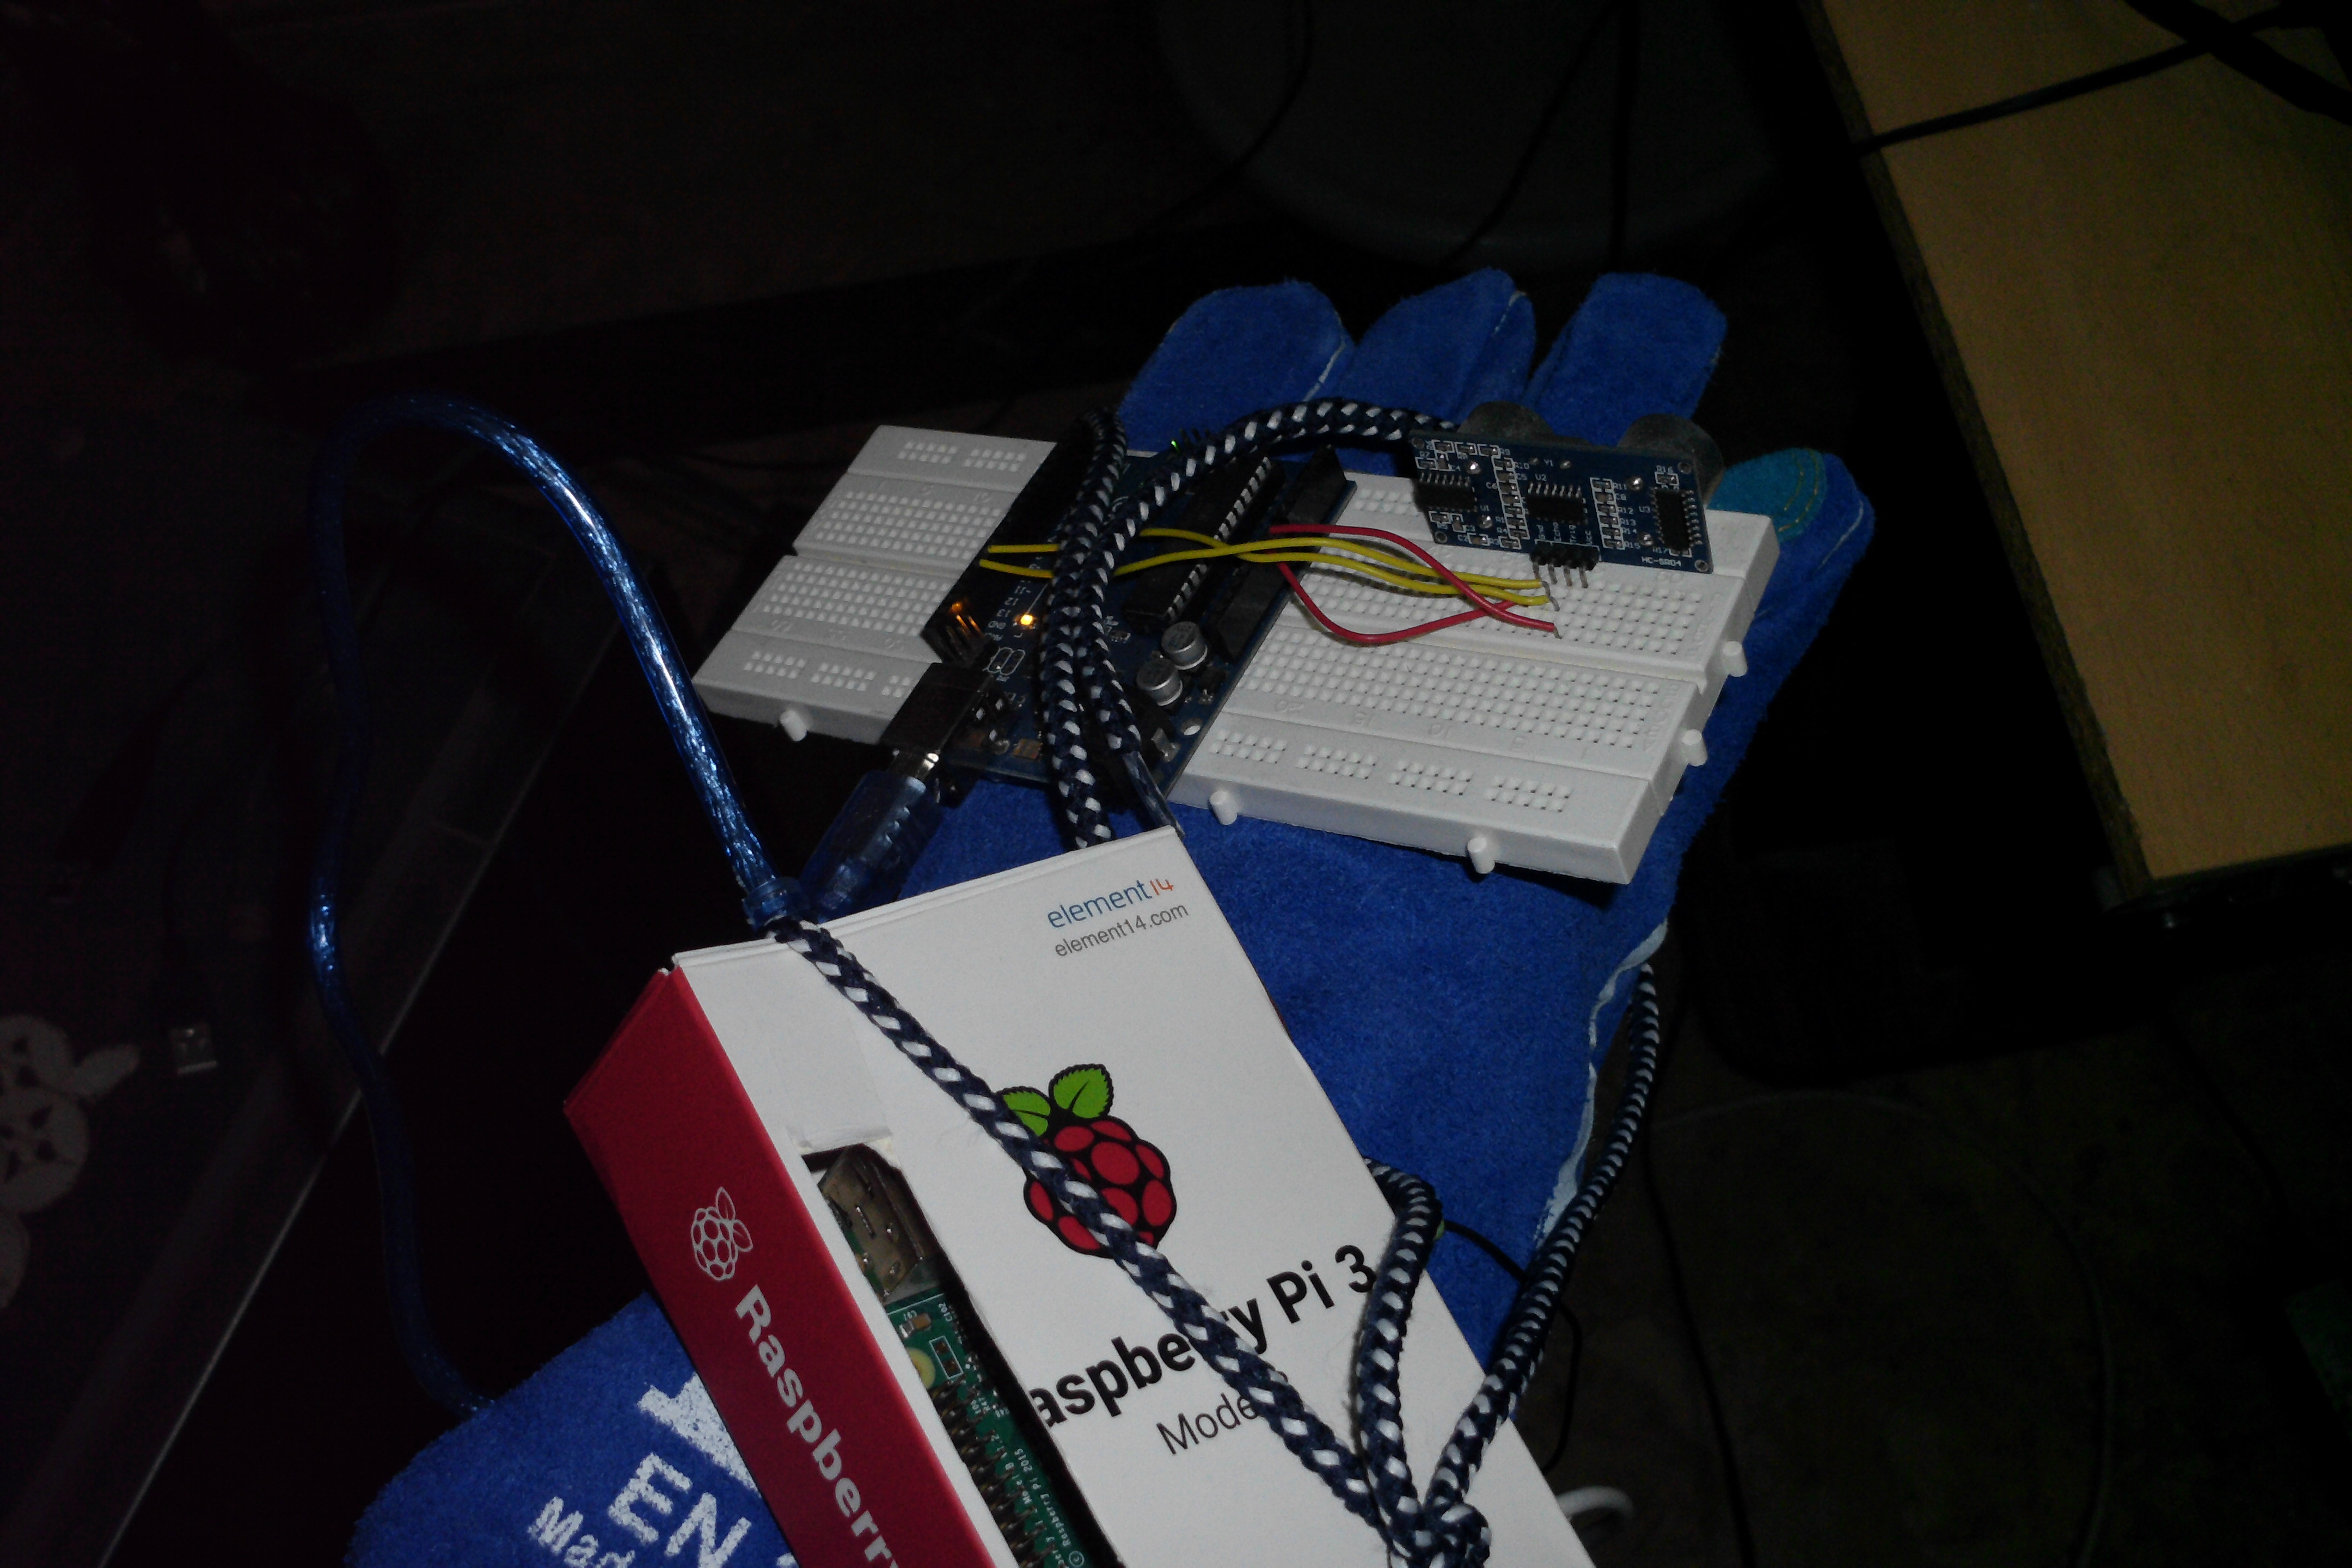
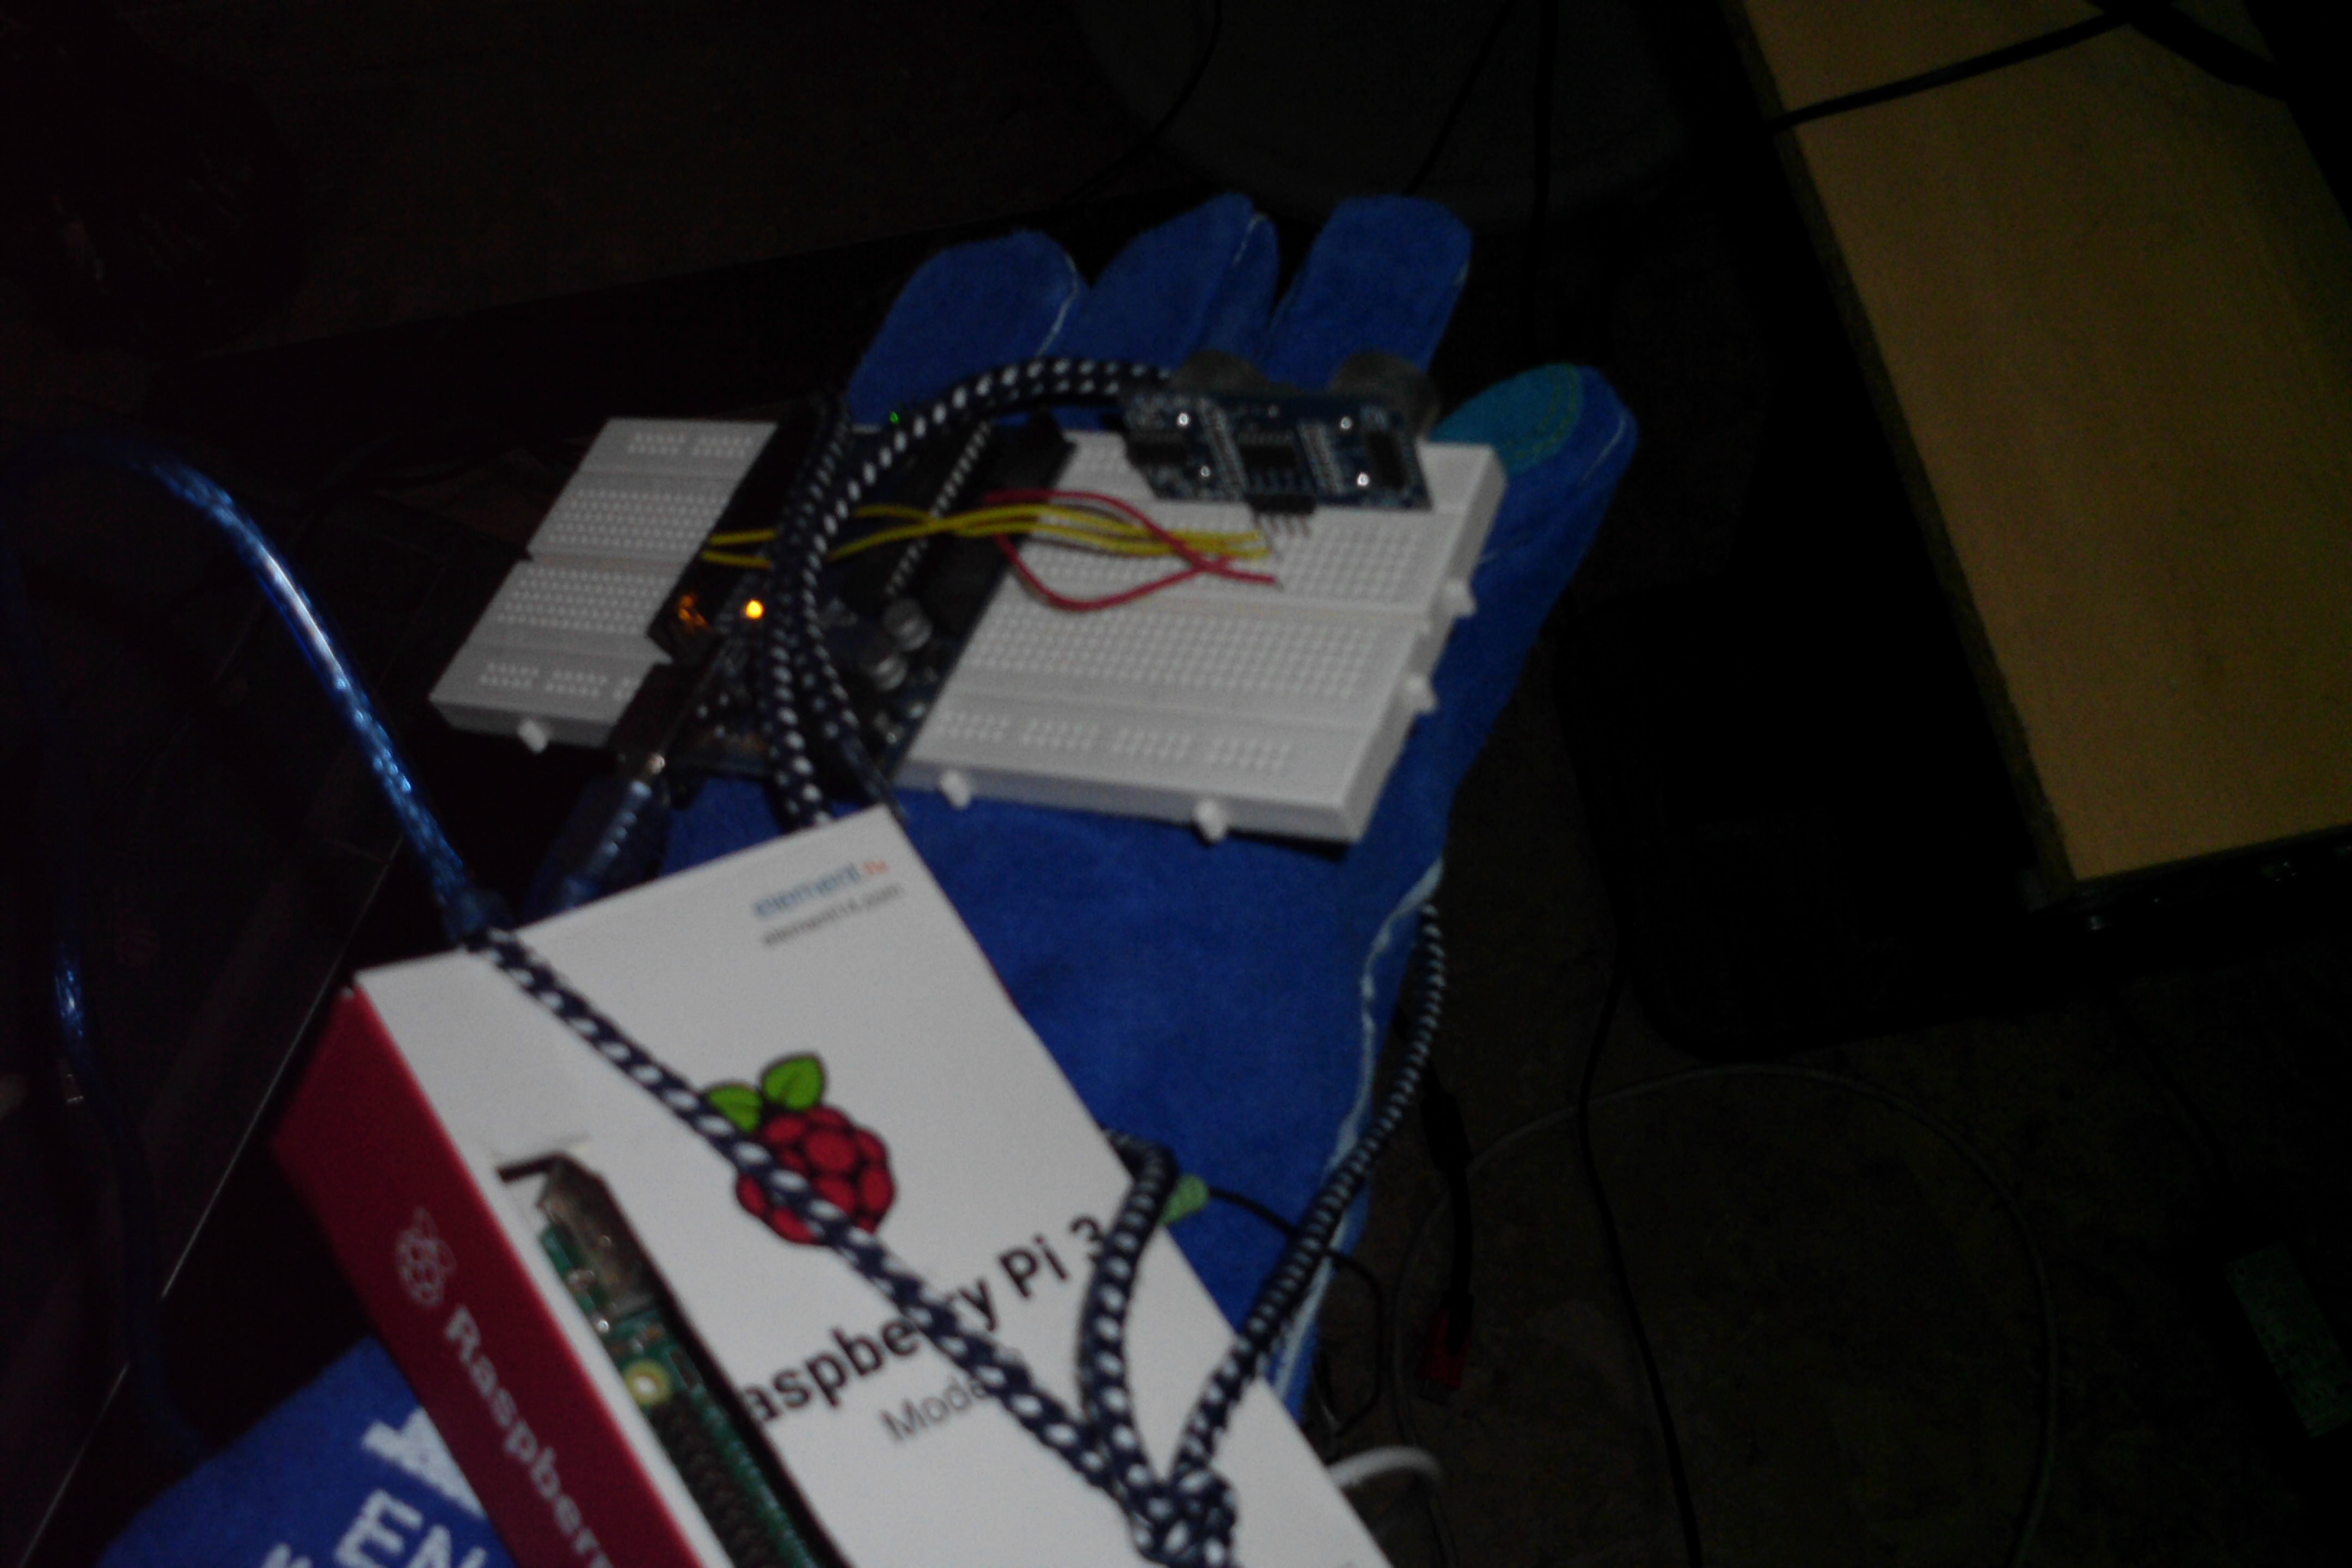
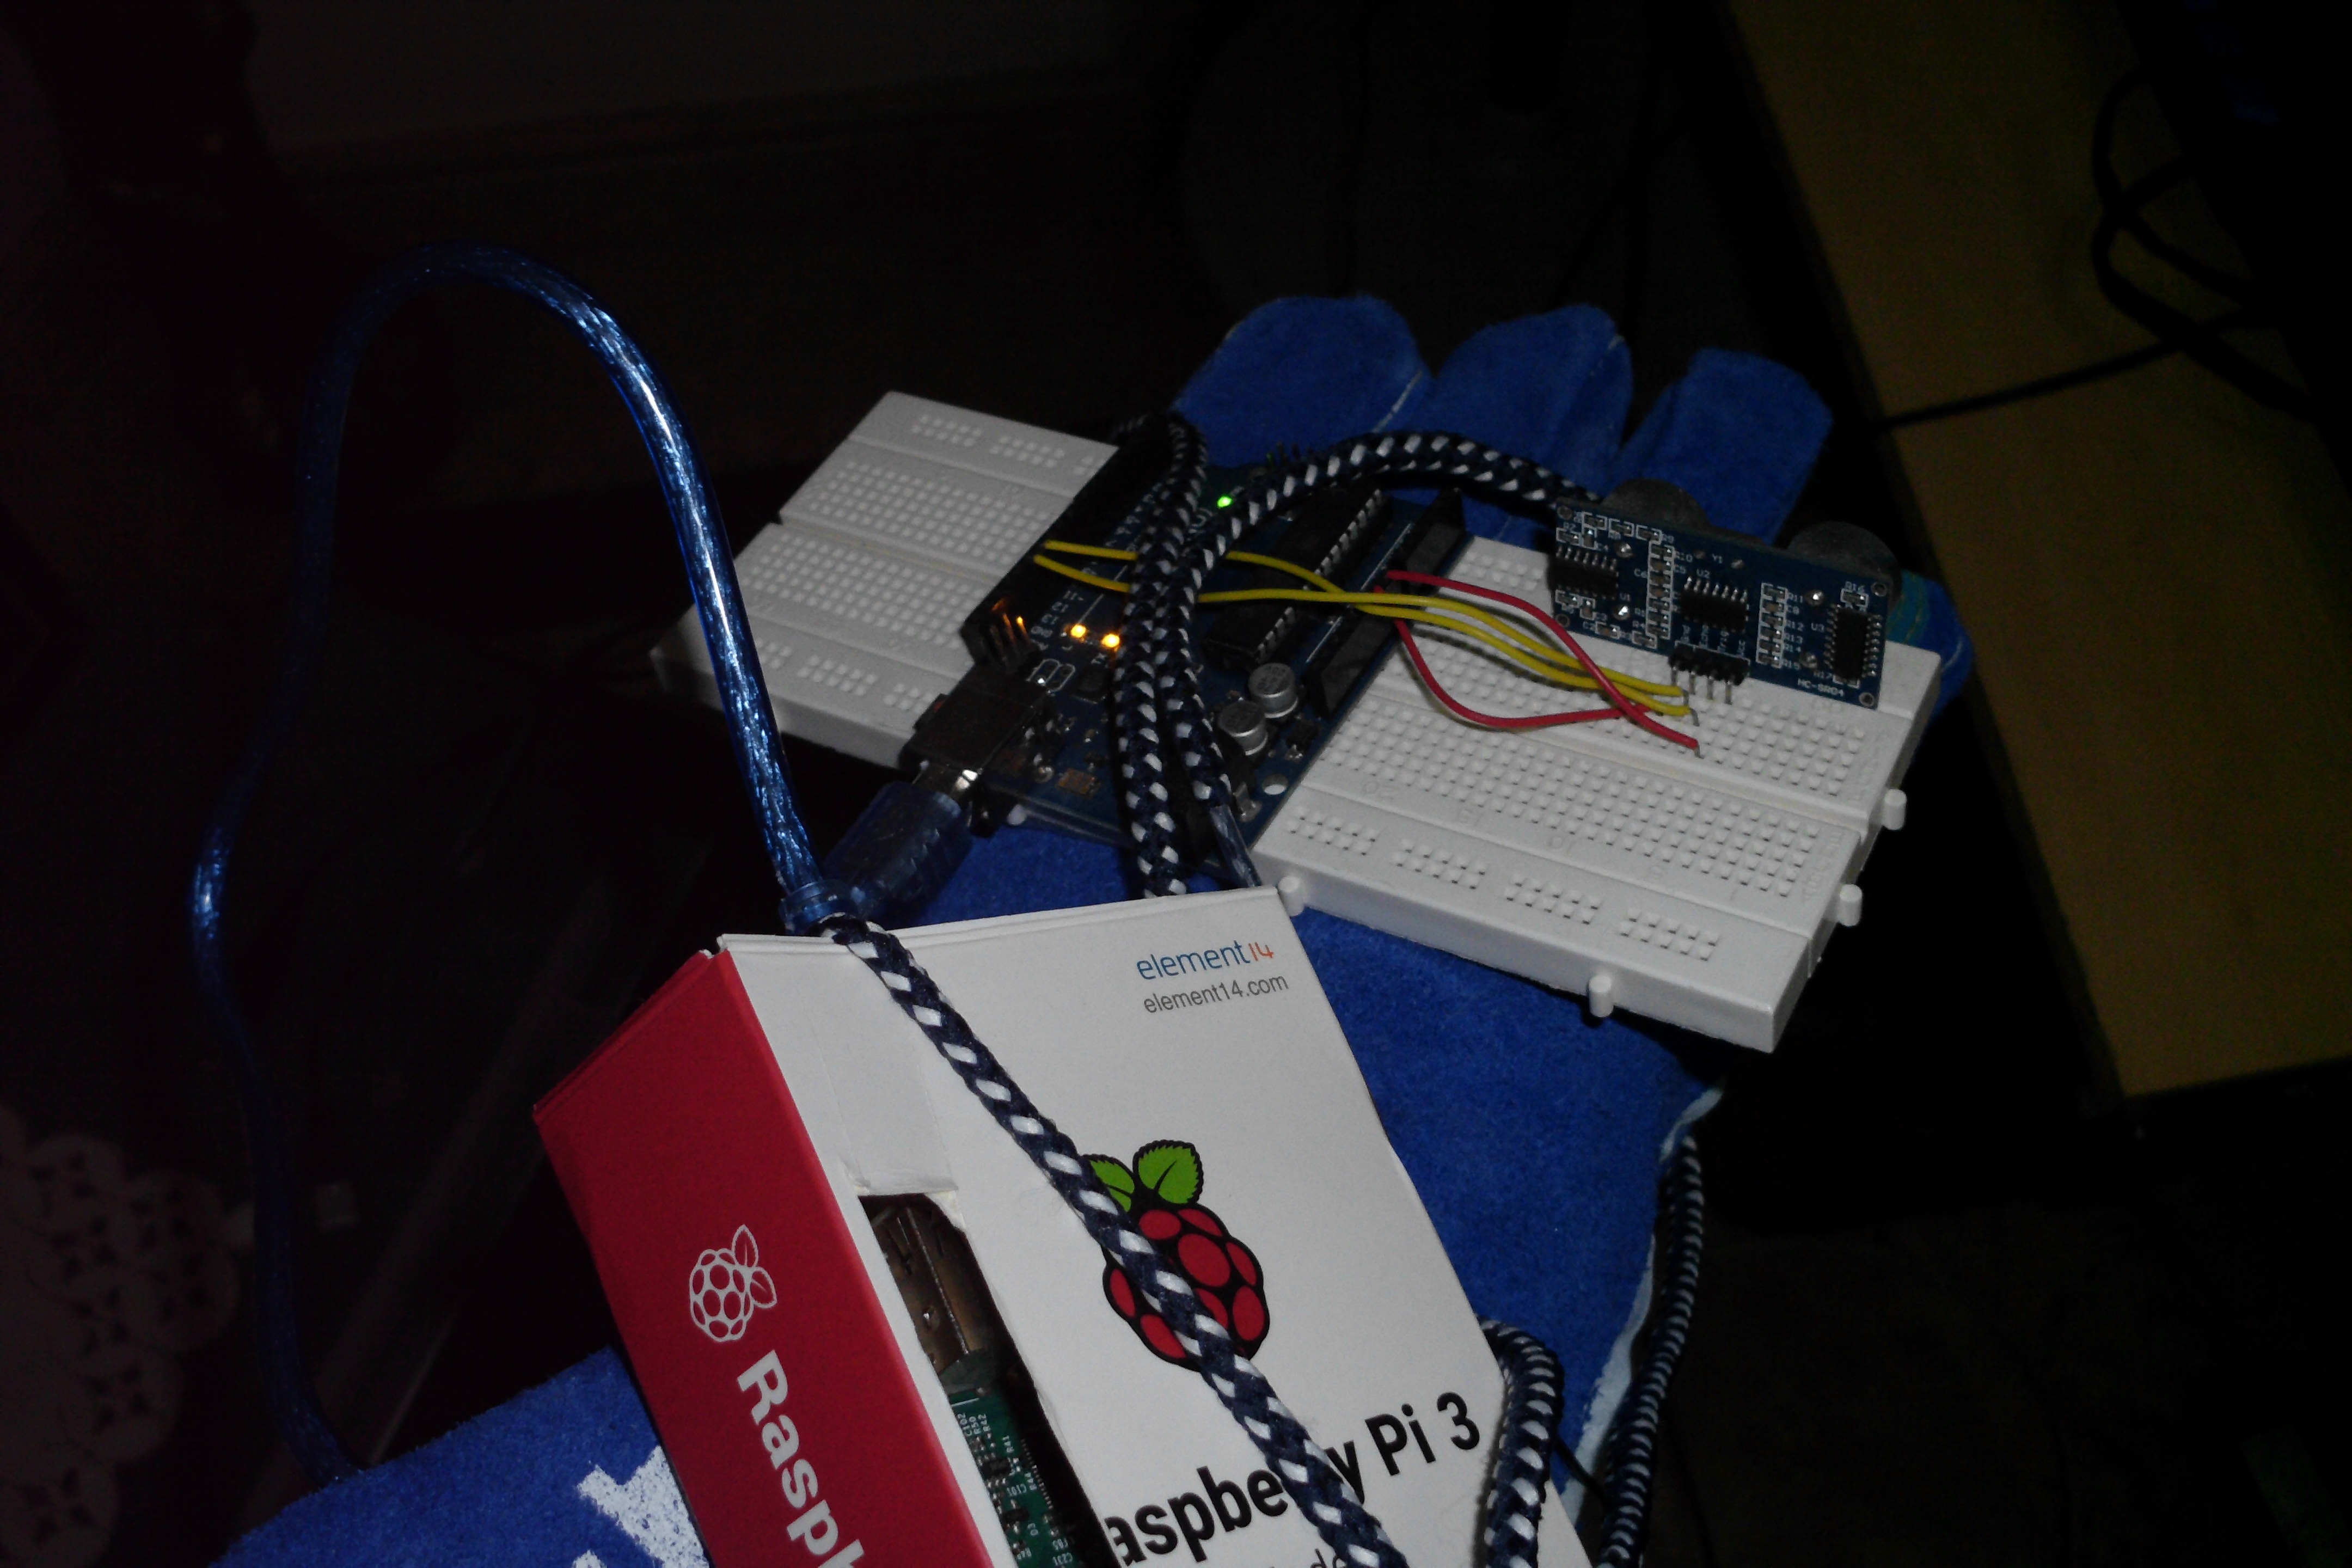
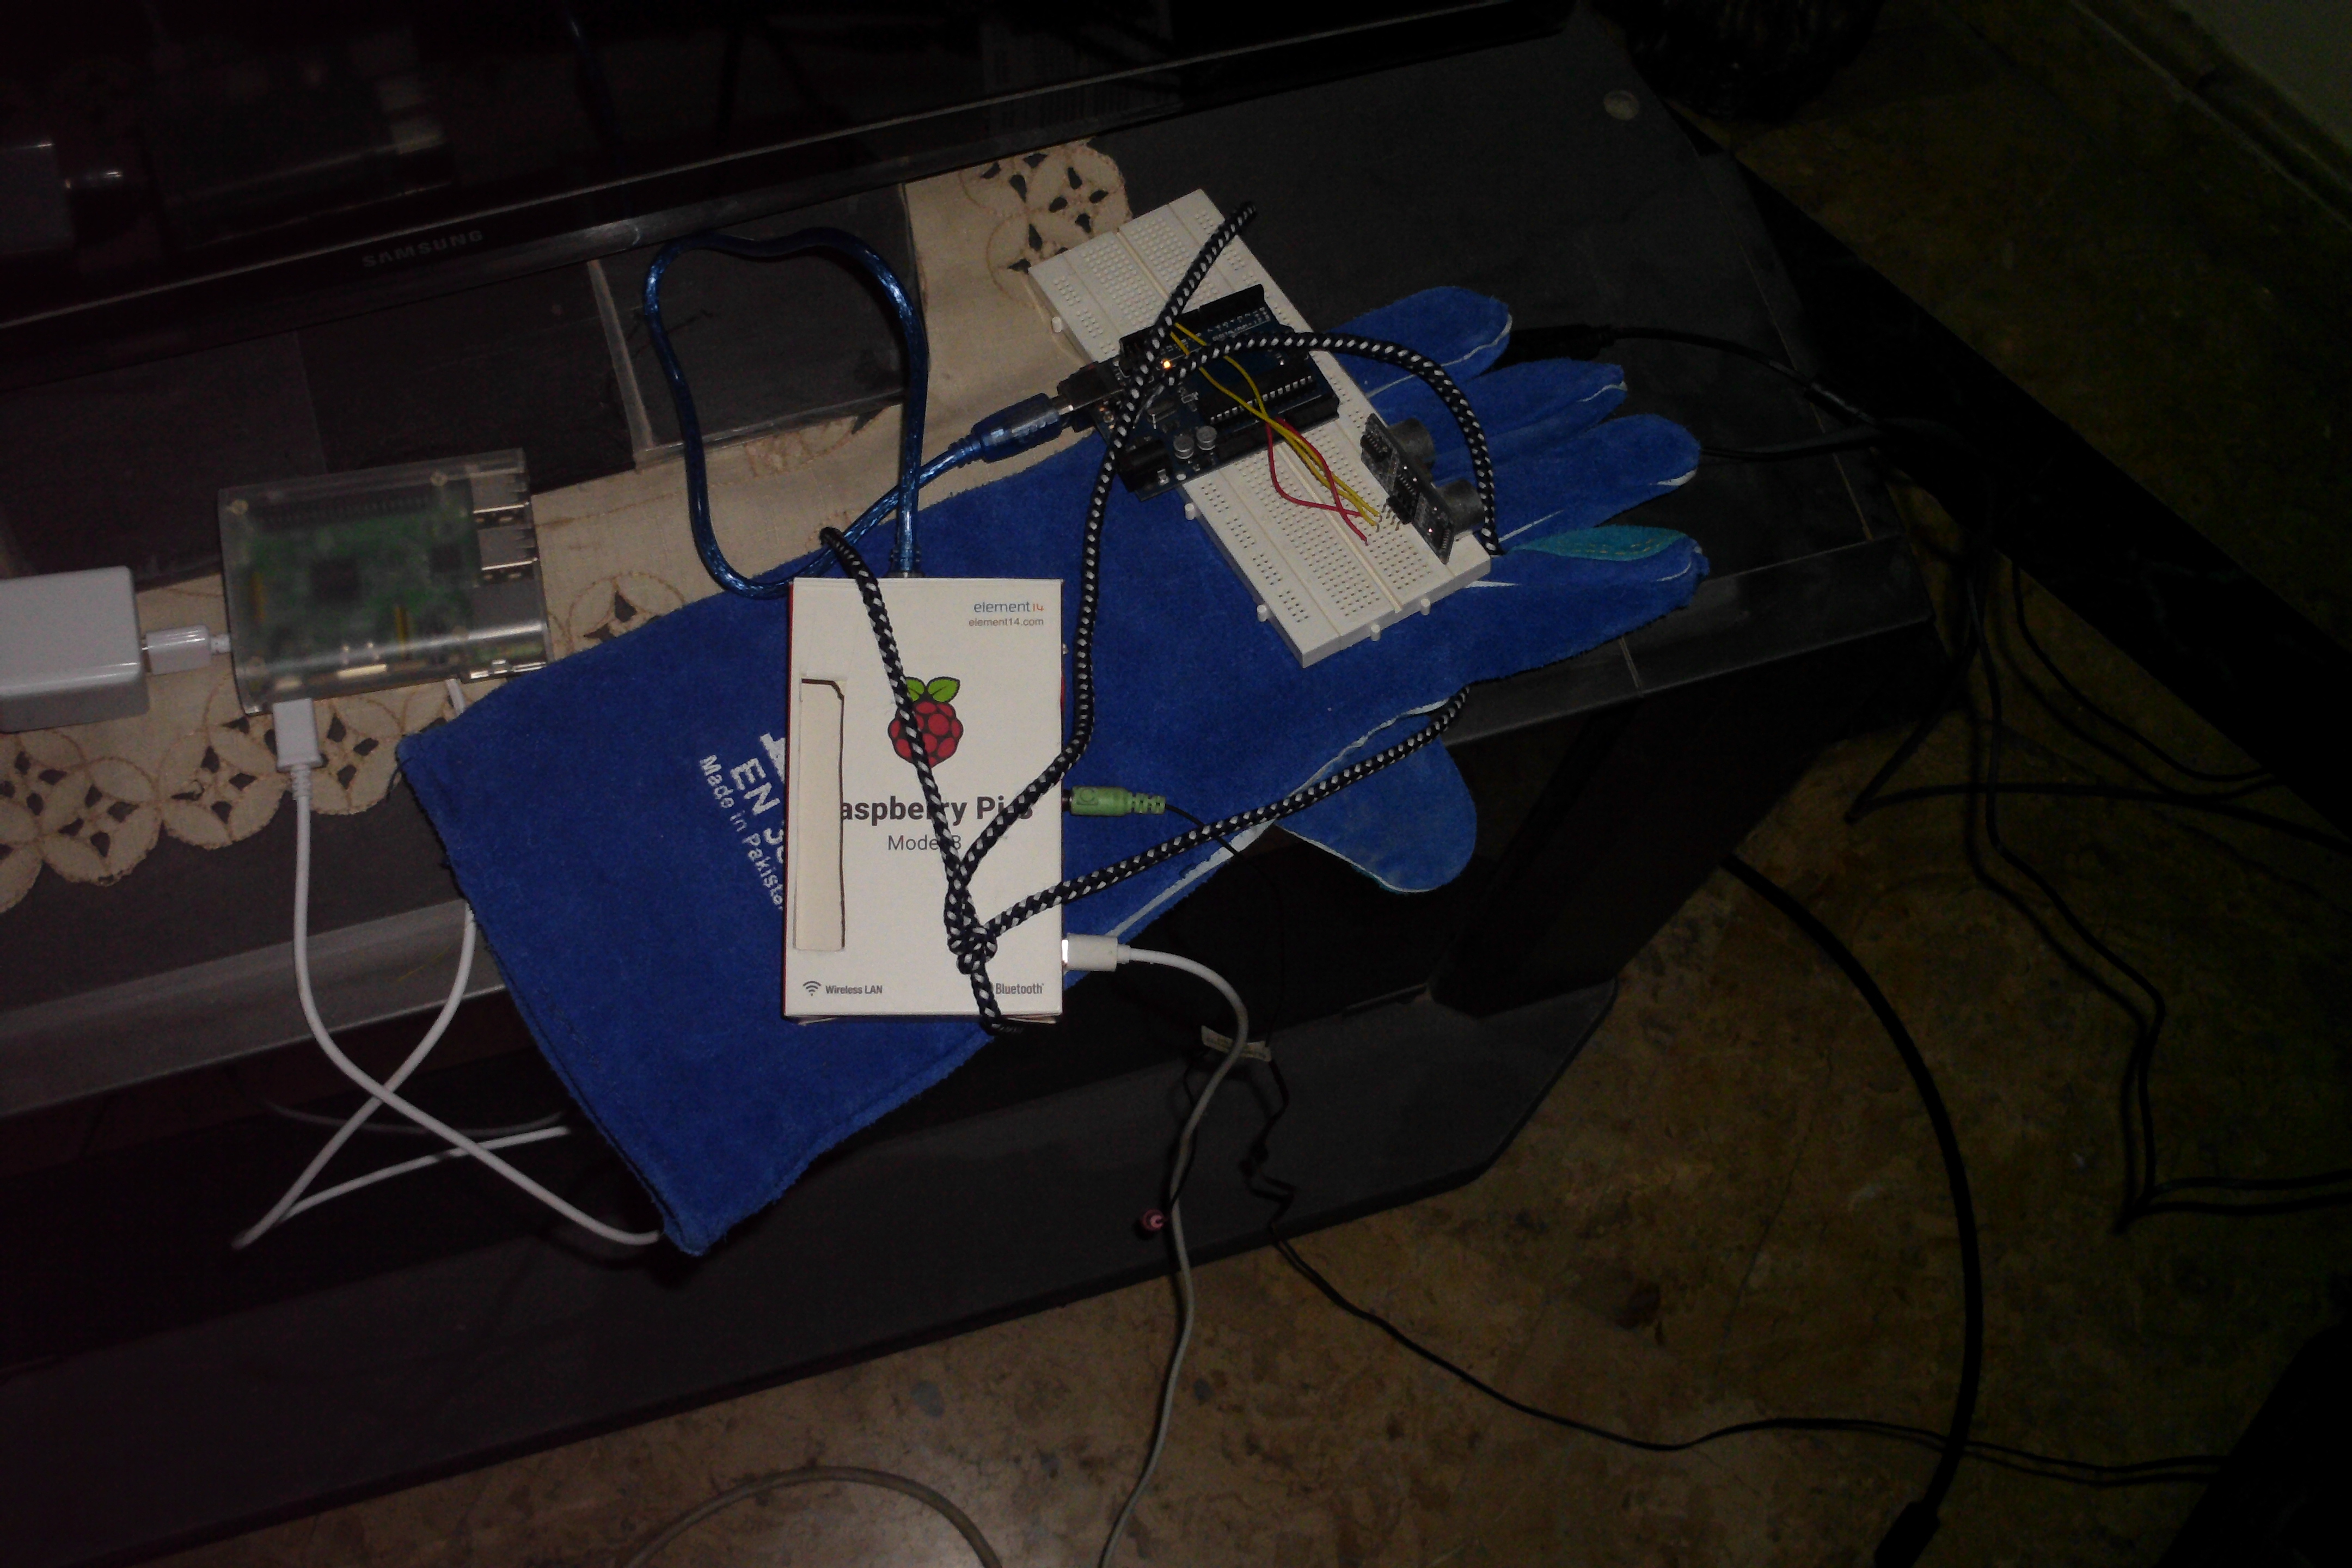
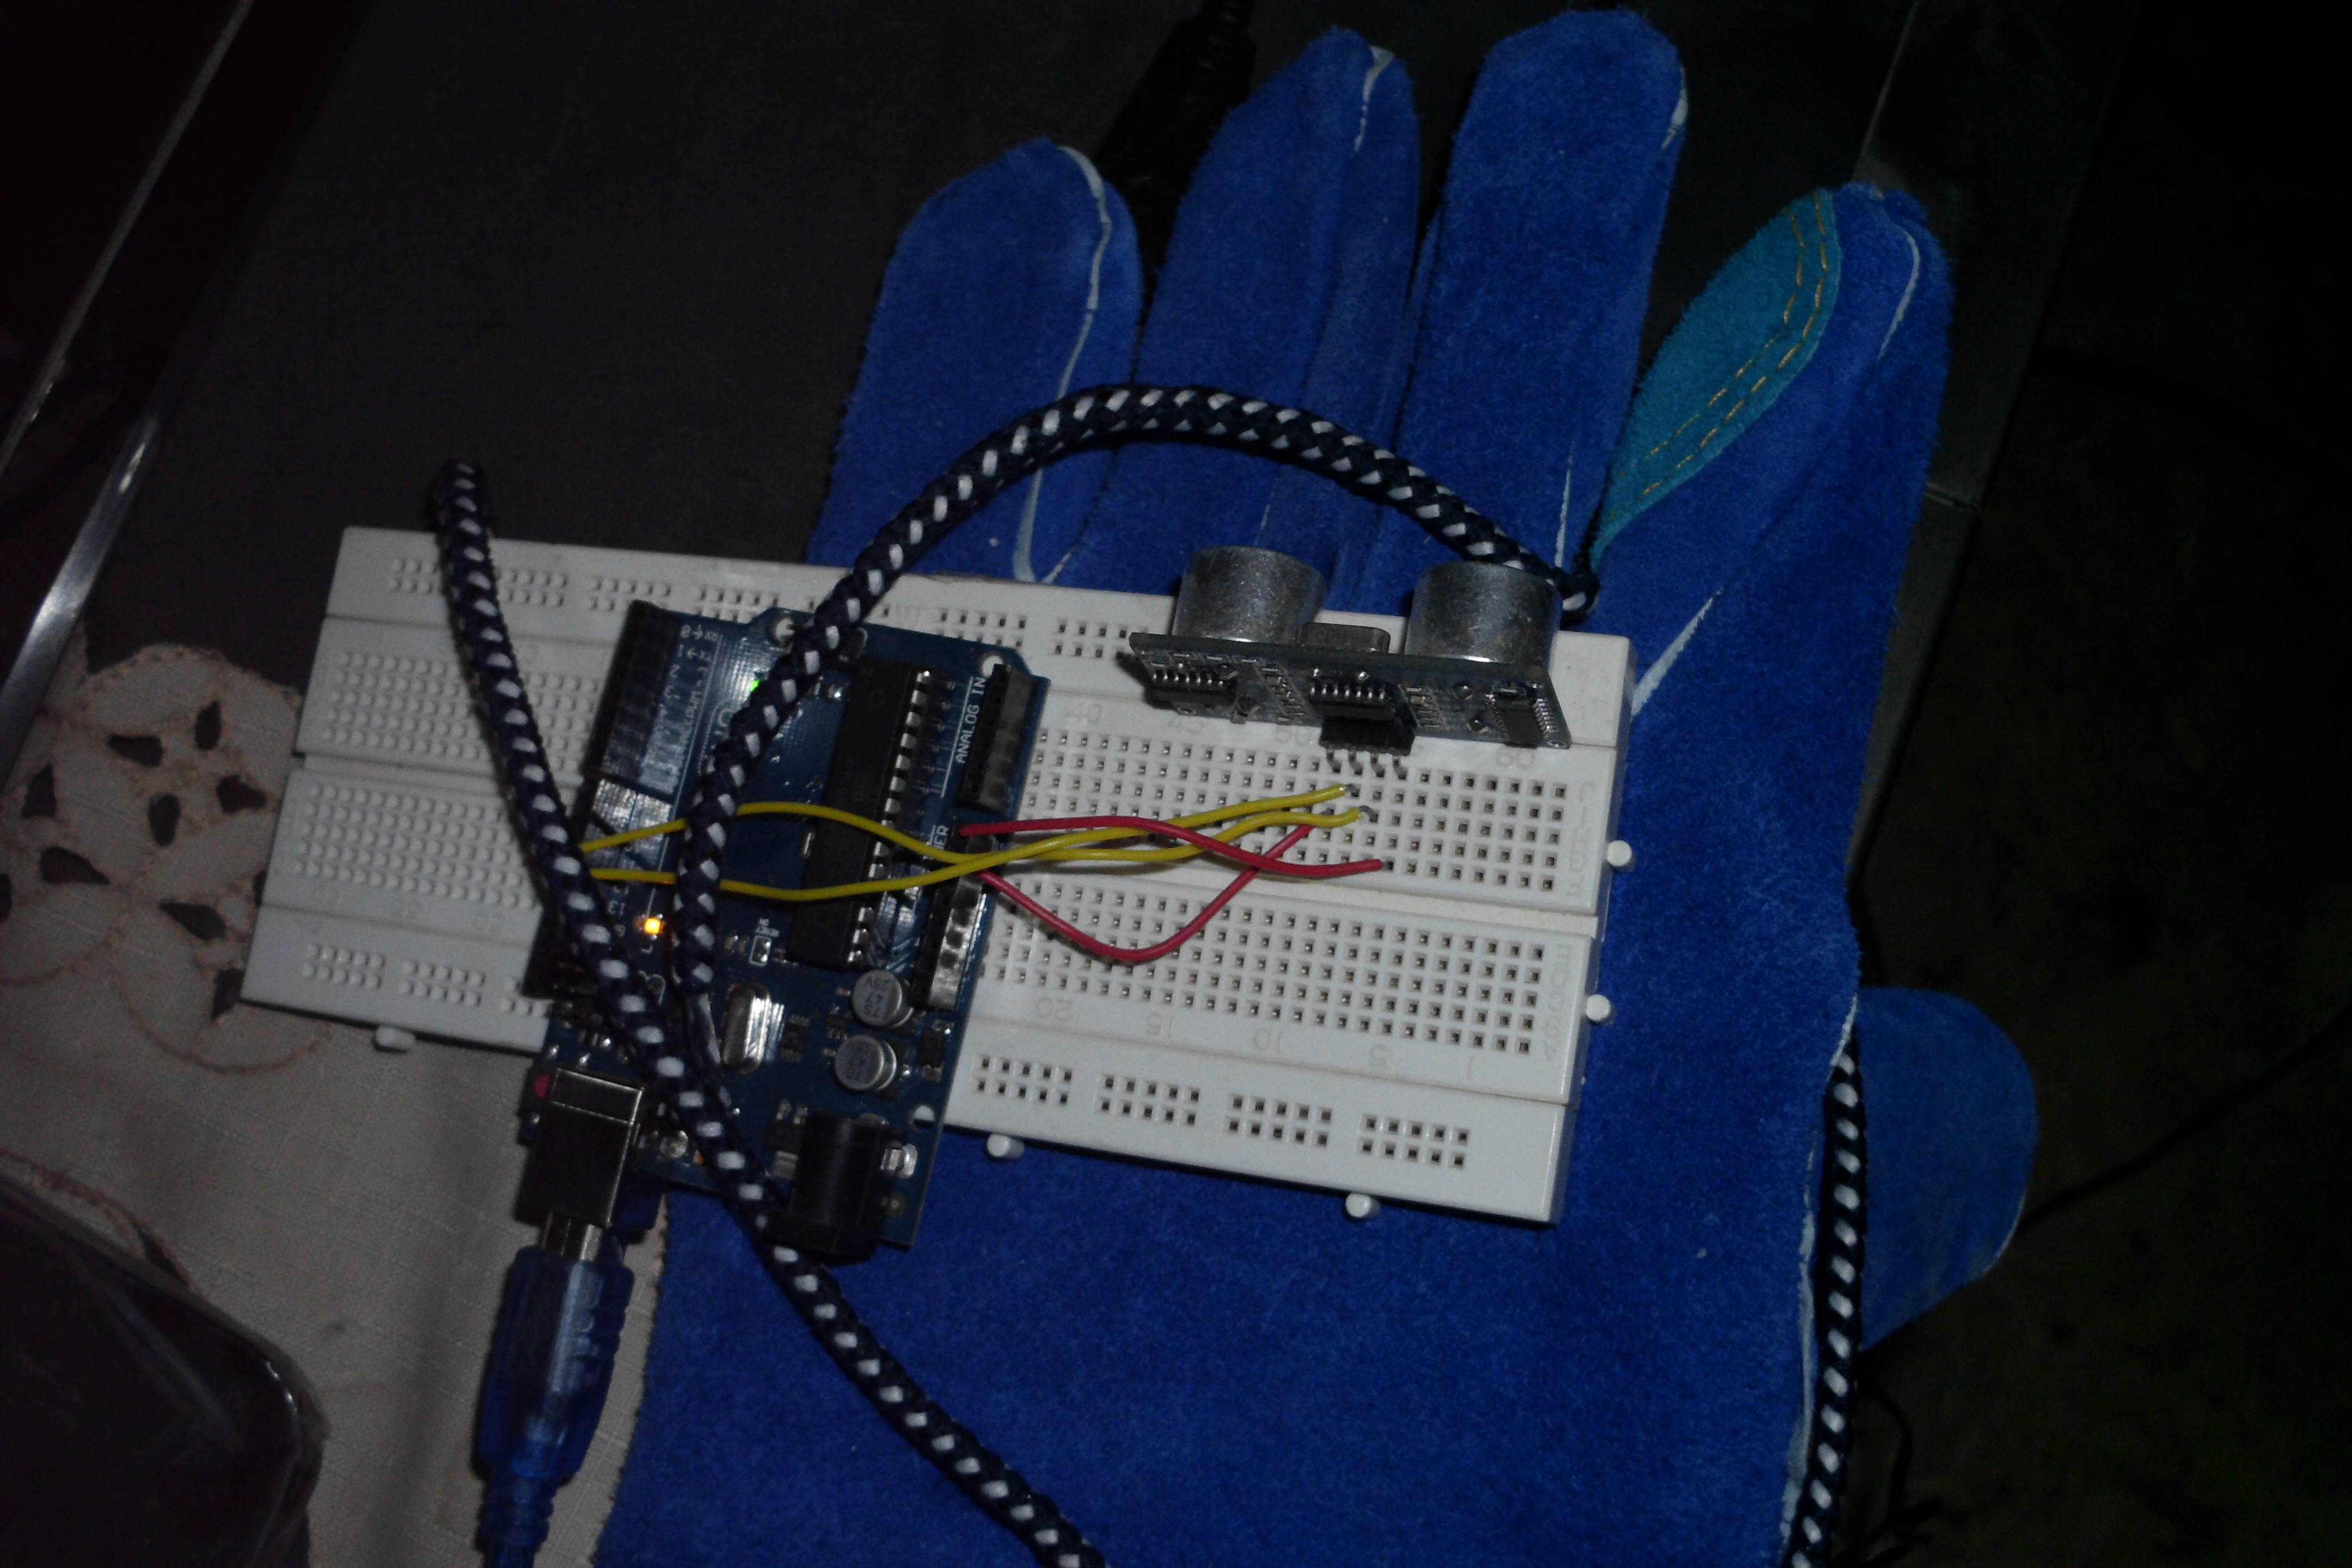
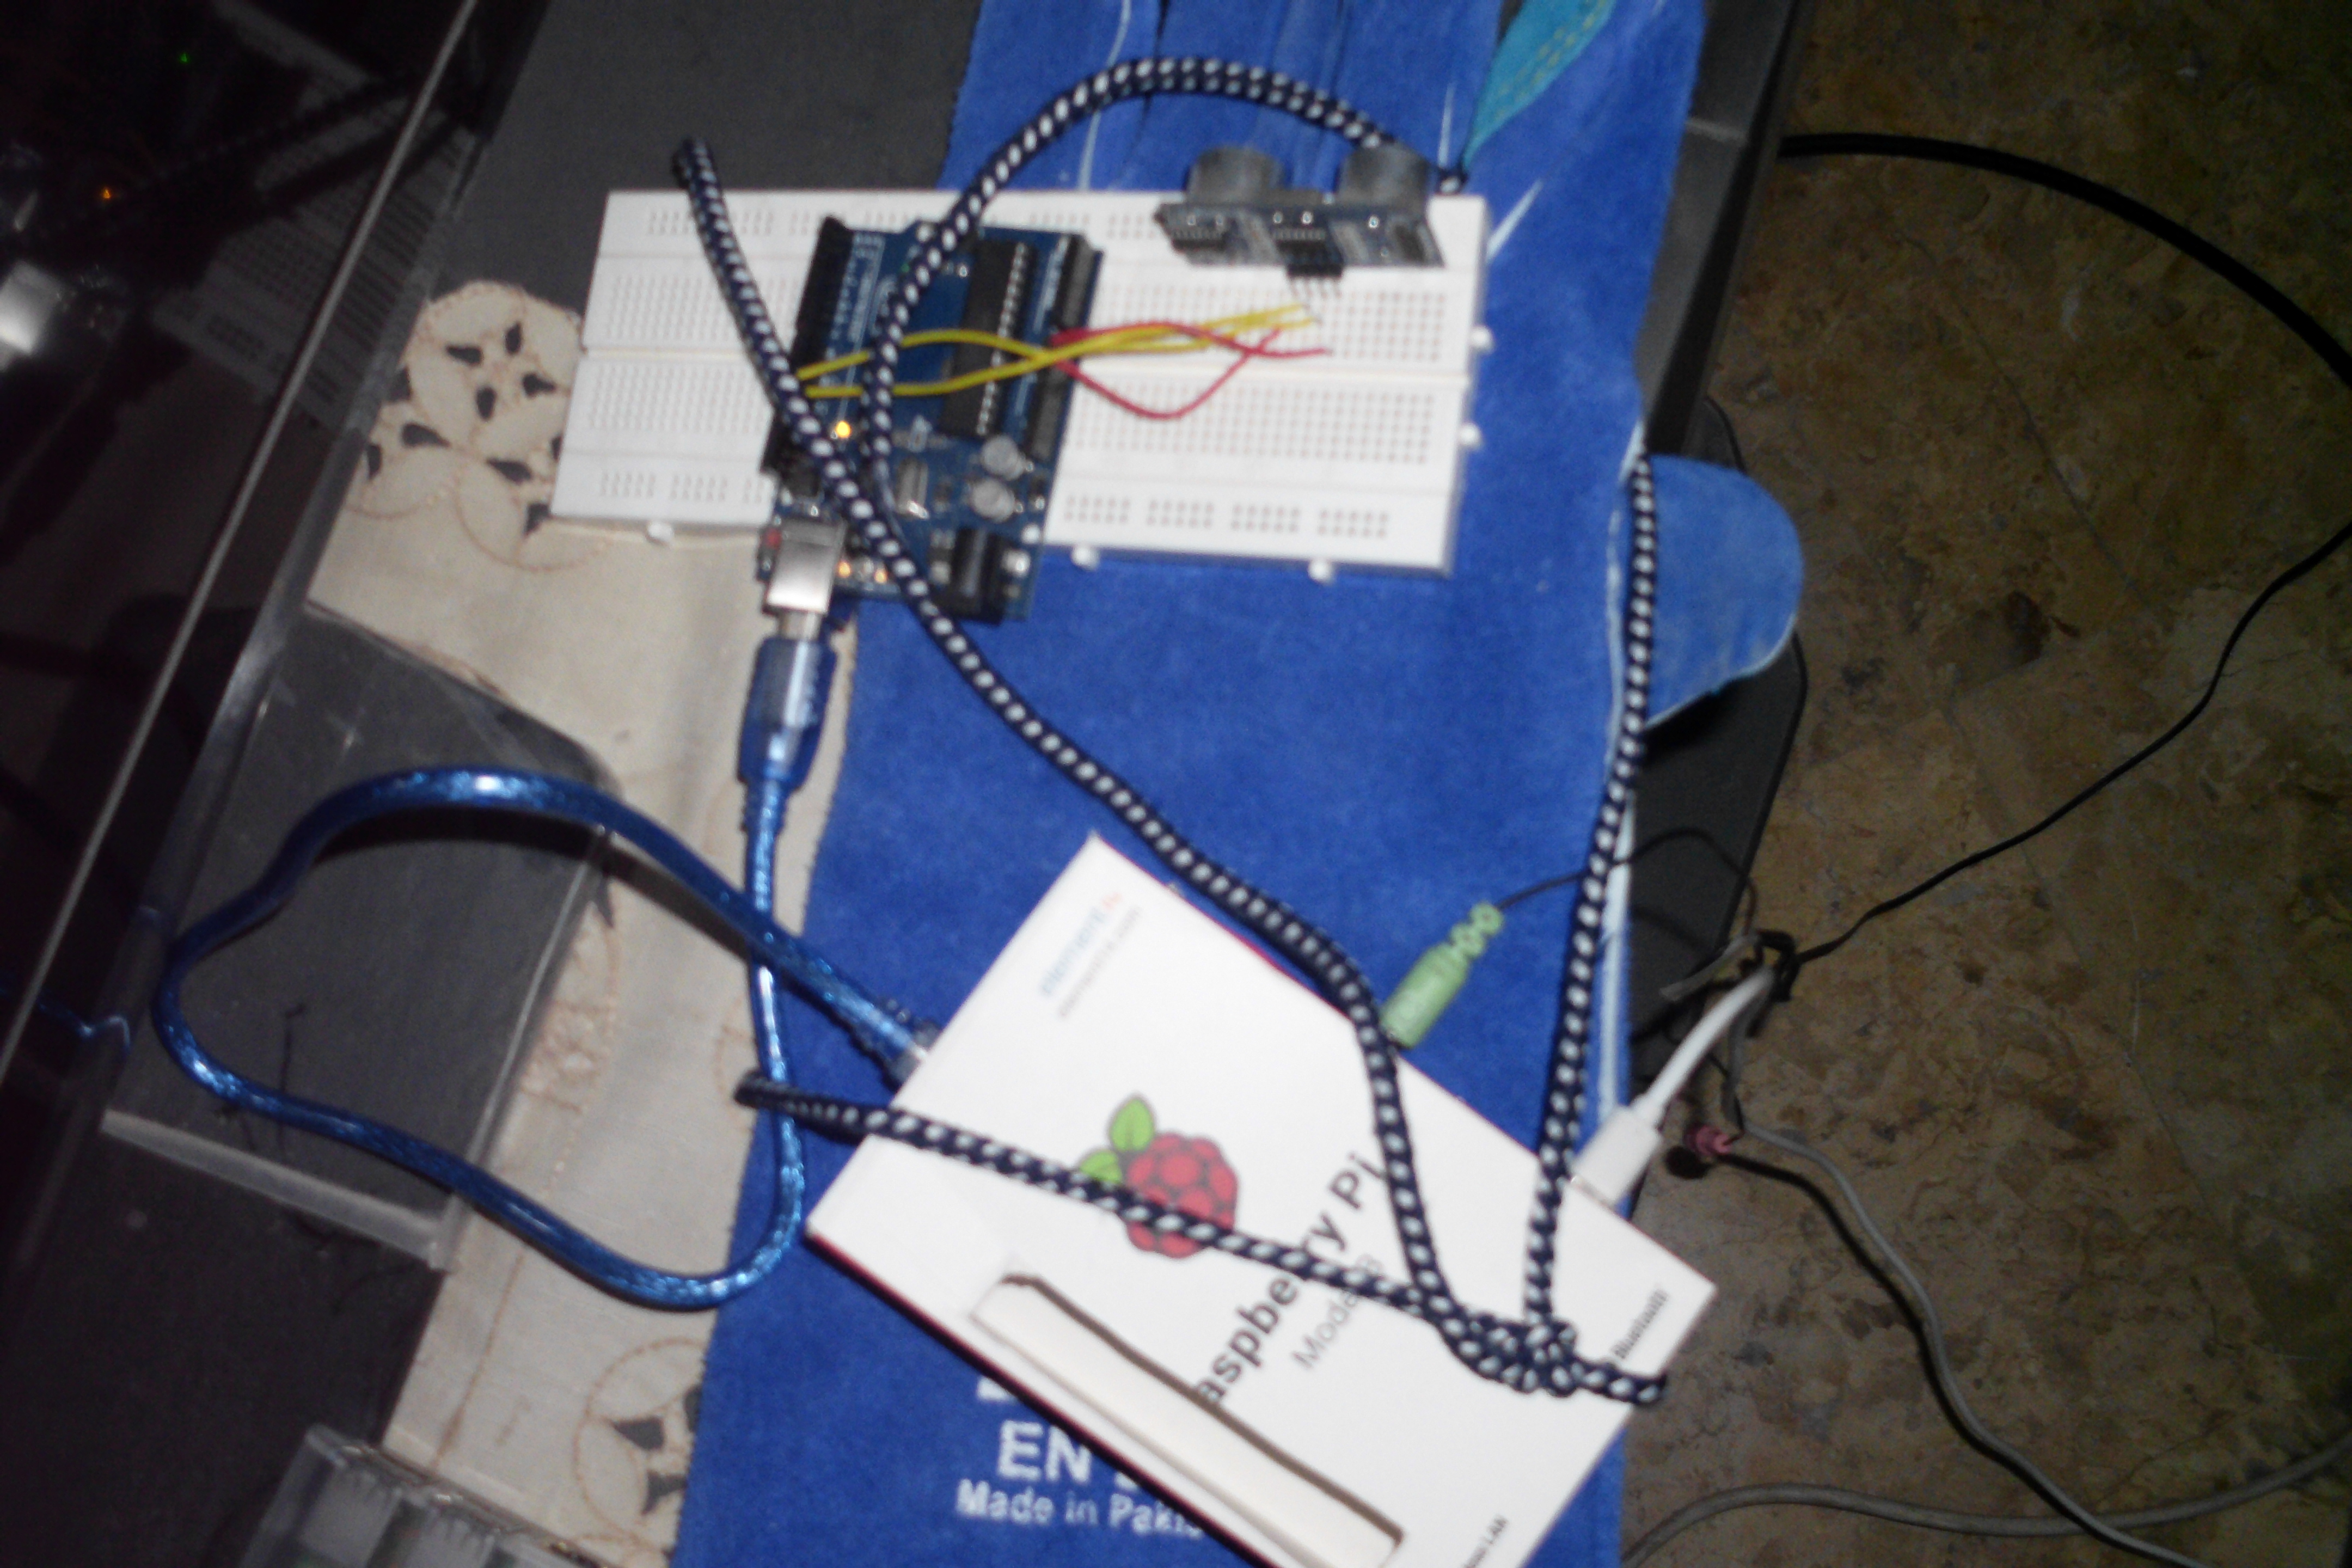
Put the USB cable which is connected from on end already to the Arduino you just programmed to one of the USB hubs in the Raspberry Pi. Put your headphones on your ears & run the code from IDLE (or any other python interpreter if you prefer) using F5 and start moving the breadboard where the ultrasonic sensor and the Arduino Board are connected, point the Ultrasonic sensor to a place where a nearby obstruction exists and notice the change on the IDLE interactive shell and the sound you're hearing through the headphones. You can mount the whole thing (breadboard + Arduino ultrasonic circuit + Raspberry Pi) on a thick glove or an oven mitten and tie it all together using a shoelace as shown in the pictures here. Or to make it more stable and possibly permanent use a glue (not recommended due to the glitch)
THE GLITCH: If you've tried the steps above, you might have noticed by now that for some reason the program freezes after facing the obstacle. I have spent a lot of time trying to fix that with no success until I decided I'll just publish it as is. If you know how to fix this (maybe something is wrong with the coding I did) please let me know, thanks in advance.
A few Important notes :
1-You may wanna test the sound system on your pi first by playing the MP3 file separate from any other process just to make sure the Pi and the headphones are working well before running the program. This is a useful link in case you faced any problems in that area ().
2- In case you want to make the Python program we just wrote above run as soon as the Raspberry Pi is turned on (If it weren't for the glitch I would recommend it but it's just an option for now) here are some useful links explaining how to do that if you don't already know (https://www.instructables.com/id/Raspberry-Pi-Launch-Python-script-on-startup/) , (https://www.dexterindustries.com/howto/auto-run-python-programs-on-the-raspberry-pi/)