Raspberry Pi Ad Blocker

How to install an Ad Blocker on your Raspberry Pi
About Me
Name:
Enrique Juarez
College:
Eastern Washington University
Location:
Spokane Washington, RiverPoint Campus
Major:
Business Management & Business Information System
Project: Ad Blocker

Lab:
Raspberry Pi Ad Blocker
Field of study:
Cyber Security
What Is Pi Hole?
Pi Hole is an internal private DNS server for your network, it is meant for a network-wide ad blocker. This makes it easier so instead of installing adblockers for all your different devices and browsers this program you will only have to do it once and it will protect all the devices you want. It will also block ads from your smart T.V. and your video games.
Materials Needed:


1. Monitor: Can be computer monitor or it could just be some sort of screen with a HDMI plug in
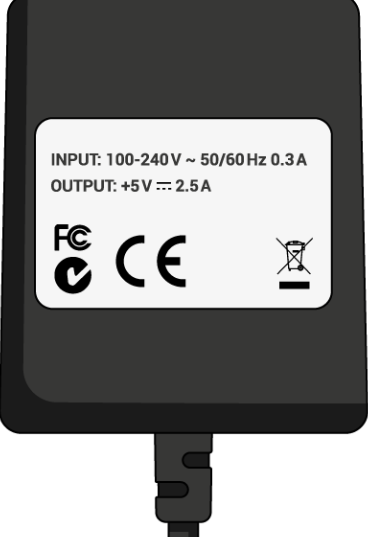
2. Power Supply: Power supply with micro USB or just micro USB wire
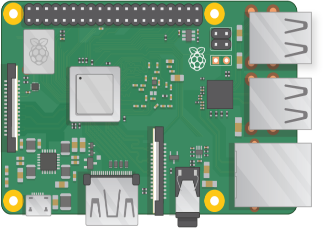
3. Raspberry PI: You can pick which you want but i recommend the Raspberry Pi 3 model B/B+
4: SD card: 16gb Micron SDHC recommended but could get a higher if wanted
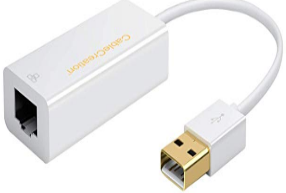
5. USB Ether adapter
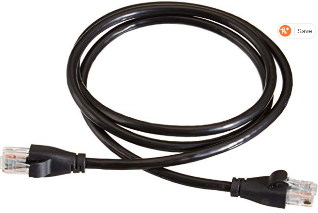
6. Ethernet Cable: At least a foot long or longer depending where you plan to leave it
Software Needed:
1. Raspbian Lite
2. Pi-hole.Etcher
3. Pi-hole server.Pi-hole
Hooking Up Raspberry Pi
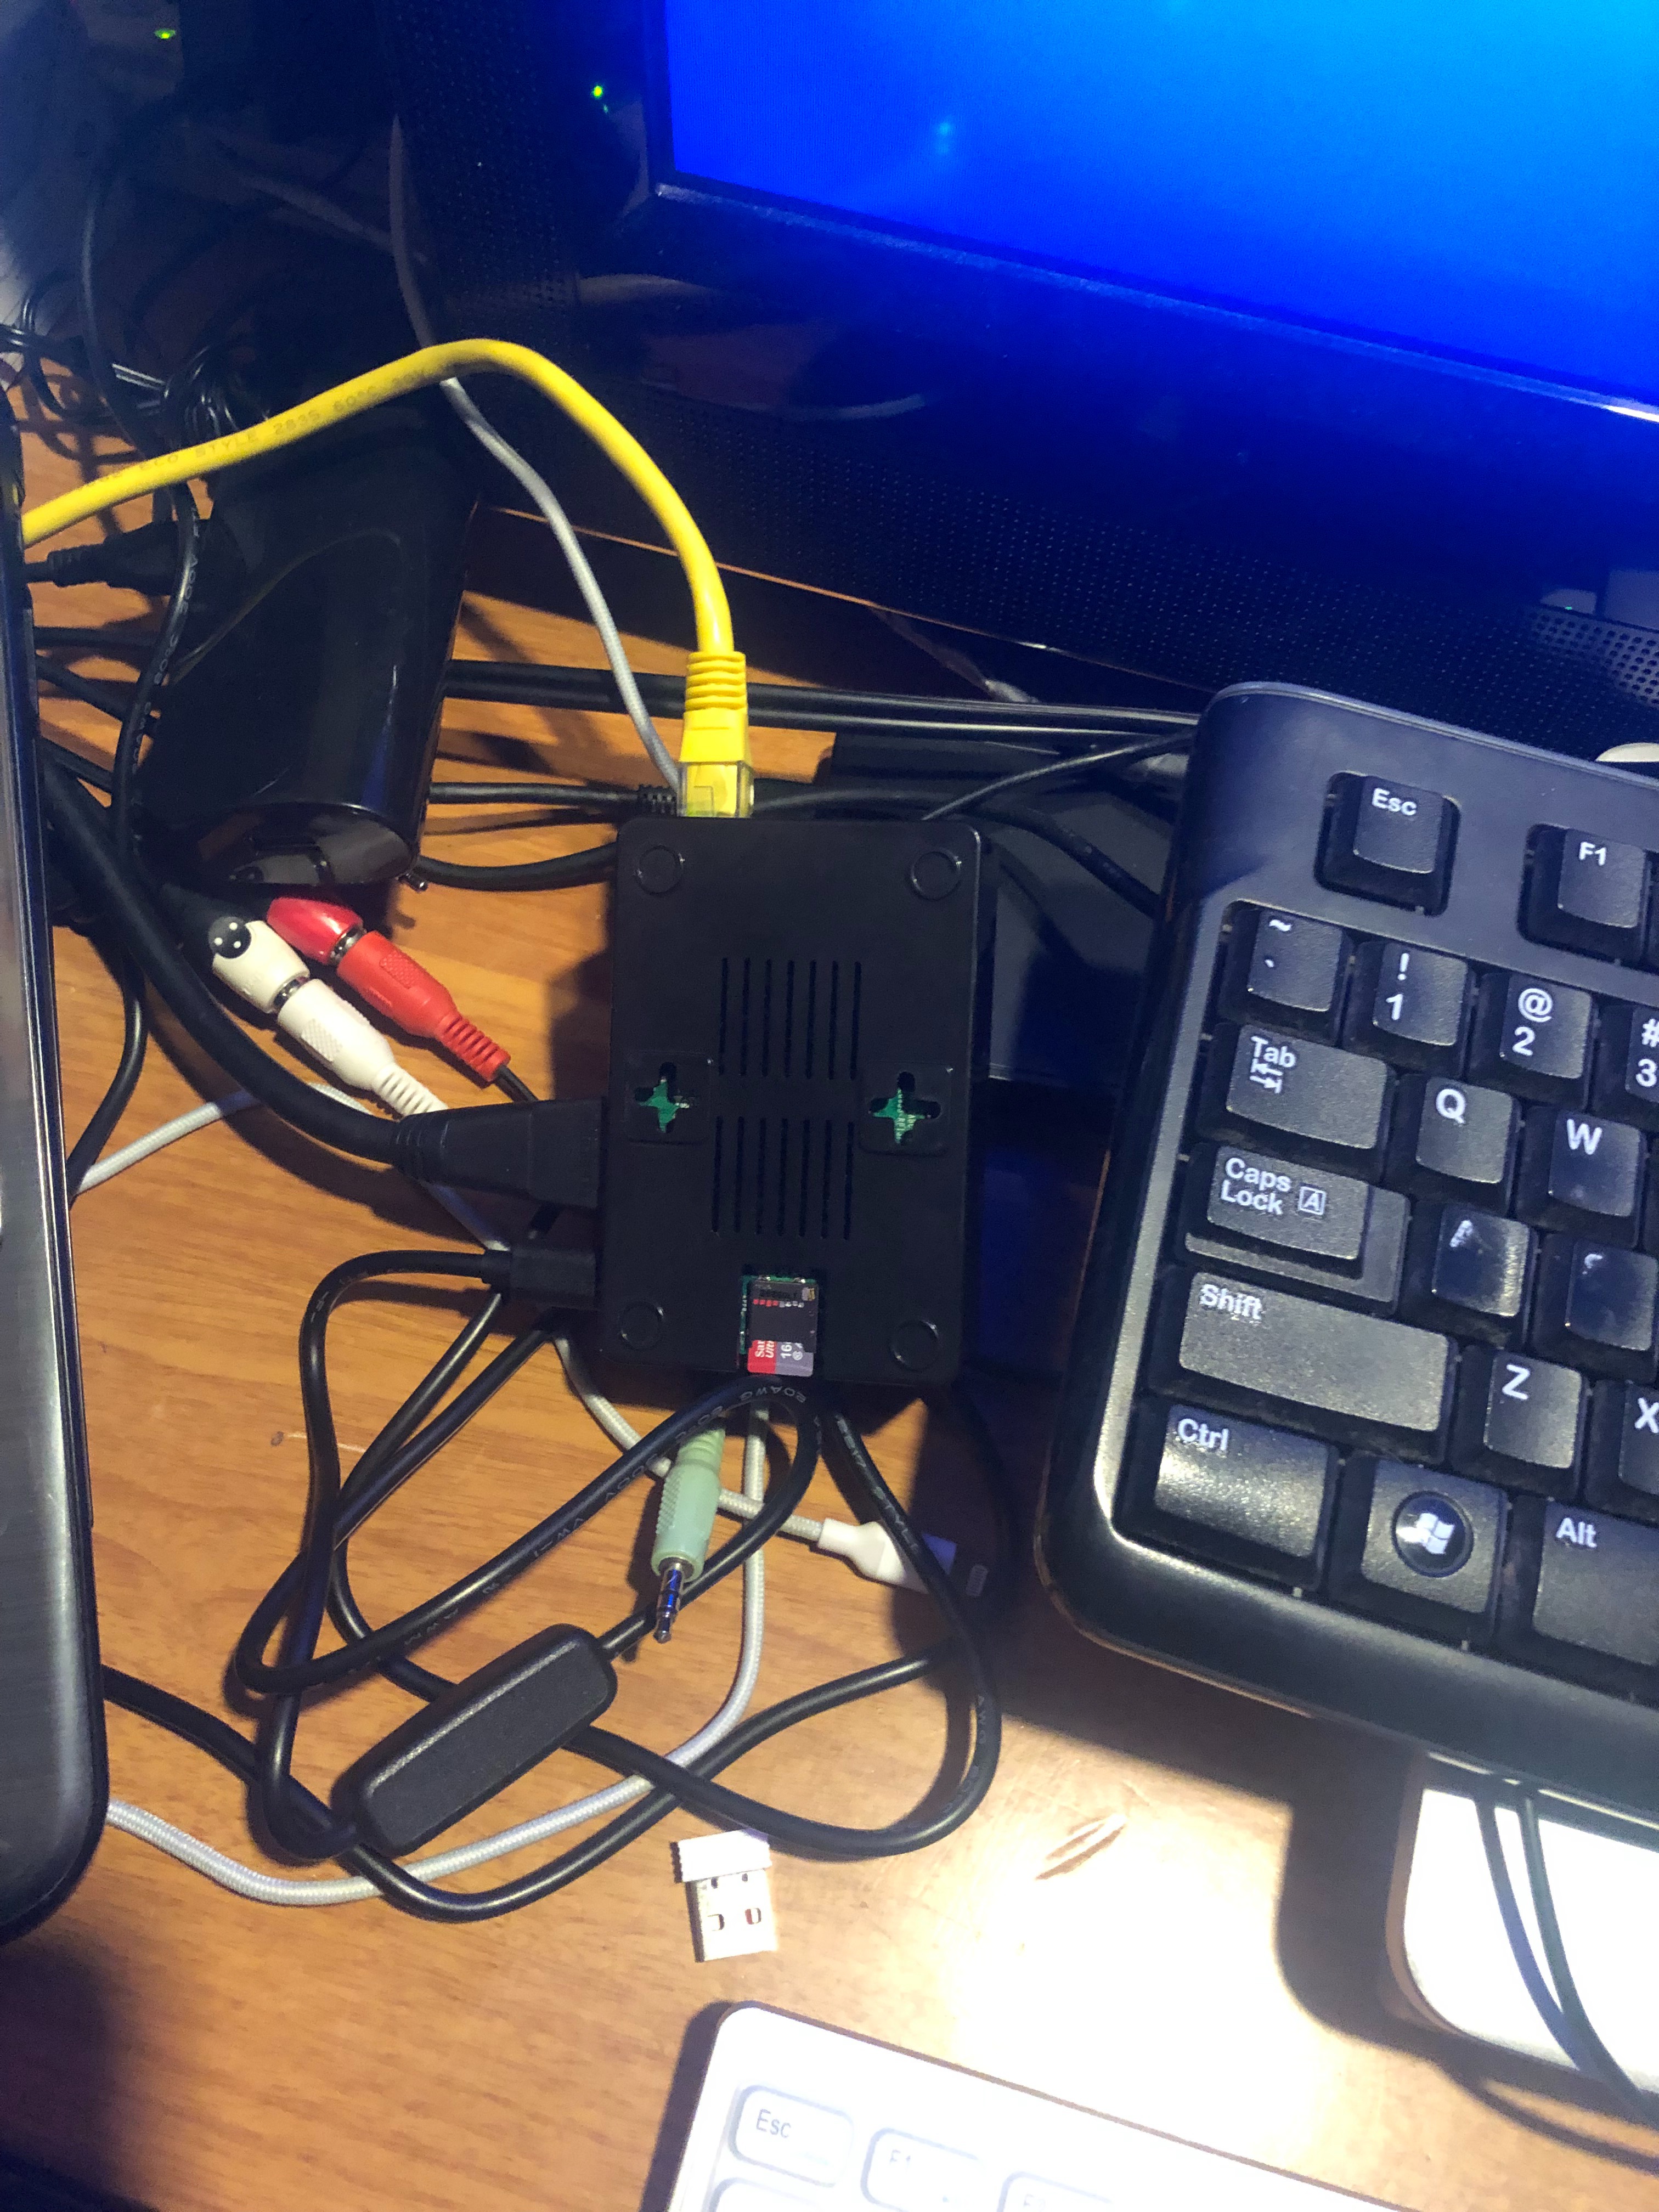
1. Hook up Ethernet cable from router to raspberry pi so you have internet.
2. grab a monitor or TV (it doesn't matter)
3. grab you HDMI cable and connect to whatever monitor you are using with the raspberry pi. So you can see what you are doing.
4.connect your micro USB cable to your pi for your power
5. connect your keyboard and mouse to the raspberry pi USB plug ins so you can control it.
Starting Up Raspberry Pi
1. turn on pi by plugging in power supply
2 Pi will turn on with green light that will blink on
3. Login to rasspberry pi
general username will be: pi
general password would be: raspberry
Update and Upgrade Raspberry Pi
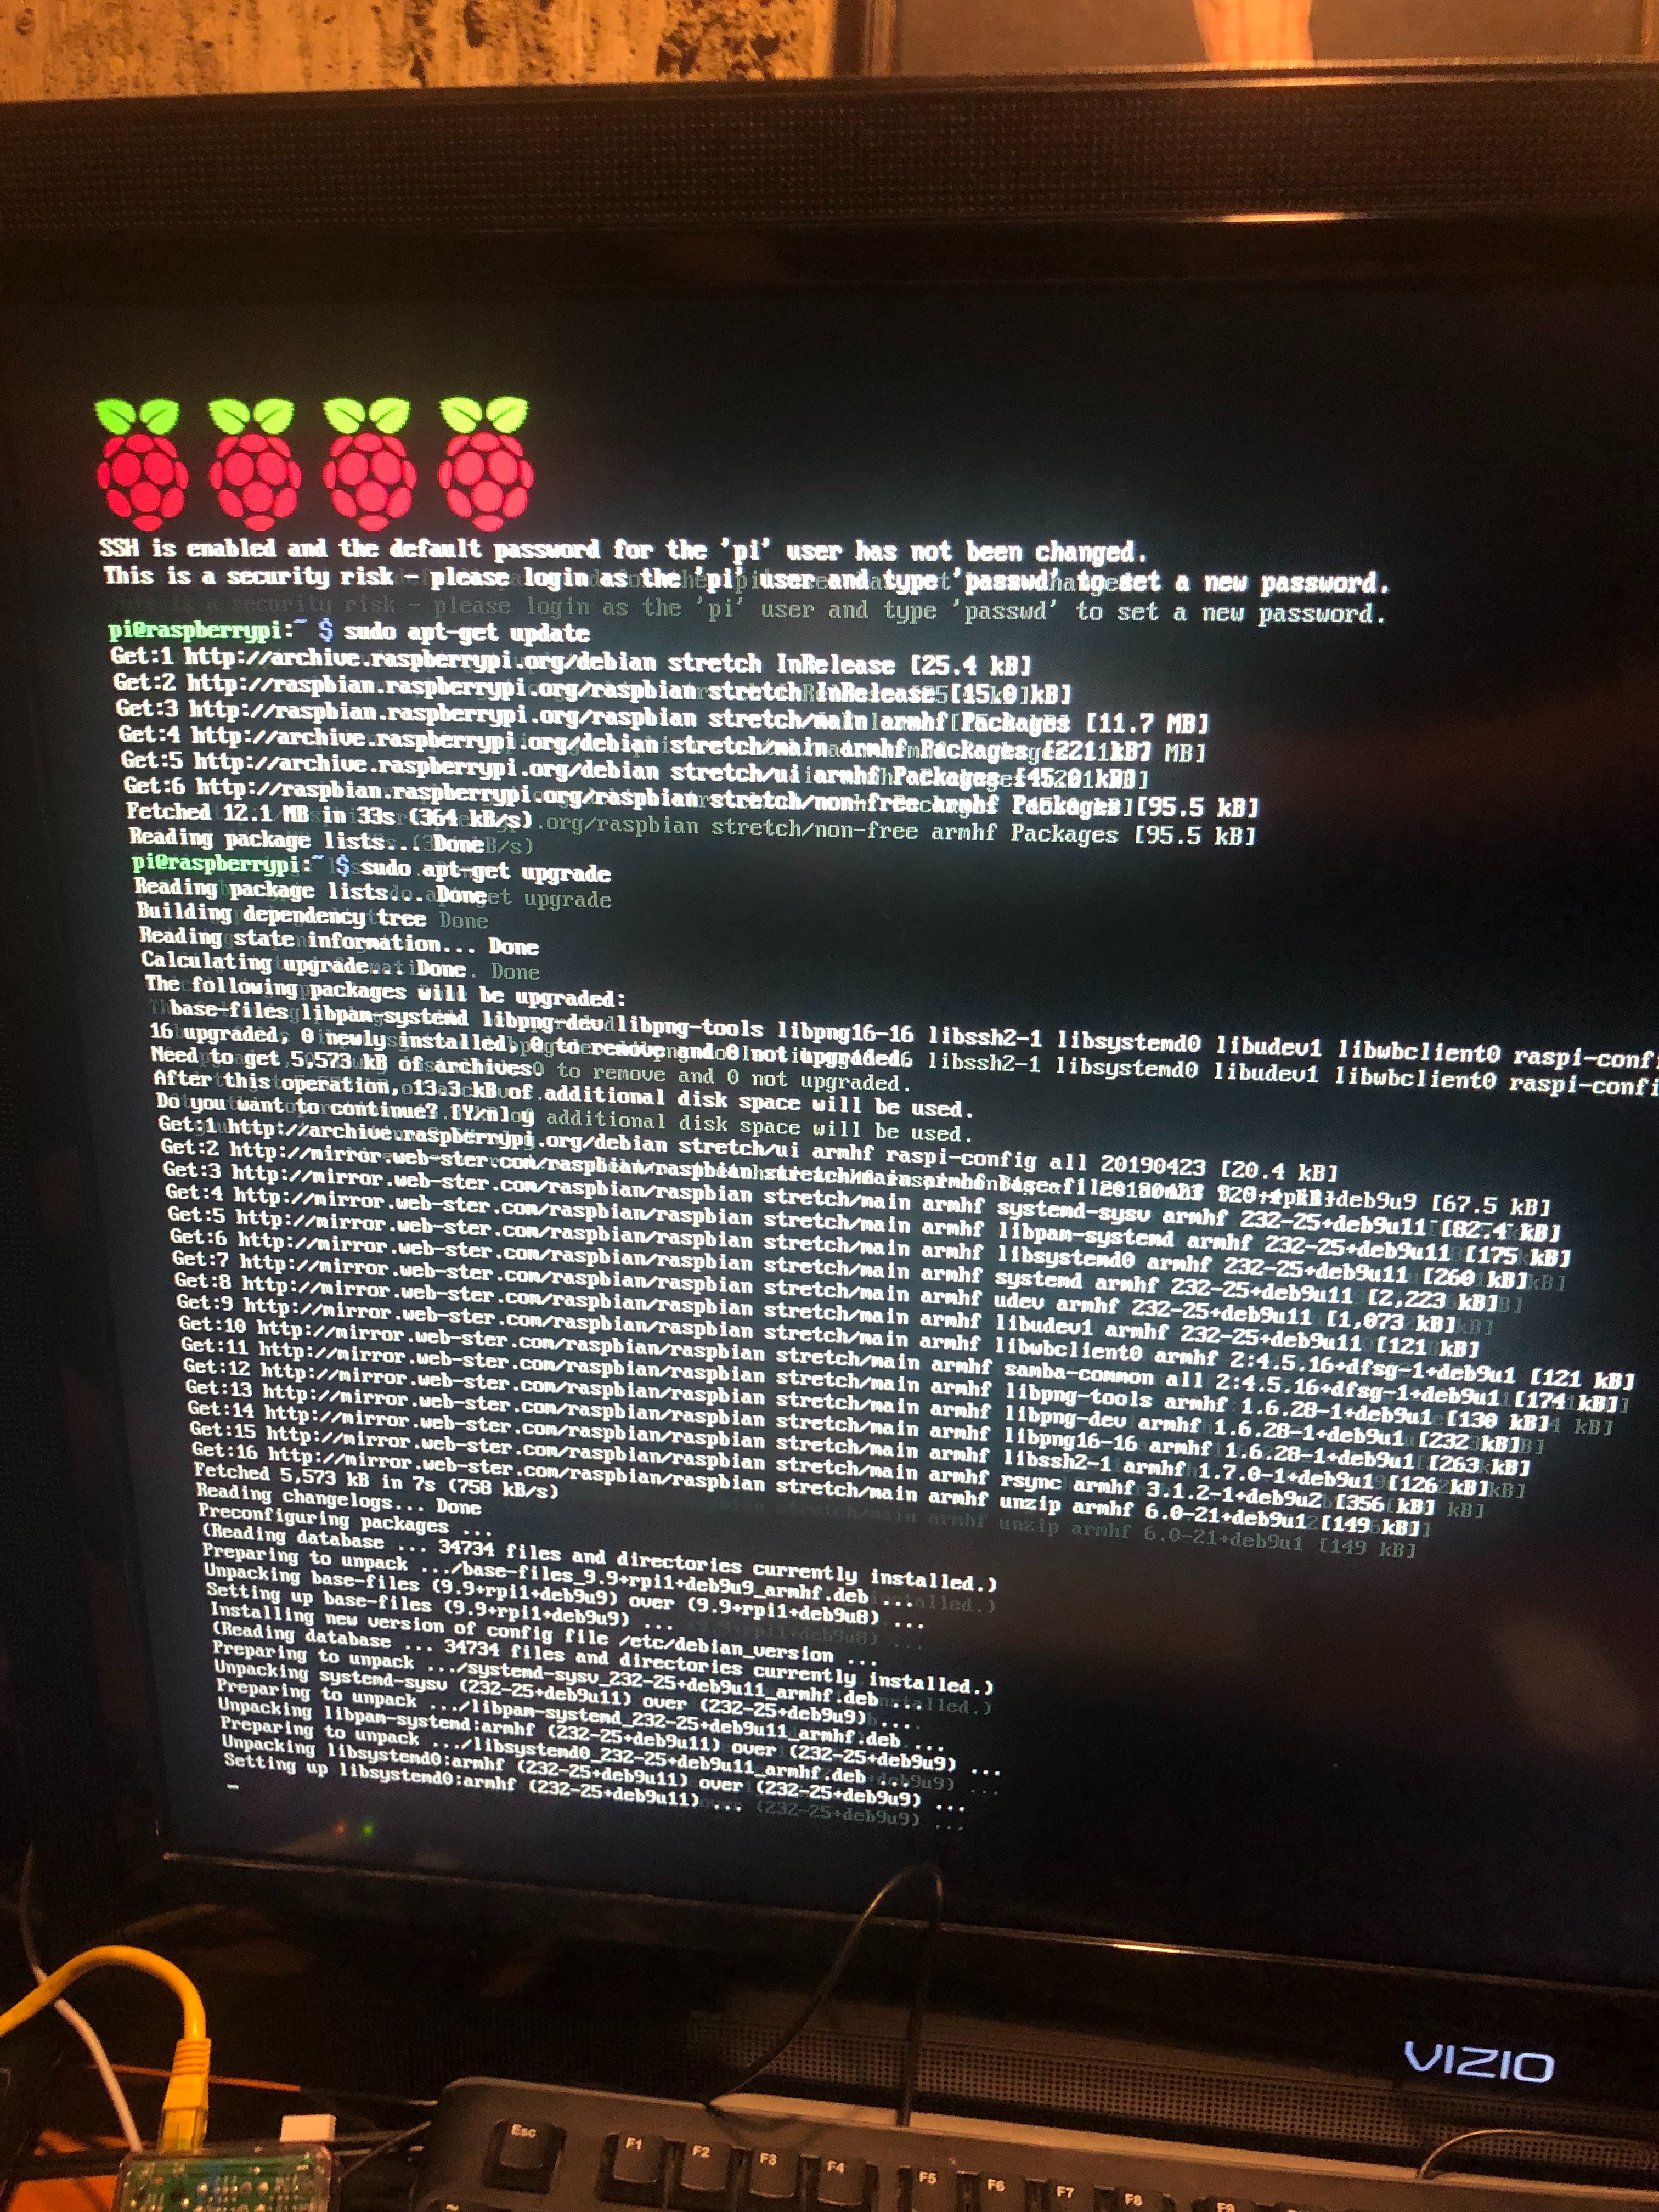
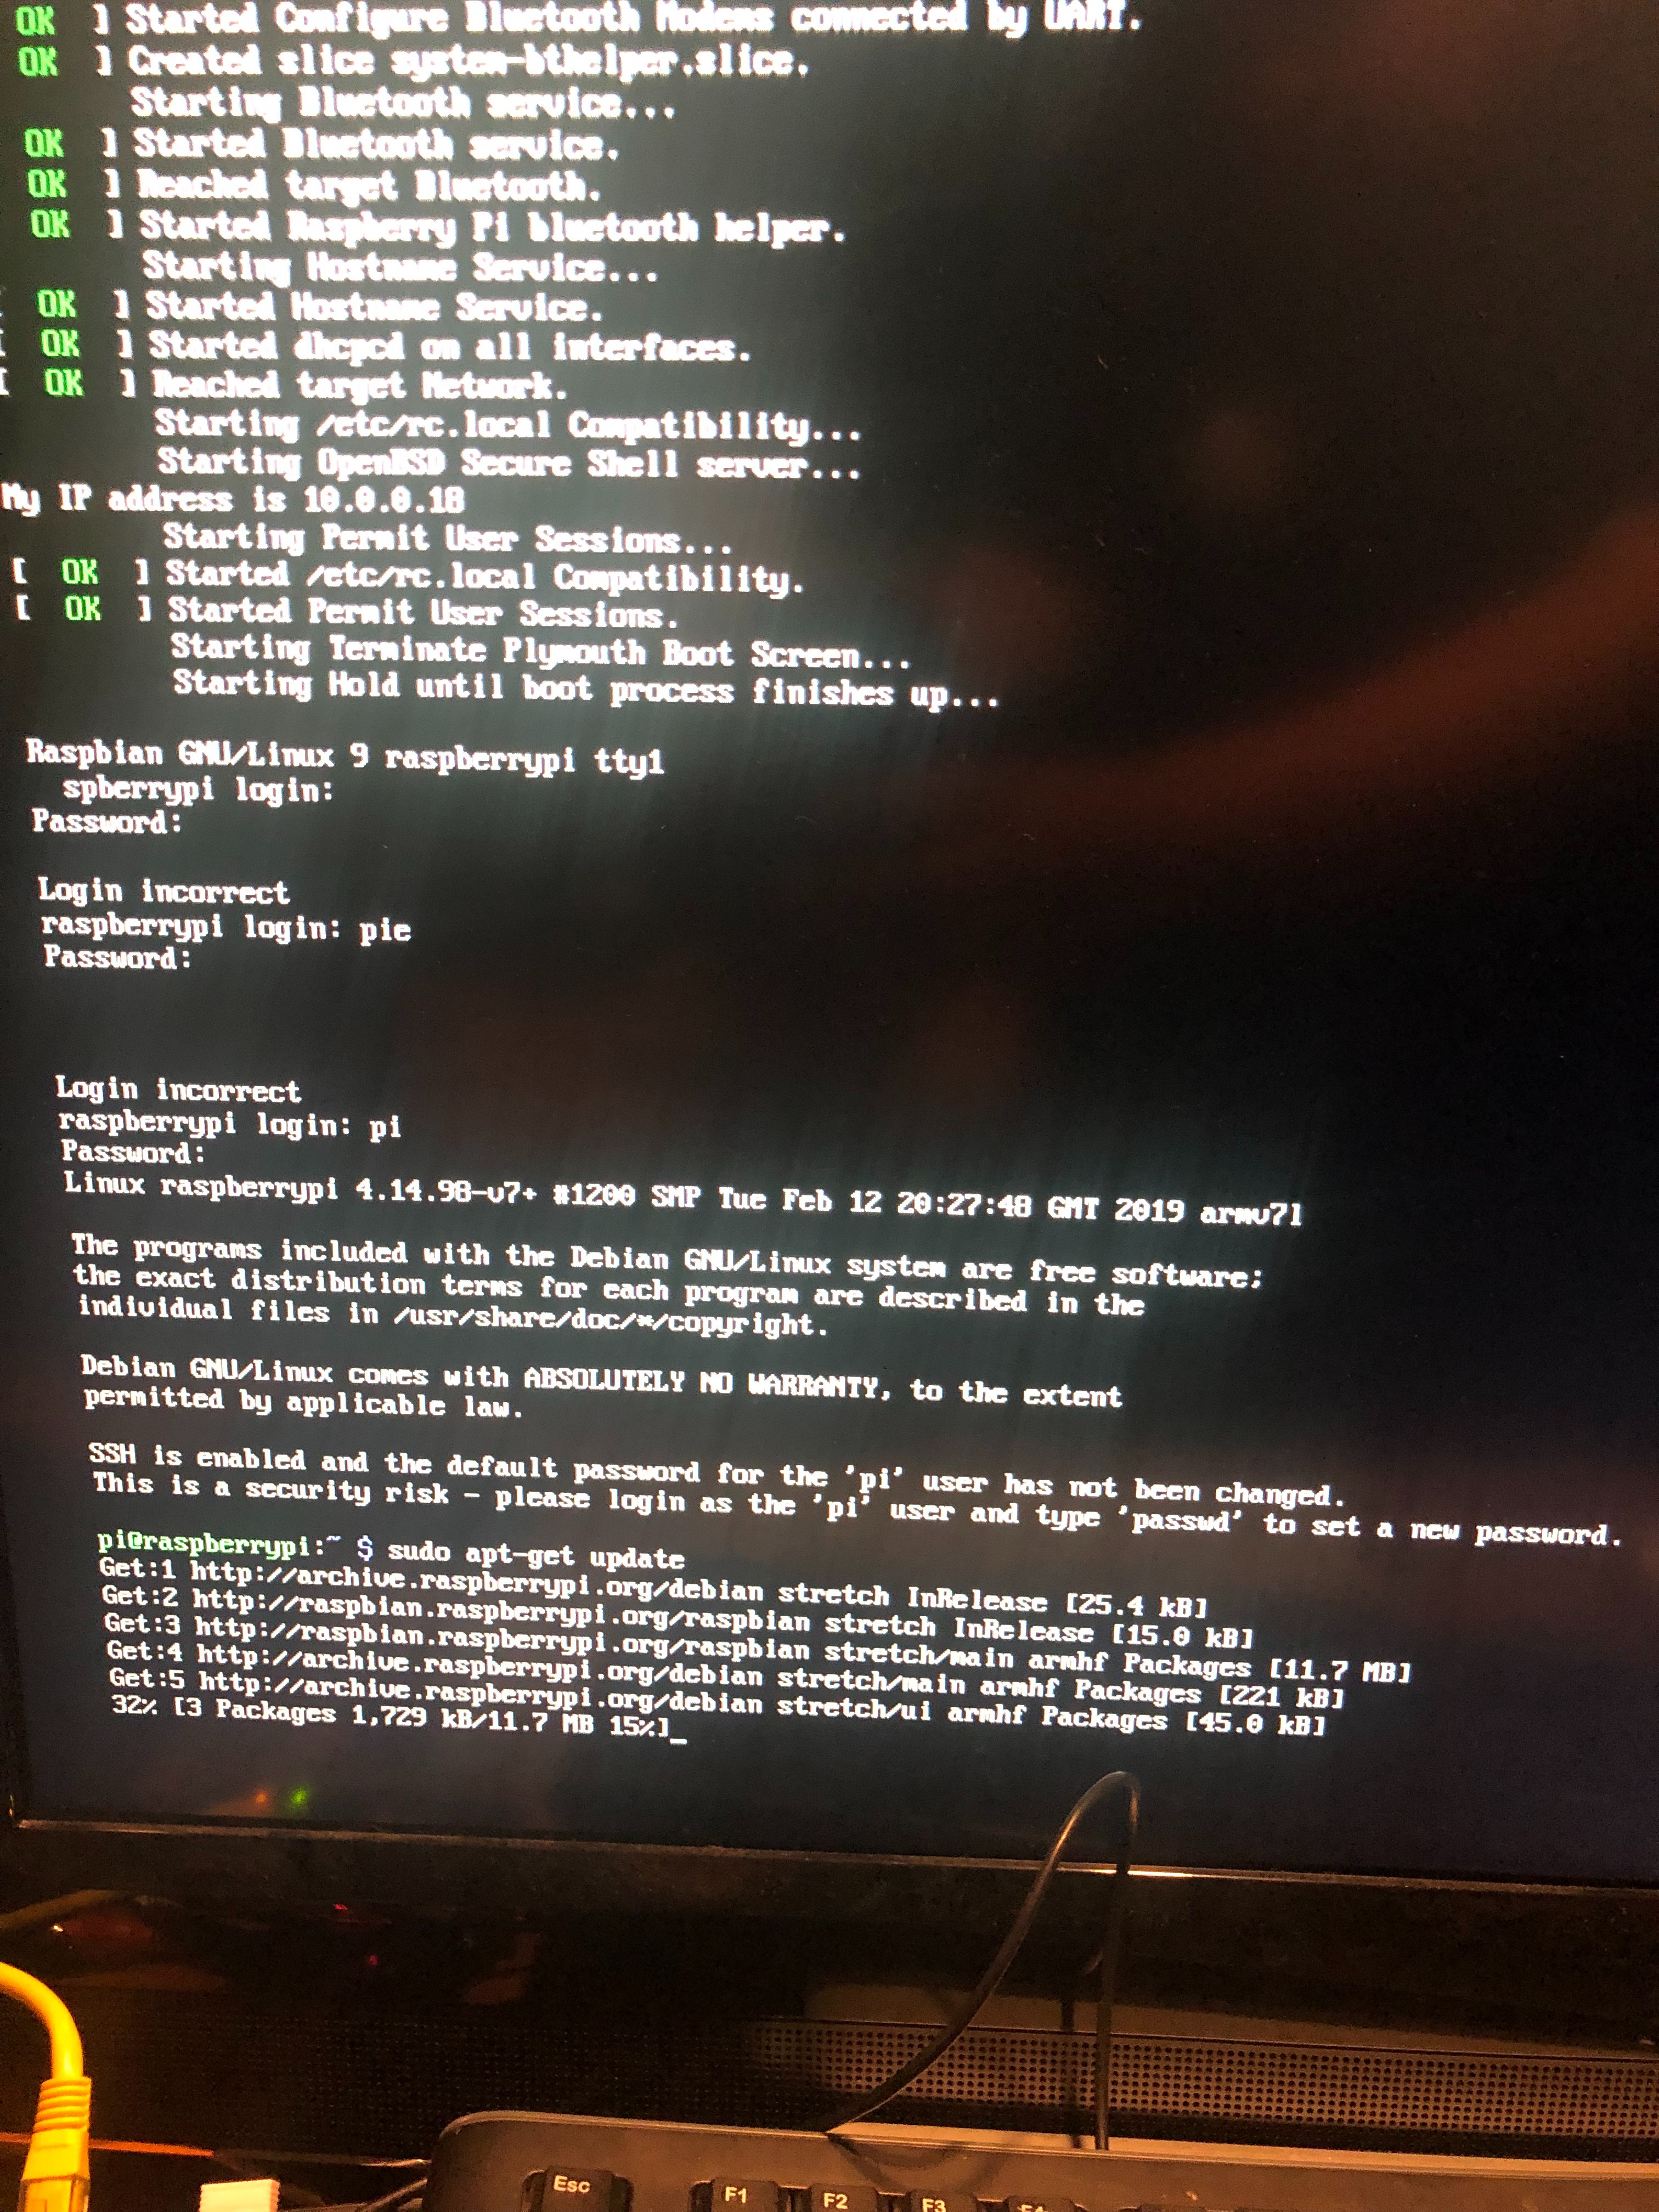
You would want to update and upgrade your Raspberry Pi whenever you use it just to make sure that your Raspberry Pi is up to date and runs smooth because it could mess up with your Pi.
Here are the steps to update:
1. Type: sudo apt - get update
Here are the steps to upgrade
1. Type: sudo apt - get upgrade
Change Username/ Revoke Access
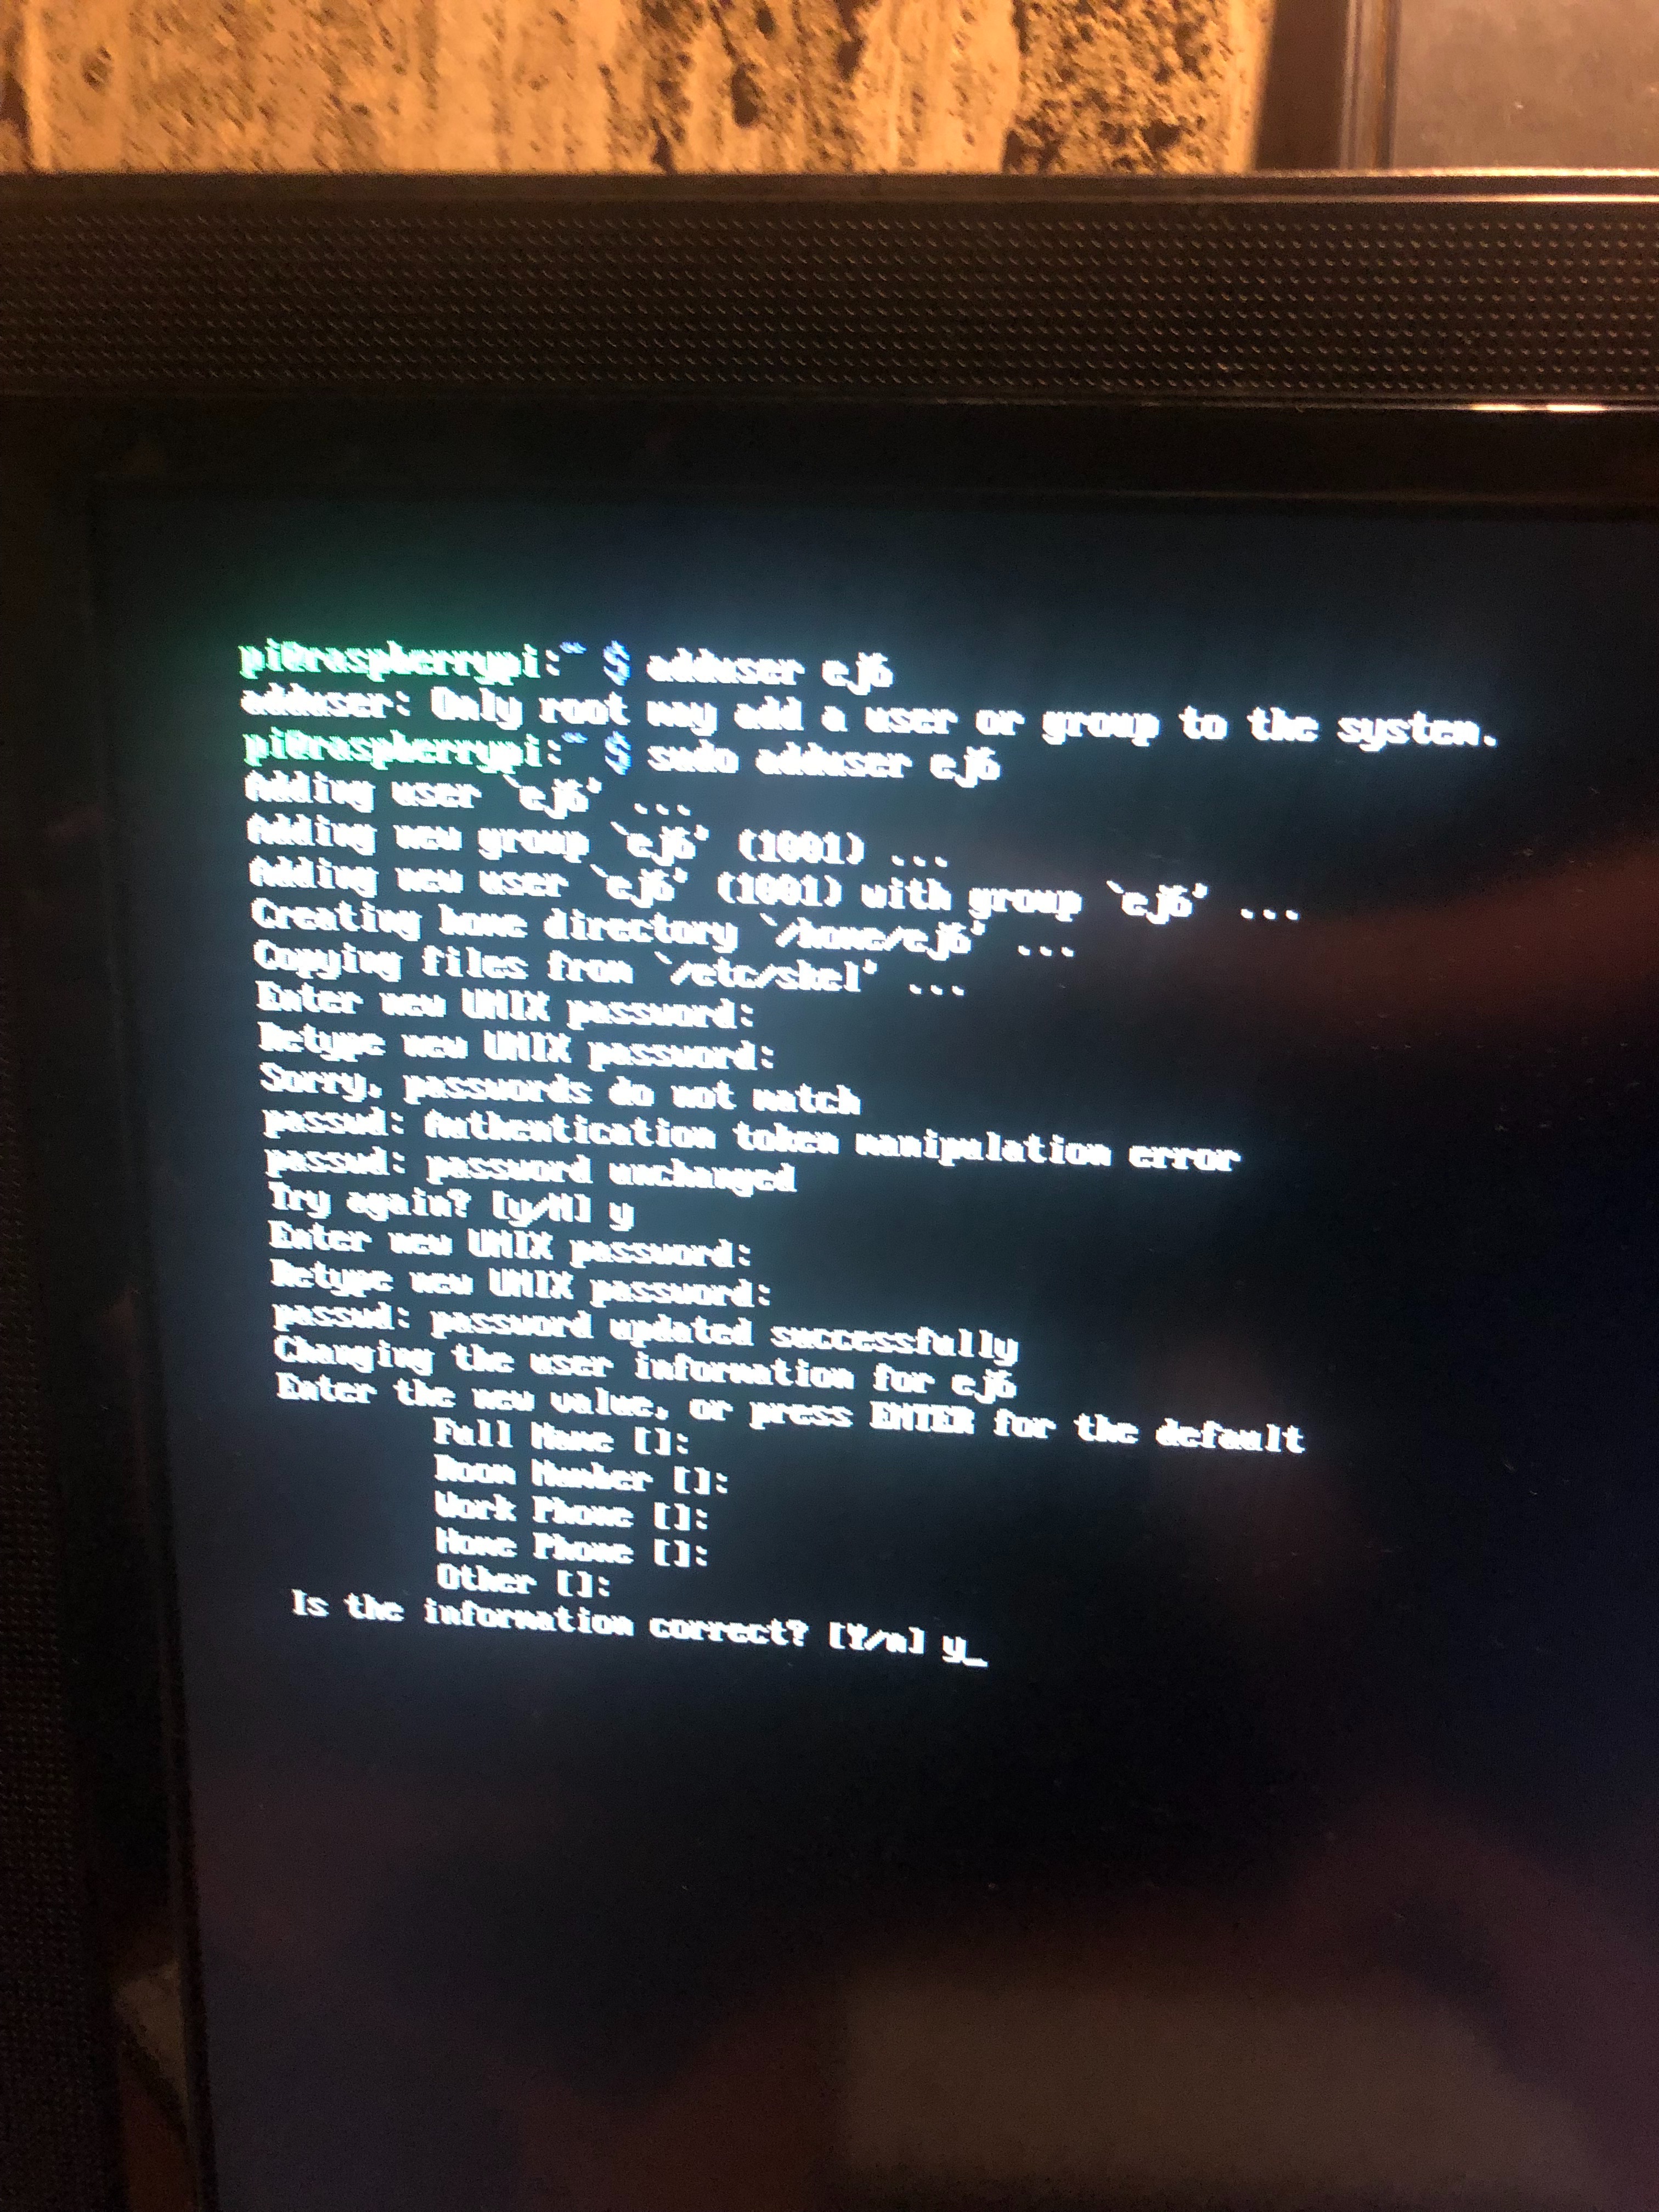
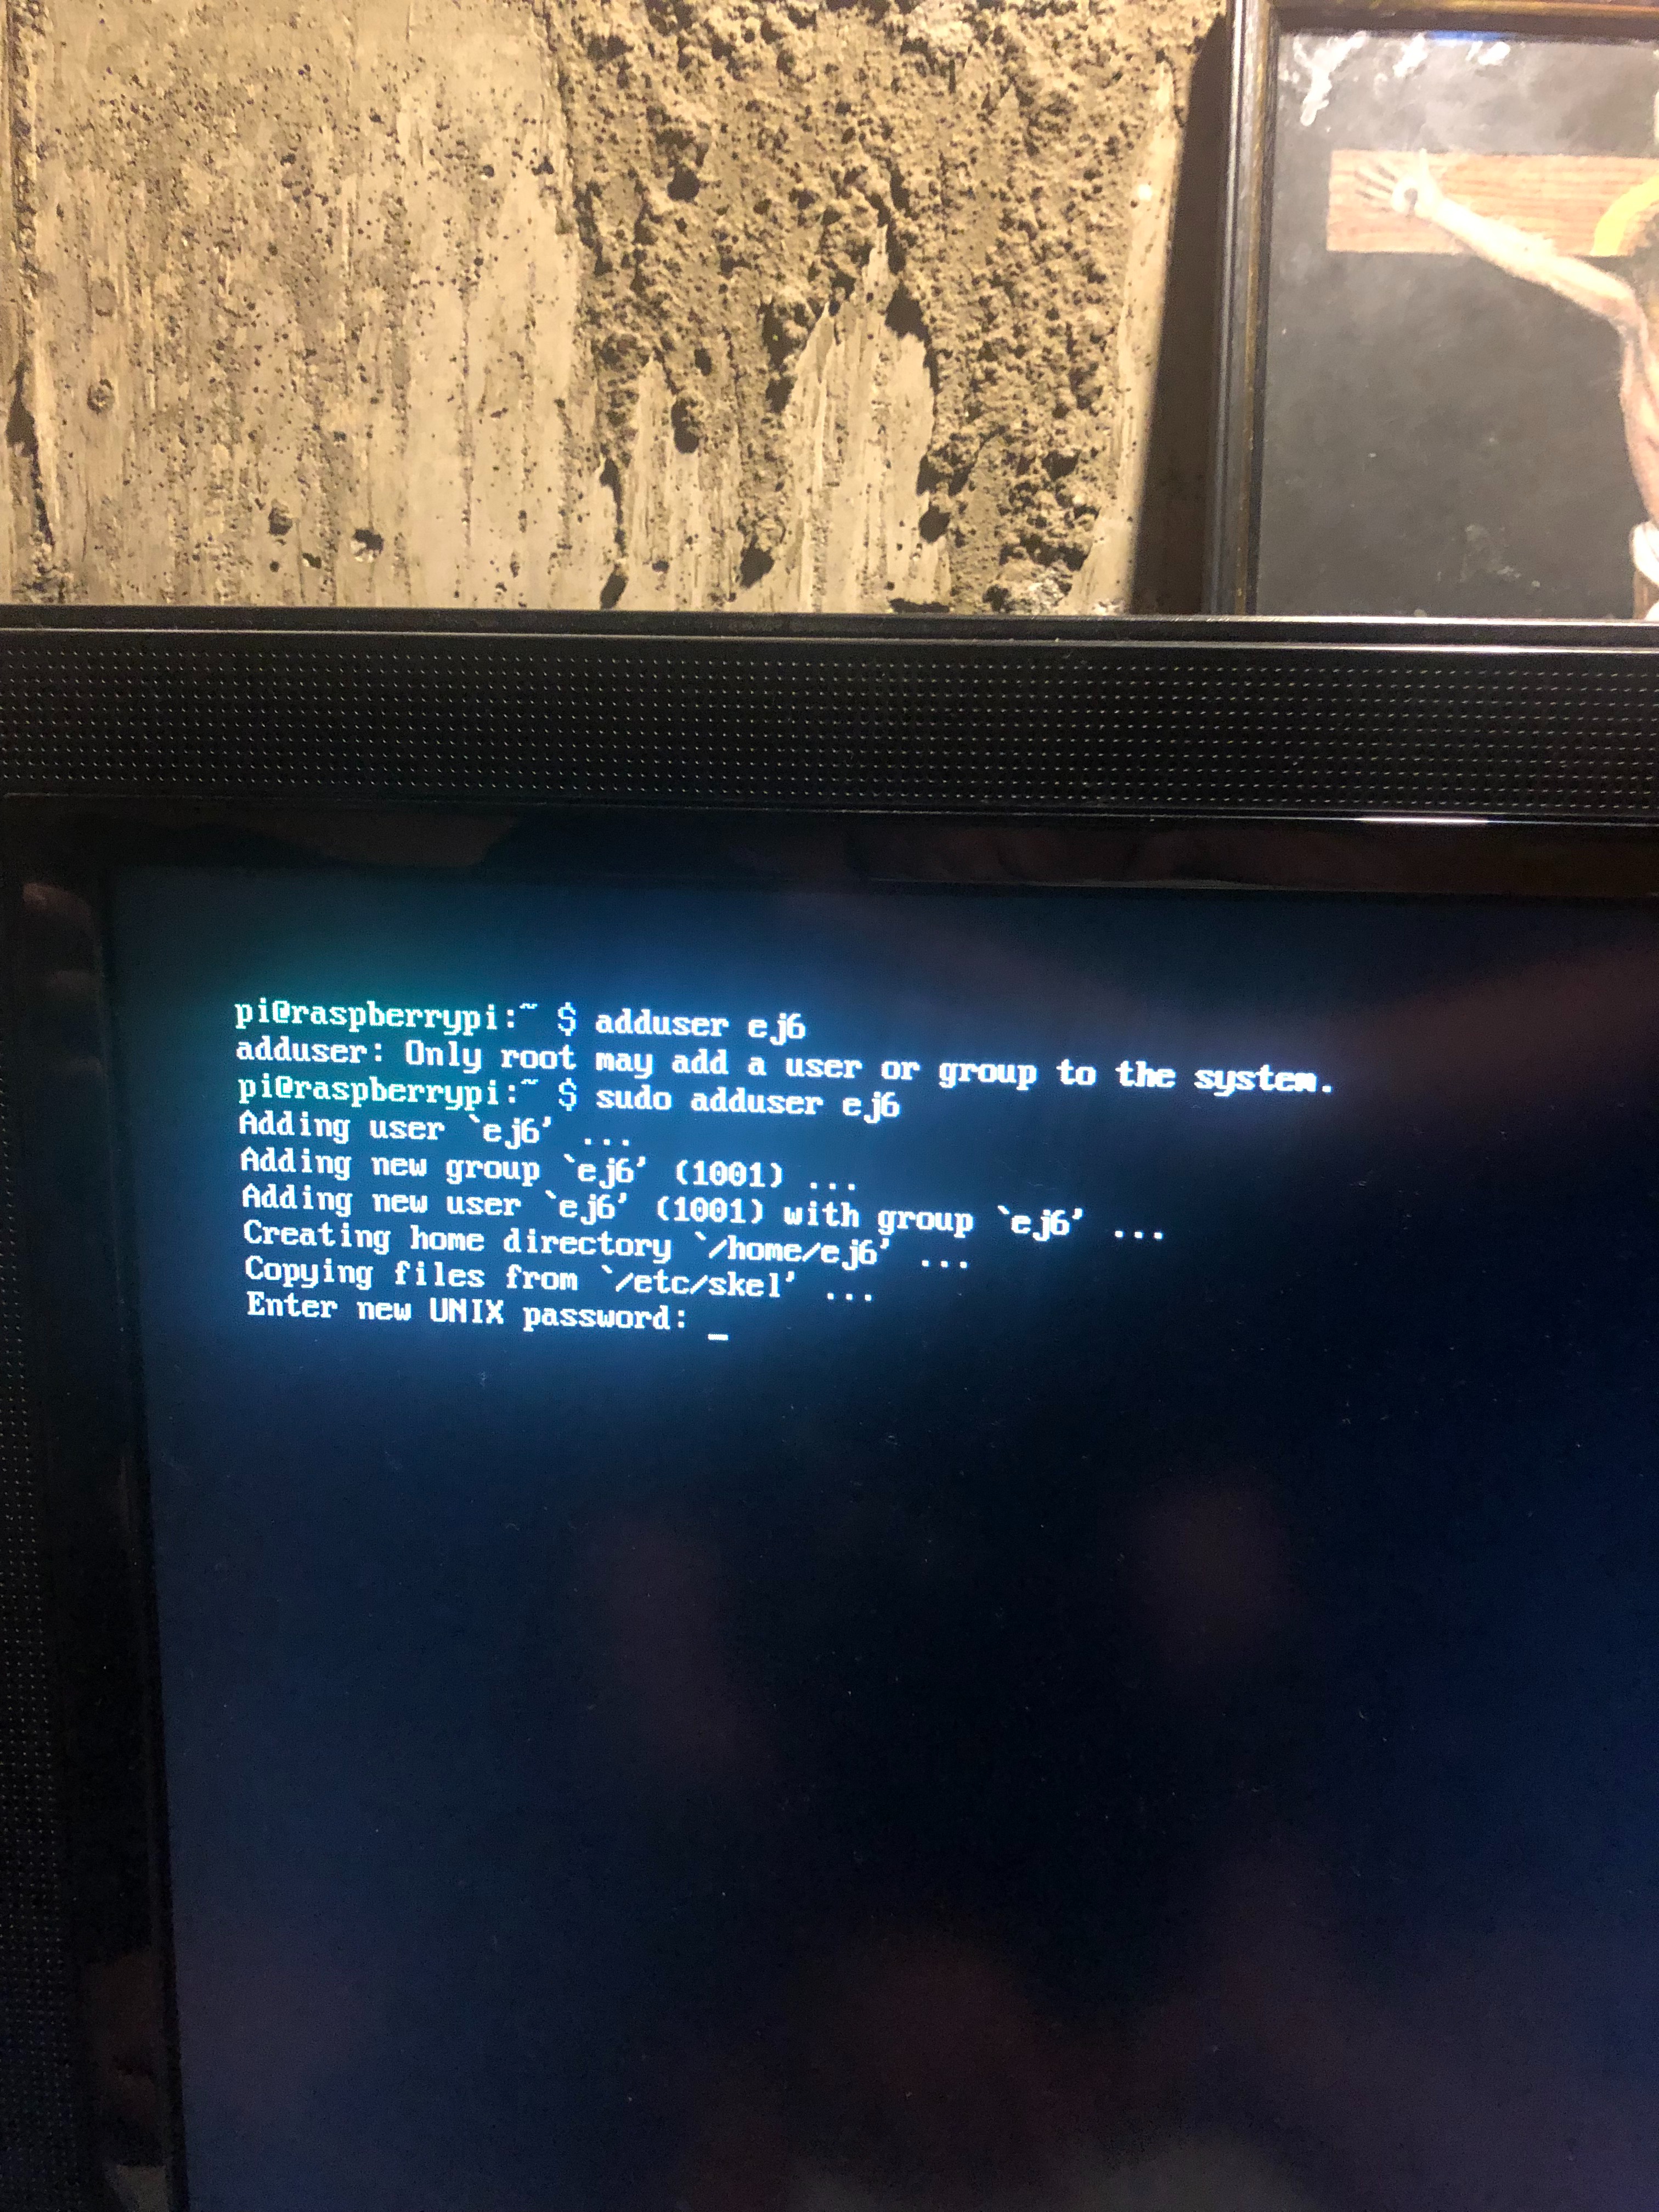
I decided to change my user name, here are the steps for that:
1. sudo demand on pi for changing name:
sudo usermod -aG sudo (new username)
2. sudo demand on pi to revoke acsess:
sudo userdel (username wanting to revoke)
sudo rm -rf/home/(username wanting to revoke)
Change Keyboard Lay Out Step 1
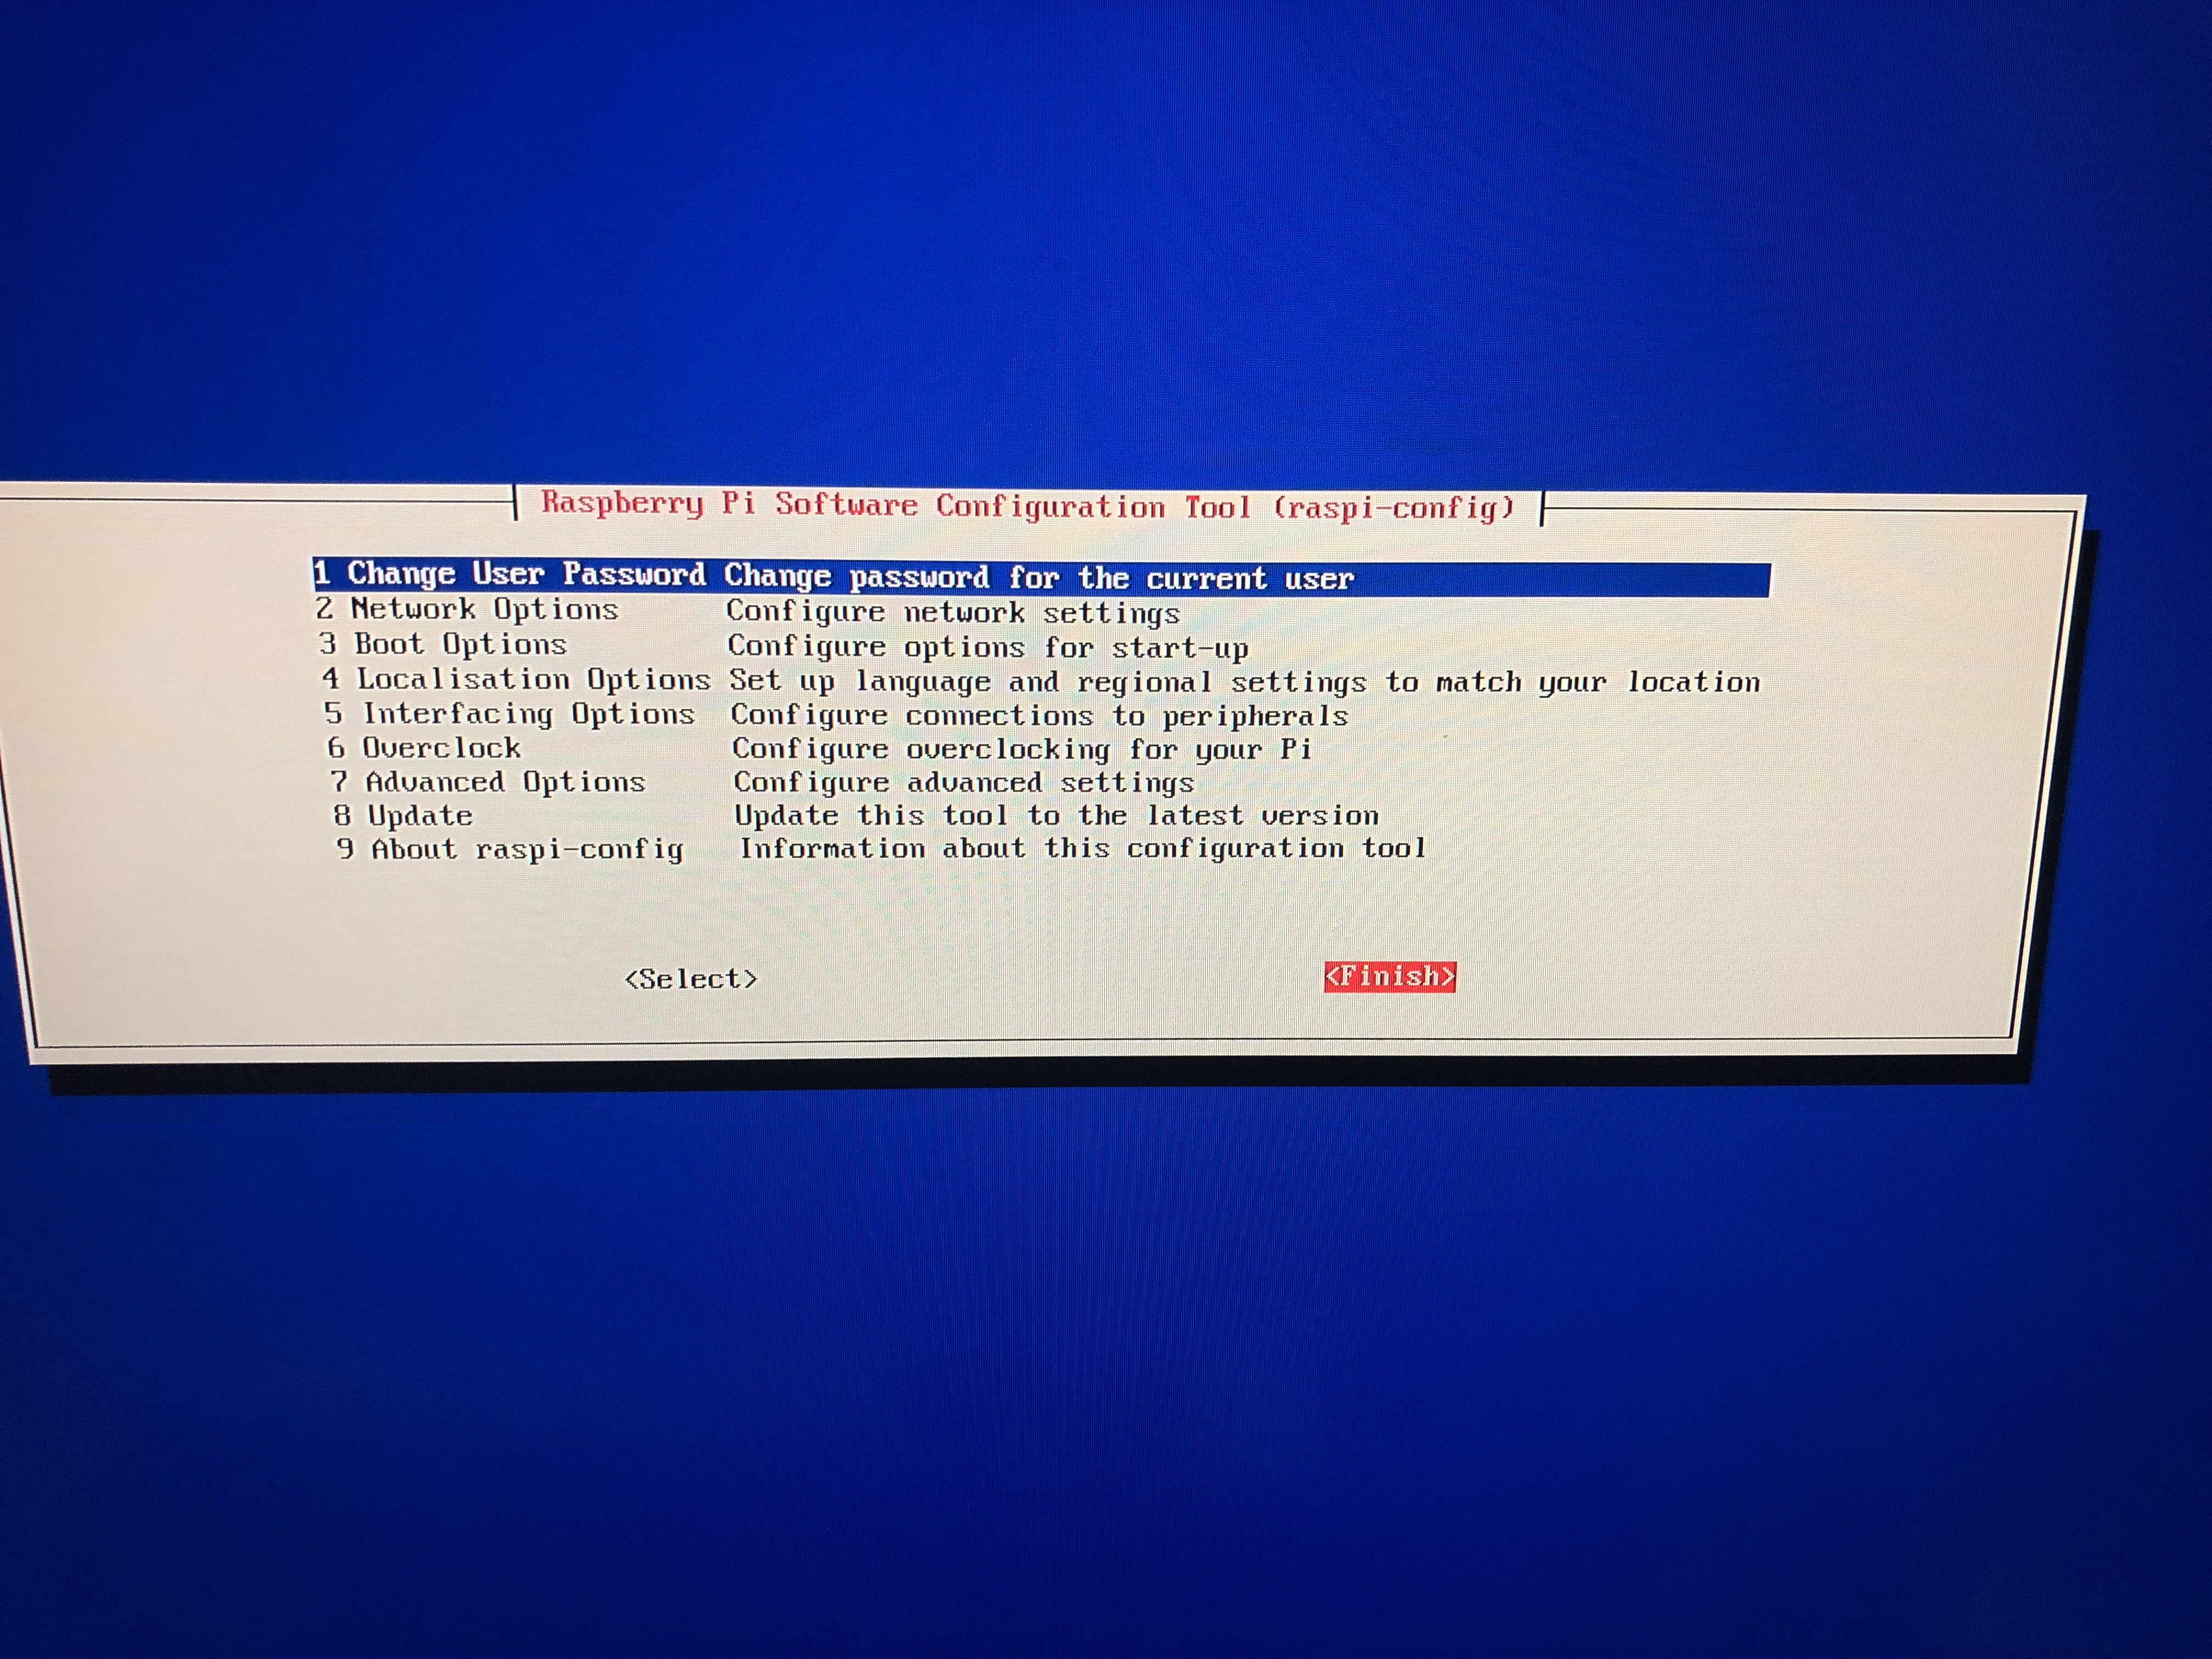
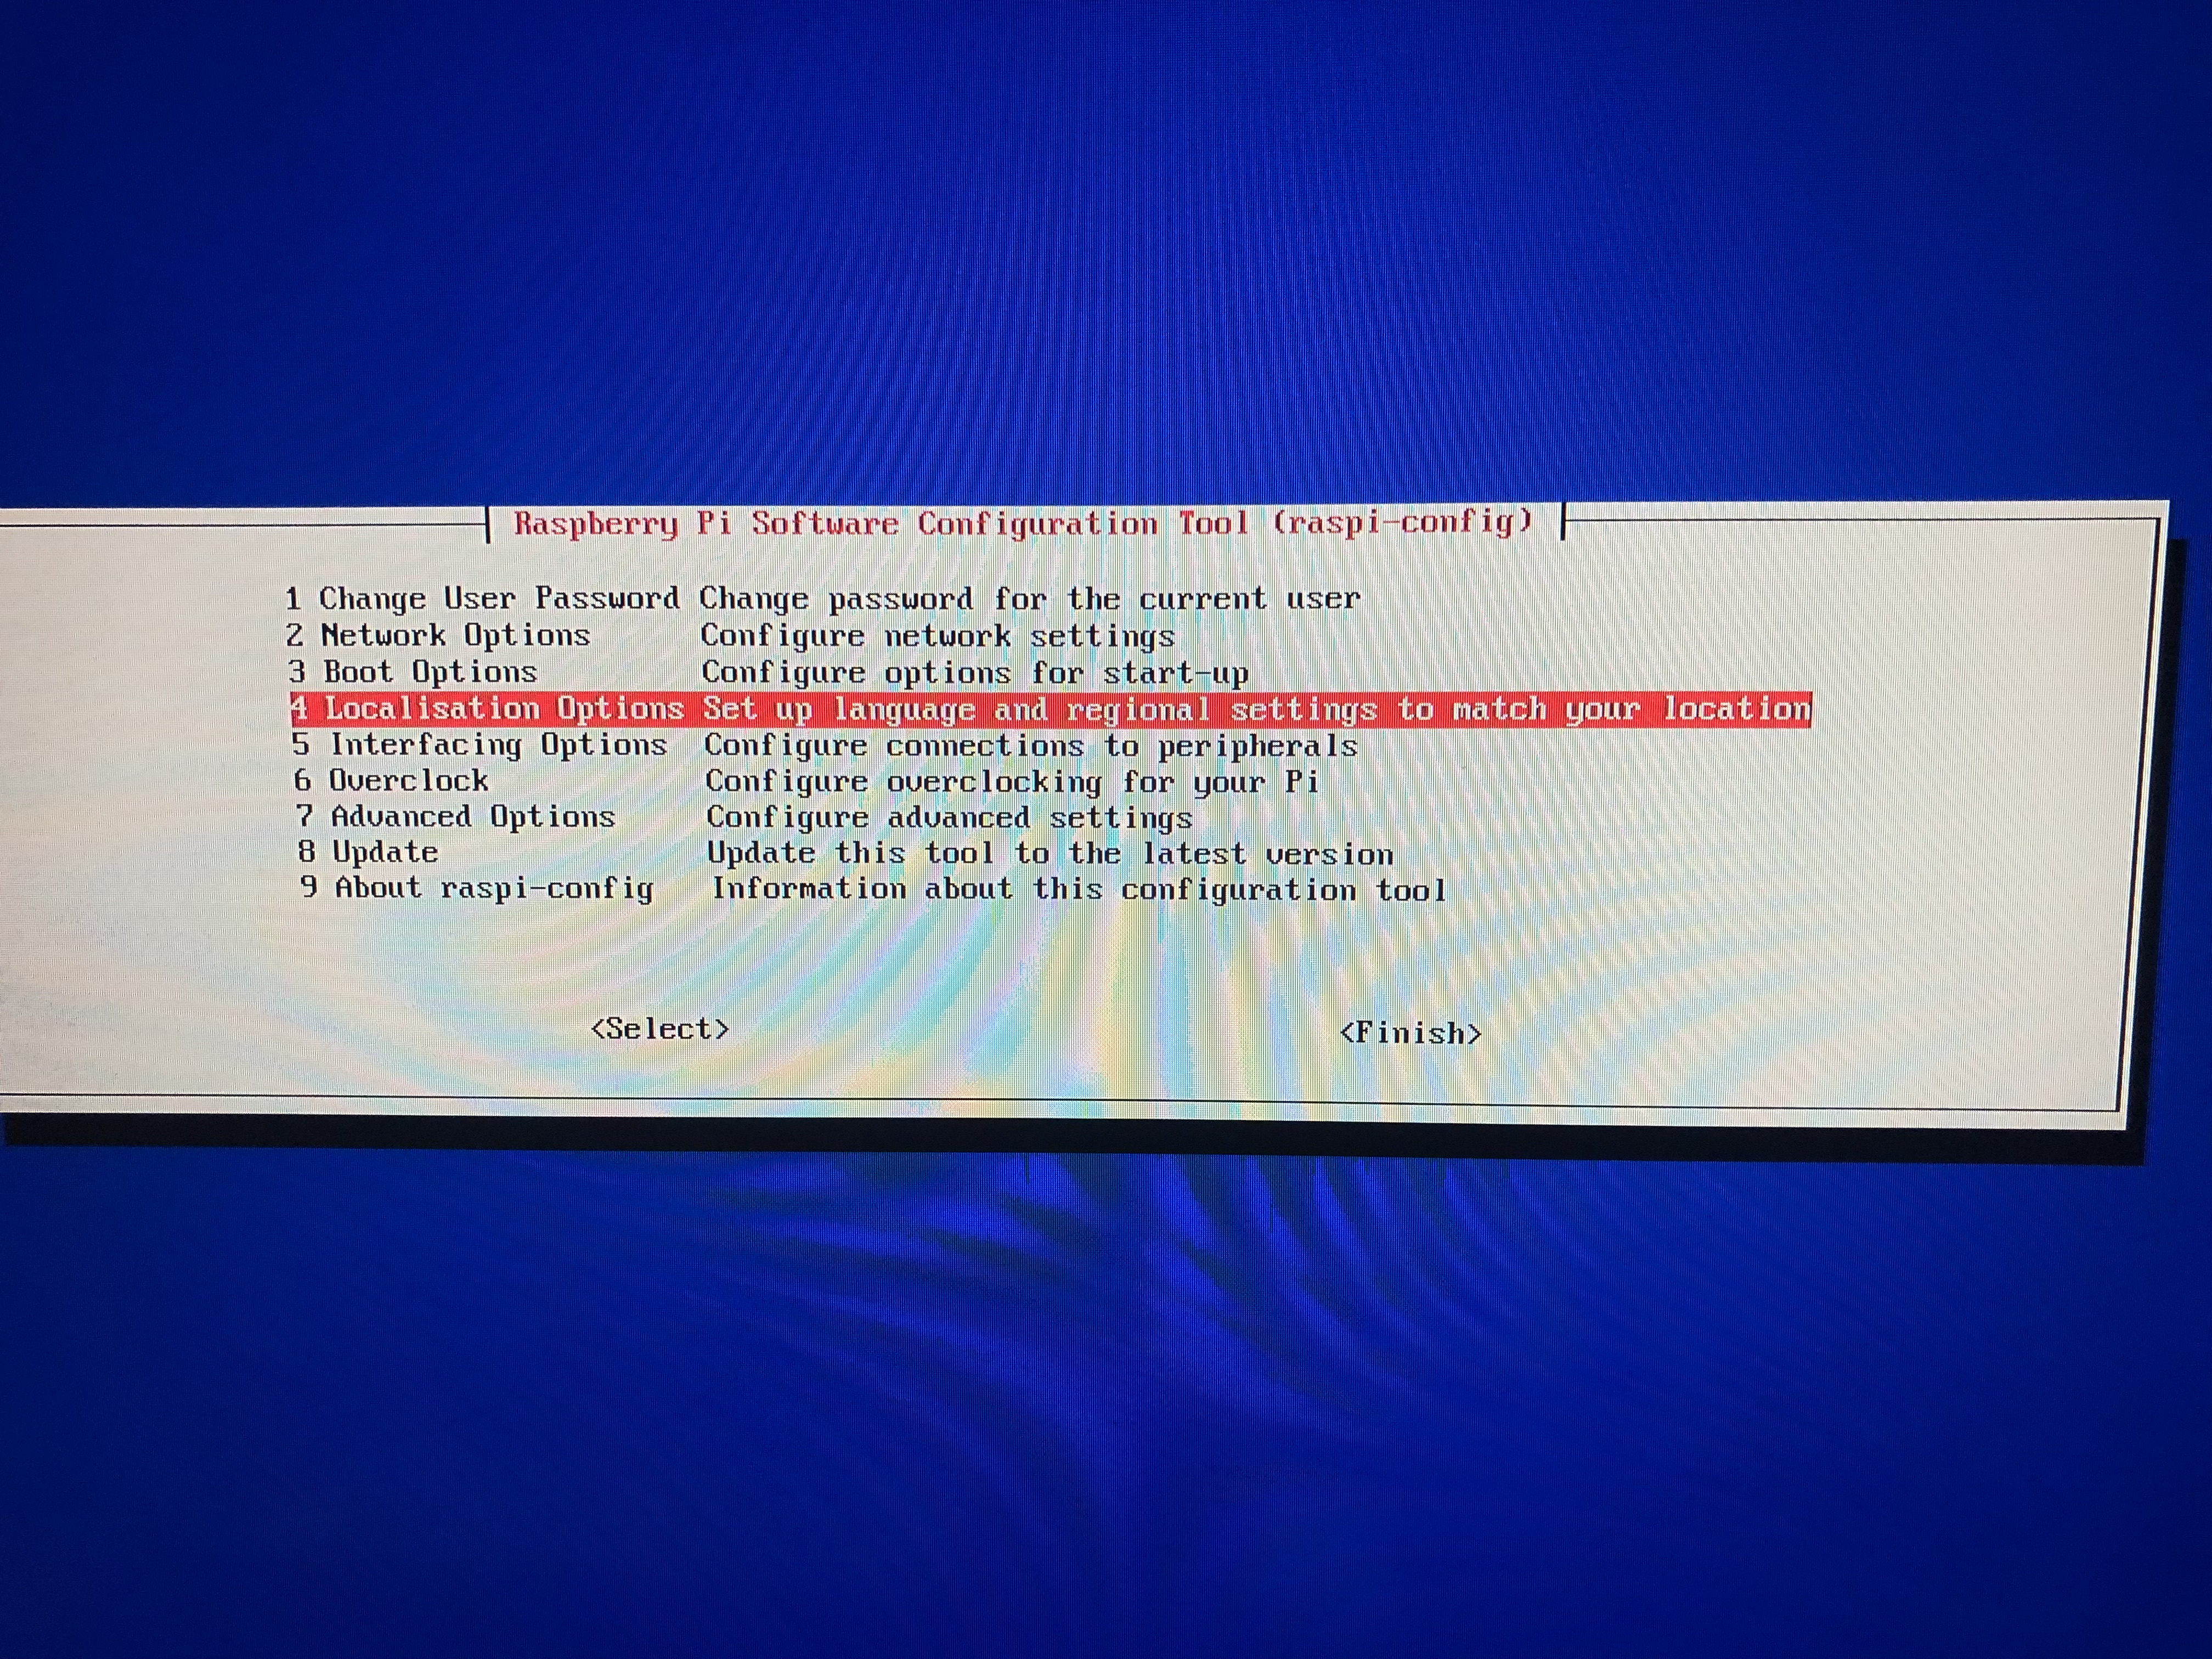
If this is the first time you have used raspberry pi hole like me you would have to change the keyboard like I did.
1. First you would need to get to the setting menu this is the demand you will type in:
sudo raspi -config
2. click on " Localisation"
Change Keyboard Lay Out Step 2
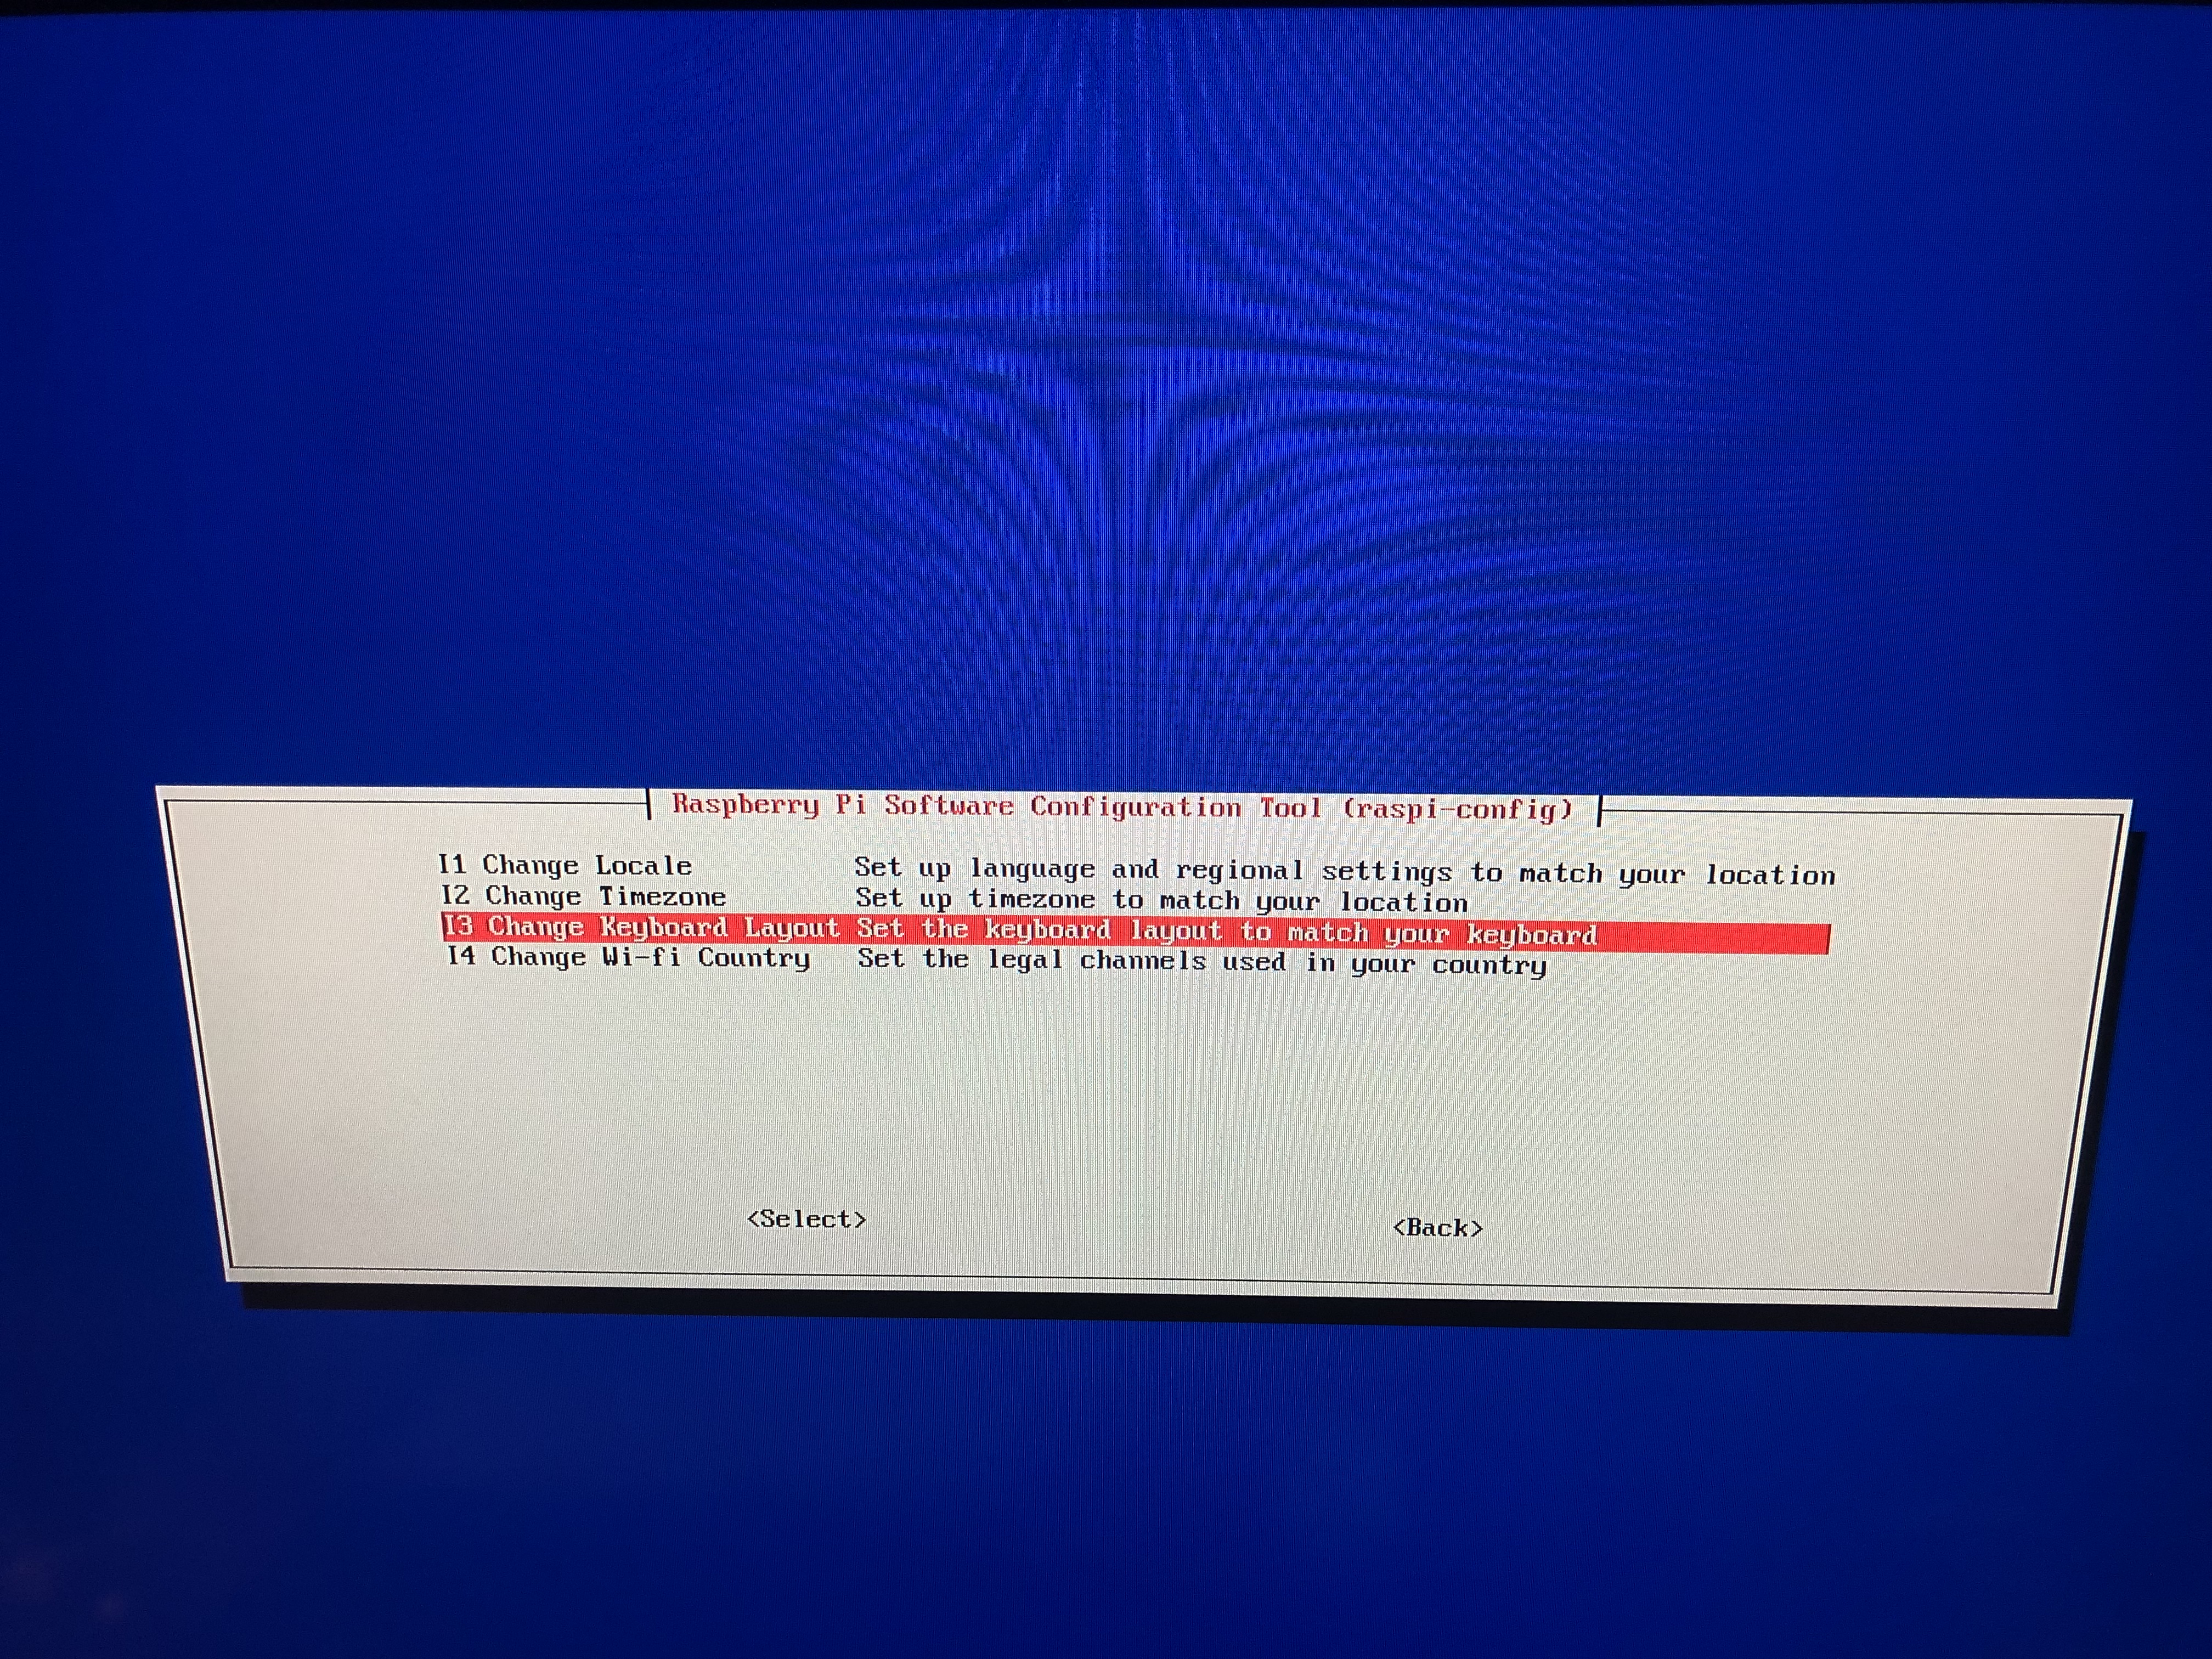
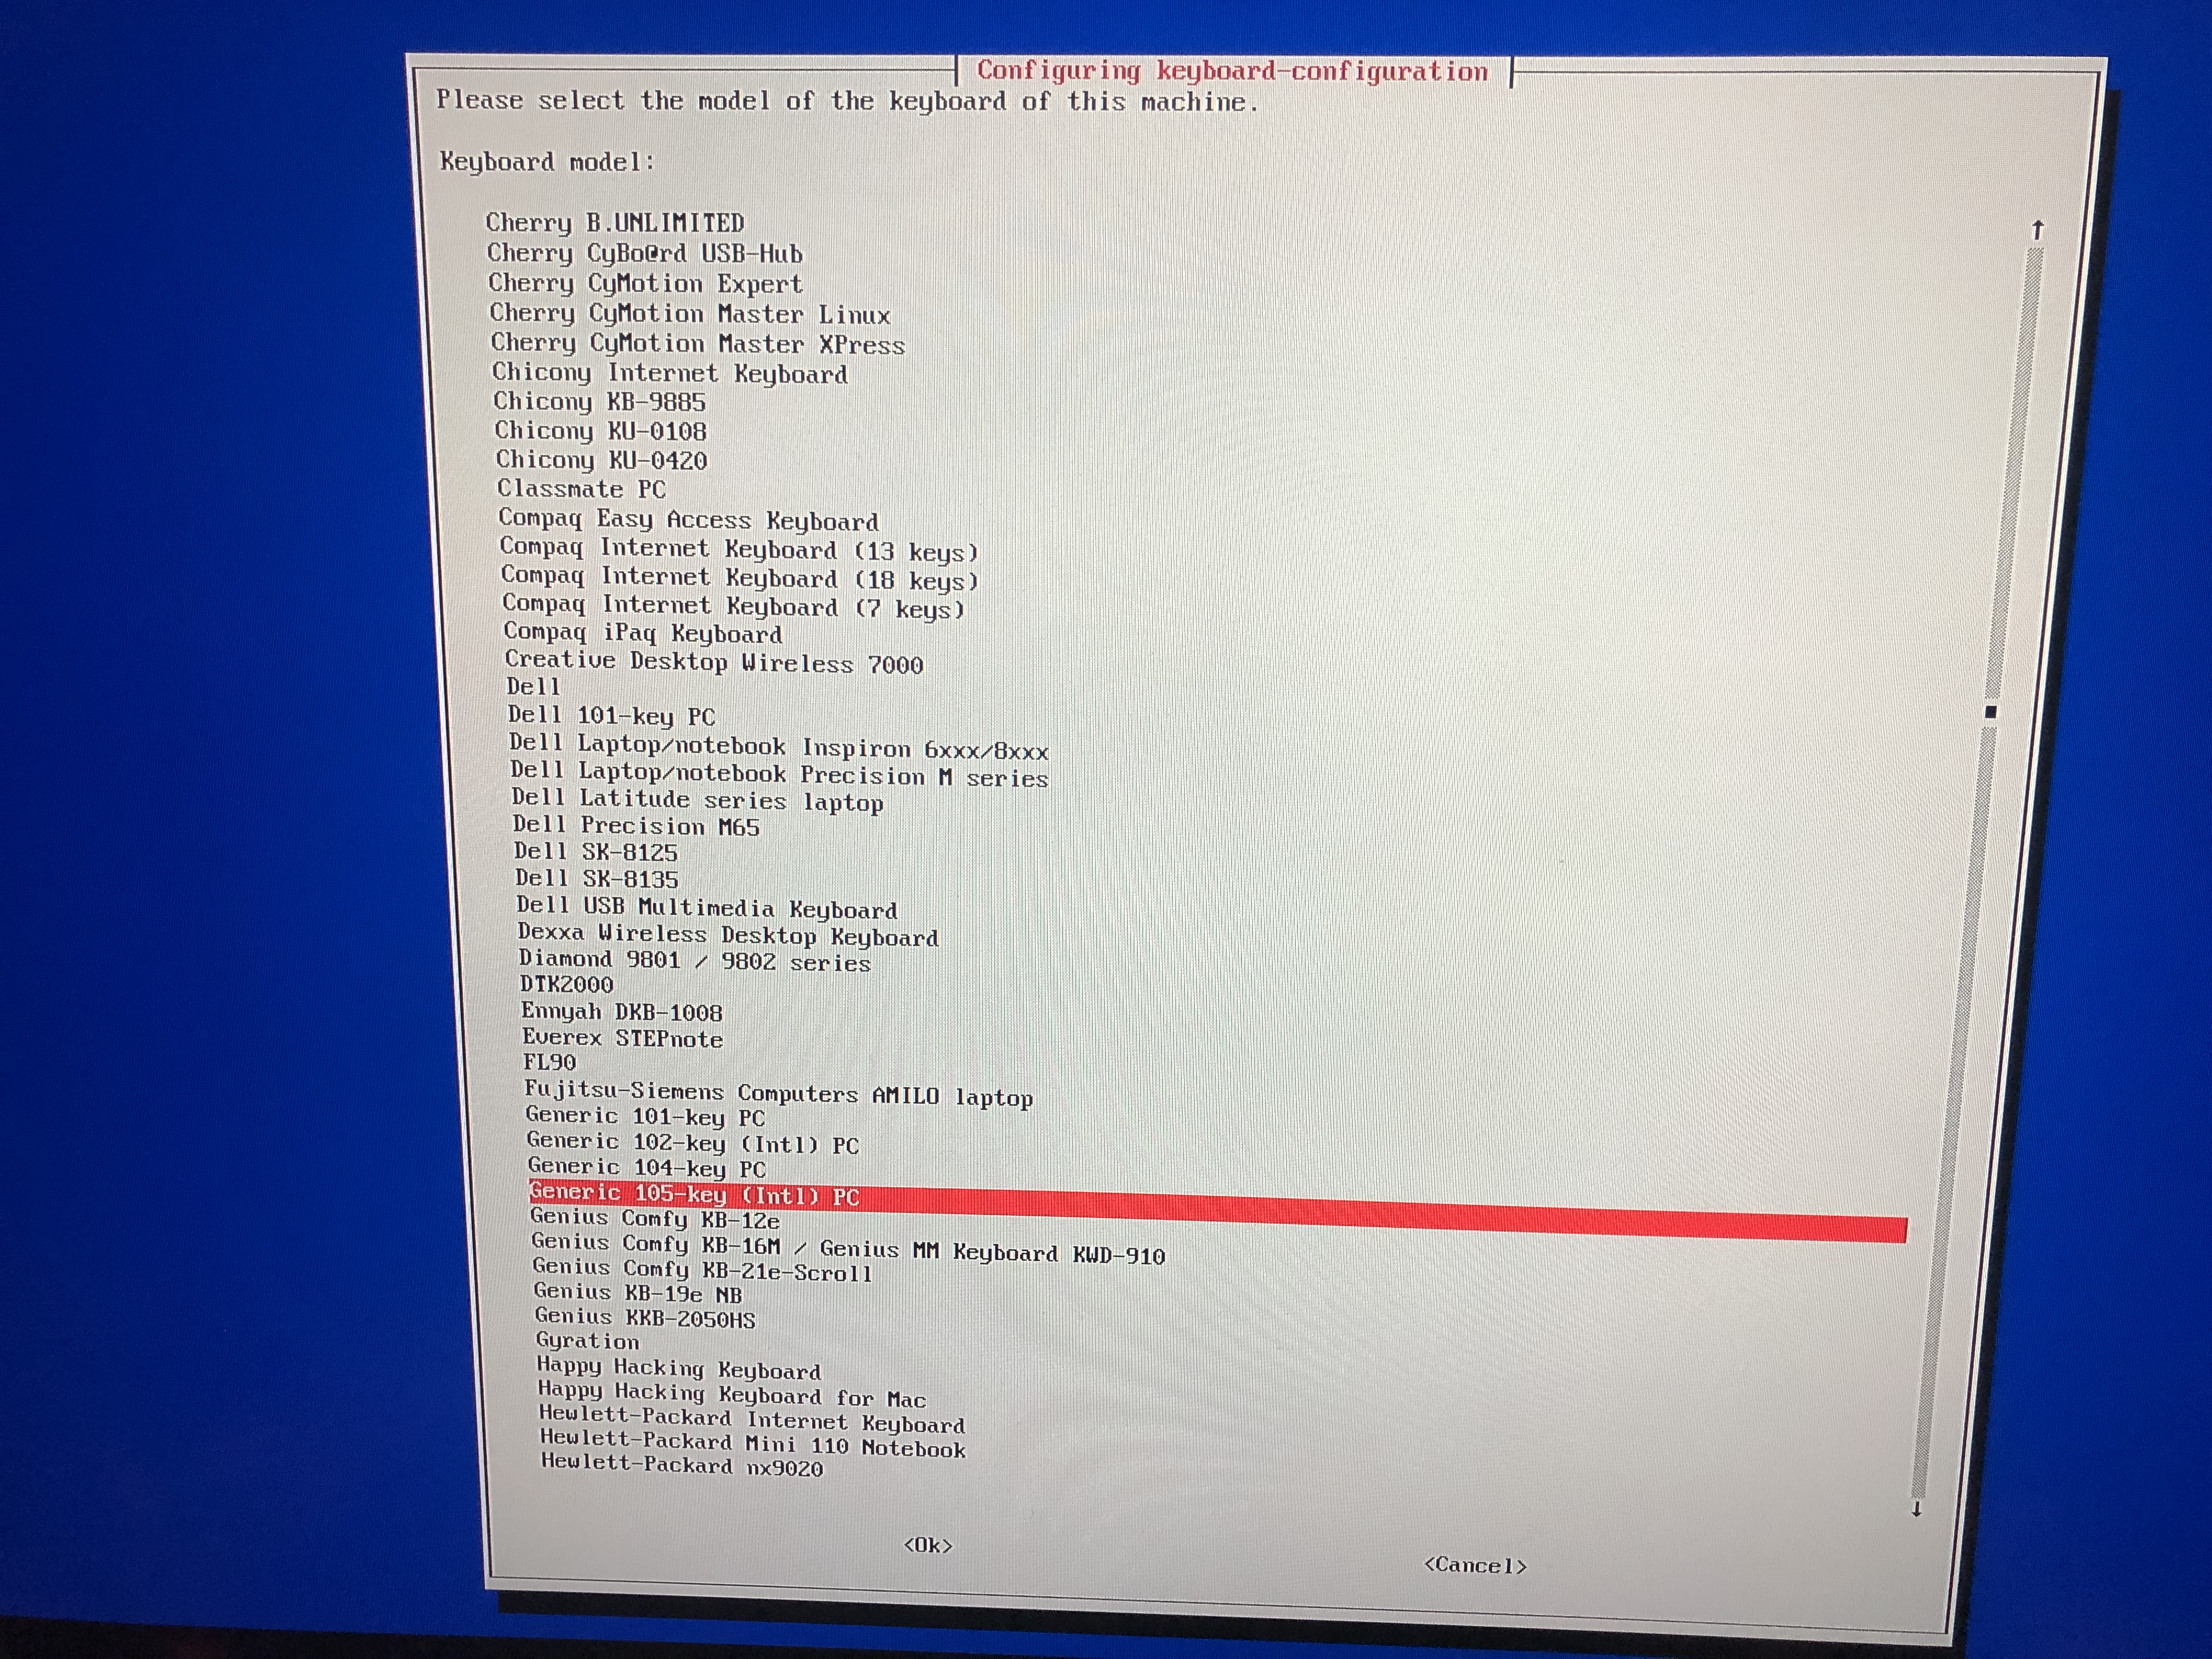
1. Click on keyboard layout
2. click on generic 105 keyboard
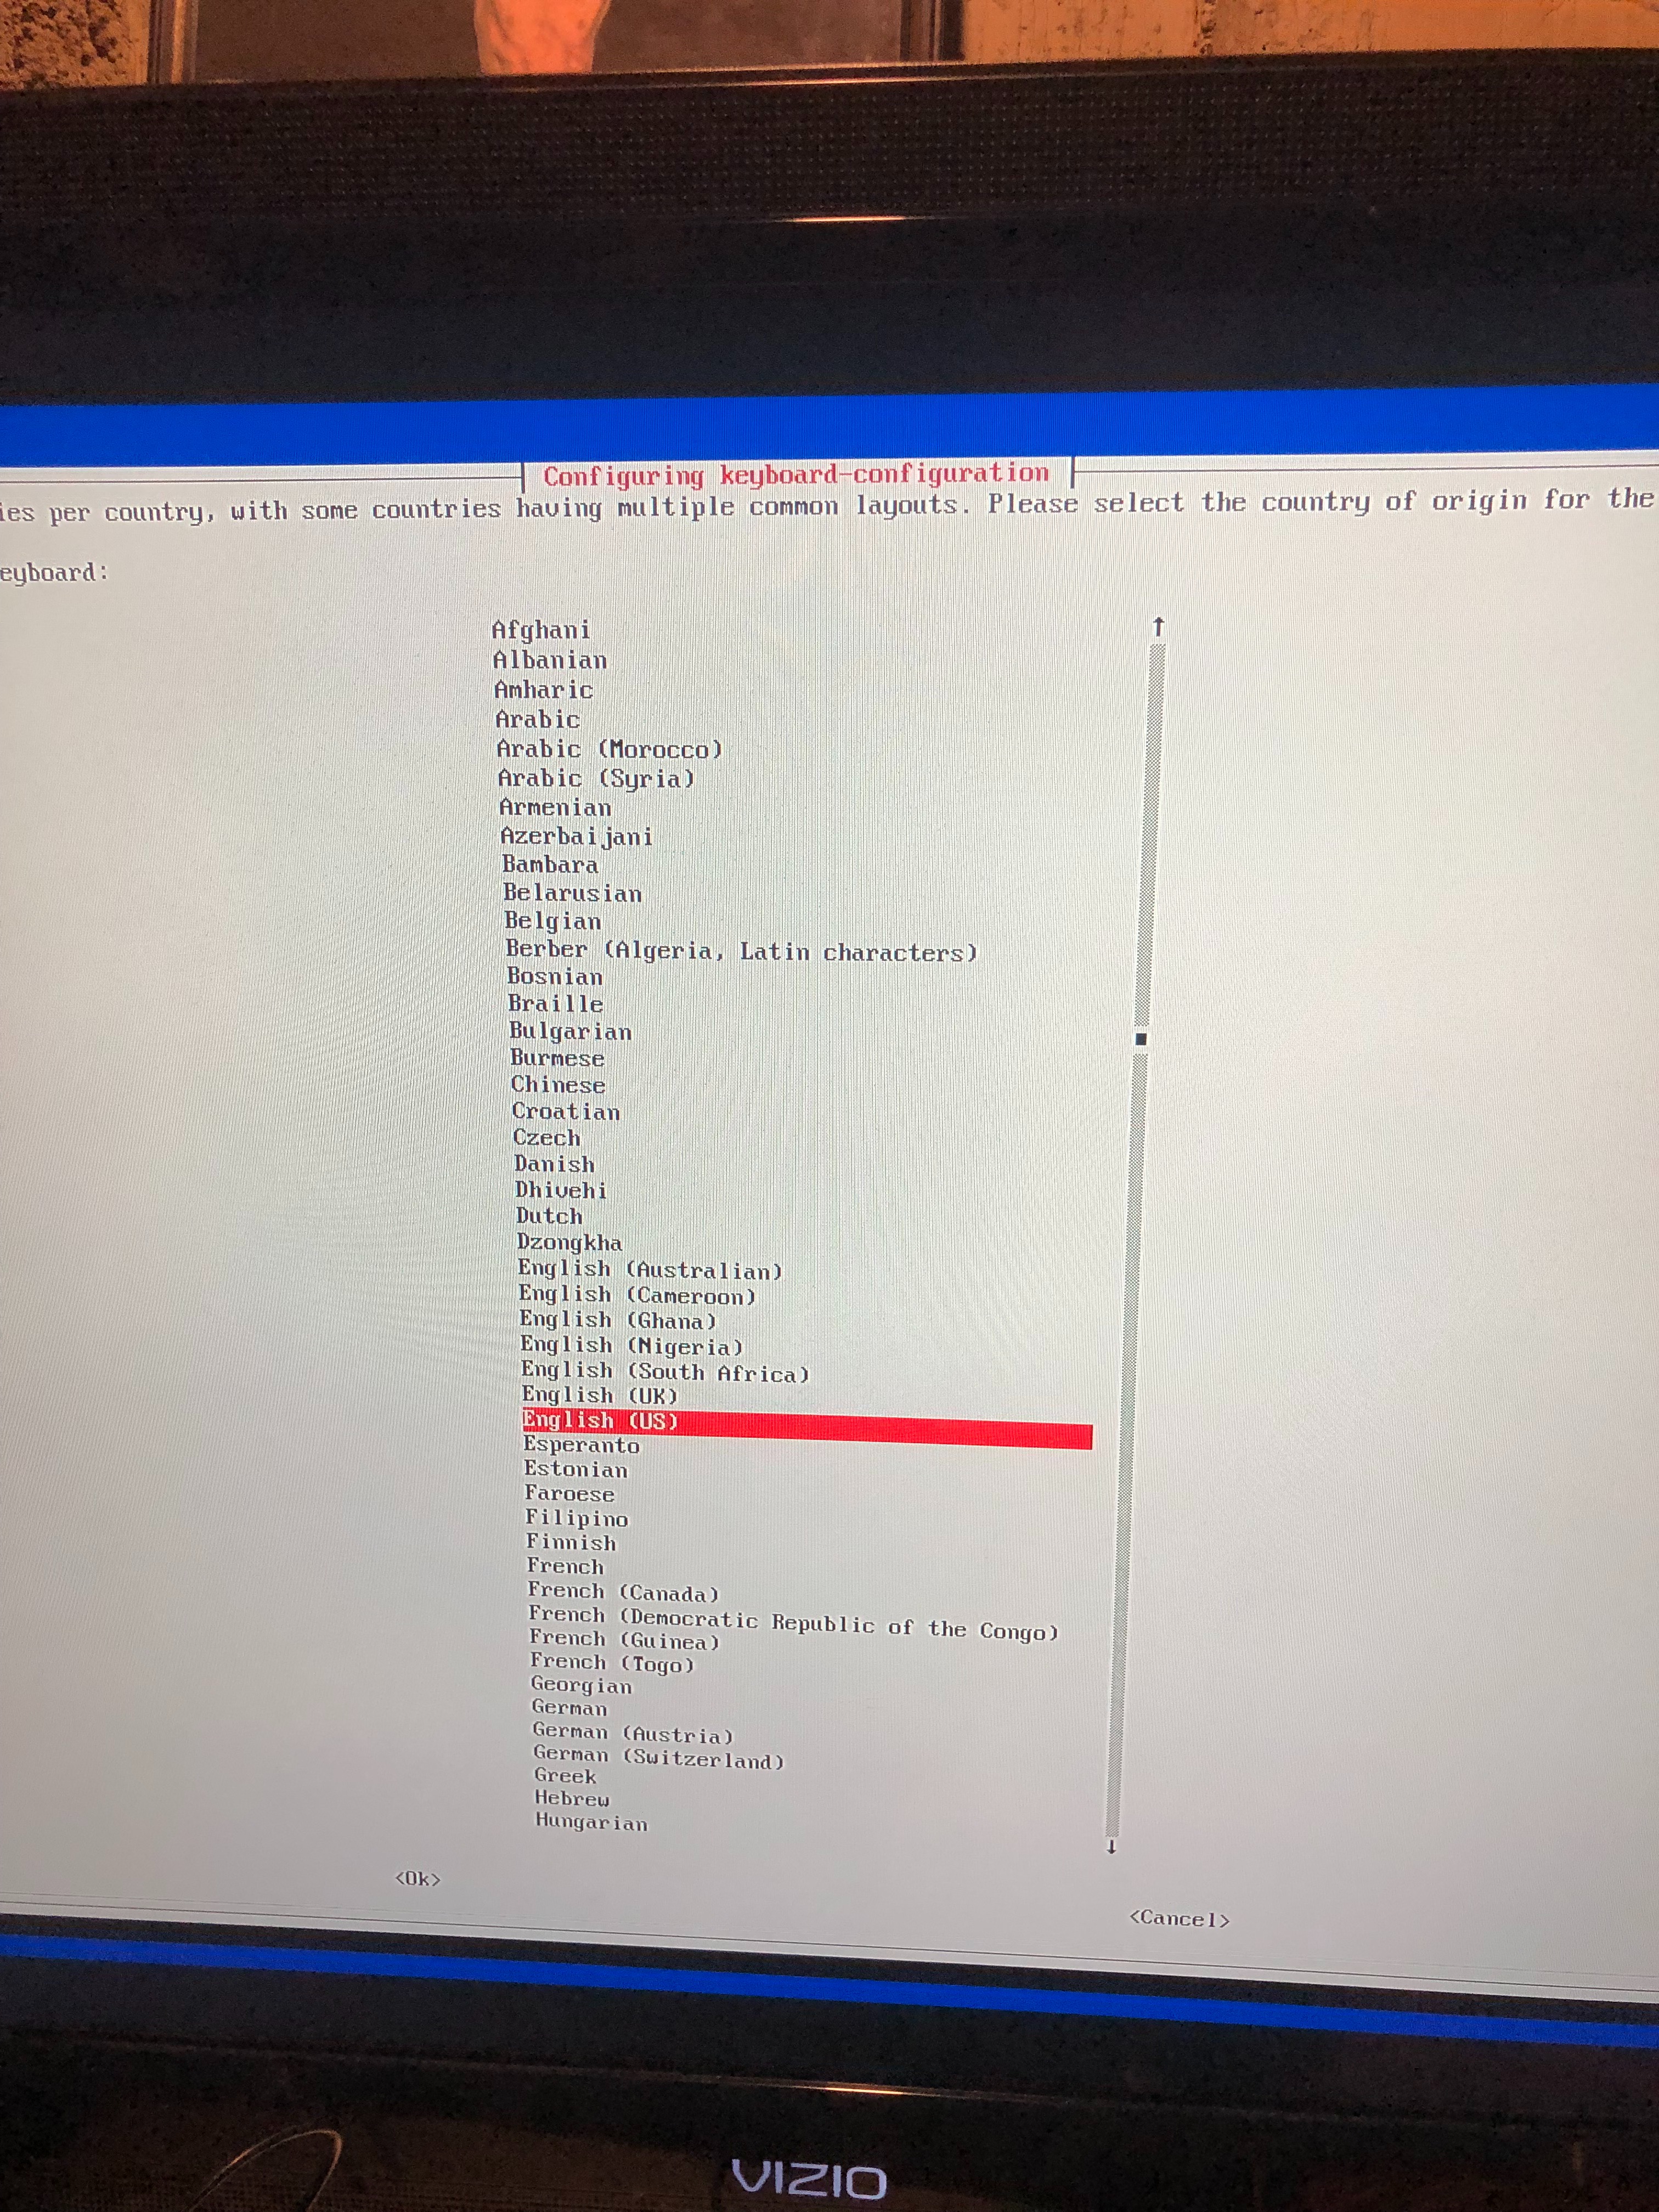
Change Keyboard Lay Out Step 3
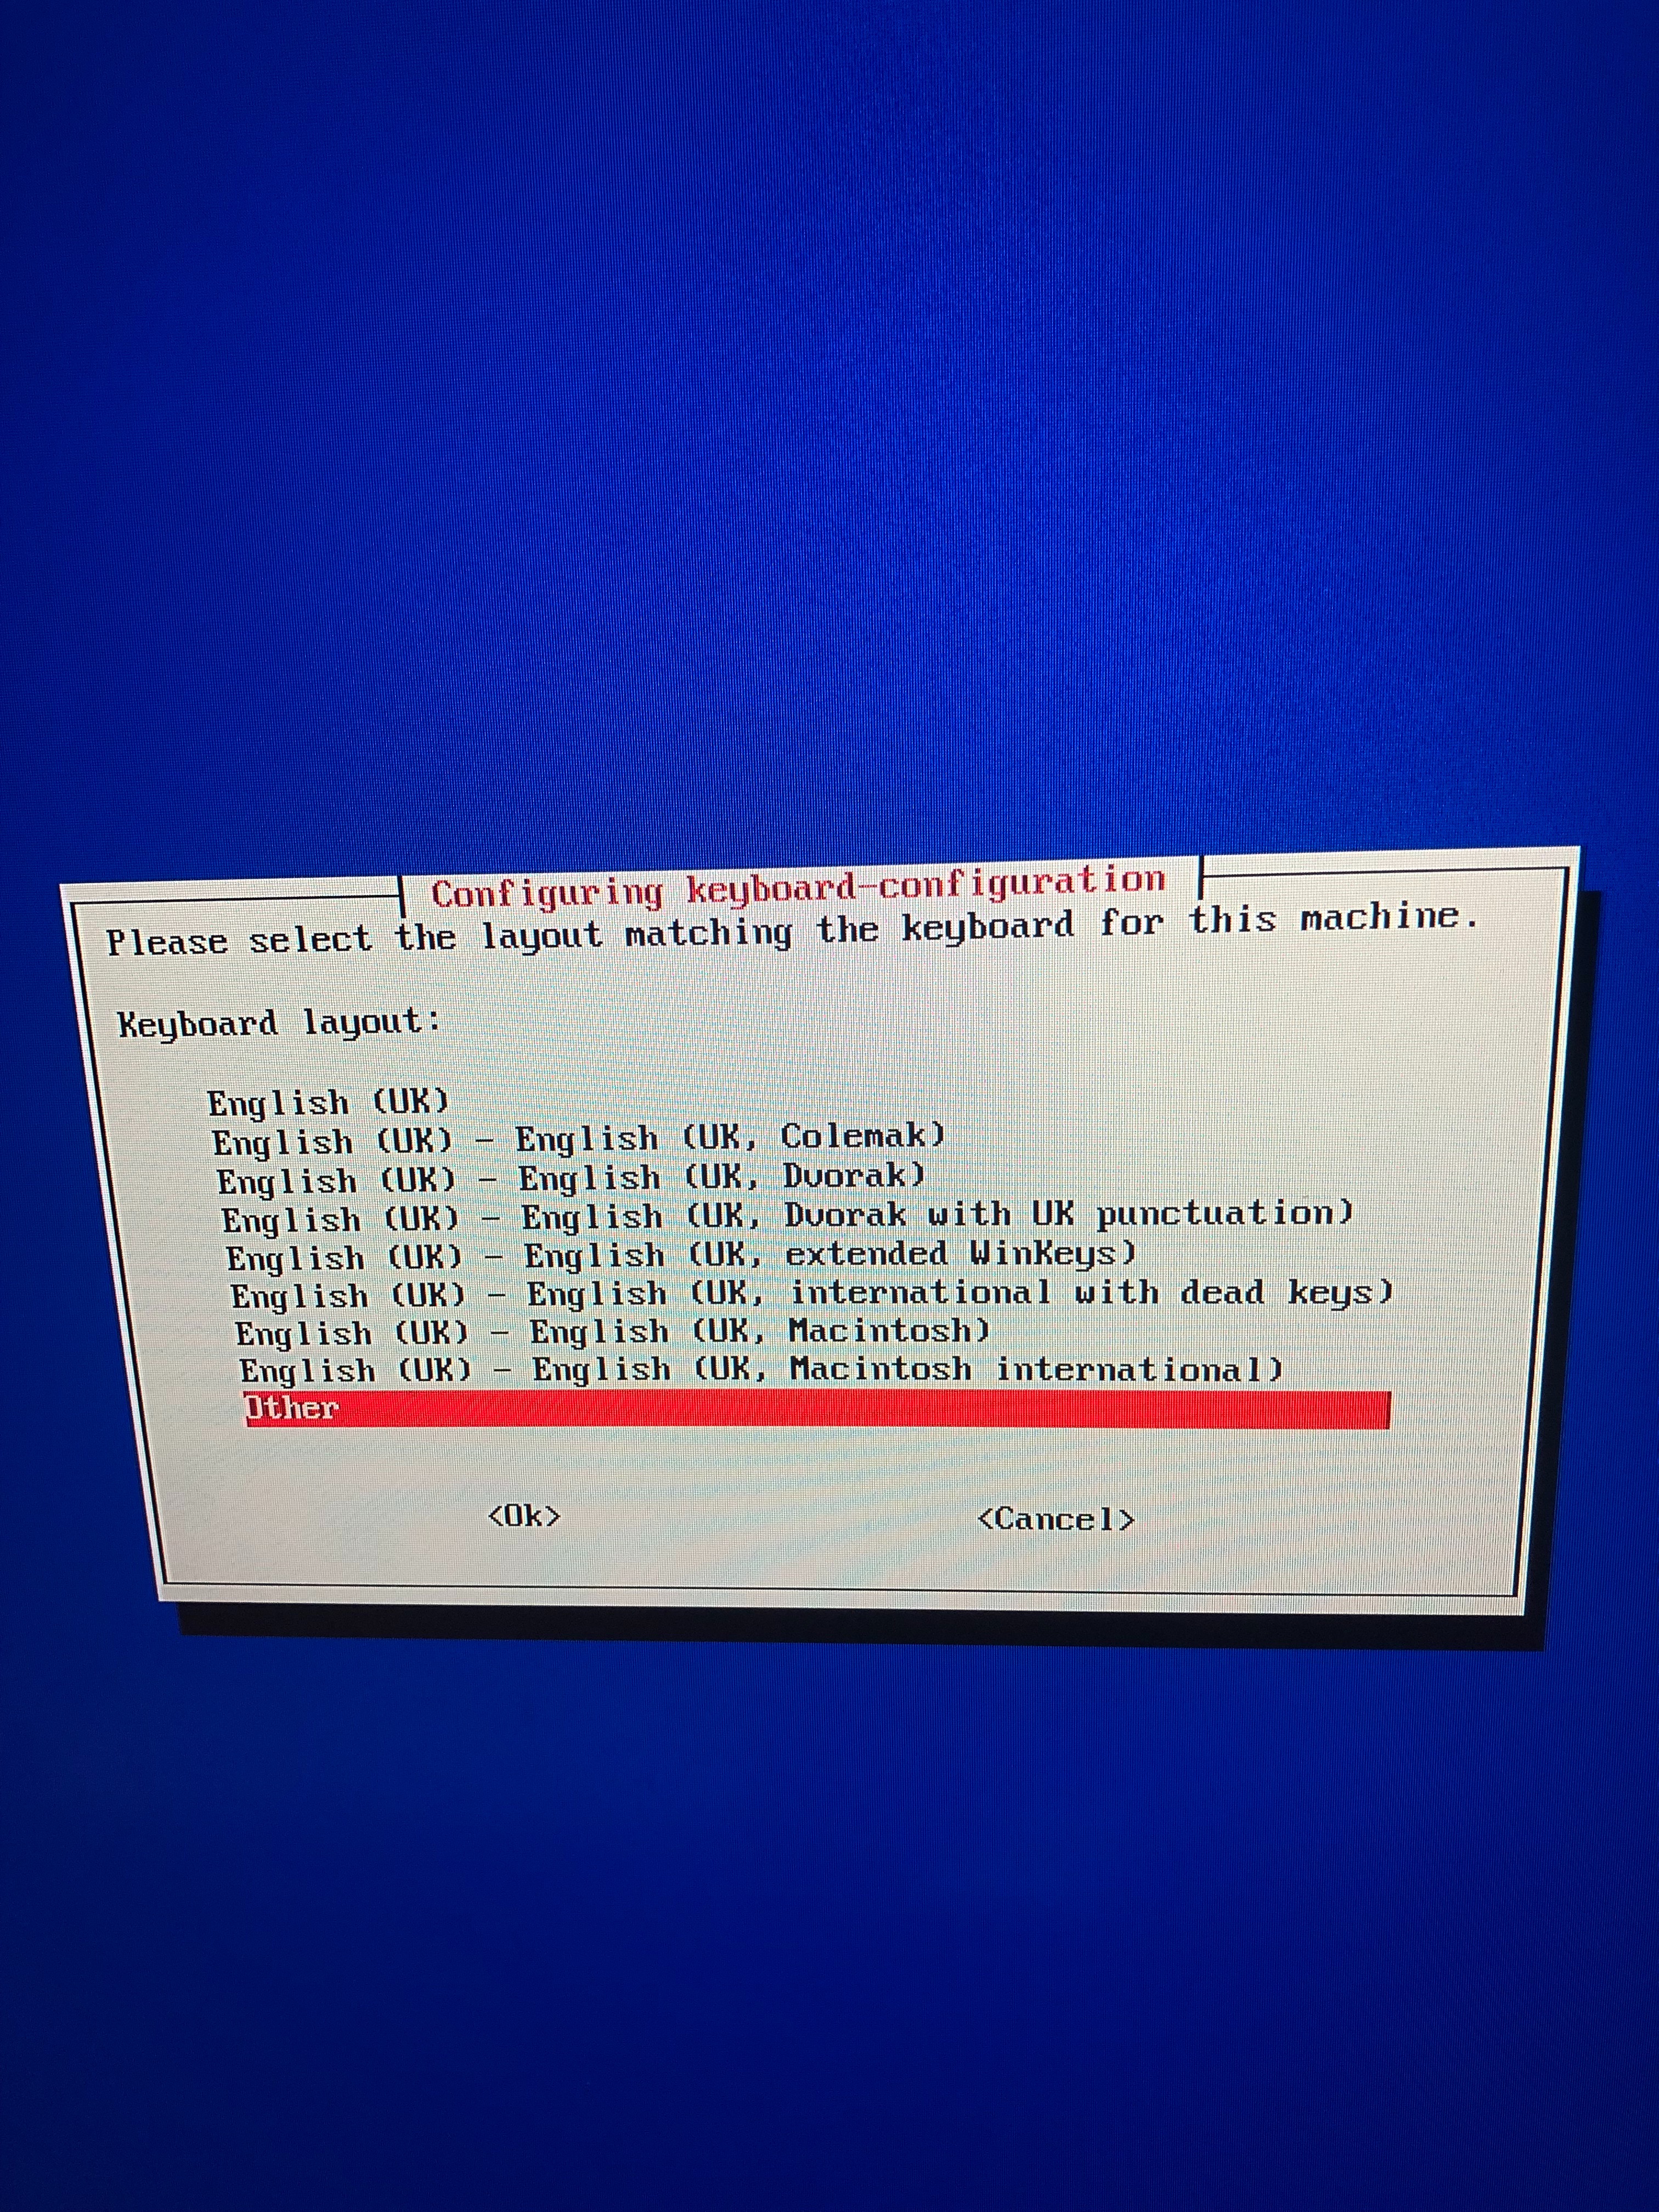
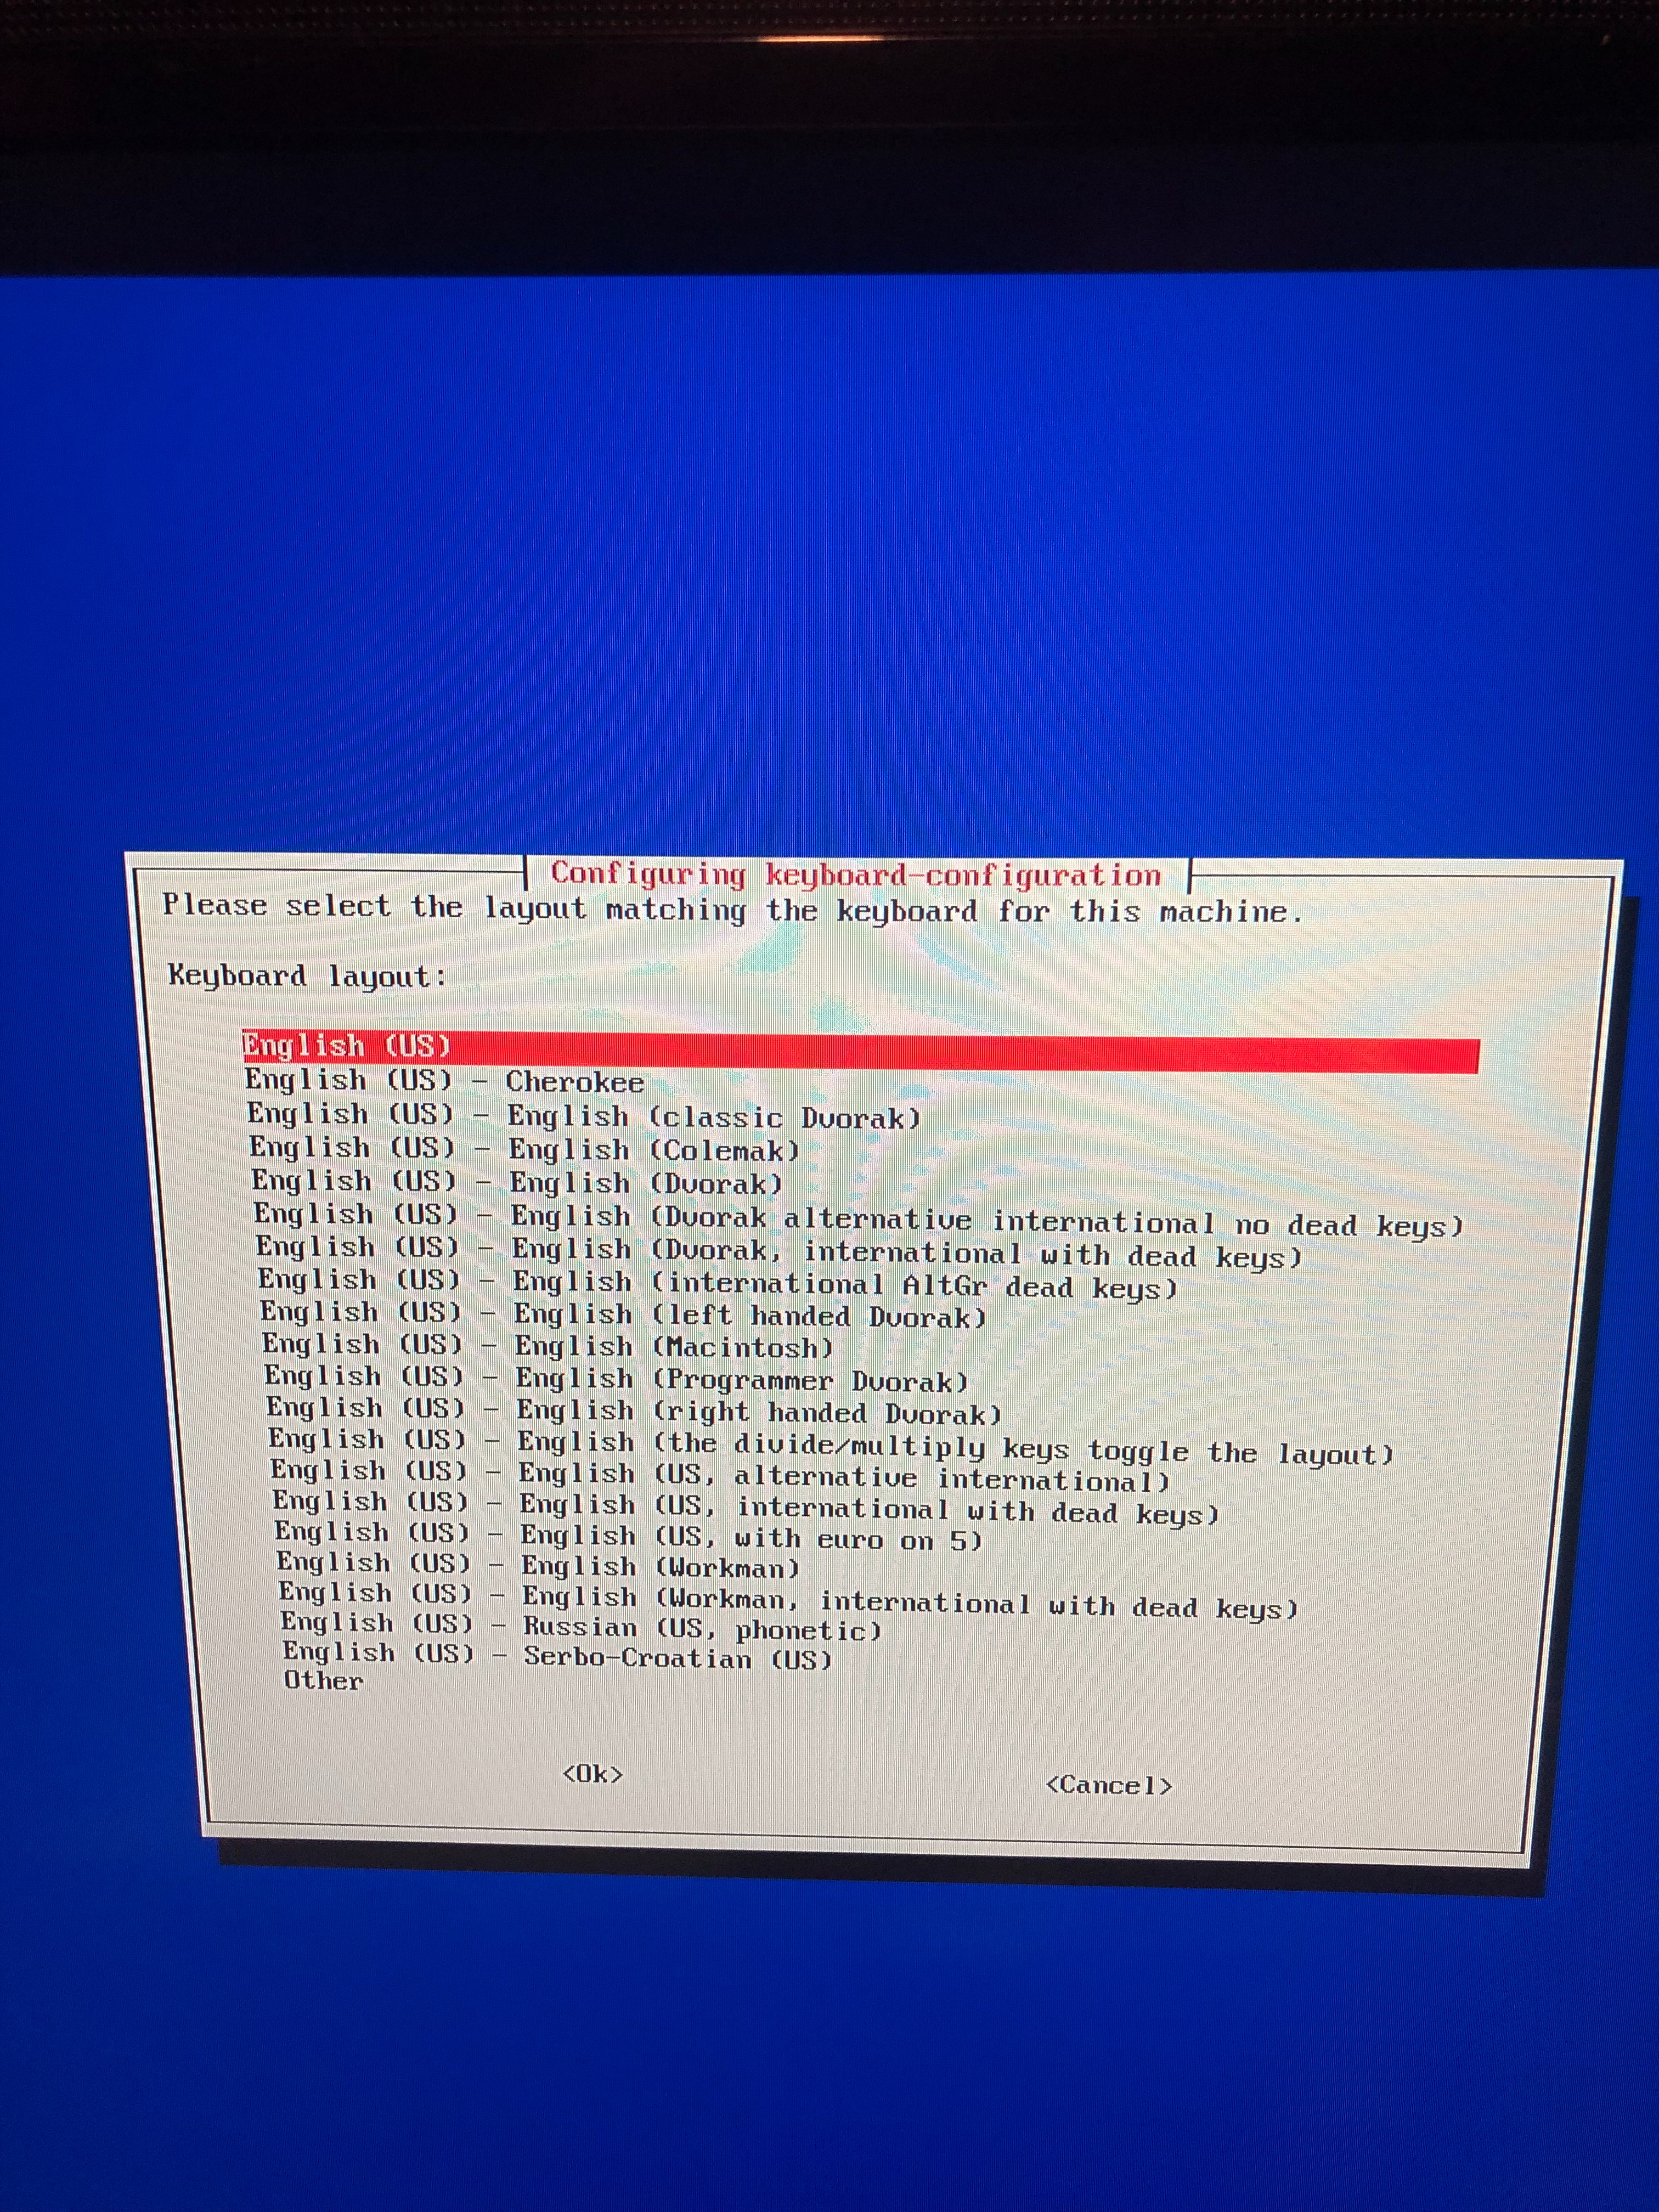
1. Other
2. English US
3. Tab (ok) after you click on previous step
Change Keyboard Lay Out Step 4
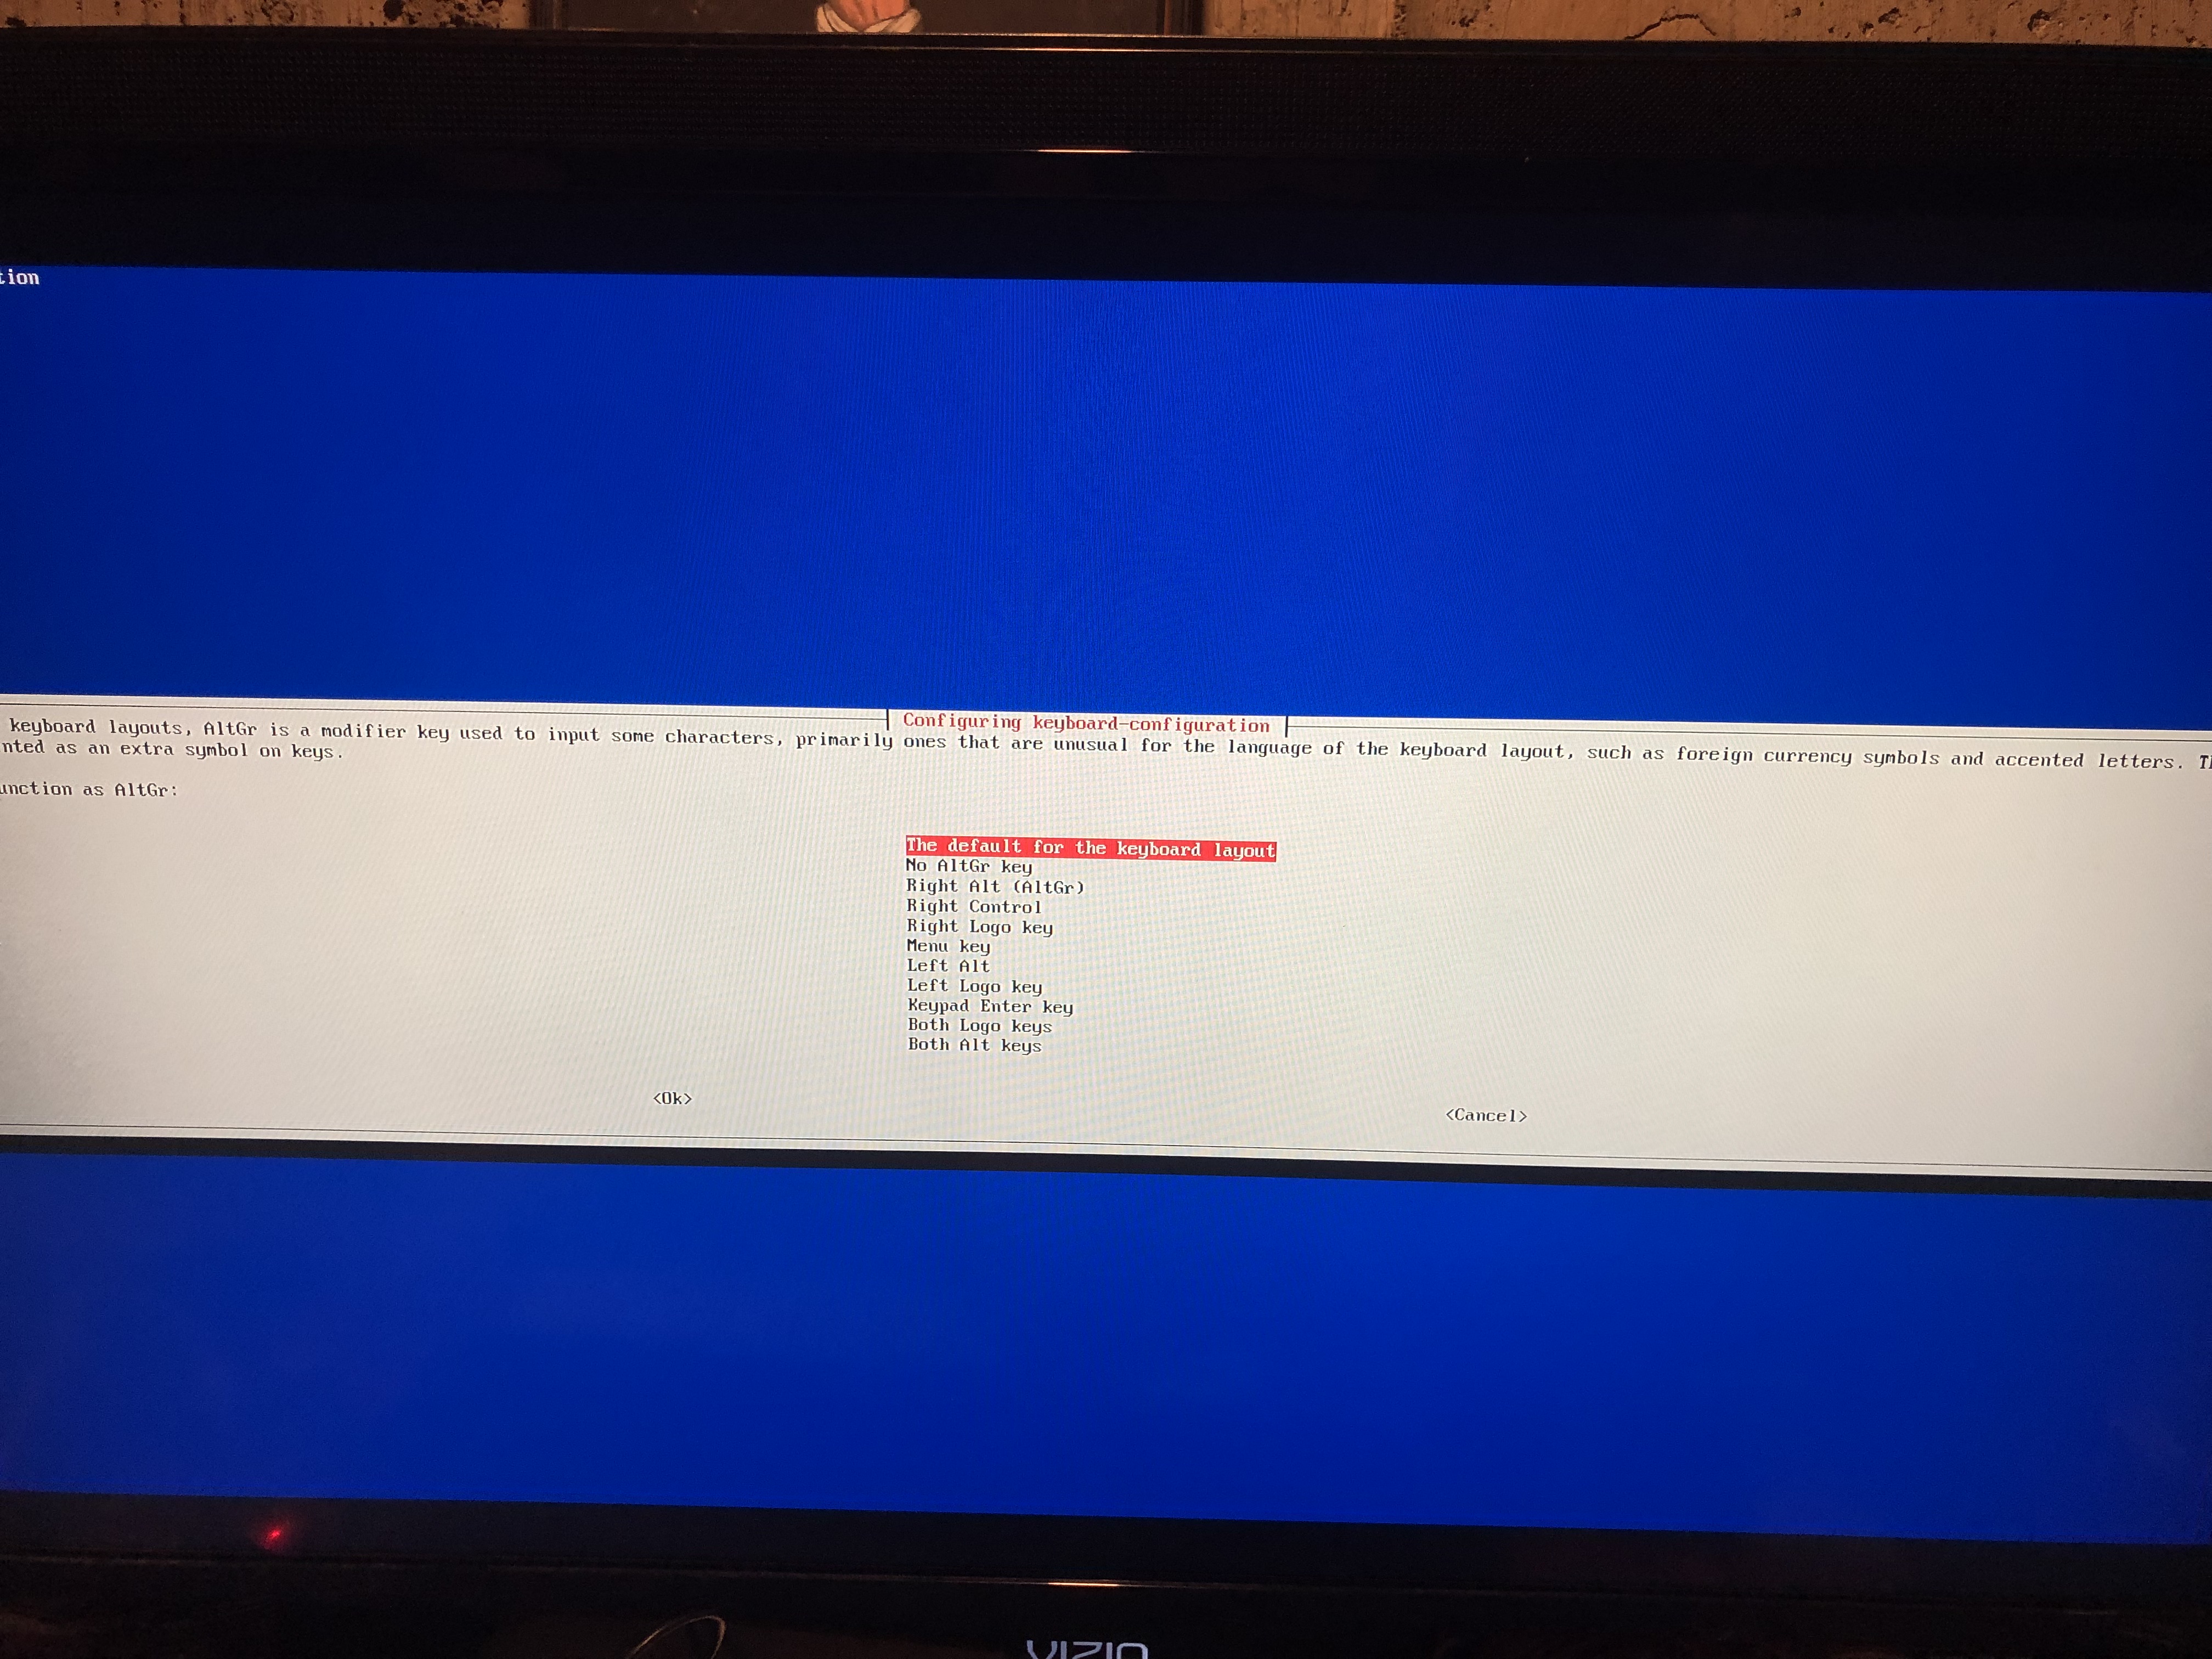
1. Click on the default for the keyboard layout
2. Press Tab then press ok to finish keyboard layout settings
Downloading Etcher Software
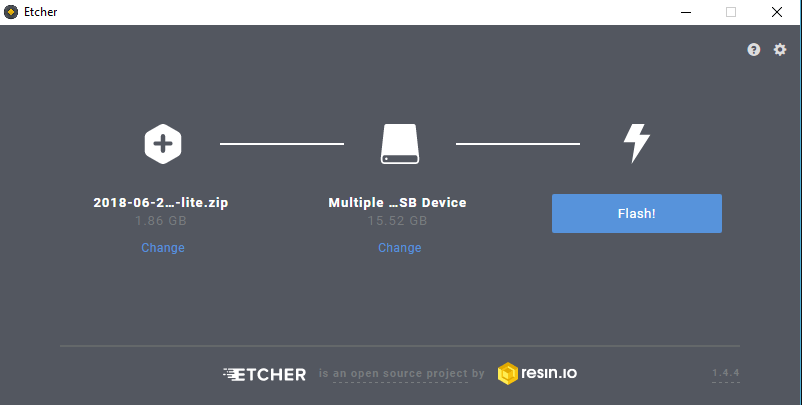
1. Download Etcher to format flash driver:
A. Copy image
B. add ssh.txt file
Download Raspberry Pi Hole
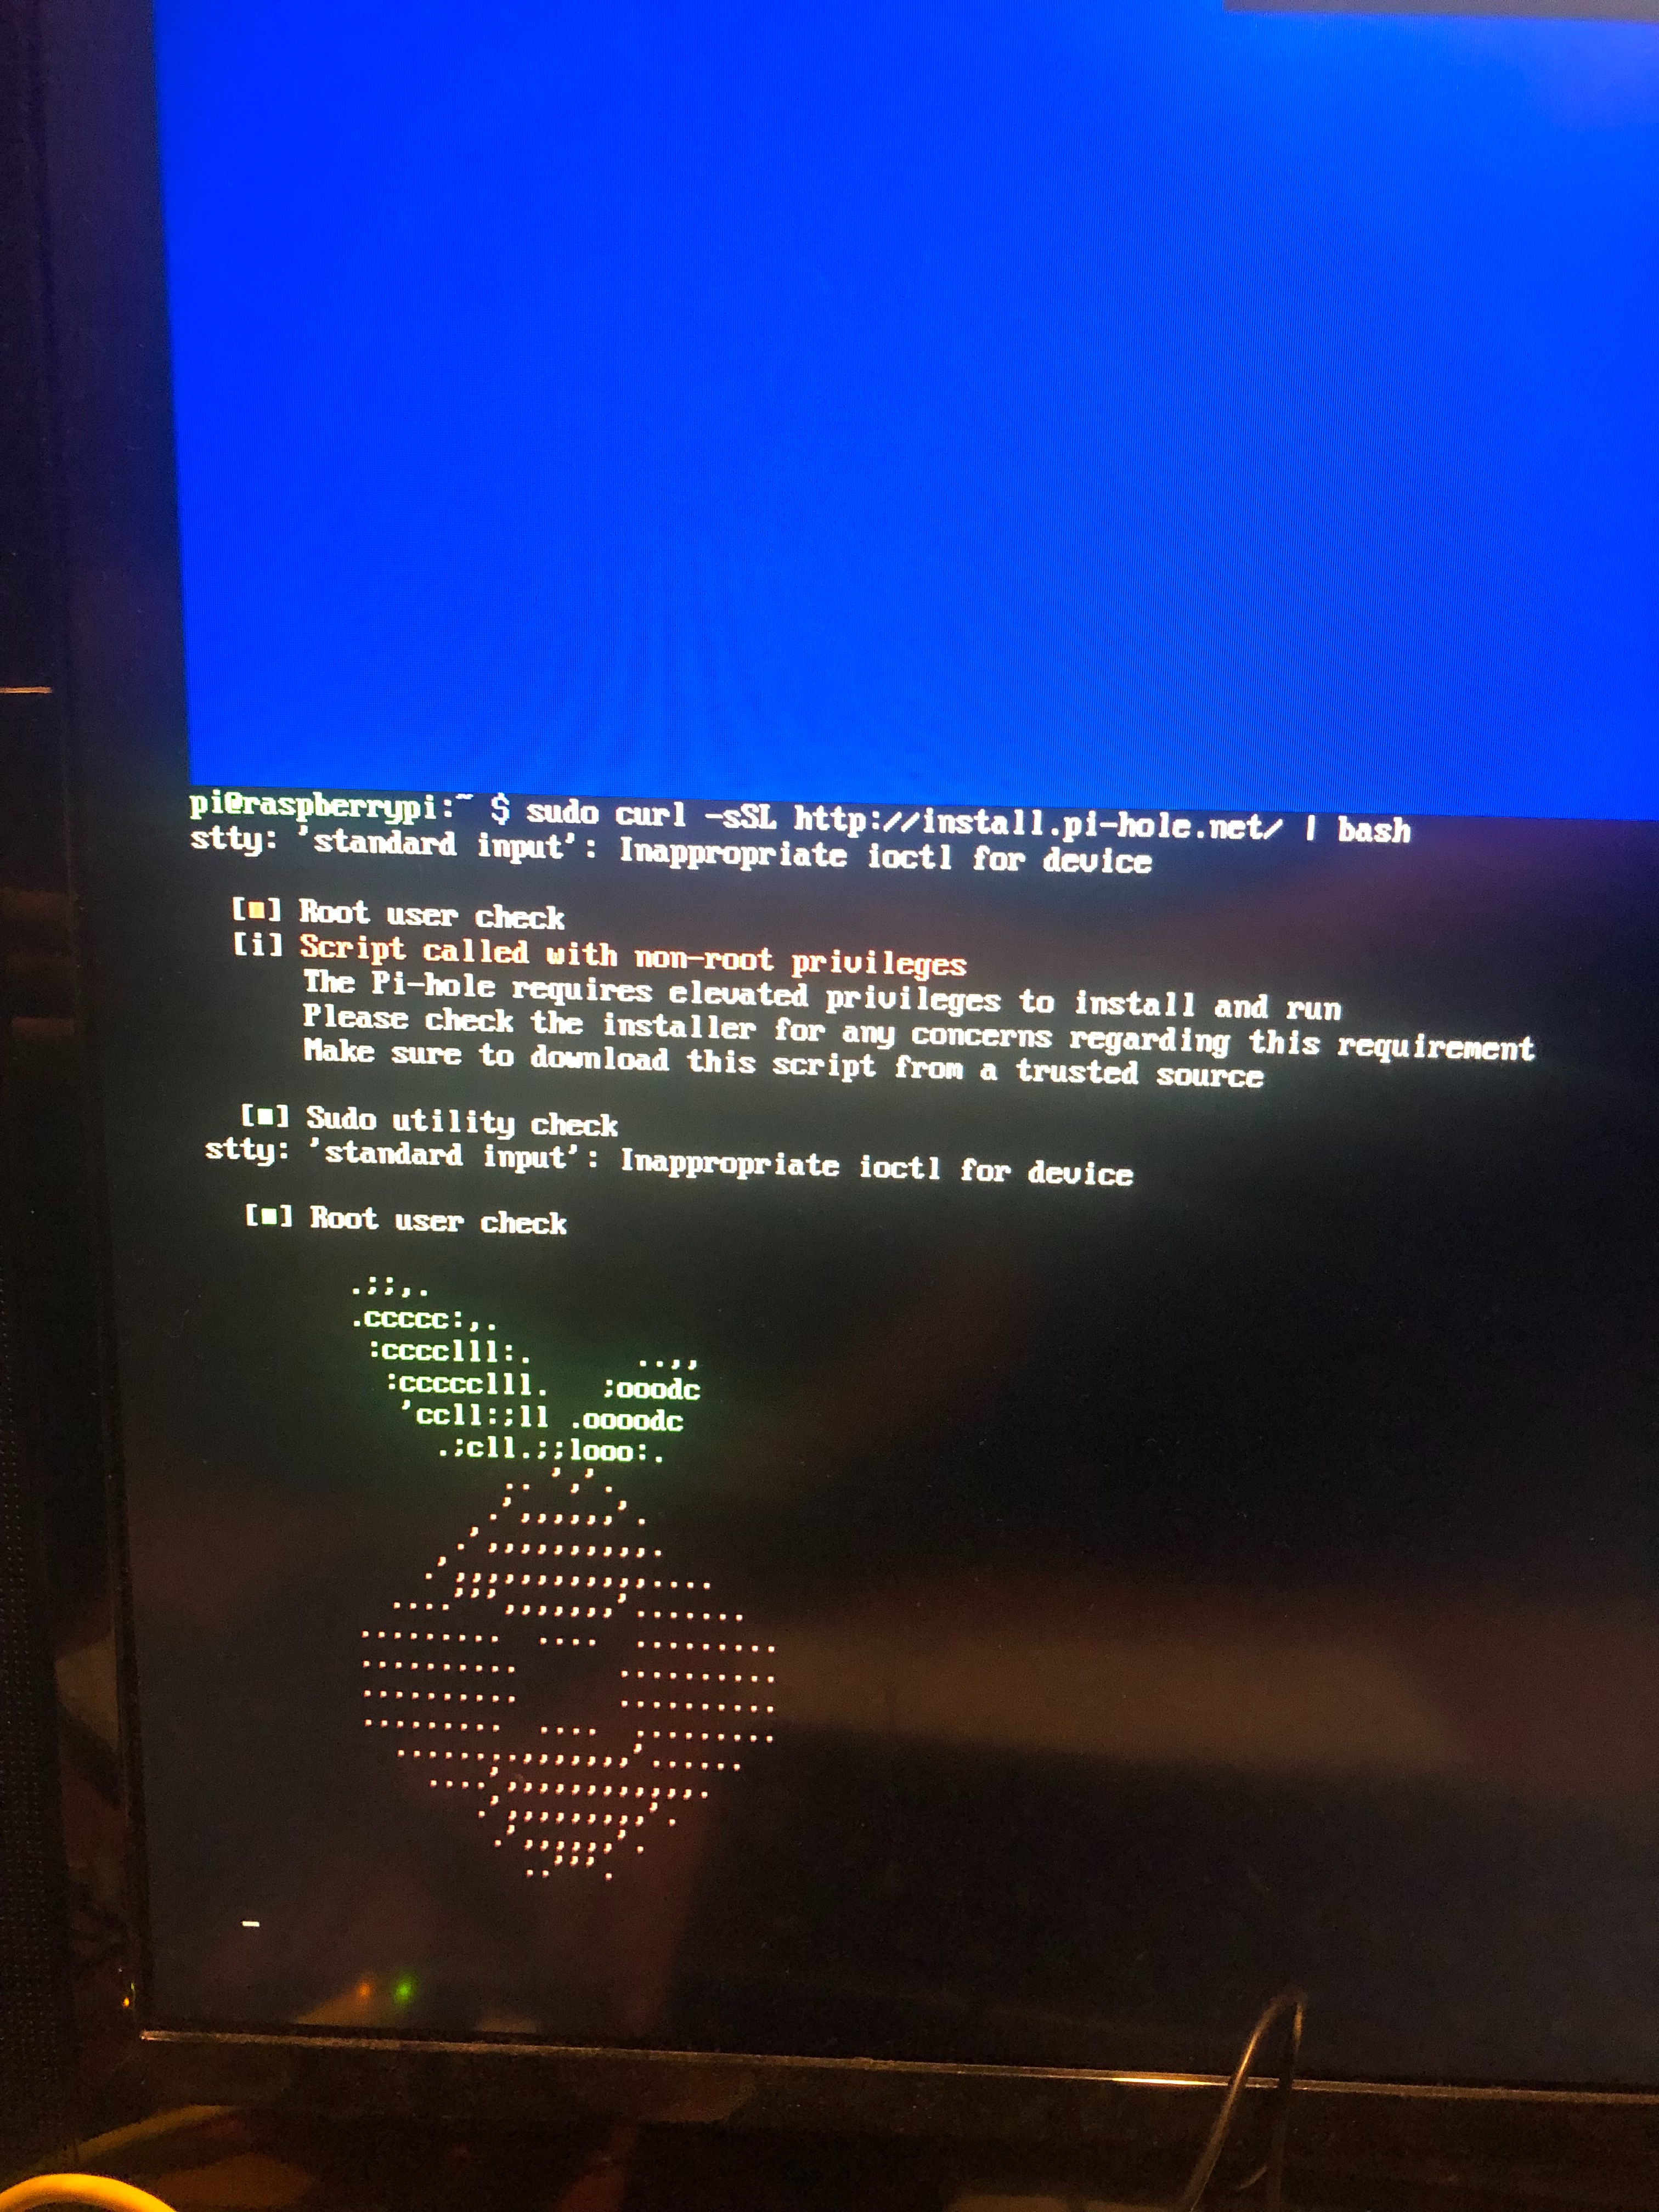
1. sudo curl -sSL http://install.pi-hole.net | bash
Installing Packages
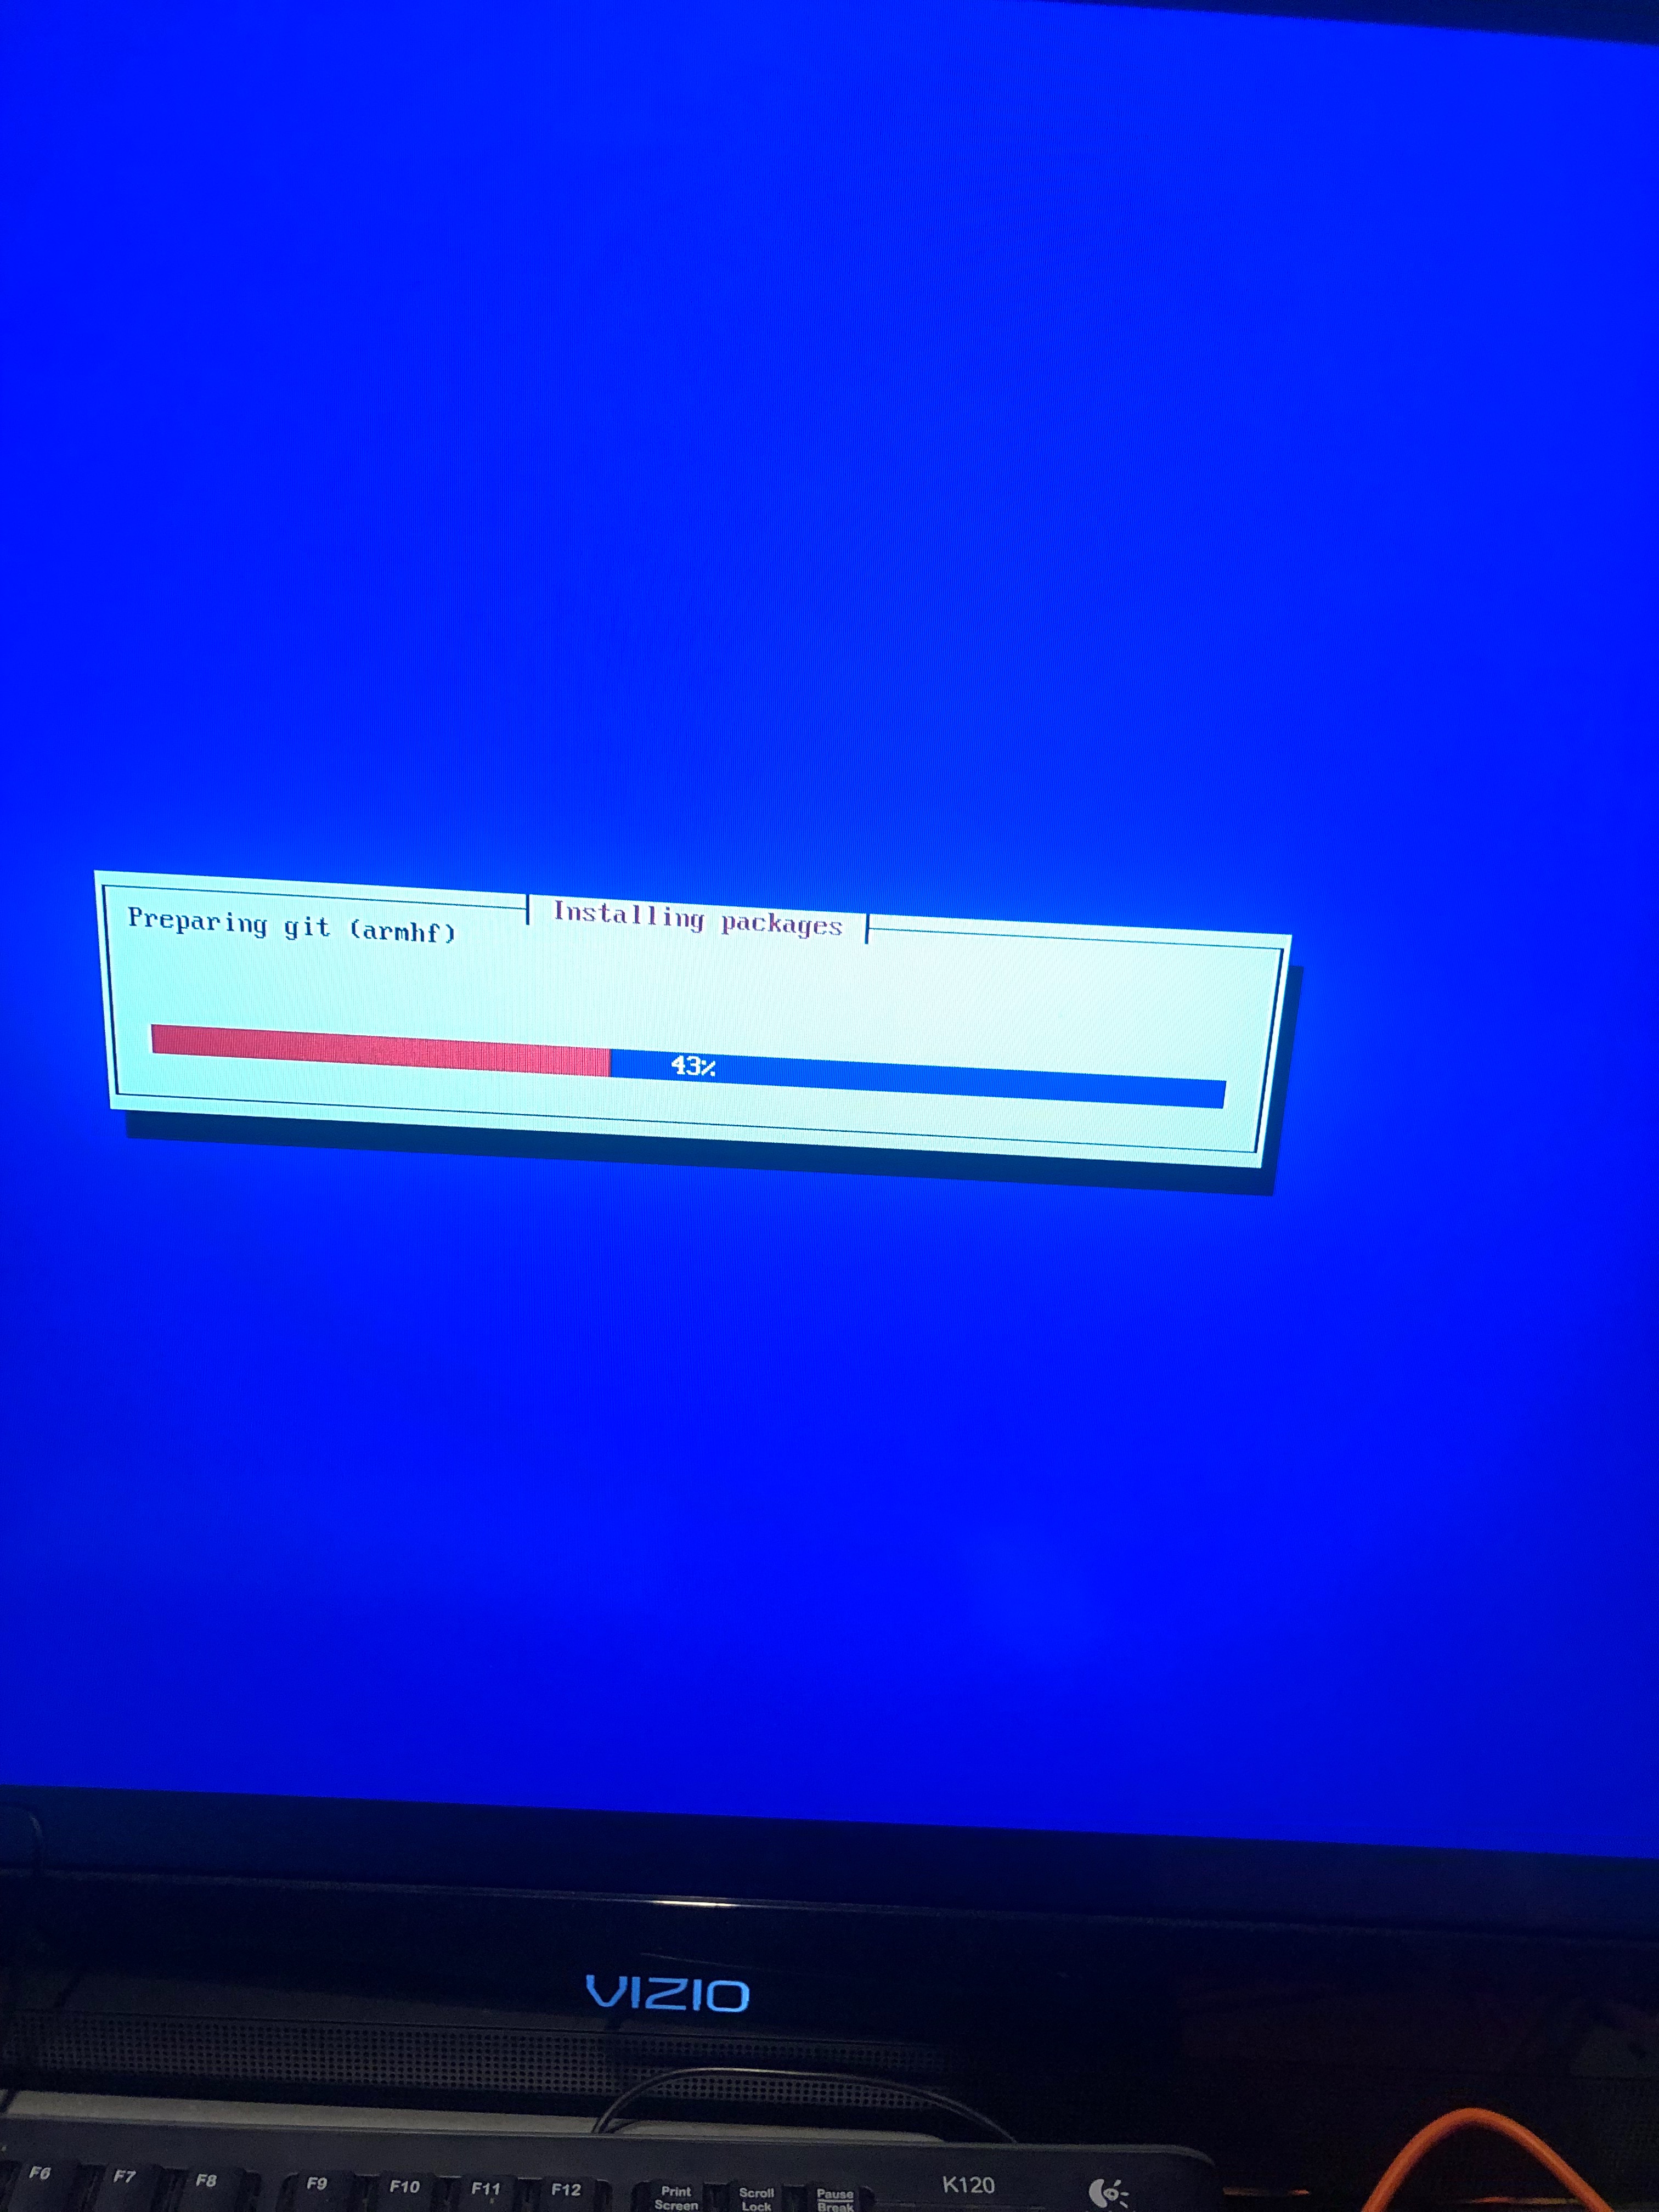
In this step it will be downloading in the Ad blocker
Confirmation on Pi-Hole Install
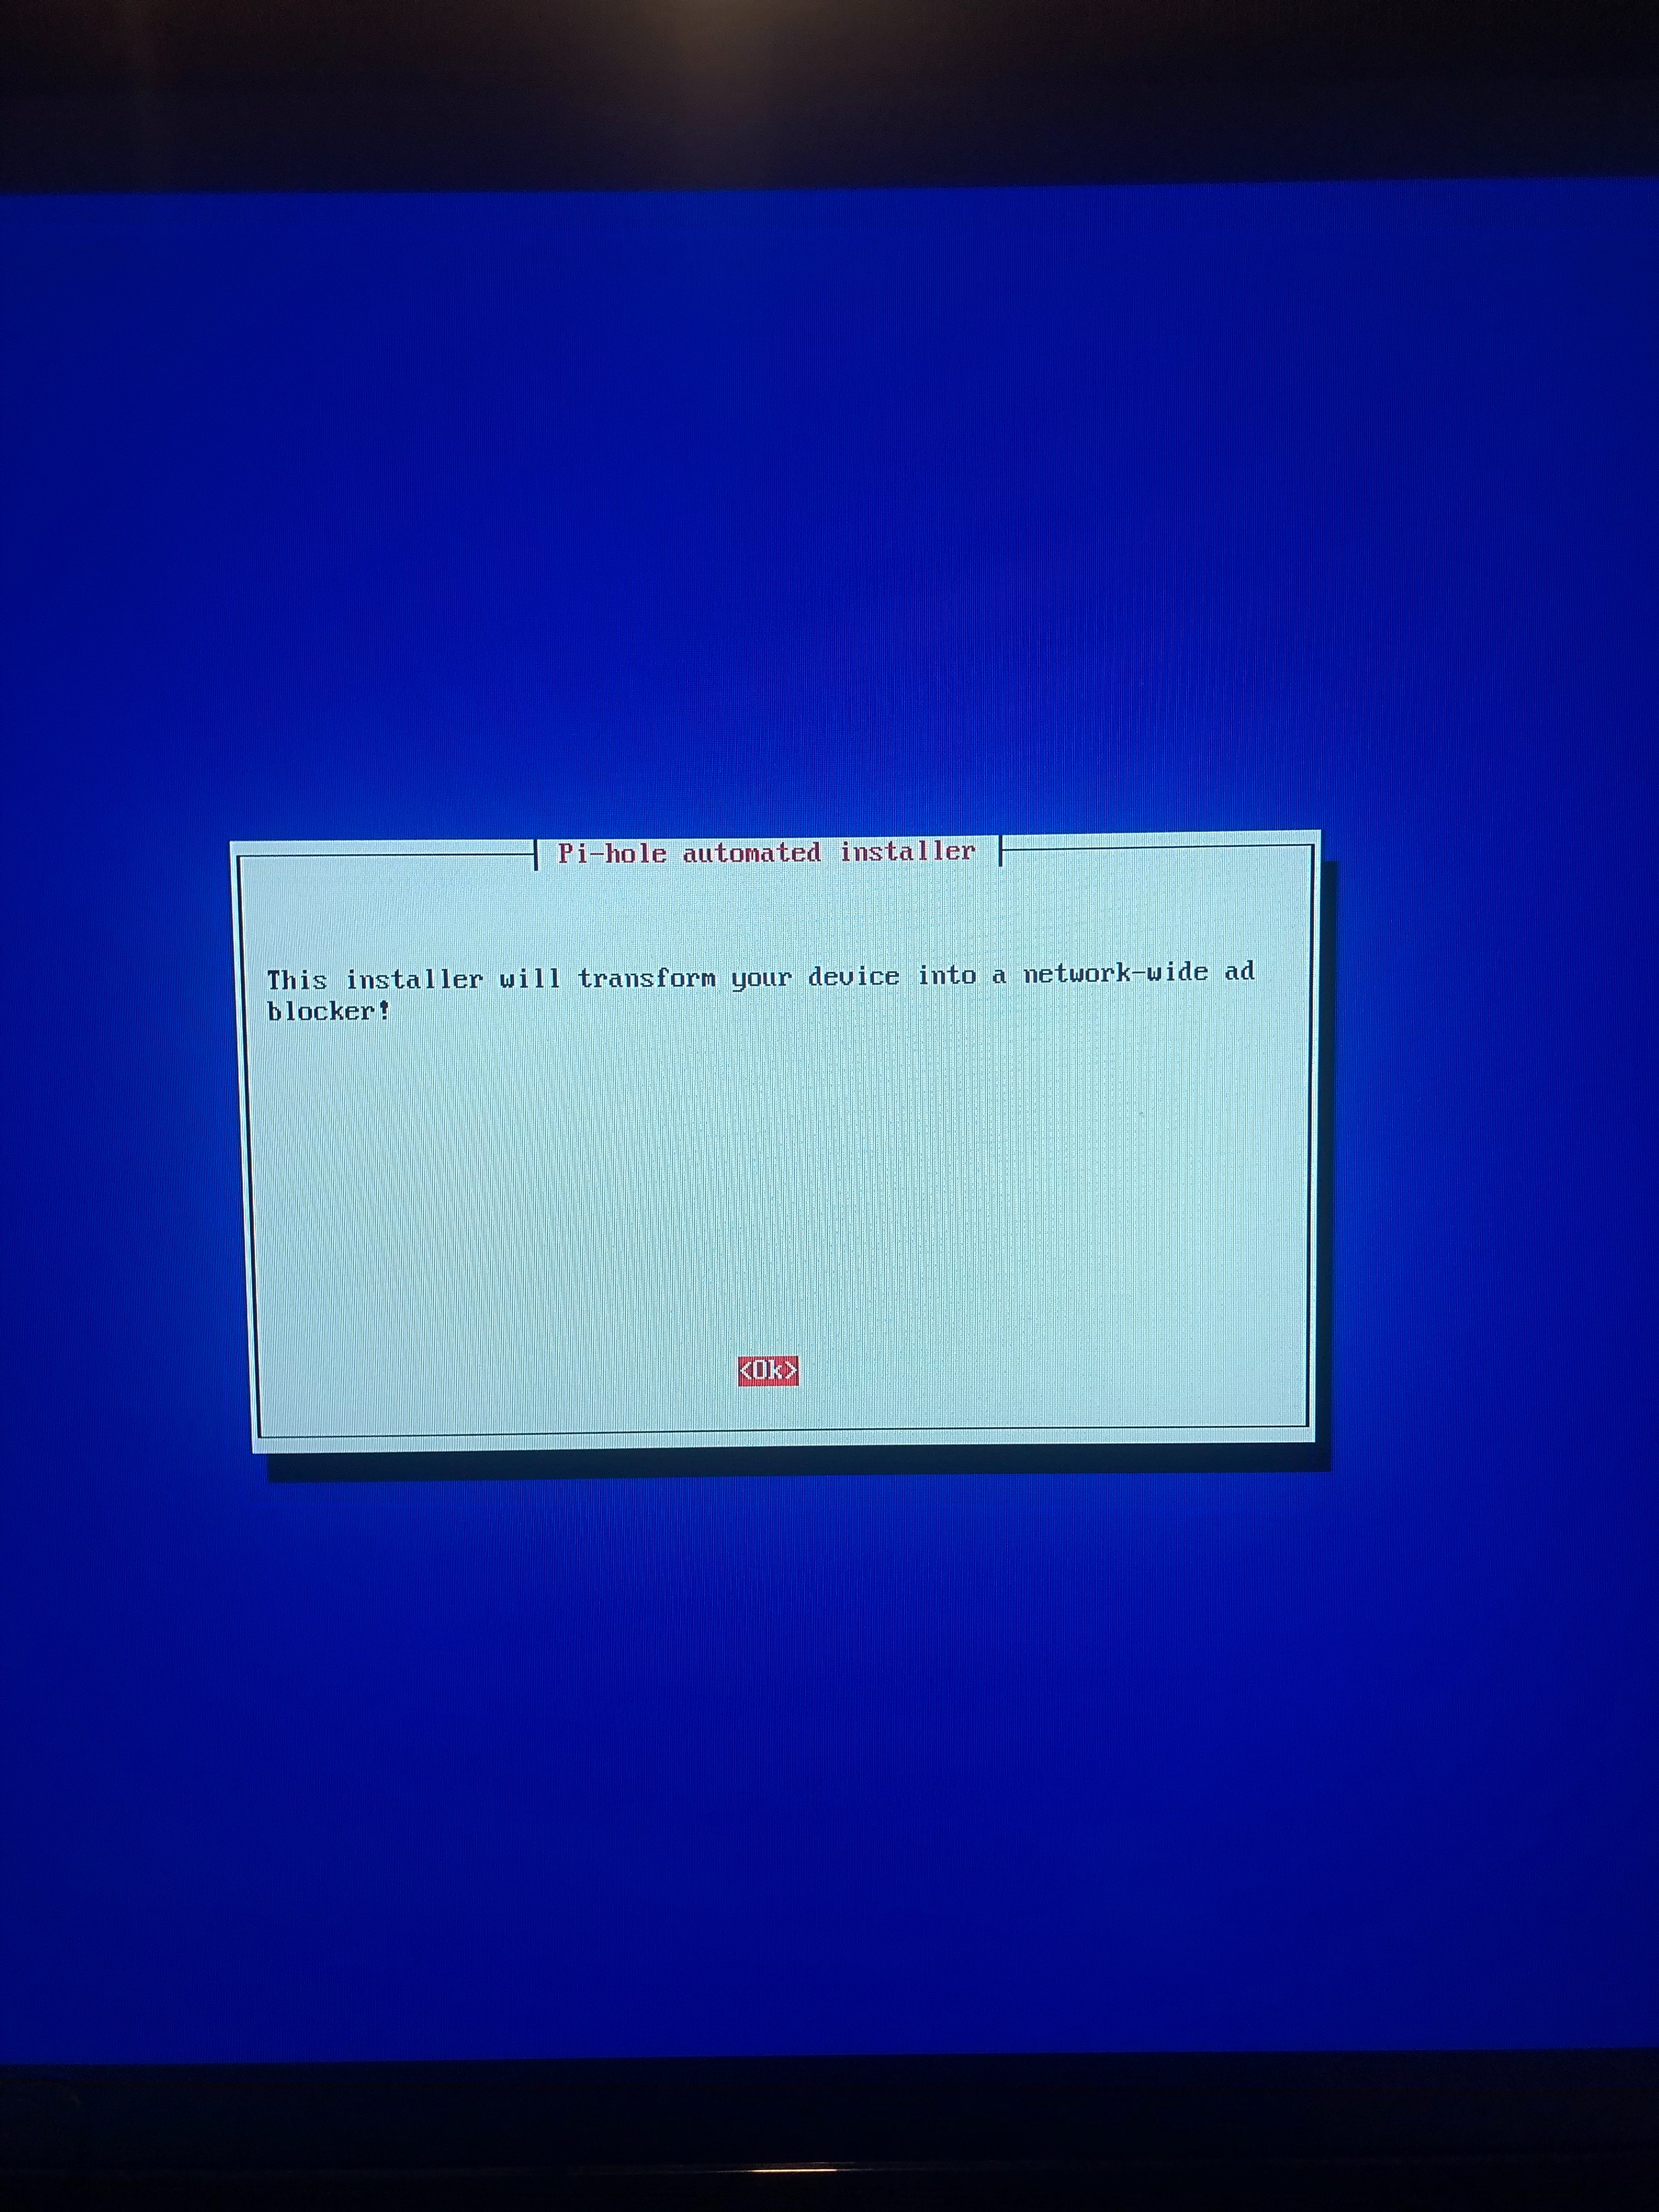
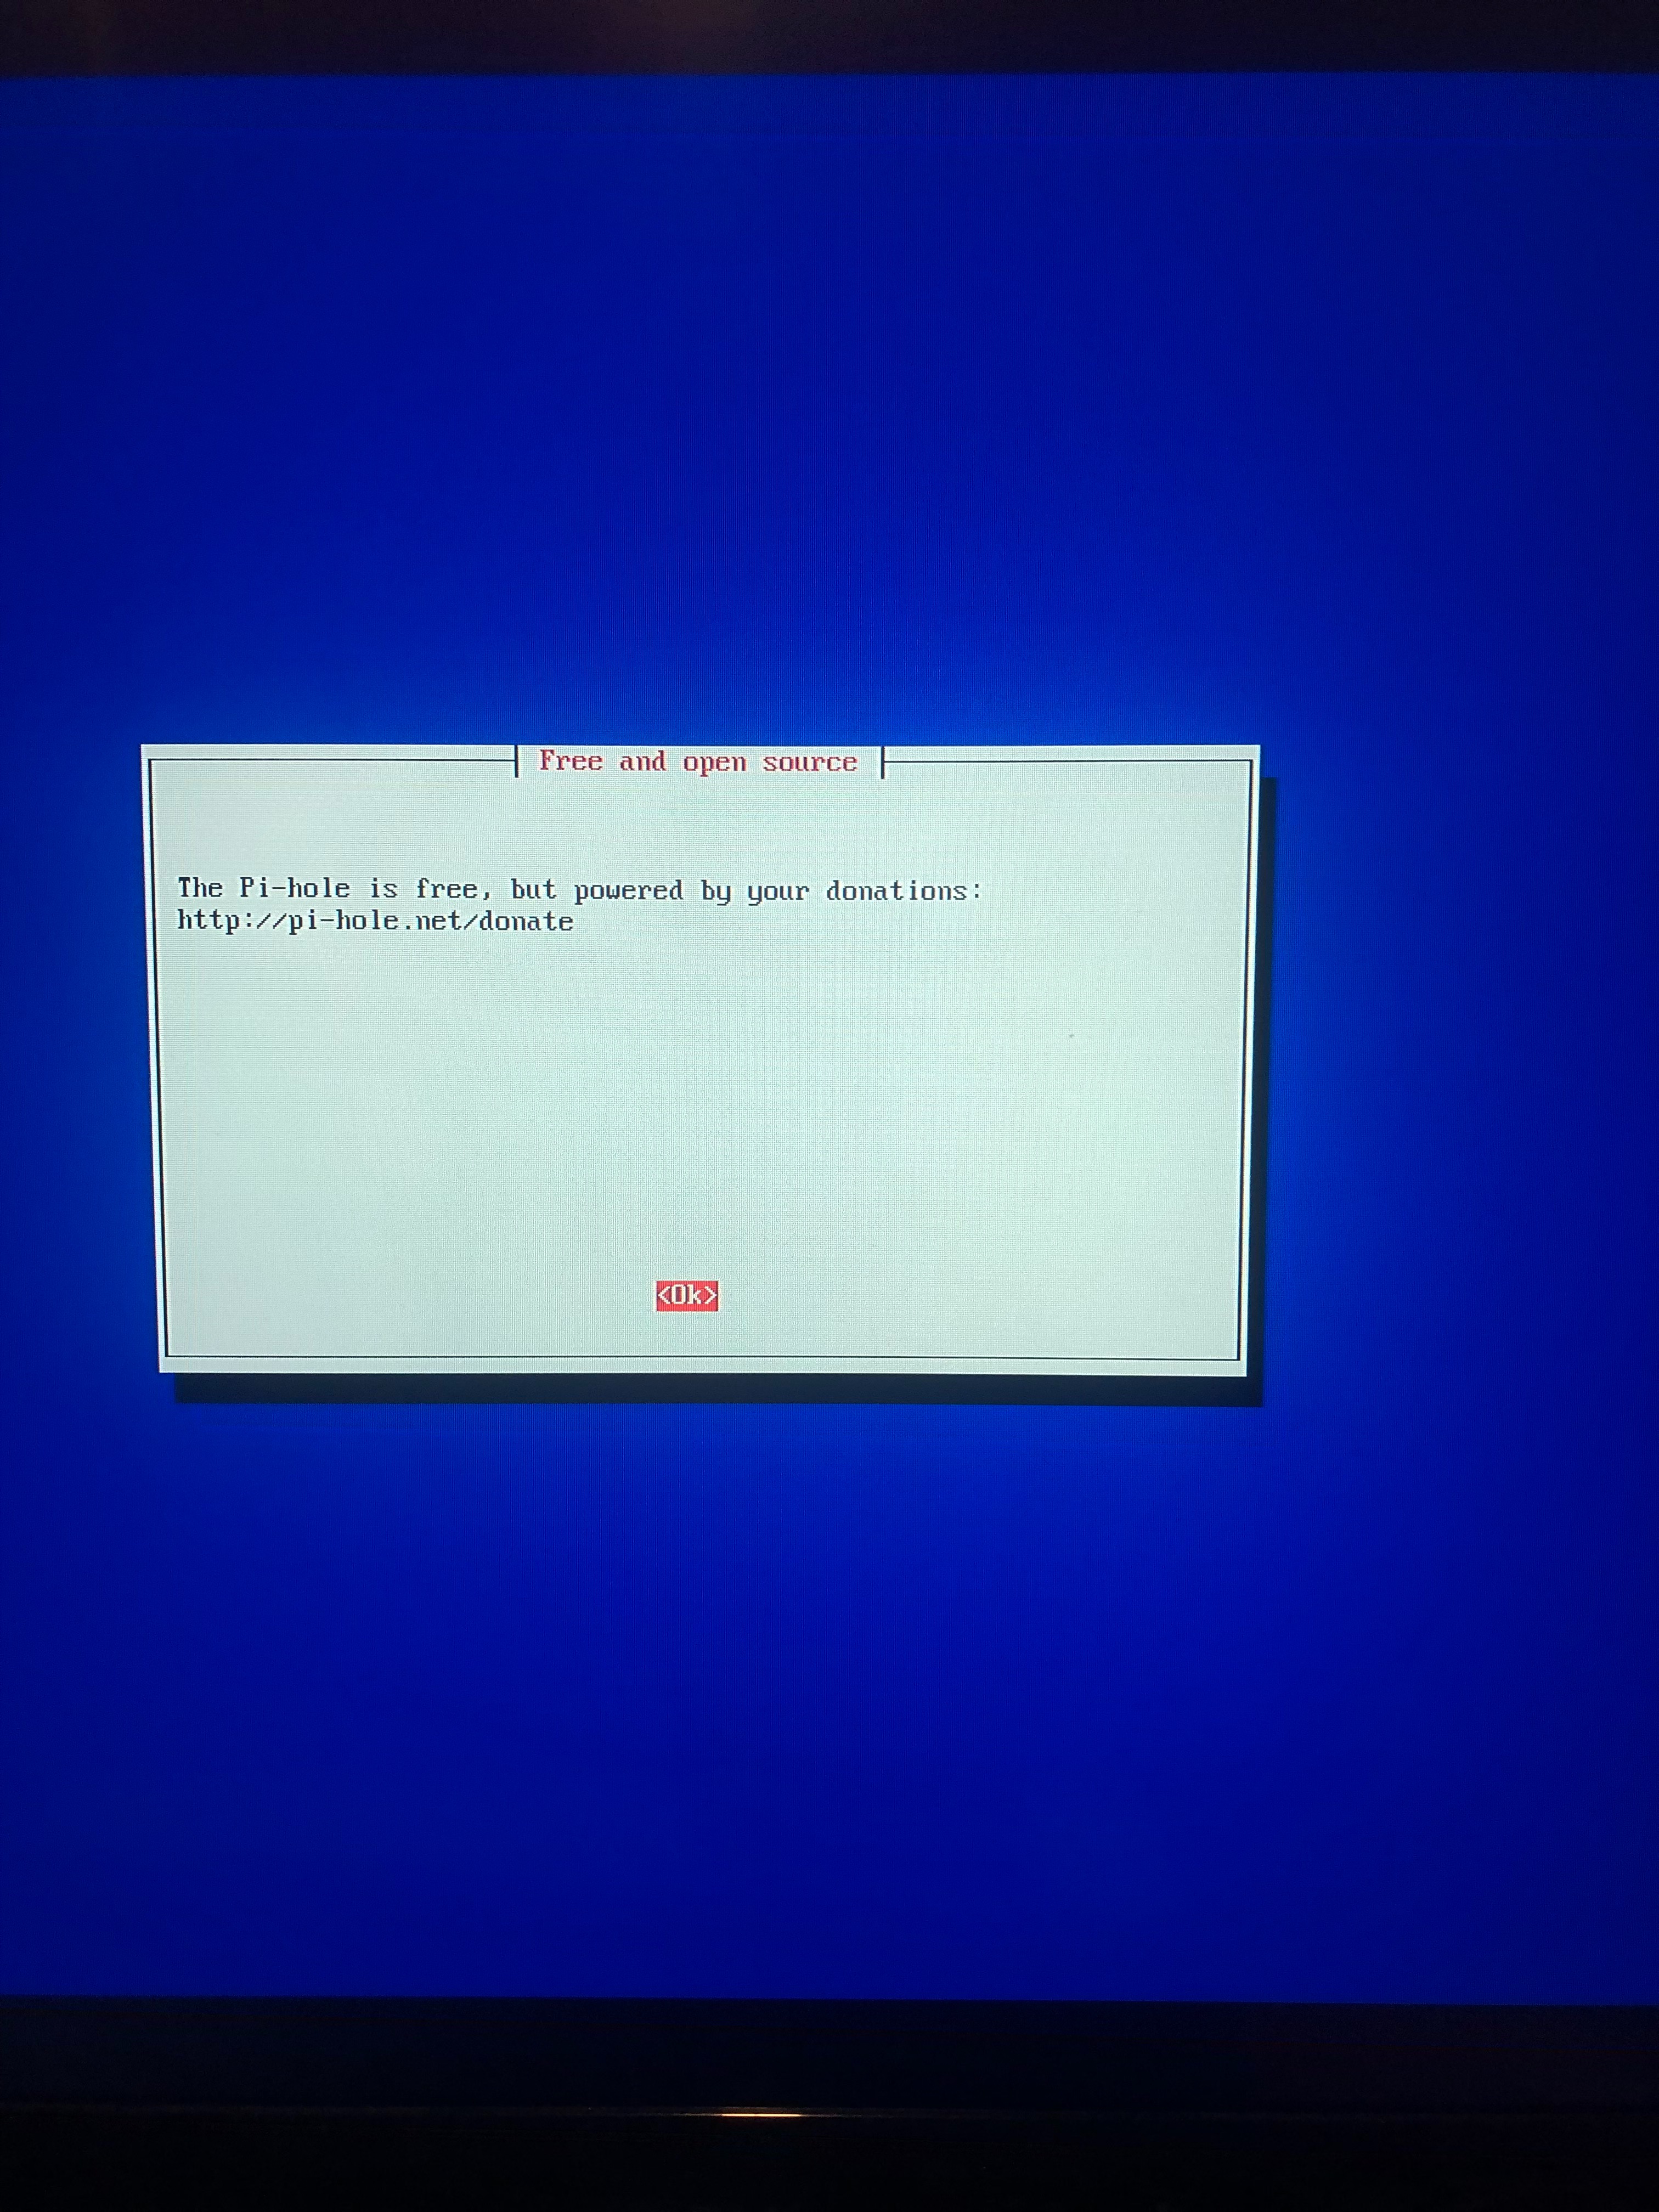
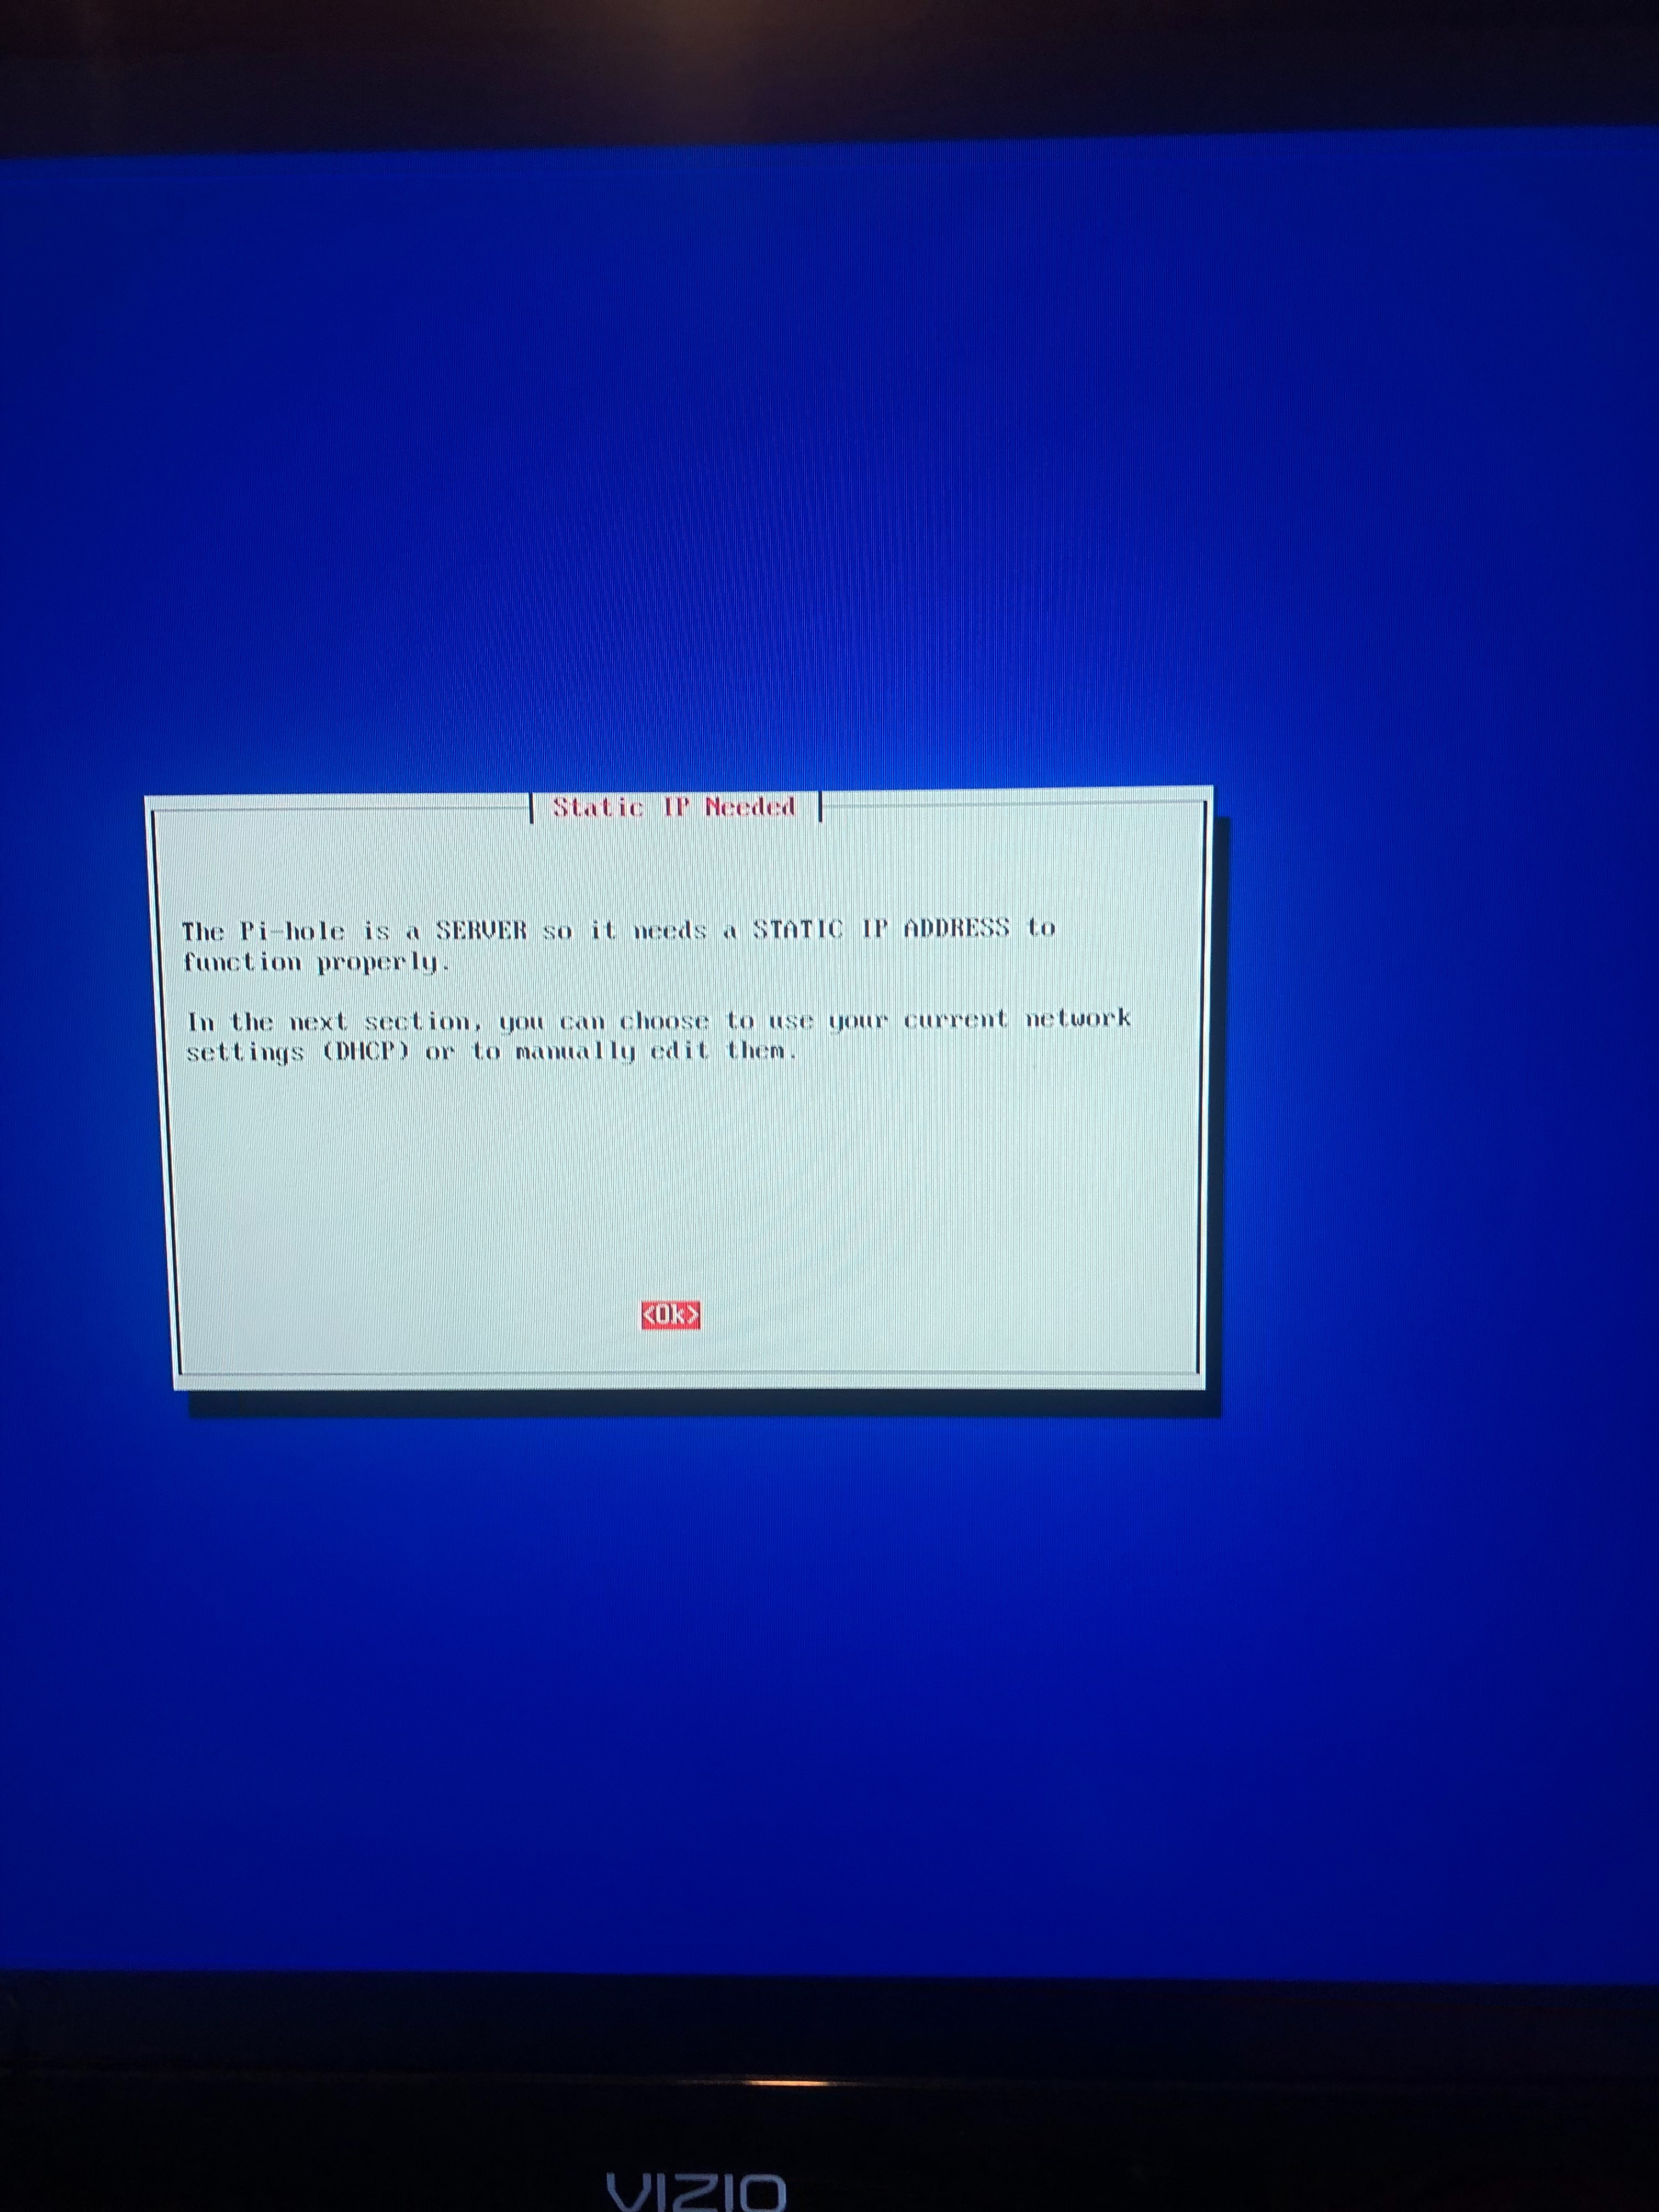
1.This step just tells you that it has been been downloaded and that they take donations to help it run
Choose an Interface
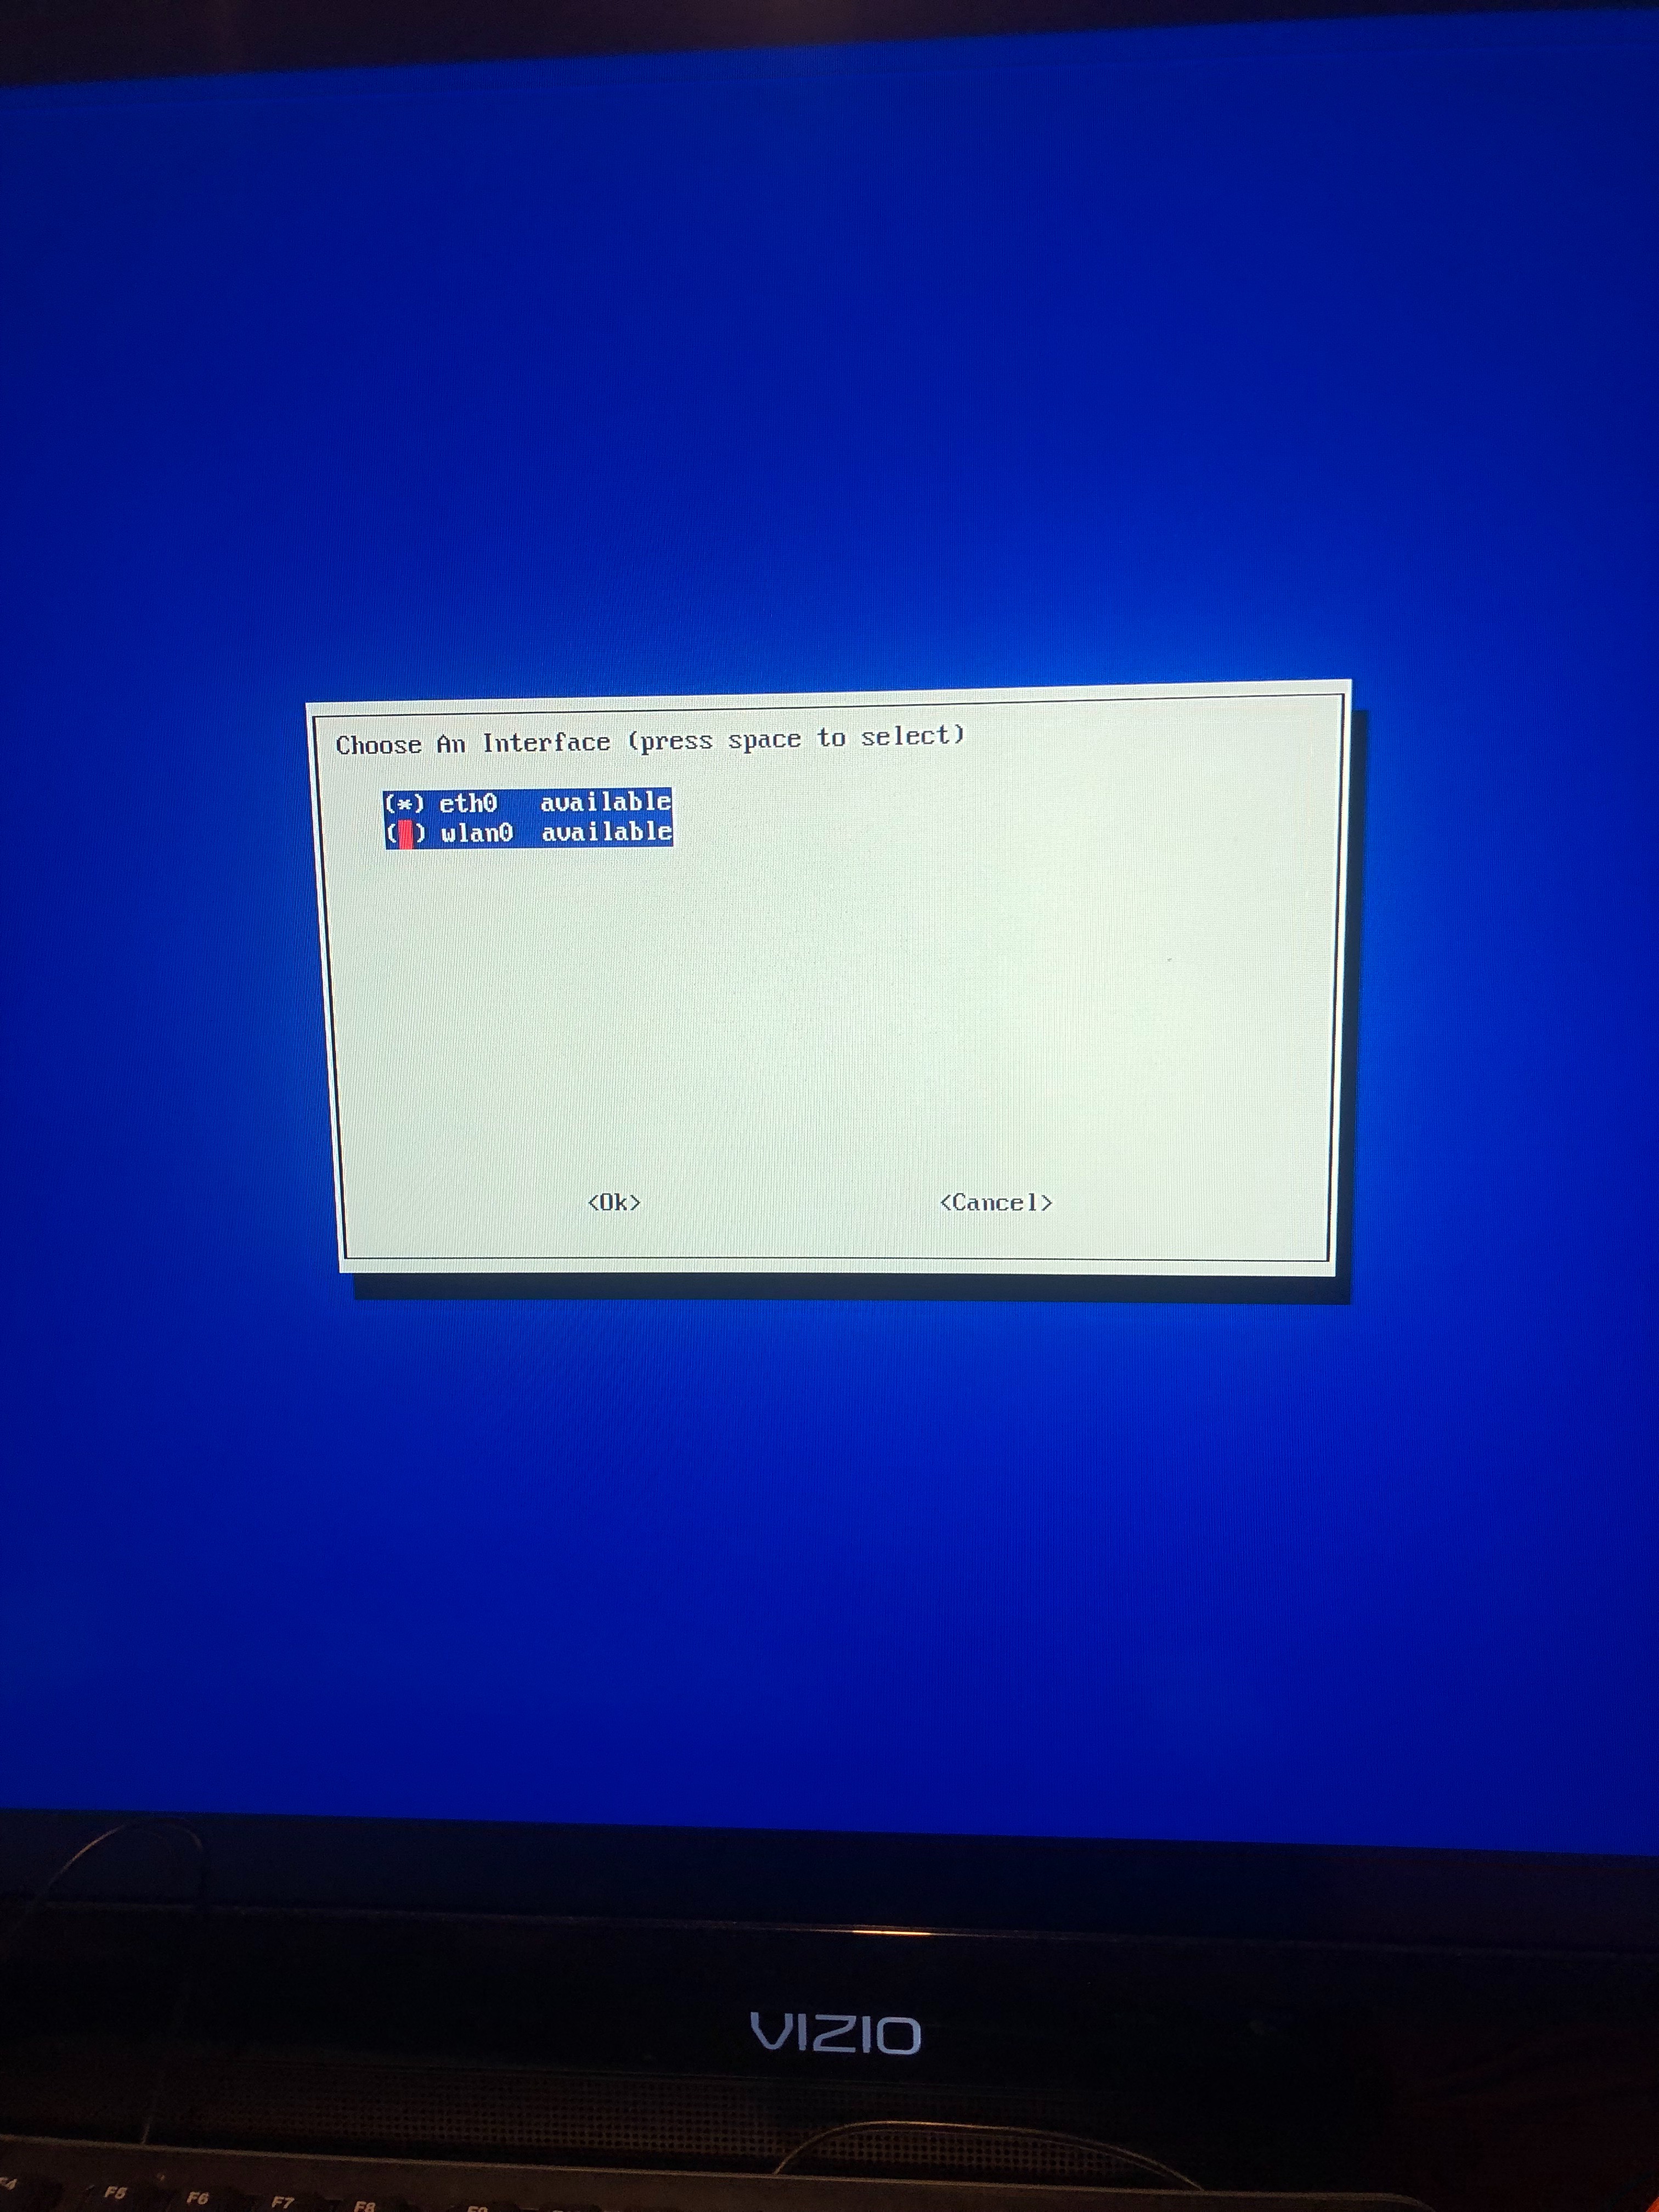
1.Select: wlan 0
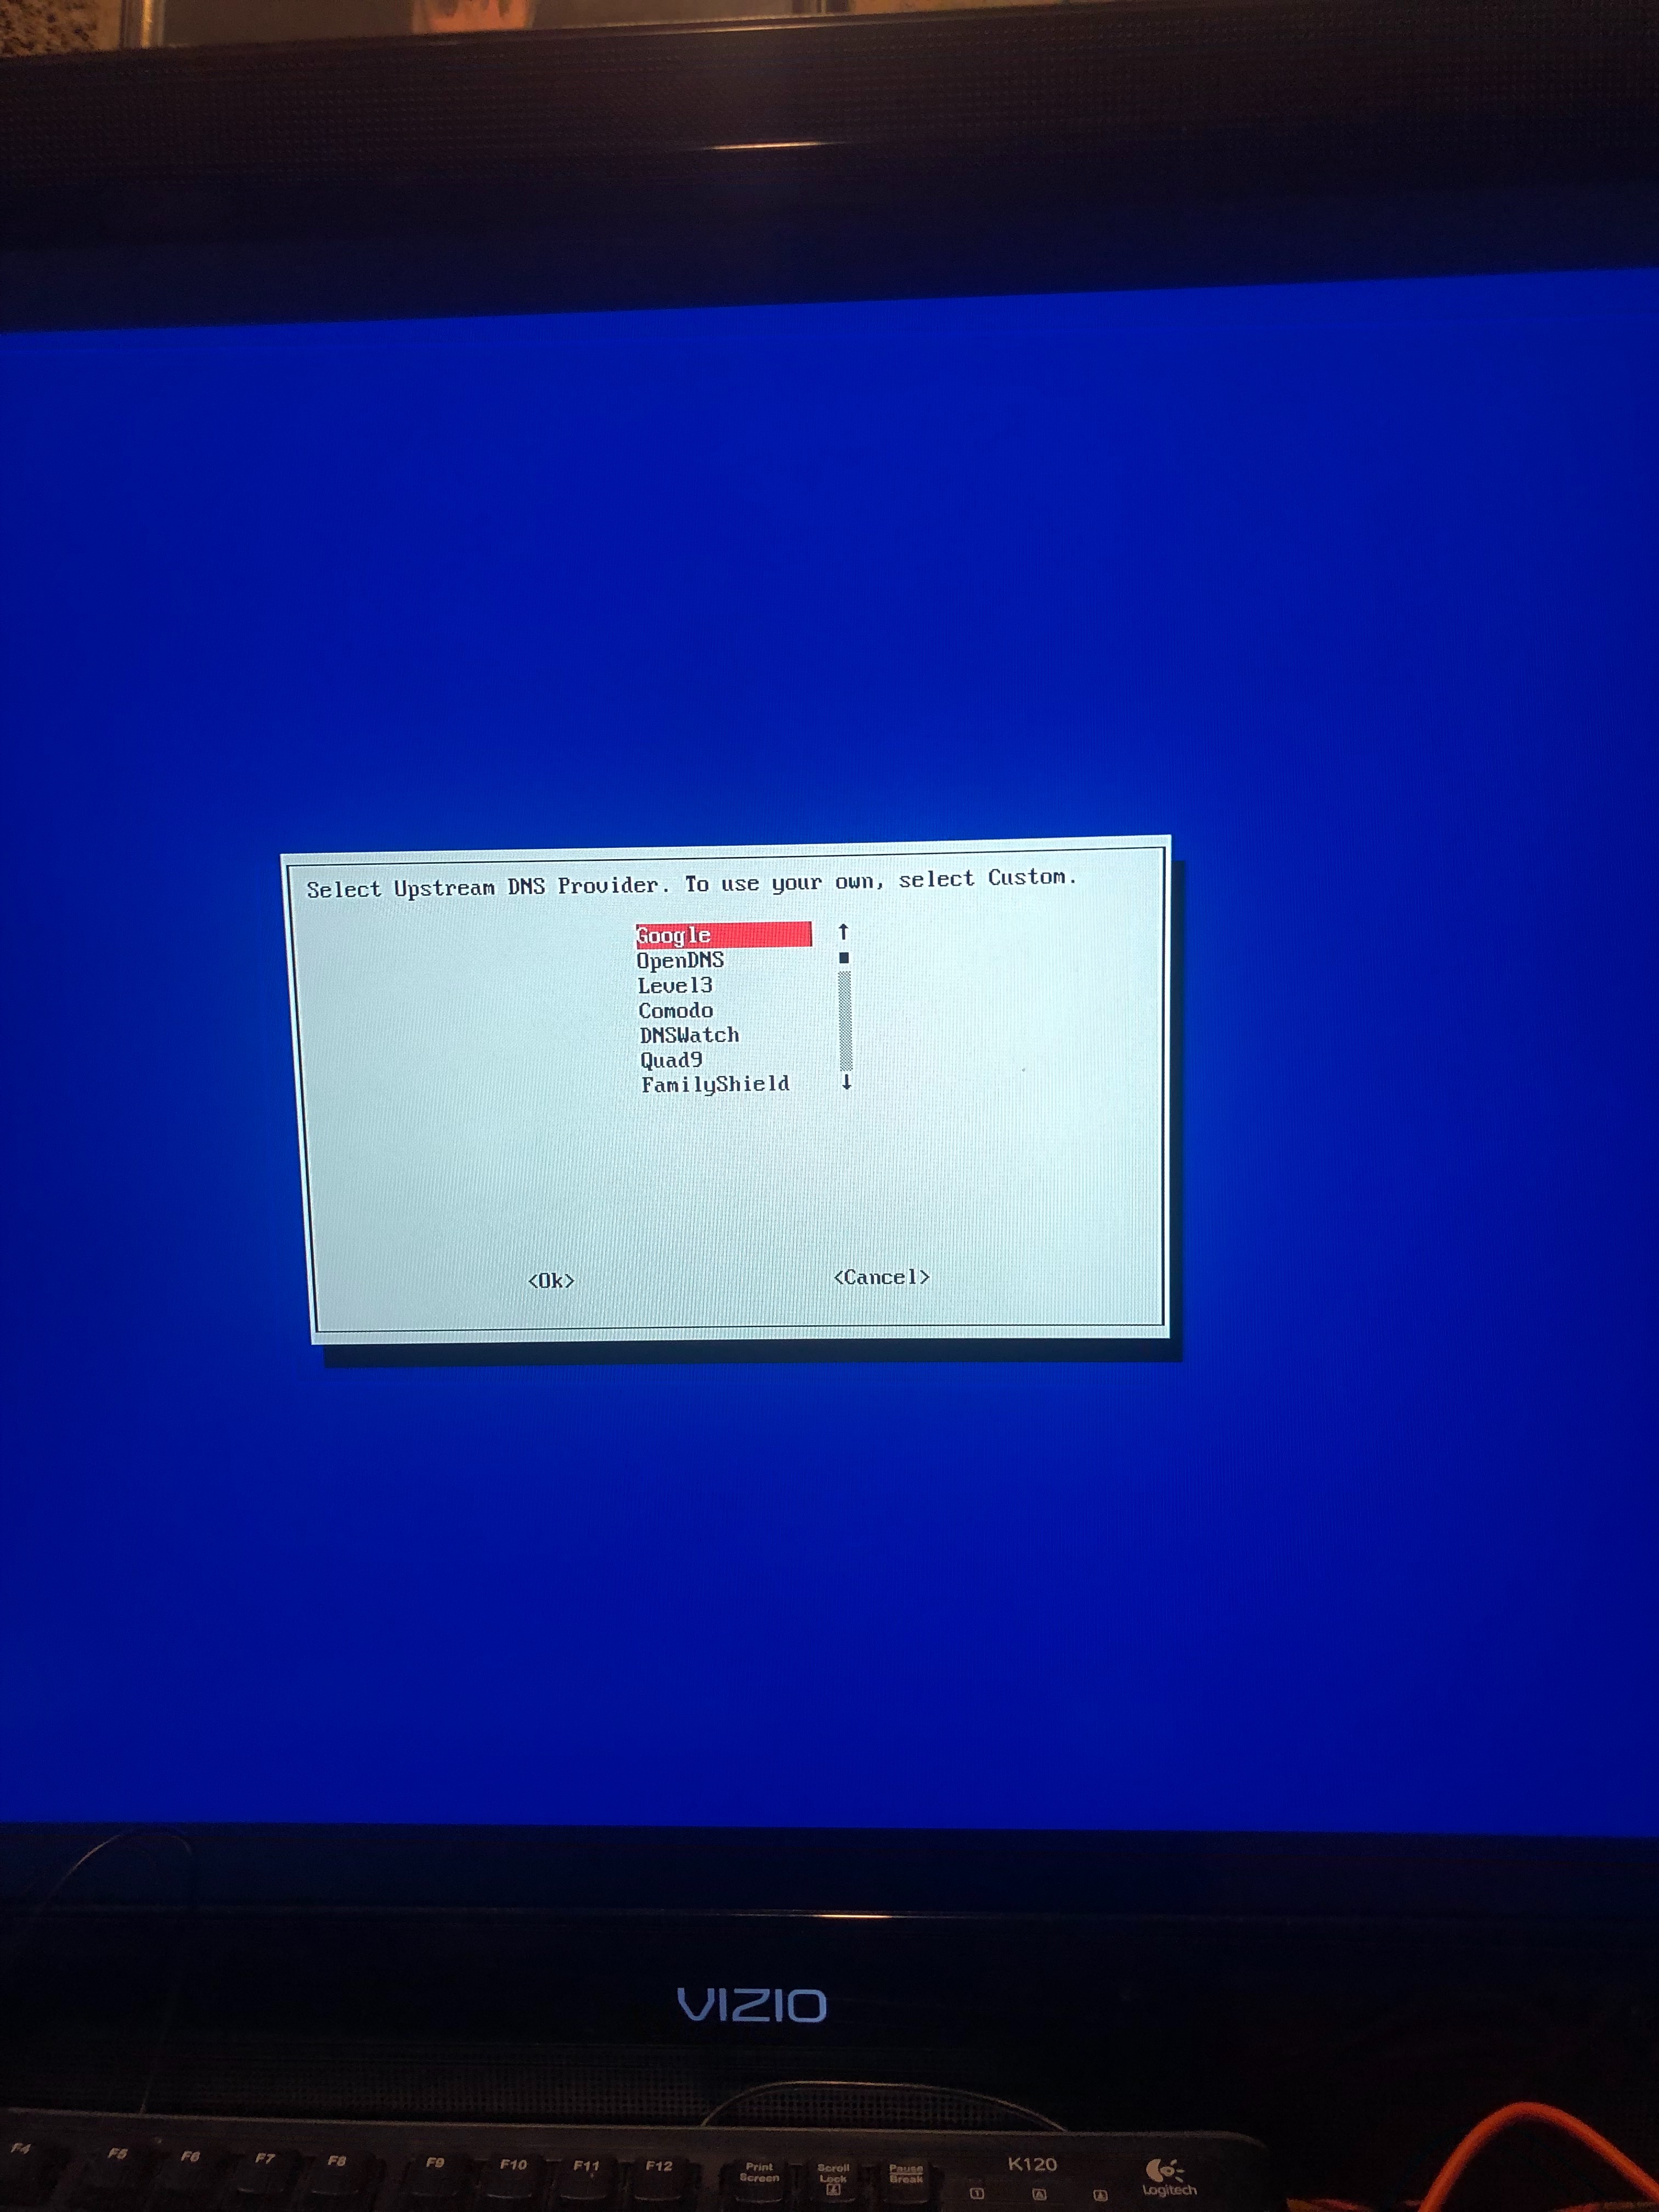
1.Select whatever Upstream DNS Provider:
I chose Google
Third Party List in Order Block Ads
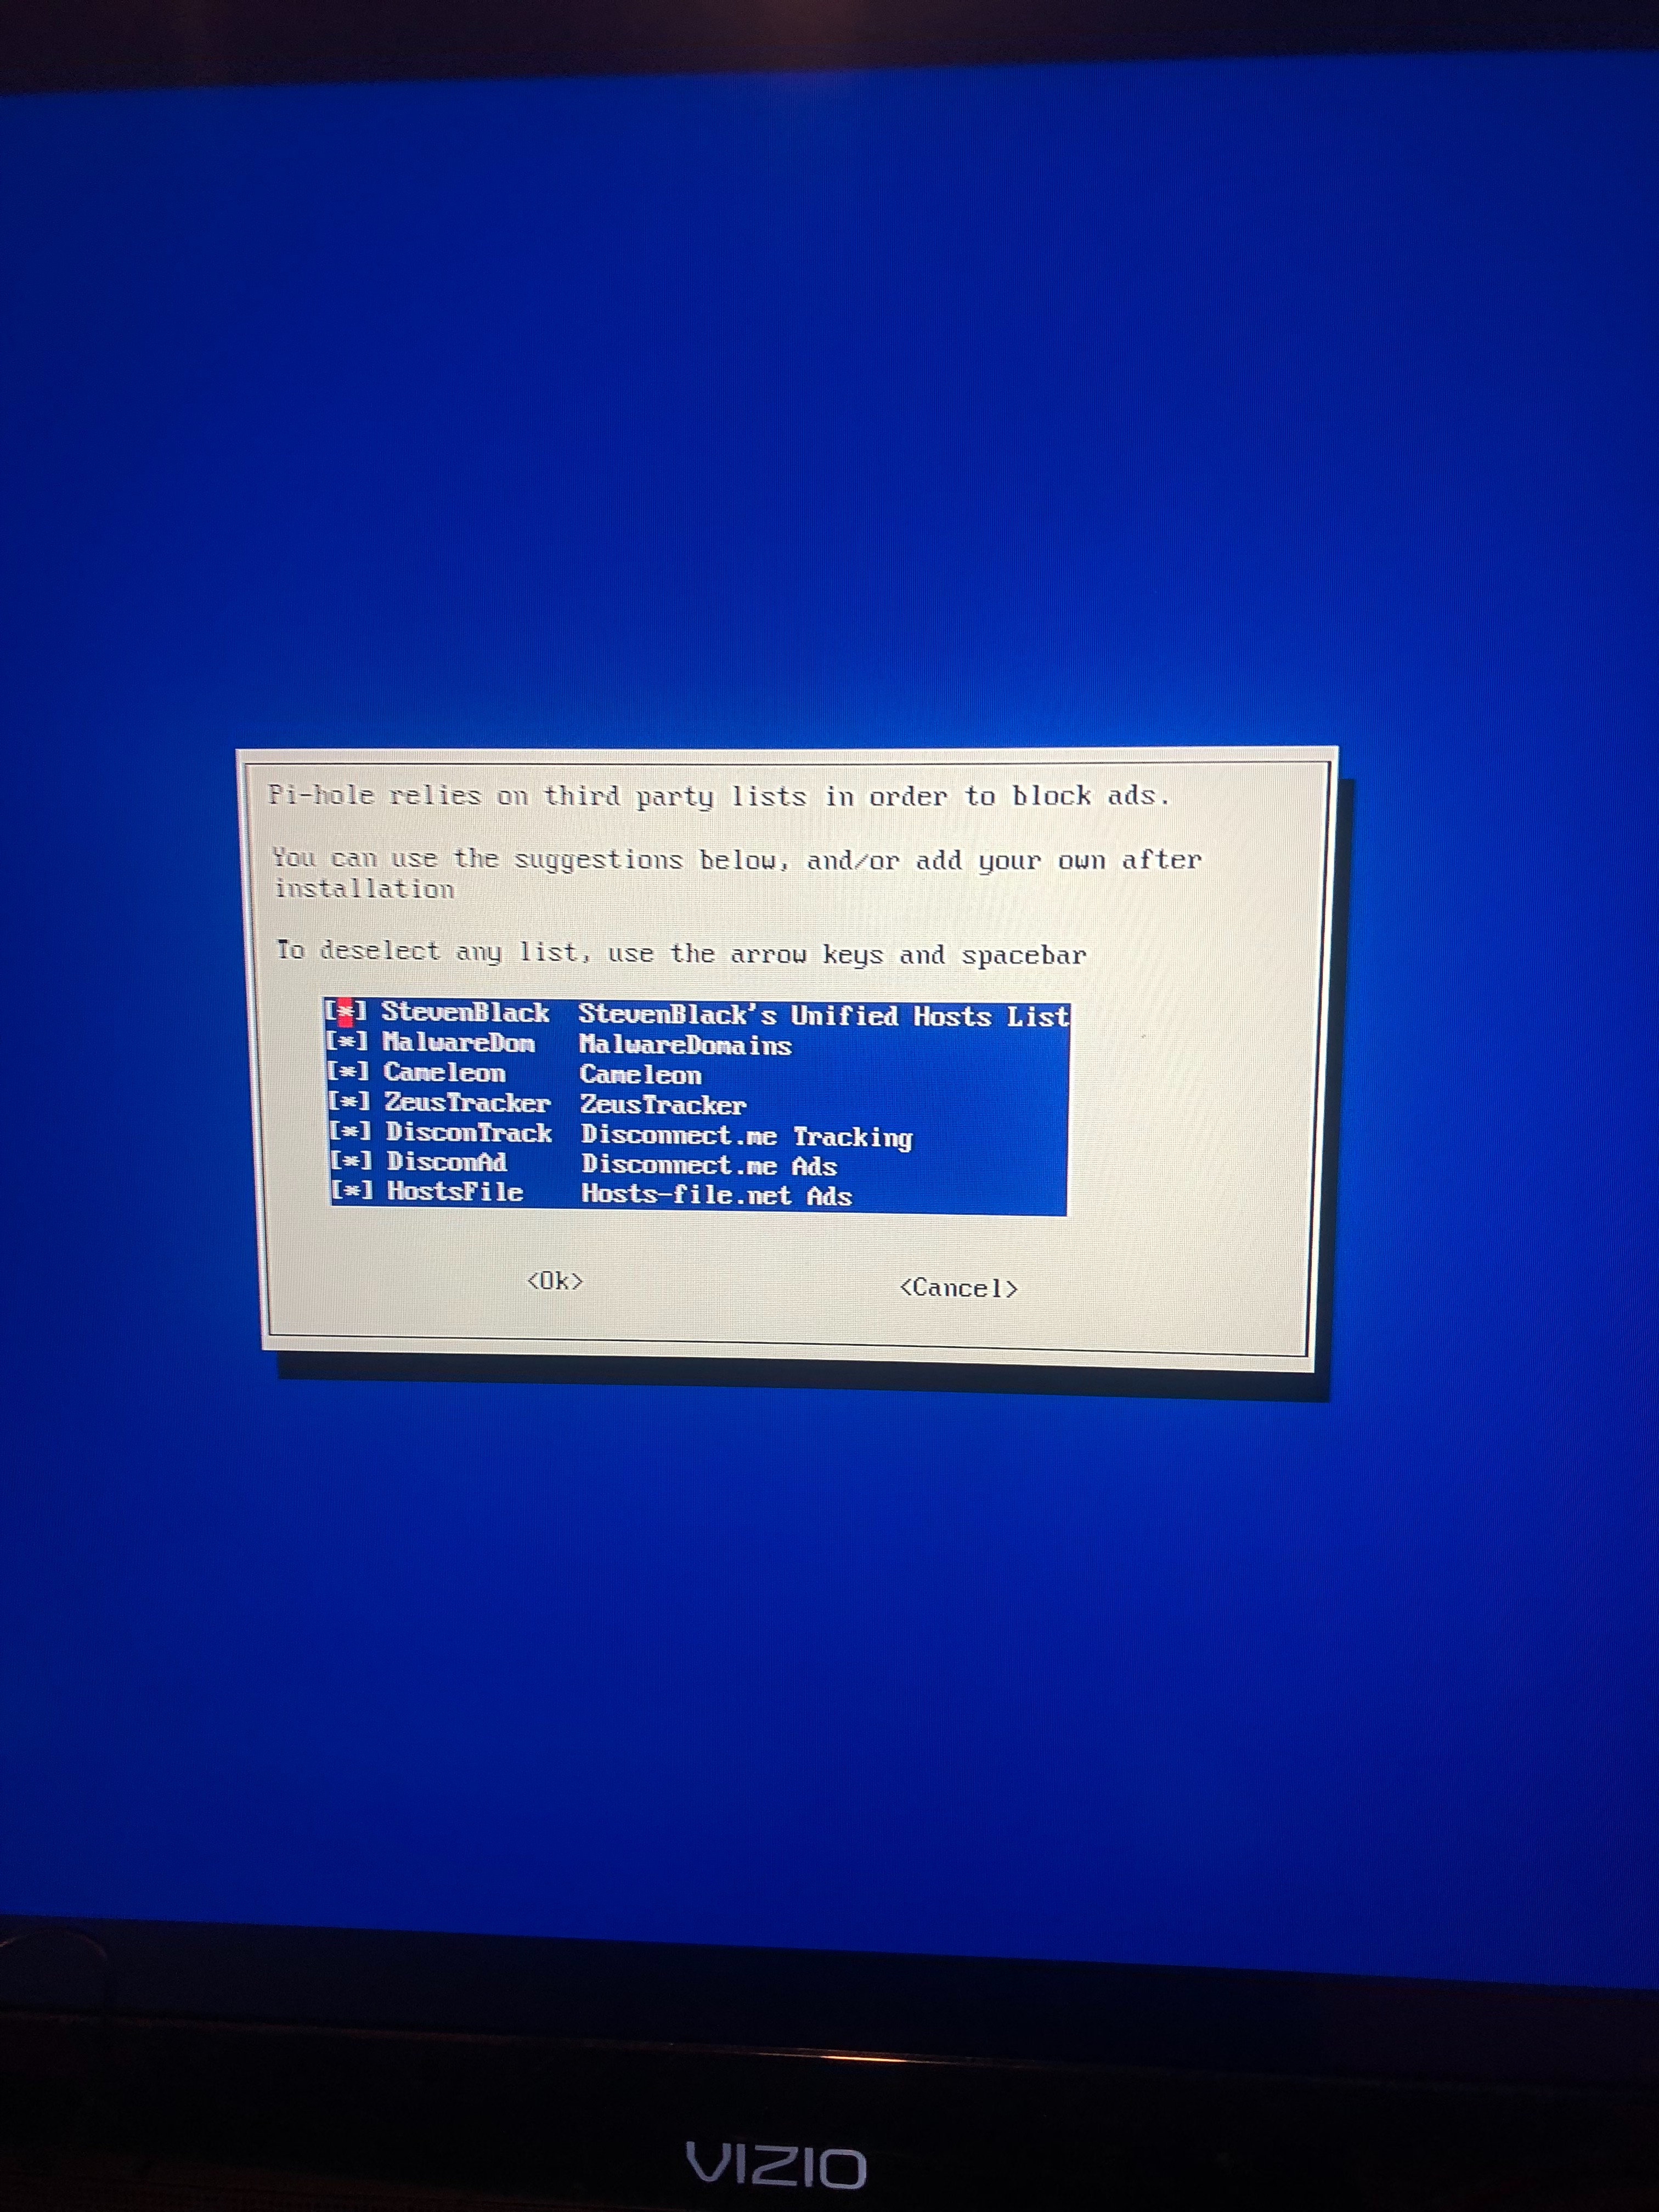
1.Pick which ever one, I picked StevenBlack
Select Protocols
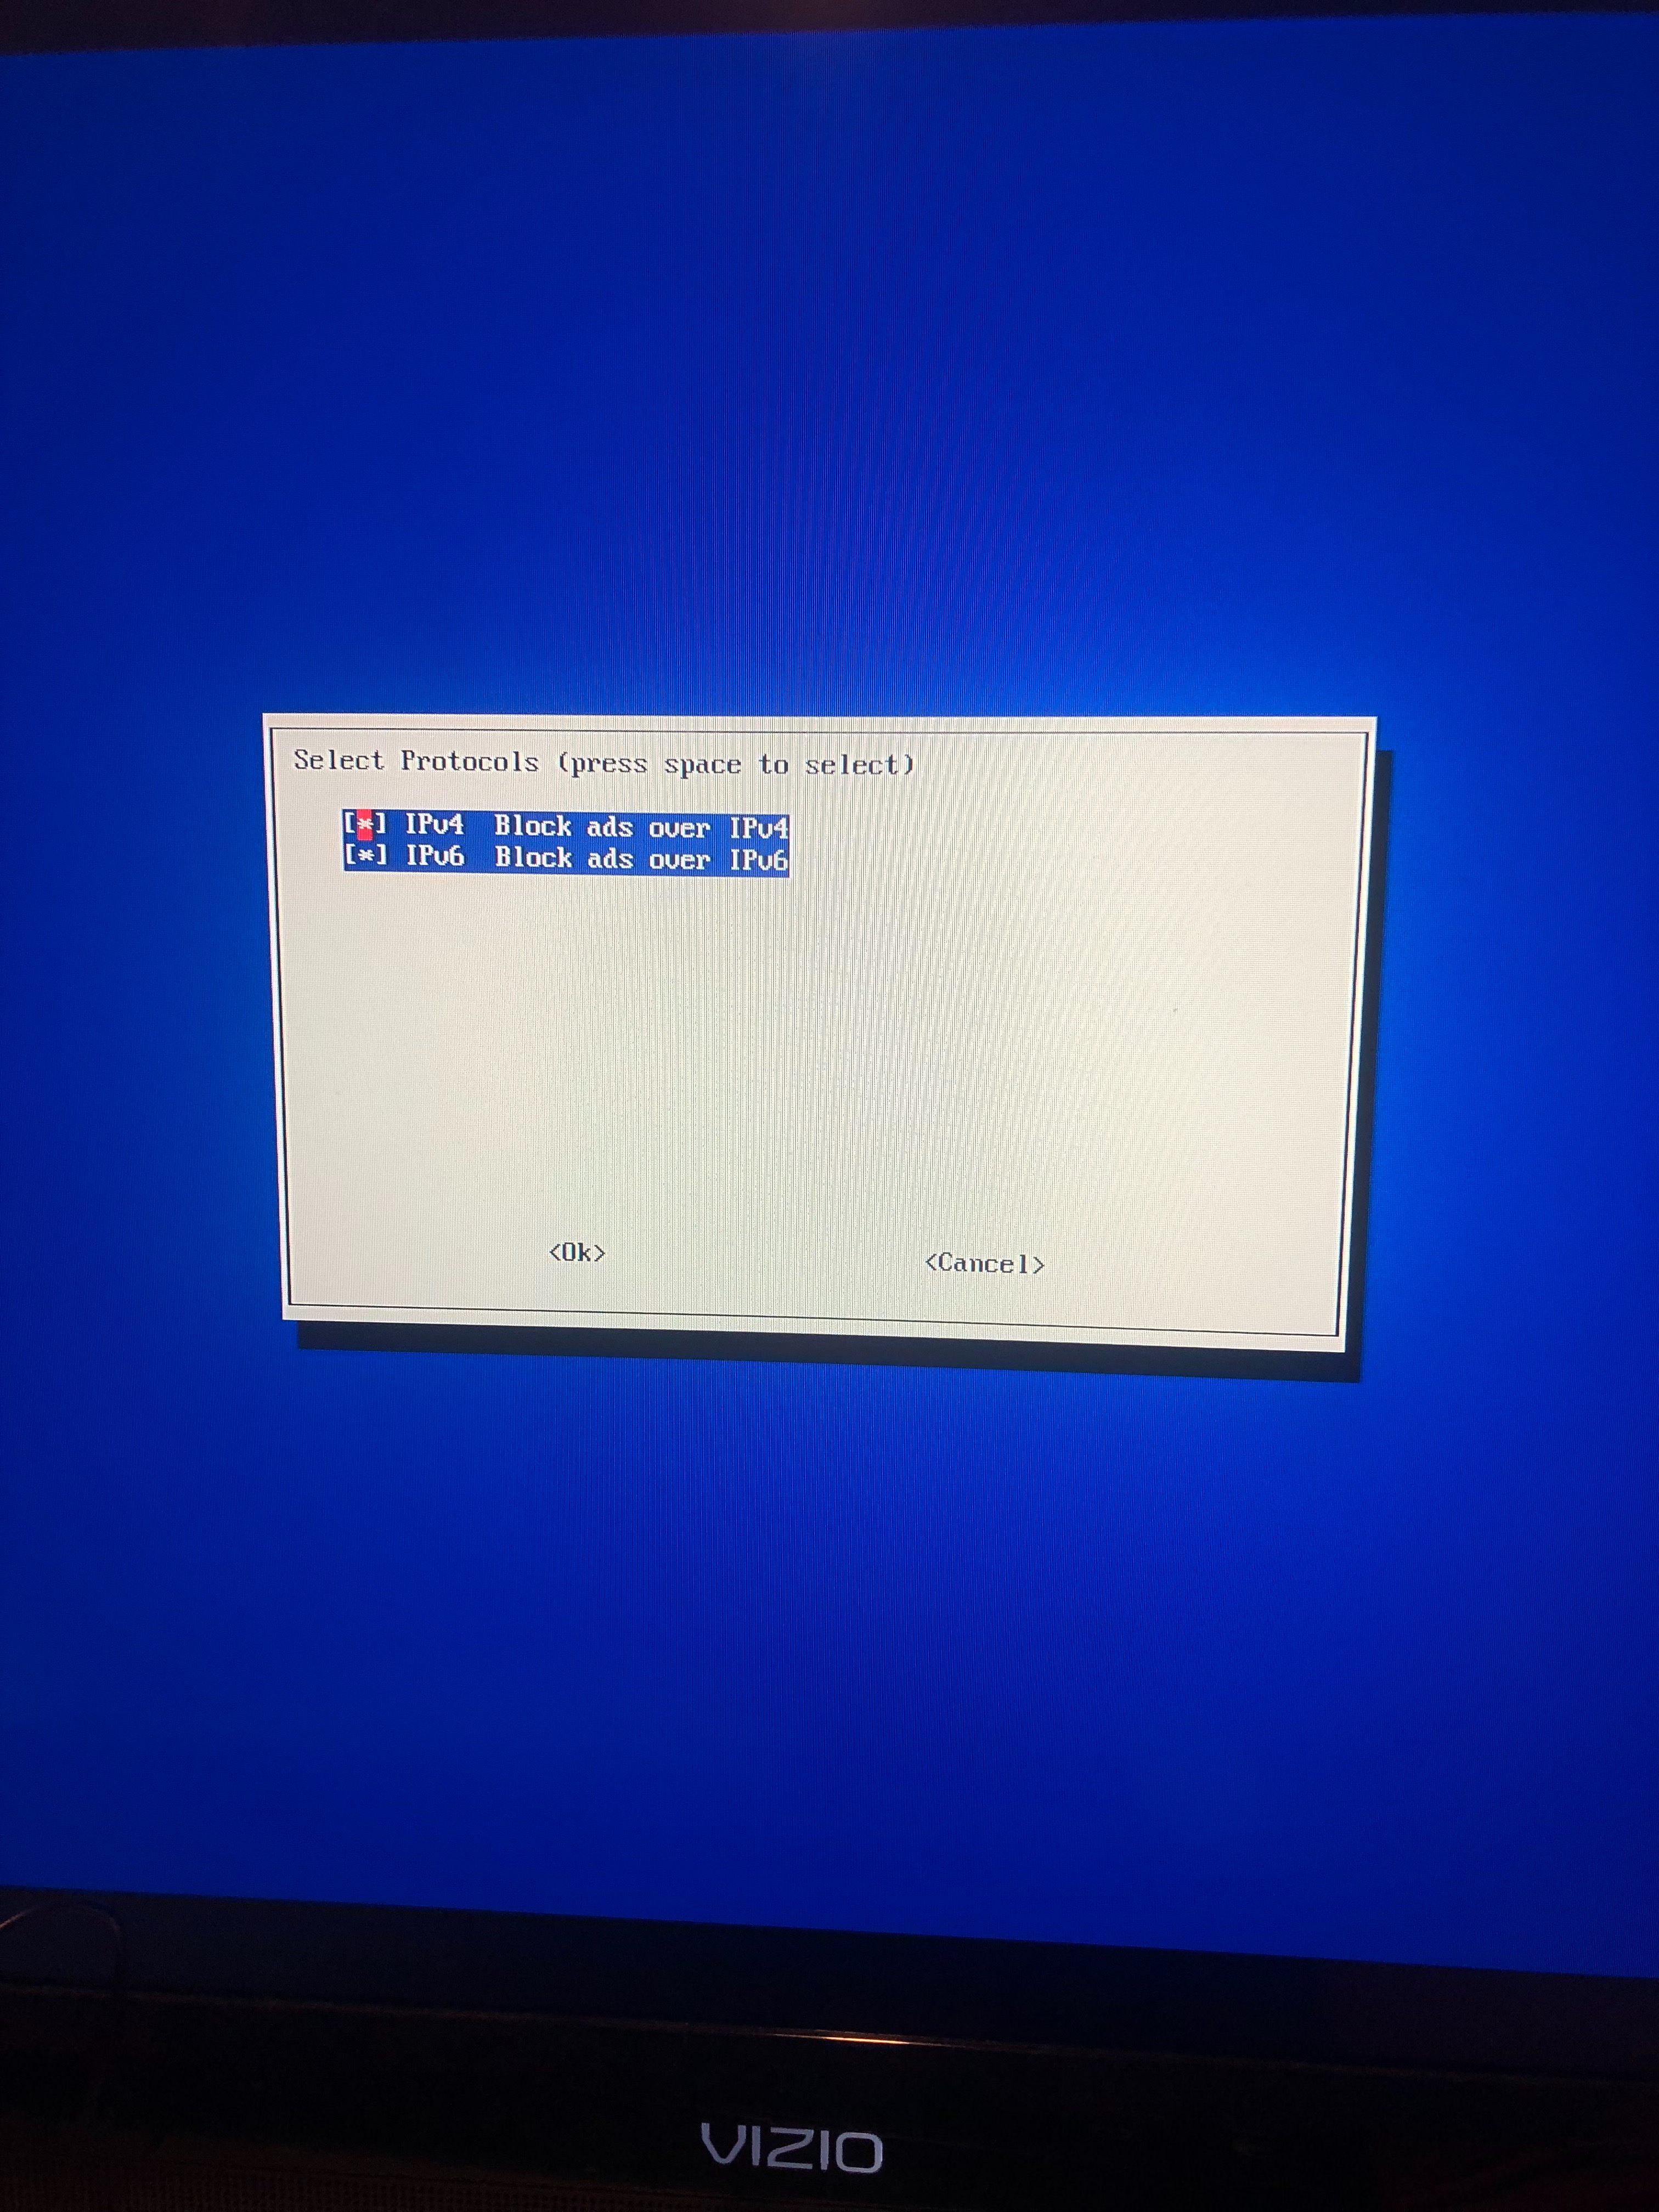
1. Select IPv4 Block ads over IPv4
you pick which ever one that works better for you
Choose Current Network Setting
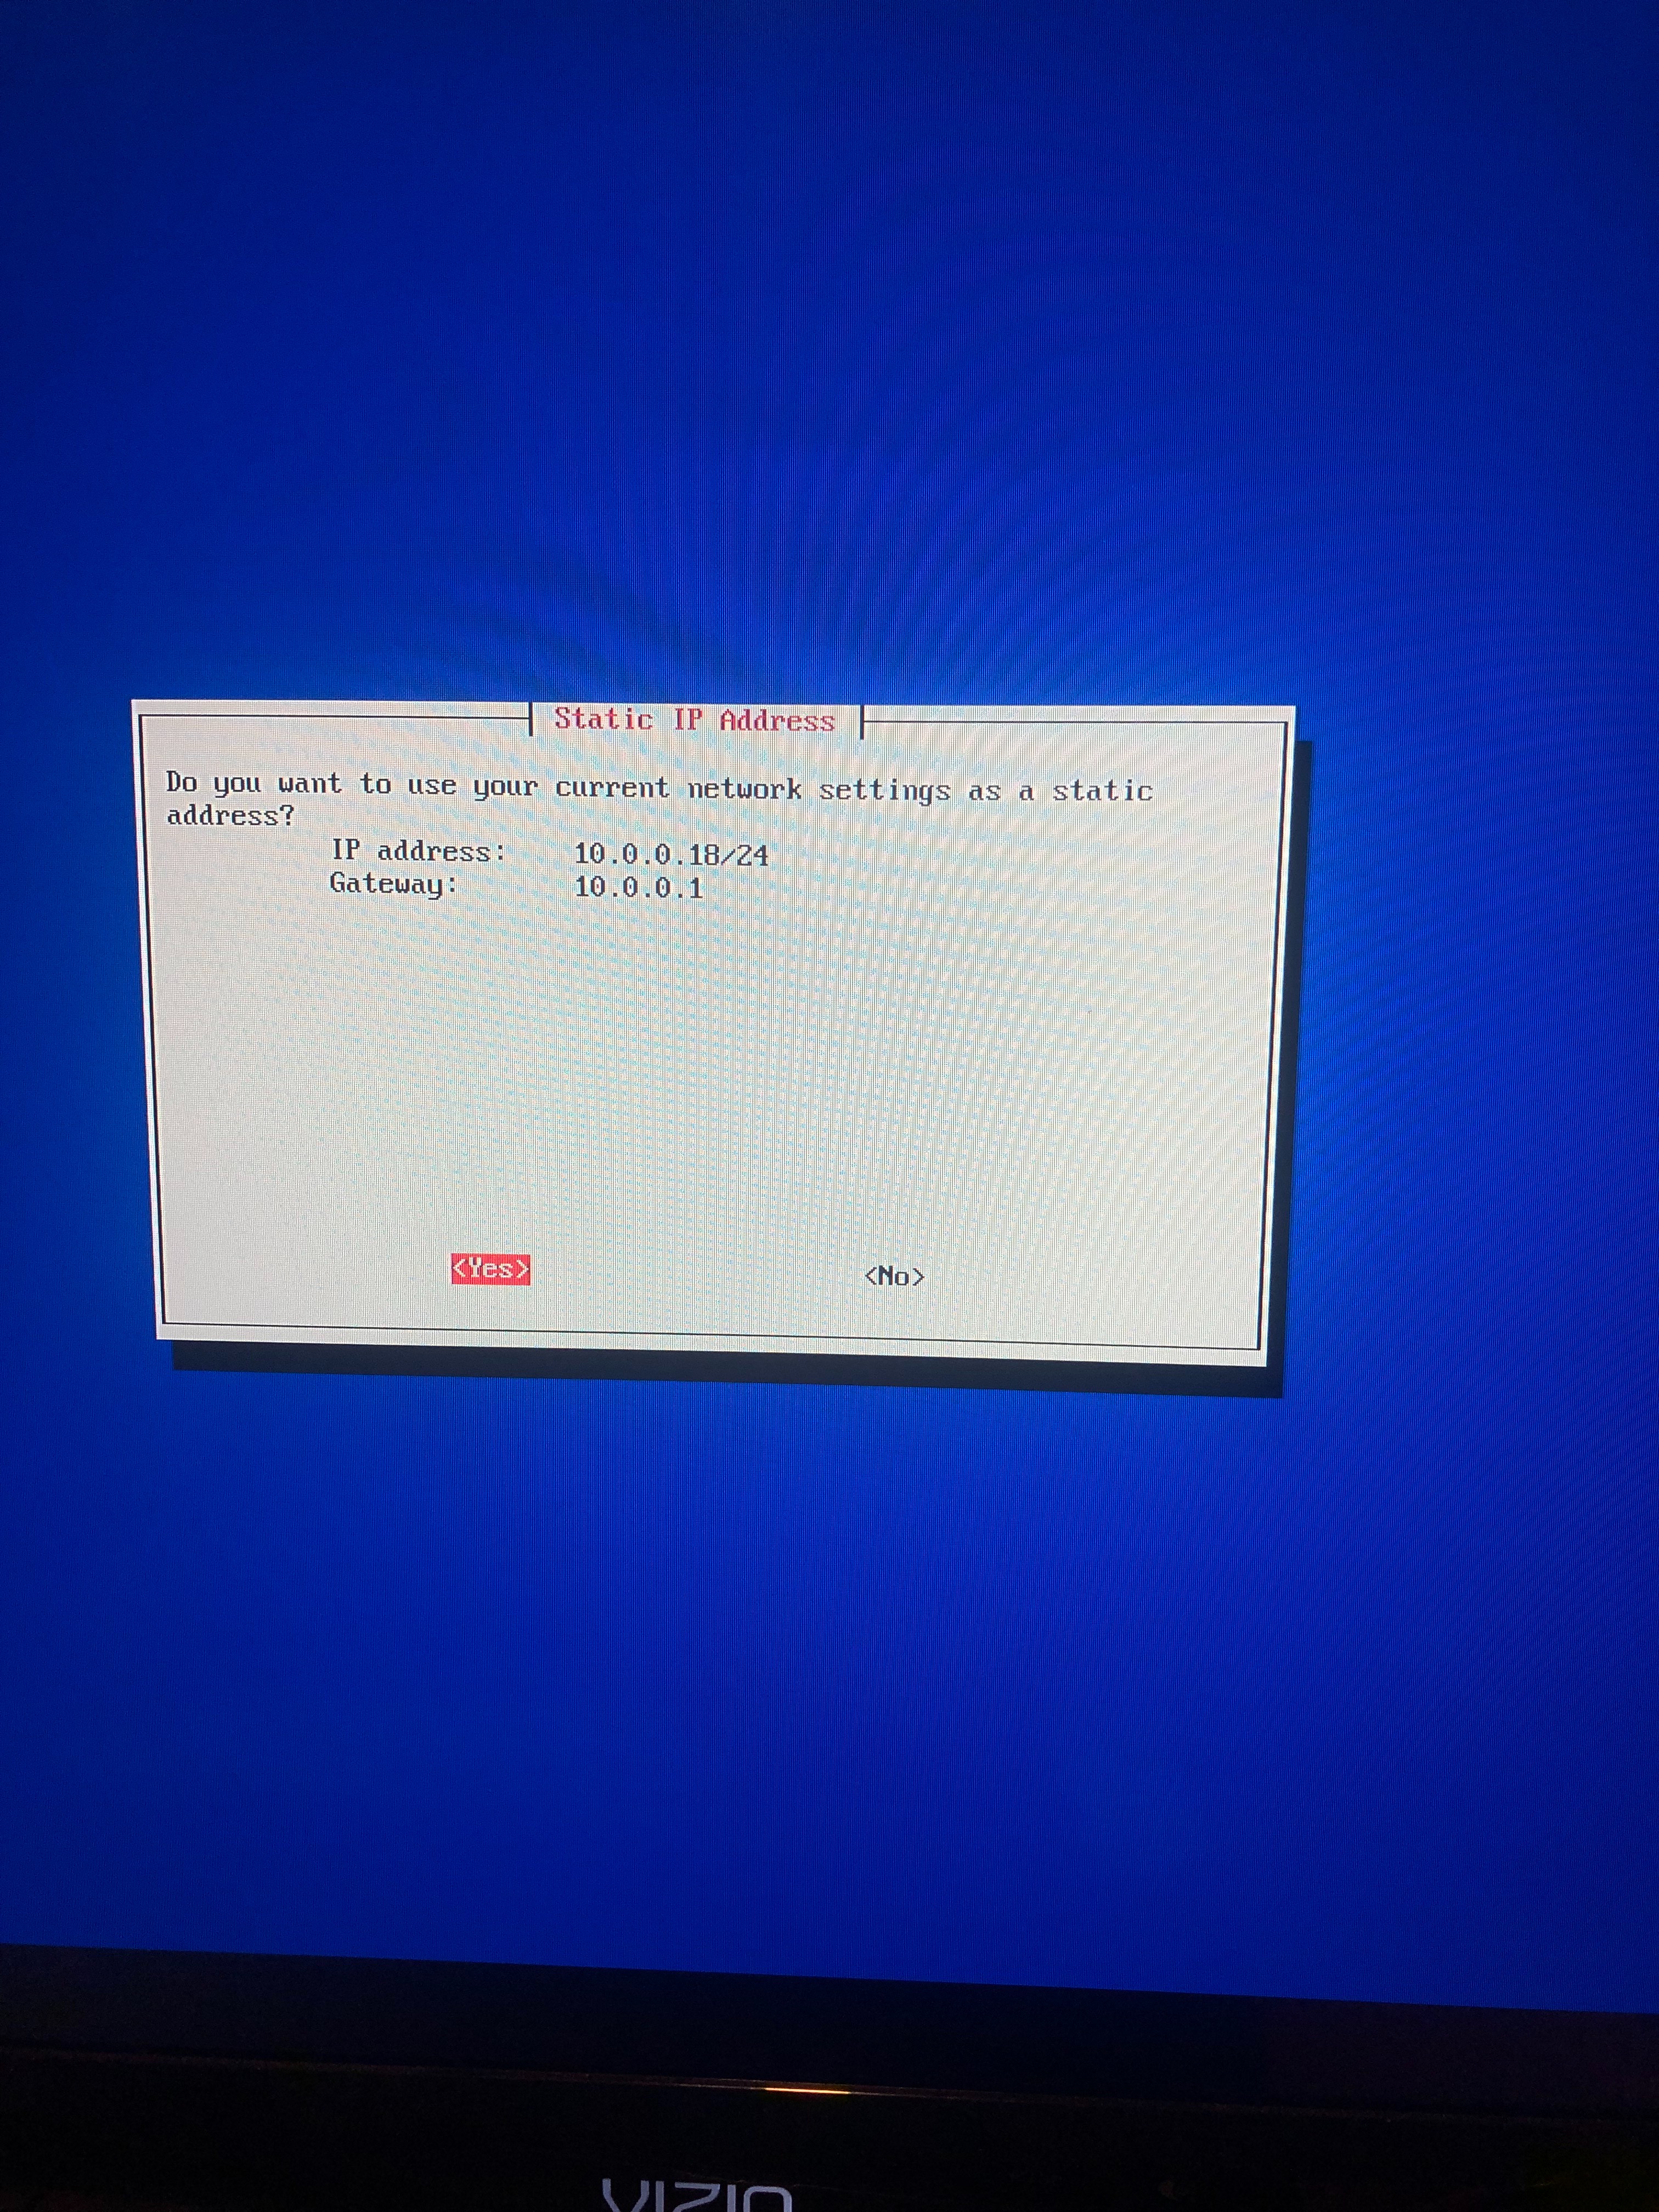
1. you would say yes if that's the IP address you want or No if you want to use a different one.
IP Conflict Notice
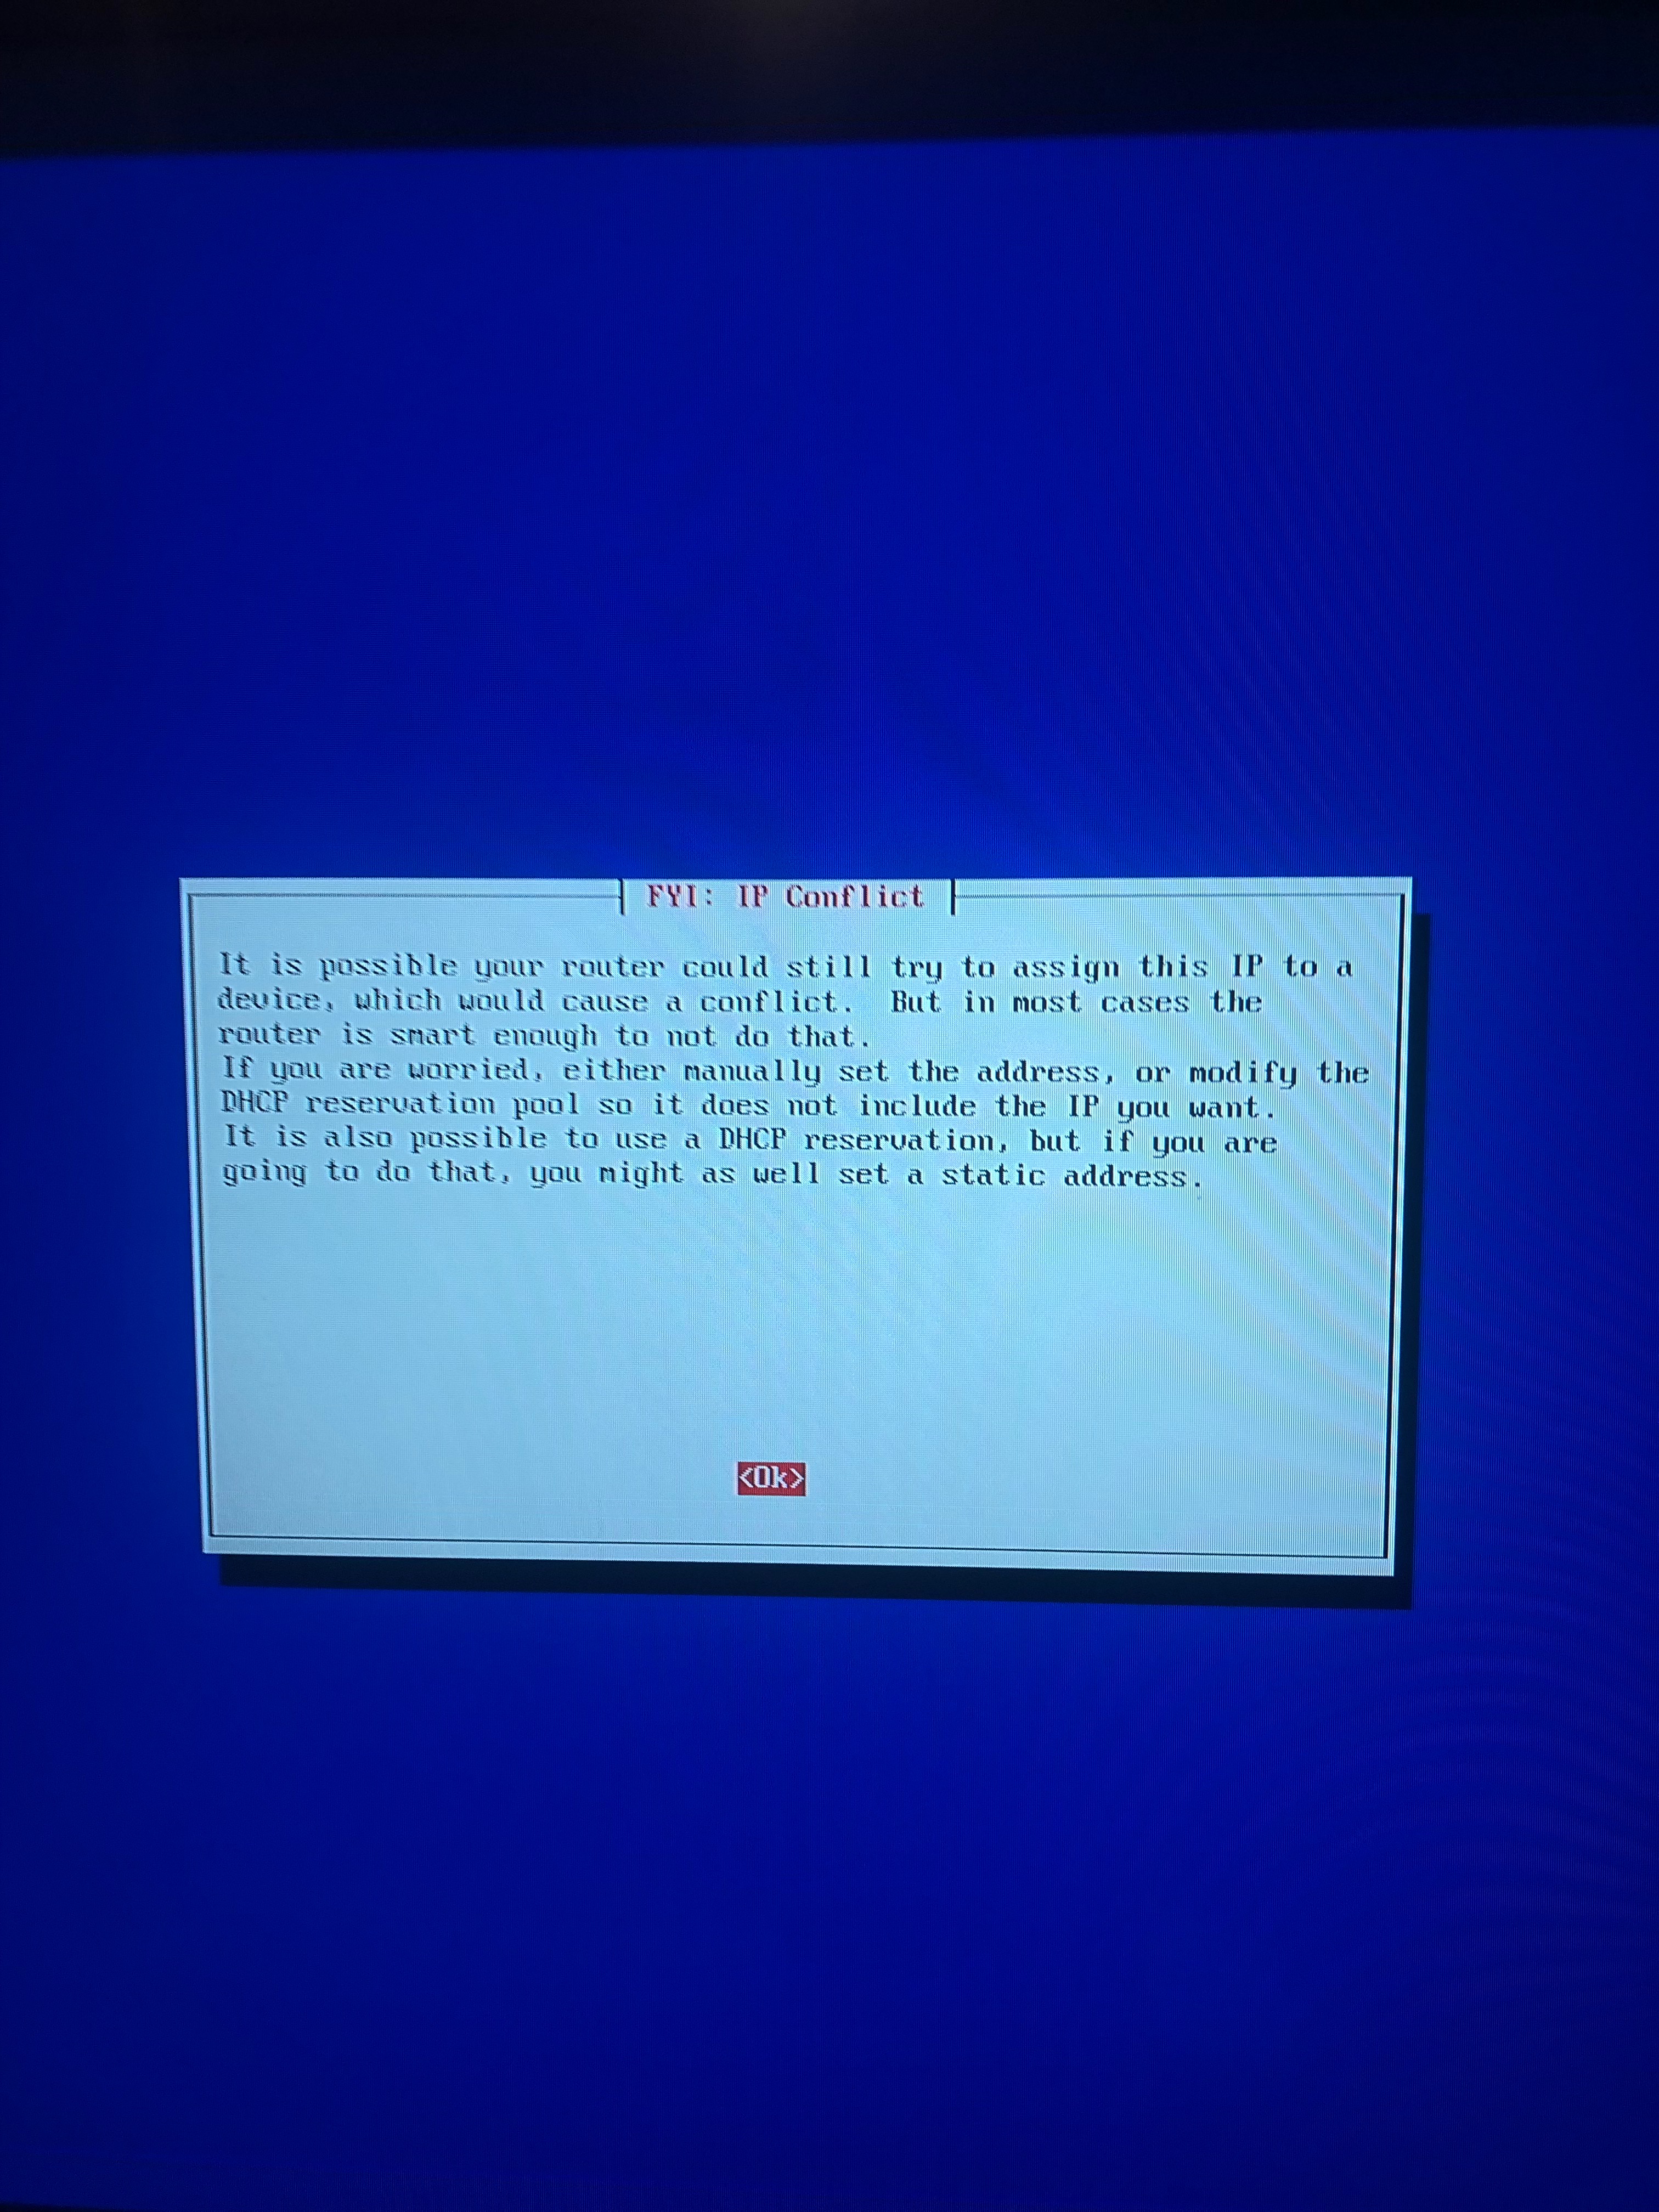
1. Press Ok
Do You Wish to Install the Web Admin Interface?
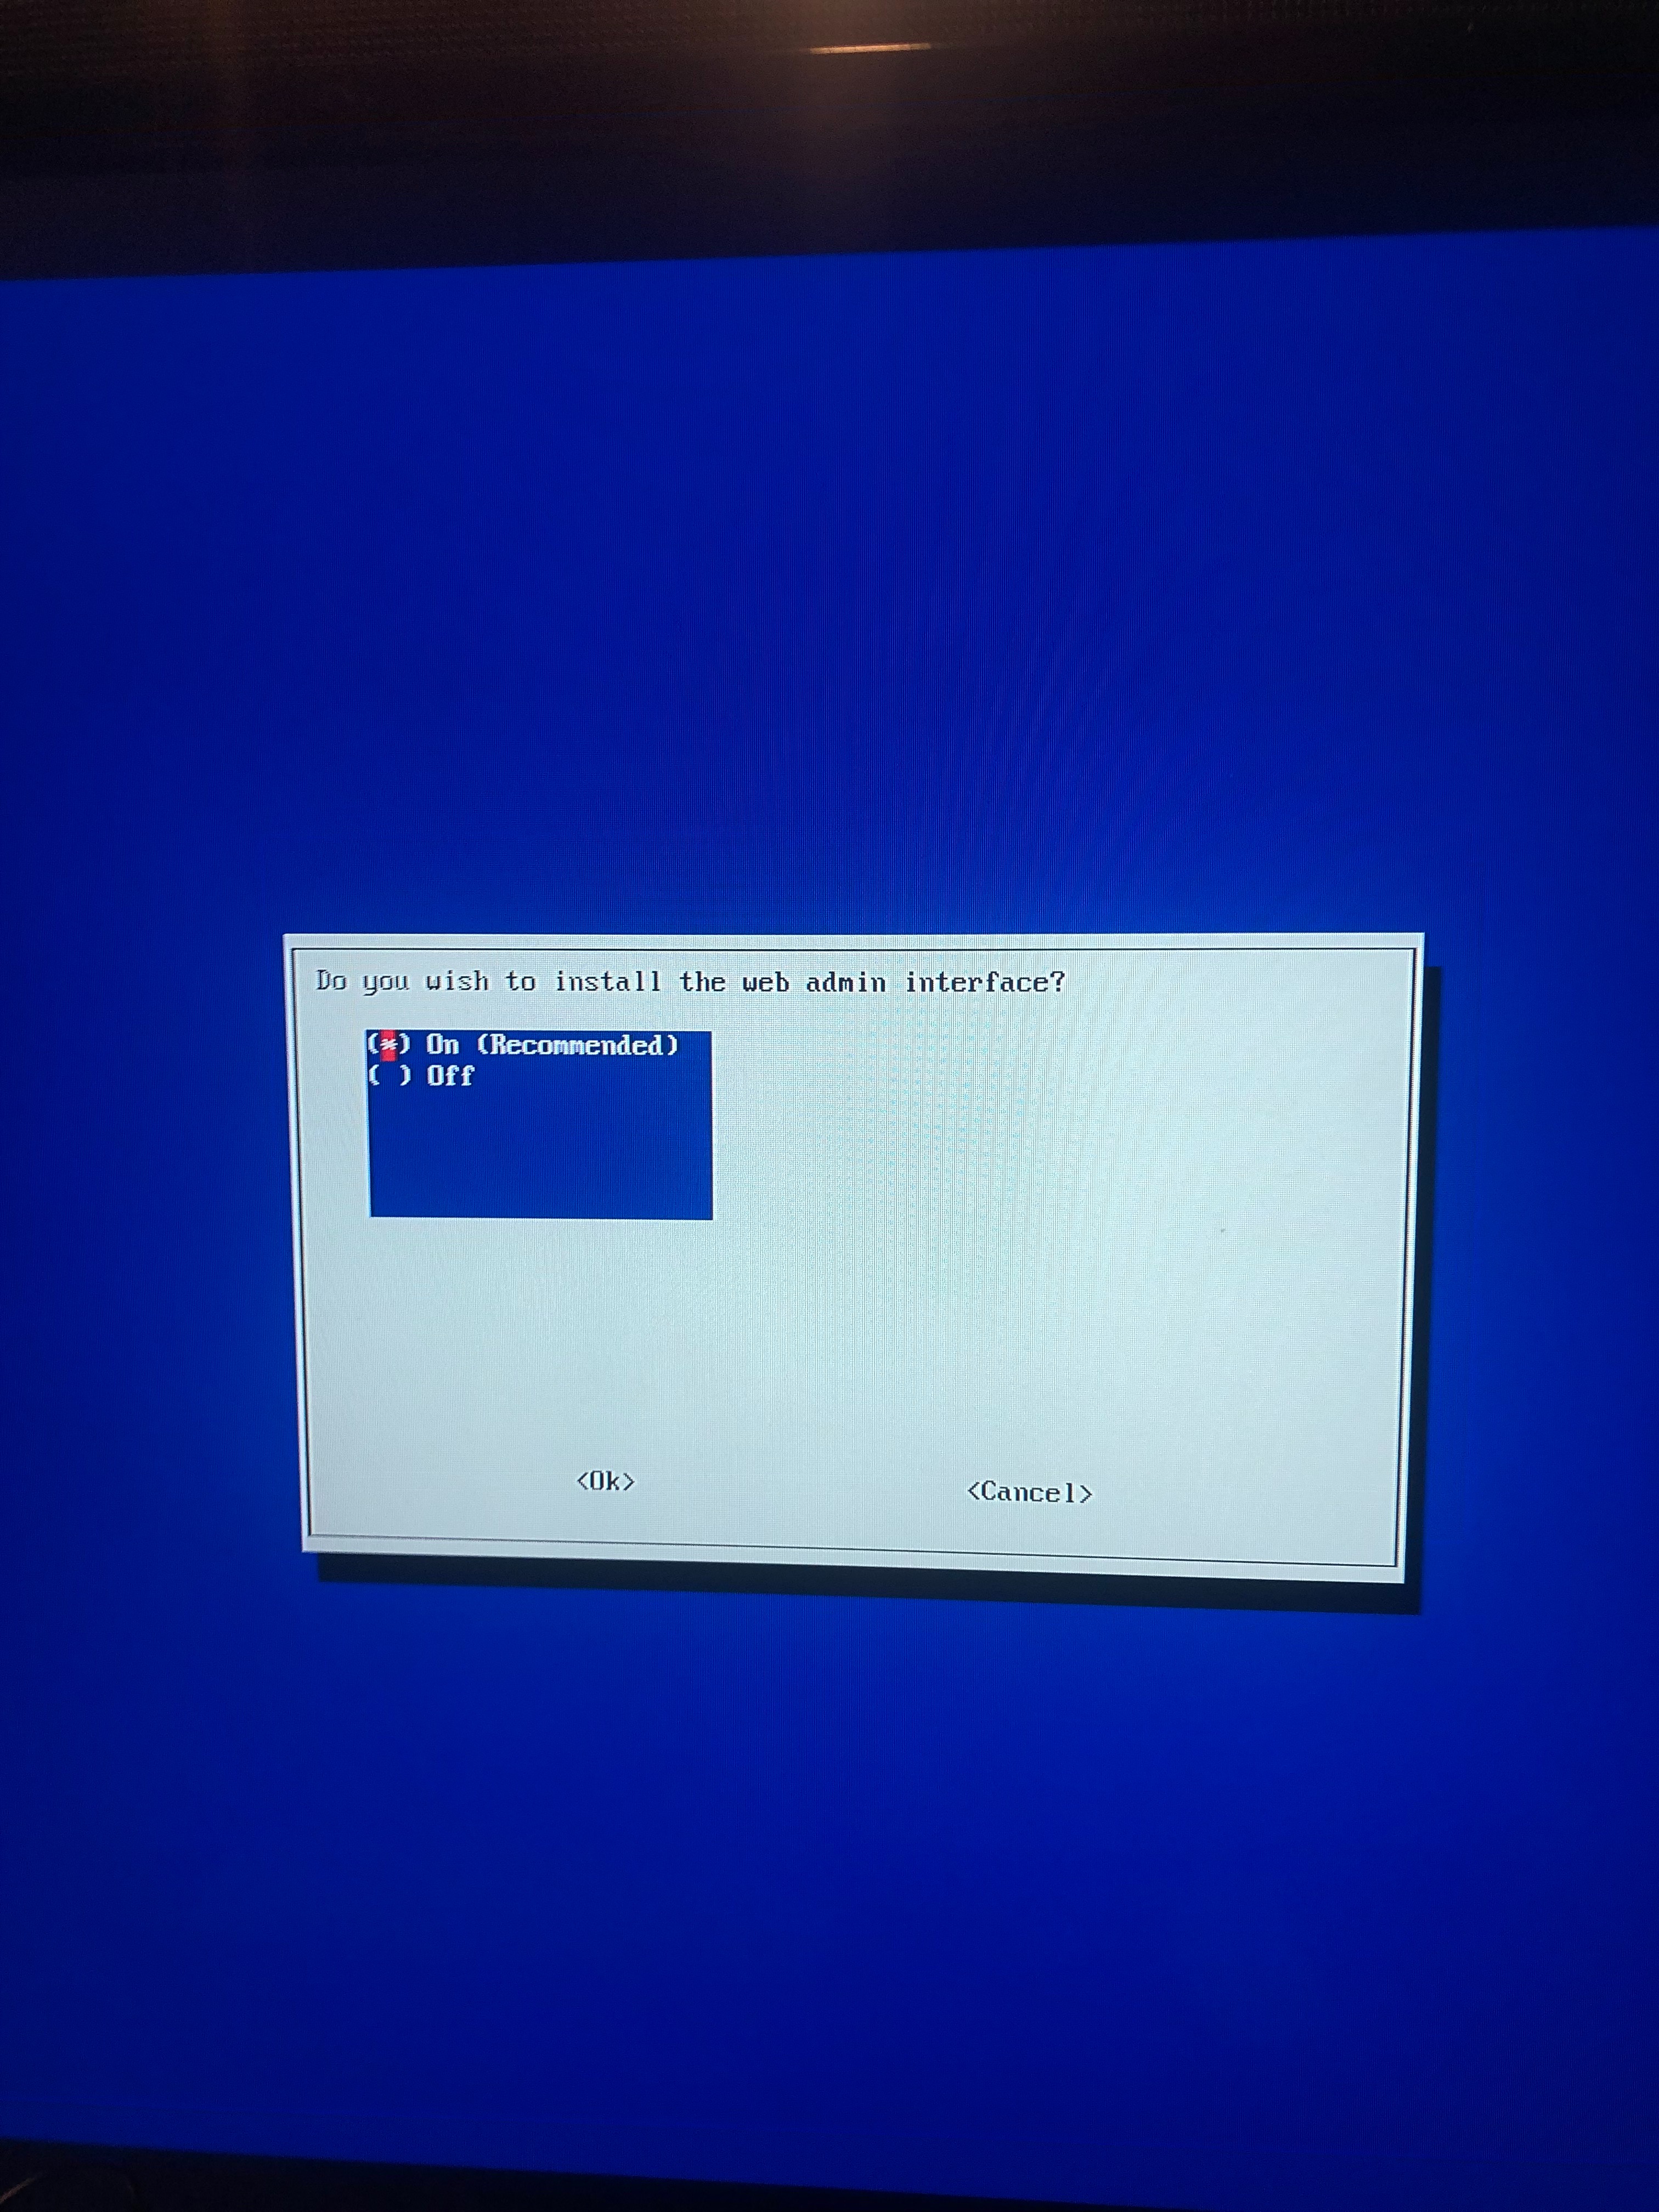
1. Click ON
Do You Wish to Install Web Server
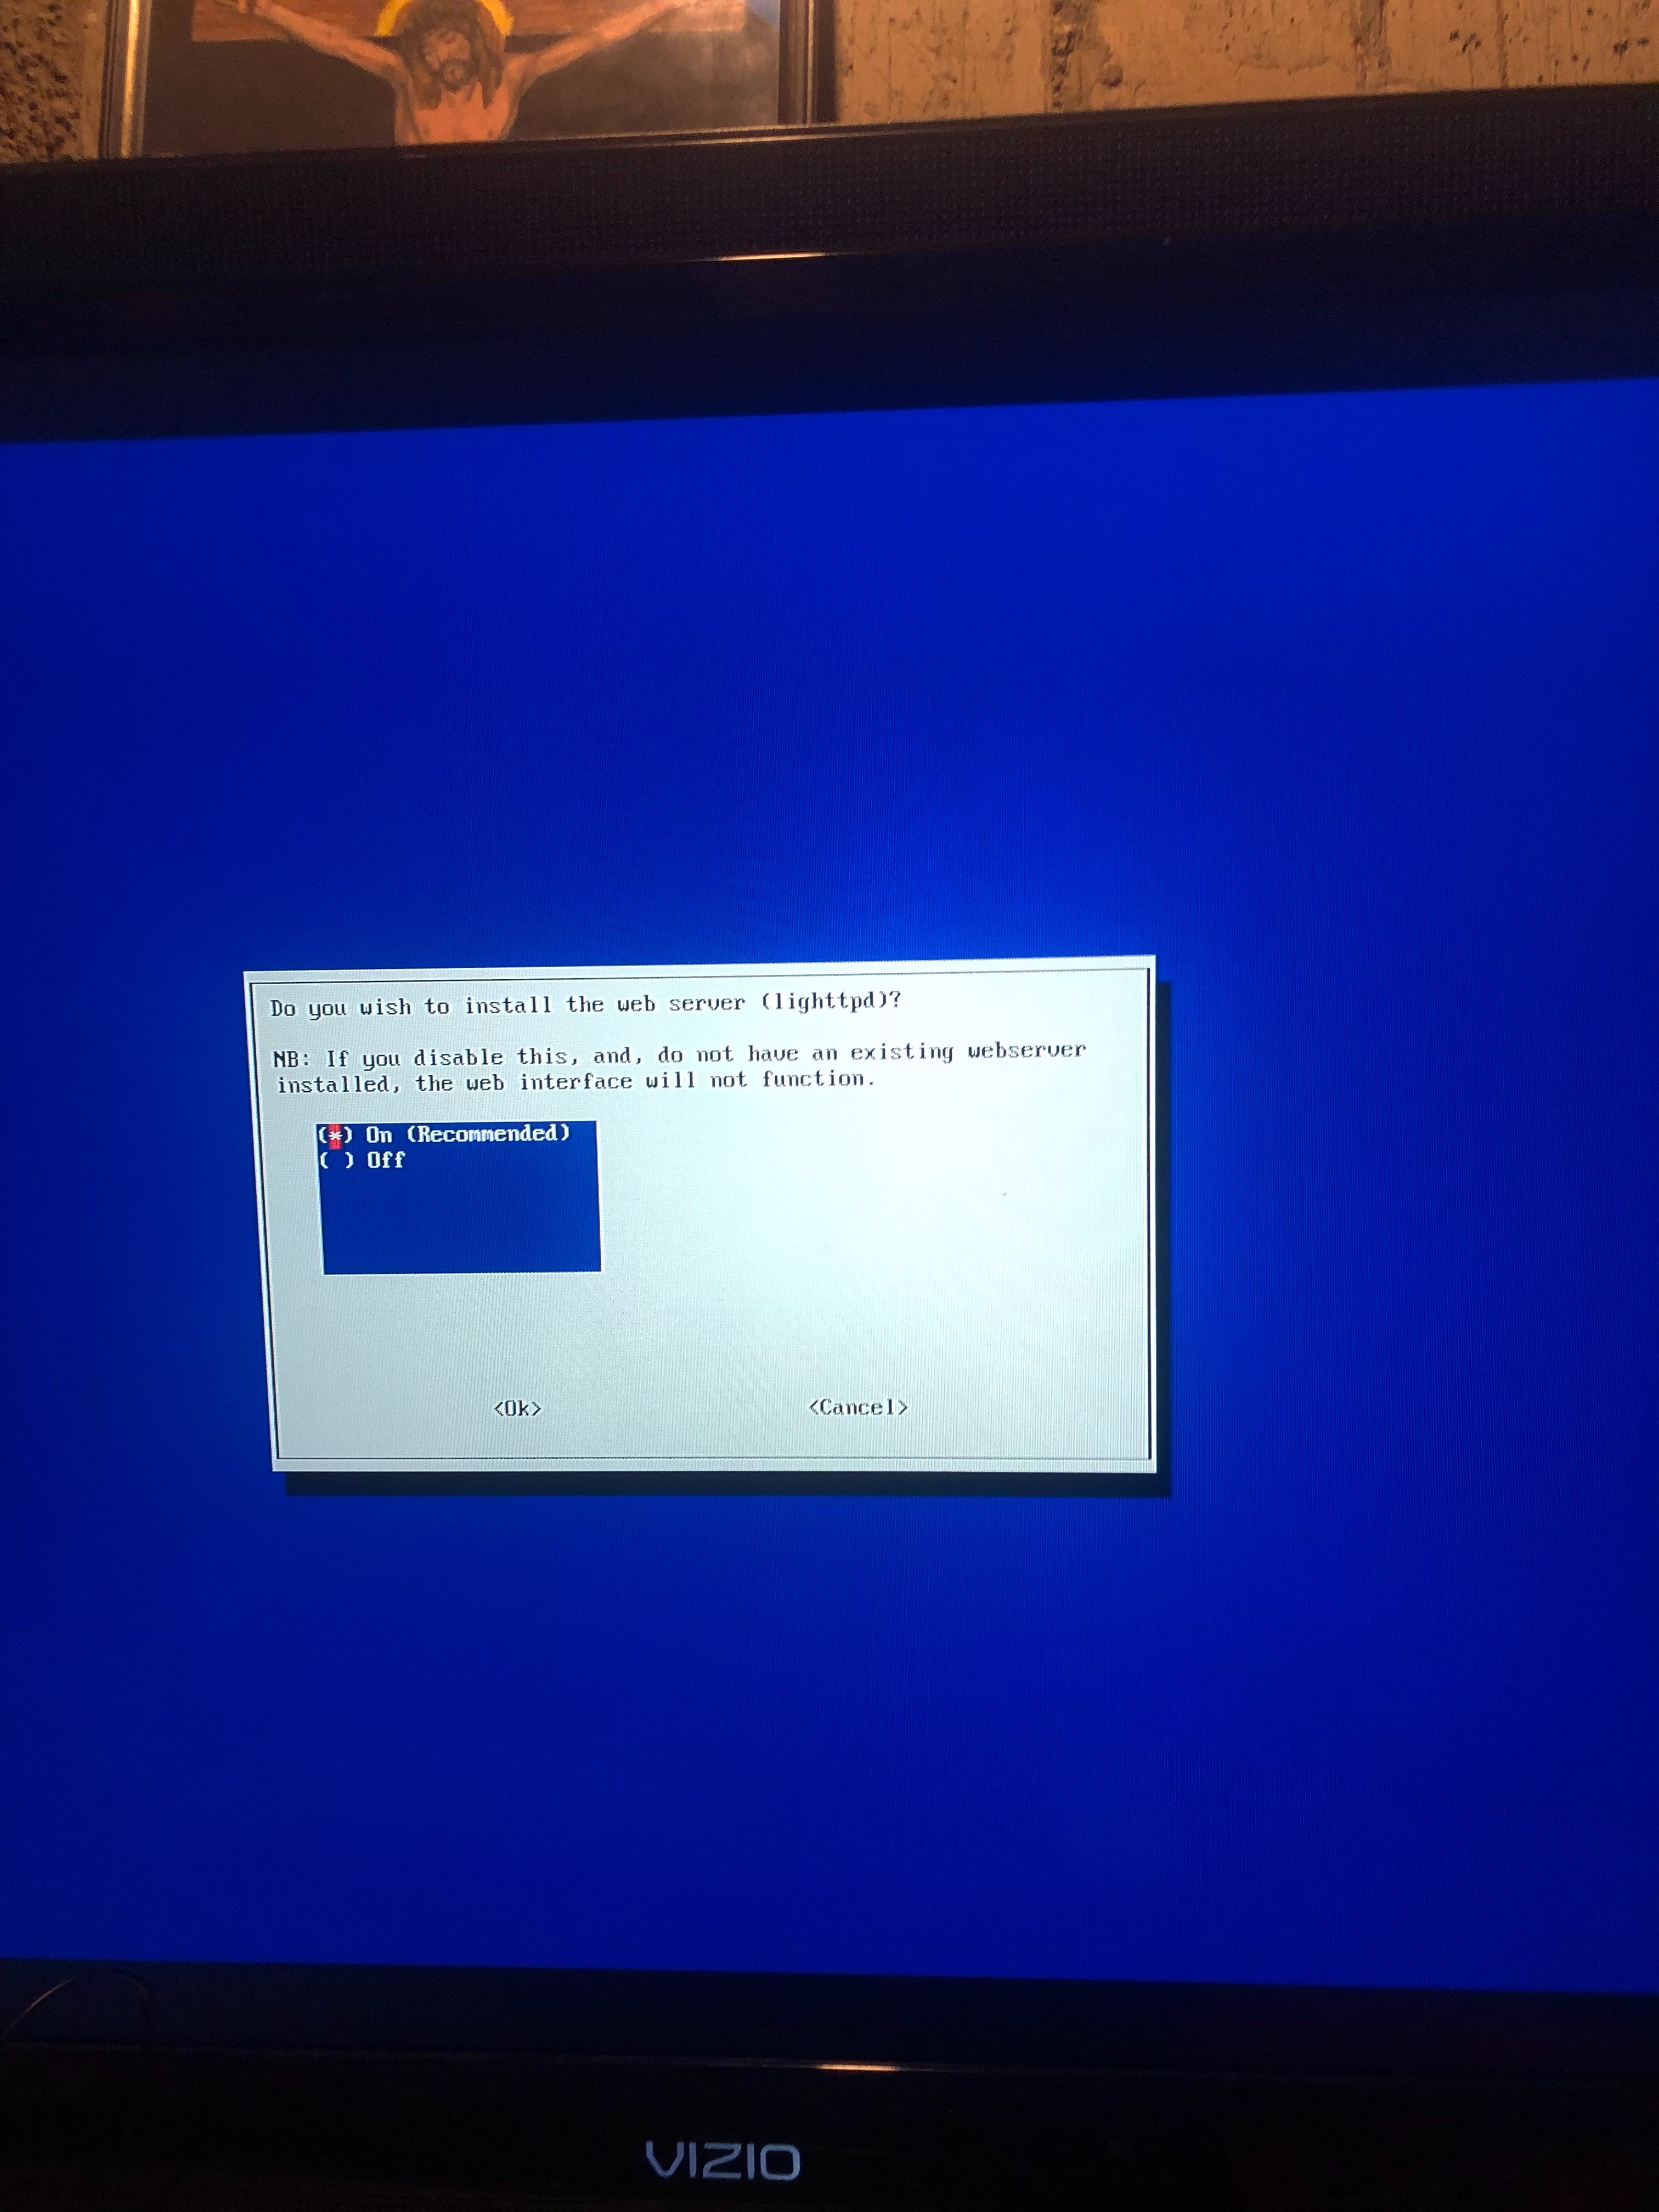
1. Click ON
Do You Want to Log Queries?
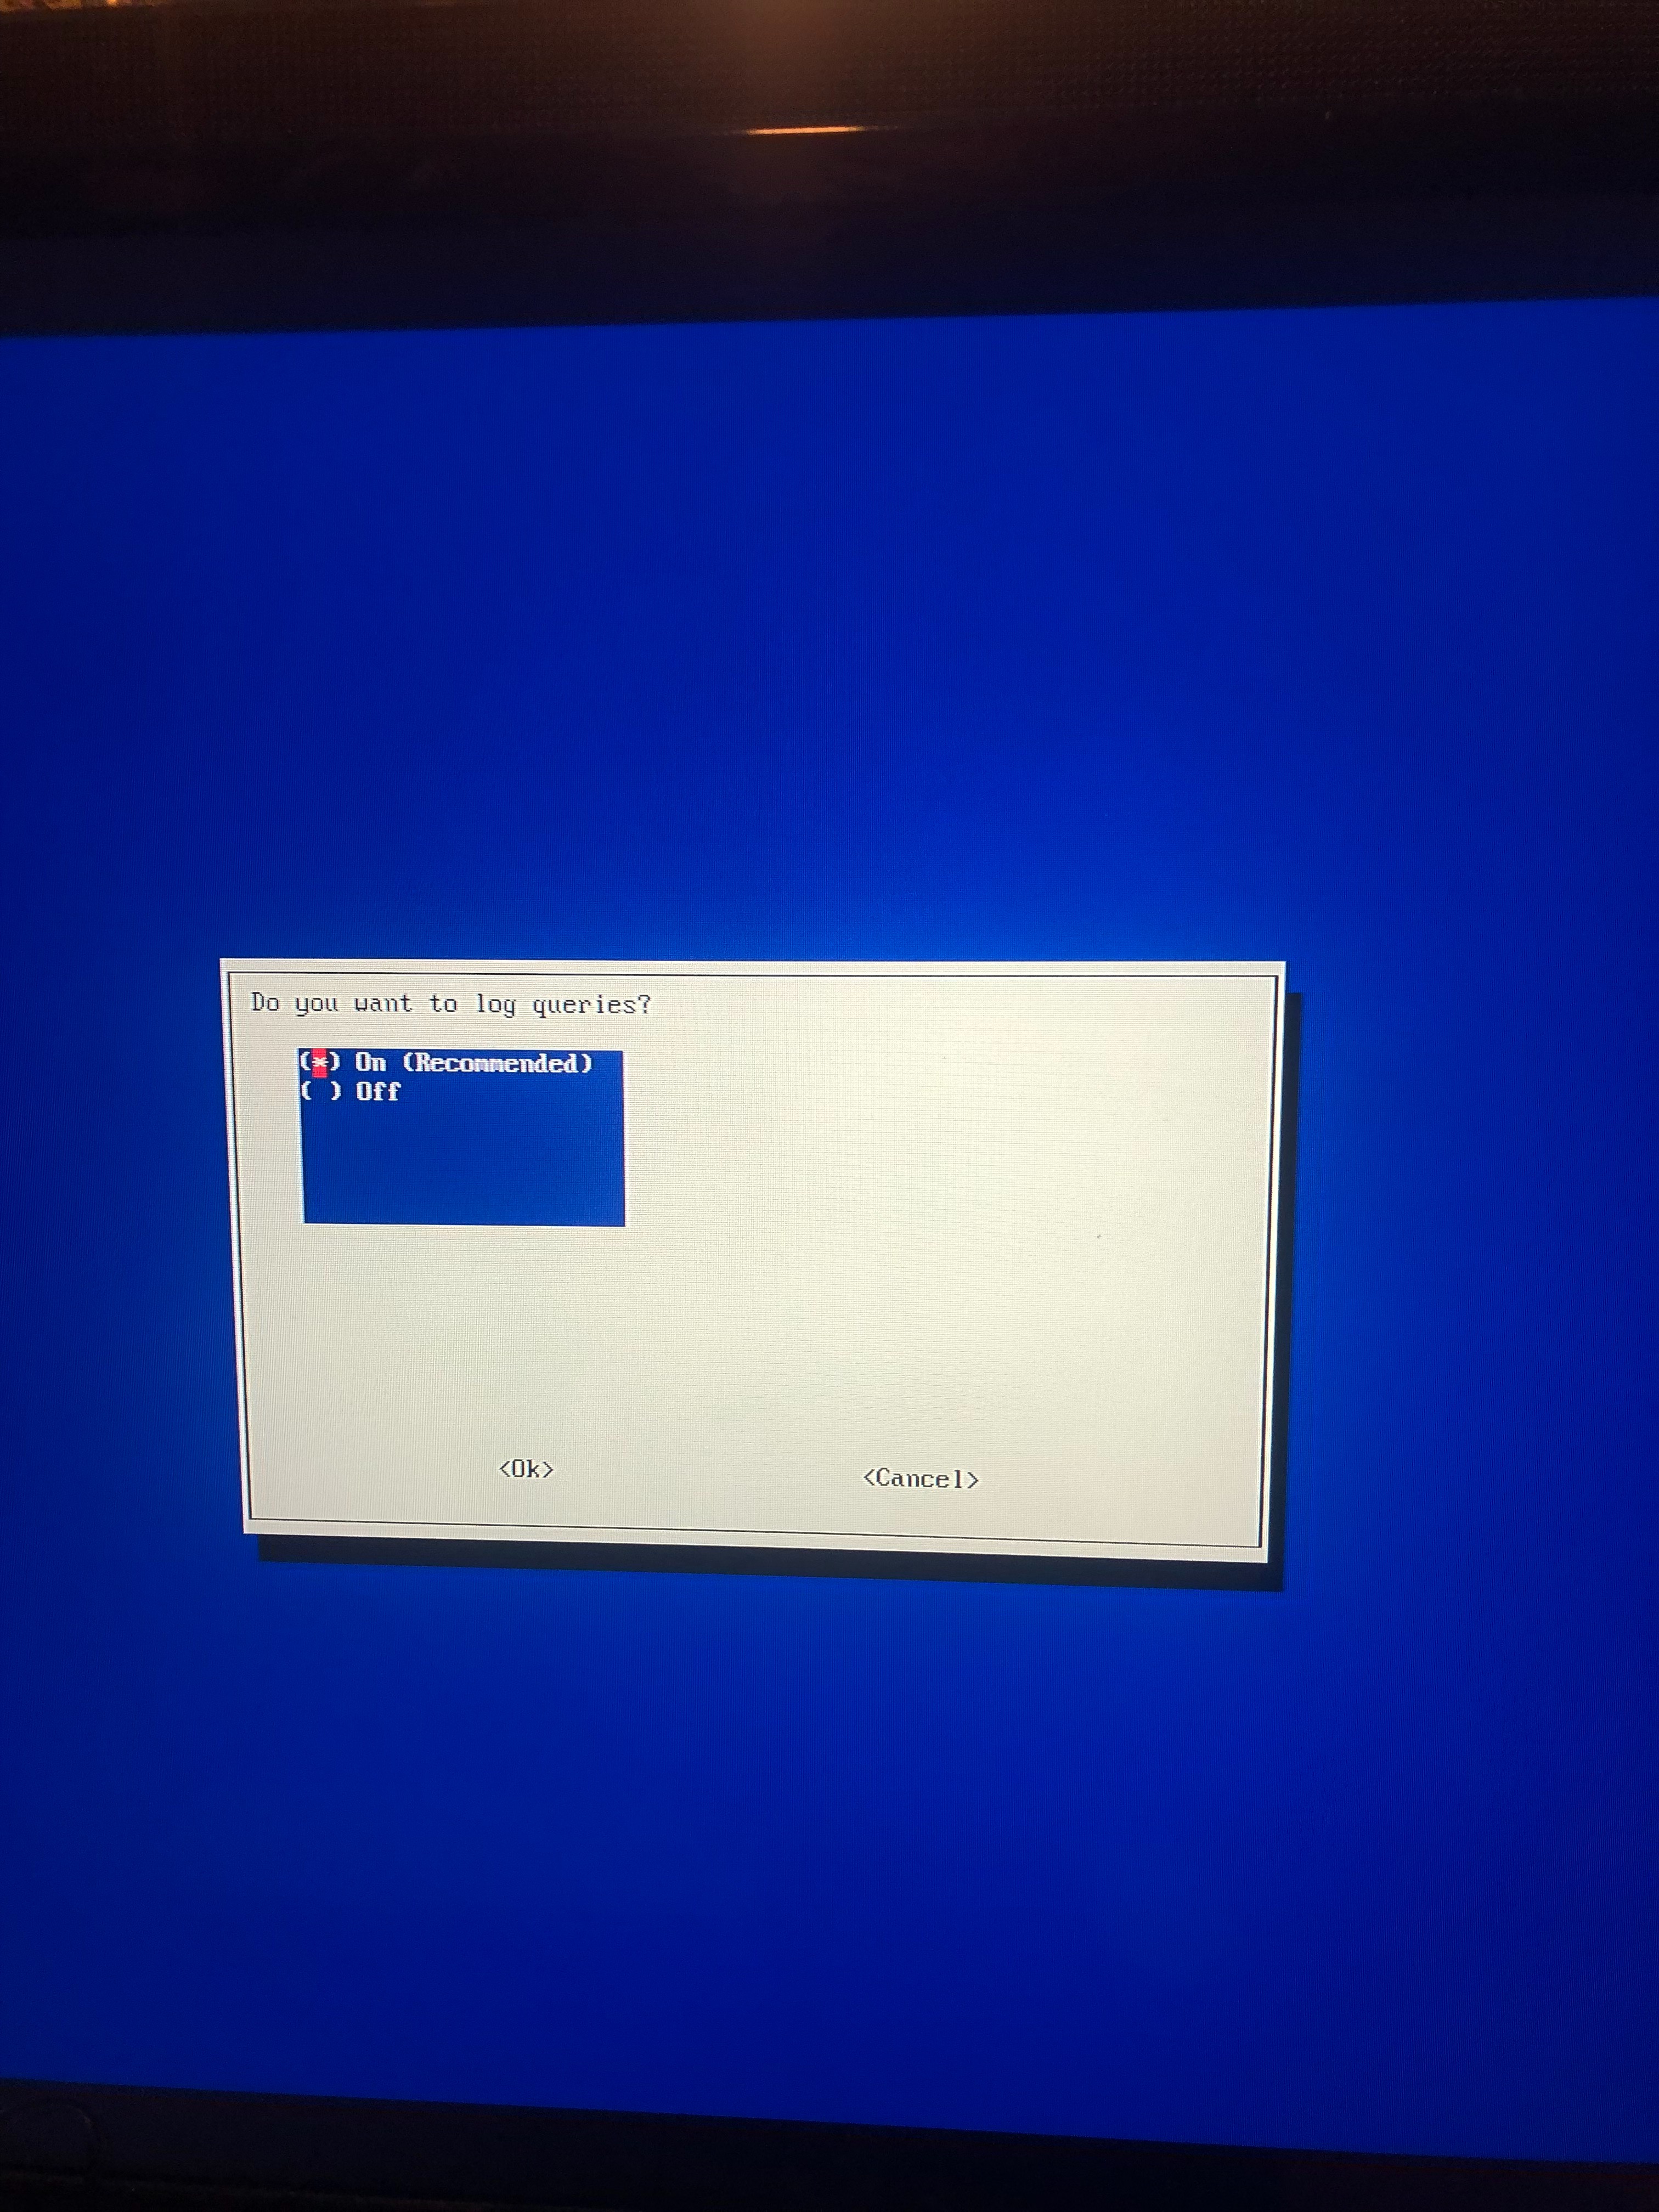
1.Click ON
Select a Privacy Mode for FTL
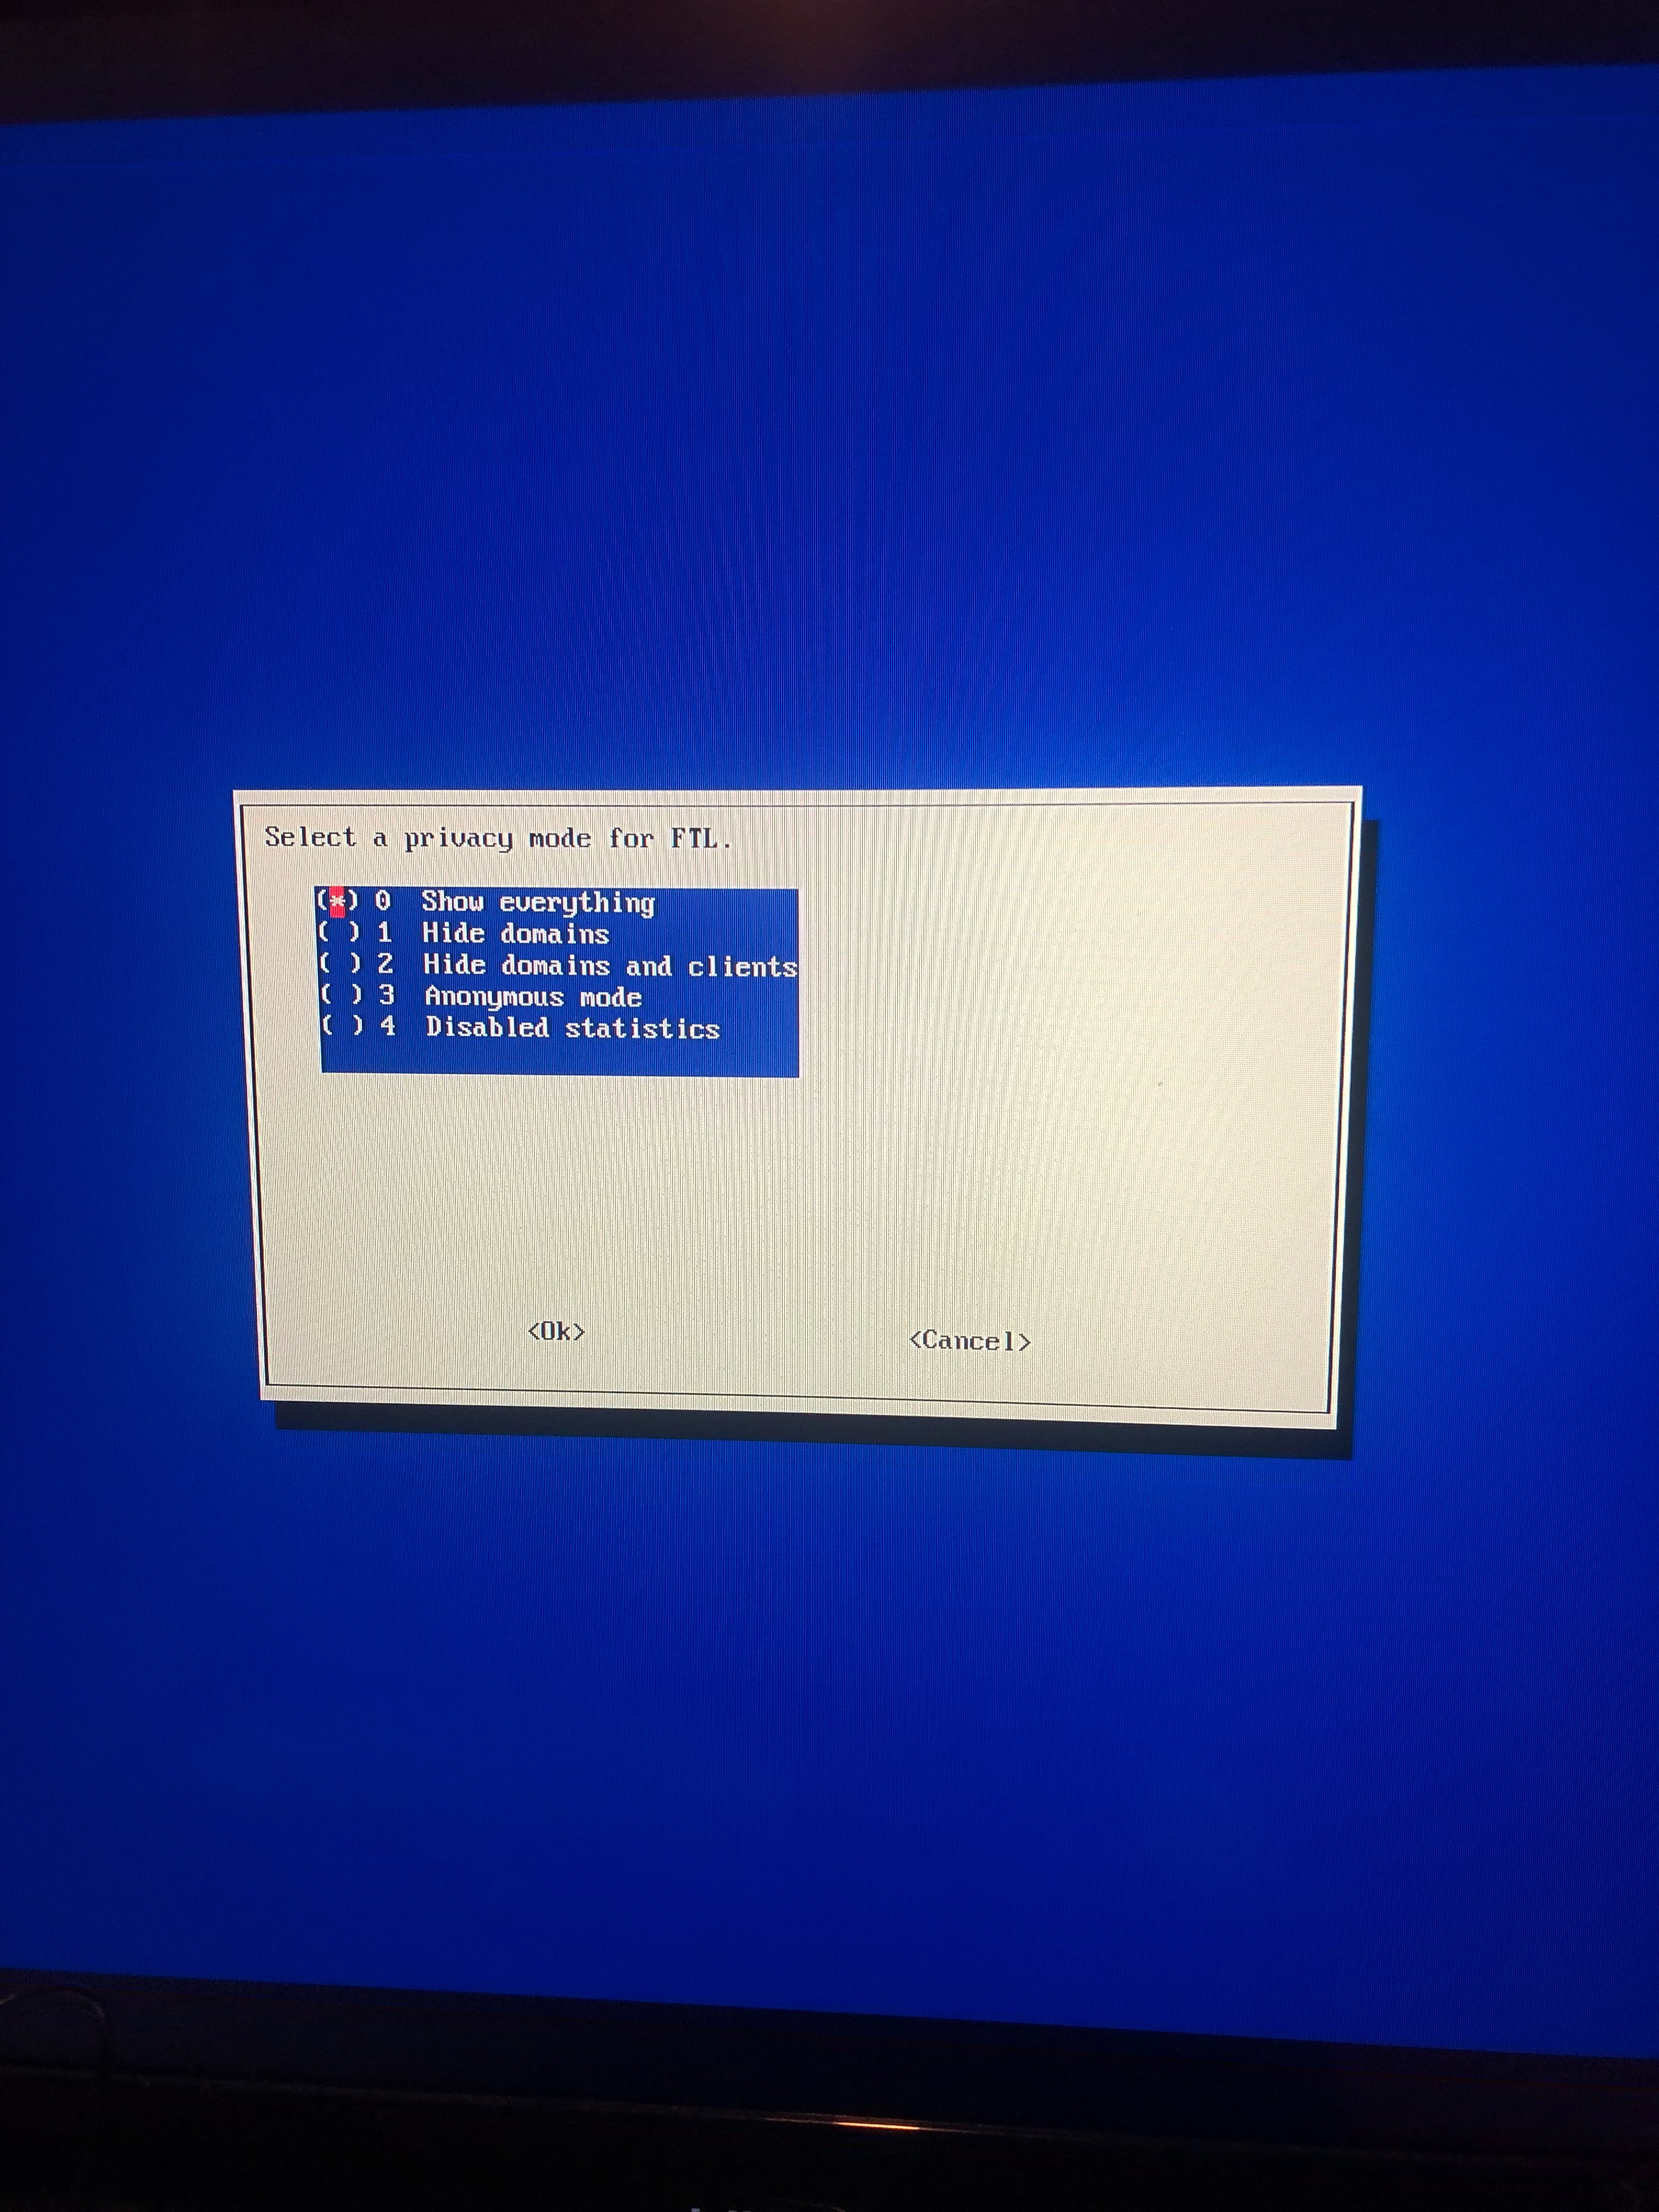
1. Click on Show Everything
2. I clicked on show everything but you can select any of the other options if you don't want to see everything.
Installing Packages
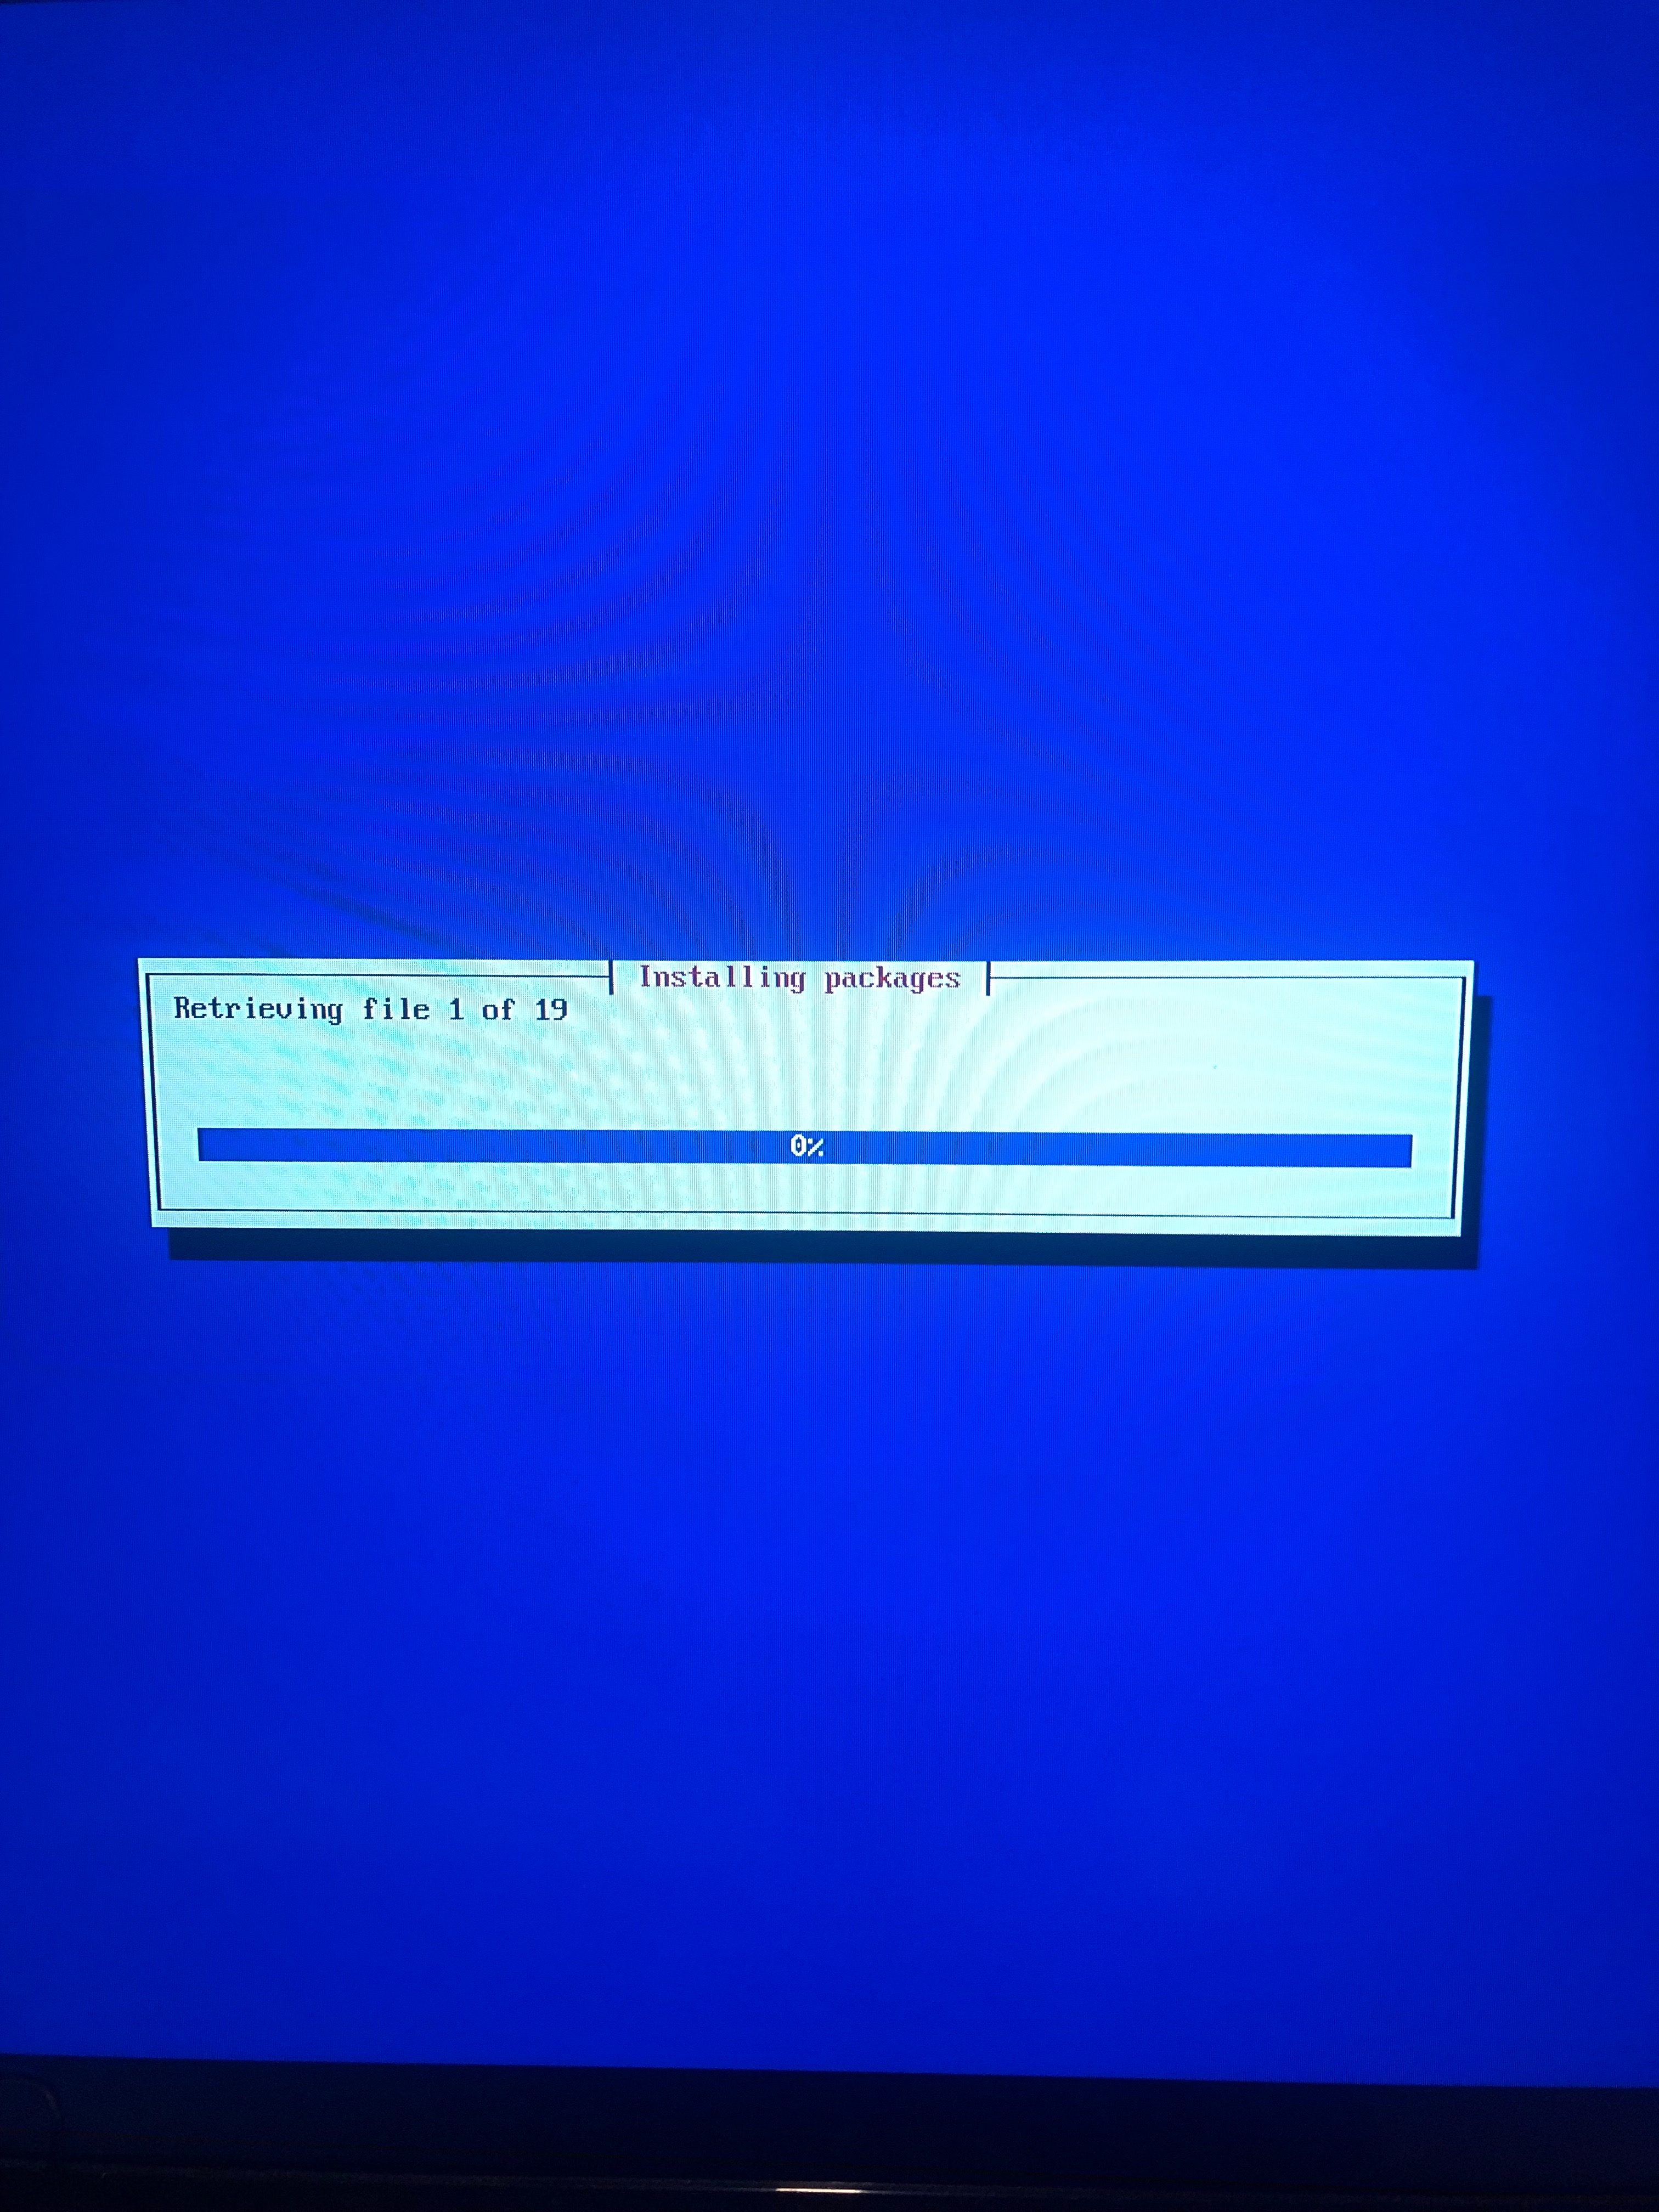
1. On this step its downloading all the options you picked.
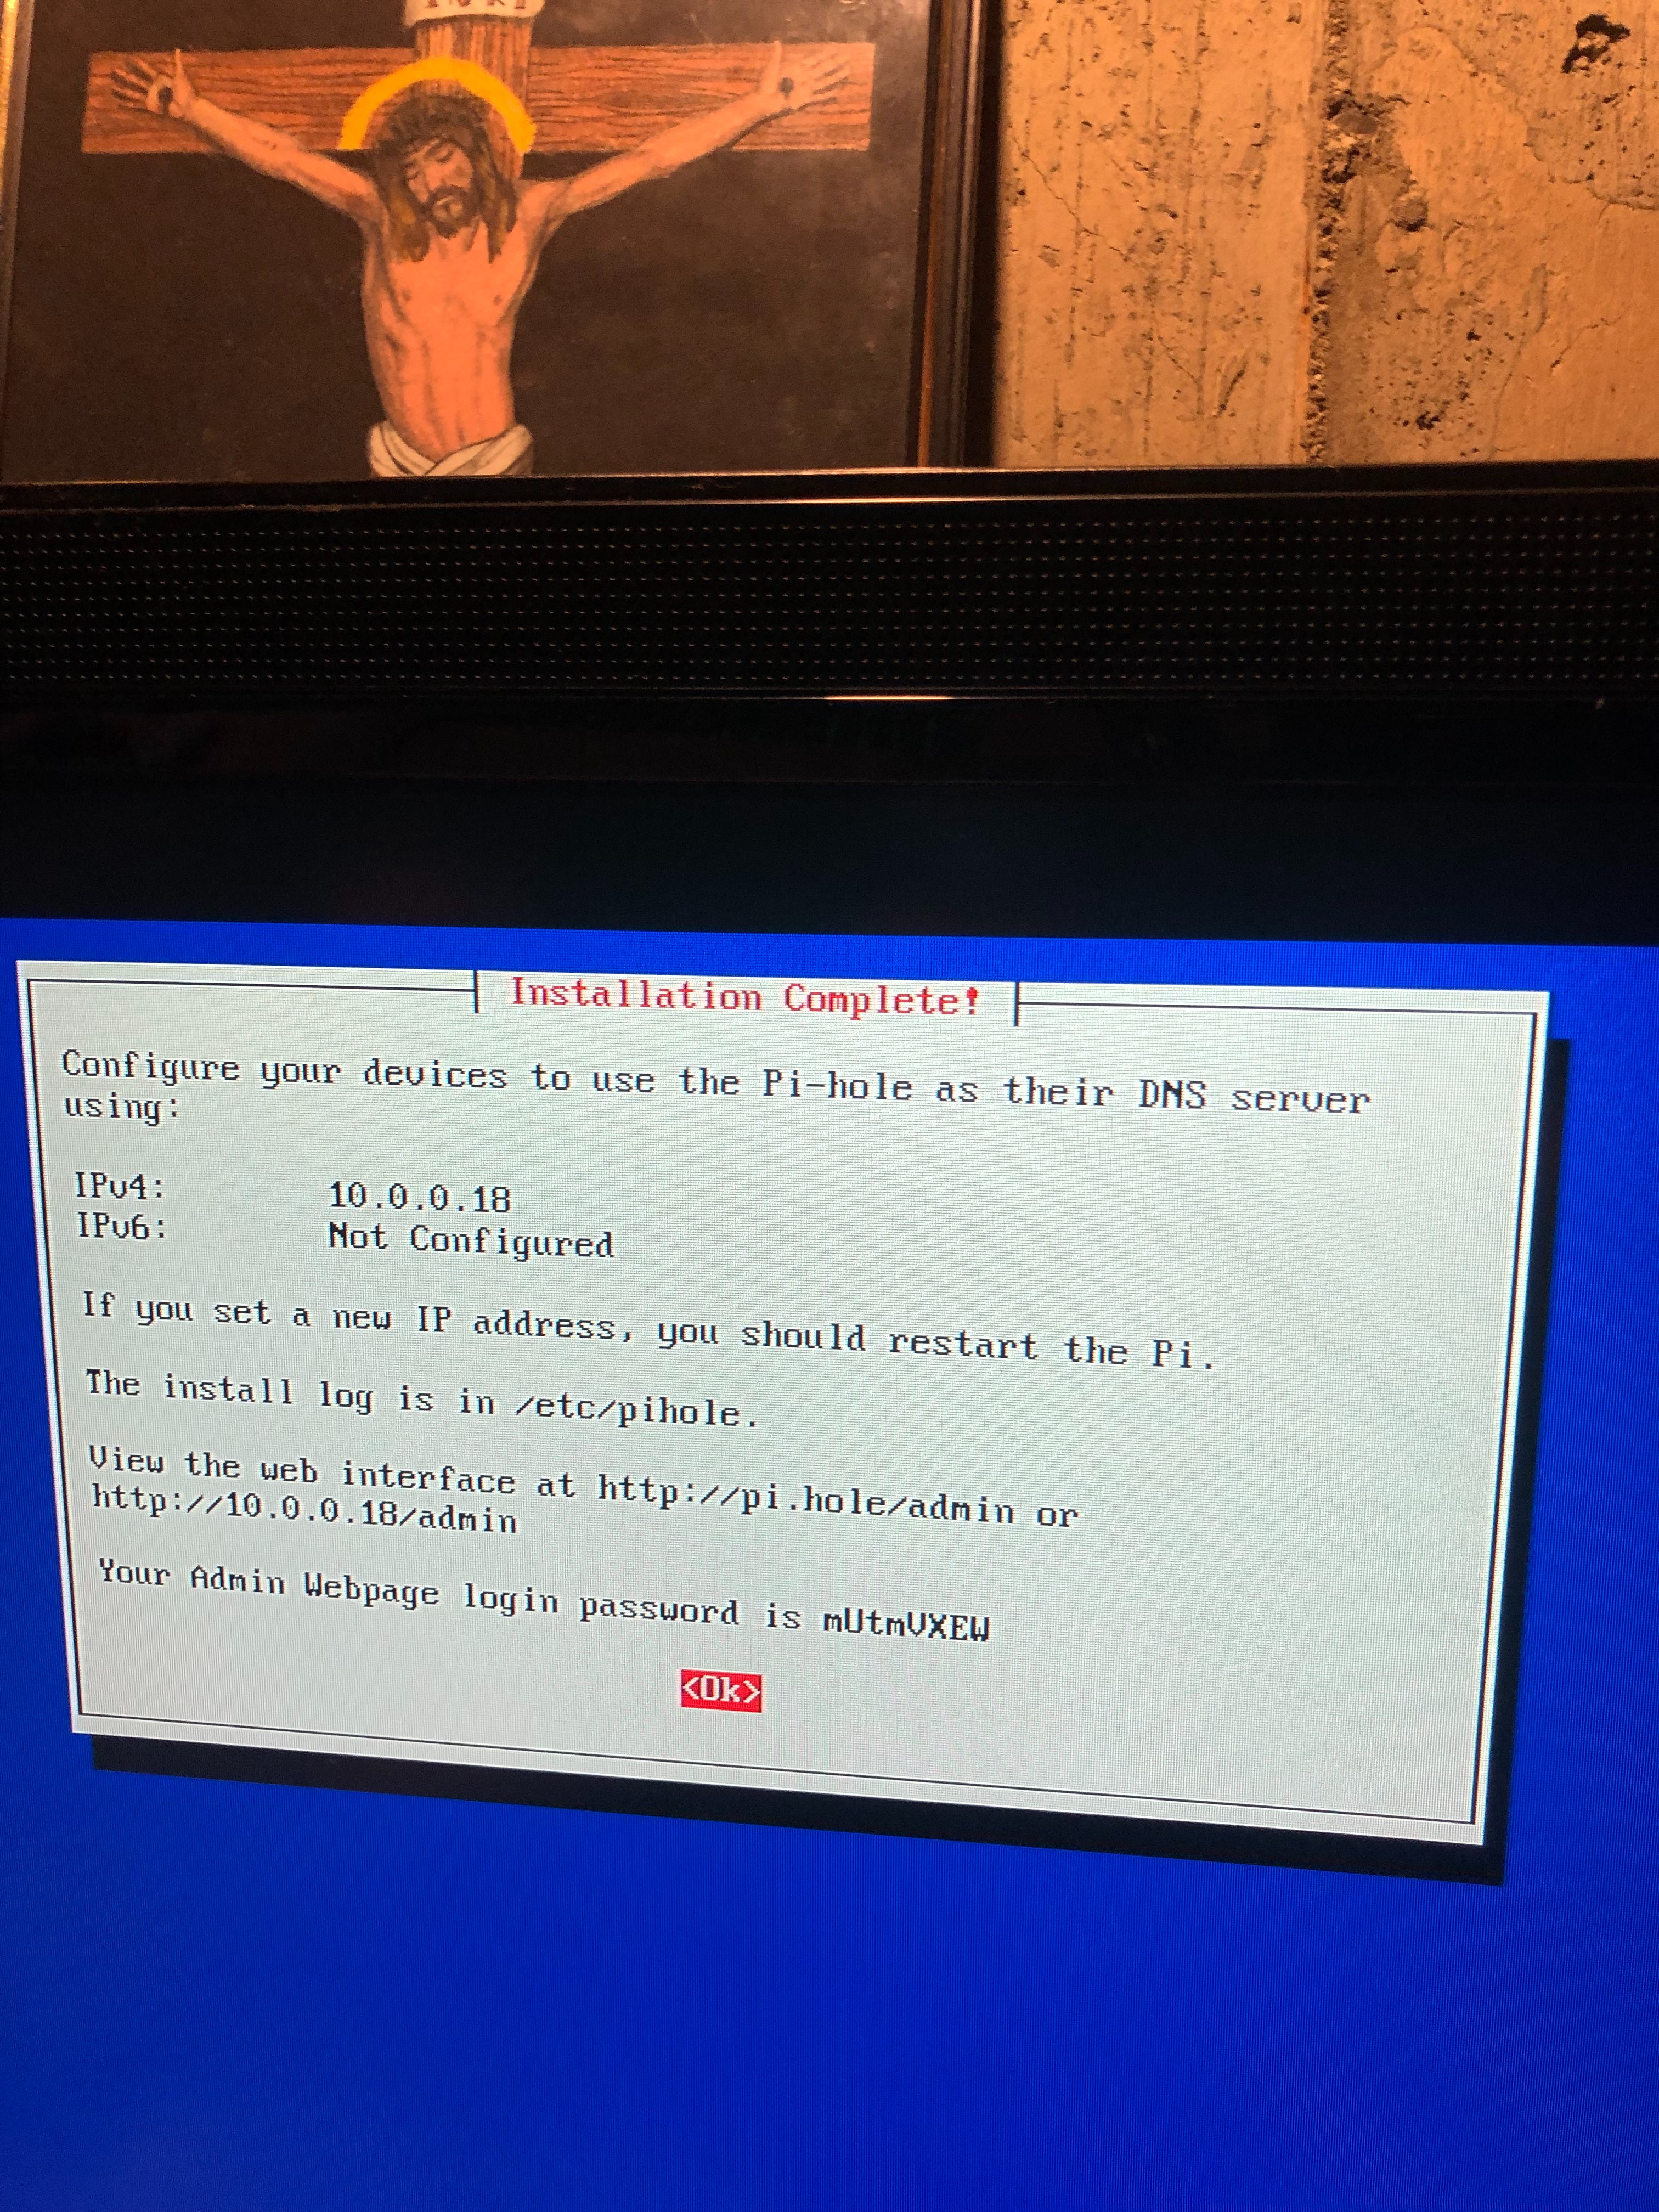
Installation Complete
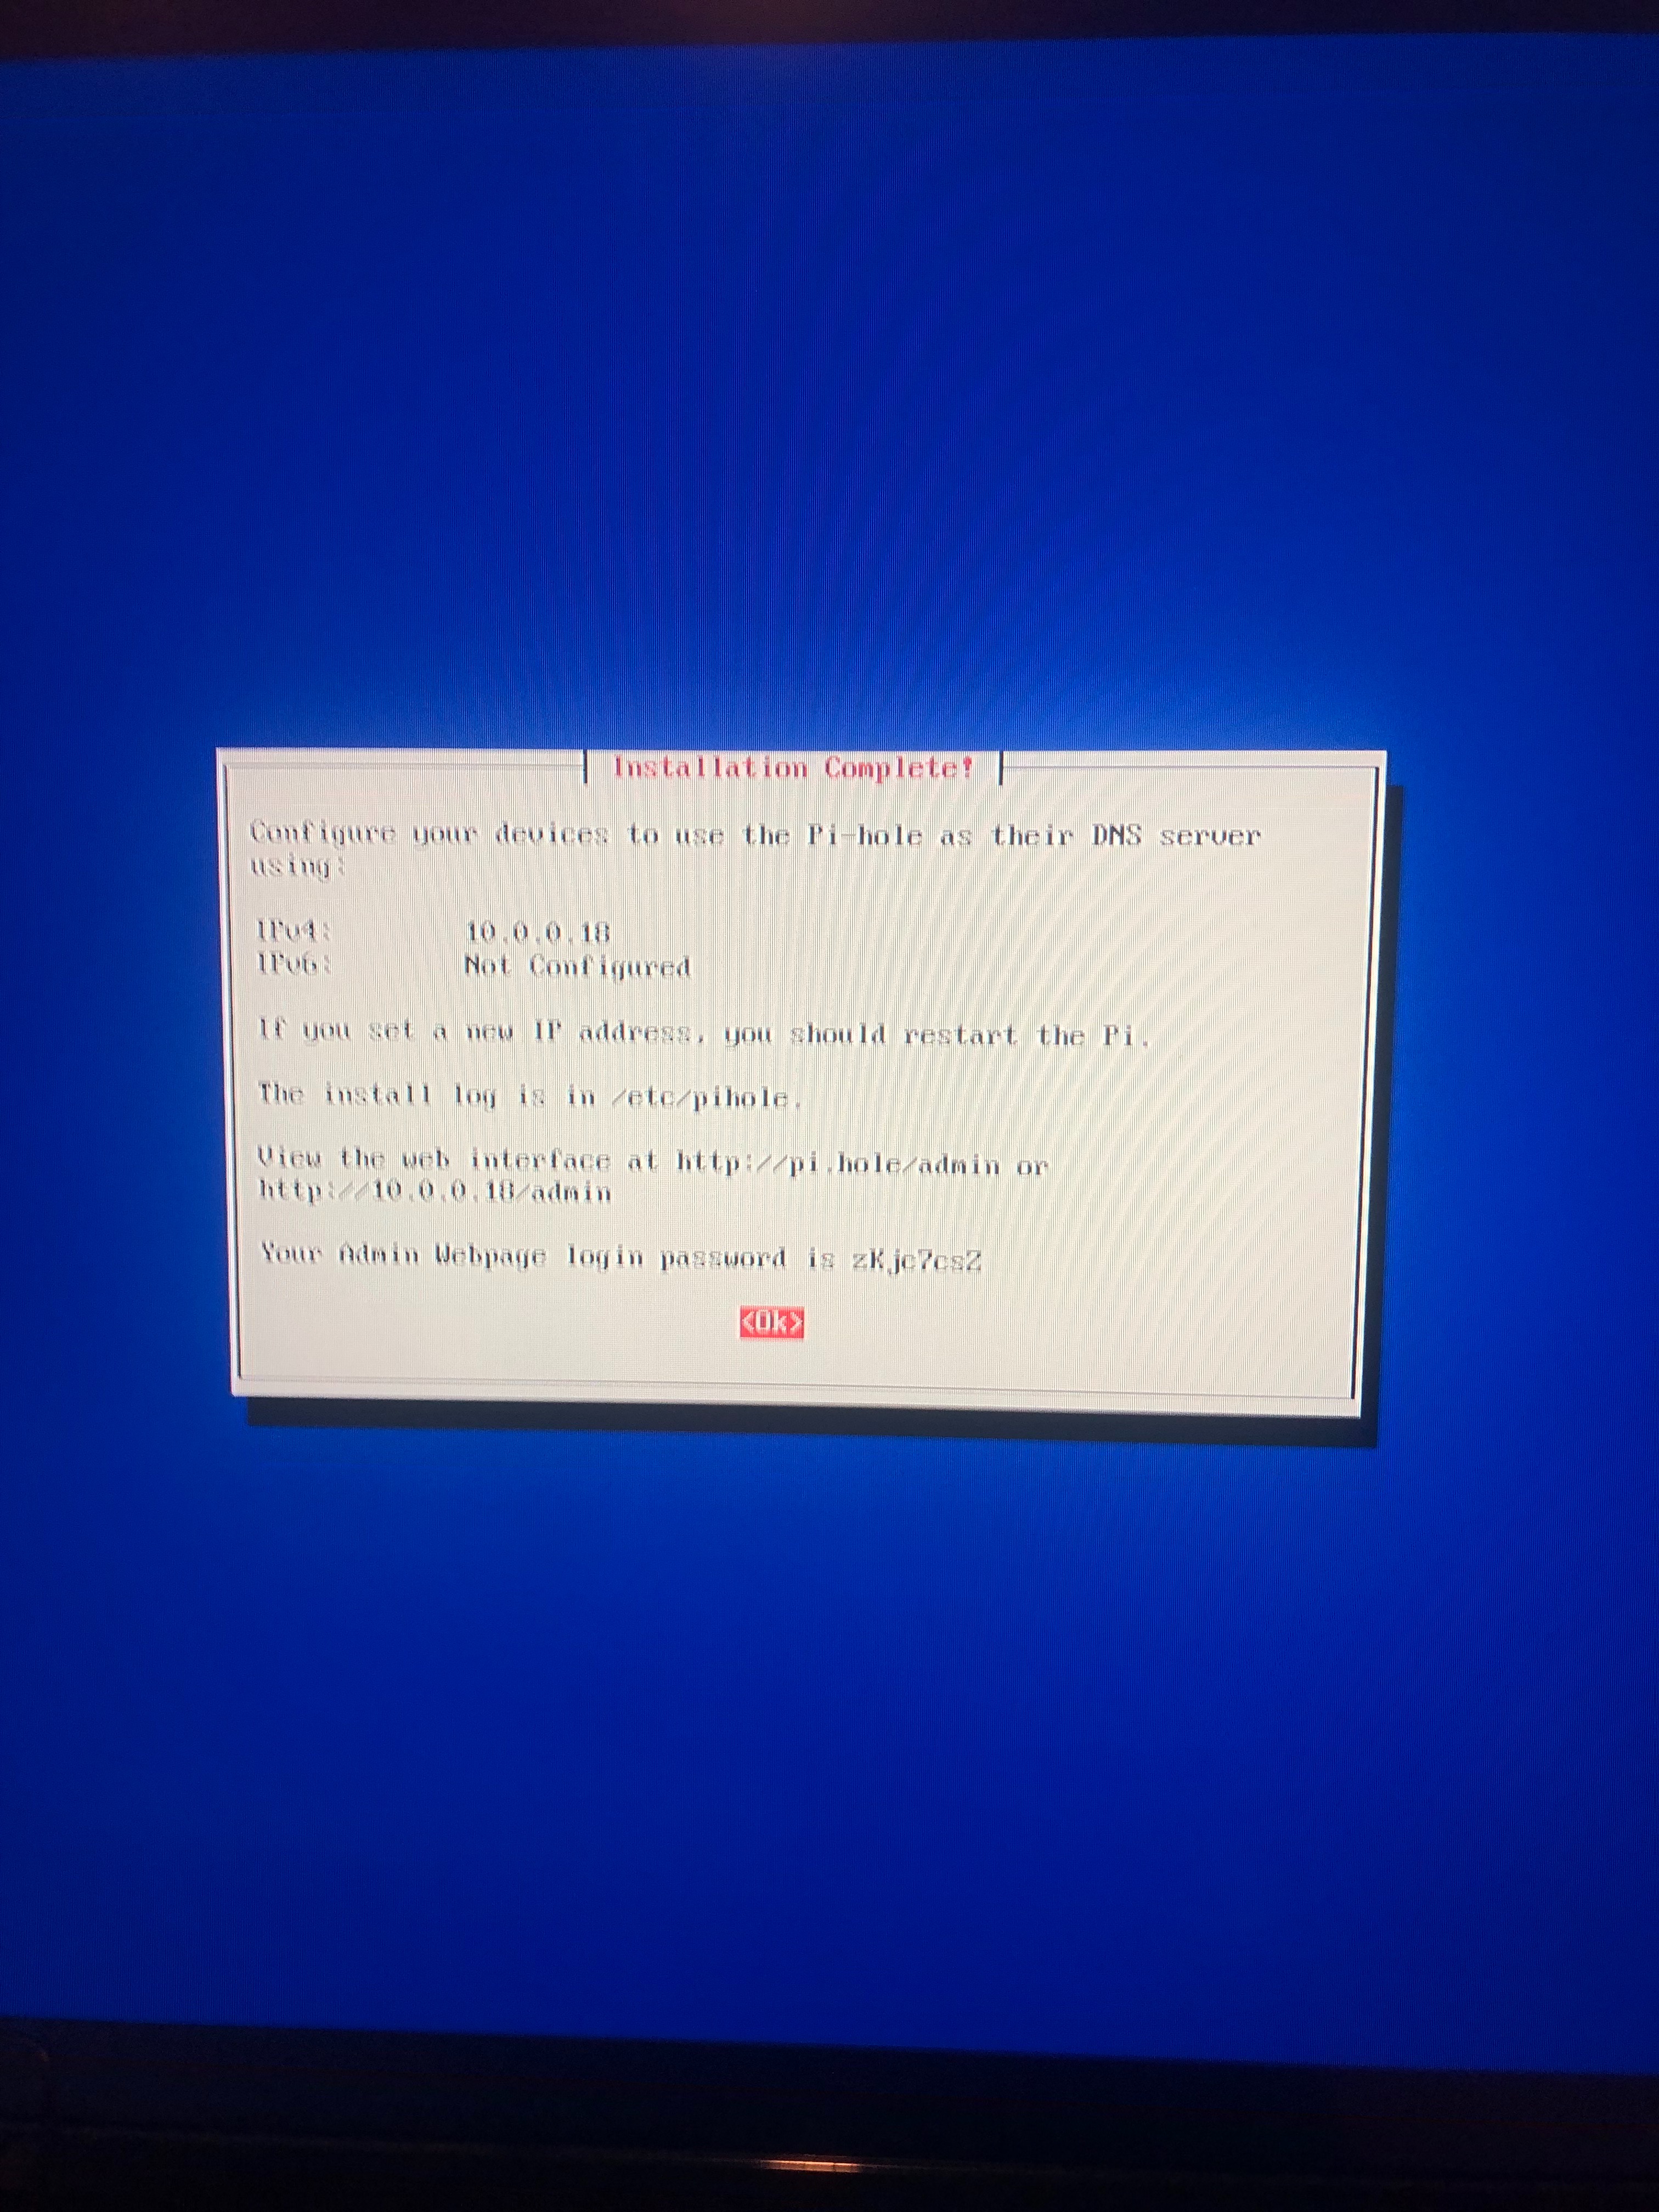
1. Your raspberry Pi Hole would be completely downloaded and will give you some information.
2. It shows your IPv4 connection.
3. It shows you Admin webpage login password.
Change Pi Hole Password
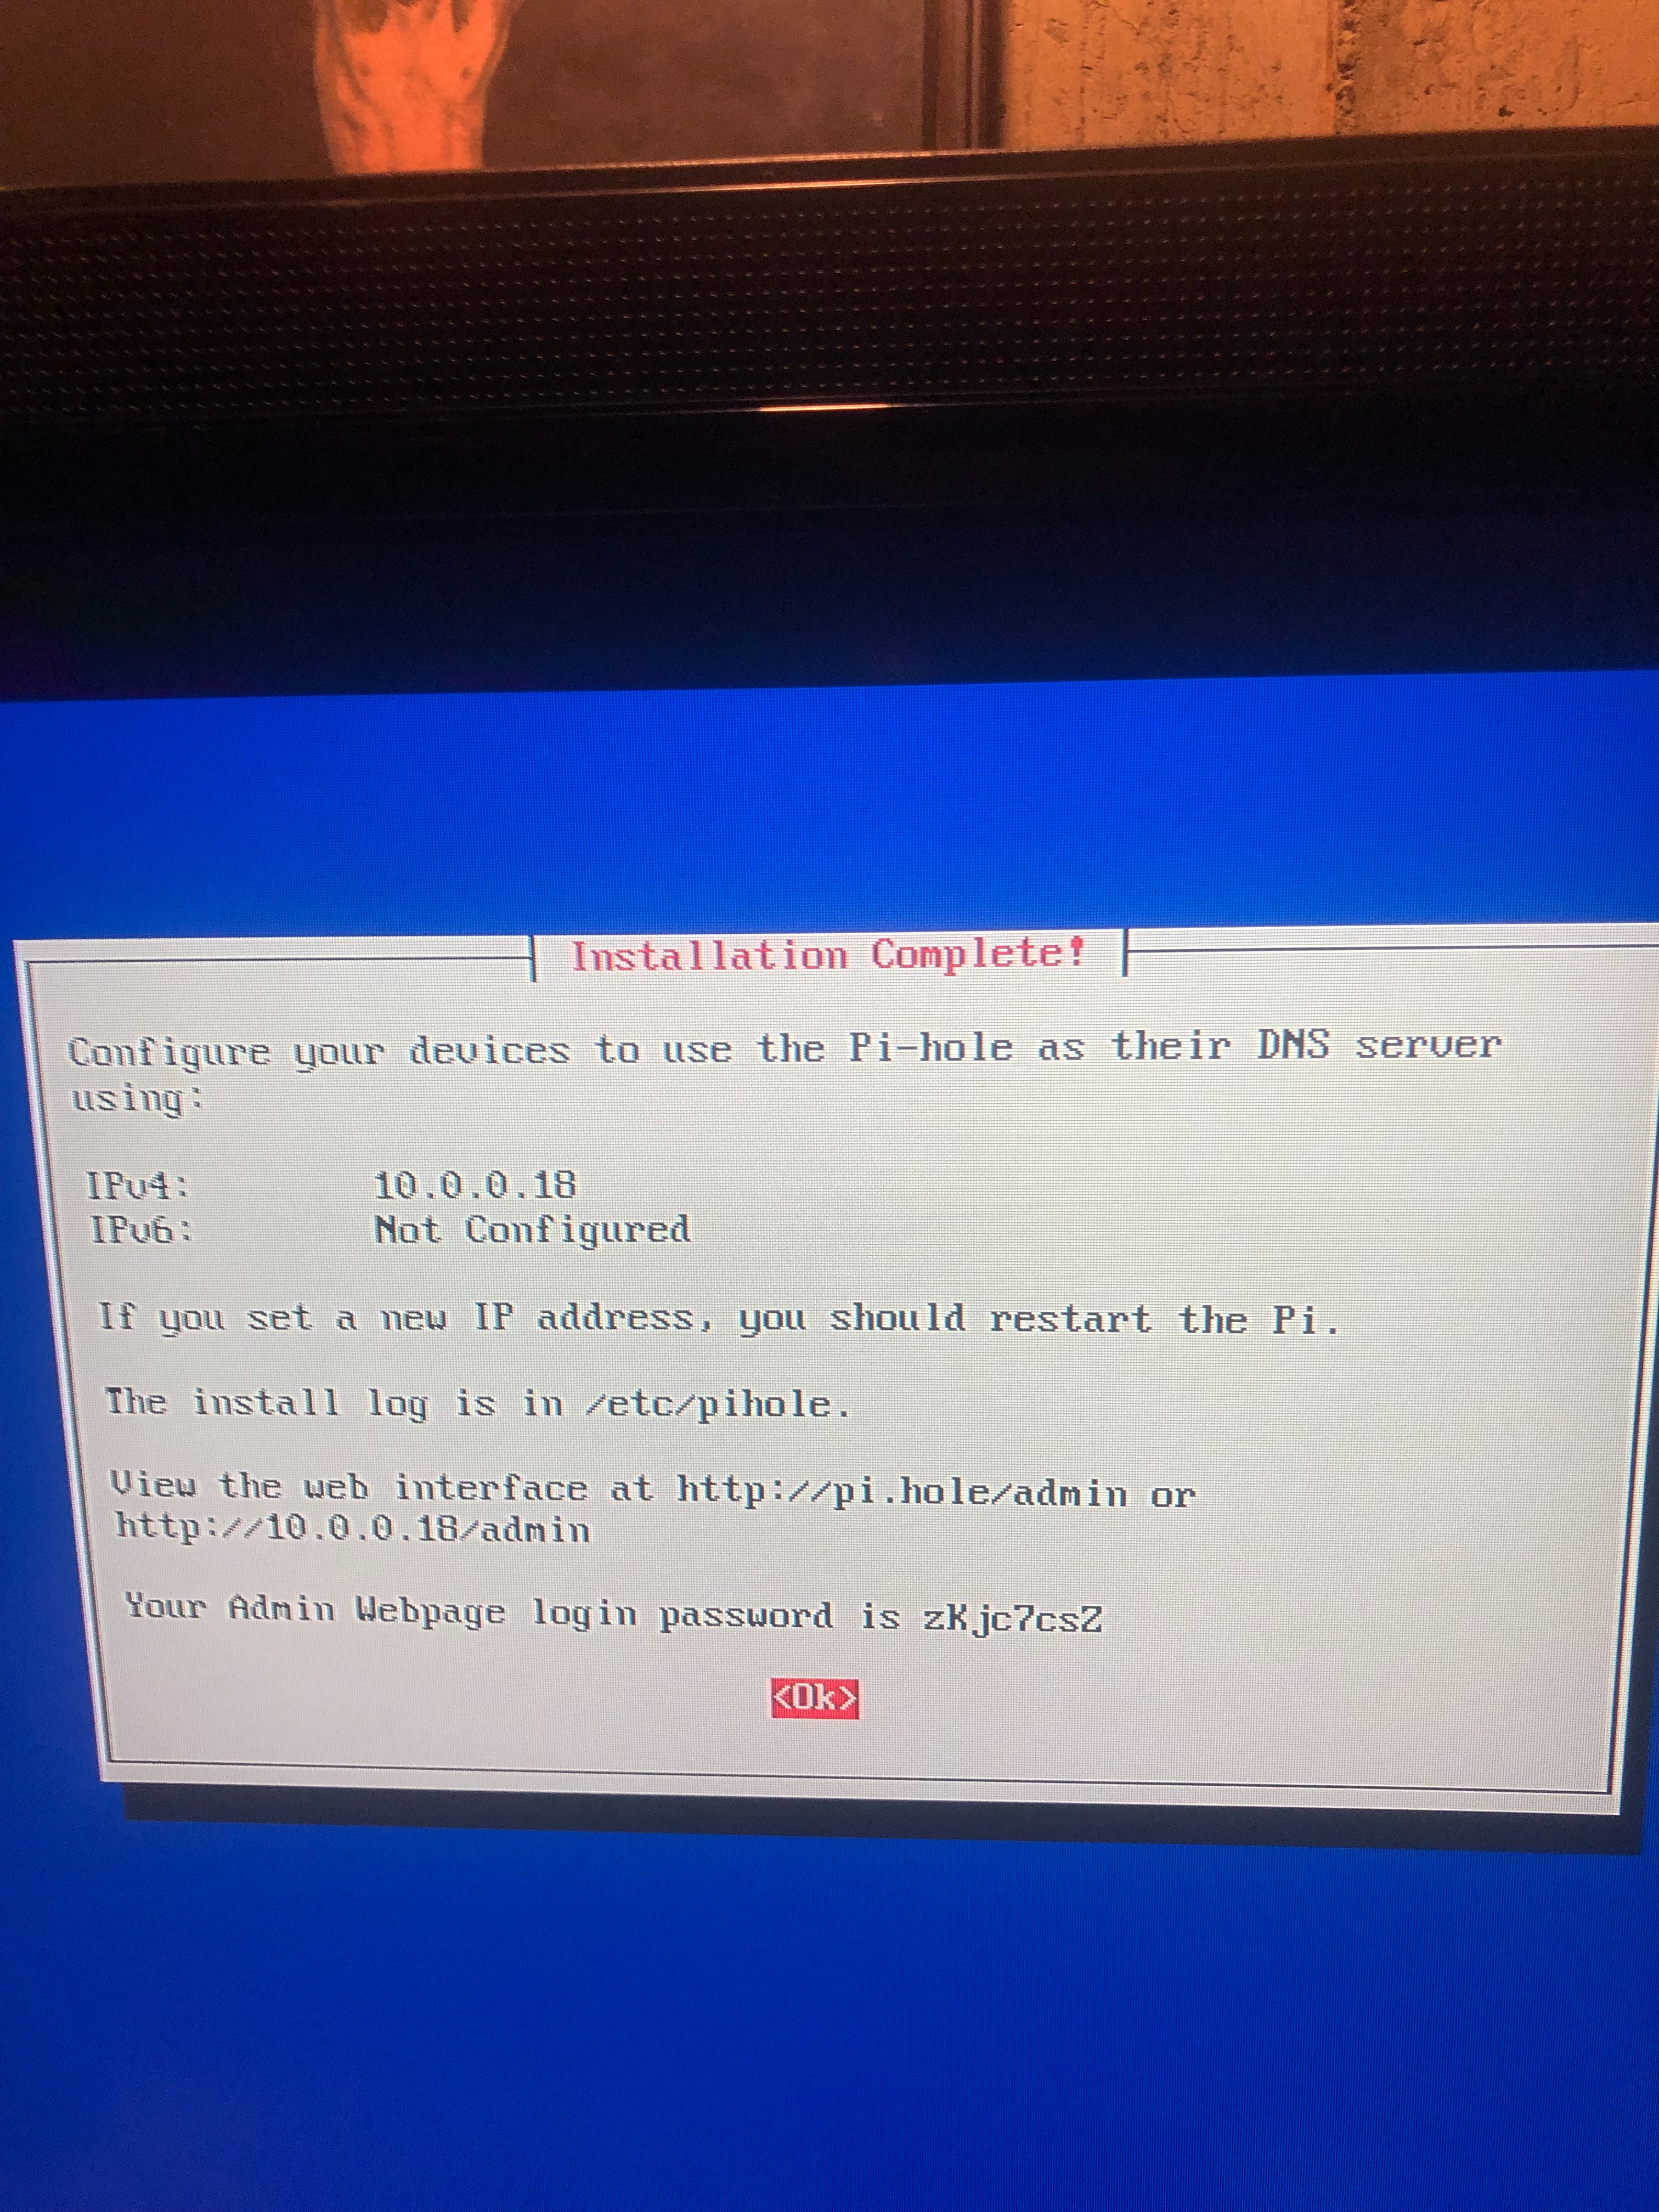
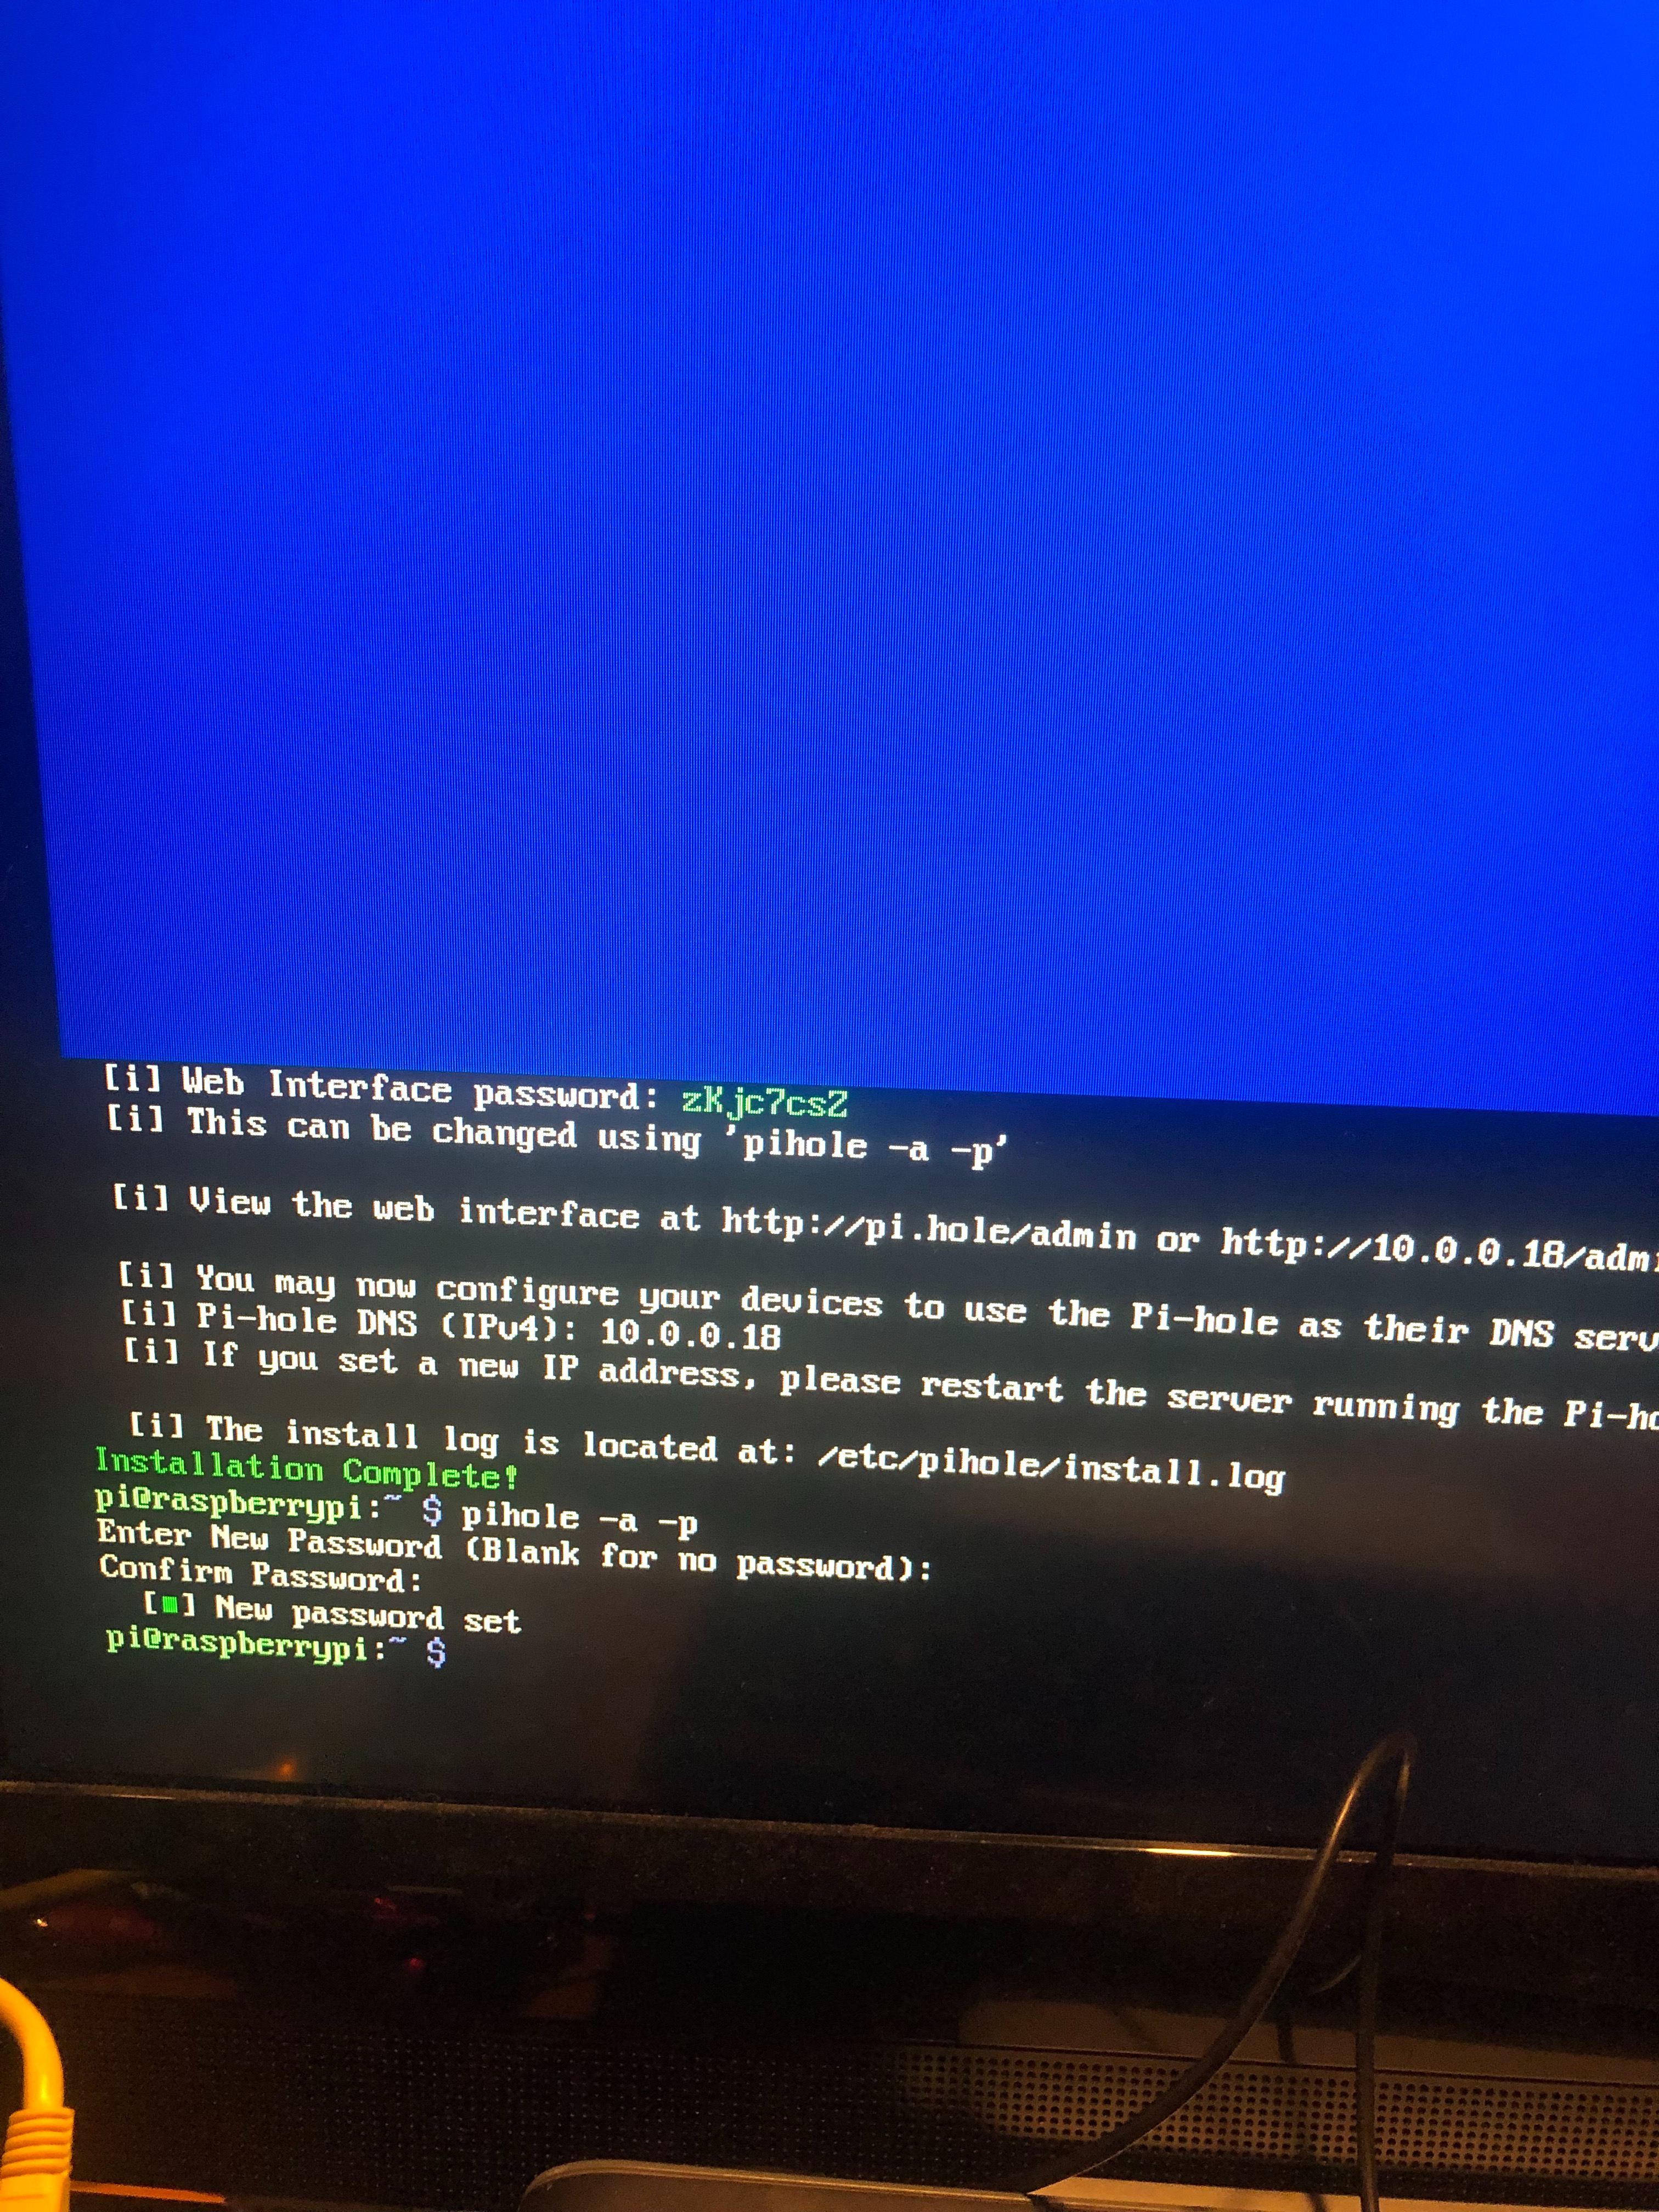
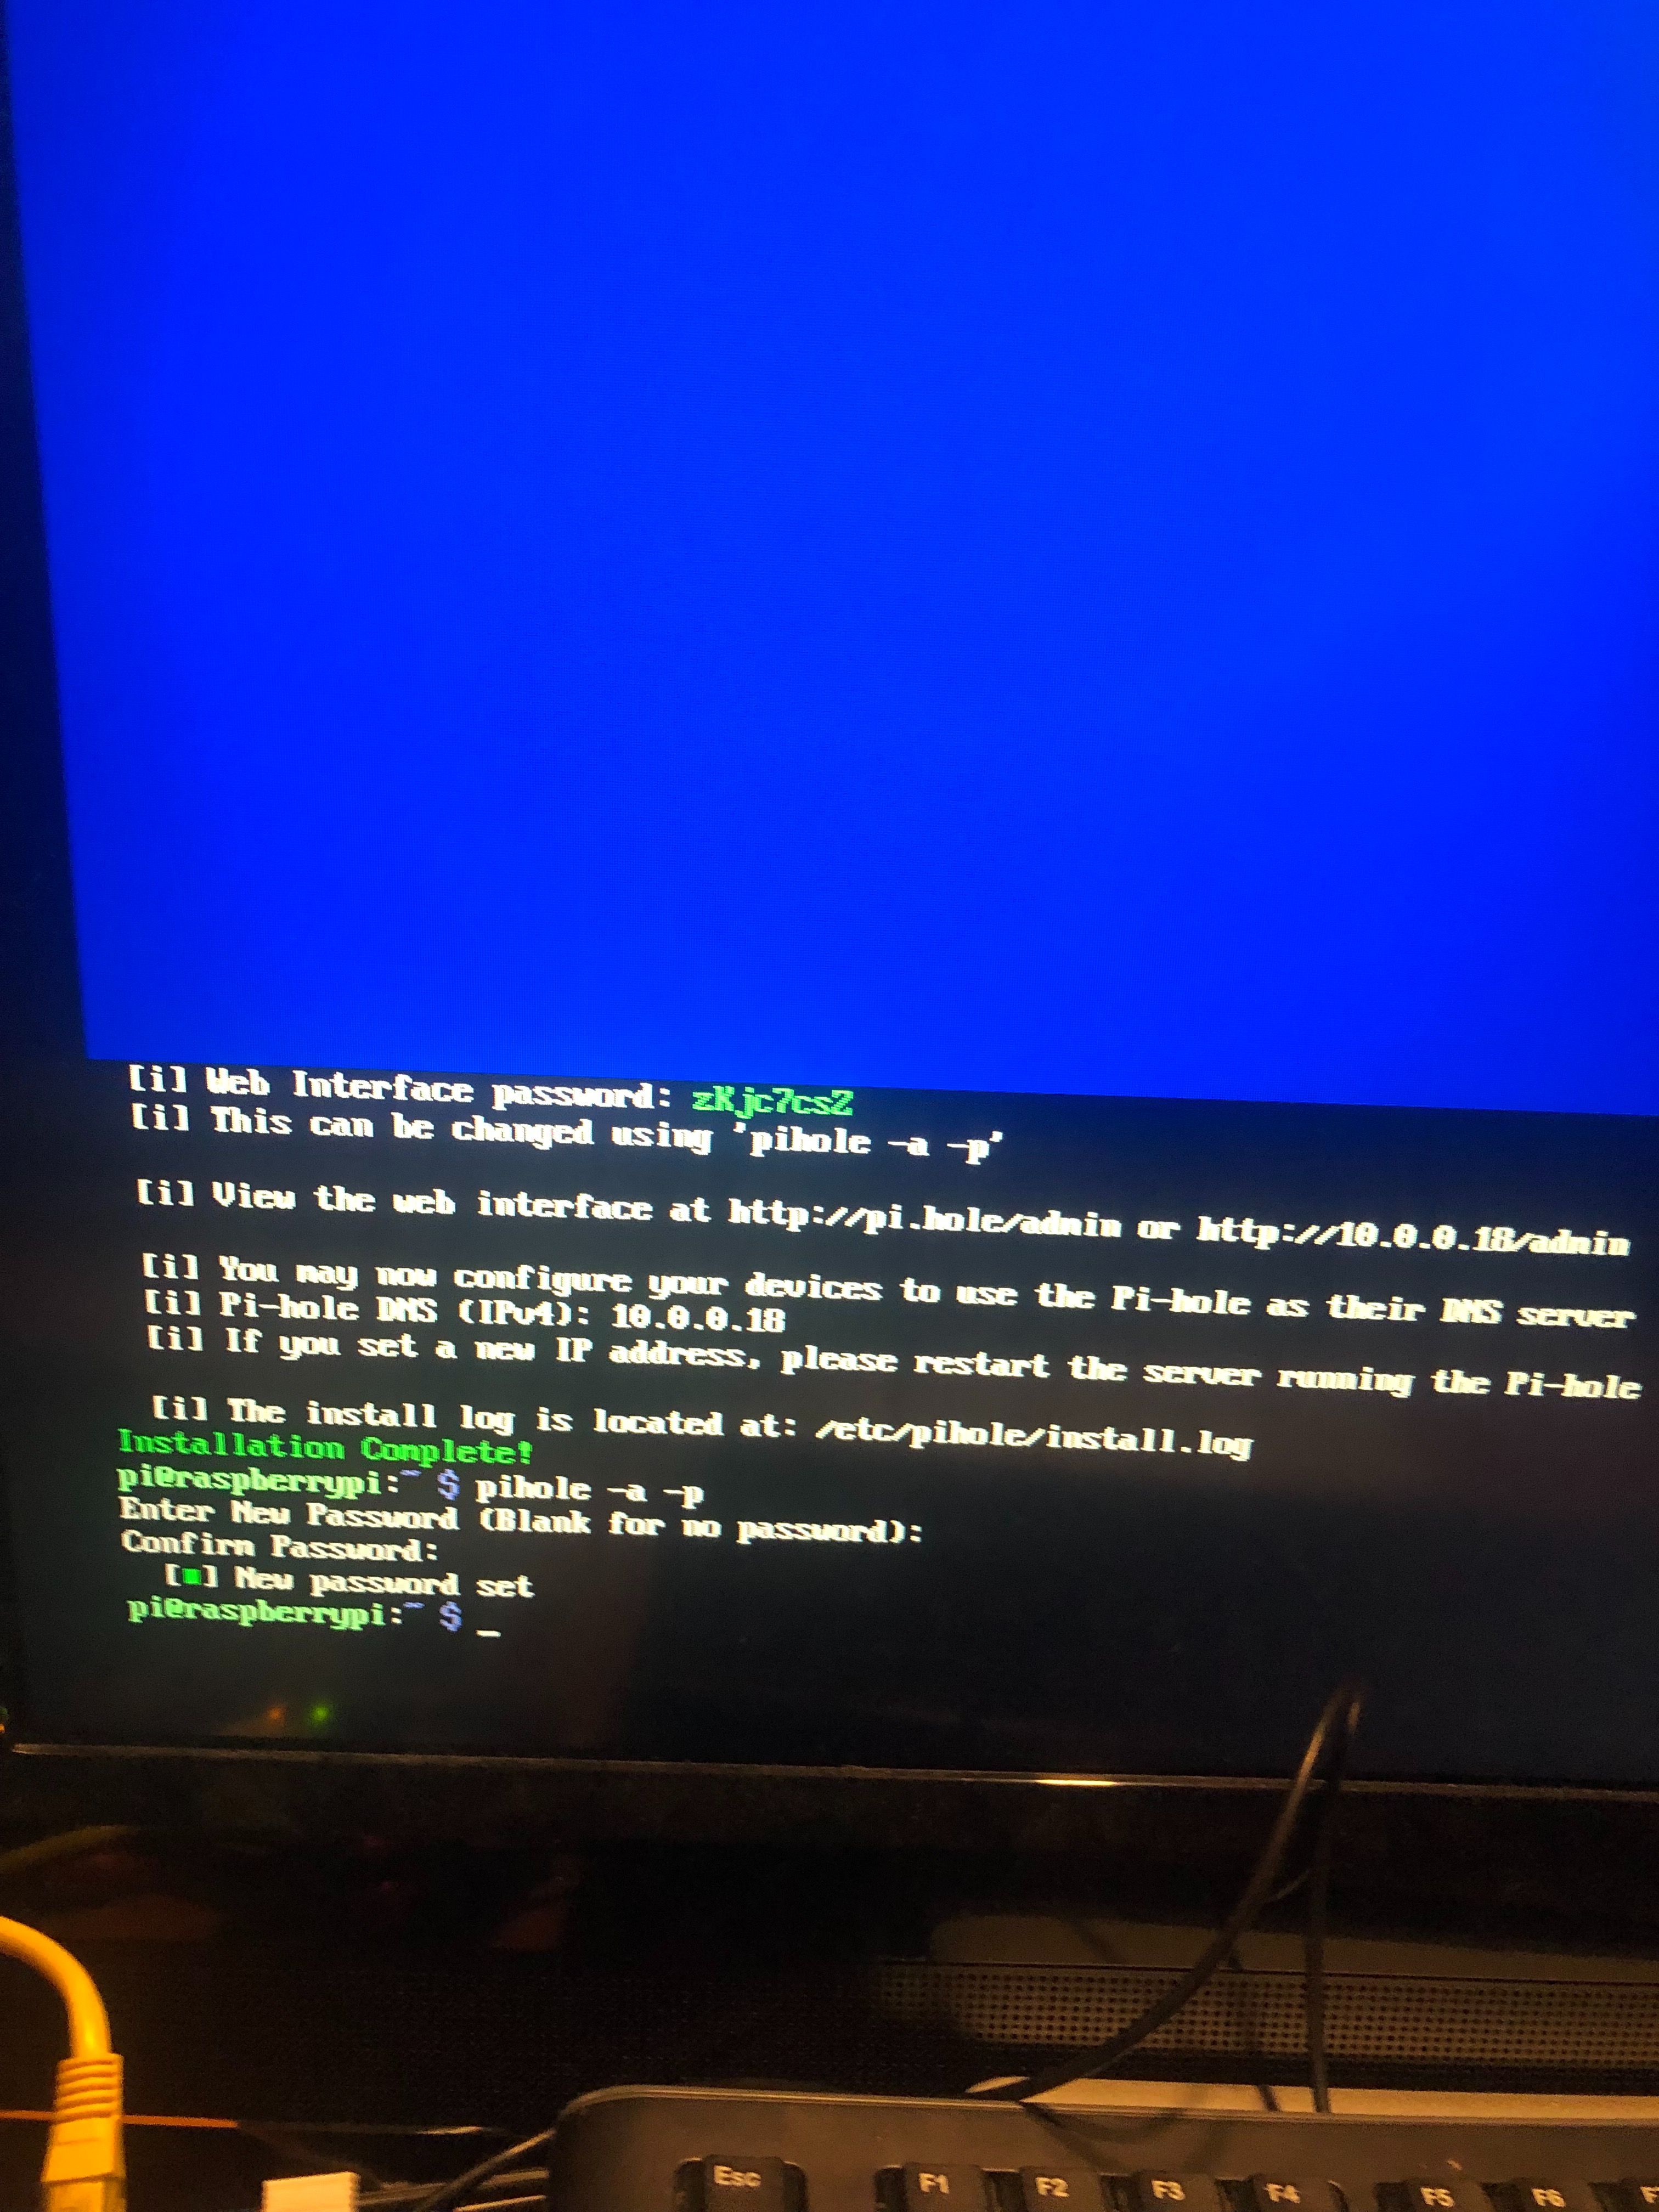
I decided to change the password on my raspberry pi hole just so no one can get in without permission.
1.Pi Hole demand to change password:
pi hole -a -p
2. From here you will get a confirmation that you want to change your password and you would just change it from here
Raspberry Page Interface
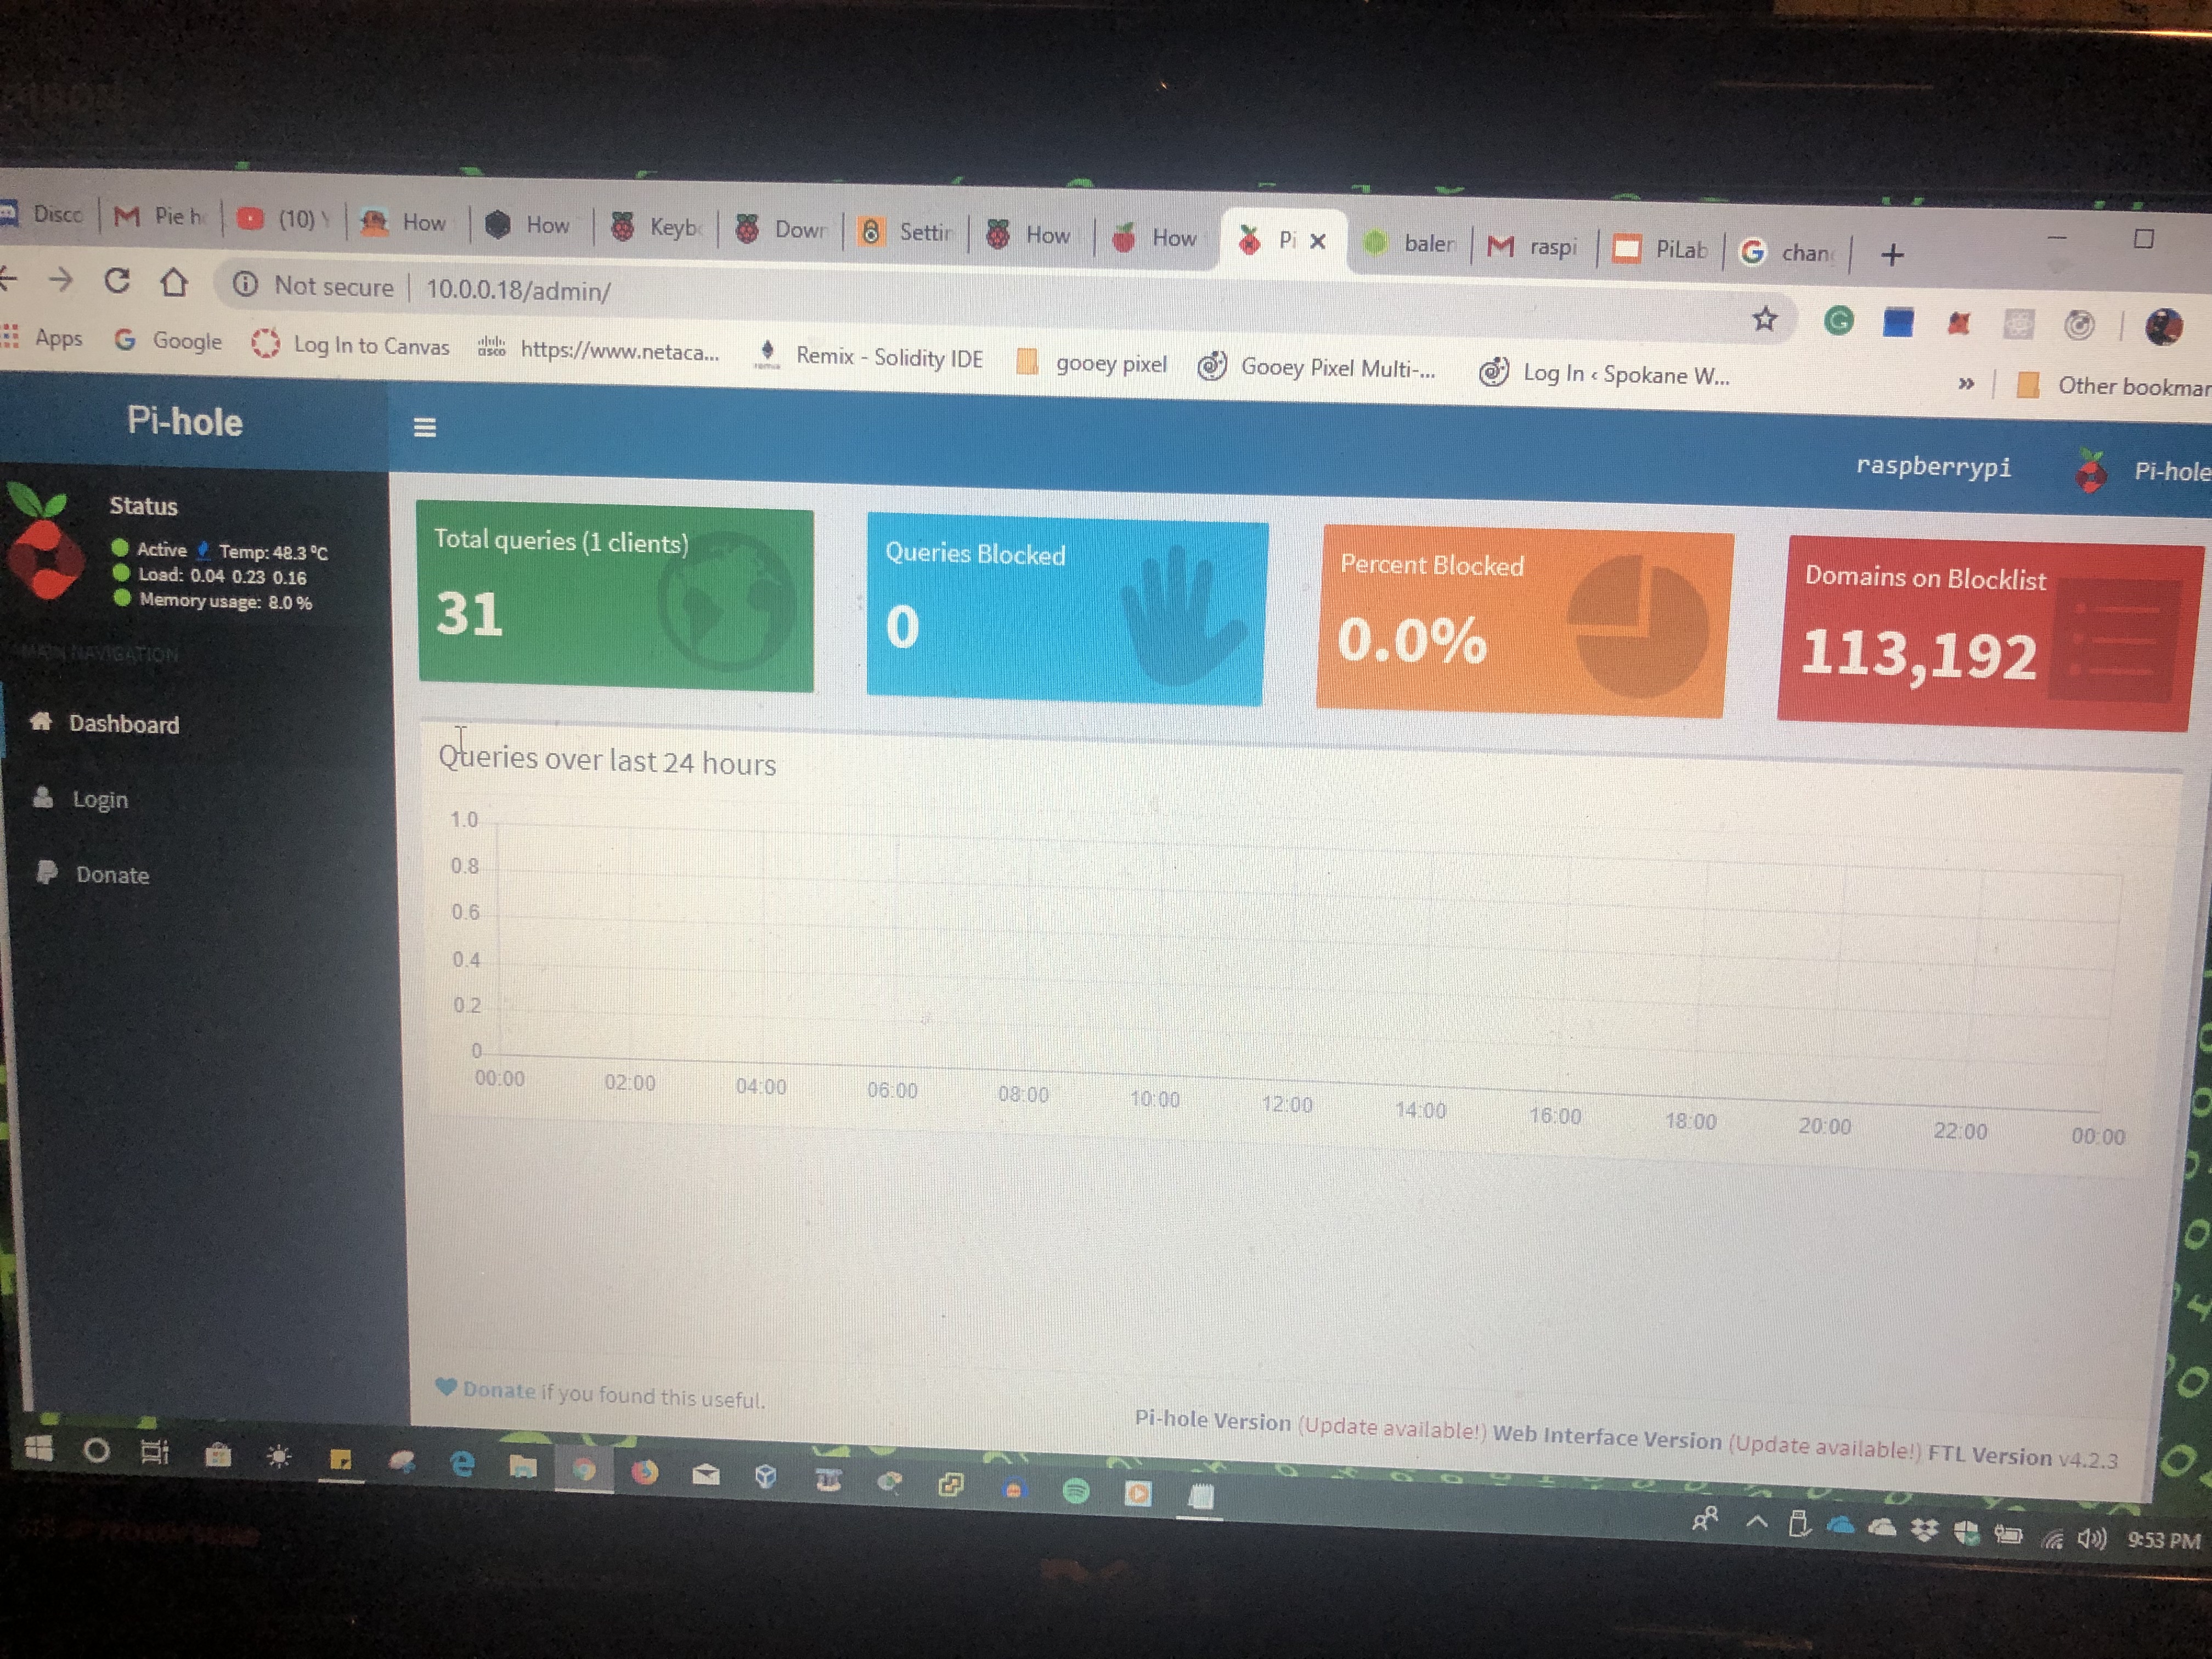
Login Stats
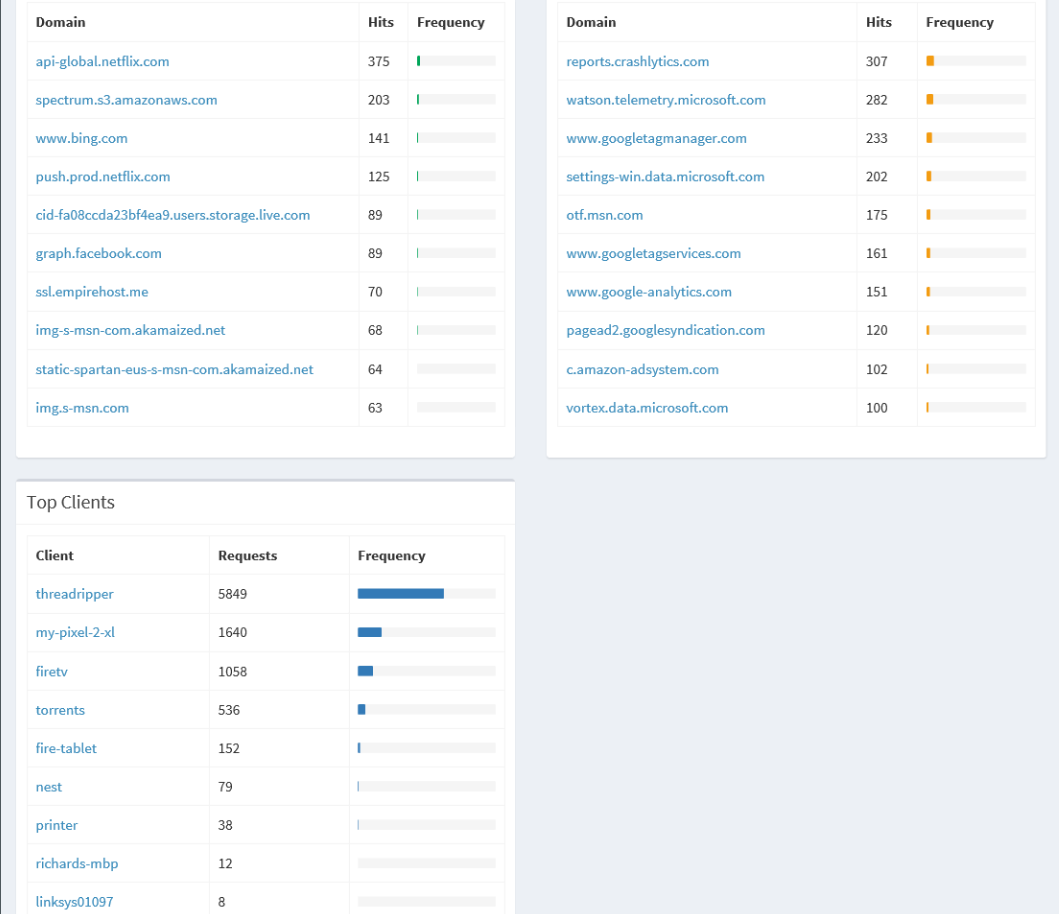
On this page you will see more stats from the adblockers as well as settings