Raspberry Pi 4B/3B 3.5 Inch LCD Touch Display/Screen Setup Guide
by AlphaPagon in Circuits > Raspberry Pi
43309 Views, 15 Favorites, 0 Comments
Raspberry Pi 4B/3B 3.5 Inch LCD Touch Display/Screen Setup Guide

Buy 3.5 inch LCD Touch Screen: https://shopee.com.my/product/96013540/5037873665/
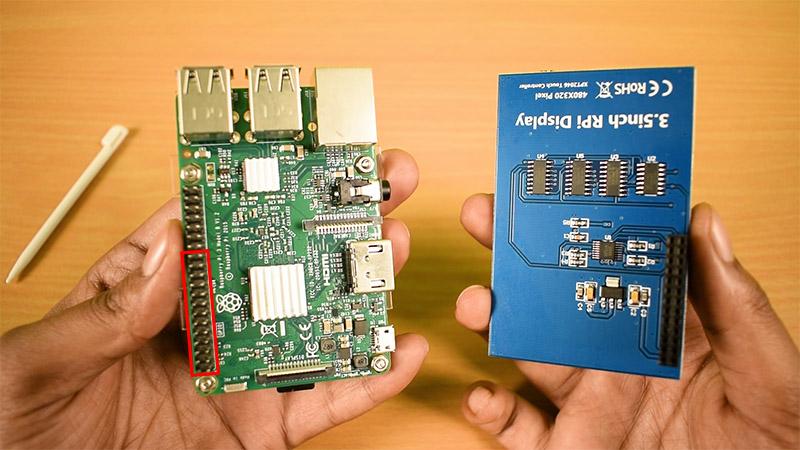
If you are wondering install LCD to Raspberry Pi, there are many versions of LCD for Pi but the popular and the cheap one is 3.5 inch LCD. This small LCD is easy to install, you just have to connect the LCD to the GPIO pins on Raspberry Pi. Just like the Image above.
Plugging the LCD will not work for the first time (you will get a white screen only) unless you have done some coding in Raspbian OS. Below are the very easy steps how to install a 3.5 inch LCD on Raspberry Pi.
- Step 1: Connect your Raspberry Pi to a PC monitor, also connect the 3.5 inch LCD to Pi.
- Step 2: Turn on the pi and make sure its connected to the Internet via WiFi or LAN.
- Step 3: Open terminal in Raspbian desktop, and type the following commands.
sudo rm -rf LCD-show

git clone  https://github.com/goodtft/LCD-show.git

chmod -R 755 LCD-show

cd LCD-show/

sudo ./LCD35-show
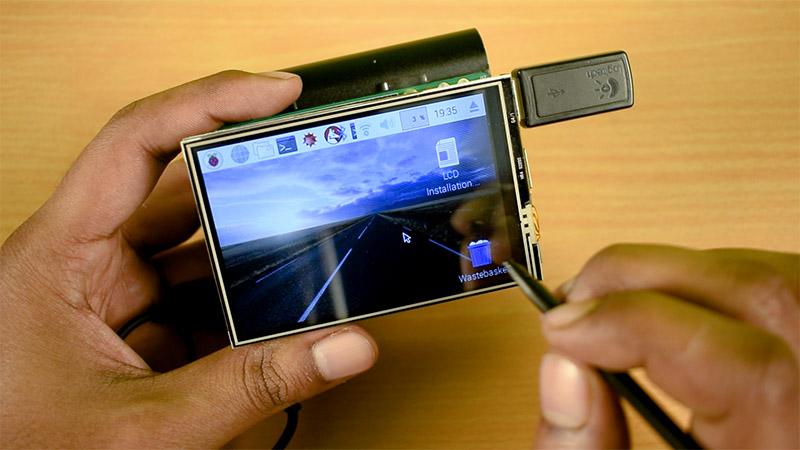
- Step 4: Congratulation !! You have successfully installed your Raspberry Pi LCD.

)
Revert Back to Monitor (If you need)
But now the display will not visible on the monitor, it will only visible to the Raspberry Pi LCD. If you want revert back to the monitor, Open the terminal and type commands to get back.
chmod -R 755 LCD-show

cd LCD-show/

sudo ./LCD-hdmi
Buy 3.5 inch LCD Touch Screen: https://shopee.com.my/product/96013540/5037873665/