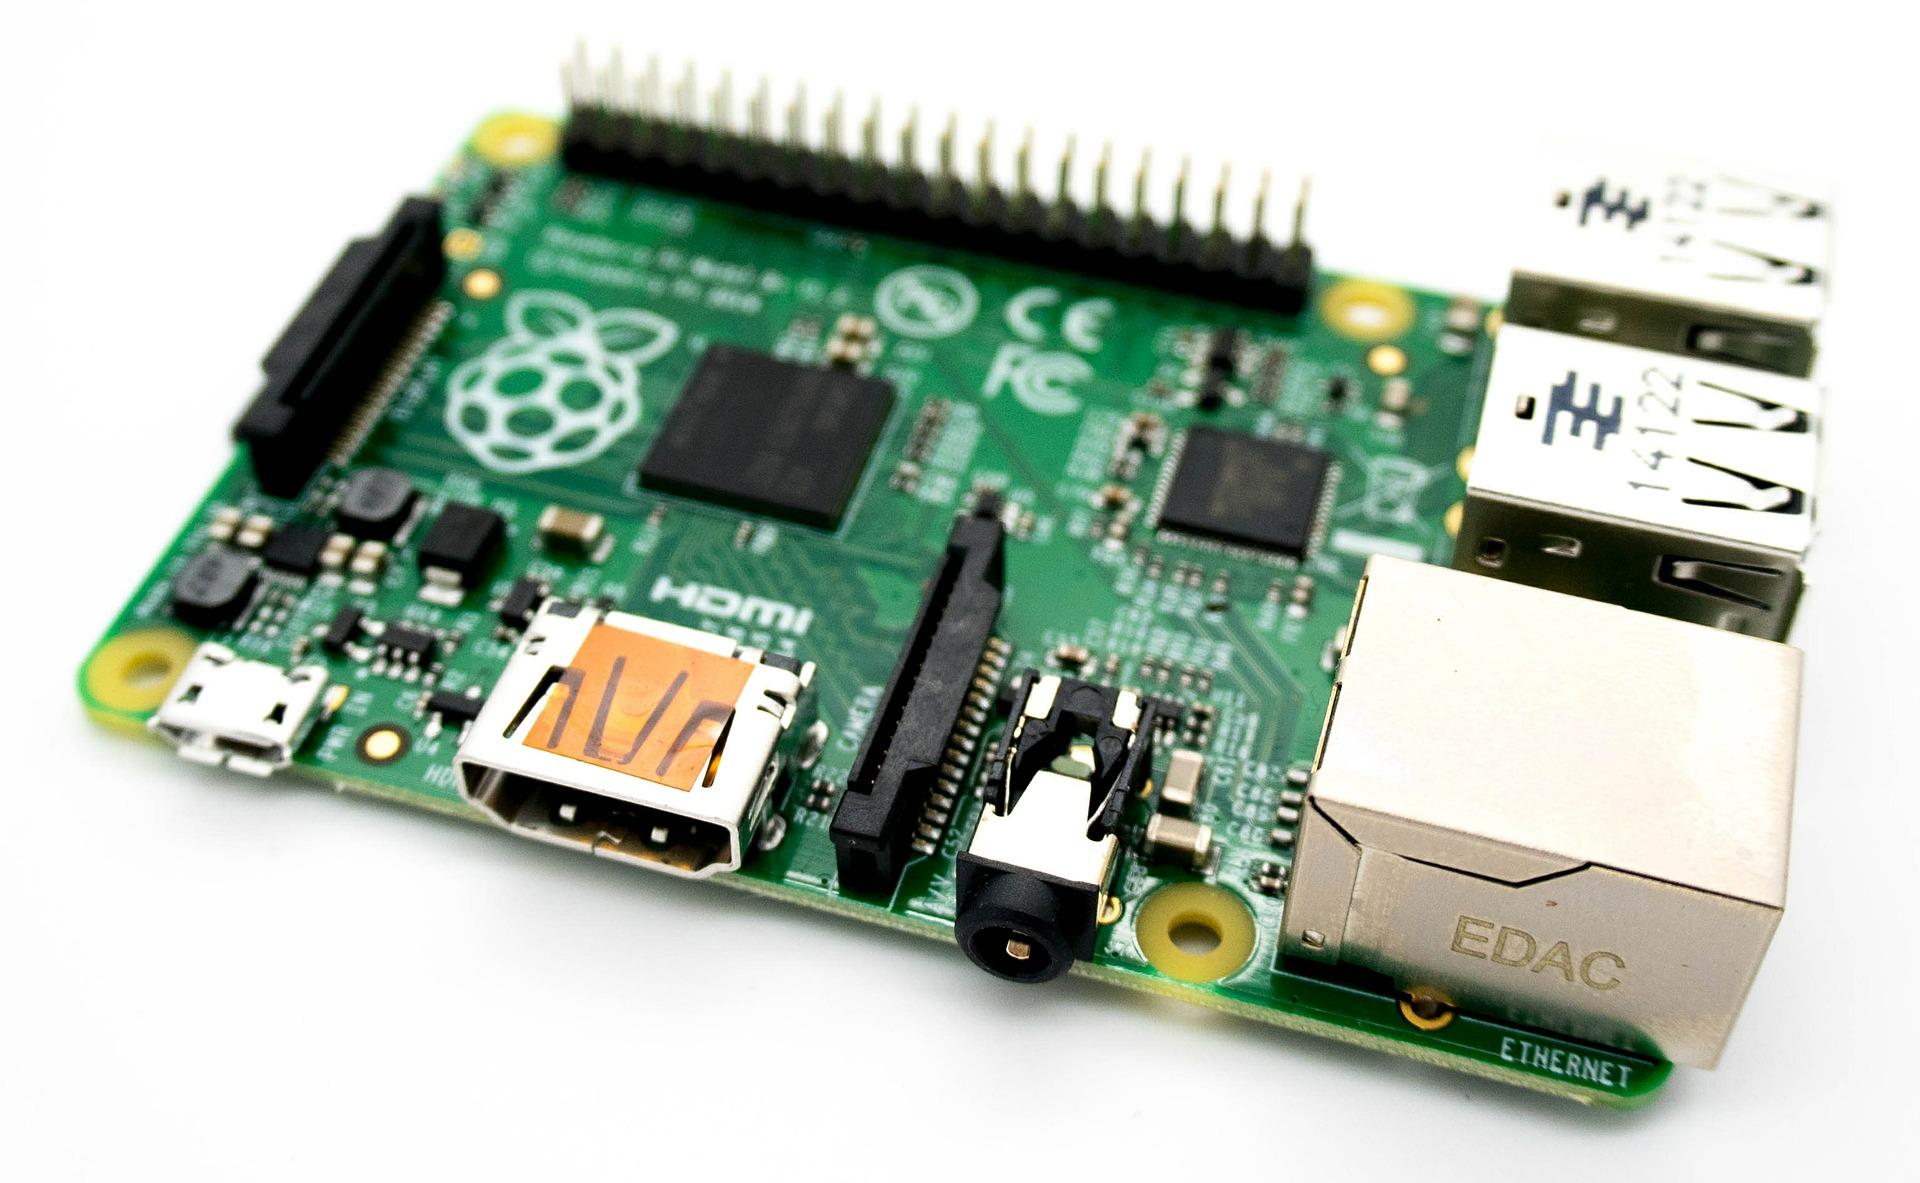
Raspberry Pi 4 Ubuntu USB Boot (No SD Card)
by jsciamms in Circuits > Raspberry Pi
46512 Views, 7 Favorites, 0 Comments
Raspberry Pi 4 Ubuntu USB Boot (No SD Card)

The instructions are below, and will guide you on booting the Raspberry Pi 4 without an SD Card.
If you do not want to follow the steps, there are pre-built images on the original post. Just flash these images to a USB drive, and you are good to go (so long as you have an EEPROM that supporst USB booting -- step 3)
Supplies
Raspberry Pi 4
USB SSD or Flash Drive
Download Ubuntu for Raspberry Pi From Ubuntu Site
Download the Ubuntu image for raspberry pi 4 form the Ubuntu official website.
Write Image to USB Disk
Flash the image to a USB drive. This can be a USB stick, or a USB SSD. I would recommend using Balena Etcher on Windows and MacOS. If you are using Ubuntu, the built-in Image Writer will work just fine.
Update Raspberry Pi EEPROM
For this step, there are several sub-steps. If you have already updated the Raspberry Pi EEPROM to the "stable" release, then you can skip this step.
First, you must write the RaspberryPiOS image (https://www.raspberrypi.org/downloads/raspberry-pi-os/) to an SD card.
Second, boot the Raspberry Pi, and edit the /etc/default/rpi-eeprom-update file by typing
sudo nano /etc/default/rpi-eeprom-update
and change the "FIRMWARE_RELEASE_STATUS" entry from critical to stable.
Third, run
sudo rpi-eeprom-update -a
from the terminal, and allow the update to finish.
See https://www.raspberrypi.org/documentation/hardware/raspberrypi/booteeprom.md for further details if you need them
Update Raspberry Pi Firmware
Download the updated firmware files from the raspberry pi github site (https://github.com/raspberrypi/firmware/tree/master/boot).
Copy all *.dat and *.elf files to the Ubuntu boot partition on the USB driver flashed with the Ubuntu image from step 2. (Overwrite the files that were previously there)
Decompress the Kernel
The Raspberry Pi 4 bootloader cannot take a compressed kernel image. You must manually decompress this before your first boot.
To do this on linux, open the boot partition of the Ubuntu USB and run
zcat vmlinuz > vmlinux
from the terminal.
You can do this on Windows using 7-zip and extracting the vmlinuz file. Just be sure to rename the extracted file to vmlinux.
Update the Config.txt File
The config.txt file has the startup options for the various RaspberryPi boards. Update the information for the Raspberry Pi 4. Replace the section for [pi4] with the following:
[pi4]
max_framebuffers=2
dtoverlay=vc4-fkms-v3d
boot_delay
kernel=vmlinux
initramfs initrd.img followkernel
Create Auto-Decompression Script
During an update to Ubuntu or one of its many packages, apt will create a new kernel image. This image will be compressed, and will cause the Raspberry Pi not to boot after the update. In order to fix this, a script needs to be created to decompress the new kernel images after updates.
Create a script called auto_decompress_kernel in the boot partition. This can be done with most text editors. In Linux, I would recommend either nano or Atom, in Windows I would recommend Atom (Note for you Windows users using Text Edit, be sure to remove the "TXT" file extension. If you do not, this will not work). The script should contain the following code:
#!/bin/bash -e

#Set Variables
BTPATH=/boot/firmware
CKPATH=$BTPATH/vmlinuz
DKPATH=$BTPATH/vmlinux

#Check if compression needs to be done.
if [ -e $BTPATH/check.md5 ]; then
	if md5sum --status --ignore-missing -c $BTPATH/check.md5; then
	echo -e "\e[32mFiles have not changed, Decompression not needed\e[0m"
	exit 0
	else echo -e "\e[31mHash failed, kernel will be compressed\e[0m"
	fi
fi

#Backup the old decompressed kernel
mv $DKPATH $DKPATH.bak

if [ ! $? == 0 ]; then
	echo -e "\e[31mDECOMPRESSED KERNEL BACKUP FAILED!\e[0m"
	exit 1
else 	echo -e "\e[32mDecompressed kernel backup was successful\e[0m"
fi

#Decompress the new kernel
echo "Decompressing kernel: "$CKPATH".............."

zcat $CKPATH > $DKPATH

if [ ! $? == 0 ]; then
	echo -e "\e[31mKERNEL FAILED TO DECOMPRESS!\e[0m"
	exit 1
else
	echo -e "\e[32mKernel Decompressed Succesfully\e[0m"
fi

#Hash the new kernel for checking
md5sum $CKPATH $DKPATH > $BTPATH/check.md5

if [ ! $? == 0 ]; then
	echo -e "\e[31mMD5 GENERATION FAILED!\e[0m"
	else echo -e "\e[32mMD5 generated Succesfully\e[0m"
fi

#Exit
exit 0<br>
Create Another Script
In order for the script that we just created to get called every time a package is installed, we need to create another script.
This script needs to be created within the Ubuntu filesystem. If you are doing this setup on a linux system, you can perform this part before your first boot, if you are on Windows or MacOS, you will need to do this after your first boot.
Create this script in the /etc/apt/apt.conf.d/ directory, and name it 999_decompress_rpi_kernel
sudo nano /etc/apt/apt.conf.d/999_decompress_rpi_kernel
The code should be:
DPkg::Post-Invoke {"/bin/bash /boot/firmware/auto_decompress_kernel"; };<br>Once this has been created, you will need to make the script executable. This can be done using the following code:
sudo chmod +x /etc/apt/apt.conf.d/999_decompress_rpi_kernel