Raspberry Pi 4 PaperMC Minecraft Server (RpiOS Lite)
by Yot360 in Circuits > Raspberry Pi
12873 Views, 5 Favorites, 0 Comments
Raspberry Pi 4 PaperMC Minecraft Server (RpiOS Lite)
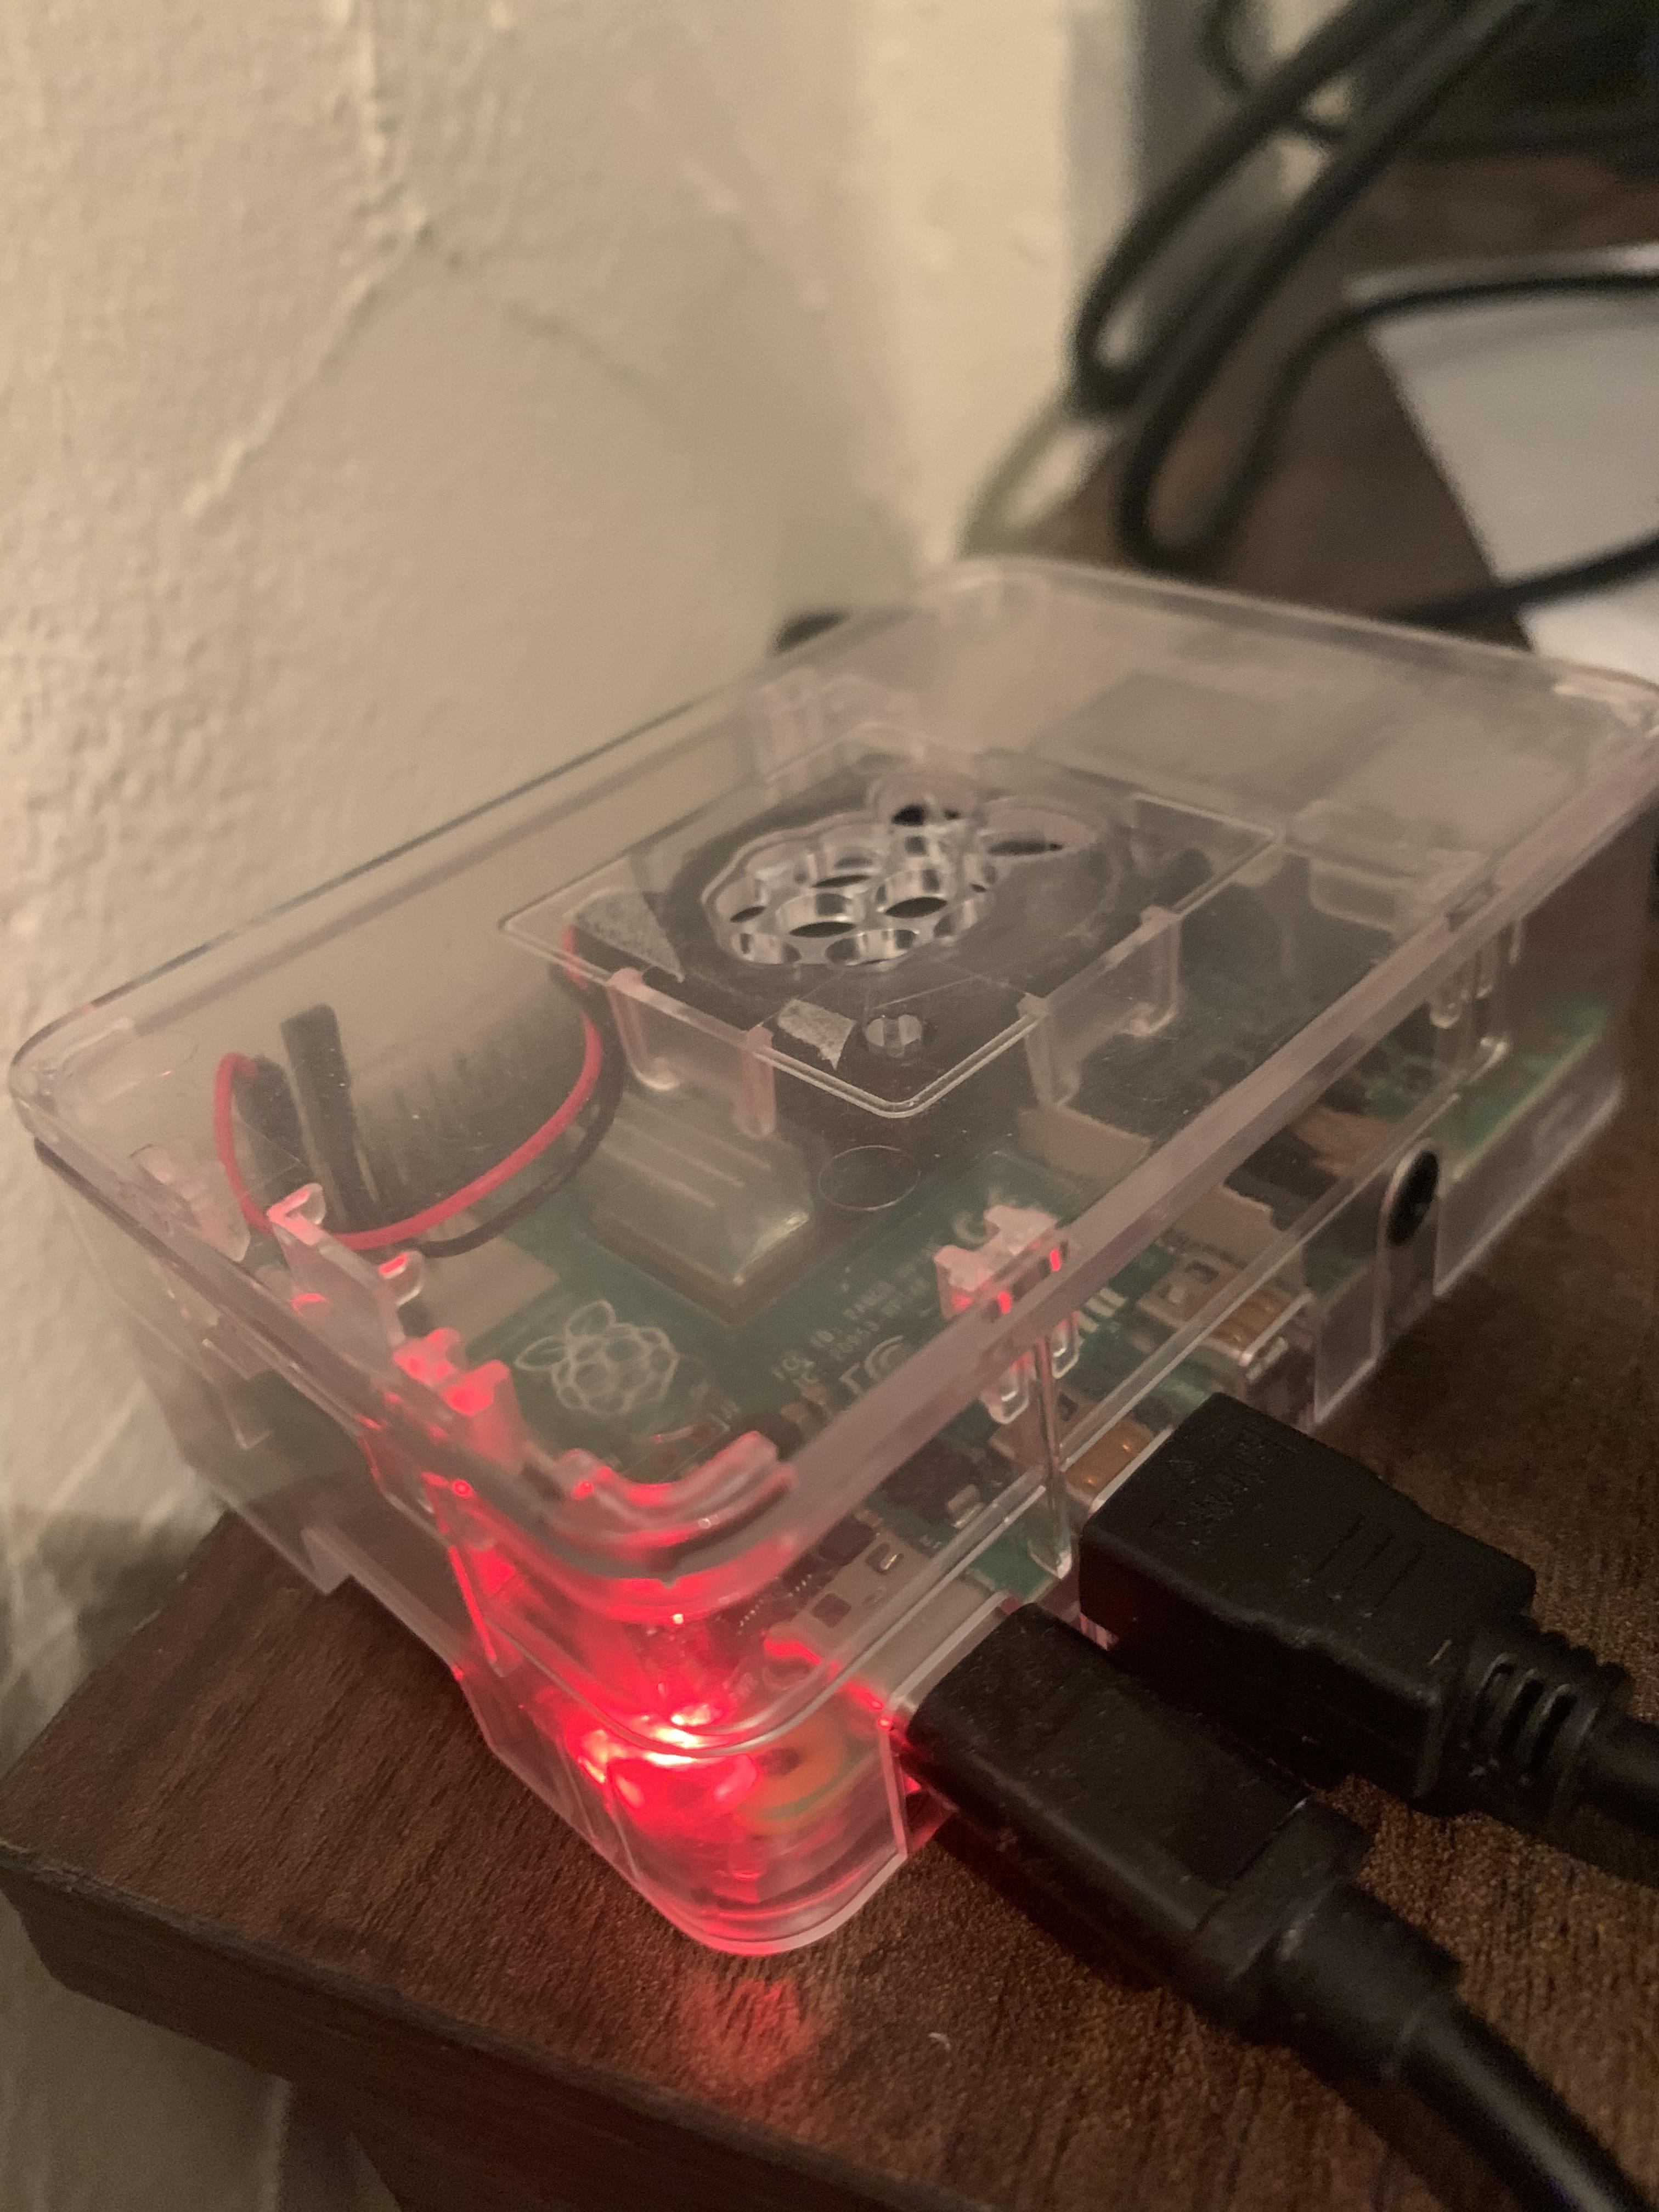
This instructable will guide you through the creation and configuration of your own minecraft server. I will tell you how to build it and how to make it accessible online. I also made a script that will start the server automatically when you login to the Pi (with ssh or manually).
Supplies
-A raspberry Pi 4 (4gb ram is recommended)
-A micro SD card (8gb minimum/16gb or more recommended)
-A fan is recommended if you want to overclock or let the server ON for multiple hours
-3.0A power supply
-(Optional) Ethernet cable
Downloads to Get Started
You'll need:
An SSH Client (ex. Putty)
PaperMC server file
RaspberryPiOSLite zip file
An SD card flasher (ex. BalenaEtcher)
An IP scanner to find your raspberry pi's IP(ex. Advanced IP Scanner)
Making the SD Card

Open Etcher after installing it. It should like the picture above. Select "Flash from file" and choose your RPIOS zip/img file, then select your SD card and flash it. It should take a bit of time.
When everything is done remove your SD card and plug it back in.
Open the micro sd card and create a SSH file with no extensions to enable ssh on raspberry pi boot.
(Optional)Setting Up Wifi
If you don't use an ethernet cable you will need to setup wifi in order to connect to your minecraft server.
First you want to open your SD card in File Explorer and find the wpa_supplicant.conf file.
Open the file in a text editor and edit the following lines :
network={
ssid=""
psk=" "
}
and replace the text with your wifi name and password.
Booting the Pi and Finding the IP

You can now remove the SD card from your pc and insert it in the raspberry pi. Now you can power up your pi and wait a bit of time so it fully boots up.
You can now open the IP scanner and start the scan. You will see your raspberry pi's IP address after some time, and it should appear in a format like this one: 192.168.xxx.xxx. Note the ip somewhere.
Starting SSH With Putty
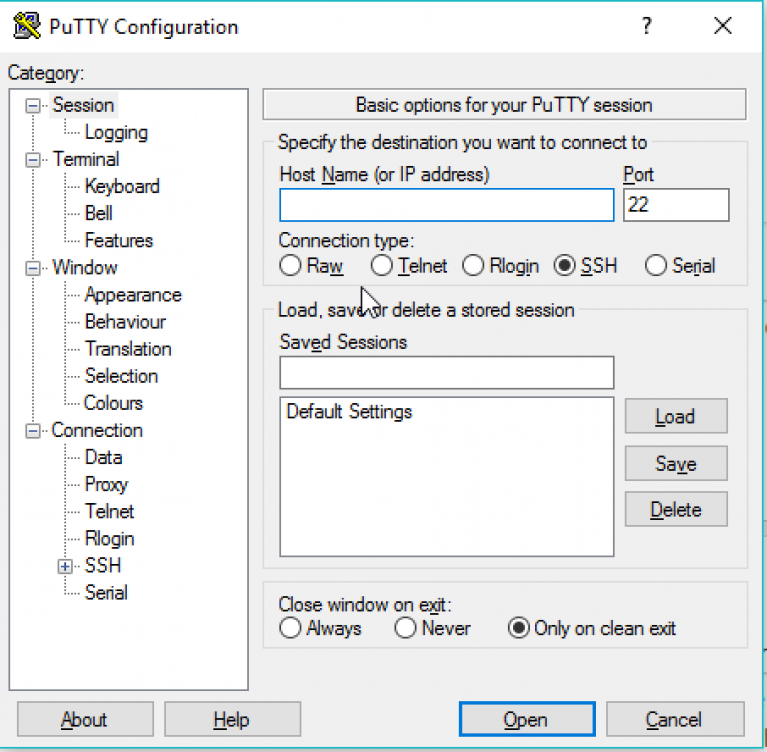
You can now open Putty which looks like the image above.
Enter the Raspberry Pi IP address in the Host Name section, and click on Open button at the bottom.
After opening, putty will ask you for the password and username; by default the username is "pi" and the password is "raspberry".
You should now be connected to your raspberry Pi !
Installing Java and Screen

To make the server work properly you'll need java and screen.
1.Make sure to update all your packages/sources with:
sudo apt-get update
2.To install Java type:
sudo apt-get install default-jdk
3.To install Screen type:
sudo apt-get install screen
Making the Minecraft Server


You will now need to create a minecraft server folder so everything can be organized:
mkdir minecraft
You can enter the directory with:
cd minecraft
Now you can get the server file, don't forget to remove the parenthesis:
sudo wget "https://papermc.io/api/v2/projects/paper/versions/1.16.5/builds/498/downloads/paper-1.16.5-498.jar"
(Don't forget to check https://papermc.io/downloads to see if there is not a new version available, and replace the link with the new version)
I recommend renaming the server file so its easier to type, I will rename it to paper.jar:
sudo cp paper-x.xx.x-xxx.jar /home/pi/minecraft/paper.jar<br>sudo rm paper-x.xx.x-xxx.jar
You can now start the server:
java -jar paper.jar
There server will close after a few seconds, but don't worry that's normal, it just asks you to agree the EULA, and you can agree them with:
nano eula.txt
and changing the eula=false to eula=true.
Now you may want to create a small shell script to launch the server easier:
nano start.sh
and inside it type:
java -Xms2021M -Xmx2021M -jar paper.jar nogui
Now exit nano with CTRL+X then ENTER
And make this script executable with:
sudo chmod +x start.sh
To start the server just type:
./start.sh
----------------------------------------------------------------------
IMPORTANT
If you want to stop the server, type and "stop", but do not shutdown your Pi before doing that. After doing that you can shutdown your Pi with:
sudo shutdown now
----------------------------------------------------------------------
The server is now started and you can join it by using your raspberry pi's ip address in the multiplayer section on minecraft and adding the server.
(Optional) Configuring Screen to Start the Minecraft Server on Boot
I made a script that allows you to start the minecraft server automatically on boot when someone logs in the pi via SSH or directly on the Pi.
If you want to use my script follow those steps
sudo nano server.sh
Then type that inside it:
#!/bin/bash
cd /home/pi
screen -S mc -dm bash -c 'sleep 5; cd minecraft; ./start.sh; exec sh'
save it with CTRL+X and ENTER.
After that you need to enter this command:
sudo nano /home/pi/.bashrc
and add this text at the end of the file:
sudo /home/pi/server.sh
You can now try to reboot and log in to your pi with SSH and type:
screen -ls
and you'll see a detached screen called xxx.mc is running, and if you want to access your server console, you can attach it with the command:
screen -r xxx
by replacing xxx with the number you got when you did the previous command (always pick the first screen created if there is multiples showing).
Your server will now start automatically when you log in your Pi!
Playing Online

If you want to play online with your friends you will have to open ports and redirect your router IP so that you're safe from other knowing your IP.
To start you need to open port 25565 TCP/UDP, to do that access your router configuration on a web browser; but because there is way too many different router I won't be able to help you on that so search online for information about how to open ports on your type of router.
When you finished opening the ports, ask a friend if he can join the server using: "your_ip_address:25565" or just "your_ip-address" (you can find your ip address on https://www.whatsmyip.org/ ). If he can join you can continue to the next step.
Now you are going to redirect your IP to a custom hostname. To do that create an account on https://noip.com/ and create a new hostname, it should look like the picture above. Enter your IP address and create an hostname. You can now click on "Create Hostname". In a few minutes you will be able to enter your minecraft server with "your_hostname:25565" or "your_hostname".
Your friends and you are now able to join the server with that new custom hostname! No more need to give your IP address to other.
(Optional) Boosting Performances
To boost your server's performance you can overclock your raspberry Pi.
You will need a fan if you don't want your Pi to burn while you're playing your minecraft world.
To overclock simply turn off your Pi and insert your SD card in your computer.
Find the config.txt file in the root of your SD and edit it.
Replace:
#uncomment to overclock the arm. 700 MHz is the default.
#arm_freq=800
To:
#uncomment to overclock the arm. 700 MHz is the default.
over_voltage=6
arm_freq=2000
gpu_freq=750
You can now eject the SD and insert it in the Pi.
(Recommended) Set a Static IP to Your Raspberry Pi
If you don't want the IP address of your Pi to change when you reboot your router or just randomly, I have a solution for you.
I recommend using your router settings to do that because it'll be way easier than using for example the DHCPCD daemon; so again because there's many different router, look on internet for guide on setting up a static IP for a device.
Finished
Good Job you have finished building your own fully functional Paper Minecraft Server on your Raspberry Pi 4!
You can now install plugins and do more server configuration to make your server even more fun!