Raspberry PI Samba Server and Share /var/www/
by adachsoft in Circuits > Raspberry Pi
6545 Views, 9 Favorites, 0 Comments
Raspberry PI Samba Server and Share /var/www/

This tutorial will be about how to install samba server and share /var/www/ directory. Why am I sharing /var/www/ ? Because Raspberry PI I use as a server without graphical environment and I work on Windows. That is why it will be easier for me to edit PHP scripts.
This article can also see here:
Installation
Install the apache2 package by typing the following command in to the Terminal:
	sudo apt-get update
	sudo apt-get install apache2
Then we install PHP.
sudo apt-get install php5 libapache2-mod-php5Installation of the samba server and client.
sudo apt-get install samba samba-common-bin smbclient
Samba Server Configuration
Give password to pi user. This password will be used when logging in to the samba server.
sudo smbpasswd -a piModify the smb.conf file.
sudo nano /etc/samba/smb.confFind the [homes] section and change as shown below:
	browseable = yes
	read only = no
	create mask = 0775
At the end of the file, add a new section [www]
[www]
        path = /var/www
        valid users = pi
        create mask = 0770
        directory mask = 0771
        writable = yes
After configuration we reset the samba server. /etc/init.d/samba restart
Apache Setting
mpm-itk allows you to run each of your vhost under a separate UID and GID.
Installing apache2-mpm-itk.
Installing apache2-mpm-itk.
apt-get install apache2-mpm-itkI want all scripts to run as a pi user. For the following command, I change the owner and group of all files.
chown -R pi:users /var/www/Modify the 000-default.conf file.
nano /etc/apache2/sites-available/000-default.confUnder the DocumentRoot /var/www/html line, add:
	<ifmodule mpm_itk_module>
		AssignUserID pi users
	</ifmodule>
Restart the apache.
/etc/init.d/apache2 restart
Checking Samba Under Windows

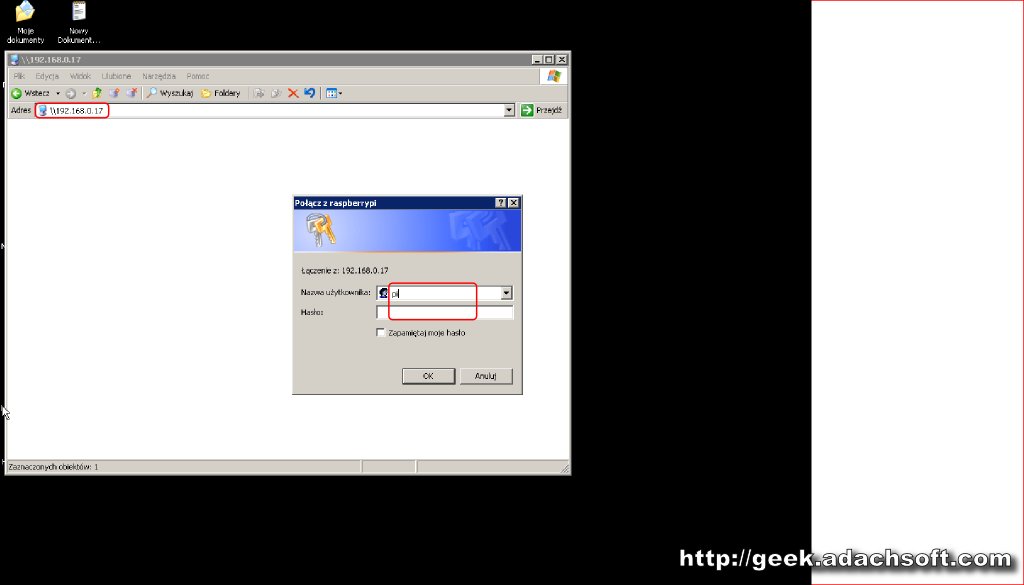
We log into samba server under WIN. I type the IP of my Raspberry PI, but you can also use the hostname. To login, enter the user "pi" and password you gave in the previous step.
Then remove "index.html" and create "index.php" with content:
	<?php
  		echo "whoami: " . exec('whoami')."\r\n<br>";
	?>
To test the script, I typed in the browser the following address http://192.168.0.17/index.php.
Where 192.168.0.17 is the IP of my Raspberry PI. In response it gets whoami: pi.
