Raspberry PI-Getting Started for Newbie
by kavish laxkar in Circuits > Raspberry Pi
5459 Views, 93 Favorites, 0 Comments
Raspberry PI-Getting Started for Newbie
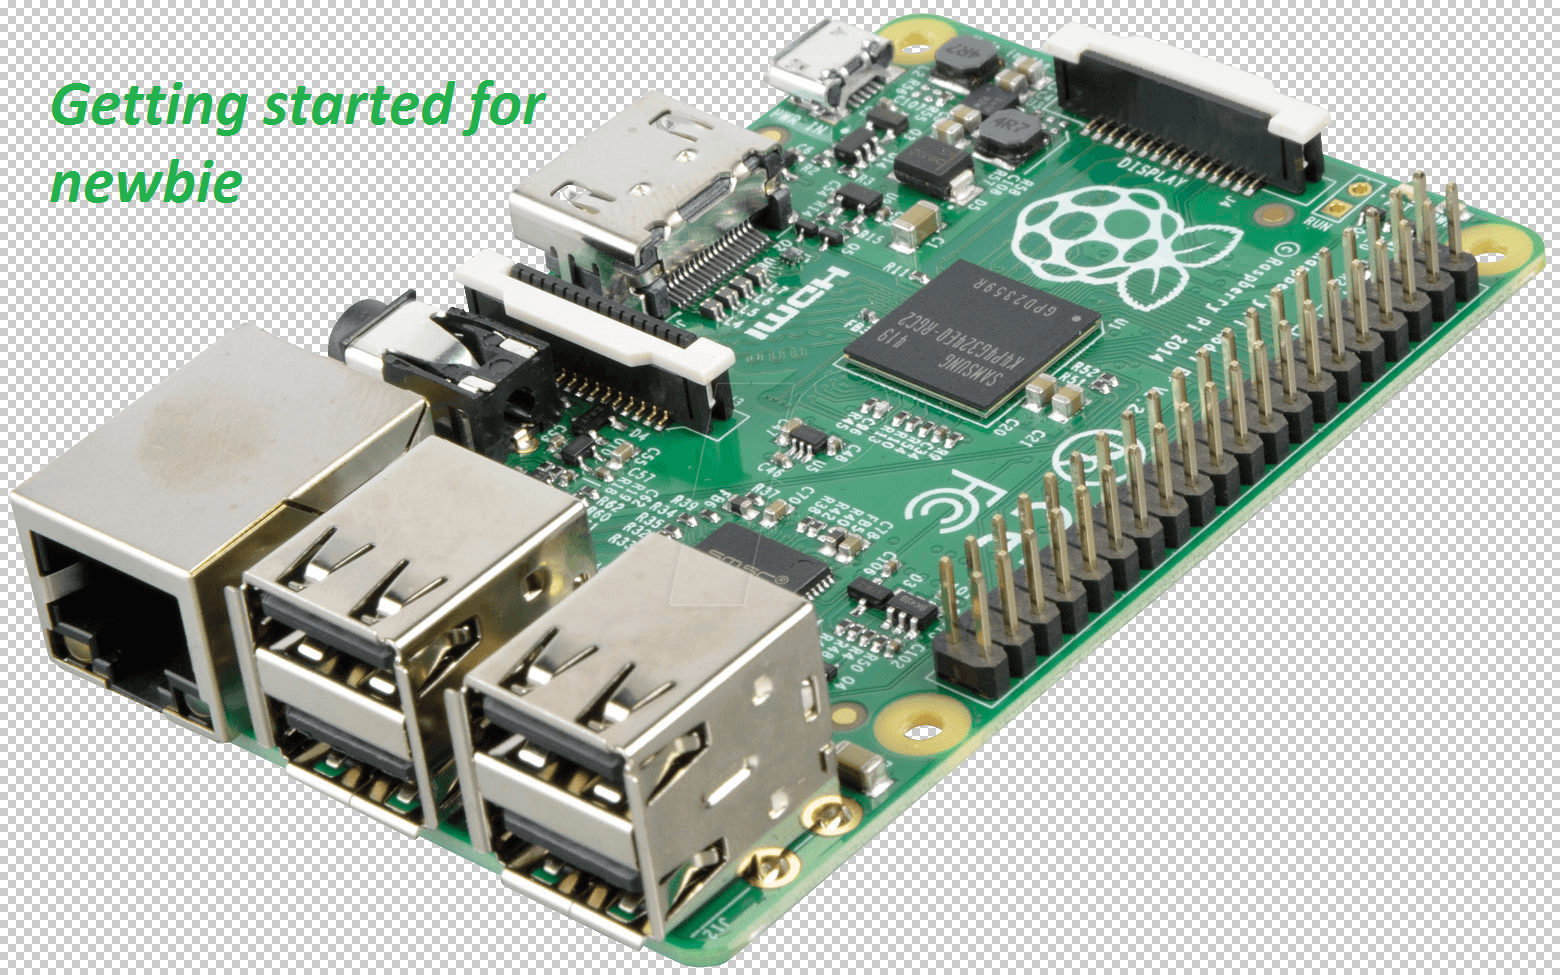
Did you have recently heared about Raspberry PI and want to know what is it then here is my instructable for those who are new to Raspberry pi.
So lets get Started....
Small Review..
The Raspberry Pi is a low cost, credit-card sized computer that plugs into a computer monitor or TV, and uses a standard keyboard and mouse. It is a capable little device that enables people of all ages to explore computing, and to learn how to program in languages like Scratch and Python. It’s capable of doing everything you’d expect a desktop computer to do, from browsing the internet and playing high-definition video, to making spreadsheets, word-processing, and playing games.
What’s more, the Raspberry Pi has the ability to interact with the outside world, and has been used in a wide array of digital maker projects, from music machines and parent detectors to weather stations and tweeting birdhouses with infra-red cameras. We want to see the Raspberry Pi being used by kids all over the world to learn to program and understand how computers work.
Ingredients
- 1 Raspberry Pi(model A, A+, B, B+, Bv2).
- 1 Power supply(for the Pi).
- 1 SD card.
- 1 HDMI Monitor(any monitor will work as long as you have the right cable to go to the raspberry pi).
- 1 HDMI cable(to connect monitor to raspberry pi).
- 1 WIFI USB dongle(or an Ethernet connection).
- 1 USB Mouse.
- 1 USB Keyboard.
- 1 Case(optional).
- 1 SD card Reader(Most computers have this but if it doesn't, buy one or buy an SD card with the OS already on it).
I'll show you how to assemble your Pi and boot it with the easy and popular Raspian operating system.
NOT ESSENTIAL BUT HELPFUL TO HAVE
Internet connection--To update or download software, we recommend that you connect your Raspberry Pi to the internet either via an ethernet cable or a wifi adapter.
Headphones--Headphones or earphones with a 3.5mm jack will work with your Raspberry Pi.
Setting Up Your SD Card
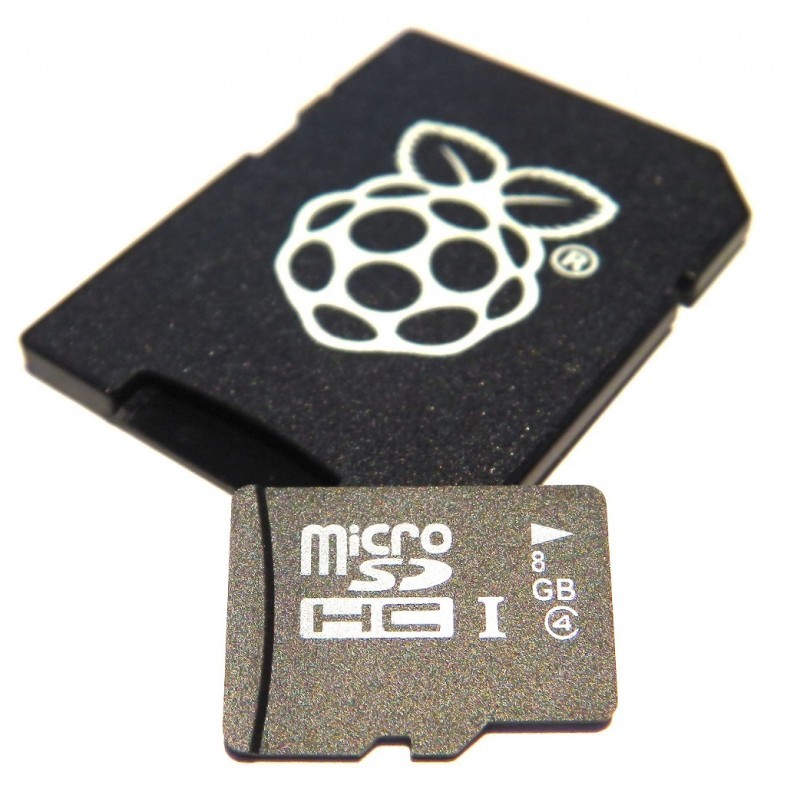
If you are going to buy (or have) an SD card preinstalled with the OS, skip this step.
In this step I,ll show you how to install the NOOBS(New Out Of the BoxSoftware) on the SD card. If your computer has an SD card slot,then go right ahead and insert your SD card. If not you'll need to use your SD card reader.
Now head to http://www.raspberrypi.org/downloads and download the OS of your choice. Once it is downloaded, Extract it, and then use Win32DiskImager to image it to the SD card.
Connecting Raspberry PI.
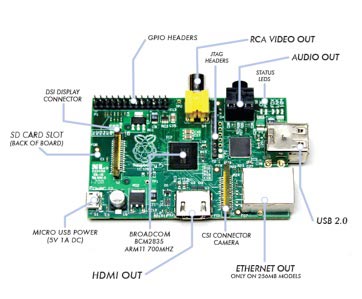
Now we are ready to connect everything to the raspberry pi. First we must put the SD card in, then connect the HDMI lead to your television or monitor.Now, connect the keyboard and mouse to the USB ports and the Ethernet port to your internet router or network. If you don't plan to use your Raspberry PI near your router,you can use a compatible WI-FI dongle.
PLUGGING IN YOUR RASPBERRY PI
- Before you plug anything into your Raspberry Pi, make sure that you have all the equipment listed above to hand. Then follow these instructions: Begin by slotting your SD card into the SD card slot on the Raspberry Pi, which will only fit one way.
- Next, plug in your USB keyboard and Mouse into the USB slots on the Raspberry Pi.
- Make sure that your monitor or TV is turned on, and that you have selected the right input (e.g. HDMI 1, DVI, etc)
- Then connect your HDMI cable from your Raspberry Pi to your monitor or TV.If you intend to connect your Raspberry Pi to the internet, plug in an ethernet cable into the ethernet port next to the USB ports, otherwise skip this step.
- When you are happy that you have plugged in all the cables and SD card required, finally plug in the micro usb power supply. This action will turn on and boot your Raspberry Pi.
- If this is the first time your Raspberry Pi and SD card have been used, then you will have to select an operating system and configure it.
Raspberry Pi-First Boot
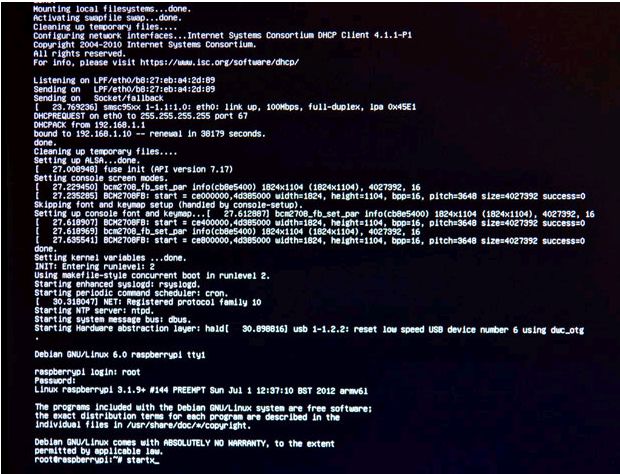
First Boot
Connect the power, and after a few moments, the NOOBS environment starts up and presents you with all the different operating systems you can install on your raspberry pi. In most cases you should use Raspbian, so select it and click "Install". This will begin a process that will install Raspbian on your SD card - it will take around 30 minutes. Once it's complete, click "OK" and the PI will reboot, ultimately presenting a configuration menu, here you can change whatever settings you want, as long as you know what your doing. All being well, you raspberry pi will reboot into desktop view that, on the surface at least, is pretty familiar. At the bottom-left you'll see the equivalent of Windows 7's Start button, for accessing the software that is already pre-installed on the raspberry pi. Next to the start button is an icon that launches the File Manager, which works in a similar way to the Windows File Explorer. You'll also notice an icon labelled "LXTerminal",which, when double-clicked, launches a window containing the text pi@raspberrypi in green at the top left. We'll use this window to type various commands - don't worry, you'll only ever need to learn a few.
Find and Install Software
The Raspberry Pi comes with a basic range of software, but one of the benefits of a Linux-based system is a huge library of additional free programs. Finding and installing software for the Raspberry Pi is done by using the LXTerminal and typing in commands, but don't worry, you'll only need to learn a few.
Let's begin by installing Geany. Geany is the a code editor that I will be using in this instructable (you can use the python IDLE pre-installed on the Raspberry Pi, but i'm going to use Geany). First, open up LXTerminal and type:
sudo apt-get update
...followed by the Enter key(this just updates the Repositories, to find out more about these commands go to LXTerminal Commands). Now type this to install Geany:
sudo apt-get install geany
This will install Geany(It might take about 5 mins) .Now, if you want to have a better web-browser than Midori (Midori is pre-installed on the Pi),just install Chromium Browser (an Open-Sorce version of Google Chrome). To do that we type:
sudo apt-get install chromium
Now, we are going to install Synaptic (you don't have to install this but if you don't know the name of the package your after, this is very helpful. I'm not going to explain everything about the Synaptic Package Manager, but if you want to find out more about it, go to Synaptic Package Manager.
Python Programming
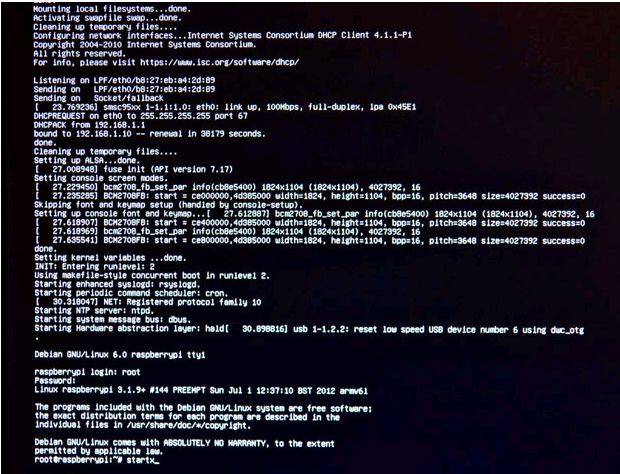
In this step i'll show you some things about python programming and show you how to make some basic programs in python. To find out more about Python, go to
Make sure you have Python installed:
sudo apt-get install python
Now go ahead and open up Geany and create a new python file called main.py (you can call the file anything you want but it must have the .py extension ). Type this into the editor:
print("Hello, World!")
Now click Run or press F5, You should see this in another window:
Hello, World!
If you see this then congratulations, You've made your first python program! Go ahead and change it around a bit, add more prints and change what is inside of them and then run it again. Ok, that was easy now lets move on. Now lets add some variables:
var = "Hello, World!"
print(var)
Click Run, You should see the same output as before, if you don't make sure it is typed in correctly. You can use variables in all different ways(this symbol is a comment "#" ,anything after it is ignored by python).
a = 10 # this is an integer
b = 2 #
print(a+b) # this adds the two numbers together, which equels 12
Now if you change 10 and 2 to strings, the output will be a string and it will not add them together:
a = "10" # this is a string
b = "2" #
print(a+b) # this prints the numbers beside each other, you should see 102 as a string
More examples of variables: a = "Hi,
" b = "how are you?"
print(a+b)
a = 10
b = a + 2
print(b)
print(b+a)
a = "I am "
age = "15"
b = " years old."
print(a+age+b)
print(a+age+b+" How old are you?")
Inputs:
Now lets have a look at some python inputs.
a = raw_input("Type your name: ")
print(a)
You will be prompted to type your name, type your name and press enter, you should see your name printed out. Now lets change it up.
name = raw_input("Type your name: ")
age = raw_input("What is your age "+name+"?")
print("Hello "+name+", you are "+age+" years old")
Fell free to contact me if you face any problem while getting started with Raspberry PI.
And you are Done.:)
Hope you like my instructable.
Please vote if you like it.
THANKS