Rapier Fuego Retro Model Plane
by Lostelements in Outside > Backyard
6626 Views, 66 Favorites, 0 Comments
Rapier Fuego Retro Model Plane
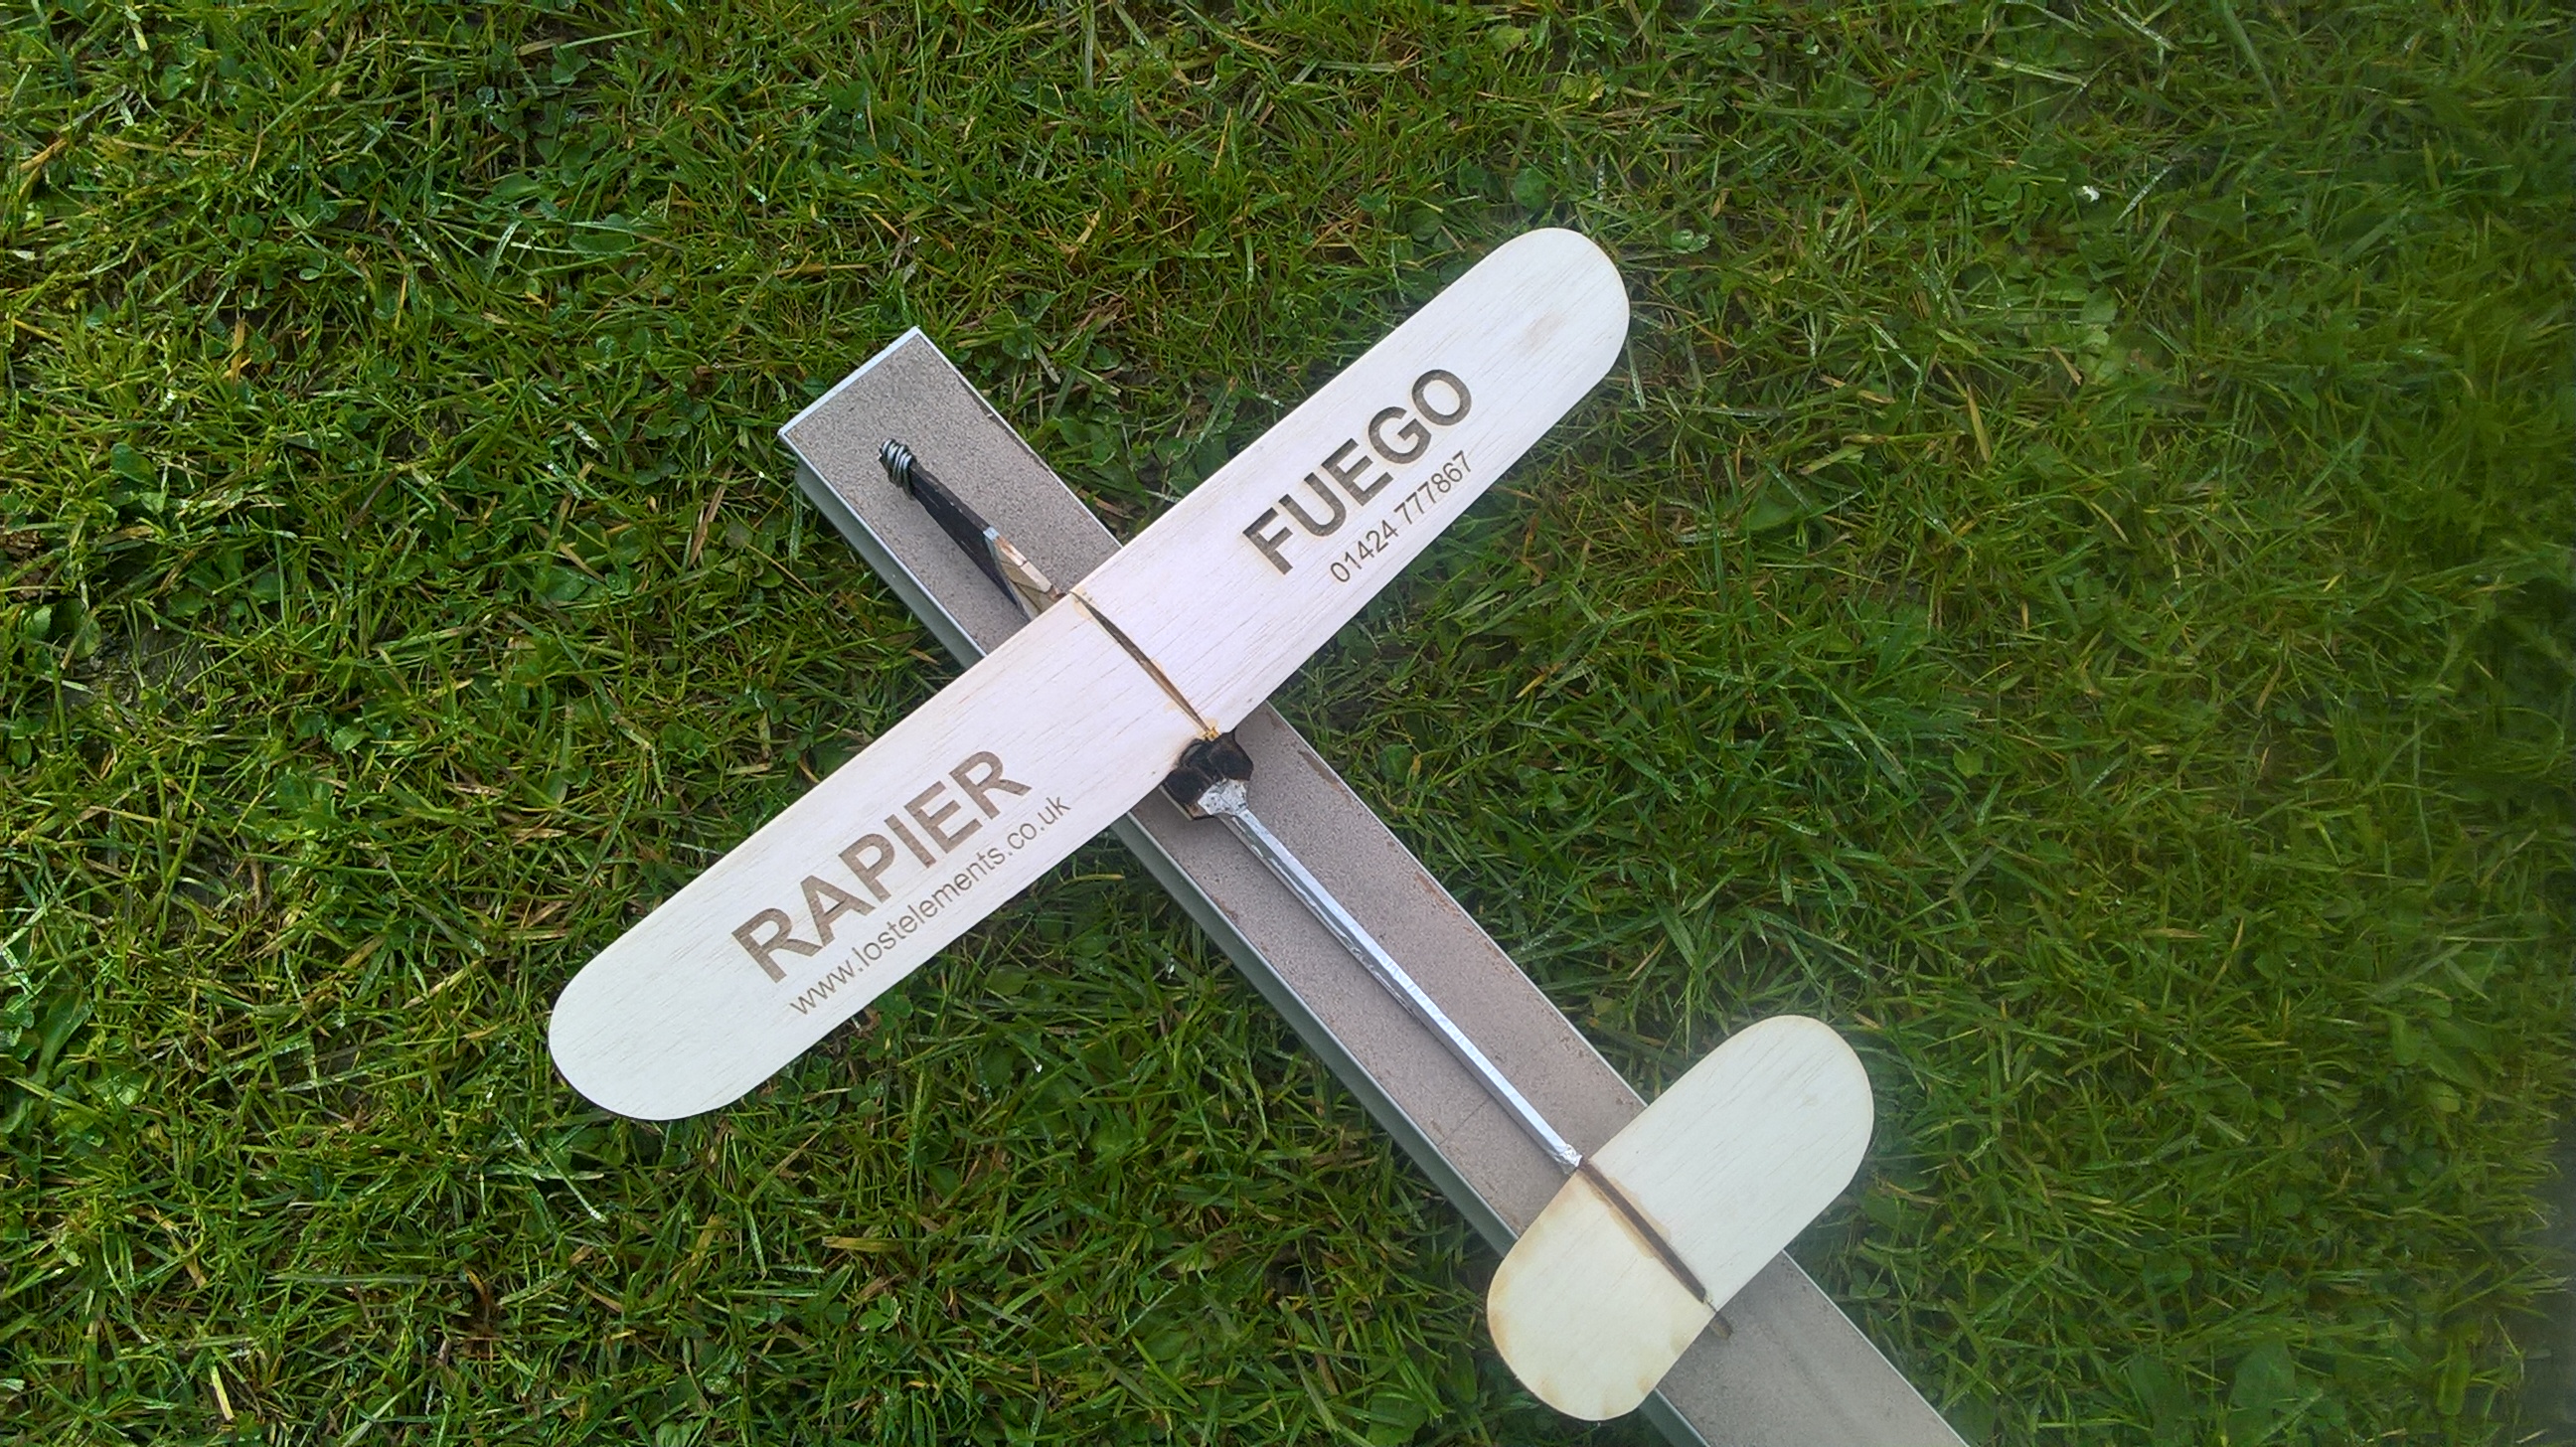
Take a trip back to the 1950's with this retro style balsa model aircraft. Relive the smell of balsa cement and wonderful sound and site of your own mini jet rising above the flying field.
This design is based off the Fuego 50 a Jetex powered plane found in a 1955 edition of the UK Aeromodeller magazine. Updated to take the new Rapier mini jet engines rather than Jetex it is also a great glider. Though the design is easy cut out by hand this is also an exercise in how to get the best out of a cheap Ebay K40 Laser engraving and curing at the same time.
So lets get started.
Materials and Tools
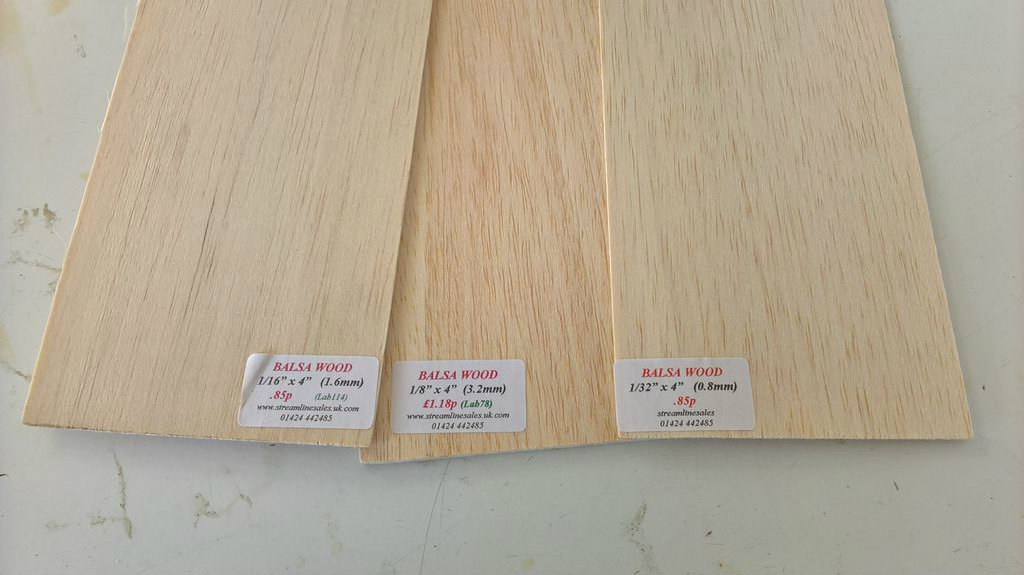
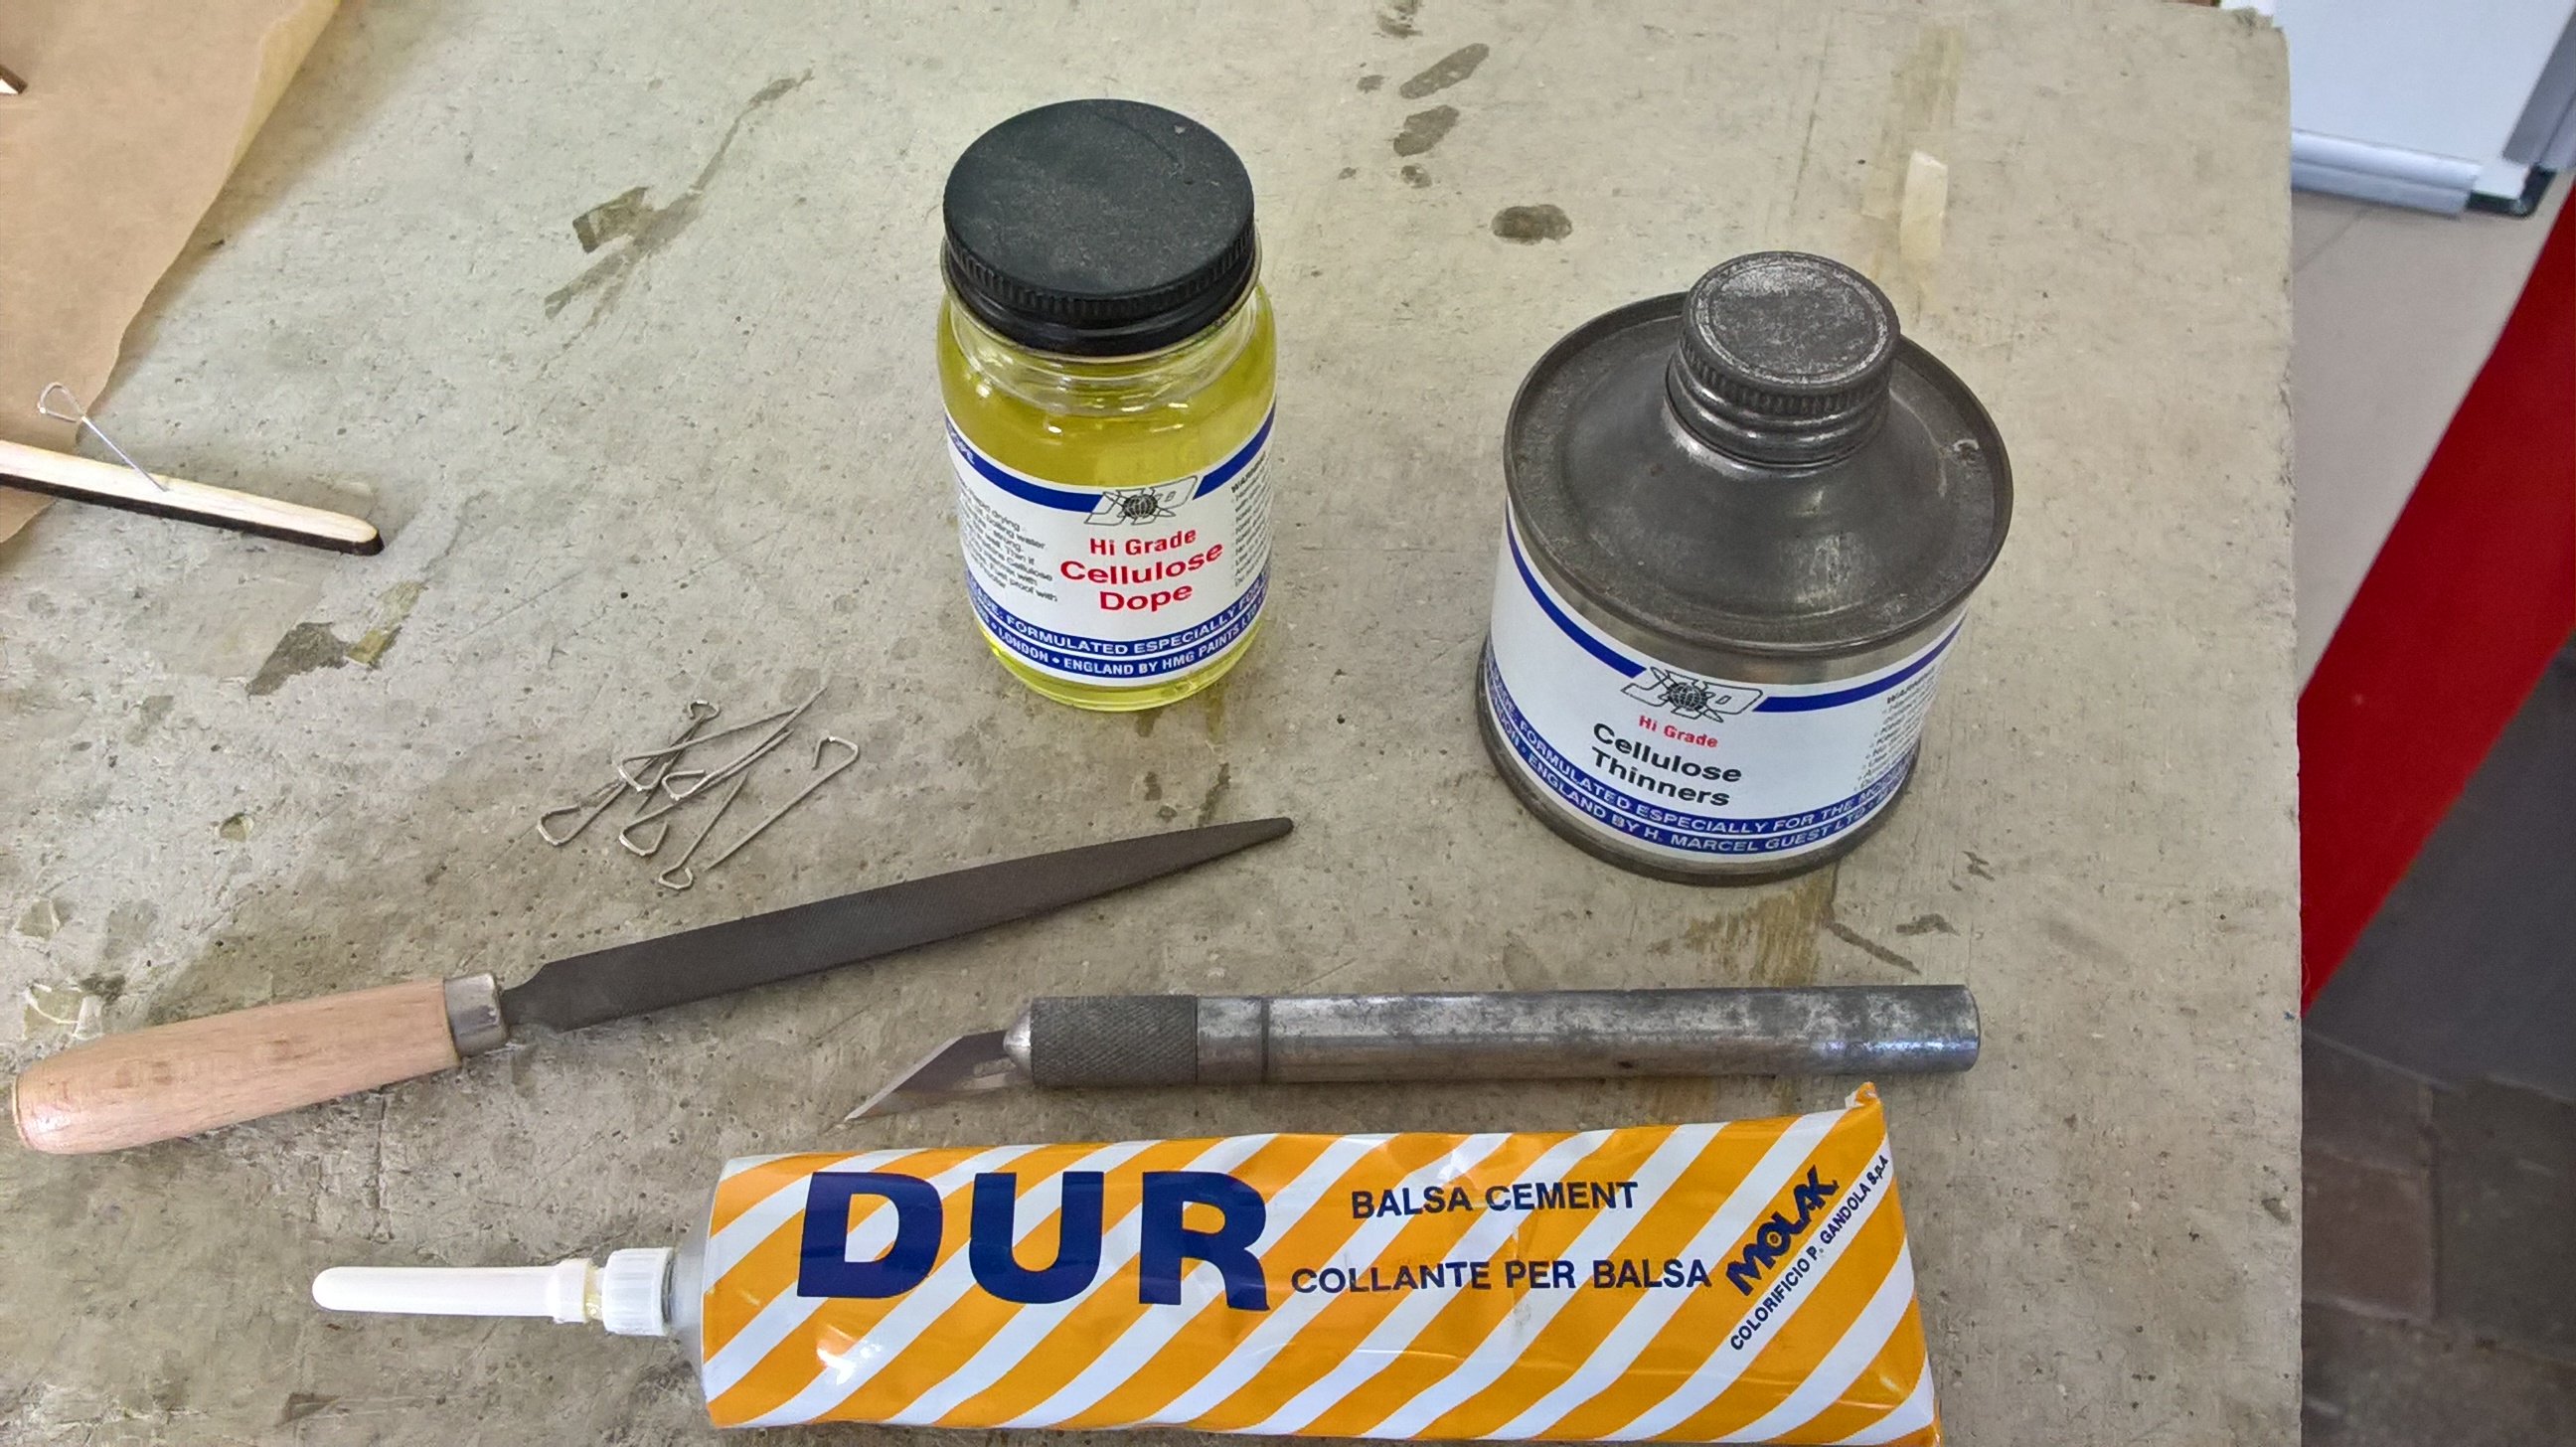
Materials:
- 1 x1/16x 4 inch light balsawood sheet
- 1 x1/32 x 4 inch light balsawood sheet
- 1 x 1/8 x 3 inch sheet balsawood sheet
- Heavy duty self adhesive foil (only needed if powering by Jetex or Rapier)
- Short piece of wire
- Motor Tube (needed for Rapier engines small model rocket tubes work great)
- Modelling clay for balancing
- Scrap balsa
Tools:
- Ruler
- Modelling knife
- Balsa cement
- Pins
- Flat building board
You can easily cut out the parts by hand but this is an instructable about using the K40 Laser
Customize the Drawings
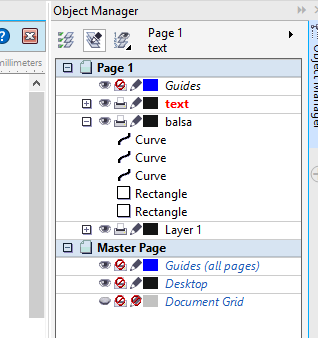
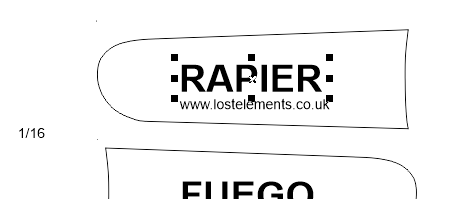
open the attached CDR file in CorelDraw . Edit the Wing text or change the images
HINT: to keep things in register when cutting put the txt on a separate layer to the wing outline, Notice there is a 1 pixel register mark in duplicated on each layer to force the registration position.
If don't have a Laser cutter print the plans, stick to the balsa sheet with gluestick and hand cut. Note the grain direction of the parts.
Downloads
Setup the Laser
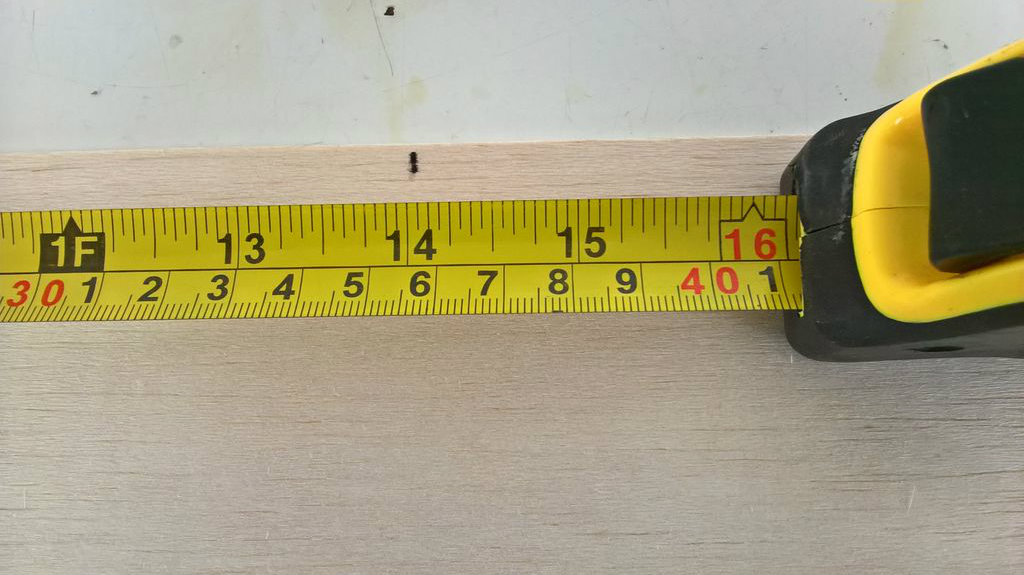
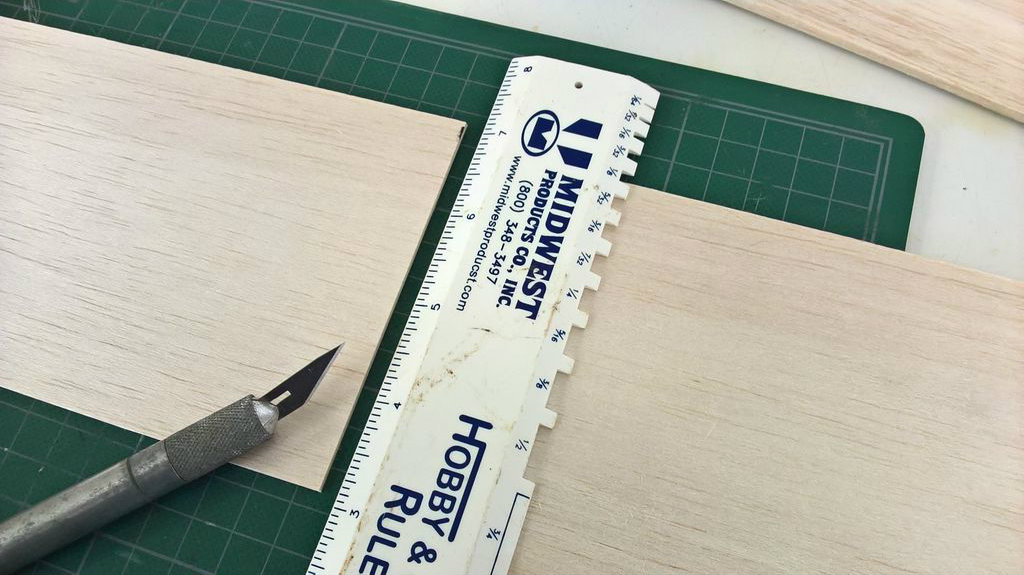
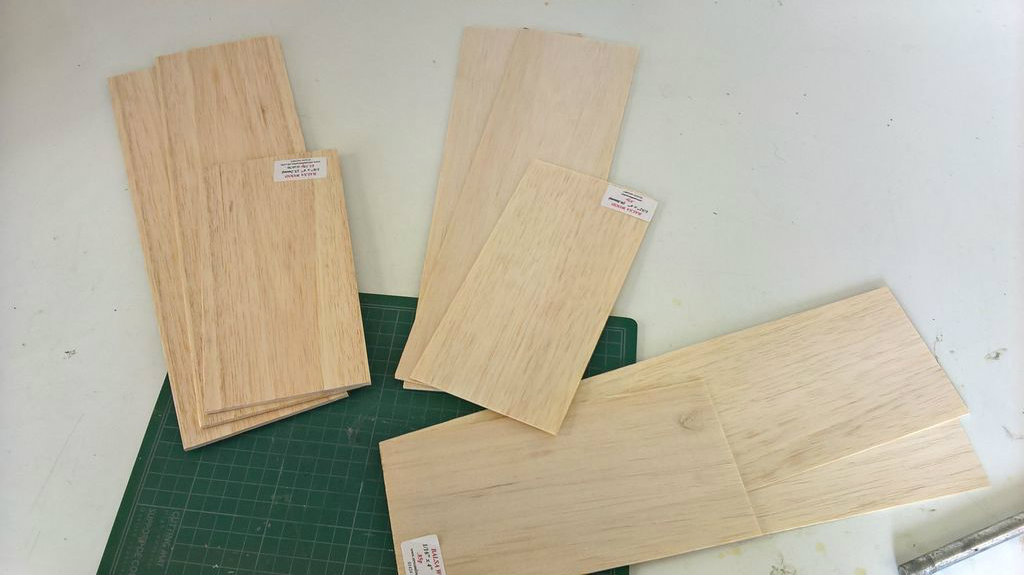
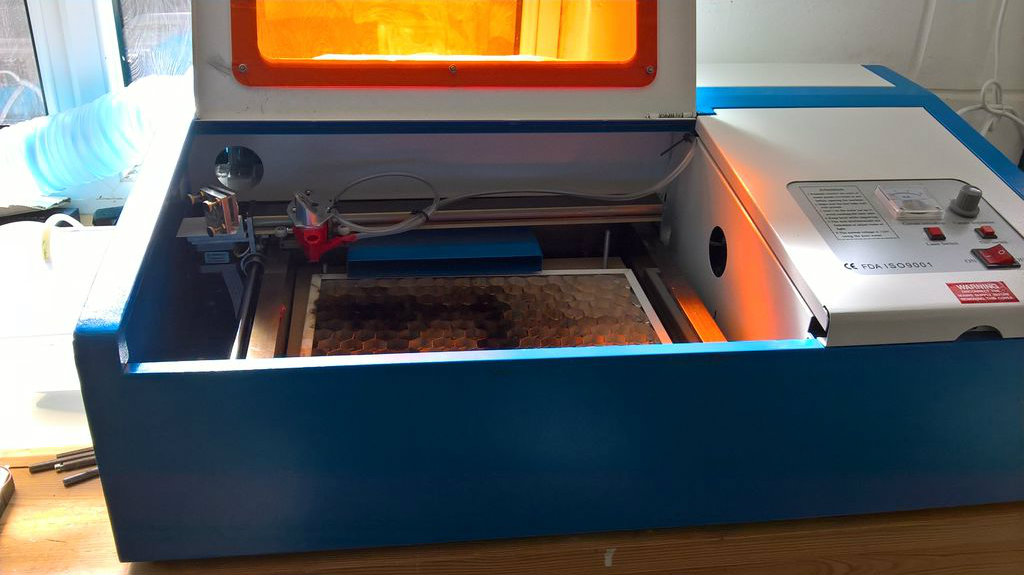
Balsa normally comes in 3ft sheets which don't fit in the K40. If you u the sheets into 14" length these are perfect and if careful you may have enough for spare parts.
The K40 comes with an unusable bed for engraving on. I use a simple diy honeycomb bed on and mdf manually adjustable z axis. Simple but it works.
Lets Get Cutting
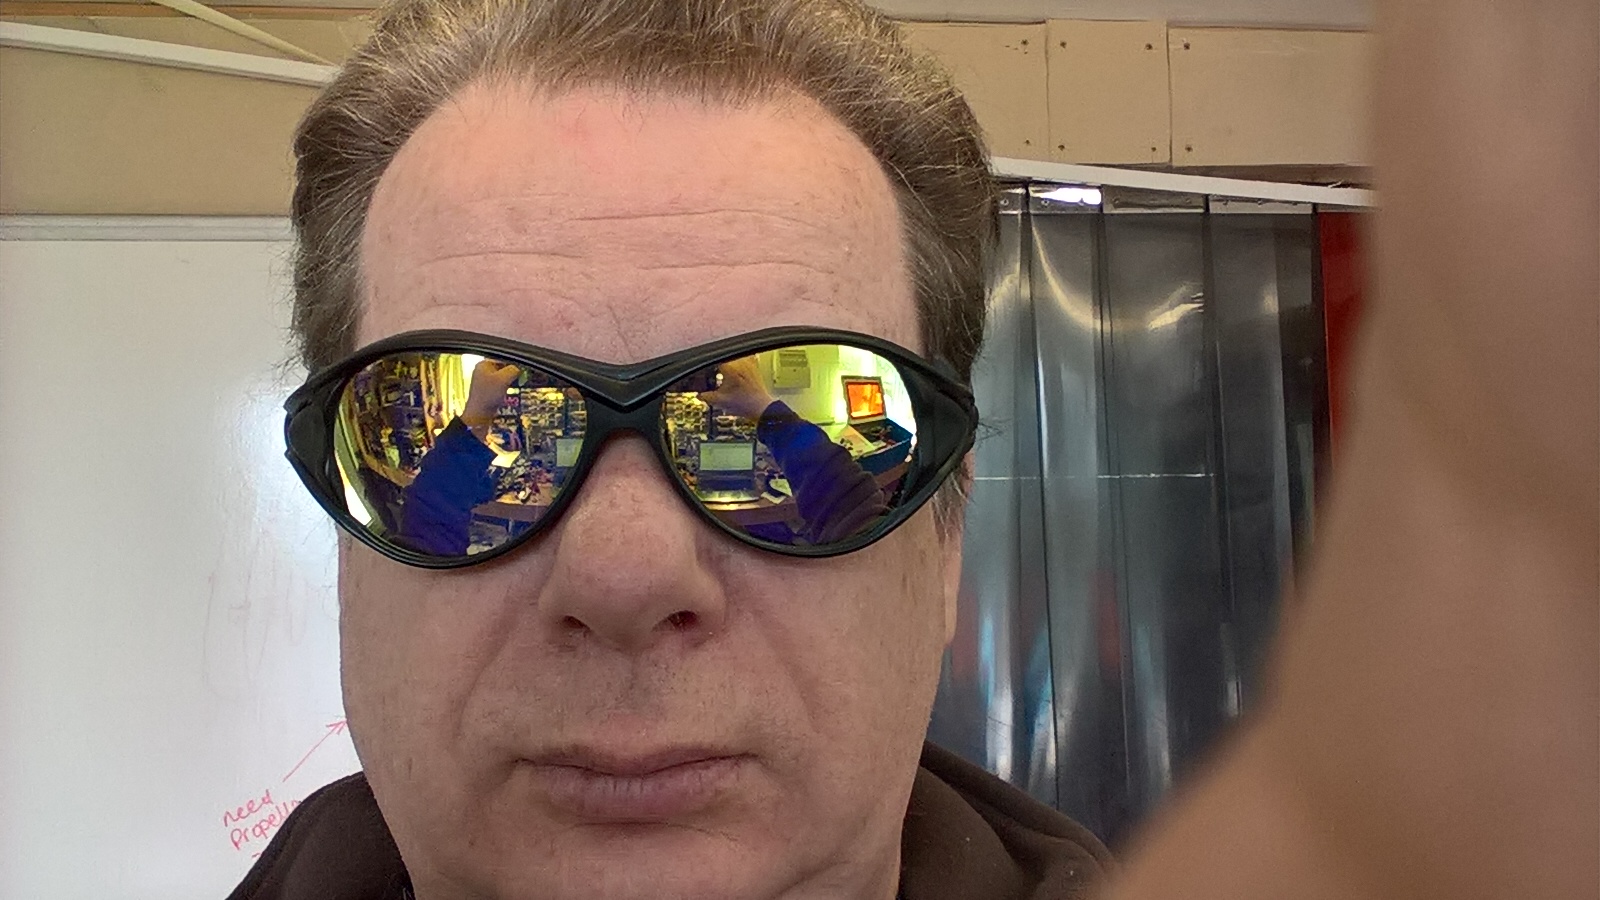
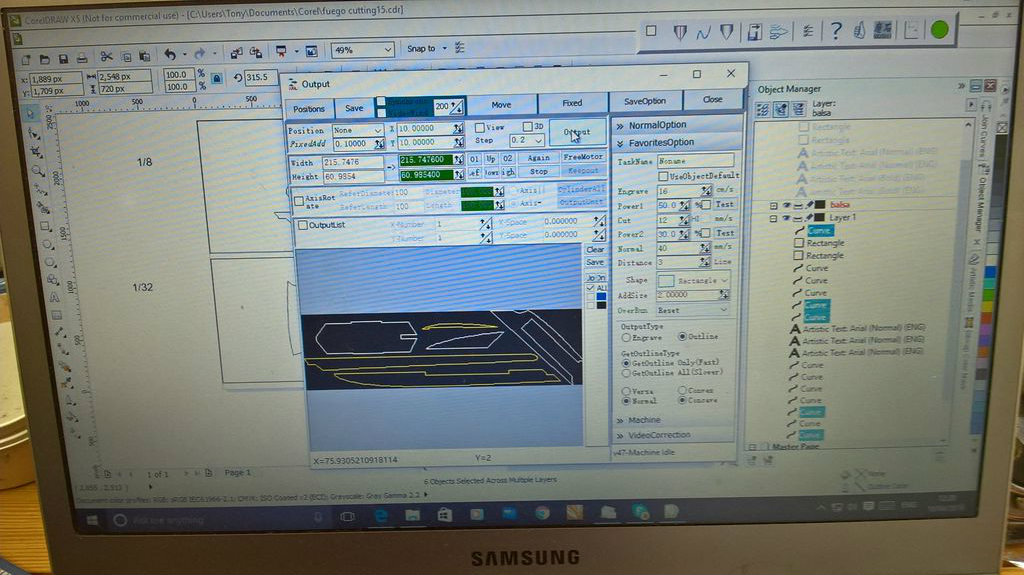
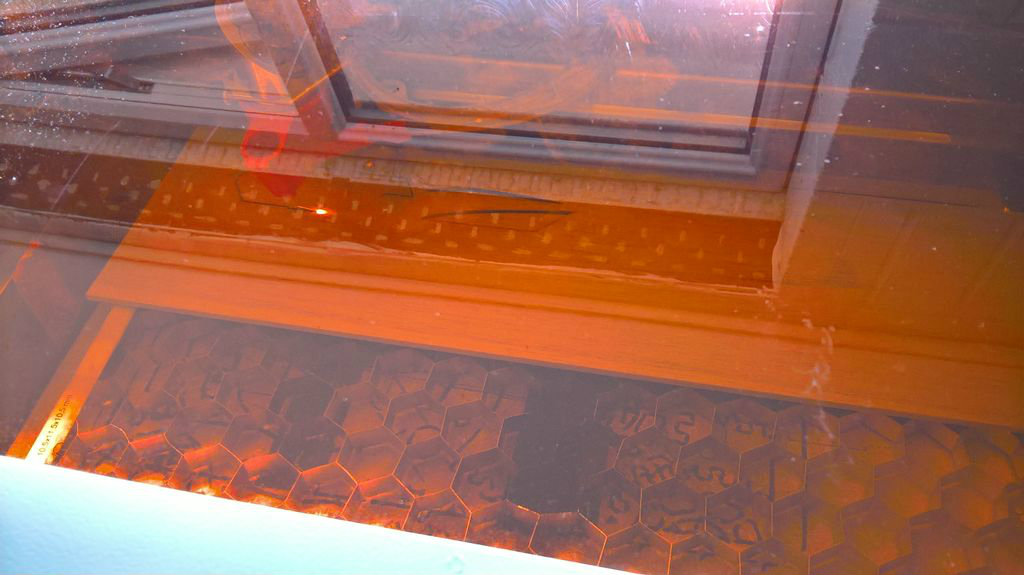
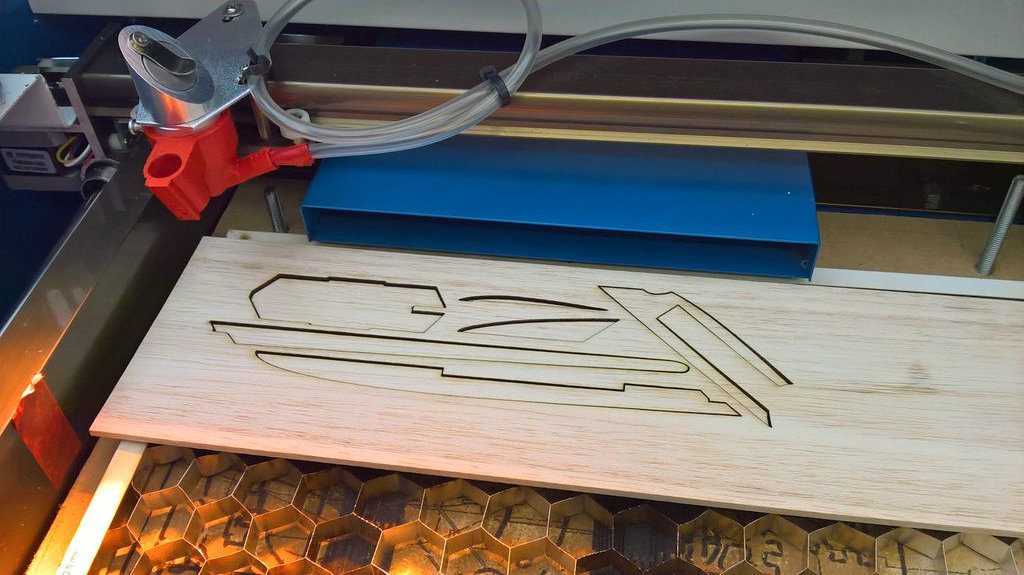
Safety First, Always wear the correct laser safety glasses, Chinese laser cutters don't really have the safety you would expect!
Most reviews of the software that comes with the laser 'MOSHIDRAW' say that its completely useless and you cannot do a good job. However a bit of perseverance and using only the CorelDraw plugin and it works pretty well for both engraving and cutting. Beware though the plugin works with the X5 home and student but not the X7 one, if you have X6 it needs to be the full version.
The steps to get your Fuego parts cut are:
- Turn on the Laser , Water pump and Air assist
- Click on Moshilaser icon, this will open the attached version of CorelDraw
- Open the CDR of your Fuego.
- Hide the non text Layer of wing 1
- Select the text and the registration pixel
- Click on engrave, then normal
- Put in you 1/16th sheet lined up with the laser head
- Click start and it should etch the words. Turn the power of the laser to about half or you may end up cutting out the word not just engraving.
- Without opening the Laser
- Hide the text layer and open the wing layer
- Select the wing out line and the registration pixel
- Click HPGL, normal and outline, set the speed to about 12
- Turn the laser power back up
- Click Start
Repeat for the other wing and then just the cutting section for the other parts
All Parts
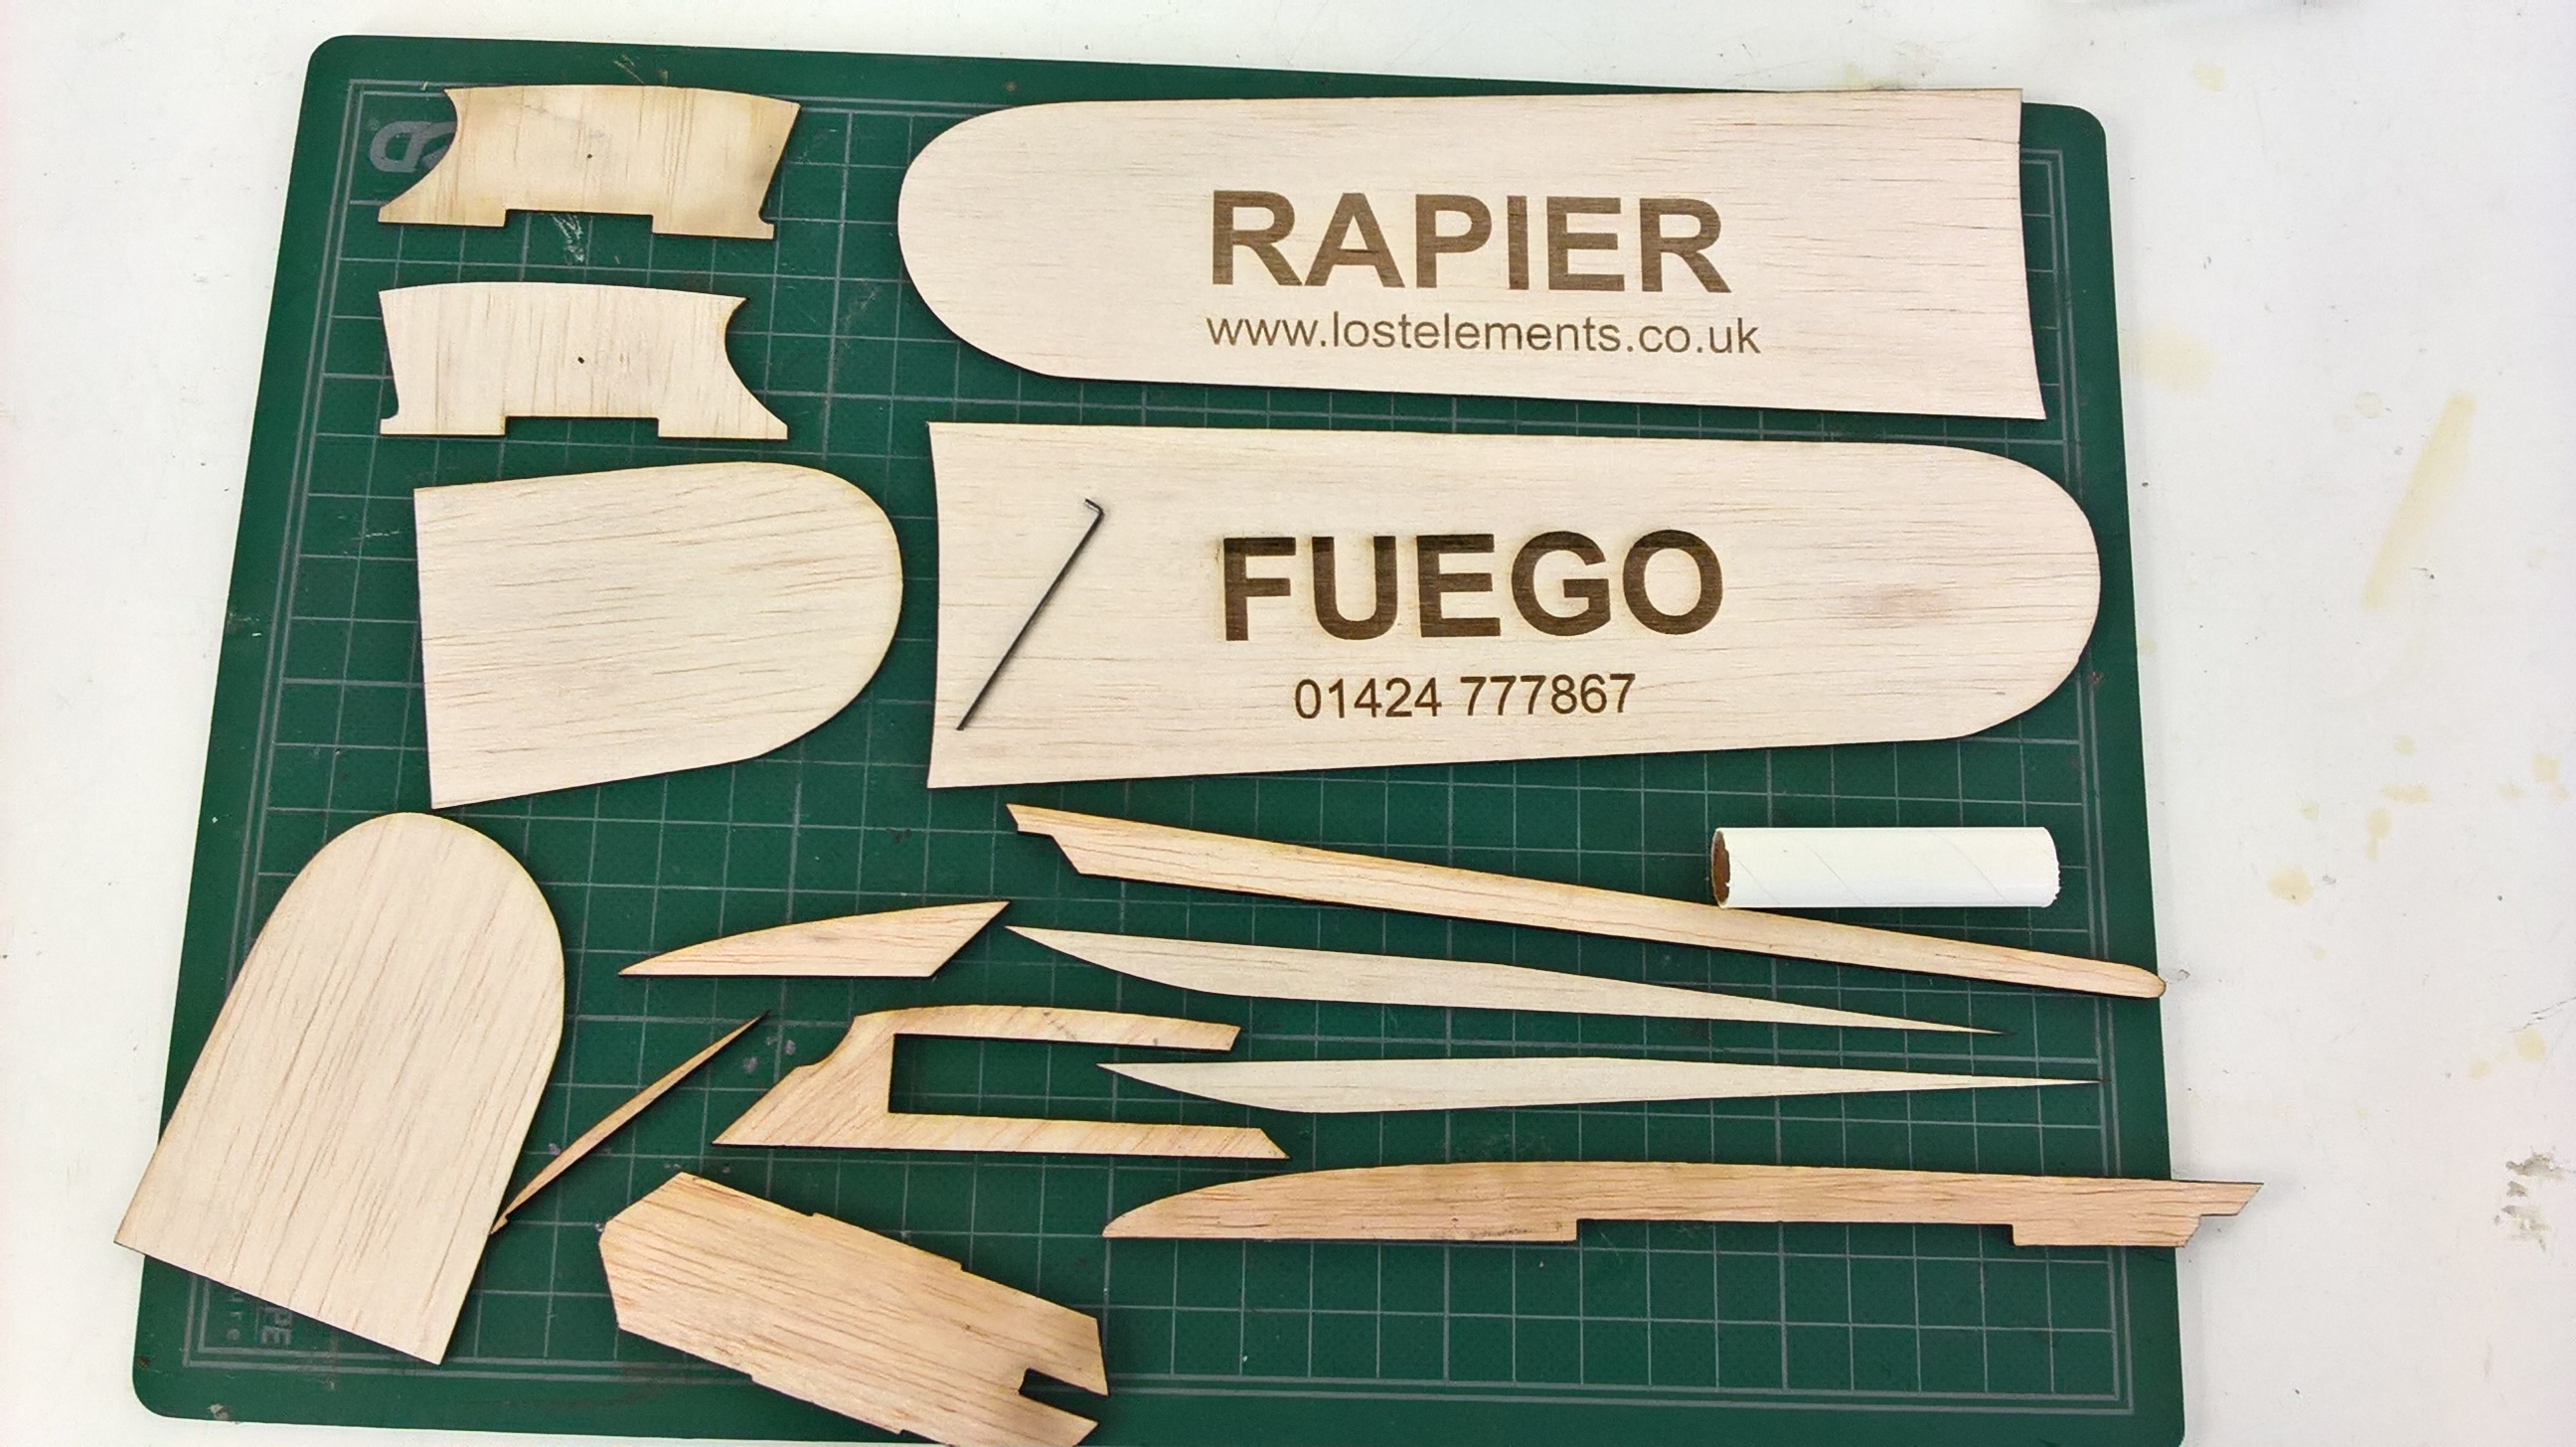
If all went to plan you should have the above set of parts.
lightly sand all the edges to remove some of the scorch marks.
Put It All Together - Body and Wing Mount
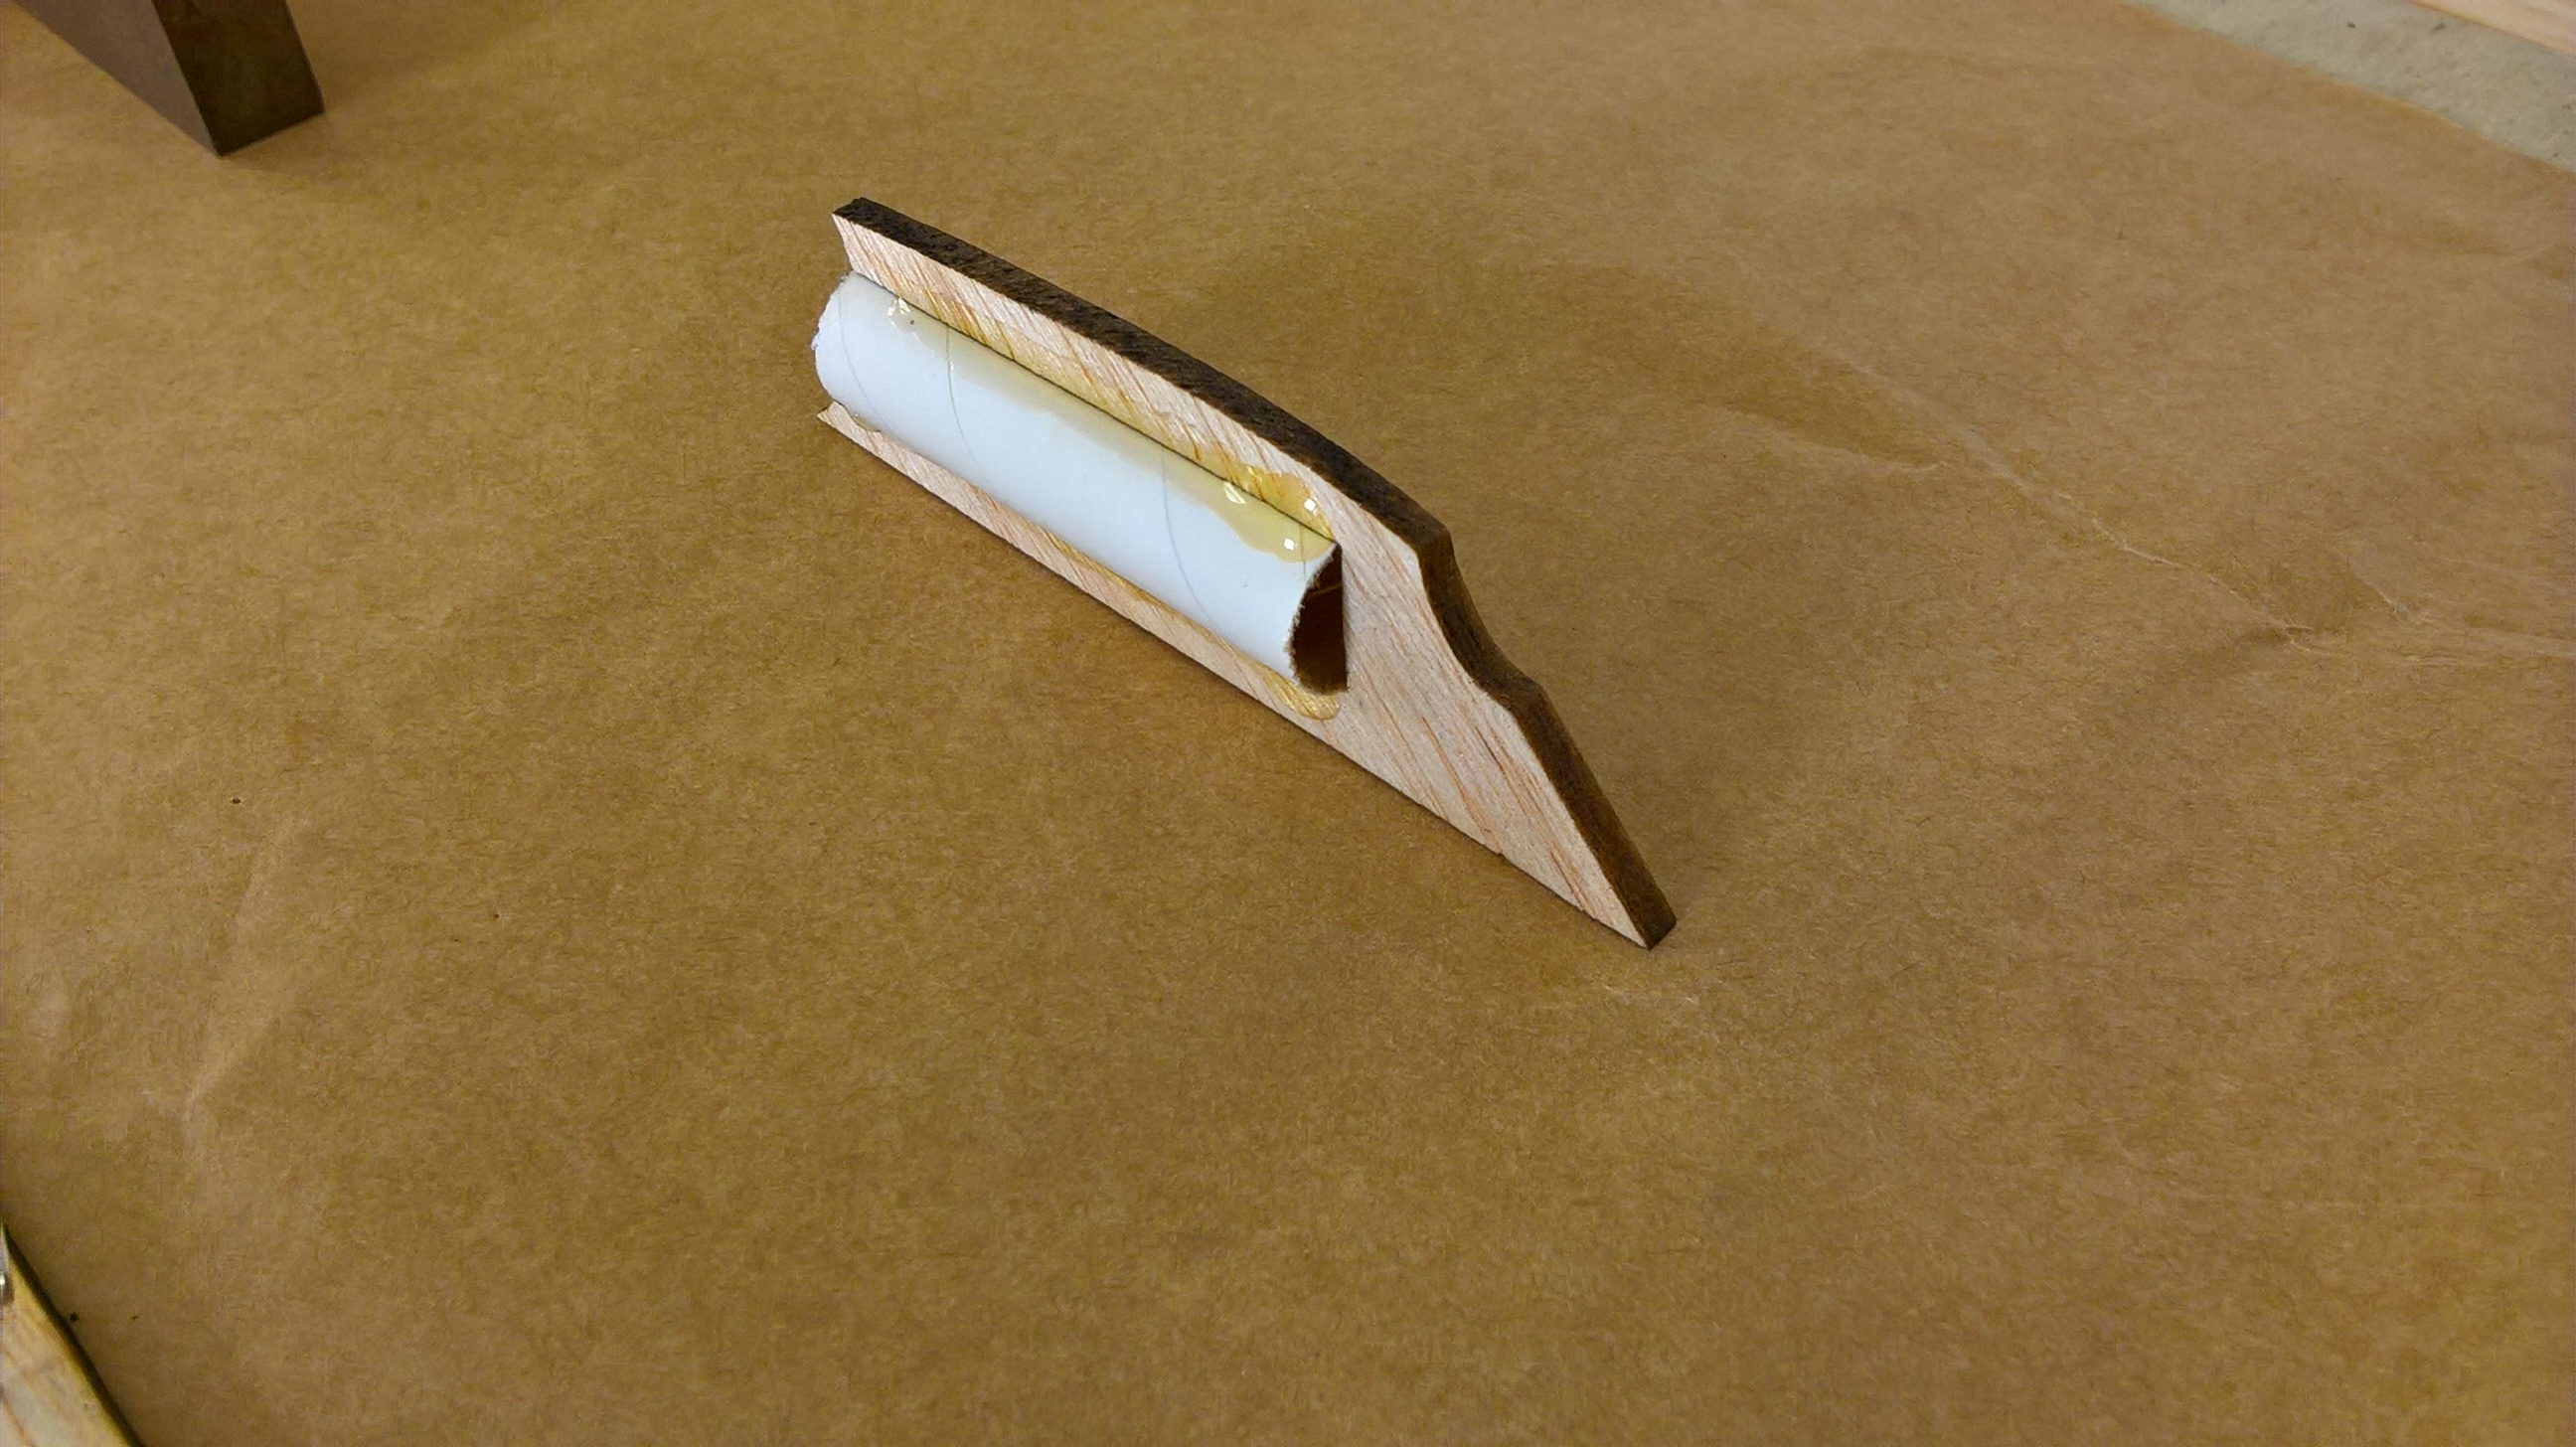
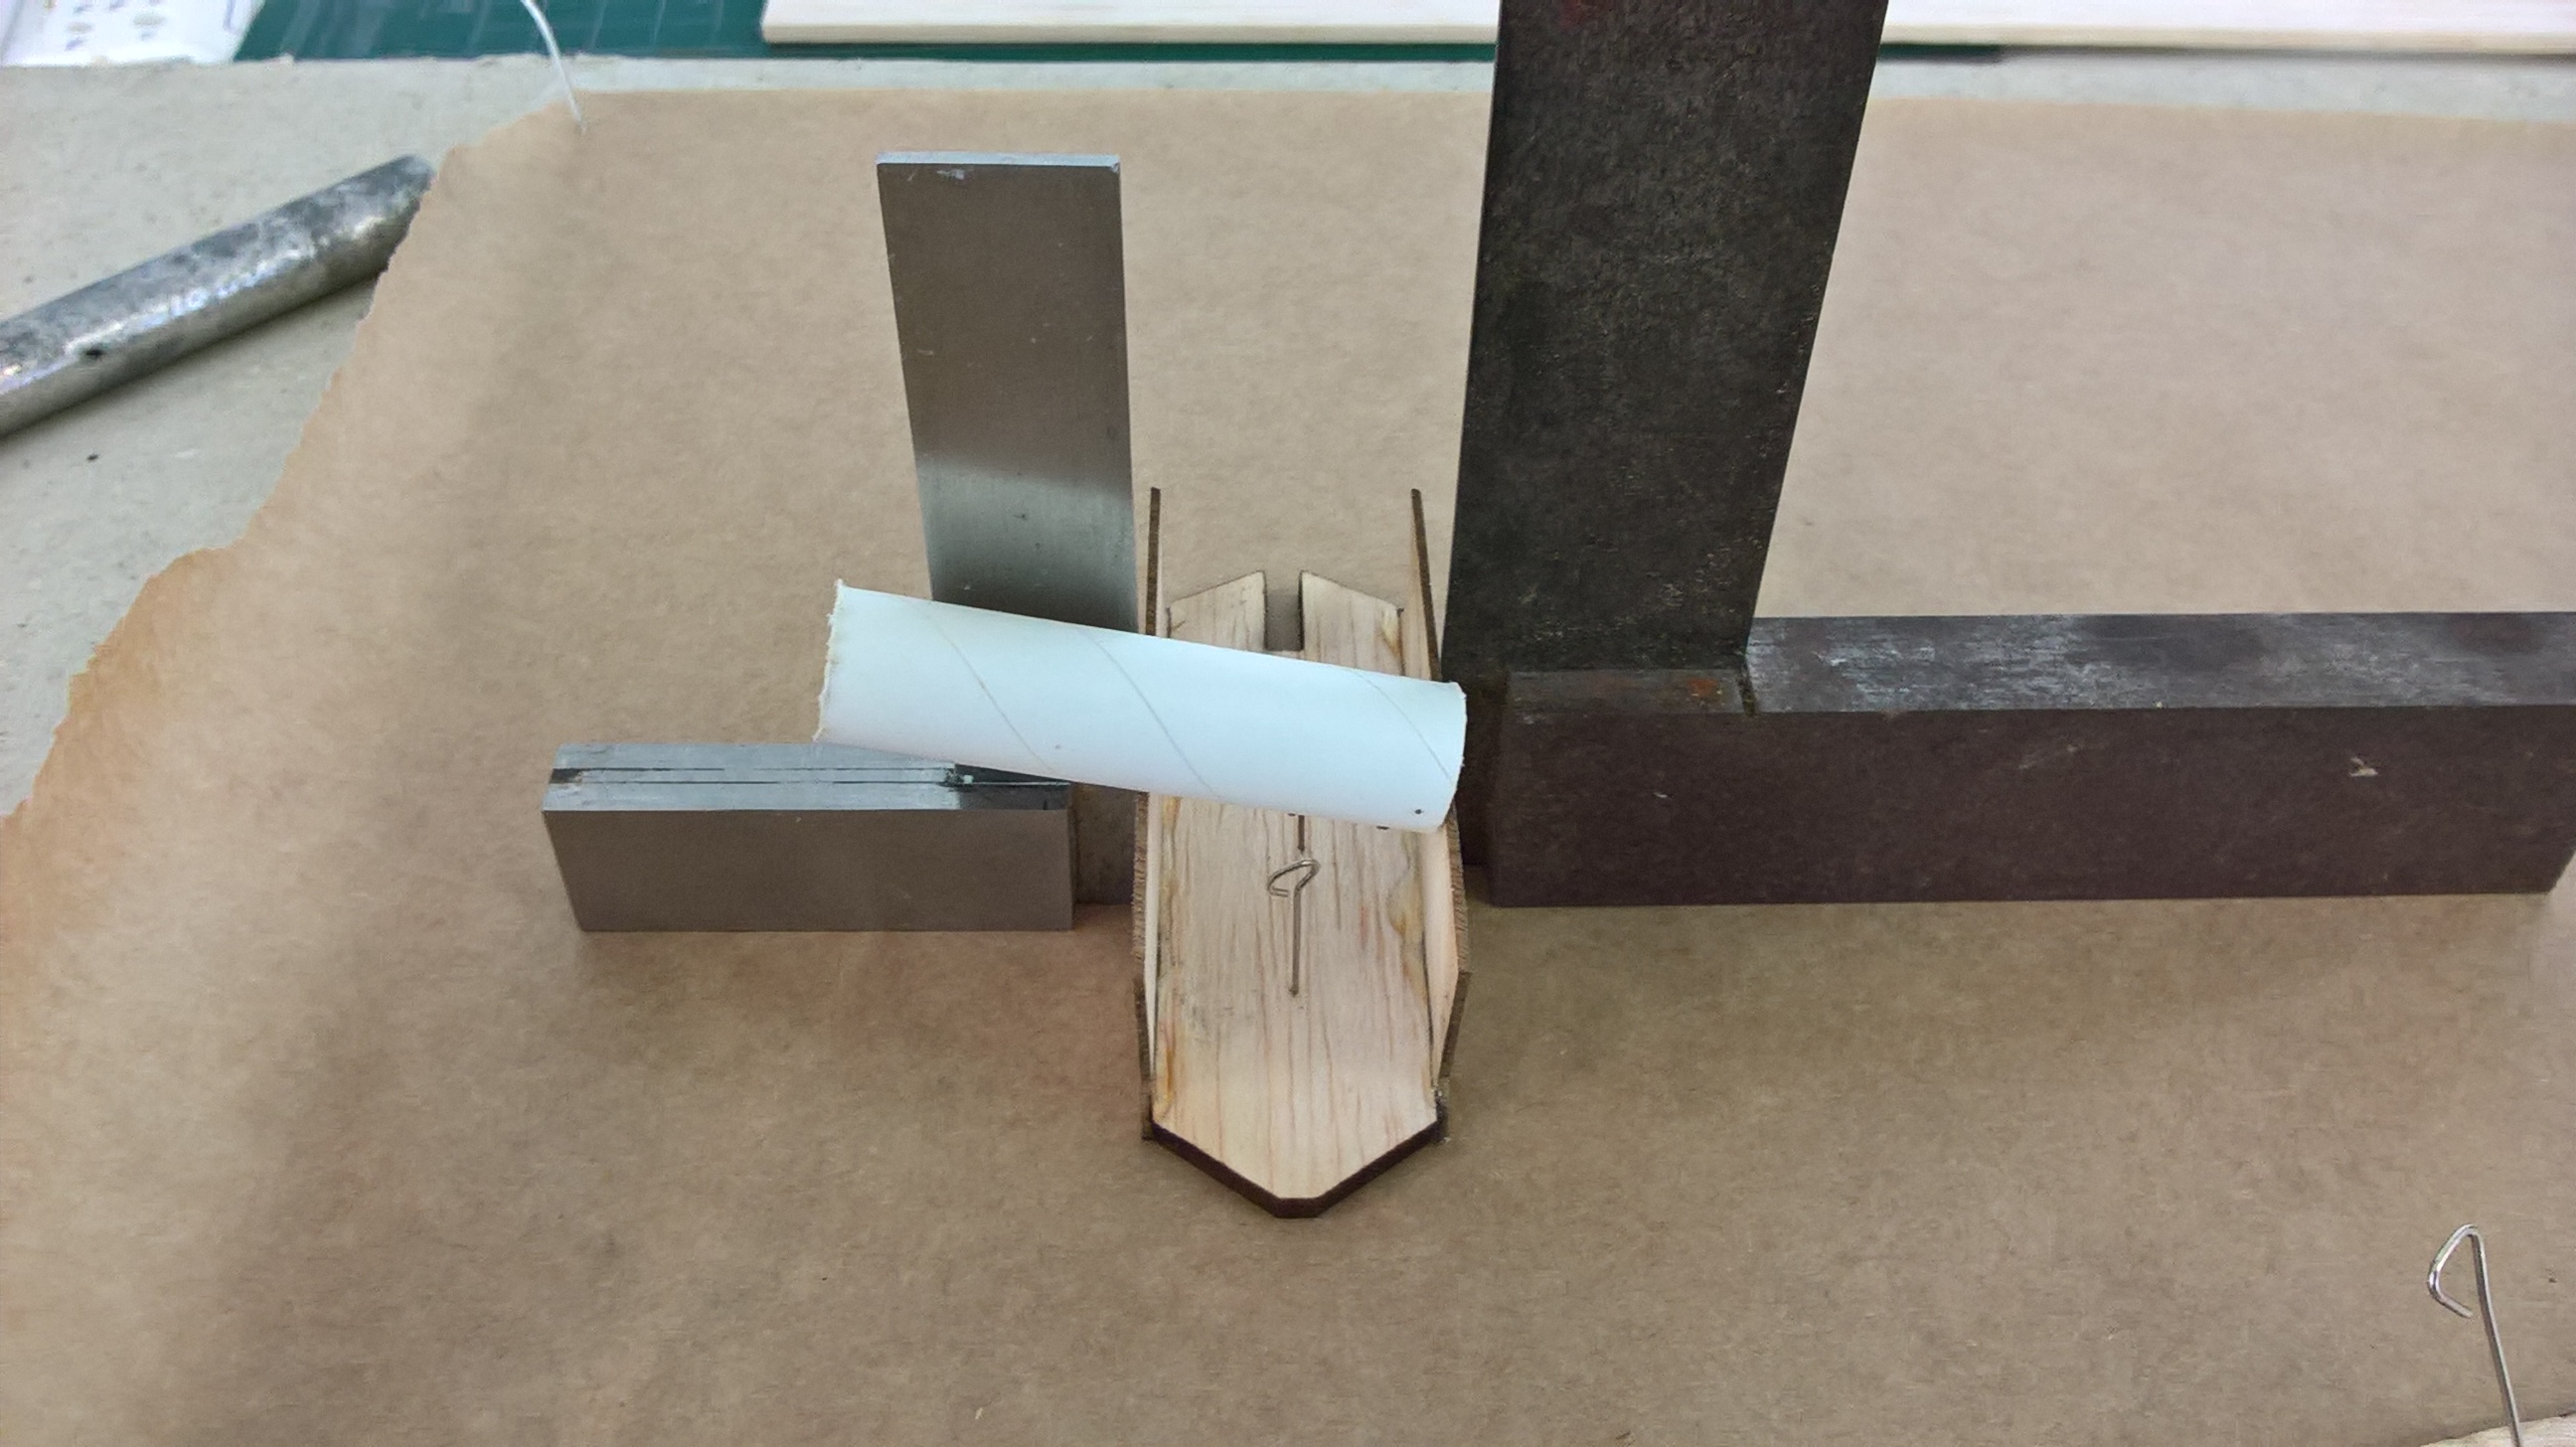
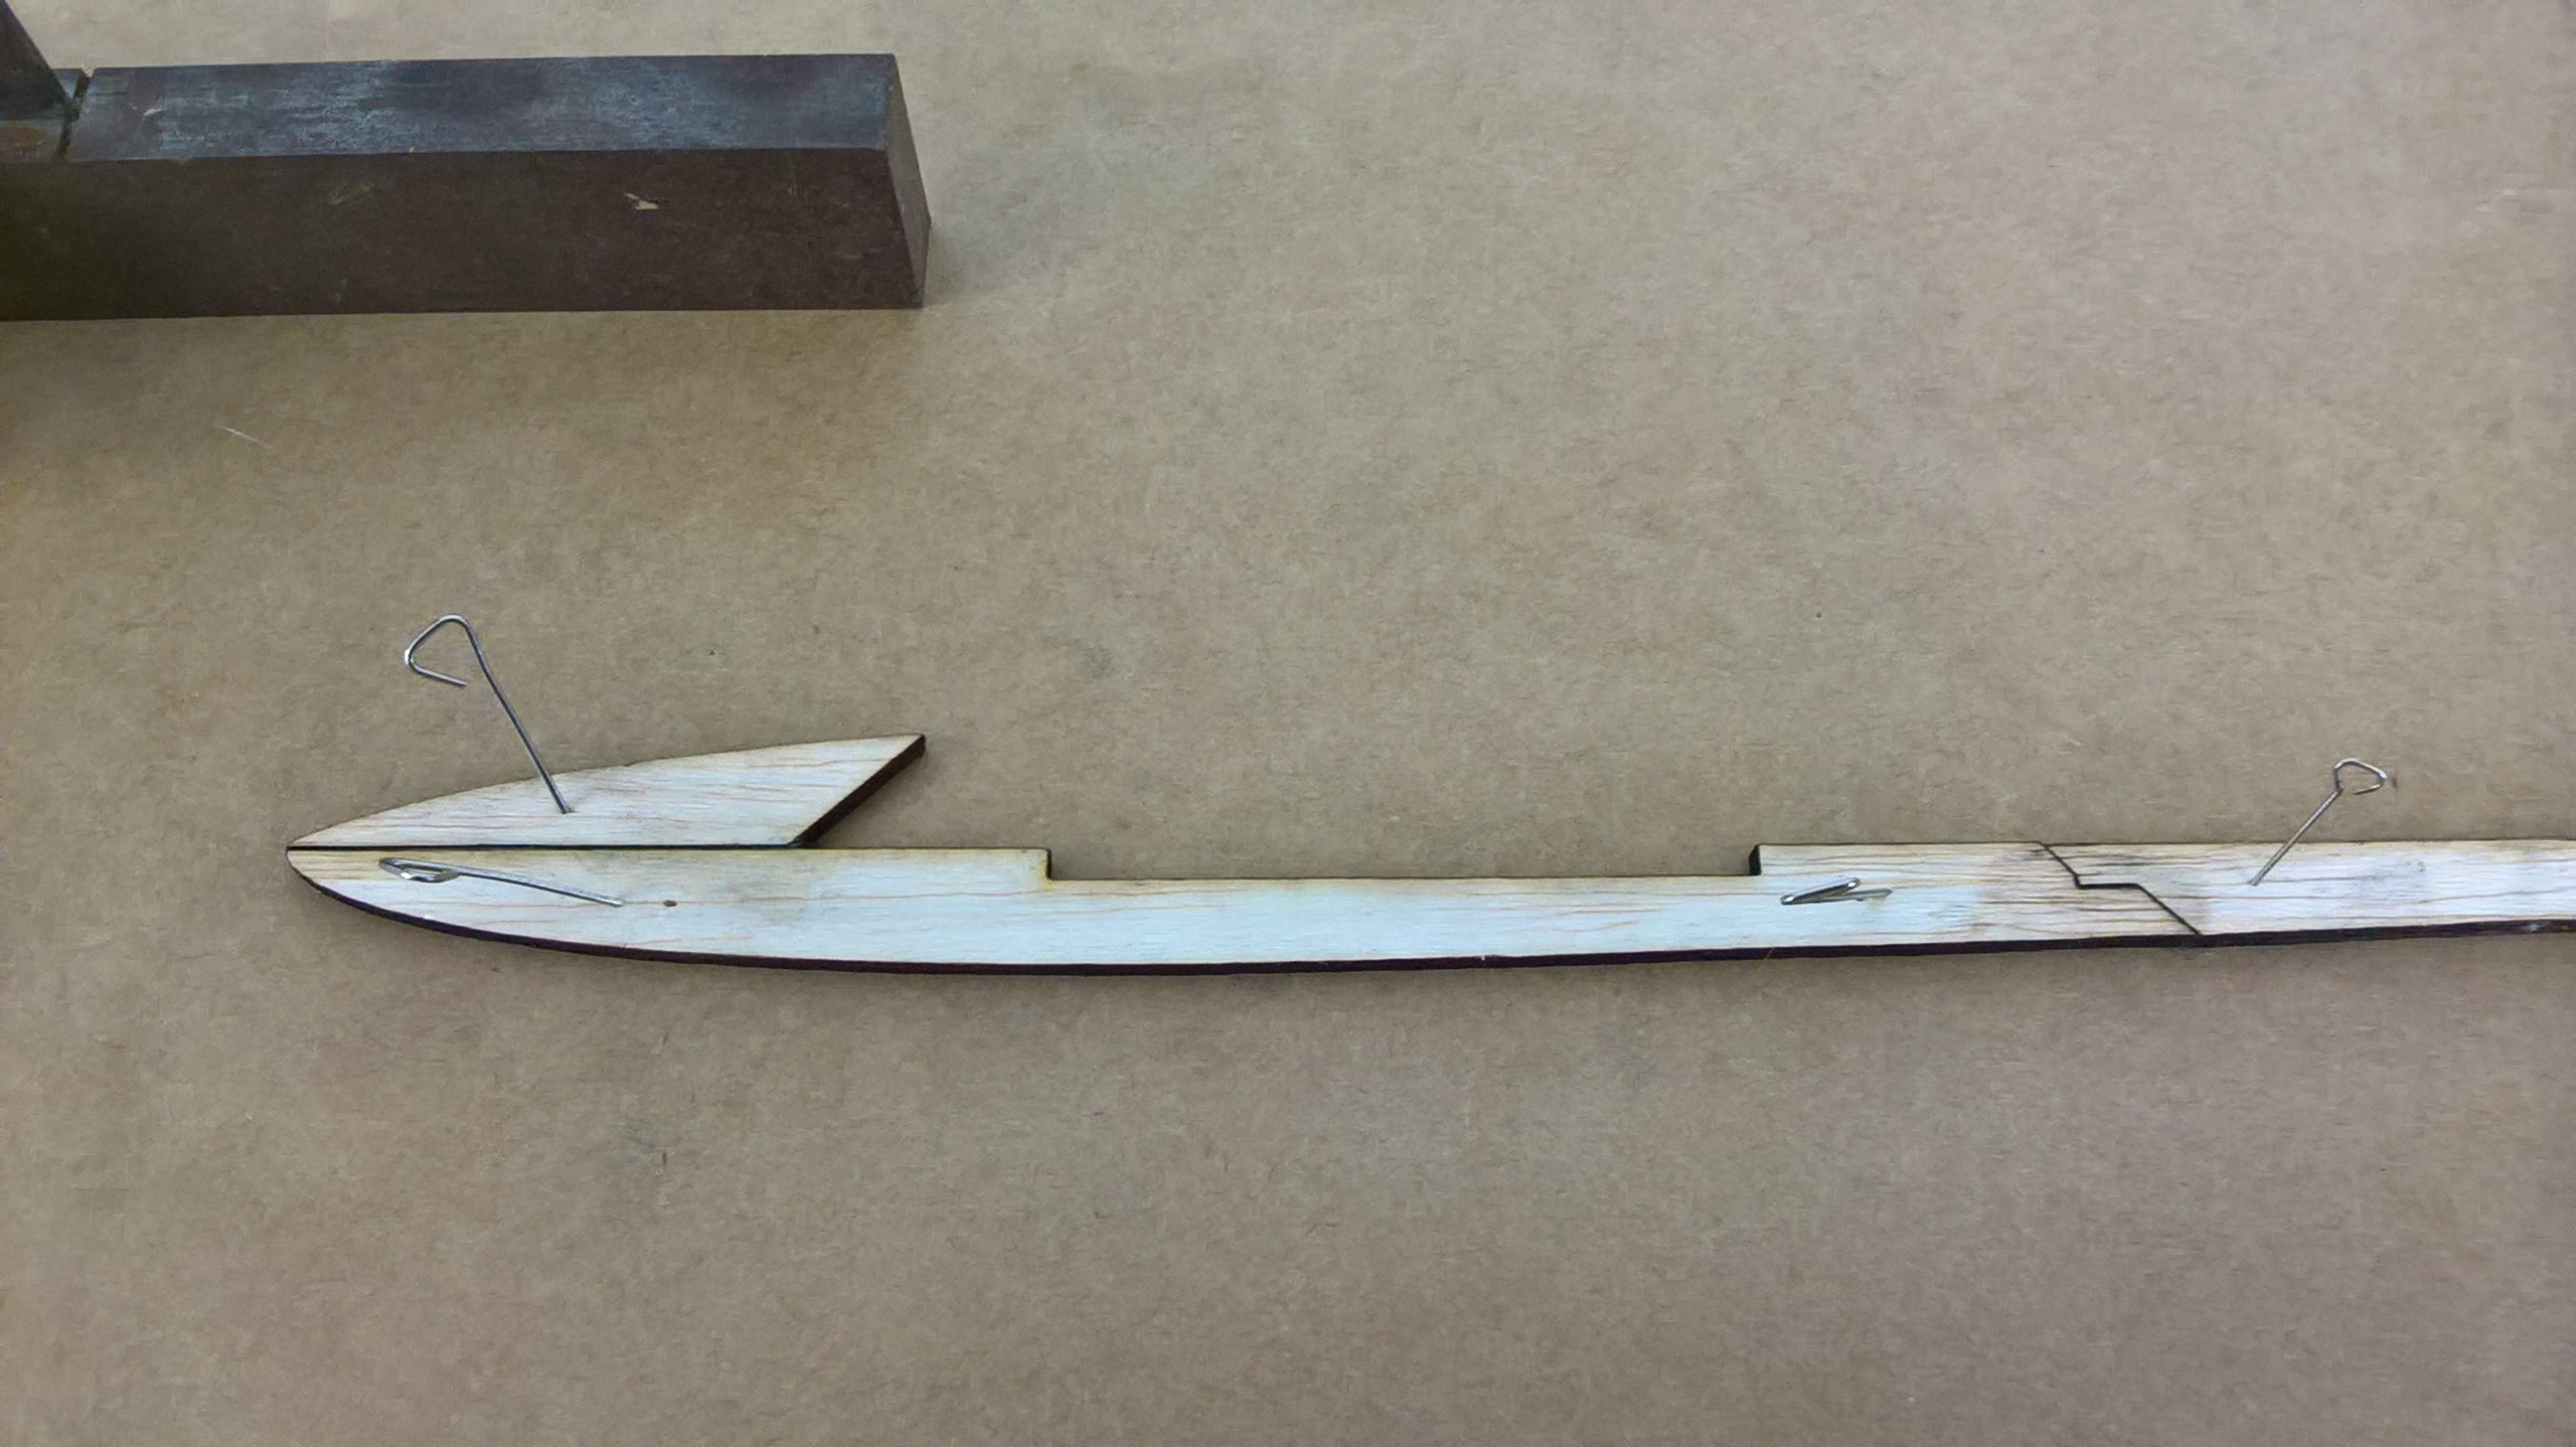
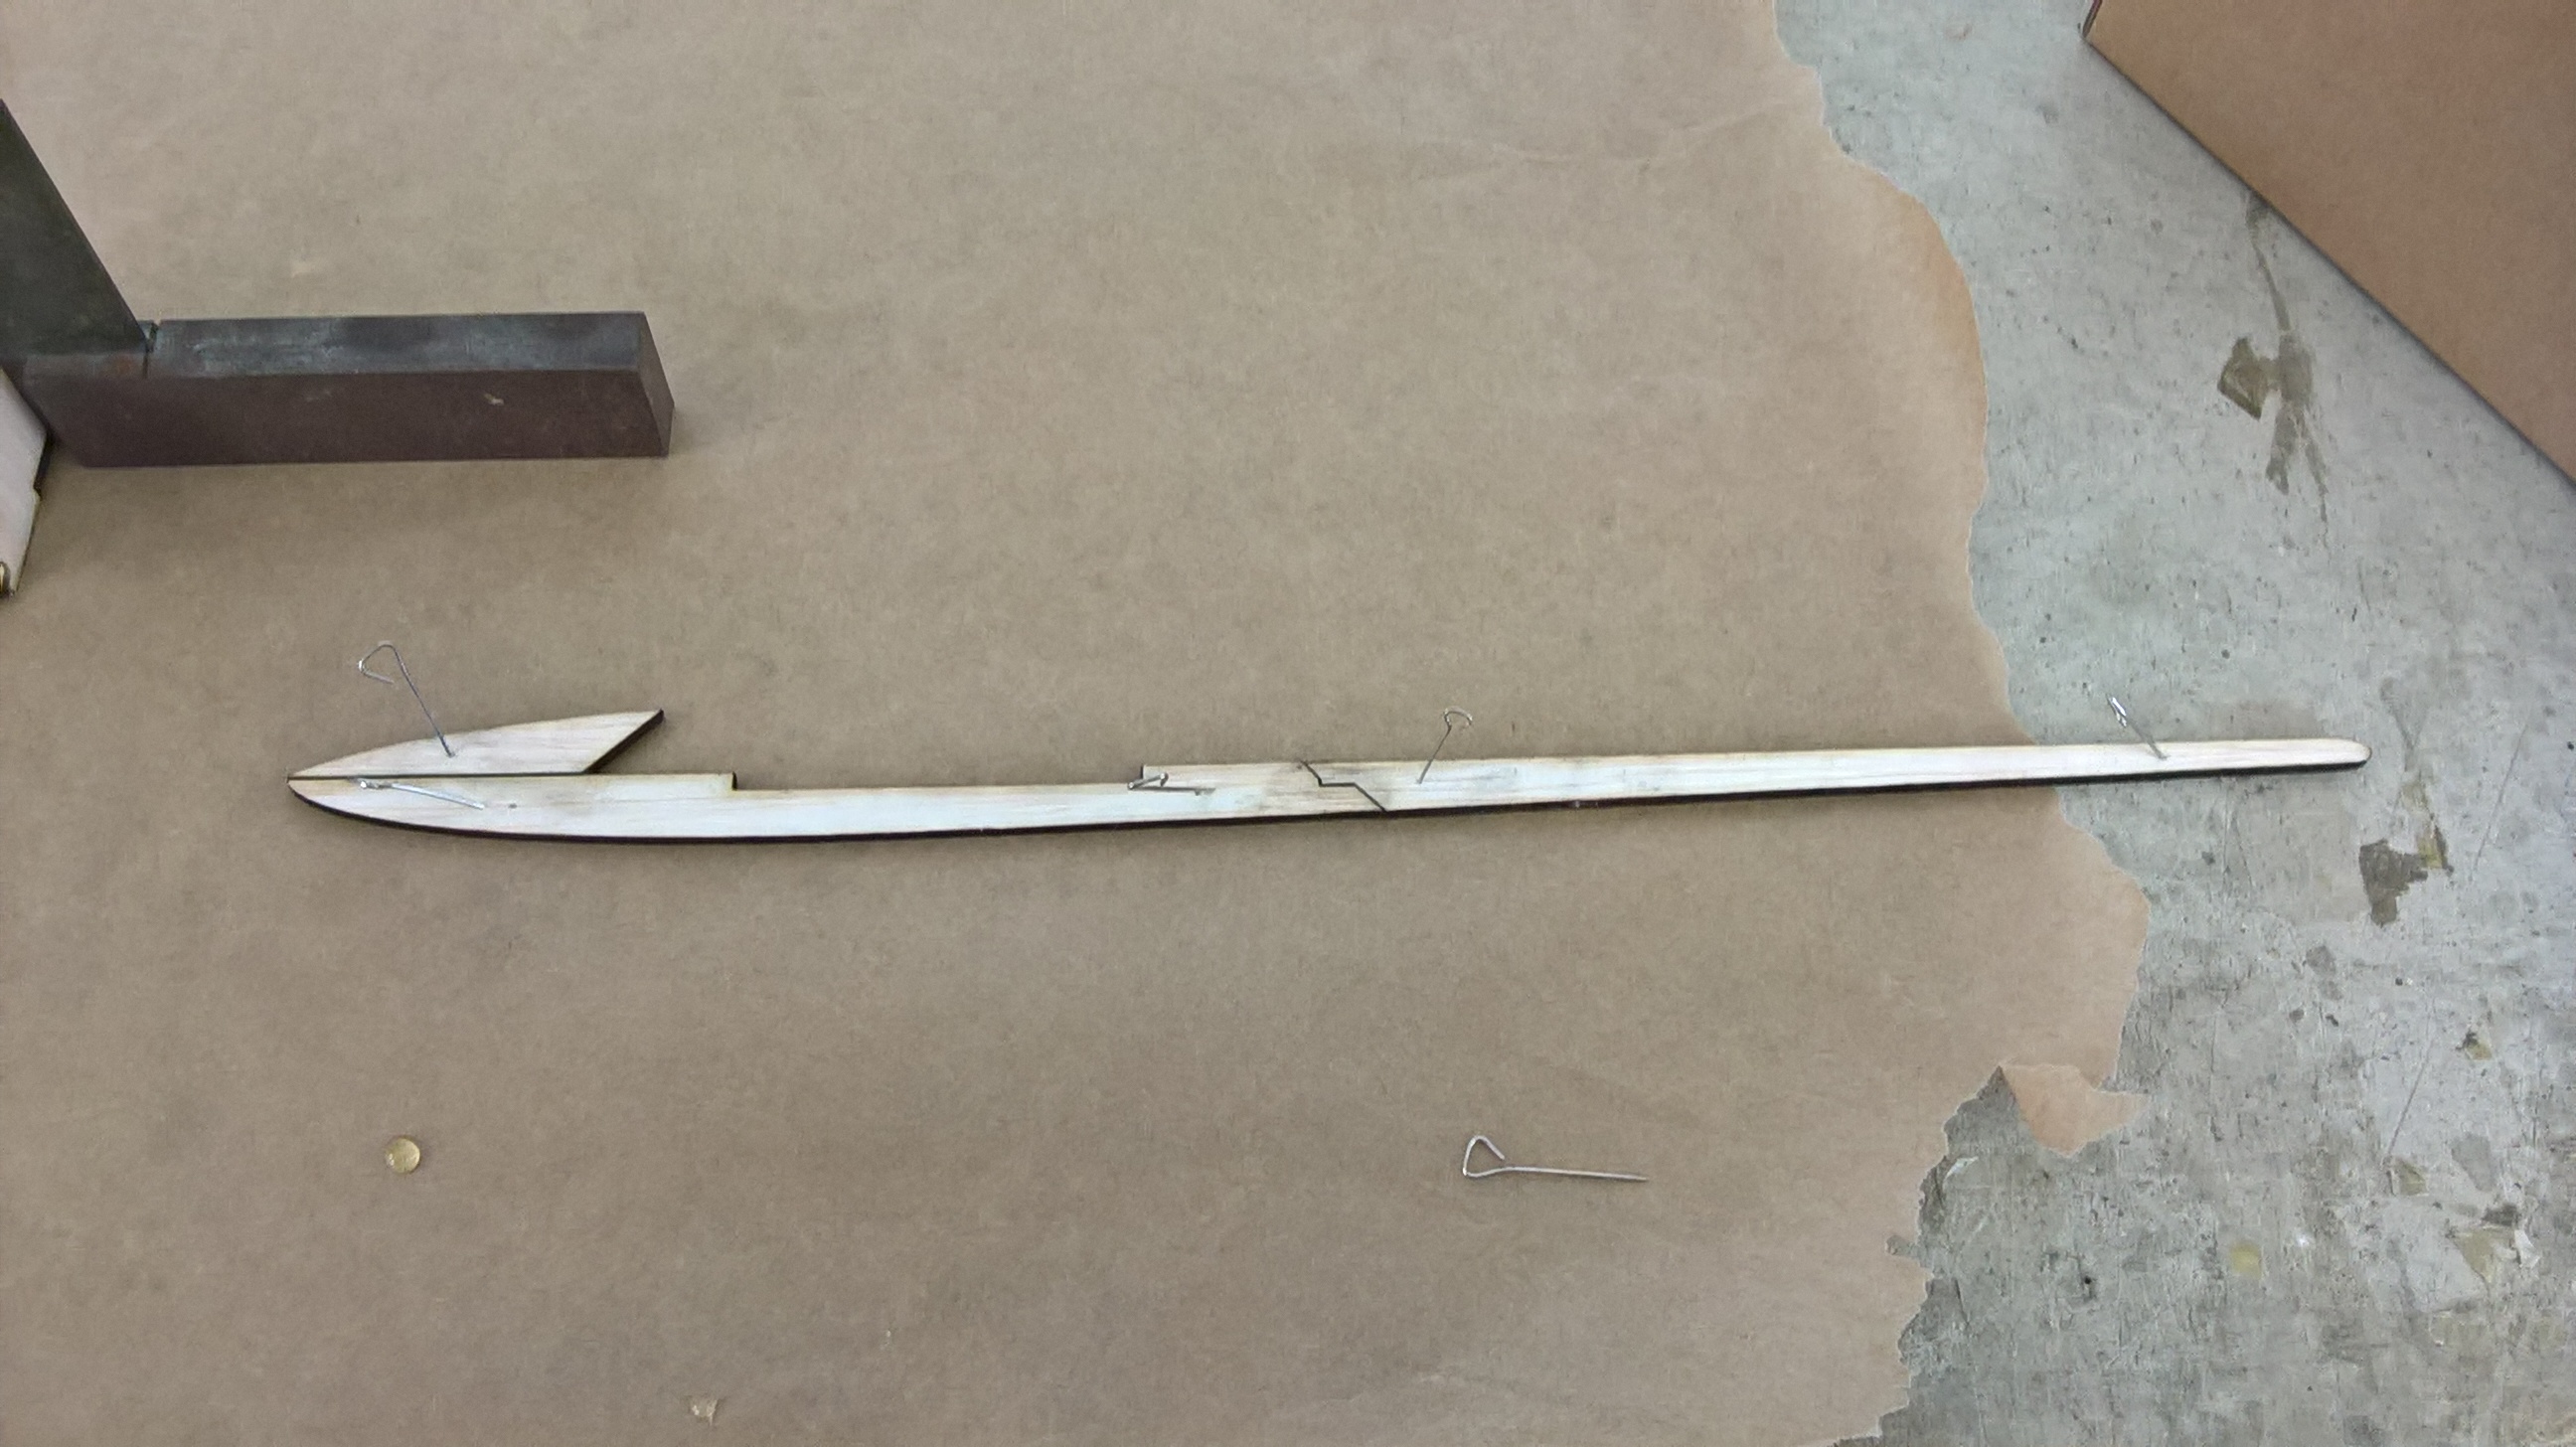
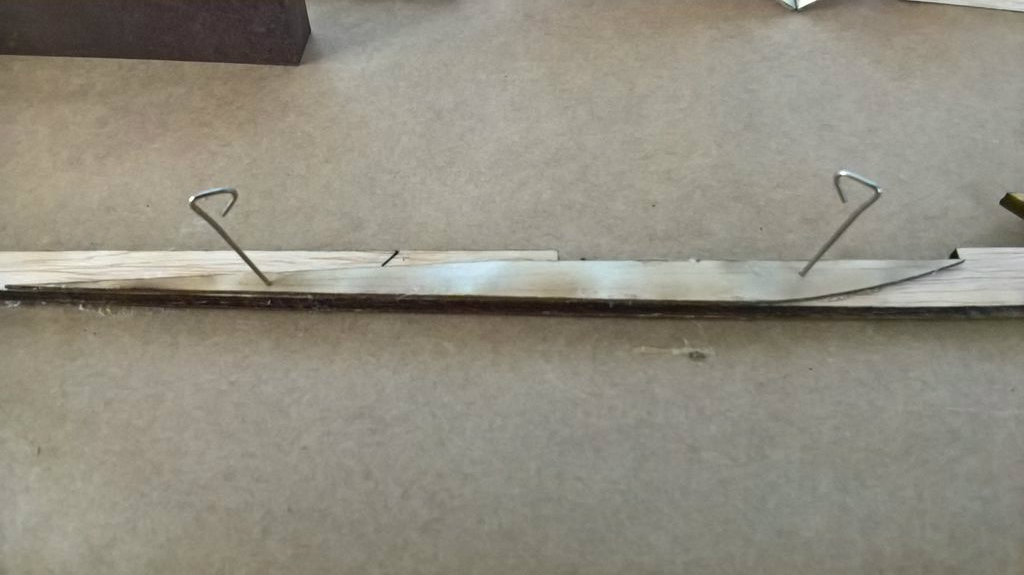
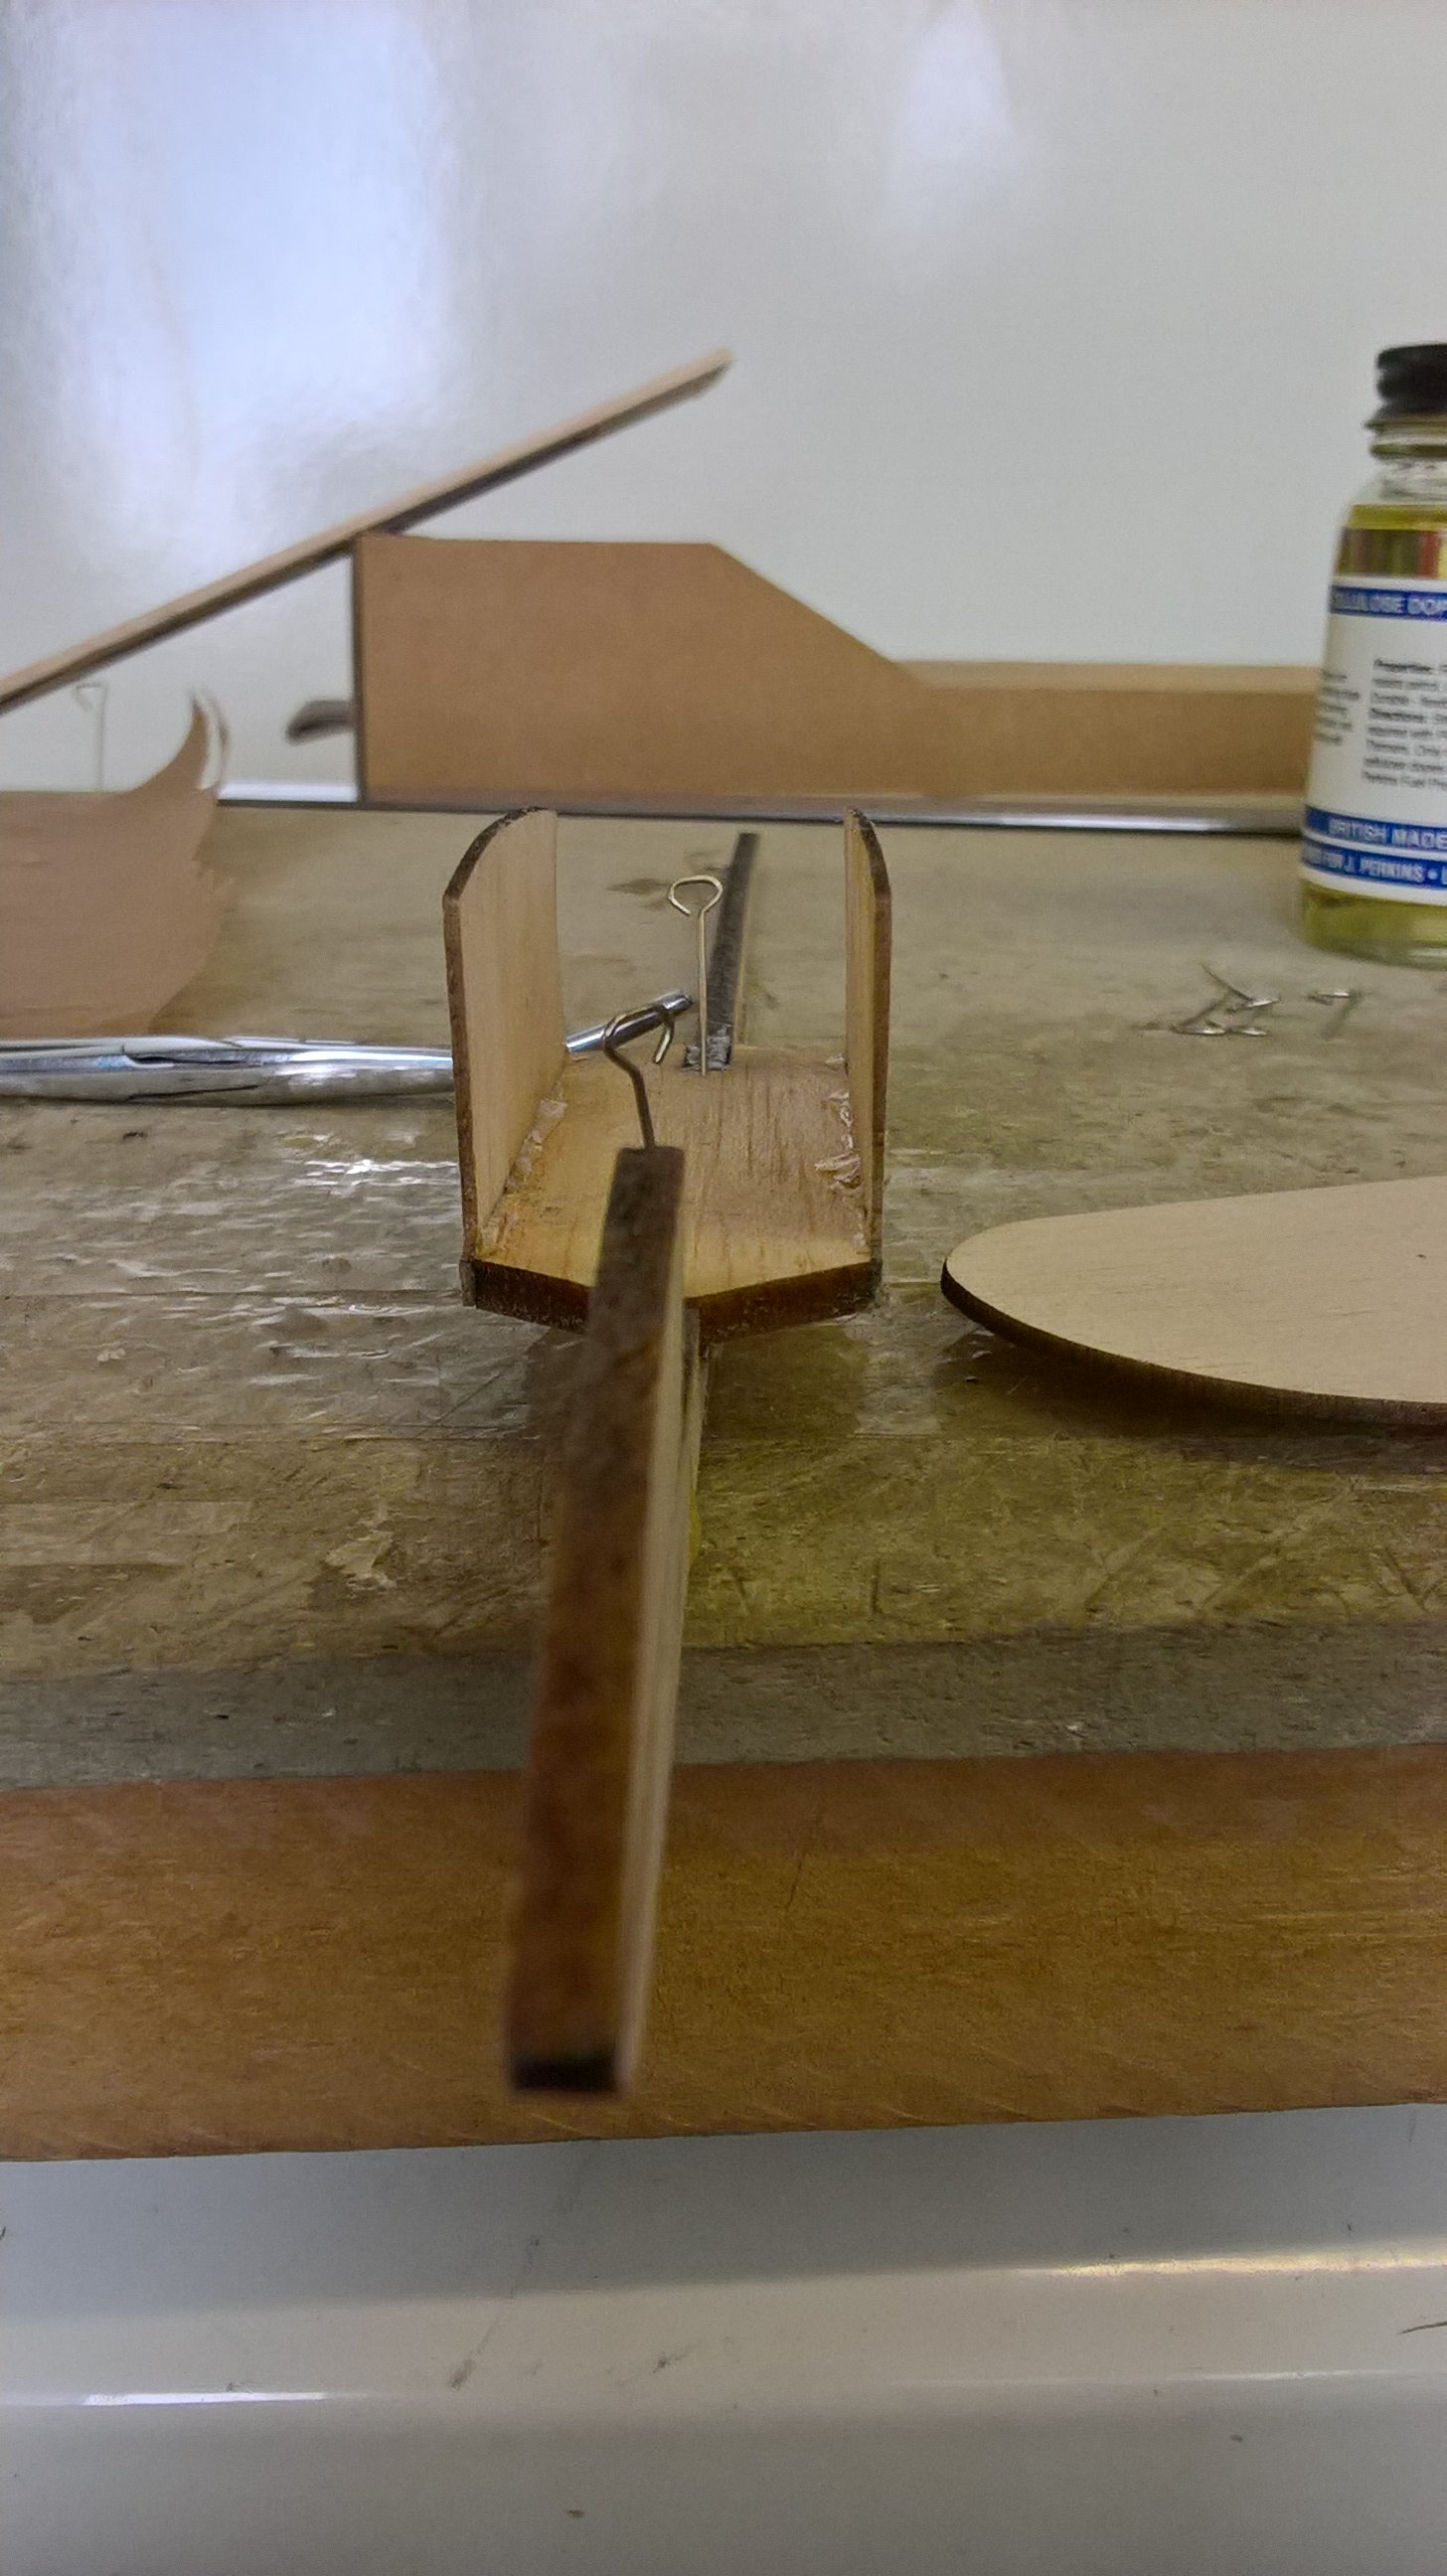
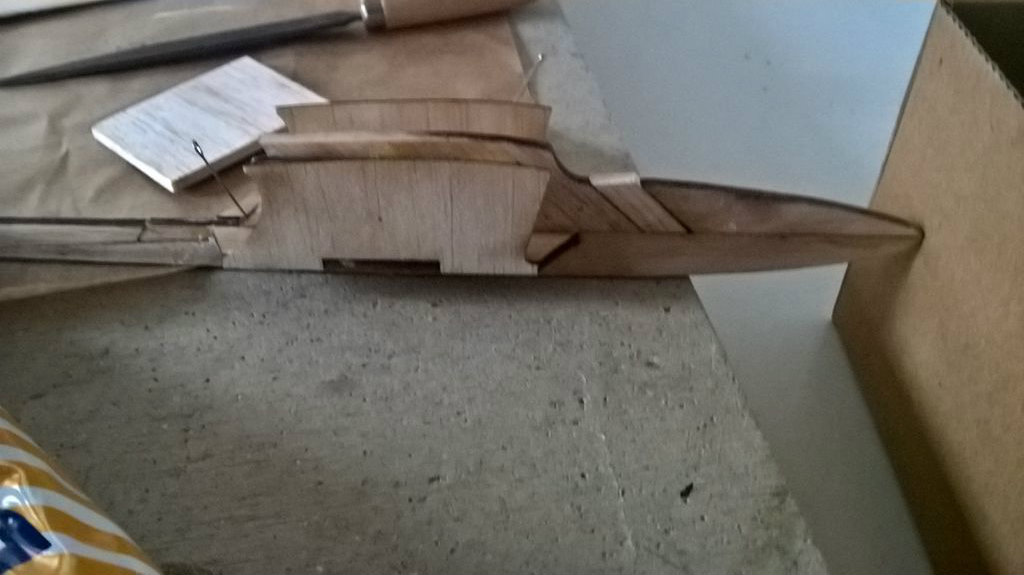
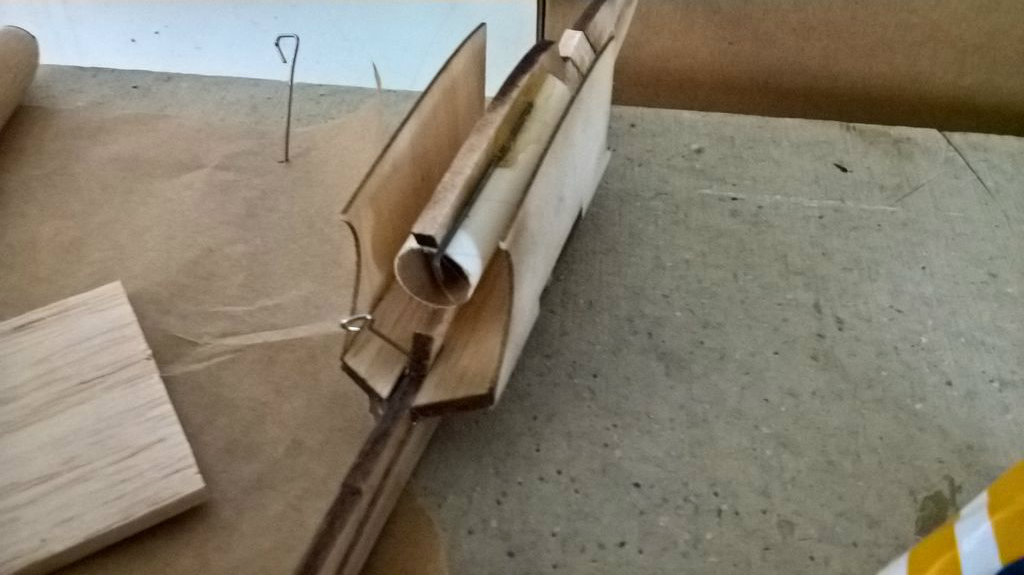
Now get out your building board and cover with wax or greaseproof paper so the parts don't stick.
- Glue the motor tube into the motor mount section
- Bend the end of a short piece of wire and glue to the motor tube/mount as a retainer for the engine
- Fix the wing mounts to the wing support, make sure they are square and the correct way round.
- Pin the 3 main parts of the body down to keep flat and glue together
- When dry glue the first side brace on and again when dry turn over and glue the second one on.
- Glue the completed wing platform to the body making sure everything is square.
- Glue the motor mount to the main body, making sure it is inline with the wing supports but should be slightly lower.
Putting It All Together - Wings and Tail

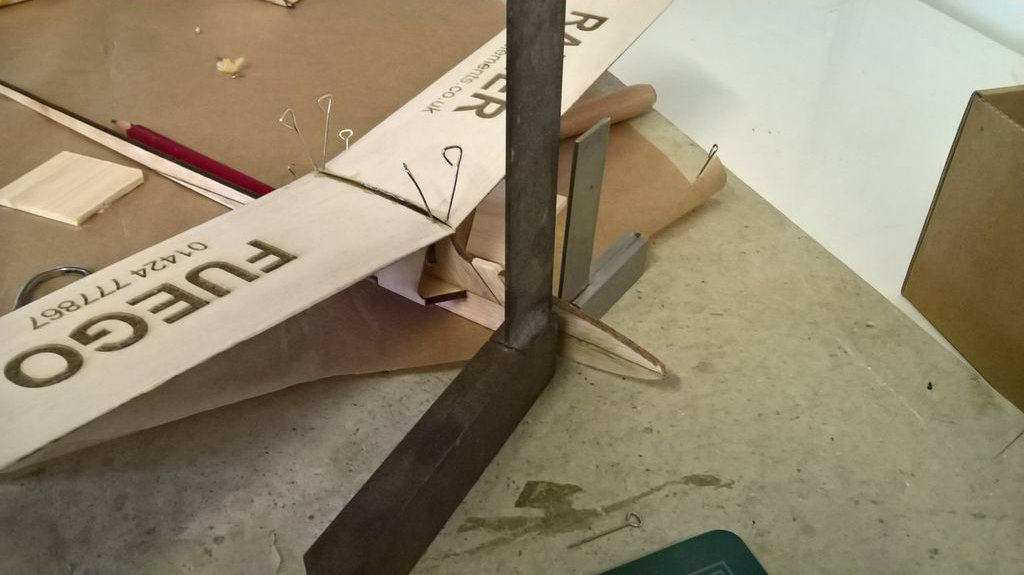
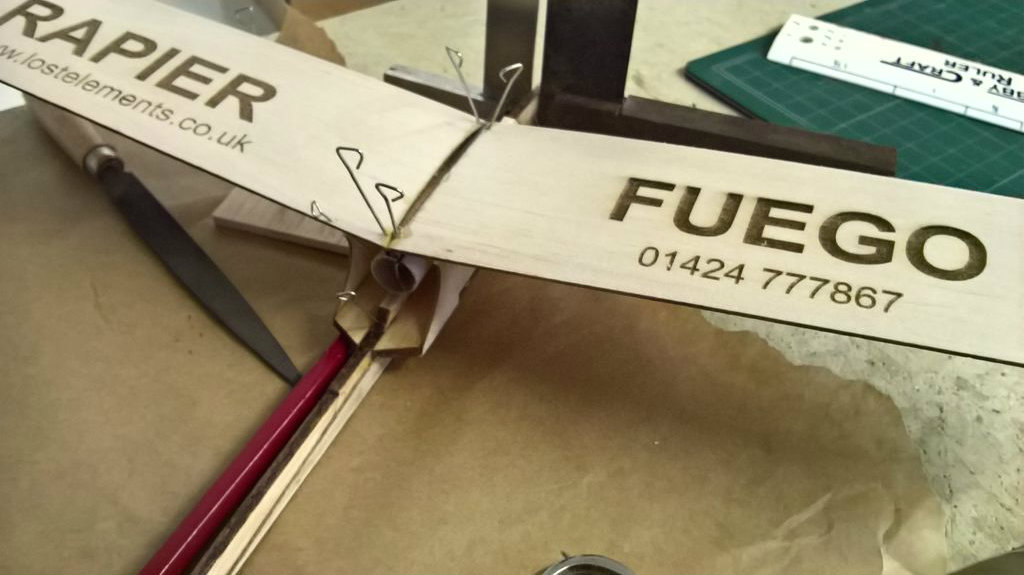
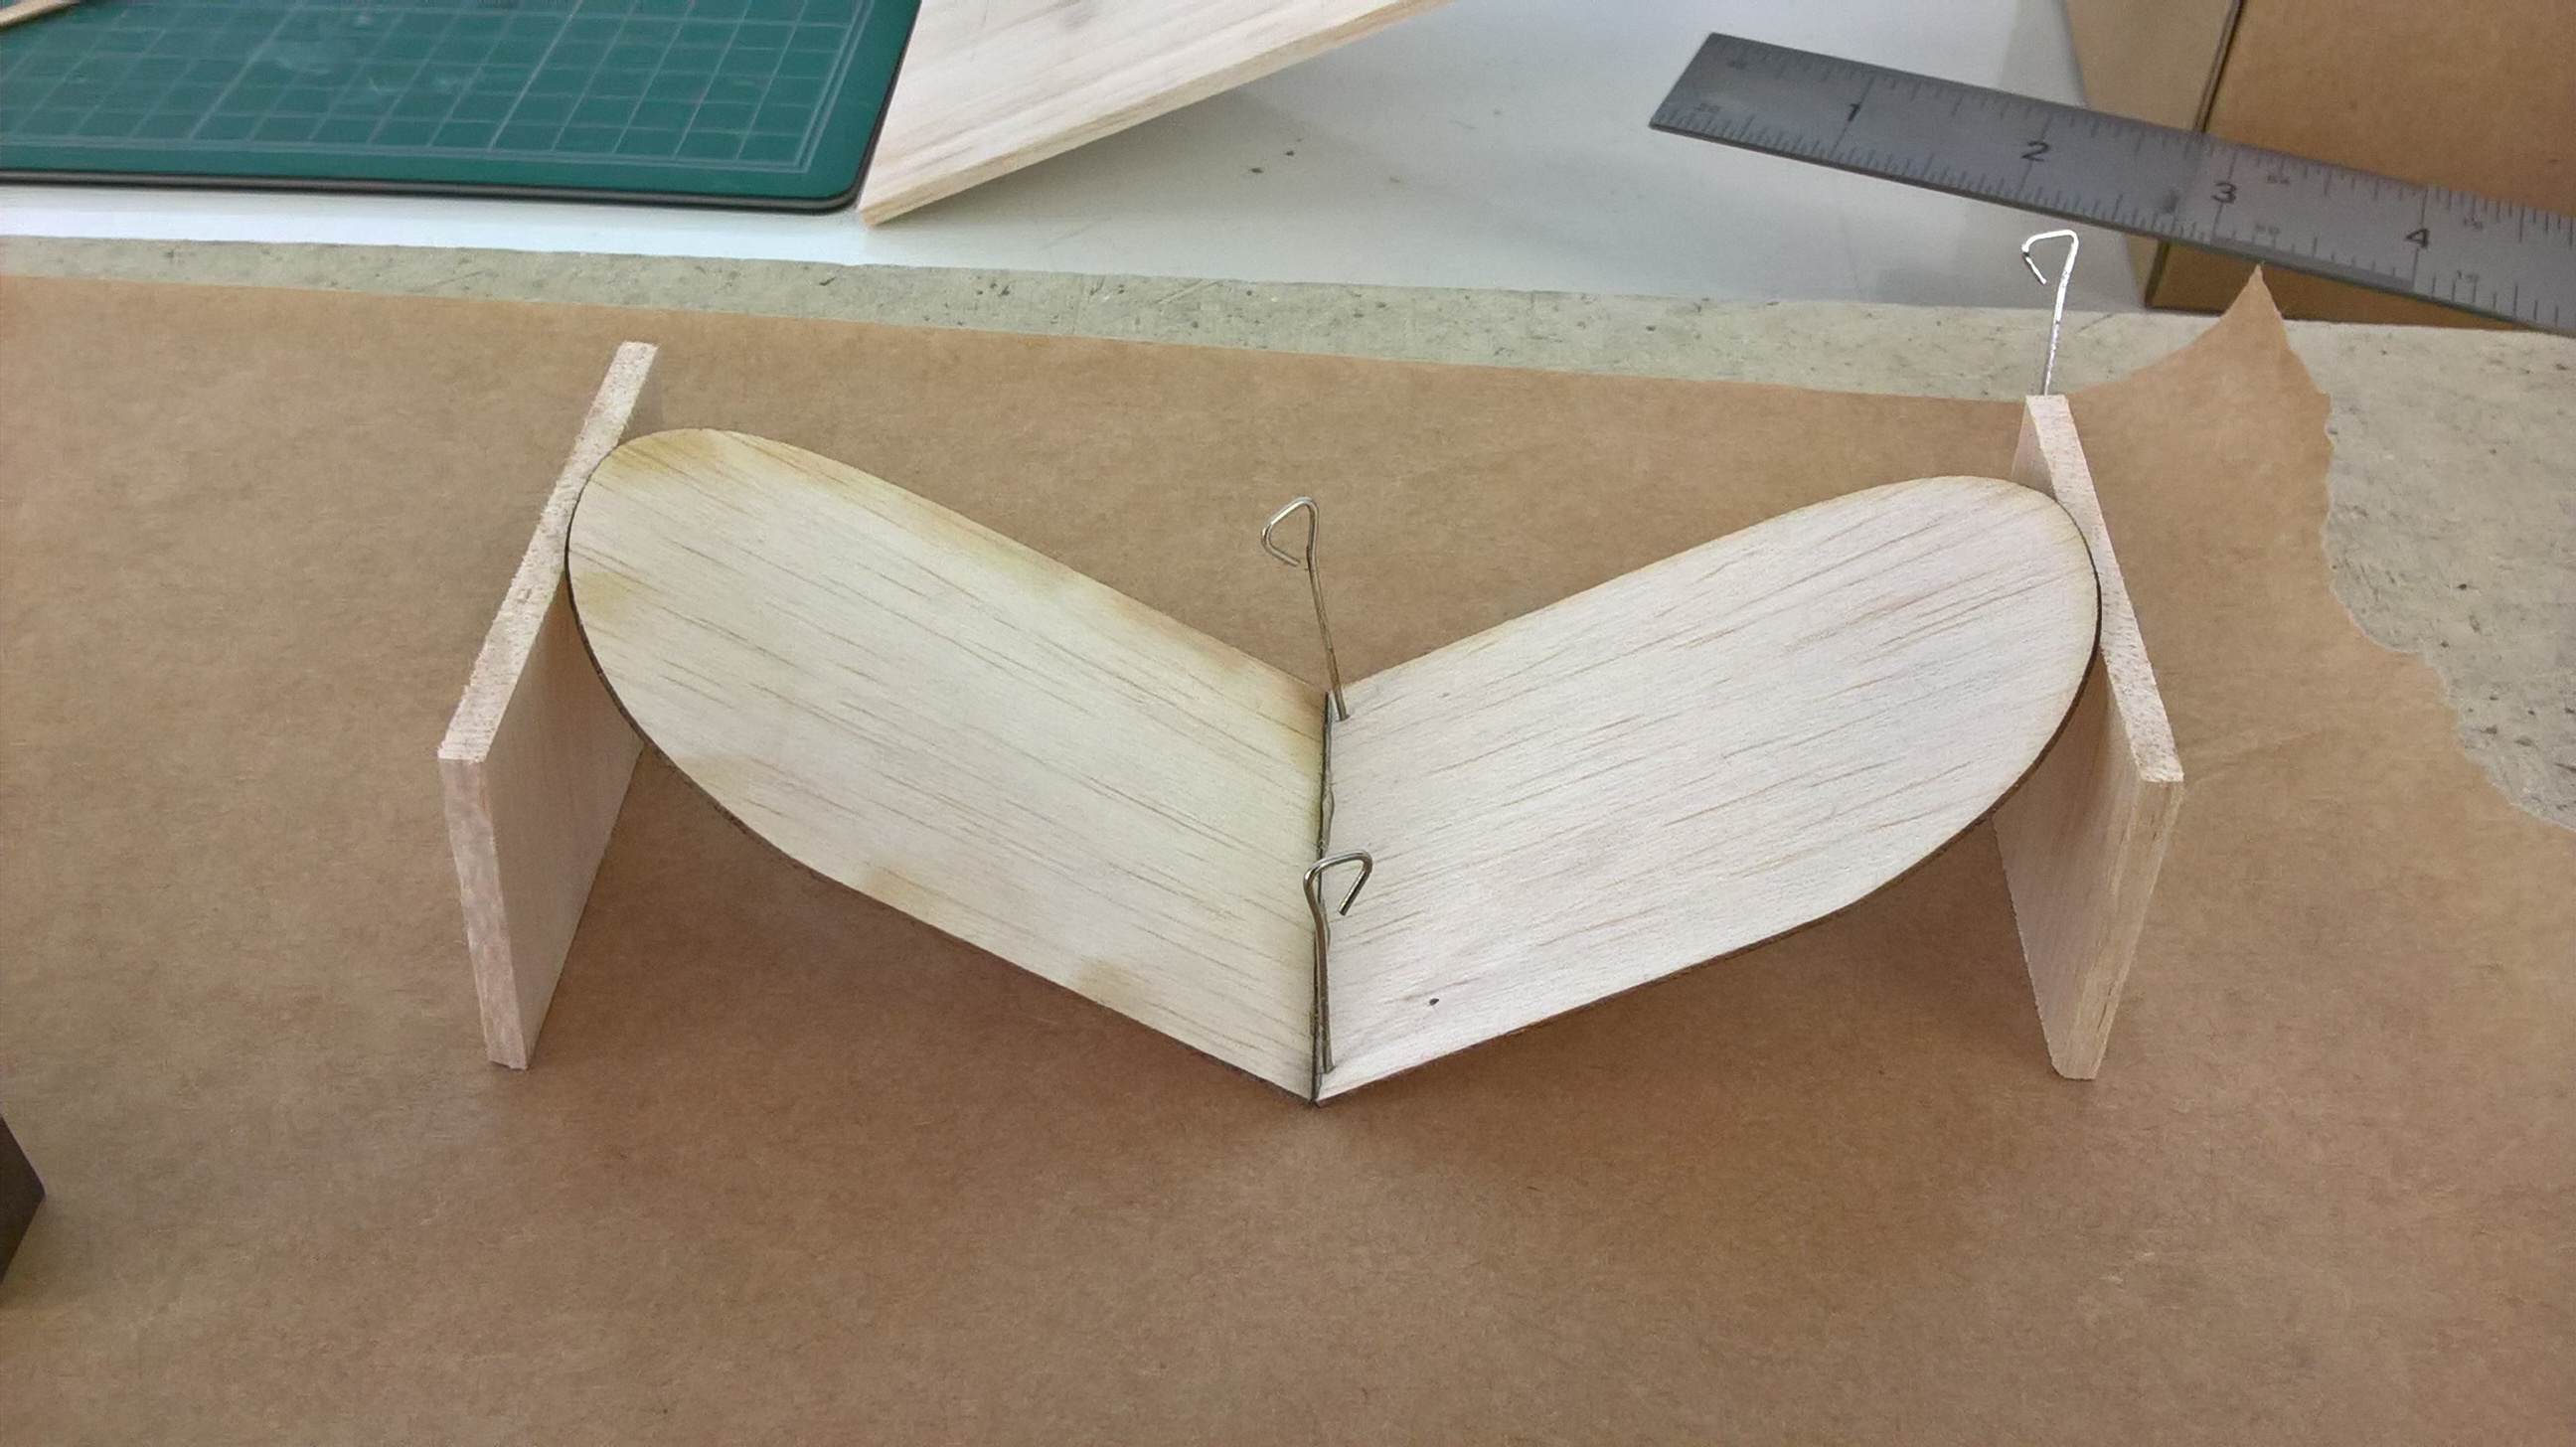
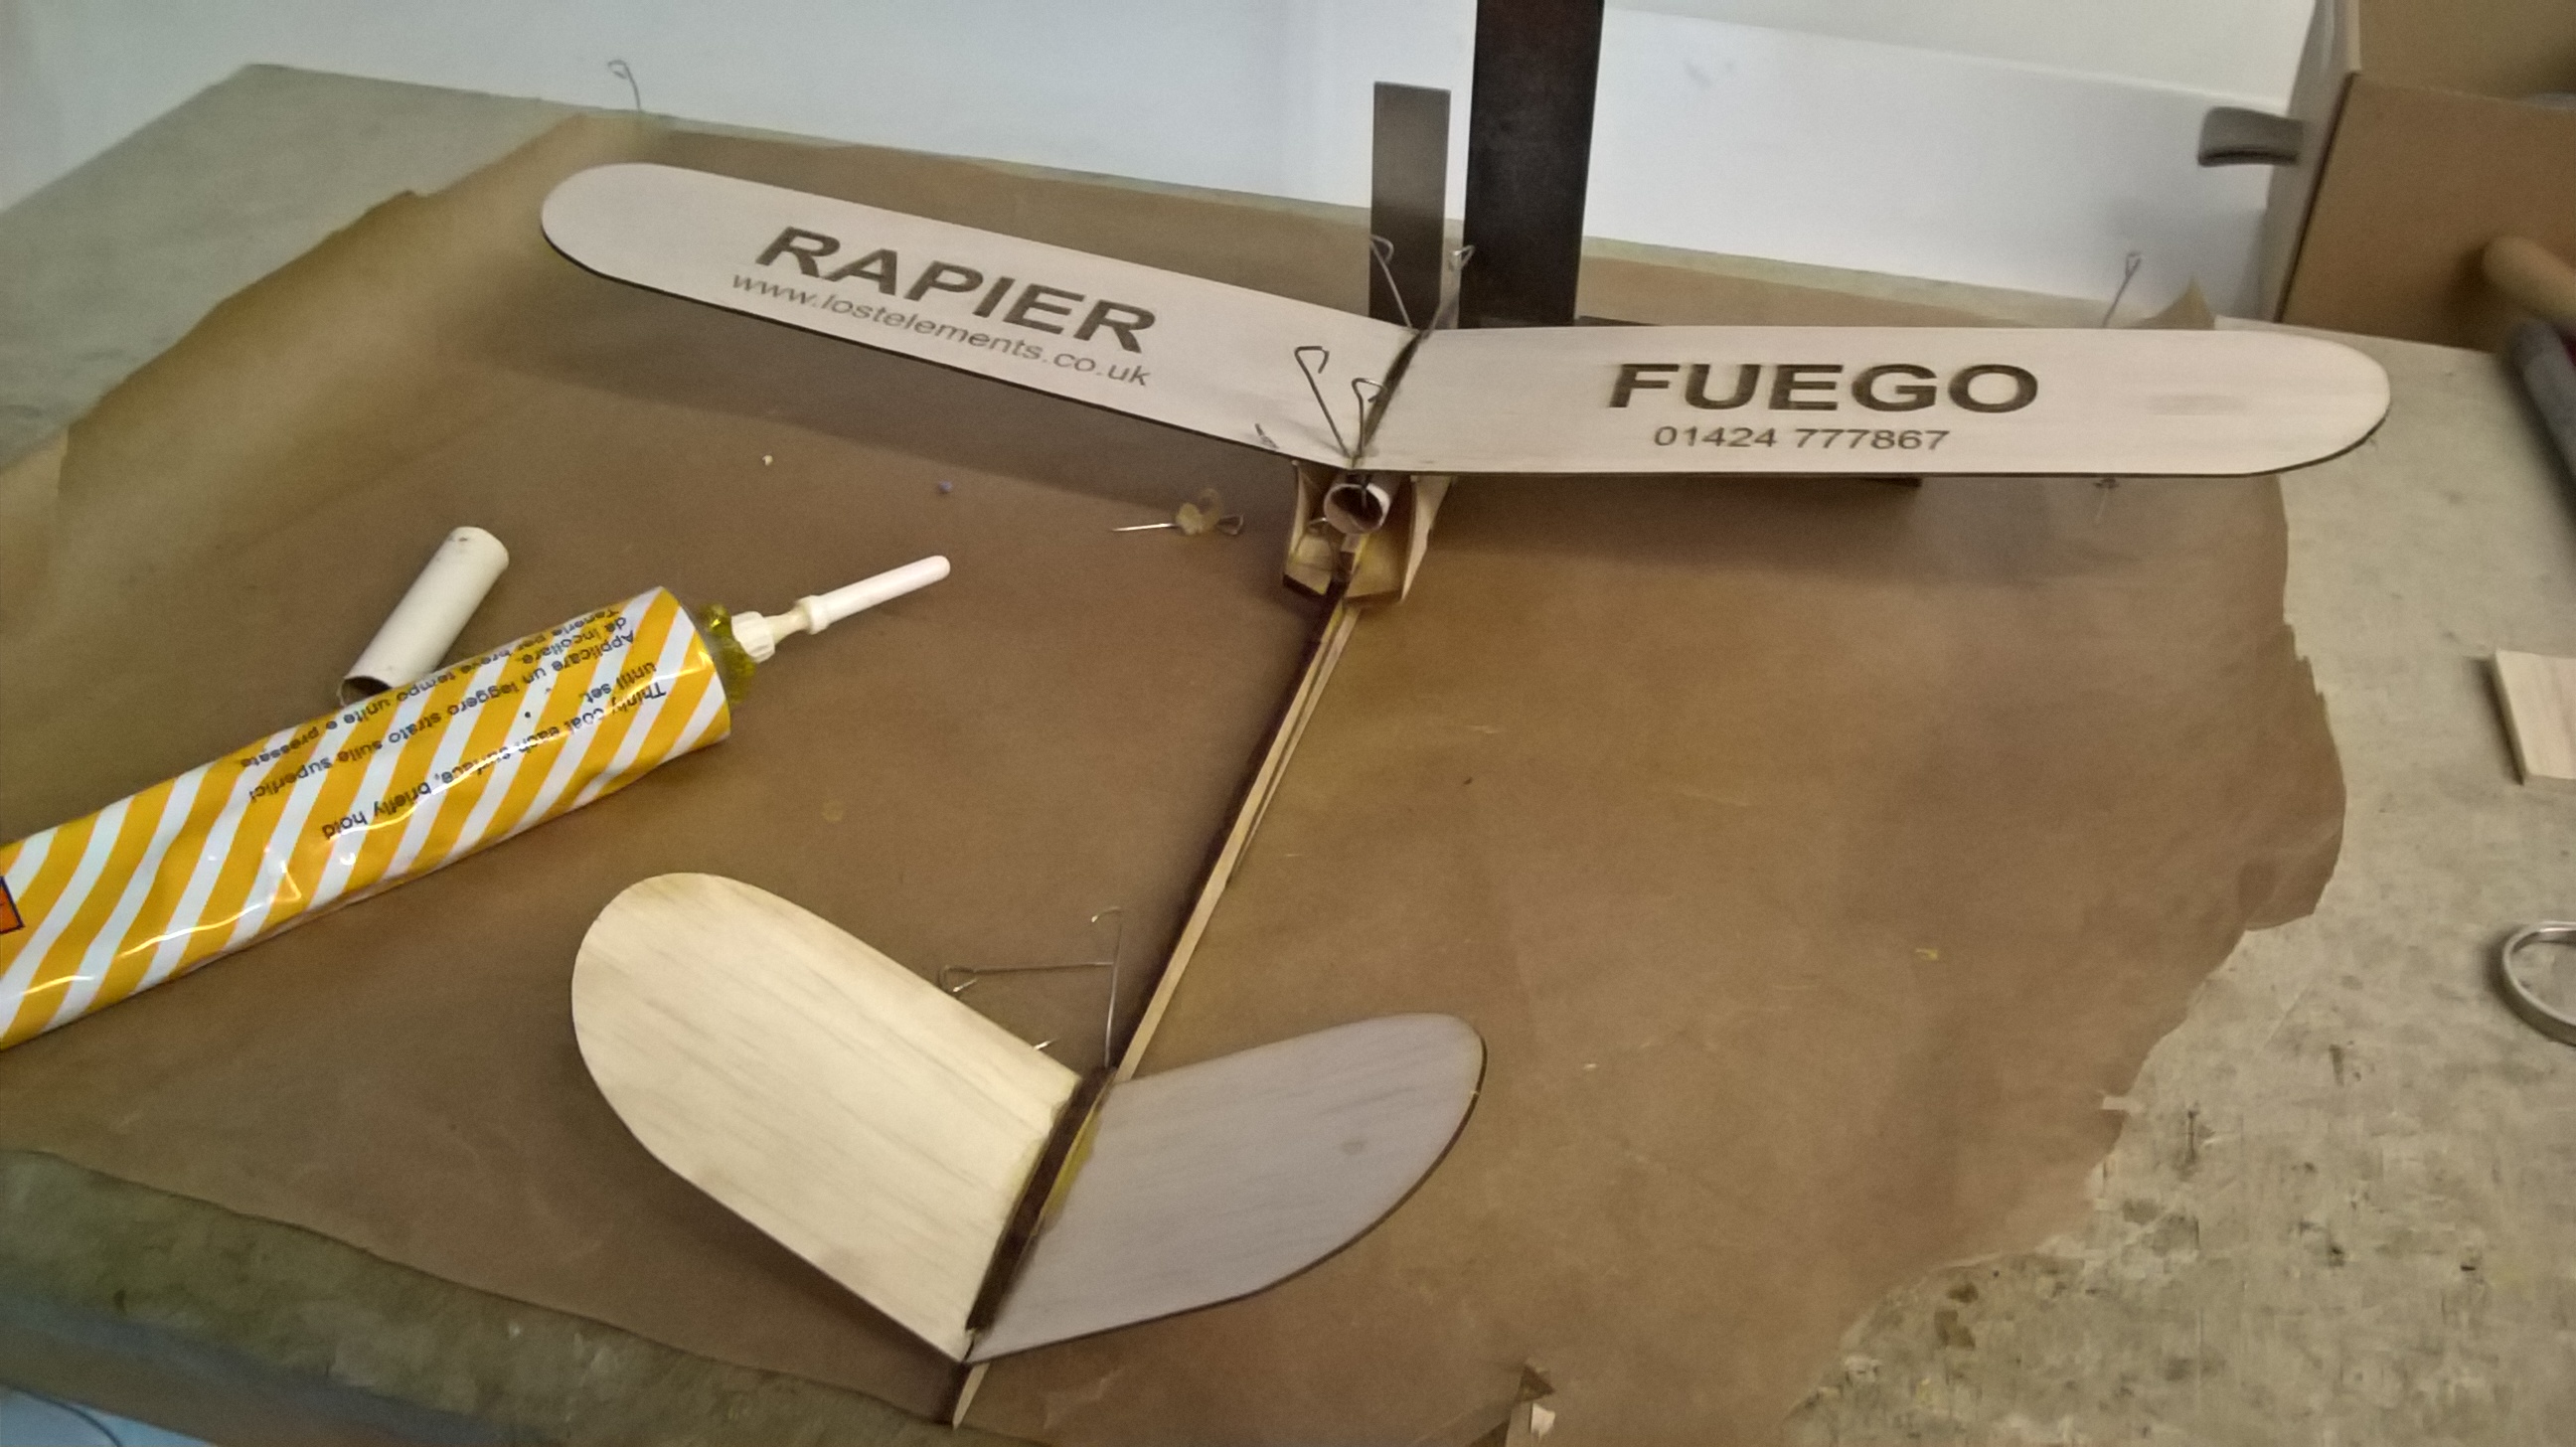
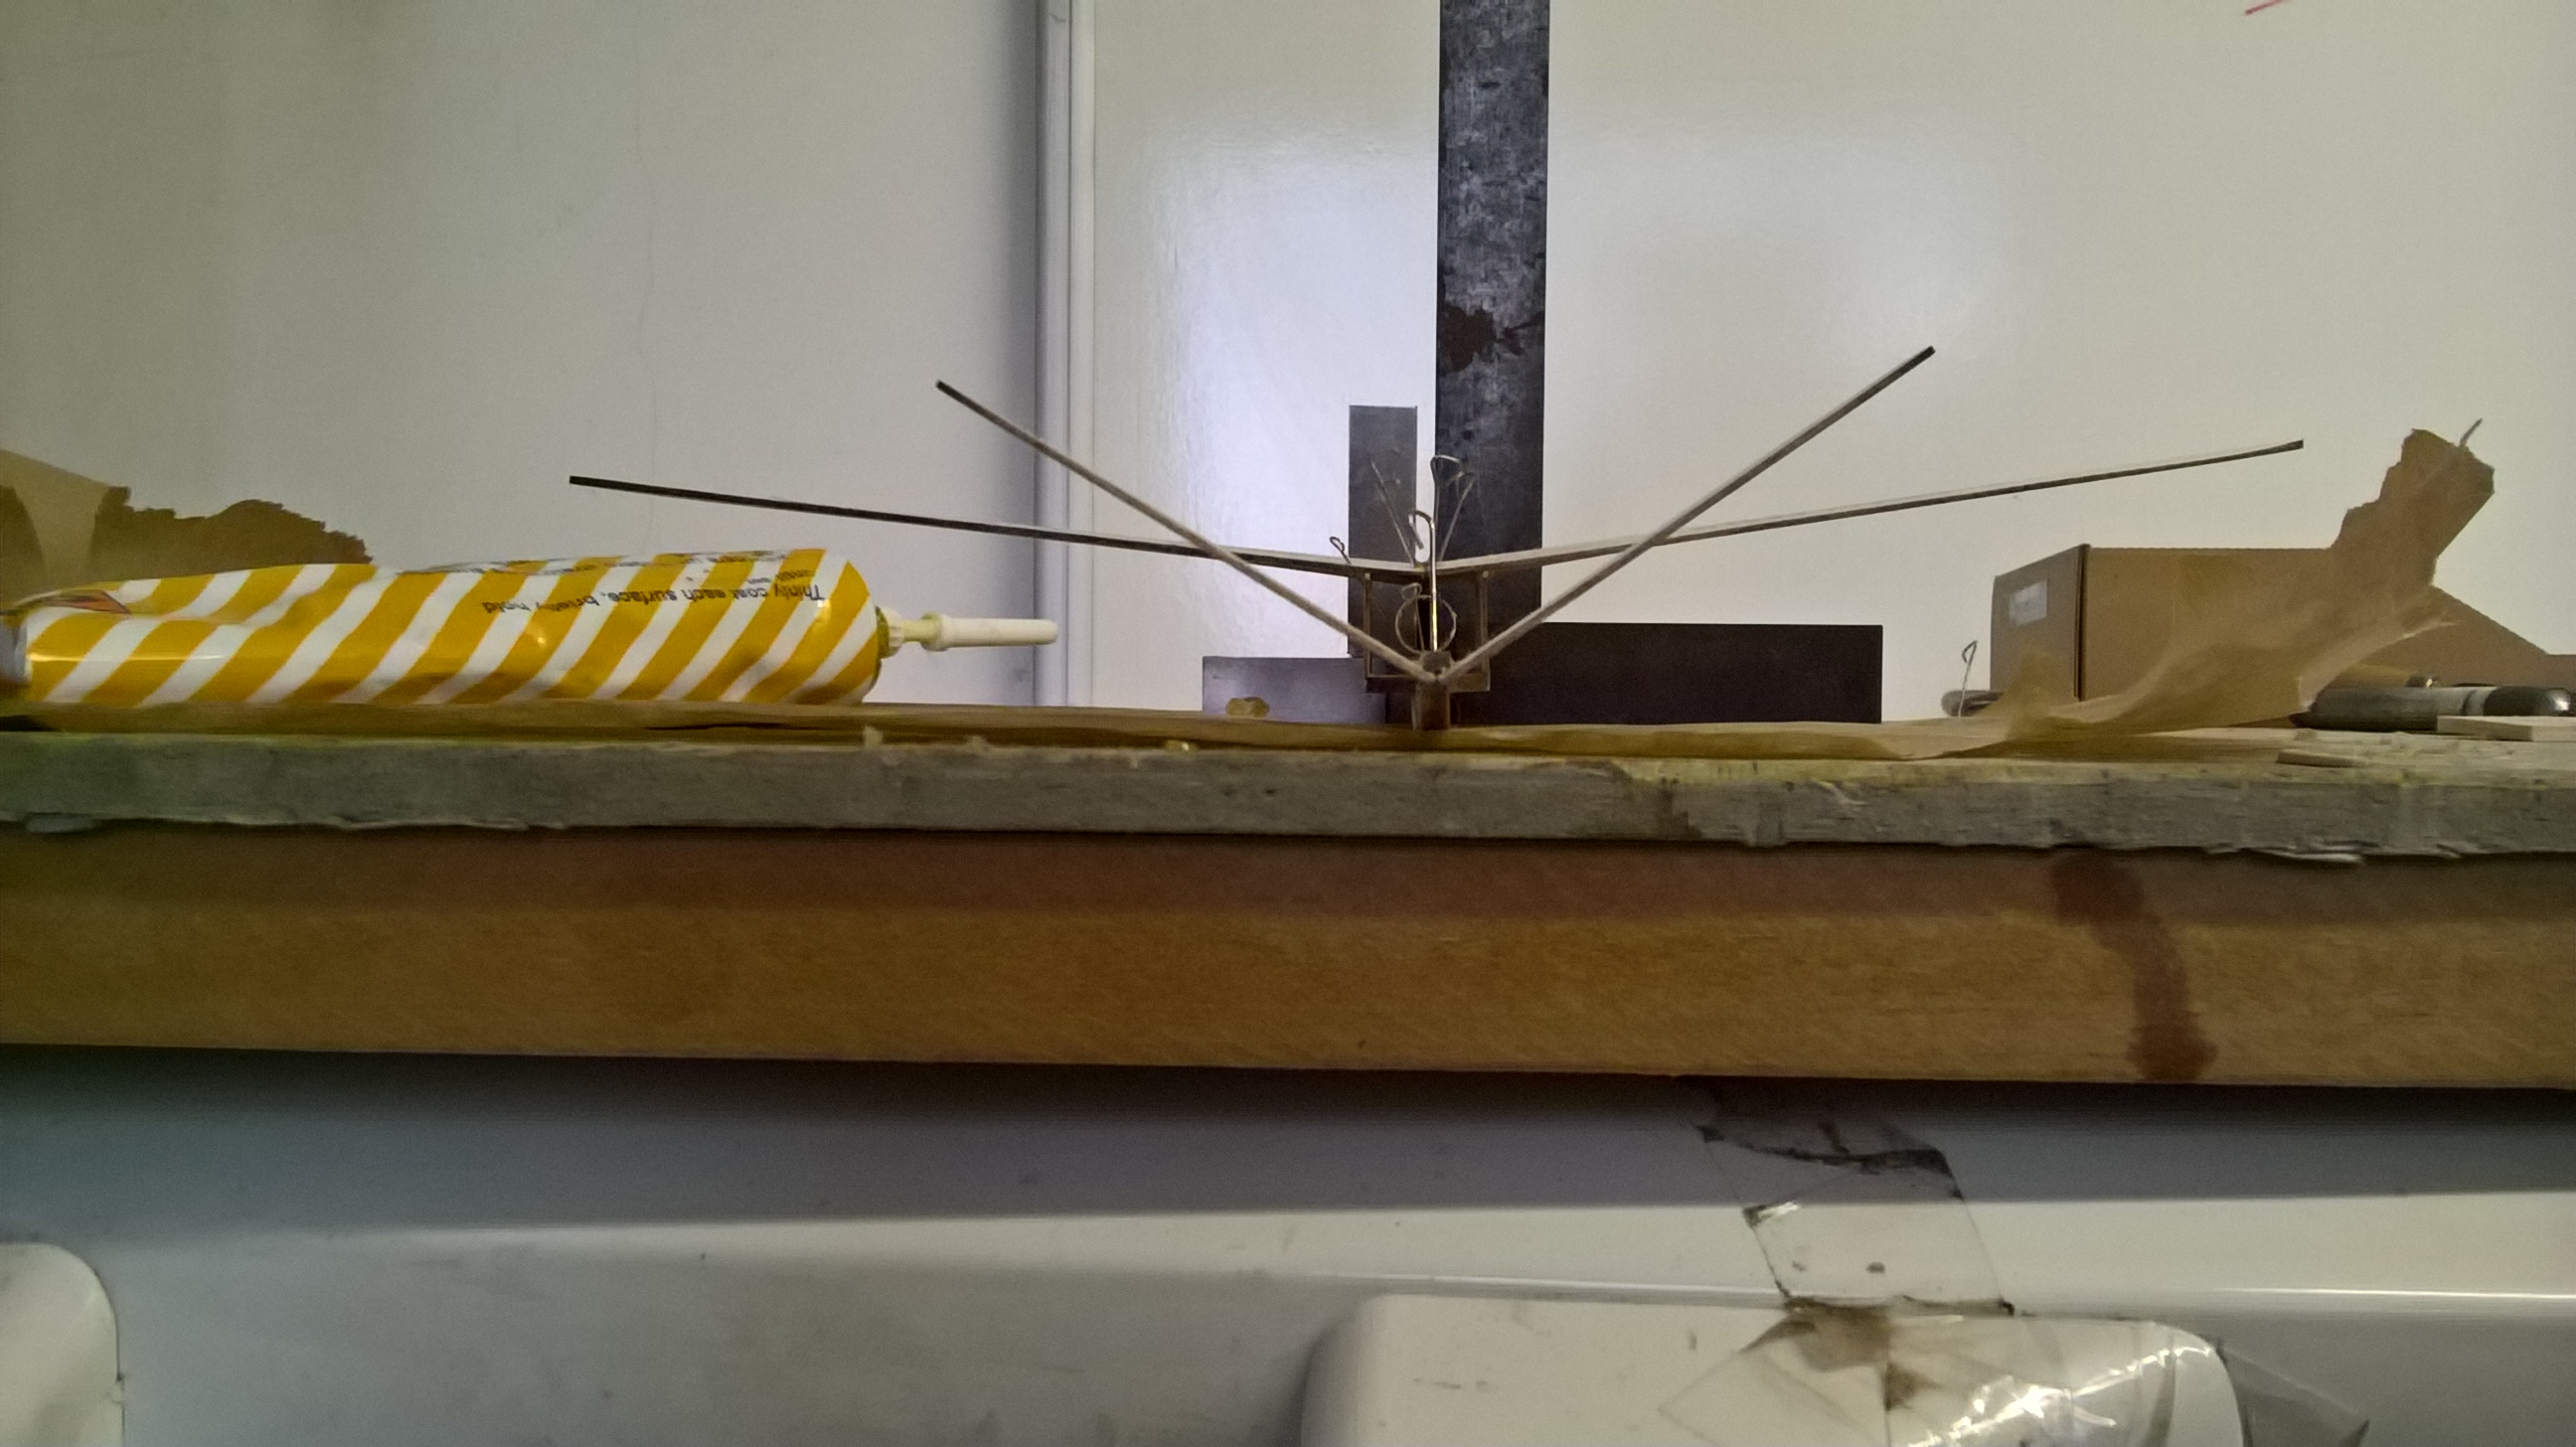
Take each of the wing halves and with a sanding block carefully round the leading edge and taper the trailing edge to give a basic aerofoil section. If you cant to do this don't worry it will still fly pretty well but will be better if you can.
Then:
- Prop the body up between a couple of squares and then glue the wings carefully to the center motor mount and the wing mounts.
- Looking from the front everything should be symmetrical with a dihedral of just over 1 inch.
- When dry reinforce the wing joints with an extra light coating of cement.
- For the tail cut 2 scrap pieces of balsa 1.5 inches long.
- Apply glue to the join of the 2 tail pieces and then pin and prop them up with the scrap balsa to make a V with 1.5 inches under each tip.
- Glue the tail onto the rear of the body making sure its inline and square to the wing.
Finishing
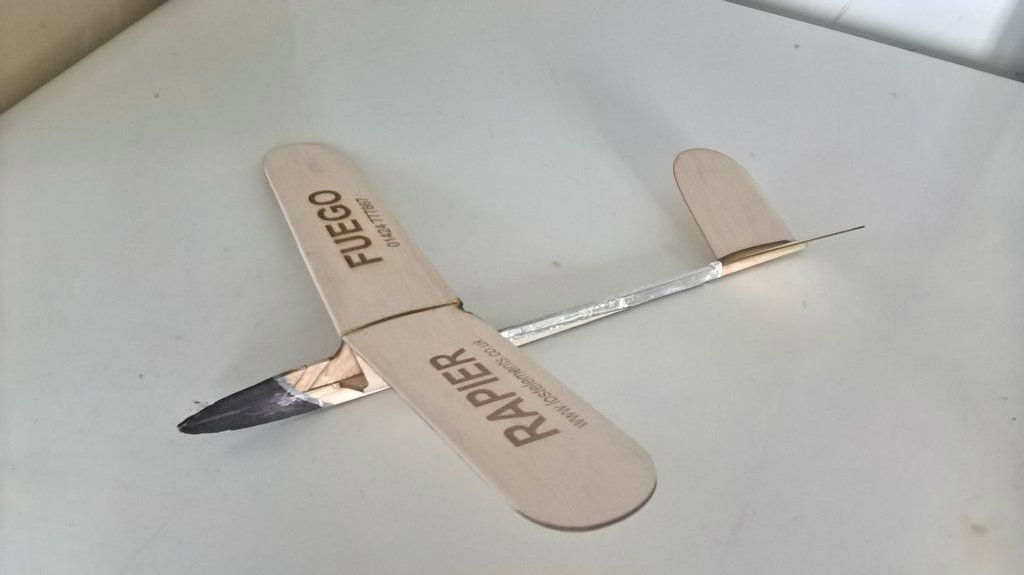
Now let every thing set fully before we move on to trimming. You can seal the wings and tail with a mix of 50/50 dope and thinners.
Ah the smell of pear drops!!
followed by a light sanding.
Decorate if required but don't add to much weight, Sharpies are great for this.
If using Rapier or Jetex, glue a strip of self adhesive foil from the engine mount to the tail to prevent scorching.
Attached is a scan of the original 1950's article and plan
Downloads
Trimming
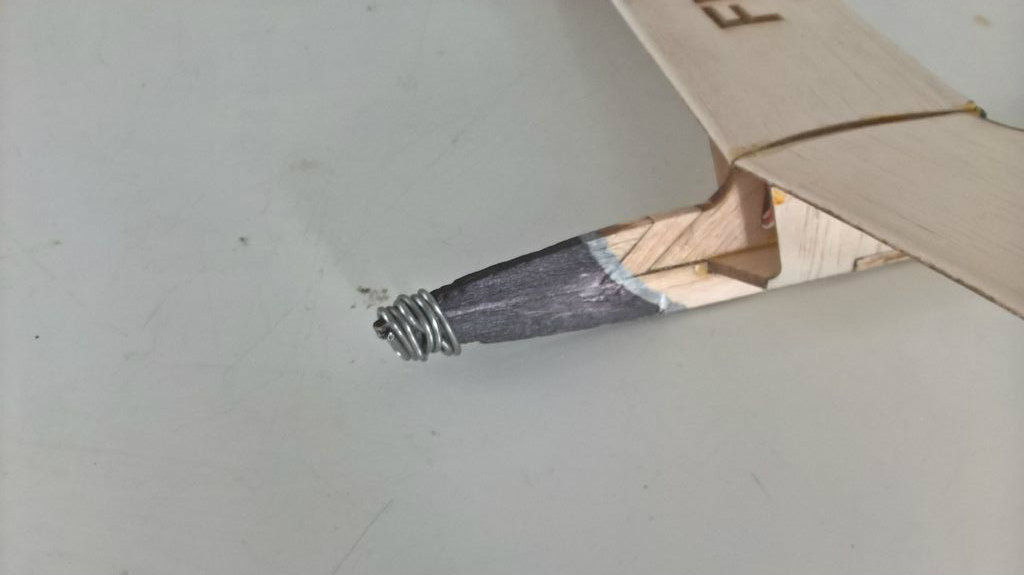
Insert an engine into the mount, or if just using as a glider dont worry.
Add modelling clay (or a few wraps of solder are just as good!) to the nose or tail ro get the model to balance about 1/3 to 1/2 way from the leading edge of the wing
Let It Go!!!!!
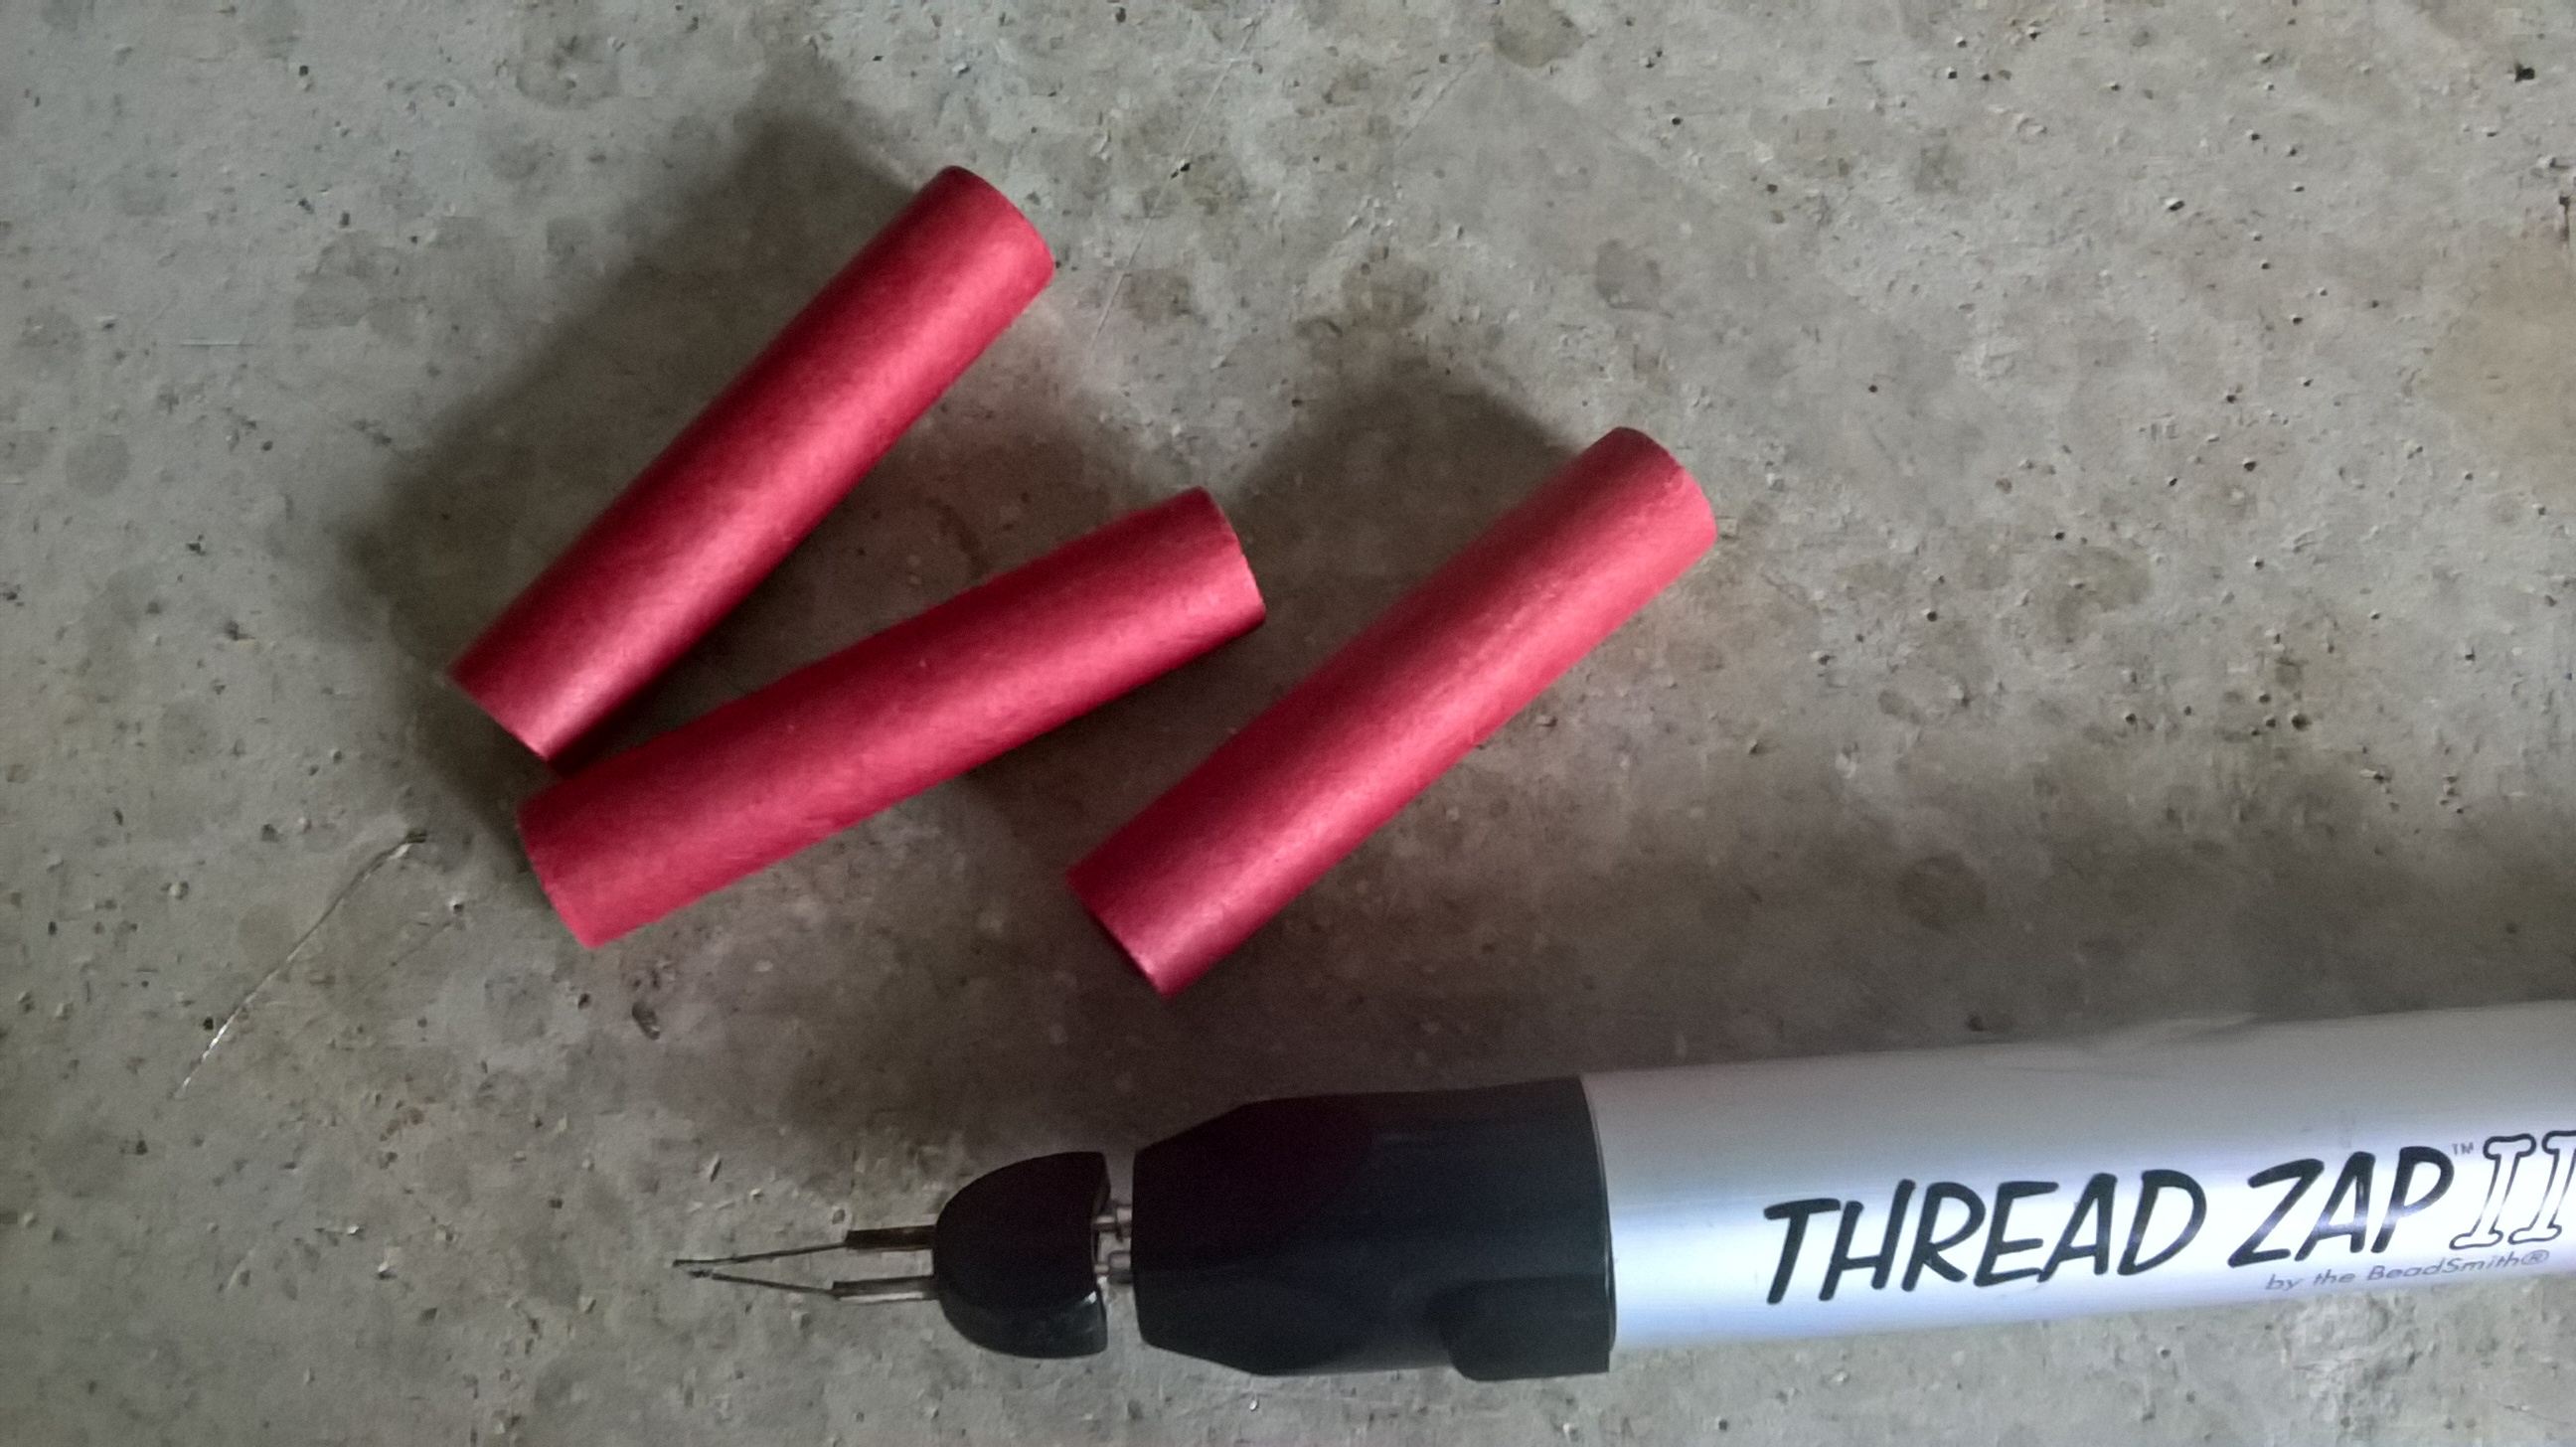
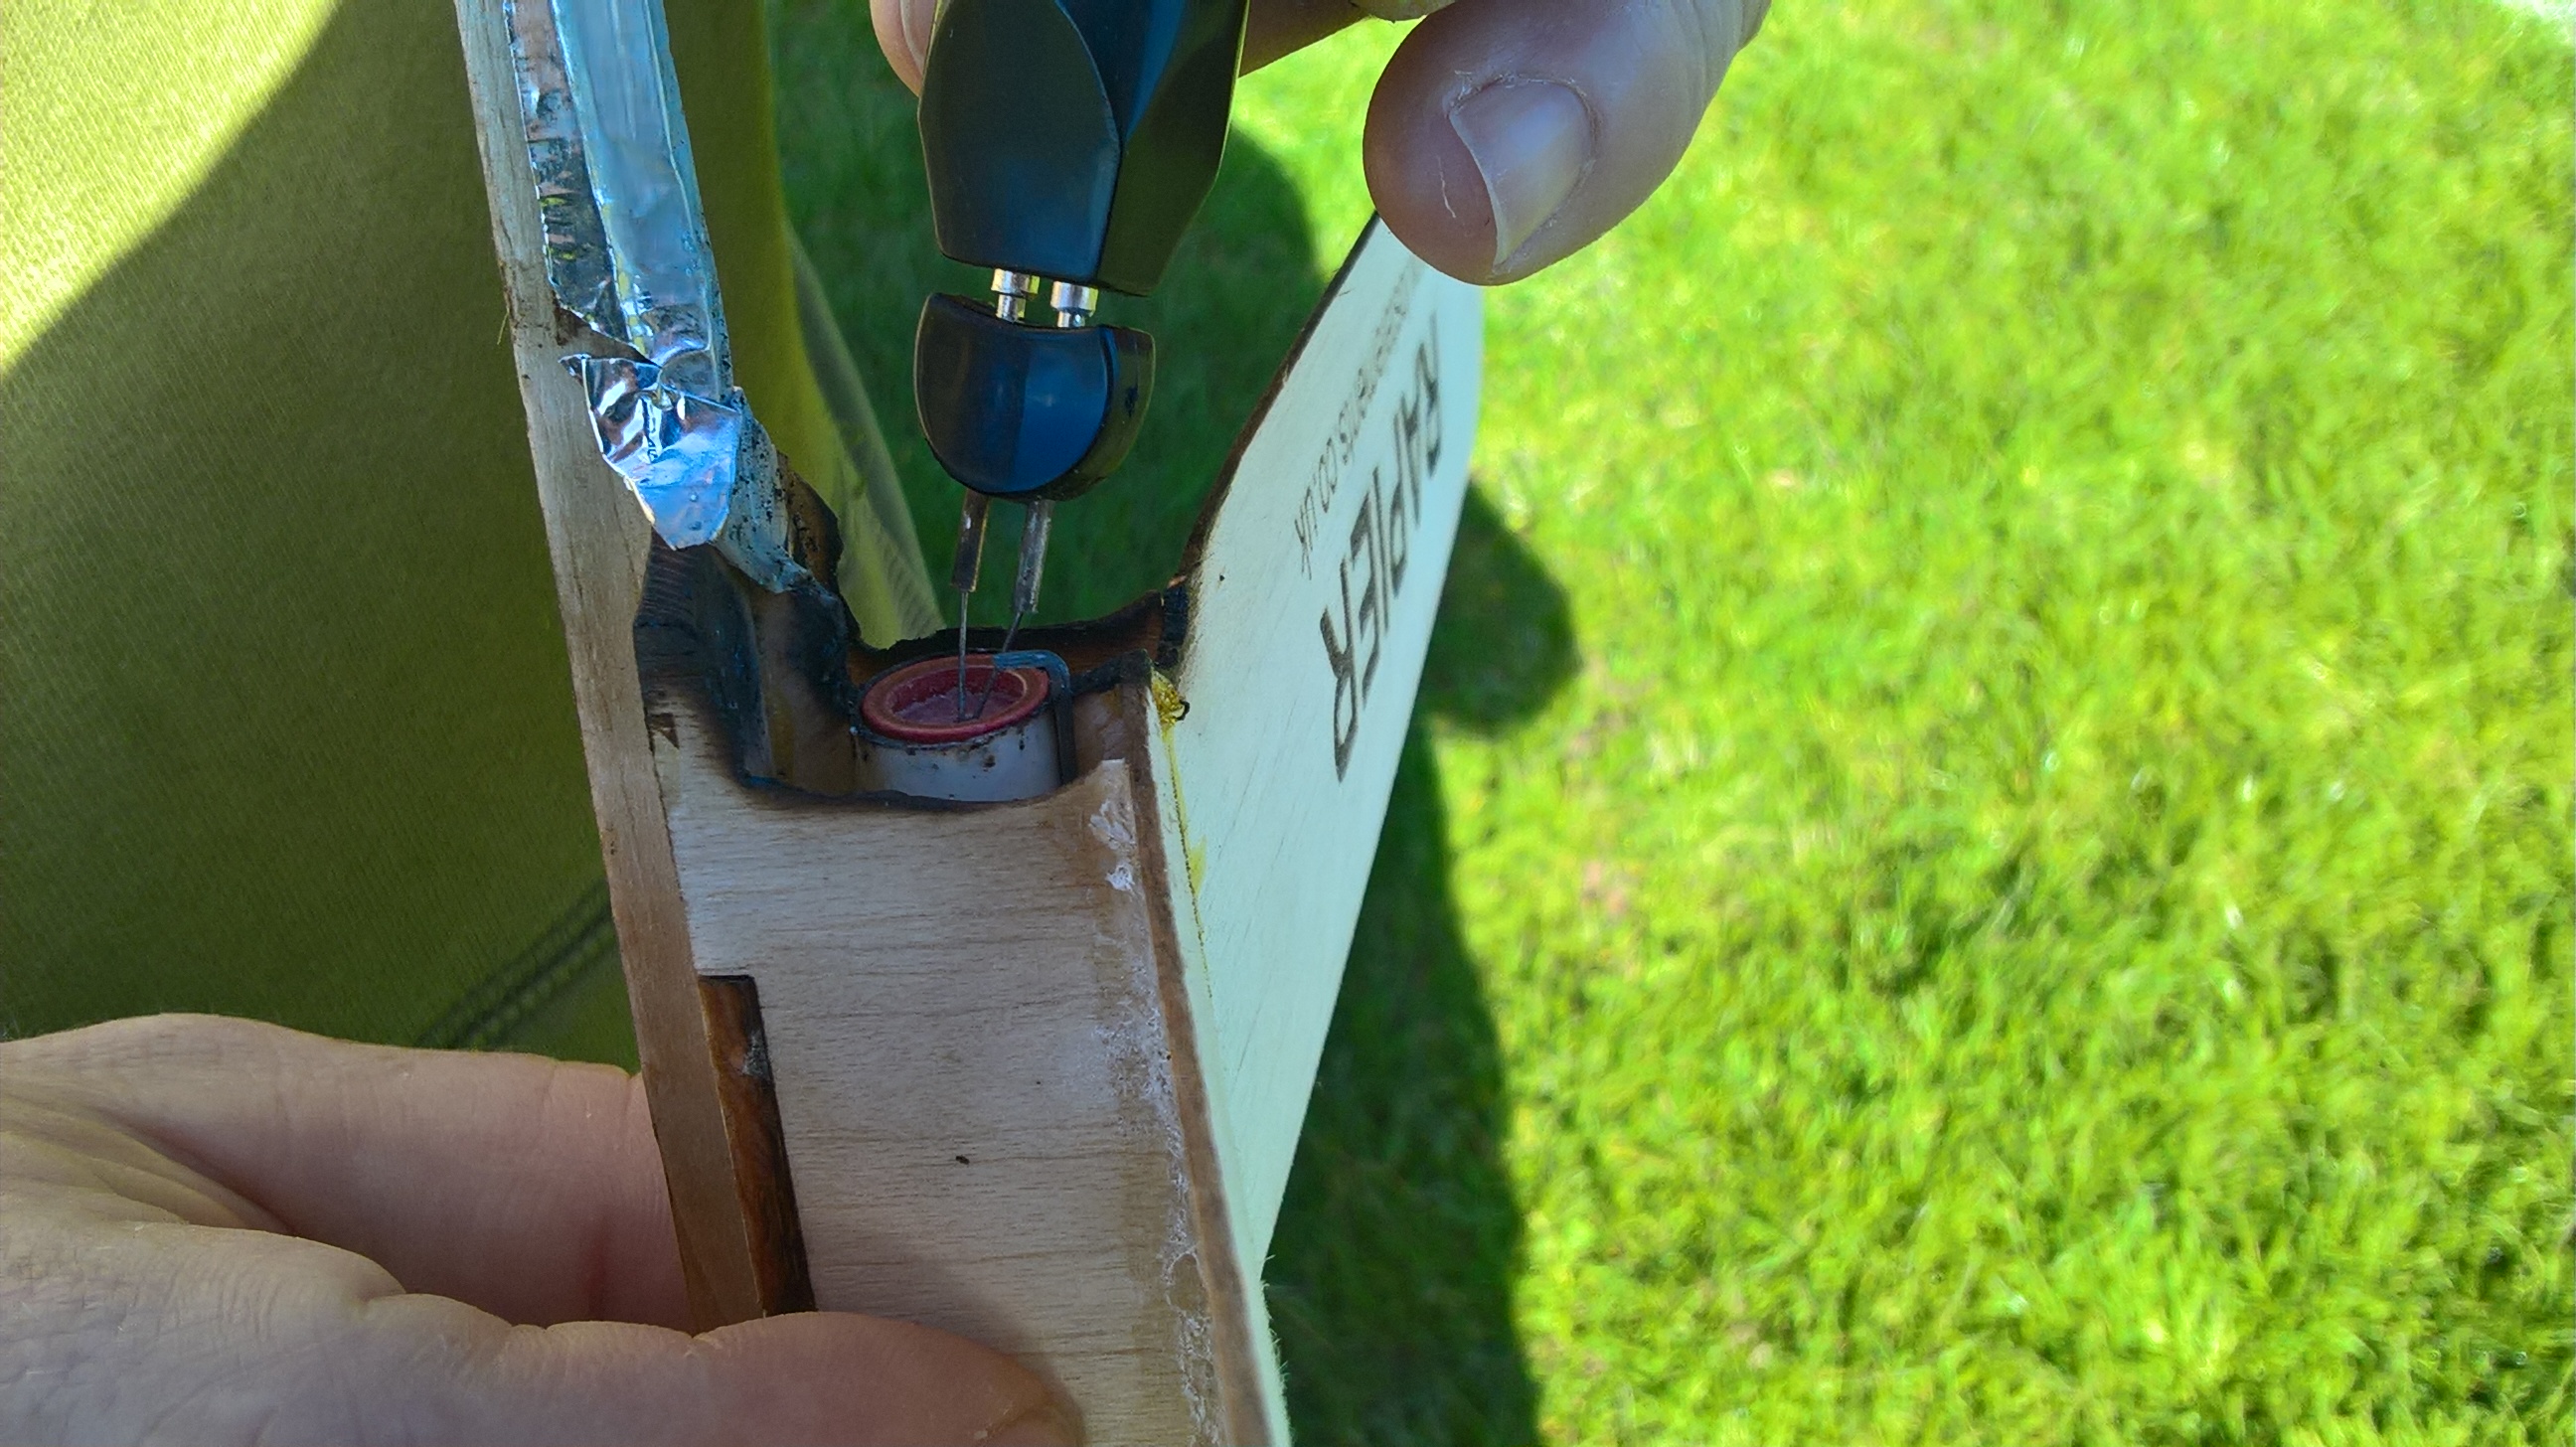
Time to head out to the field!.
- Insert a Rapier engine.
- Find some longish grass and do some test glides adjusting the modelling clay to get a nice flat glide.
- Then light her up and let it rip.
To light I use a modified Thread Zap 2 which gets the rapiers going nearly instantly, but that modification is anther intractable to come.
If using just as a glider after trimming start launching until you can get away with hurling at 45 degrees, it may come down hard but its easy to make another or repair
HAVE FUN!!!
Warning: do not try using an Estes rocket engine in replacemeny of the Rapier , you will get hurt.