Rainbow in TinkerCad
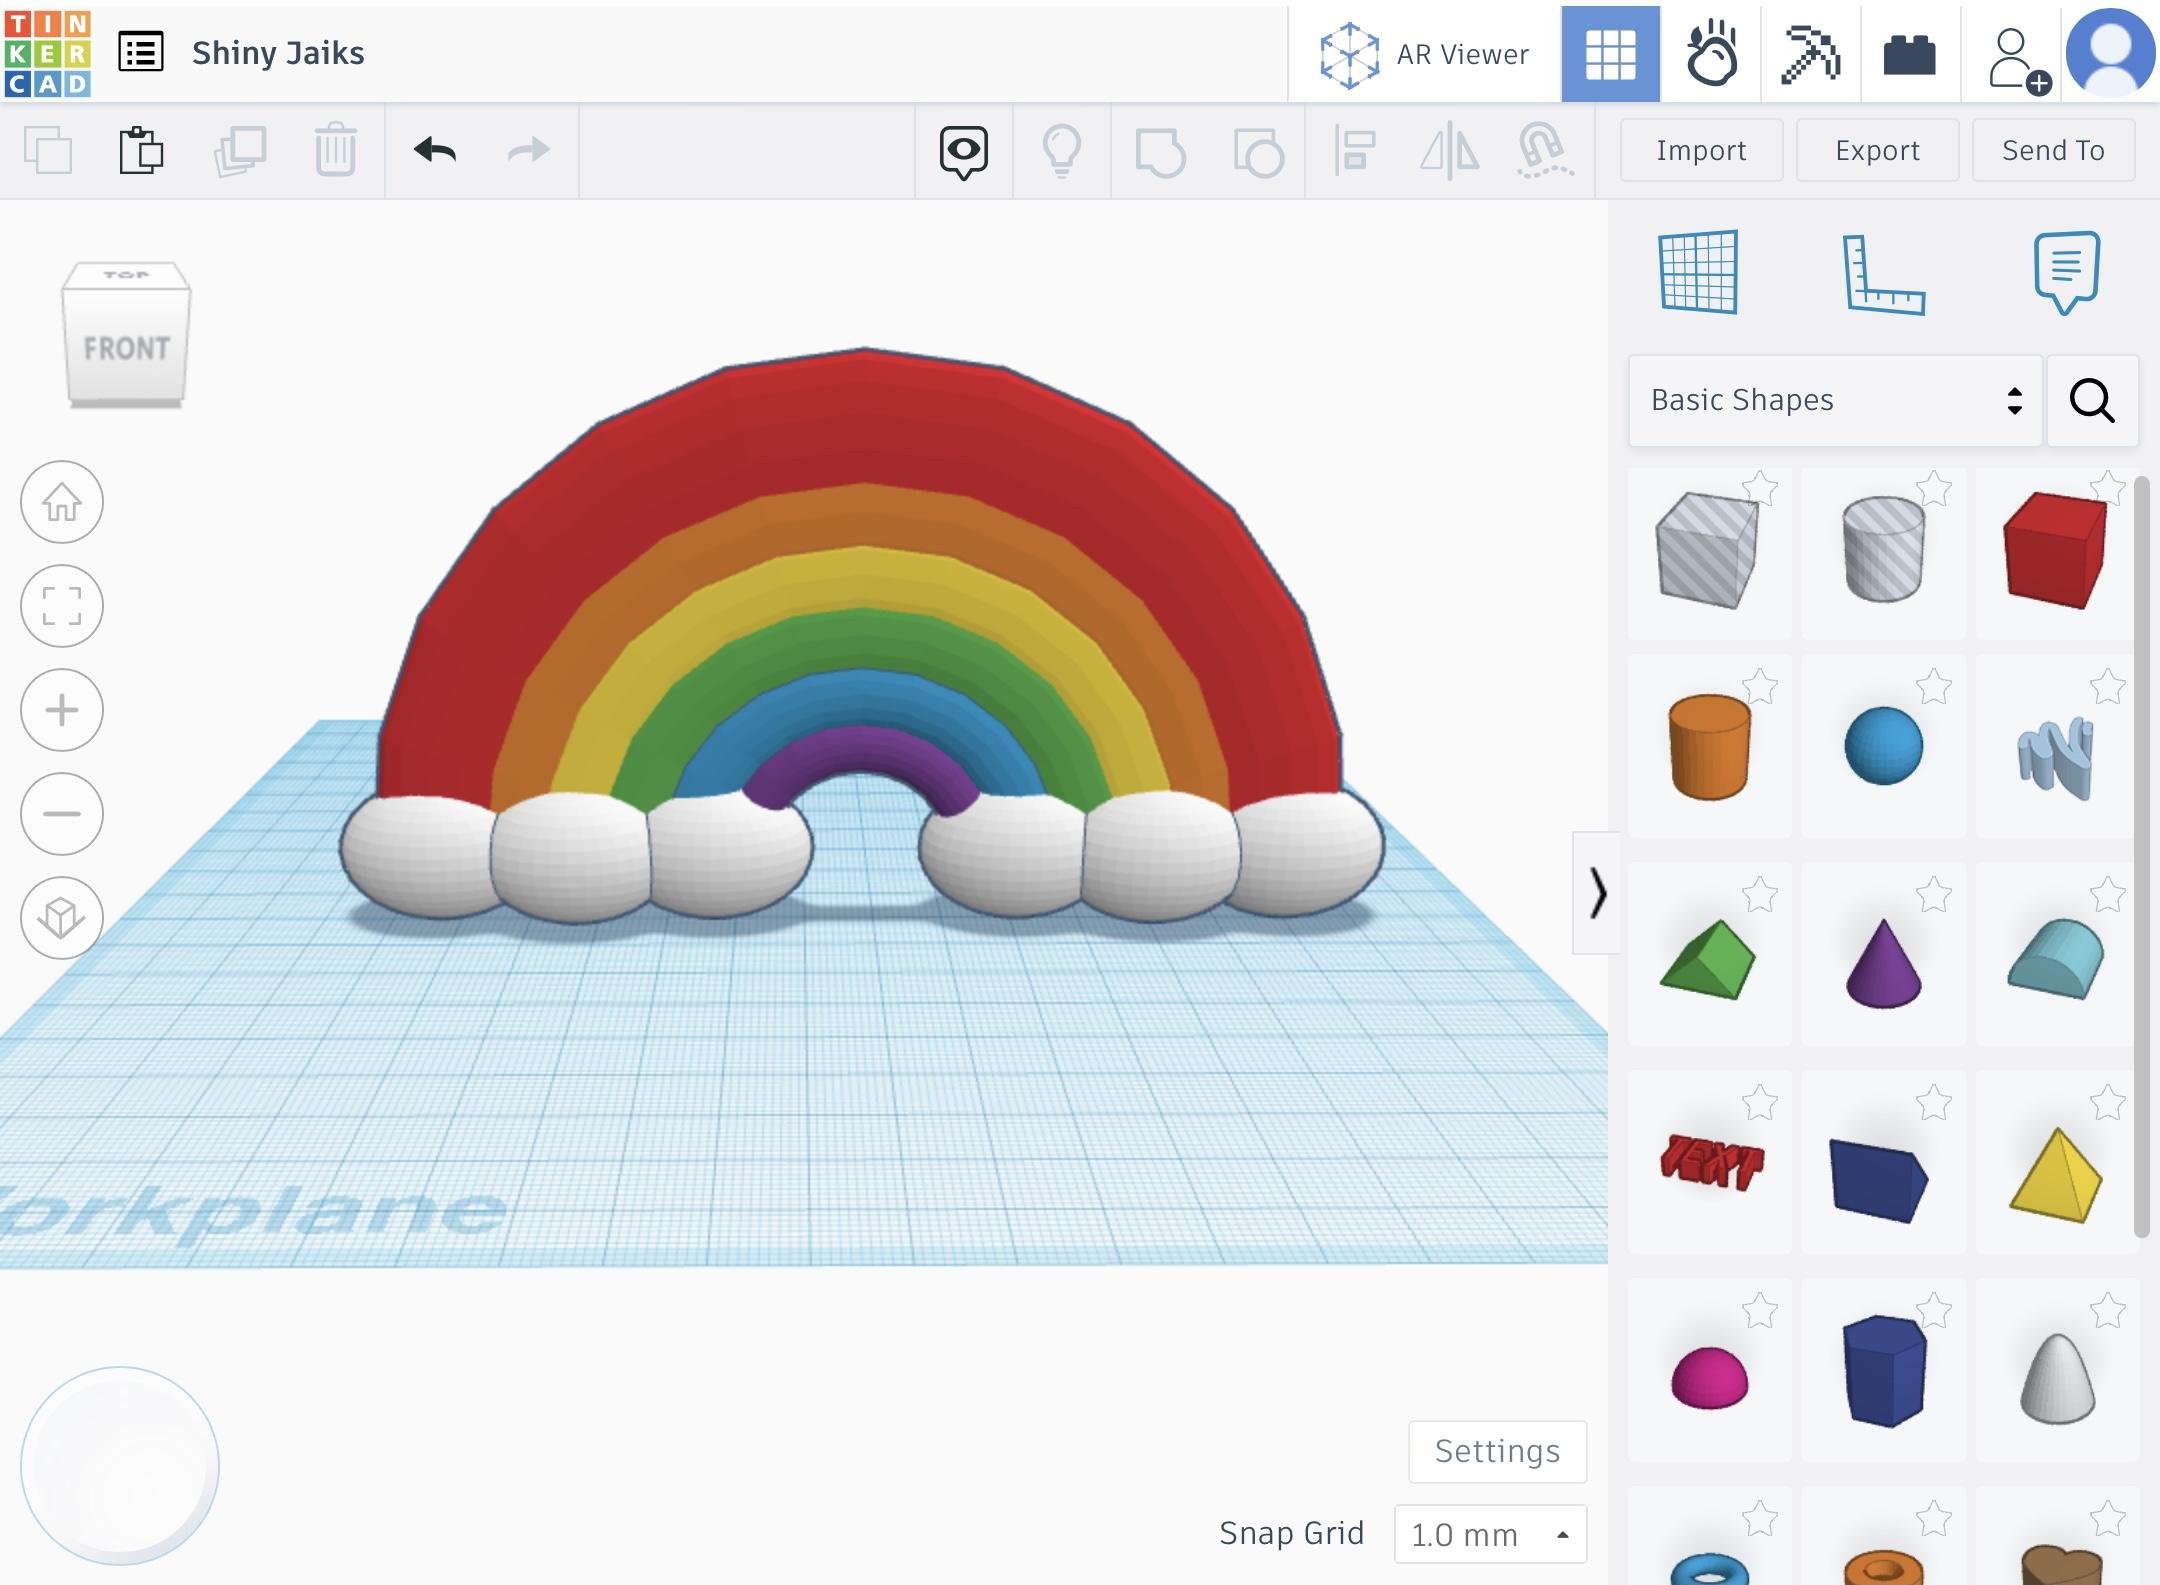
In this project, I will teach you how to make a rainbow in TinkerCad. I made this project for the Colors of the Rainbow Contest, so make sure to vote for me!
Supplies
All you will need for this project is a device (computer, iPad, etc) and a TinkerCad account.
Starting the Shape of the Rainbow (Step 1A)
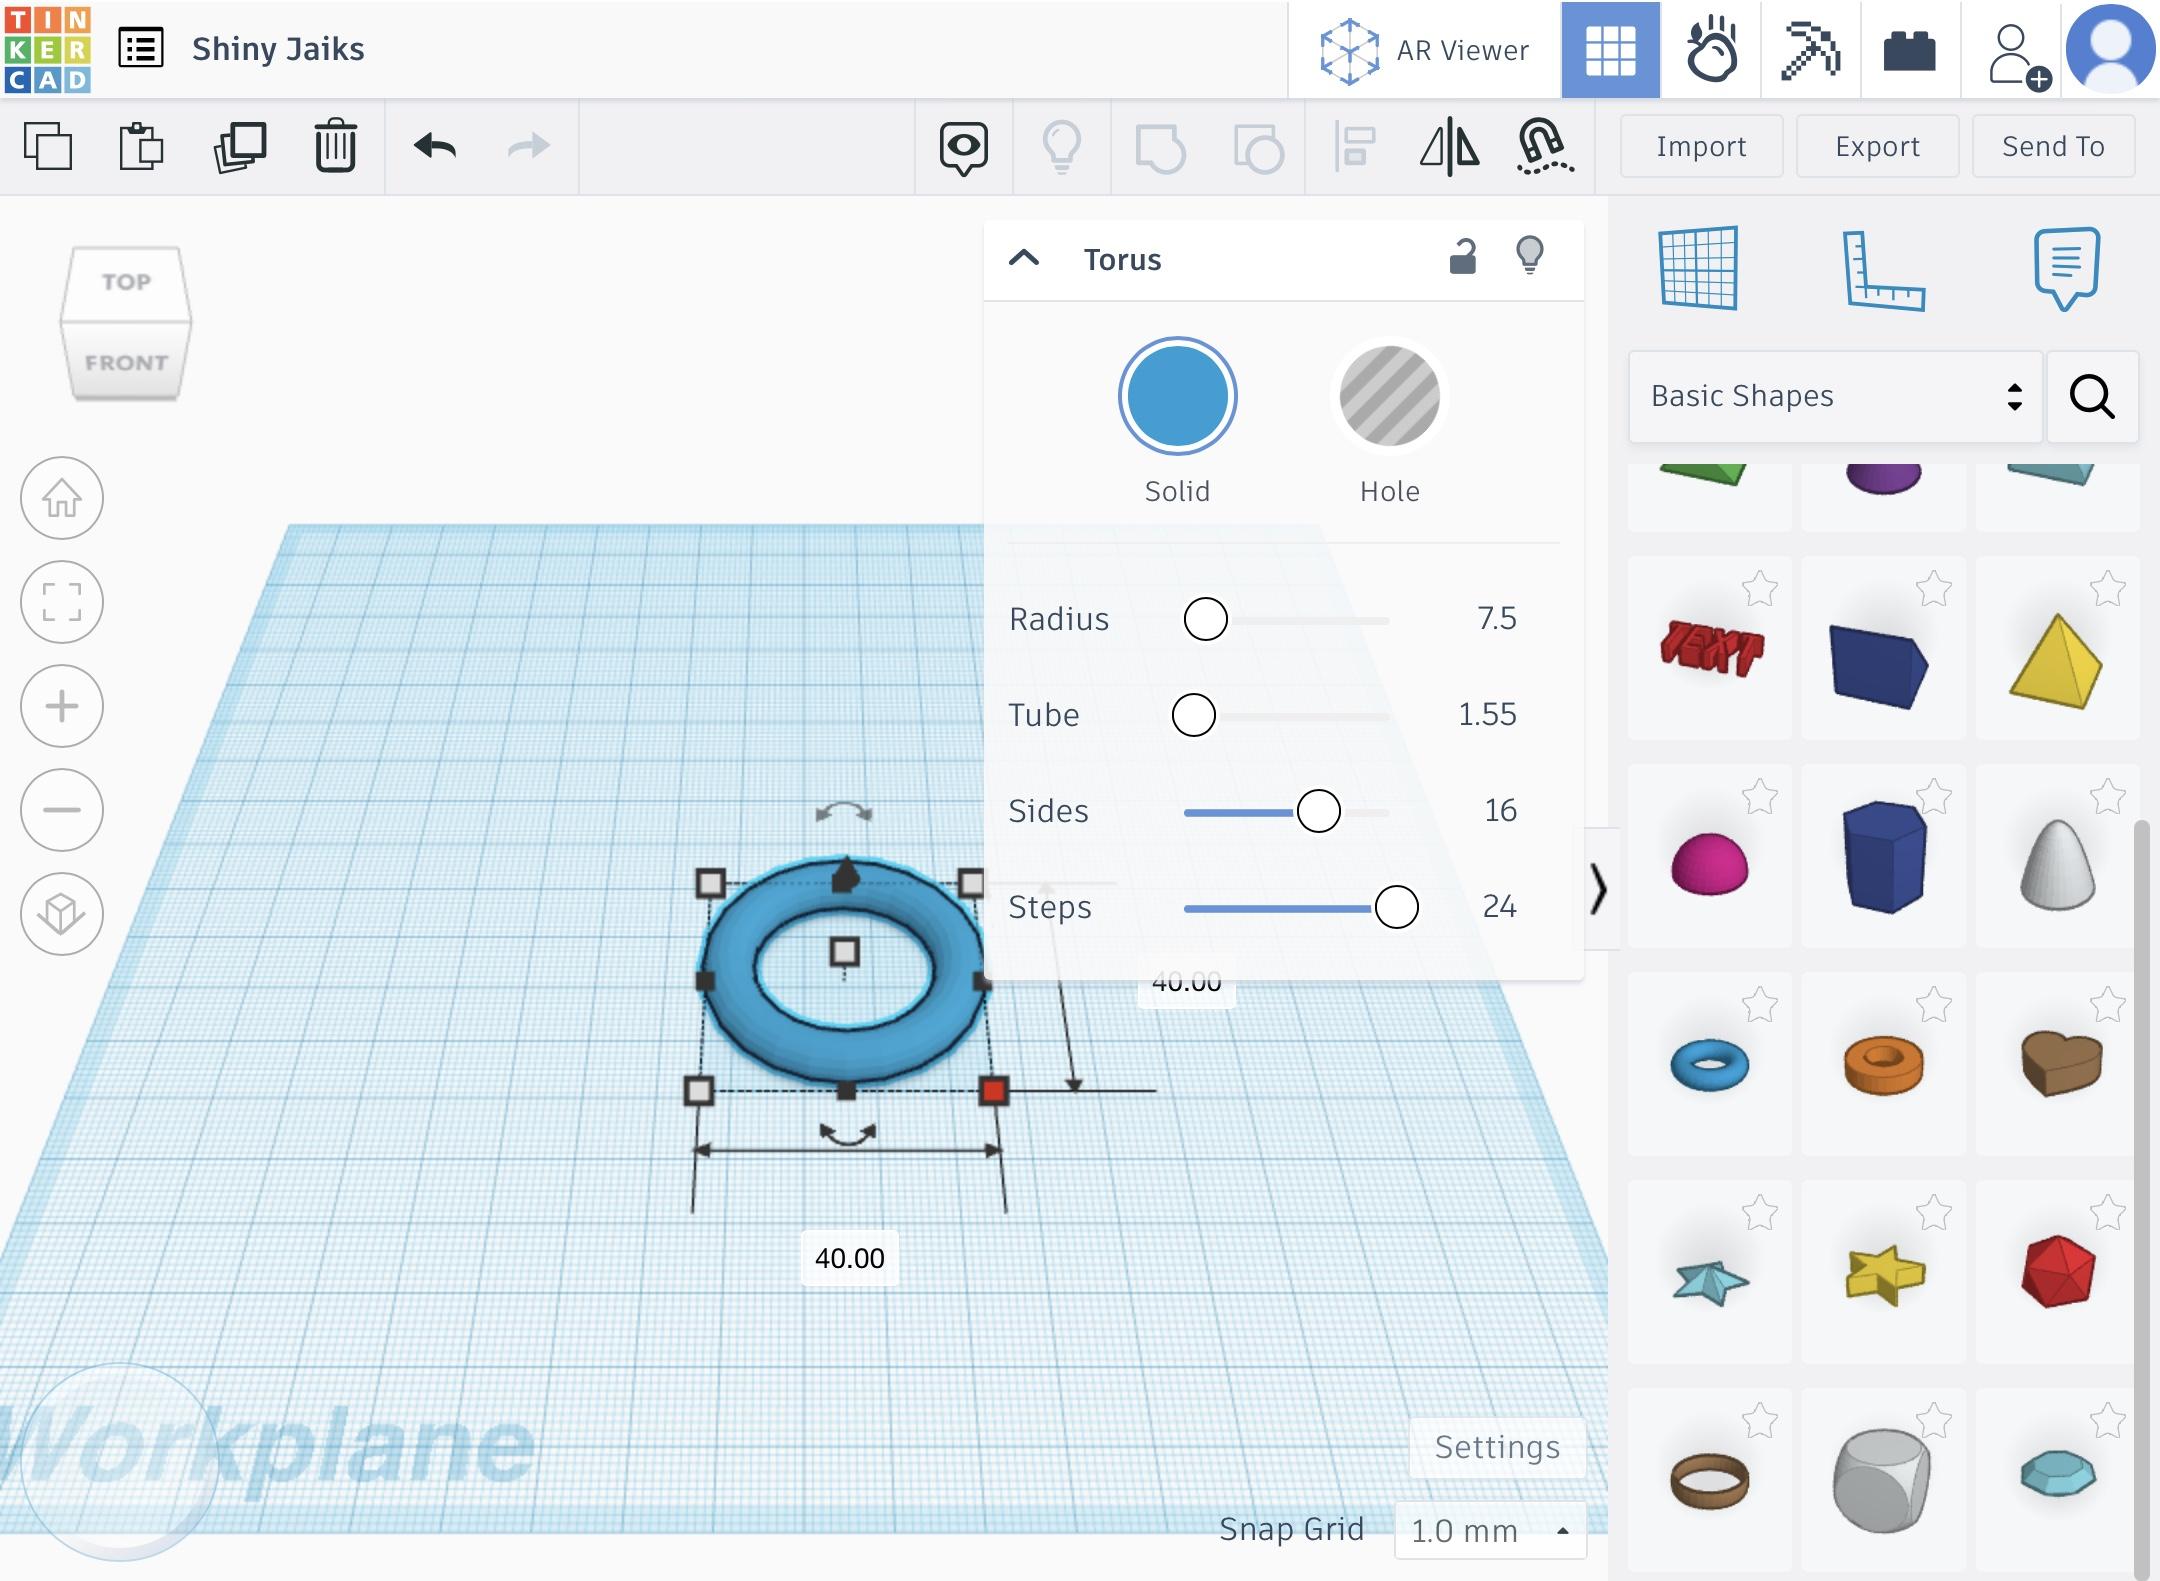
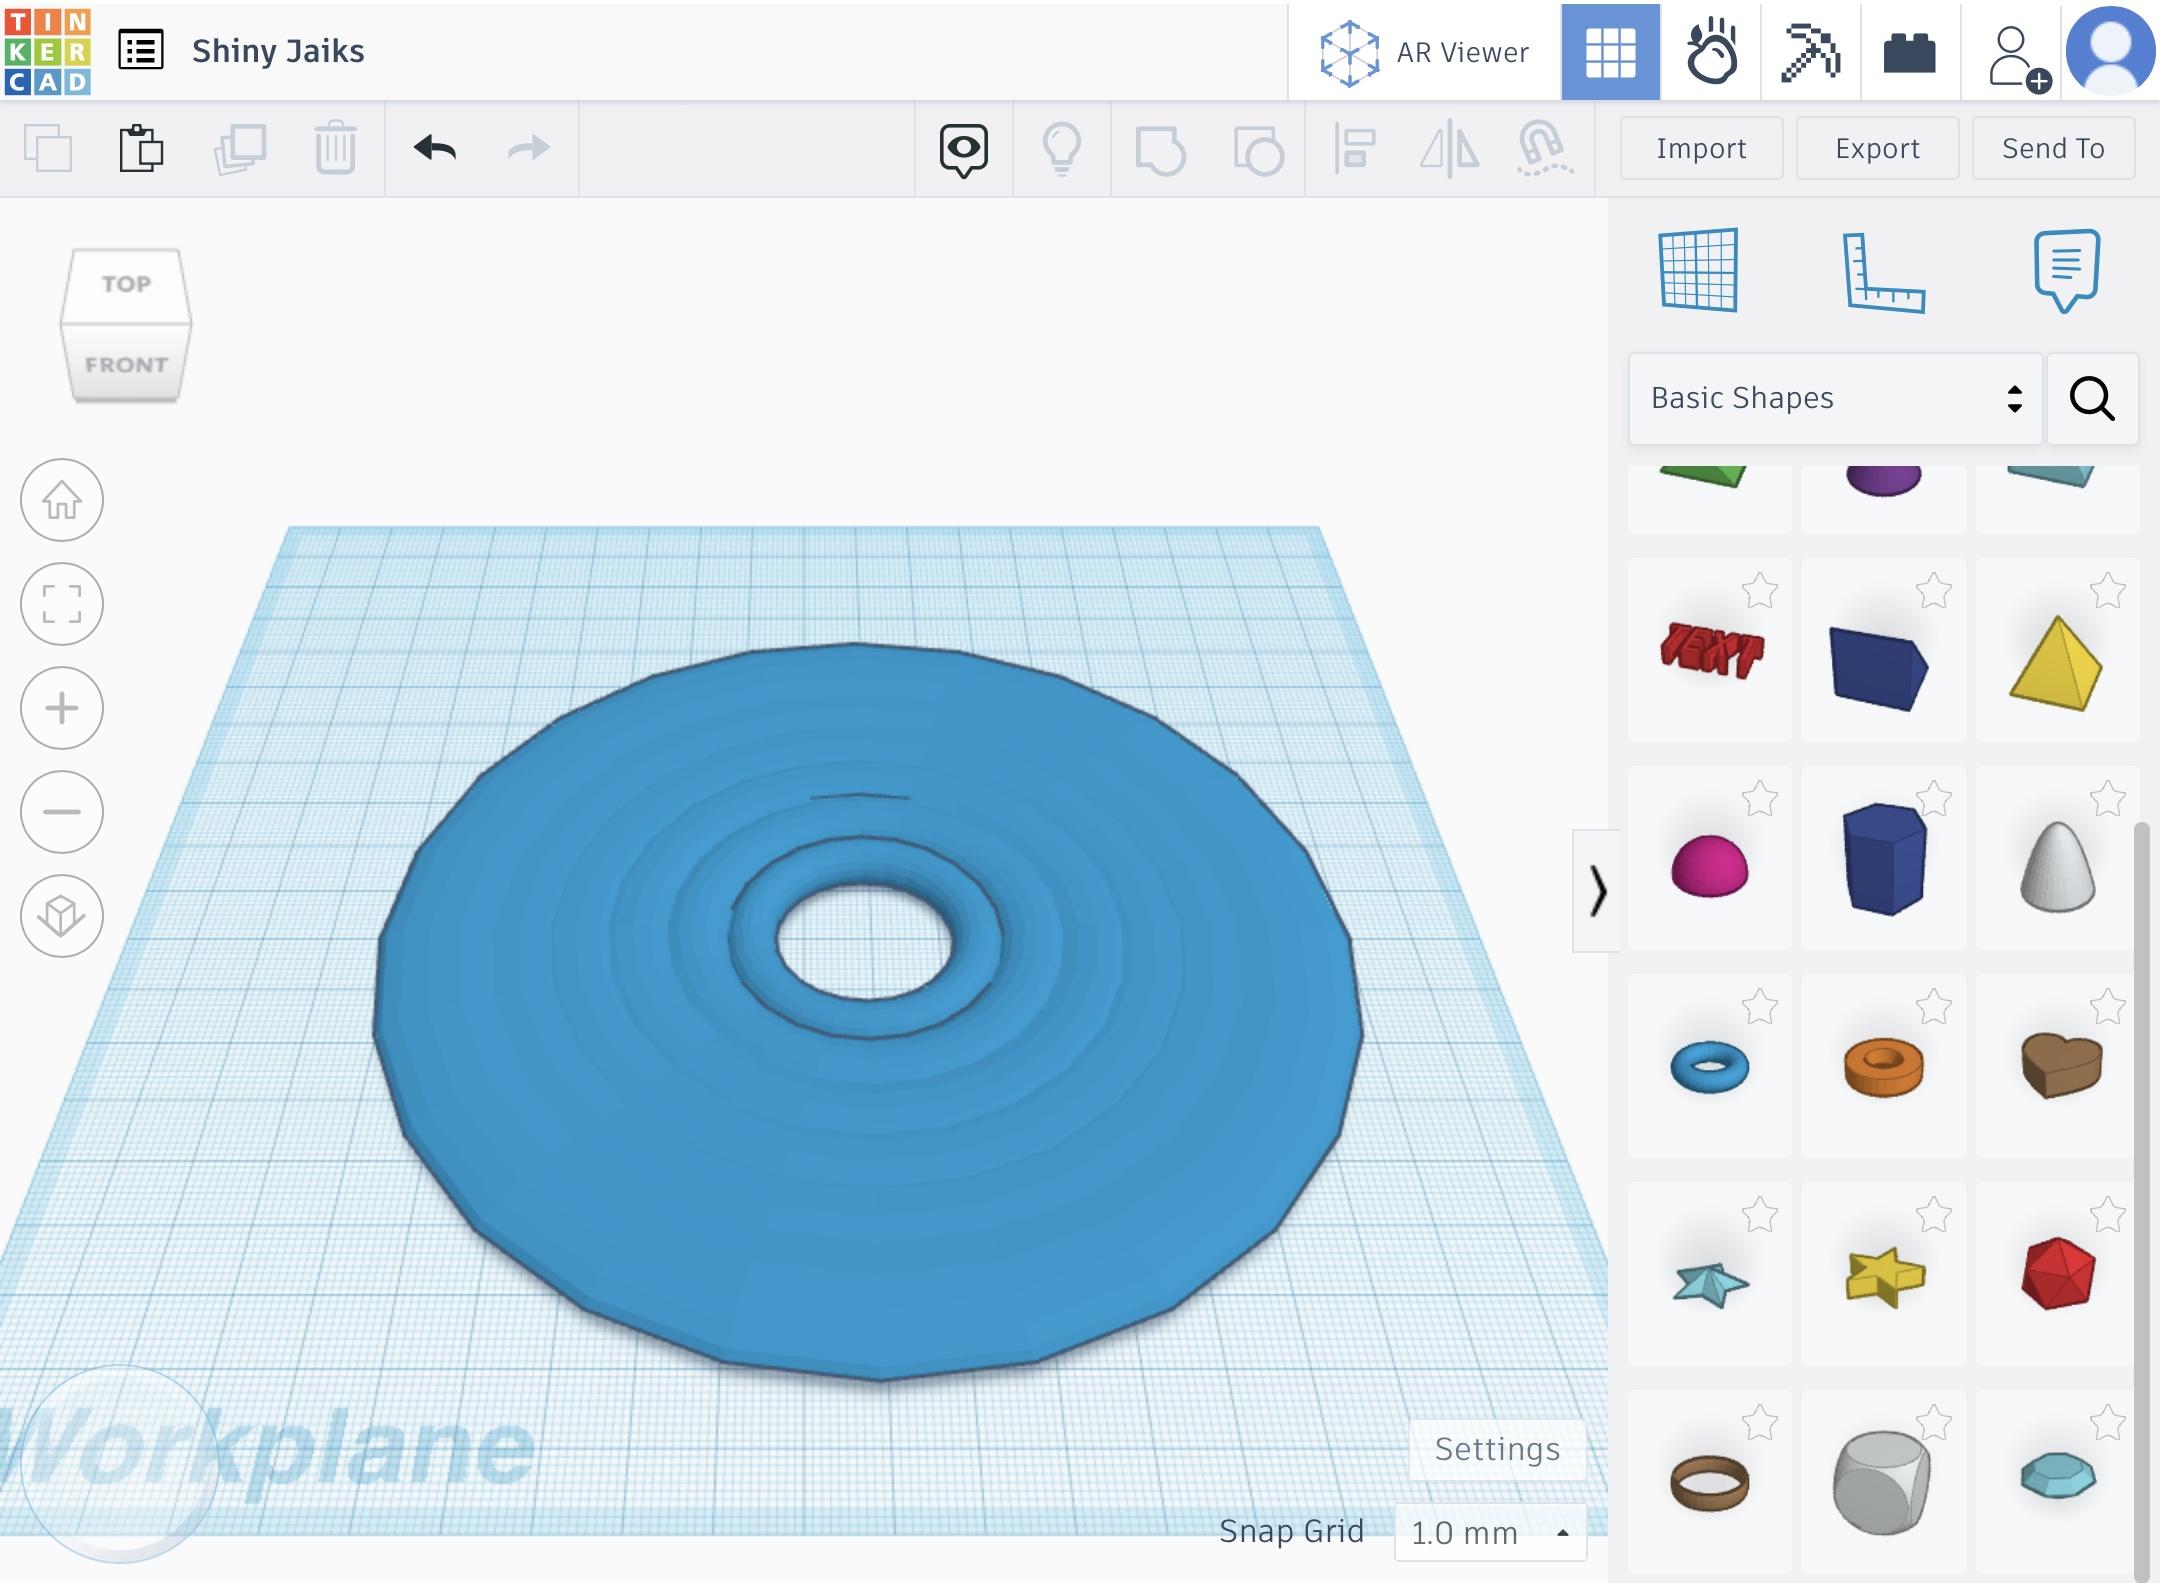
- Bring a torus from the basic shapes menu and onto the Workplane.
- Alter the size of this torus to your preference (mine is 40 x 40).
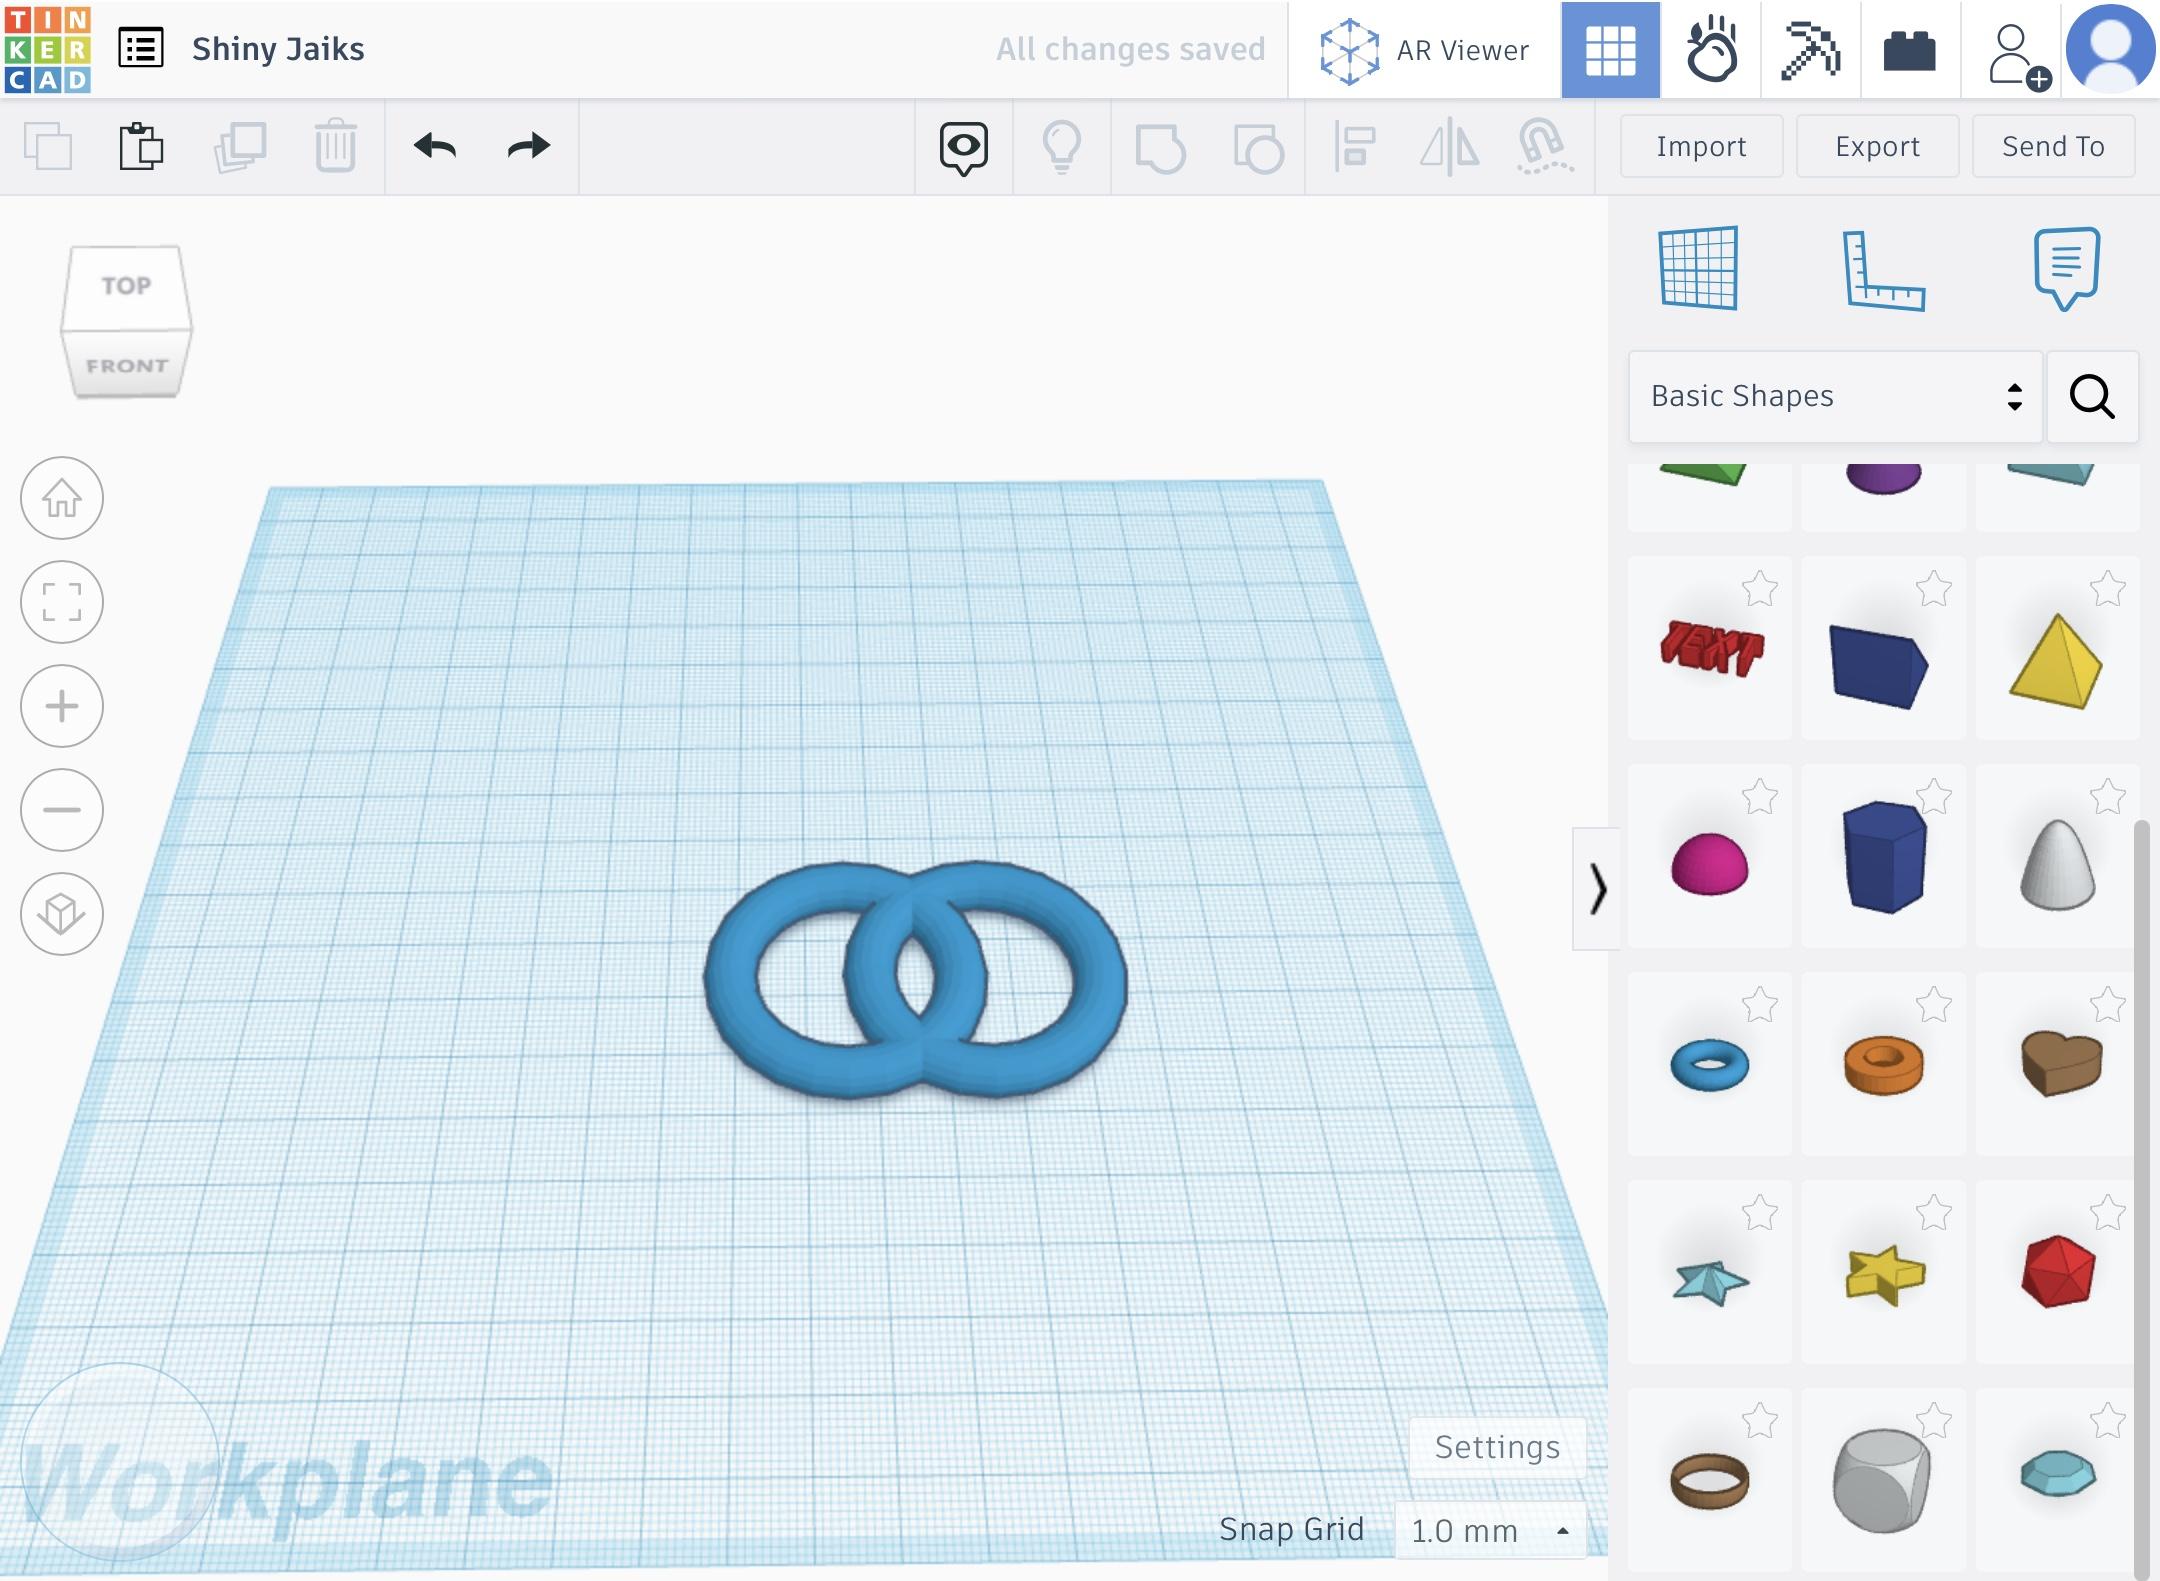
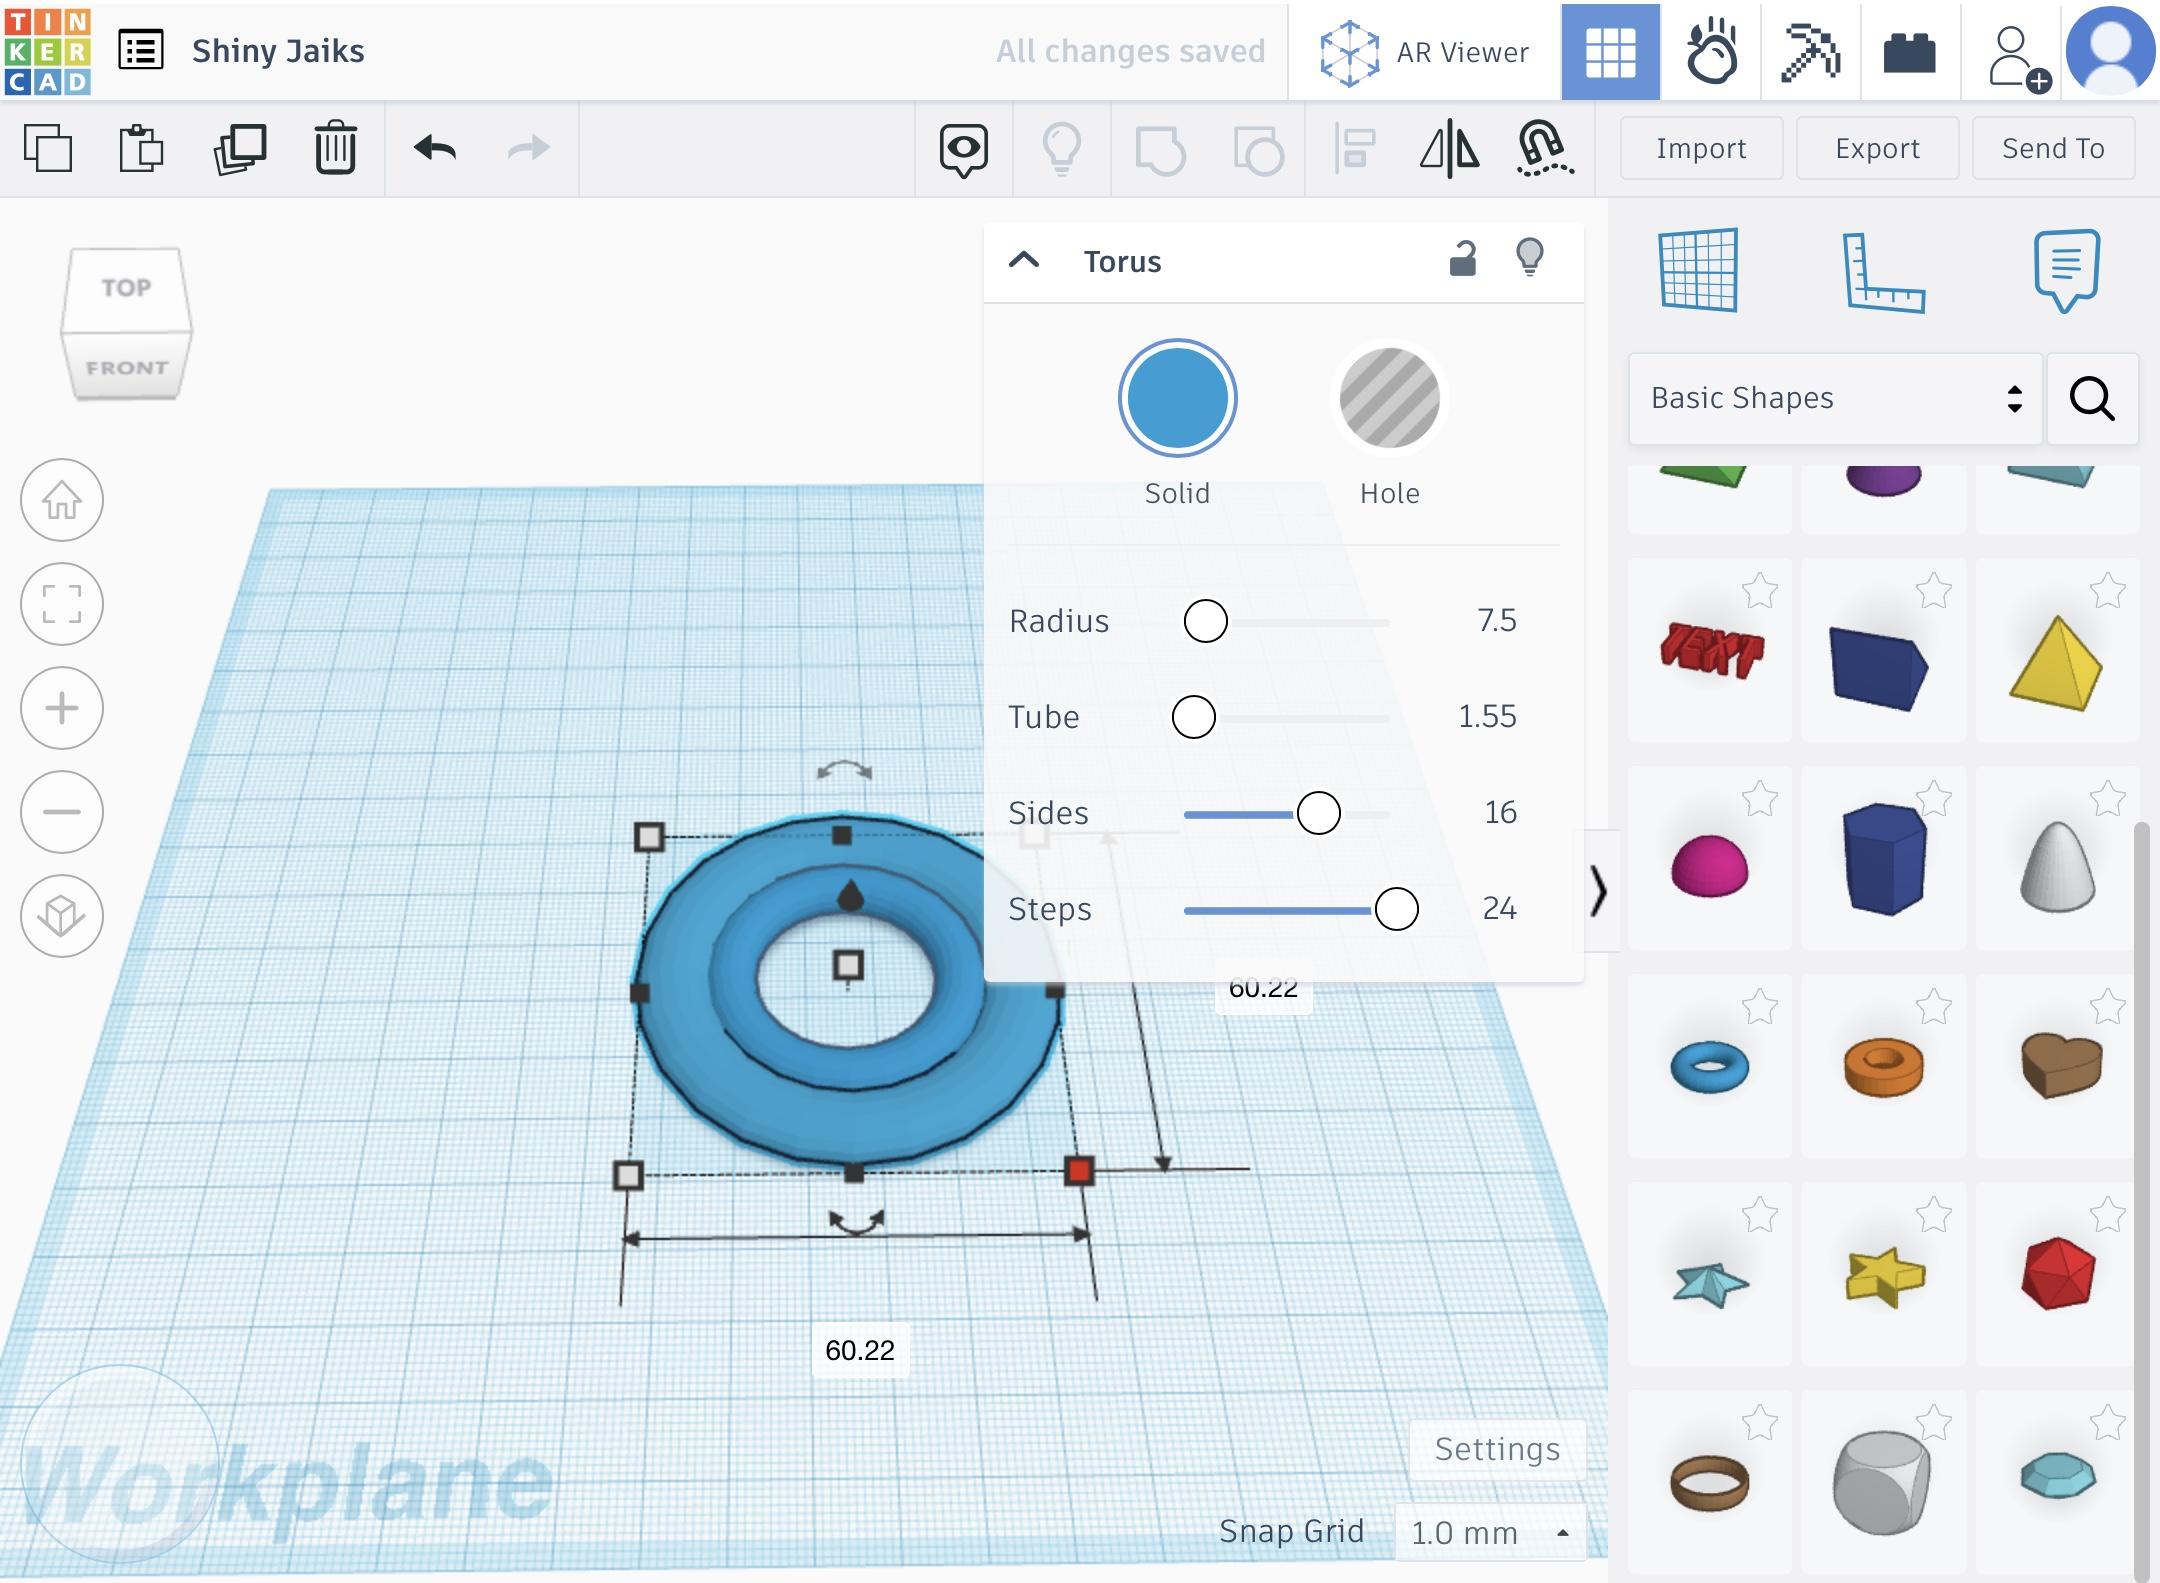
- Duplicate this shape and stretch it out so that it is surrounding the first torus (as shown in a picture above).
- Repeat Step 3 until there are 6 torus shapes in total (as shown in a picture above).
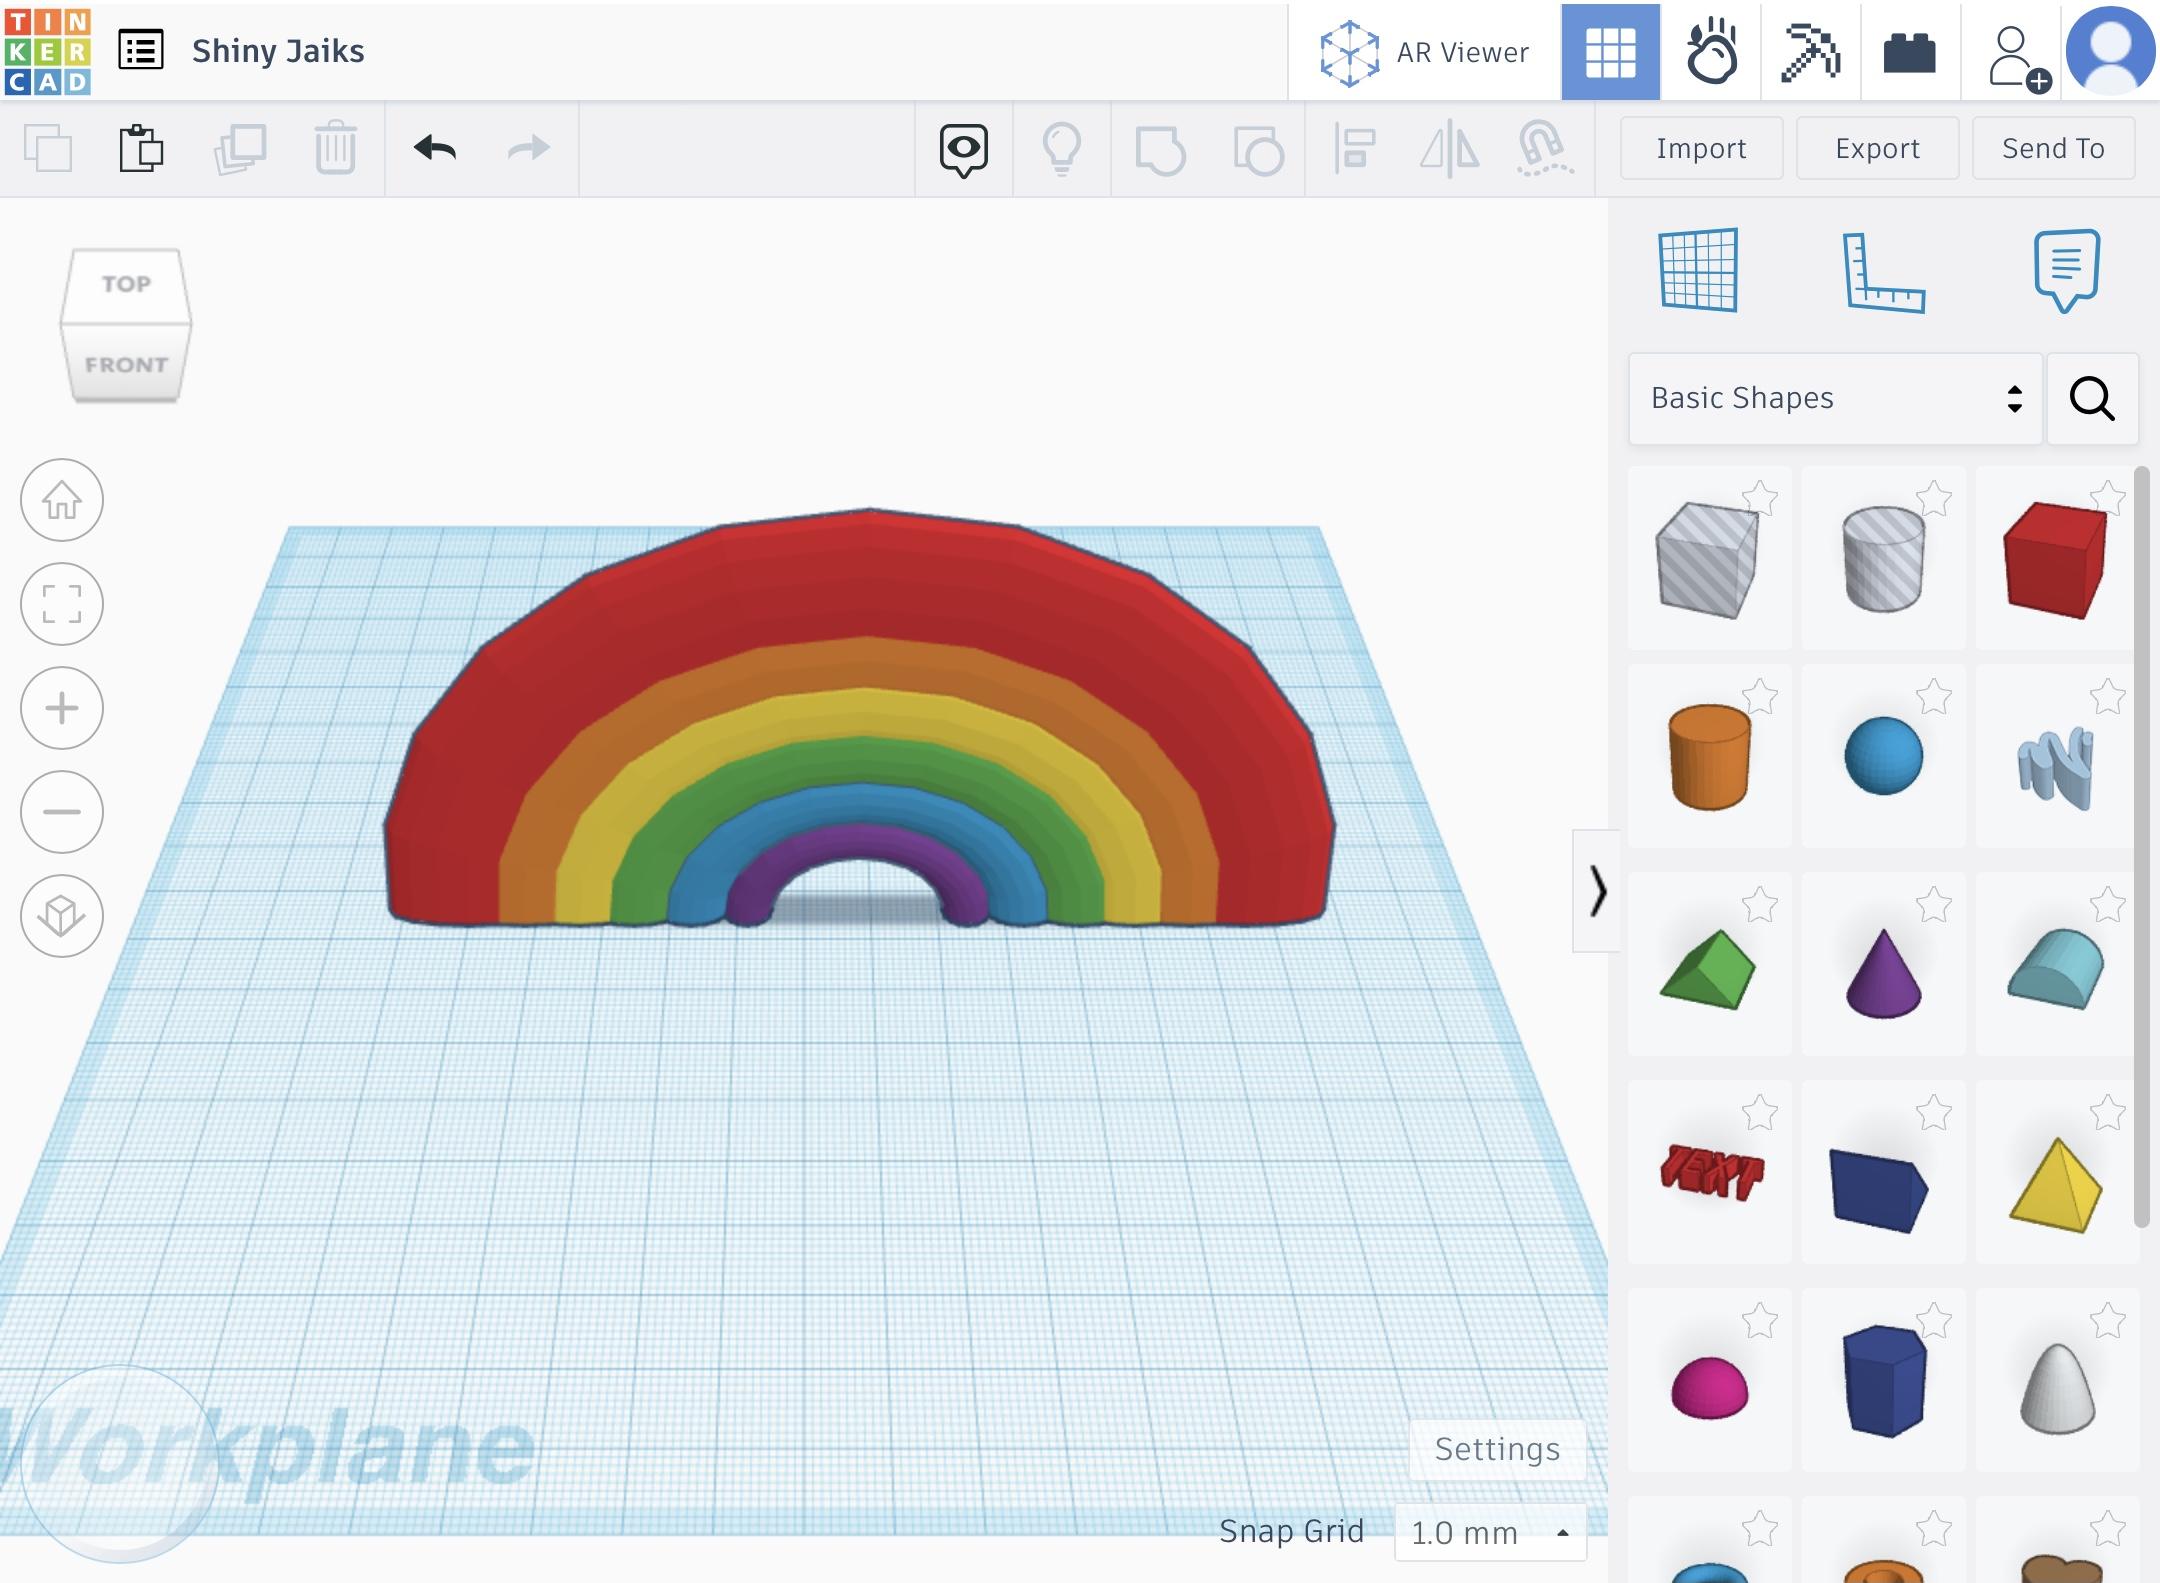
Finishing the Shape of the Rainbow & Adding Color (Step 1B)
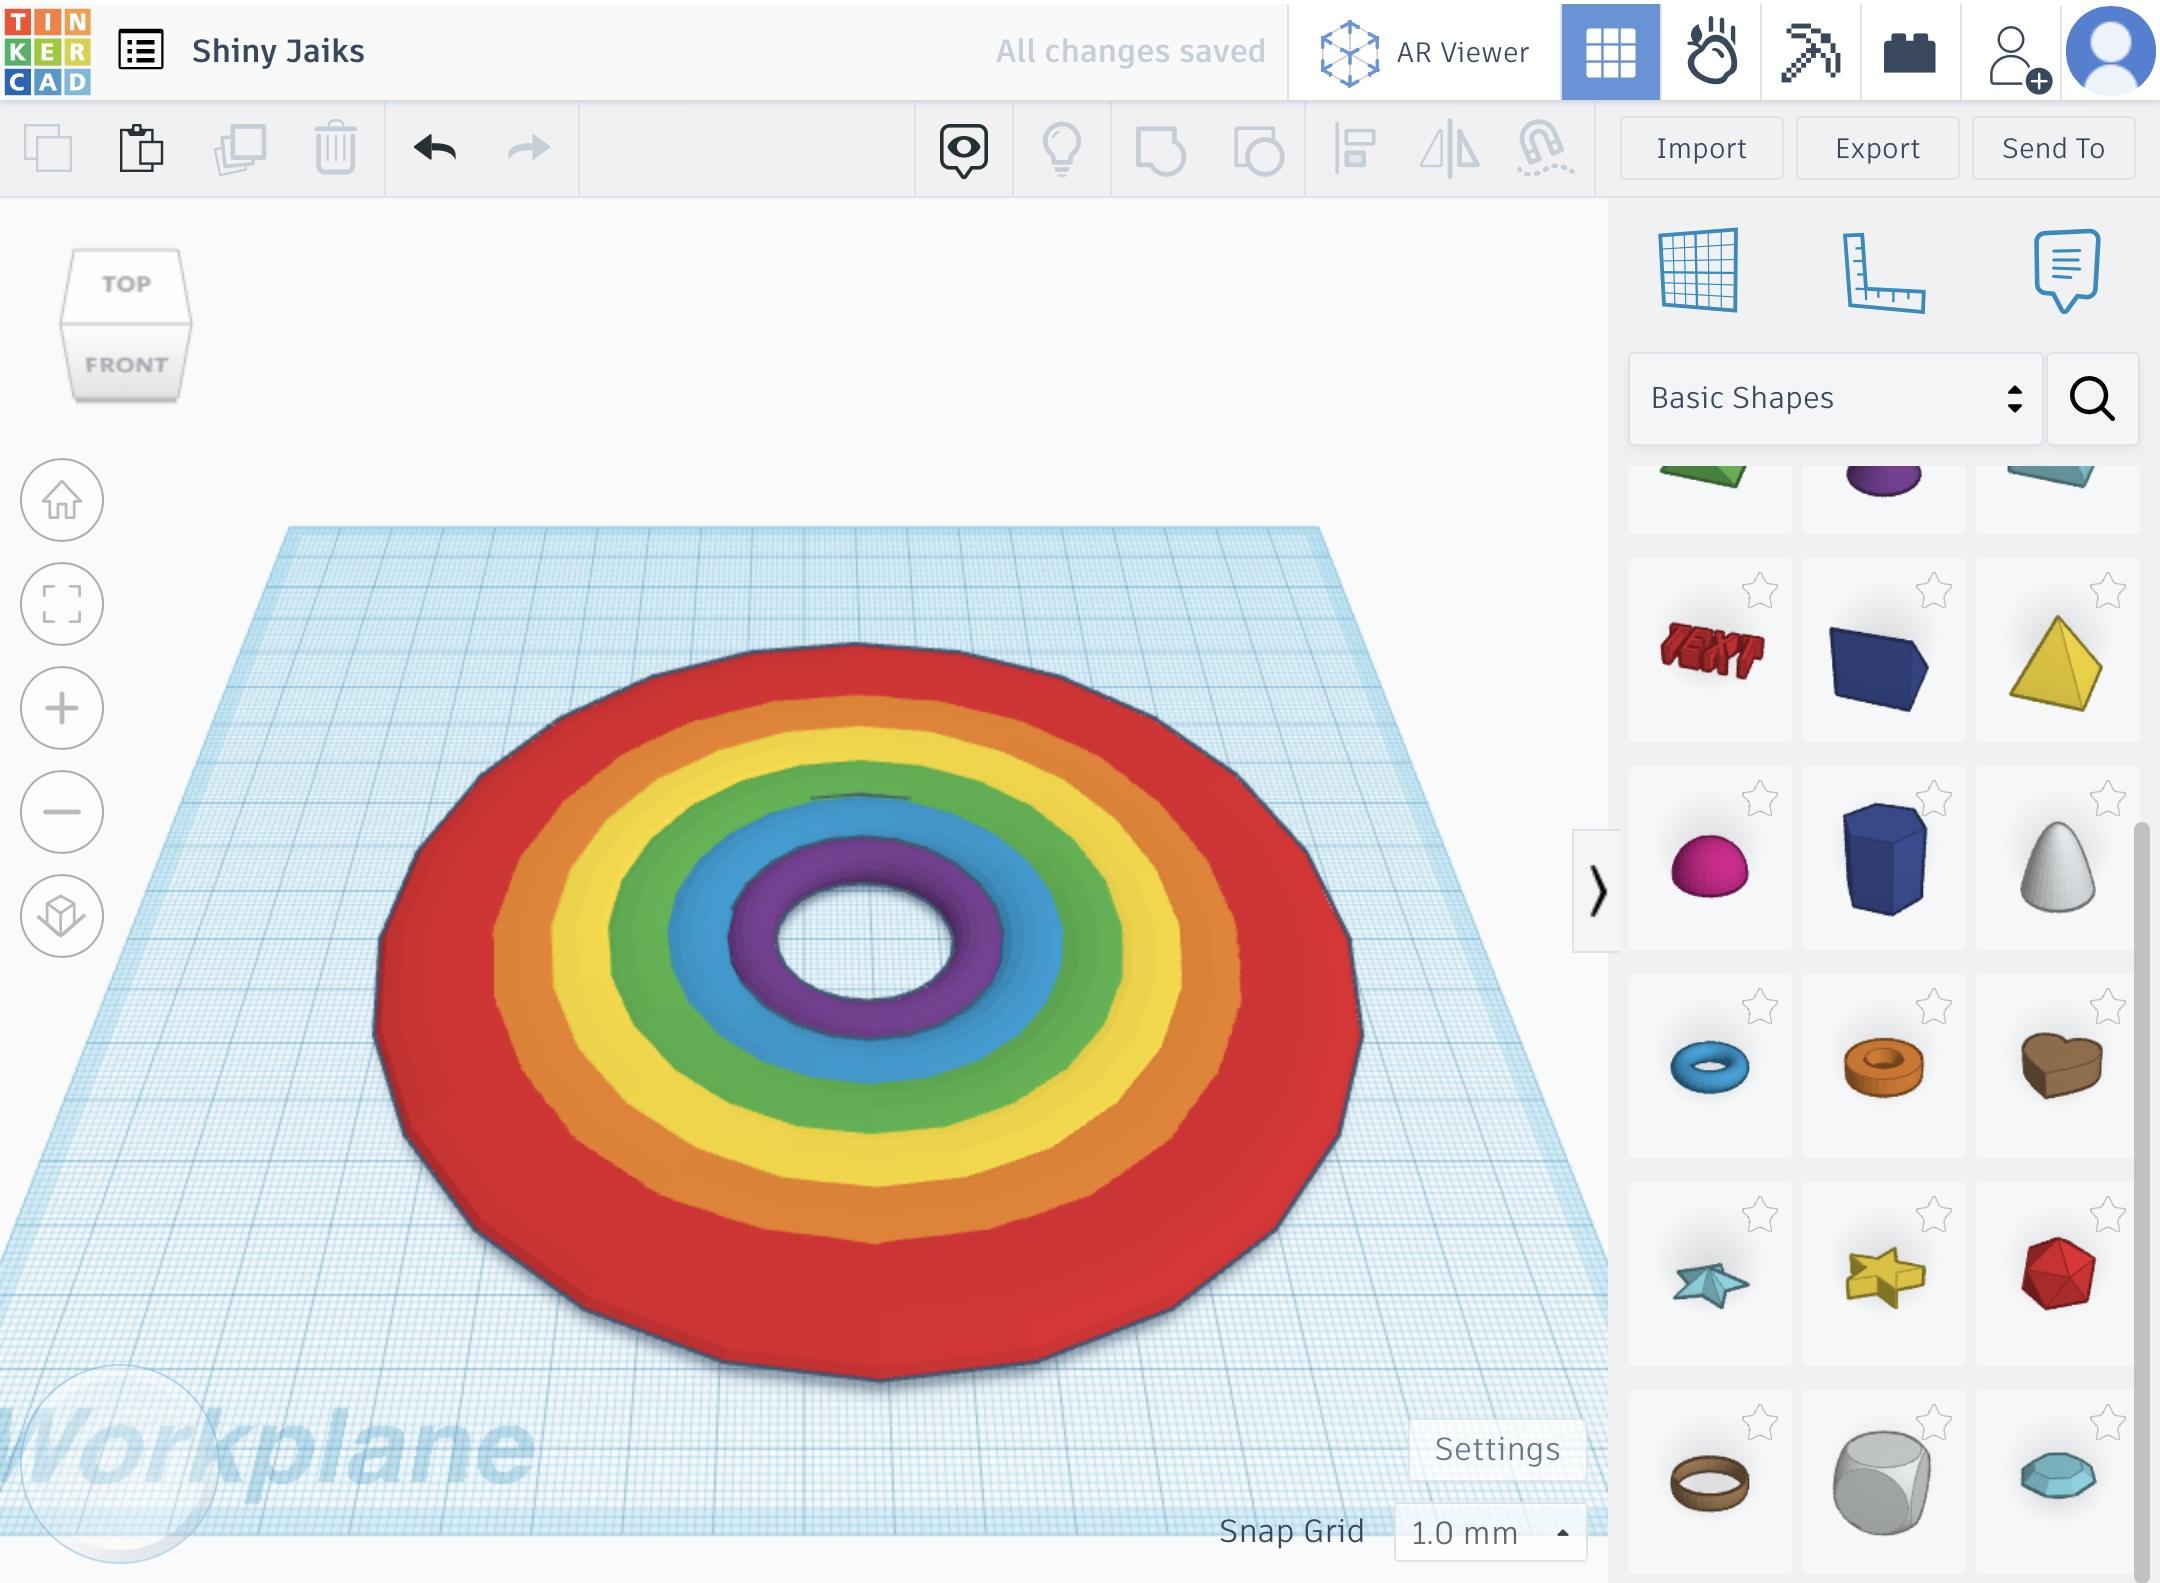
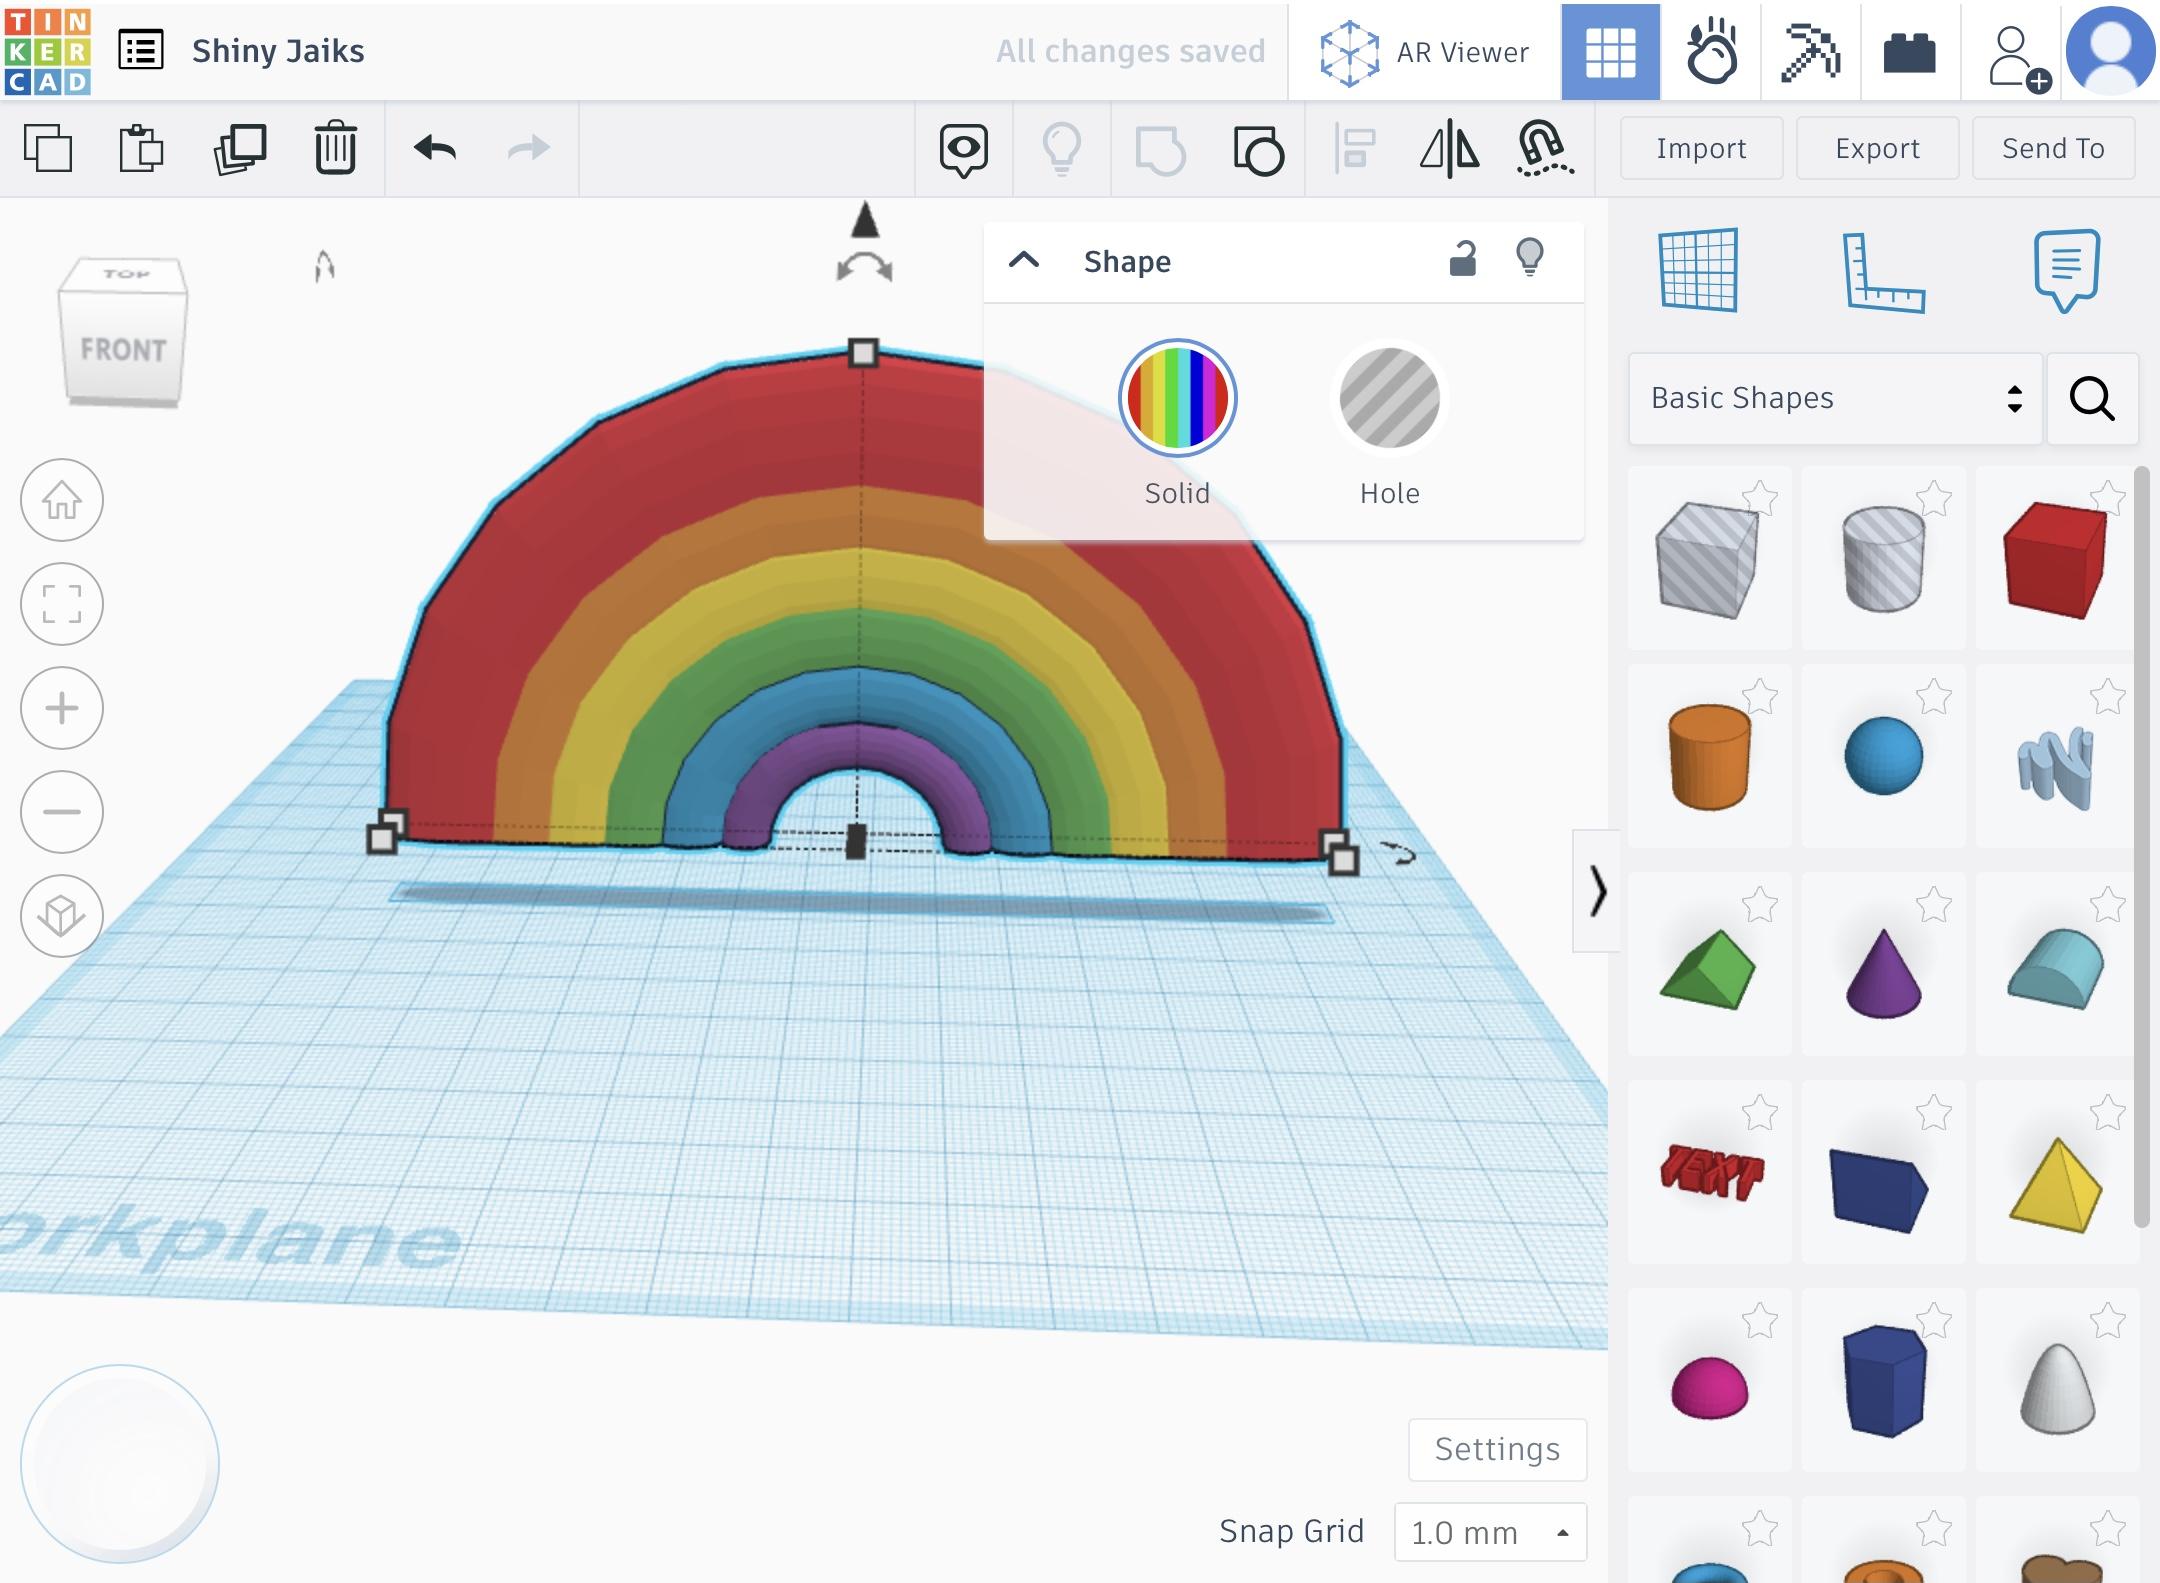
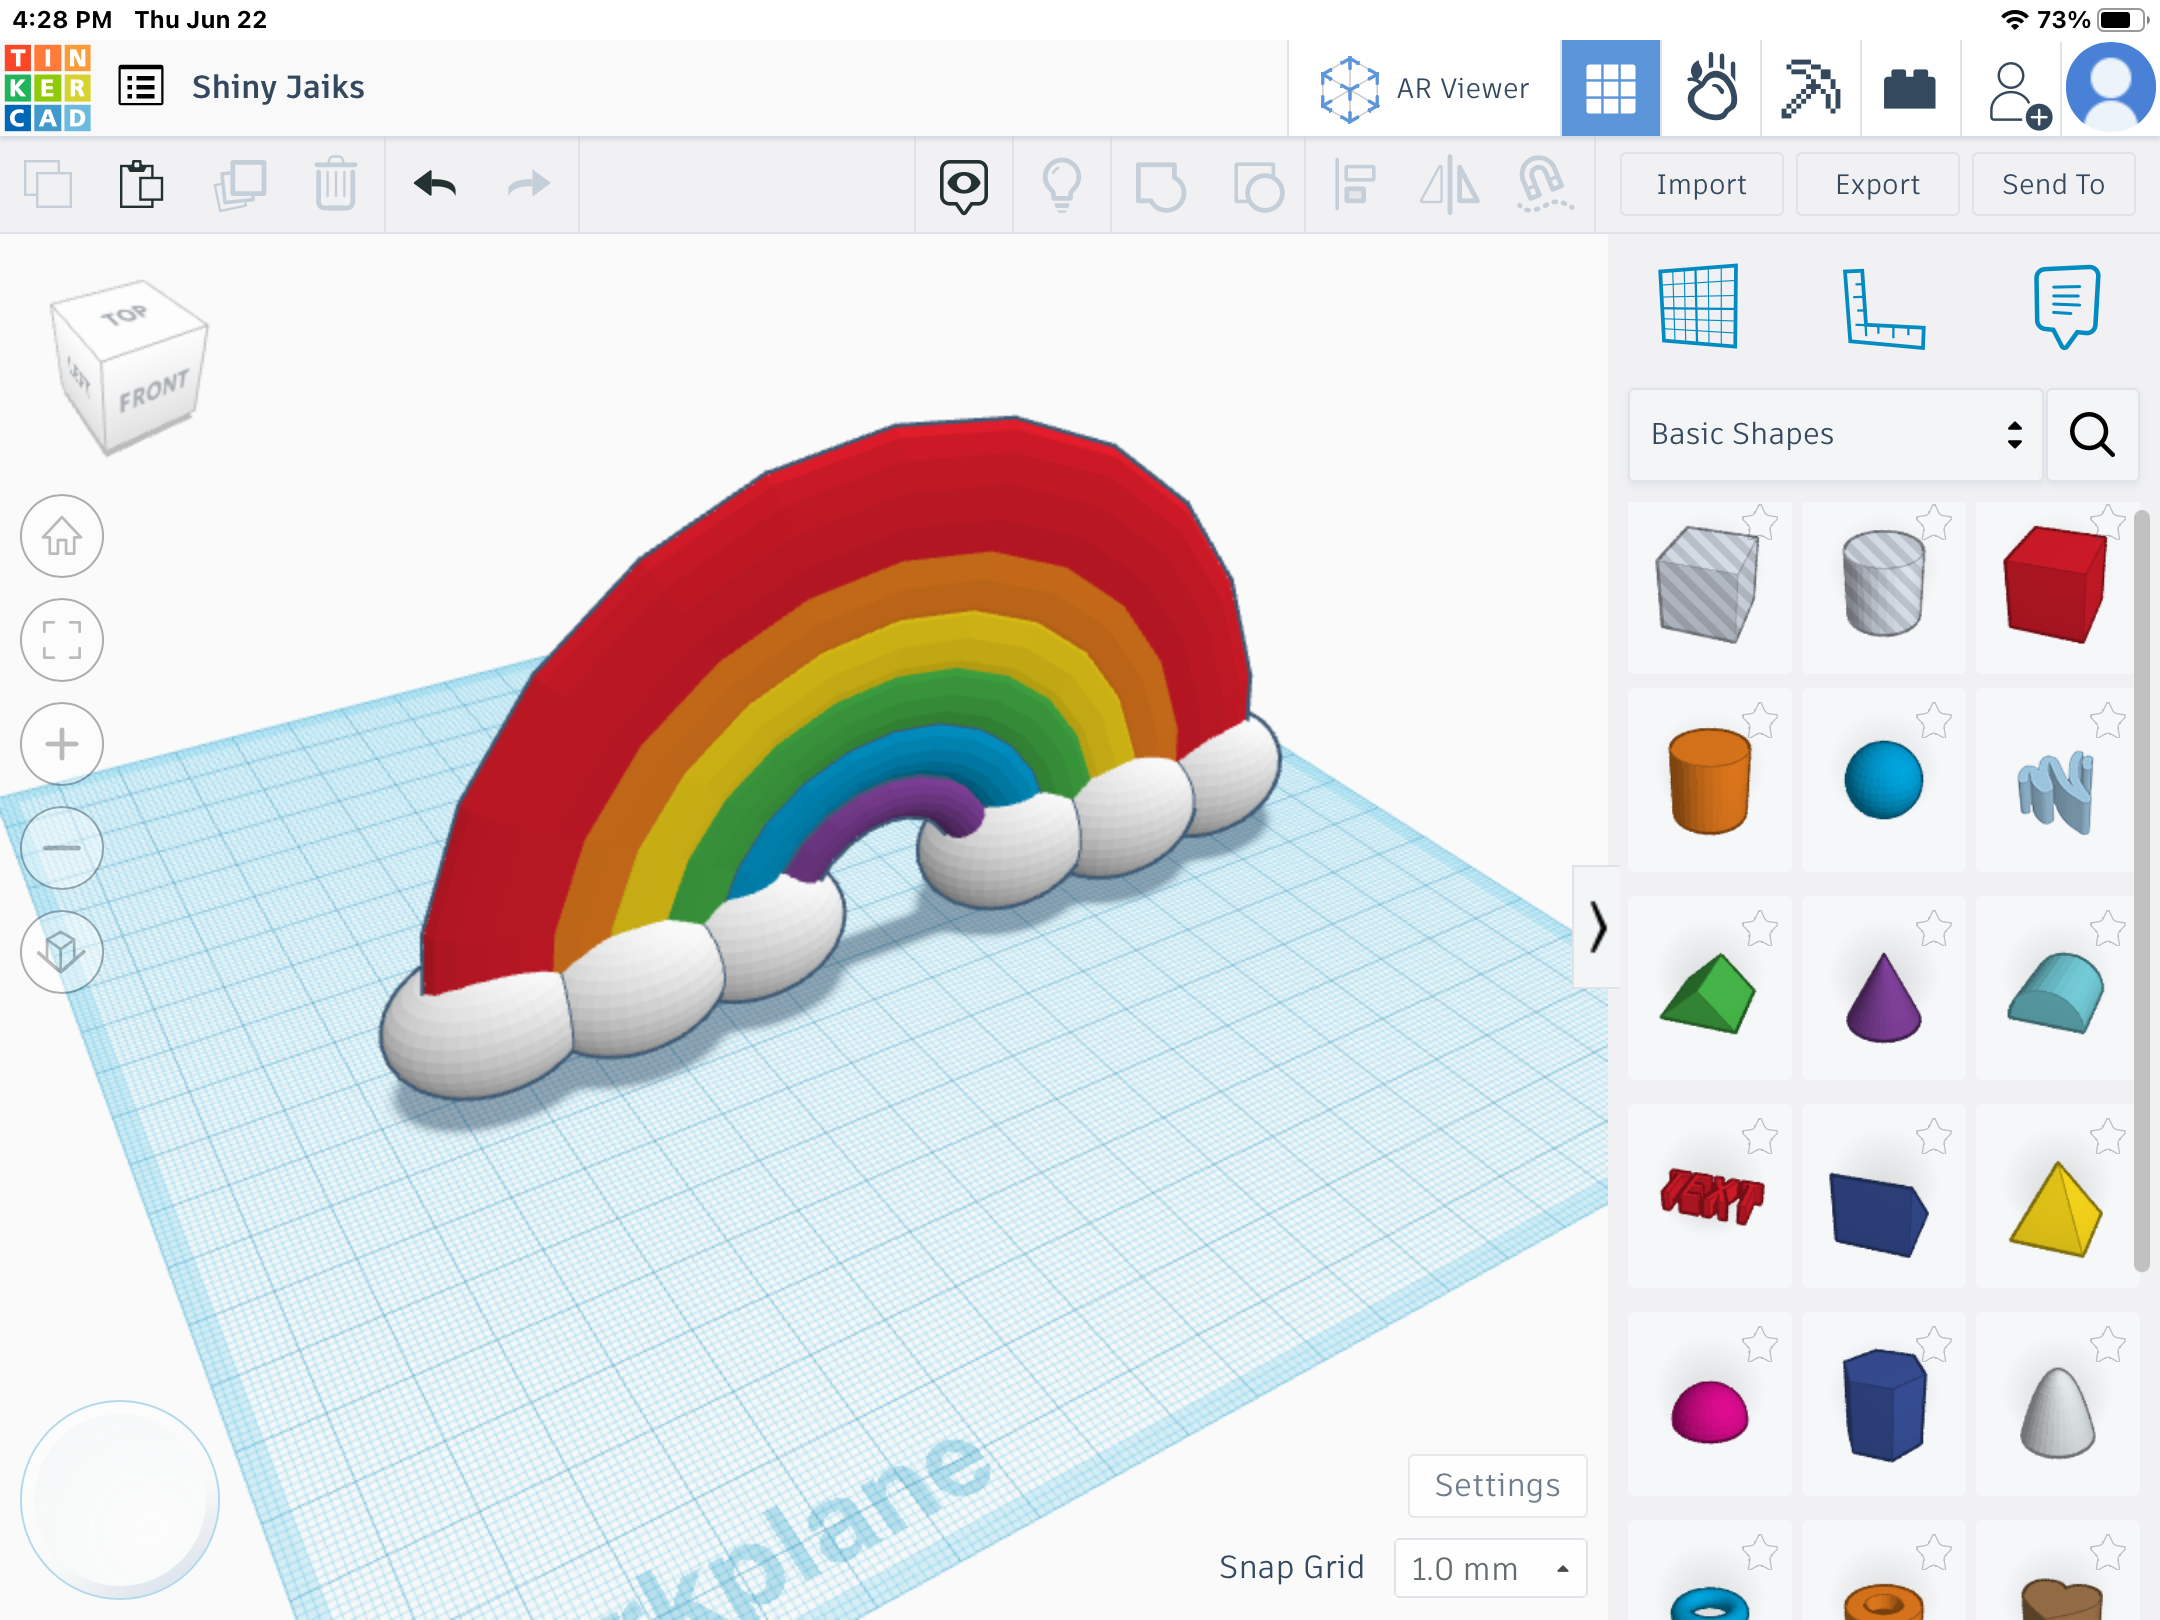
- Color each ring a color of the rainbow.
- Group the rings and select multicolor.
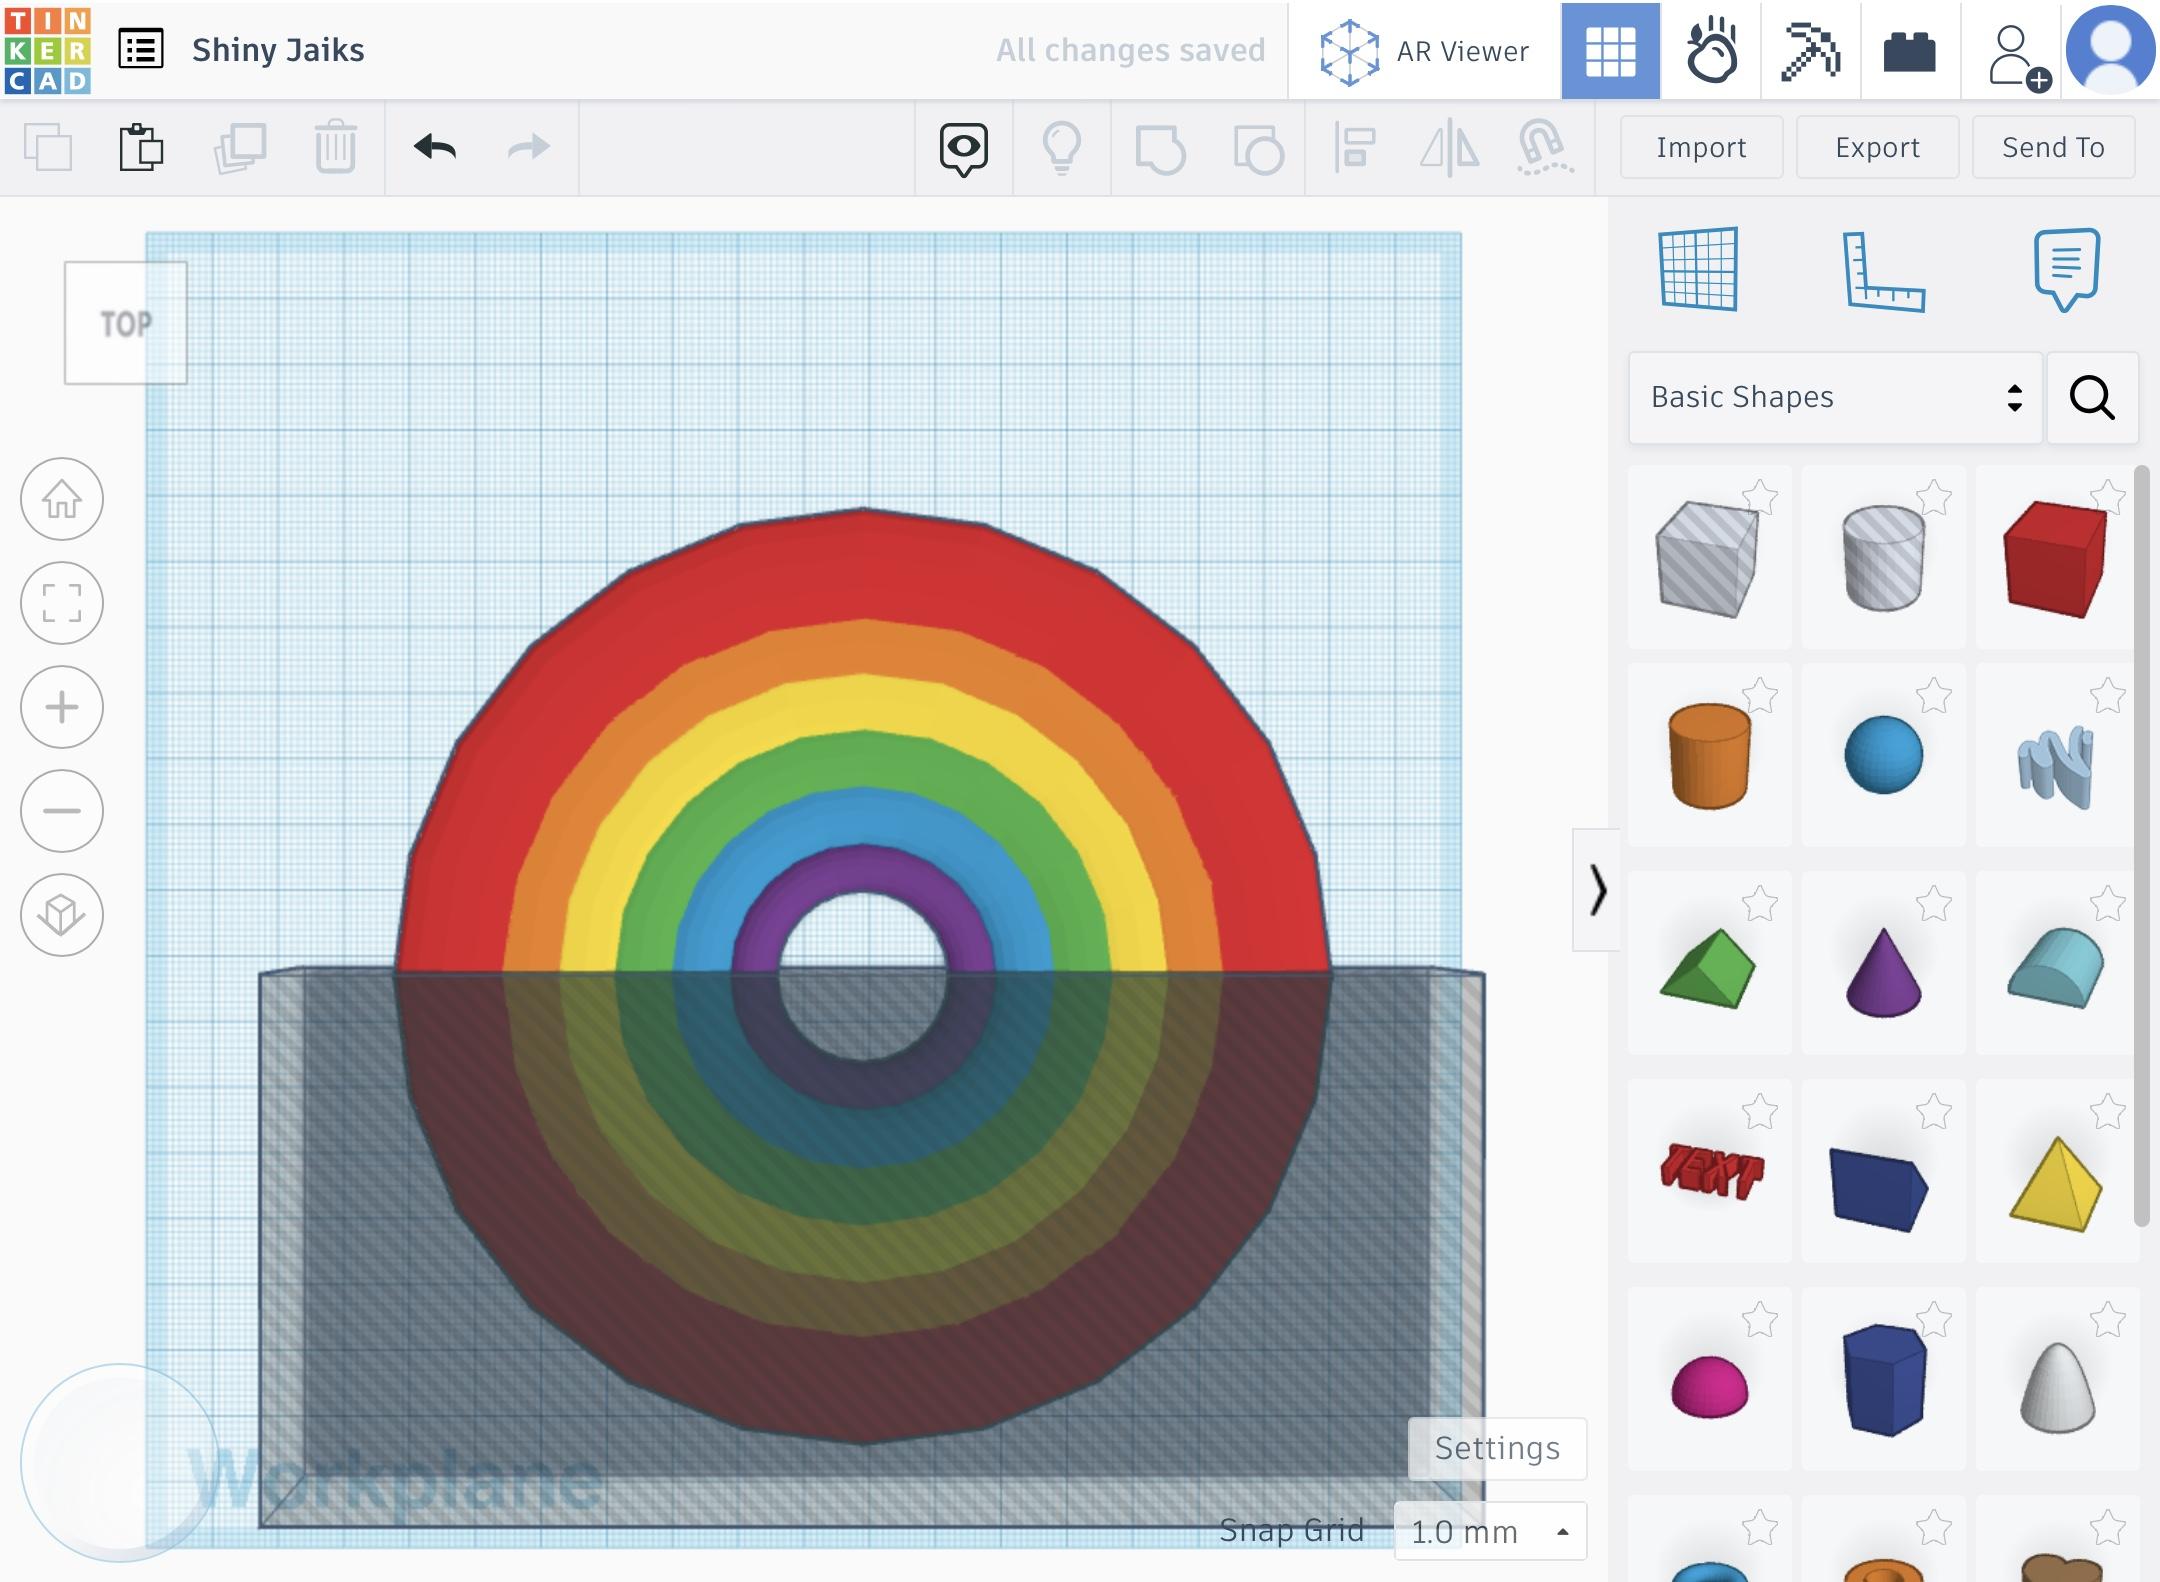
- Drag a [hole] cube onto the Workplane.
- Stretch it to the diameter of the rainbow (or longer) and cover half of the shape with the hole.
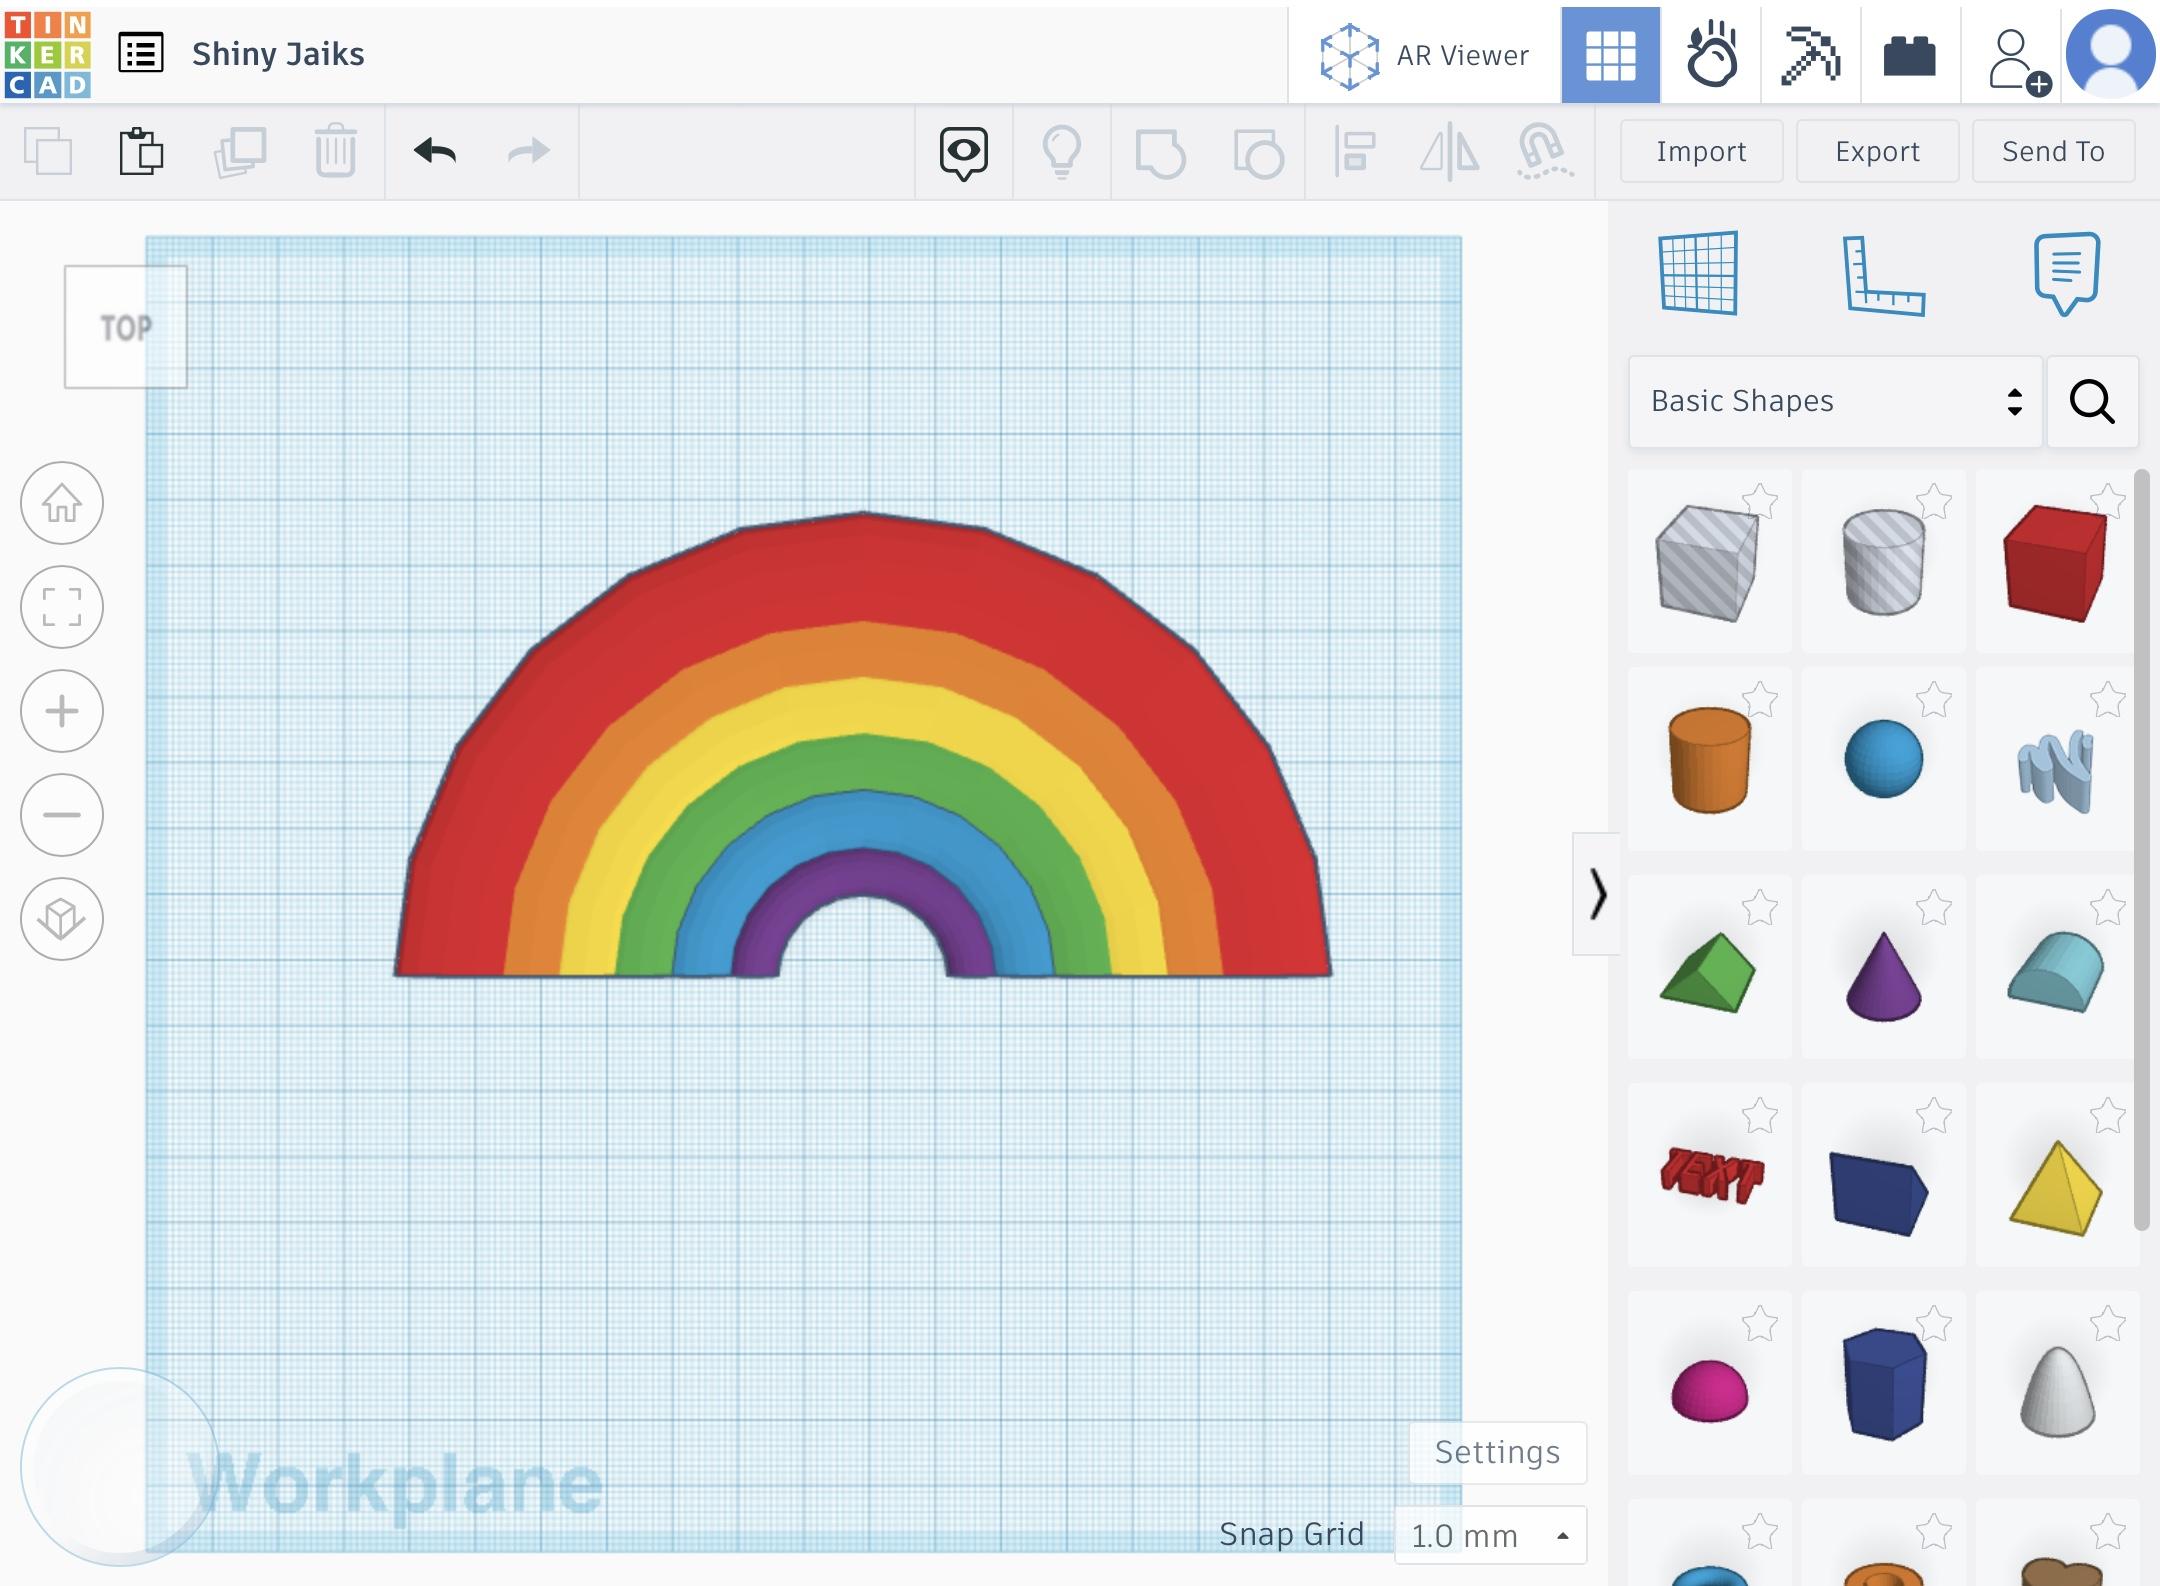
- Group the rainbow and the hole together to complete the shape of the rainbow.
Adding Finishing Touches (OPTIONAL)
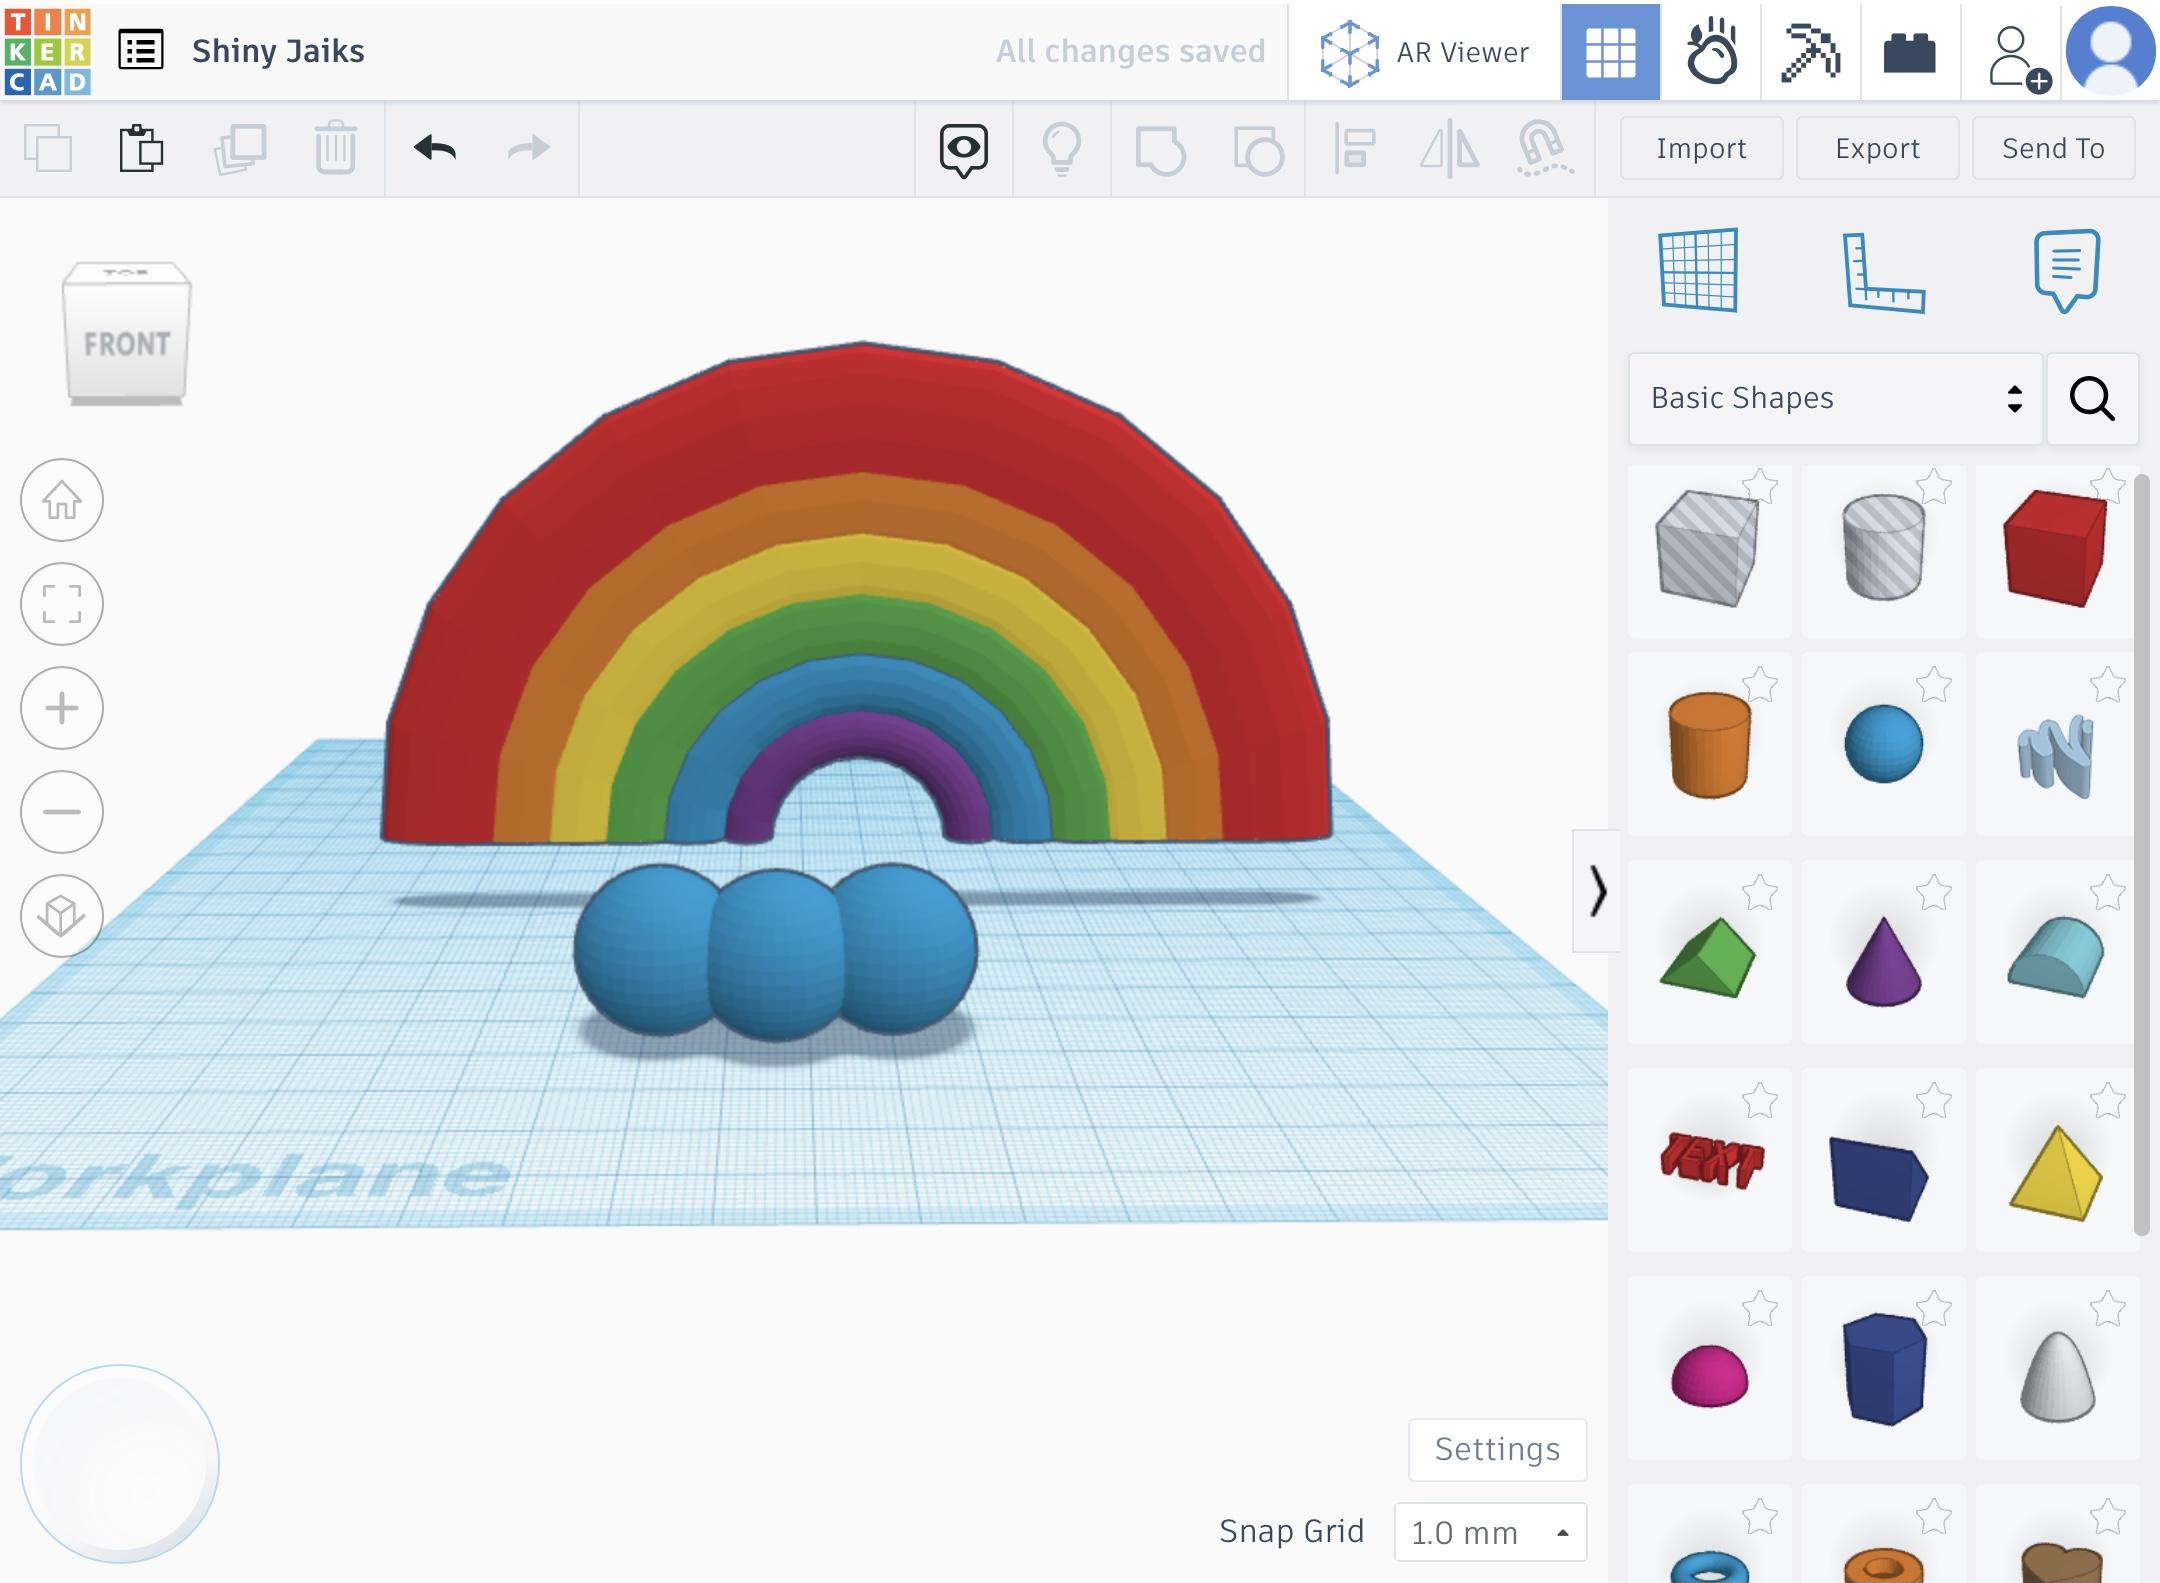
If you are fine with the current look of your rainbow, then you are finished! But if you’d like to add more to your rainbow, this is the last step.
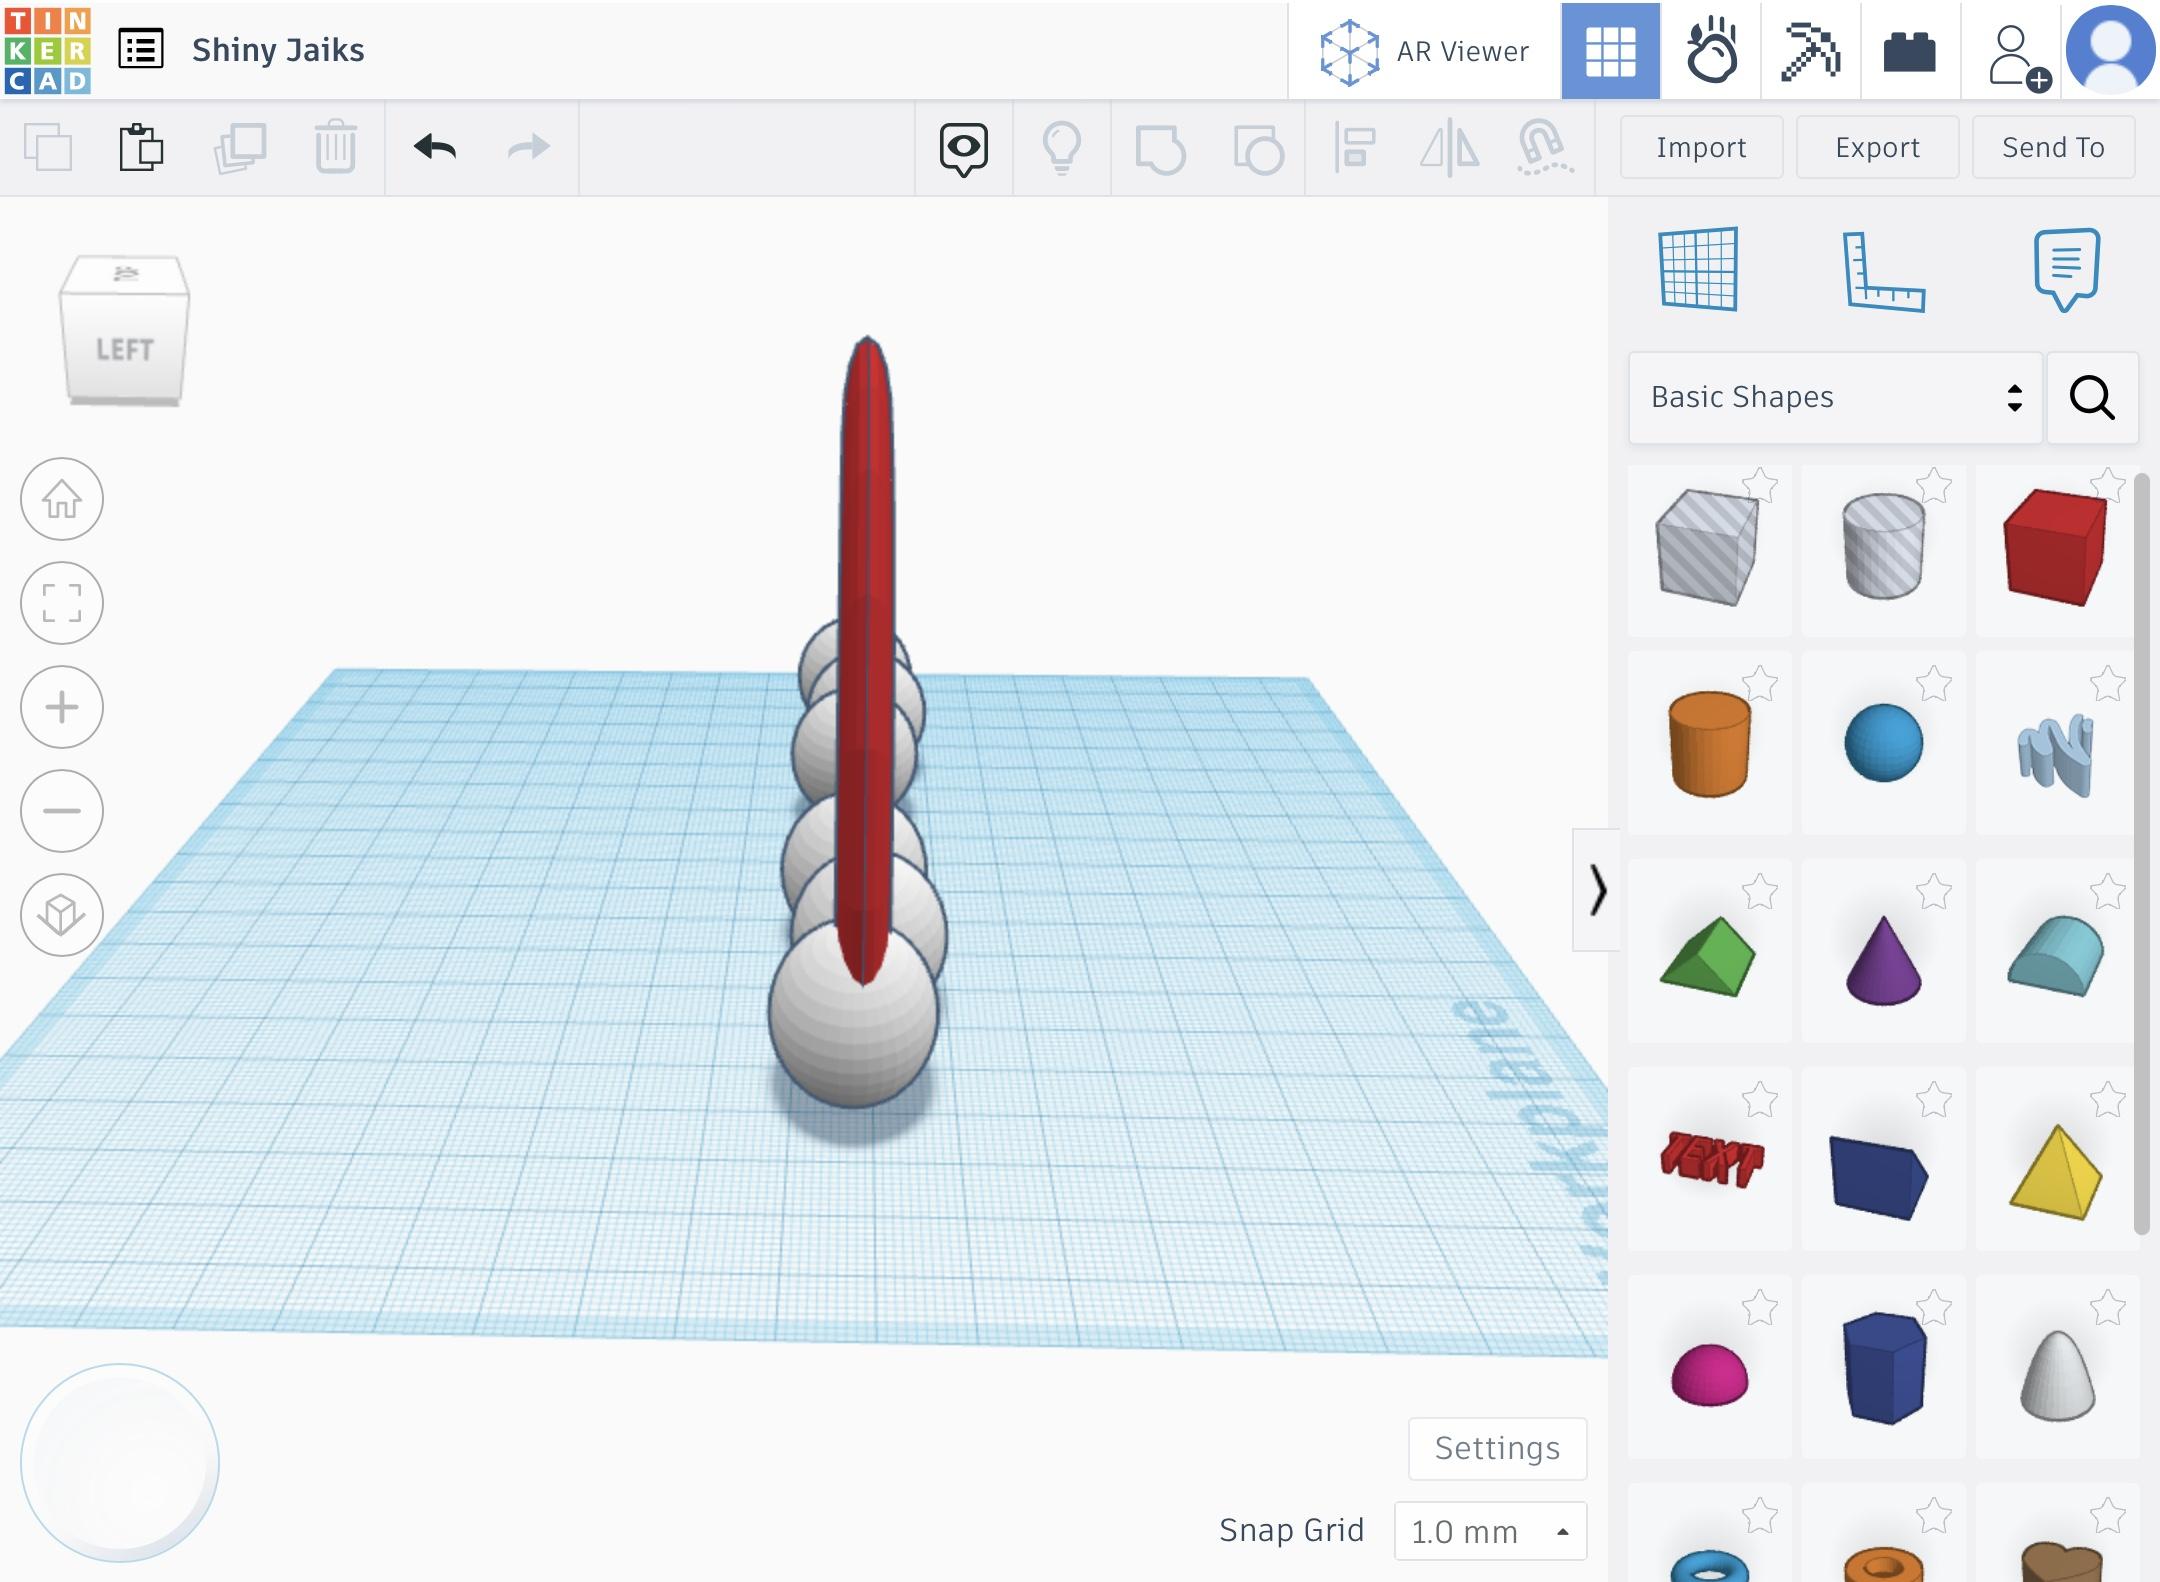
- Rotate your rainbow and shift it upwards so that it is standing up on the Workplane.
- Shift it upwards a few more units so that it’s floating above the Workplane (3-5 units should be fine).
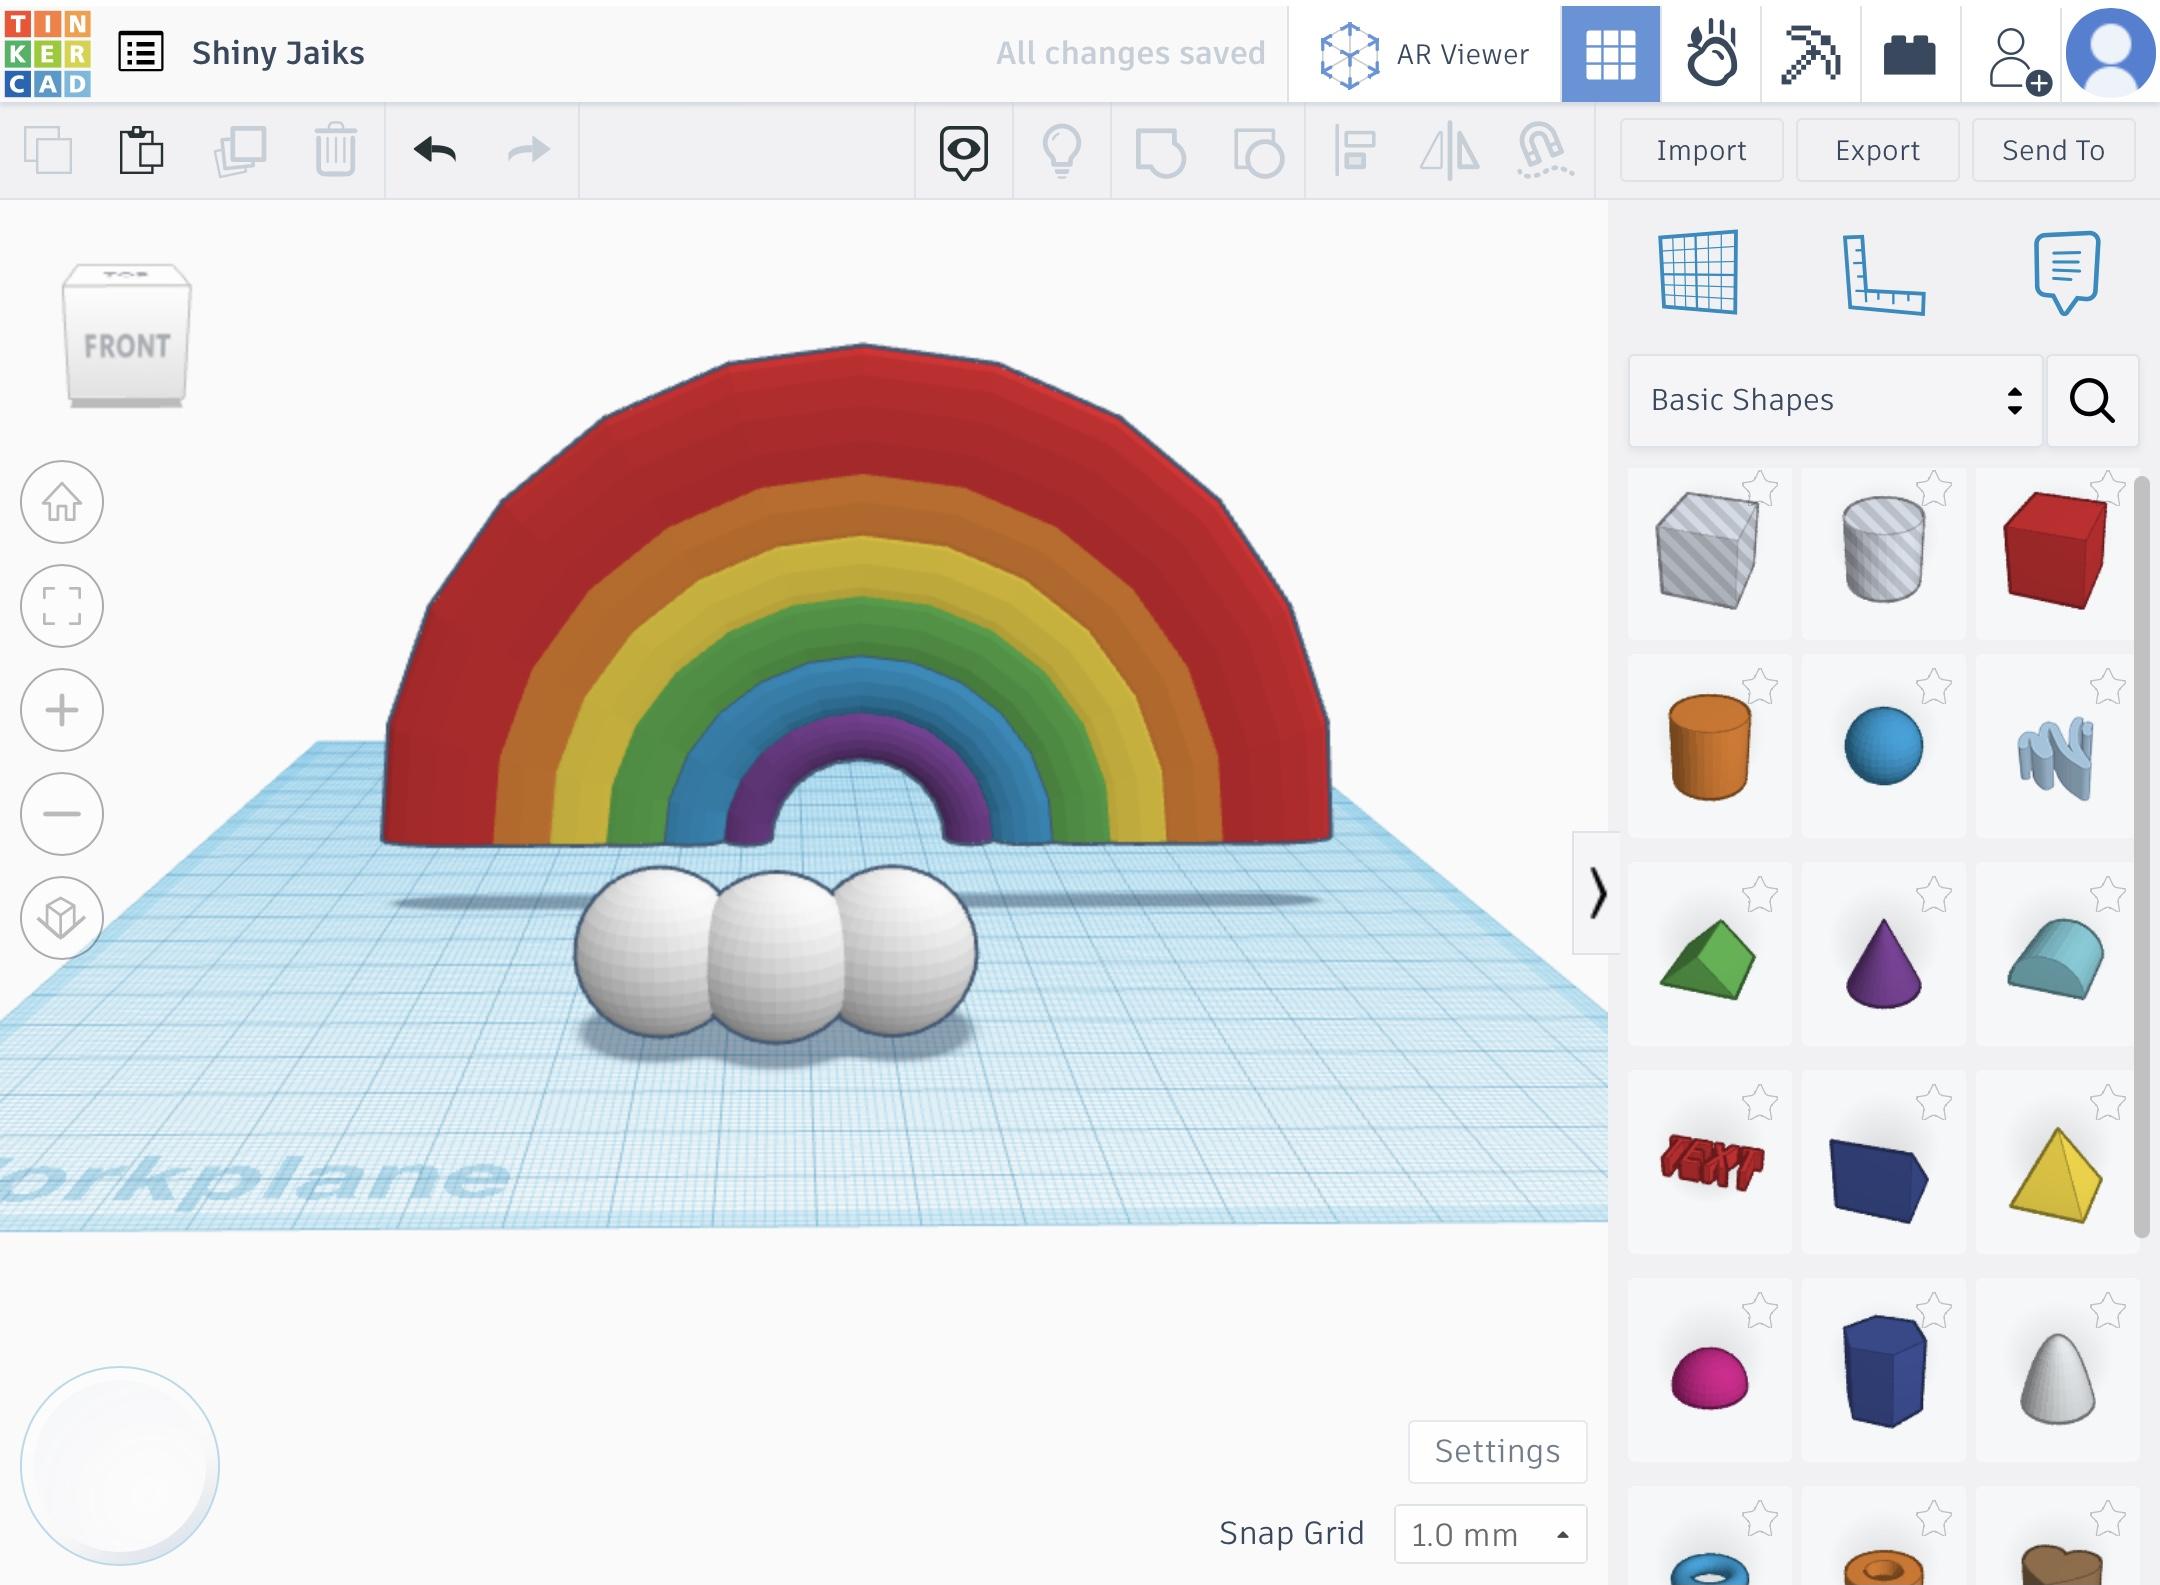
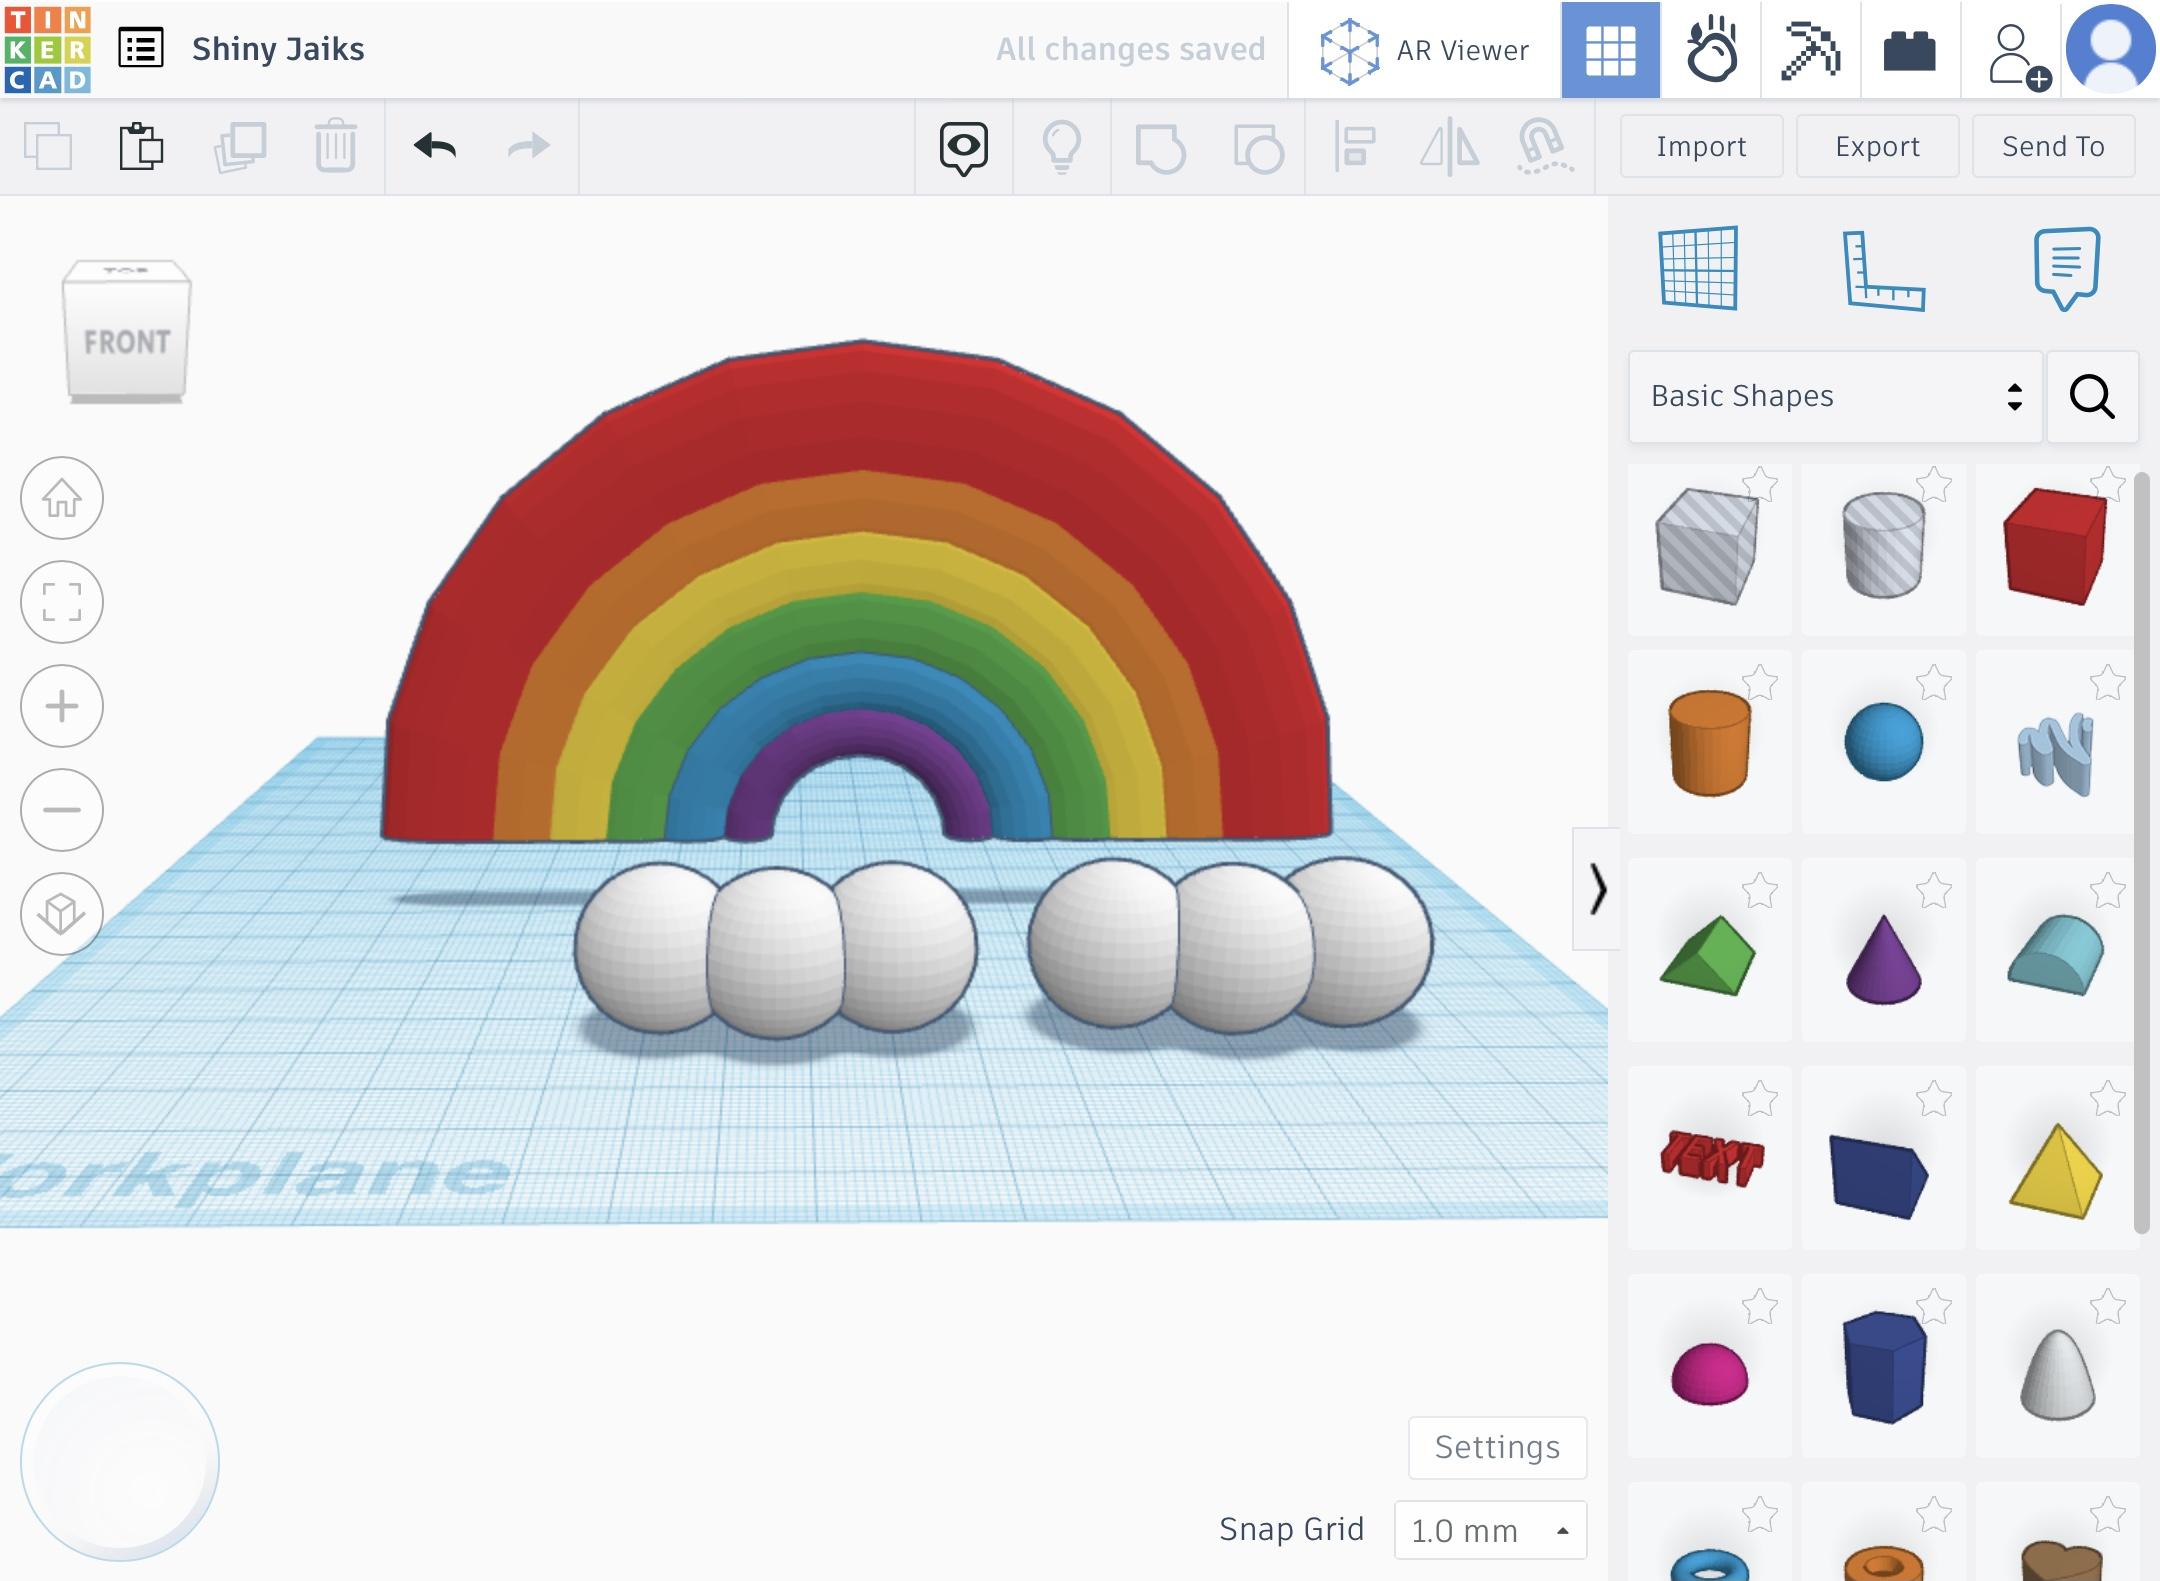
- Drag a sphere to the Workplane and duplicate it twice (there should be 3 spheres on the Workplane).
- Group them together and color then white.
- Duplicate this new shape and place one at each side of the rainbow.
You’re Done!
Congrats! You have successfully finished this project! Don’t forget to vote for me in the Colors of the Rainbow Contest!