Rainbow Water Drops Photo
by richardsonmeg10 in Circuits > Cameras
5714 Views, 92 Favorites, 0 Comments
Rainbow Water Drops Photo
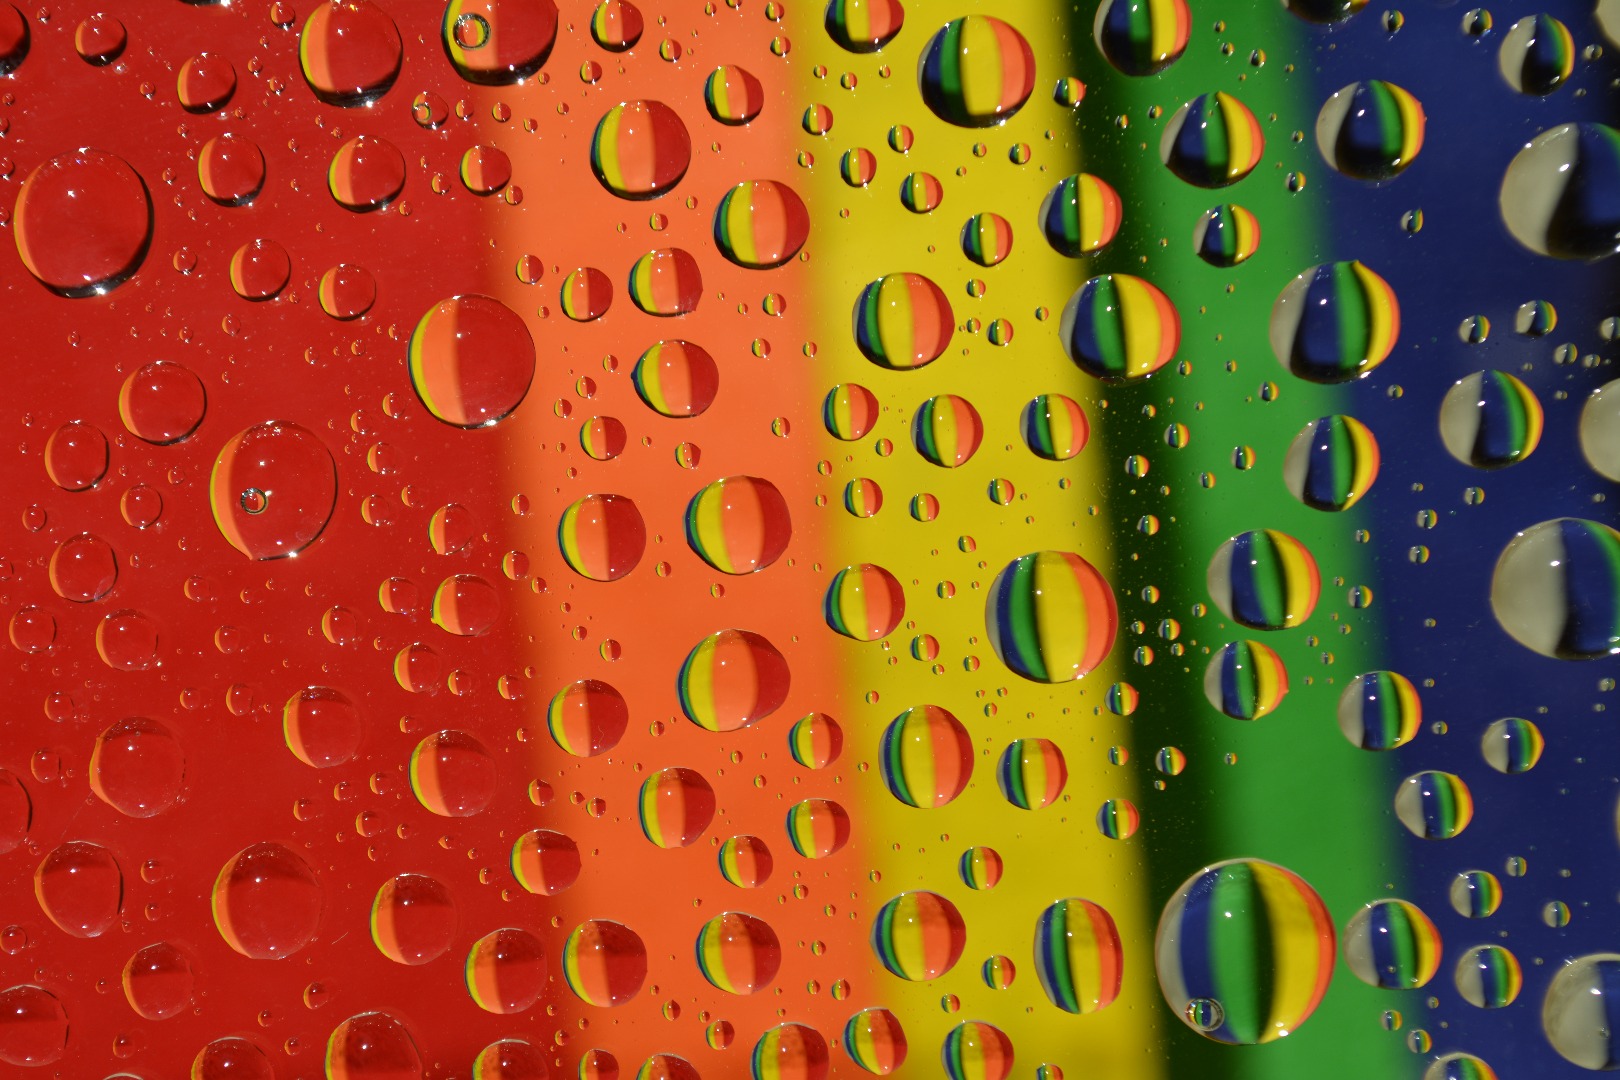
Want to add an amazing special effect for your photography utility belt with no editing required? Look no further! With a few simple items you can create surreal images with an element of depth, whimsy and color.
Materials
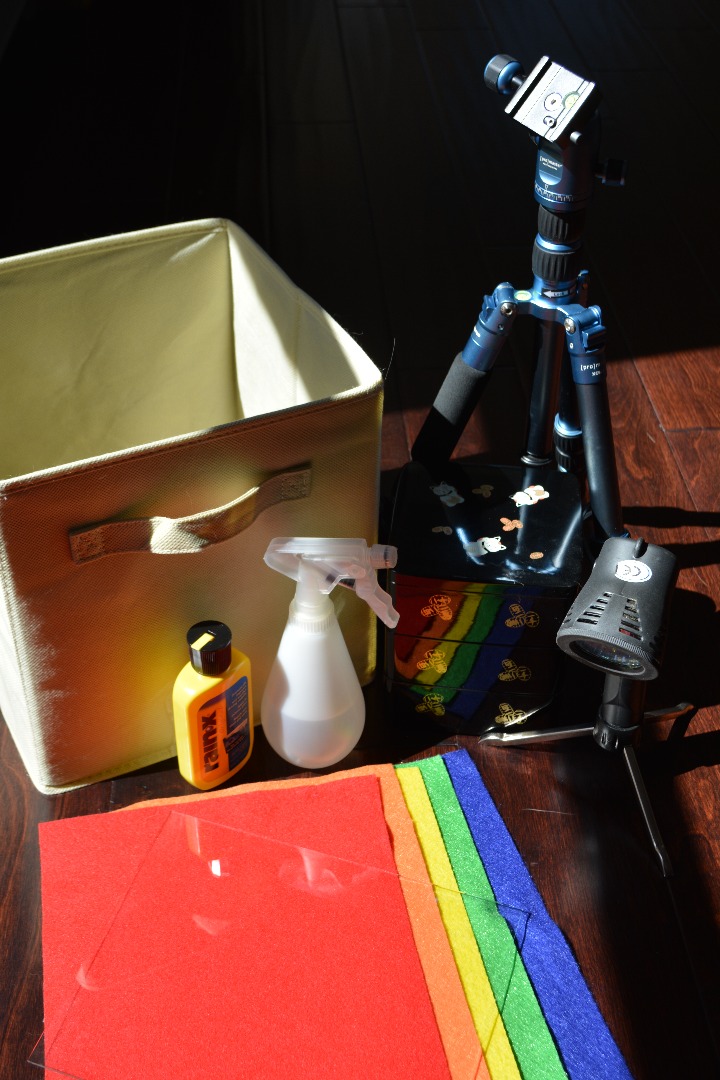
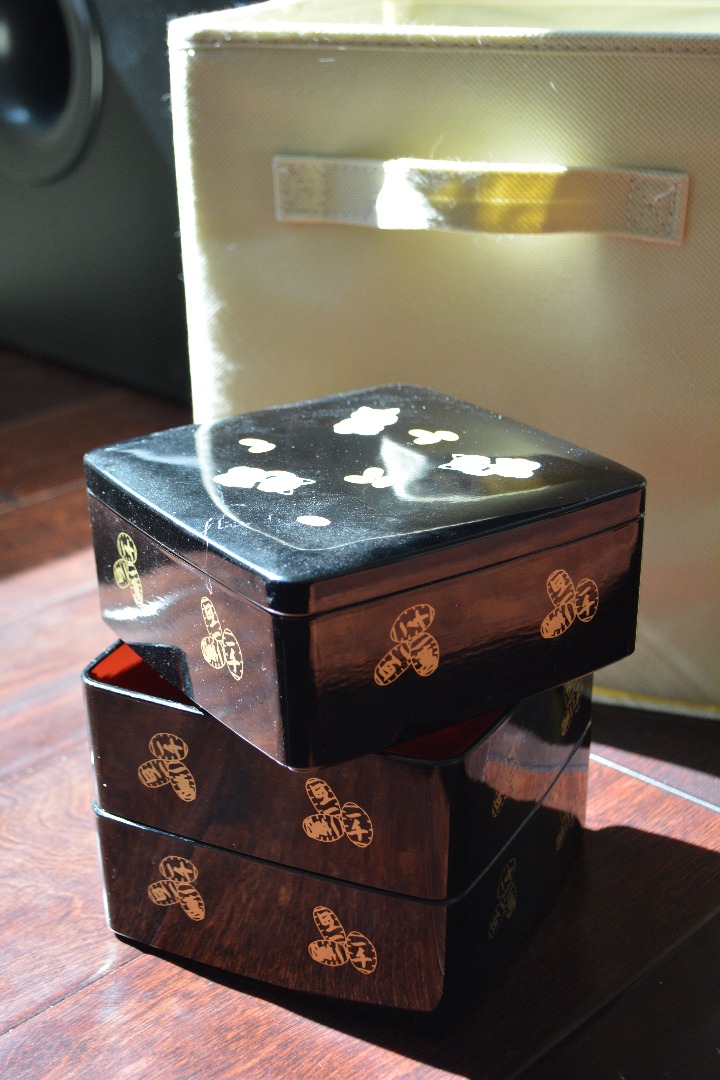
The material list is pretty forgiving with this project. Below is what I used with a few options
Required materials:
- Camera
- manual focus is your friend here. I used a Nikon D5200
- Piece of Glass
- For an easy find try the glass from an 8x10 photo frame
- Spray Bottle Filled with Water
- Glass Water Repellent
- I used Rain-X
- Boxes to hold up glass
- Anything handy and sturdy. I chose a cube from my shelving. Sometimes I use 2 puzzle boxes.
- Something to photograph
- The gorgeous colors you see here are simply pieces of felt but please experiment. Hint: colorful candy and sprinkles are fun and forgiving for beginners.
Optional (but useful) Materials:
- Lights
- Tripod
- Adjustable Height Box
- I have a 3-tiered candy box that makes it easy to adjust my set-up
- Step Ladder
- Pipette
- Using the spray bottle isn't an exact science, but pipettes live to do science, and to play small water droplets exactly where you want them.
Optional (and not-so-useful) Materials:
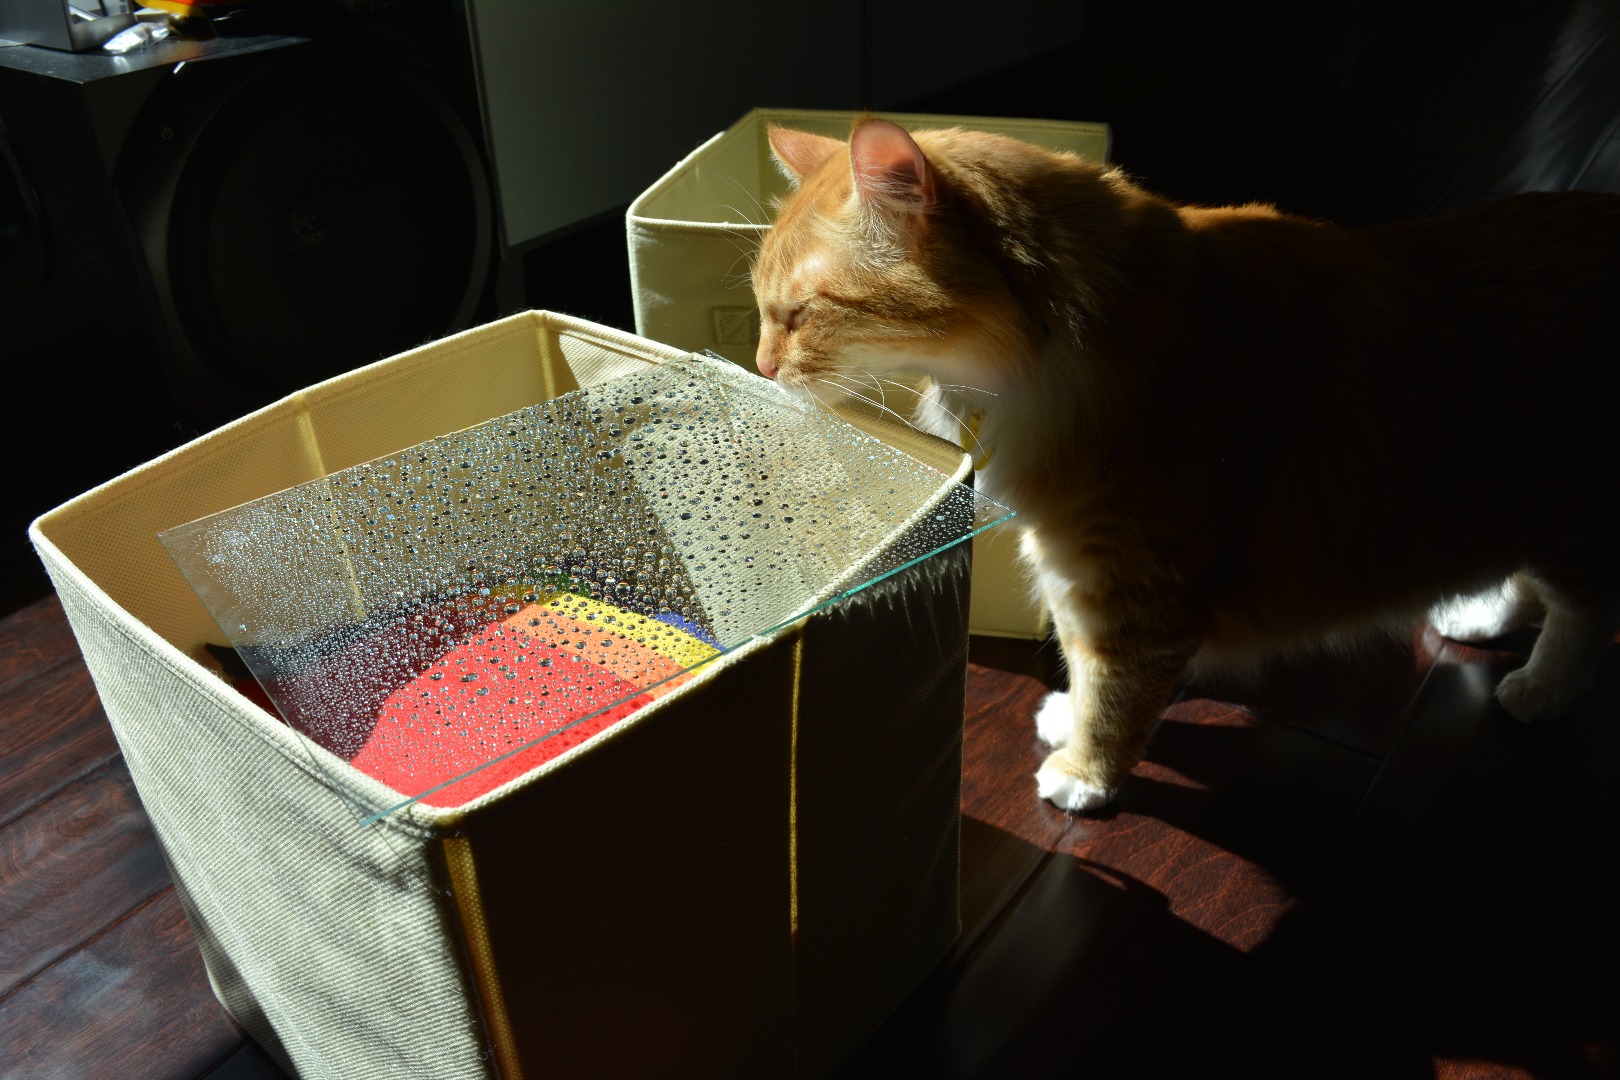
- 1 Cat
- Pro: he's adorable
- Con: he likes to lick water droplets off glass. Since this is treated with Rain-X he didn't get to "help" with this project
Preparation
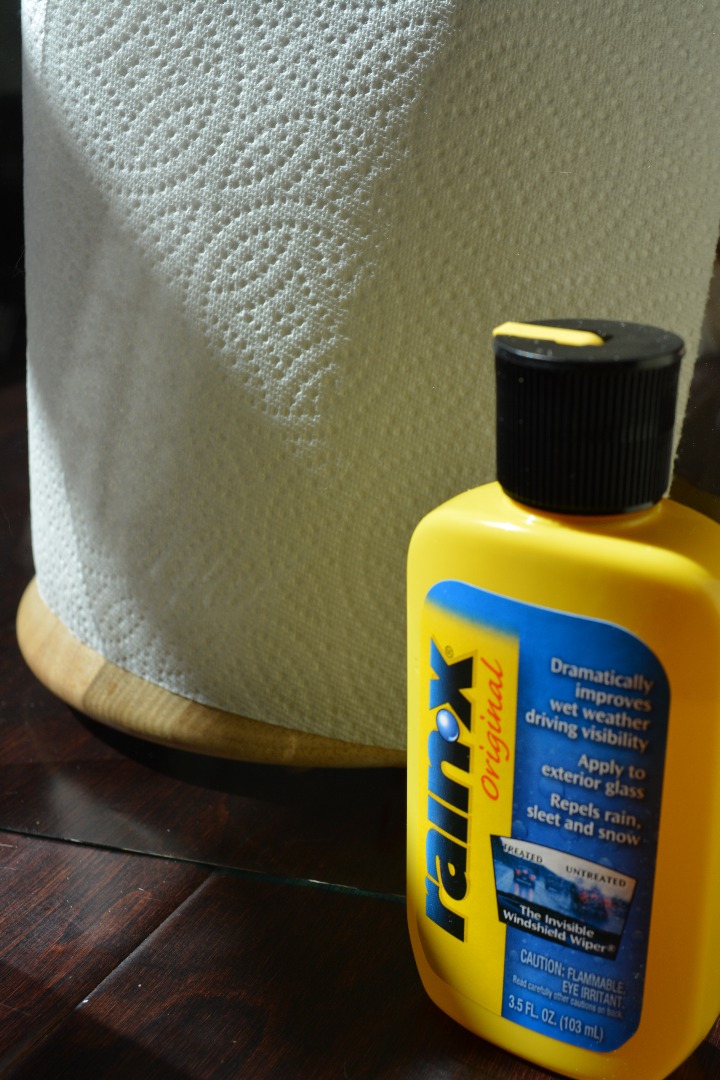
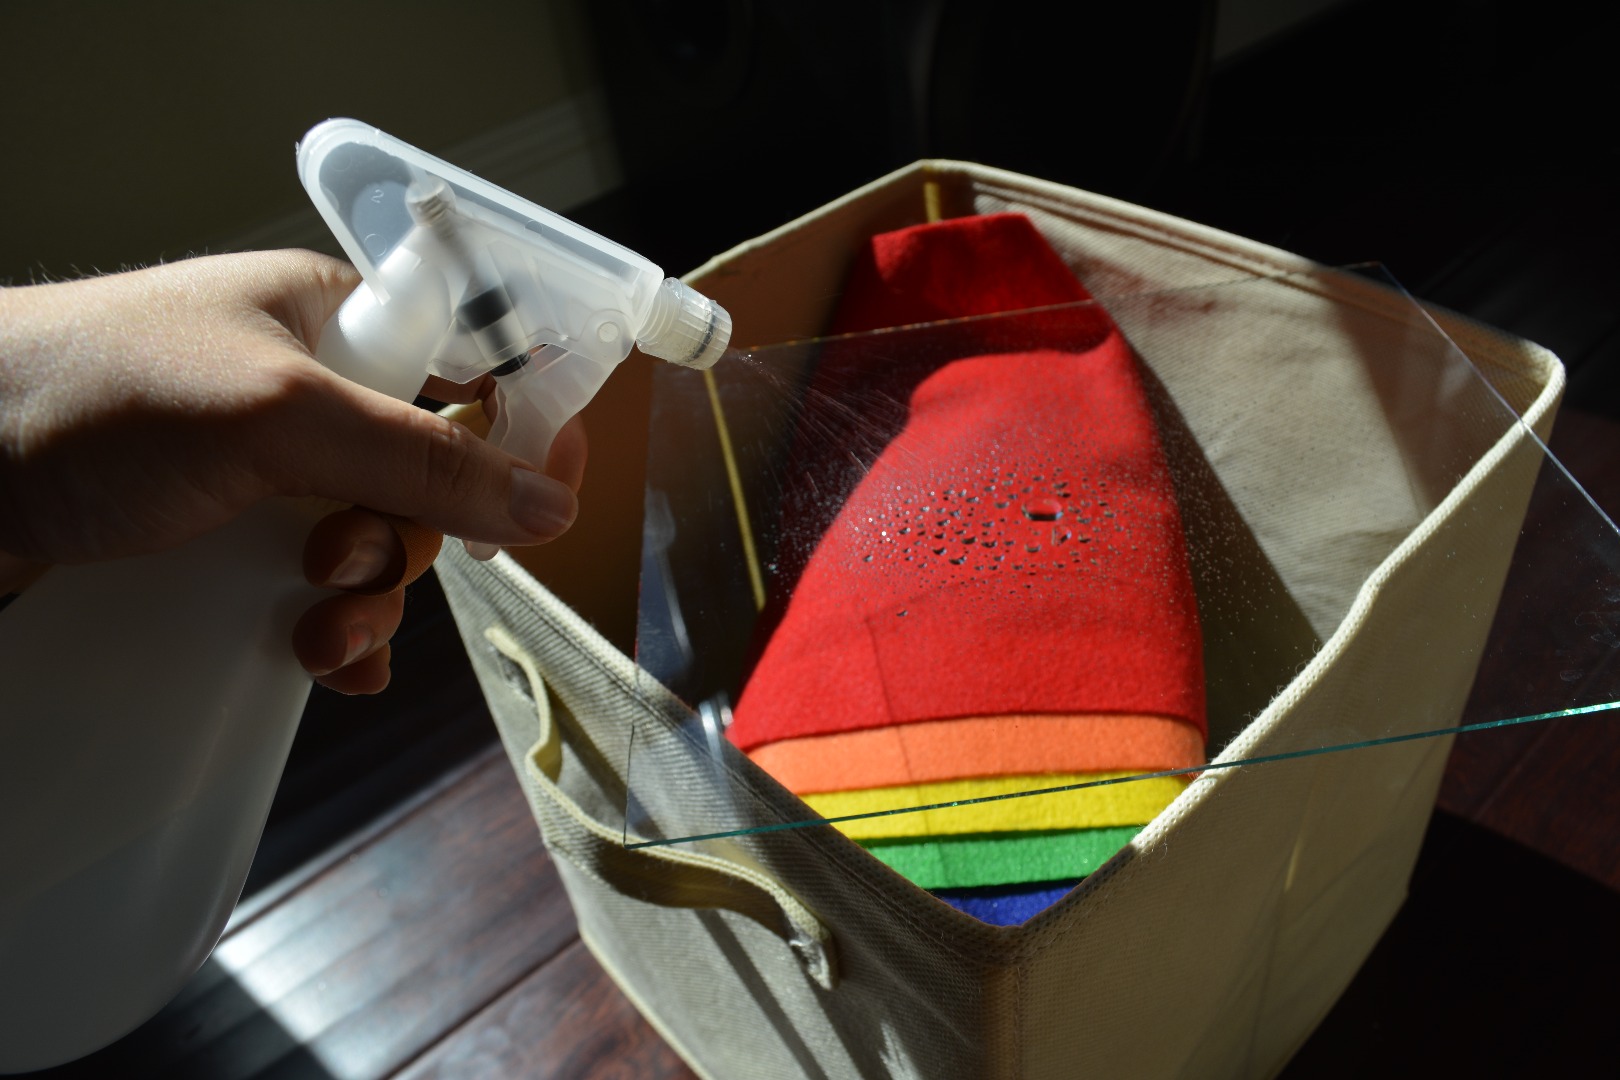
The secret to this technique is all in the Rain-X. Your first step is to follow the instructions on your water repellent and properly treat your piece of glass. For me, this meant applying the Rain-X to a cloth and then to the glass using circular, overlapping patterns and then let dry until the glass was hazy.Once dry, clean the glass with your favorite streak-free window cleaner. Test the treatment by spraying a light mist over the treated glass. It should bead up. Experiment with how much to spray and how large the water drops get. Practice is key here.
Set-up the Shot
For a mobile set-up, I placed the tiered candy box inside of the canvas cube with the colored felts on top. Once everything was arranged the way I wanted, I laid the glass over top. This lets you move the box into different lights, and easily remove tiers from the candy dish to adjust the distance between your subject and the glass. While this is easier, it's often better to use two cubes to suspend the glass with the subject underneath. This allows you to set up external lights and have much more control over shadowing.
Spray the Perfect Water Drops
Show-time. I hope you practiced! Spray until you get the drop size you desire for your shot. A light mist will make many small droplets, a few more sprays and you'll have fewer, but larger, drops. If you're a perfectionist or going for a certain layout, place your drops using a pipette.
The Shot
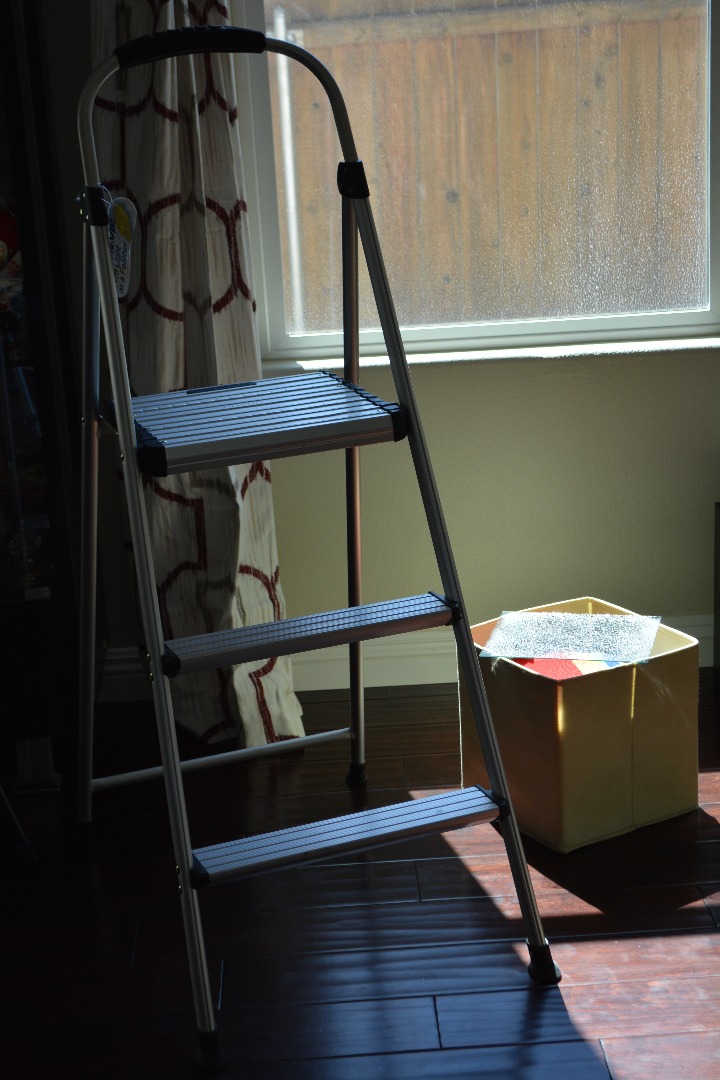
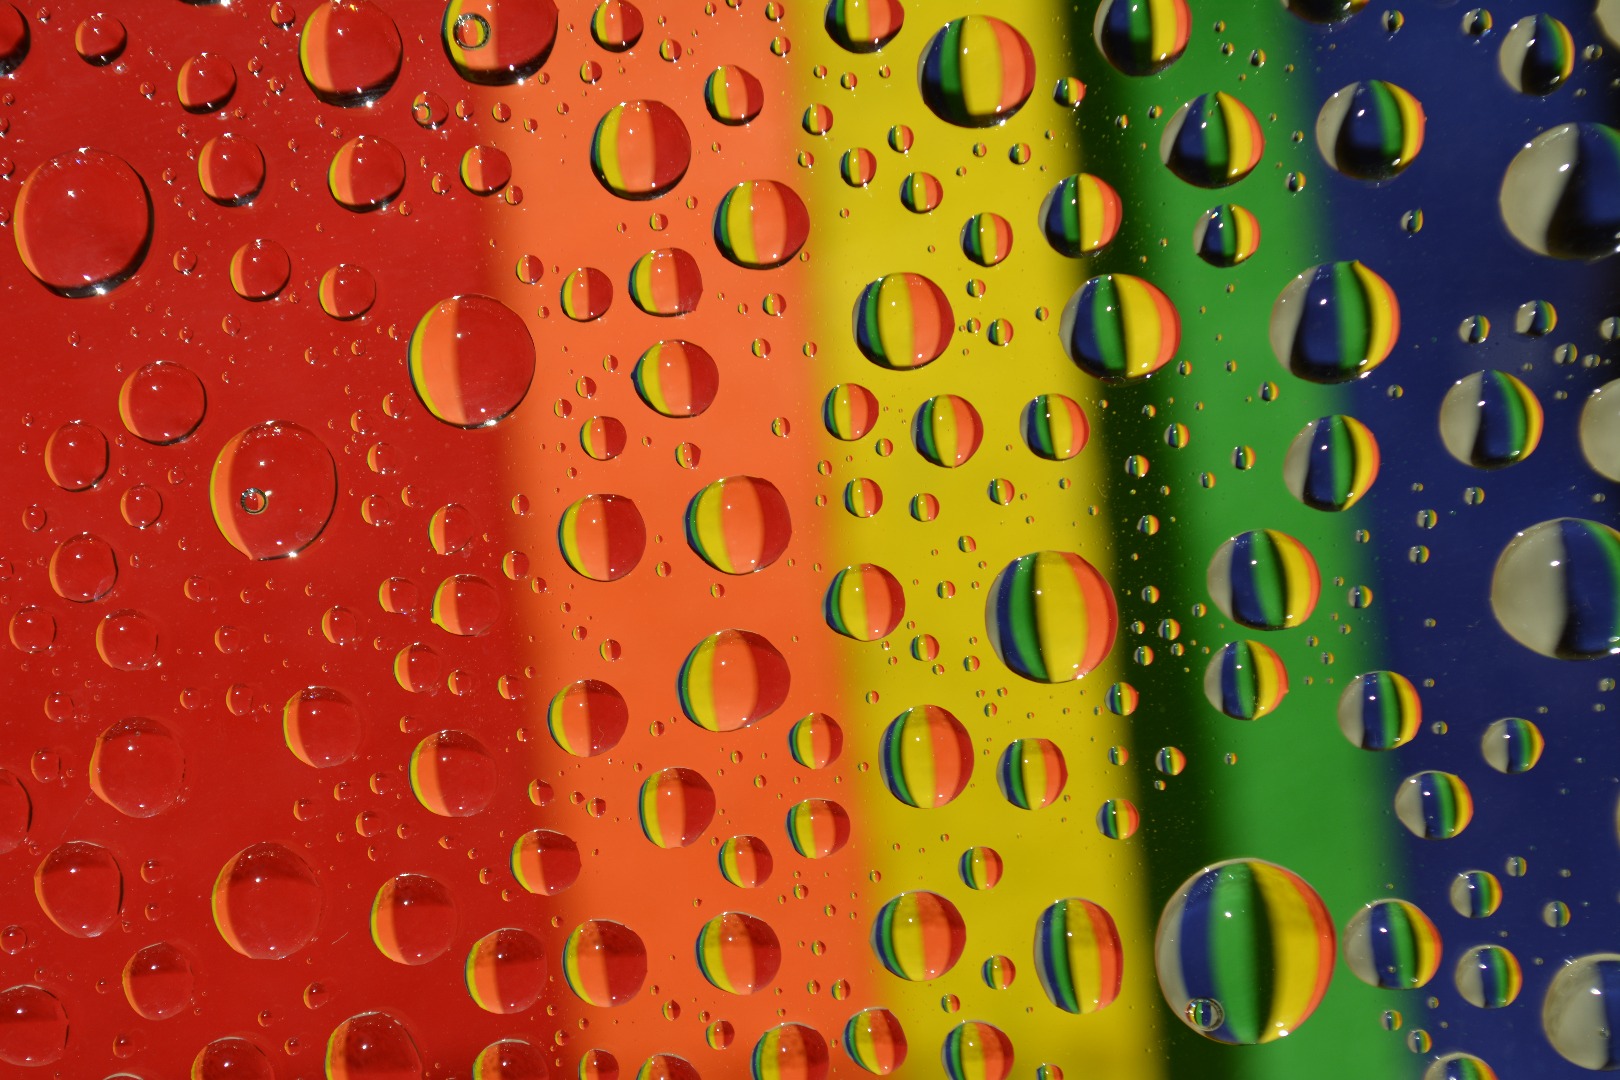
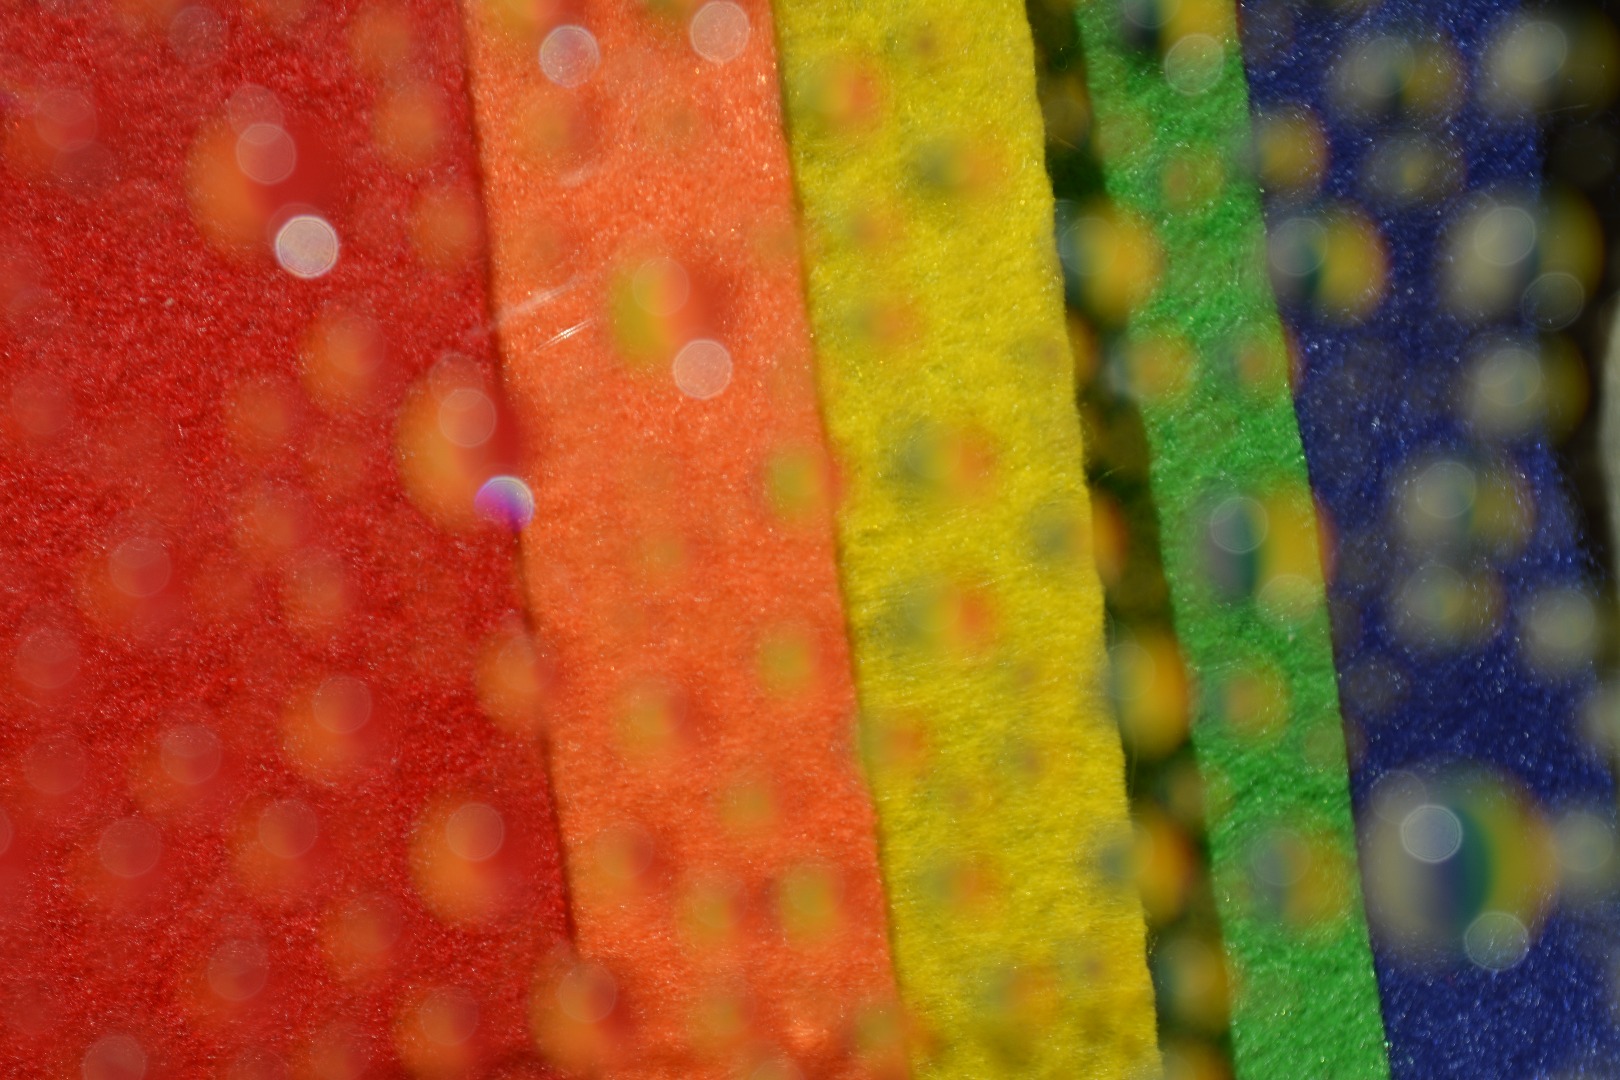
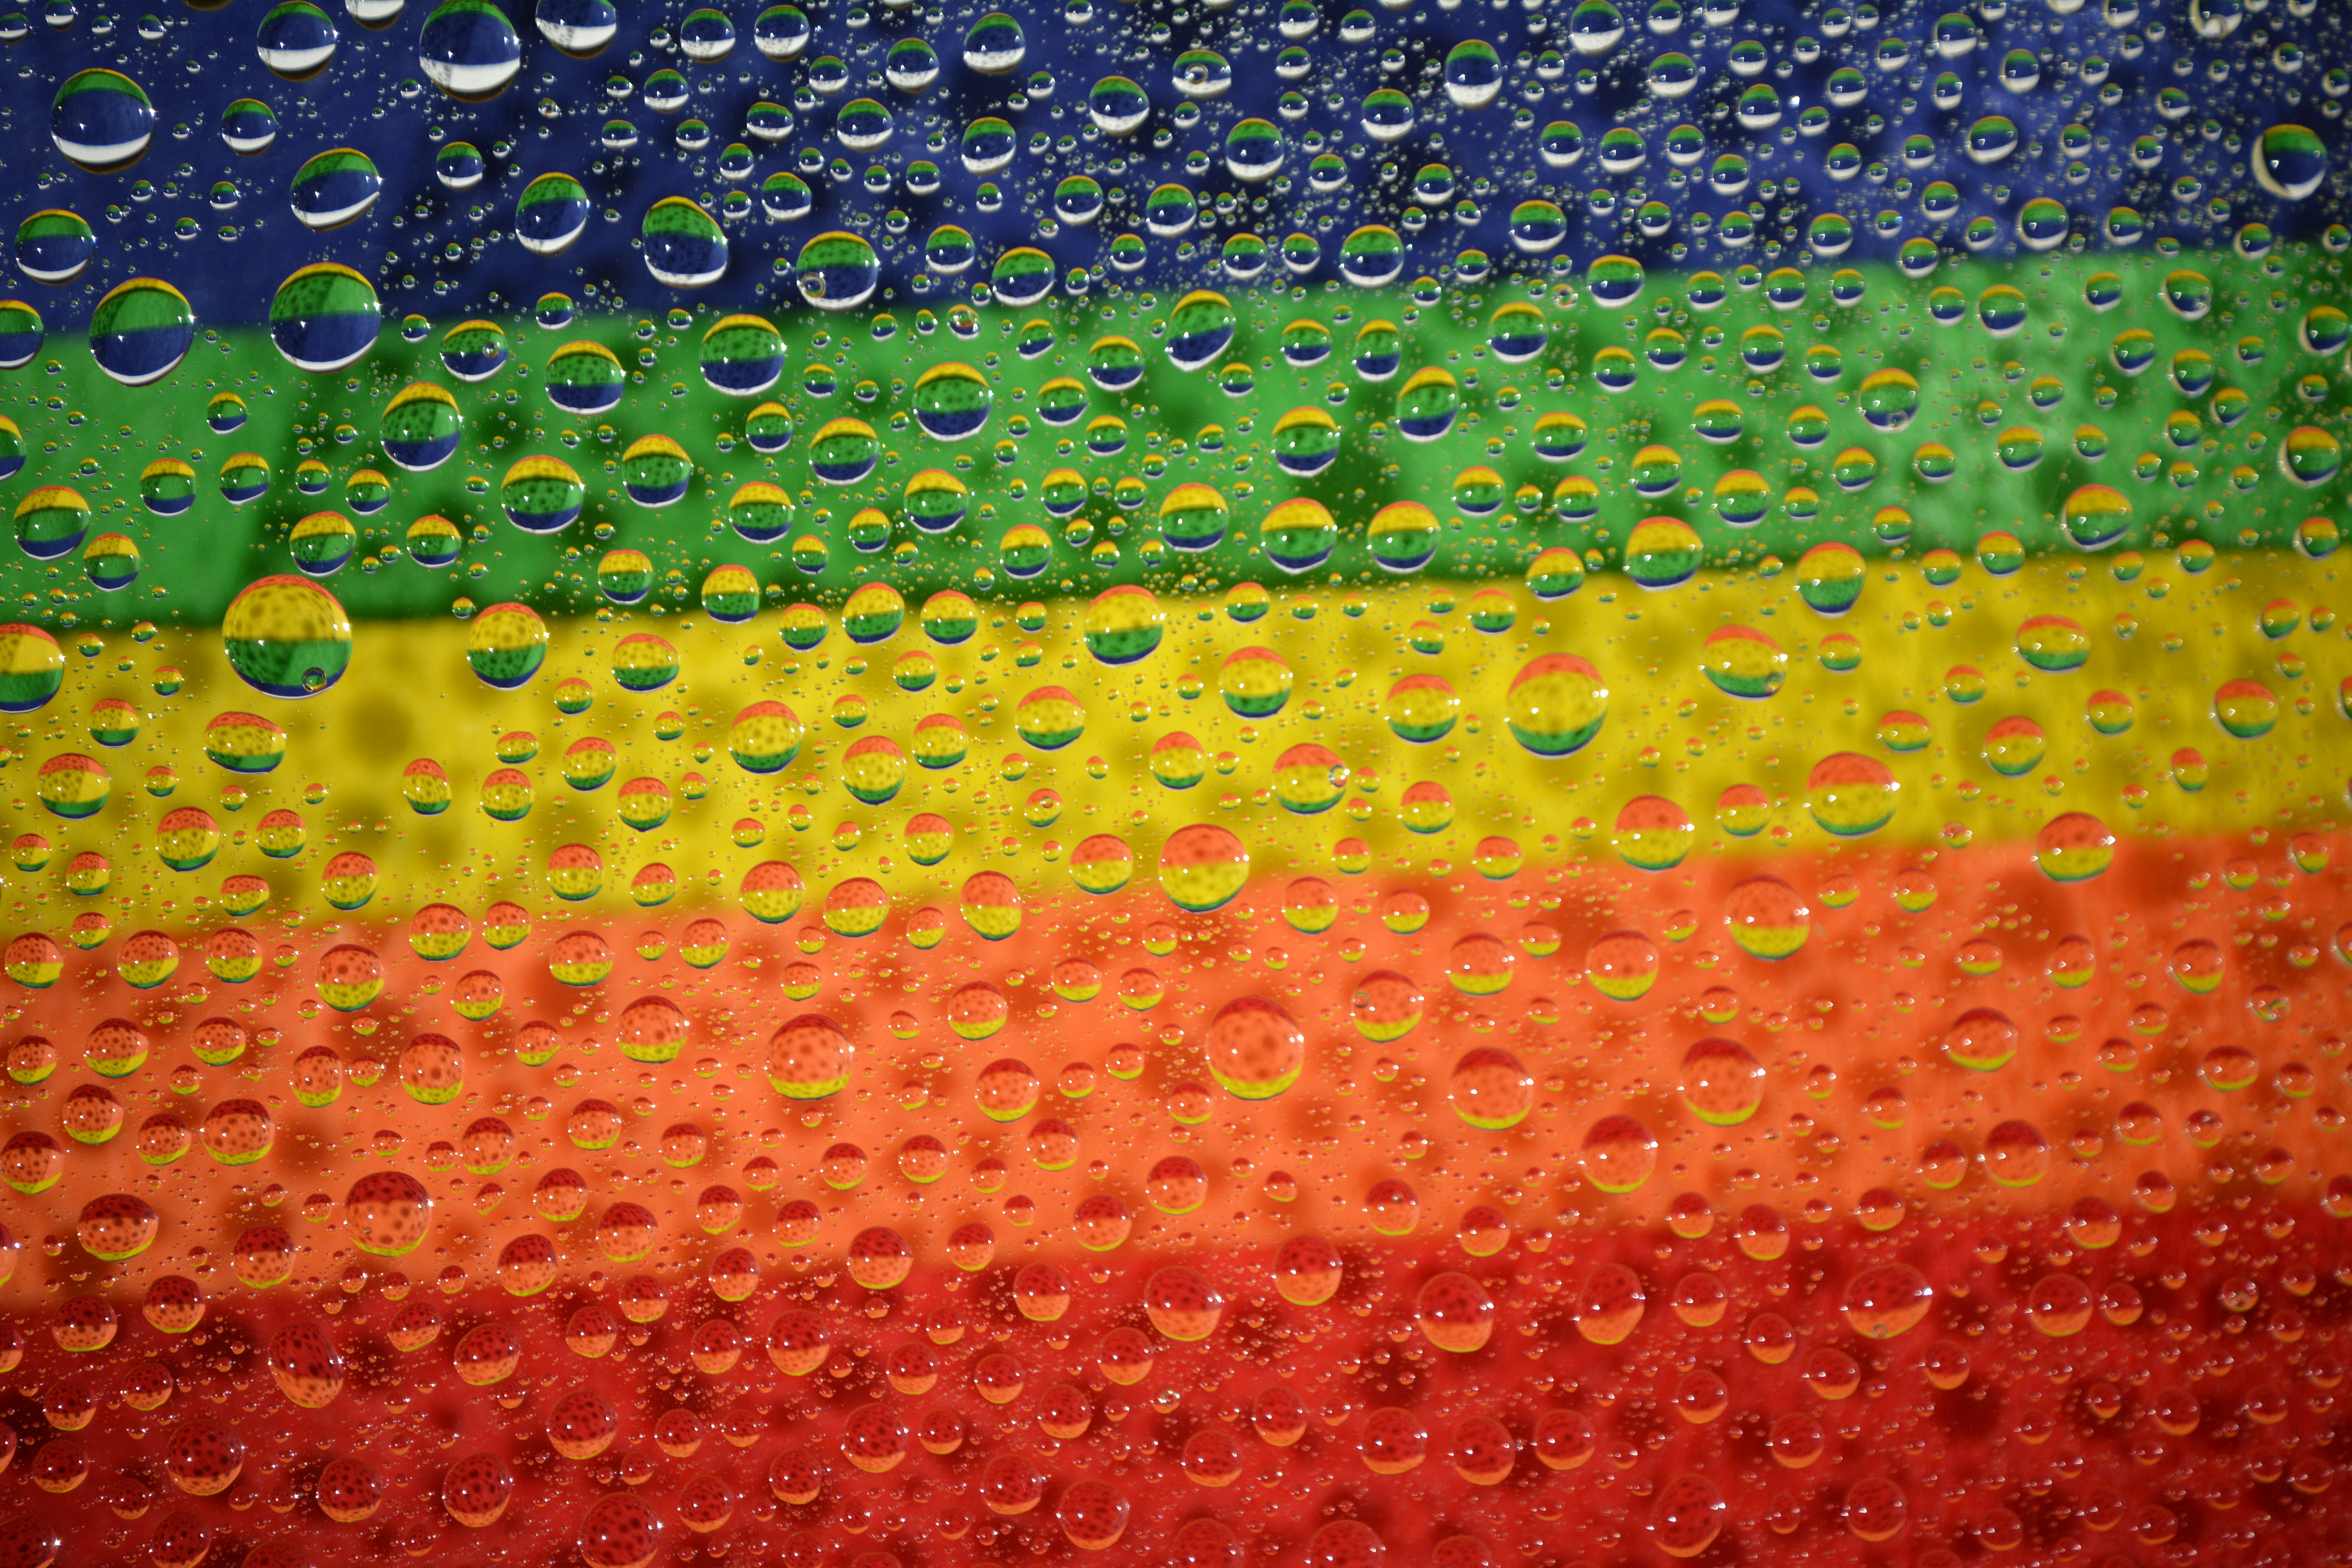
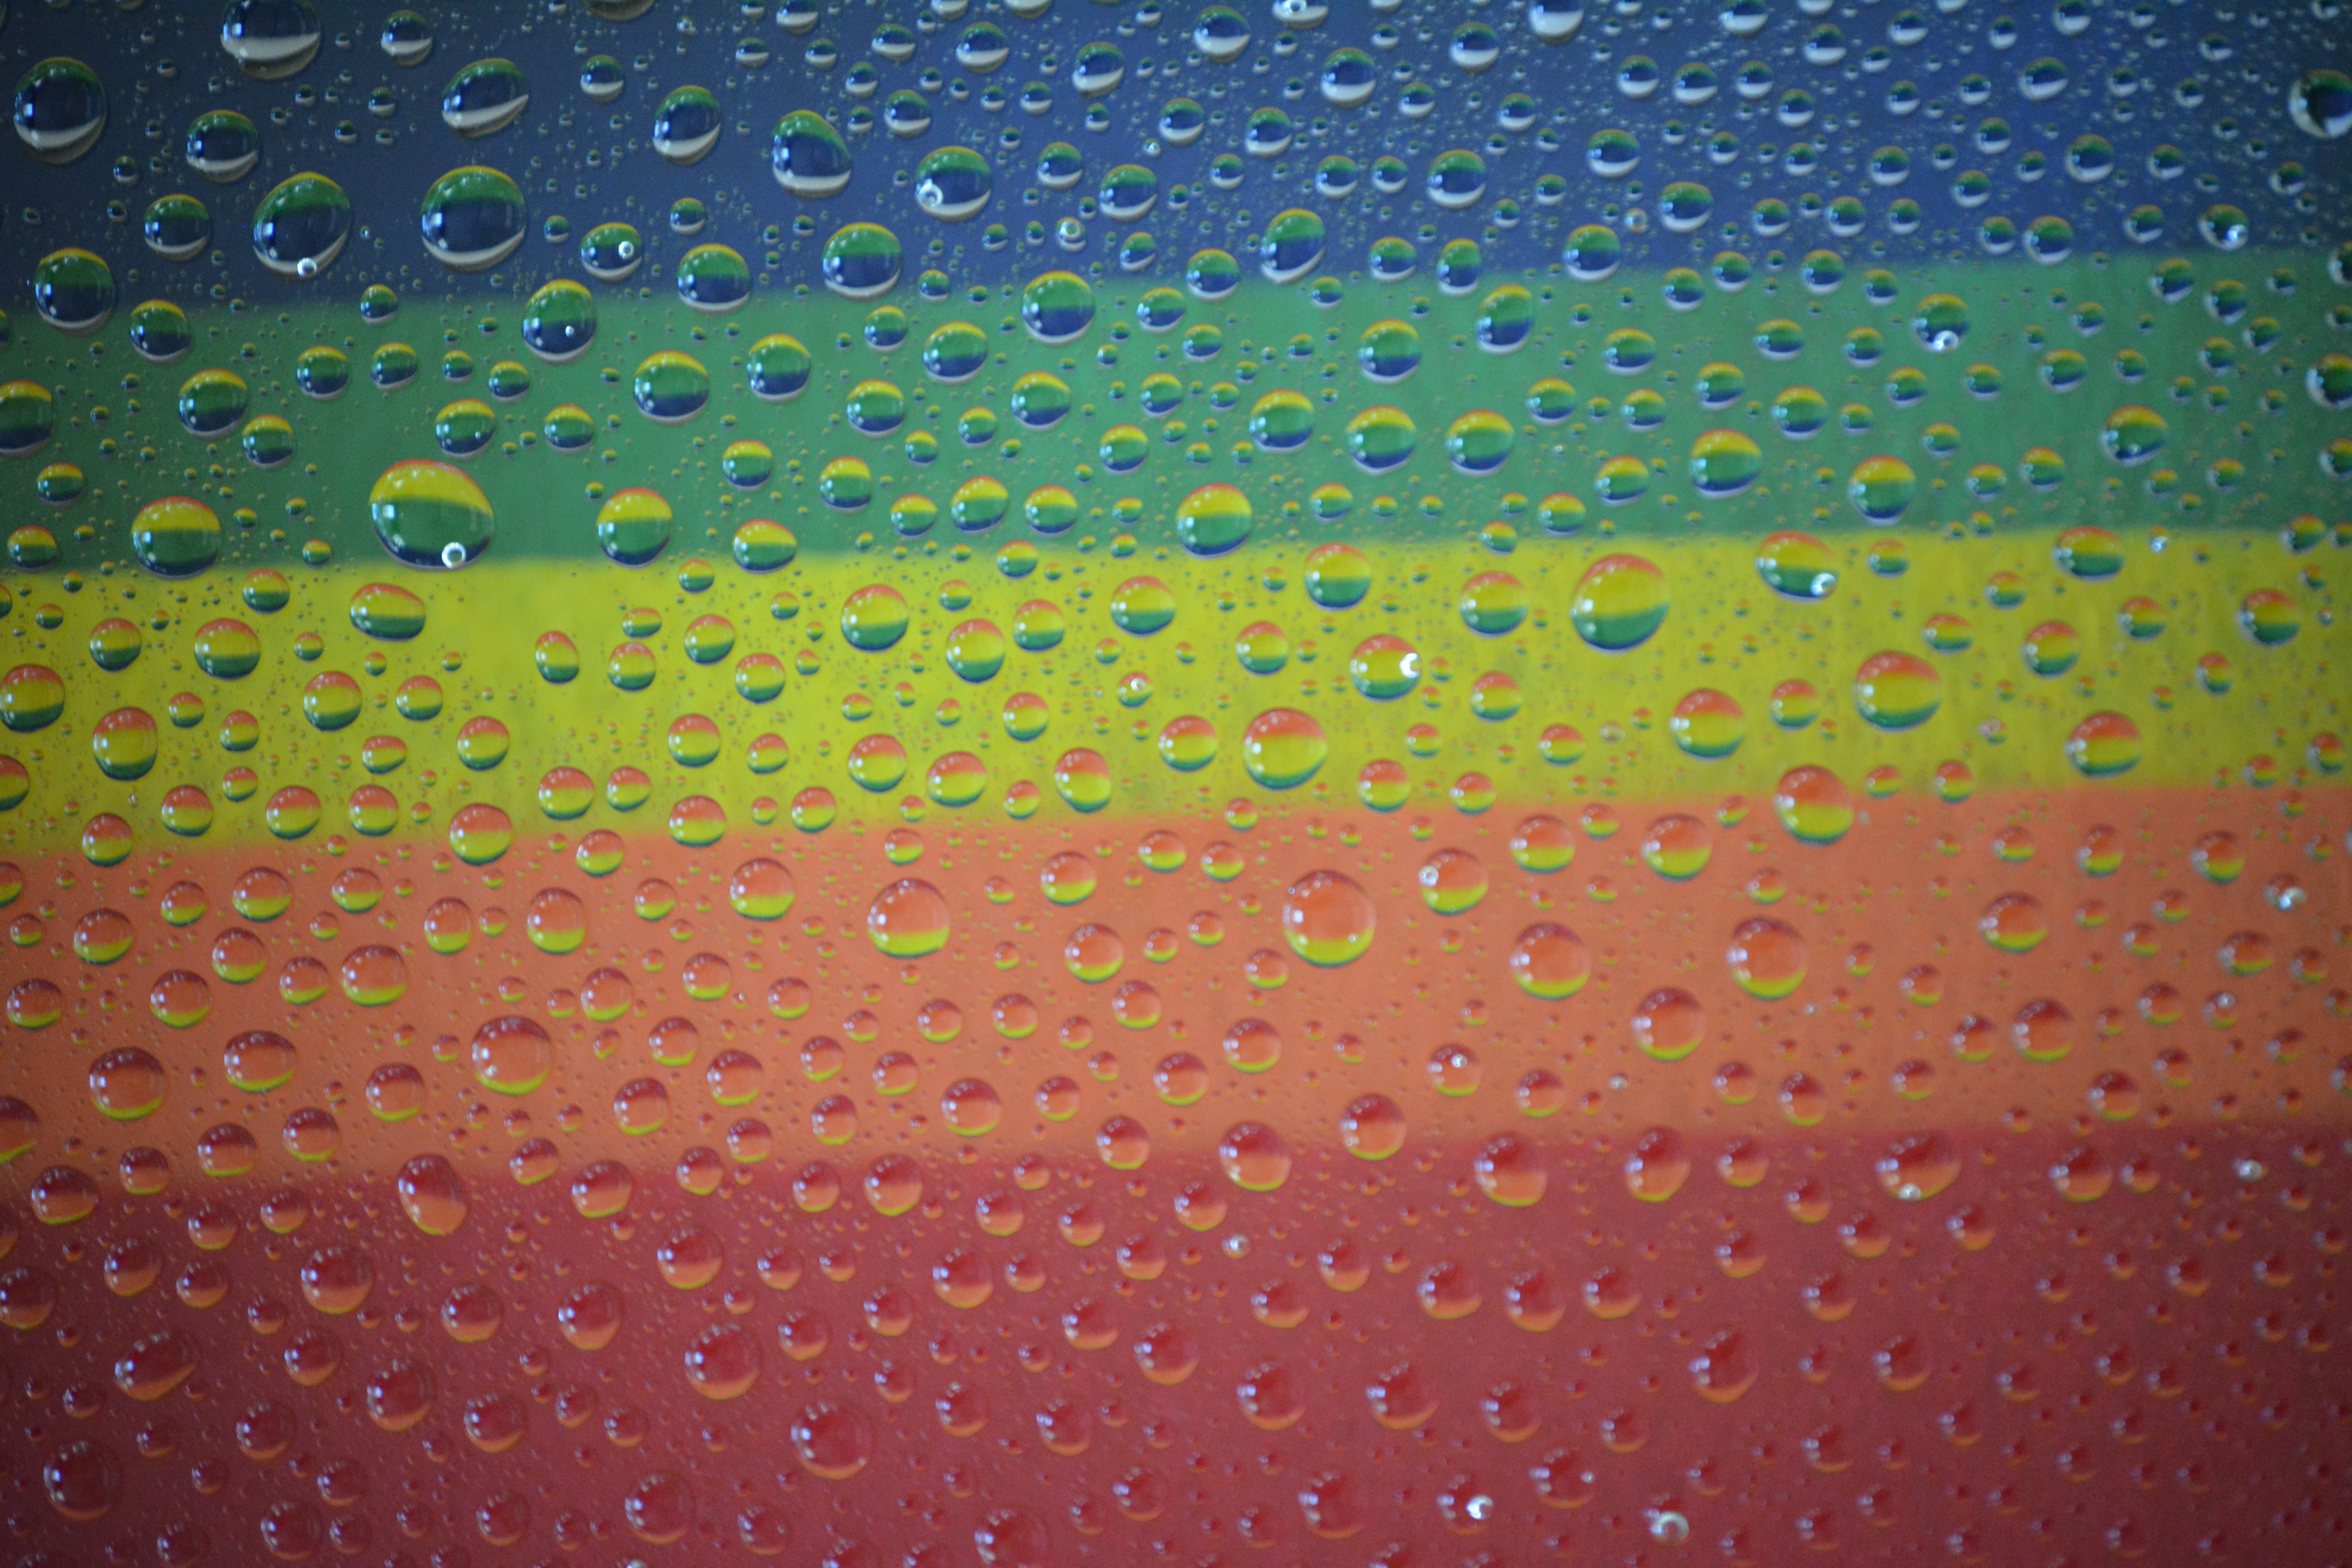
Here's where all the fun happens! Experiment to your heart's desire. Here are a few tips.
- Try different lighting
- set-up shop near a window for natural light
- prop the glass between two boxes and shine external lights onto your subject
- Vary your distances
- move your subject closer or further from the glass for different effects
- move yourself closer or further from the glass and adjust focus
- Spray and re-spray
- after a few shots, add more water and watch the beads grow in size or number
- occasionally wipe the glass and start over, you'll want variety to chose from in your final shots
Congratulations!
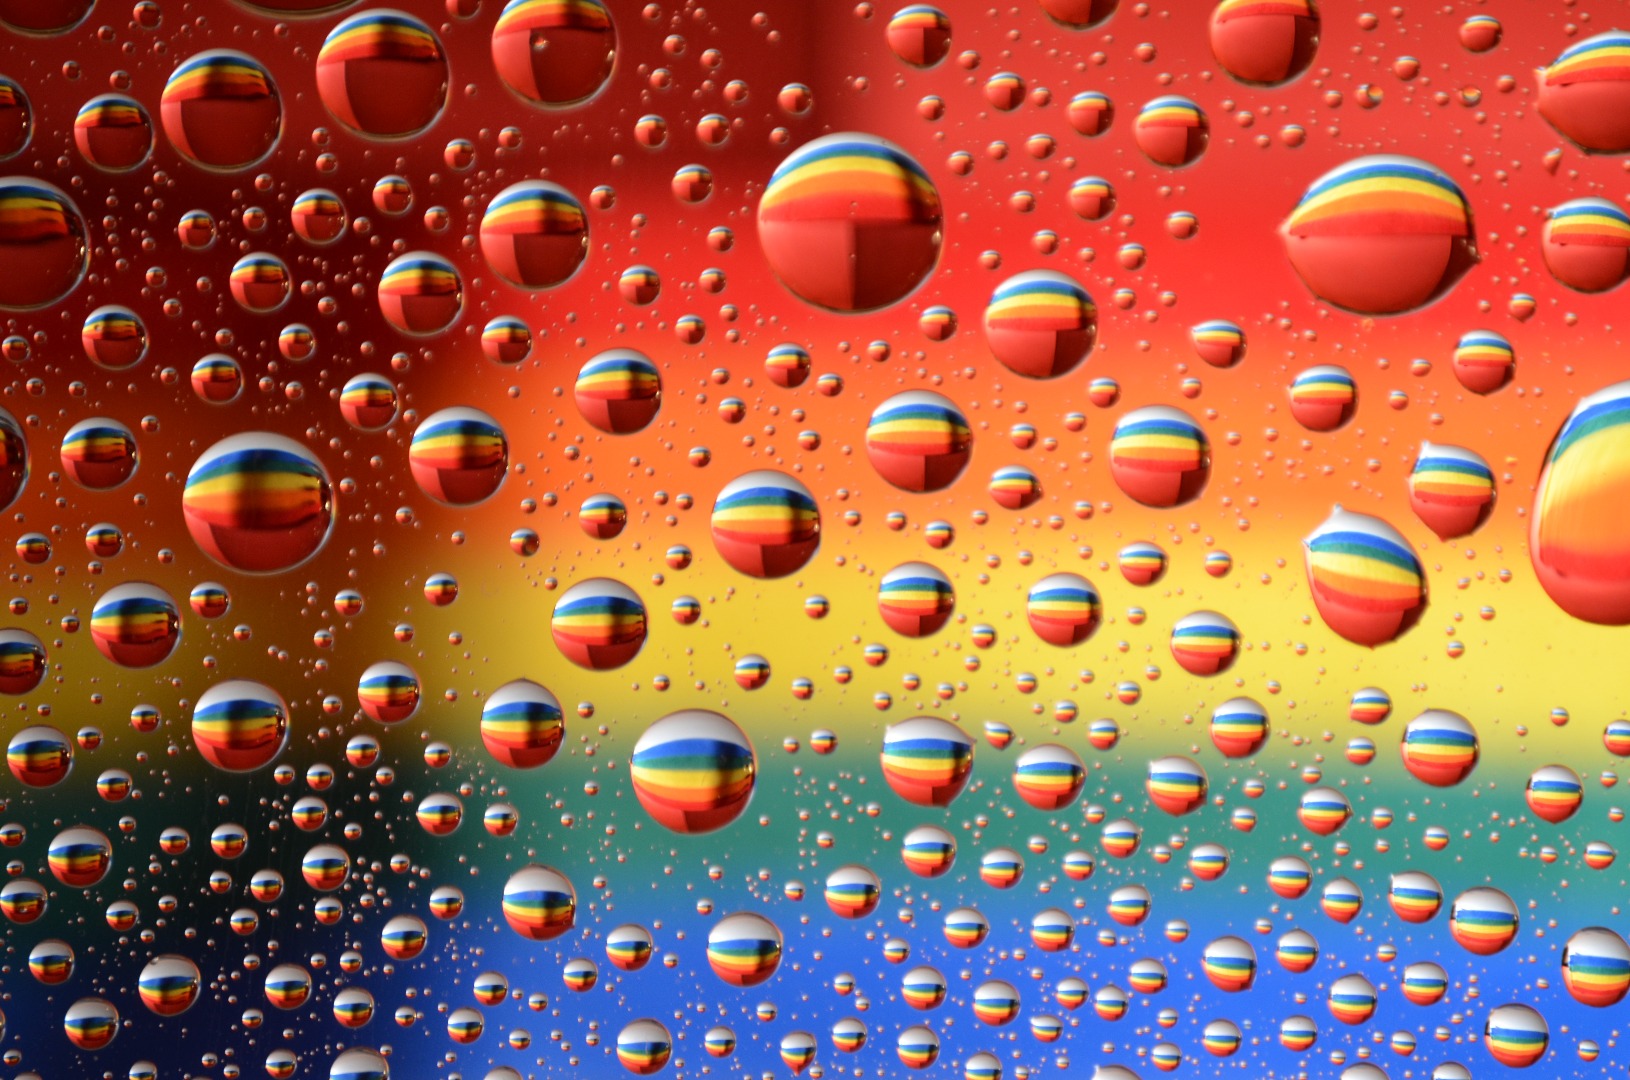
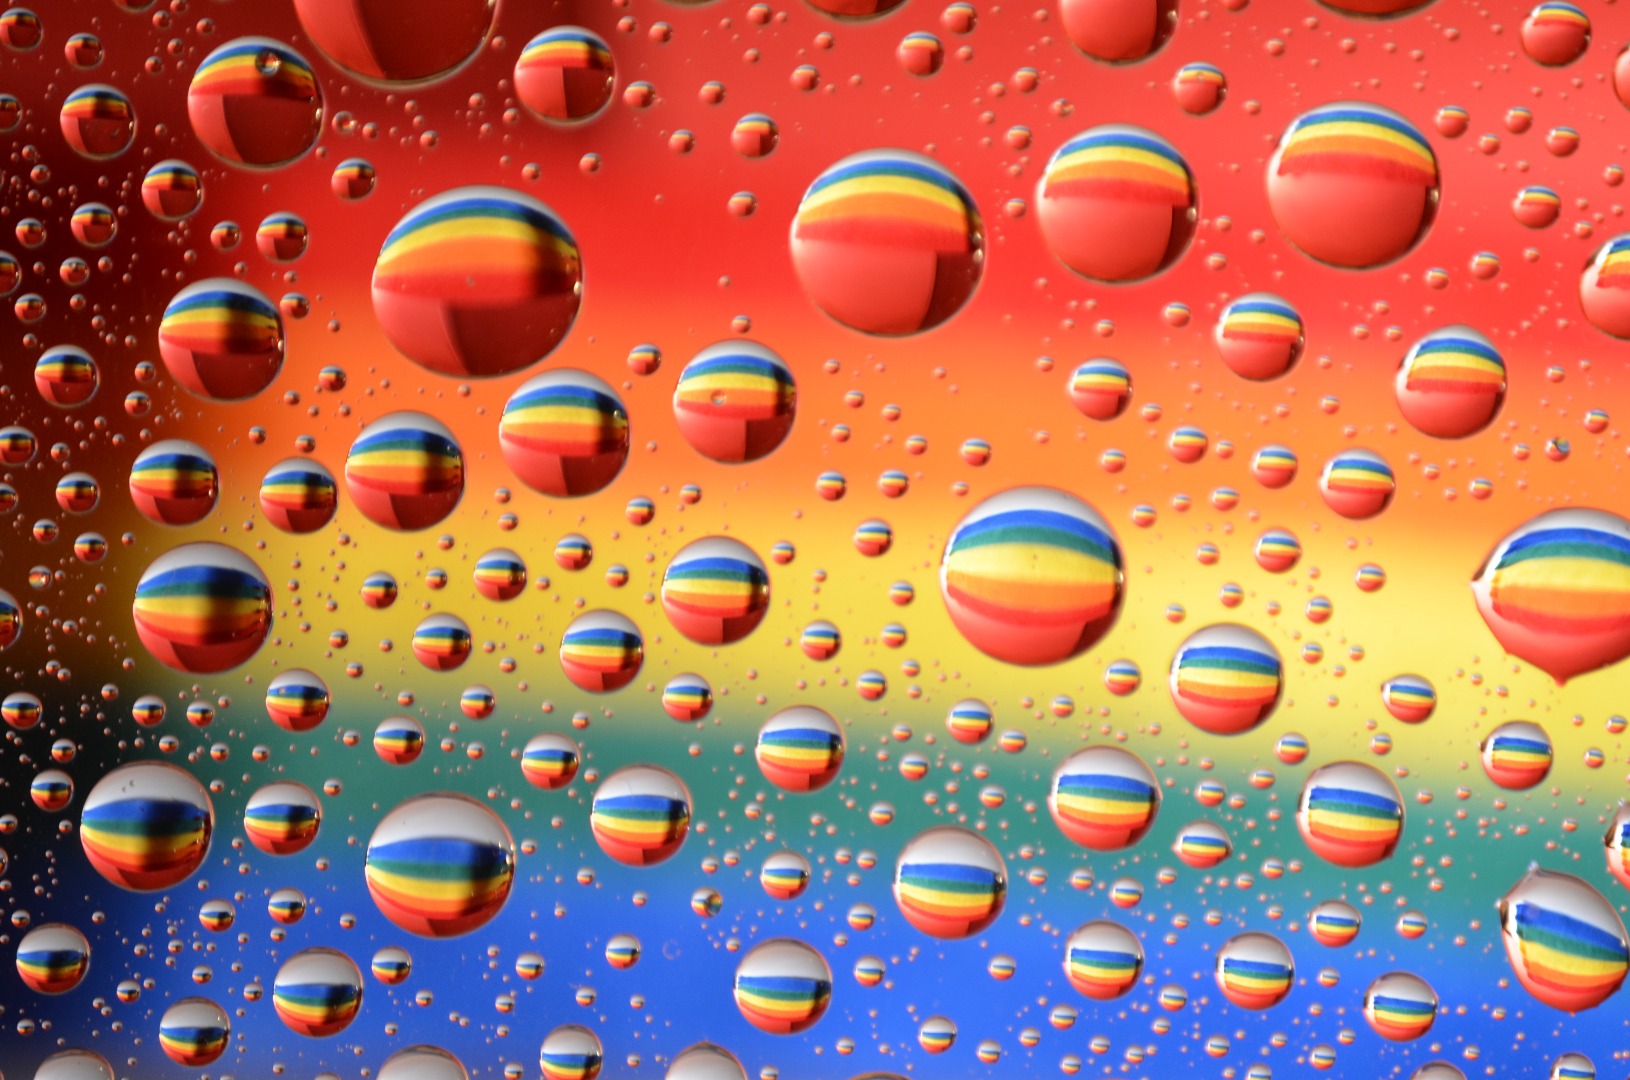
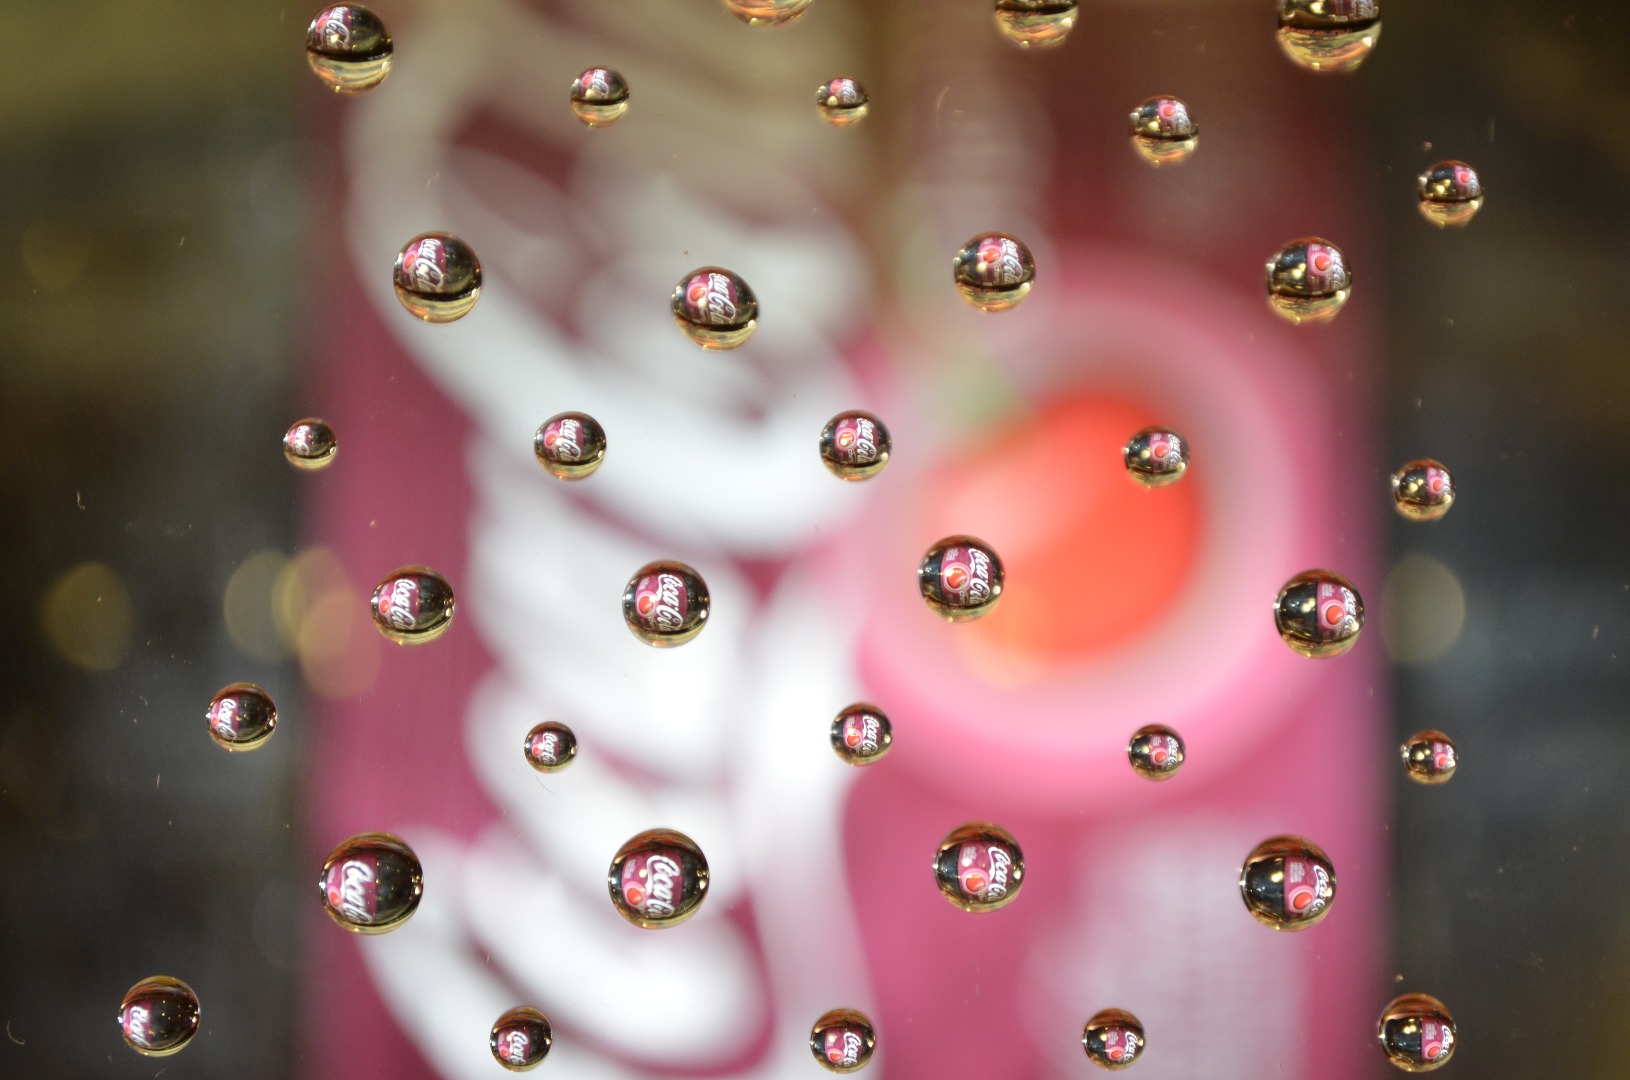
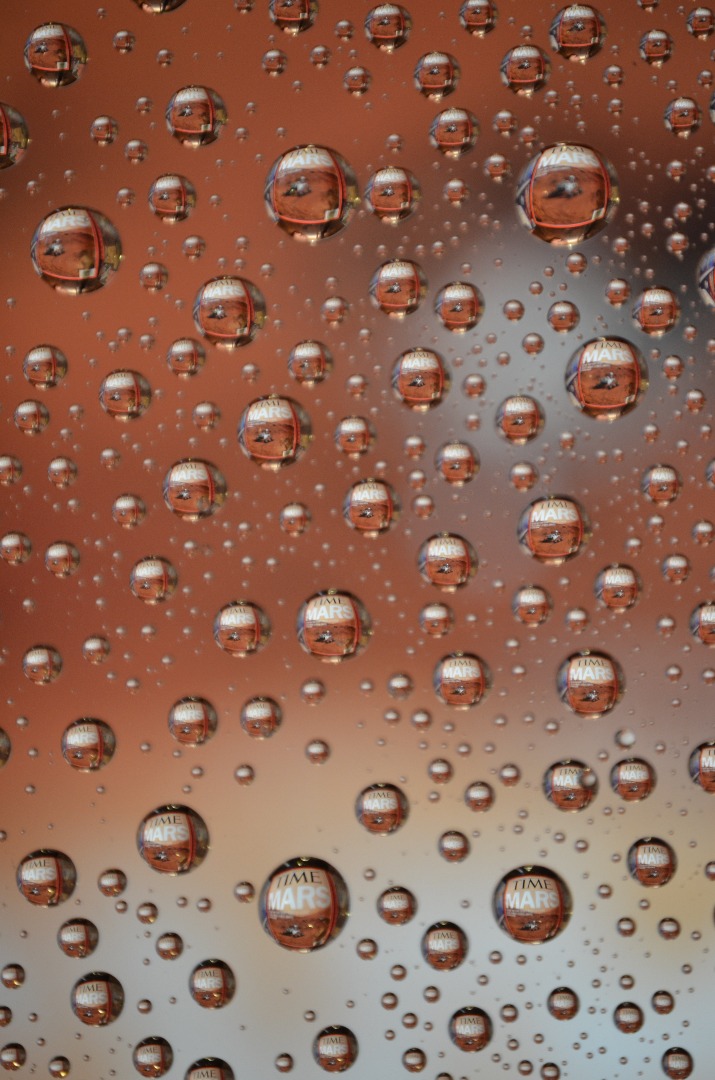
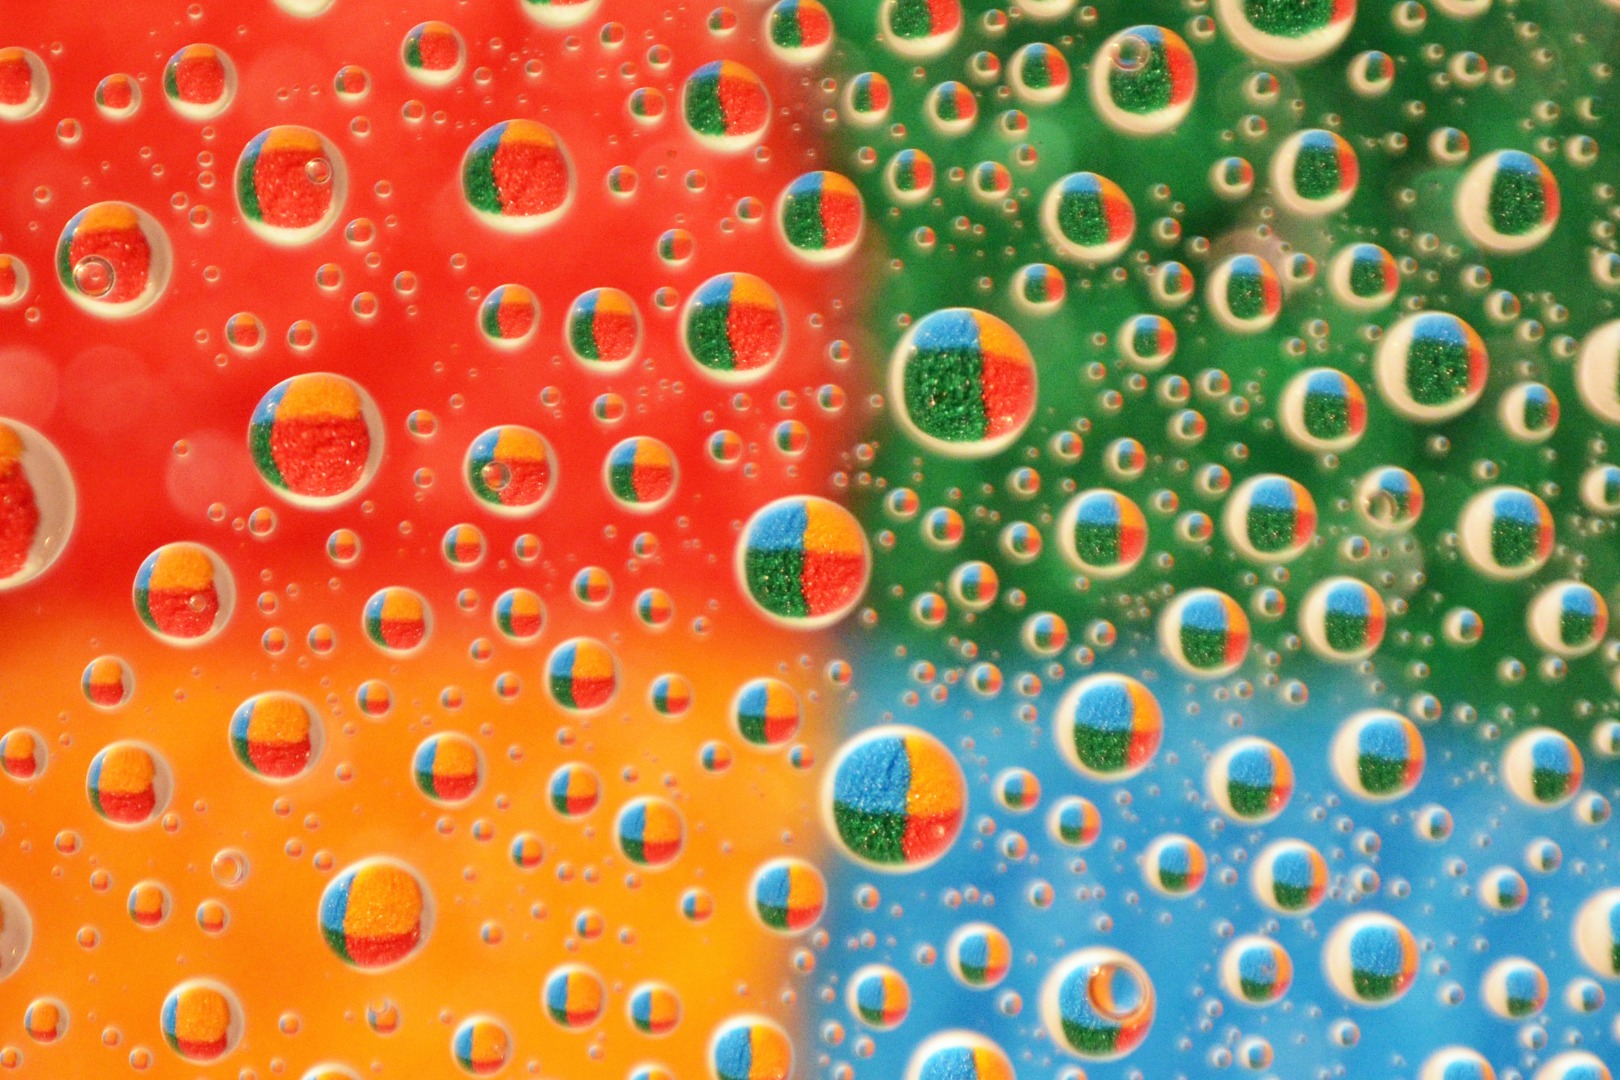
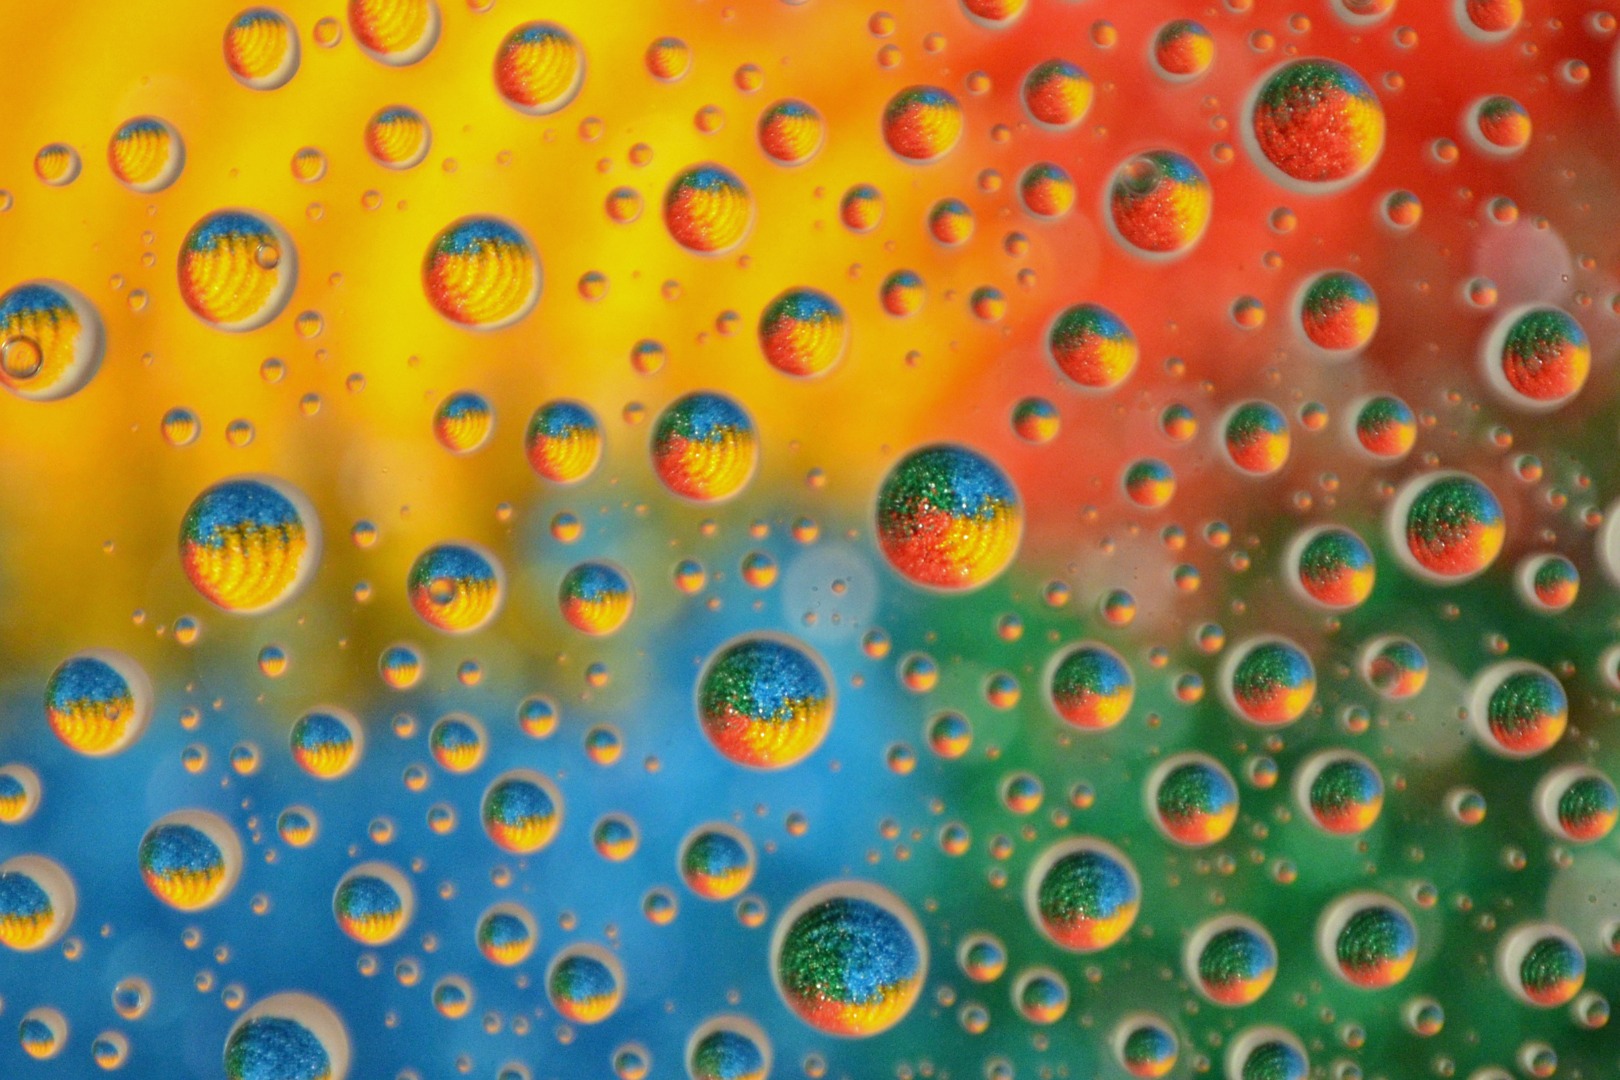
Keep on experimenting! Once you have your treated glass, this is an easy set-up and easy to clean-up. You'll find some objects work better than others. Big, bold colors are always my favorite.