Rainbow Mandala Embroidery

Hi! This instructable is to show you some tips to create a mandala with the software illustrator and how to turn it into an embroidery using the embroidery machine (because I don't have the skills for handmade embroidery :S) .
The embroidery machine is not something that everyone has at home but every fablab should have it, then if you are interested in making one I advise you to take a look to the fablab the closer to you.
Don't hesitate to contact me if you need any help with illustrator or with the software brother if it's the one used for your embroidery machine.
I hope you will enjoy this tutorial !
Create a Mandala With Illustrator
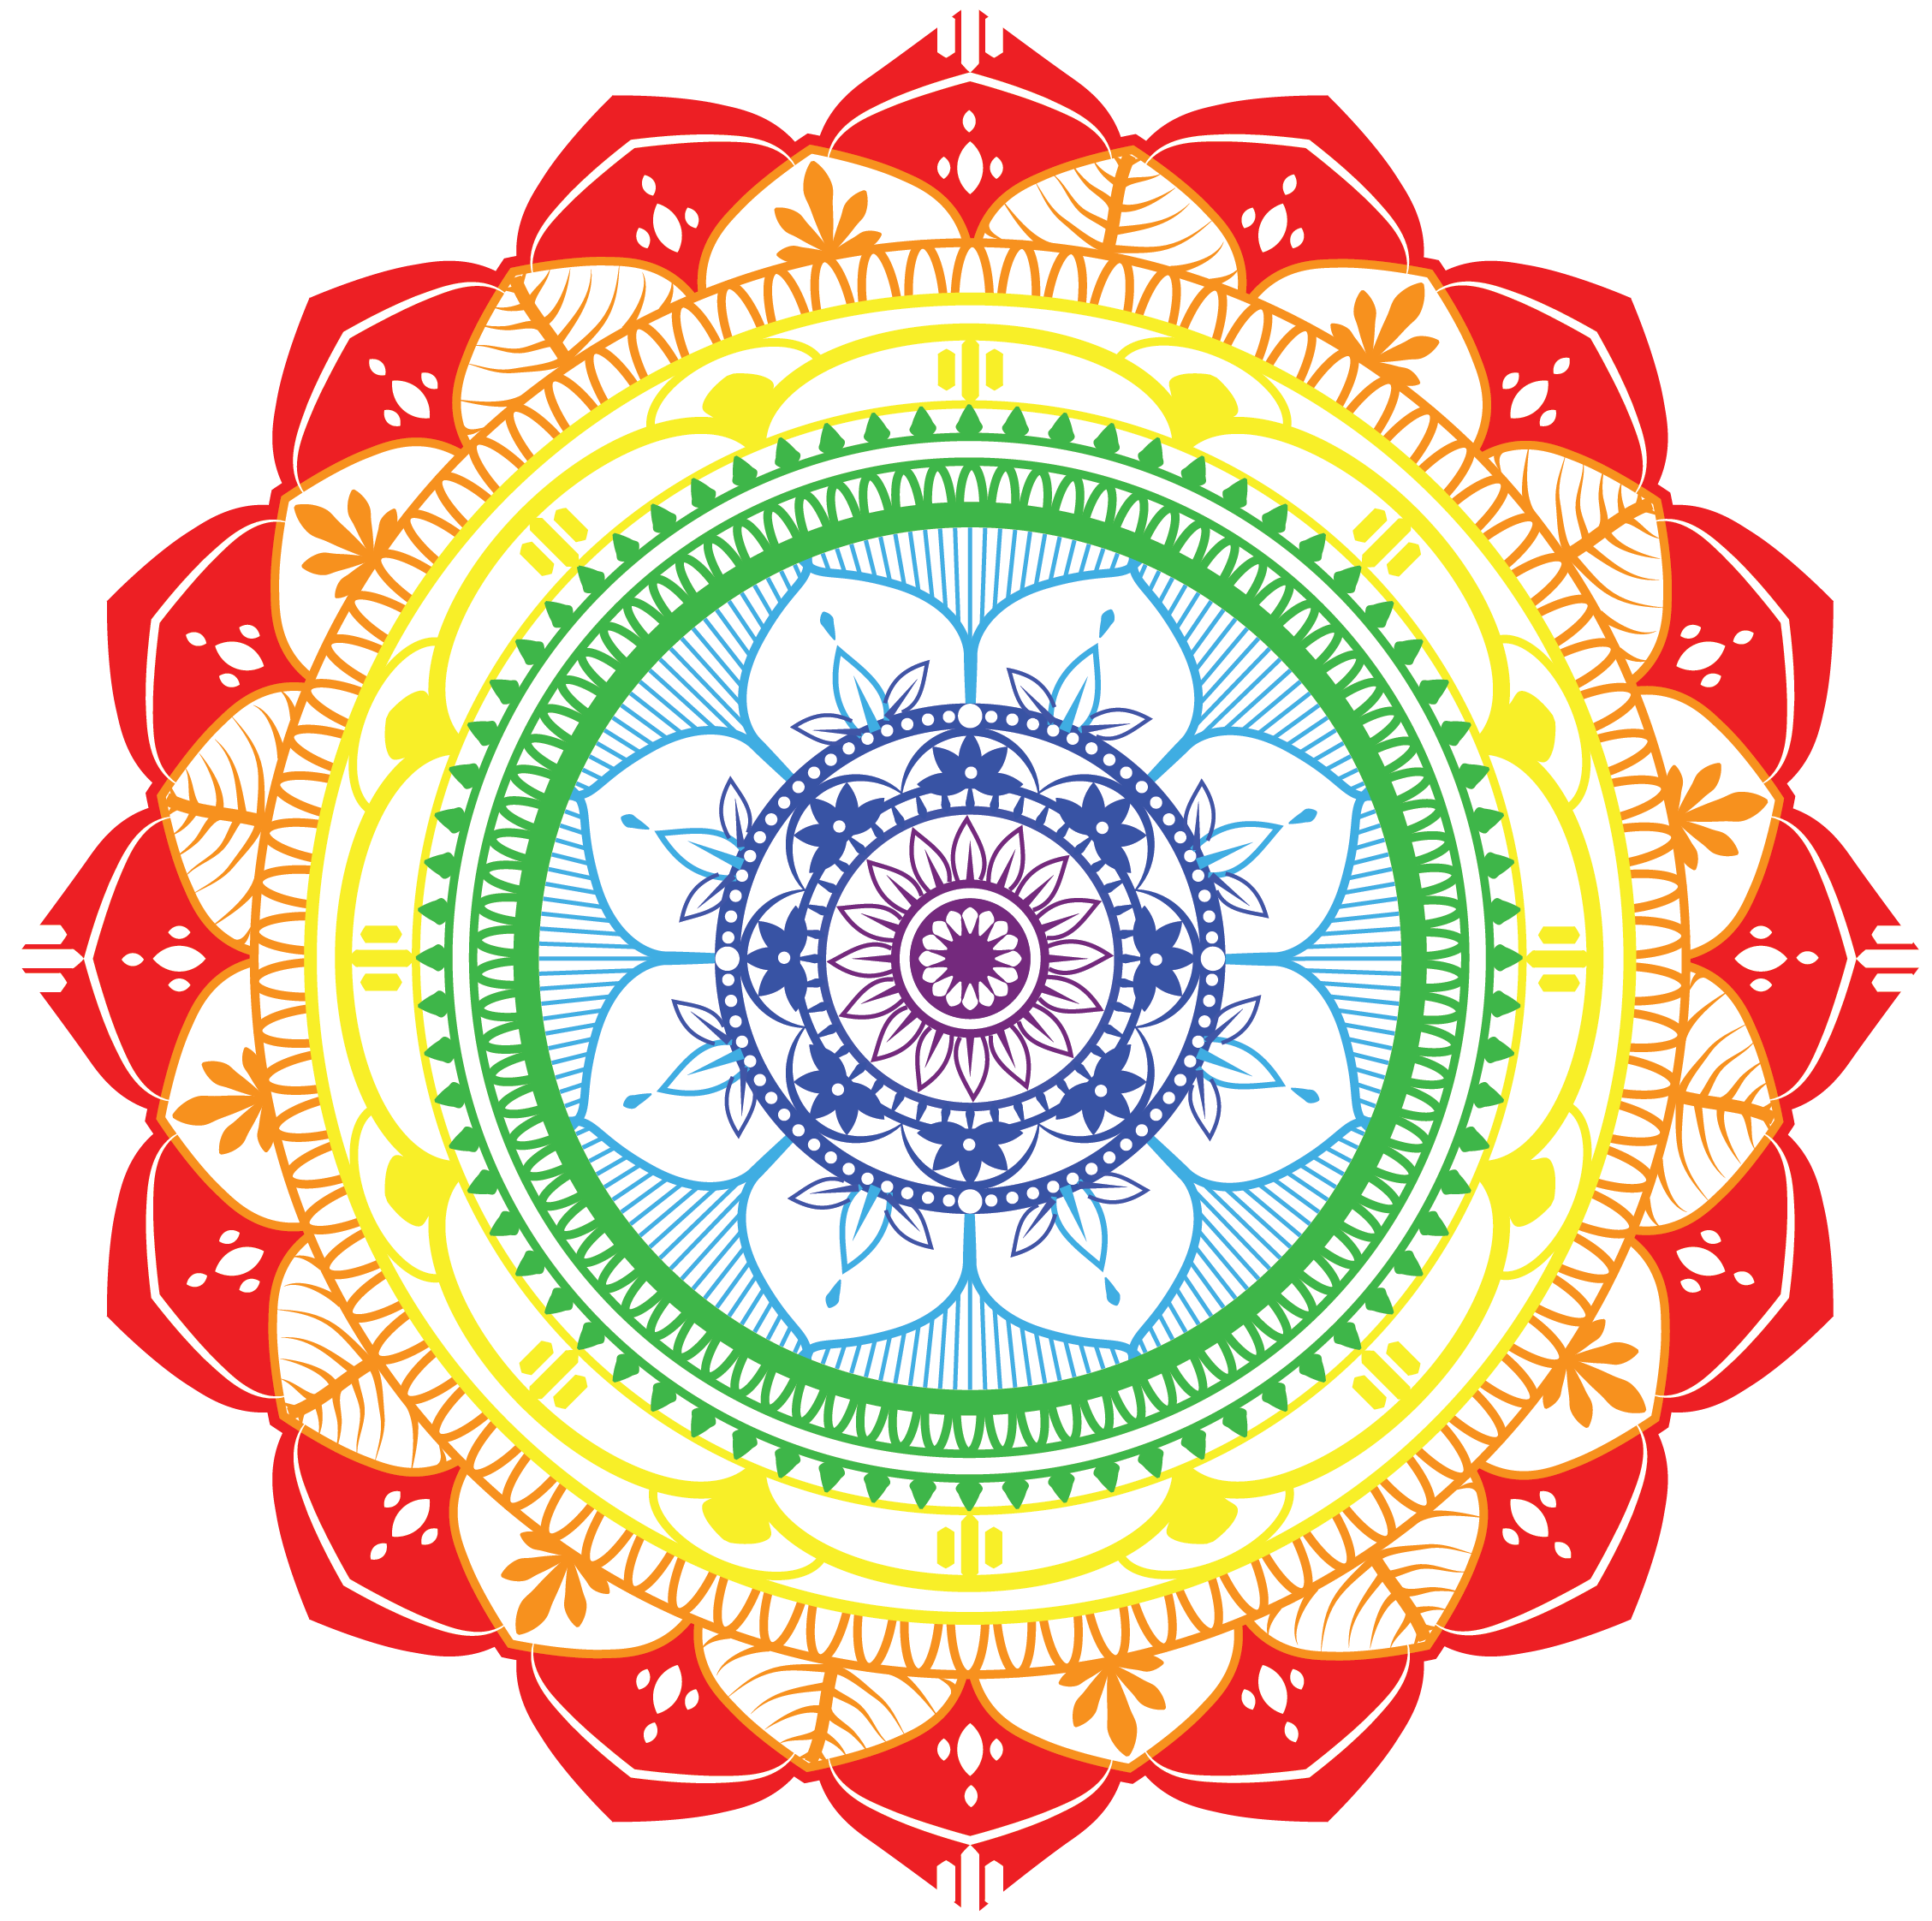
On the video you can see the all process to make the mandala I made.
Here are some basic commands :
·Undo : Ctrl+Z
·Redo : Shift+Ctrl+Z
·(Un)Join : (Shift)+Ctrl+J
·(Un)Group : (Shift)+Ctrl+G
Here are some useful technics :
·Create a central point with several strokes on different axes (00:08)
·Use different layers to be able to make element disappear or to group them. (00:55) To display the layers tool go to Window - Layers or press F7 button. Then the layer window will be available on the right side of your page.
·Draw a circle from the centre : Alt+Shift+Drag (01:07)
·Repeat an element around a central point : Use the rotate tool, click on the your central axe maintaining Alt, choose your angle, press copy, then Ctrl+D to repeat it as much as you want (01:51)
·Reflect an element : Right clic - Transform - Reflect (06:42)
·Duplicate an element : Find your path in the layers window, click on the little triangle with the 4 linees next to it, and click Duplicate "<...>"
I use an embroidery machine from the brand Brother. With this one you need to export your work in PNG.
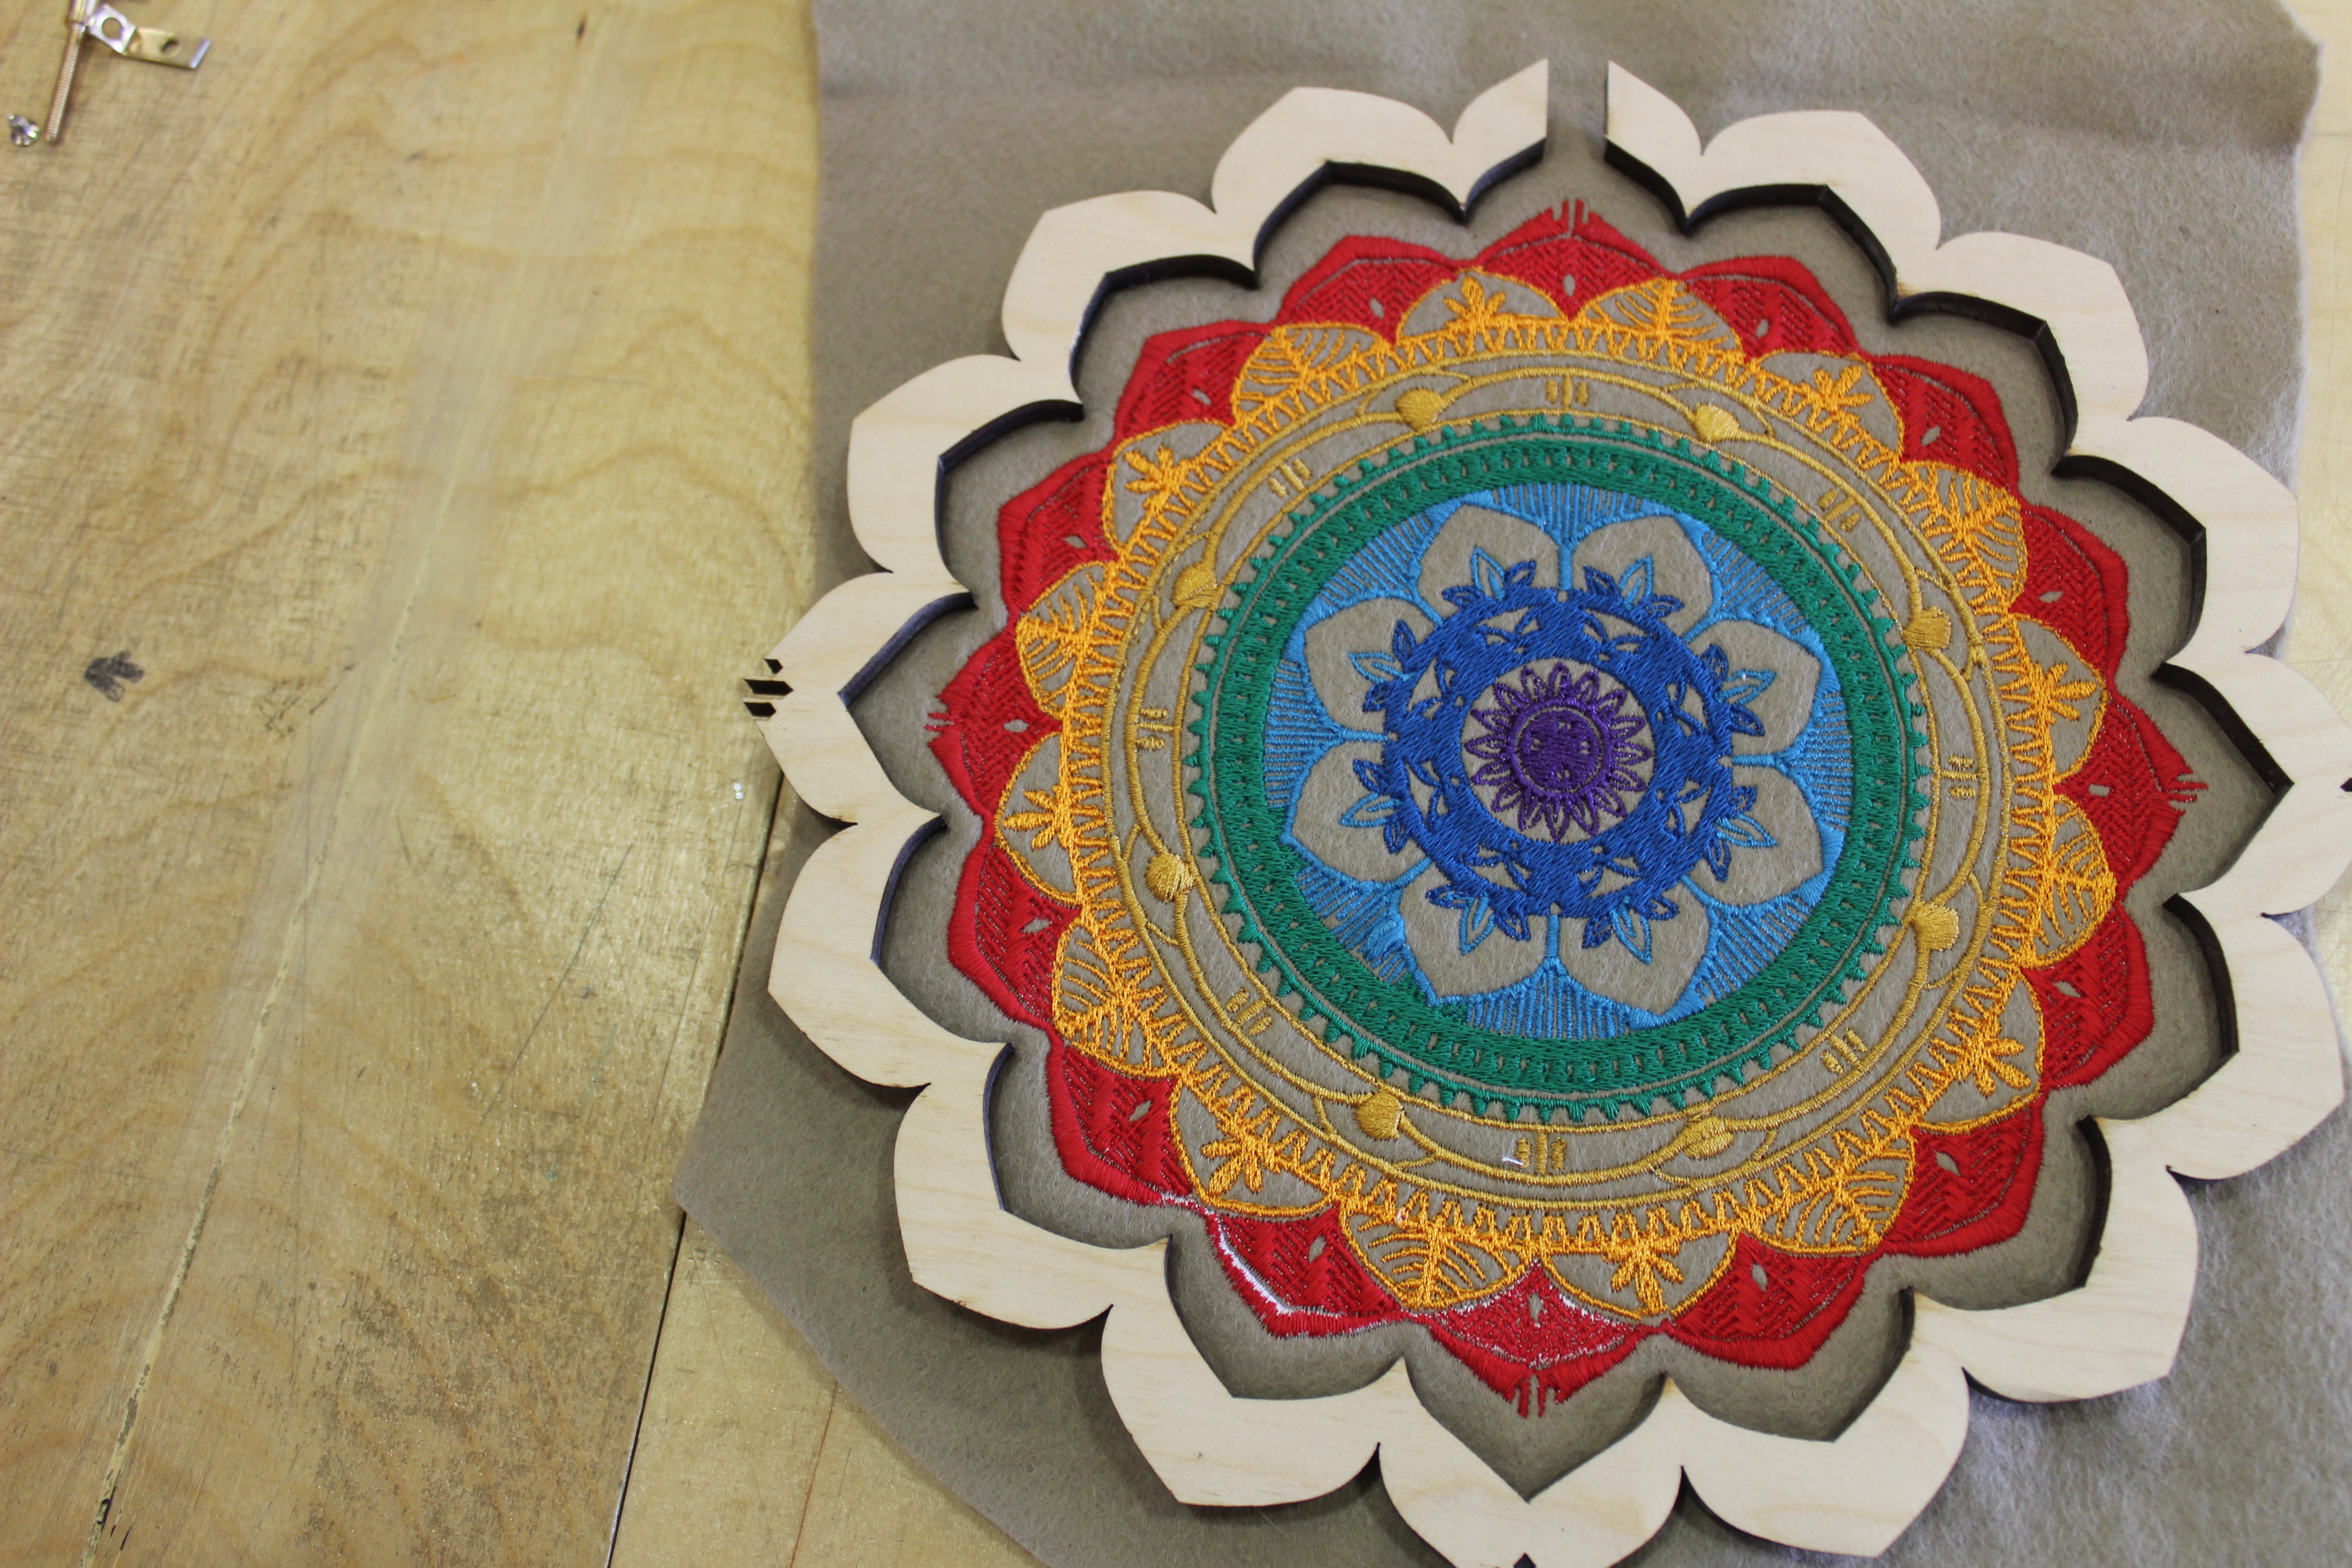
Embroider the File
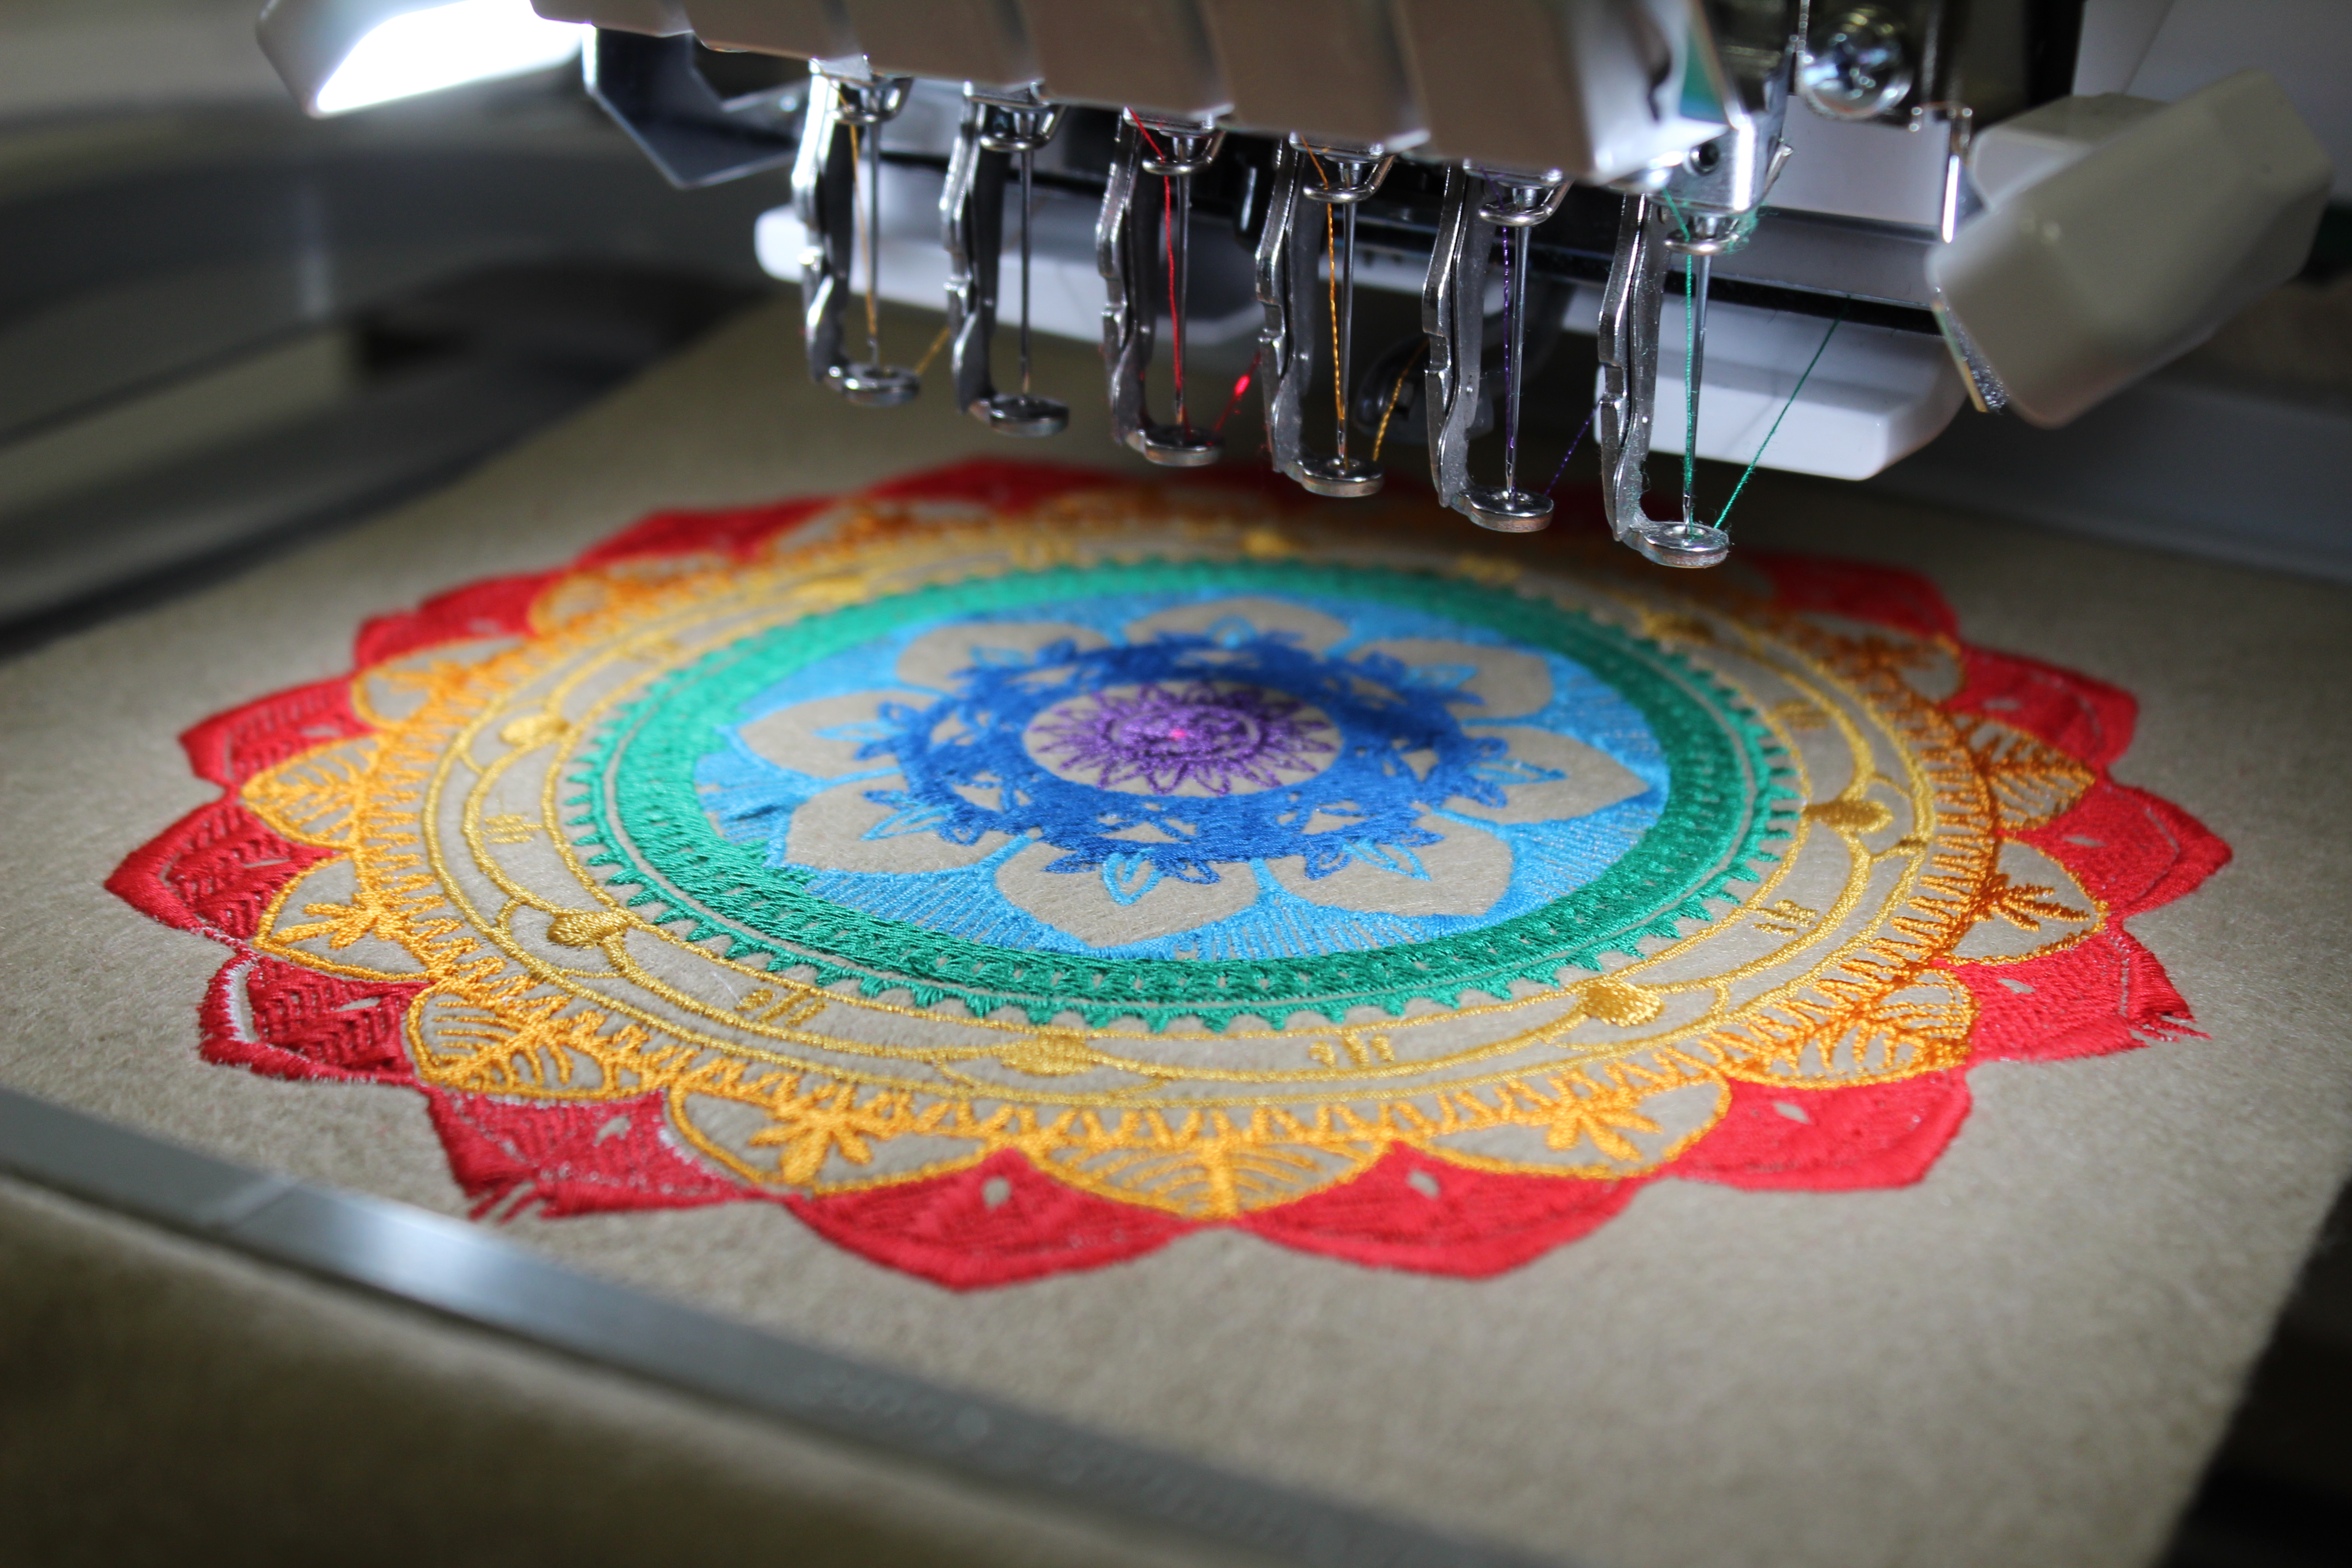
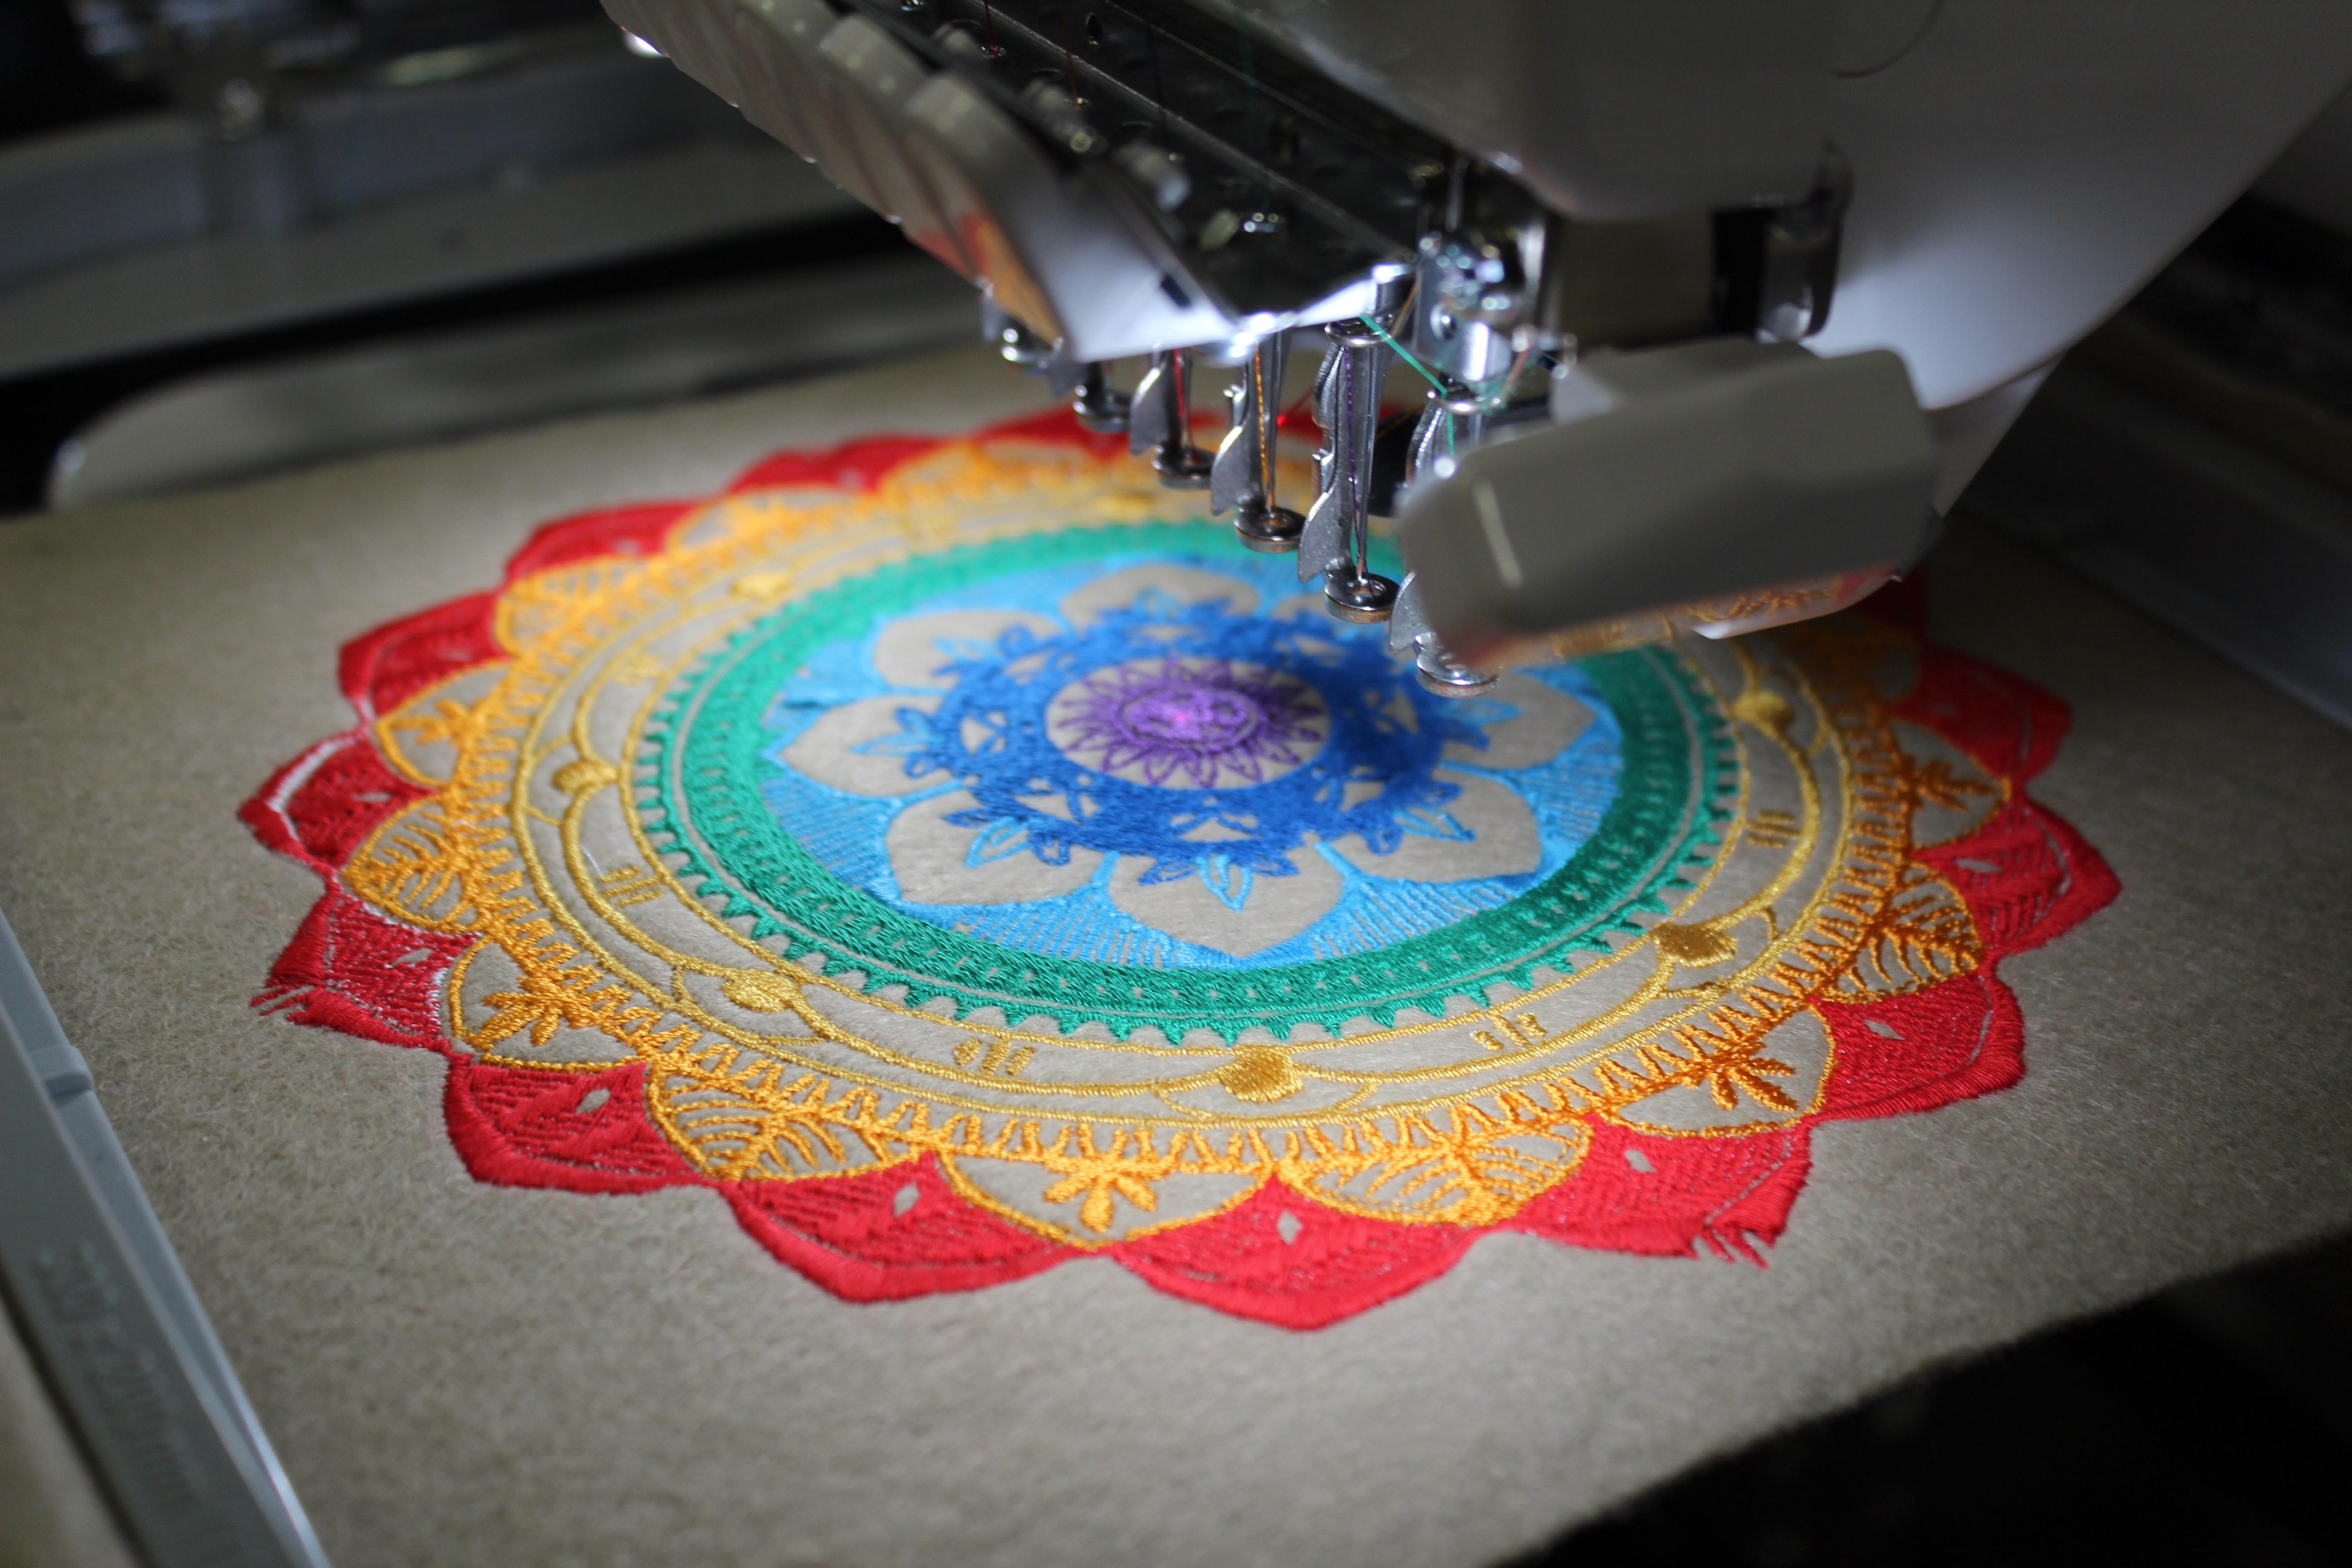
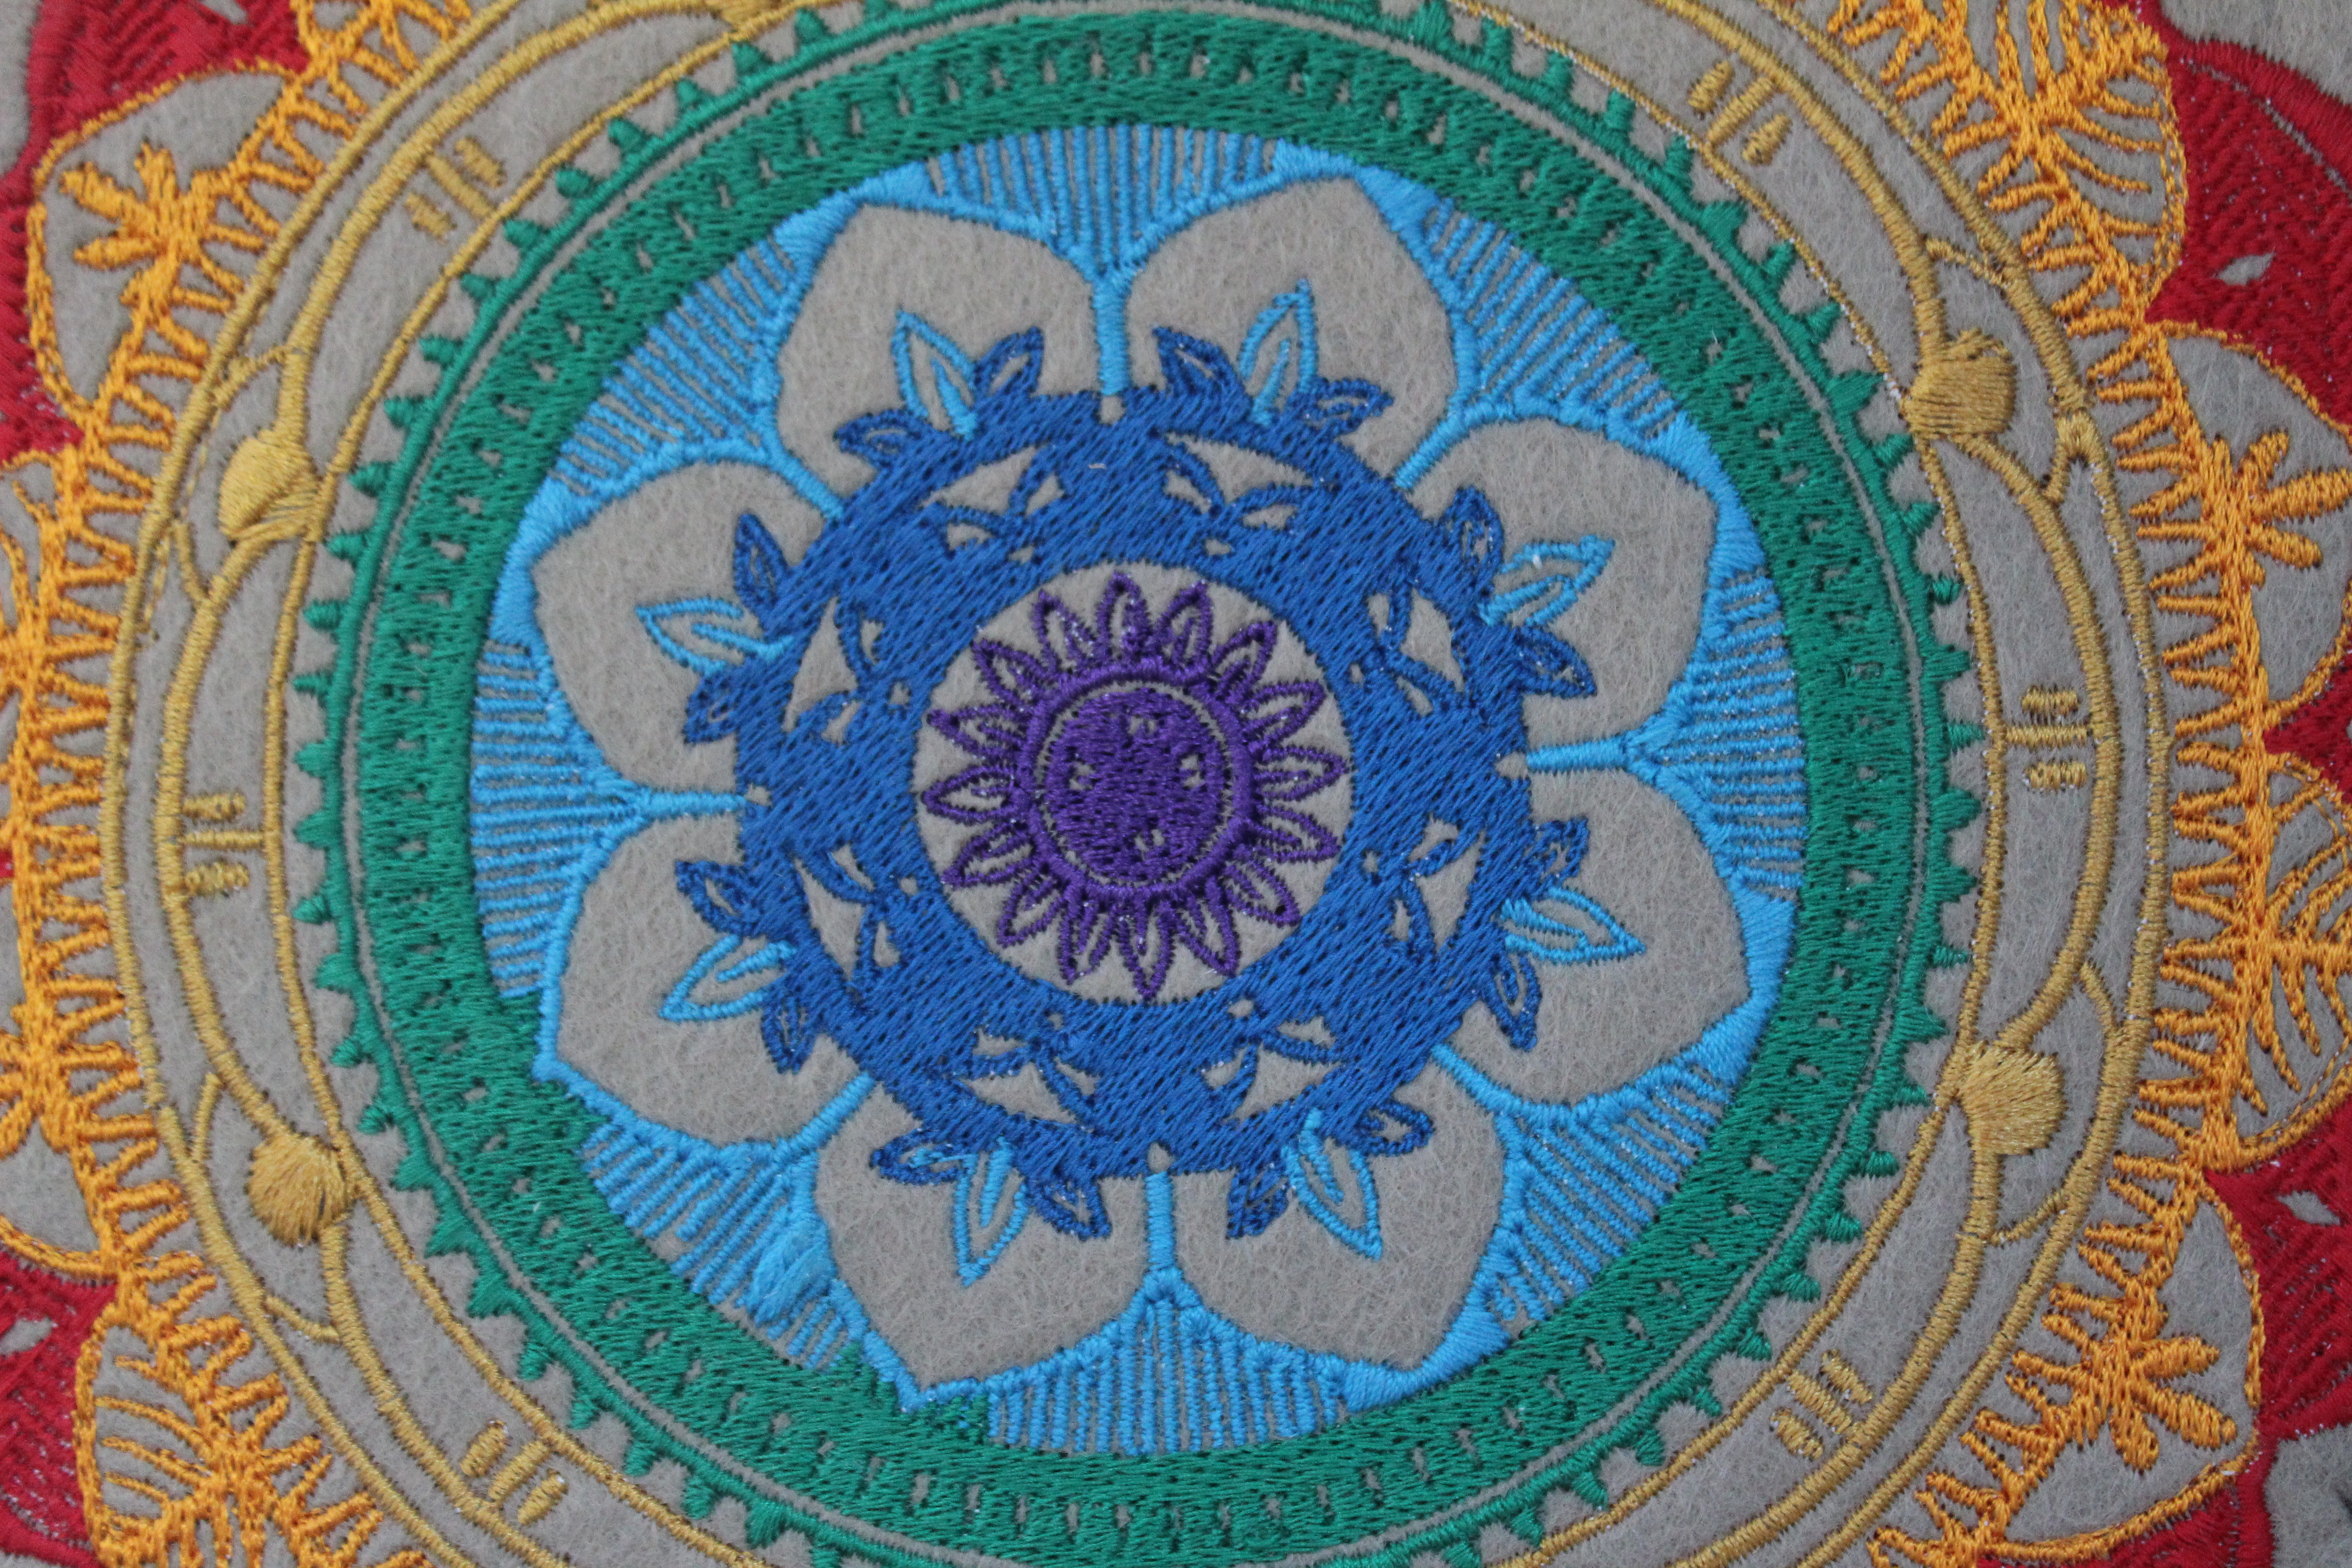
The software will detect automatically the different colors of your mandala (PNG) and separate them in different layers.
You might need to play with the setting to have a good result.
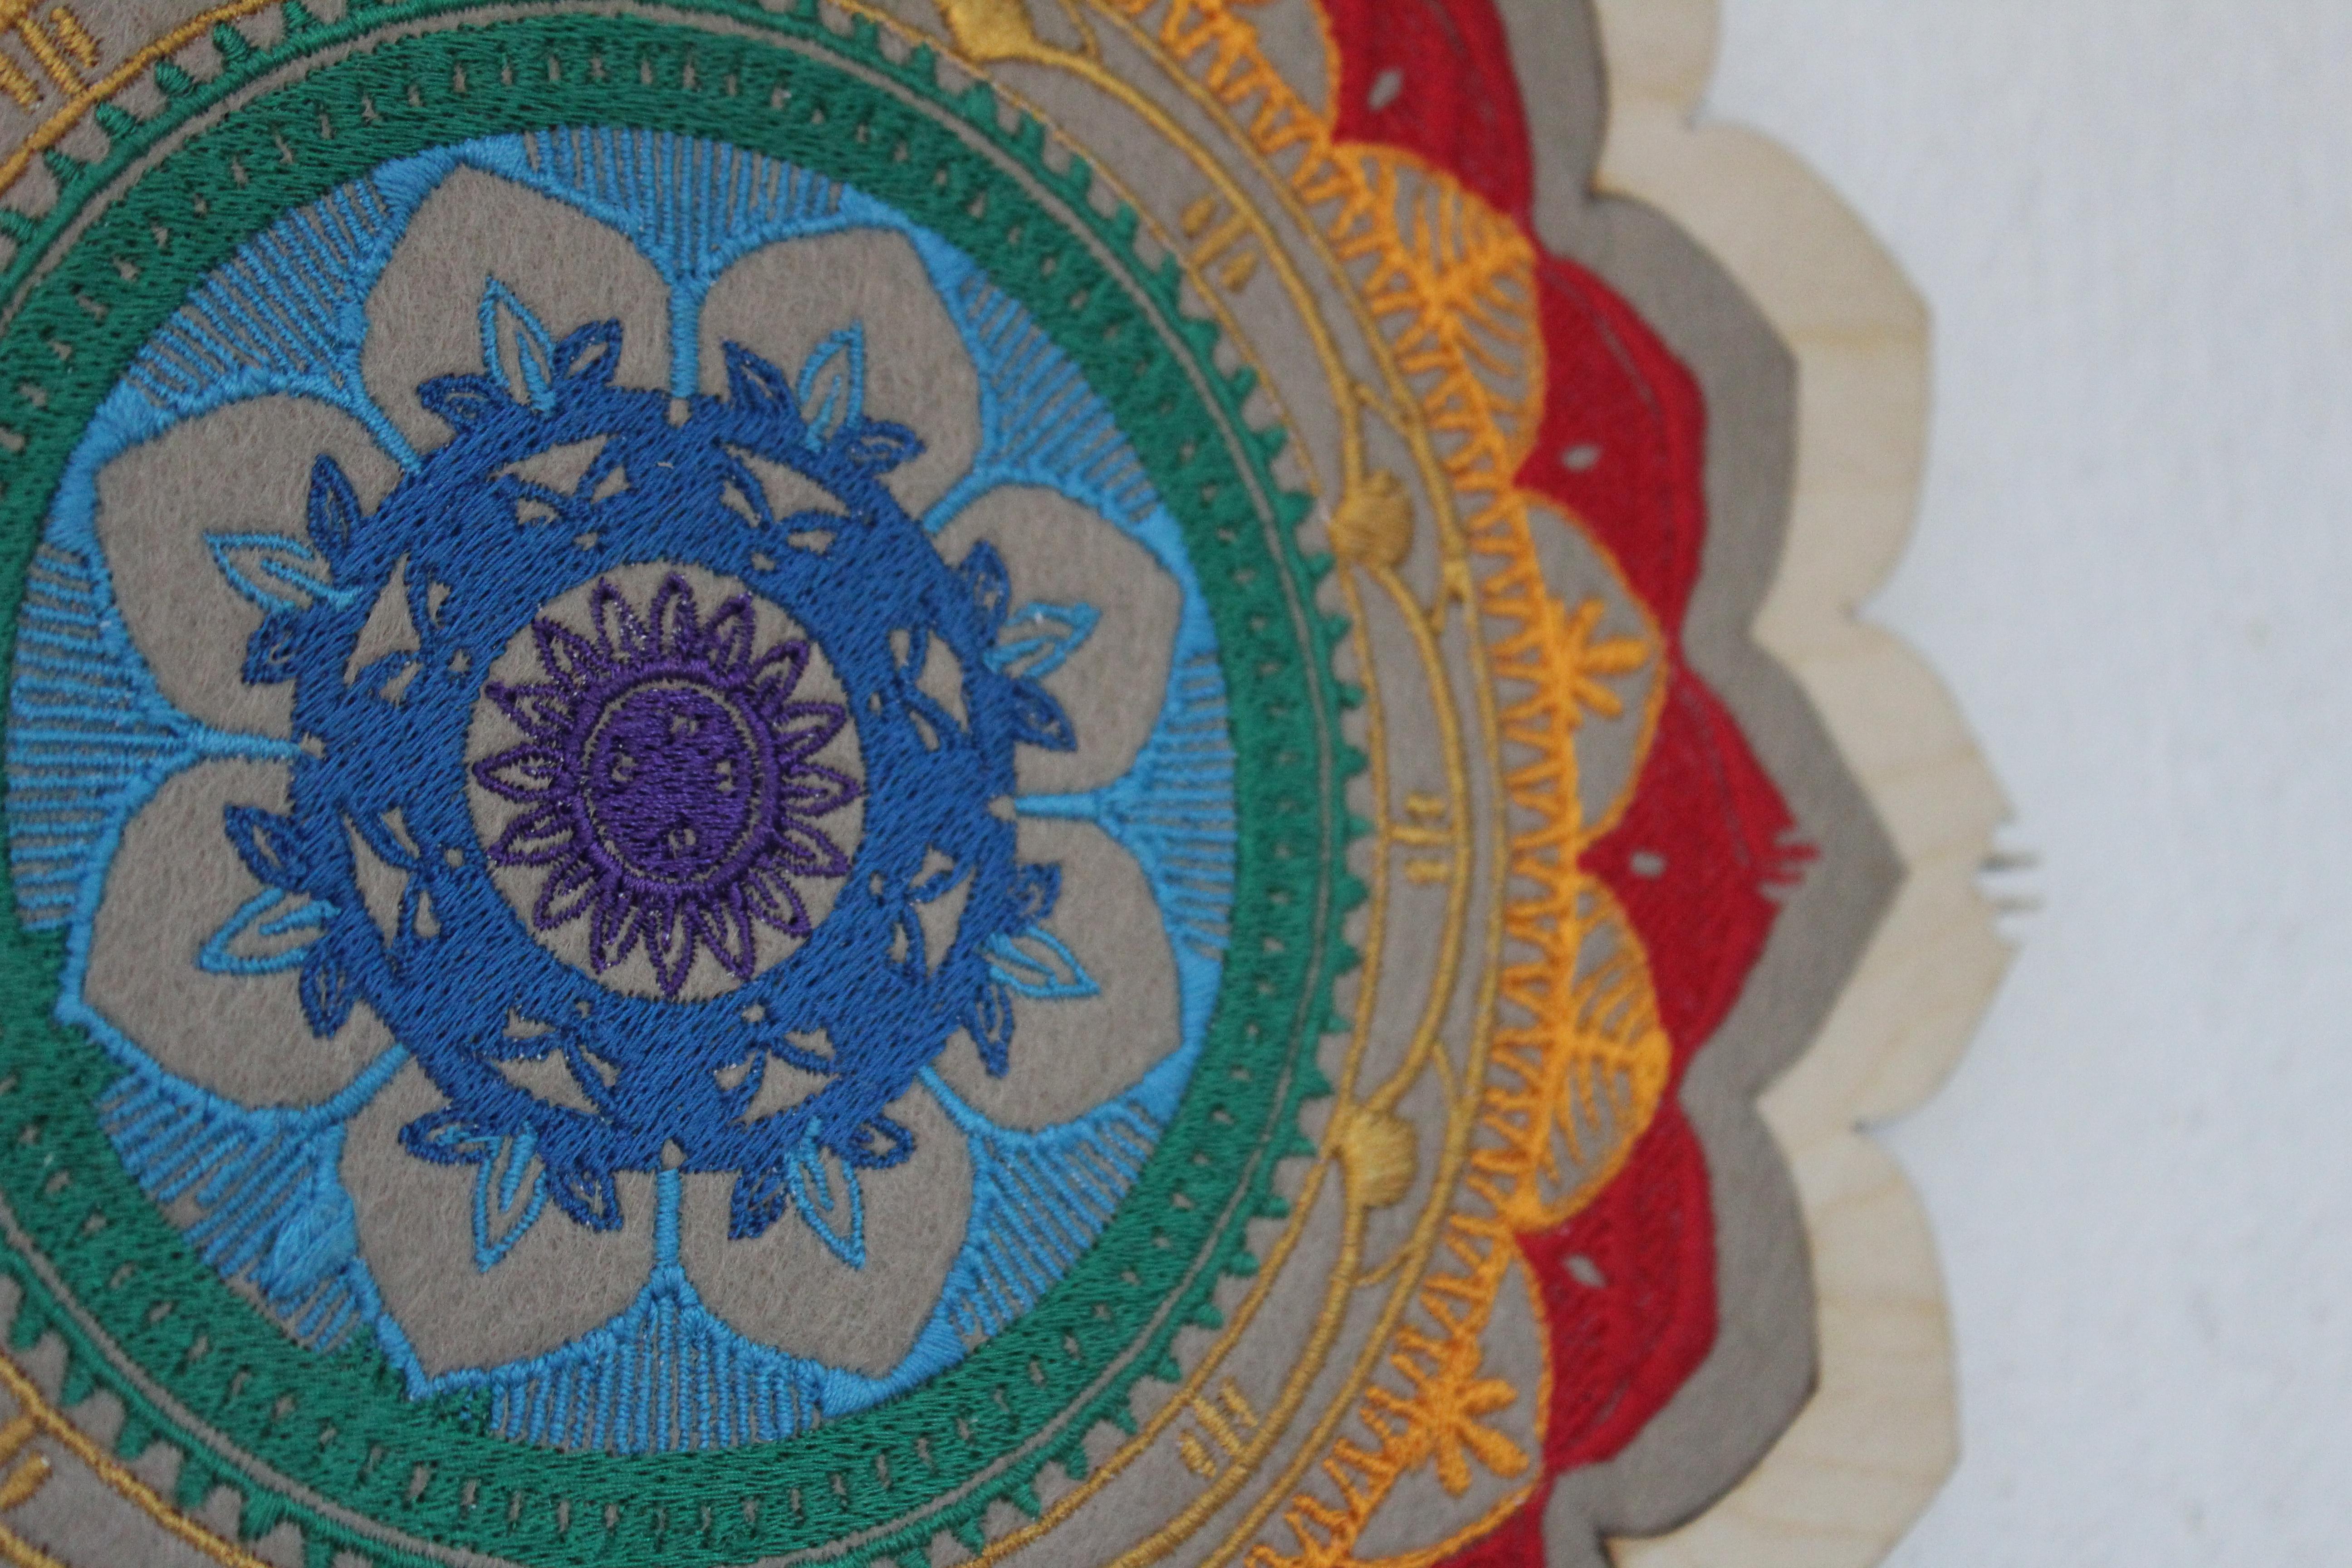
I choose a grege wool fabric to bring out the 7 colours and have a contrast of textures.
Here is a timelaps of the process with from time to time some unexpected thread incidents...
It took about three hours to embroider this.
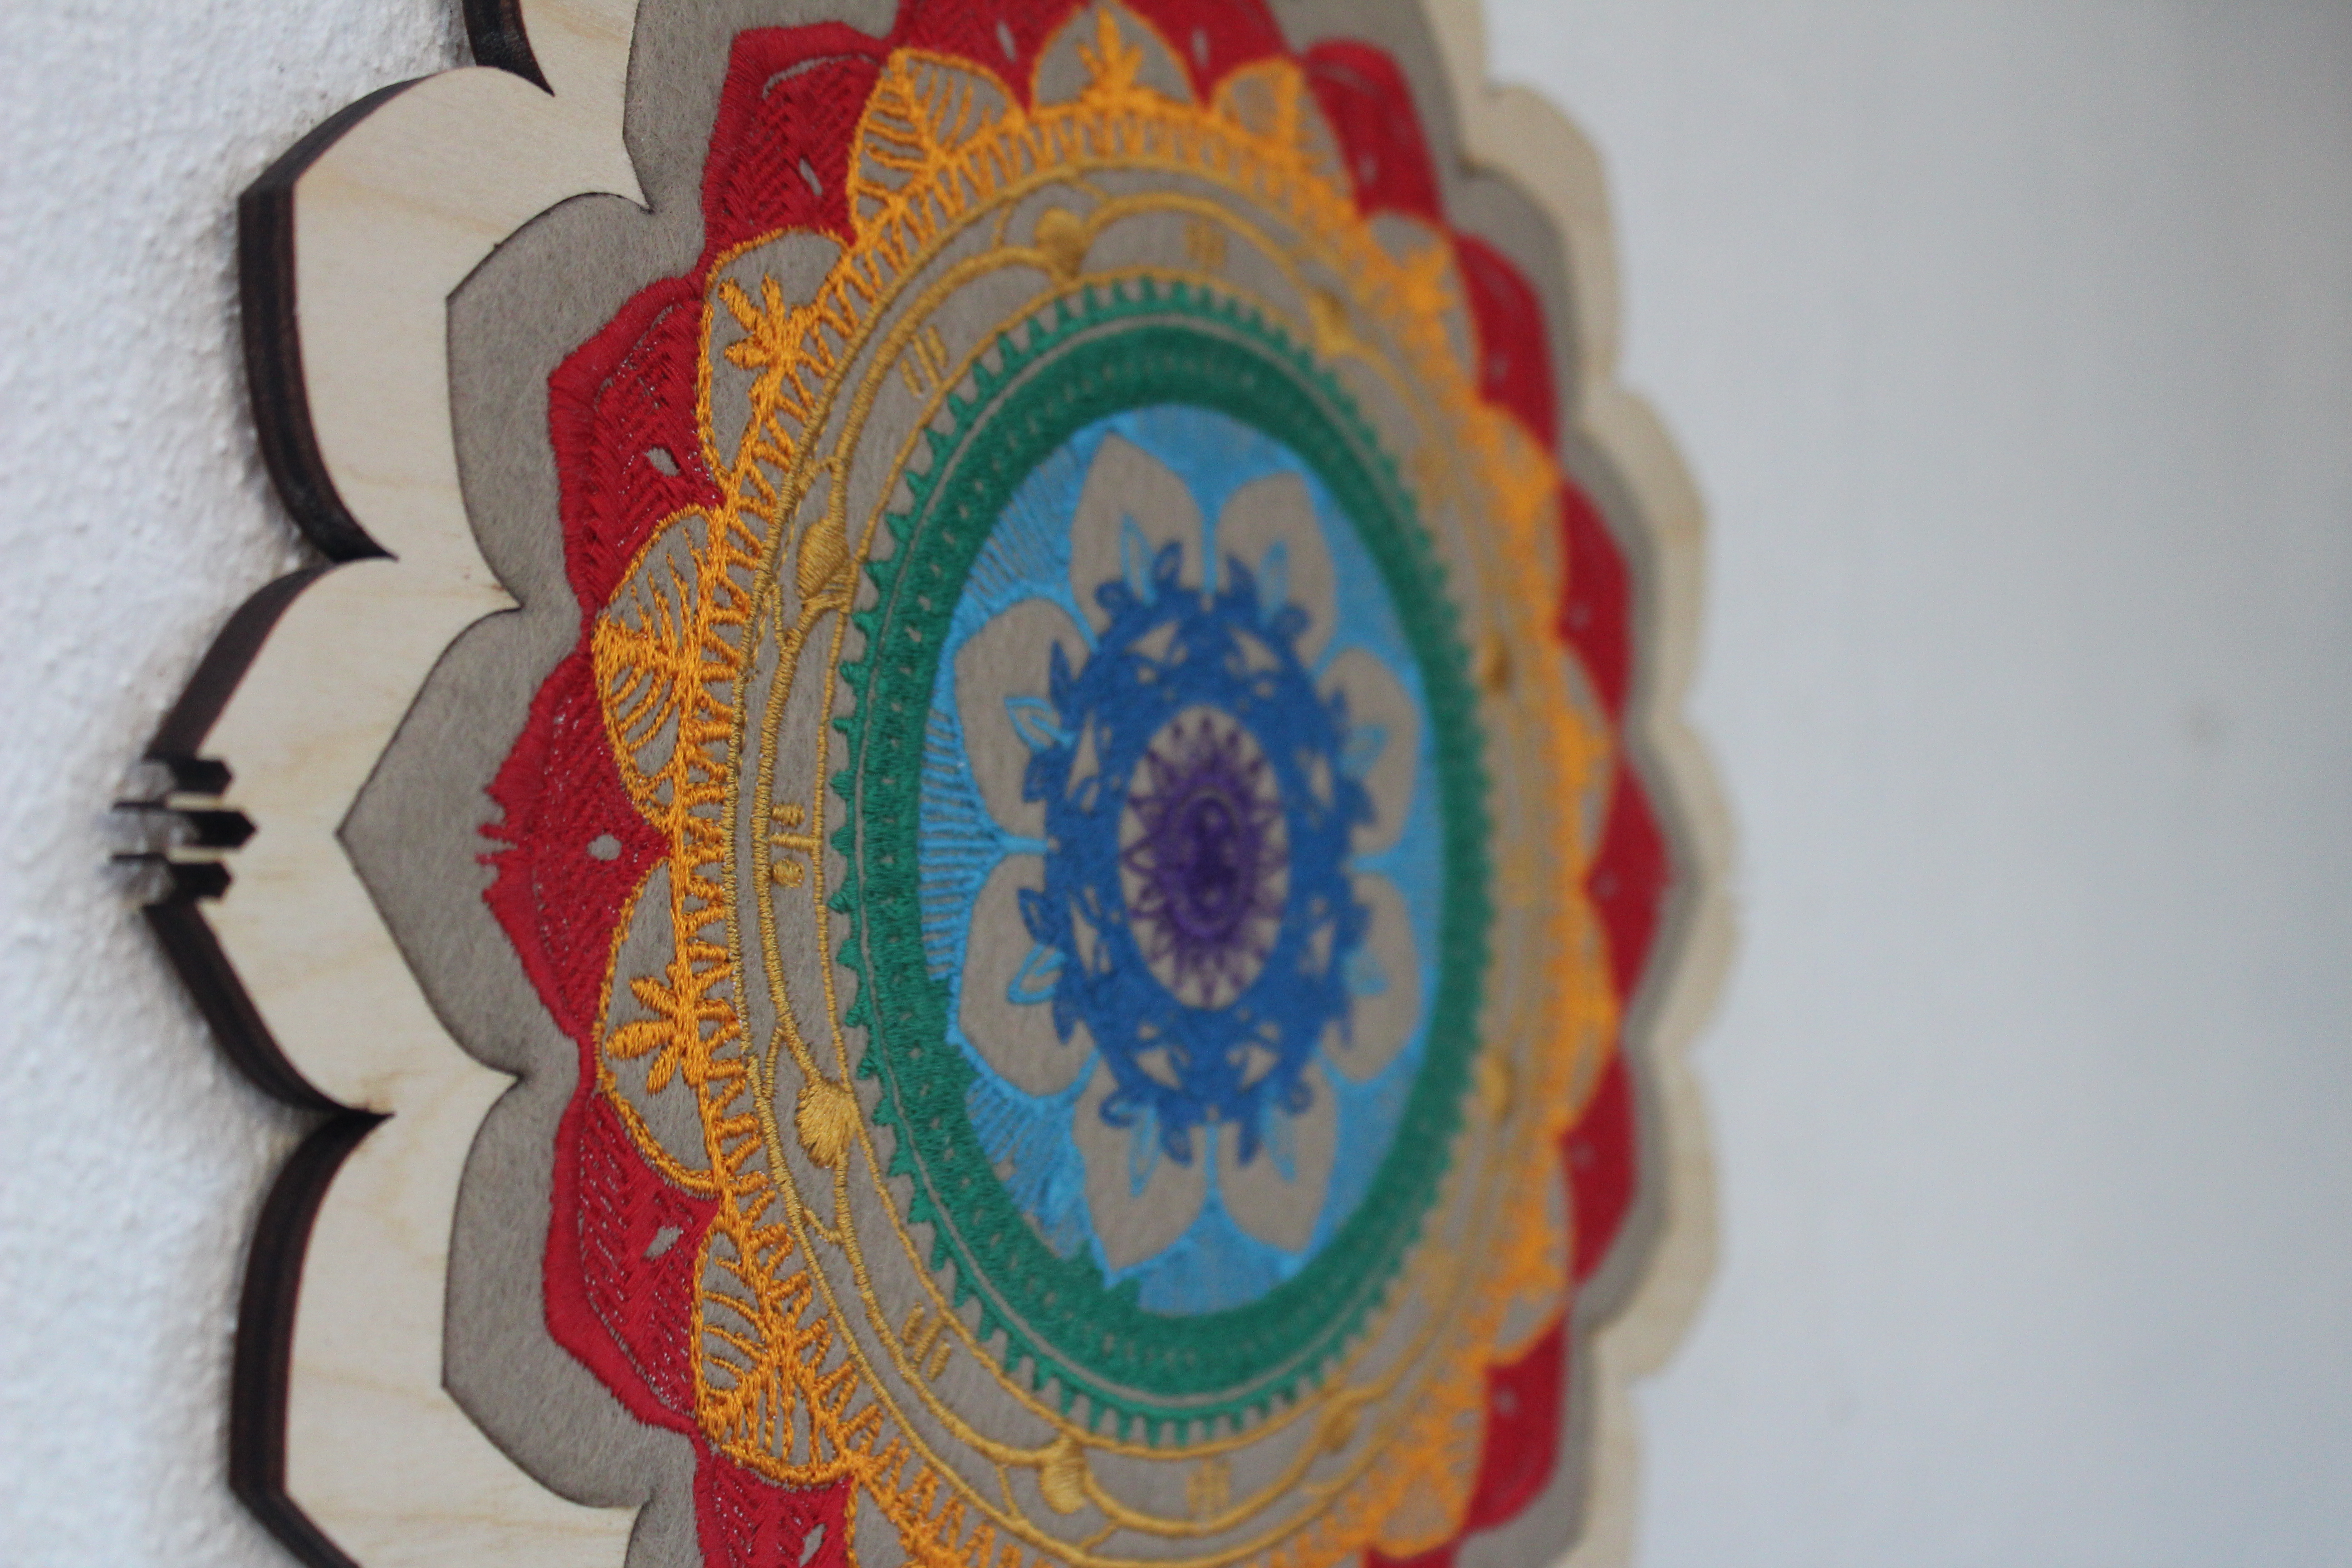
Cut the Frame
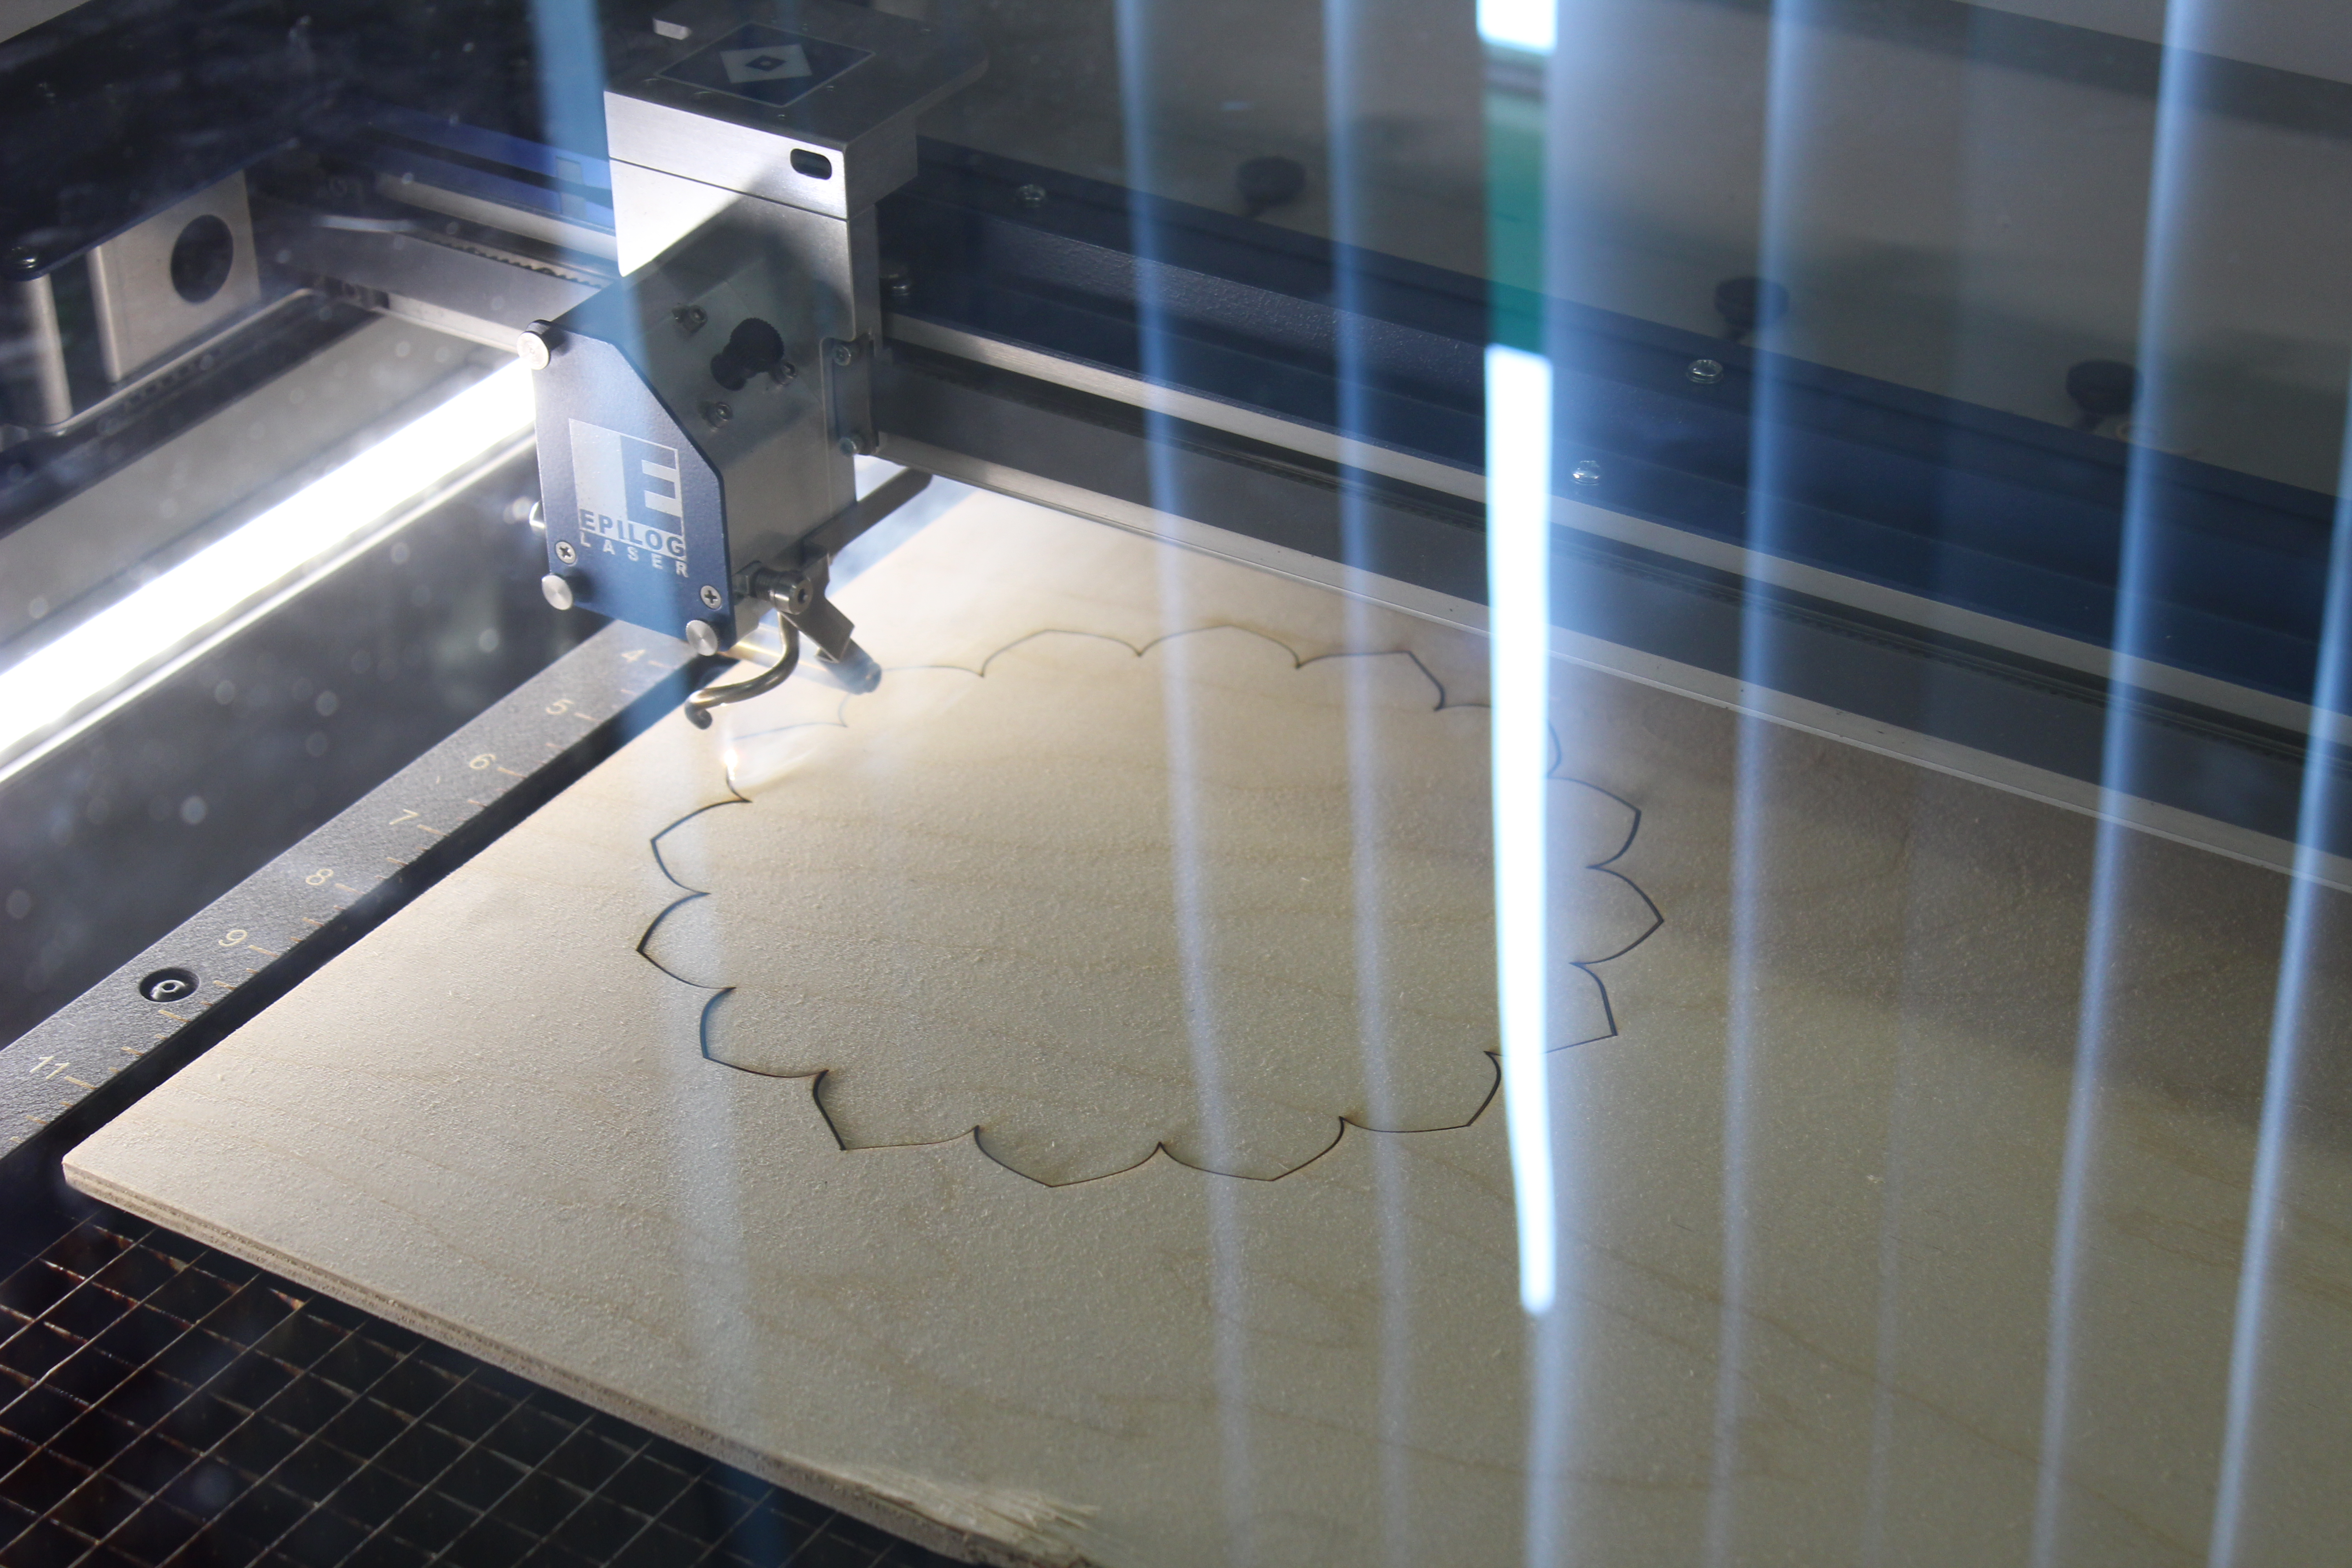

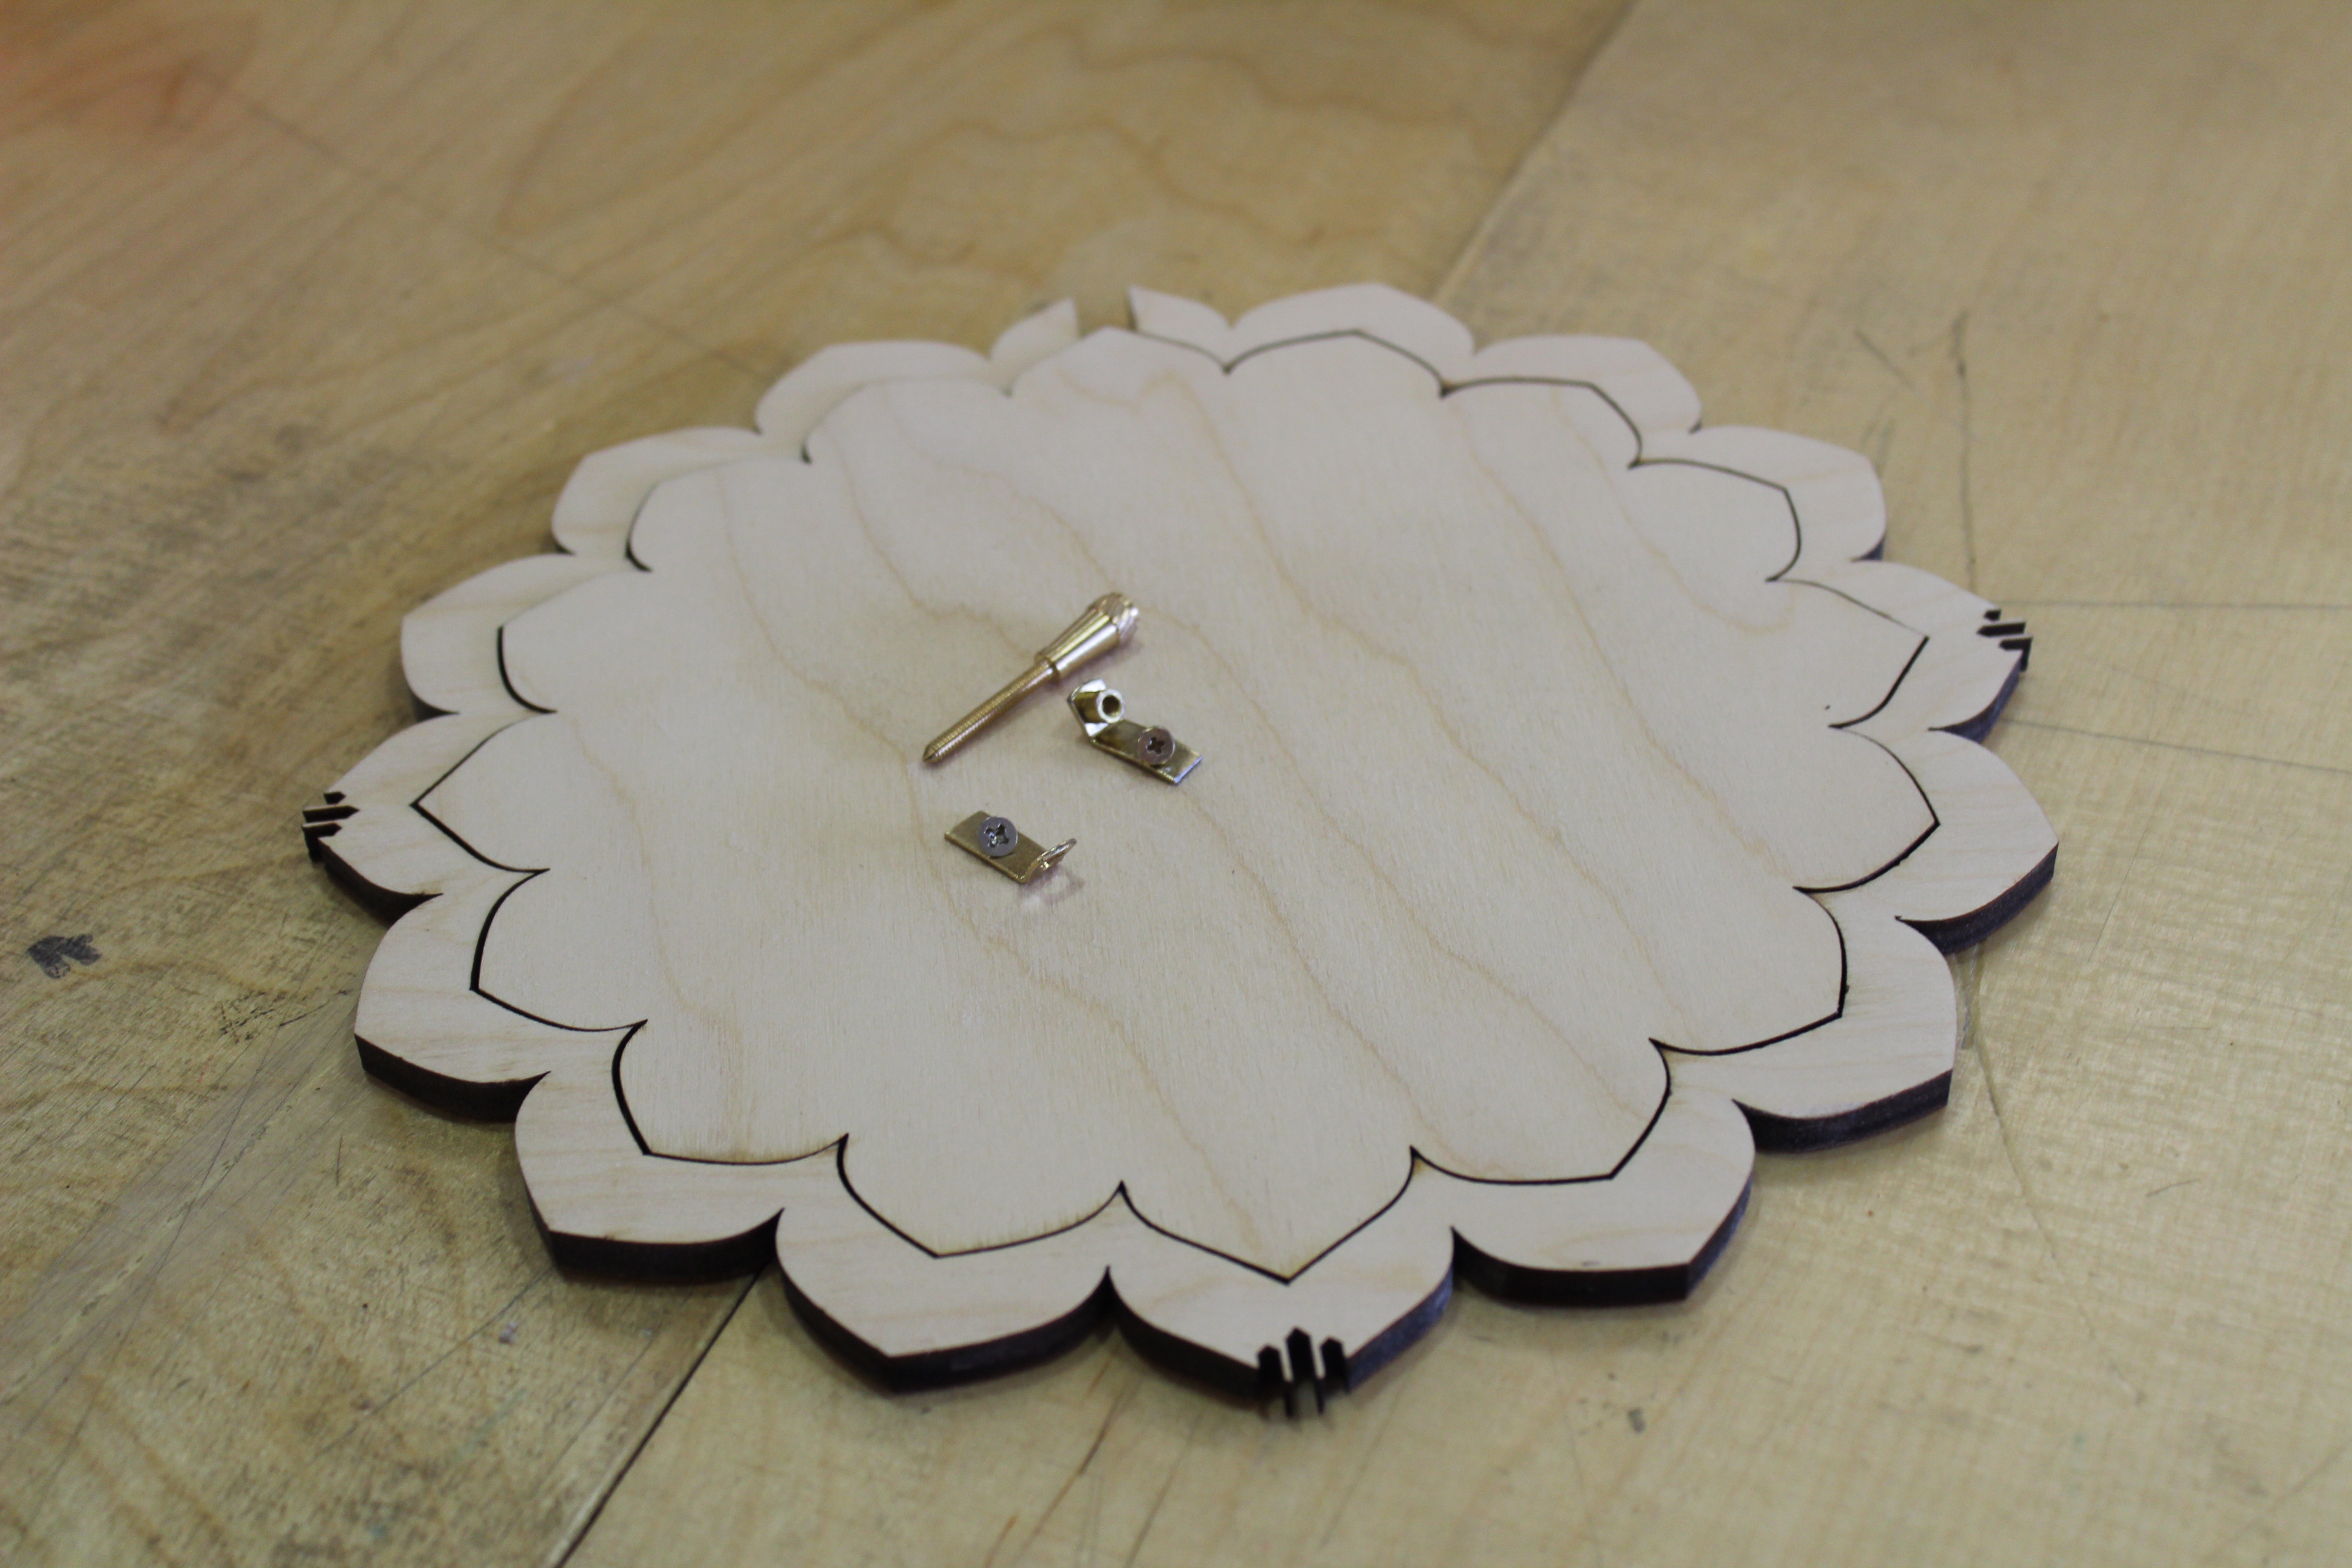

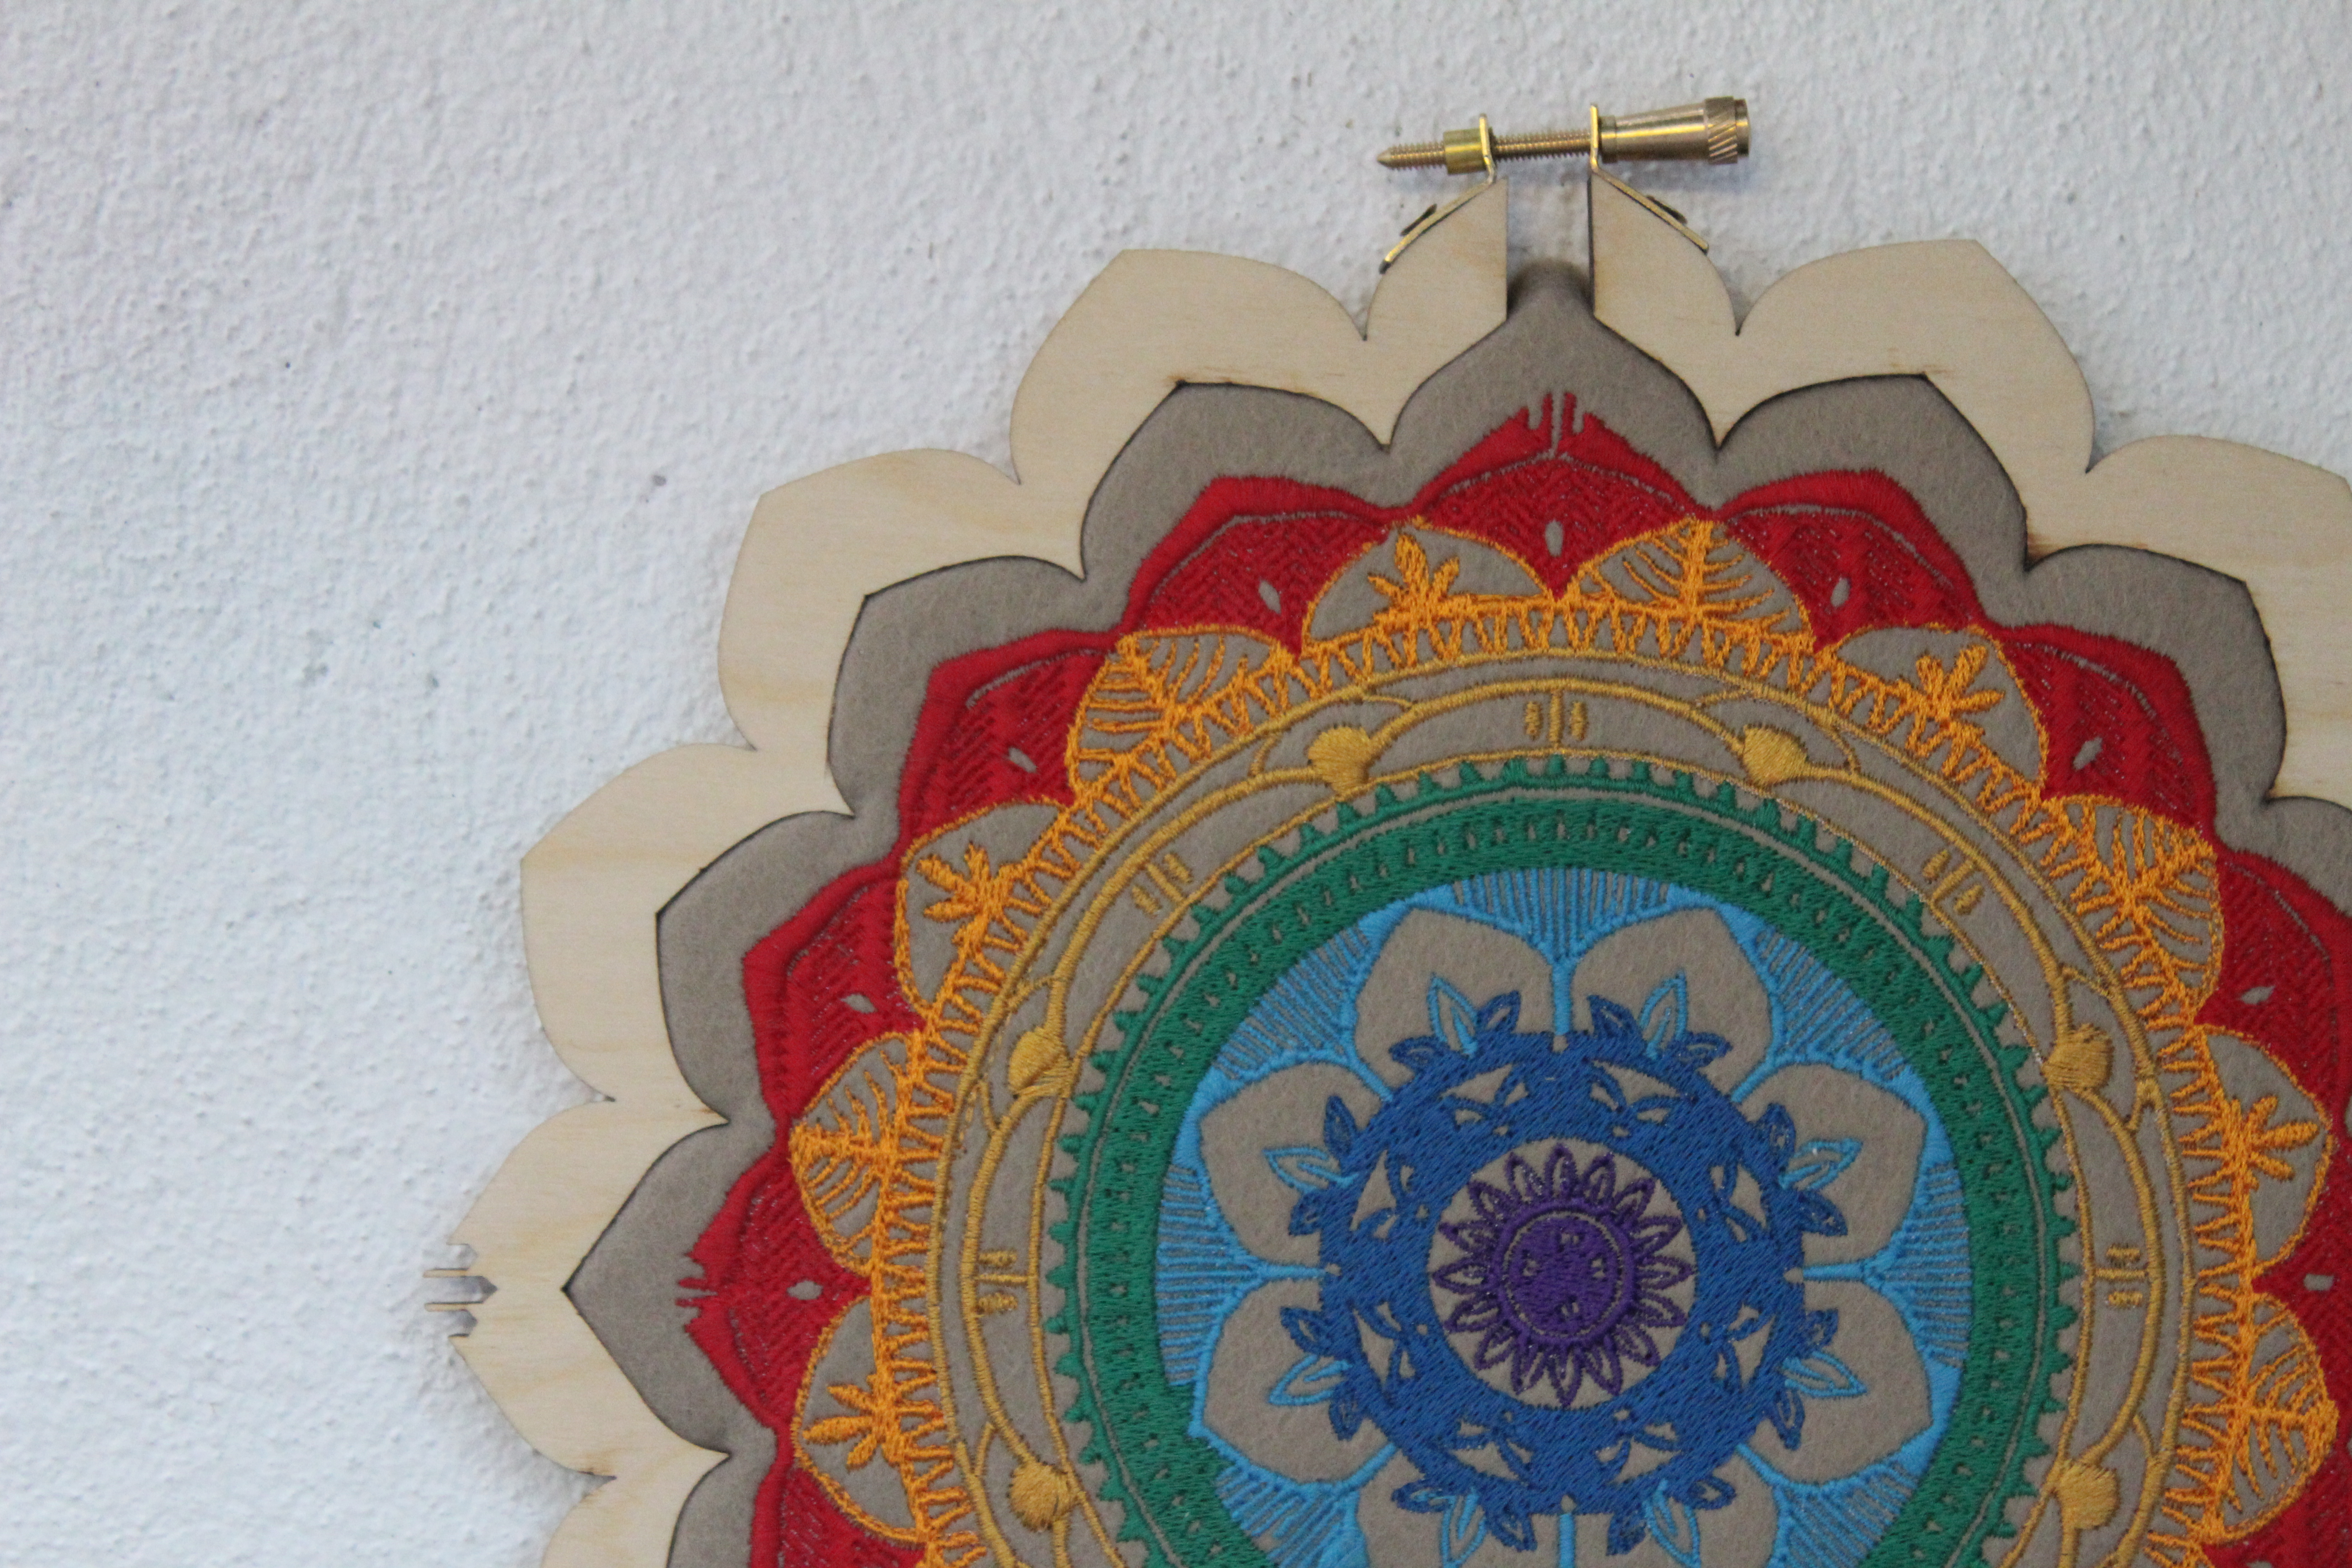
The frame takes the shape of the mandala.
I have made a double line in the inside to let some space for the fabric.
And the top is open to add the lock system that hold together the embroidery and the frame.
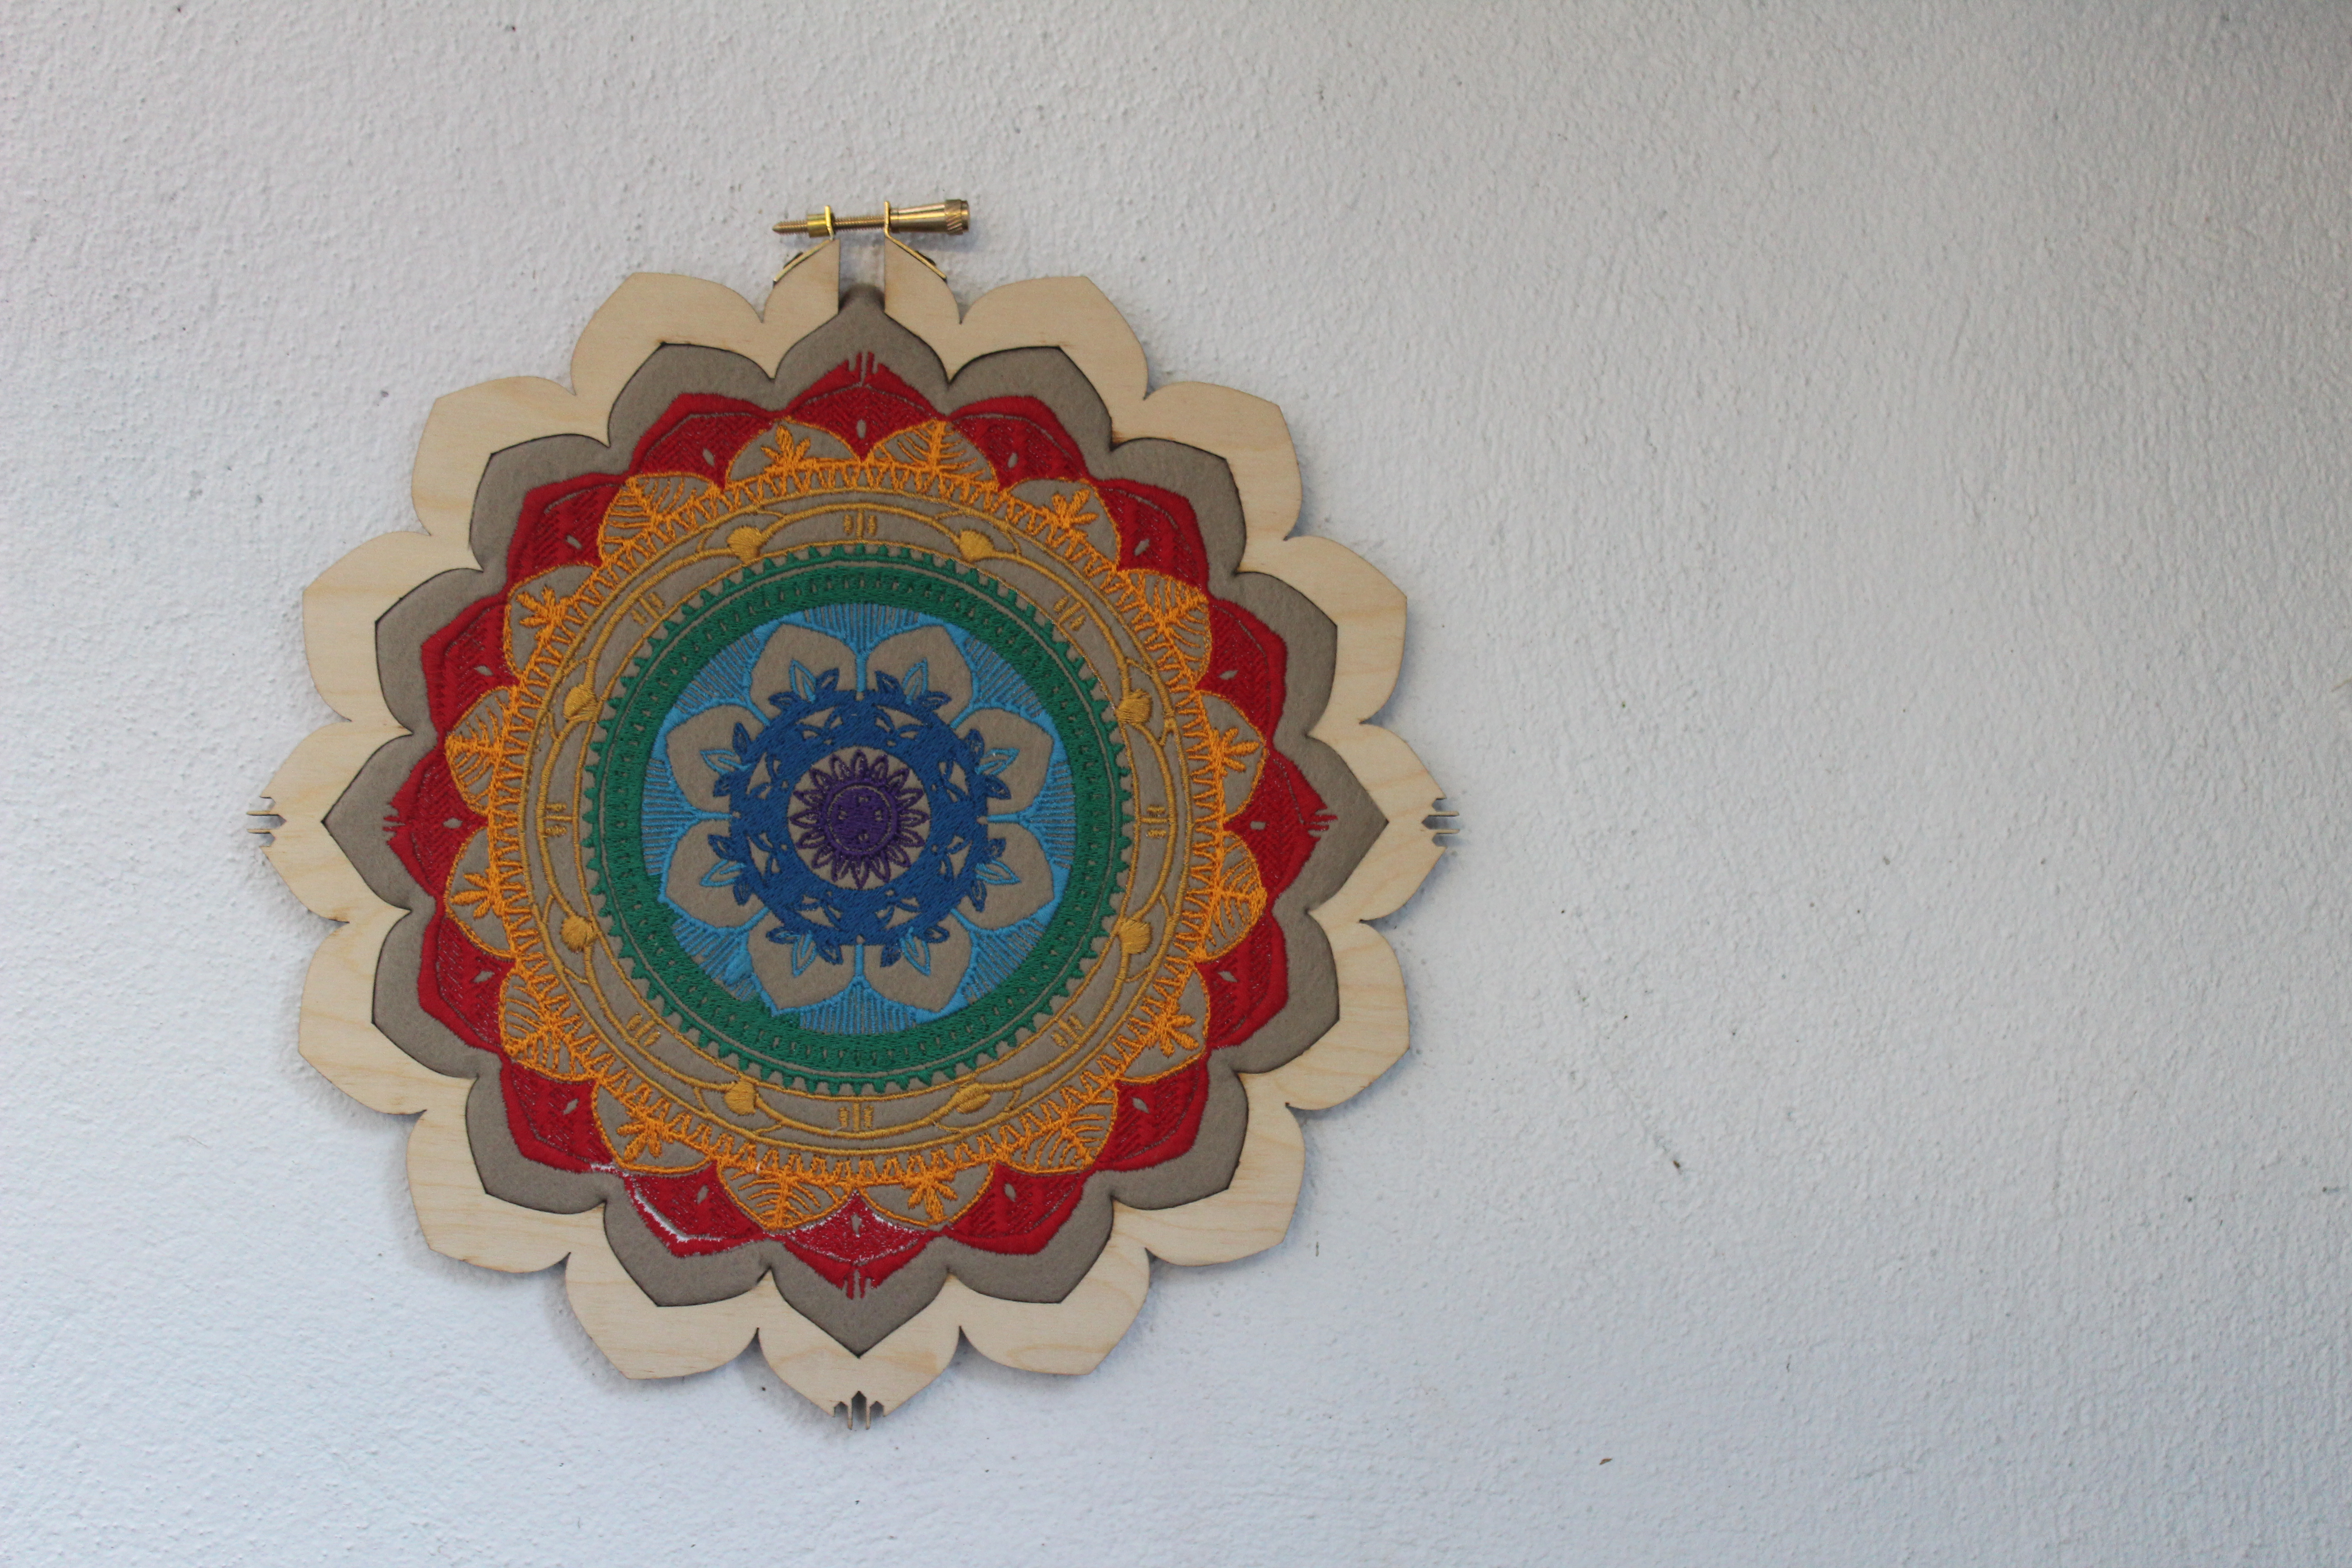
Put Everything Together

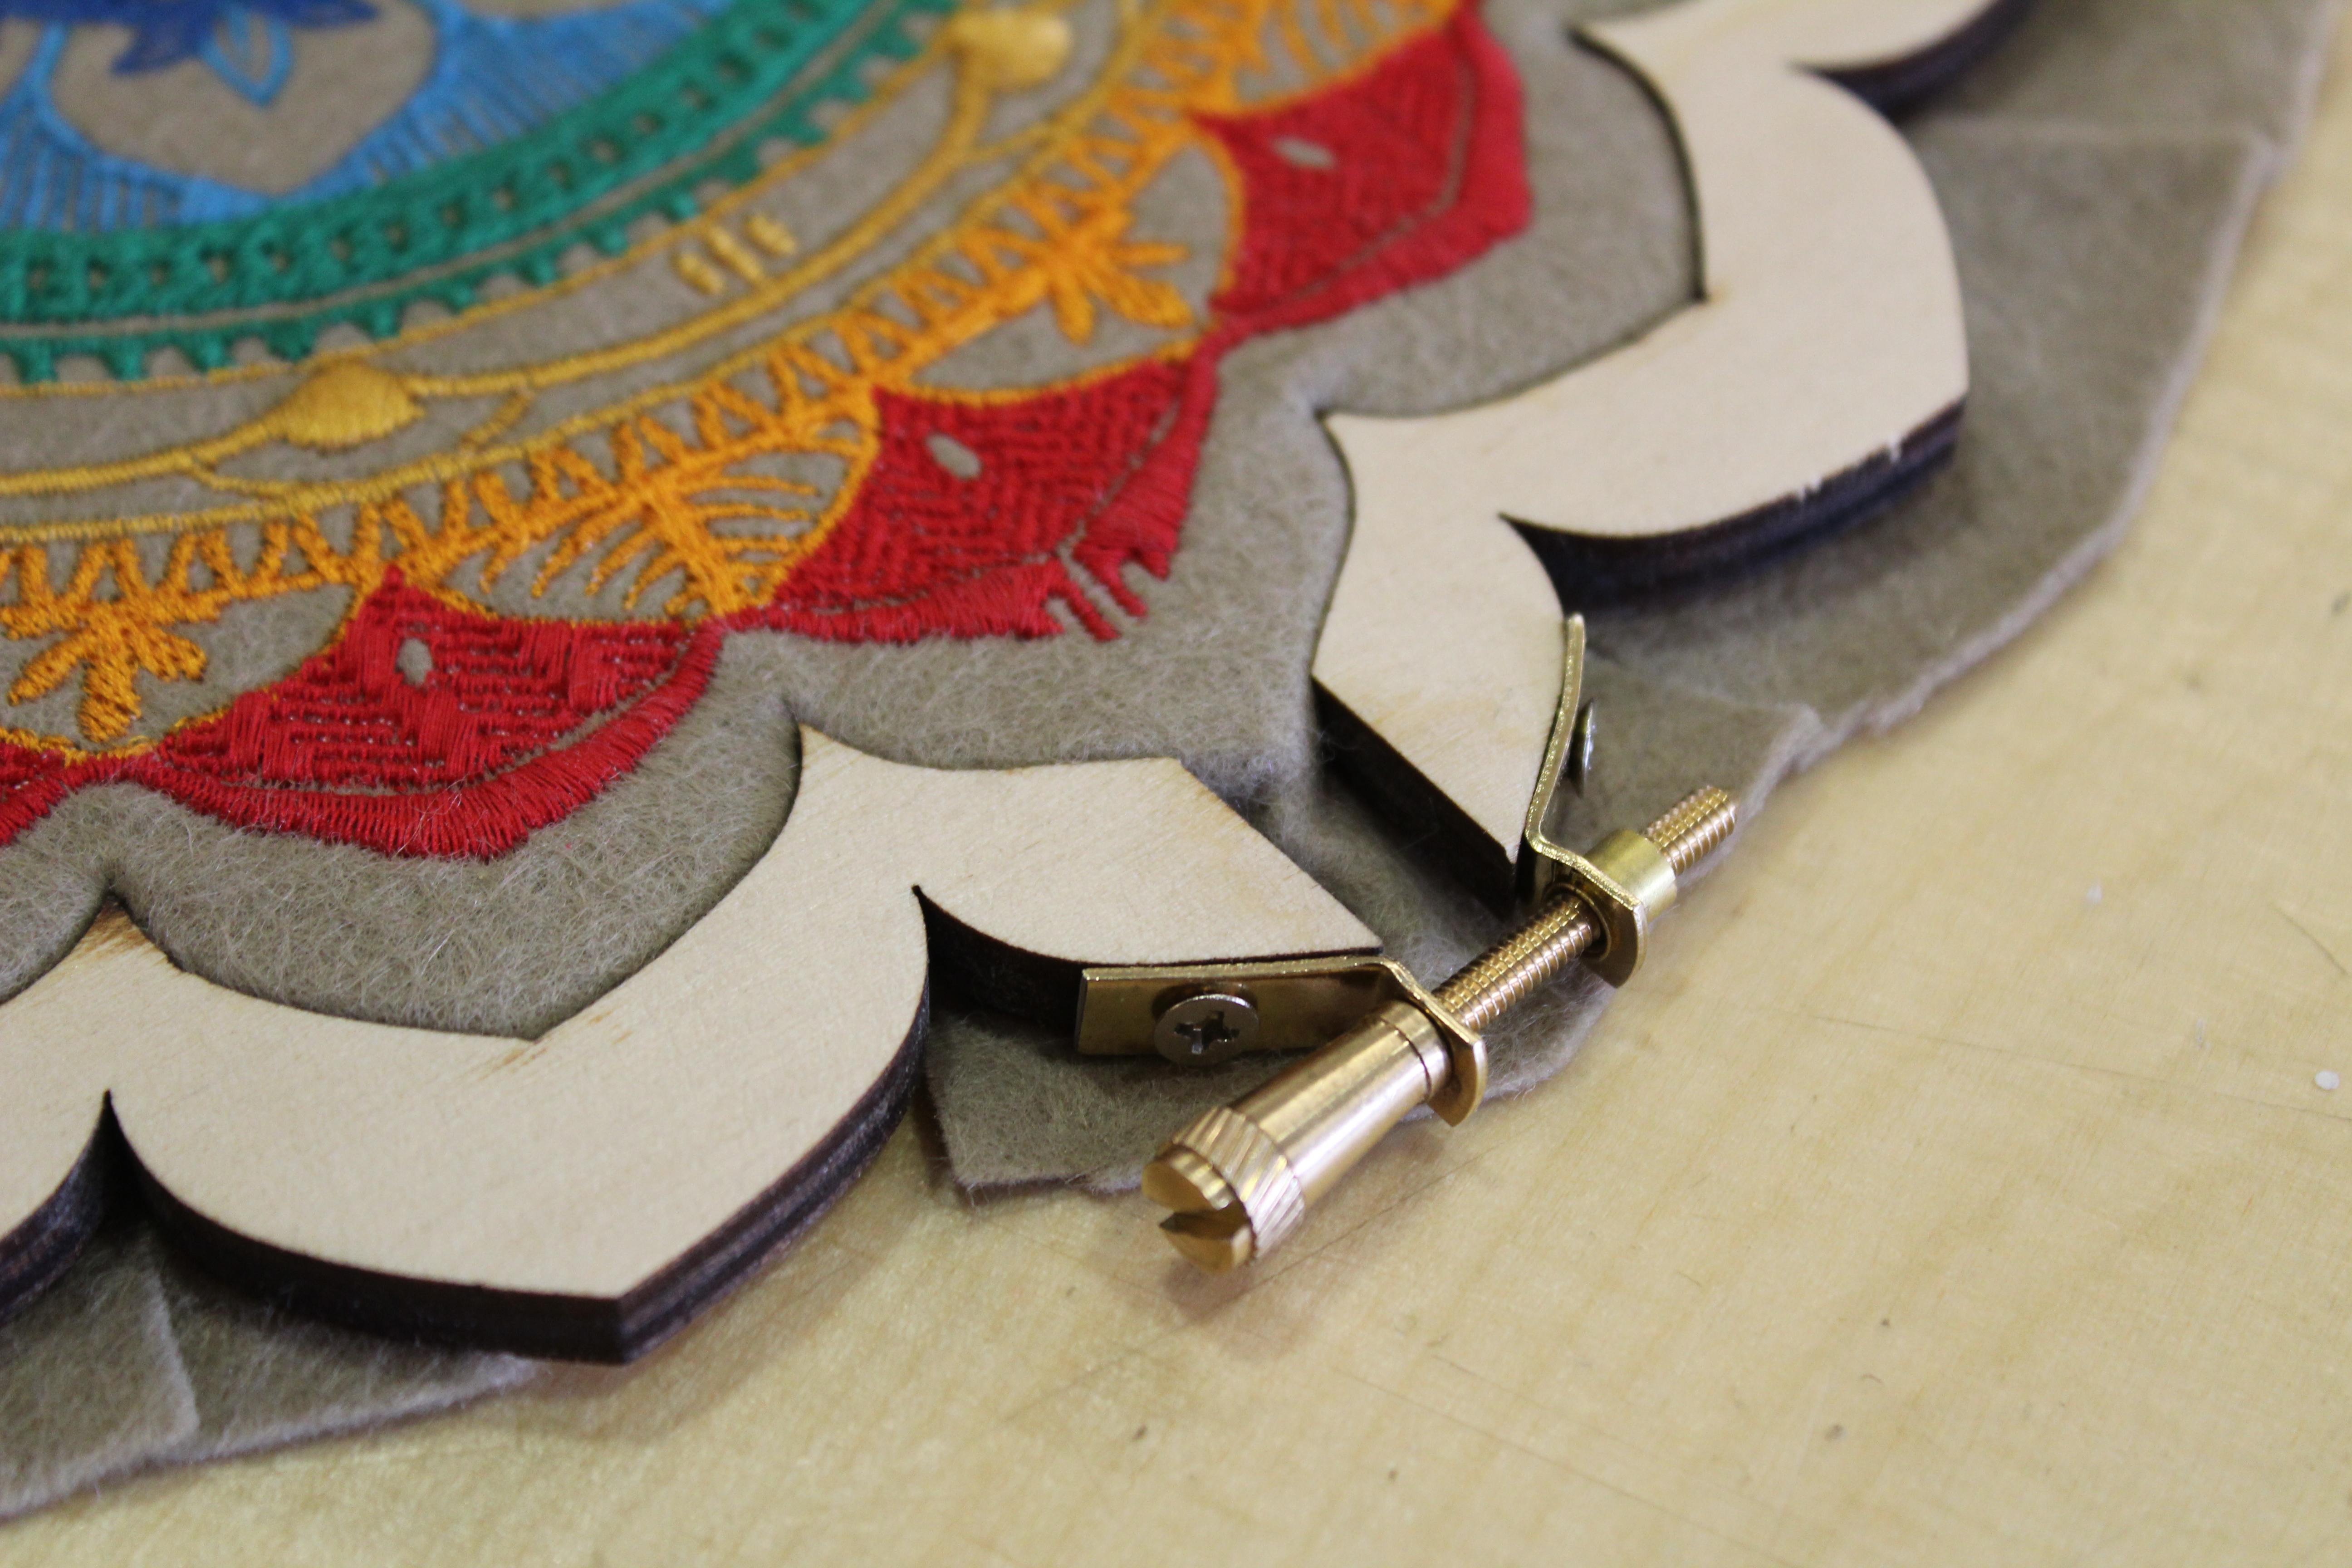

Screw the metallic lock ( you can find it in any craft shop )
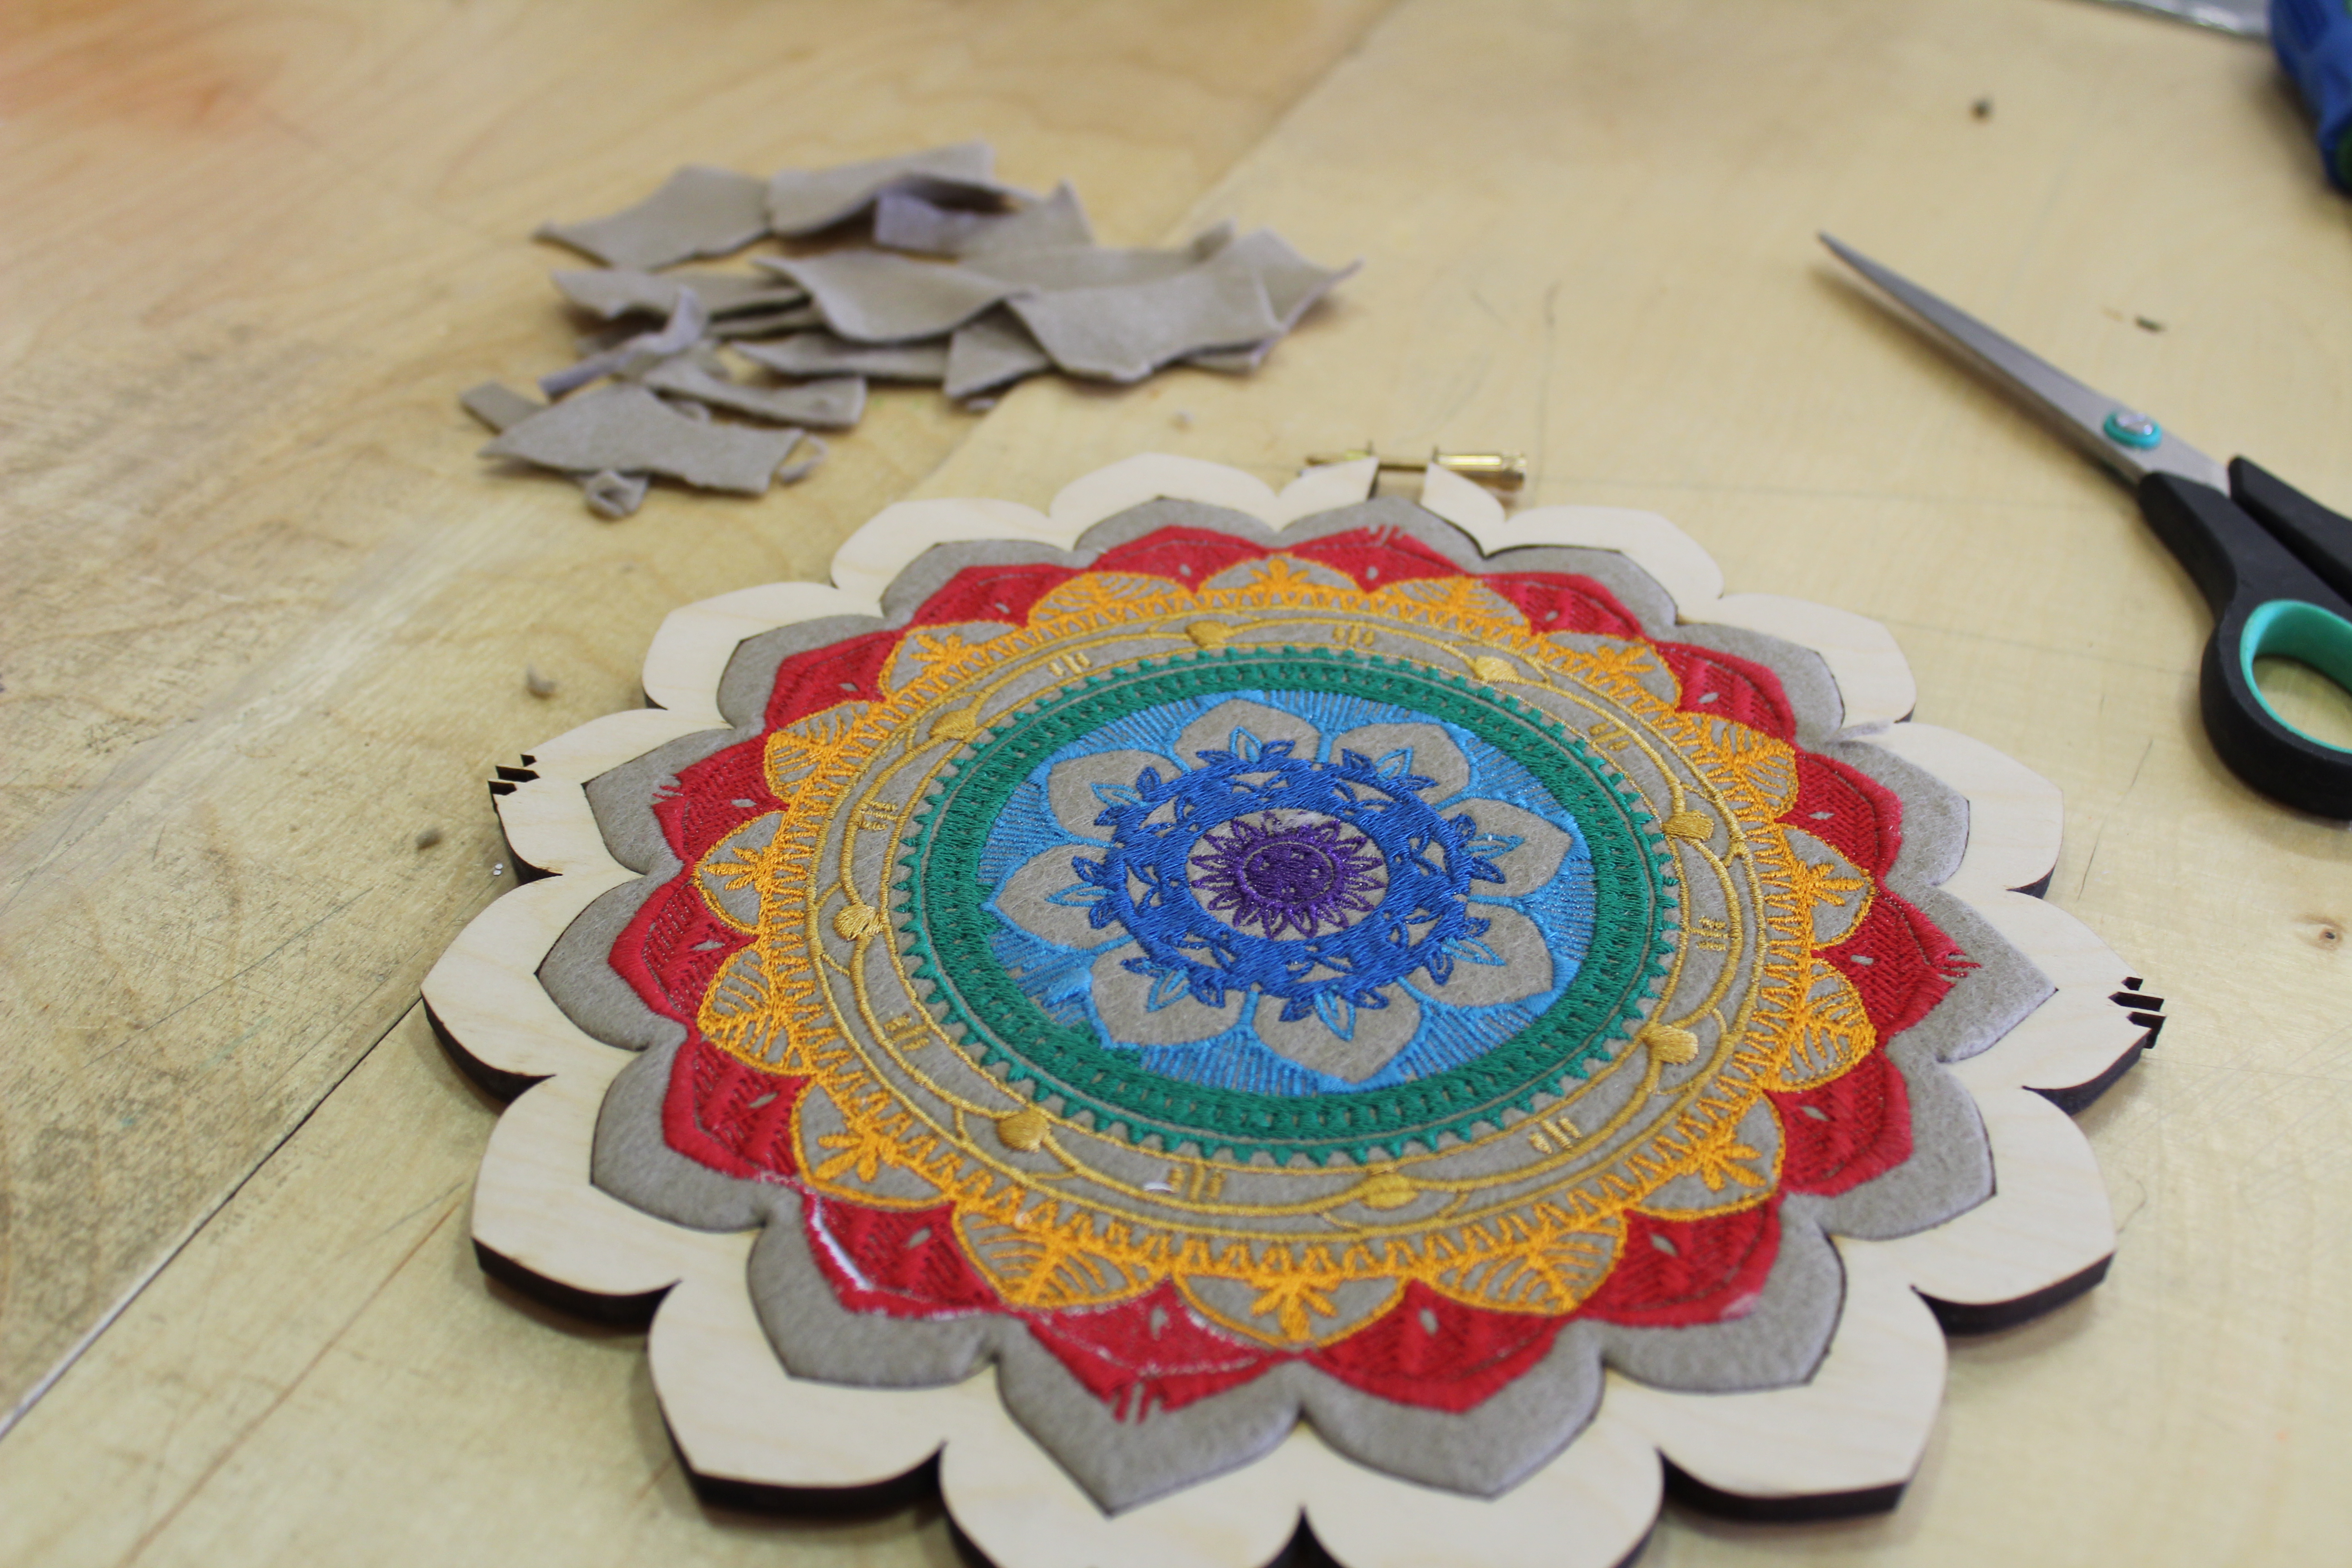
You will have to cut inside the angles of the fabric with scissors to make it fit correctly.
Finish by cutting the fabric that pokes out in the back and your rainbow embroidery mandala is finally ready!
Hang It Up!
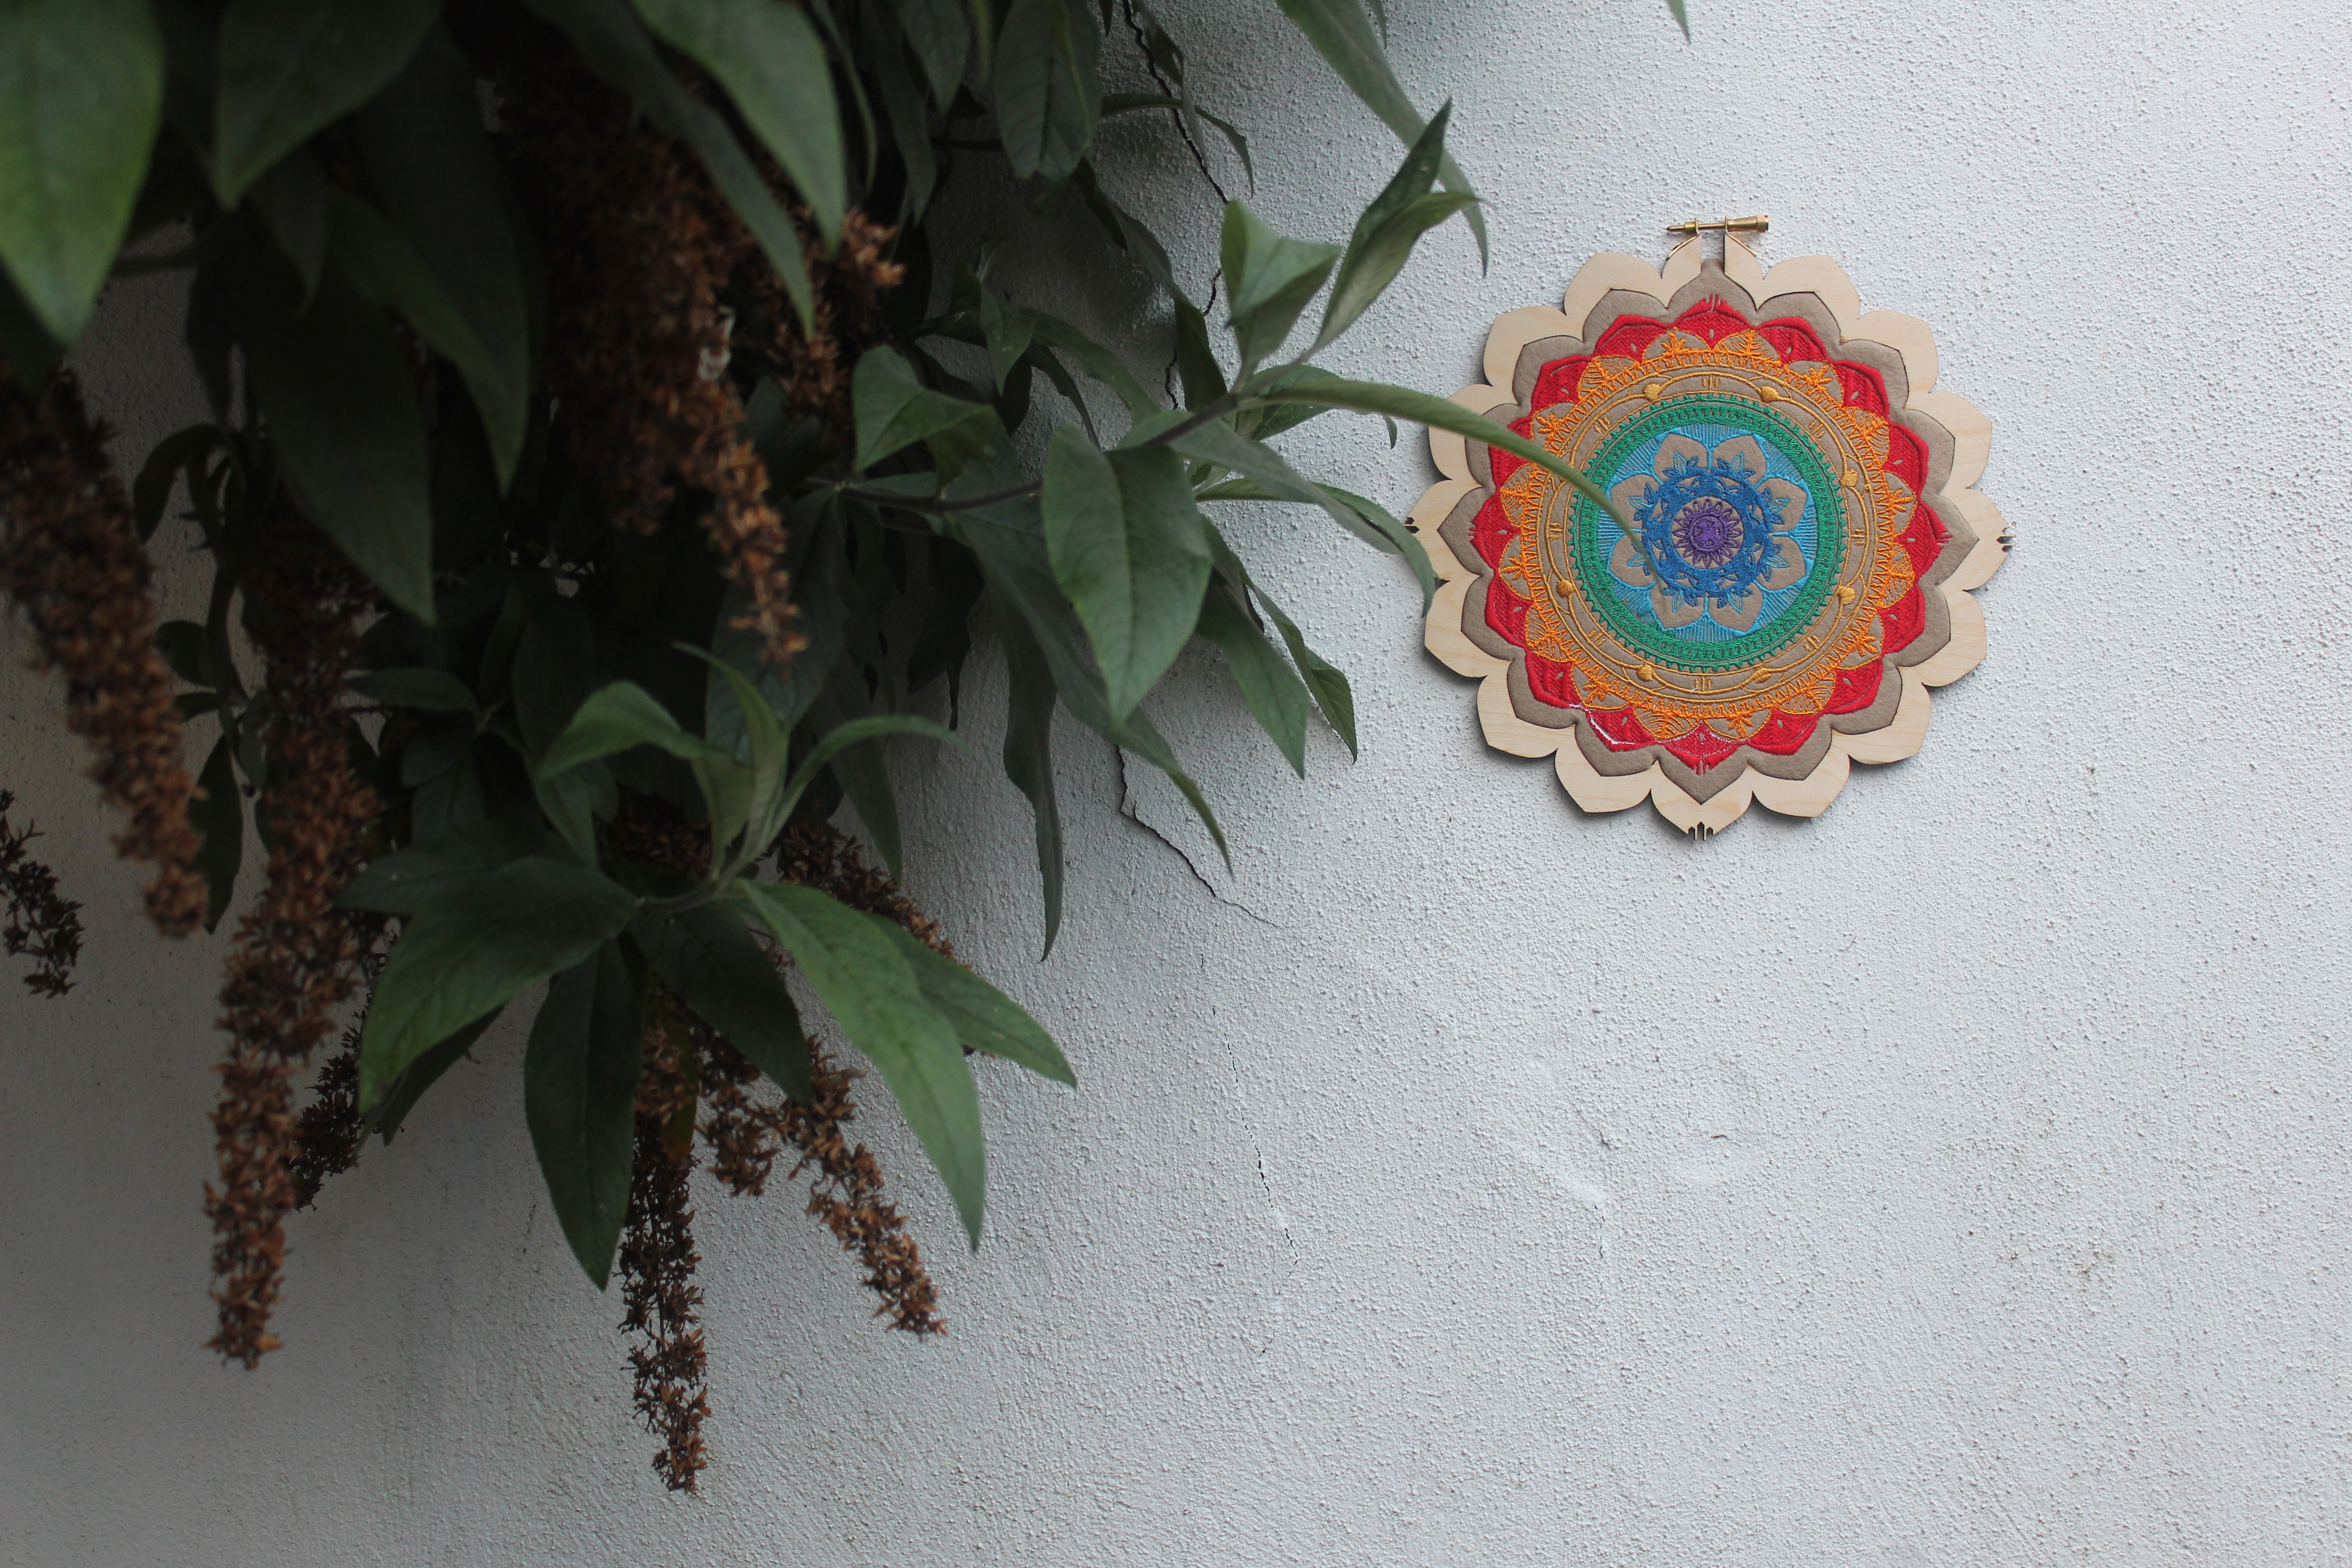
Hope the tutorial will be useful for you!
If you need any advice with illustrator don't hesitate to ask me.
And I can also help with inskape which is a free software.
Thank you for your interest for this mandala embroidery with what I enter the rainbow contest!
See you!