RPi Weather Station and Digital Clock
by AndersSeverinsen in Circuits > Raspberry Pi
9639 Views, 64 Favorites, 0 Comments
RPi Weather Station and Digital Clock
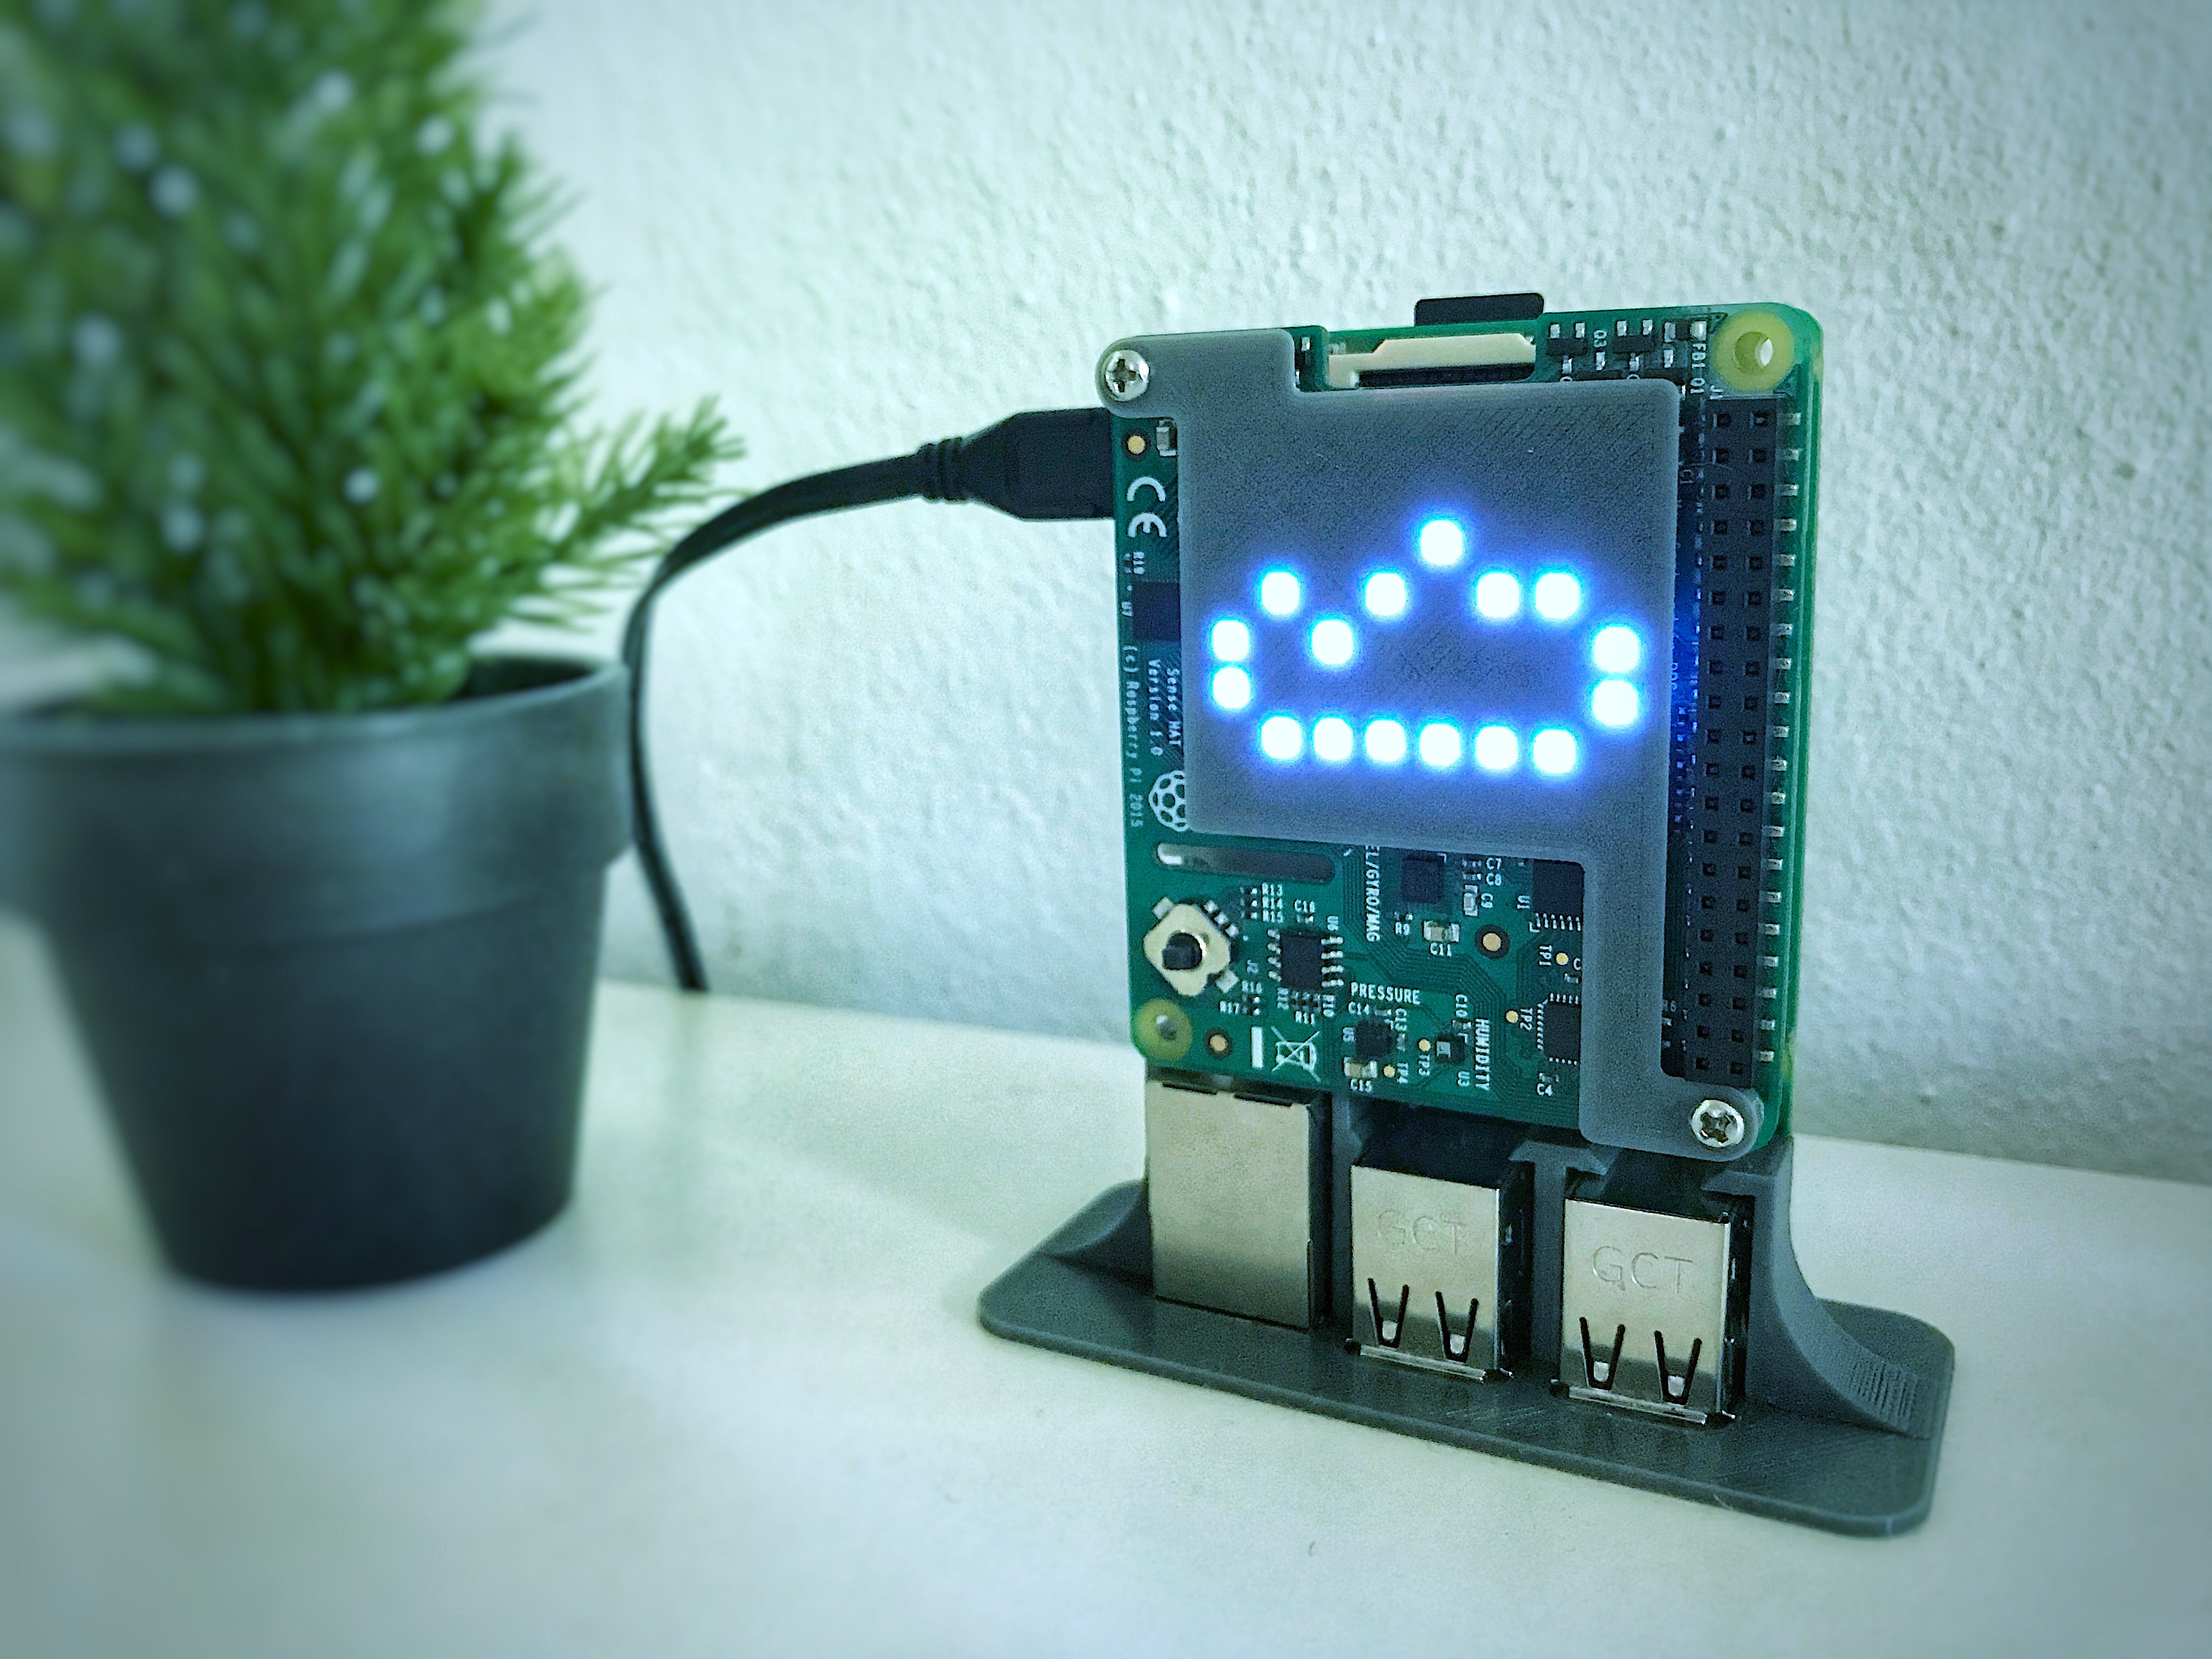
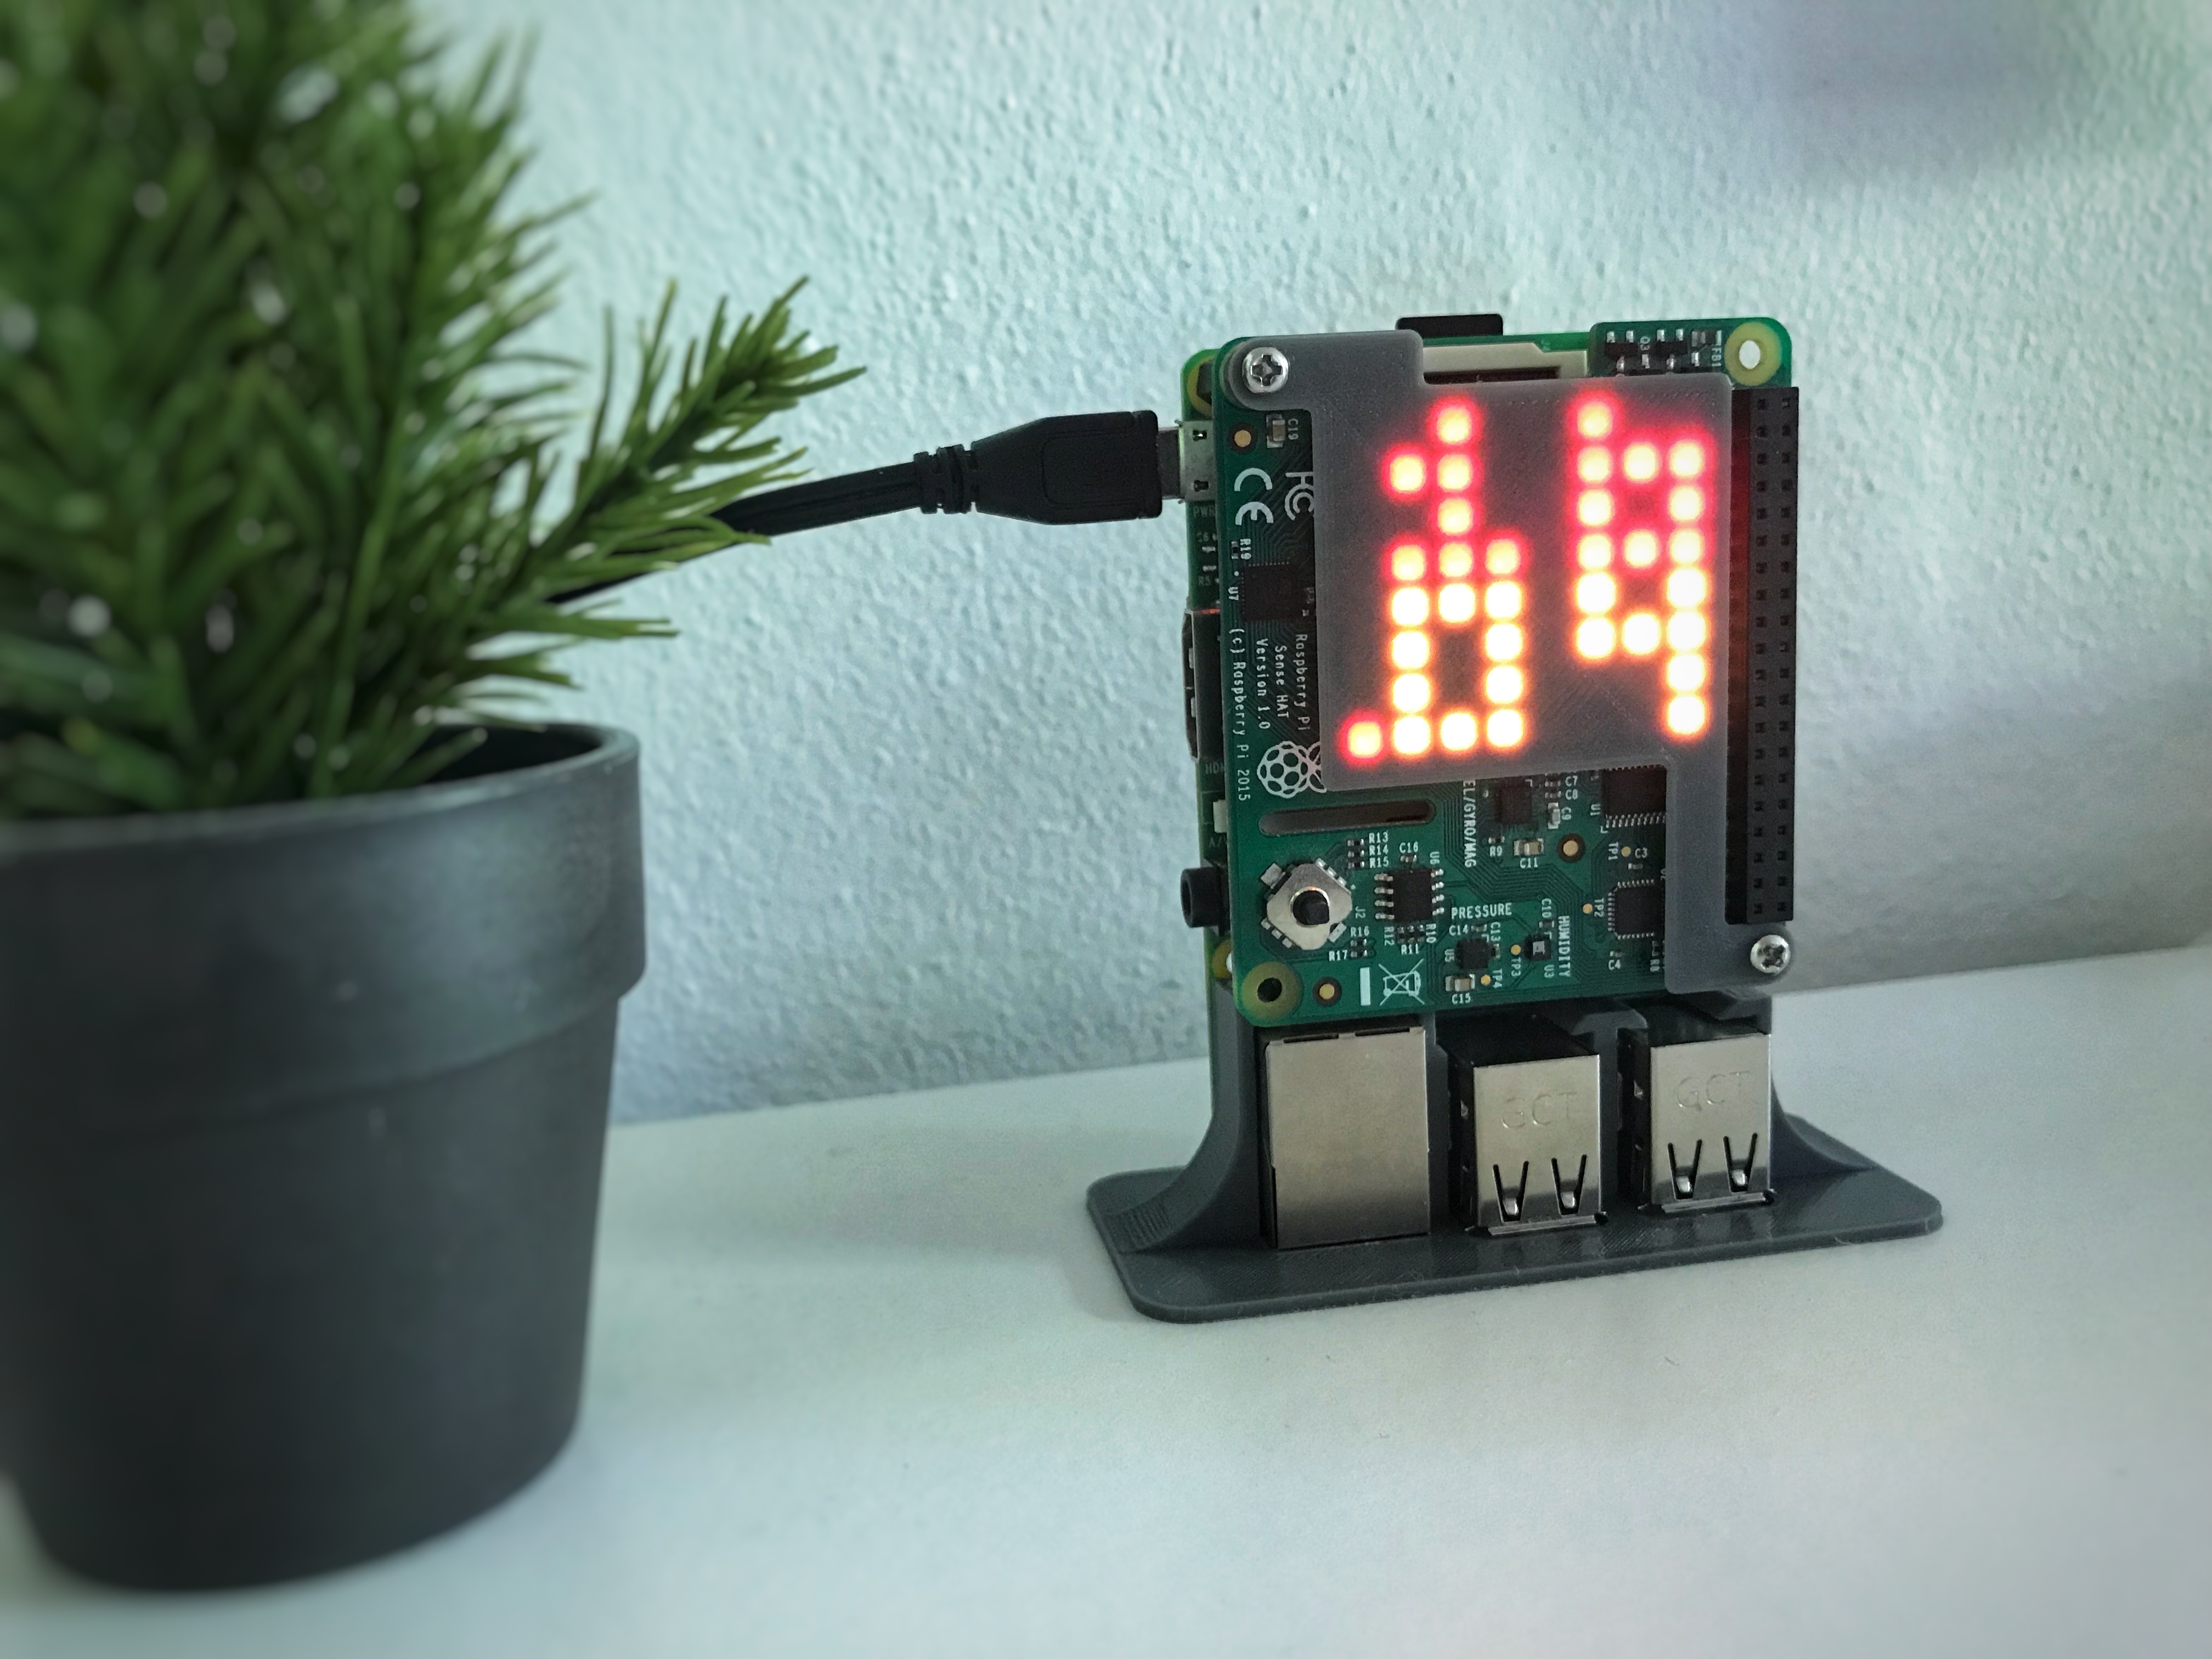
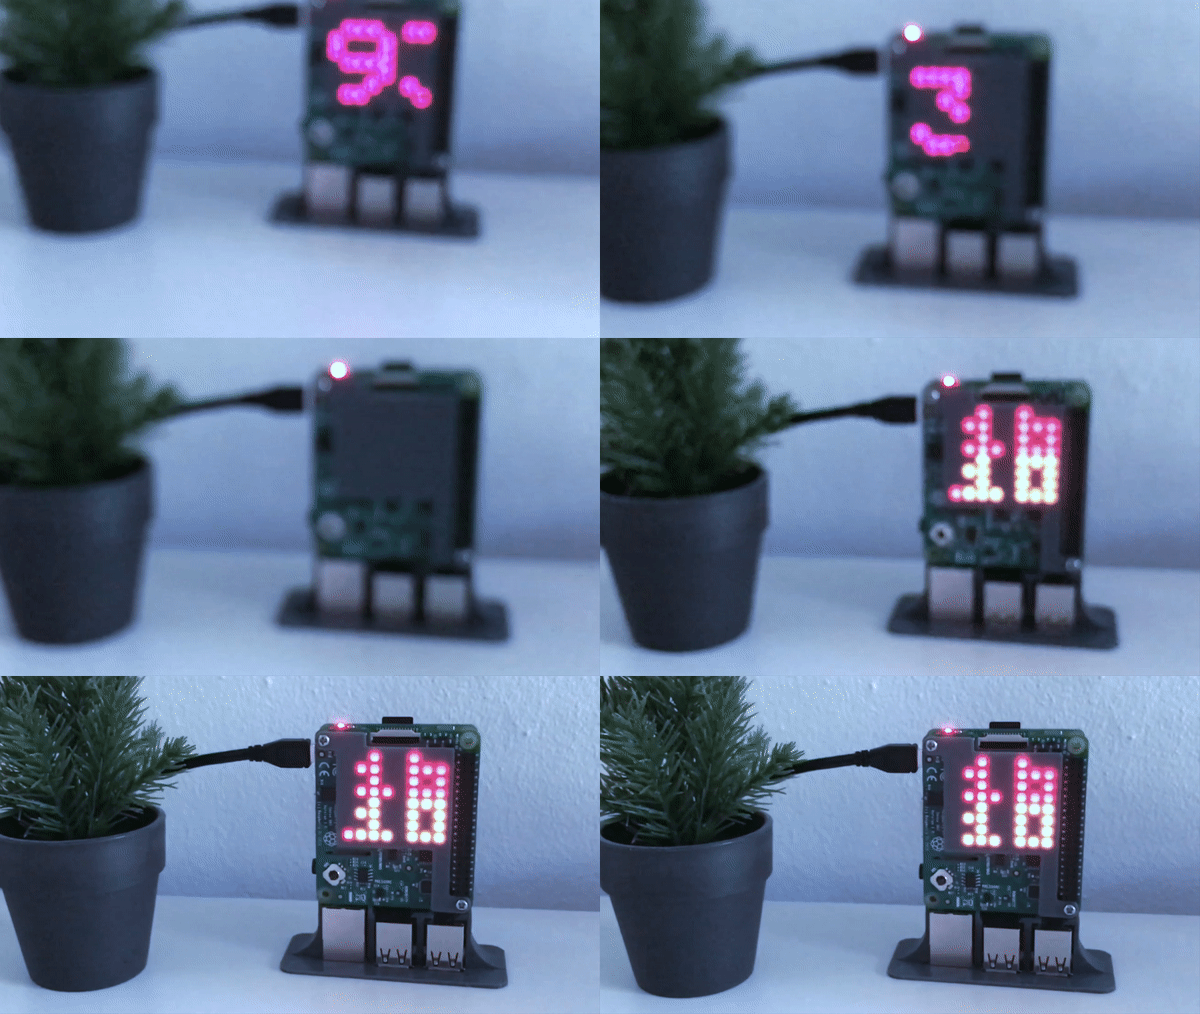

This is a quick and easy project to make, and a nice display to show off. It displays both the time, weather condition and temperature. And if you like what you see, follow me on Instagram and Twitter (@Anders644PI) to keep up with what I make.
The code is based on StuffWithKirby's useful code on reading JSON weather data in python, and SteveAmor on Github's super cool SenseHat digital clock code.
You will need:
- A Raspberry Pi 3 (Any 40-pin Raspberry Pi will work)
- A Raspberry Pi SenseHat (Or any other display, to display the weather data on)
- A 5V 2.4A Power Supply for Raspberry Pi
- A 8GB or higher Micro SD Card with the latest version of Raspian
- A 3D printer and a spools of any color PLA (Optional)
-
This set of screws and standoffs (Optional: You only need this if you want to use the diffuser)
Weather Data
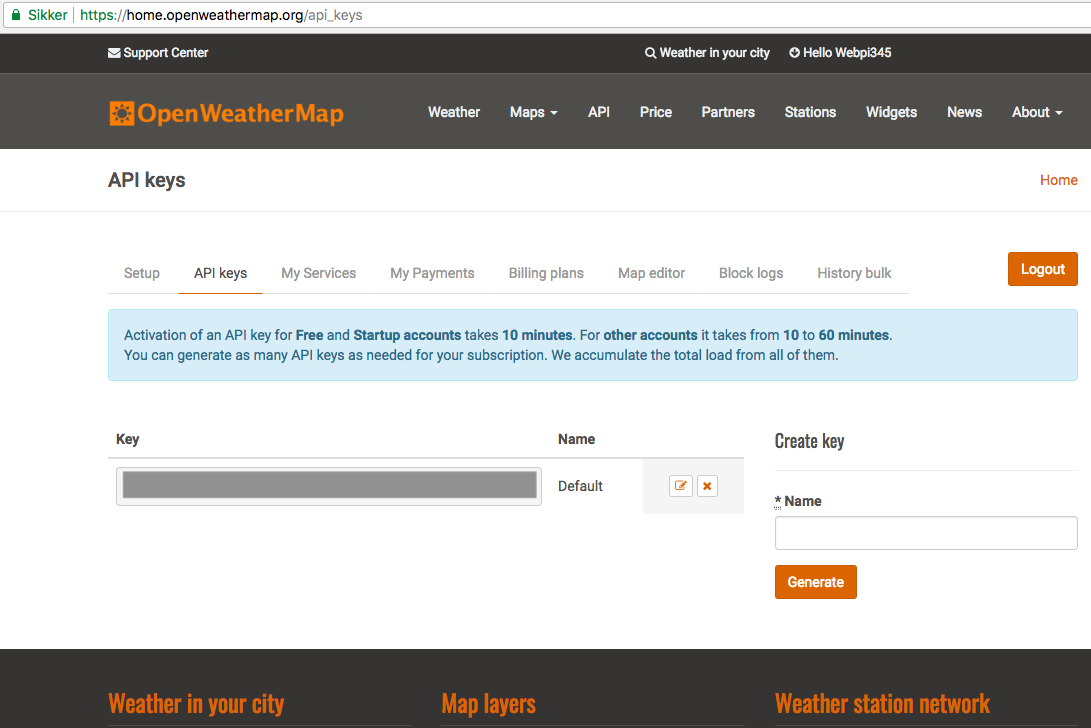
We get the weather data from OpenWeatherMap.org, but you could of course add a termister or like to the Pi, and read data from that directly, if you really wanted to.
- Start by making a FREE account on OpenWeatherMap.org.
- Then copy your api-key to use later.
- Now download and open the city.list.json file, search for your city, and then copy the city-id for later.
Downloads
Setting Up the Pi
1. In the terminal on the Pi (with connetion to the internet) run this command, to get the Pi setup:
sudo apt-get update && sudo apt-get upgrade
2. Now download my GitHub repo and edit the script:
git clone https://github.com/Anders644PI/RPi-SenseHat-Digital-Clock-and-Weather-Station.git

cd RPi-SenseHat-Digital-Clock-and-Weather-Station

nano RPi_Weather_Station.py
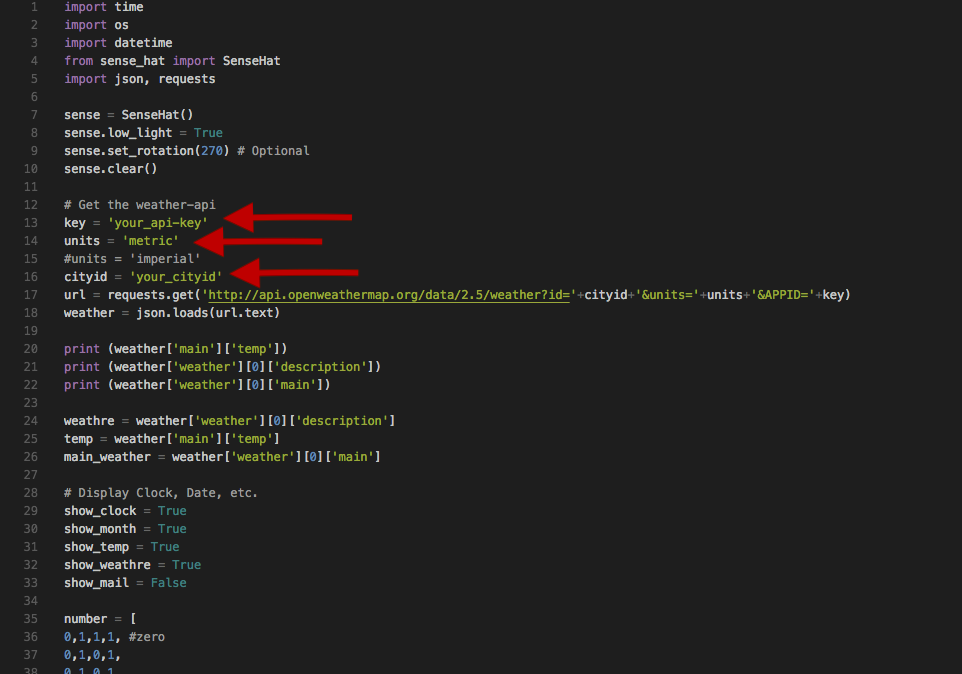
3. In the RPi_Weather_Station.py paste in your api-key and your city-id. You can also change the units to imperial (fahrenheit), if you want that over metric (degrees).
4. Now run it, and it should work great. But if you have issues, feel free to tell me in the comments, and I will be happy to help.
sudo python RPi_Weather_Station.py
3D Printed Accessories
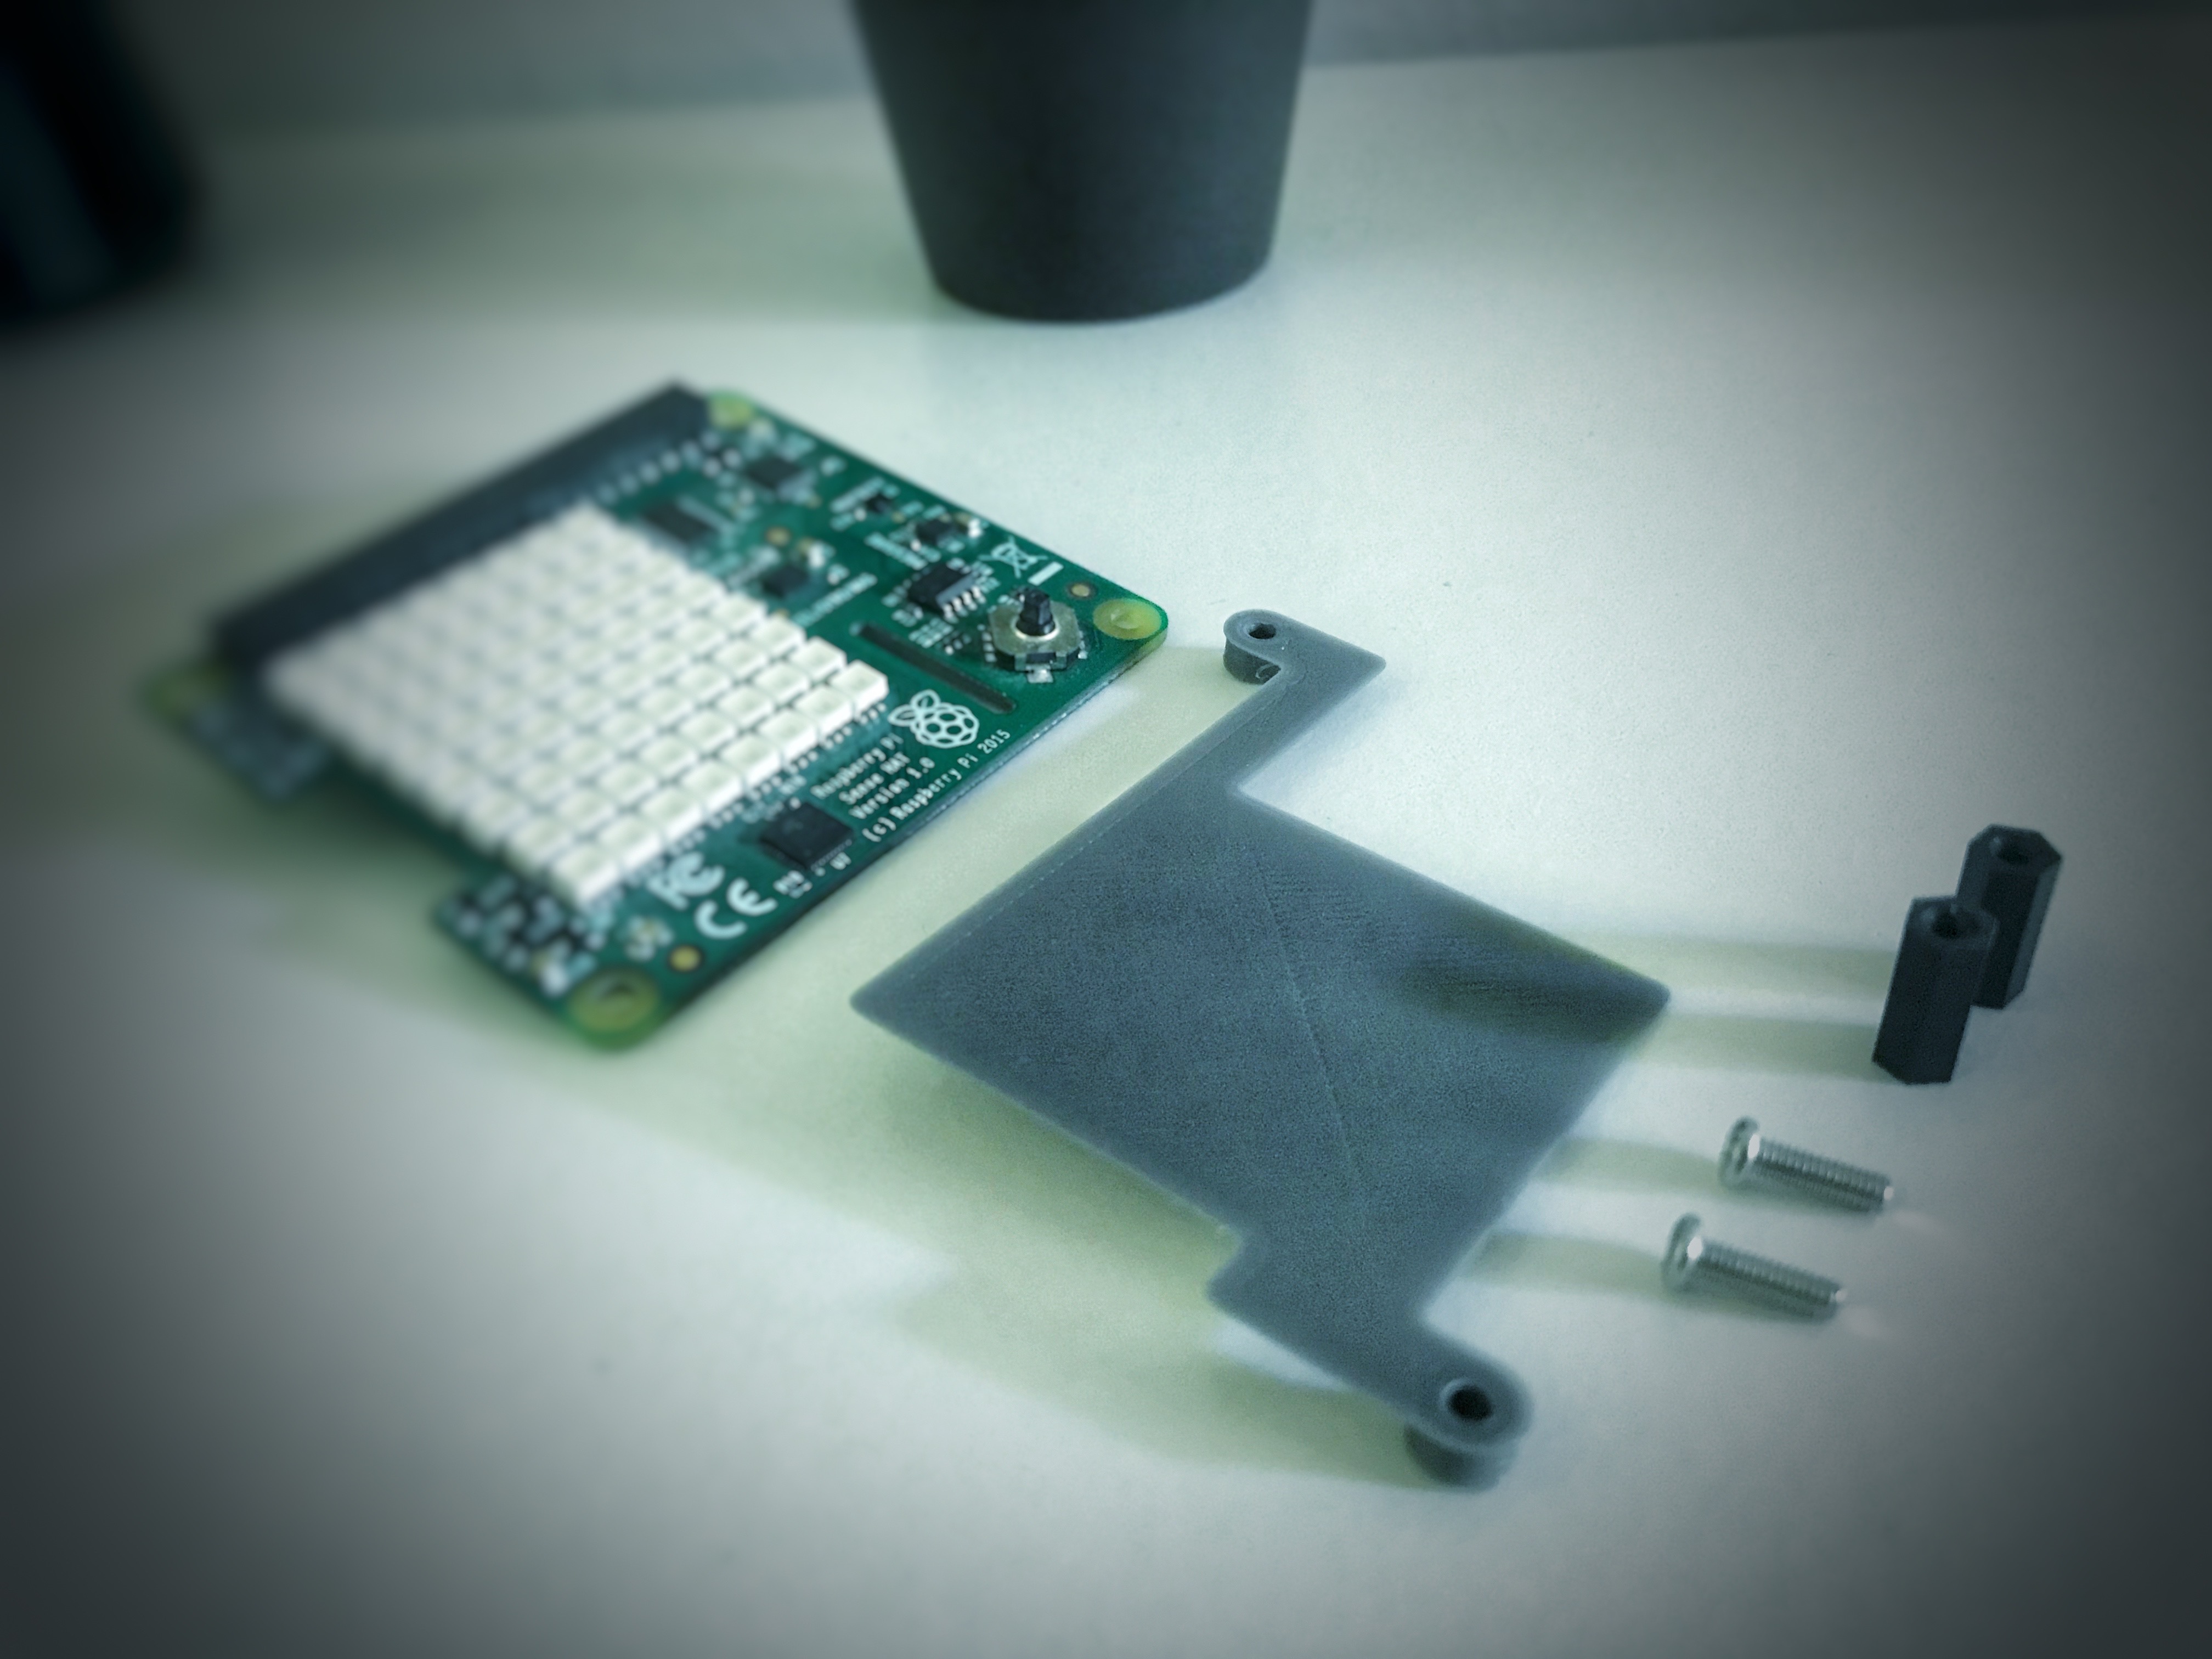
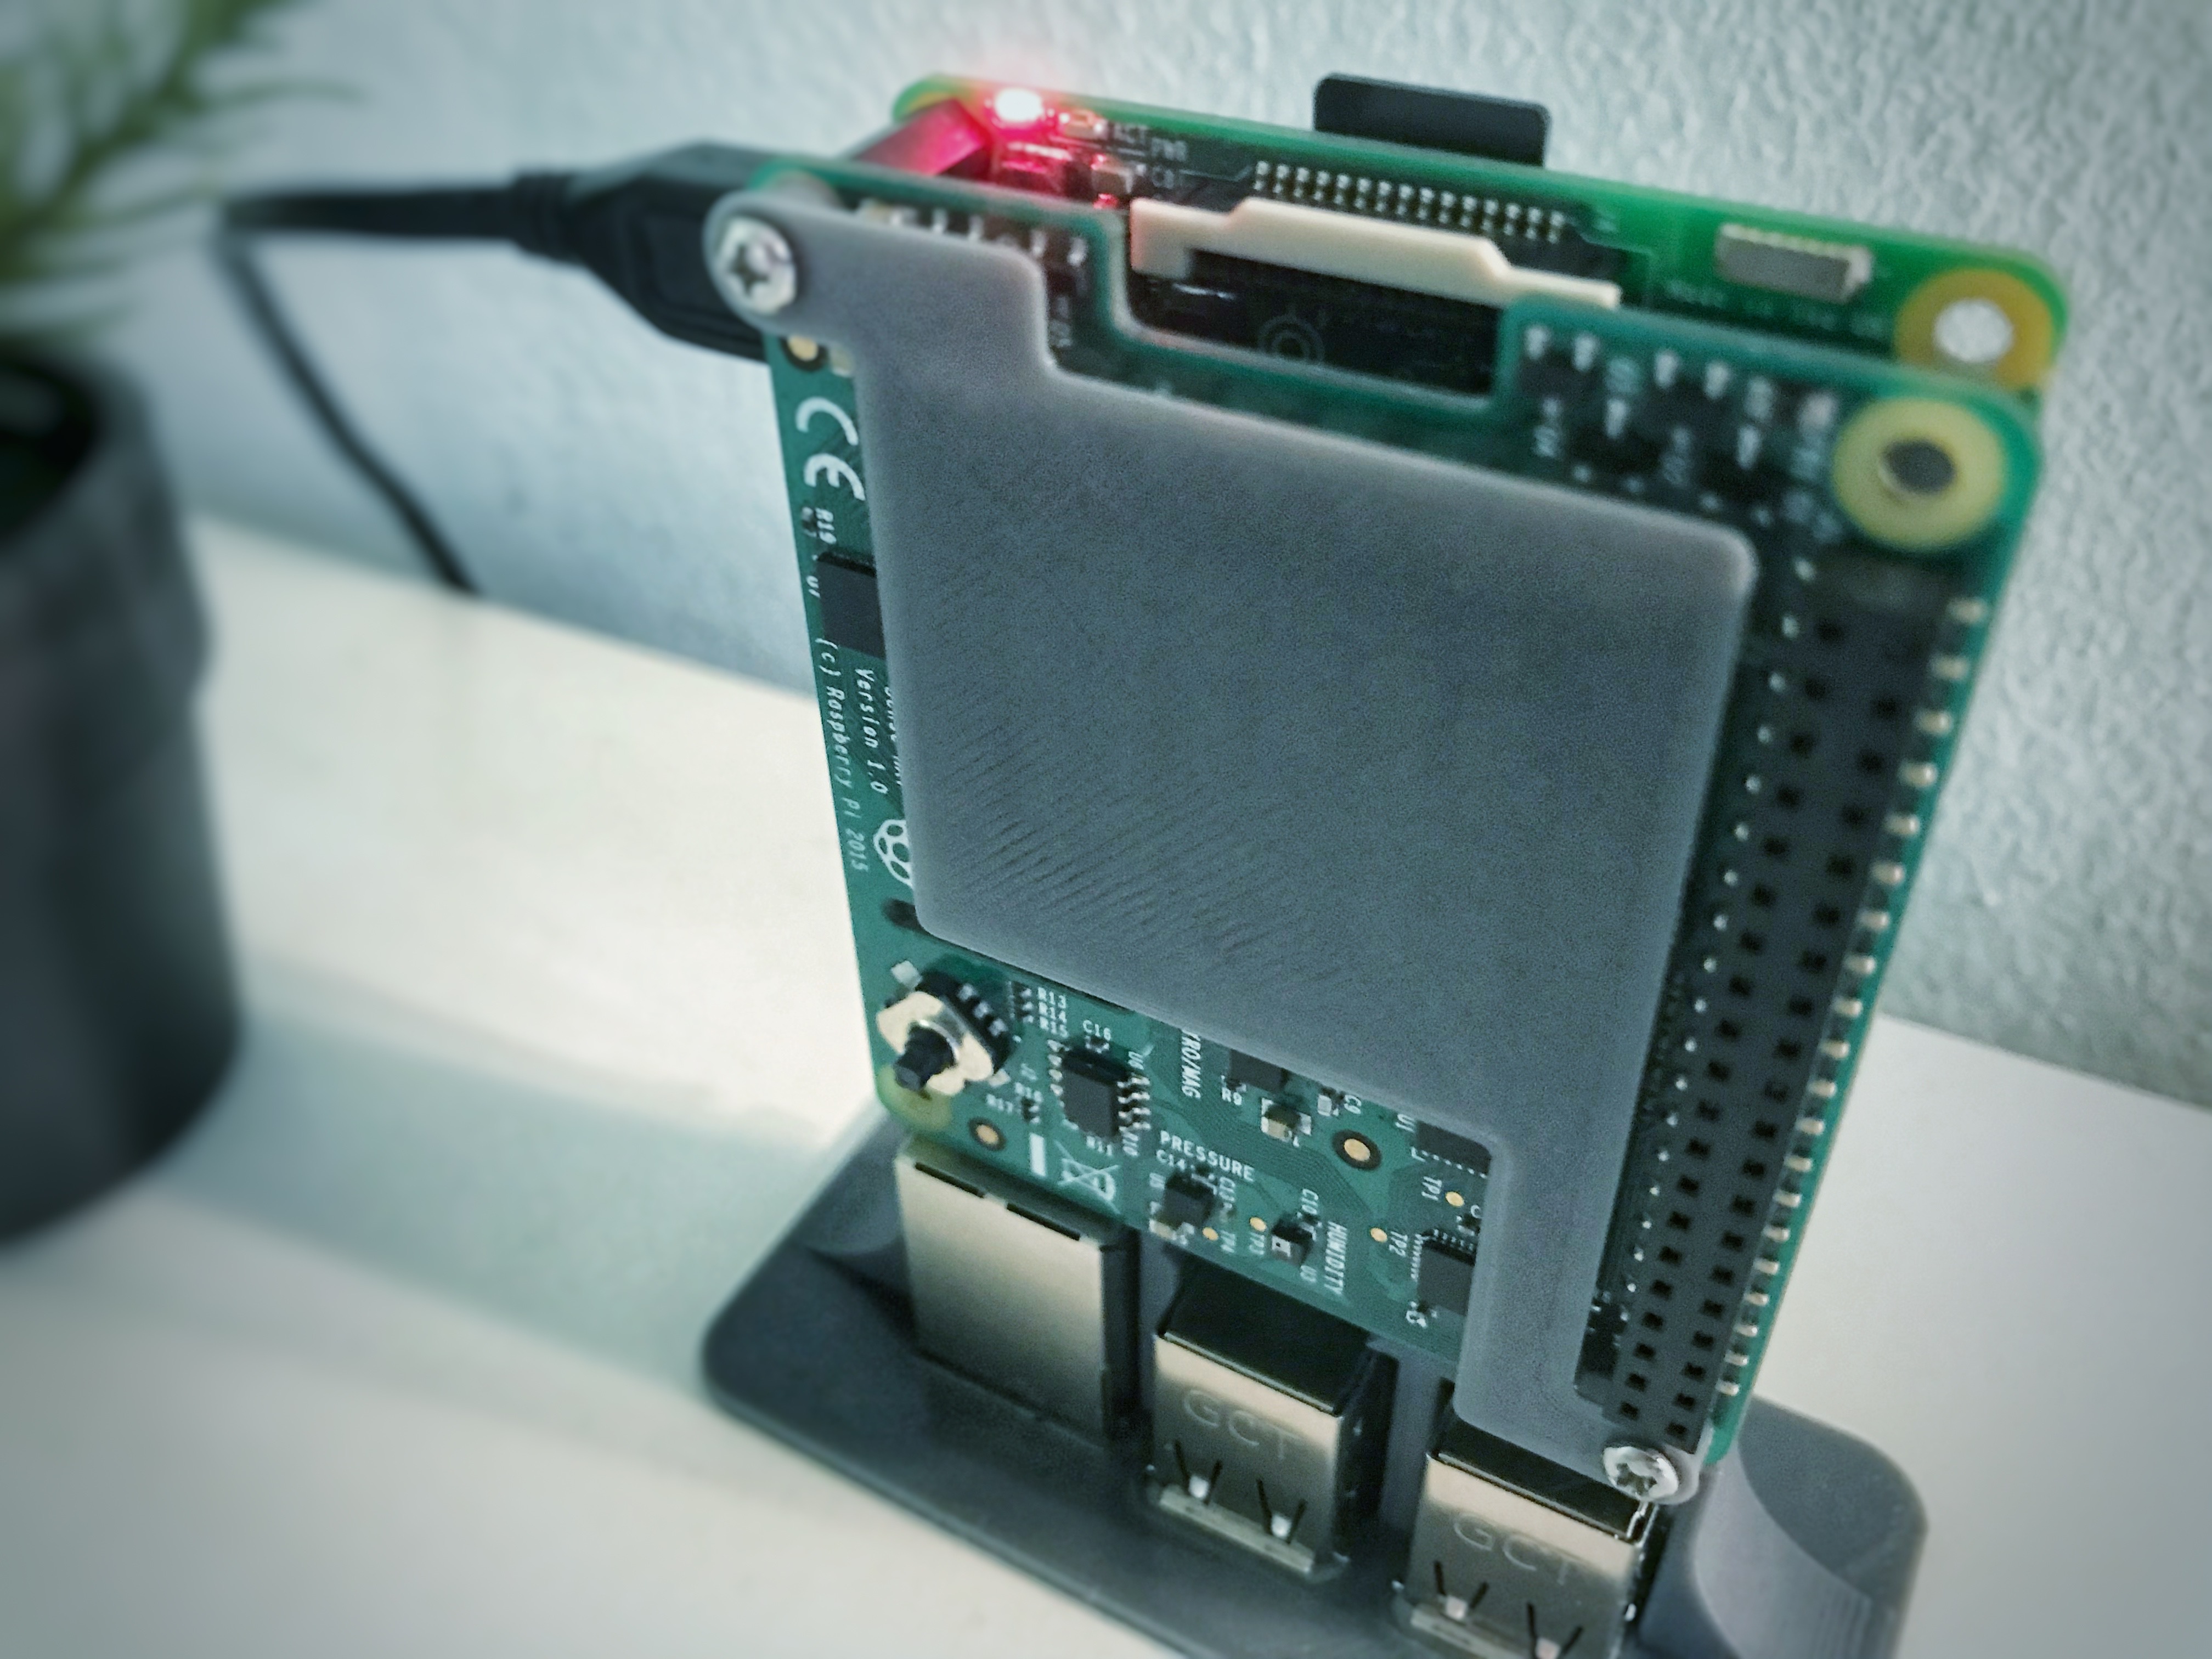
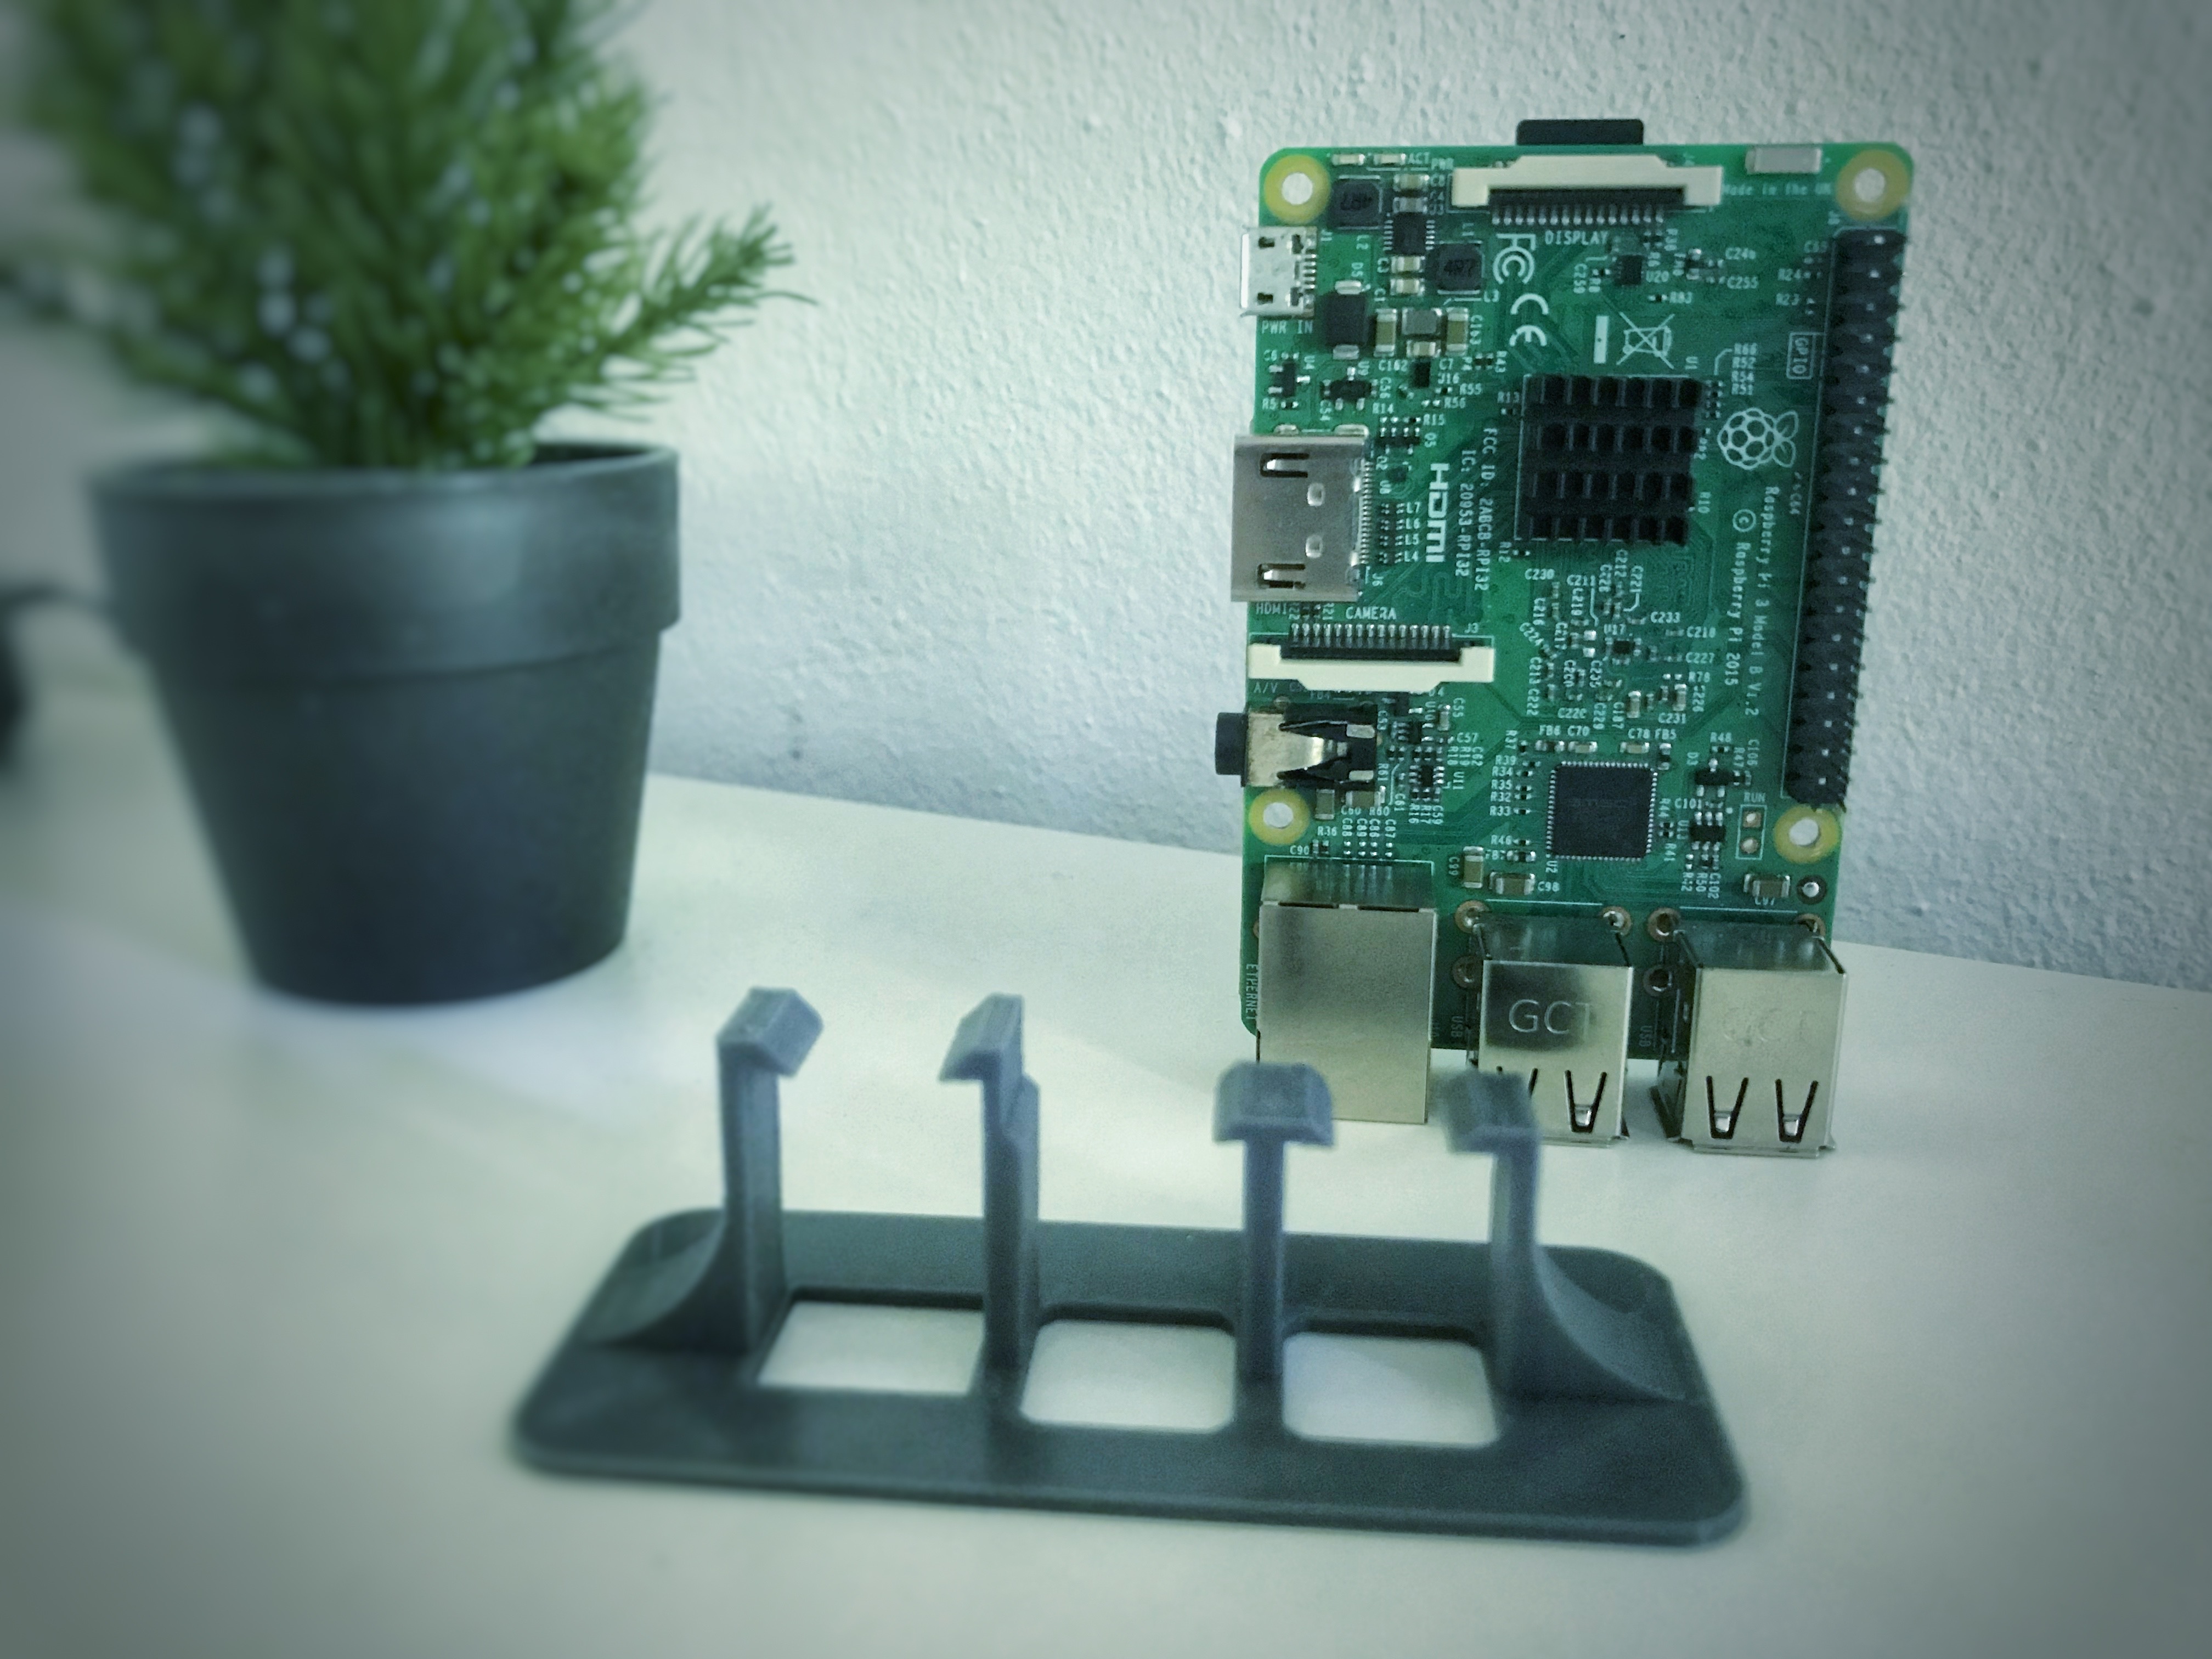
This step is optional, by now you already have a functional weather station. But when i have access to a 3D-printer, I better use it.
1. First upgrade is a diffuser for the SenseHat, that can be screwed to the Hat with two screws and two standoffs for the Pi. I used some screws i had laying around, but some of these should work as well. Download file here: https://www.thingiverse.com/thing:2930576
2. Second upgrade is a vertical stand for the Pi. This one requires no screws, it just slides onto the USB-ports. This does make the USB- and Ethernetports not functional. Download file here: https://www.thingiverse.com/thing:2930597
The Result
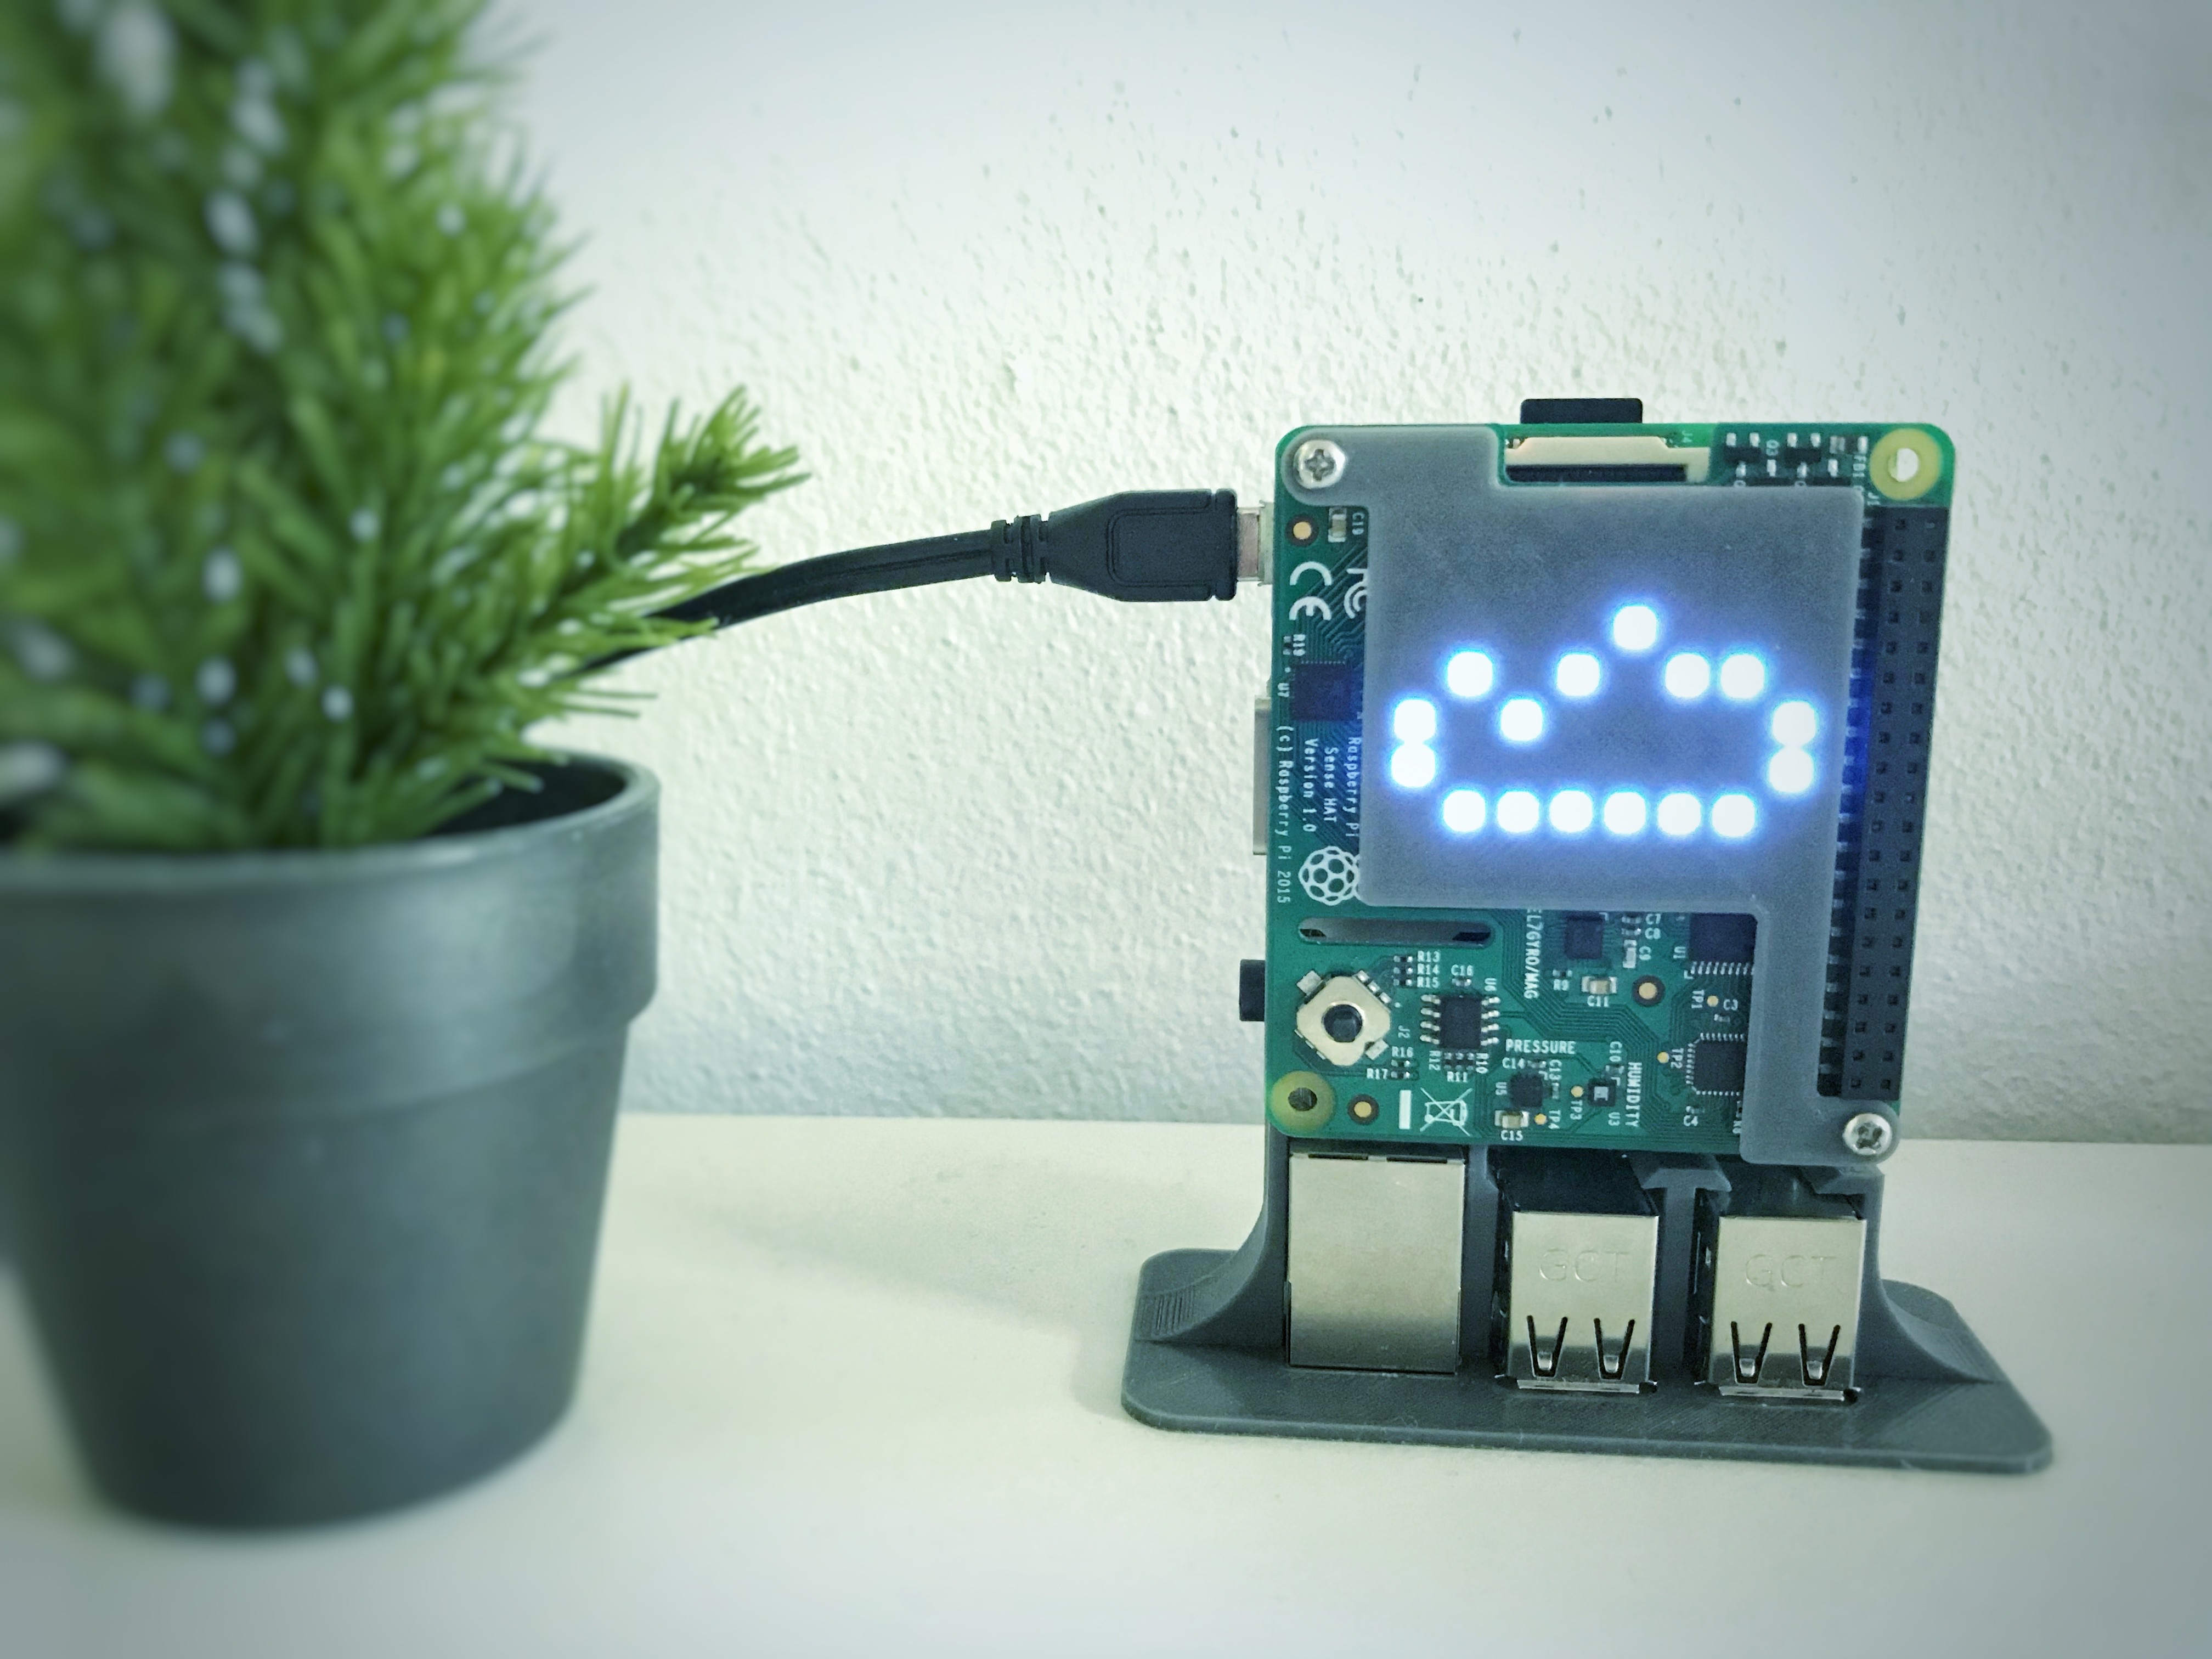
Congratulations, you're done!!! You should now have a nice RPi weather station to sit on your desk, and inform you with useful weather information.
I would love to see what you make with this project, so please tag me at @anders644pi, on Twitter or Instagram, if you do make it. And please, if you like this project, vote for me in the Microcontroller Contest: https://www.instructables.com/contest/microcontroller2018/.