RPI and GSM Interface (Using NODEJS and SCREEN)
by iamrachelle in Circuits > Raspberry Pi
746 Views, 2 Favorites, 0 Comments
RPI and GSM Interface (Using NODEJS and SCREEN)
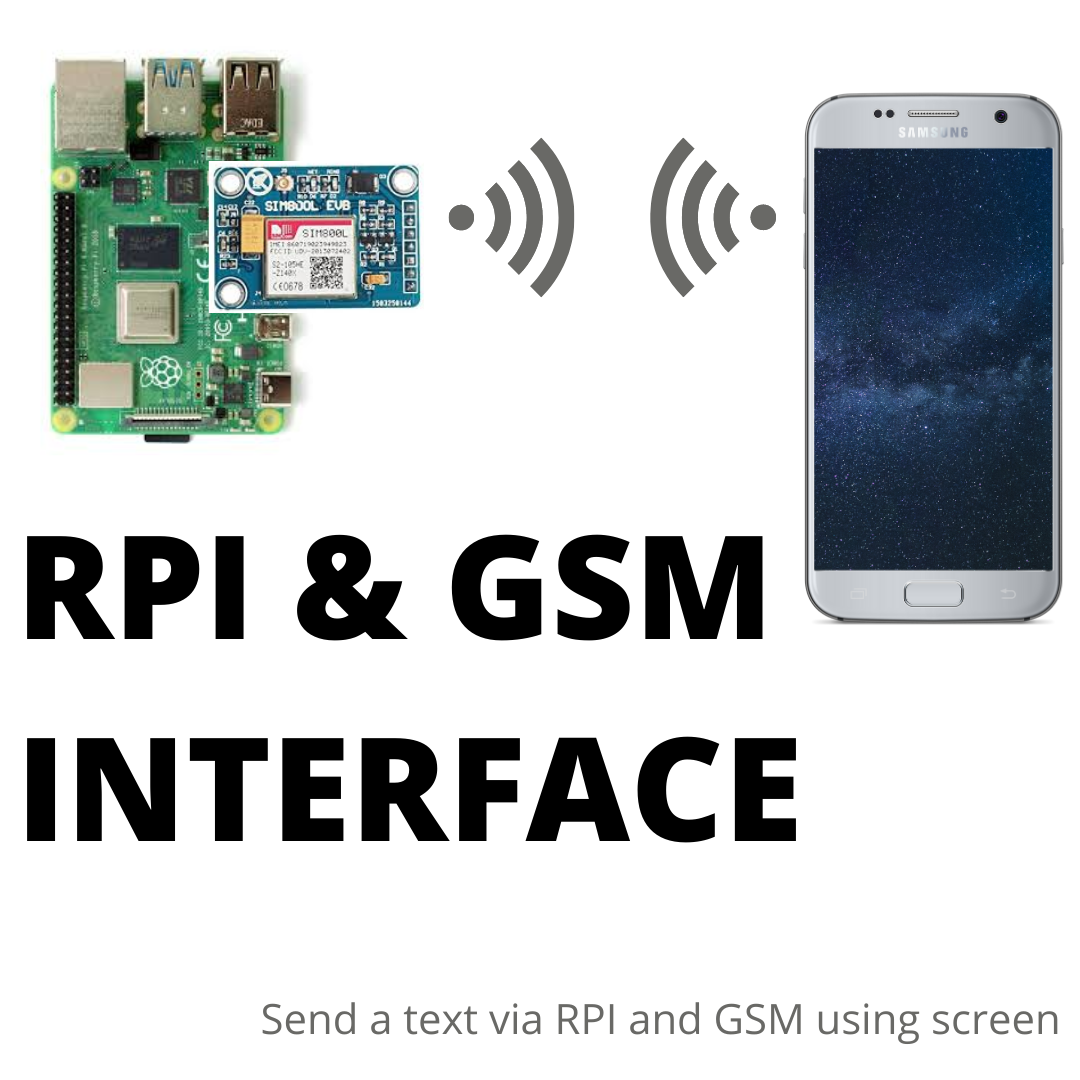
I wanted to interface RPI and GSM using screen
Hardware Connection
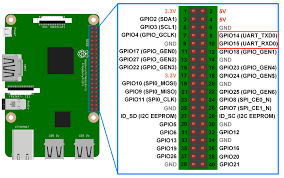
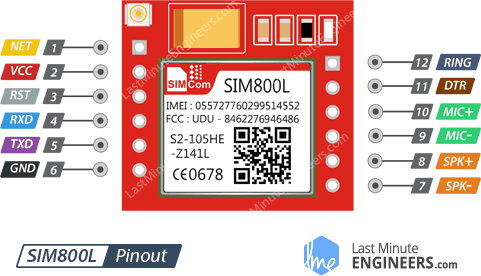
Im using RPI 3B+ with raspbian and a GSM 800.
Connection:
RPI TX ----> GSM RX
RPI RX ----> GSM TX
Configure Your RPI's Serial
SSH to your RPI and configure its seria by typing
sudo raspi-config
All older versions of the Raspberry Pi enable a TTY console over serial, meaning that you can use the screen command on to log in to the Raspberry Pi over serial. Thus it can get in the way of using the serial port. So disable TTY over serial
to start the Raspberry Pi configuration utility
Install Screen
Screen is a full-screen window manager that multiplexes a physical terminal between several processes. When you call the screen command, it creates a single window where you can work as normal. You can open as many screens as you need, switch between them, detach them, list them, and reconnect to them
sudo apt-get install screen
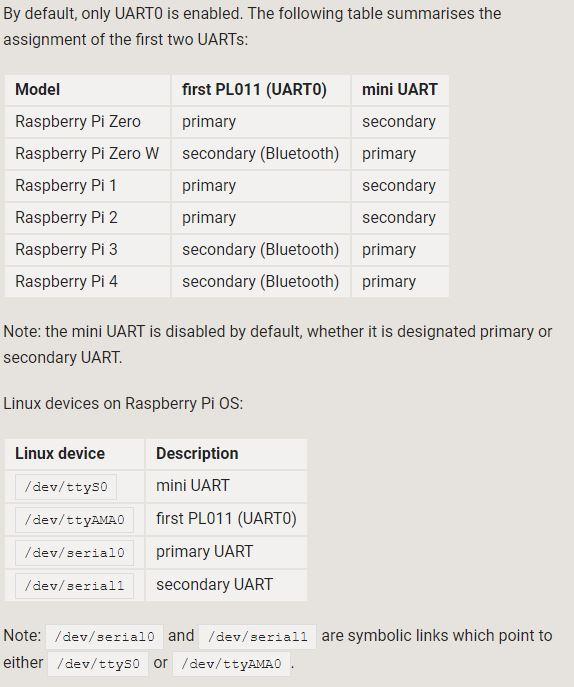
Find the serial port of your RPI using the picture attached. [picture from the RPI documentation] . Im using an RPI 3B so my serial port is "serial0"
To access the terminal in the serial port of the rpi with a baudrate of 115200 type
screen /dev/serial0 115200
Talk With Your GSM
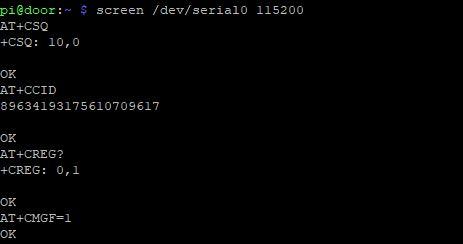
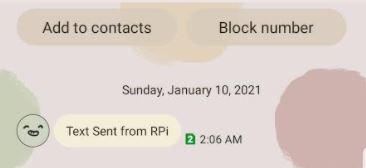

Try to talk to your GSM here are some AT Commands. Example are:
AT
It also initializes it. If it works you should see the AT characters echo and then OK, telling you it’s OK and it’s understanding you correctly!
AT+CSQ
Signal quality test, value range is 0-31 , 31 is the best
AT+CCID
Read SIM information to confirm whether the SIM is plugged
AT+CREG?
Check whether it has registered in the network. The second # should be 1 or 5. 1 indicates you are registered to home network and 5 indicates roaming network. Other than these two numbers indicate you are not registered to any network
AT+CMGF=1
This command is used to set the SMS mode. Either text or PDU mode can be selected by assigning 1 or 0 in the command.
AT+CMGS="+ZZxxxxxxxxxx"
Where ZZ is your country code and xxxxxxxxxx is your 10 digit phone number. Press enter then type your text message then click enter again to send it.
Send Text Message Via NODEJS and Serial Port
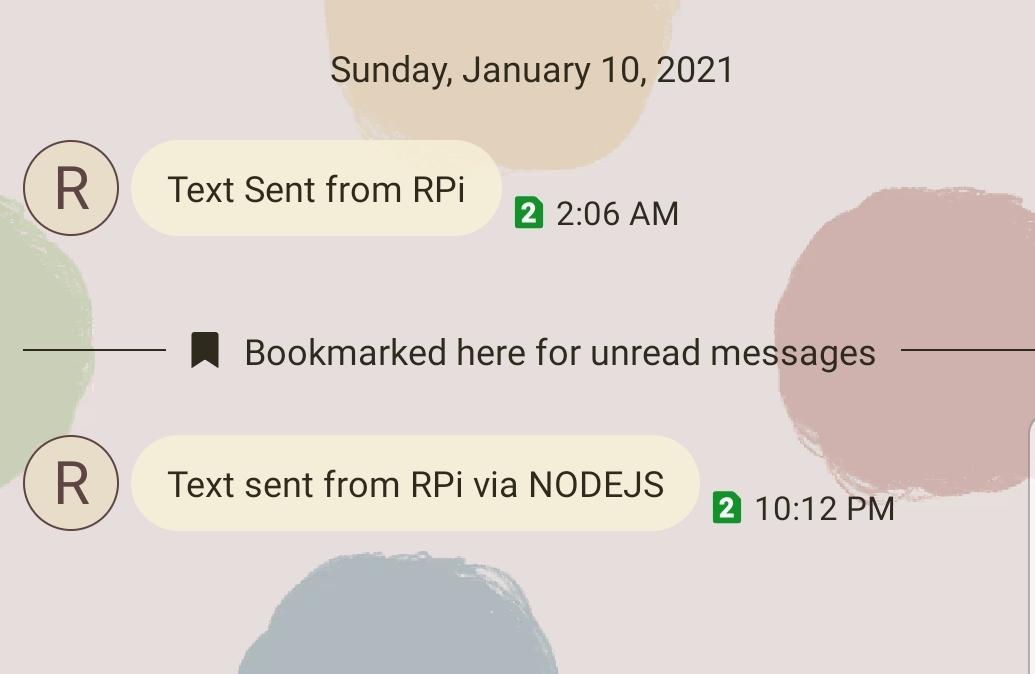
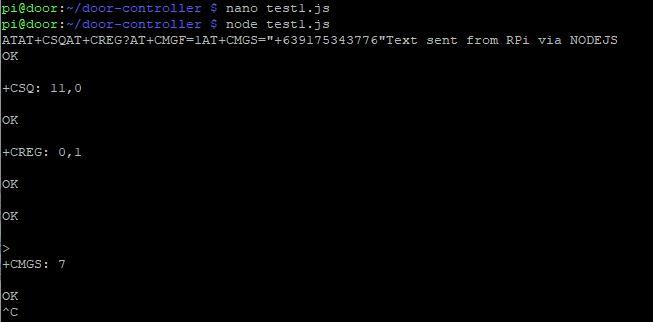
Install node js and serial port by following this links. then make a file named test1.js by typing
nano test1.js
then copy this code
const SerialPort = require('serialport')
const Readline = require('@serialport/parser-readline')
const port = new SerialPort('/dev/serial0') //change your port here
const parser = new Readline()
port.pipe(parser)
parser.on('data', console.log) //print the data received from the gsm

port.write('AT\n') //Once the handshake test is successful, it will back to OK
port.write('AT+CSQ\n') ////Signal quality test, value range is 0-31 , 31 is the best
port.write('AT+CREG?\n') //Check whether it has registered in the network
port.write('AT+CMGF=1\n')  // Configuring TEXT mode
port.write('AT+CMGS="+639175343776"\n') //change ZZ with country code and xxxxxxxxxxx with phone number t$
port.write('Text sent from RPi via NODEJS') //text content
port.write( String.fromCharCode(26)); // text message entered followed by a ‘Ctrl+z’ character is treated$
port.write('\n')
Save it by clicking ctrl X, Y, and enter. Then run the test..js using this
node test1.js
It should send the message and print the logs. press ctrl c to exit the program. See the image attached for the results.