RGB Mixinator V2

.gif)
.gif)
.gif)

Hey Everyone how you doin!
So here's a fun little project that utilizes an Arduino Nano, THE MIXINATOR.
Mixinator is essentially an RGB Studio Light that contains 10 WS2812B LEDs controlled via three Sliding Pots. we can control the color output by changing the sliding Pot position.
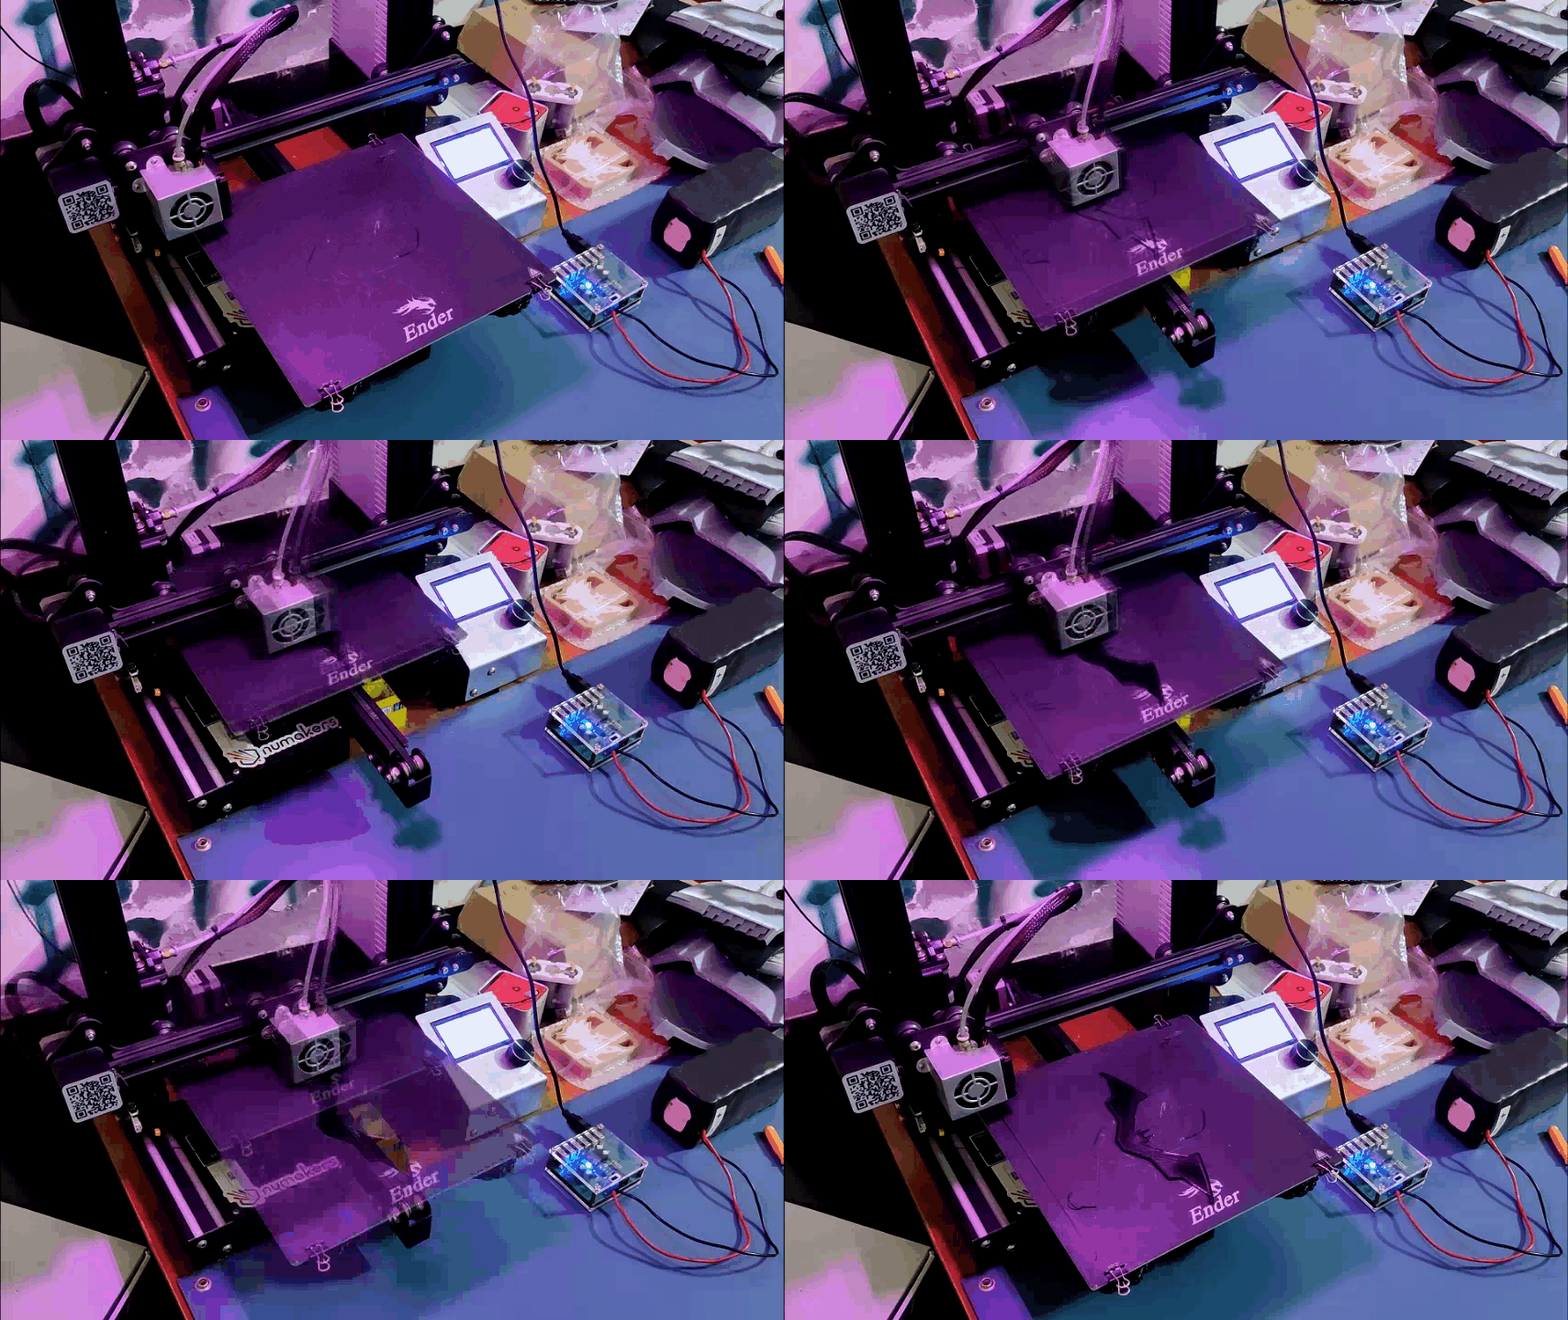
We can use it to illuminate the workbench or any scene, I added this light on my ENDER3 PRINTER so I can capture the timelapse of XYZ Stuff in RGB Glow.
This is actually Version 2 of my previous Mixinator project that I made almost a year ago.
https://www.hackster.io/Arnov_Sharma_makes/neopixel-rgb-mixinator-371edb
The Previous Editon was mostly 3D Printed and utilizes a Neopixel RGB Ring that was controlled by three regular pots.
I took the whole idea and gave it a twist with a custom PCB.
This Instructables is about the whole built process, so let's get started!
Supplies
.gif)

I used the following things in this project-
- WS2812B LEDs x10
- 100nF Capacitor 0805 Package x10
- Female header Pin for Arduino nano
- SIDE POTs x3
- Custom PCB (that was provided by PCBWAY)
- 3D Printed Holder for ENDER 3
SCHEMATIC
.jpg)
Here's the schematic that I made, It has an Arduino Nano connected with 3 Sliding Pots and 10 WS2812B LEDs.
I've also added 10 100nf Cap with each RGB LED as stated in its datasheet.
I finalize its Schematic and converted it into a Board file.
PCB DESIGN

My goal here was to make a Studio Light that usually comes in a rectangular shape so I place everything in a rectangular outline.
all the SMD componenets were placed on the TOP Side and THT Componenets like Slide switch and Arduino's header pins were placed on the BOTTOM Side.
I also added a Custom Mixinator Logo on the TOP side to increase the aesthetics of the board.
PCBWAY
.gif)
.gif)
I used PCBWAY PCB Service for this project. I first uploaded the Gerber file of this project on PCBWAY's quote page.
I choose Black soldermask with white silkscreen, Black because it looks good.
I really like the quality of the Black solder mask, also it was a tough job as the silkscreen that I have laid out o this board was not completely symmetrical but PCBWAY did an excellent job of manufacturing this PCB with no error whatsoever.
PCBWay you guys rock, check out PCBWay service for getting great PCB service at less cost.
PCB ASSEMBLY
- Solder paste dispensing
- Pick & place
- Hotplate
- Adding THT components
SOLDER PASTE DISPENSING
.gif)
Now the first step is to add solder paste to each components pad one by one.
To Apply solder paste, I'm using a Solderpaste Dispensing Needle with a Wide syringe, and the solder paste I'm using is a regular solder paste consisting of 63% Tin 37% Lead.
PICK & PLACE
.gif)
After applying Solderpaste we move on to the next step which is to add componenets to their assigned location.
I used an ESD Tweezer to place each component in its place.
HOTPLATE
.gif)
After the "Pick & Place Process", I carefully lifted the whole circuit board and place it on my DIY SMT Hotplate.
the hotplate heats the PCB from below up to the solder paste melting temp, as soon as the PCB reaches that temp, solder paste melts and all the components get soldered to their pads, we lift the PCB and then place it on a cooler surface for a little bit, to cool down the heat of PCB.
ADDING THT COMPONENTS
.gif)
.gif)
.gif)
.gif)
.gif)
.gif)
After the Hotplate Process, we move on to the next step which is to add THT componenets like the Slide switch and Arduino Nano's header pins.
This was a simple step, but I made a small mistake in the PCB Design and received the PCB with small holes for the Slide switch.
This was not a problem as I drilled holes with a 3mm Bit to enlarge them.
I then proceeded with Adding Sliding Pot first and adding Header Pins to the PCB.
At last, I soldered everything and placed the Arduino Nano in its assigned place.
CODE
#include <Adafruit_NeoPixel.h>
#define NEOPIXELS 10
#define LEDsPin 3
const int redPotPin = A0;
const int greenPotPin = A1;
const int bluePotPin = A2;
int redValue = 0;
int greenValue = 0;
int blueValue = 0;
int redPotValue = 0;
int greenPotValue = 0;
int bluePotValue = 0;

Adafruit_NeoPixel pixels = Adafruit_NeoPixel(NEOPIXELS, LEDsPin, NEO_GRB + NEO_KHZ800);
void setup() {
  pinMode(LEDsPin, OUTPUT);
  pinMode(redPotPin, INPUT);
  pinMode(greenPotPin, INPUT);
  pinMode(bluePotPin, INPUT);
}
void loop() {
  redPotValue = analogRead(redPotPin);
  delay(5);
  greenPotValue = analogRead(greenPotPin);
  delay(5);
  bluePotValue = analogRead(bluePotPin);
  redValue = map(redPotValue, 0, 1023, 0, 255);
  greenValue = map(greenPotValue, 0, 1023, 0, 255);
  blueValue = map(bluePotValue, 0, 1023, 0, 255);;

   for (int i = 0; i < NEOPIXELS; i++) {

    pixels.setPixelColor(i, pixels.Color(redValue, greenValue, blueValue));
    pixels.show();
    delay(50);
  }
}
RESULT

.gif)
.gif)
.gif)
.gif)
.gif)
.gif)
.gif)
This was the result.
I added a custom 3D Printed Holder to attach this RGB Light to my 3D Printer's TOP side so I can light up the print bed and I could capture Timelapses of things in RGB background lighting.
By changing the position of POTs, We can control and alter the color which is really handy. I could use a more modernized solution of using an ESP32 and controlling the color with an APP but that would be an overkill approach as this is not a fancy show light, it is meant to be more practical so I used Pots instead of an APP.
Maybe I'll make V3 with an ESP32 or ESP8266, we'll see.
This is it for today folks, thanks PCBWAY for supporting this project!
Check out PCBWAY for getting great PCB service at less cost.
And I'll be back with a new project soon!
Peace