RGB Light Blender
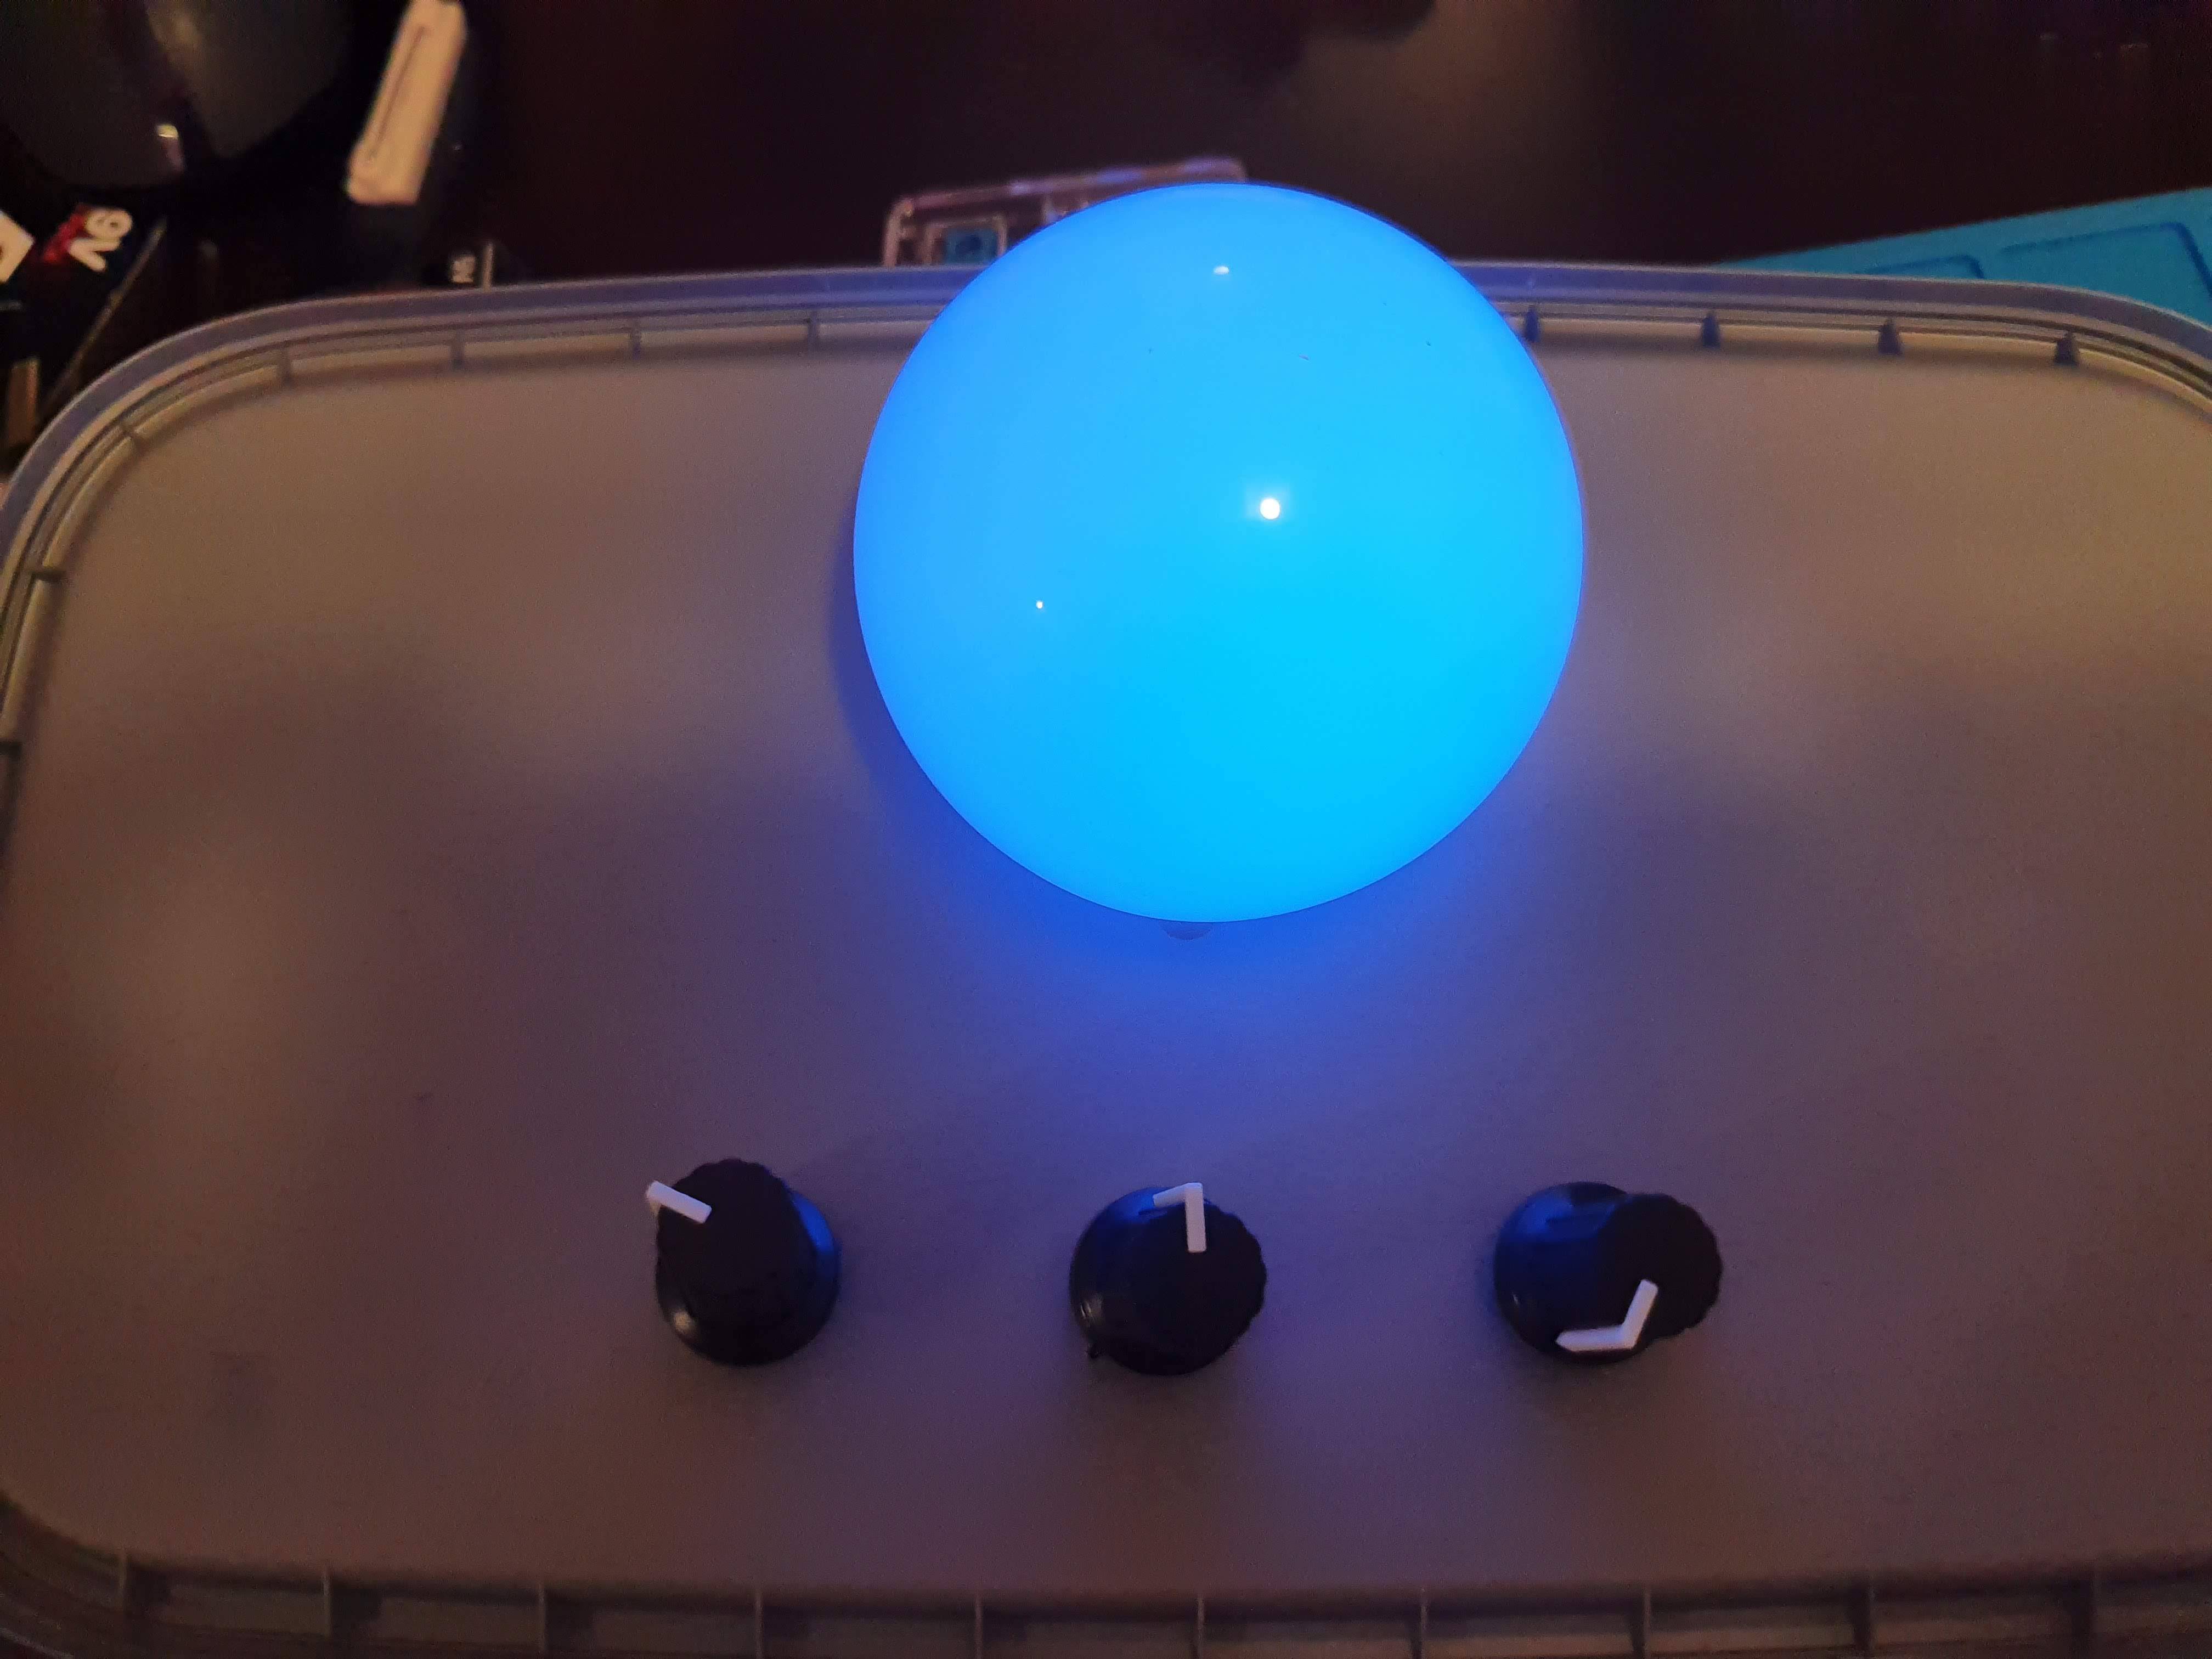
Ok this is my first Instructable so go easy on me. I wanted to create a fun Interactive light toy for my 2.5 year old son since I noticed that he's interested in what I am doing when I'm messing around with circuits (teaching myself as a hobby.) He loves it when I set up a simple circuit with some lights and a button for him to push. So I thought of why not make it a little more interesting and give him some dials to twist that control the colors of LEDs.
The RGB Light Blender was borne. I dug through the parts I had and developed this interactive learning toy. Hopefully you enjoy making it and expanding on the idea, as it is designed to to be upgraded as the user begins to understand more about how the components work.
Gather the Parts
This is what you'll need
- Arduino of some sort. I used a Nano to keep it compact.
- an RGB combo LED the type with 4 pins ( 3 separate LEDs can be used but I dont think it looks as good.
- 3 resistors (I'm using 150 ohm for my set up, do the math to suit your LEDs and power source)
- 3 rotary potentiometers
- a defuser of some sort to make the light look nicer. I used a top of a burnt out LED house light bulb
- an enclosure to house it in. (I'm still waiting for the one I ordered to arrive)
- a power source. somewhere between 5 to 12 volts **Check with what your device will allow.**
- Optional a development board to connect the parts on.
Put It Together!
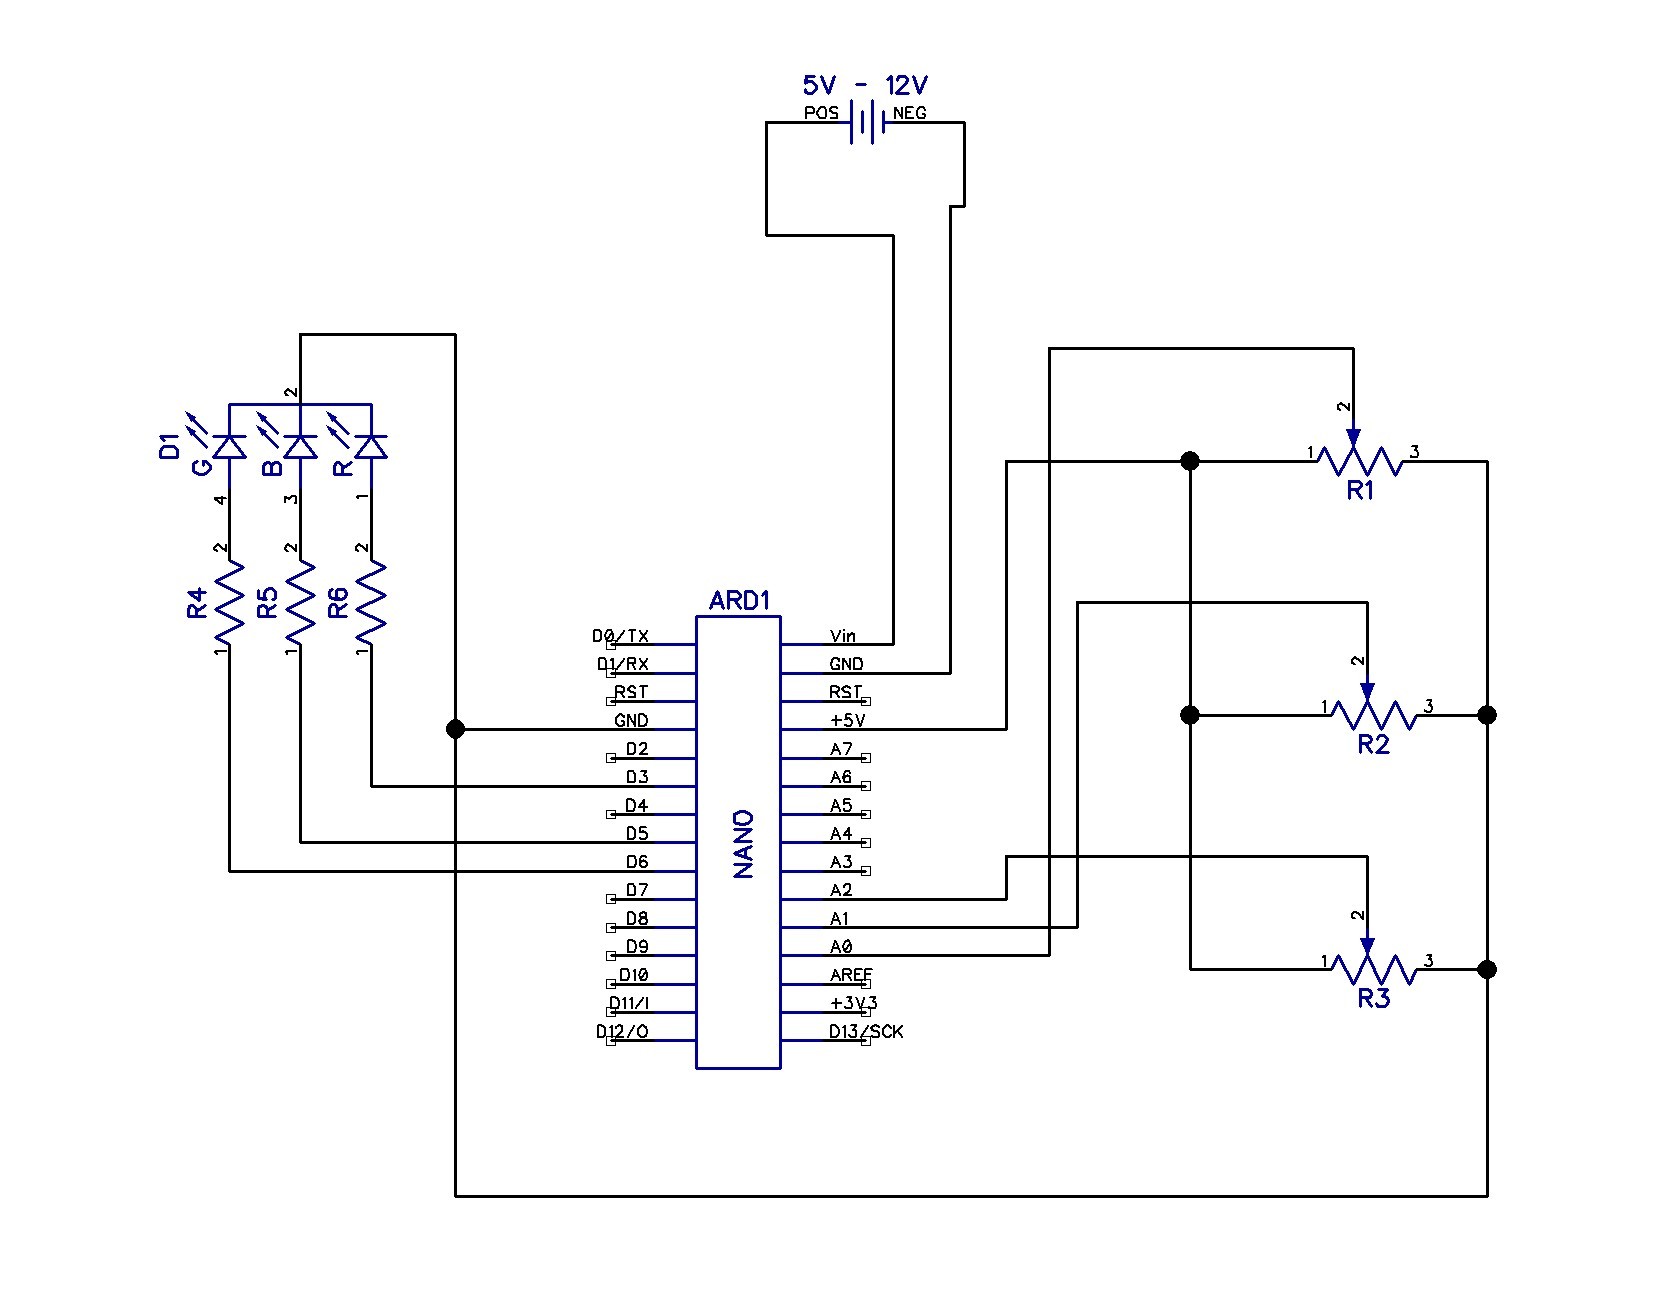
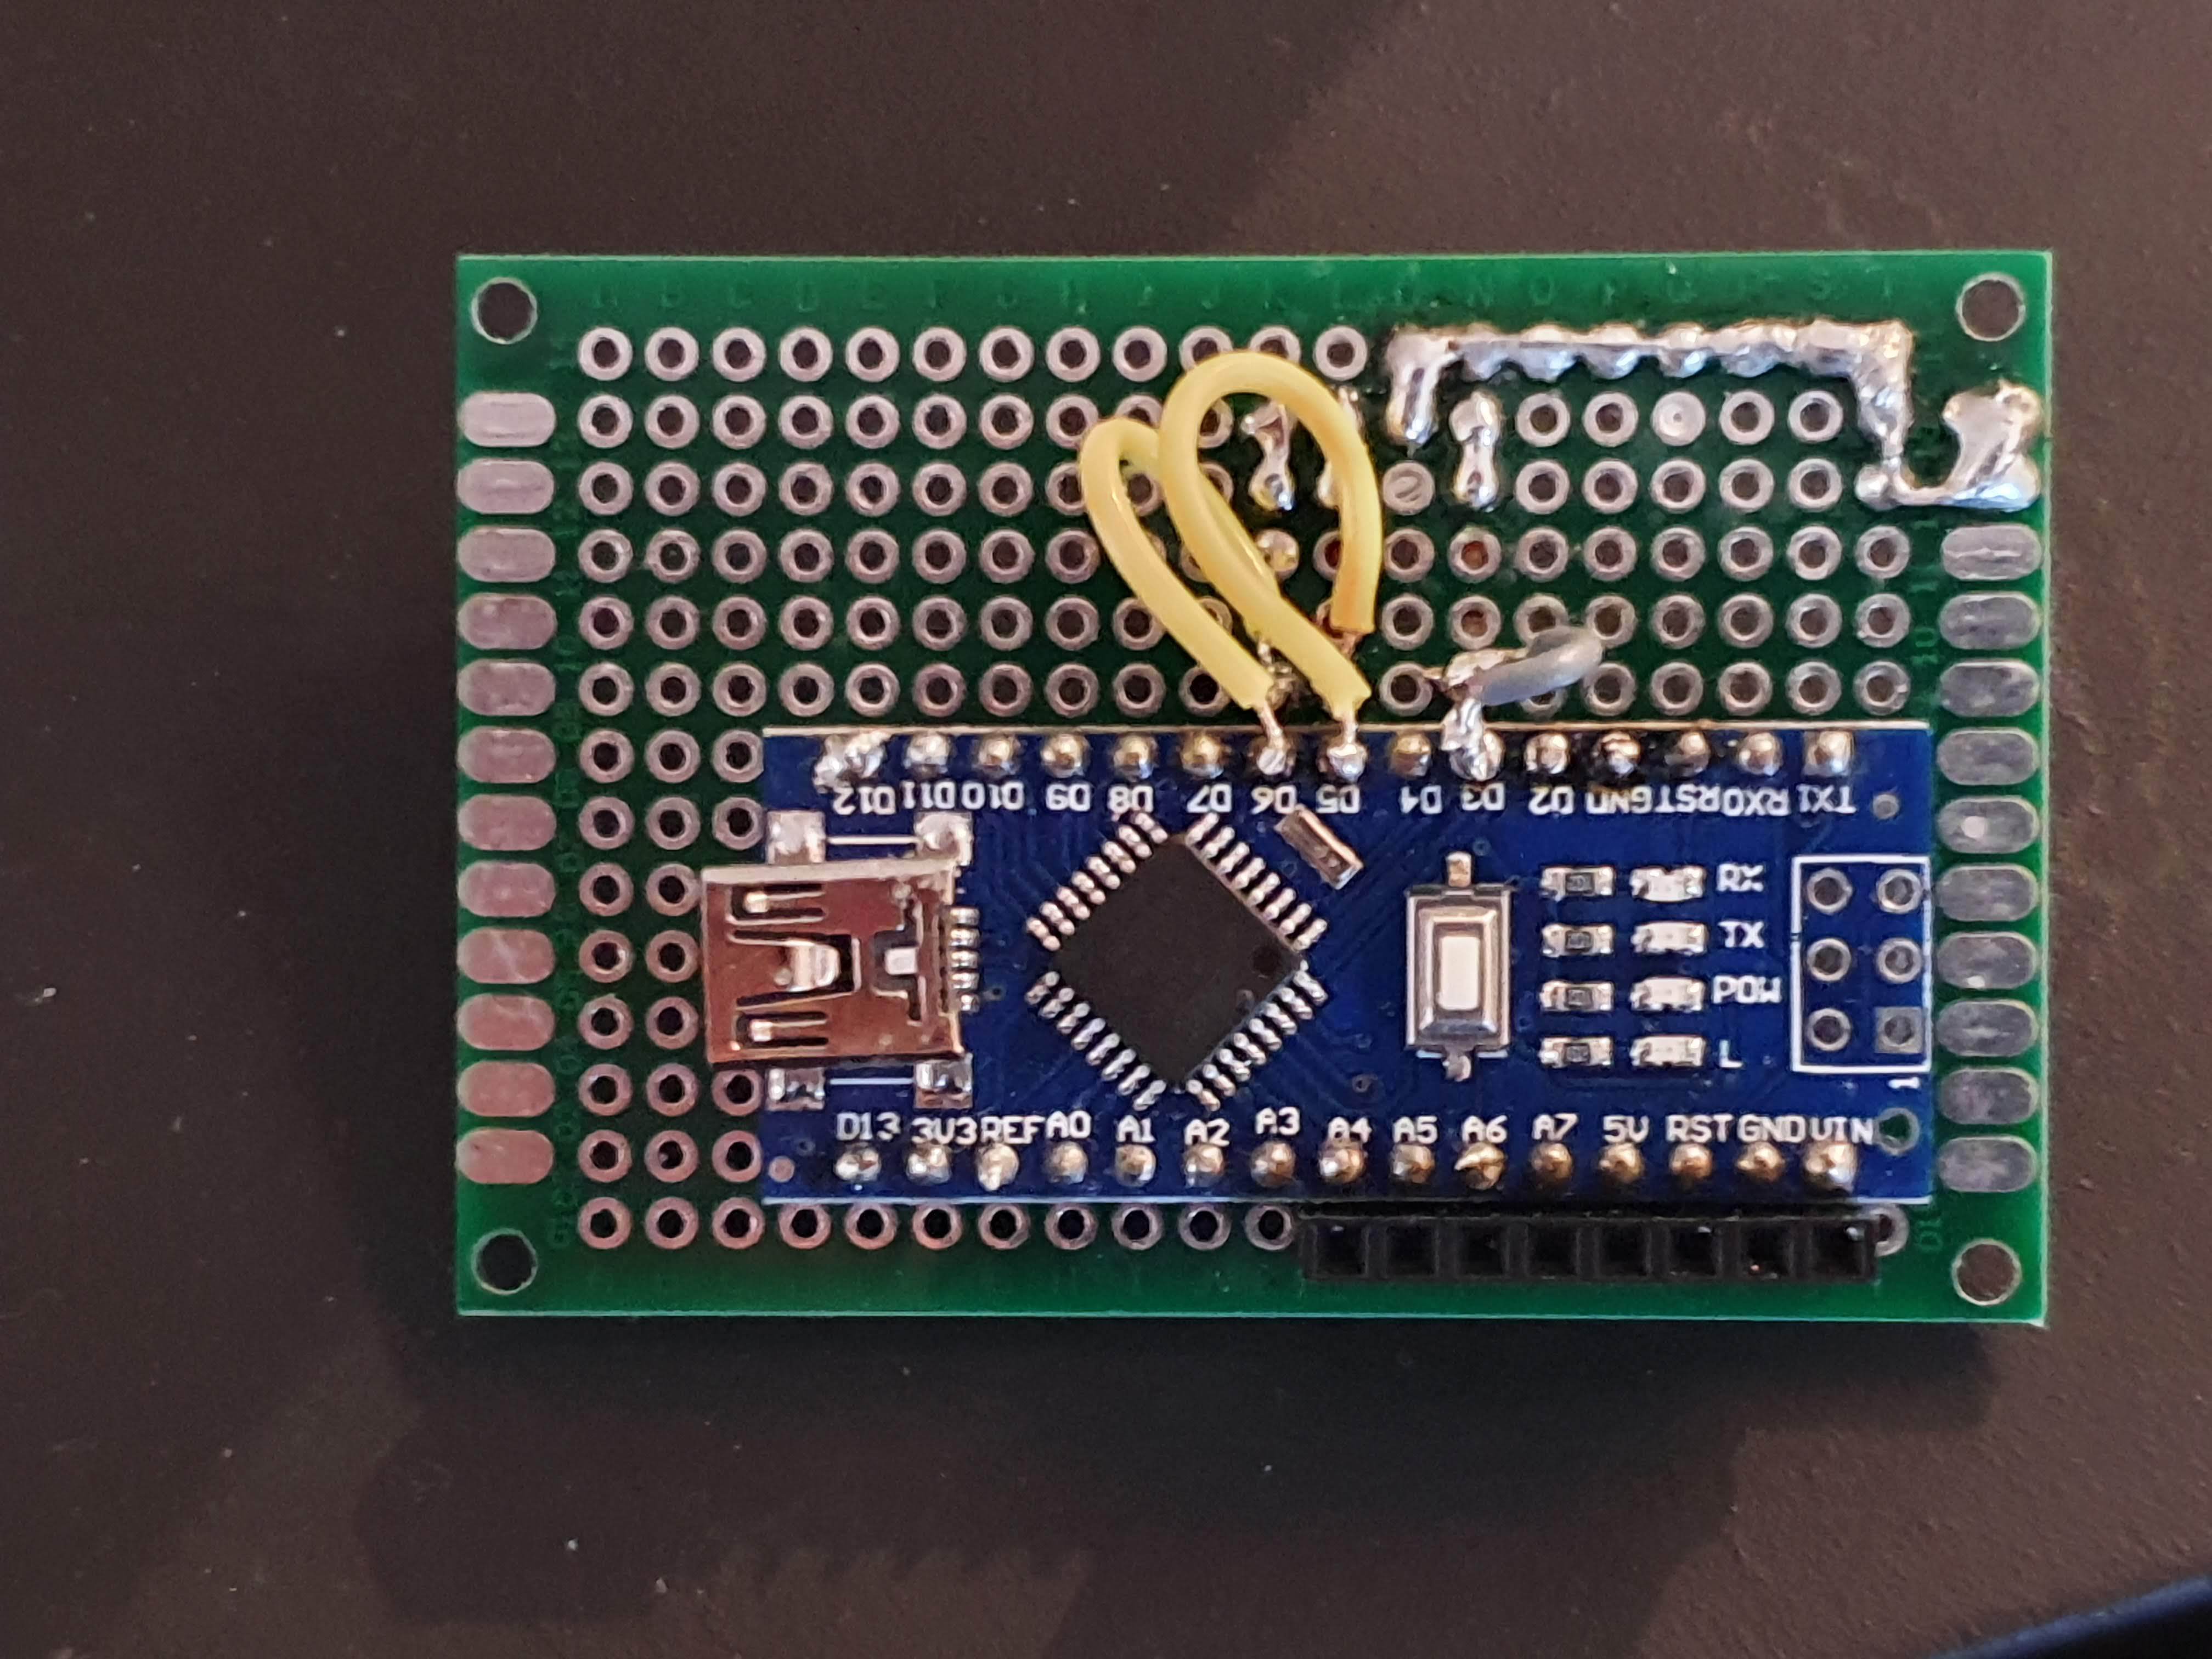
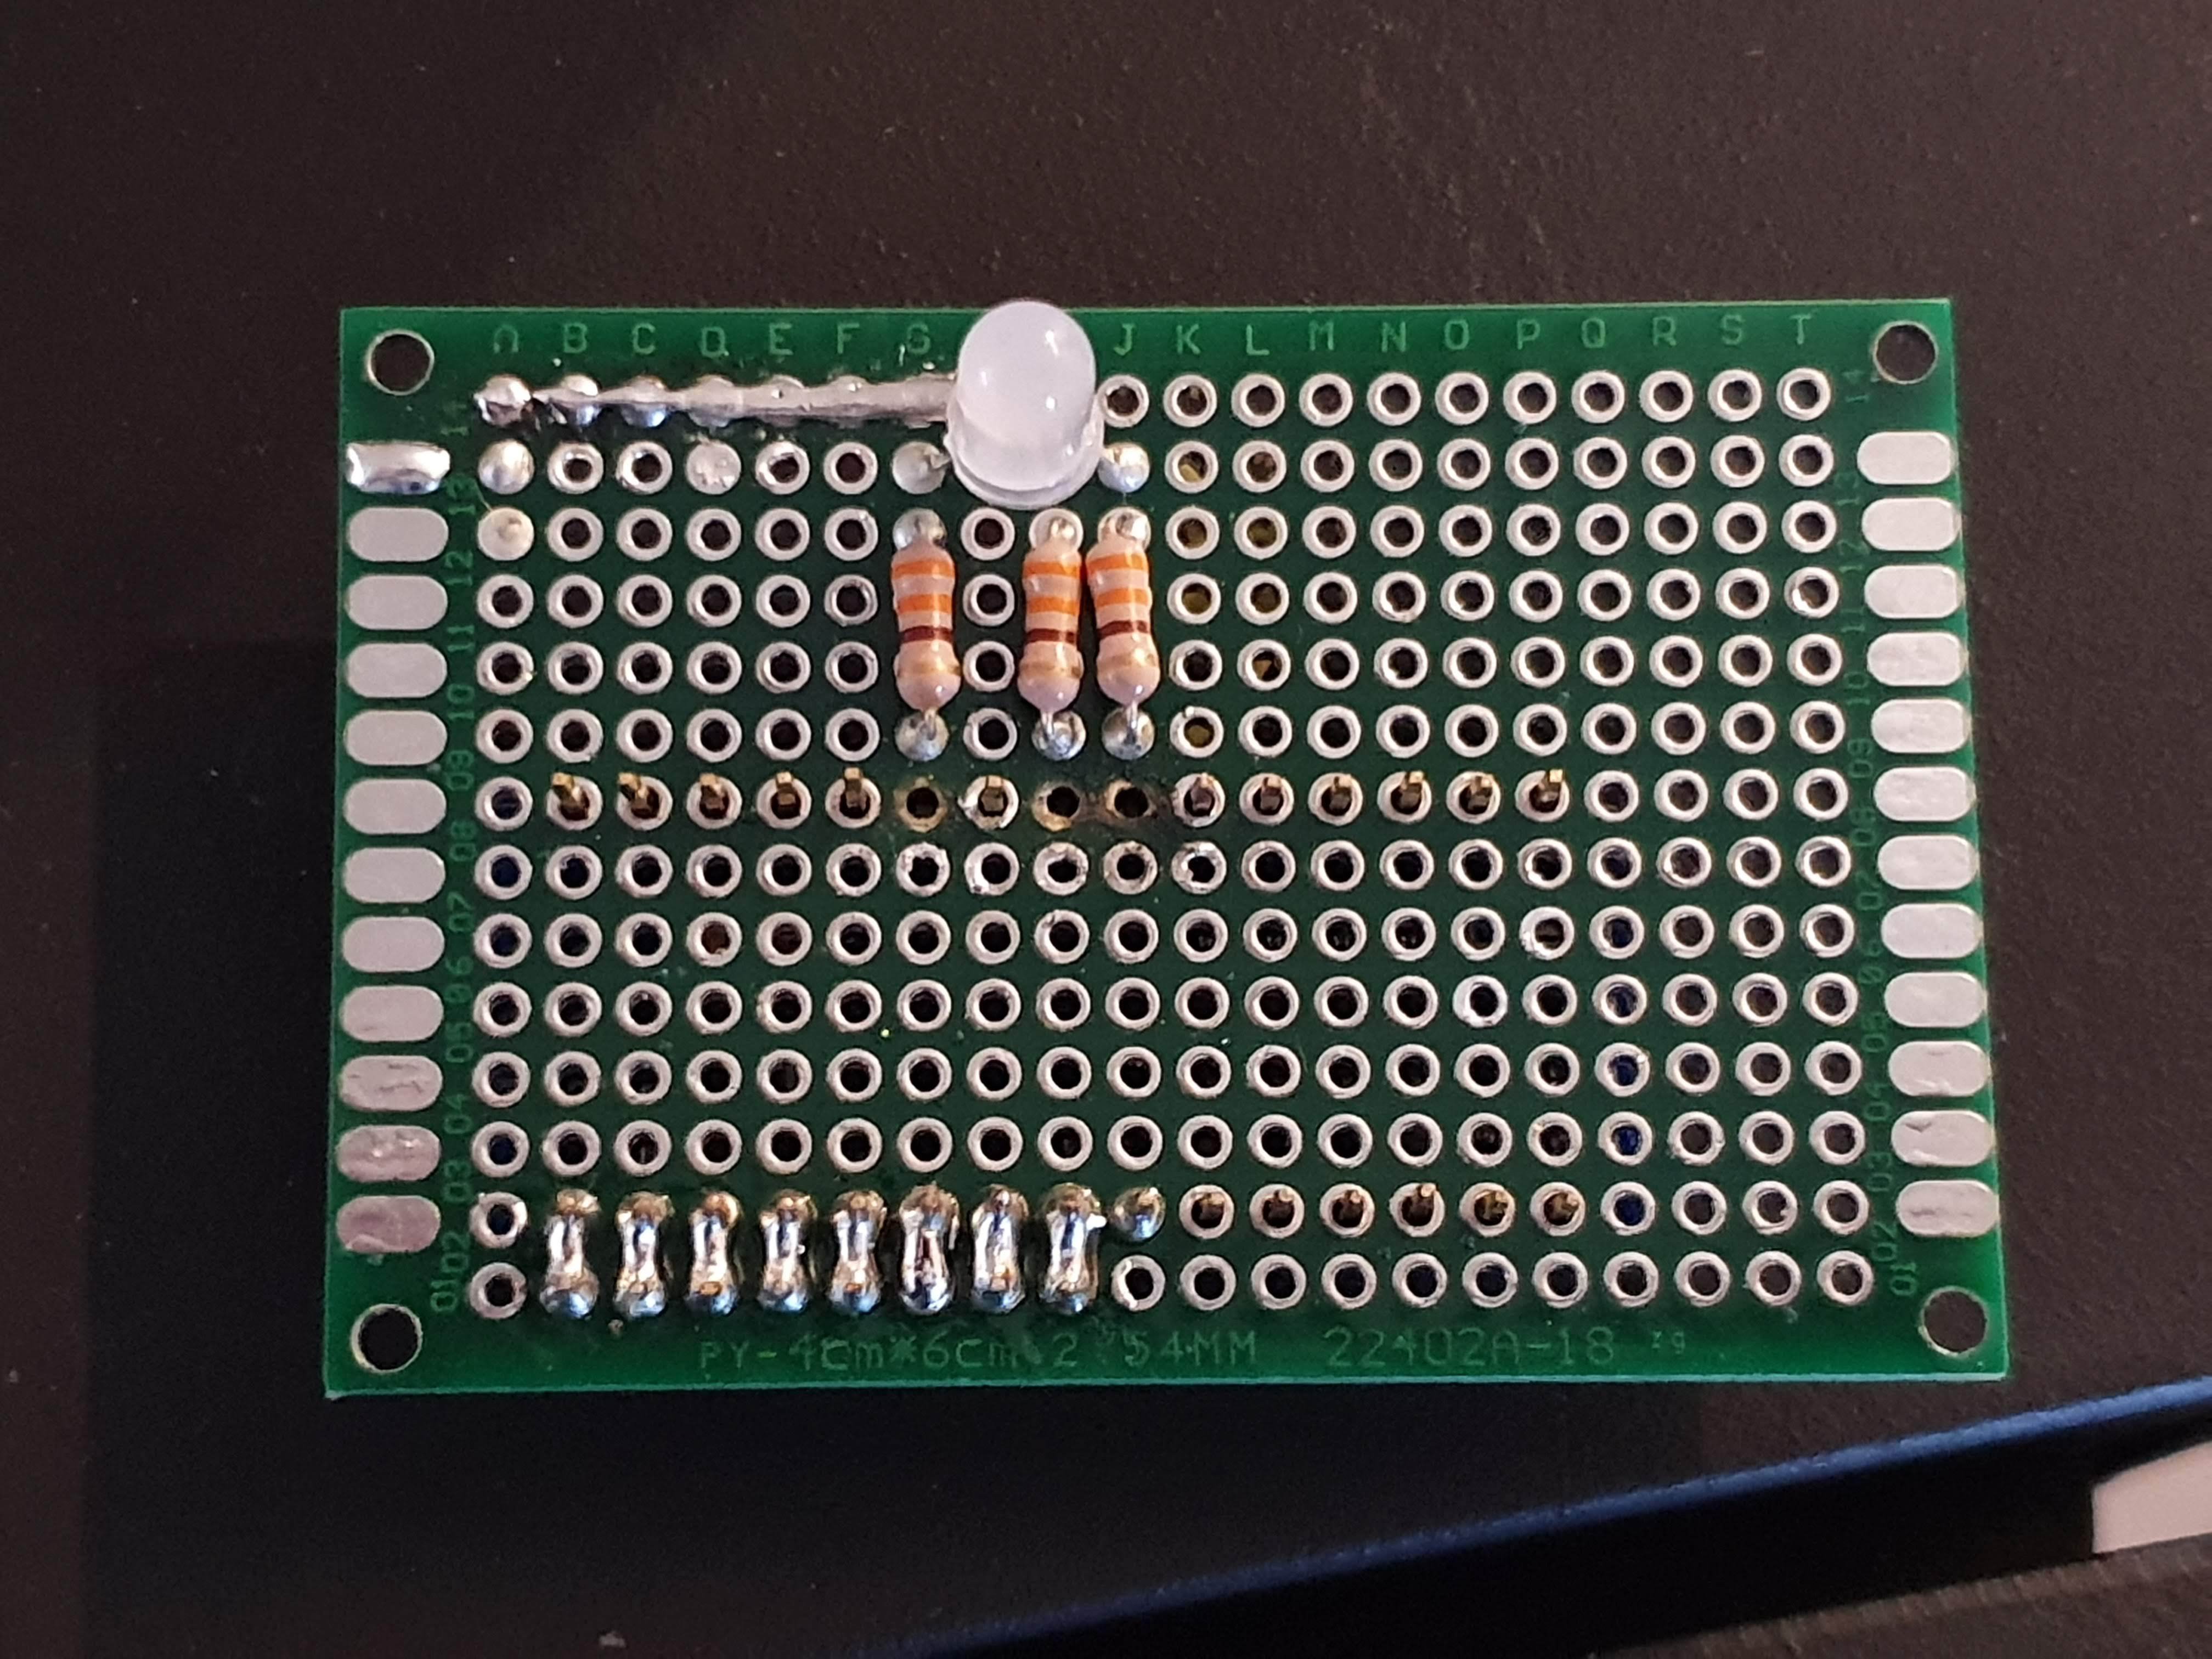
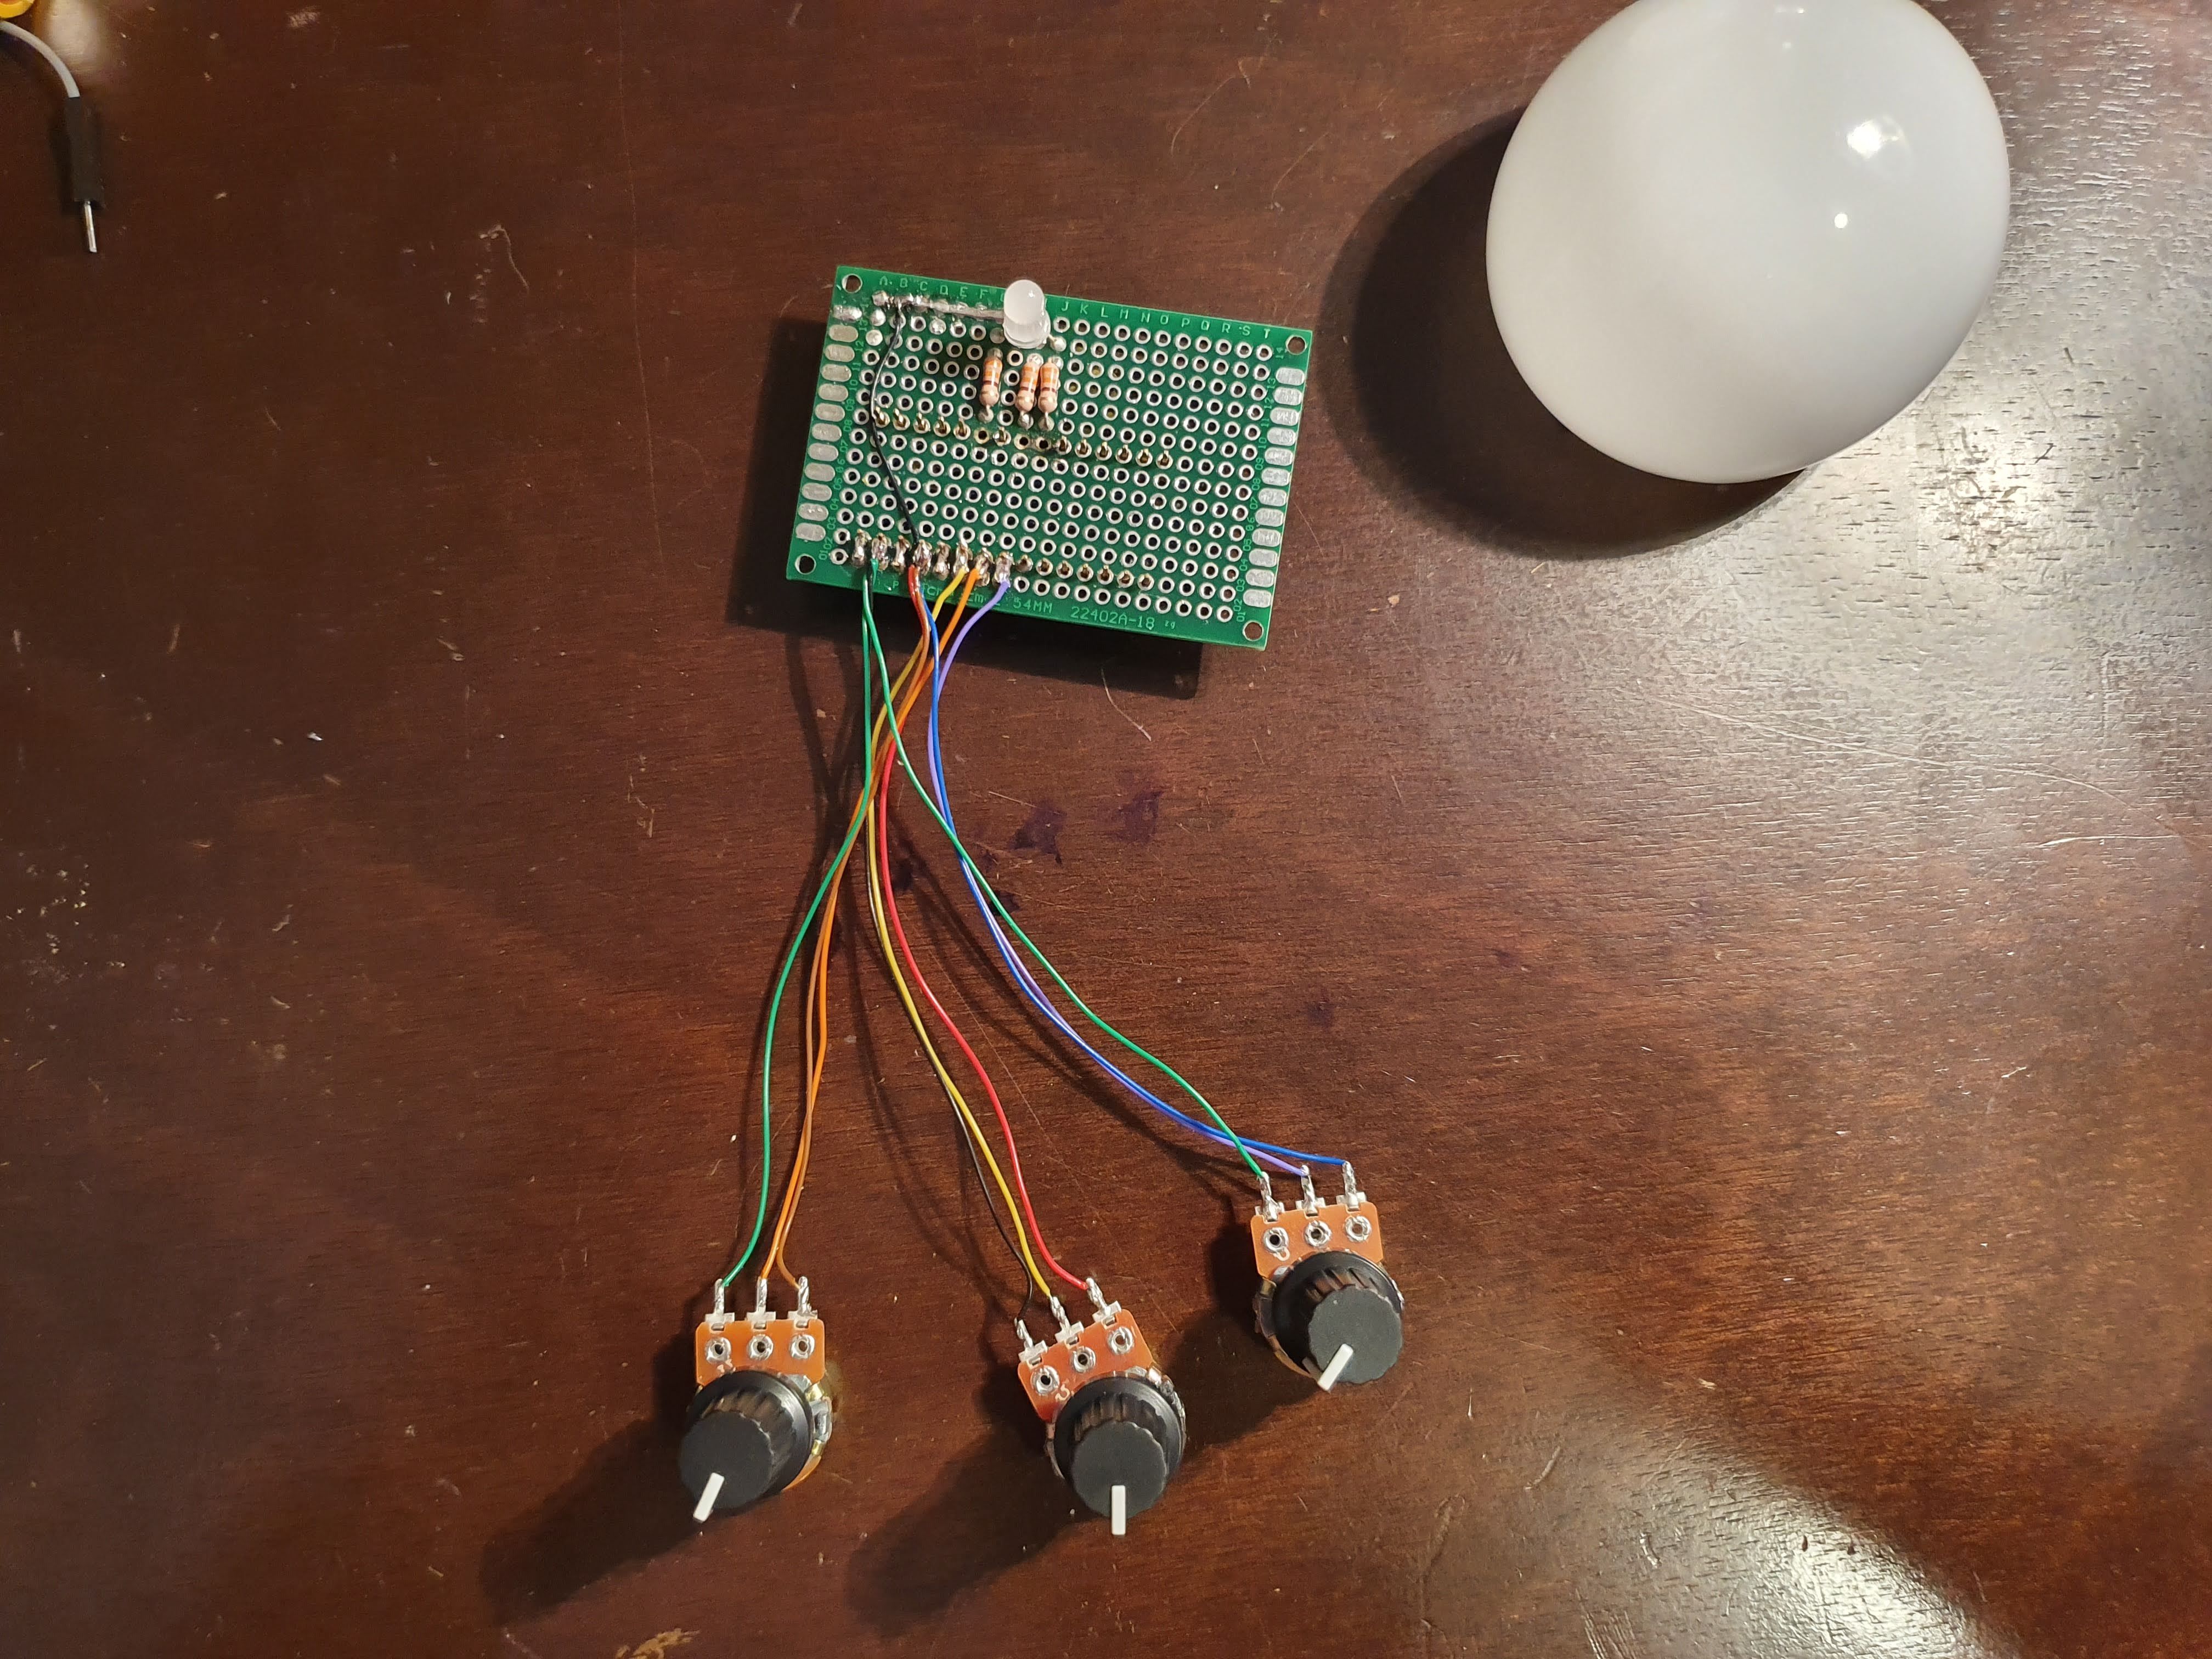
Now that you have your parts, its time to get it assembled. I have included a drawing to help show what goes where. The three potentiometers have their out side pins connected to ground and +5 volts and the middle pins are connected to separate analogue inputs. I used A0, A1, and A2. The LED cathode is connected to ground and the remaining pins are connected to a resistor each that is connected to pins 3, 5, and 6. (these are PWM pins to allow for brightness control.) The power source goes to ground and Vin. Pack it all up in an enclosure of some sort (the one I ordered a month ago still hasn't shown up) and you are done. All you need now is the code to get it working.
The Code
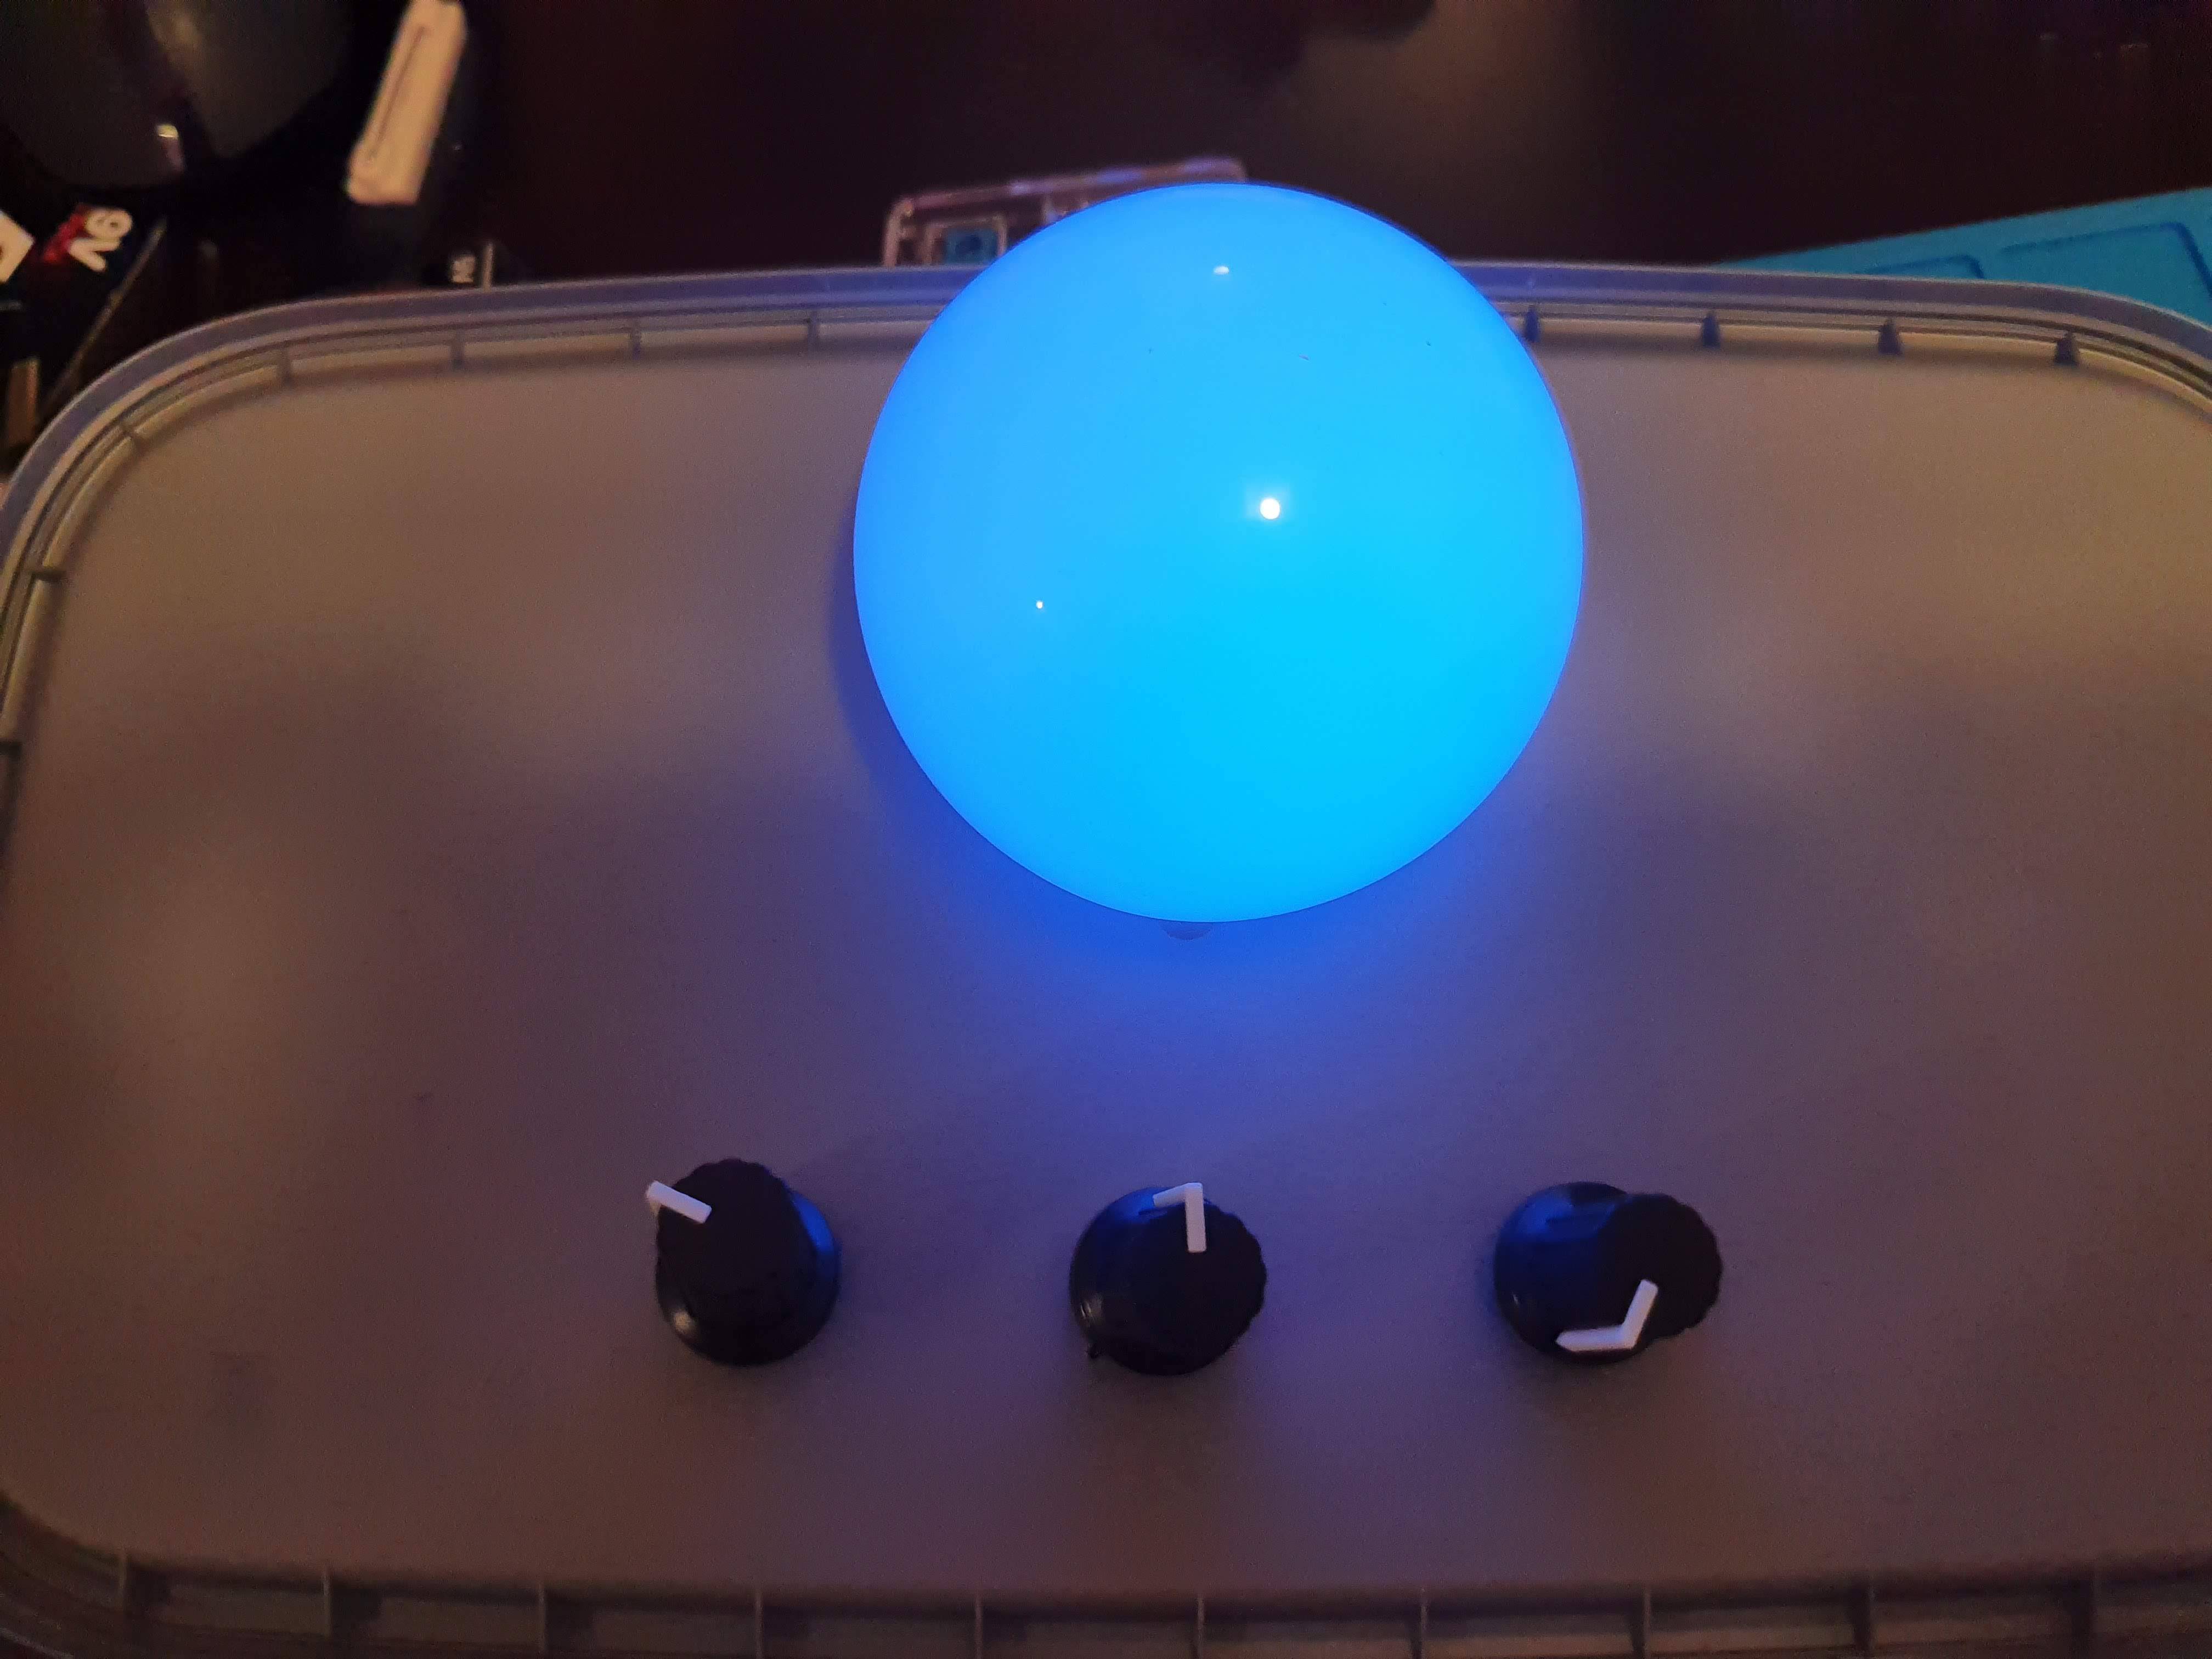
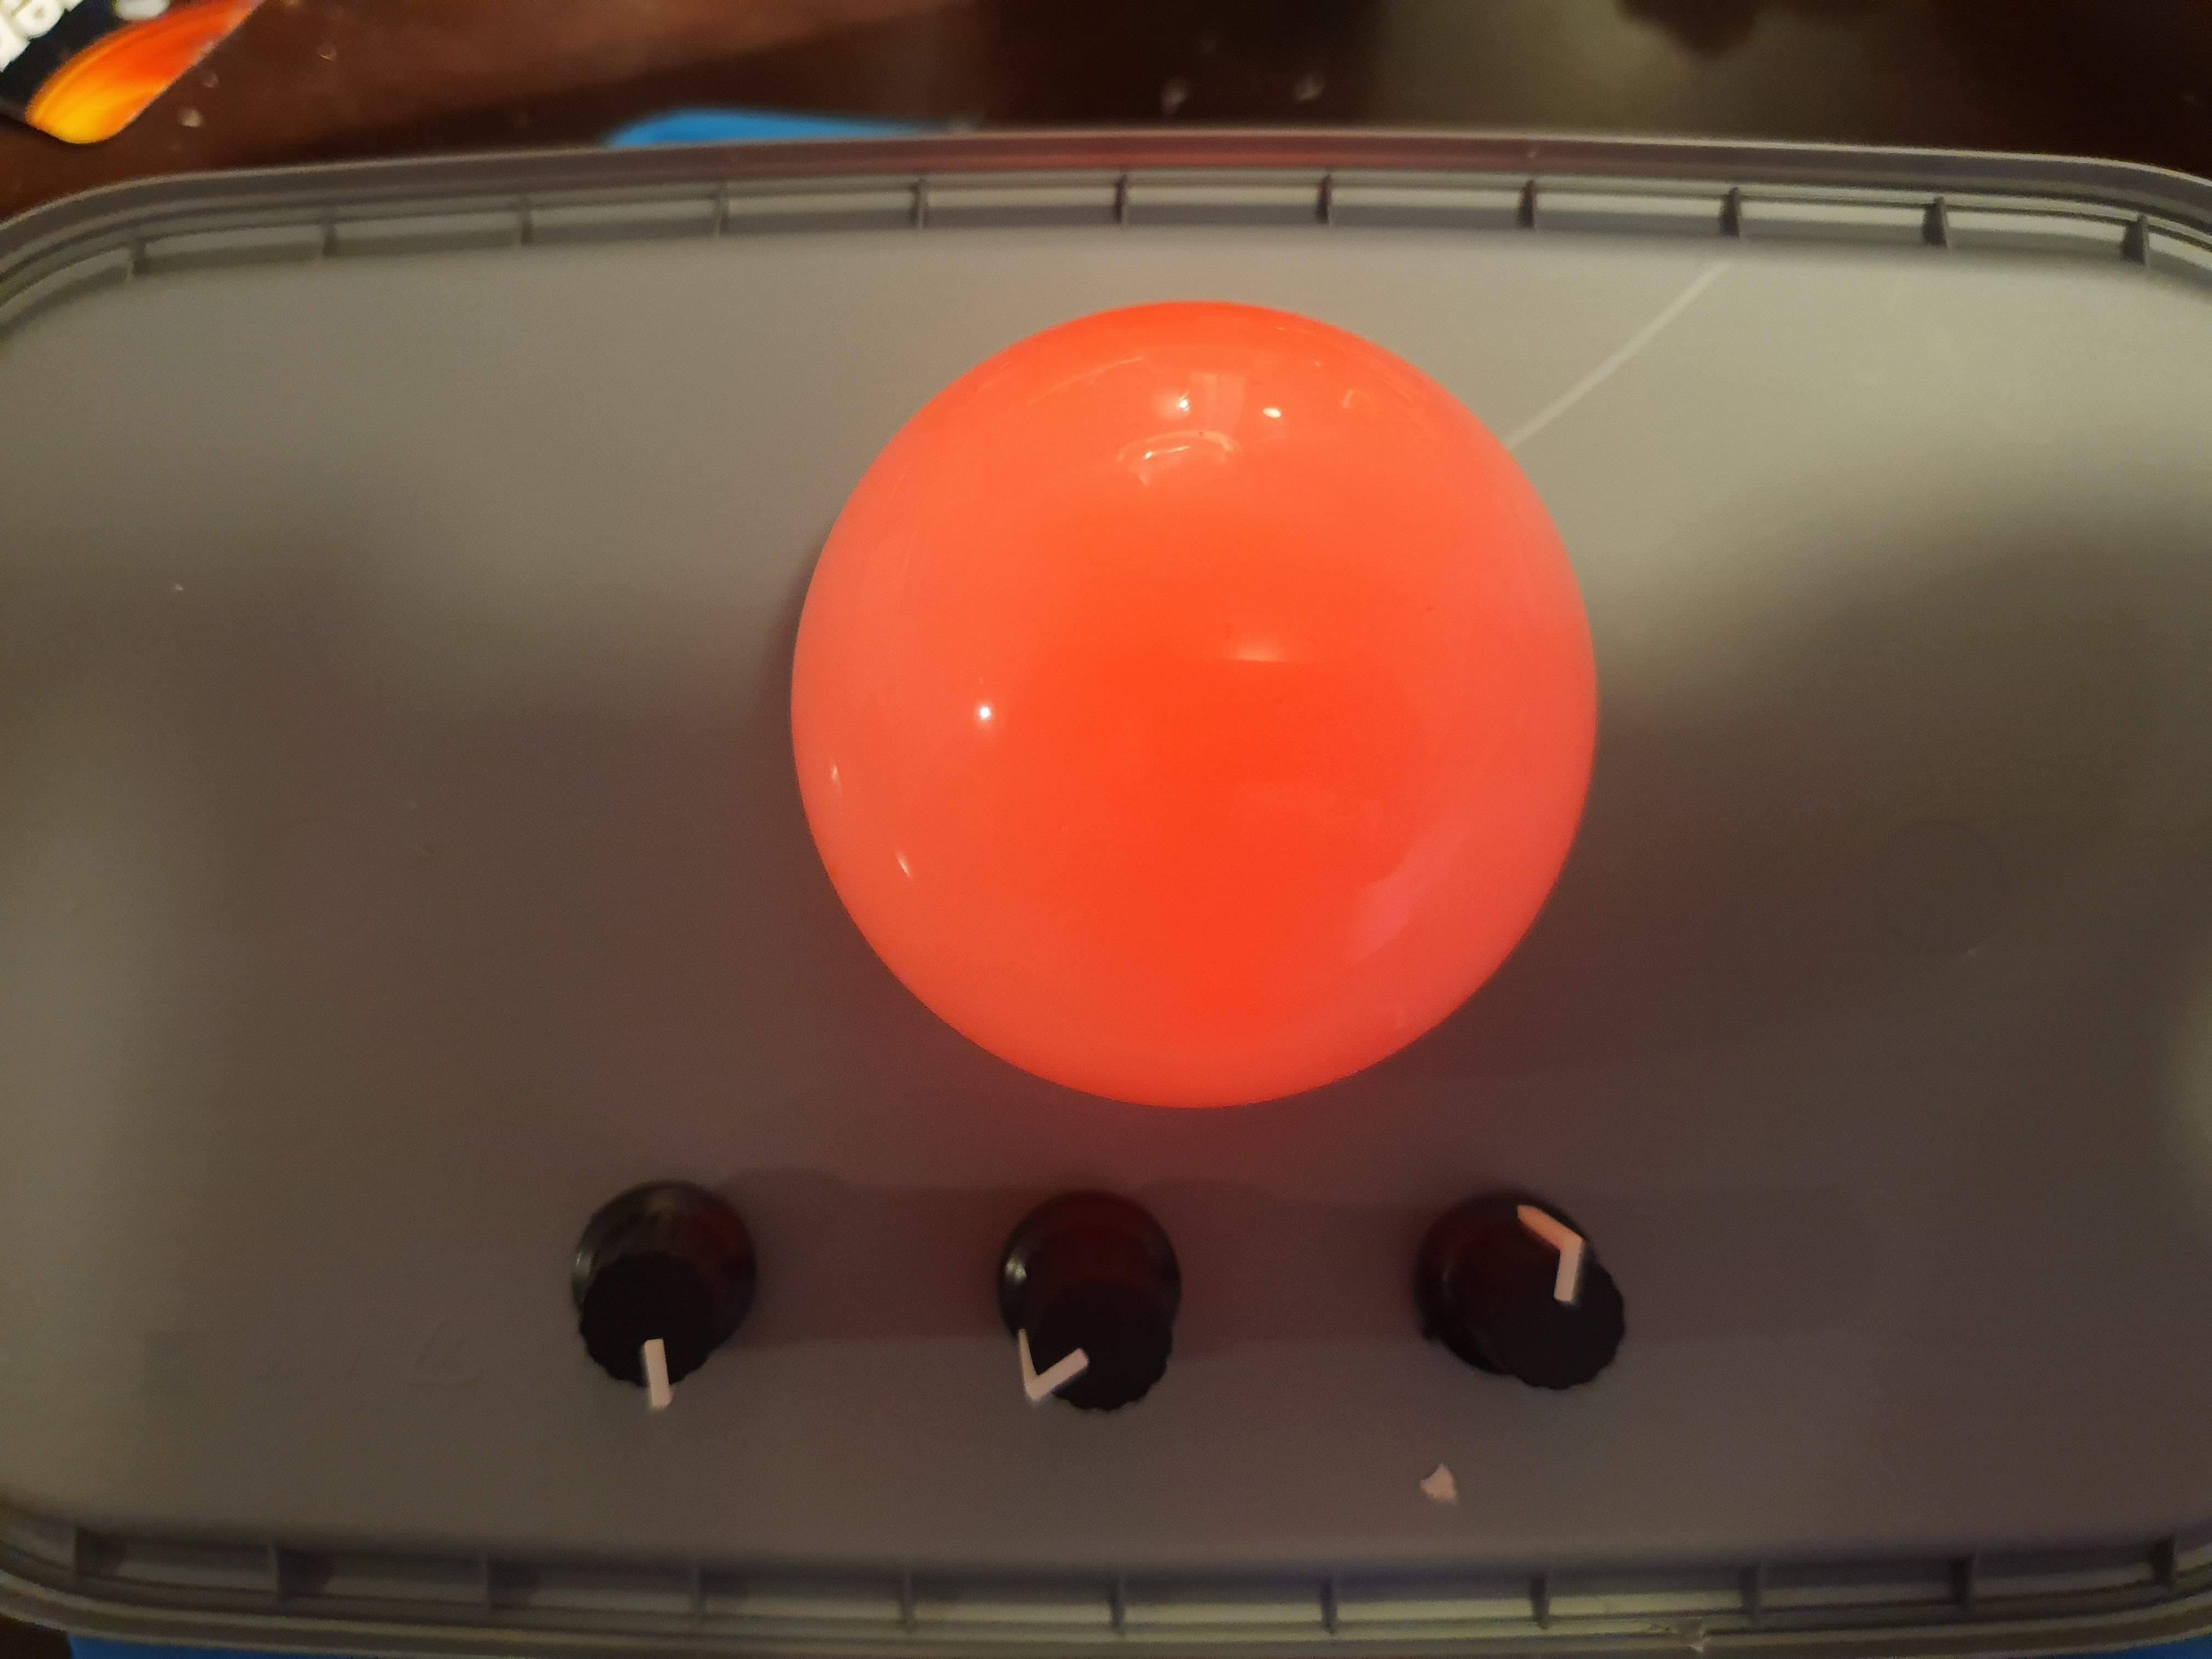
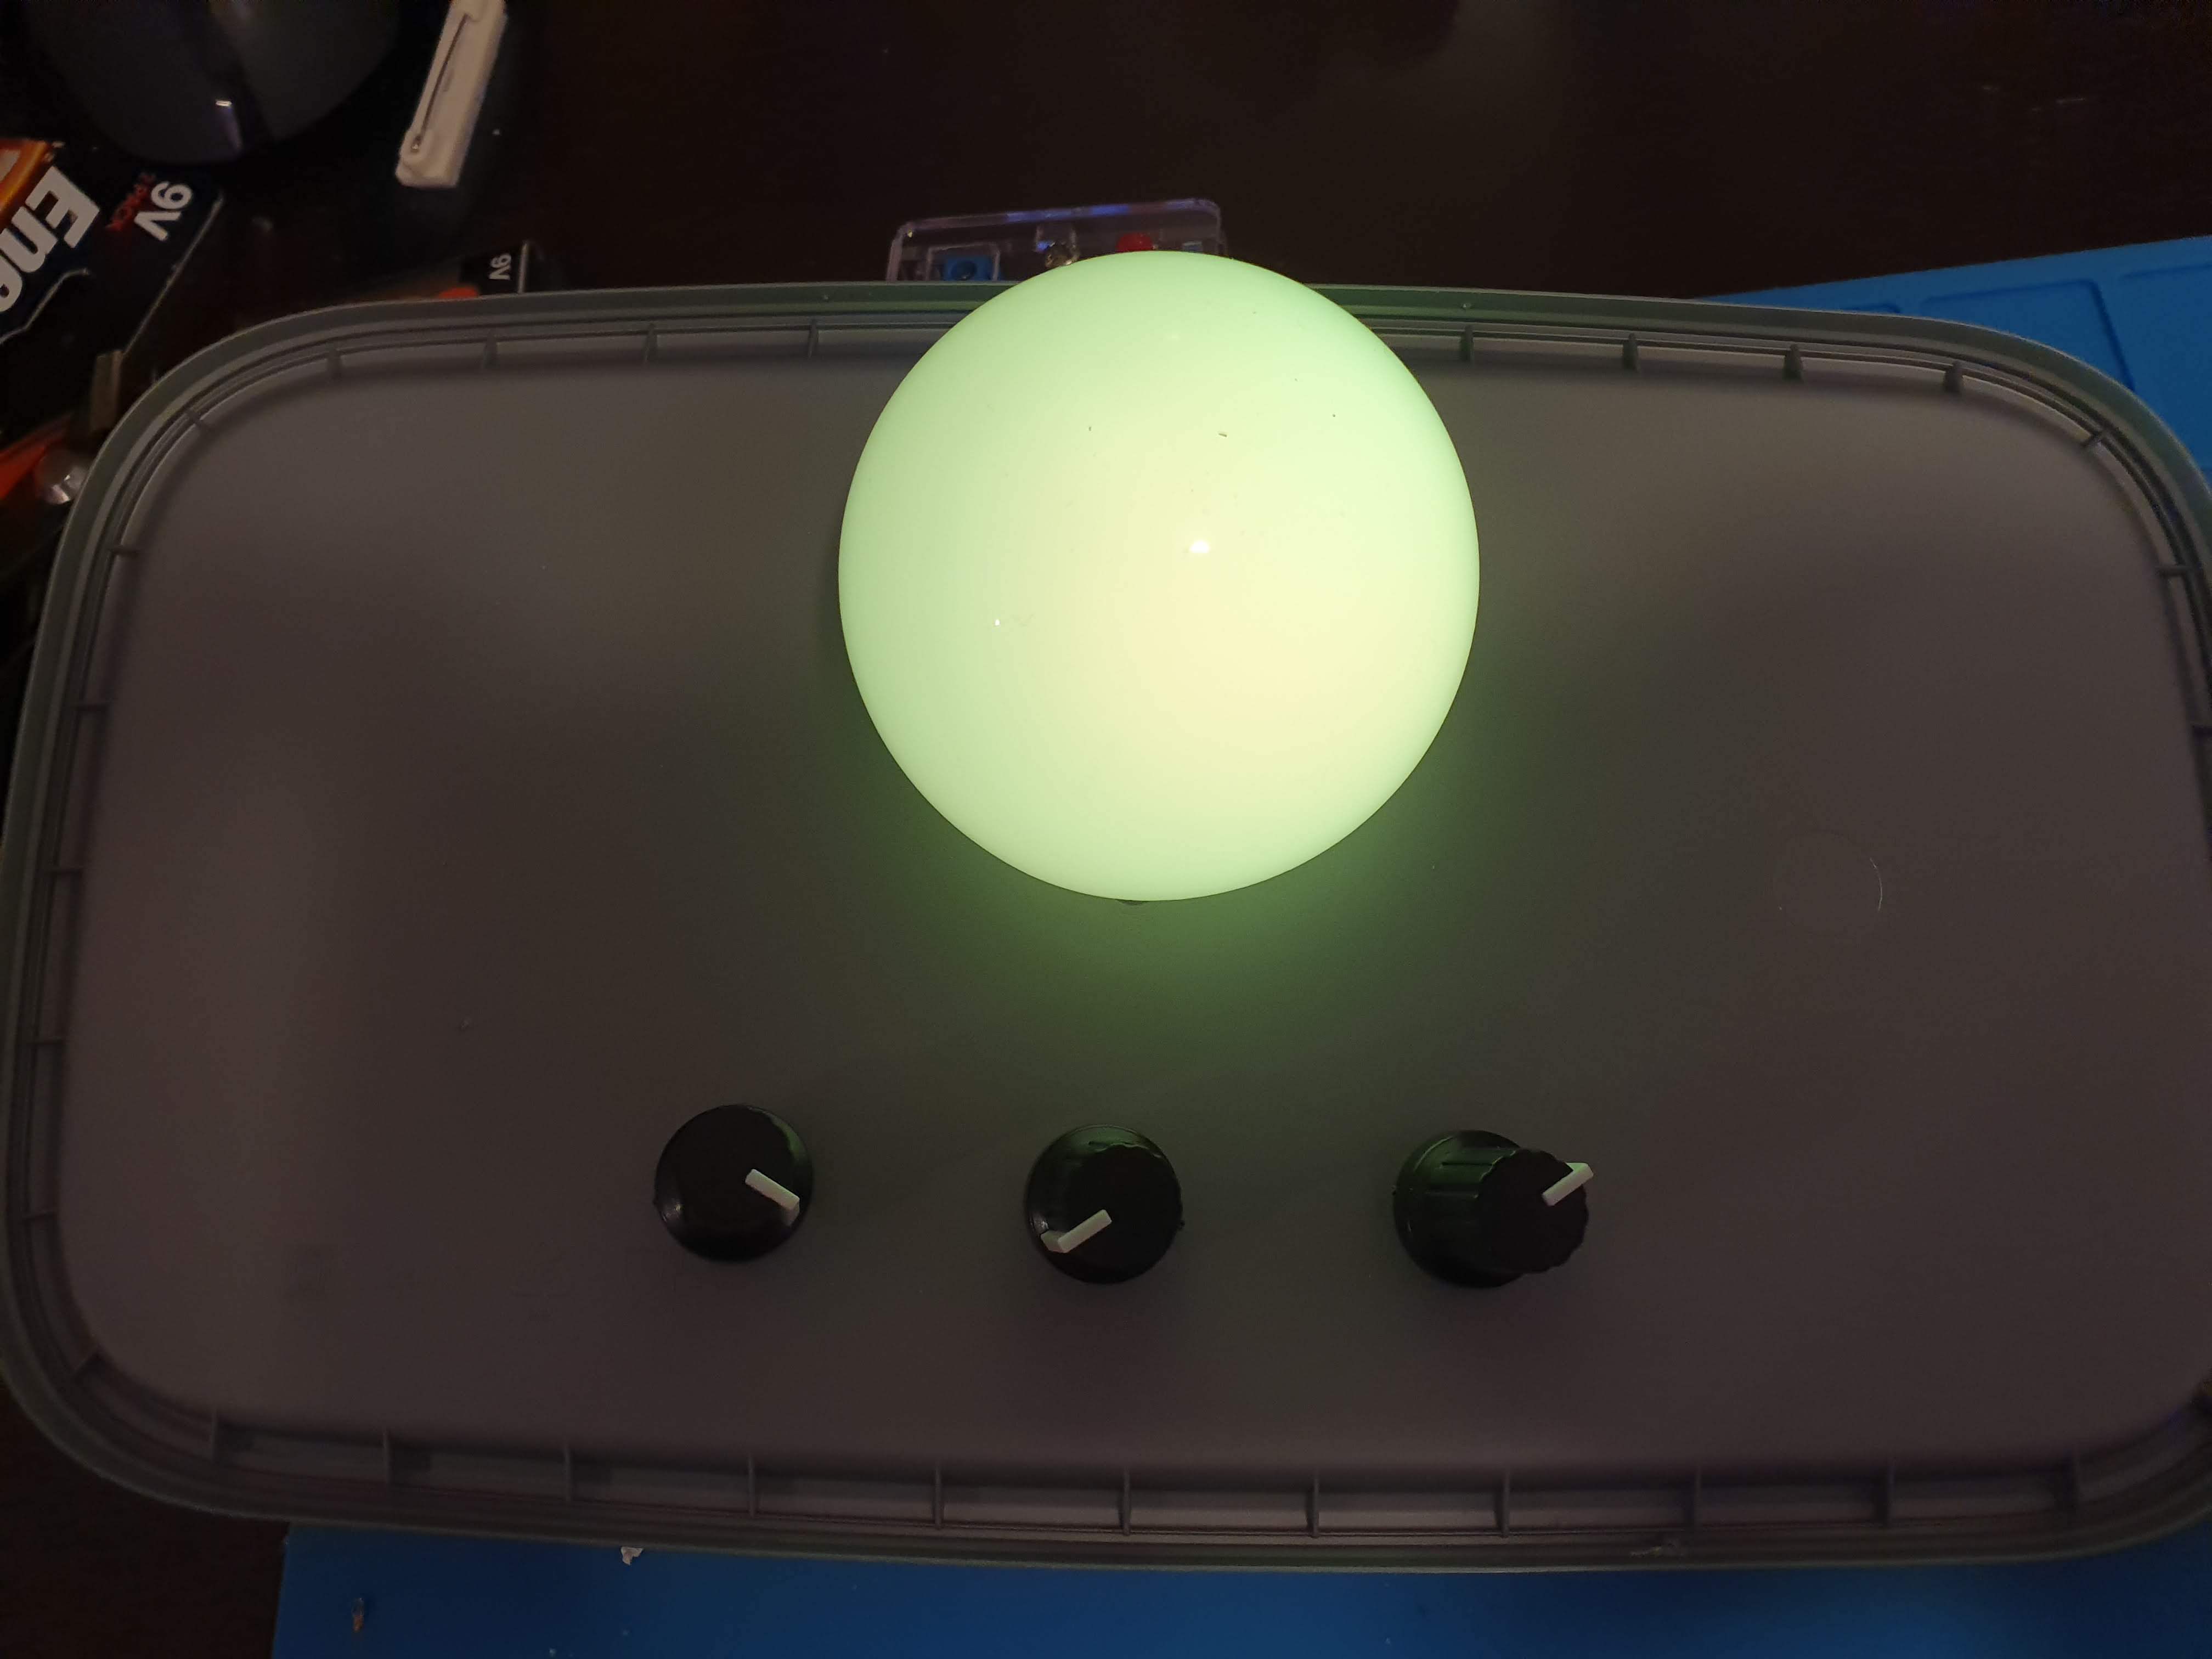
Warning: Do Not have a battery connected when uploading code via USB. The USB provides power.
The code is fairly simple. What it does is take the reading of the potentiometer and converts it into a brightness intensity to output to the LEDs. I also added a button to pin 7 to make the LEDs cycle through the 3 colors a few times. If you add this button make sure to add a resistor between the ground and switch to prevent it from floating.(it keeps it stable)
So all you have to do is open the Arduino IDE (there are loads of tutorials on how to set that up) copy in the following code and upload. If all went well you now have a fun little learning tool to demonstrate how light blends together to make all sorts of colors.
const int buttonPin = 7; // the number of the pushbutton pinconst int analogPinR = A0; //the analog input pin attach to const int analogPinB = A1; const int analogPinG = A2; const int ledPinR = 3; //the led attach to const int ledPinB = 5; const int ledPinG = 6; int inputValueR = 0; //variable to store the value coming from sensor int inputValueG = 0; int inputValueB = 0; int outputValueR = 0; //variable to store the output value int outputValueG = 0; int outputValueB = 0; int buttonState = 0; // variable for reading the pushbutton status /******************************************/
void setup()
{ pinMode(ledPinR, OUTPUT); pinMode(ledPinB, OUTPUT); pinMode(ledPinG, OUTPUT); pinMode(buttonPin, INPUT); Serial.begin(9600); //set the serial communication baudrate as 9600 }
/******************************************/
void loop()
{ int var; buttonState = digitalRead(buttonPin); if (buttonState == LOW) { // Use the knobs: twist(); } else { // demo mode cycles 5 times: var = 0; while (var < 5) { demo(); var++; } } }
void demo() //cycle through the 3 led colors
{ digitalWrite(ledPinR, LOW); //turn on led for a short time then off before going to the next color delay(300); // Note, I am using a common annode RGB LED so I need to pull to ground to activate digitalWrite(ledPinR, HIGH); // Swap the HIGH and LOW if this doesen't work right delay(300); digitalWrite(ledPinB, LOW); delay(300); digitalWrite(ledPinB, HIGH); delay(300); digitalWrite(ledPinG, LOW); delay(300); digitalWrite(ledPinG, HIGH); delay(300); }
void twist() //allow the user to blend colors using knobs { inputValueR = analogRead(analogPinR); //read the value from the potentiometer inputValueB = analogRead(analogPinB); inputValueG = analogRead(analogPinG); Serial.print("Input: "); //print "Input" Serial.println(inputValueR); //print inputValue Serial.print("Input: "); Serial.println(inputValueB); Serial.print("Input: "); Serial.println(inputValueG); outputValueR = map(inputValueR, 0, 1023, 0, 255); //Convert from 0-1023 proportional to the number of a number of from 0 to 255 outputValueB = map(inputValueB, 0, 1023, 0, 255); outputValueG = map(inputValueG, 0, 1023, 0, 255); Serial.print("Output: "); //print "Output" Serial.println(outputValueR); Serial.print("Output: "); Serial.println(outputValueB); Serial.print("Output: "); Serial.println(outputValueG); //print outputValue analogWrite(ledPinR, outputValueR); //turn the LED on depending on the output value analogWrite(ledPinB, outputValueB); analogWrite(ledPinG, outputValueG); delay(50); //a short delay }