RGB Disco Light
.JPG)
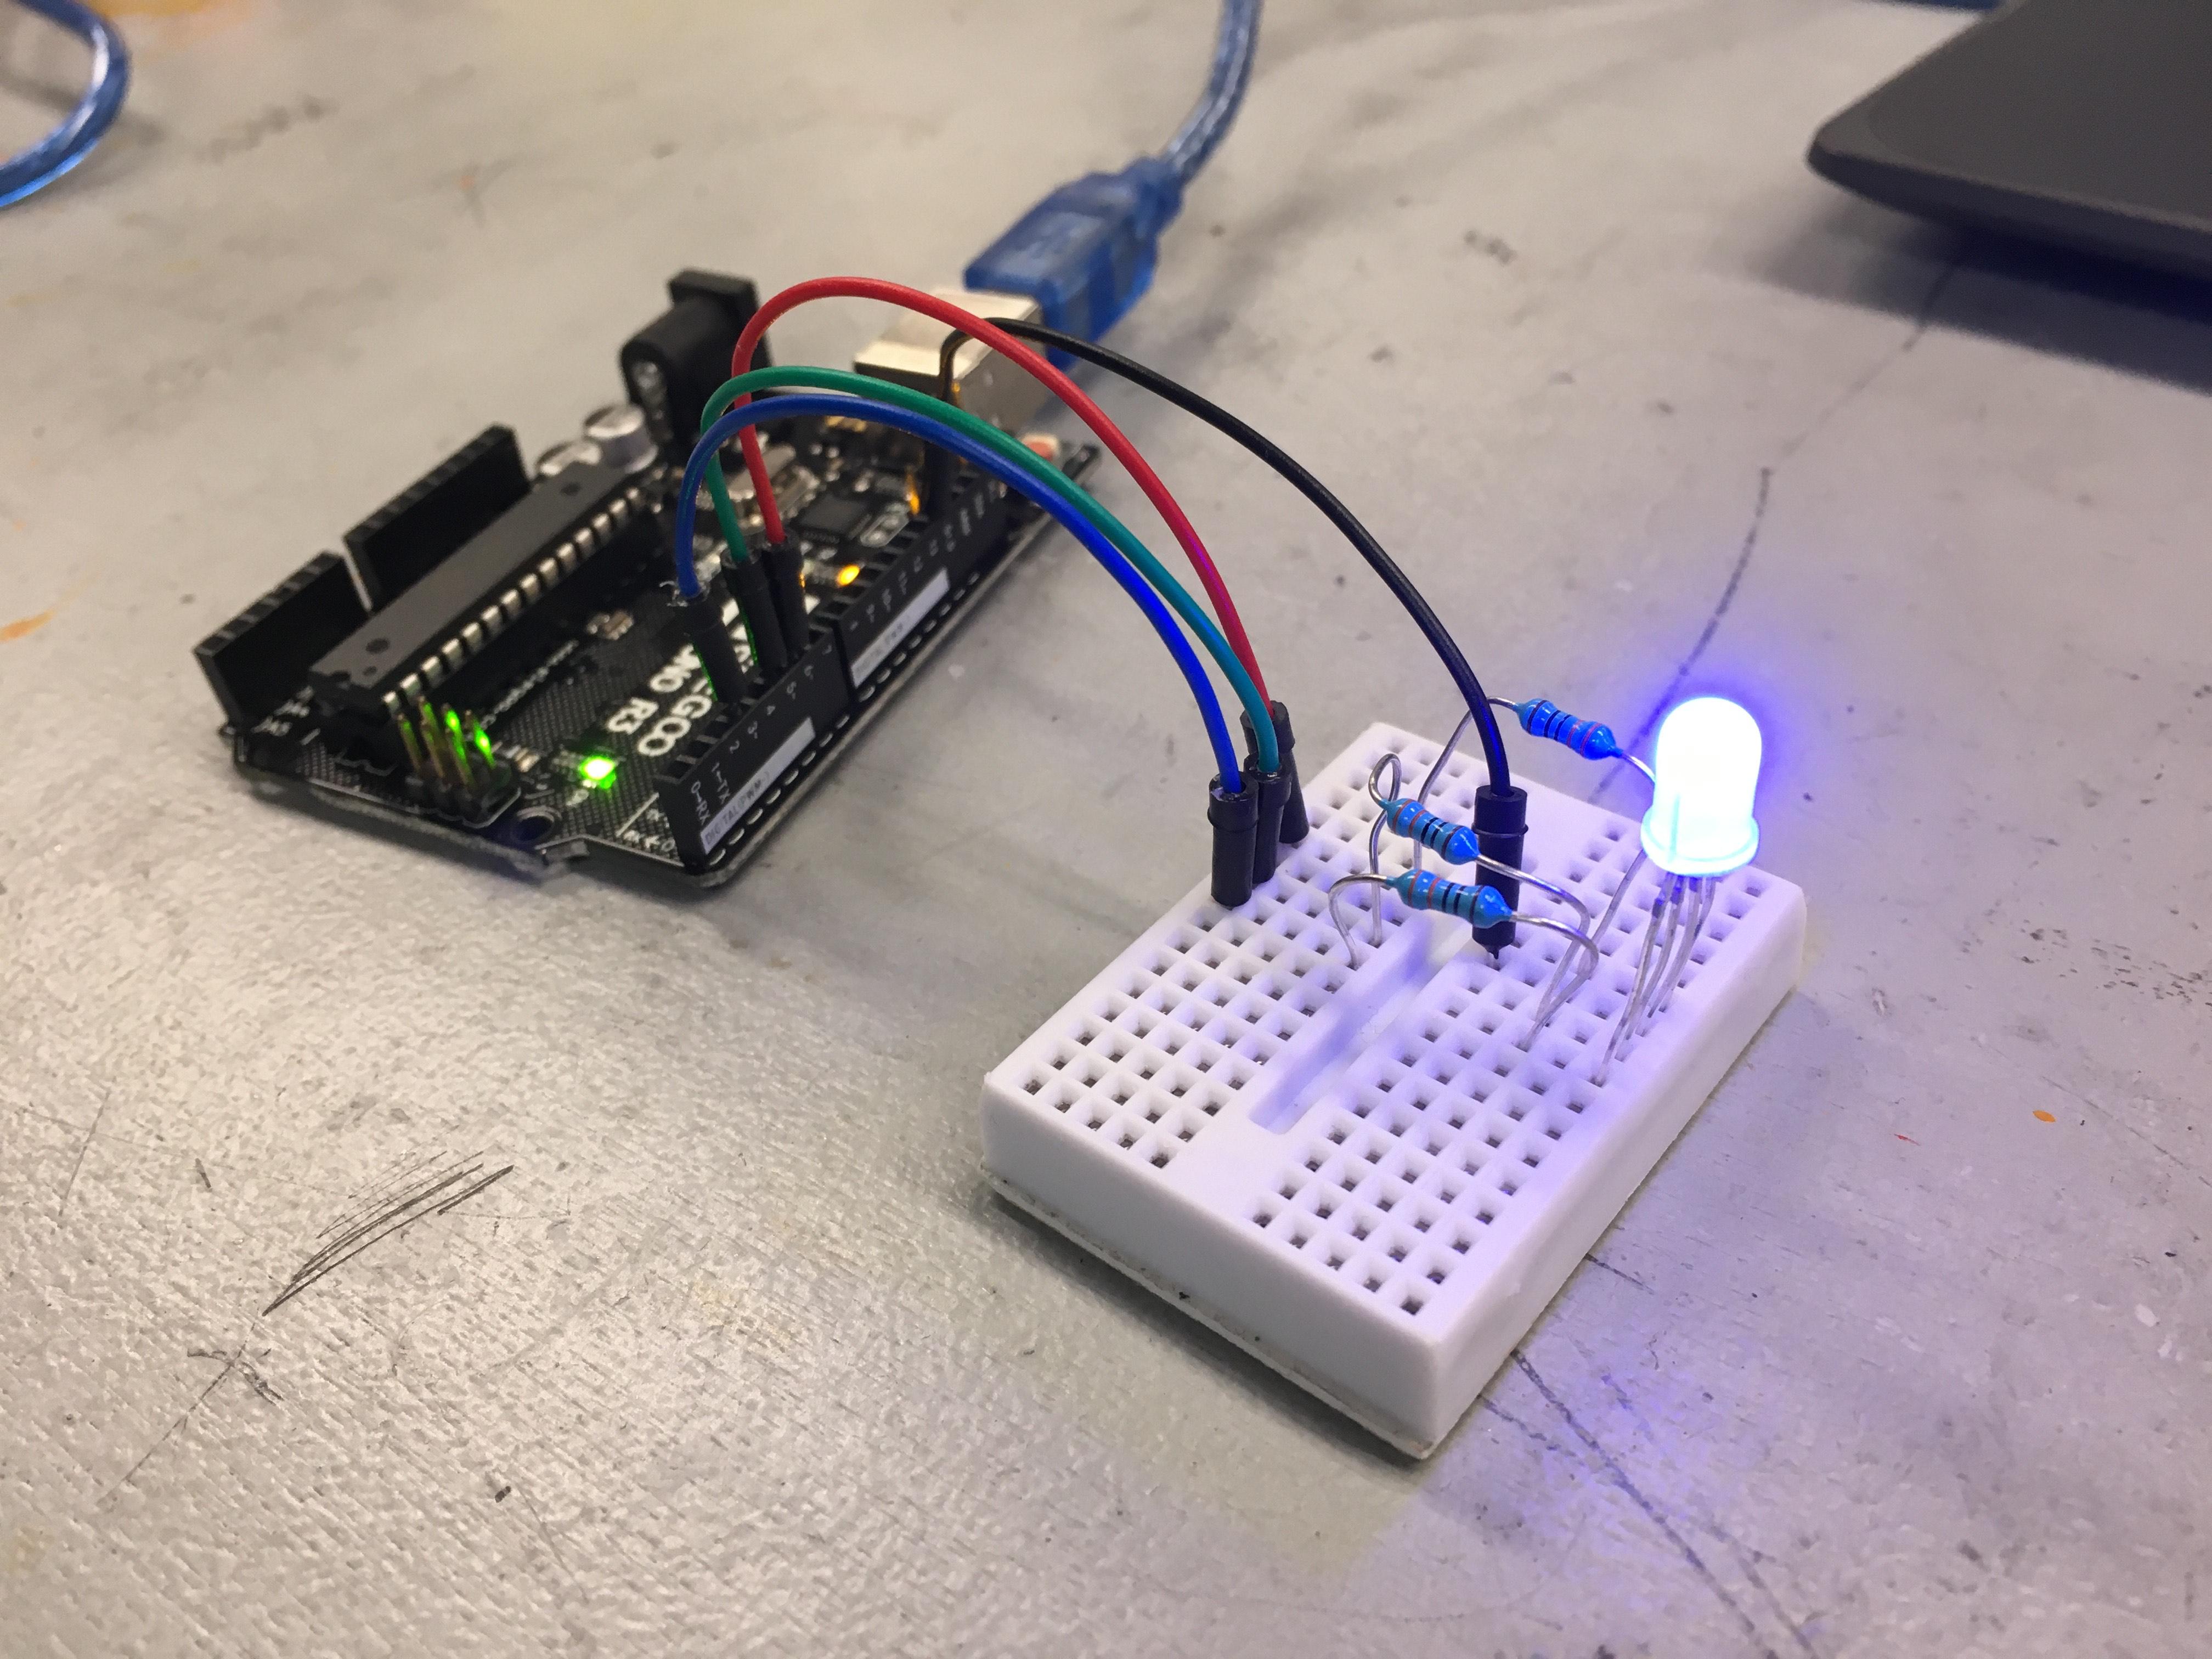
In this project, I will show you how to create a rainbow disco light with just some wires, code, and an RGB.
Supplies
.JPG)
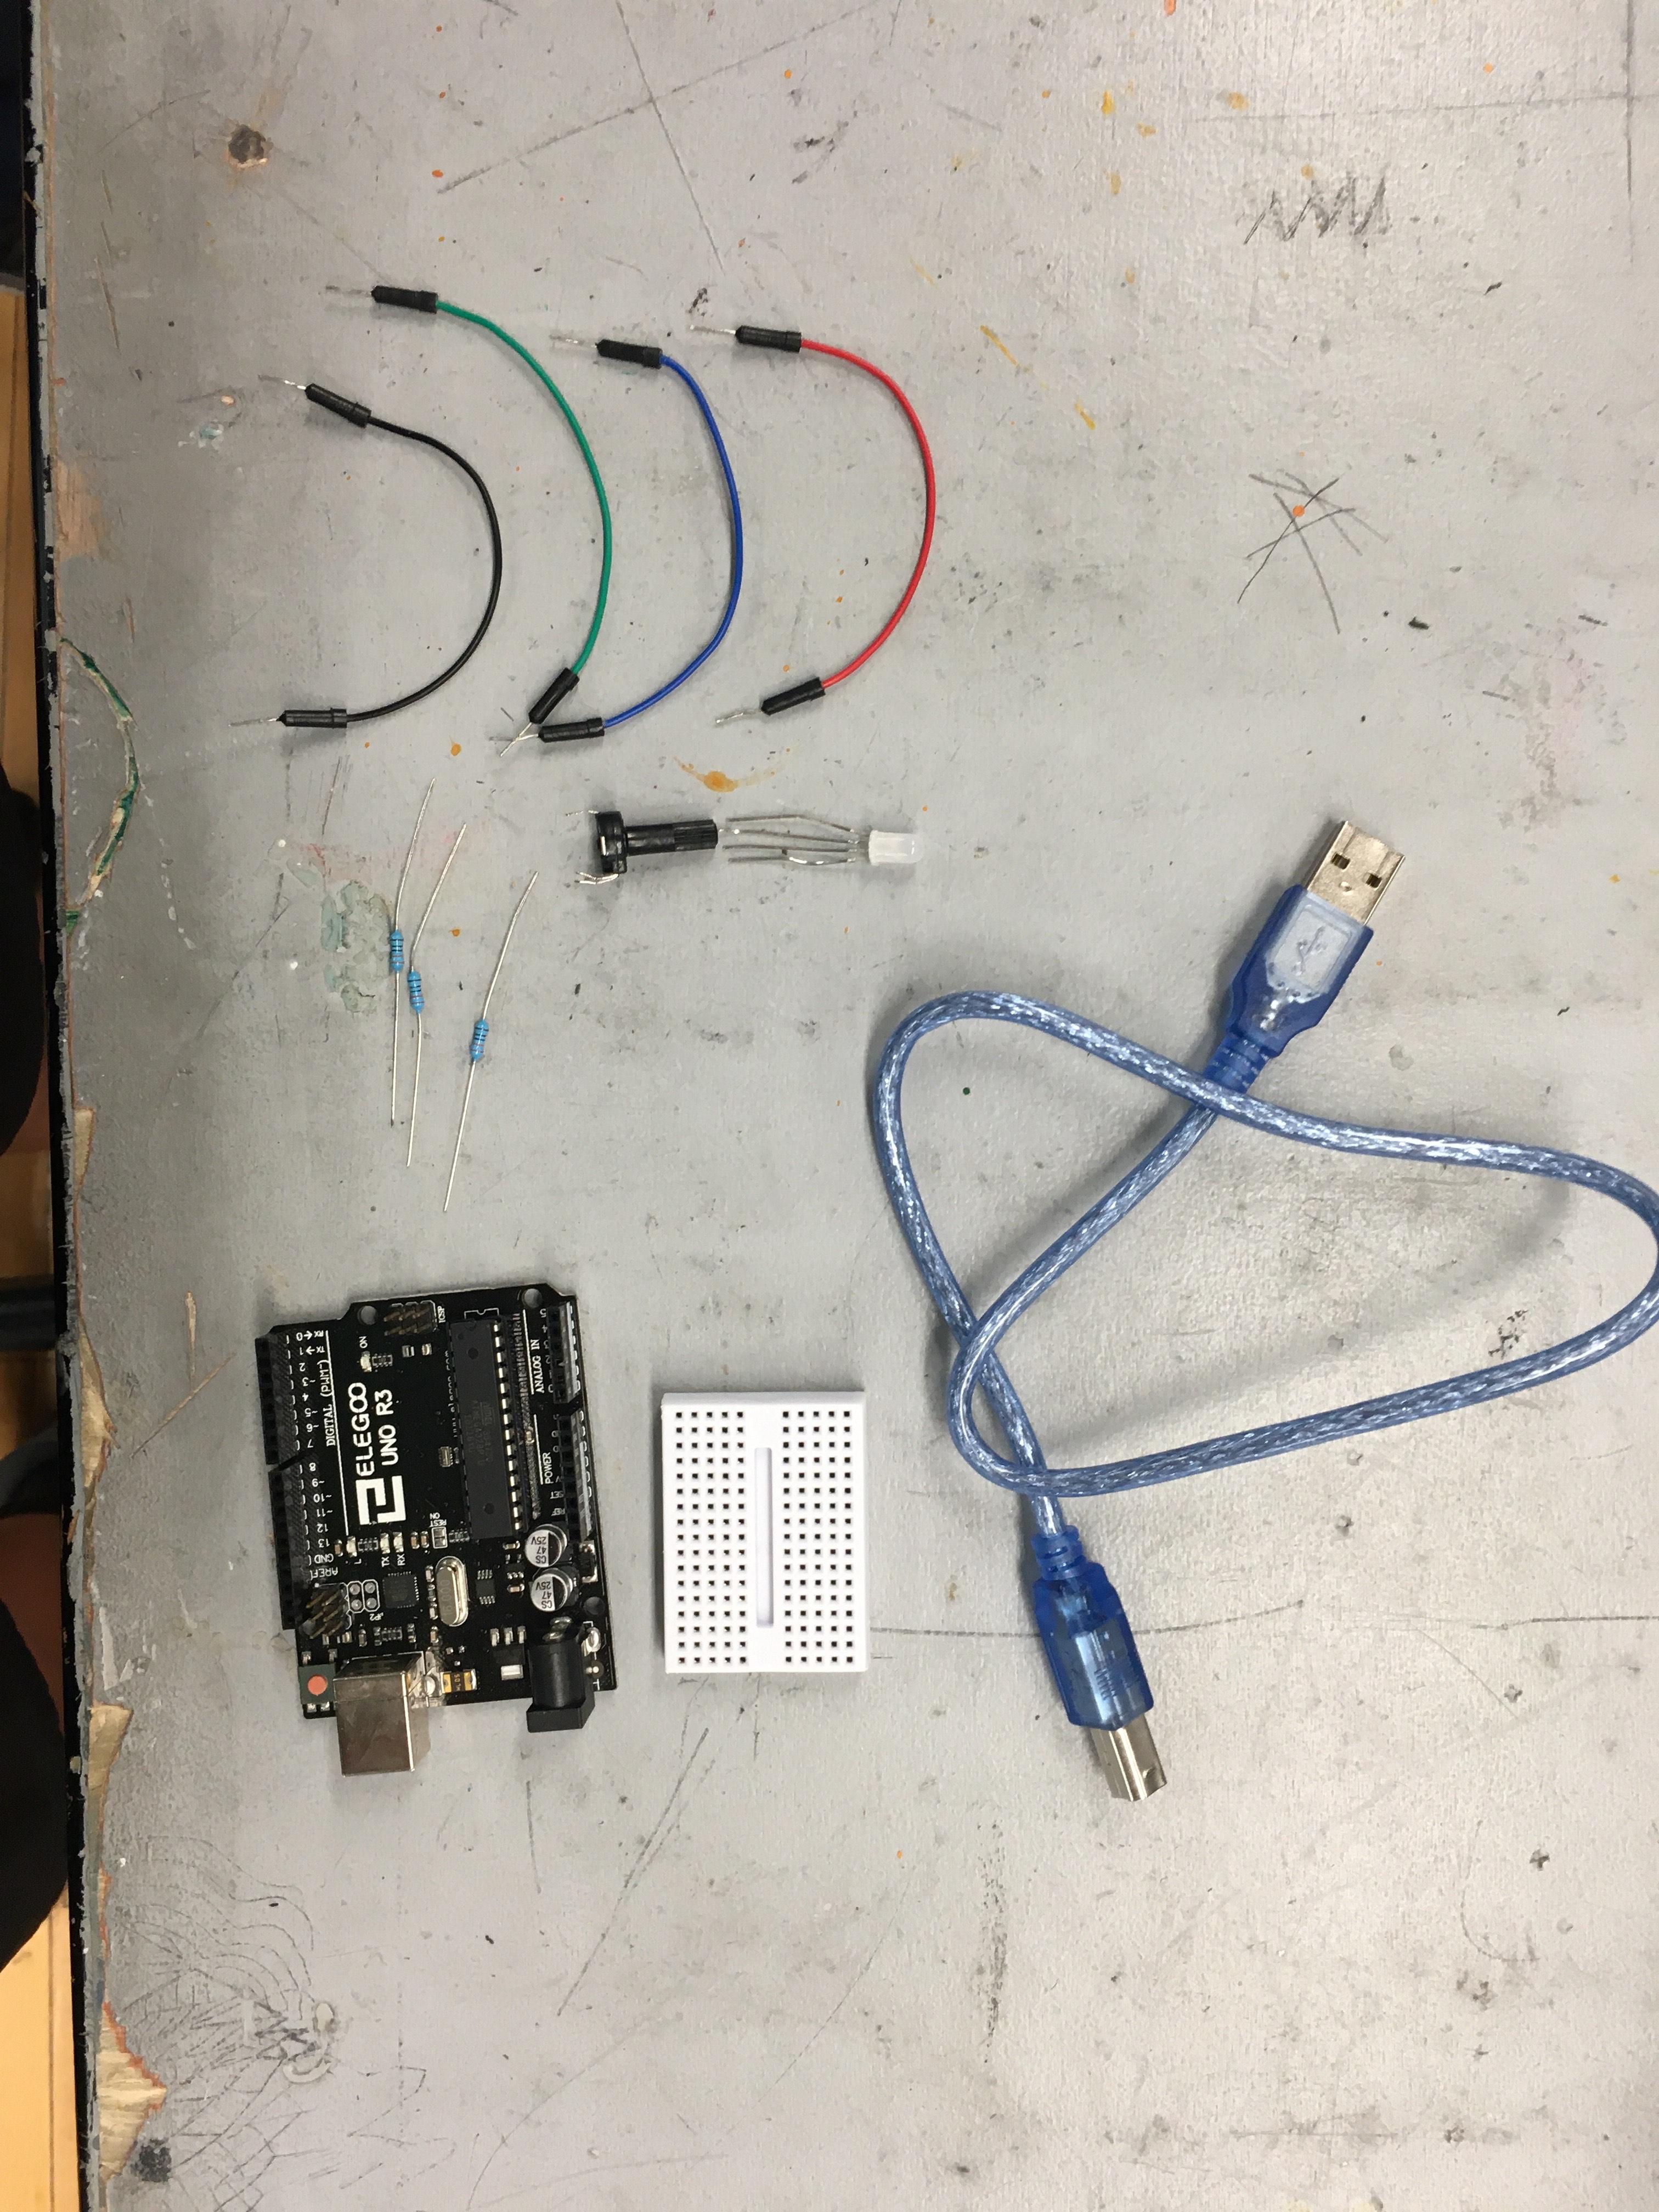
You will need
- 1 USB Cable for Arduino
- 4 Male-to-Male wires
- 3 220/330 Ohm Resistors (Either one works)
- 1 RGB Led
- 1 Arduino Uno R3
- 1 Breadboard Mini
Wiring

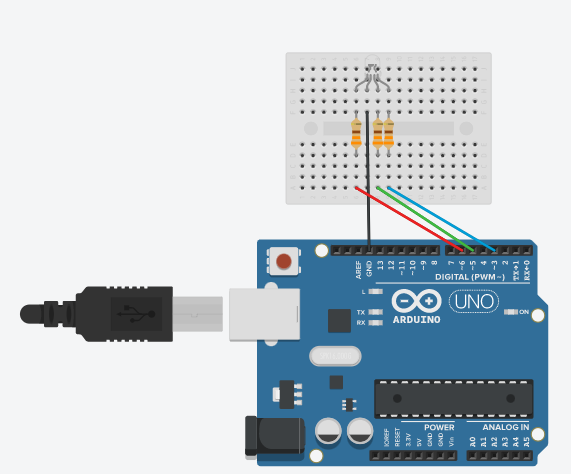
First, we're going to need to wire the circuit. You can use the steps below, or follow the picture I have attached.
- Red wire from pin ~6 to hole 6 on bottom row breadboard mini.
- Black wire from GND to hole 7 on top row of breadboard mini.
- Green wire from pin ~5 to hole 8 on bottom row of breadboard mini.
- Blue wire from pin ~3 to hole 9 on bottom row of breadboard mini
- Resistor from hole 6 on bottom row to hole 6 on top row.
- Resistor from hole 8 on bottom row to hole 8 on top row.
- Resistor from hole 9 on bottom row to hole 9 on top row.
- Line up cathode (longest prong of RGB led) with the black wire, and the rest of the prongs should line up with the resistors.
- Upload code (on next step).
Uploading the Code
Open up the arduino cloud editor, and open a new sketch.
Then, copy the code below, and paste it into the new sketch.
After you do that, plug in the usb cable to the arduino and then into your PC/Chromebook. Upload the code and
your done! Enjoy!
#define BLUE 3
#define GREEN 5
#define RED 6
void setup()
{
pinMode(RED, OUTPUT);
pinMode(GREEN, OUTPUT);
pinMode(BLUE, OUTPUT);
digitalWrite(RED, HIGH);
digitalWrite(GREEN, LOW);
digitalWrite(BLUE, LOW);
}
int redValue;
int greenValue;
int blueValue;
void loop()
{
#define delayTime 1 //You can change this delay time to be whatever you want, 1 being the fastest!
redValue = 255;
greenValue = 0;
blueValue = 0;
for (int i = 0; i < 255; i += 1)
{
redValue -= 1;
greenValue += 1;
analogWrite(RED, redValue);
analogWrite(GREEN, greenValue);
delay(delayTime);
}
redValue = 0;
greenValue = 255;
blueValue = 0;
for (int i = 0; i < 255; i += 1)
{
greenValue -= 1;
blueValue += 1;
analogWrite(GREEN, greenValue);
analogWrite(BLUE, blueValue);
delay(delayTime);
}
redValue = 0;
greenValue = 0;
blueValue = 255;
for (int i = 0; i < 255; i += 1)
{
blueValue -= 1;
redValue += 1;
analogWrite(BLUE, blueValue);
analogWrite(RED, redValue);
delay(delayTime);
}
}
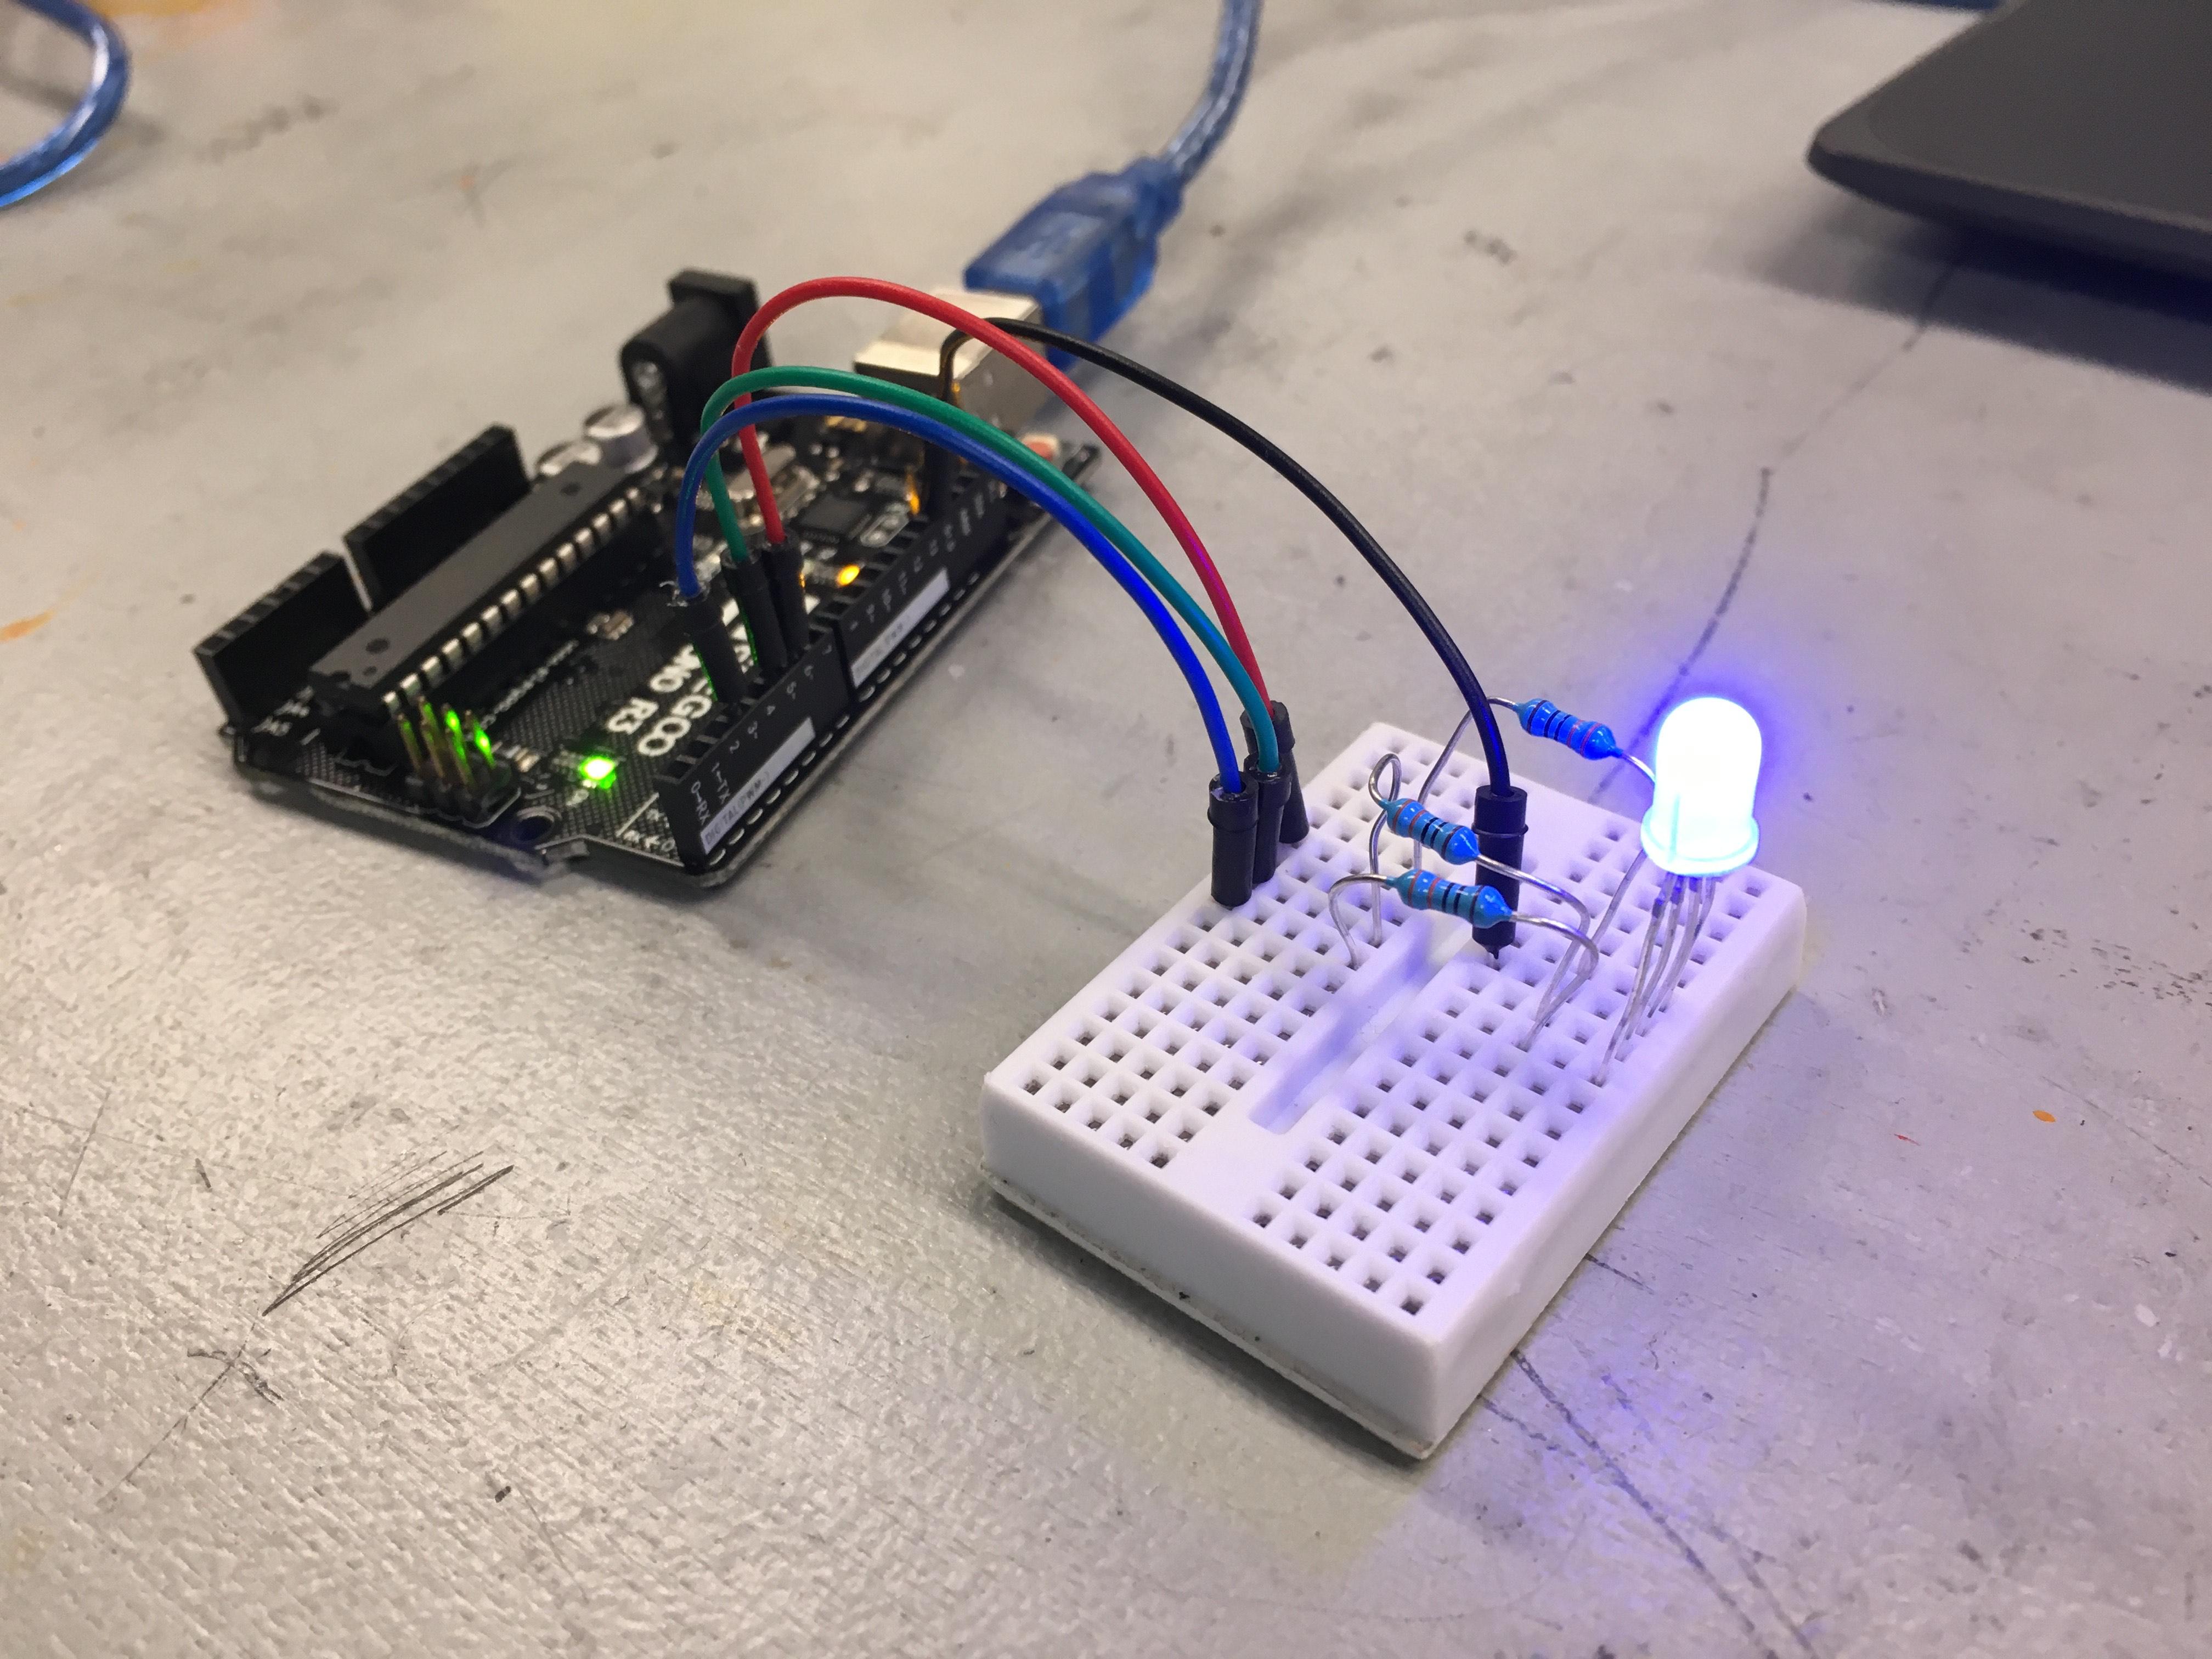
Testing the RGB Led
.JPG)