RGB LED CD Head - New Life for Old AOL CD's
2515 Views, 31 Favorites, 0 Comments
RGB LED CD Head - New Life for Old AOL CD's

Hi,
This Project was started over 20 Jears ago.
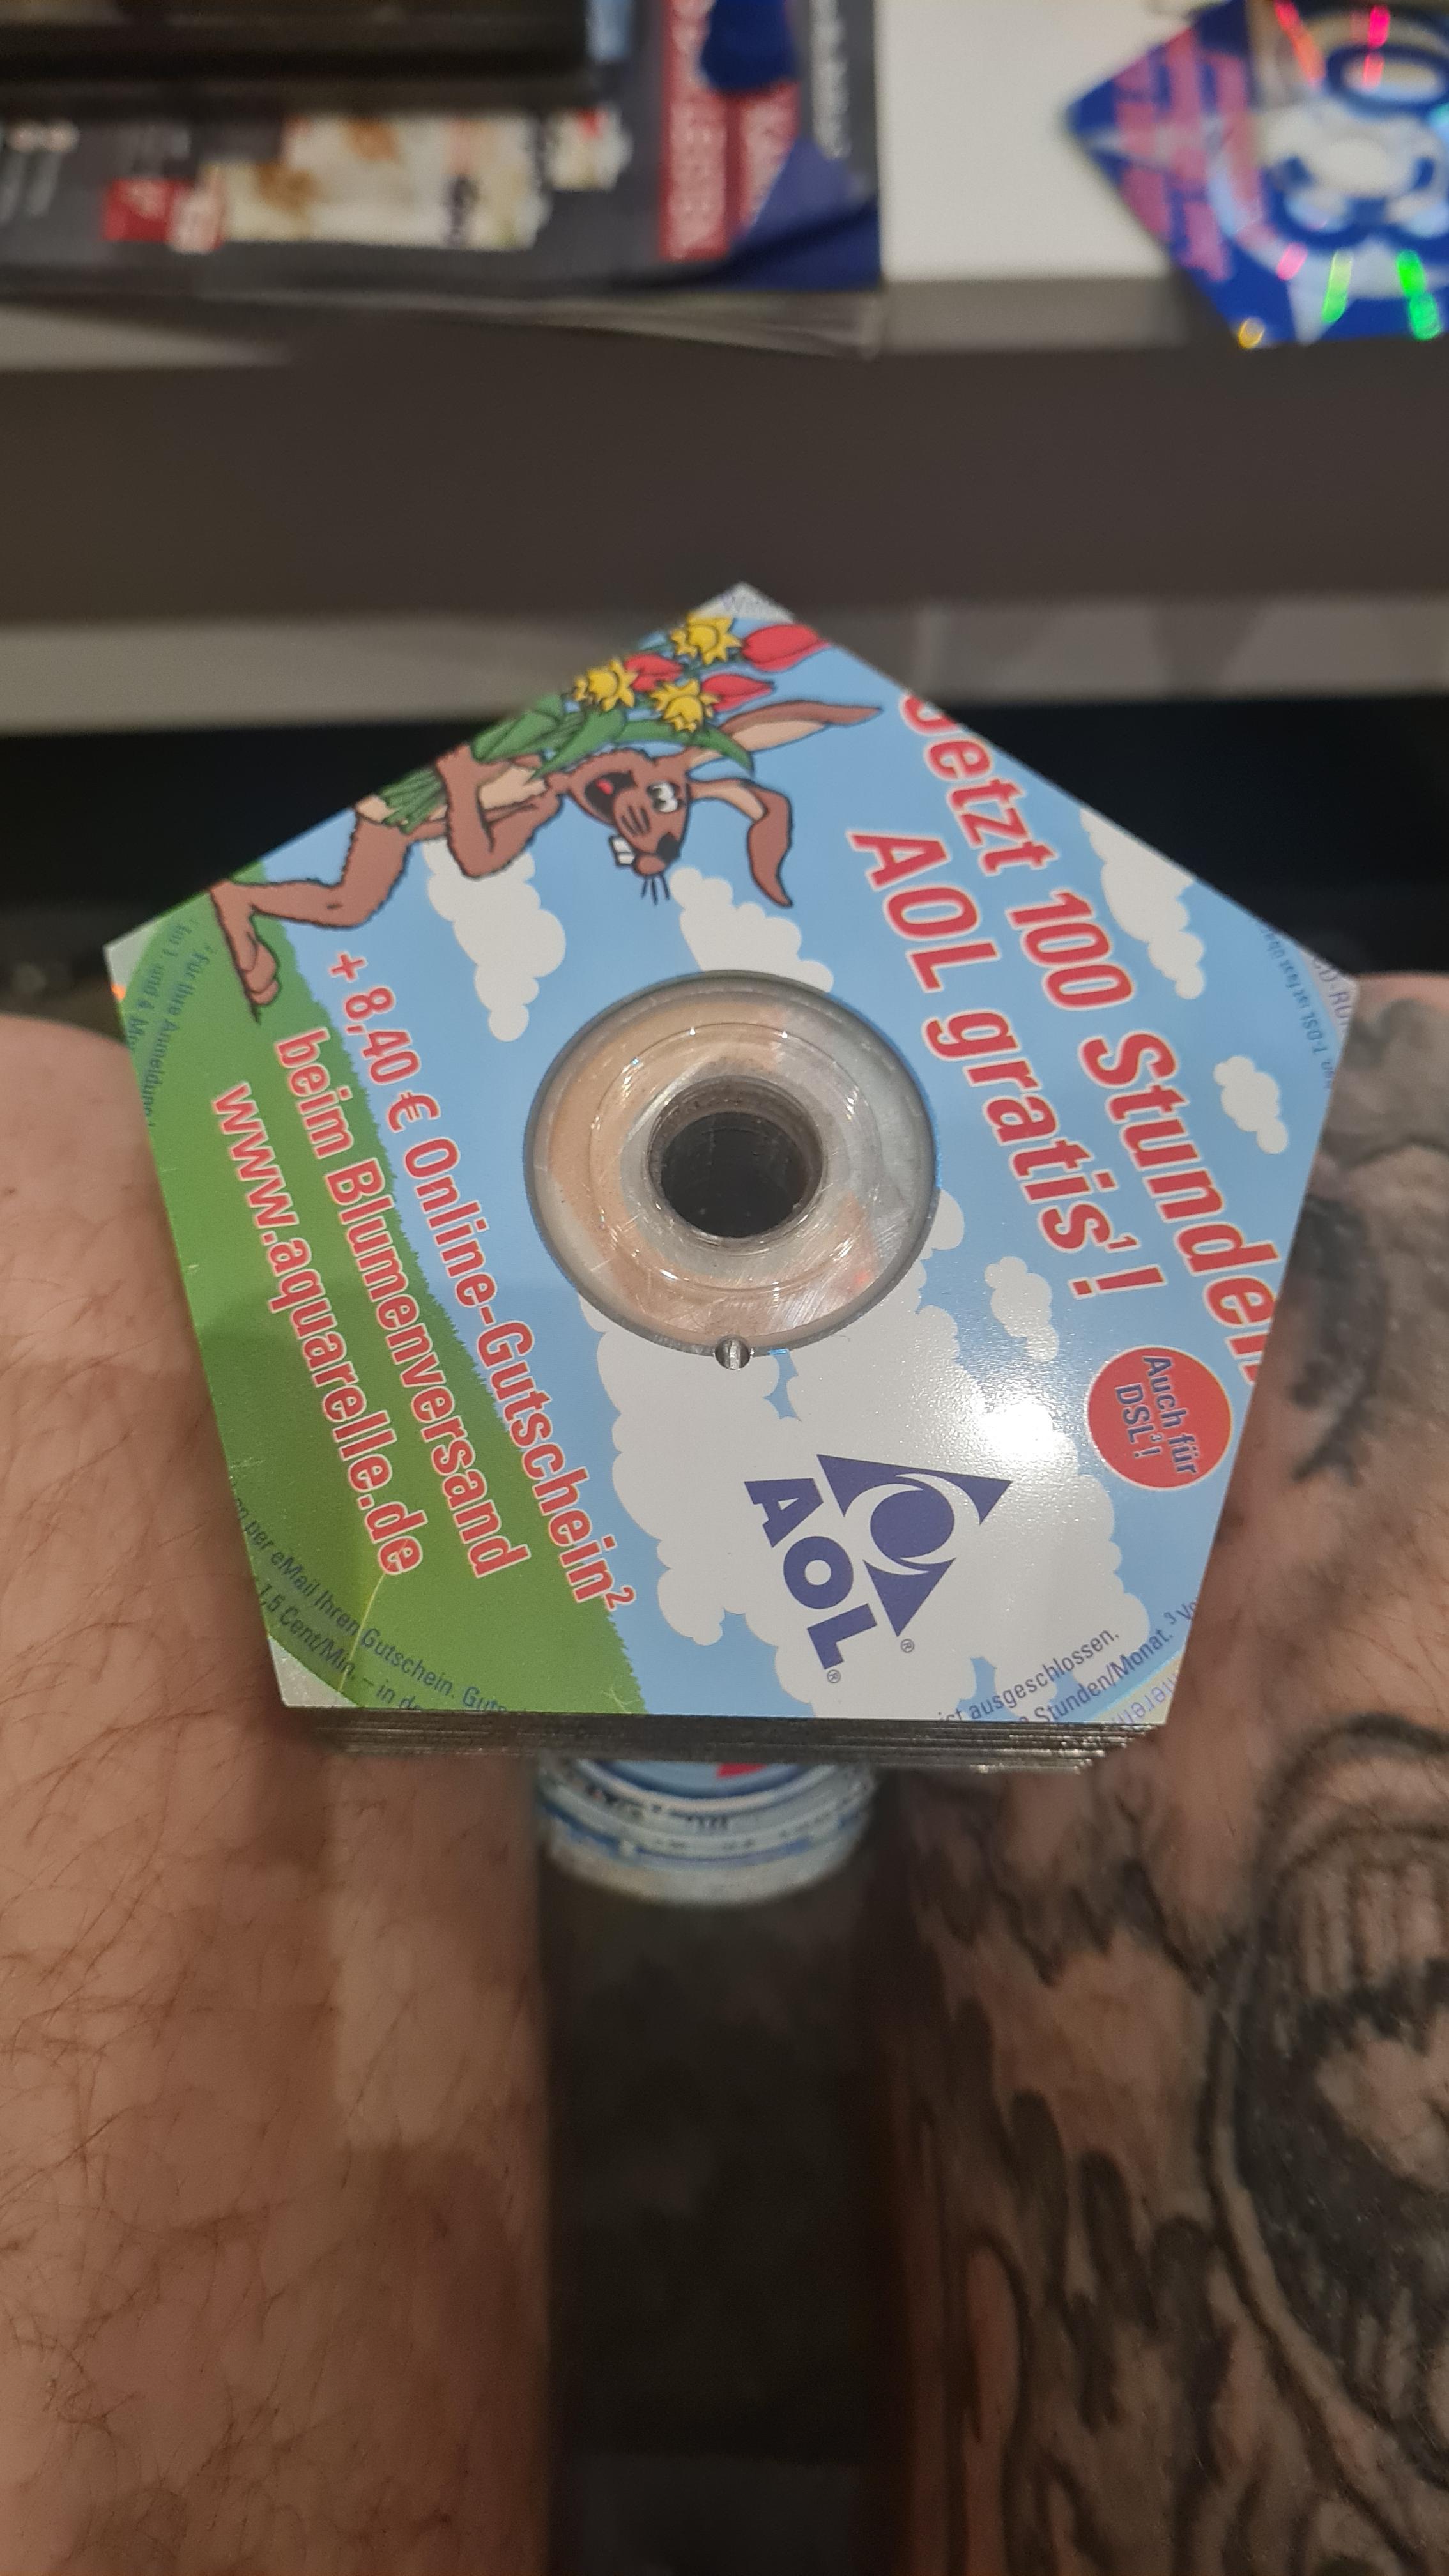
I was ~14 years old and every time i saw free AOL CD's i grabbed some. At this time i did not know for what i want this.
Then me and my father have a great idea.
Pic up a 3D Model of Head, Slice it and then mill the AOL CD's.
We did that and then the Discs are waiting over 20 years to be assembled.
I found the project again and thoght "now it must finished and pimped".
So i decide to glue all disc to each other and add an cool LED Stripe.
Supplies
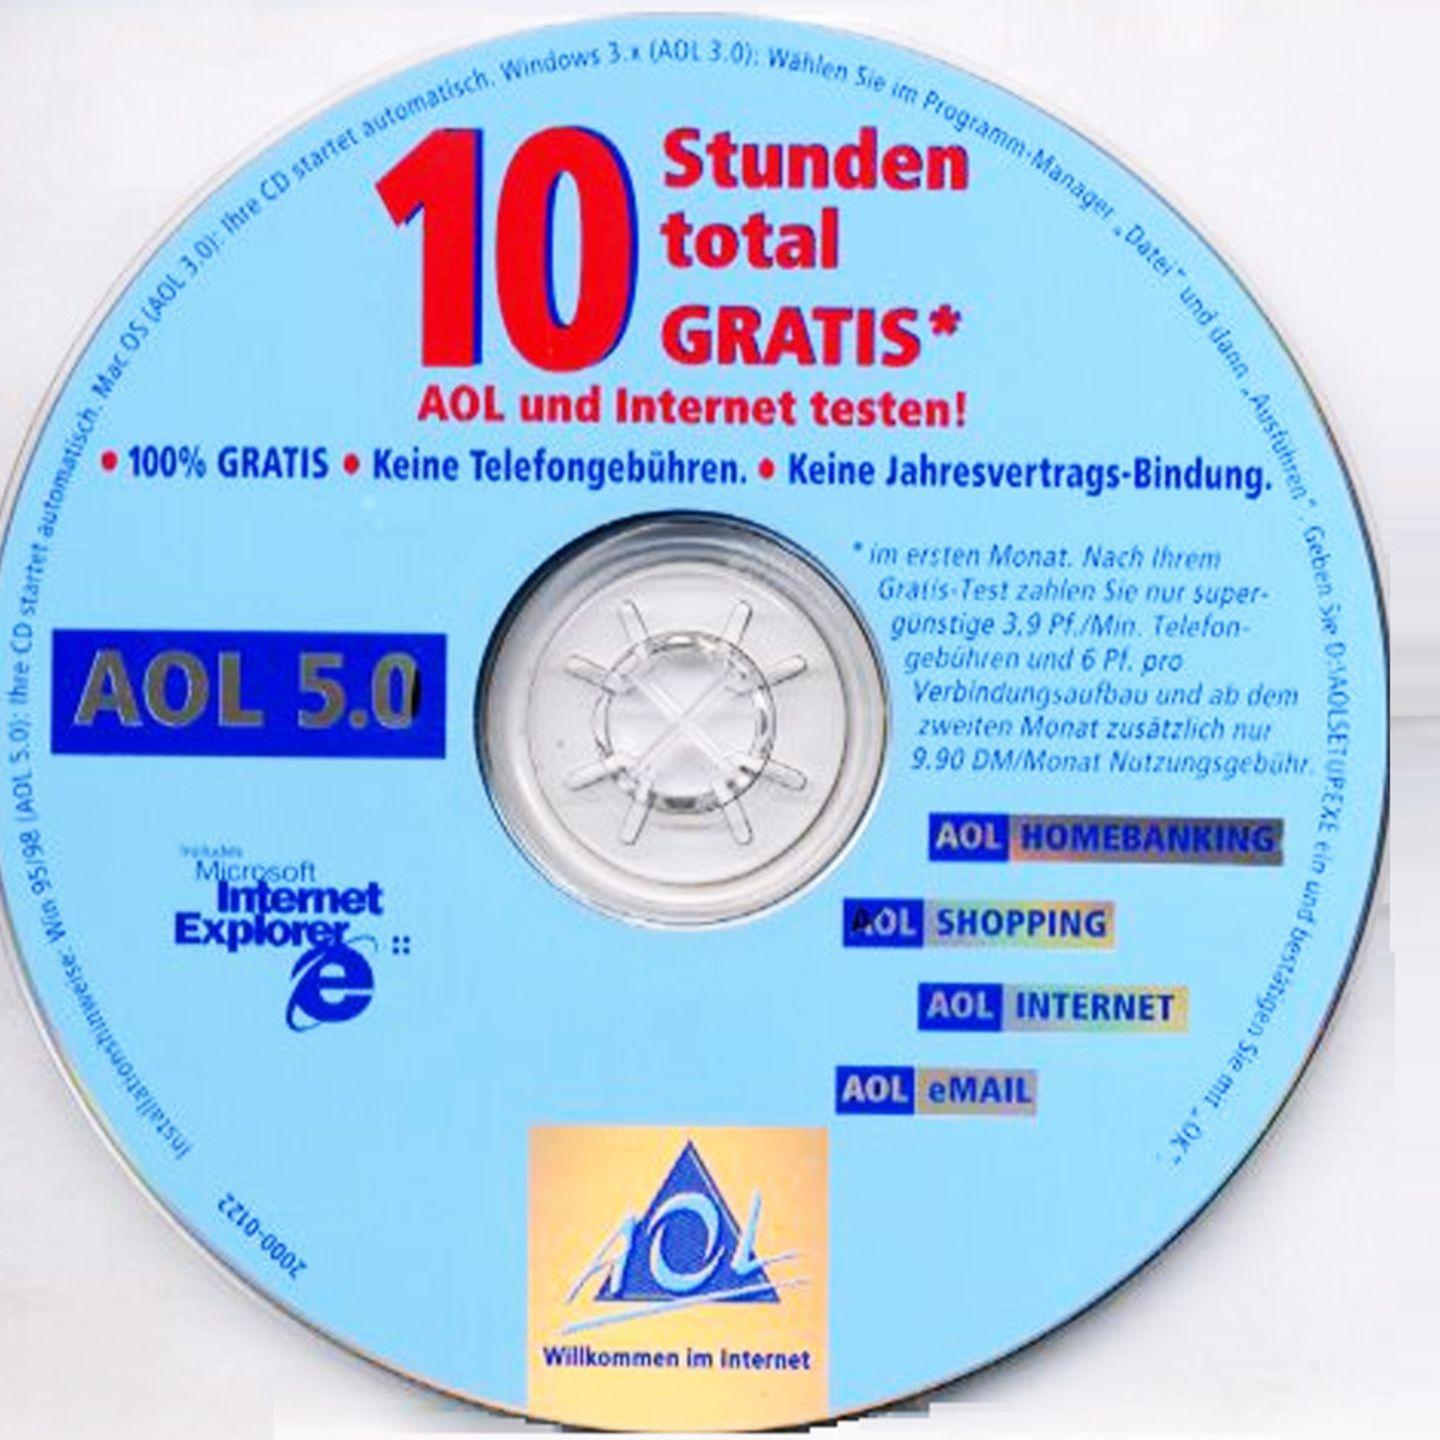
- old CD's
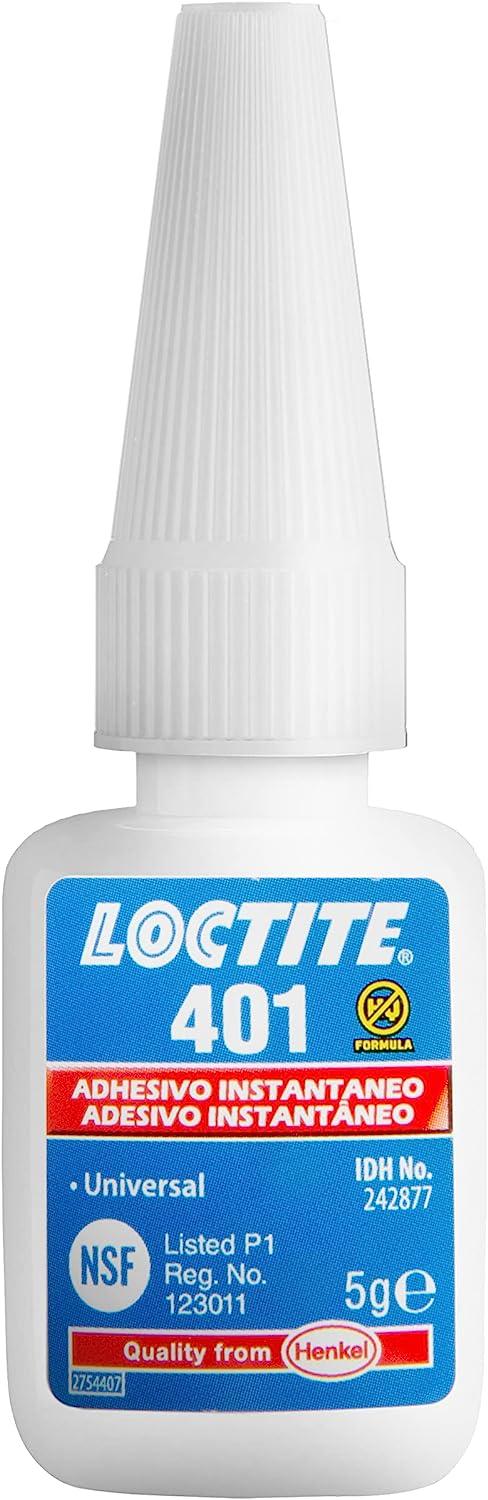
- Superglue https://amzn.to/3l02su7
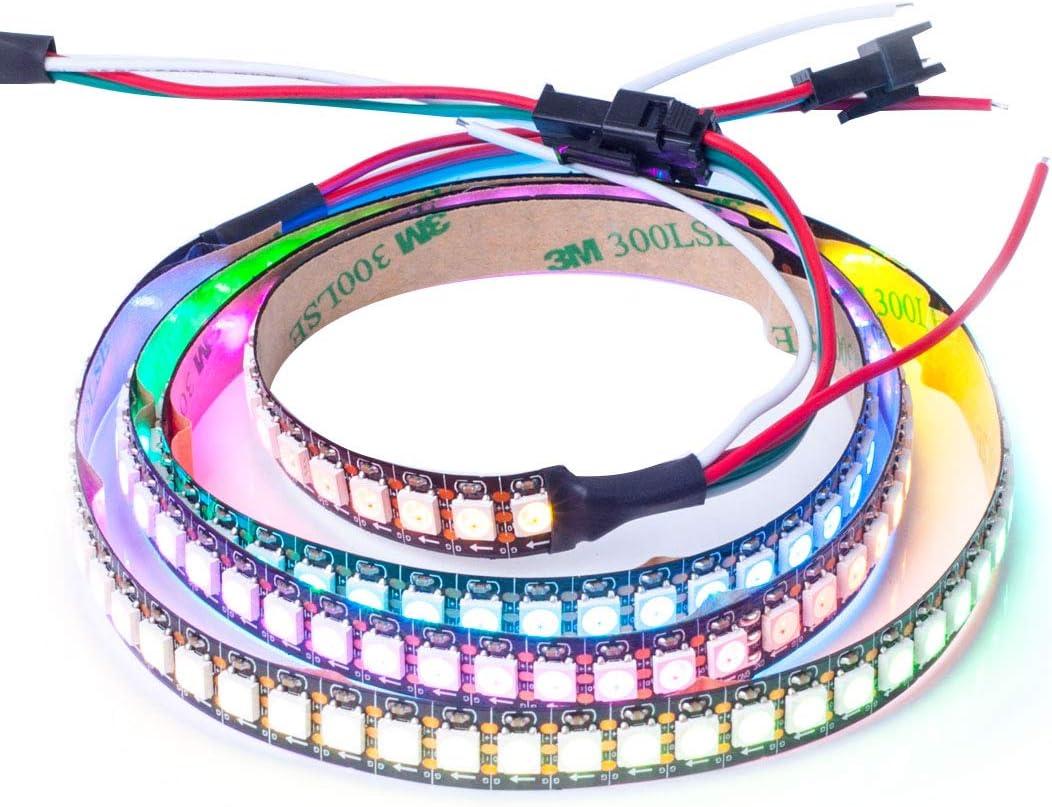
- WS2812 LED Strip 5V https://amzn.to/3ytWzbv
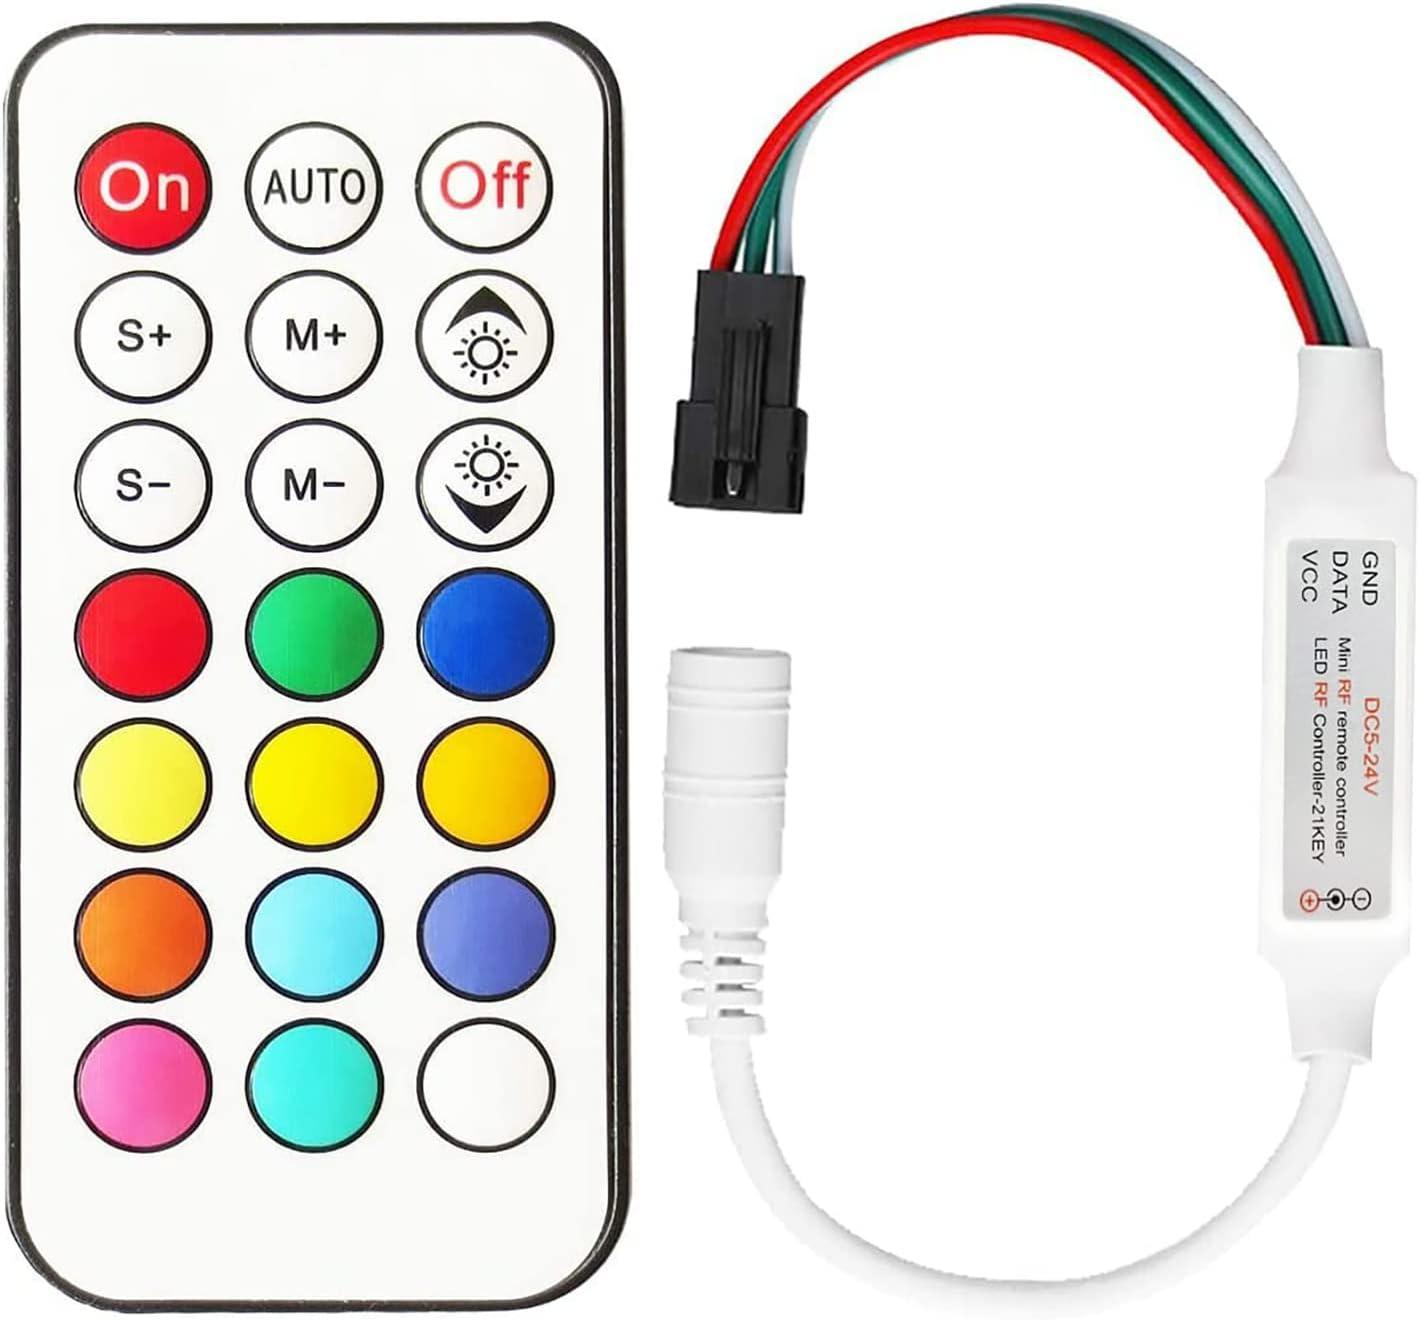
- WS2812 Controller https://amzn.to/3YyYbv7
- some Wire
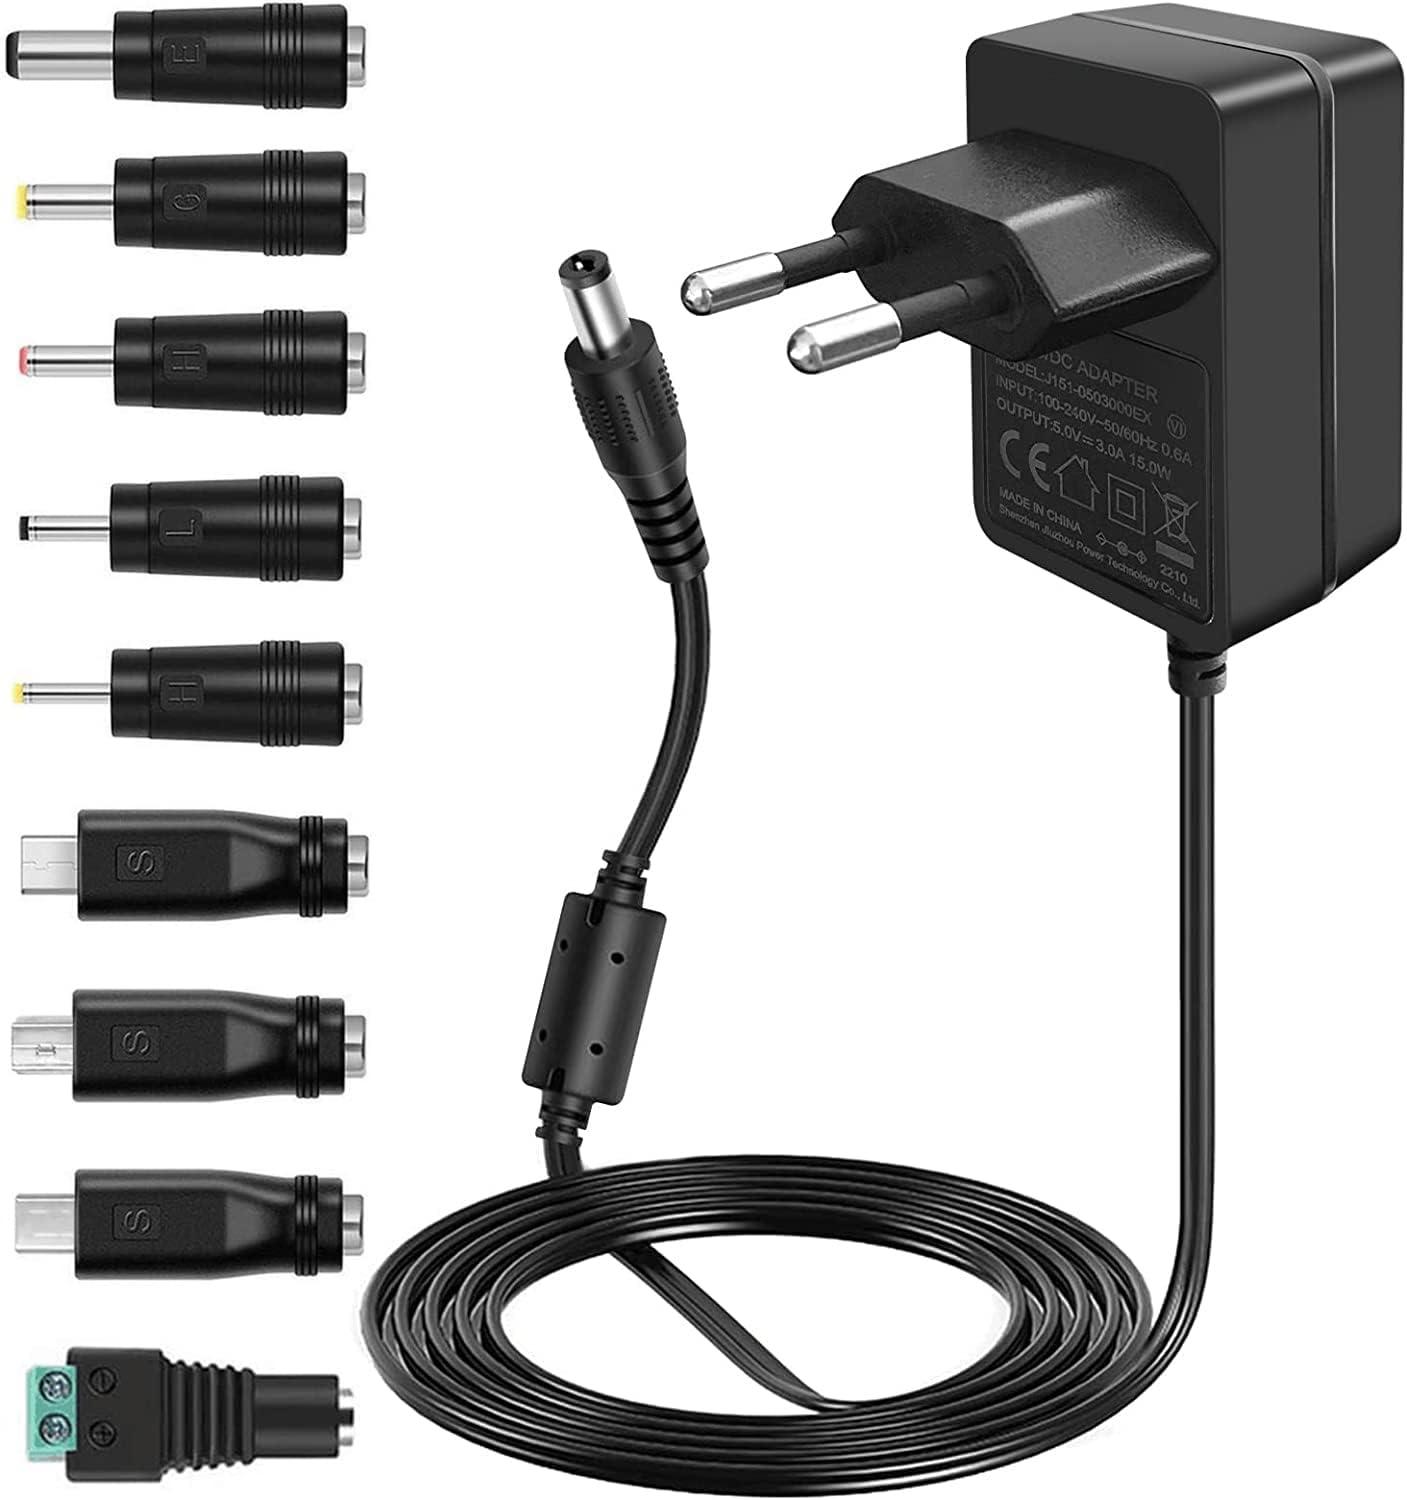
- 5V DC Power Supply https://amzn.to/3l2h7Vq
- CNC Milling Machine
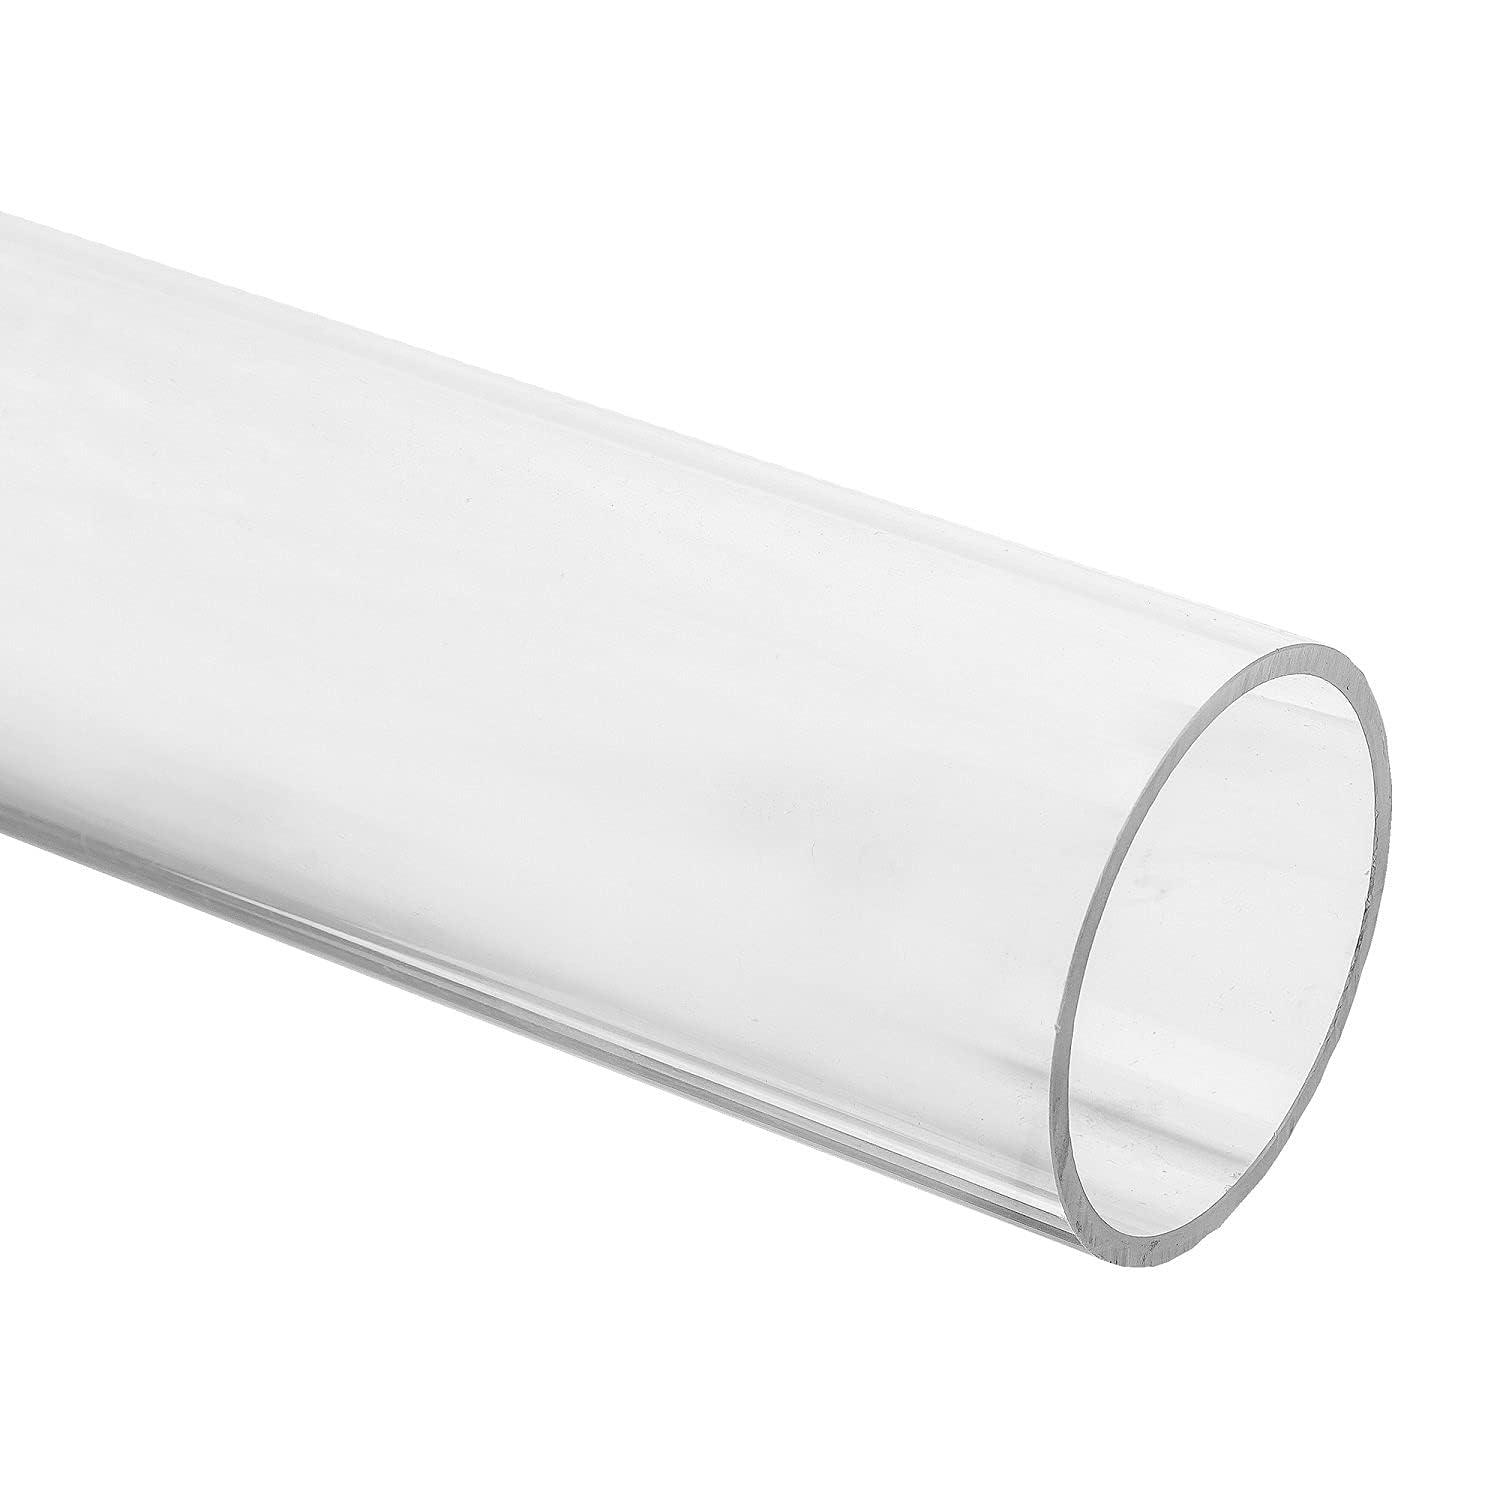
- 12mm clear plastic tube https://amzn.to/3ZWMGyL
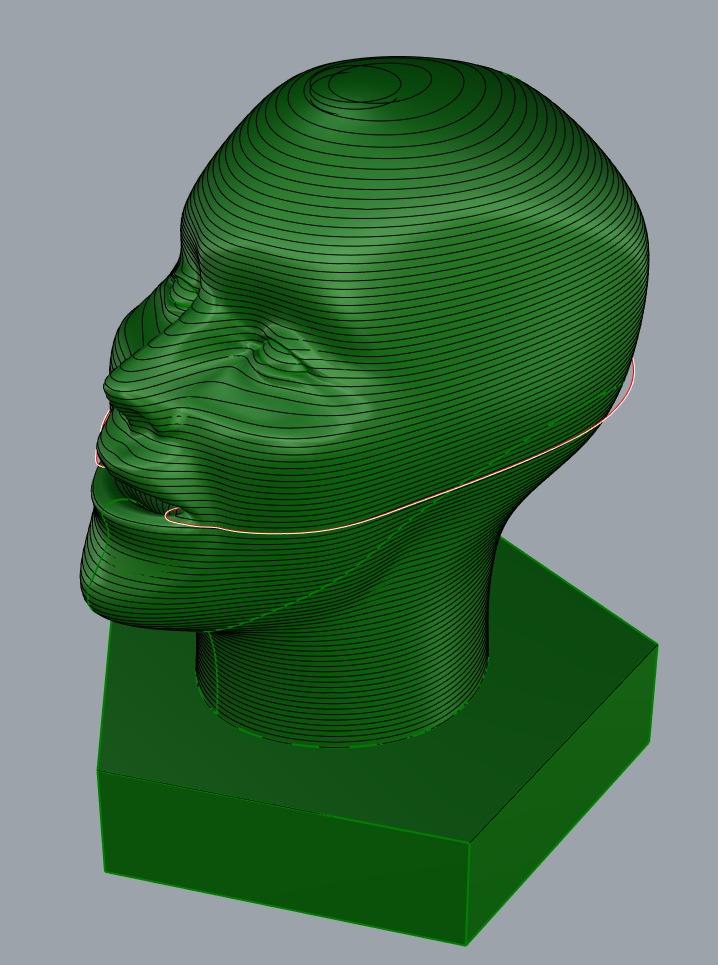
3D Model Slicing
.png)
.png)
.png)
- Download Slicer for Fusion 360: https://knowledge.autodesk.com/sites/default/files/file_downloads/Slicer_For_Fusion360.exe.zip
- Install Slicer for Fusion 360
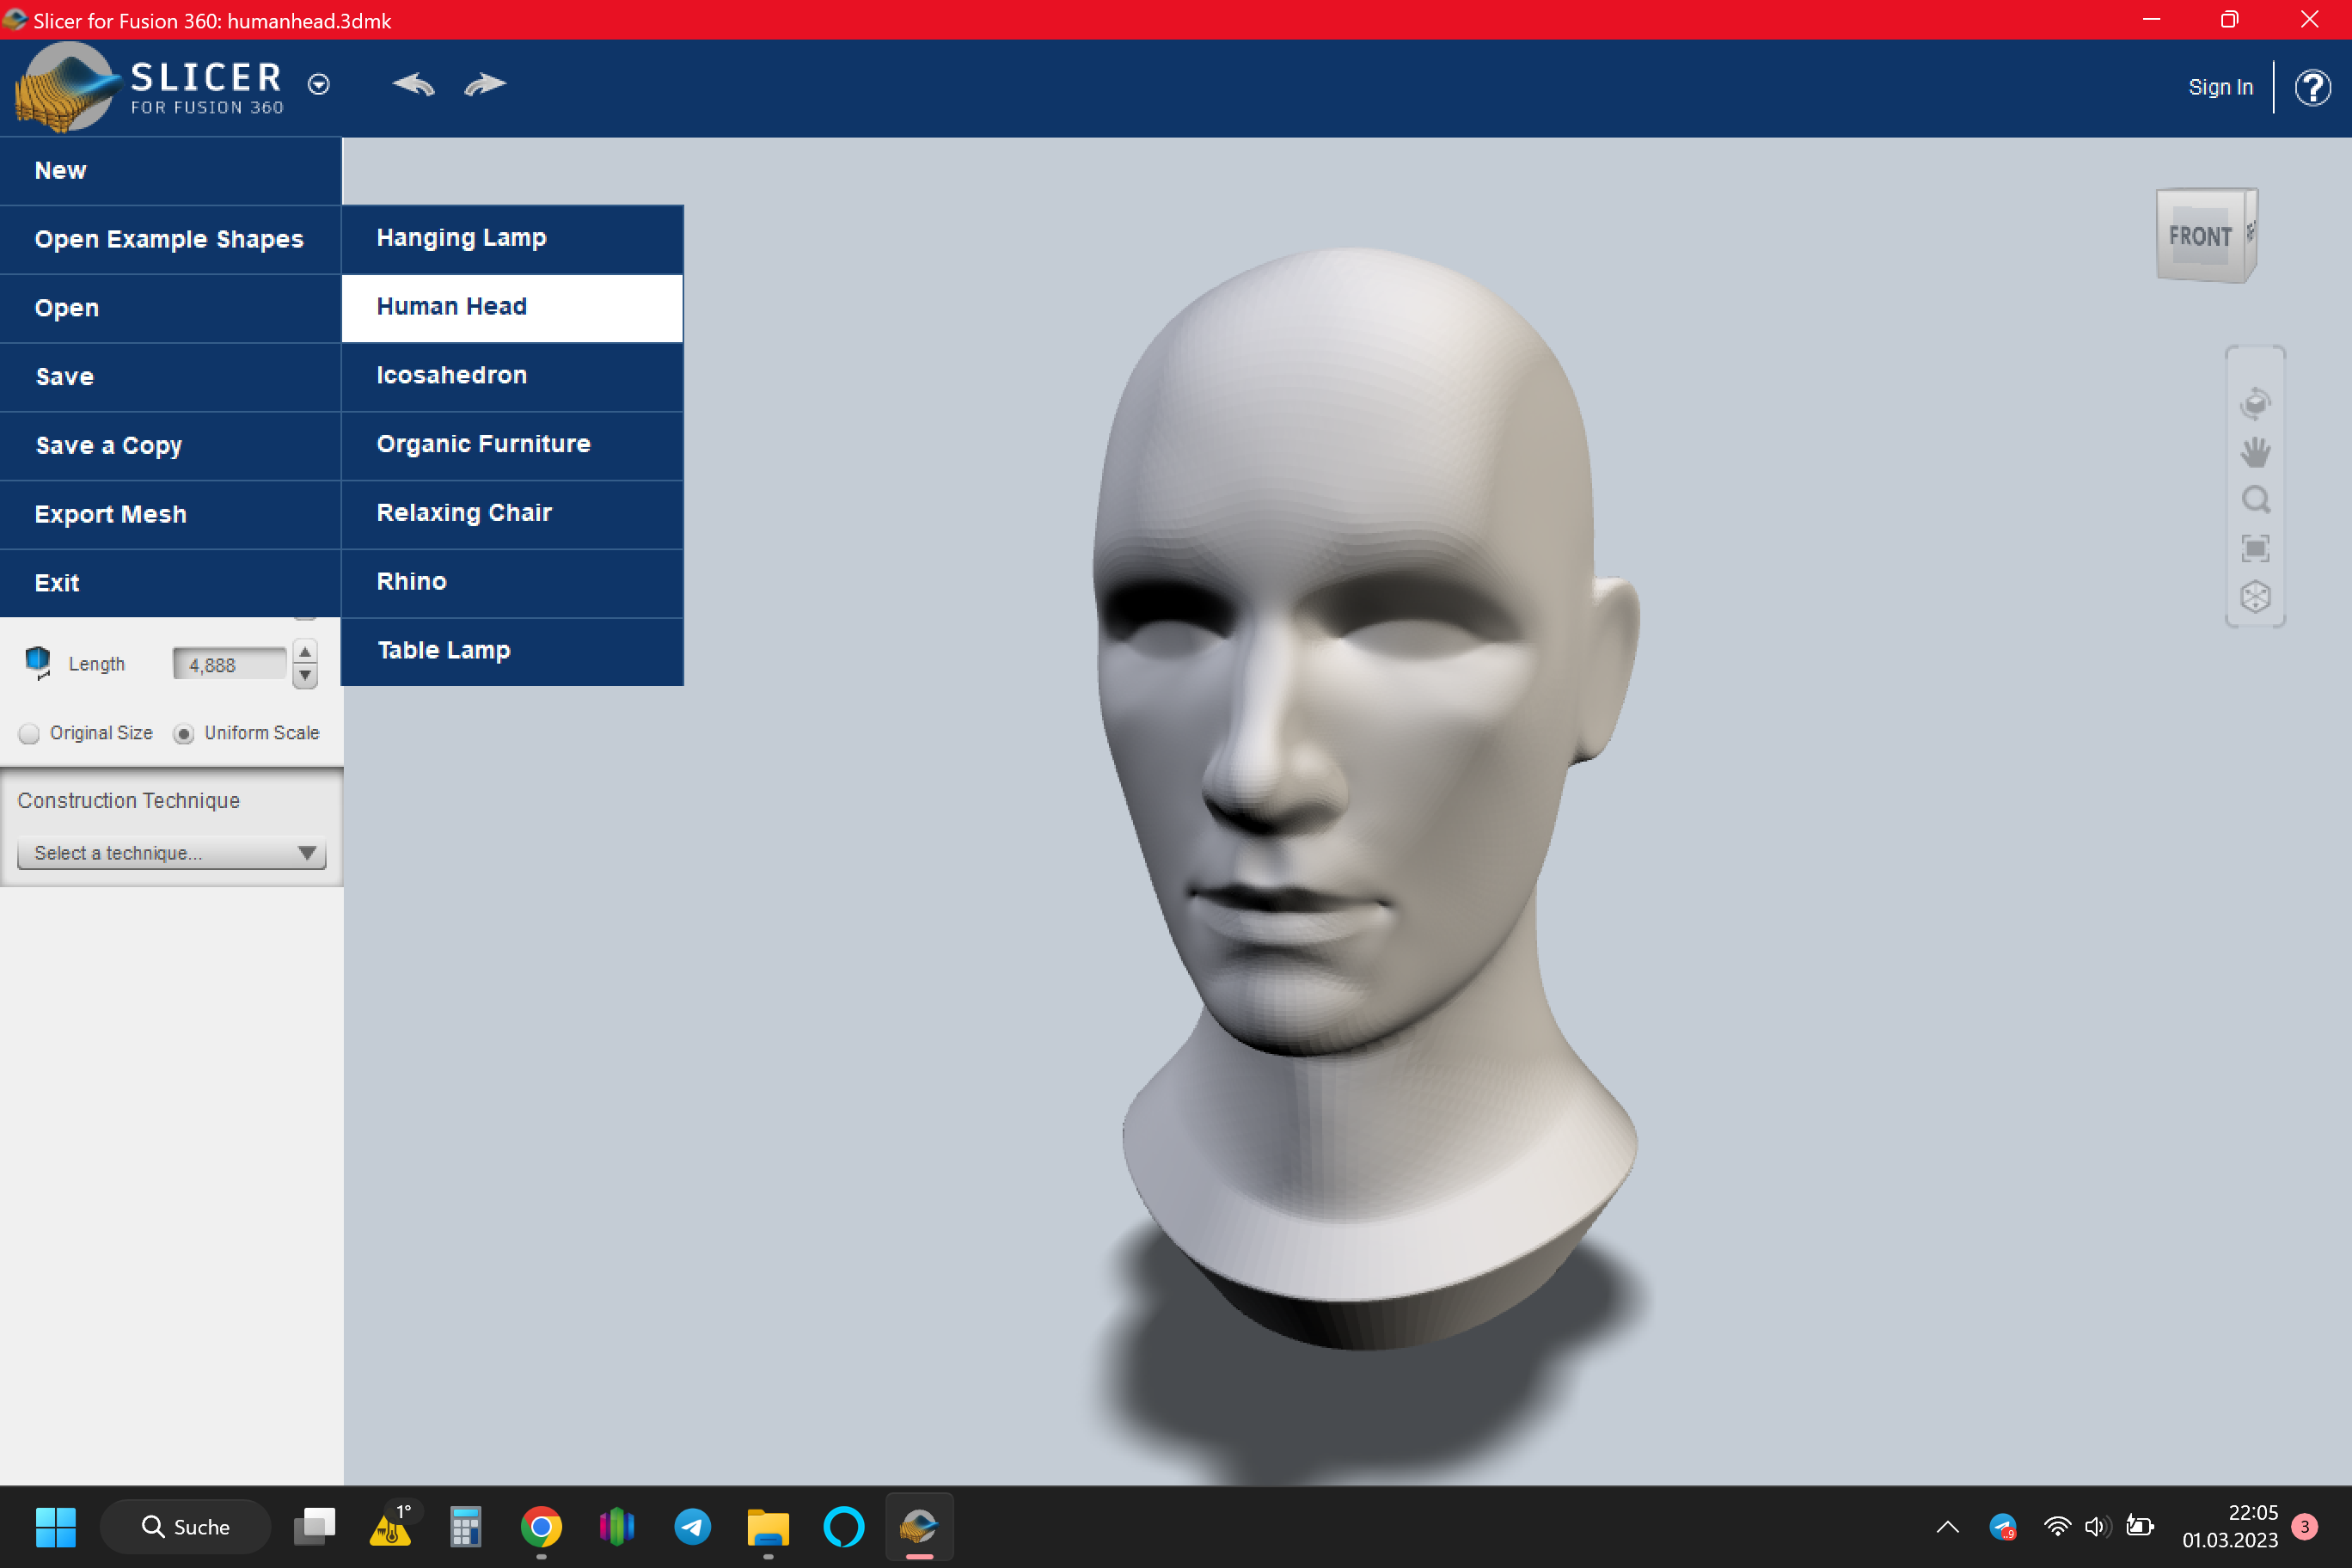
- Start it
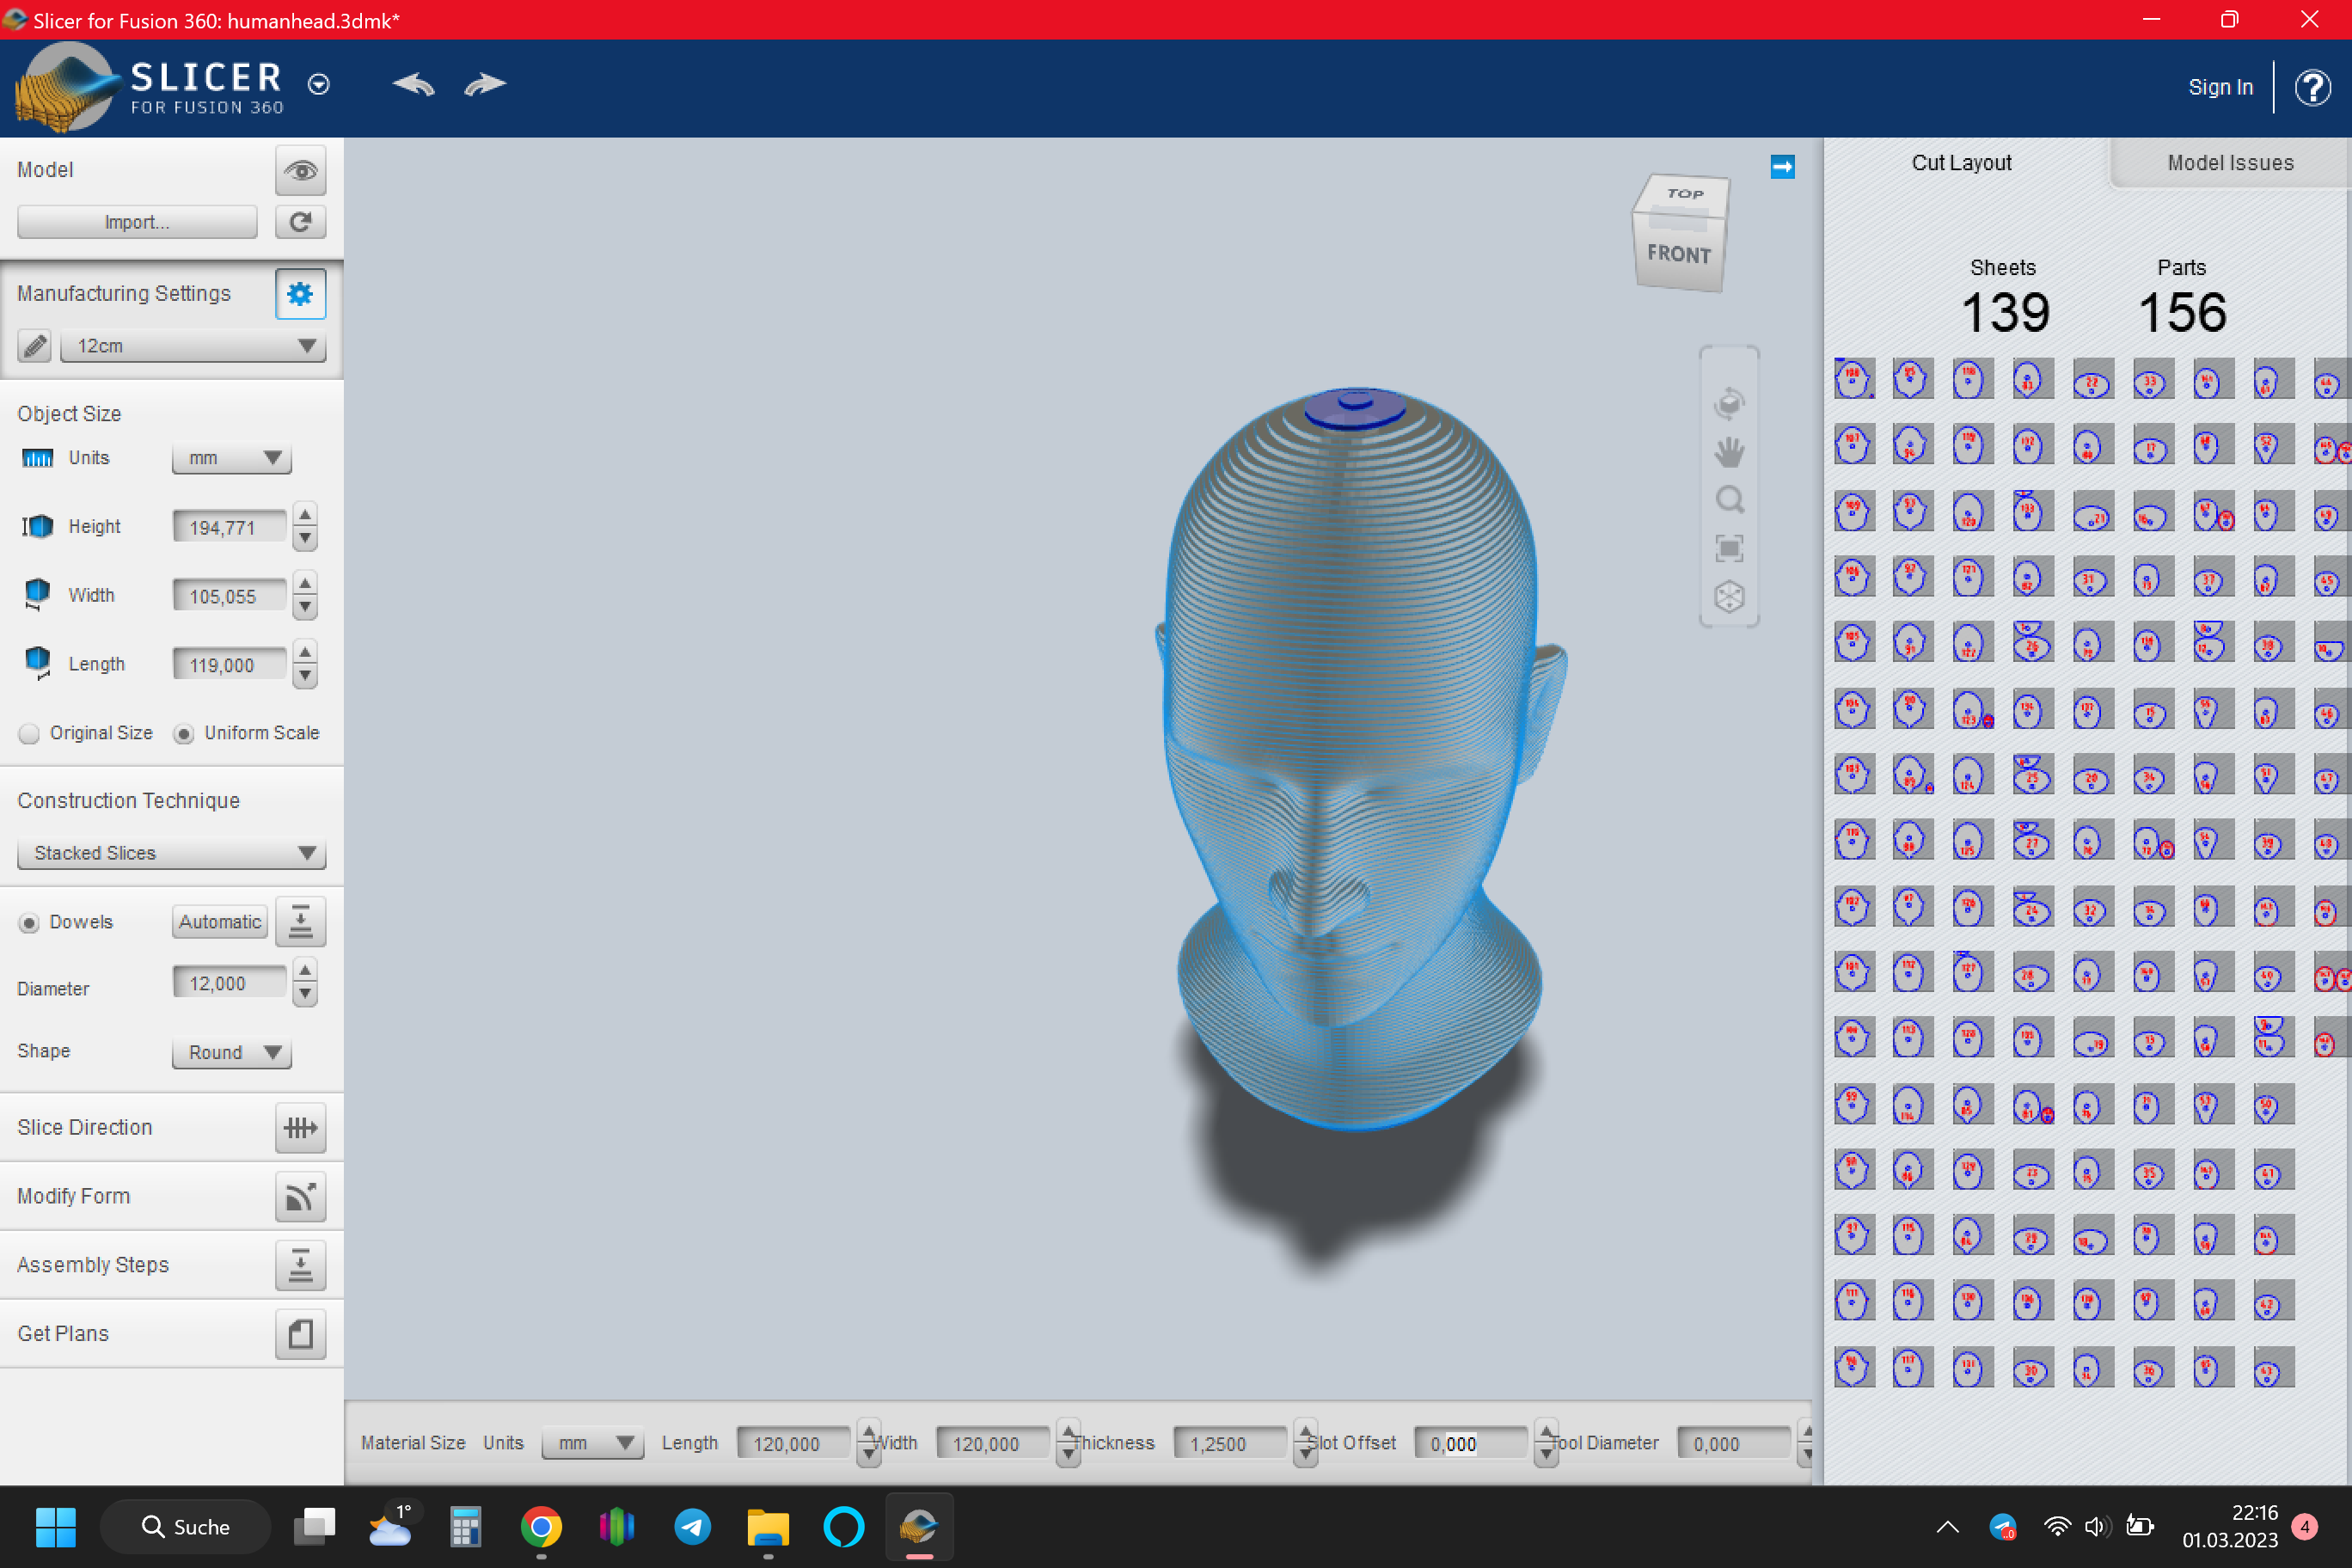
- Open Example Shapes -> Human Head
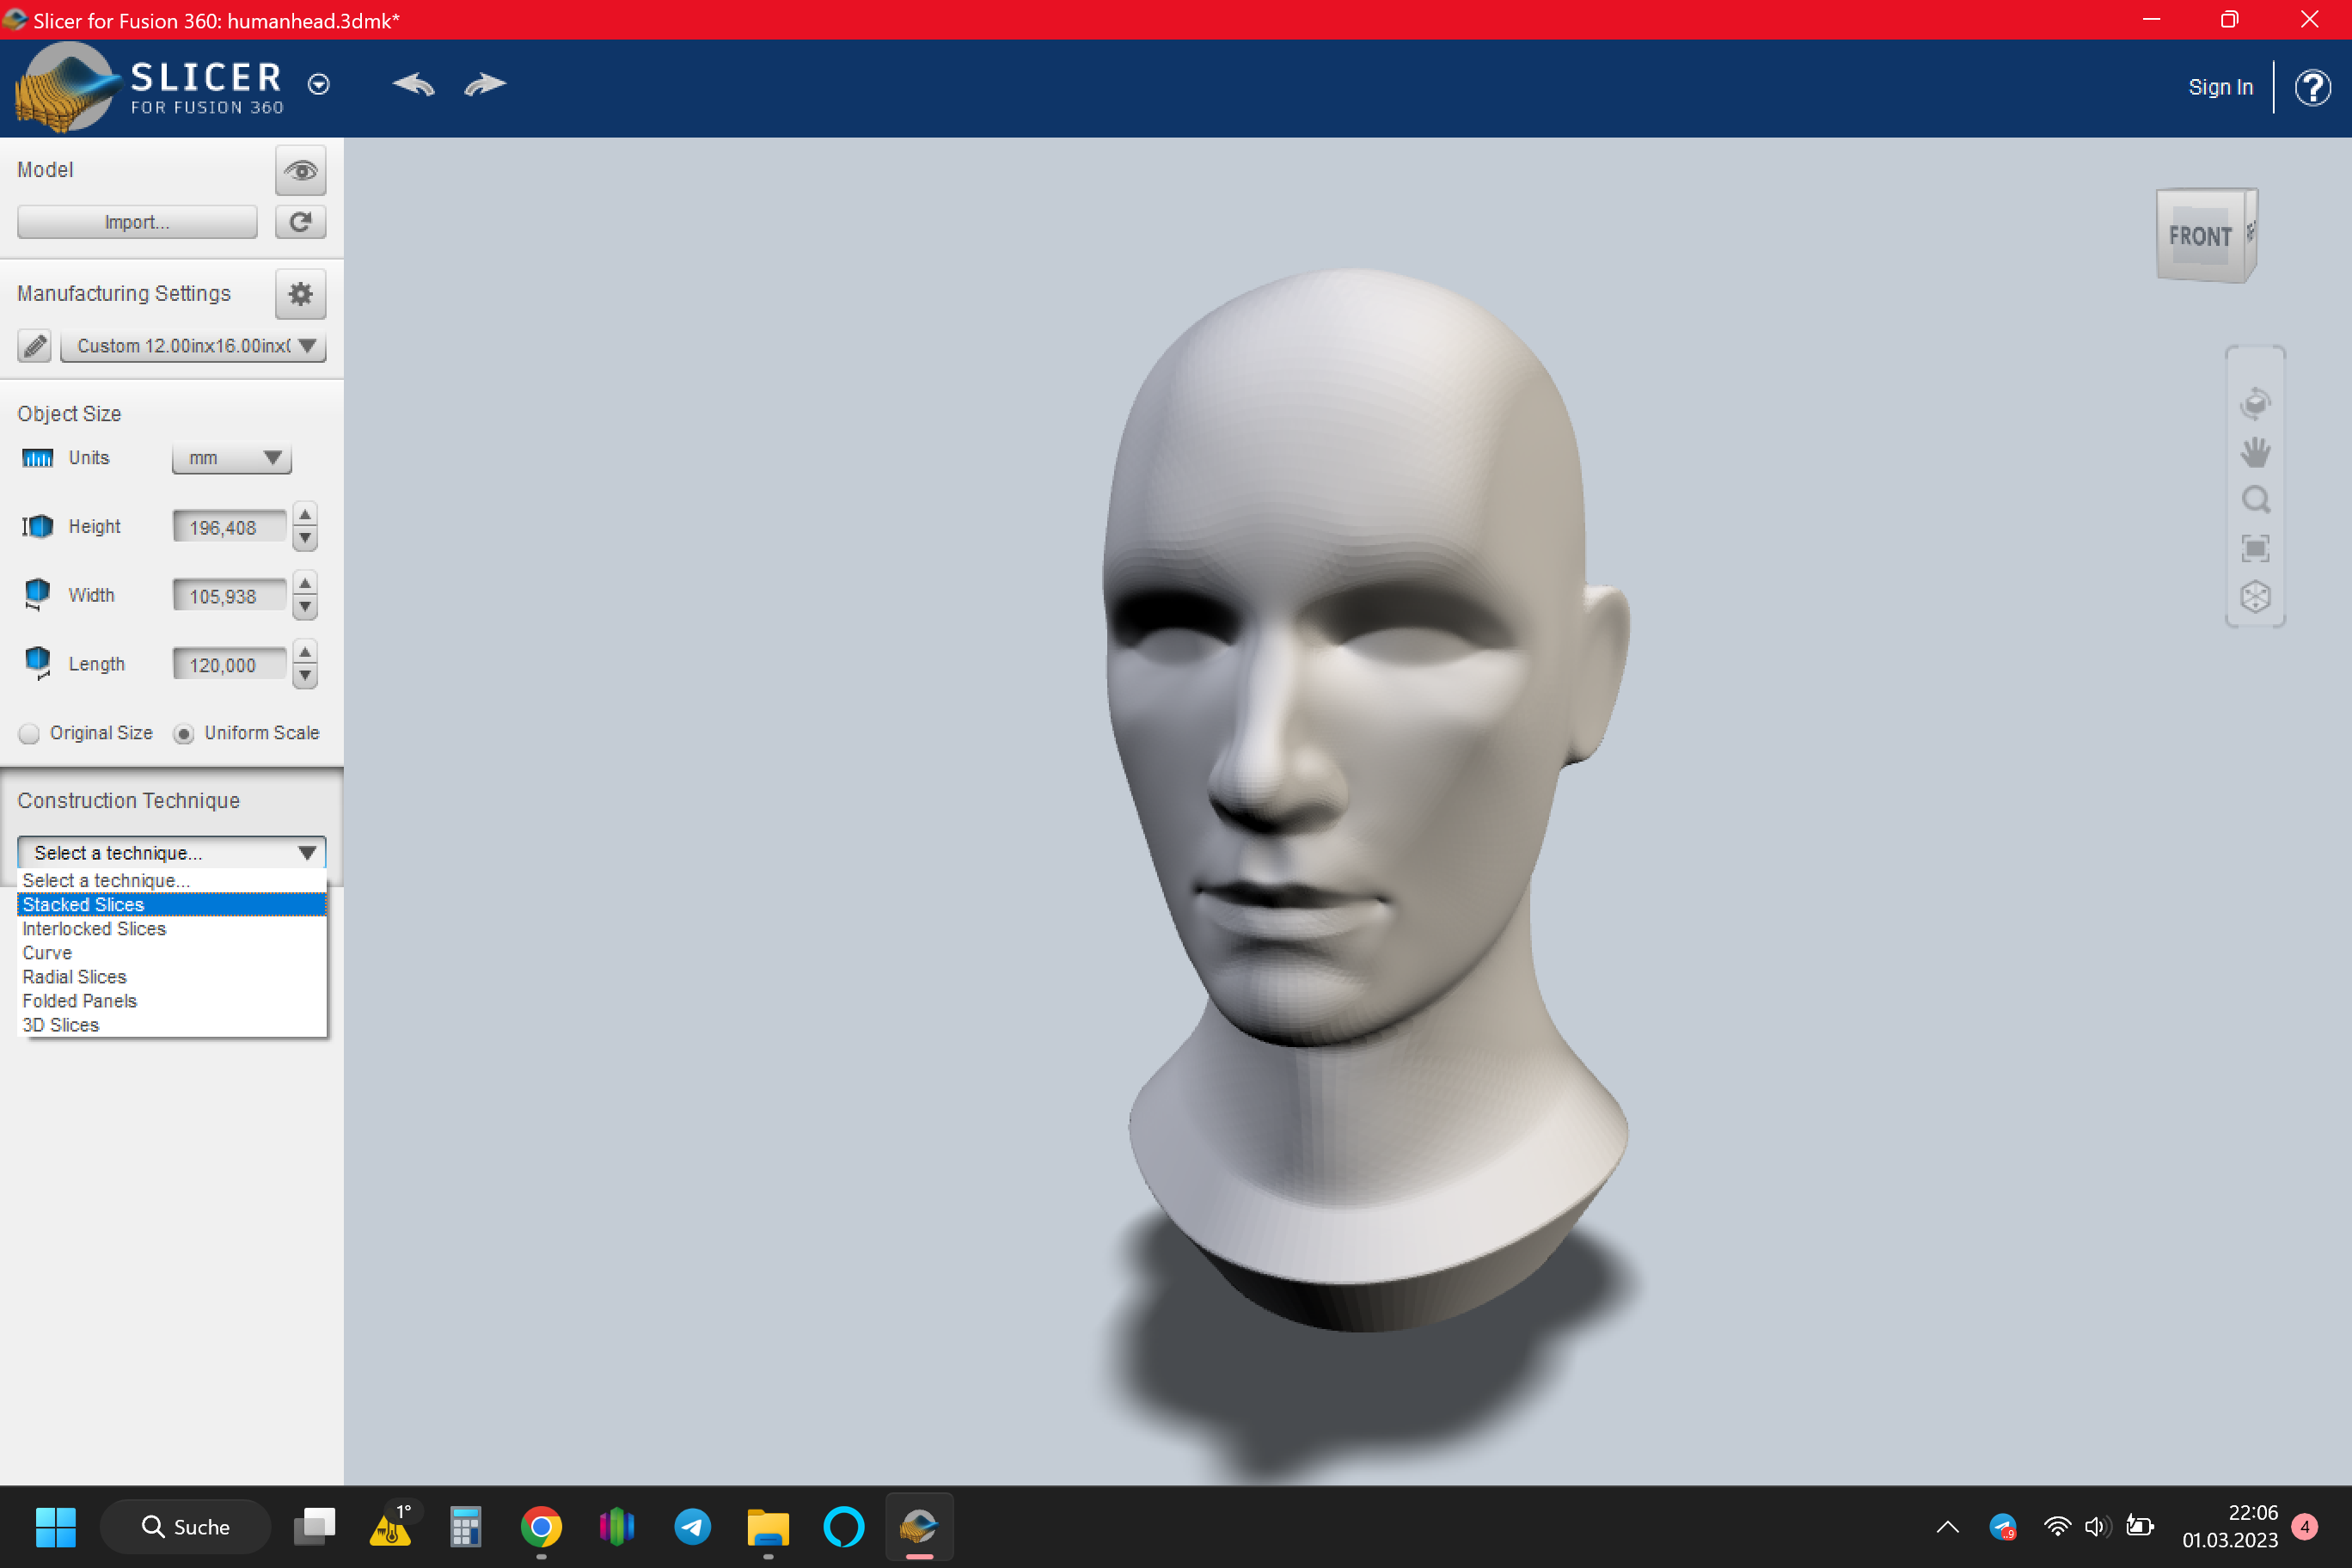
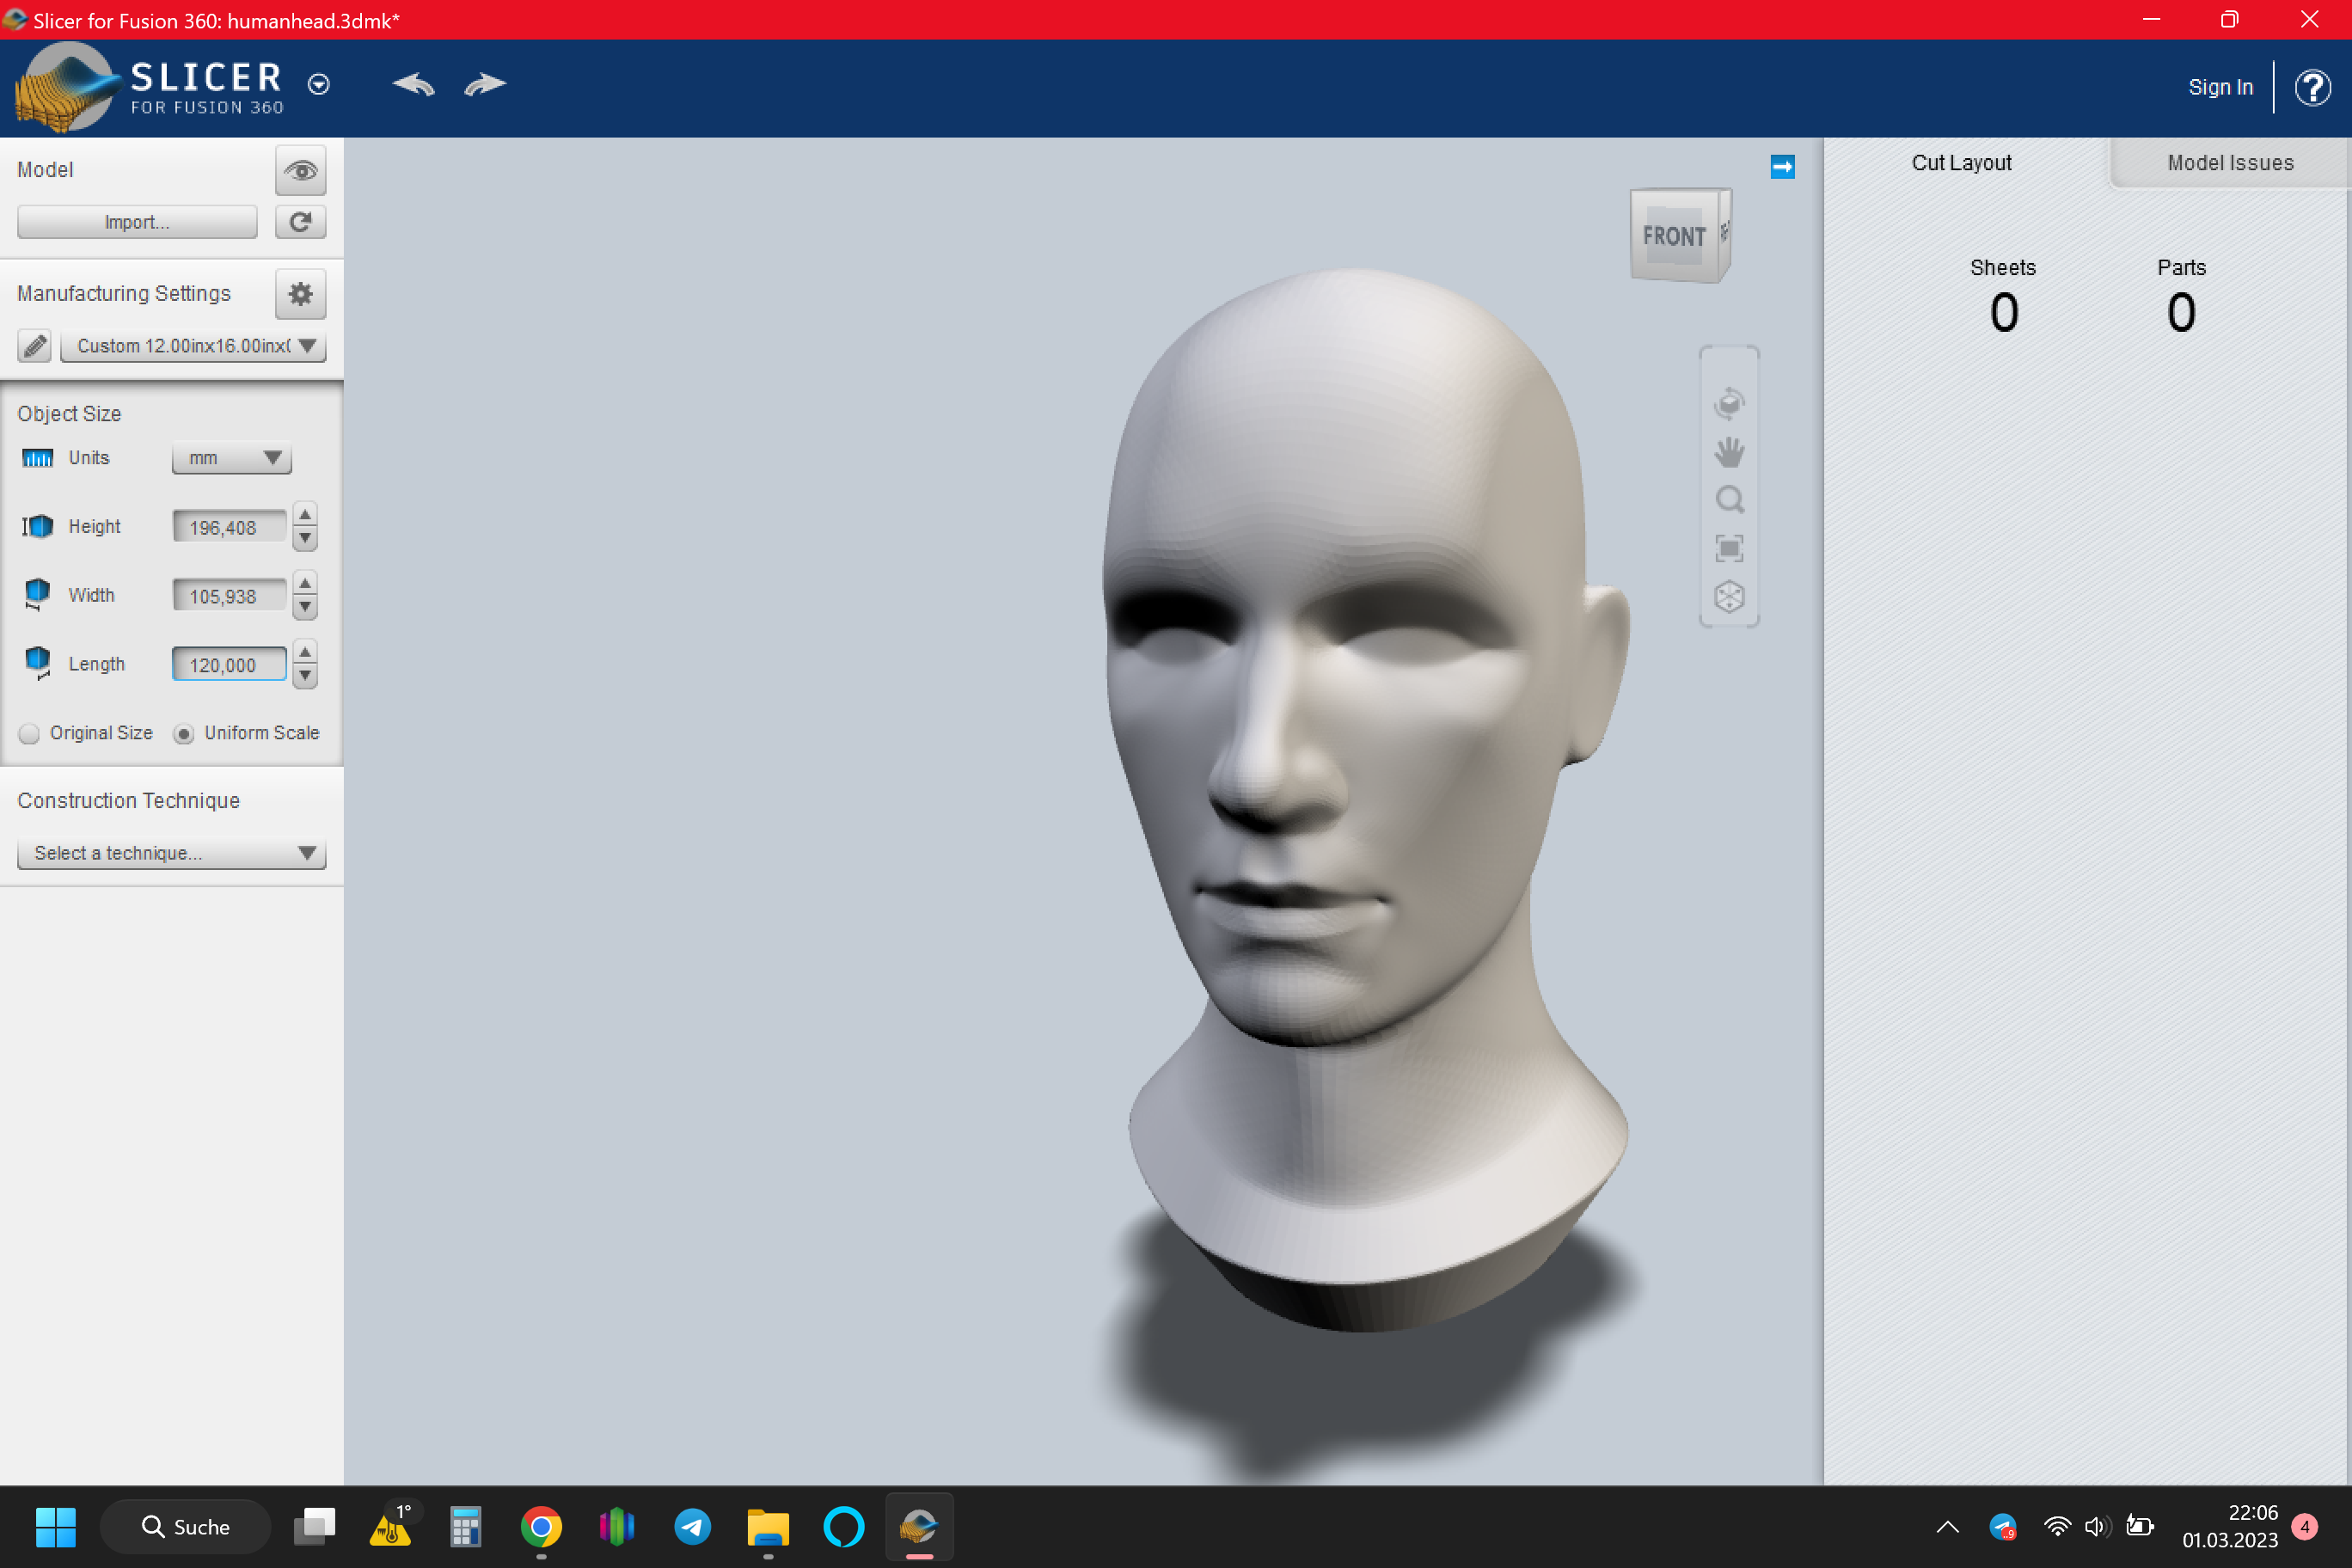
- Click Manufacturing Settings and change some settings at the bottom of window
- Material Size Units -> mm
- Thickness -> 1,25mm
- Scale width that its fit on CD ->120mm
- Construction Technique -> Stacked Slices
- Activate Dowels -> Diameter 12mm and align it to the middle of Head. Thats the middle of CD
- Click on Get Plans
- File Type -> DXF -> mm
- Export to my Computer
Here is a super good Video Tutorial from one of my favorite Youtubers: https://www.youtube.com/watch?v=4hyrR-9zOdo&ab_channel=Ultimartinum
Milling With Estlcam
.png)
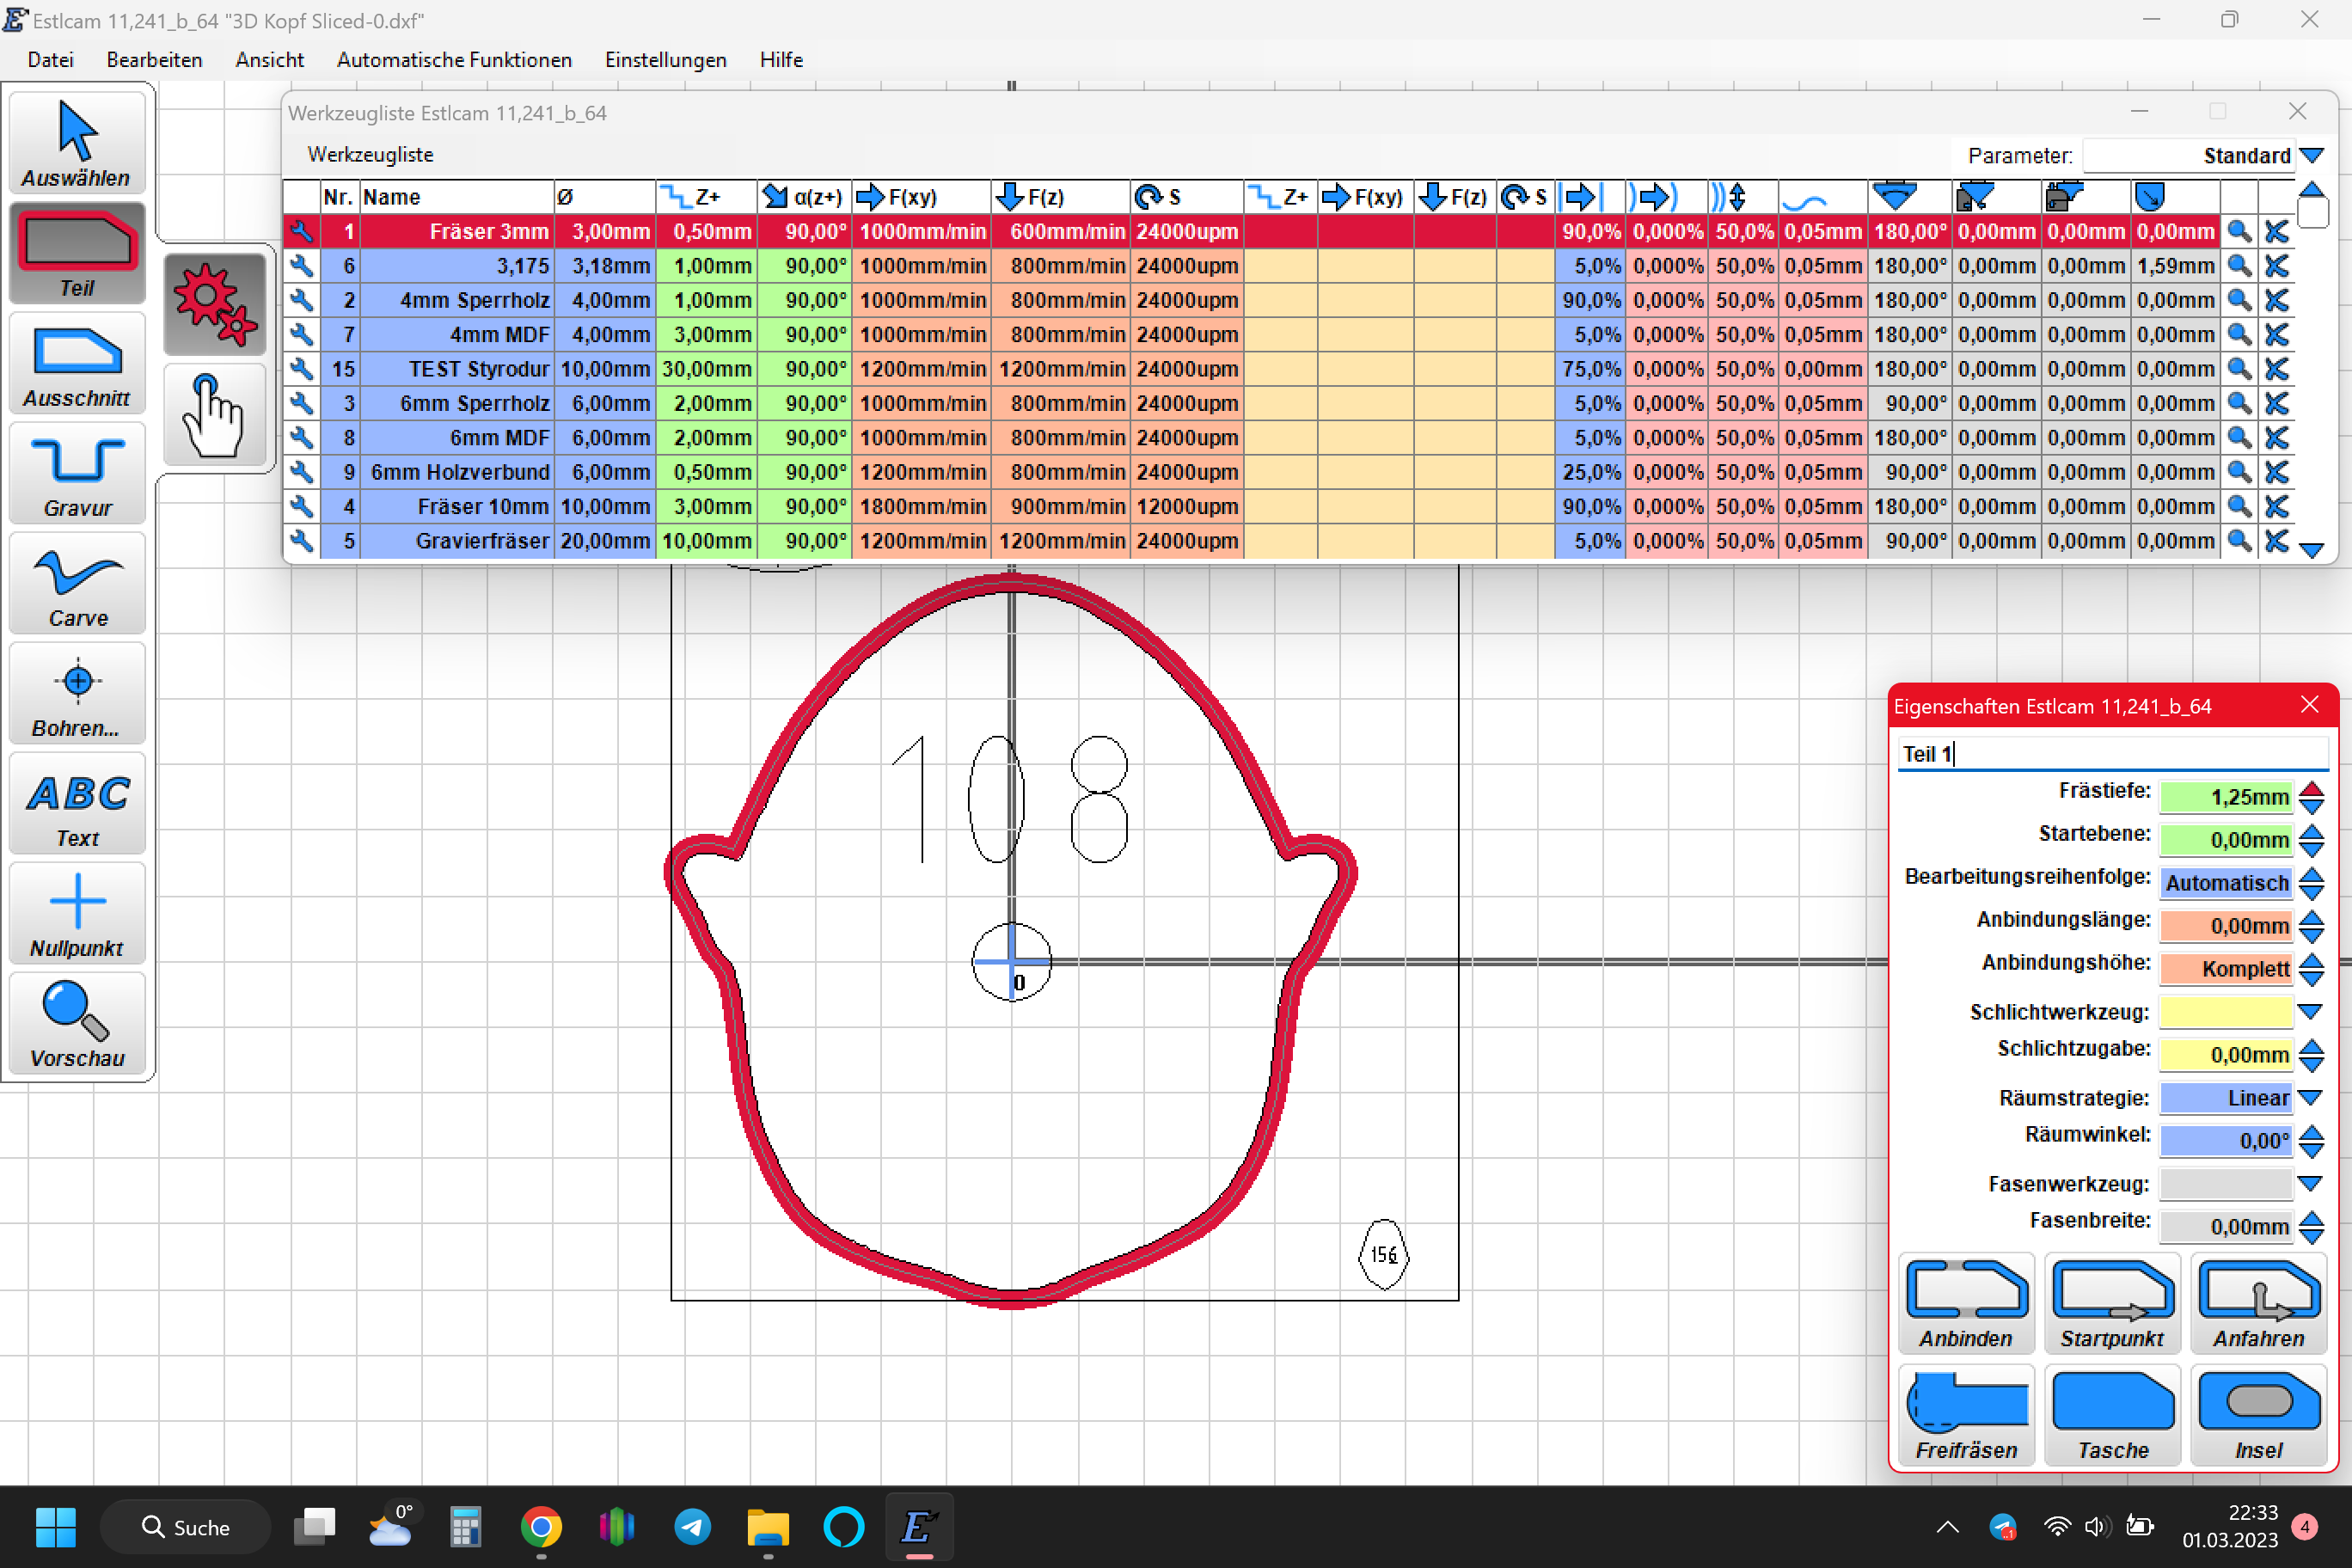
Now you can use your favorite CAM Software.
I use Estlcam, because its easy to use.
- Extract the 3D Head ZIP File
- Open the first file
- Set the Zero-Point in the Middle of the 12mm dowle hole
- Select your milling tool (i used a 3mm milling tool)
- Select Part and click on the outlines
- Set Zero Point on my Shapeoko 2 and glue a short piece of the 12mm plastic tube on it
- Now we have the same Zero Point for every layer
- Put the first CD on that point and fix it at the bottom with some double-sided adhesive tape
- Start milling
- After milling repat the steps with the second file
- Make sure to number each CD
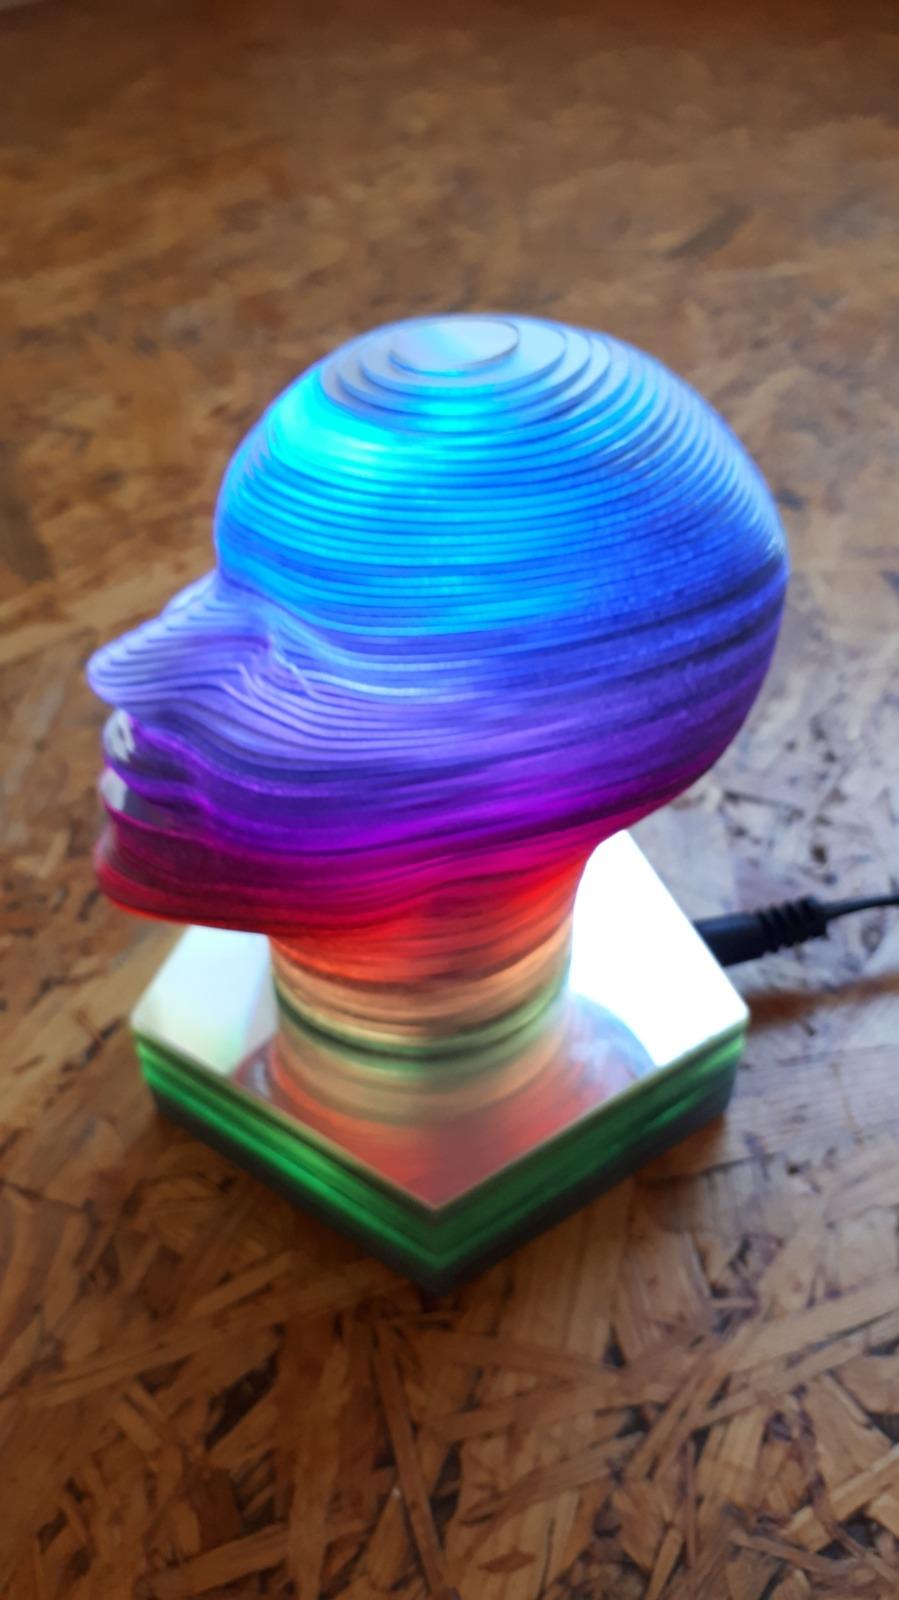
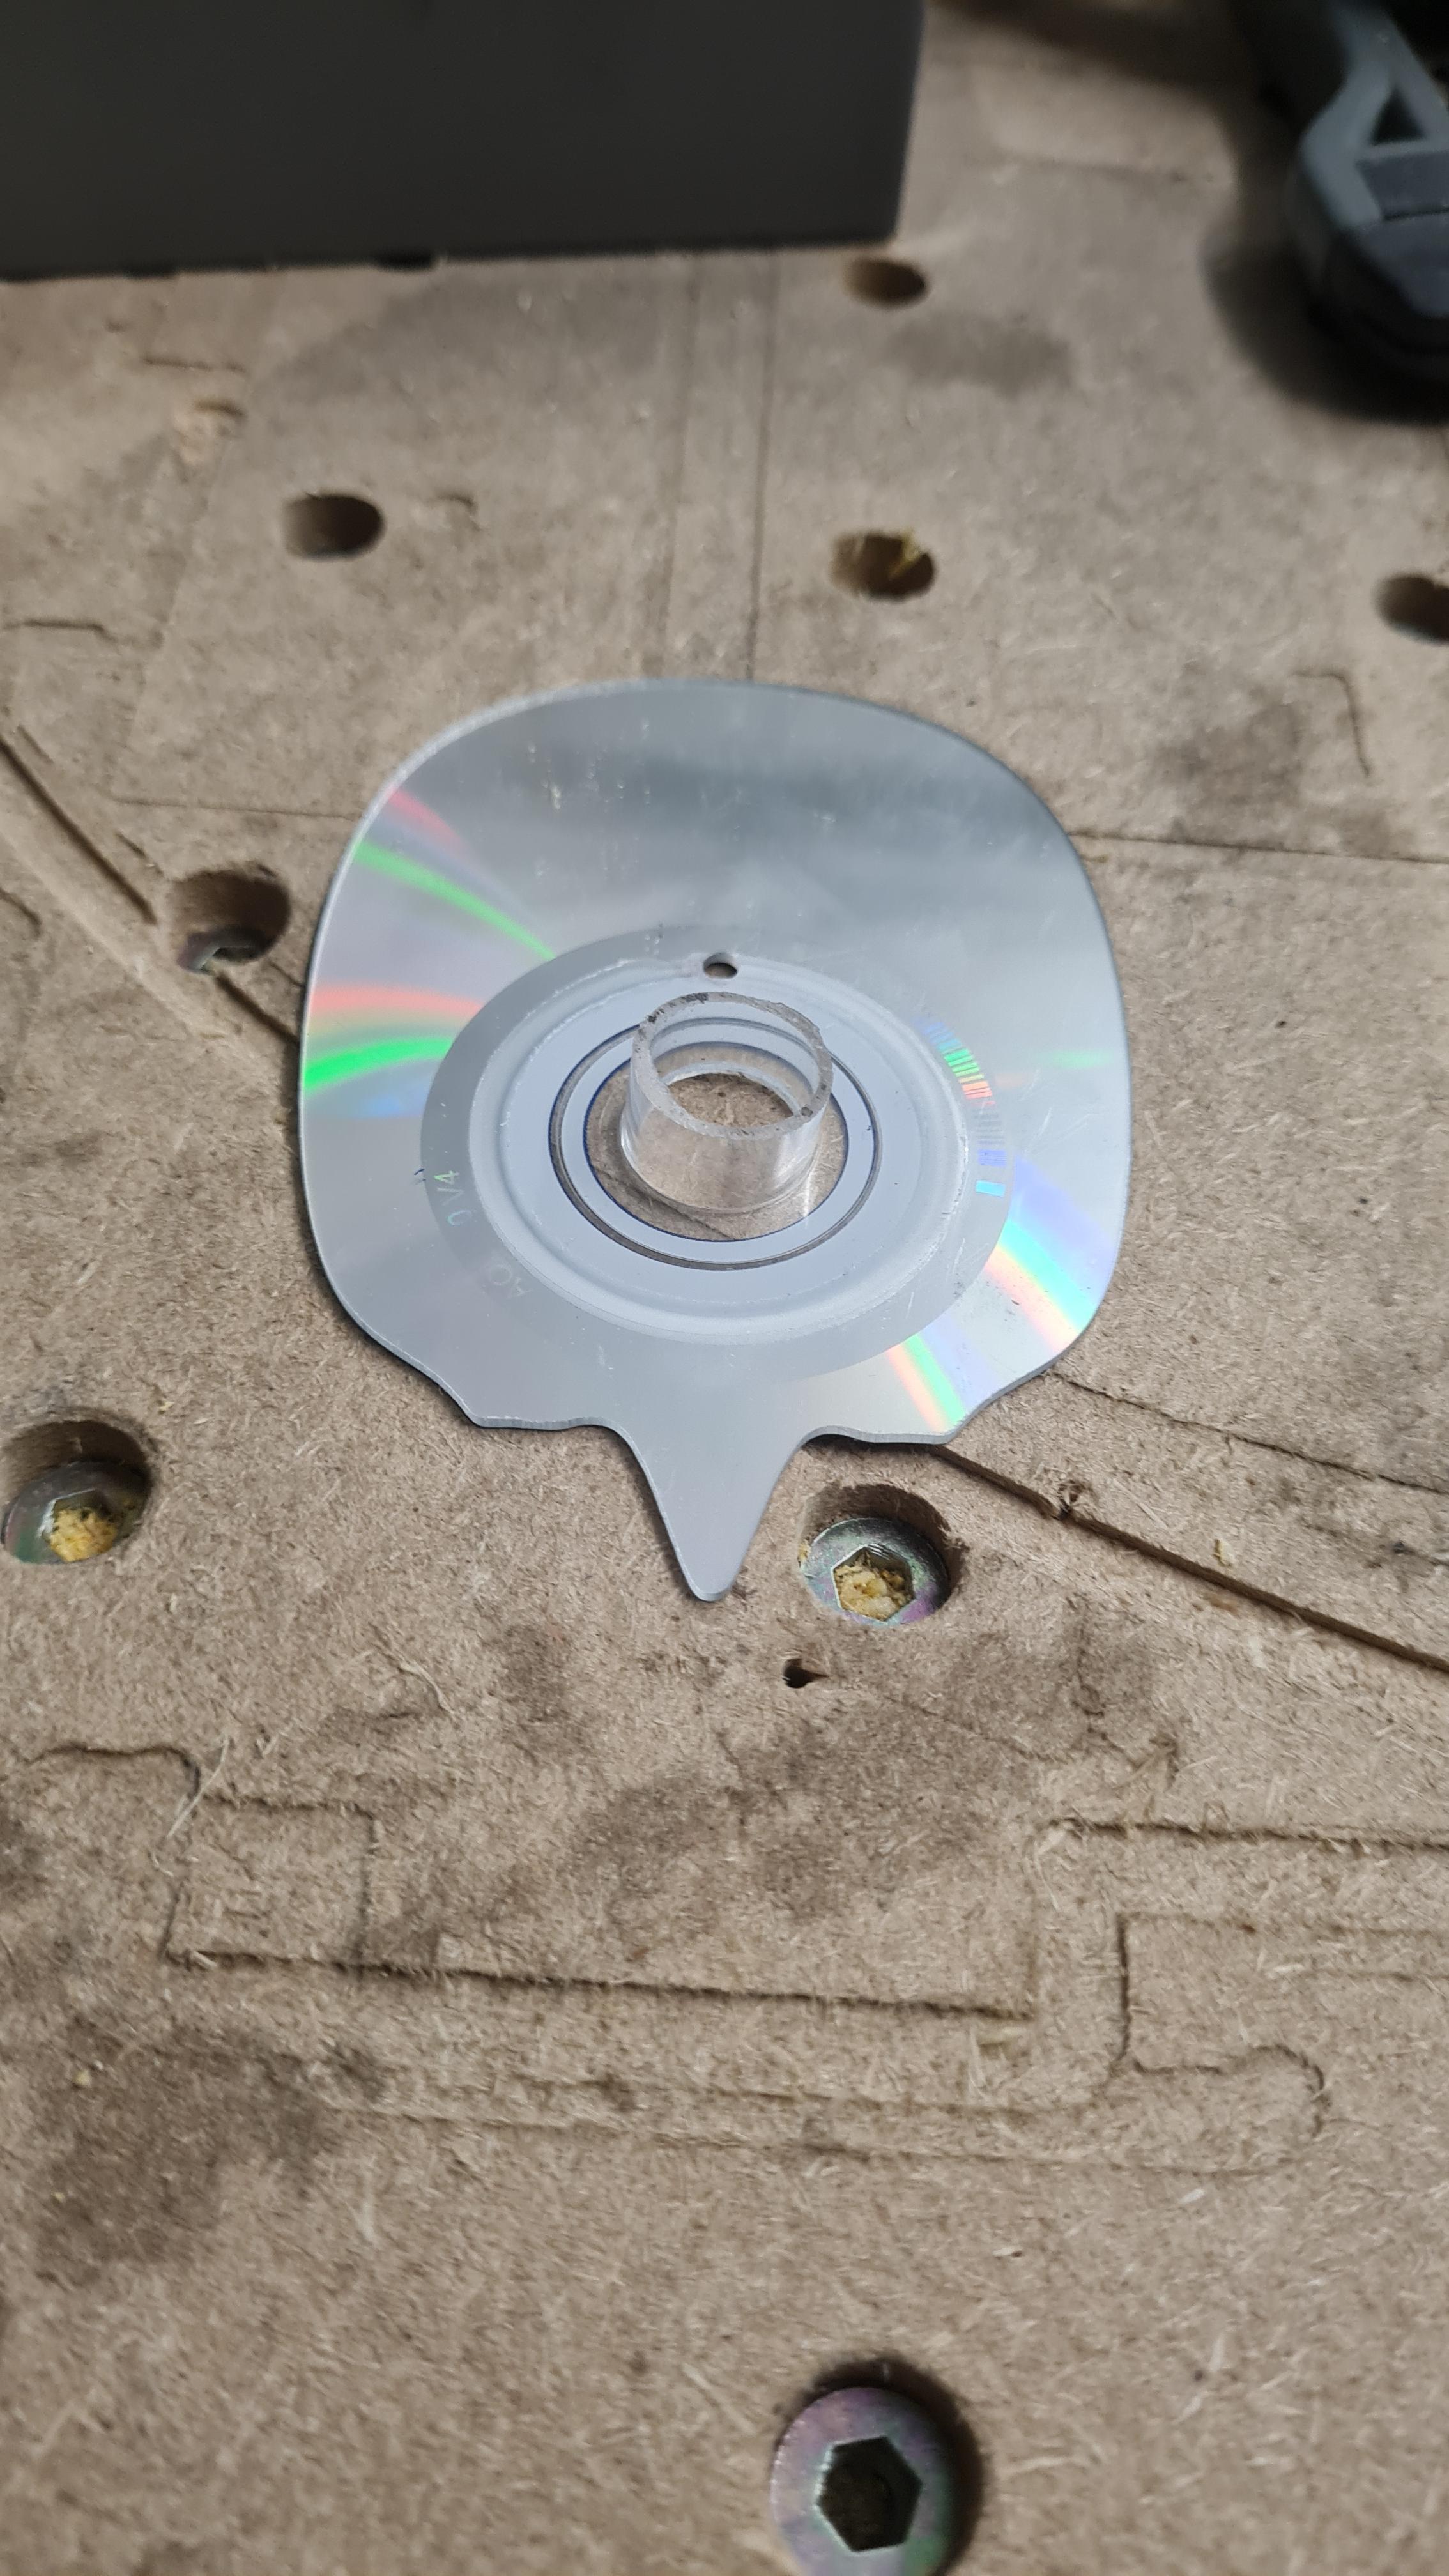
Assembling
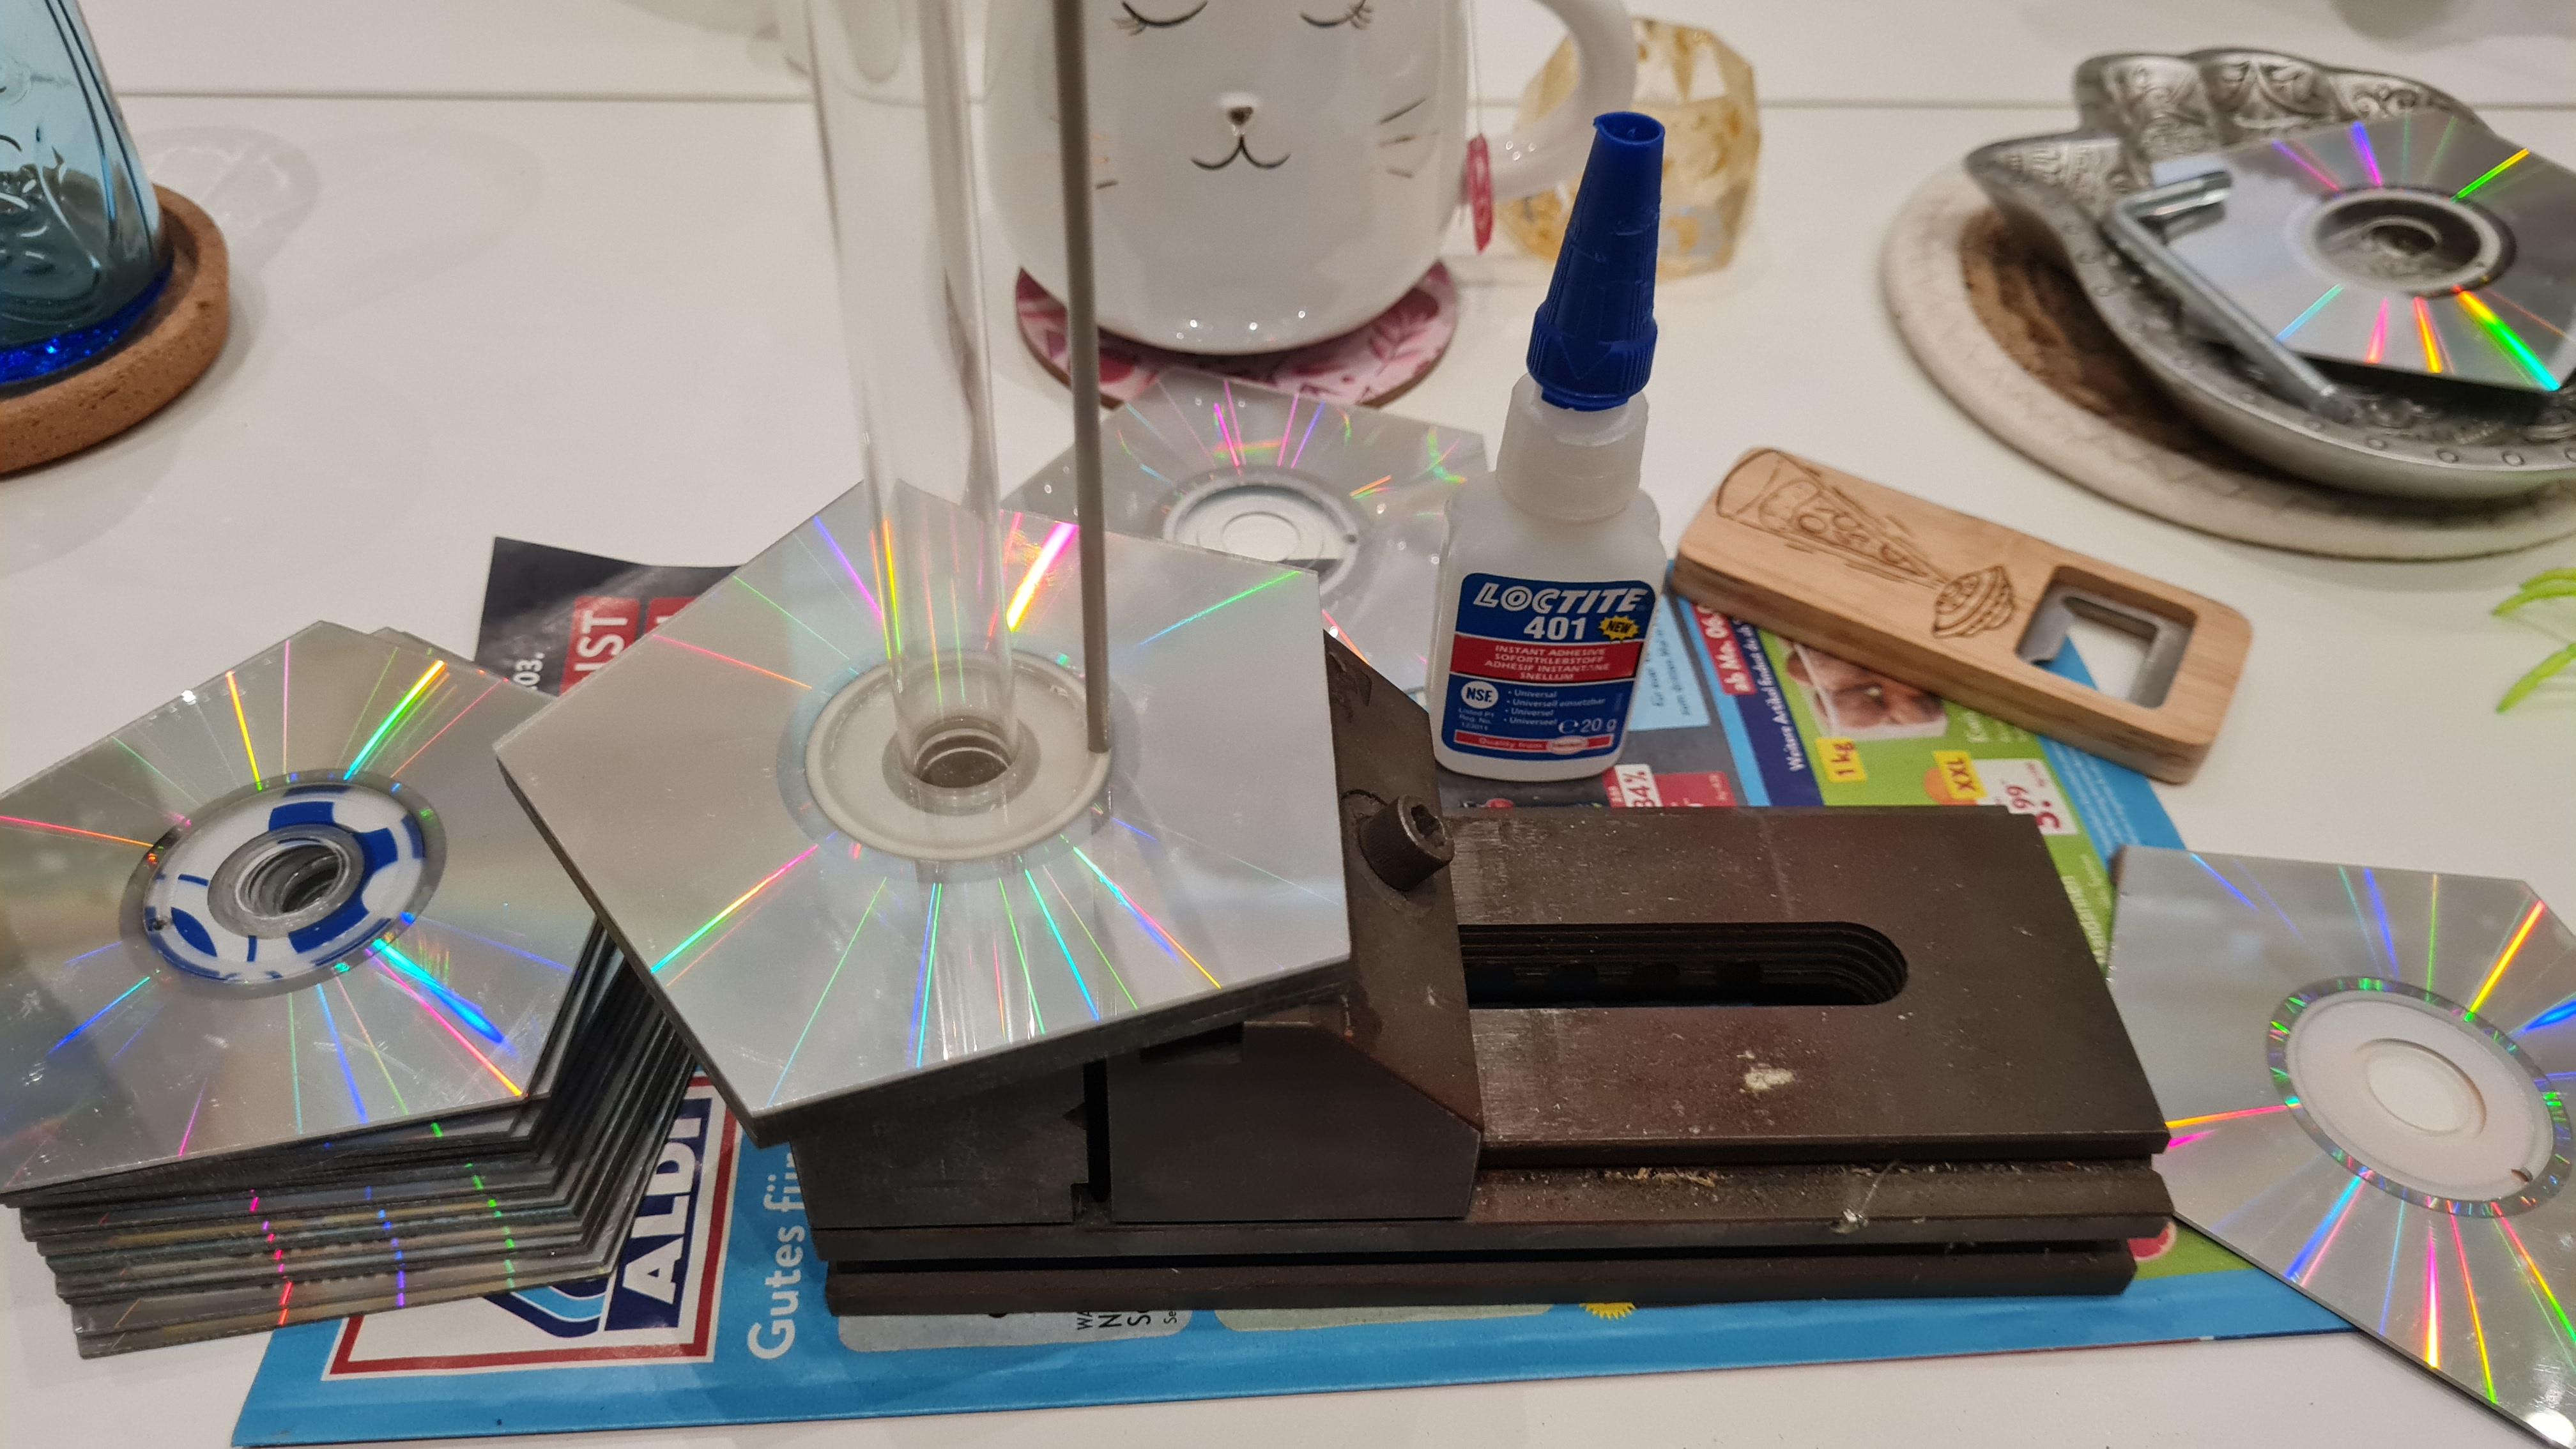
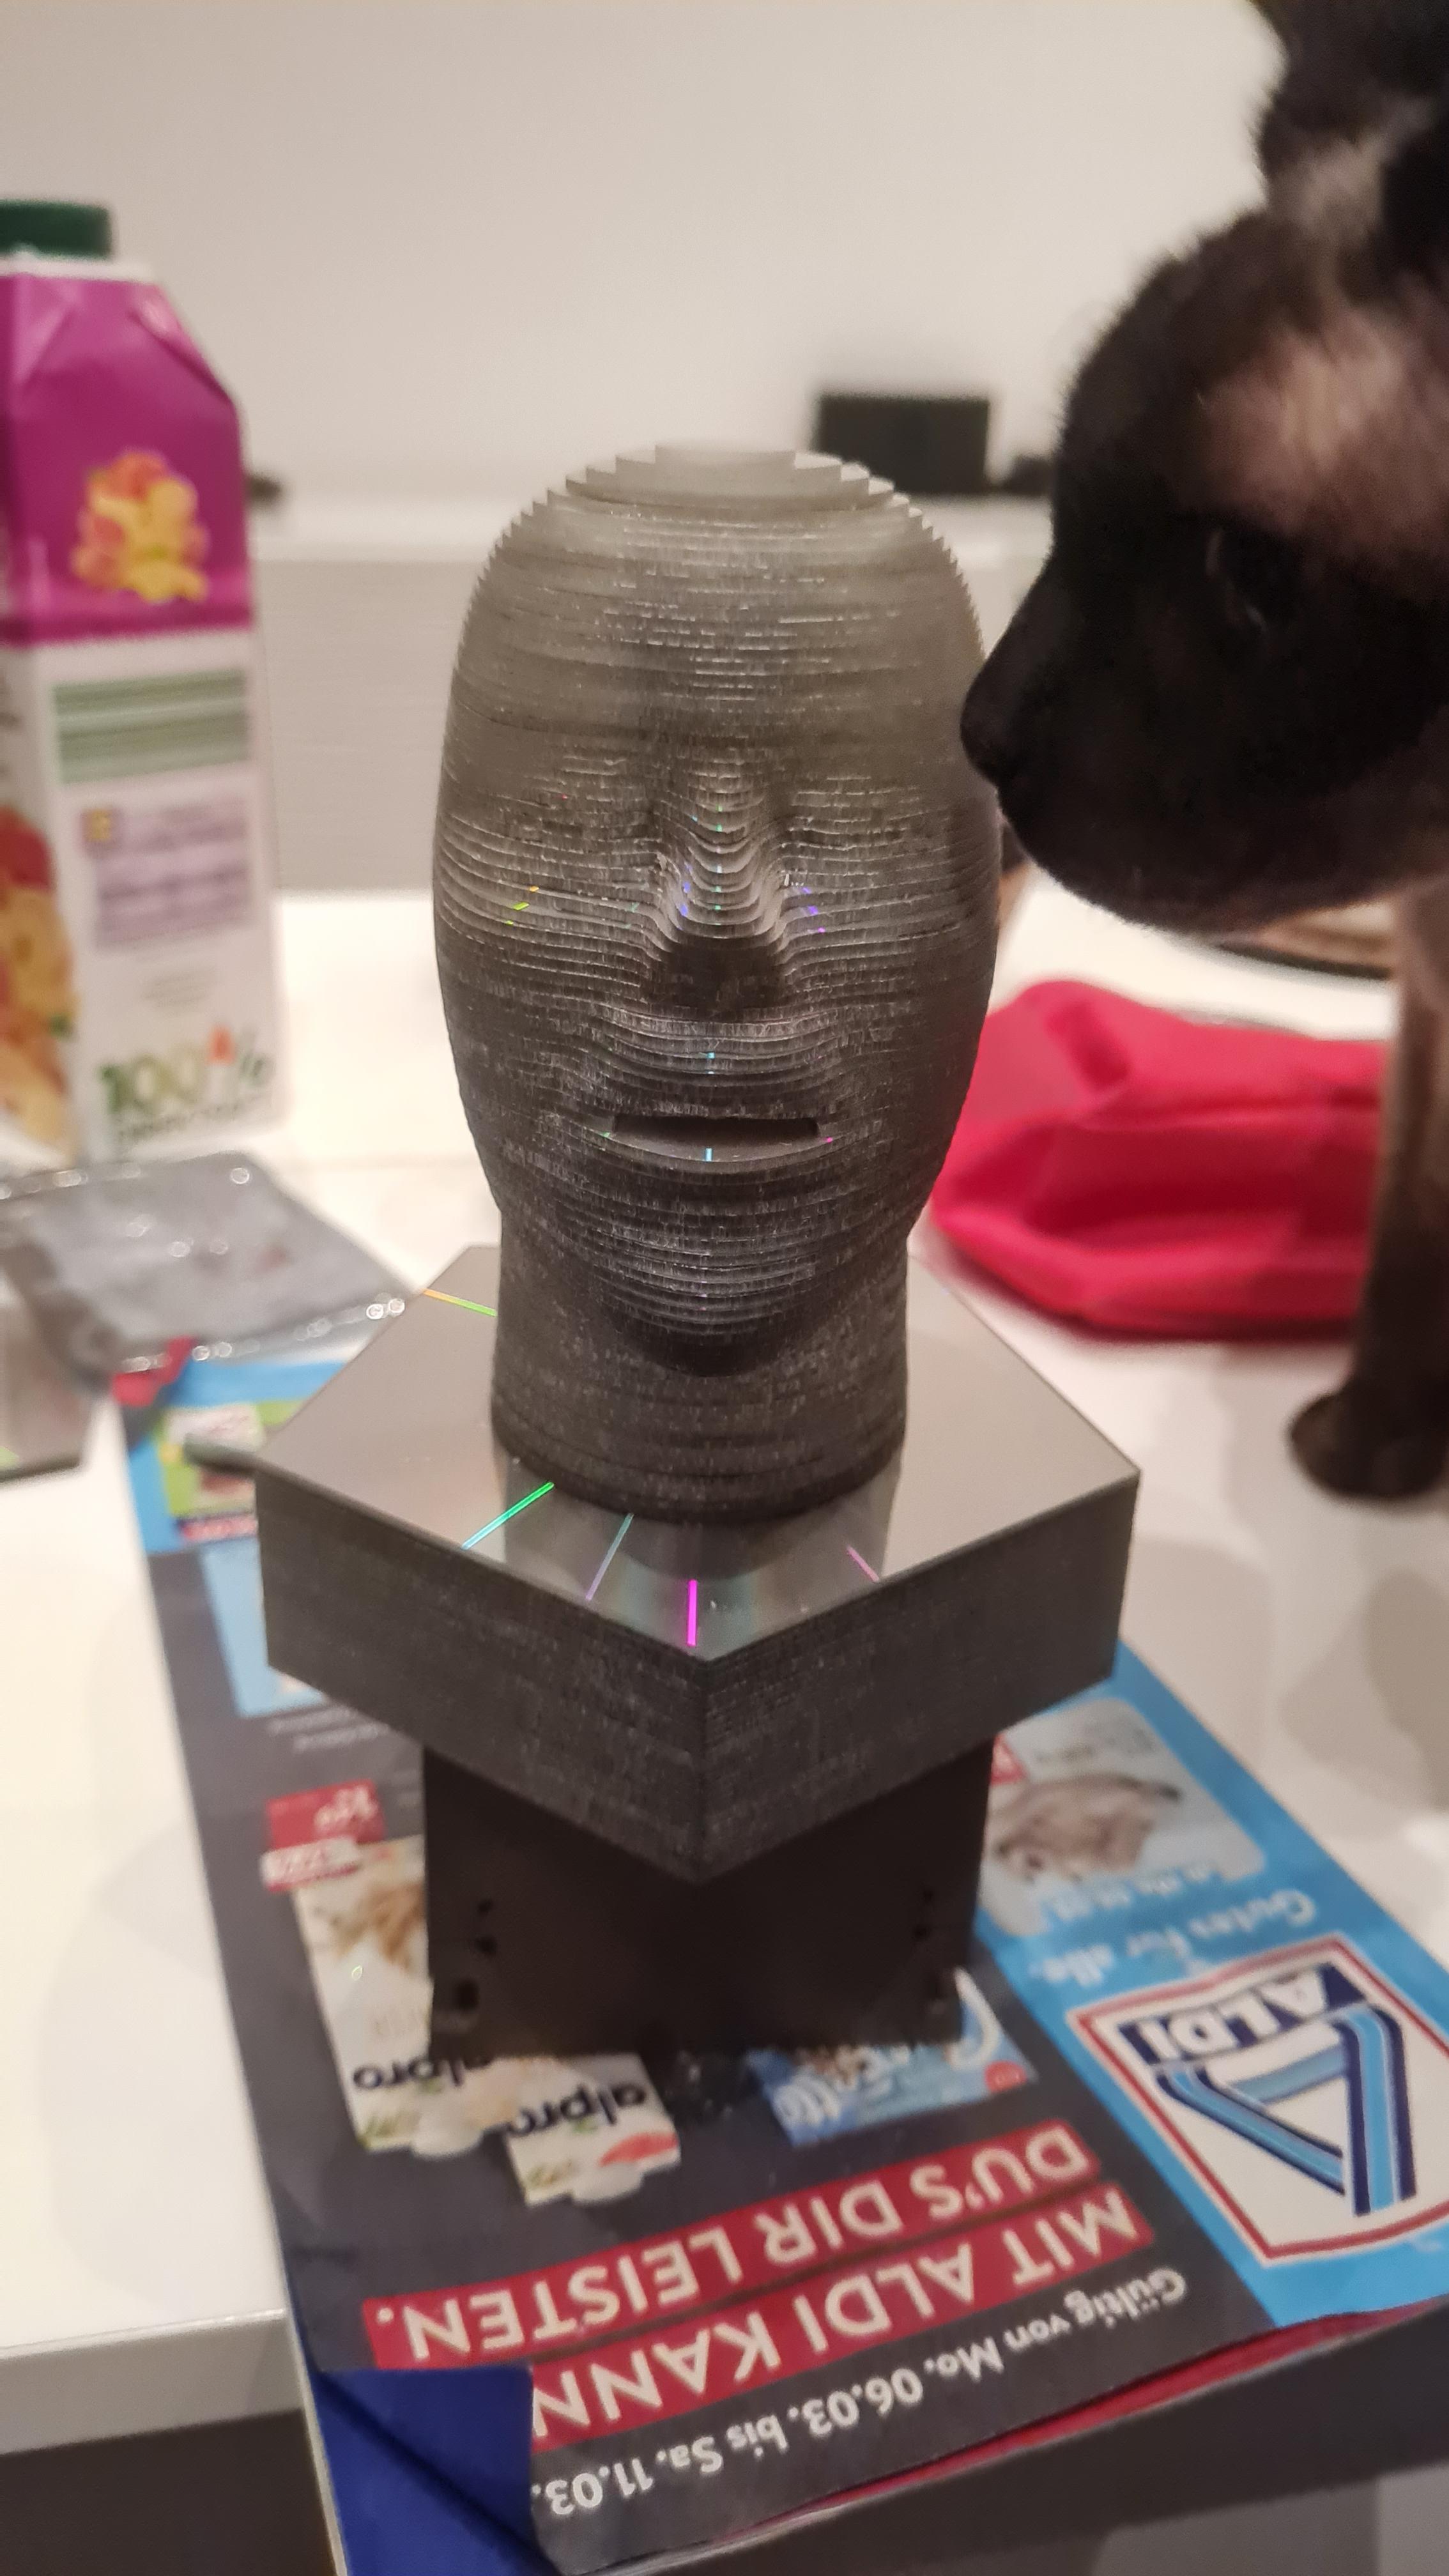
After milling the parts, it's time to assemble them.
We numbered all the parts during the milling process.
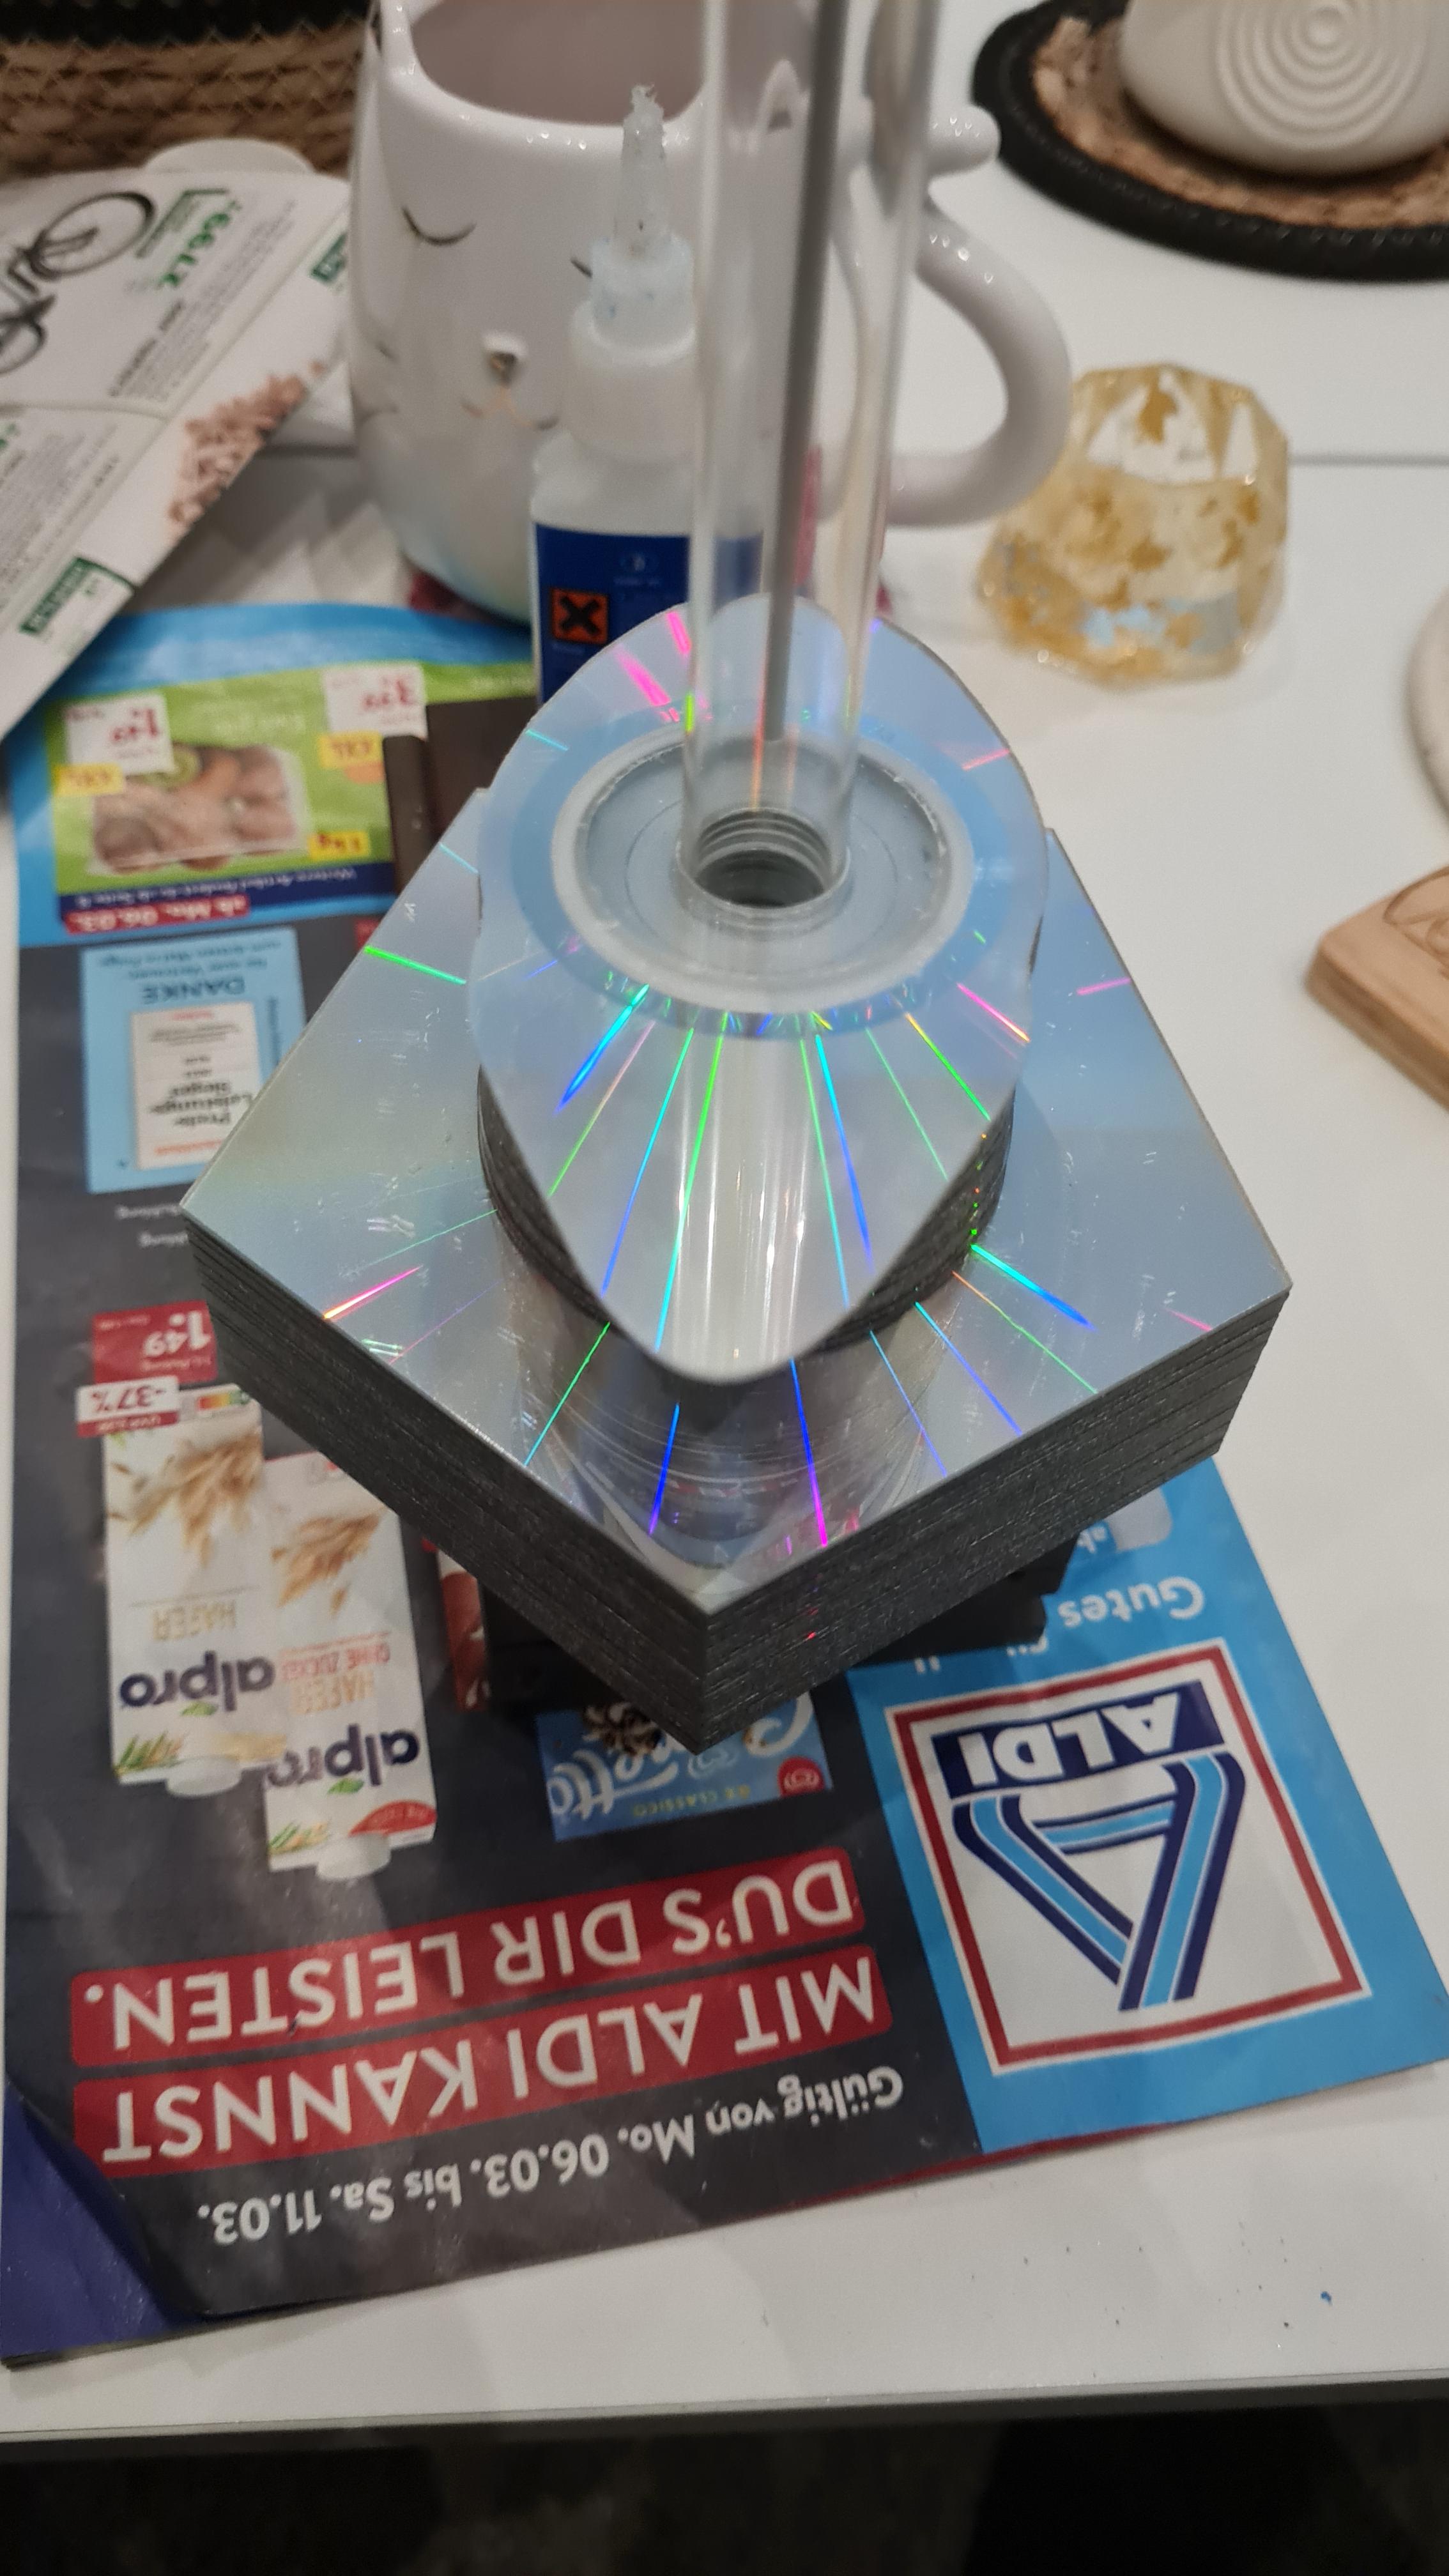
Now all the parts are simply put onto the 12mm acrylic tube one by one and fixed with a drop of instant glue.
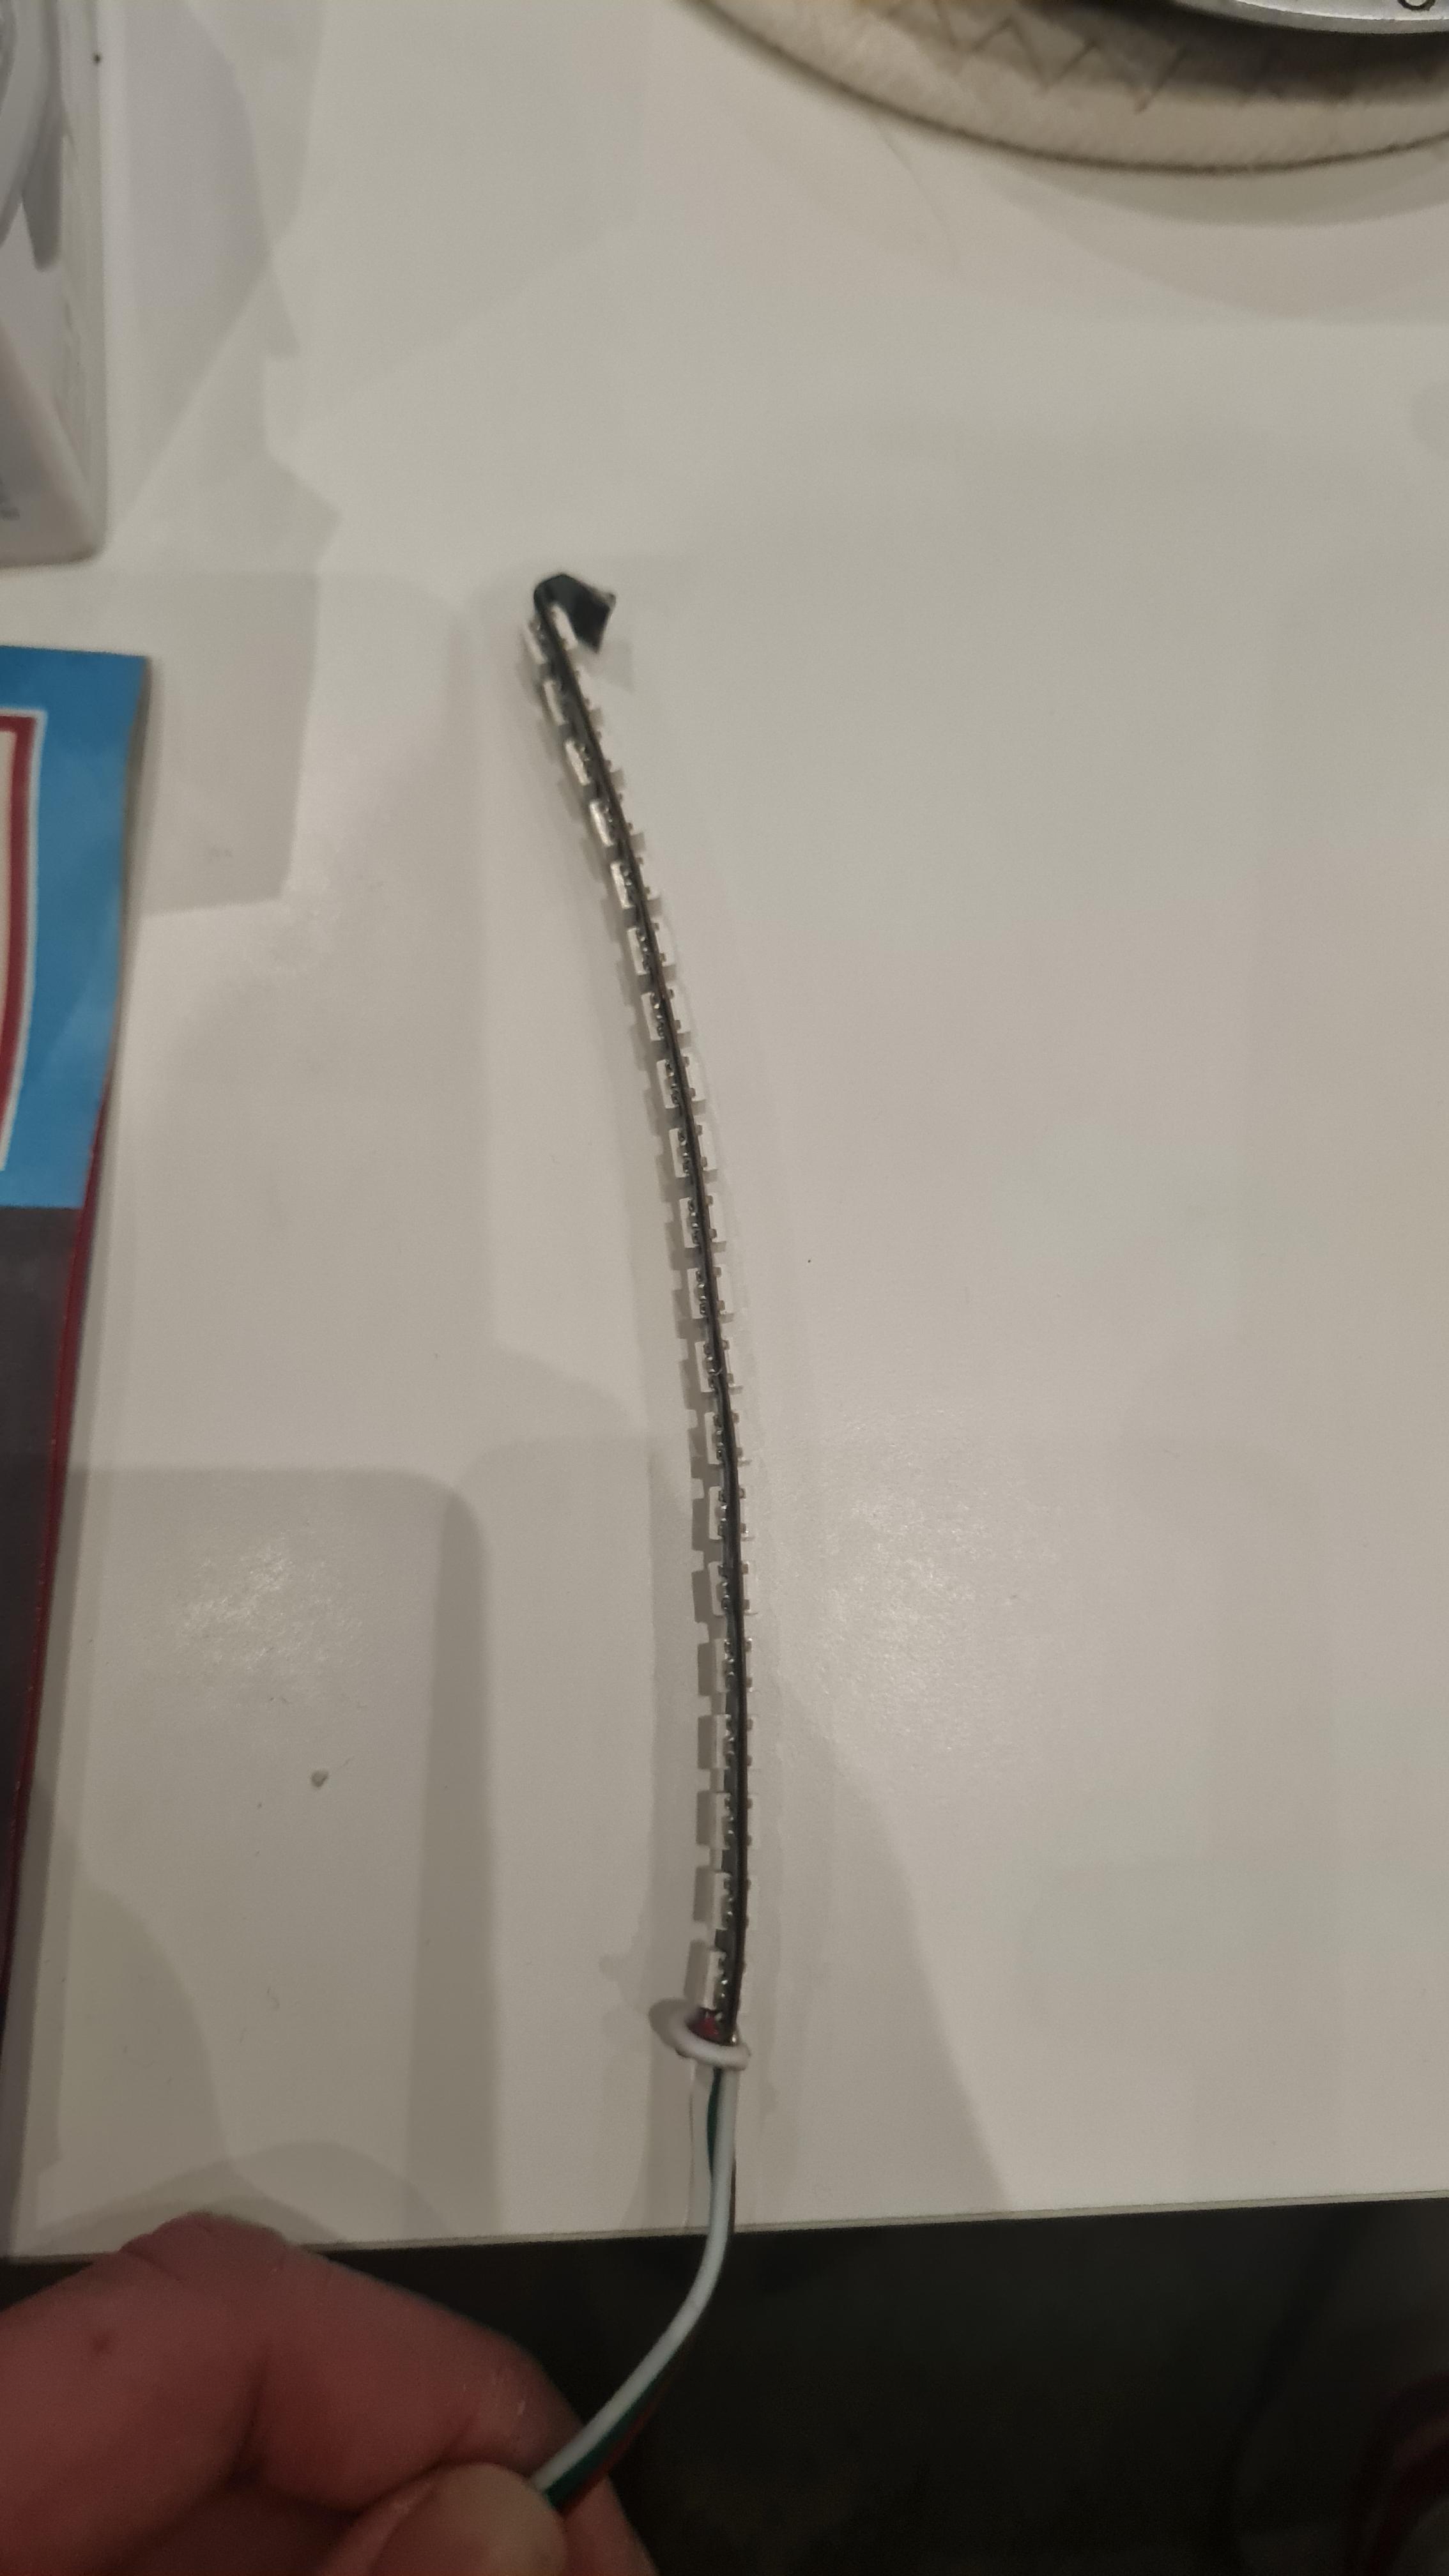
Then cut the WS2812 led strip into two strips of equal length and stick them together with the back side.
Make sure that the LED strips run in the right direction. (The WS2812 LED strips can only be fed from one side, otherwise they will not work)
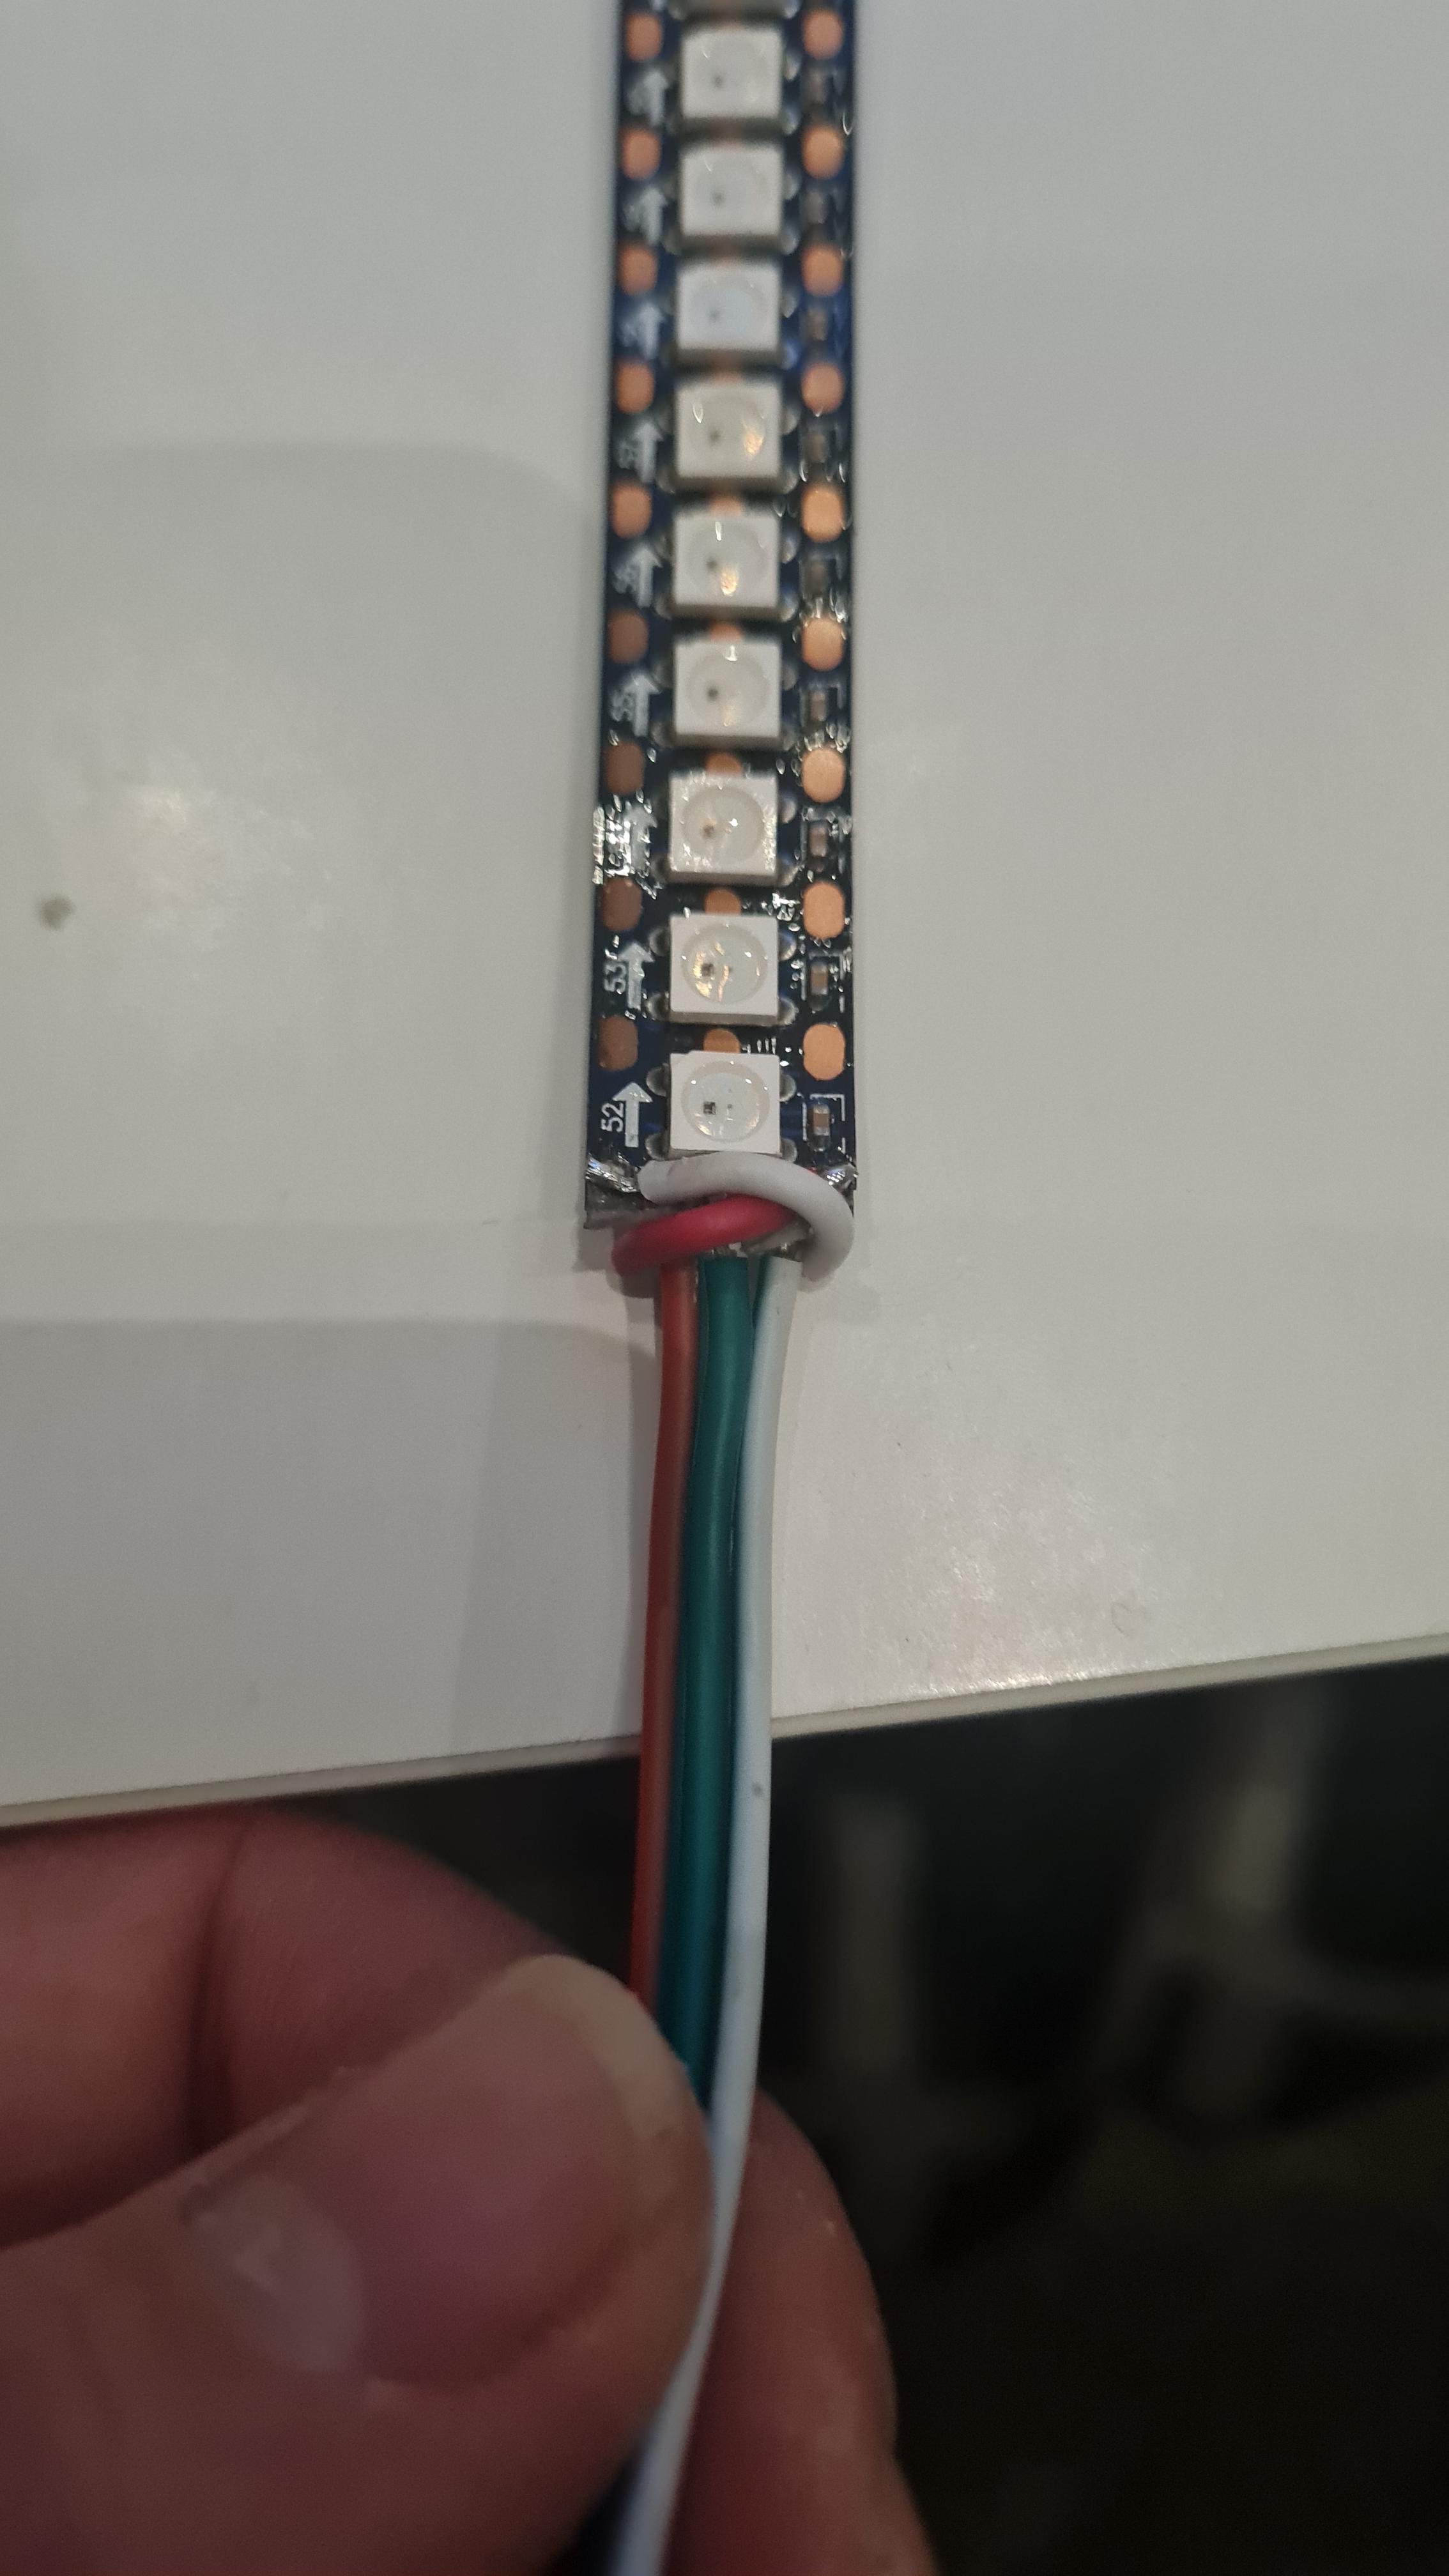
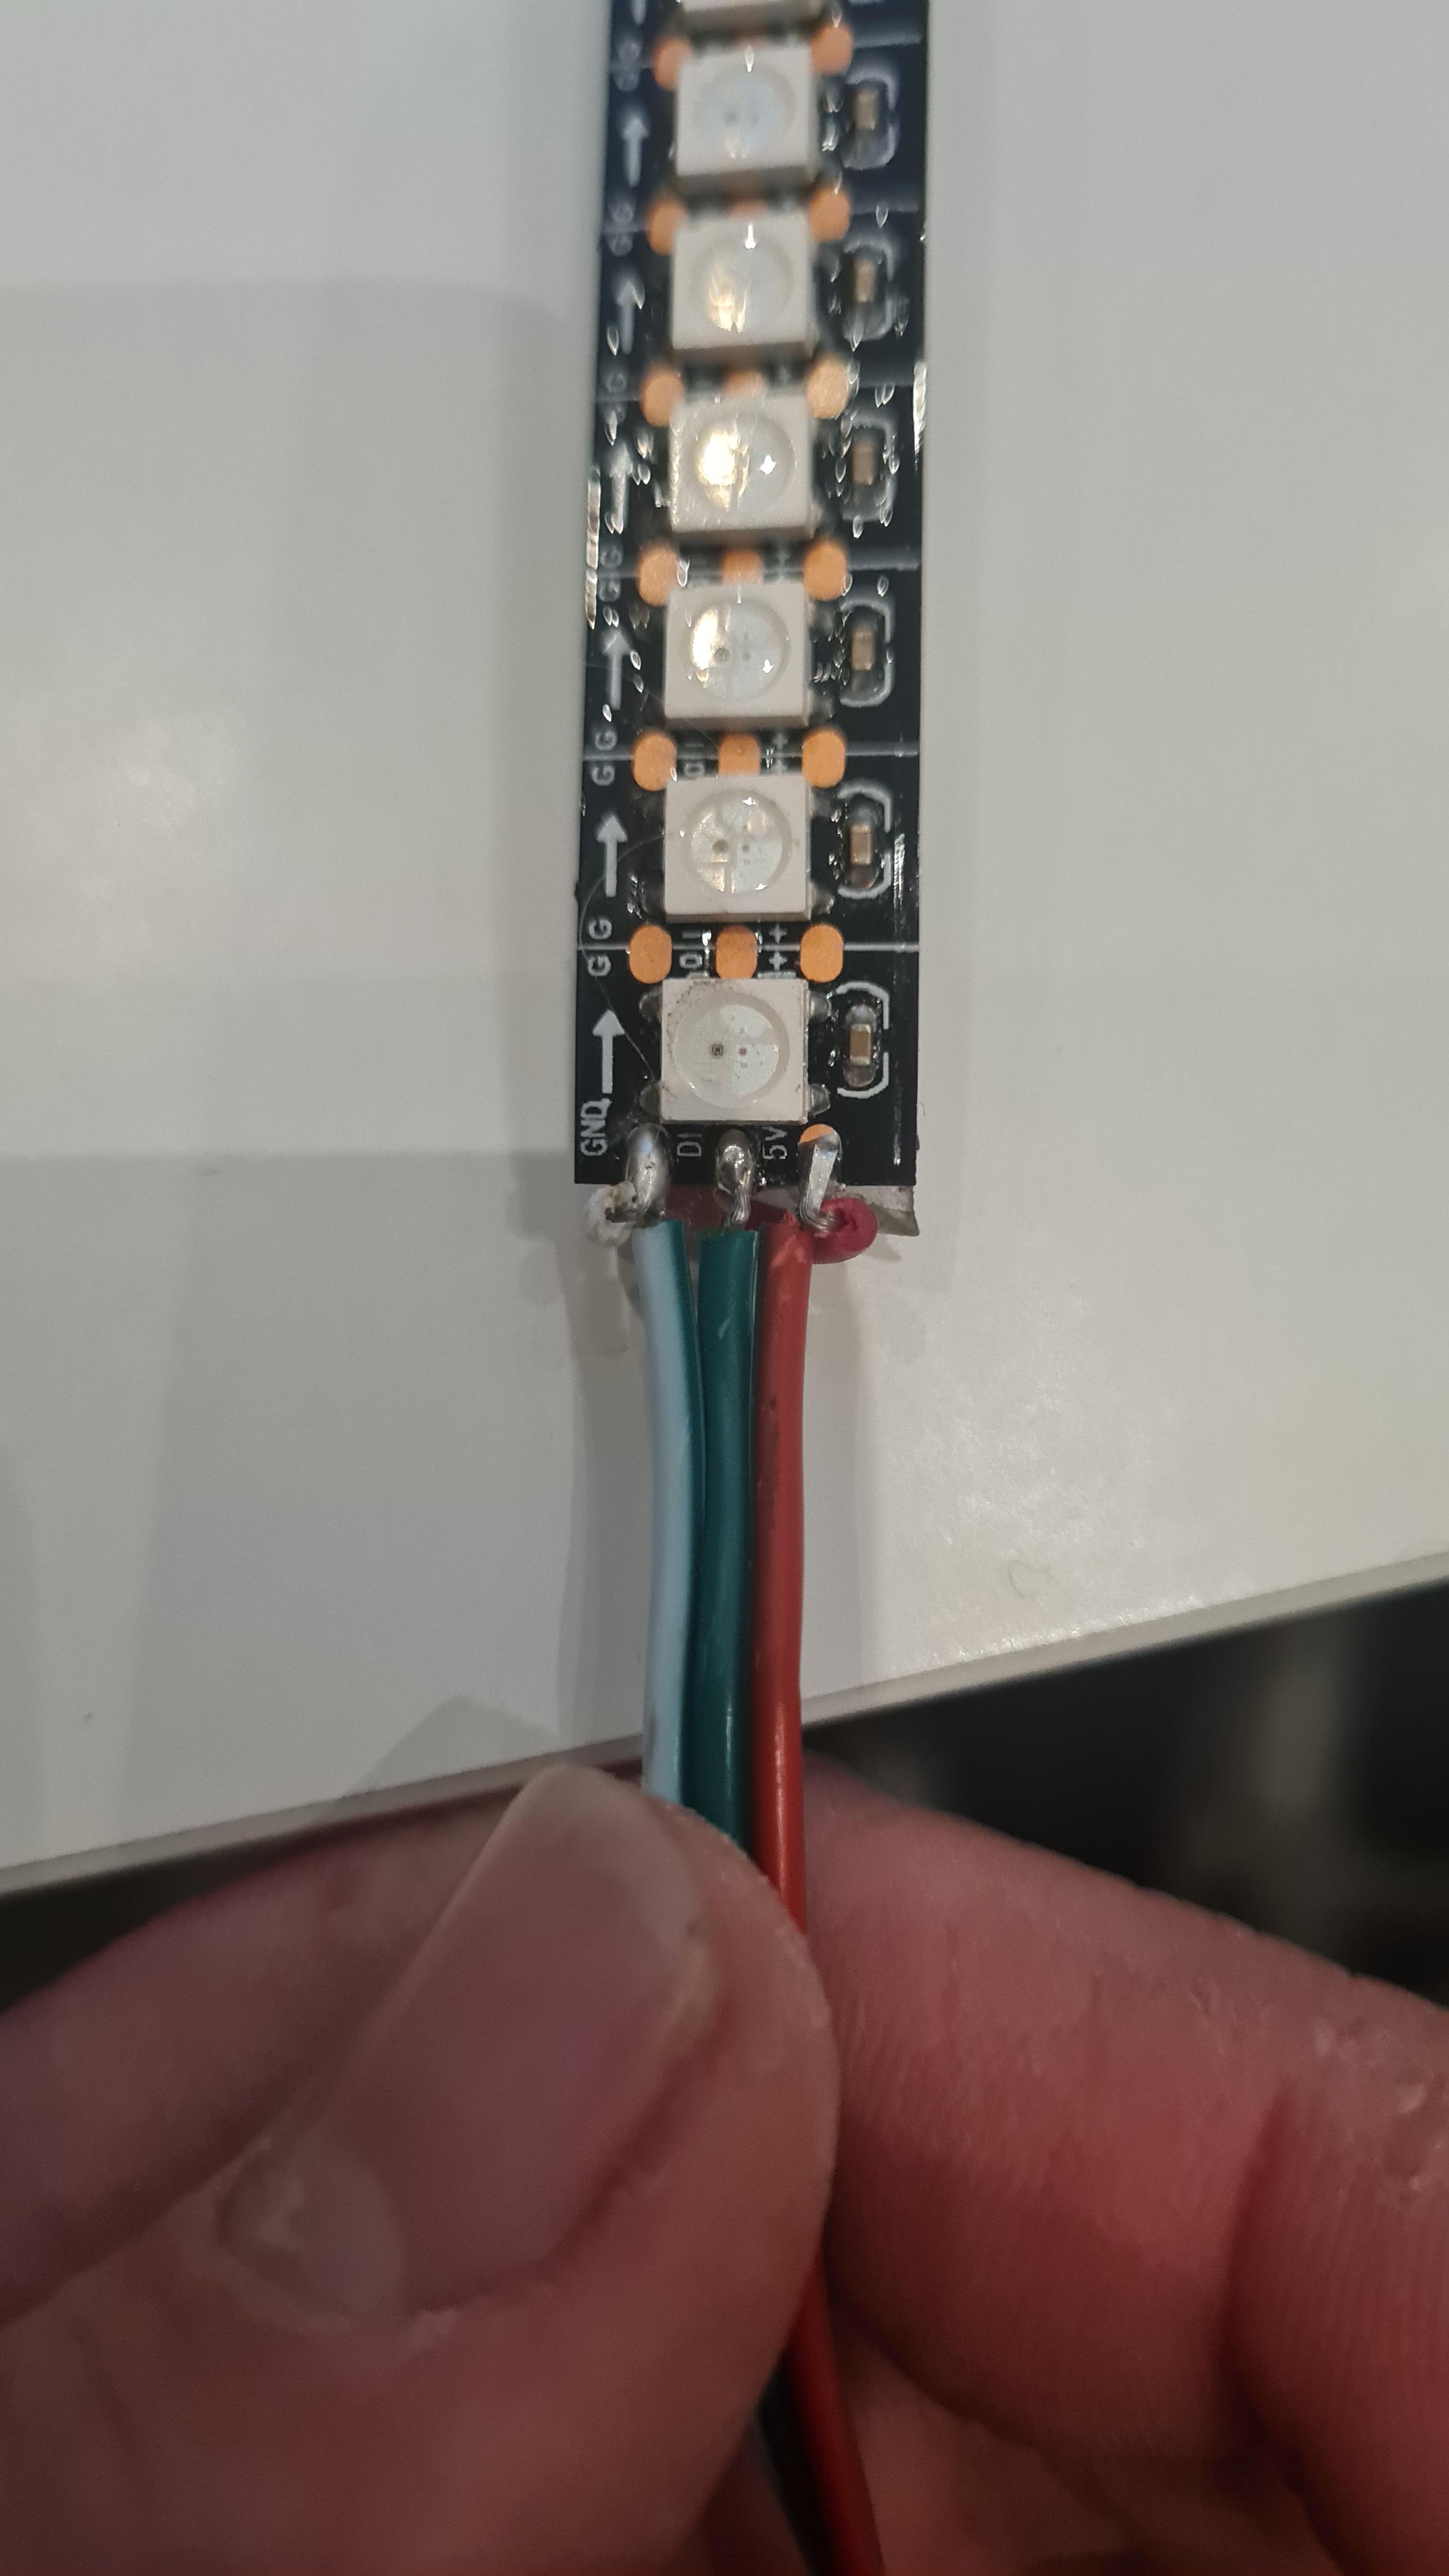
Now solder the cables to it. Make sure that the polarity is correct.
Connect it to the controller and push it into the tube.
Plug in the power supply unit and you're done
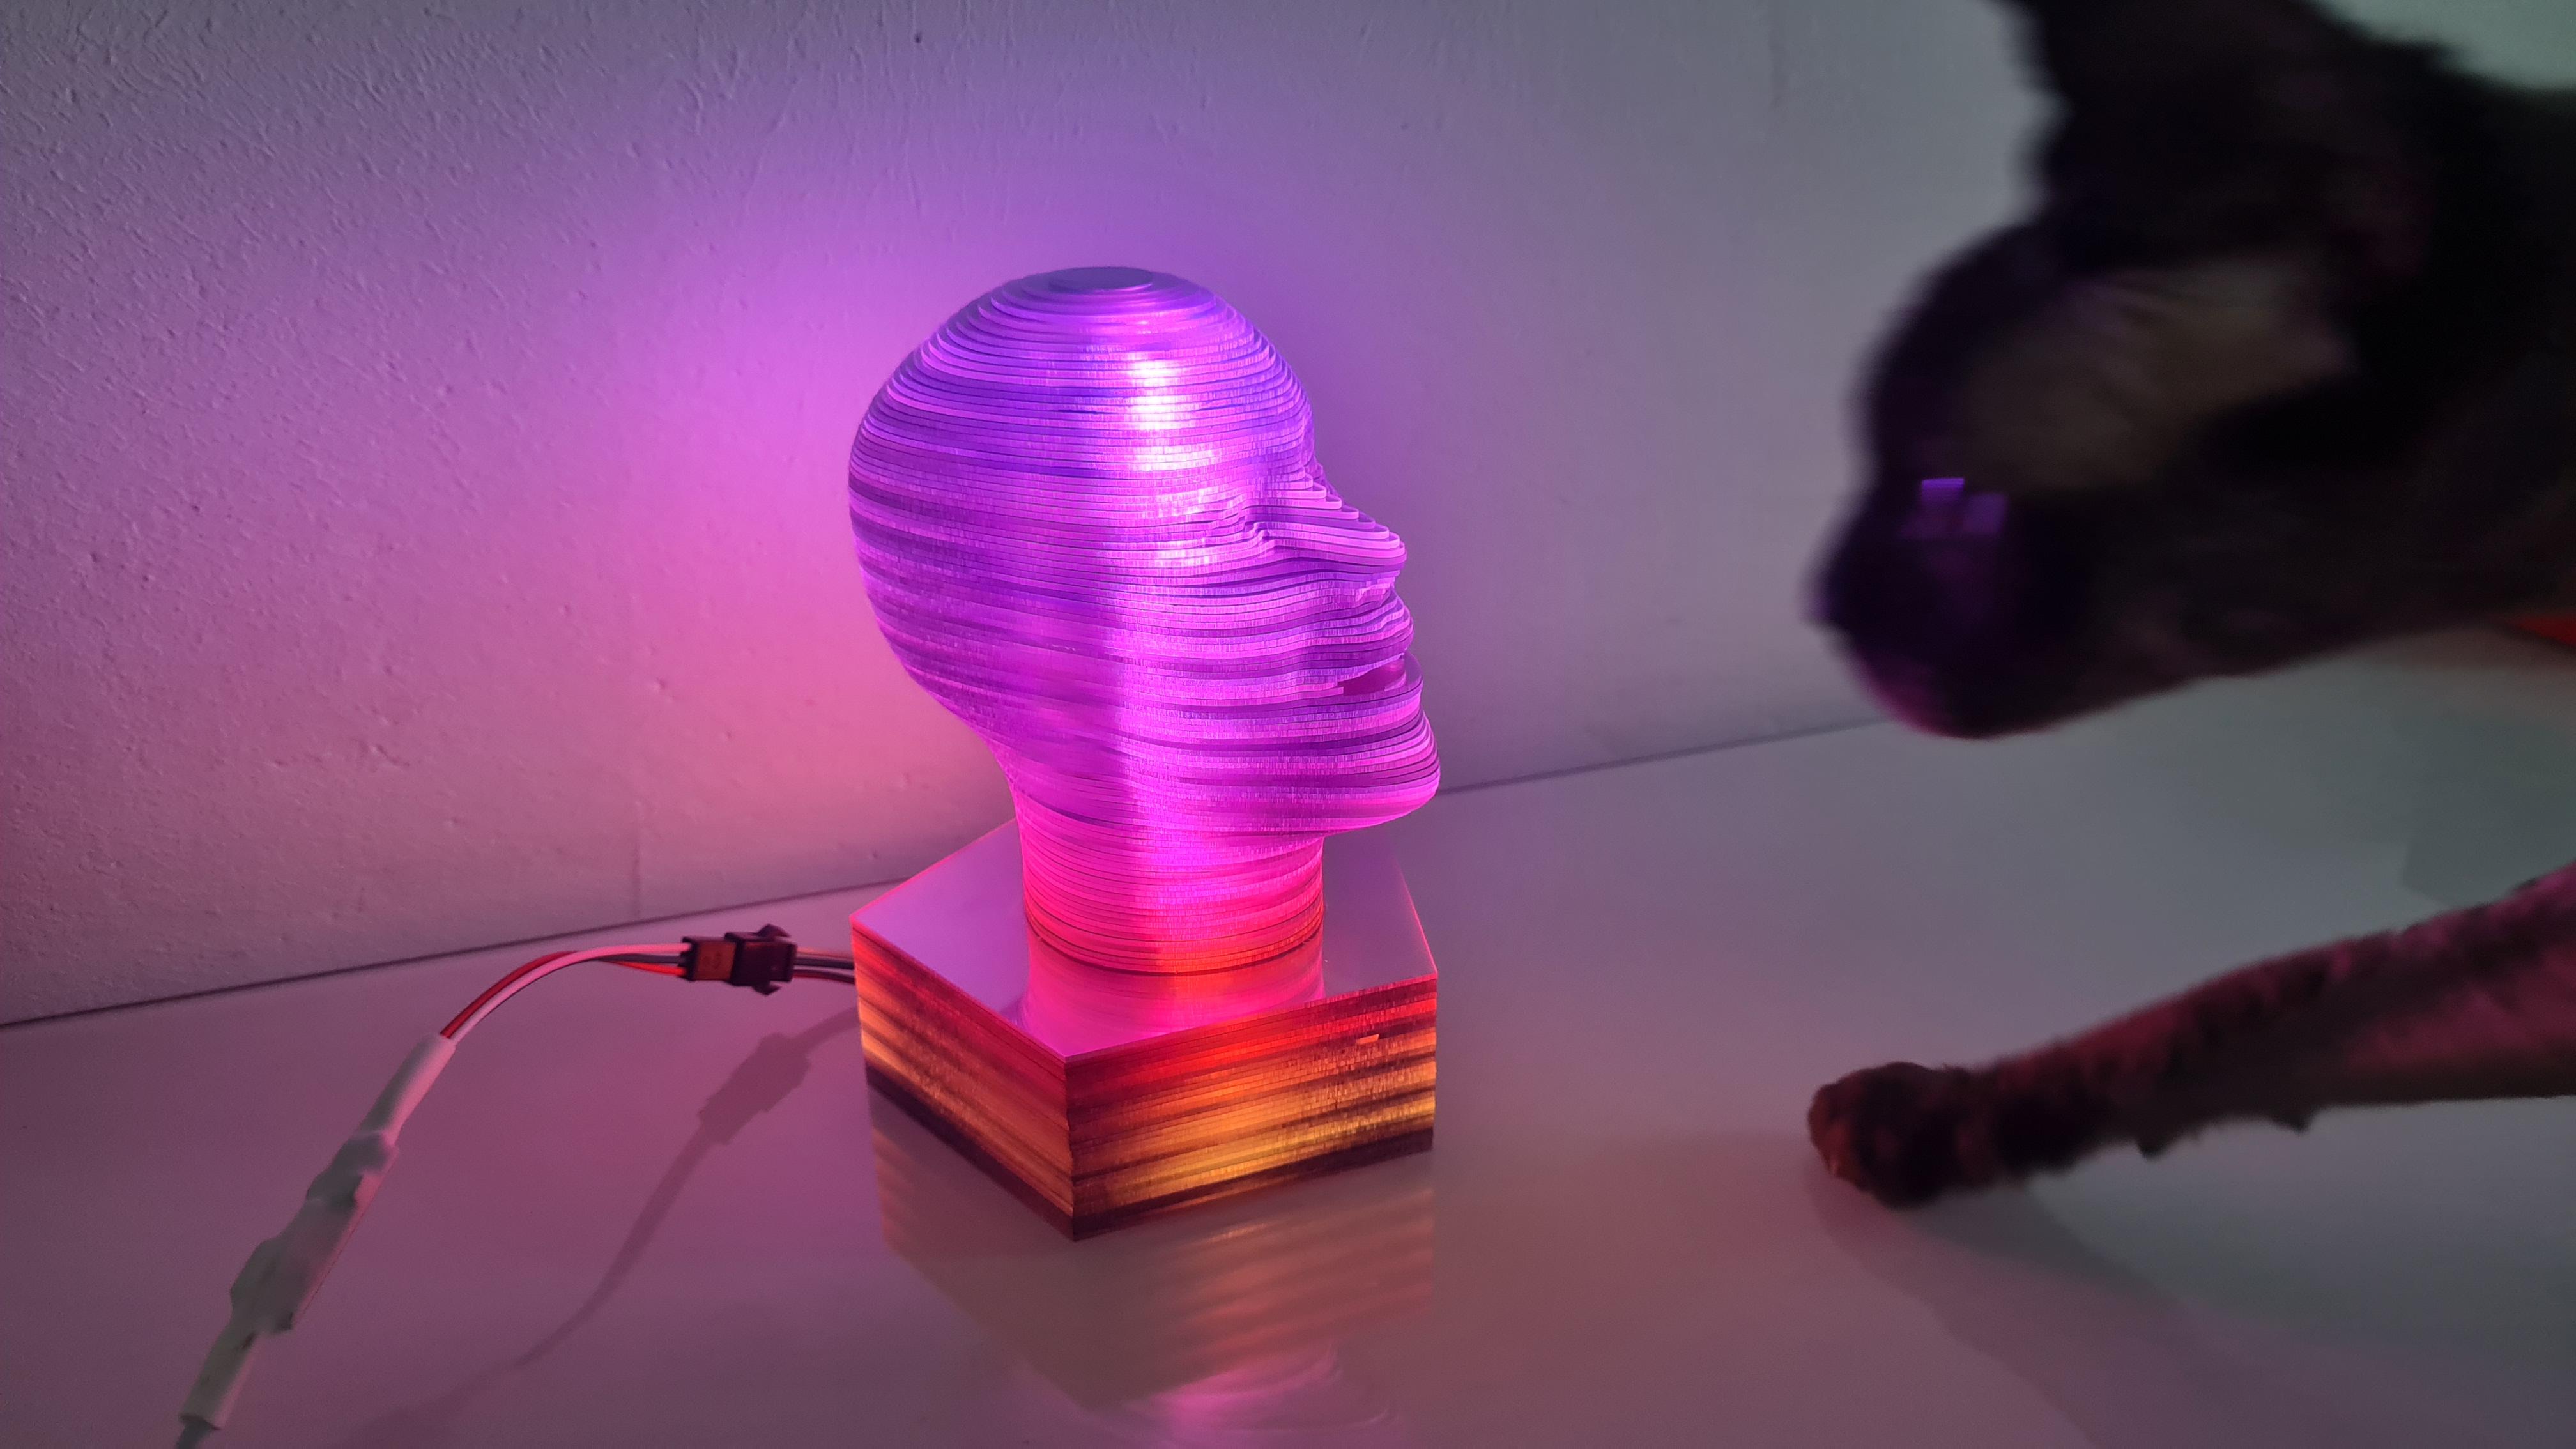
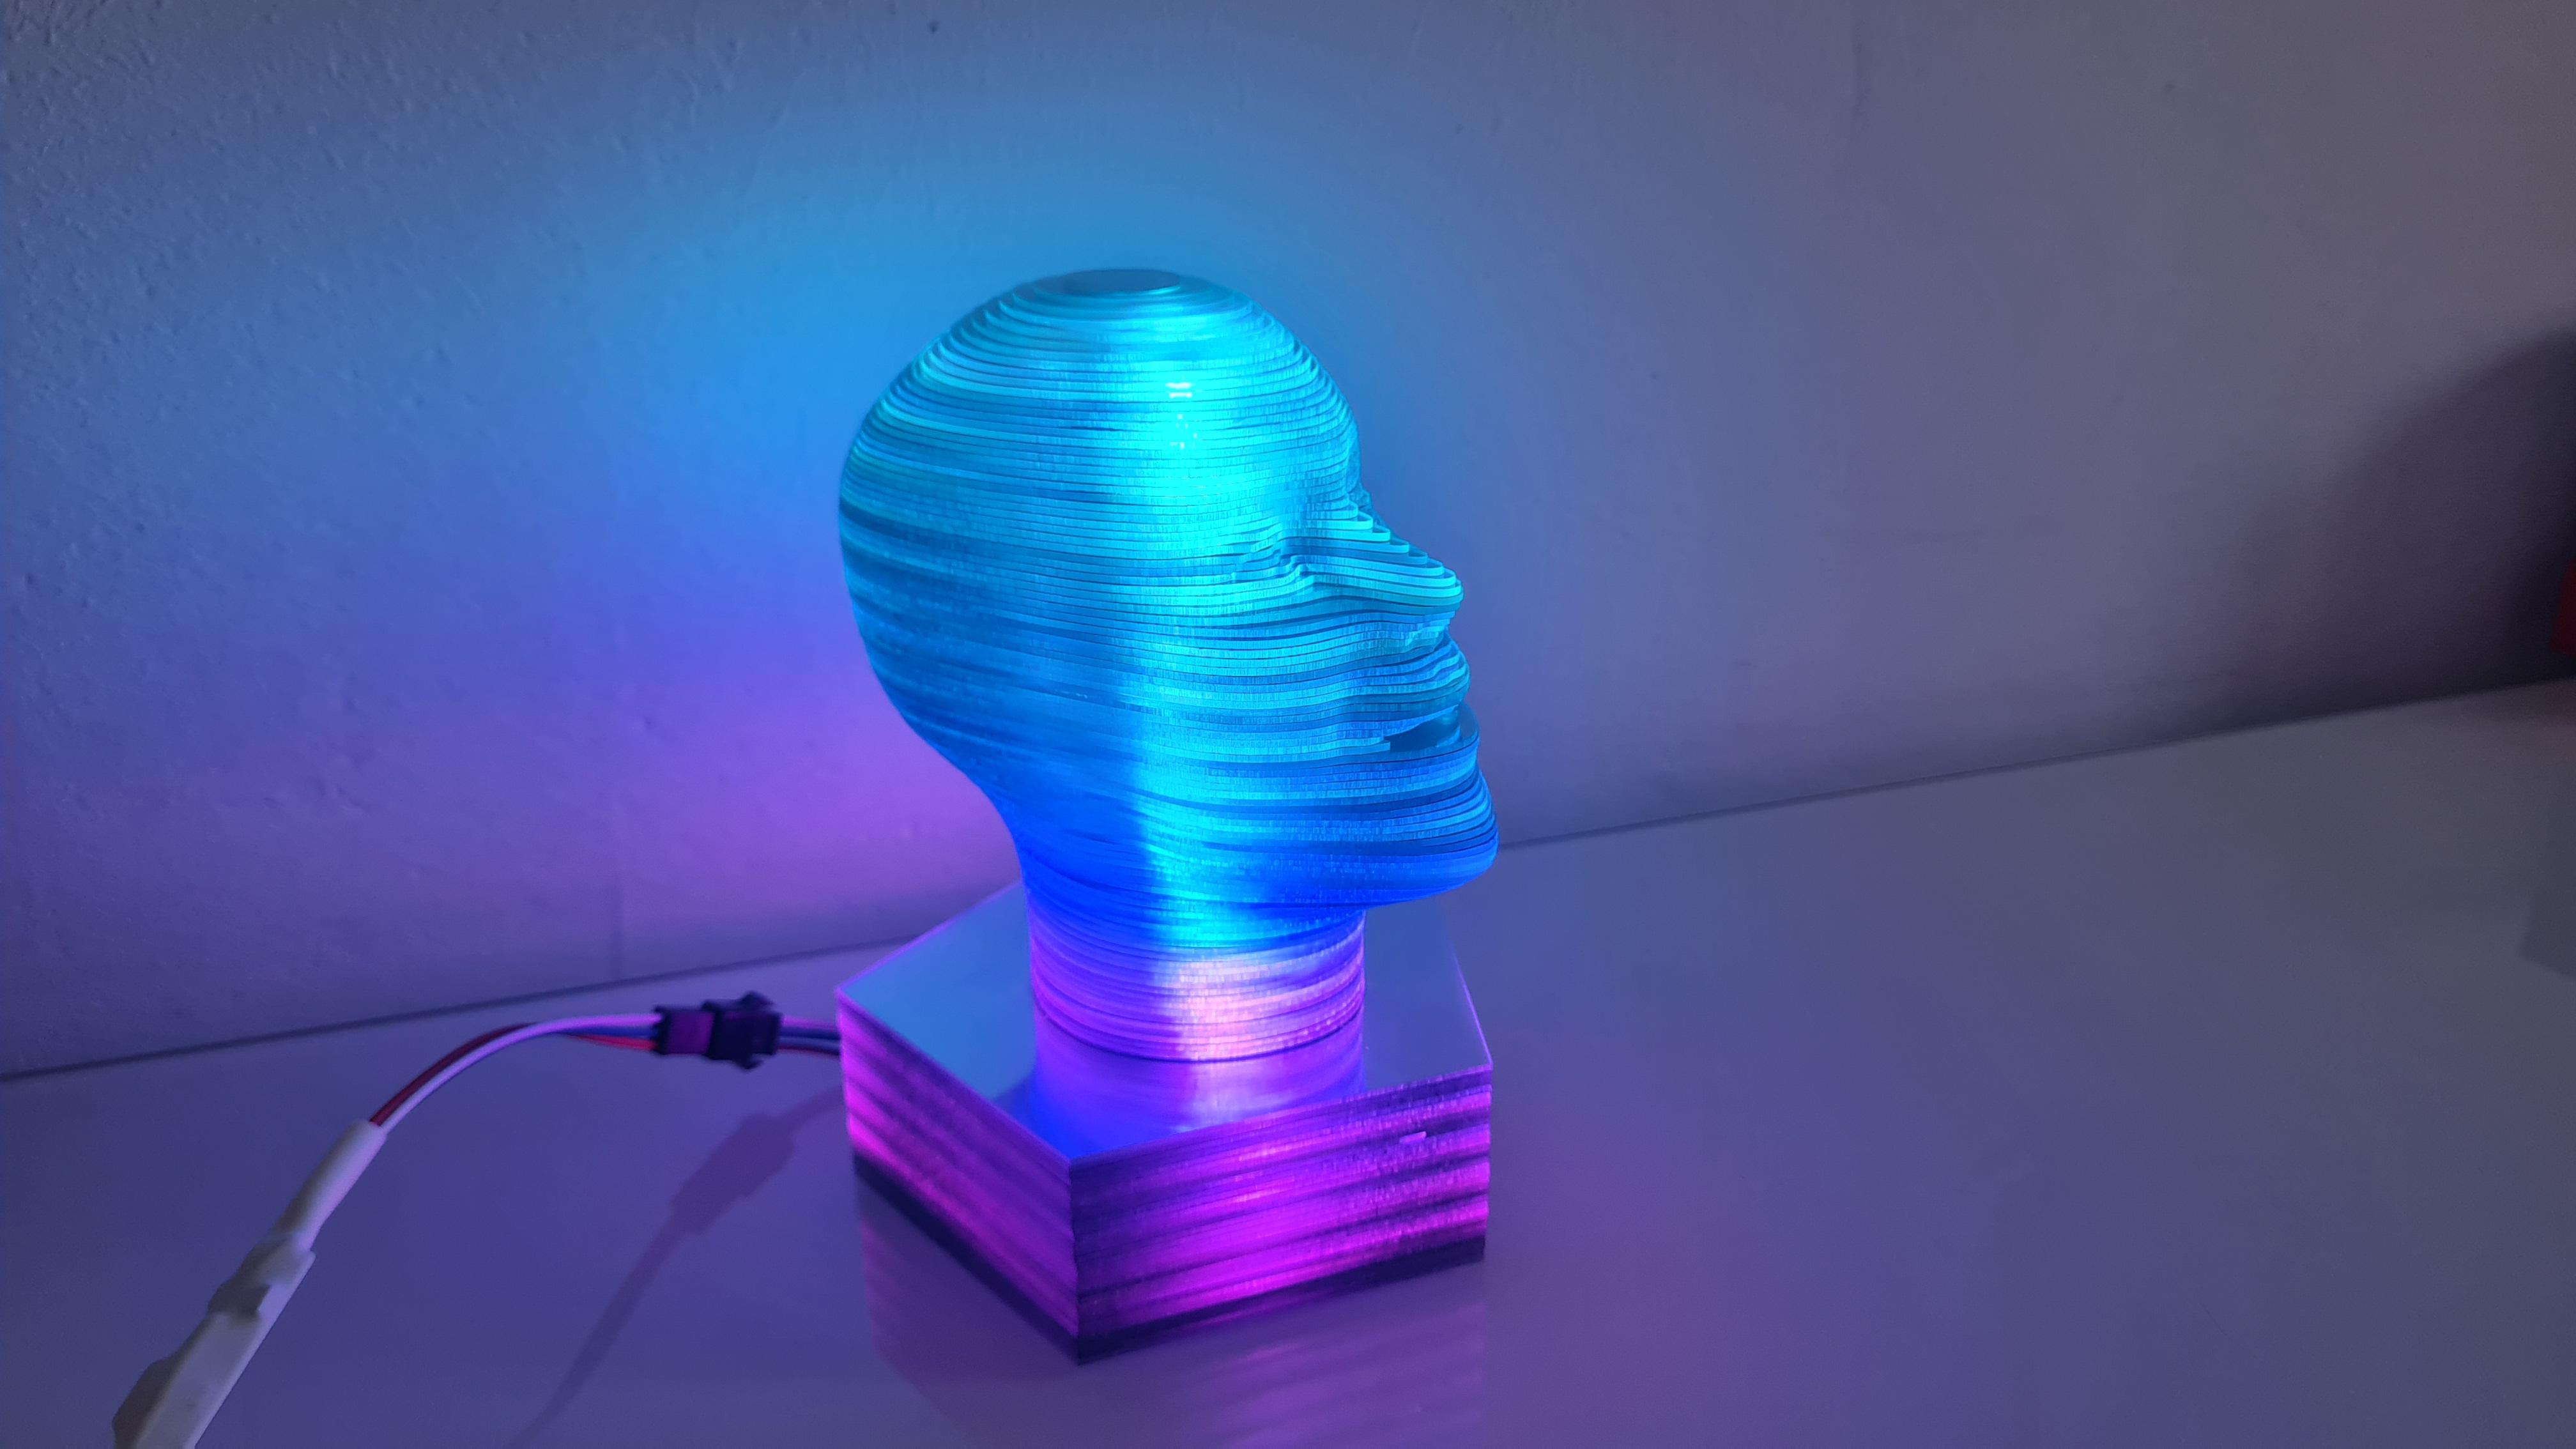
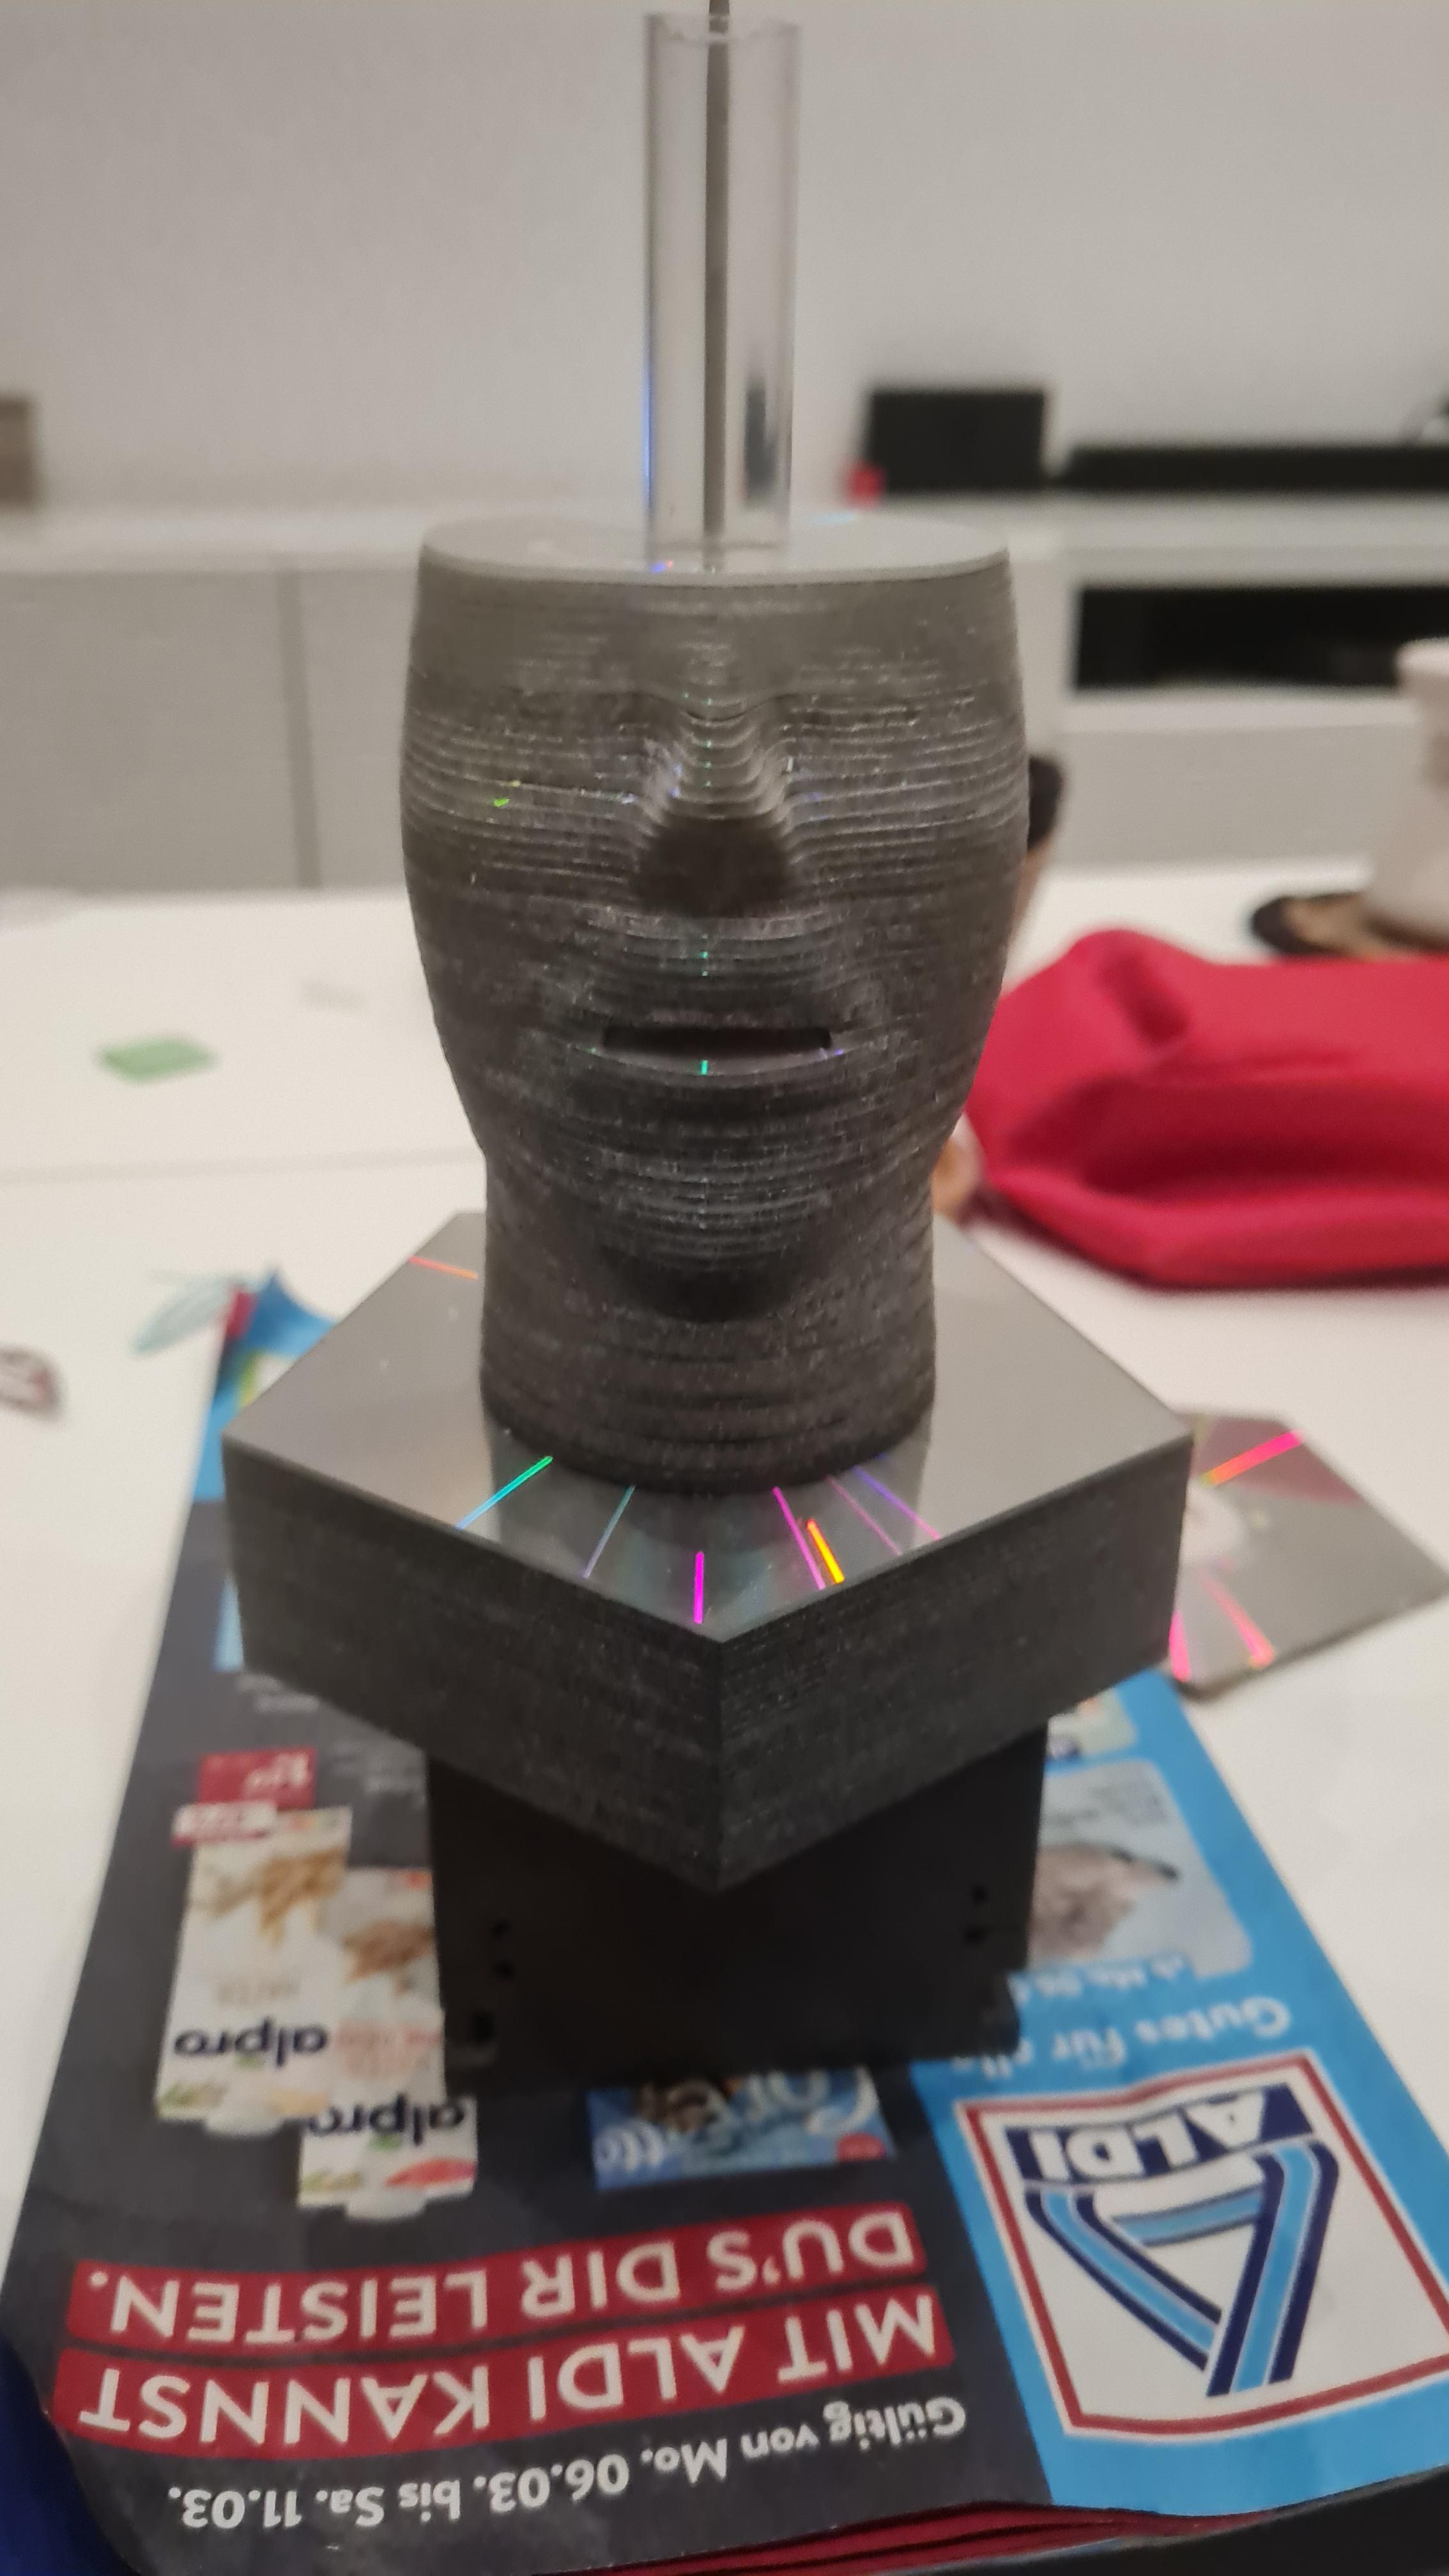
Done
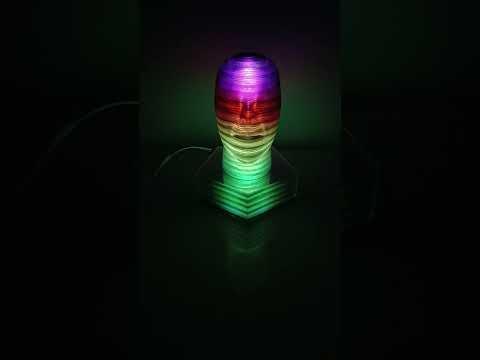
Finally, after almost 20 years, the project is finished.