RFduino IBeacon Welcome Home
by RFduino in Circuits > Wireless
16185 Views, 60 Favorites, 0 Comments
RFduino IBeacon Welcome Home
Published on May 6, 2014
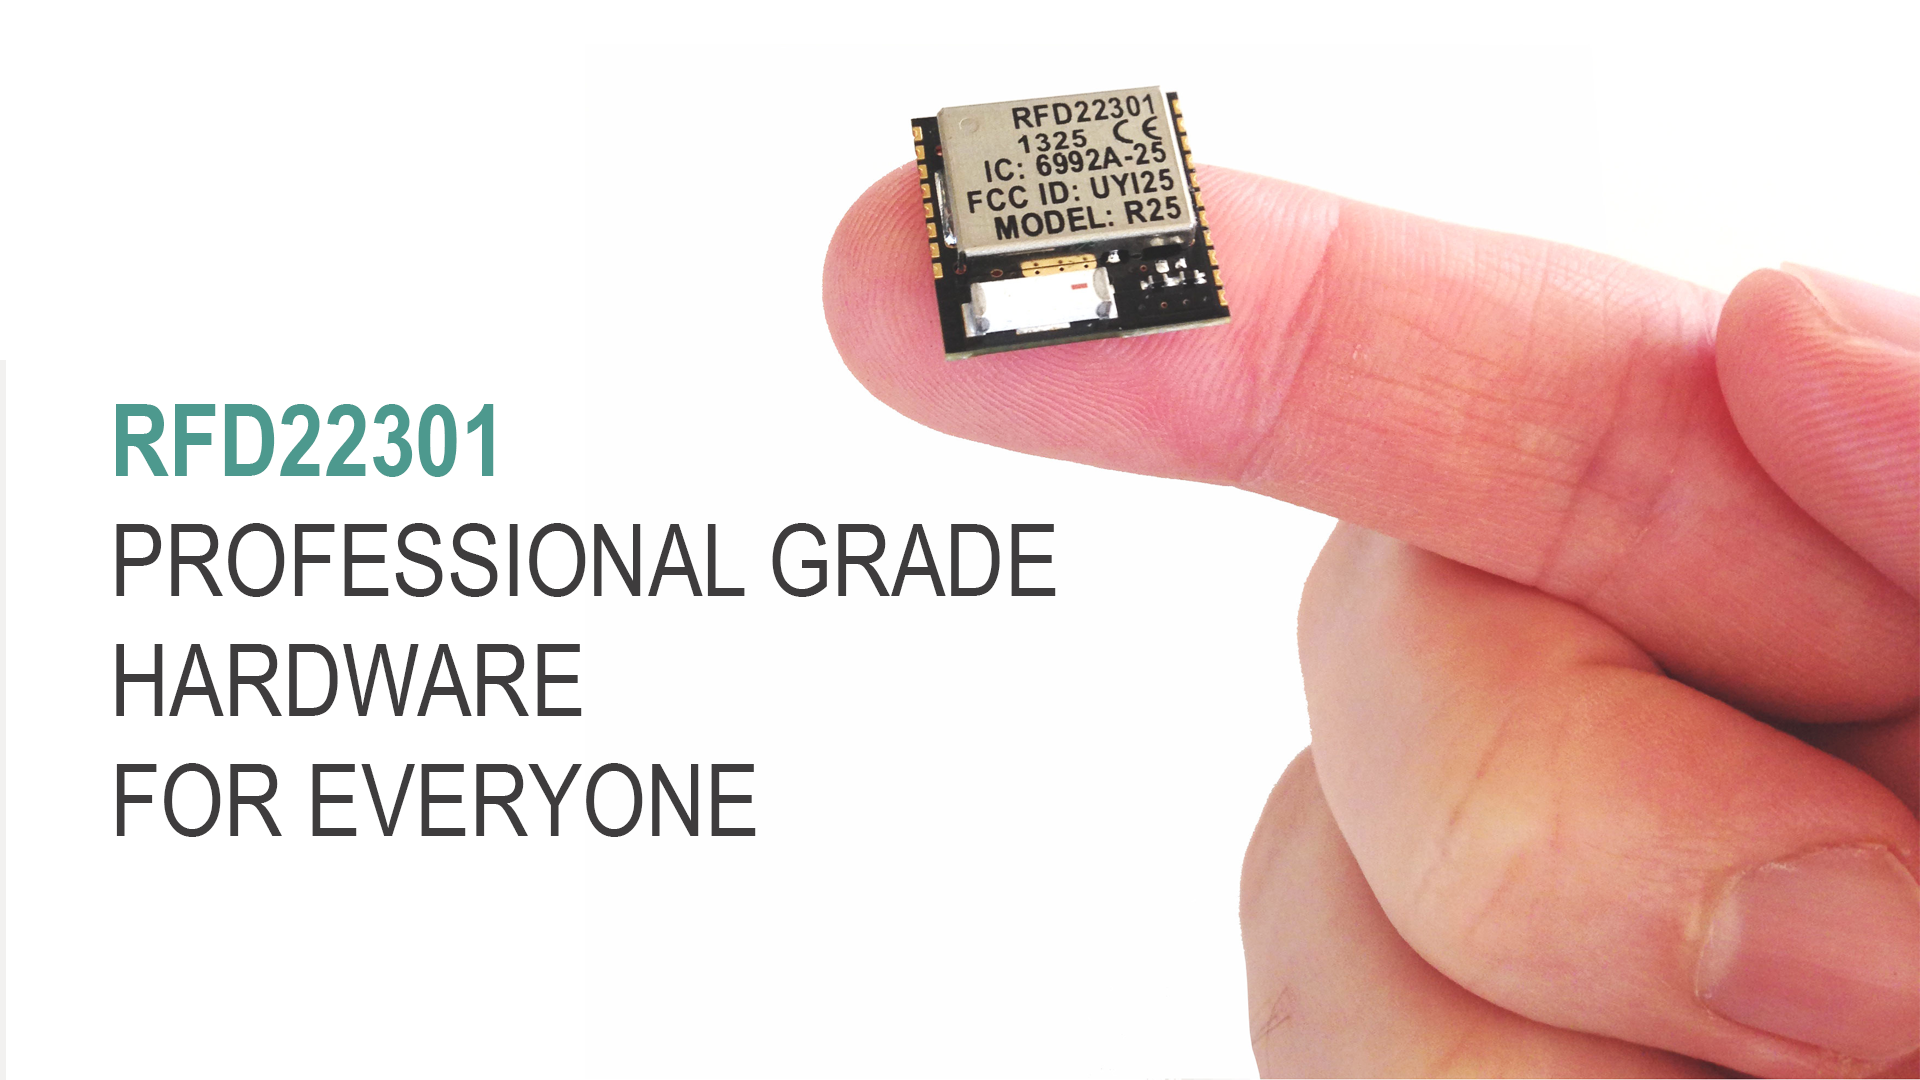
Check out the RFduino's finger-tip sized, Arduino compatible, wireless enabled micro controller:
http://www.rfduino.com/product/rfd90101-rfduino-2pc-dev-kit/
Use your RFduino as an iBeacon! Quick and easy setup allows you to create your very own regions to push notifications to your phone when you are in the proximity.
Simply add the following line of code to your sketch to activate iBeacon functionality:
RFduinoBLE.iBeacon = true;
RFduinoBLE.begin();
More about RFduino iBeacon http://www.rfduino.com/news/ibeacon-for-rfduino-r...
Materials Needed:
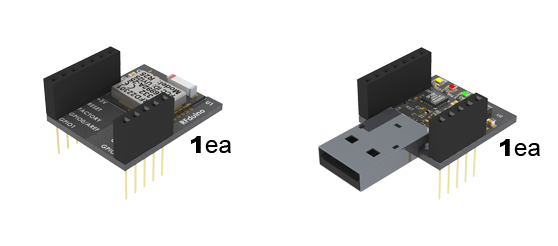
- RFD22102 RFduino DIP
- RFD22121 USB Shield for RFduino
- iPhone with Bluetooth 4.0 LE capability
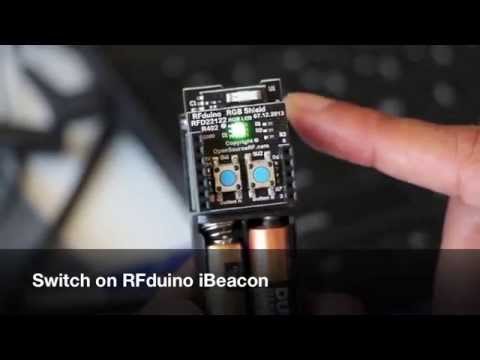
Setting Up Hardware
Before beginning the instrucable for iBeacon, please follow the steps to set up your computer for using the RFduino here:
http://www.rfduino.com/wp-content/uploads/2014/04/...
Once you have completed the preliminary steps for setting up your computer with the correct drivers and Arduino IDE, please follow the next steps to set up an RFduino iBeacon.
1. Stack the RFduino DIP Module onto the USB Shield for RFduino, and insert into a USB port on your laptop or computer.
2. Open up "Arduino IDE" on your laptop or computer, and double check to see if you RFduino is checked under "board" with also the correct COM port.
3. Under "File" menu, select the following drop down menus: Examples> RFduinoBLE > iBeacon . This will open the example sketch for iBeacon
4. Click the "Upload" button to transfer the sketch over to the RFduino DIP Module.
5. Once it says "SUCCESS", you are finished with the hardware setup.
Software Setup
1. Download the Beecon App from the App Store found here: https://itunes.apple.com/app/beecon/id822251888
2. Once you have gone through the turtorial for the app, swipe to the "Your regions:" page.
3. Tap on "New" on the top right corner of the screen to create a "New Region".
4. On the "General" tab, enter a Title for your Region. For example: "RFduinoHome"
5. Enter an Identifier for your Region. For example: "com.example.RFduinoHome"
6. Enter the UUID of the RFduino iBeacon. Since we did not set a custom UUID, the default UUID is the following:
E2C56DB5-DFFB-48D2-B060-D0F5A71096E0
****MAKE SURE TO INCLUDE HYPHENS****
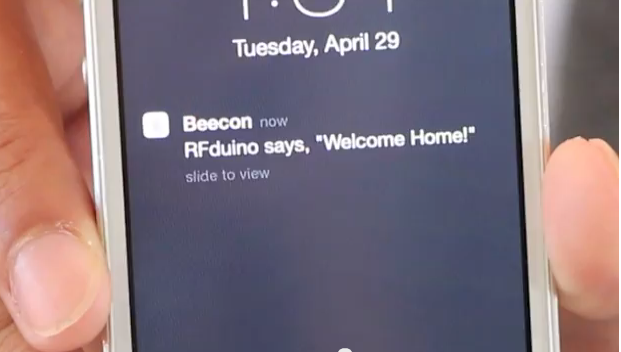
7. On the "On Enter" tab, to enable this feature, slide the "Show" slider to where it shows green.
8. Enter your own "Custom text alert" that will appear when you enter the region. (You can also have it do other things like call a URL, or Tweet!)
9. On the "On Exit" tab, you can do the same thing you did for "On Enter", but this will trigger when you leave the region.
10. Once finished, click on Insert or Update.
Test It Out!
1. Apply power to the RFduino through the USB shield.
2. Open your Beecon app.
3. Swipe to the 2nd screen that shows which beacons are in range.
4. You will now be able to see the RFduino iBeacon available on the screen.