RFM69 / Arduino Pro Mini Having Lively Discussion With JeeLink
by stumpygreg in Circuits > Arduino
6714 Views, 44 Favorites, 0 Comments
RFM69 / Arduino Pro Mini Having Lively Discussion With JeeLink
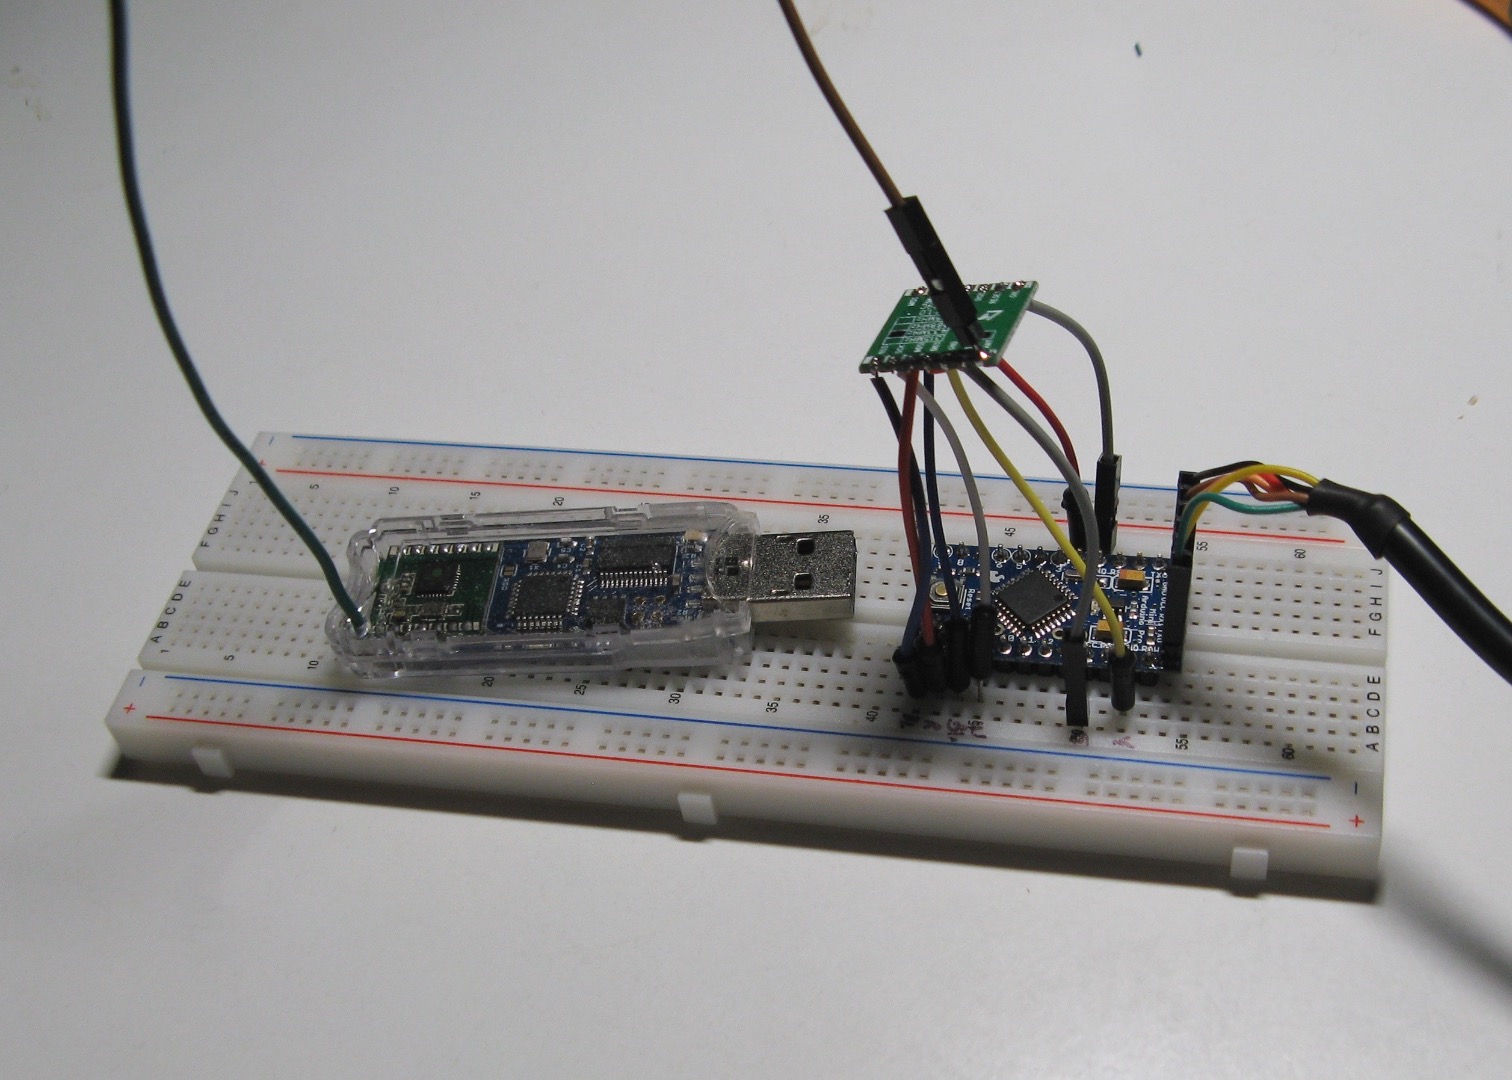
I have been exploring the rapidly expanding world of cheap, small transceivers. These little devices are very useful for communicating between two computer nodes and fit nicely into many projects. The radios cover a wide range of frequencies and have an equally wide range of features. The radios I have chosen for this demonstration are the RFM69C radios from Hope Labs. They come in several frequencies and I am using the 433Mz version. I would highly recommend perusing the data sheet for this radio at this point. RFM69C DATASHEET
This radio uses a SPI bus to communicate with the processor it is attached to. It is a good idea to understand how SPI works. This tutorial from Sparkfun is helpful: SPI TUTORIAL . My main point here is that writing radio drivers that interface with SPI bus is not easy to do and the smart people who make them work should be recognized for their skills. My other point is that it can be extremely confusing and frustrating to get a particular radio working with a particular processor using a particular coding language.
Because of this, several modules have been created that combine a radio with a processor in a small package where the processor takes care of all the SPI transactions and presents you , the user, with a UART connection that is much easier to deal with.
So, After quite a bit of frustrating false starts I decided to cobble together a good demonstration of two RFM69 radios, one using SPI and one module using UART, communicating with each other. I chose the Arduino pro mini because it is inexpensive and a working driver exists. (Its also a cool little device). This instructable will show you how to have these two radios engage in a steady state conversation and also demonstrate event handling on the pro mini. I also chose the Jee Link because it is a good representation of a UART enabled module and is supported by Jee Labs.
I will try to point out the key learnings that I went through but as usual if you want to learn something you need to study it and spend time playing with it. That is certainly the case with radios.
One thing I must mention. Many libraries, examples, and commentaries are based on an older radio, the RF12. As an example, the Jee Link comes loaded with a demo sketch - RF12Demo. But its running on the RF69!. This happens a lot so watch for it.
Onward.
A WARNING: I am assuming that you can work on a command line and can use a terminal such as mini-com and know how to figure out the device ID for a plugged in USB device. You should understand basic serial communication. If you are not at this level, this is probably not a good place to start!
I also assume you know how to use Arduino IDE. Definitely not a place to start if you do not know that.
What You Need for This Project
1. RFM69CW radio
2. Arduino Pro Mini
3. Jee Link USB dongle
4. 3.3v FTDI Cable
5. Breadboard
6. Jumper Wires
Assemble RFM69 to Pro Mini
.jpg)
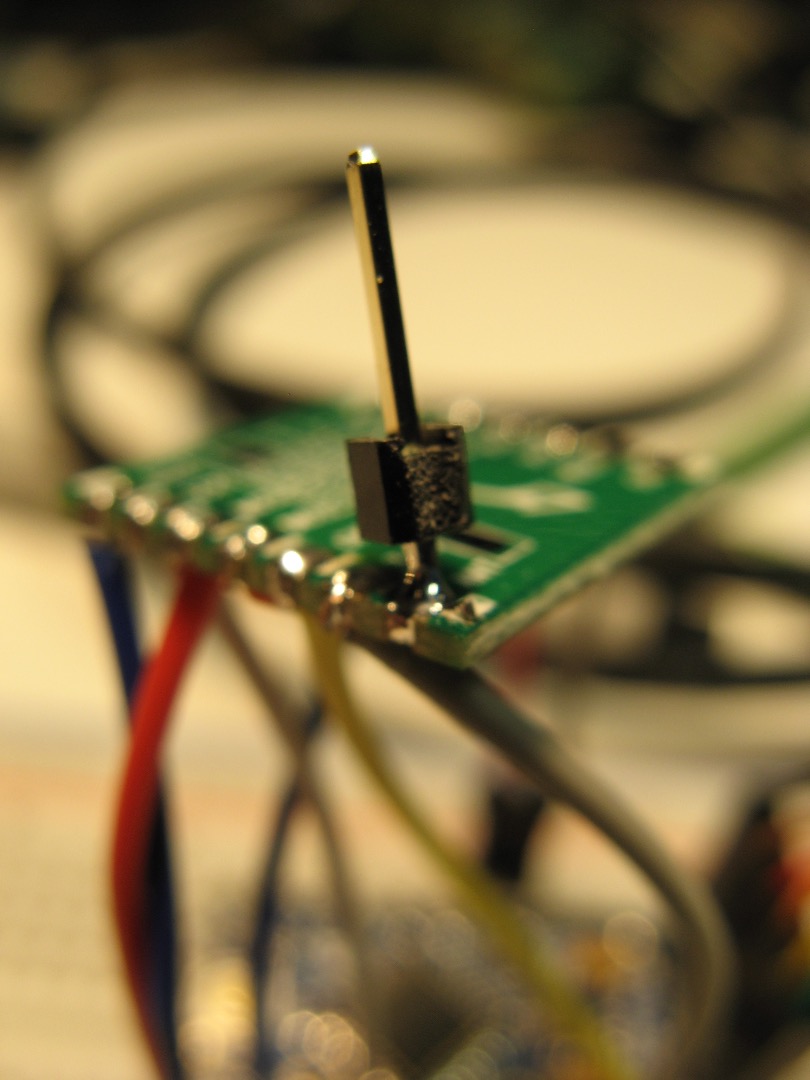
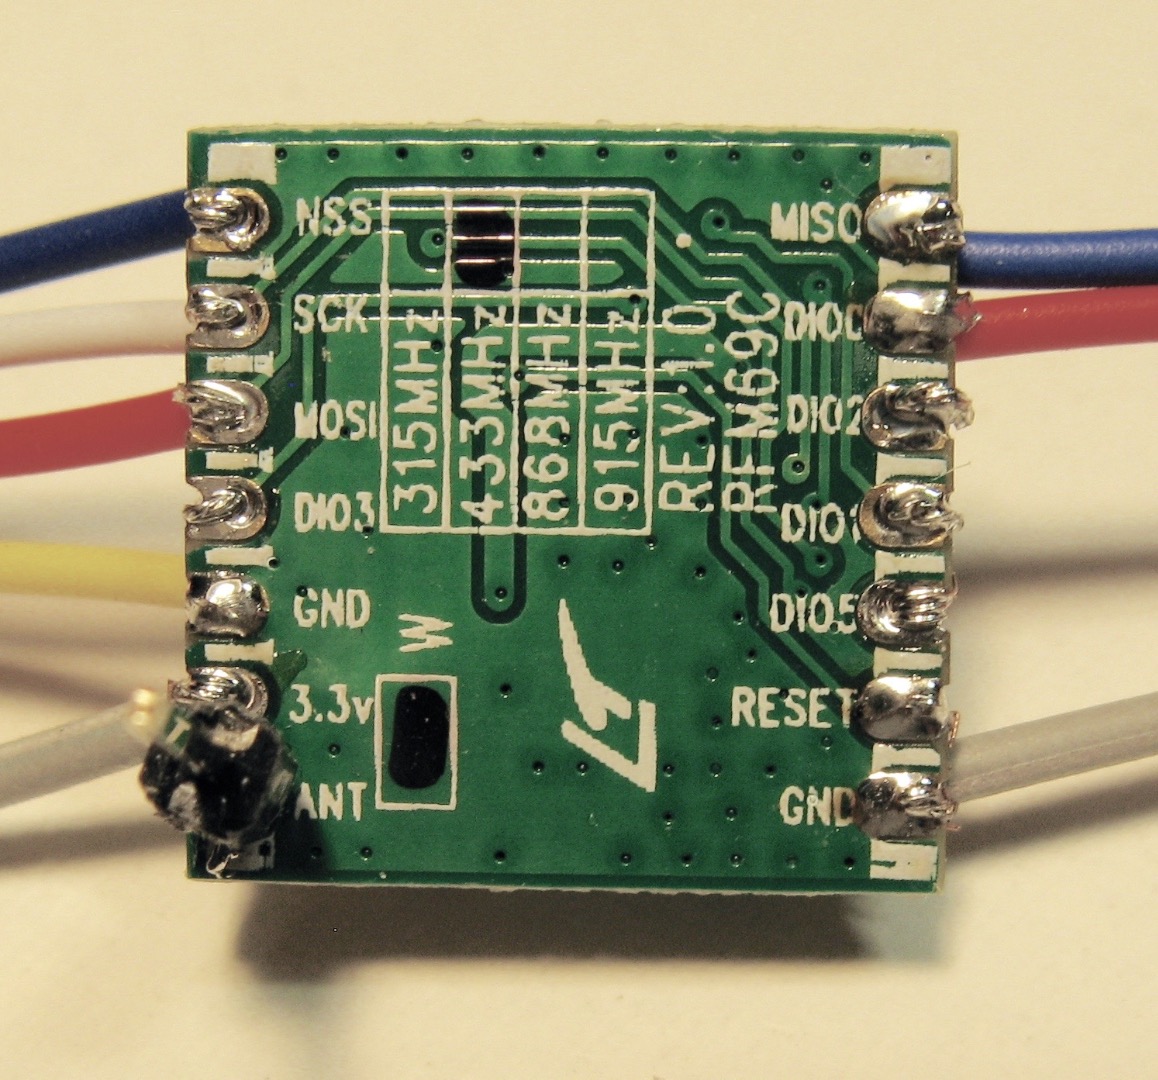
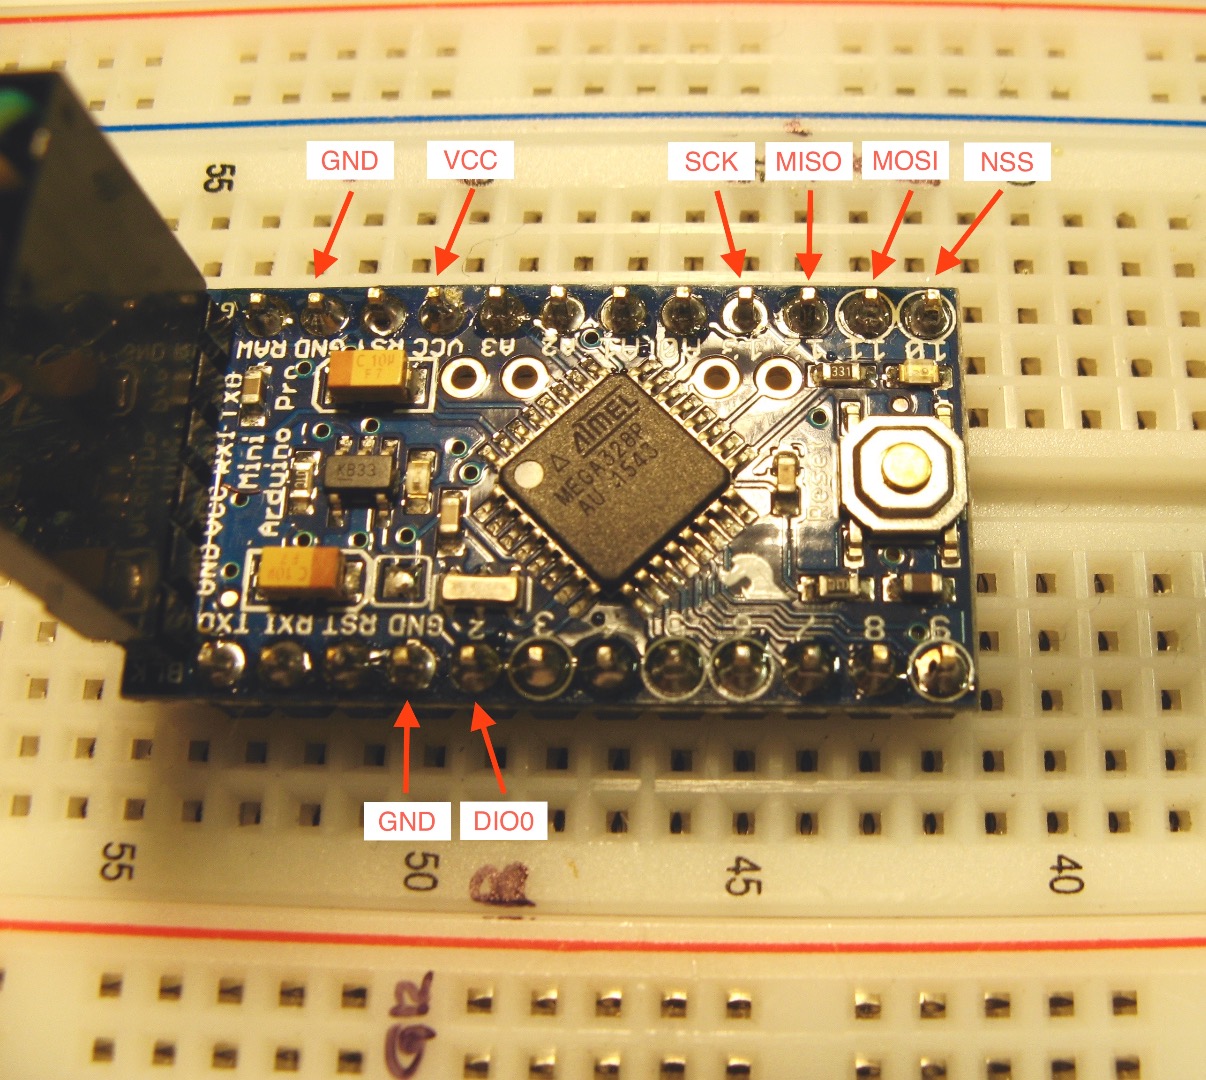
1. Take 4 breadboard jumper wires with pins that are about 6 inches long and cut them in half. Strip the cut ends and solder to the rfm69 board pads. Solder to both ground pads, MISO, MOSI, VCC, NSS, SCK and DIO0. Carefully (!) solder a single header pin to the ANT (antenna) pad.
2. Put the Pro Mini onto a breadboard and plug in the wires from the rfm69 to the pro mini. Note that you are plugging the DIO0 wire into pin 2 on the mini
3. Take a 6 in jumper with a female end and plug onto antenna pin
4. Plug in FTDI cable and plug into usb port. A single red led should come on.
5. Now is a good time to figure out the serial device address for the FTDI cable.
Configure Jee Link and Upload Sketch
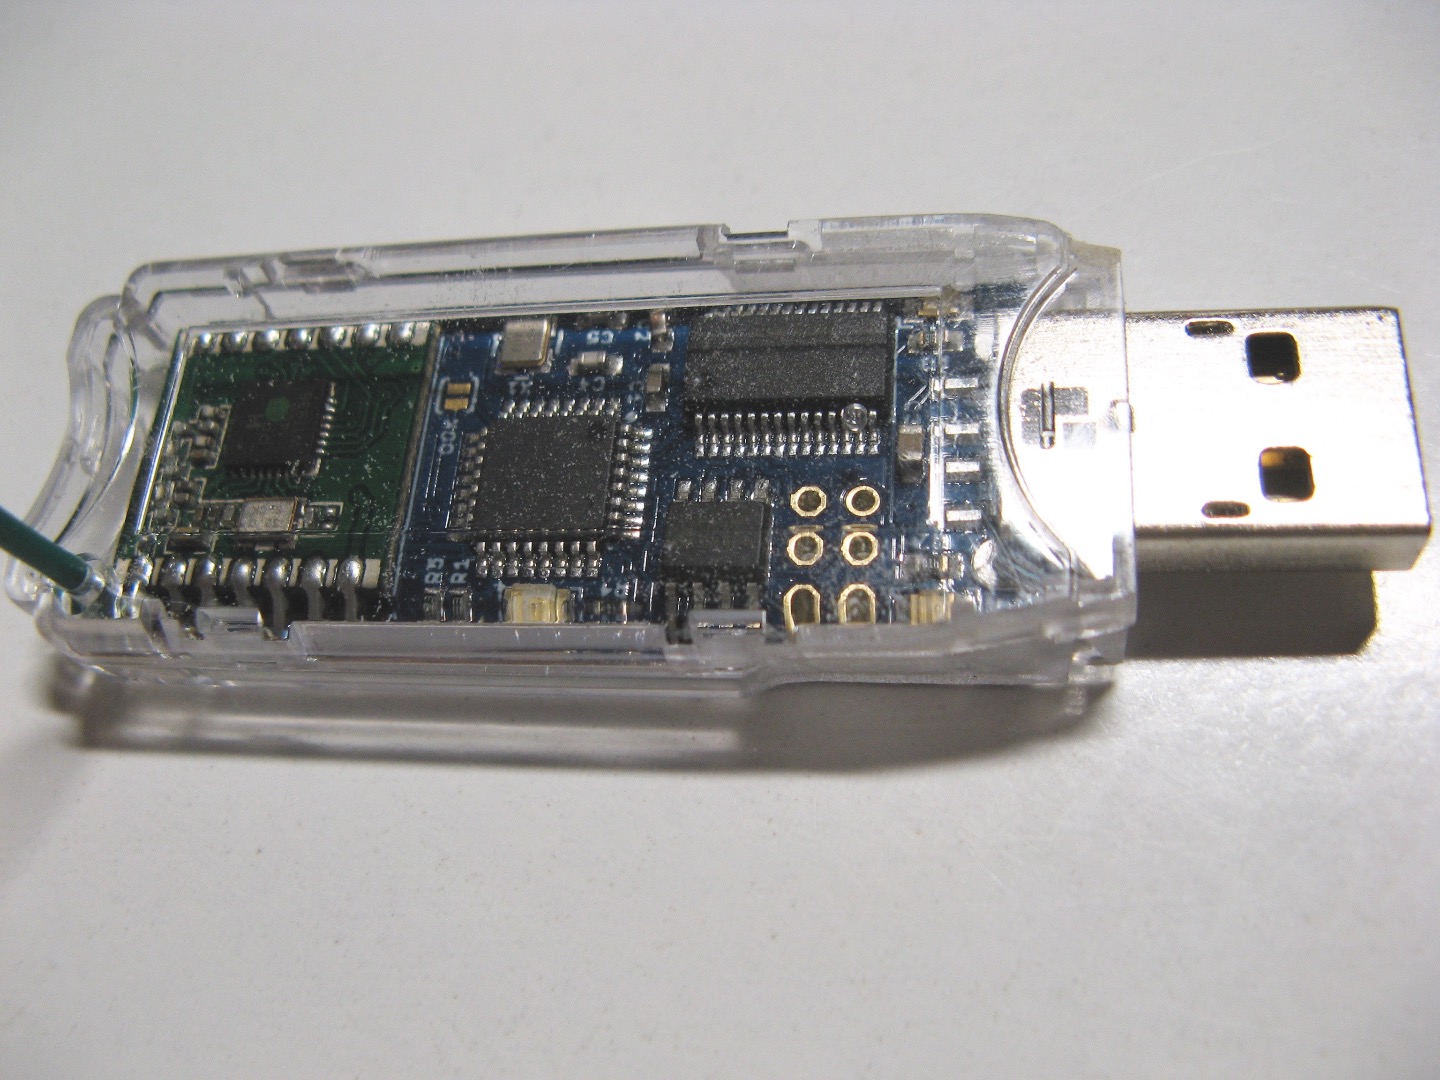
Both the Arduino (obviously) and the Jee Link come equipped to load sketches.
I use a Mac running Yosemite but any linux box should behave the same. Google Jee Link FTDI driver to find Win7 download for PC.
1. Open and read this README JEE LINK README
First you have to get the library:
Follow the instructions to install the library in your Arduino IDE. I would highly recommend upgrading Arduino to latest rev.
2. Start terminal such as minicom with the serial device address for the jee link. On my mac it was /dev/cu.usbserial-AL014KHK with speed of 57600 baud.
3. As minimum comes up you should start to see output from Jee Link RF12 Demo Sketch. Look at the README again then do the following:
Enter v then You should see current settings
Change to node id to 8 - enter i8
Change the network group to 210 - enter 210g
If frequency is not 433Mz enter b4
NOTE: The README is not completely accurate !
4. Download radiodemo-jeelink.
5. Using Arduino IDE upload radiodemo-jeelink to Jee link.
Note: Setup: Tools->Board:Arduino/Genuino Uno , Tools->Port: < jee link serial port>
Downloads
Configure RF69 and Upload Sketch
1. This is where I am not sure what the state of your radio will be. So we will upload the RF12 demo sketch first, configure your radio, and then upload the communications sketch.
2. Open the Arduino IDE. Go to Examples->jeelib-master->RF12->RF12demo
3. Edit line 9 changing to: #define RF69_COMPAT 1
4. Setup: Tools->Board: Arduino Pro or Pro Mini, Tools->Processor:ATmega328(3.3V,8Mhz), Tools->Port:
5. Select Serial Monitor, 57600 Baud
6. Upload sketch. You might have to do this several times, unplug usb, wave arms over board. Eventually the sketch will upload. In other words be patient.
7. Enter v then You should see current settings. Update the configuration.
Change to node id to 10 - enter i10
Change the network group to 210 - enter 210g
If frequency is not 433Mz enter b4
8. Download radioedemo-mini, place in a folder of same name
9. Open with Arduino IDE
10. Using same settings, upload the sketch radiodemo-mini_2
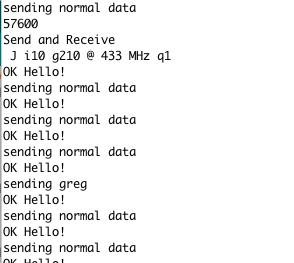
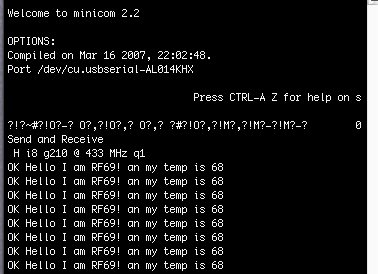
11. You will see in the monitor that it is sending normal data and the jelling is sending back Hello!
12. Make sure the monitor has Newline selected in the box on the bottom of screen
13. Type "important data" in send line and send
14. You will see it sent the important data and the data should show up in the Jee Link terminal
Downloads
What the Terminals Look Like When Its Running
