RC Truck to Arduino Robot W/ Multiple Sensors
by immrroboto in Circuits > Arduino
37009 Views, 86 Favorites, 0 Comments
RC Truck to Arduino Robot W/ Multiple Sensors
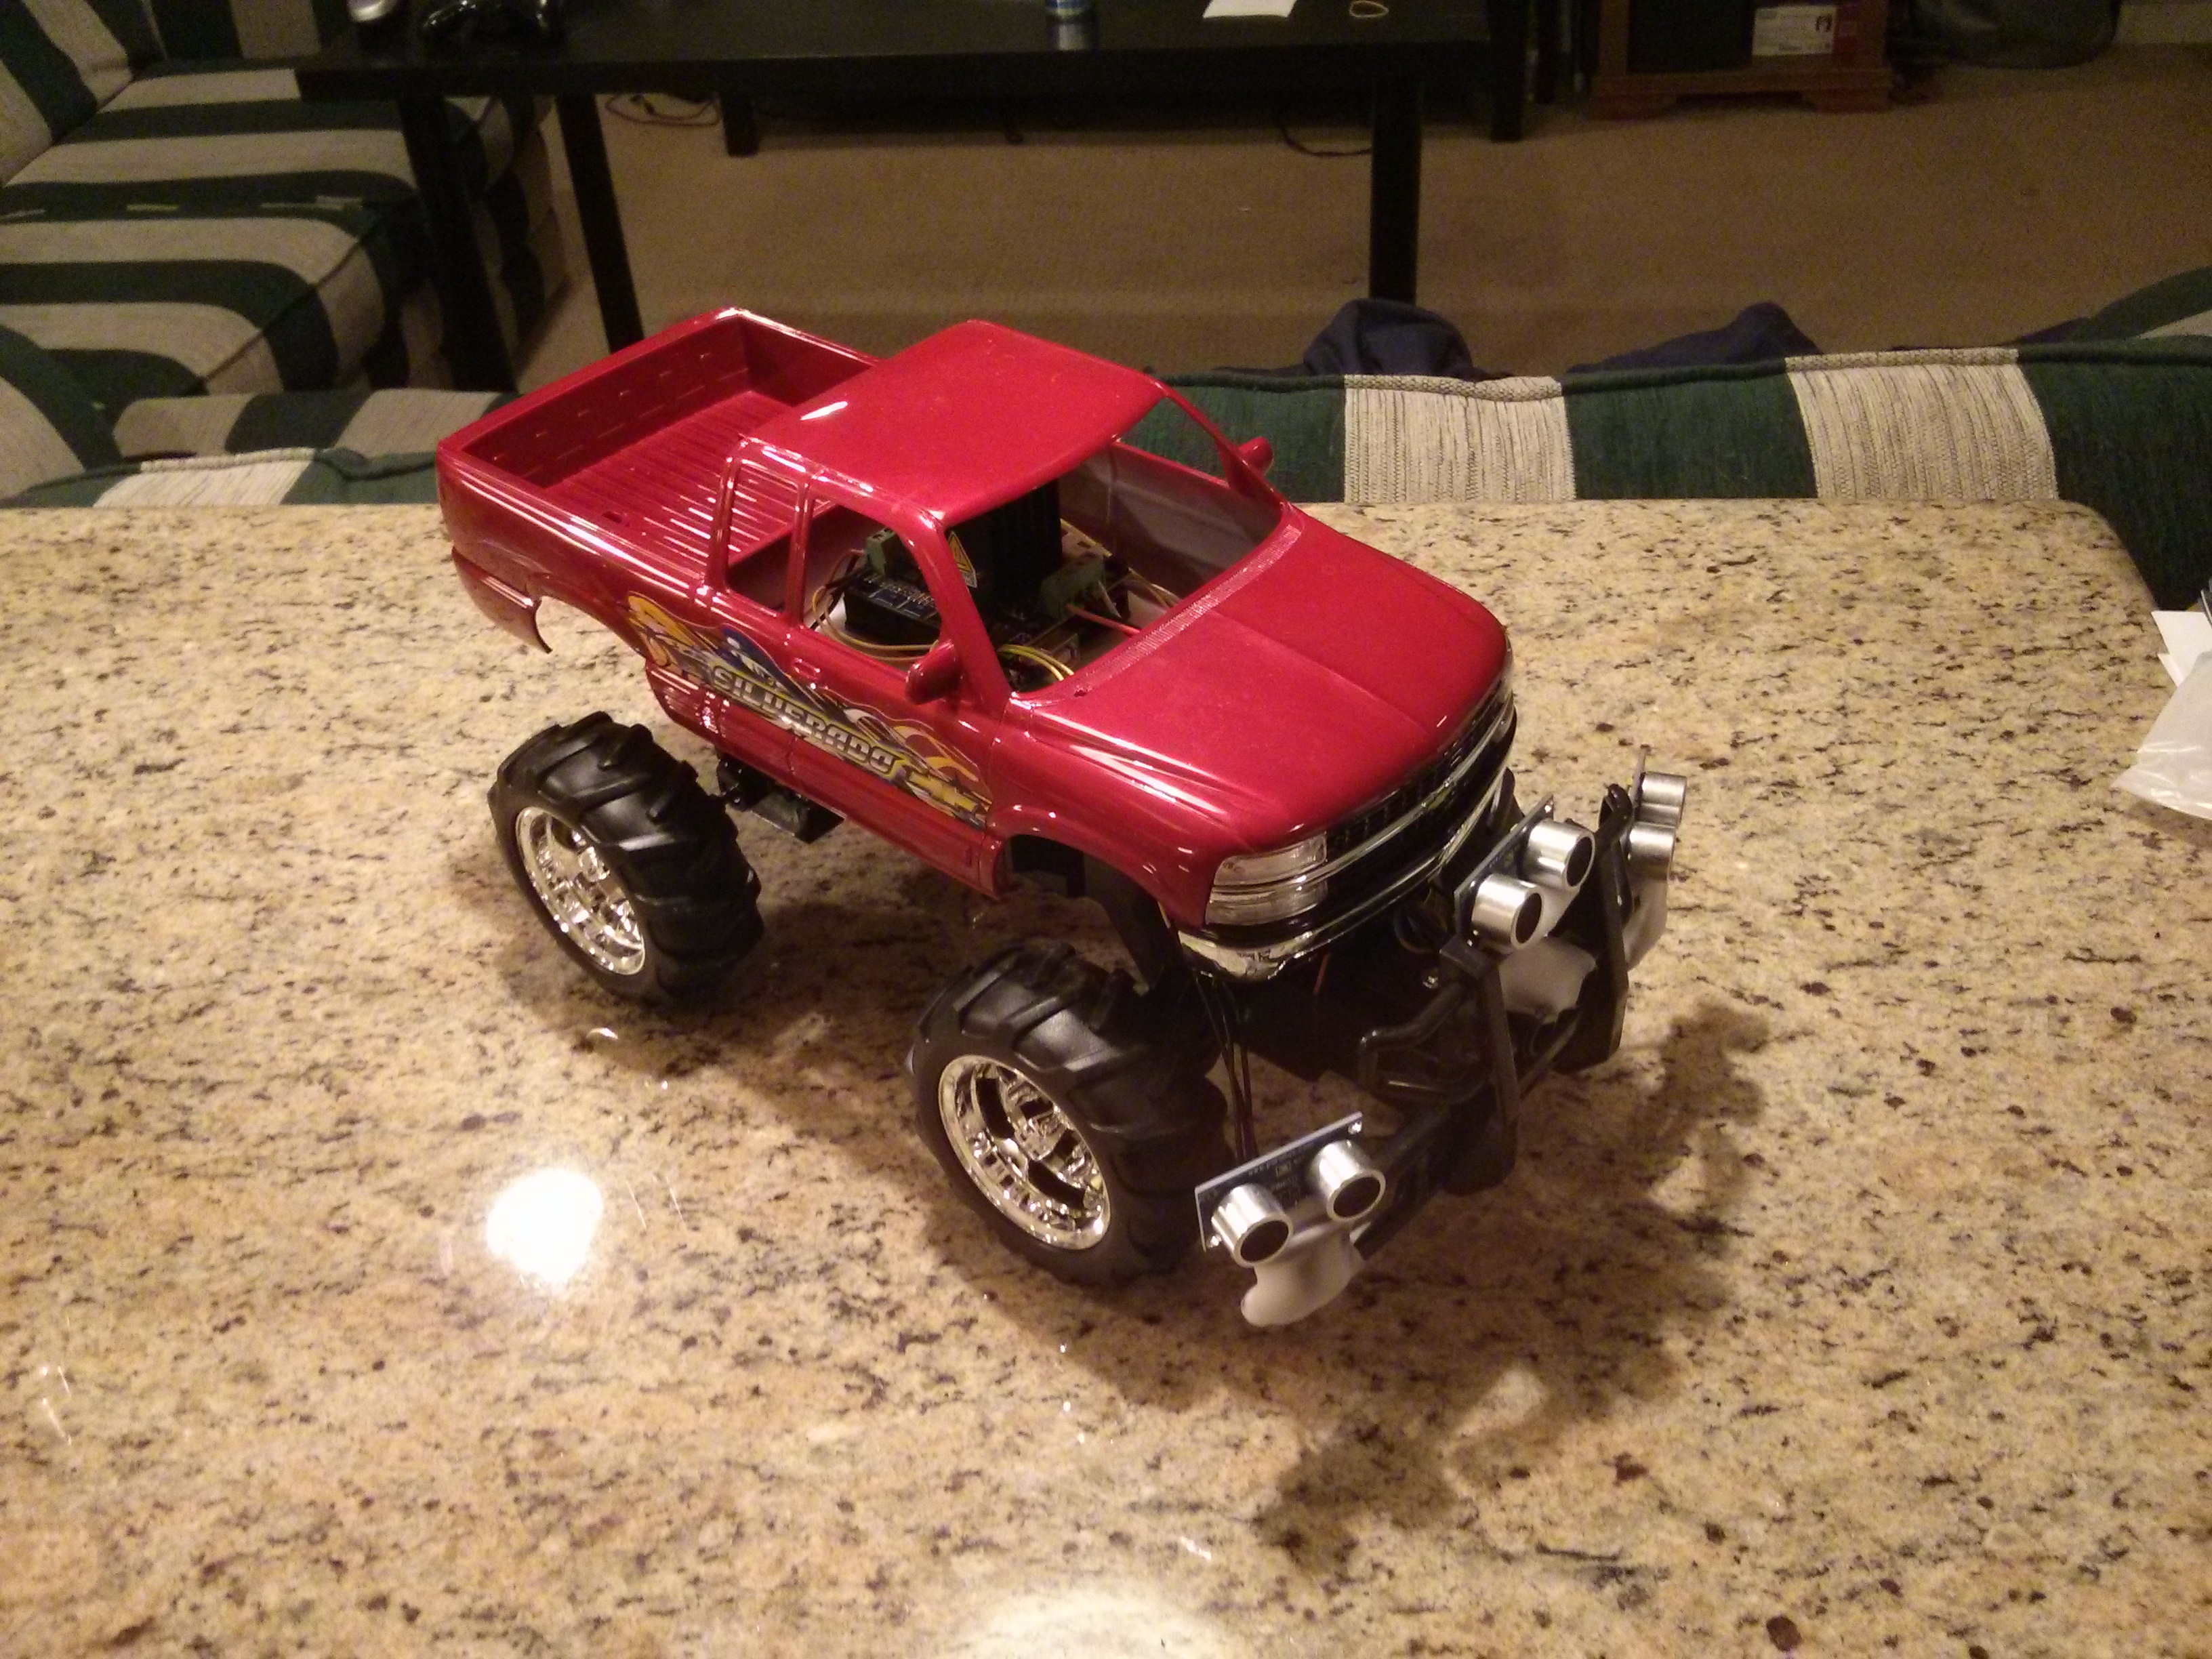
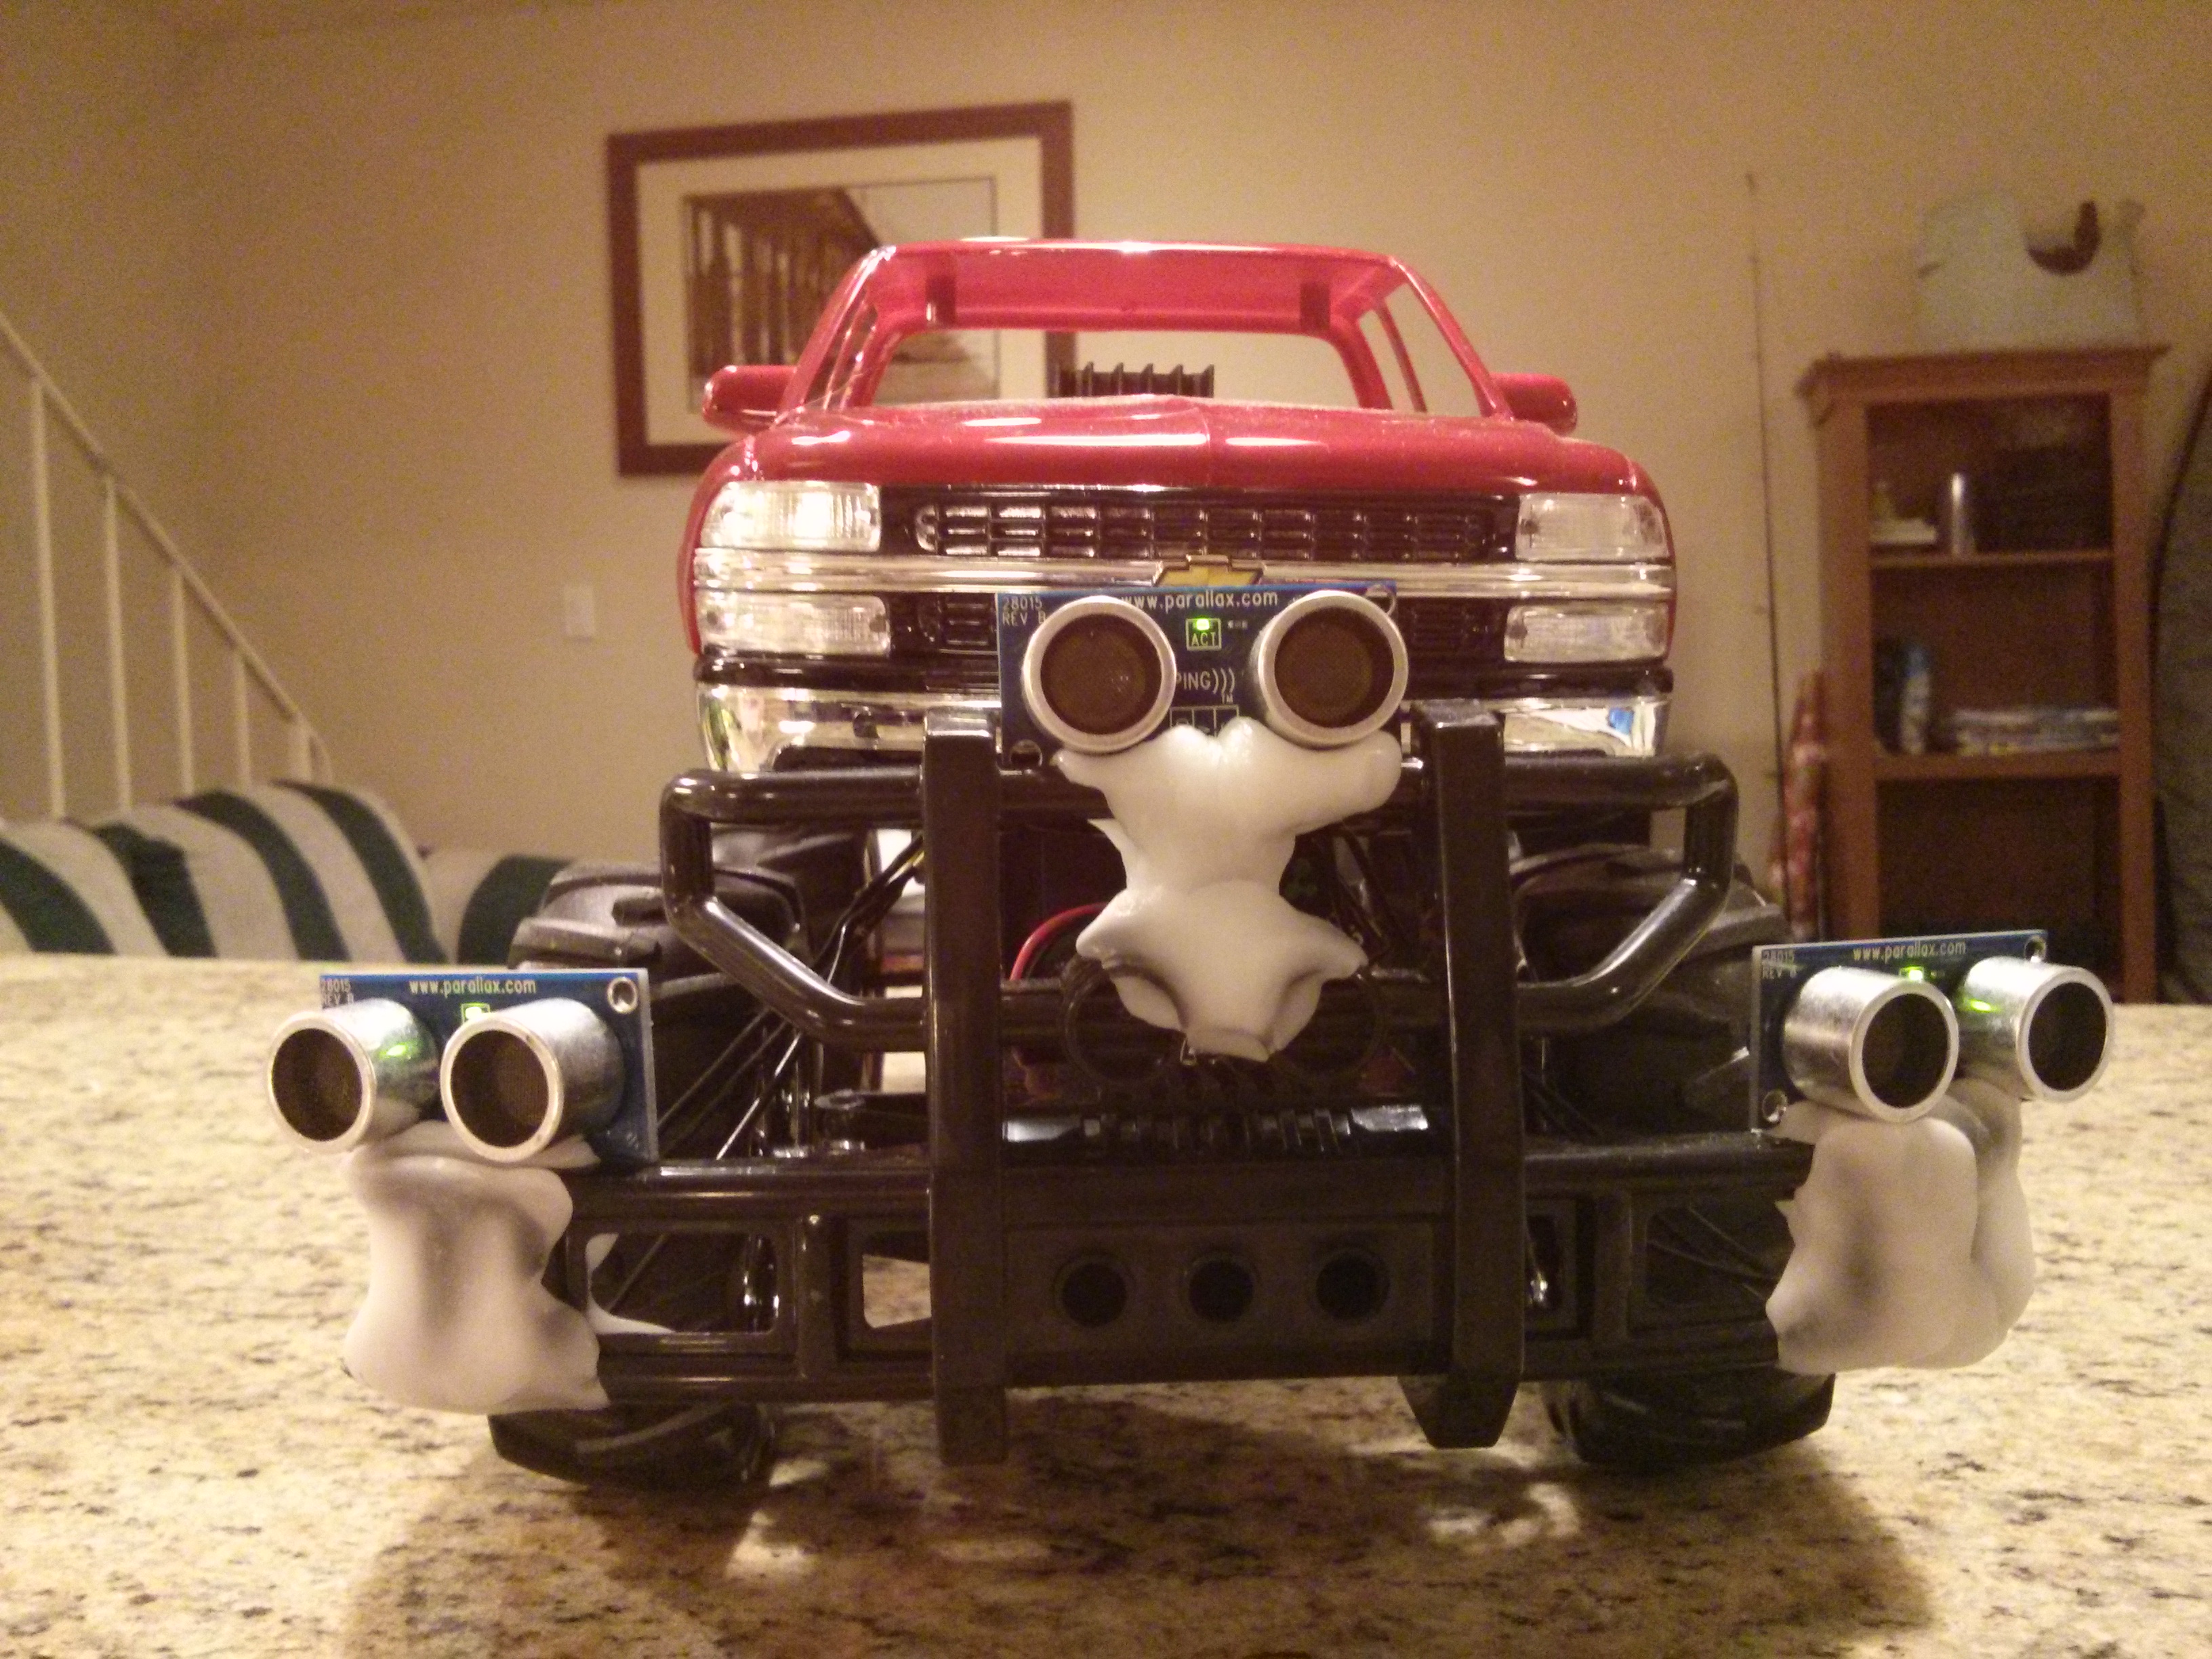
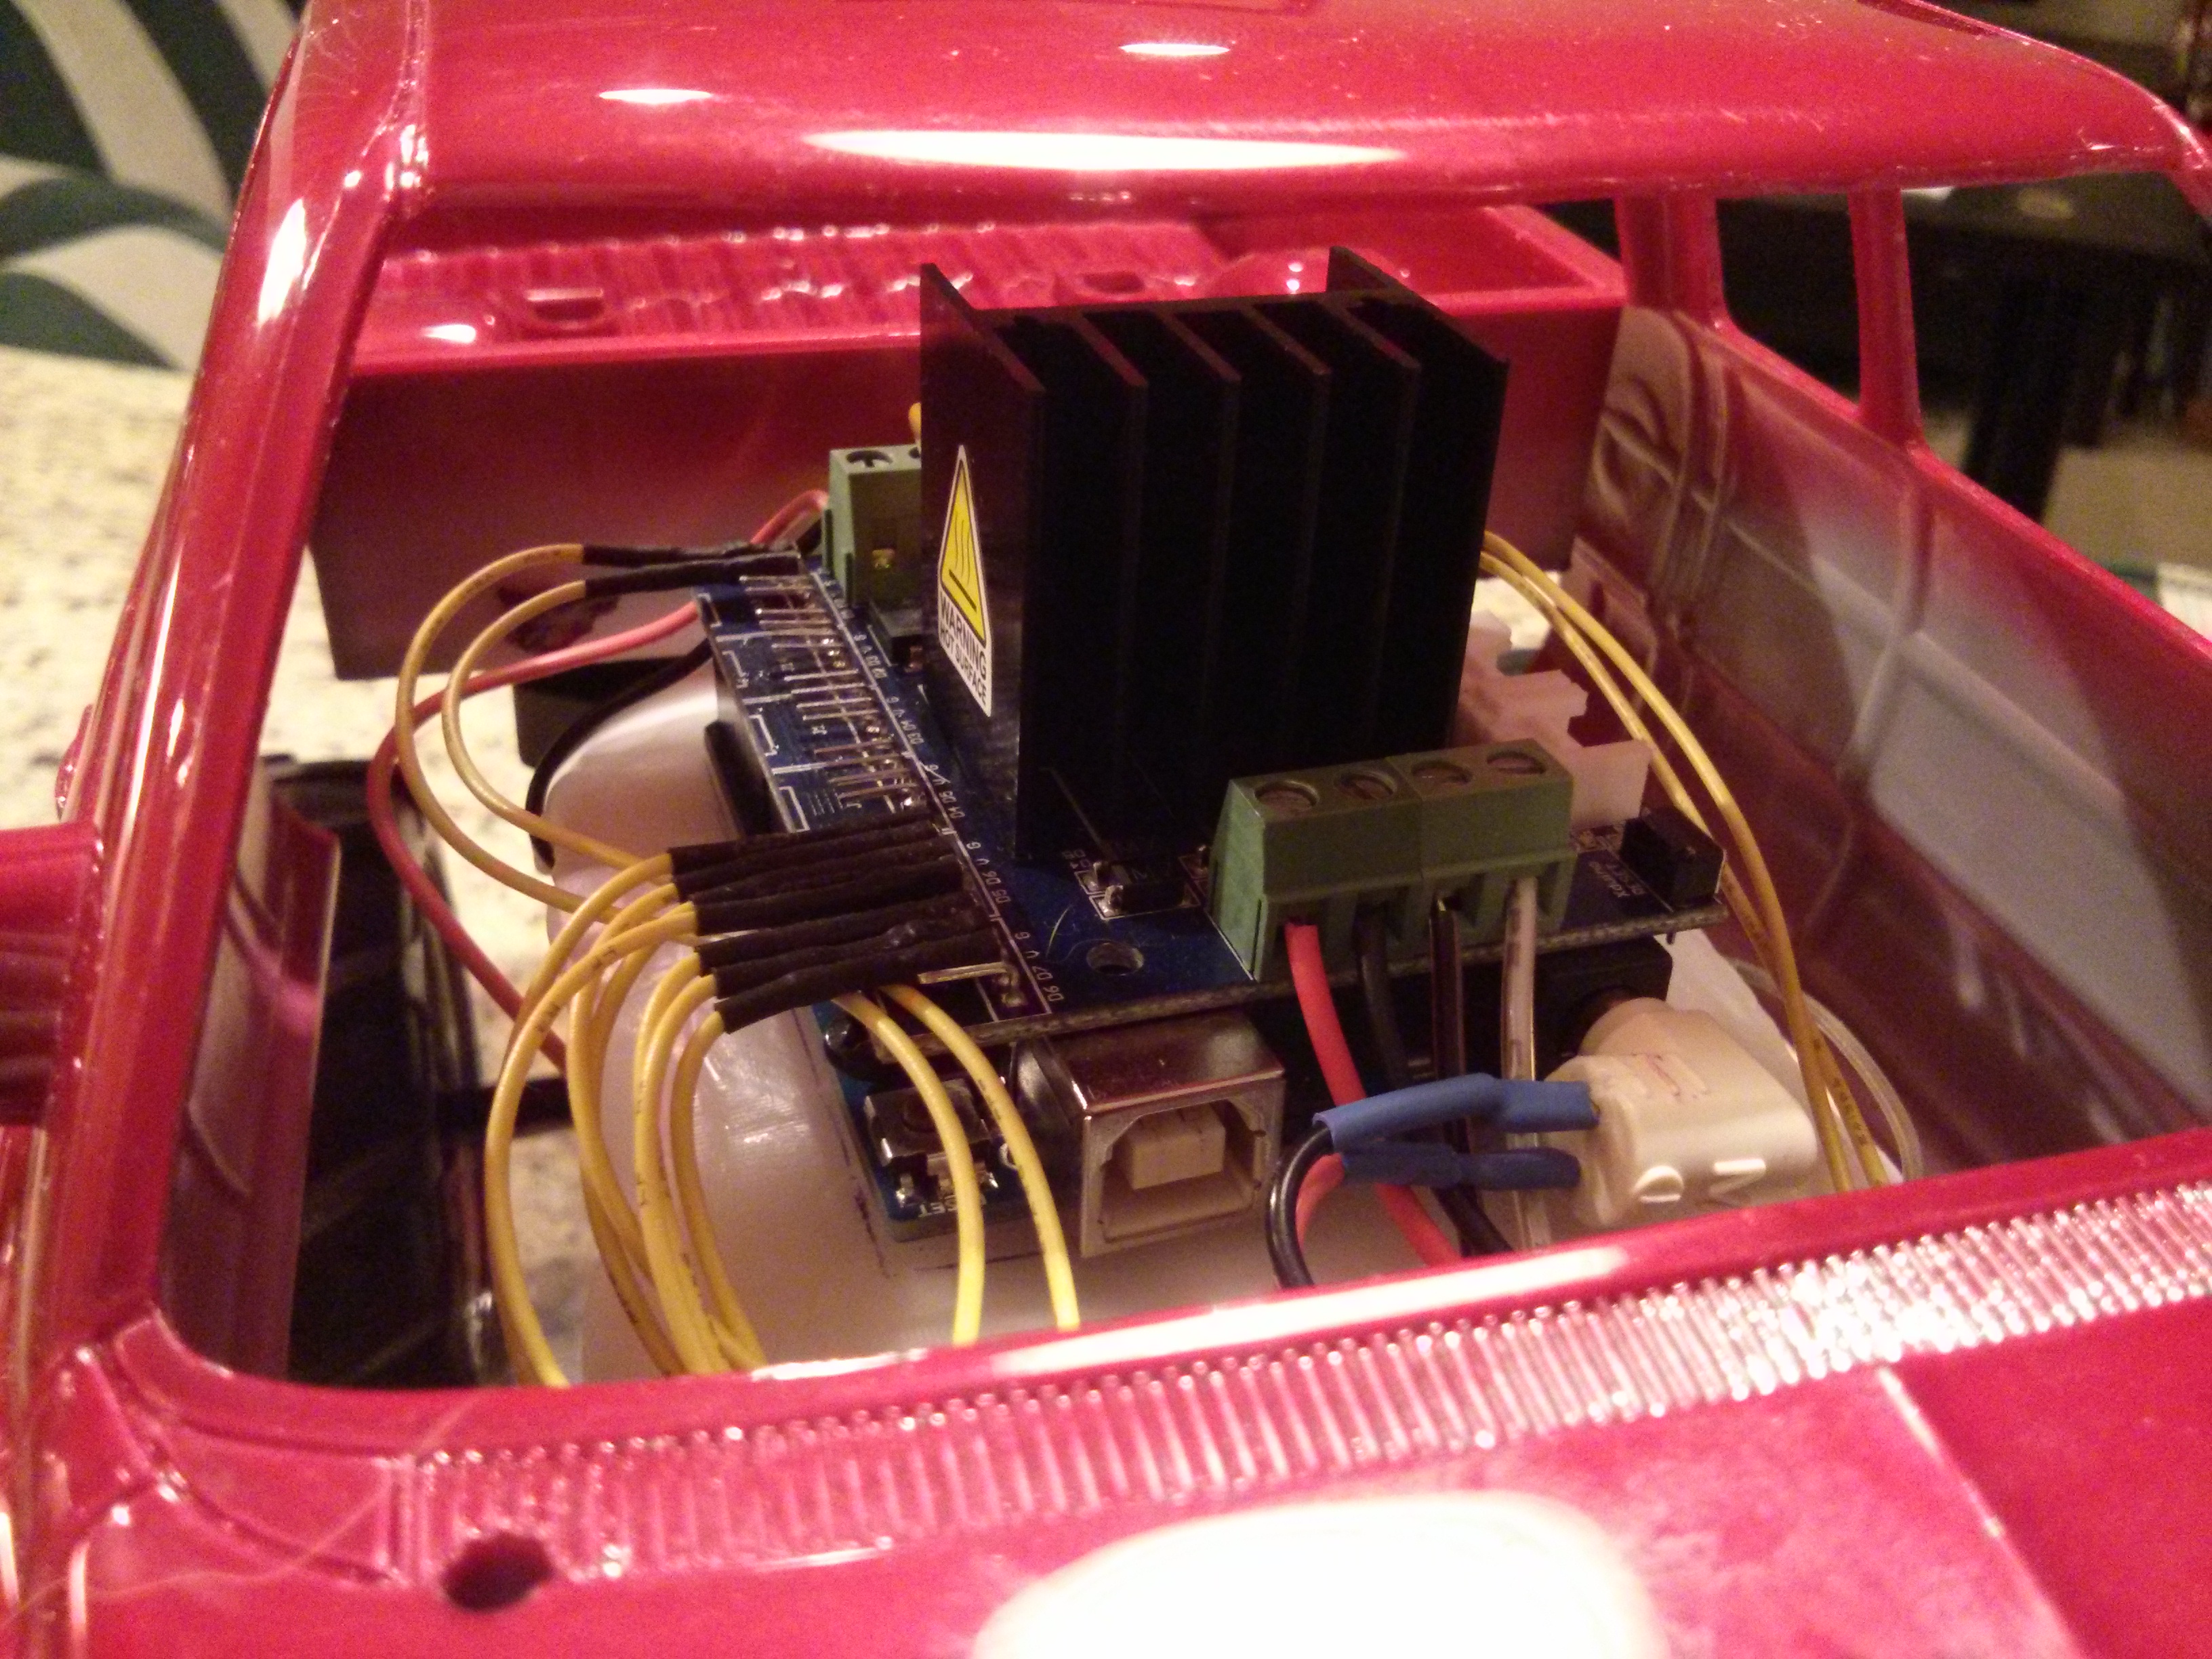
This instructable covers the conversion of an RC truck into an Arduino controlled robot. My intent when beginning this project was to A) learn more about Arduino and programming B) build a reliable low cost platform to expand upon C) spend more money than I should at Radio Shack.
So if you are looking for an entry level project to cut your teeth on or a scalable platform for your wheeled robotic ambitions, I hope you find this instructable helpful and look forward to seeing how everyone improves upon it.
I conducted a search for similar instructables prior to writing this up and found a couple others (here and here) that are quite good and worth checking out as well. The main difference between my 'able and theirs' is that I used three PING sensors vice one to give our robot greater flexibility in regards to obstacle avoidance. The drawback here is of course the obvious and non-trivial increase in cost.
The robot navigating it's way down the sidewalk.
Gather Your Supplies
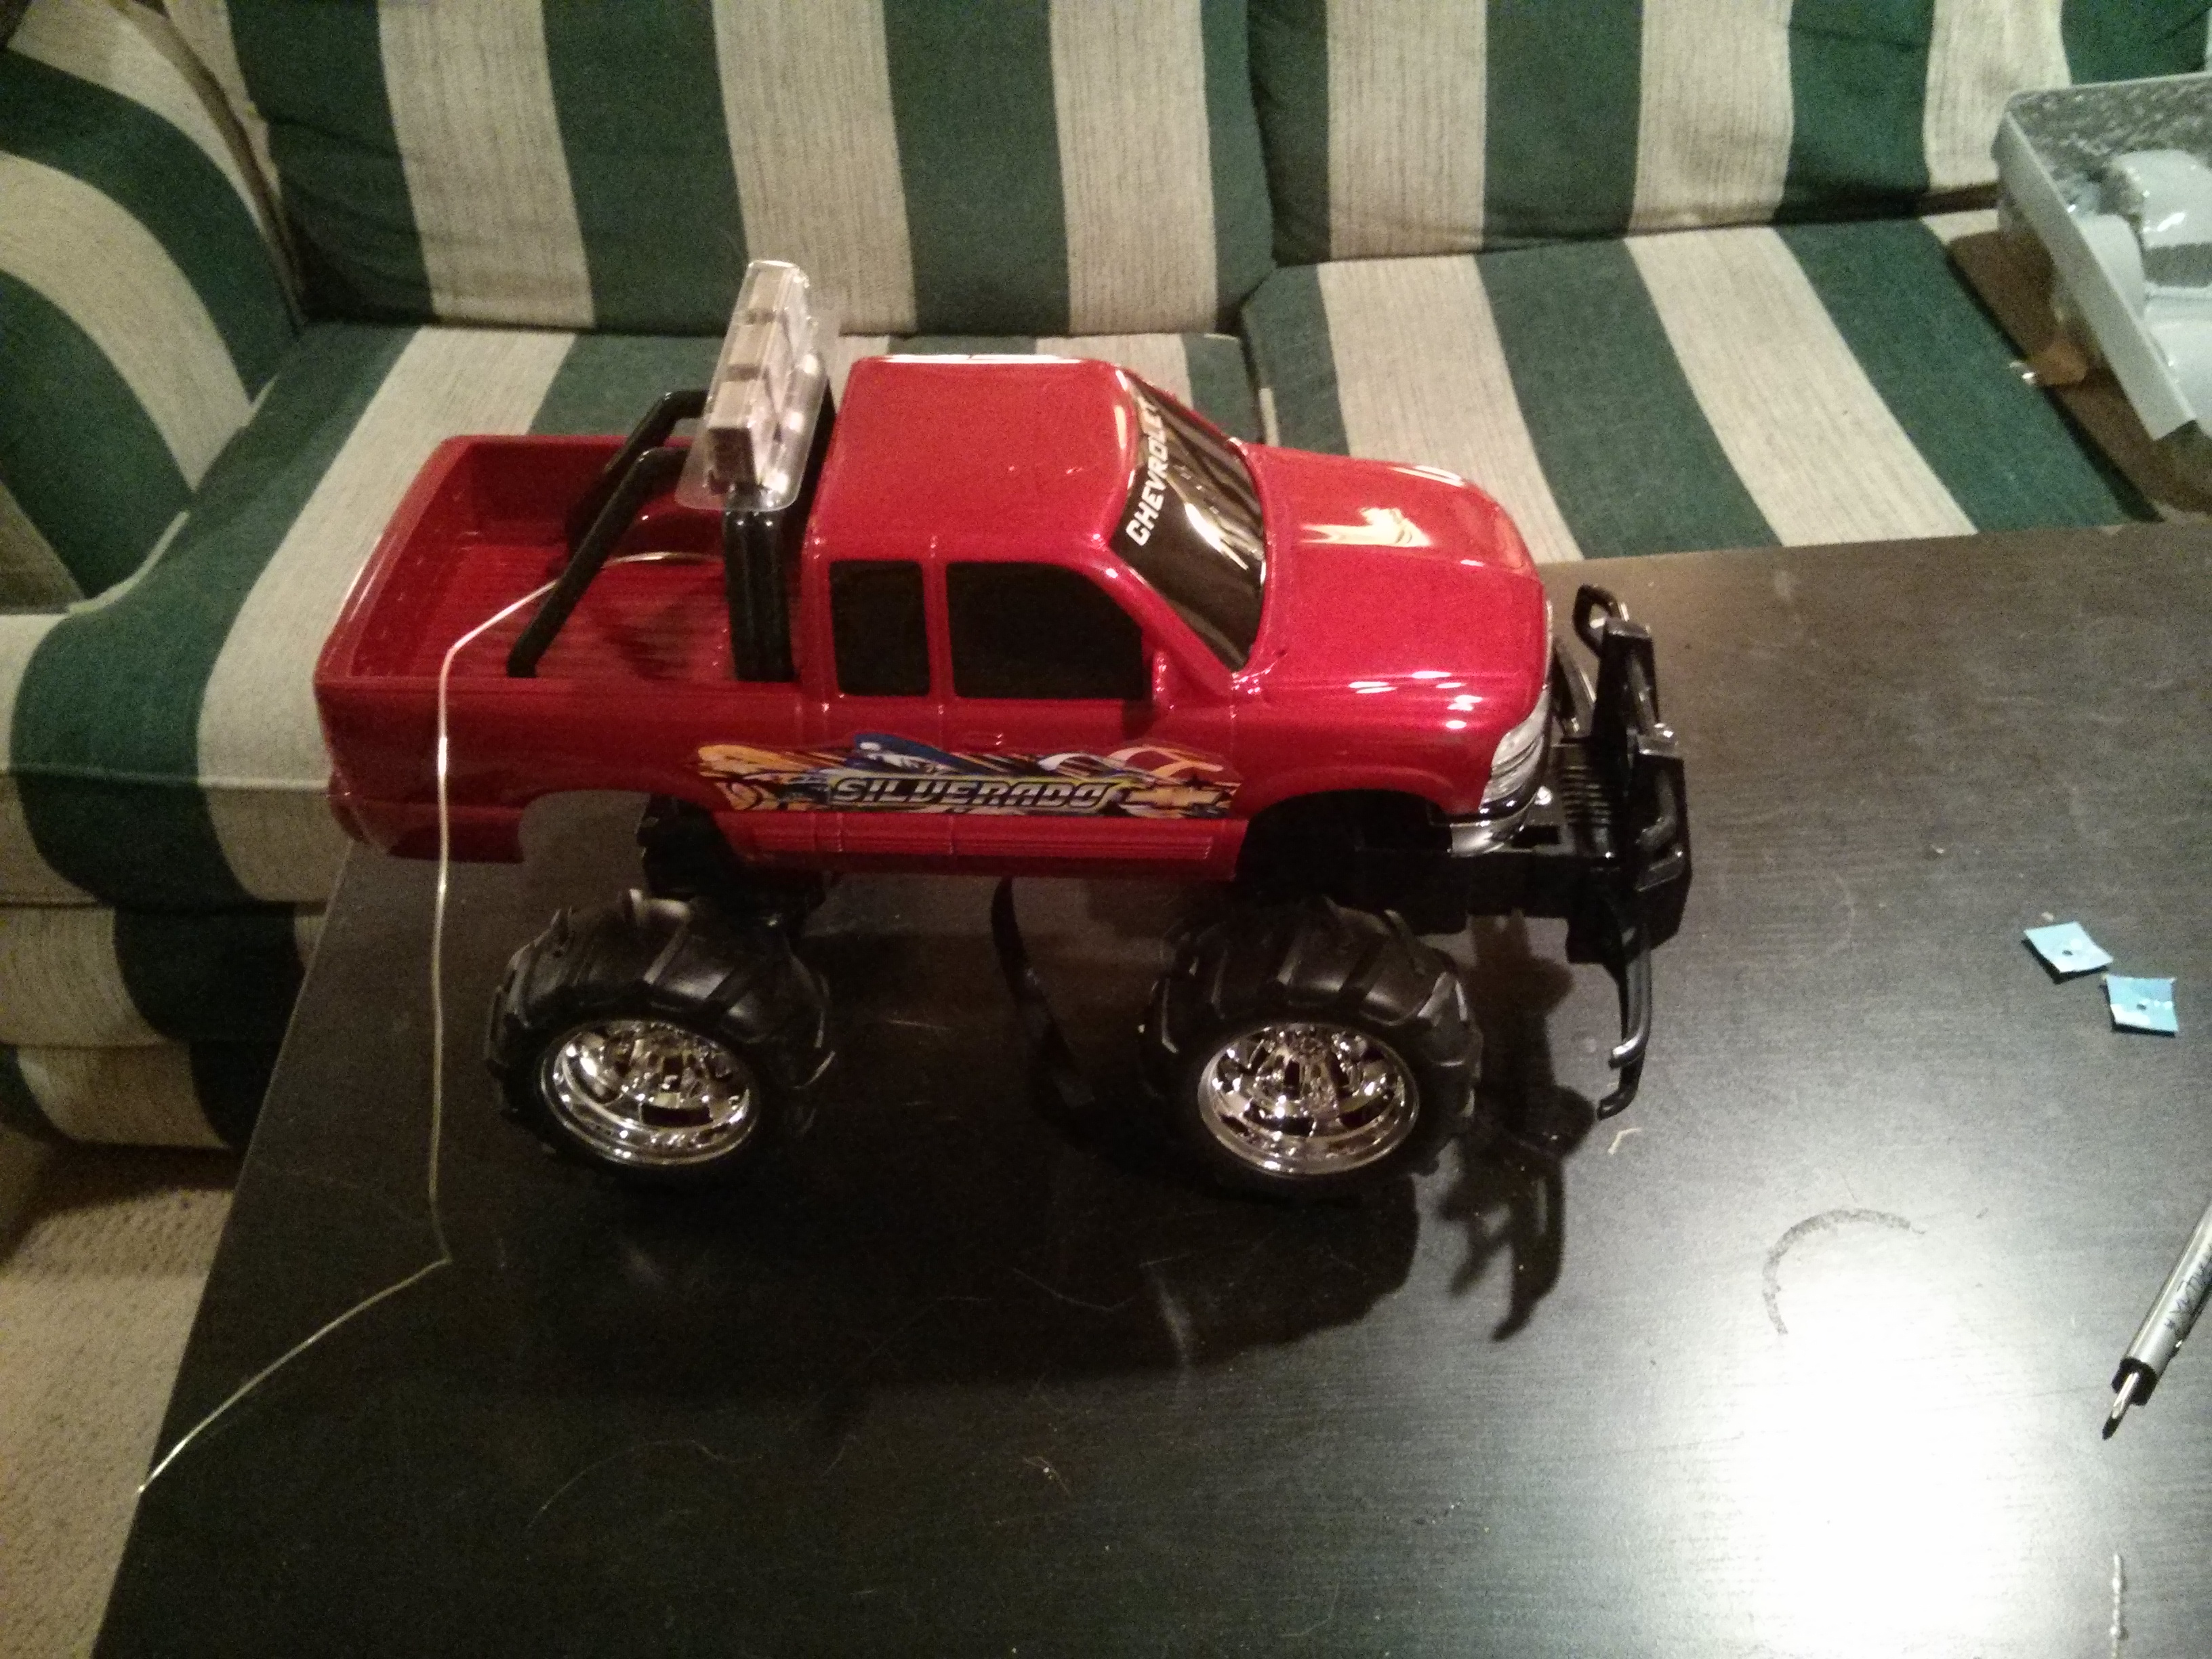
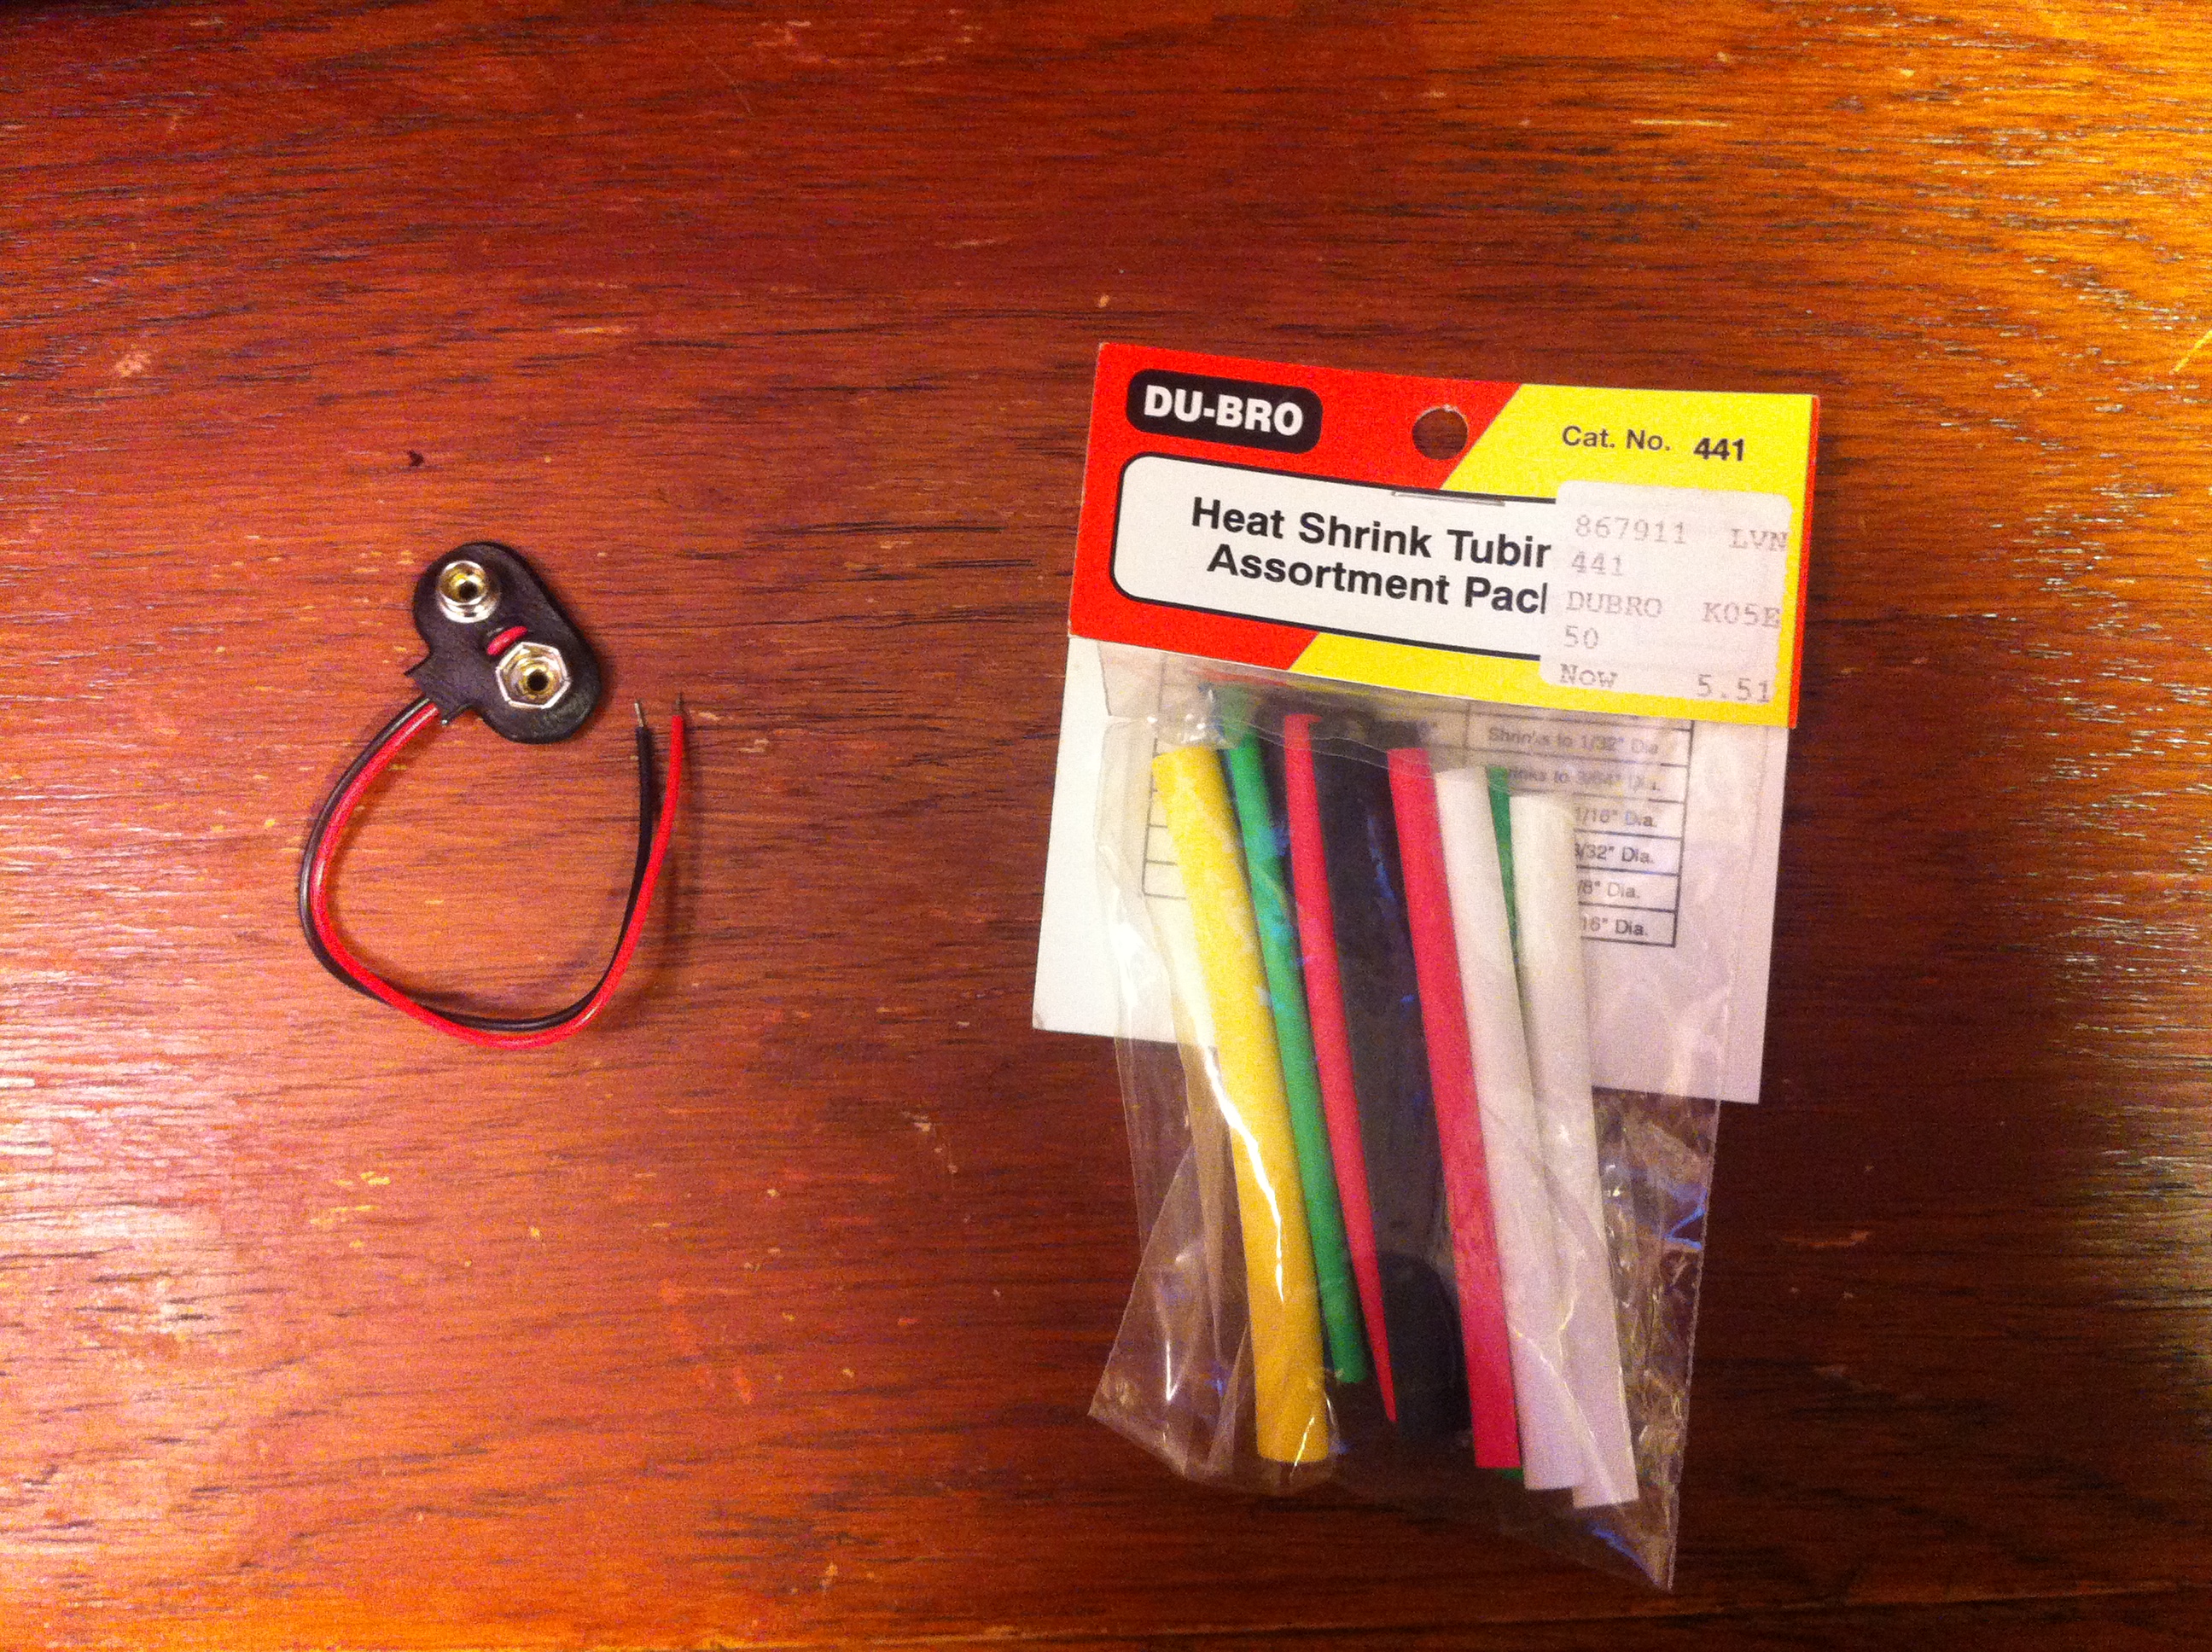
Radio Shack
1:12 Chevrolet Silverado RC Truck - $40
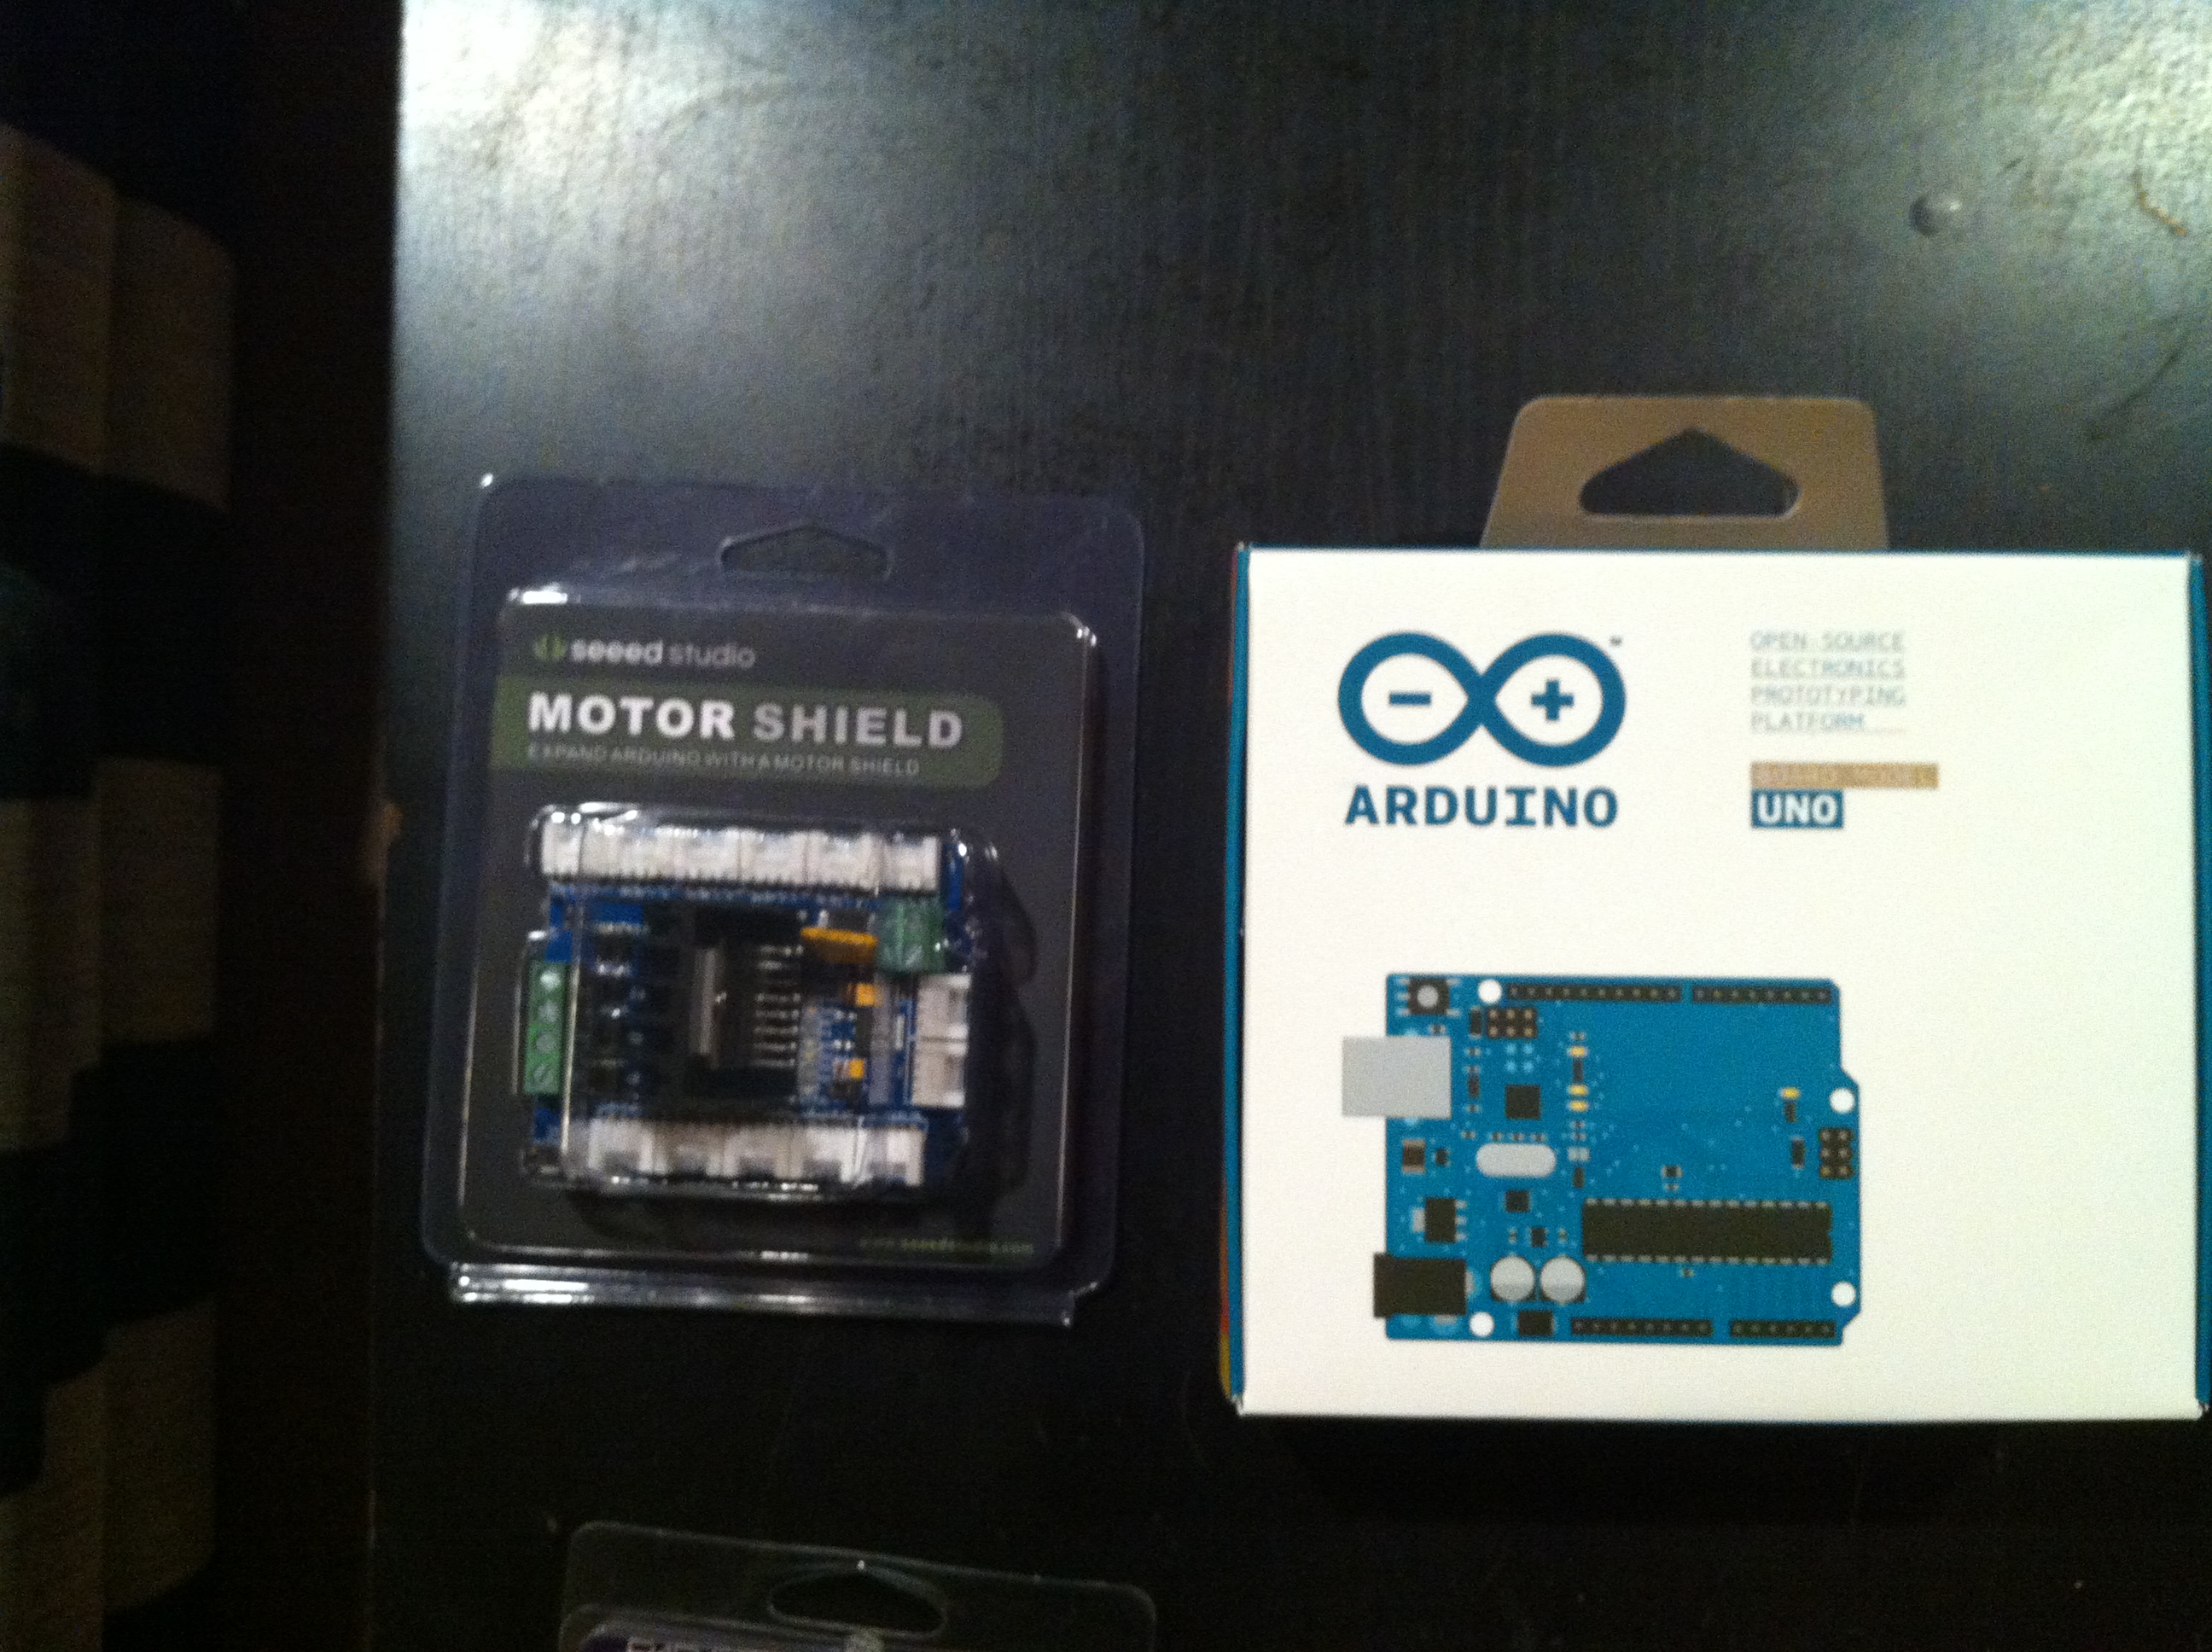
Arduino UNO - $35
SEEED Motor Shield - $15
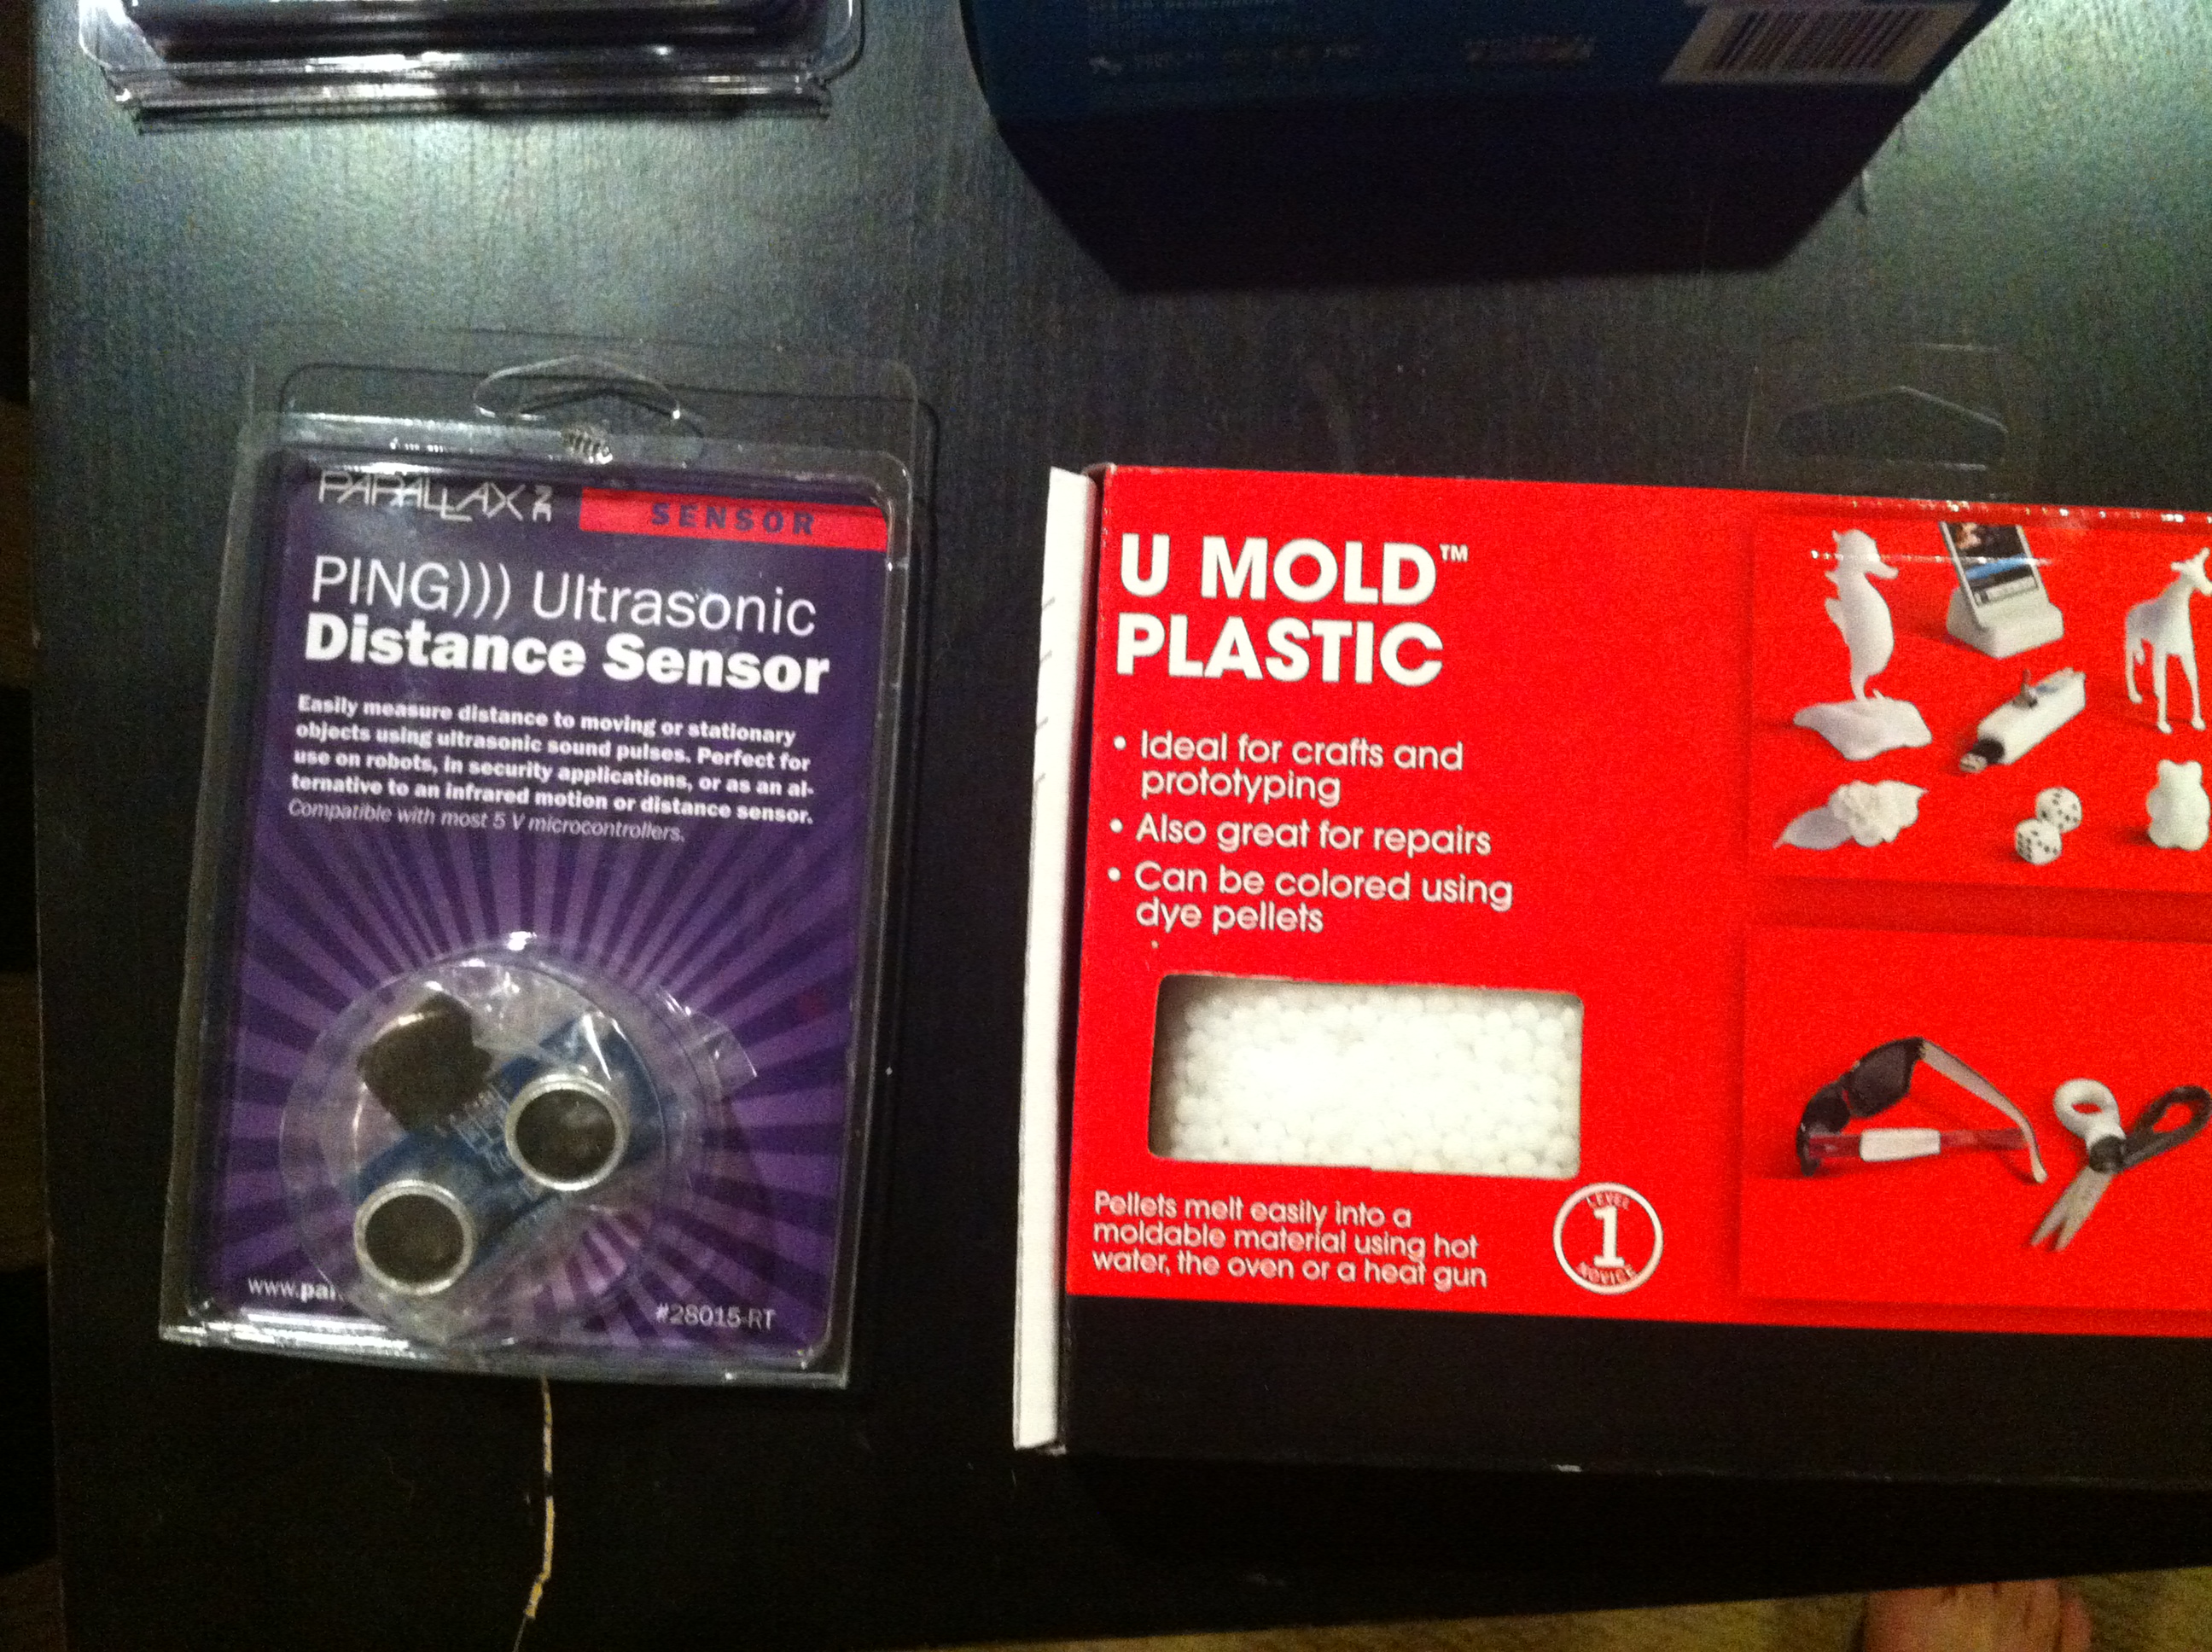
PING Ultrasonic sensor (x3) - $20 each
U Mold Plastic - $39
9V battery leads - $1
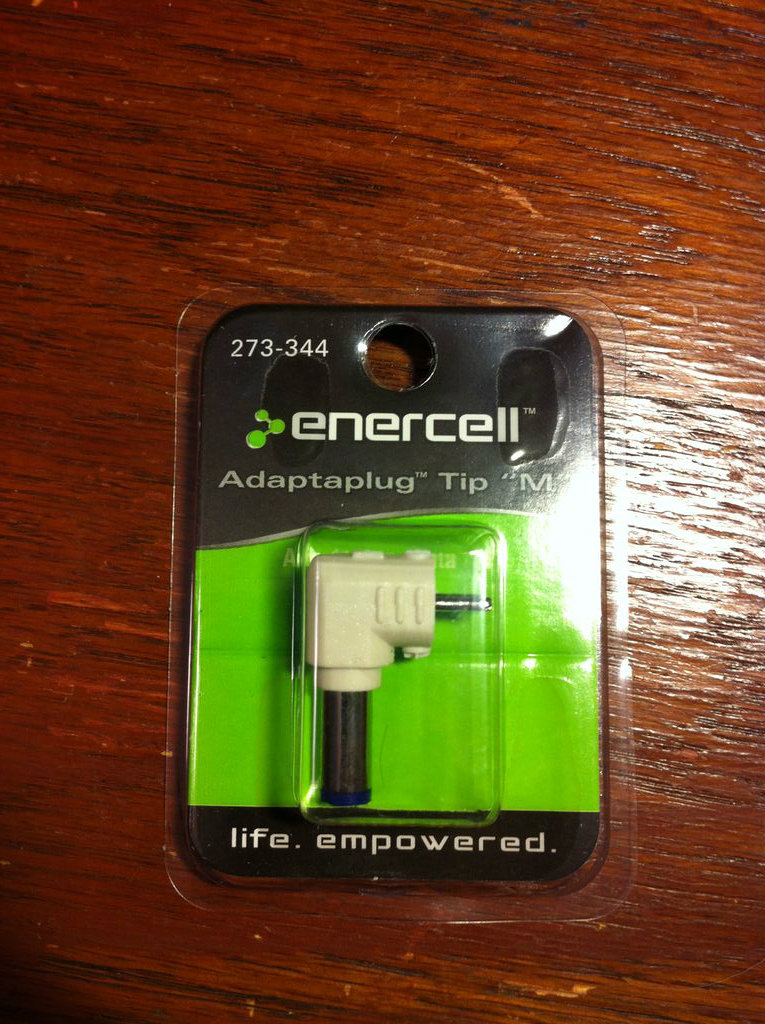
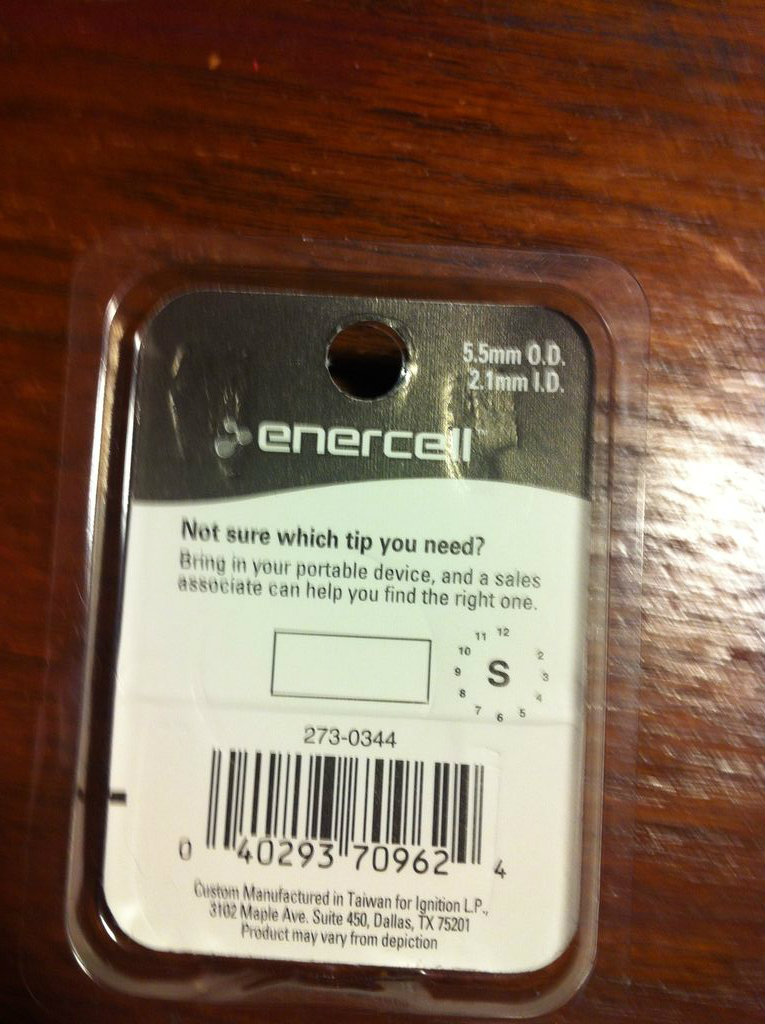
Adapataplug Tip "M" - $4 (or any 5.5 mm outer Diameter, 2.1 mm inner diameter plug)
22 AWG Wire
Solder
Heat shrink tubes
9V battery
Tools
Soldering Iron
Small tip screwdriver
Wire cutters
Pliers
Lighter (or heat gun for heat shrink)
Ammeter
Dremel or other small drill
Computer
Un-RC Your Truck
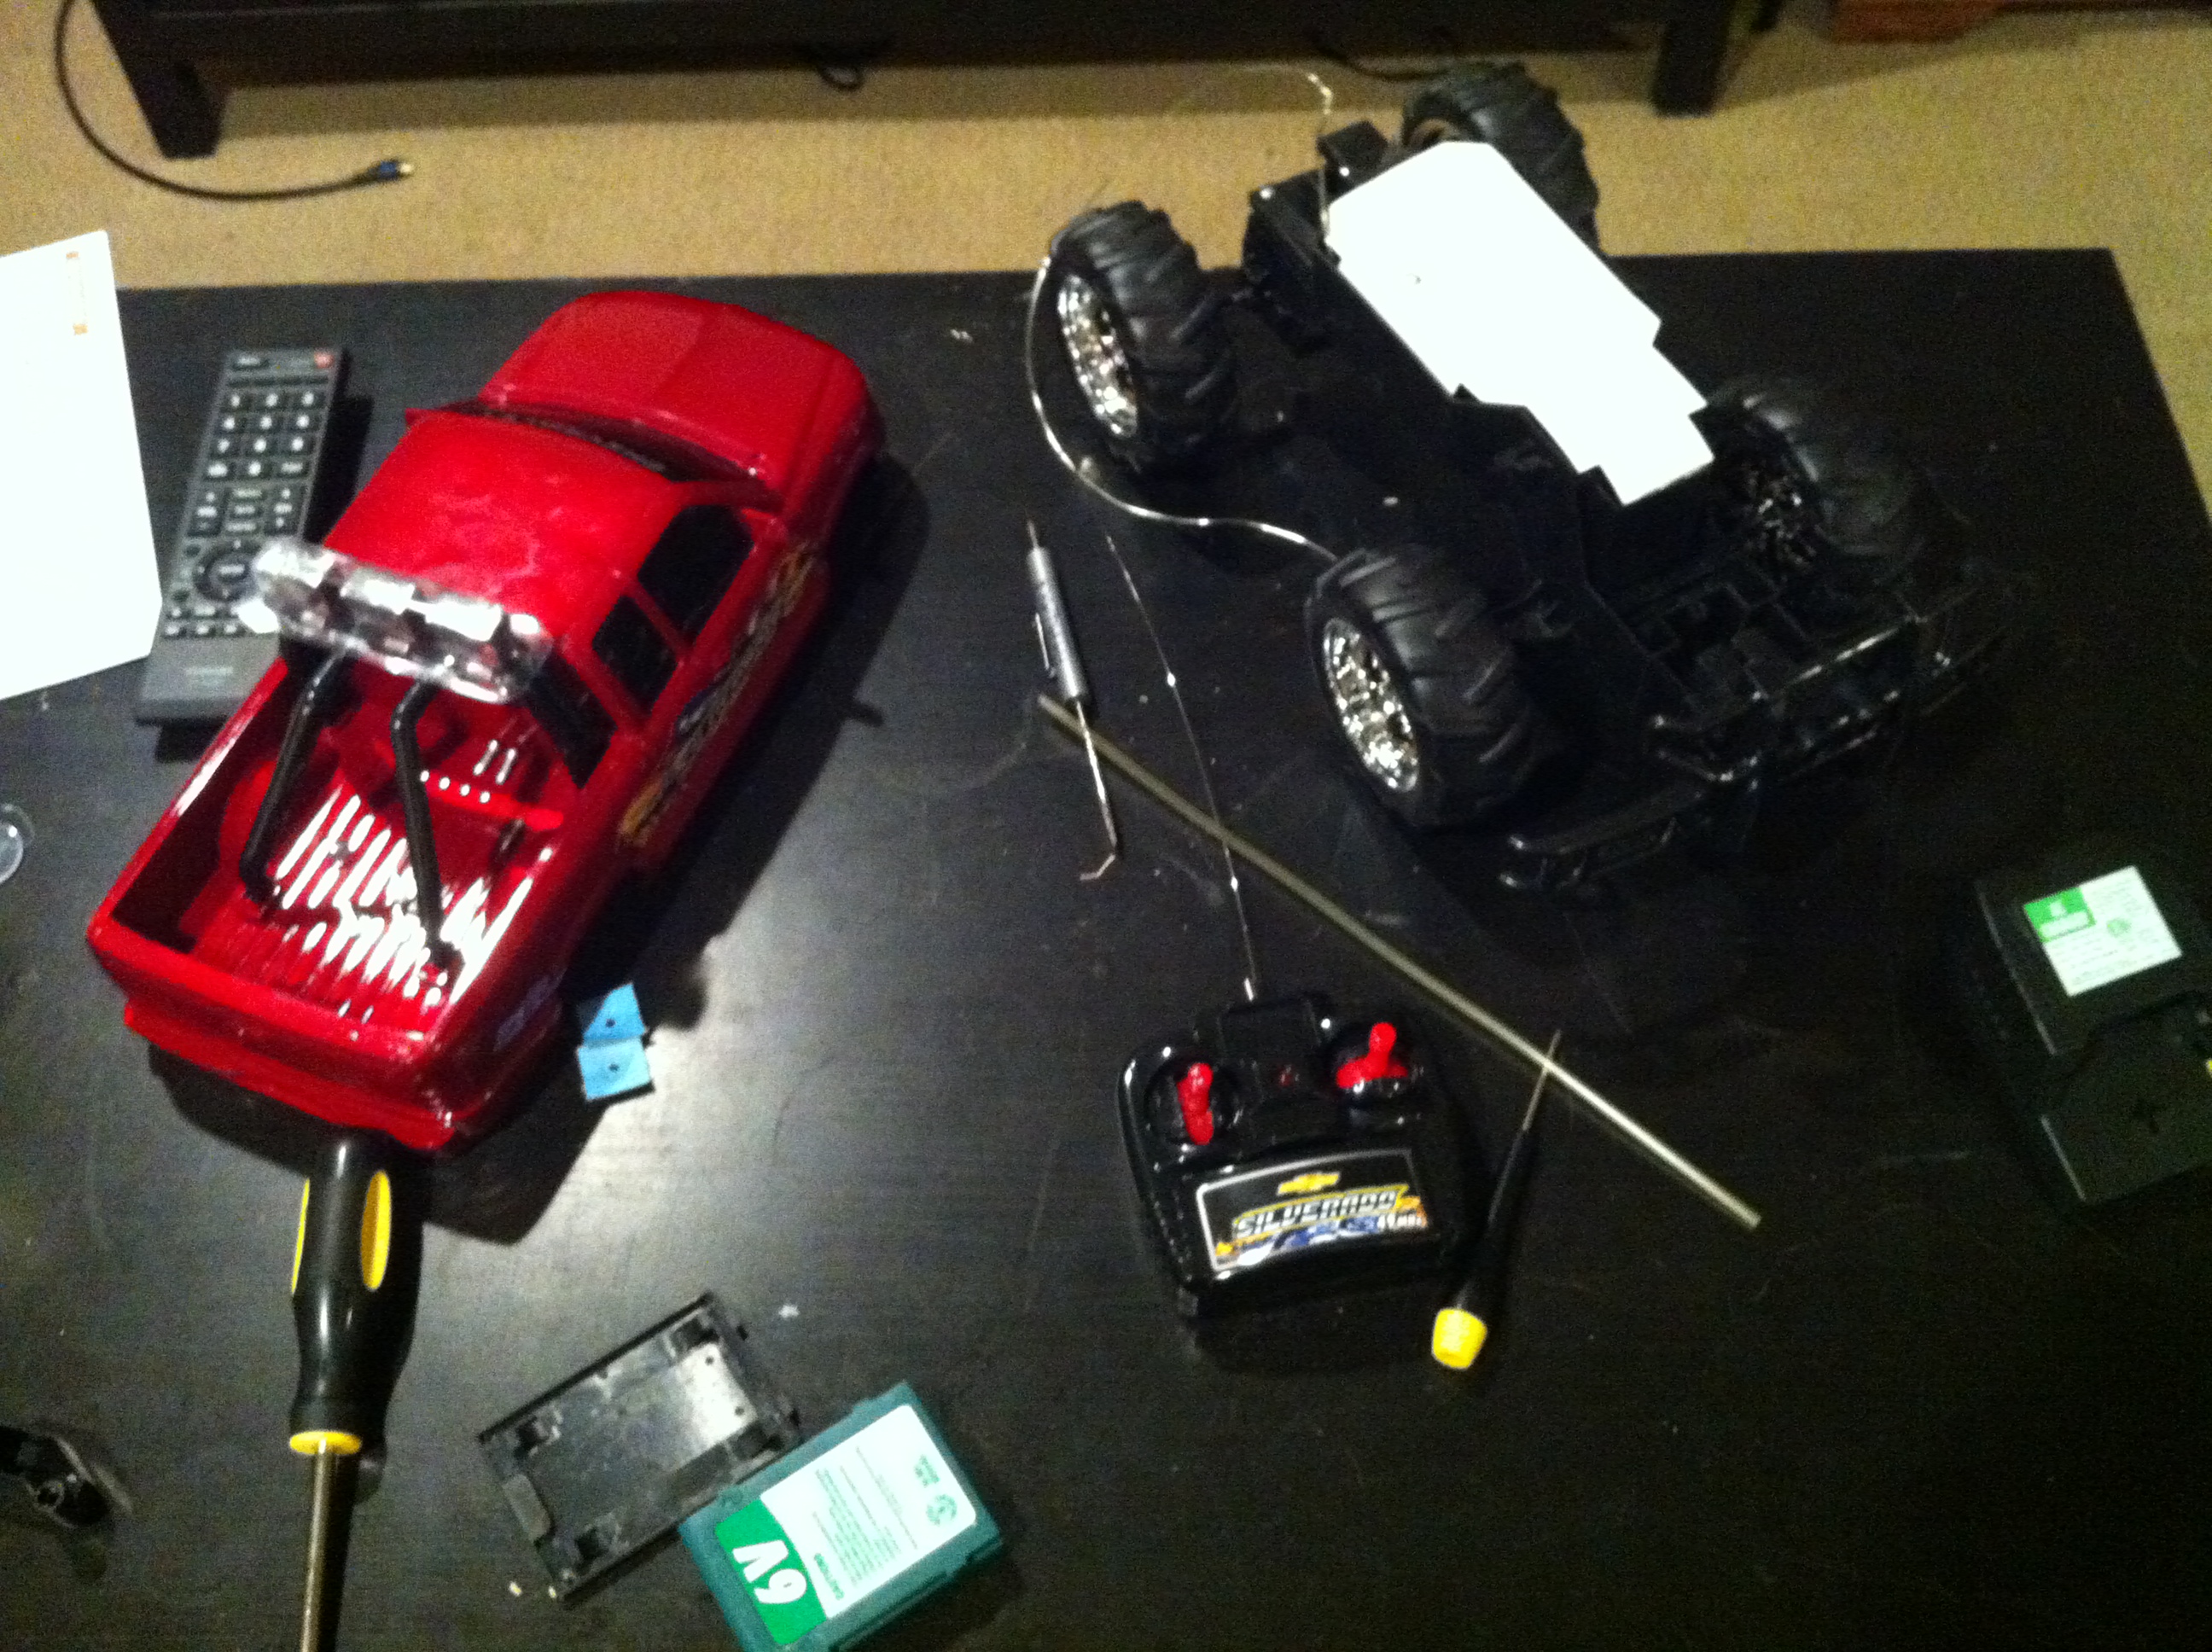
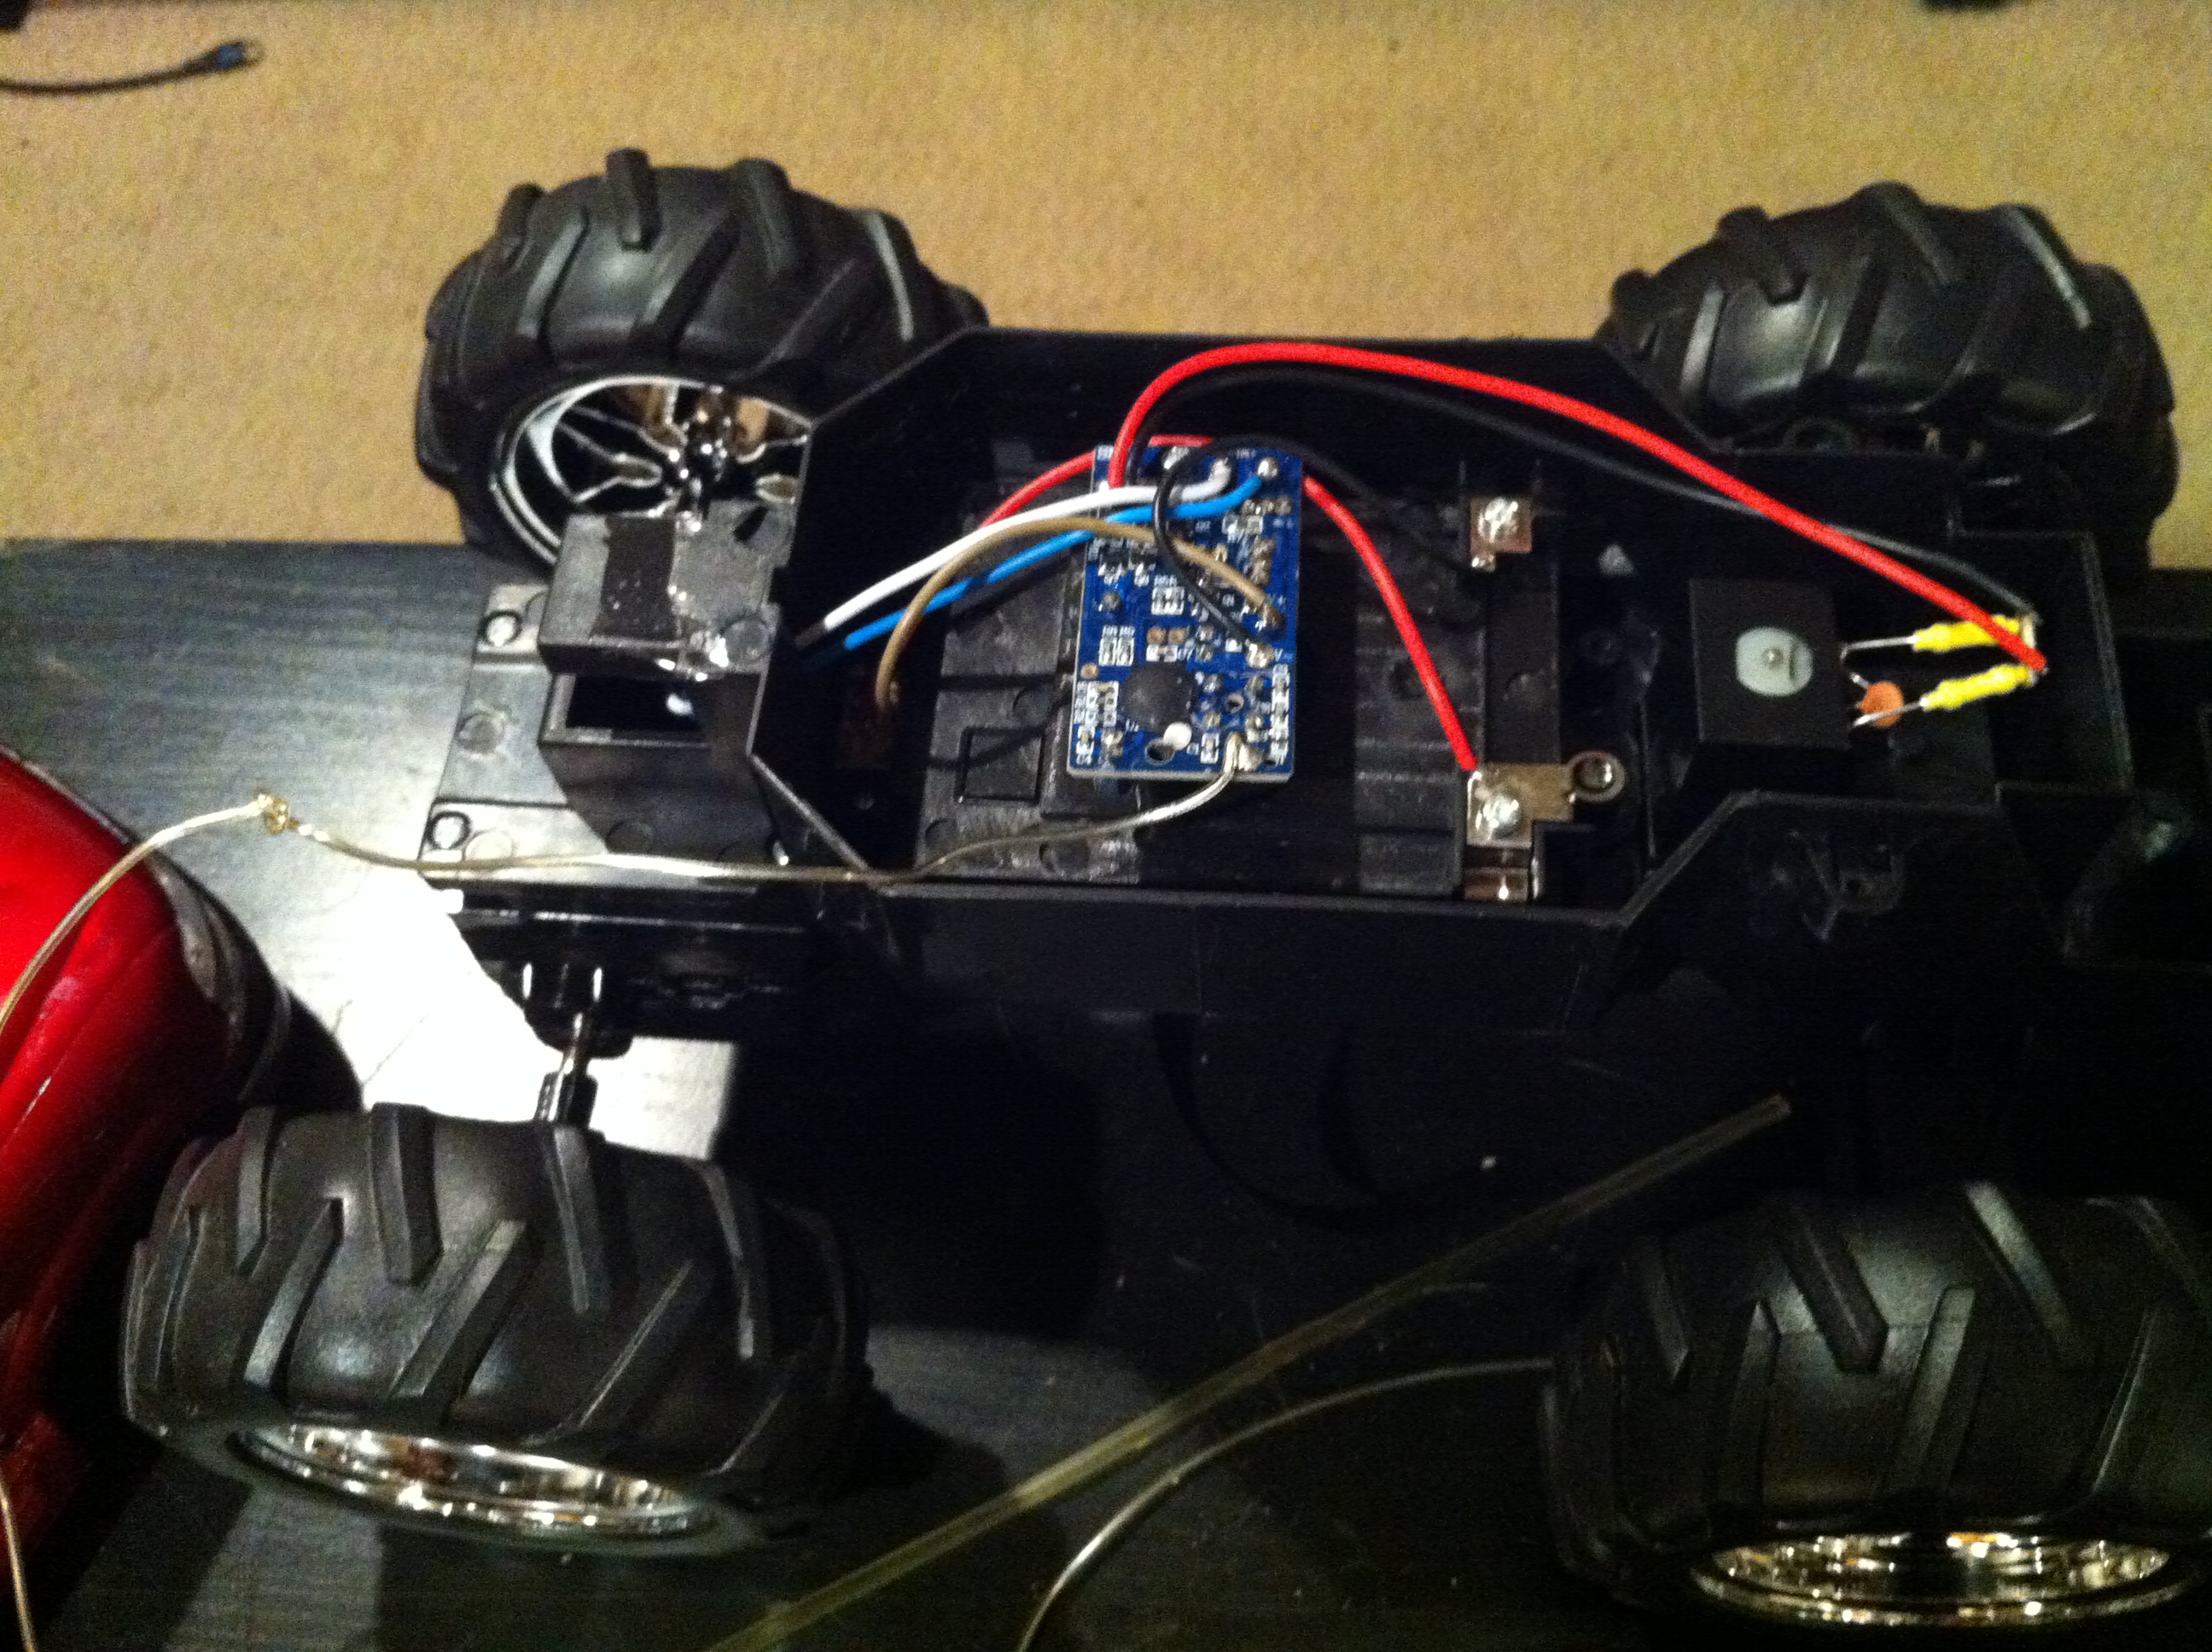
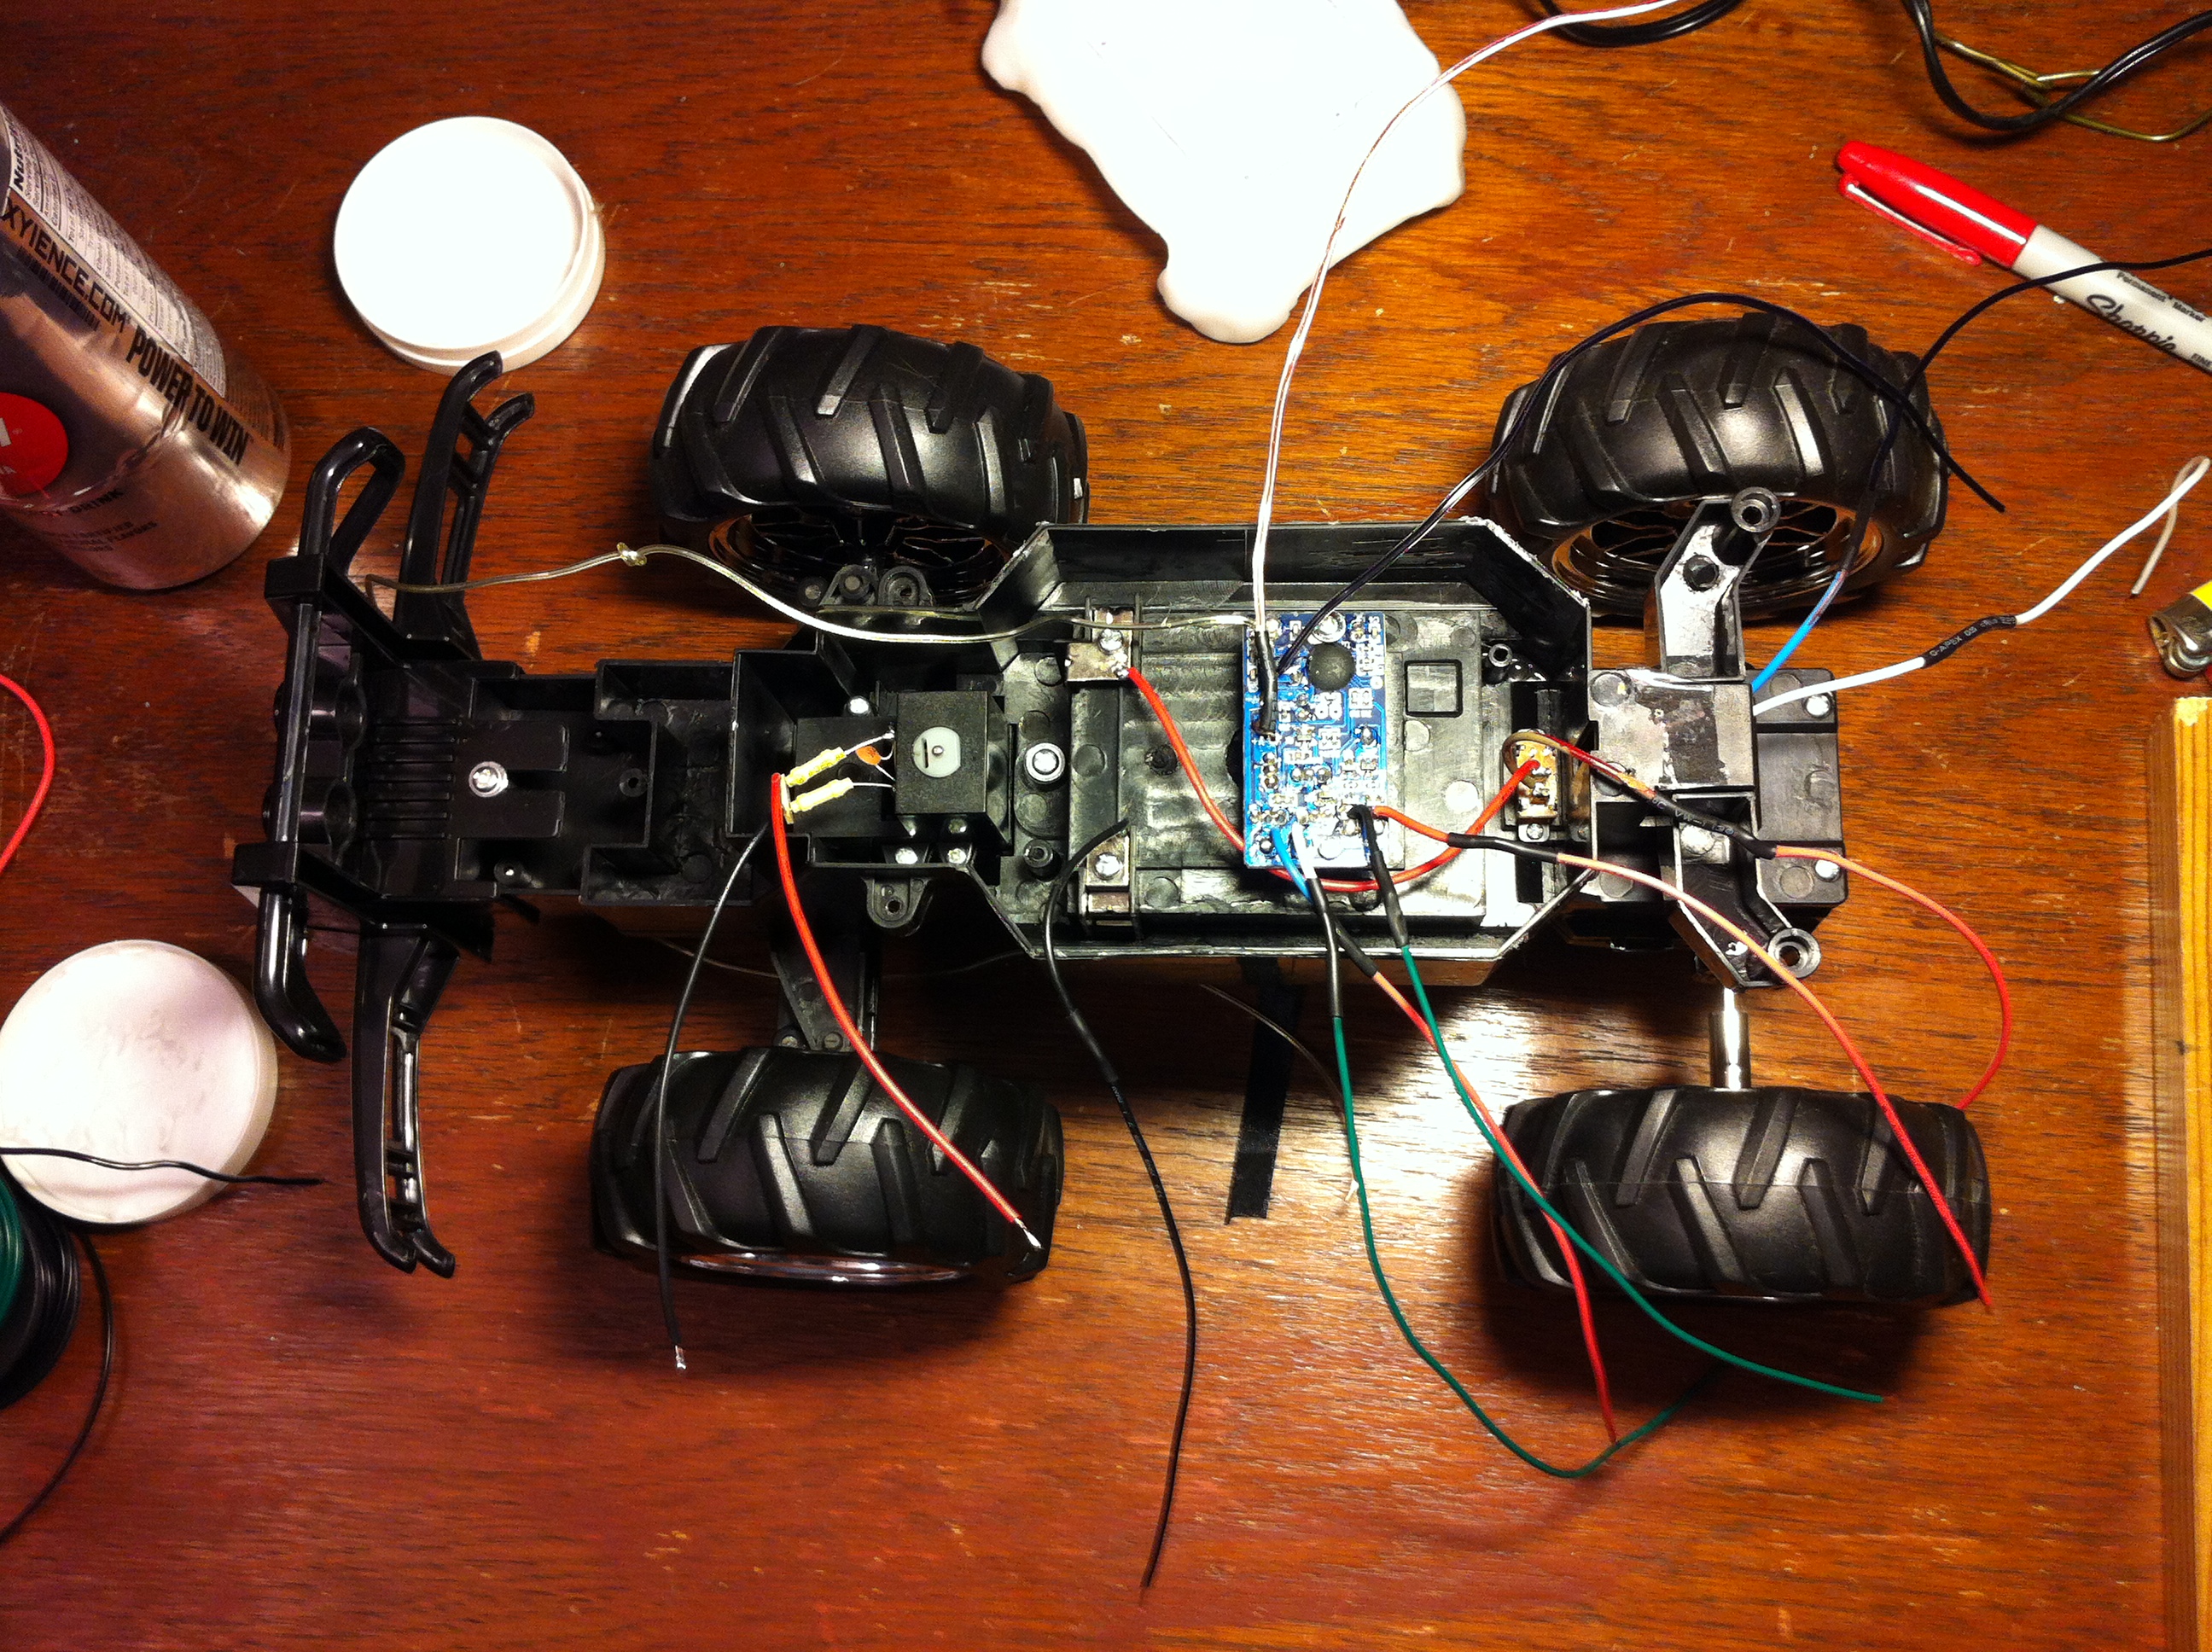
- Remove the truck body with a screw driver. Be sure to save all your screws in a safe place!
- Cut the wires running from the RC circuit to both motors.
- Cut the Vin and groud wires on the circuit board.
- Leave the antenna if you think you may want to preserve the RC capability of your vehicle. Also, let me know if you figure out how to do this out*.
- Extend all the wires by at least 6" so that you can easily attach them to your Arduino later.
- I extended the motor control wires from the RC circuit as well. I did this because I wanted to restore the RC capability as as a manual override*.
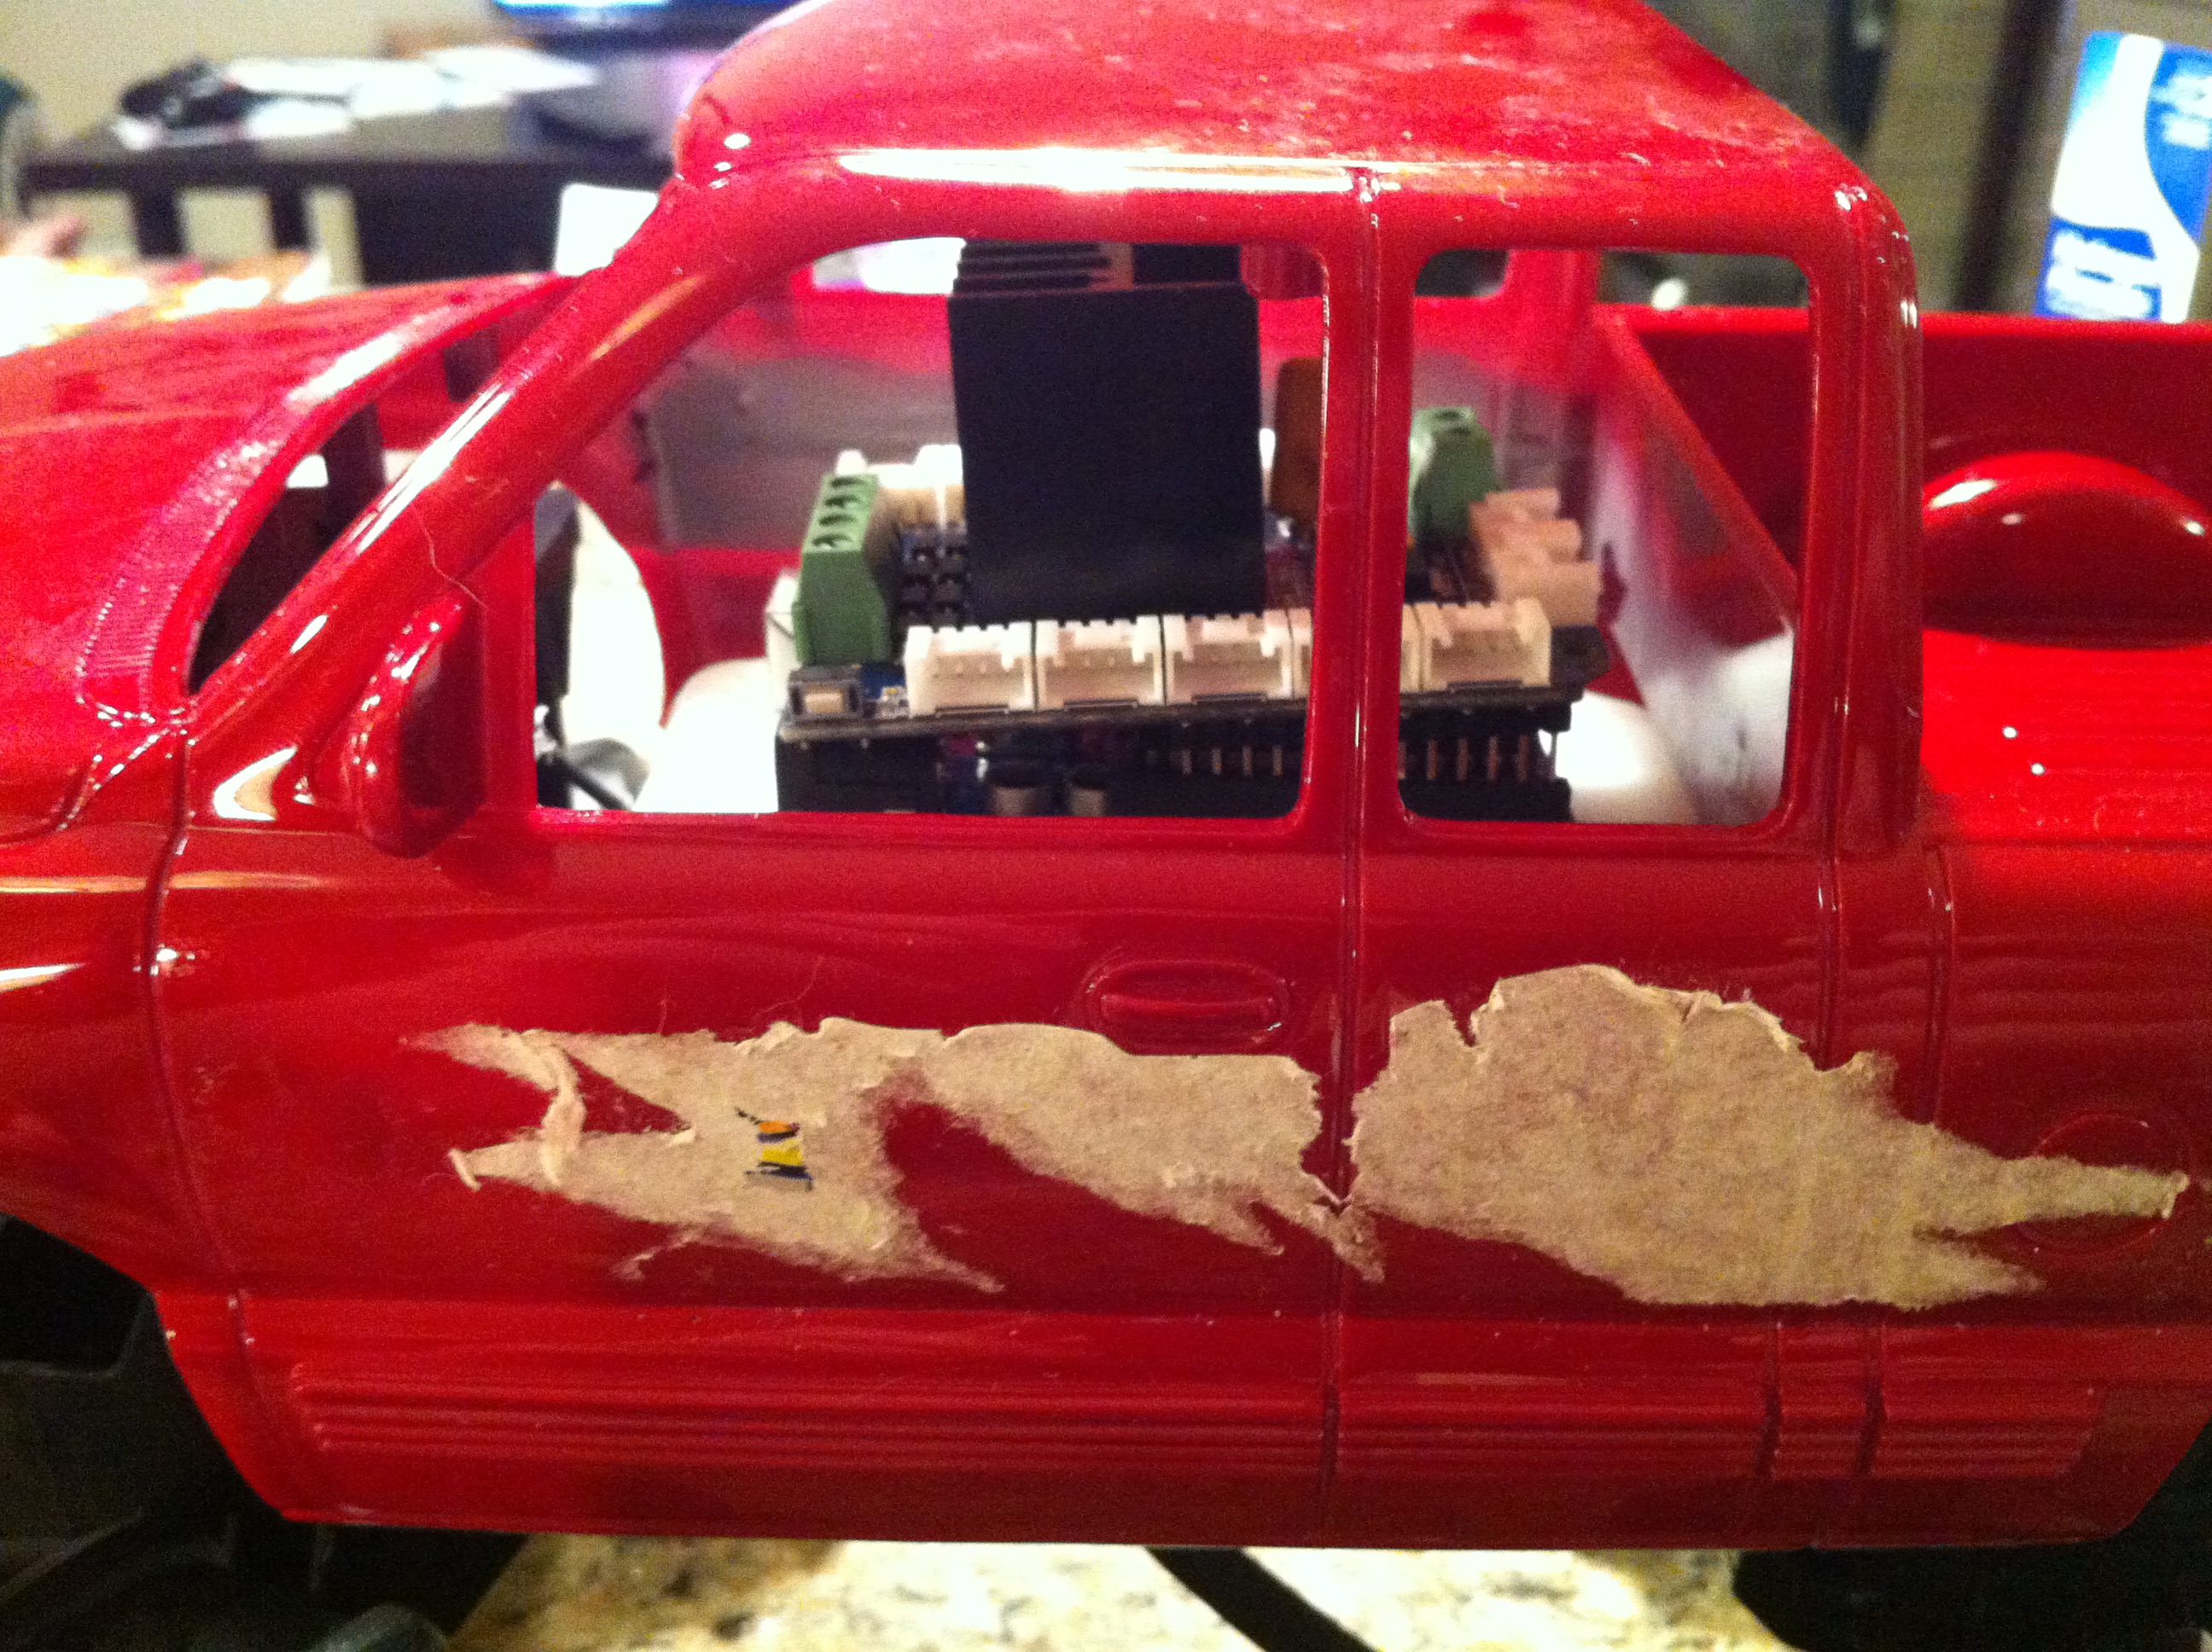
- Remove the dark plastic windshield/ windows. This is not necessary, but I wanted to show off the engine as it were. Also this allows me to easily plug (unplug) the Arduino into the 9V battery.
Prep Your PINGs and Power
PINGs
- Attach 8" wires to all three pins of your PING sensors.
- Test your sensors using the PING example sketch in the Arduino IDE under File>Examples>06.Sensors>Ping.
- Label at least 2 of the three wires on each sensor with a piece of tape and a pen. Or use different color wires. I used all black wires for aesthetic purposes as I wanted them to blend into the frame as much as possible. This will be important later when we attach the sensors to the frame and will be unable to see if we accidentally crossed any.
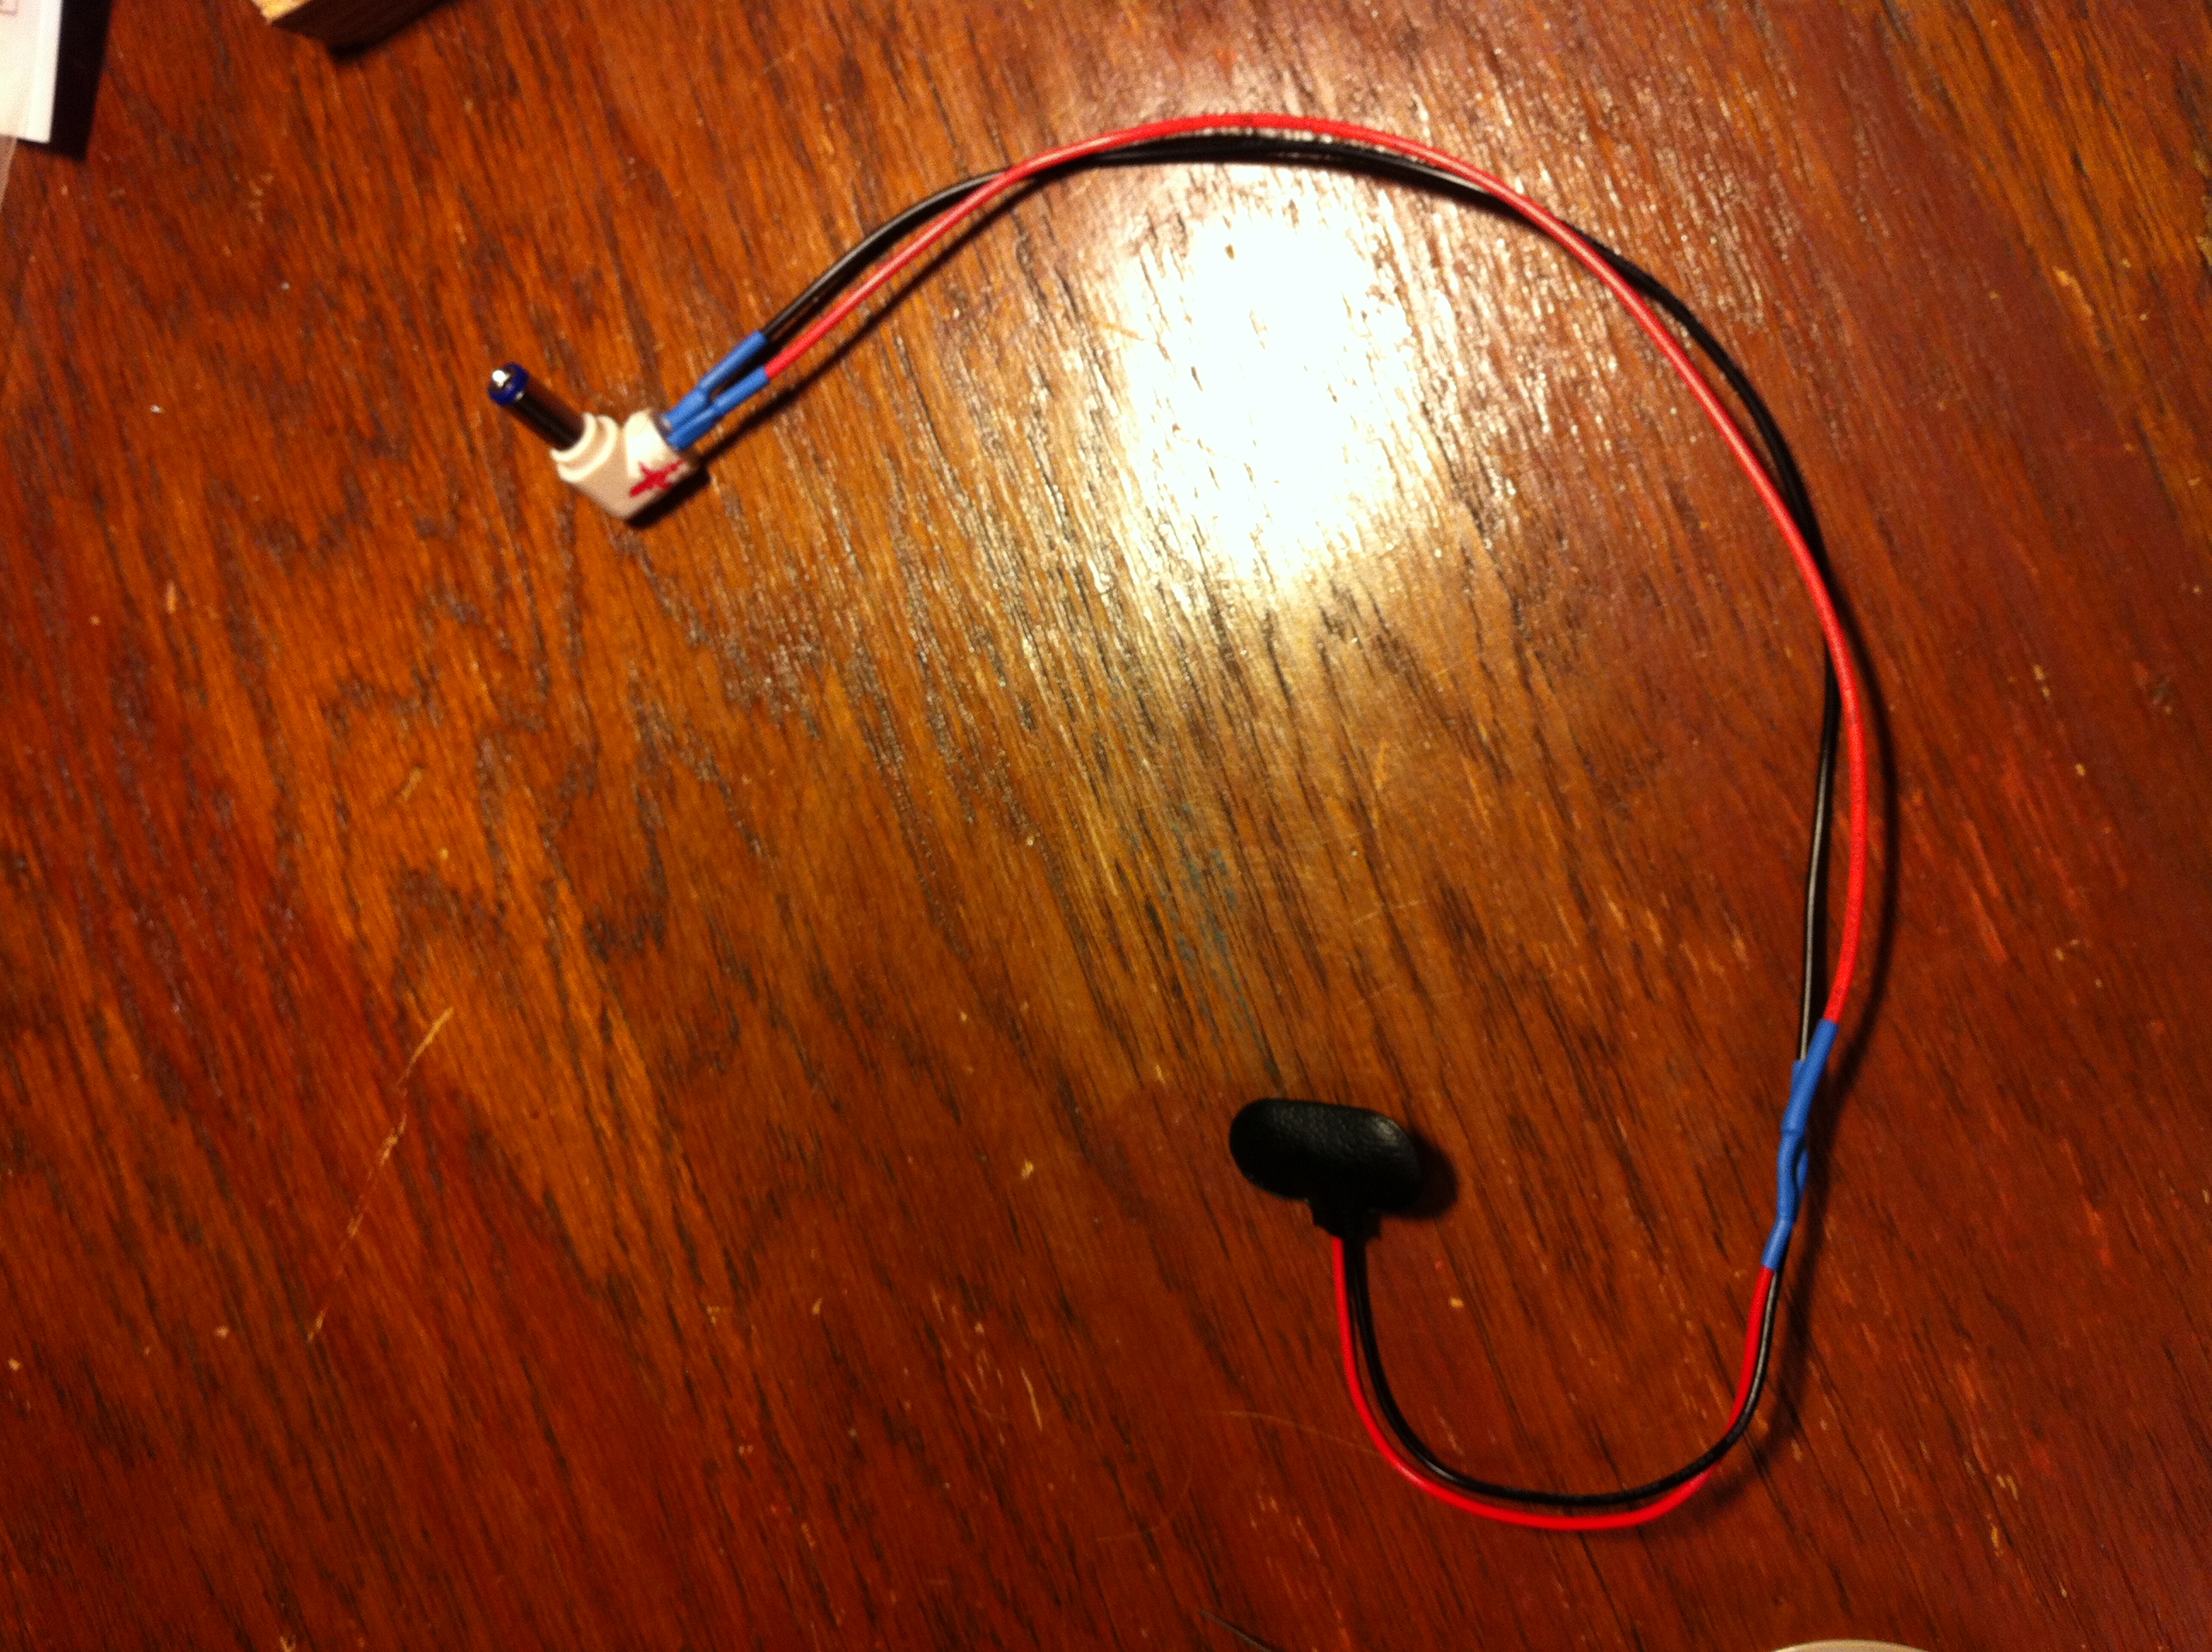
- Using your Ammeter set to measure resistance, test the pins of the power plug. One pin is connected to the outside of the plug, and one to the inside. Adruino needs the center of the plug to be positive so it is important we know which pin is which. Once you have determined which pin connects to the center label it "+" with a marker.
- Extend the 9V battery leads by 6" and cover the connection with some heat shrink.
- Once the wires are cool from you previous soldering and heat shrinking, slide another piece of heat shrink down each one. Keep it well away from the ends.
- Solder the red battery lead wire onto the pin labeled positive on the plug, and the black led to the other pin.
- Slide the heat shrink back down the wires until it is against the power plug. Heat and shrink.
Create a Mount for Your Arduino
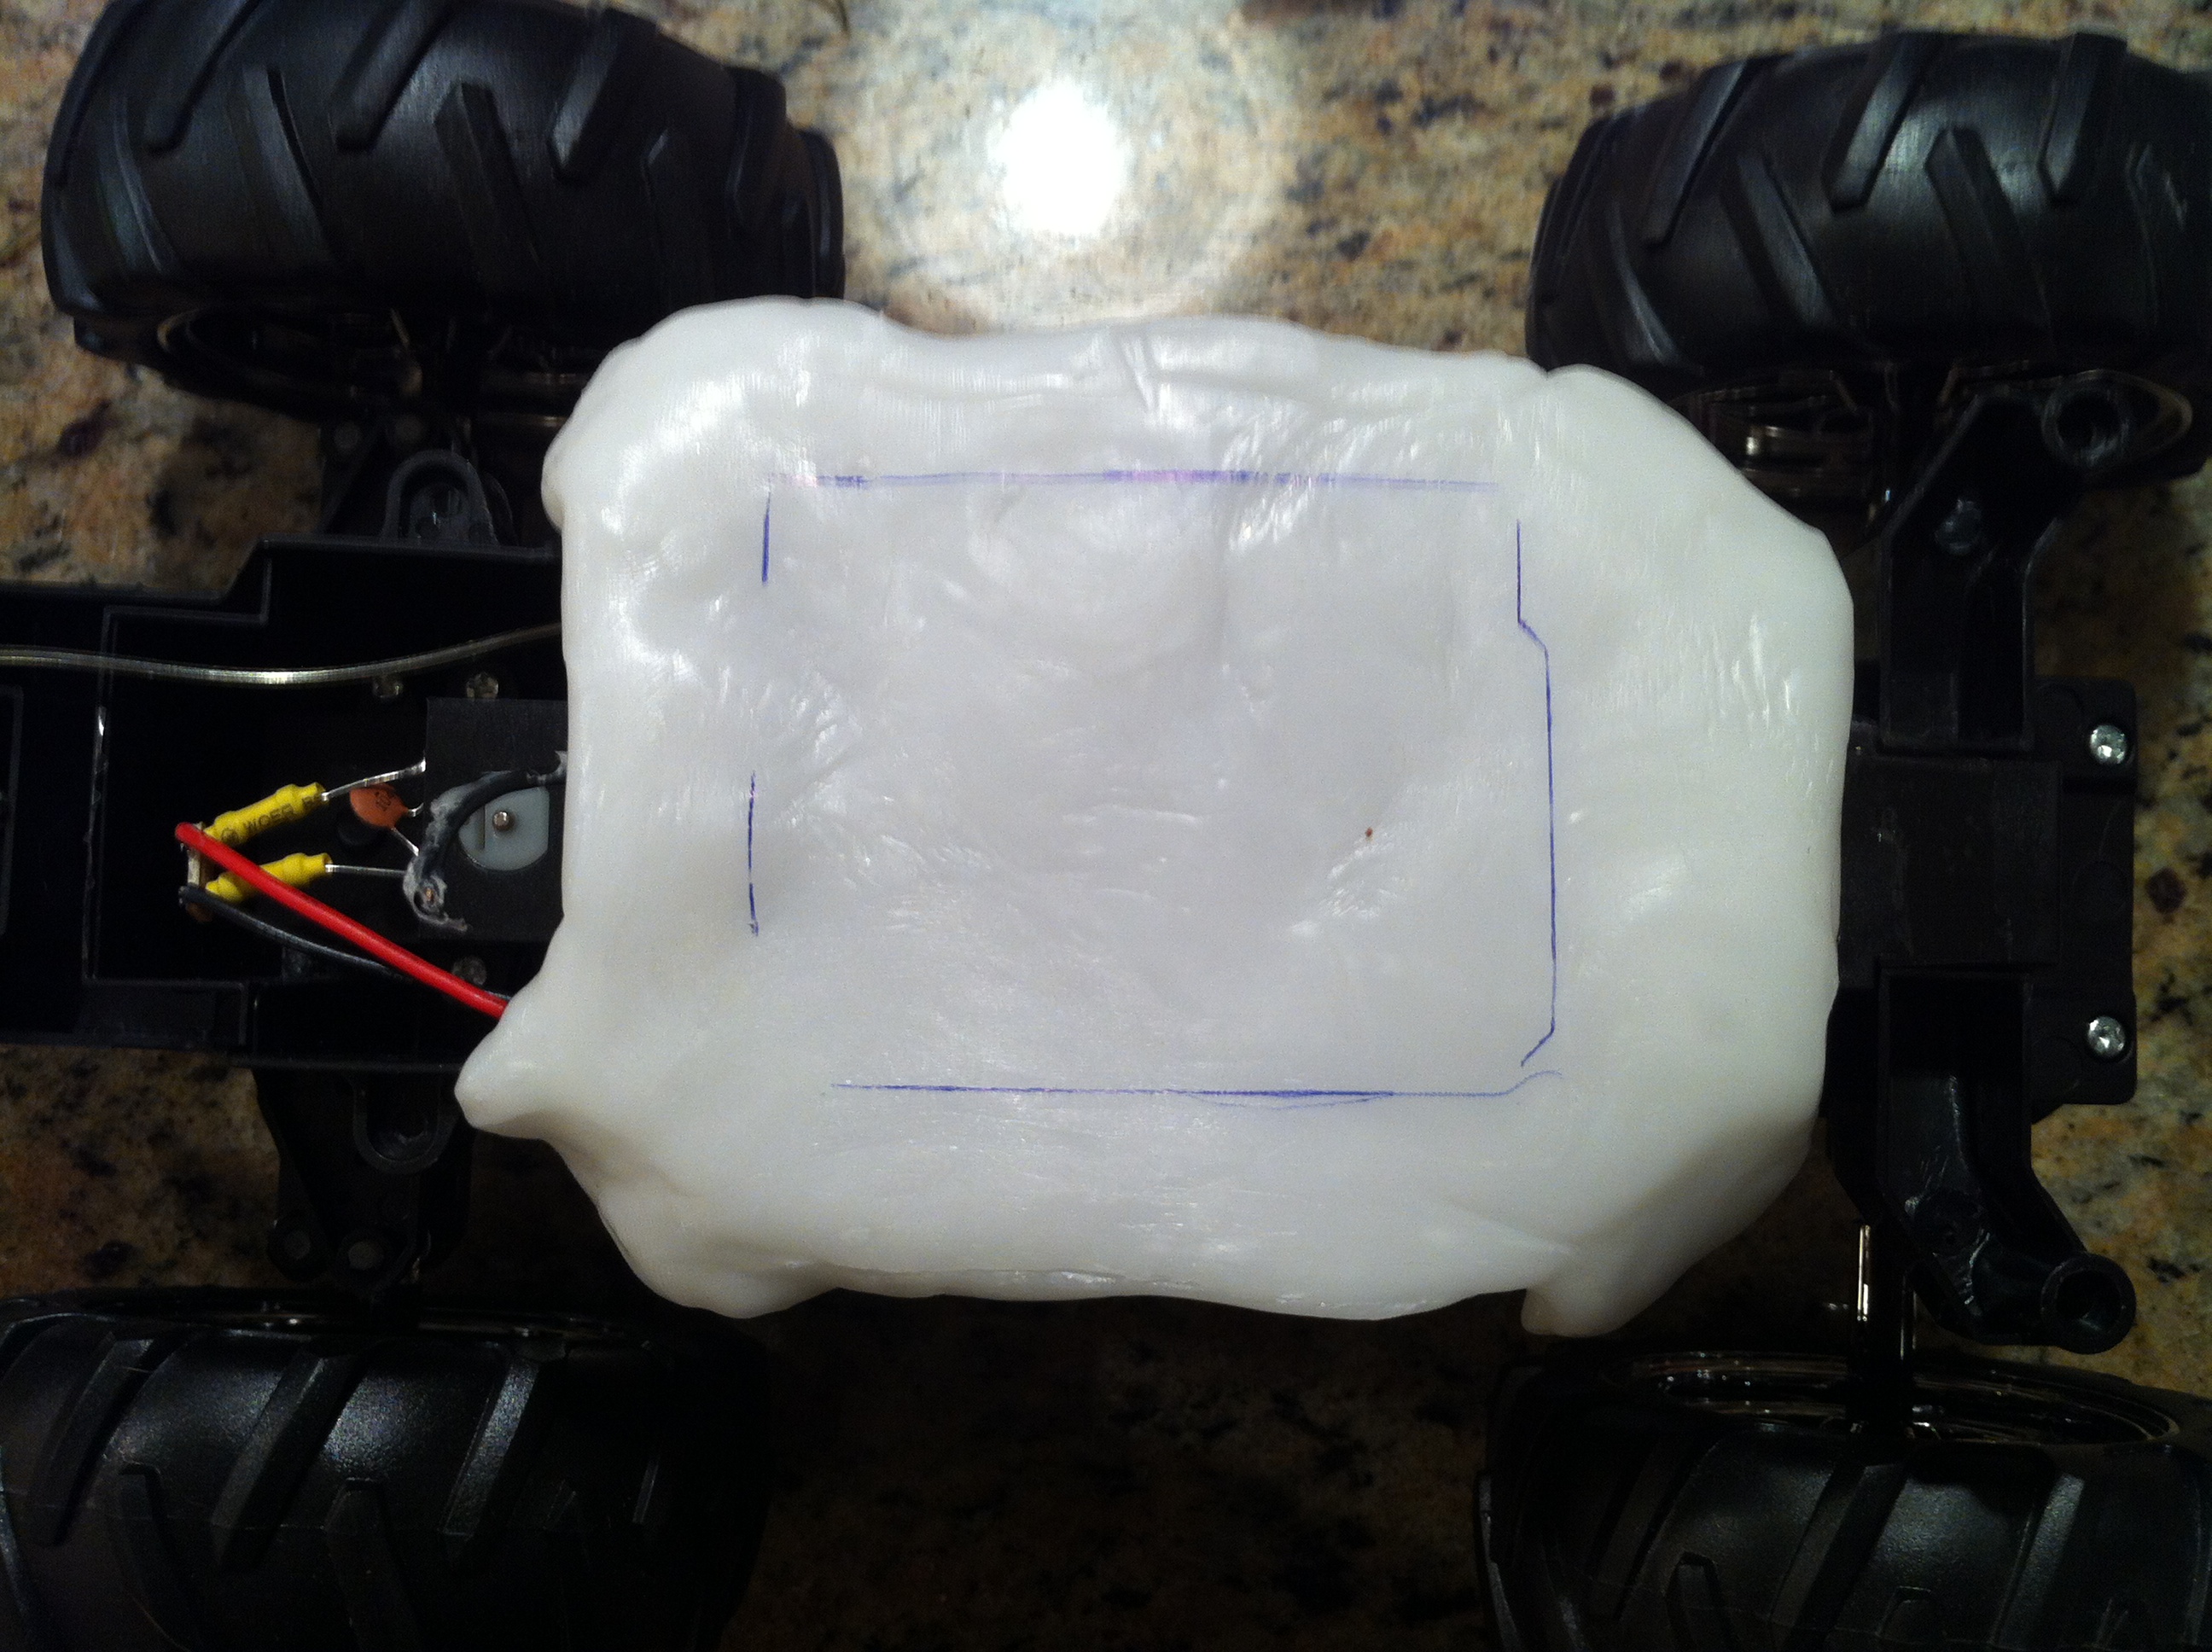
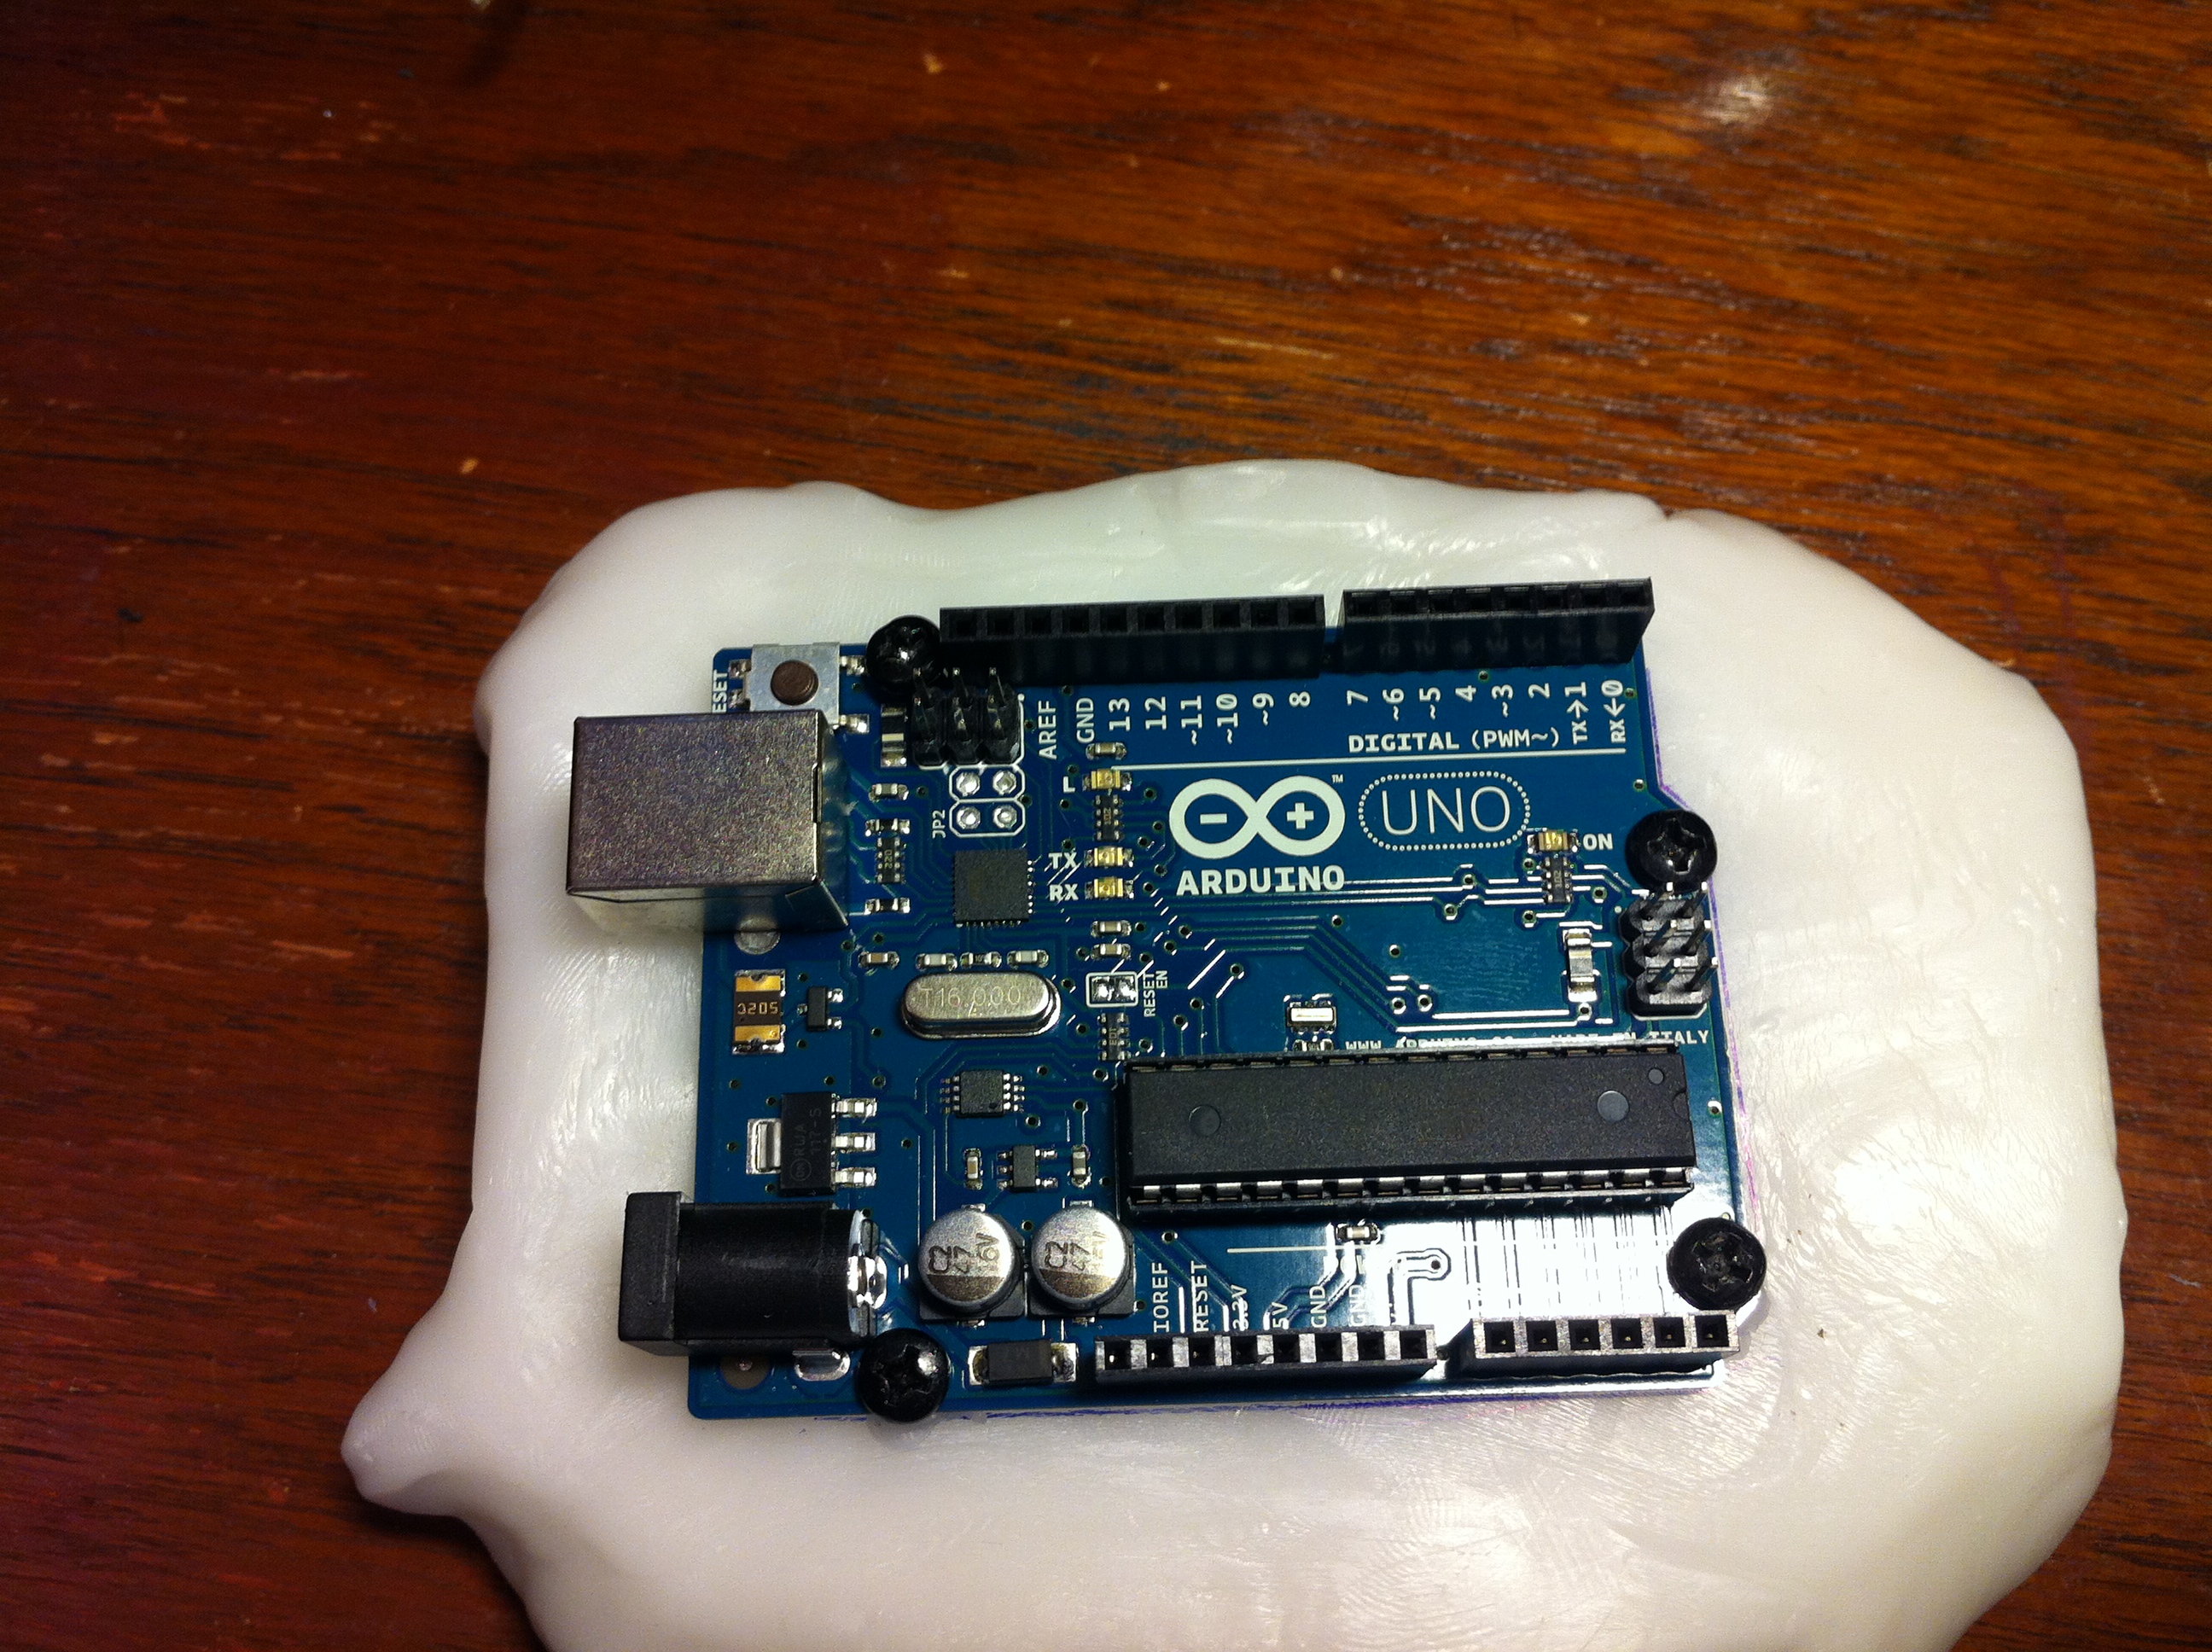
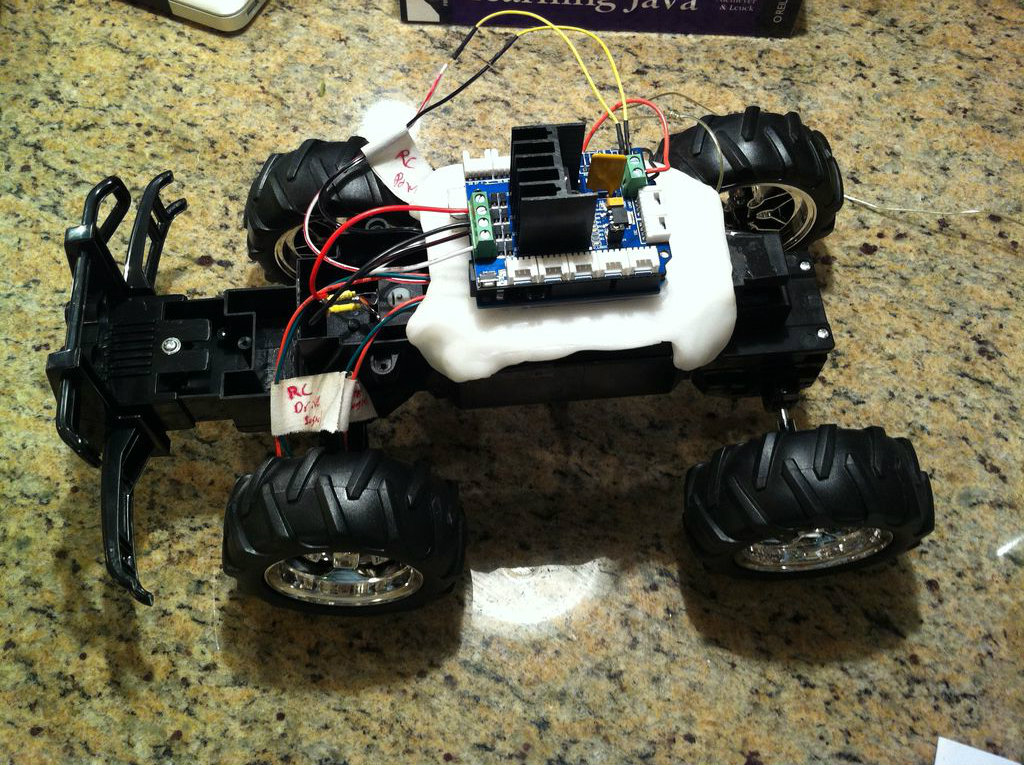
- Follow the directions on the U Mold Plastic box to create a thick platform to attach your Arduino.
- This essentially is as simple as placing the plastic pellets in hot water and molding it as it cools. I was quite surprised with how sturdy the plastic was once cooled. No worries if you make any errors, it is as simple as returning the plastic to the hot water to make it pliable again.
- I used approximately 4 heaping tablespoons of plastic pellets.
- Make the plastic as flat as possible. I pressed and stretched it into shape against my countertop to assist with this.
- I added some height to the mount by stretching the corners out, then down to connect to the RC frame.
- It make take some time to get all four corners shaped properly, so you may need to place a corner back into the hot water before trying to mold it.
- I added this height because I have preserved the RC circuit in the hopes of being able to take advantage of it in the future. If this is not something you care to do, you can simply mold your plastic flat across the frame.
- Verify you have the clearance necessary and your Arduino positioned correctly.
- Place the mount on the frame, the Arduino with the Motor Shield attached on the mount, and the truck body back on the frame (no screws necessary; it won't be there for long!).
- Ensure the heat shield is not contacting the frame, and that you have ample room on all sides to connect wires to your Arduino.
- Once the Arduino is properly positioned, remove the truck body, being careful, not to bump your board.
- Trace the Arduino onto the mount. Remove the Motor Shield. Place the Arduino back on the mount in the outline you just drew and mark the holes.
- Drill the holes, and screw the Arduino onto your mount. You may wish to screw your mount into your frame as well. Mine fit very tightly so I decided to forgo this best practice.
A word of caution: While warm and moldable, the U mold plastic liked to stick to other plastics that it encountered.
Attach Your Sensors
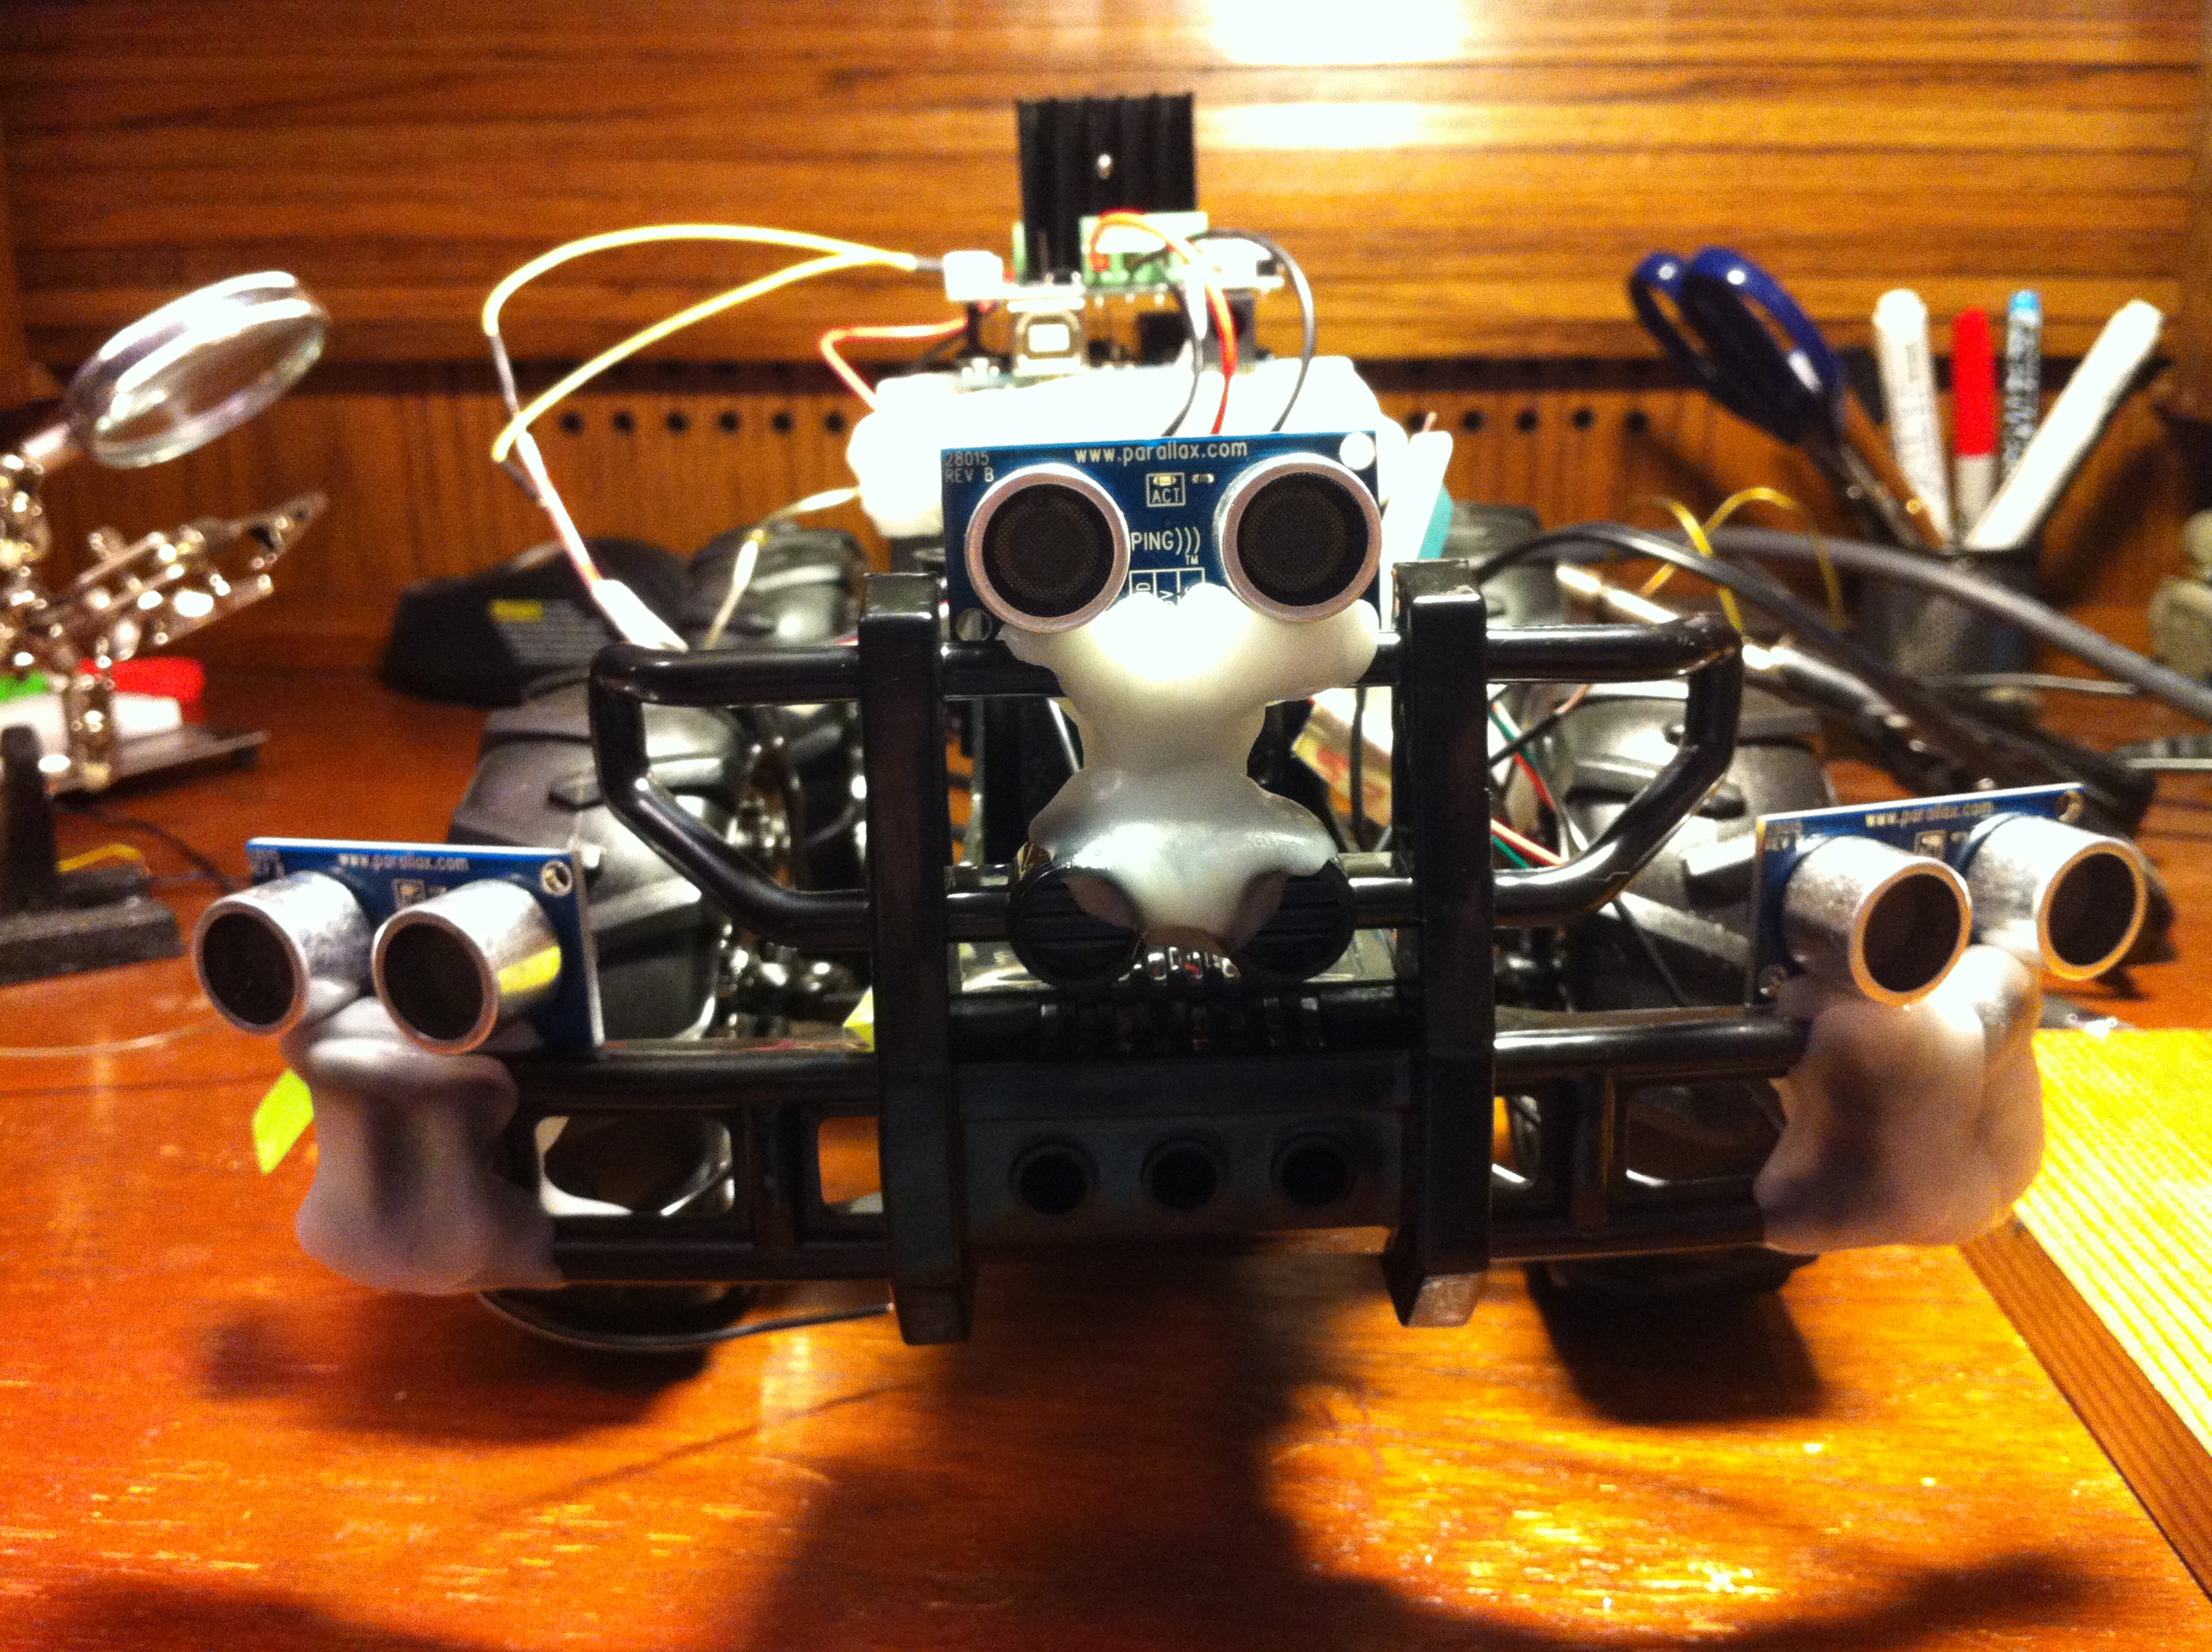
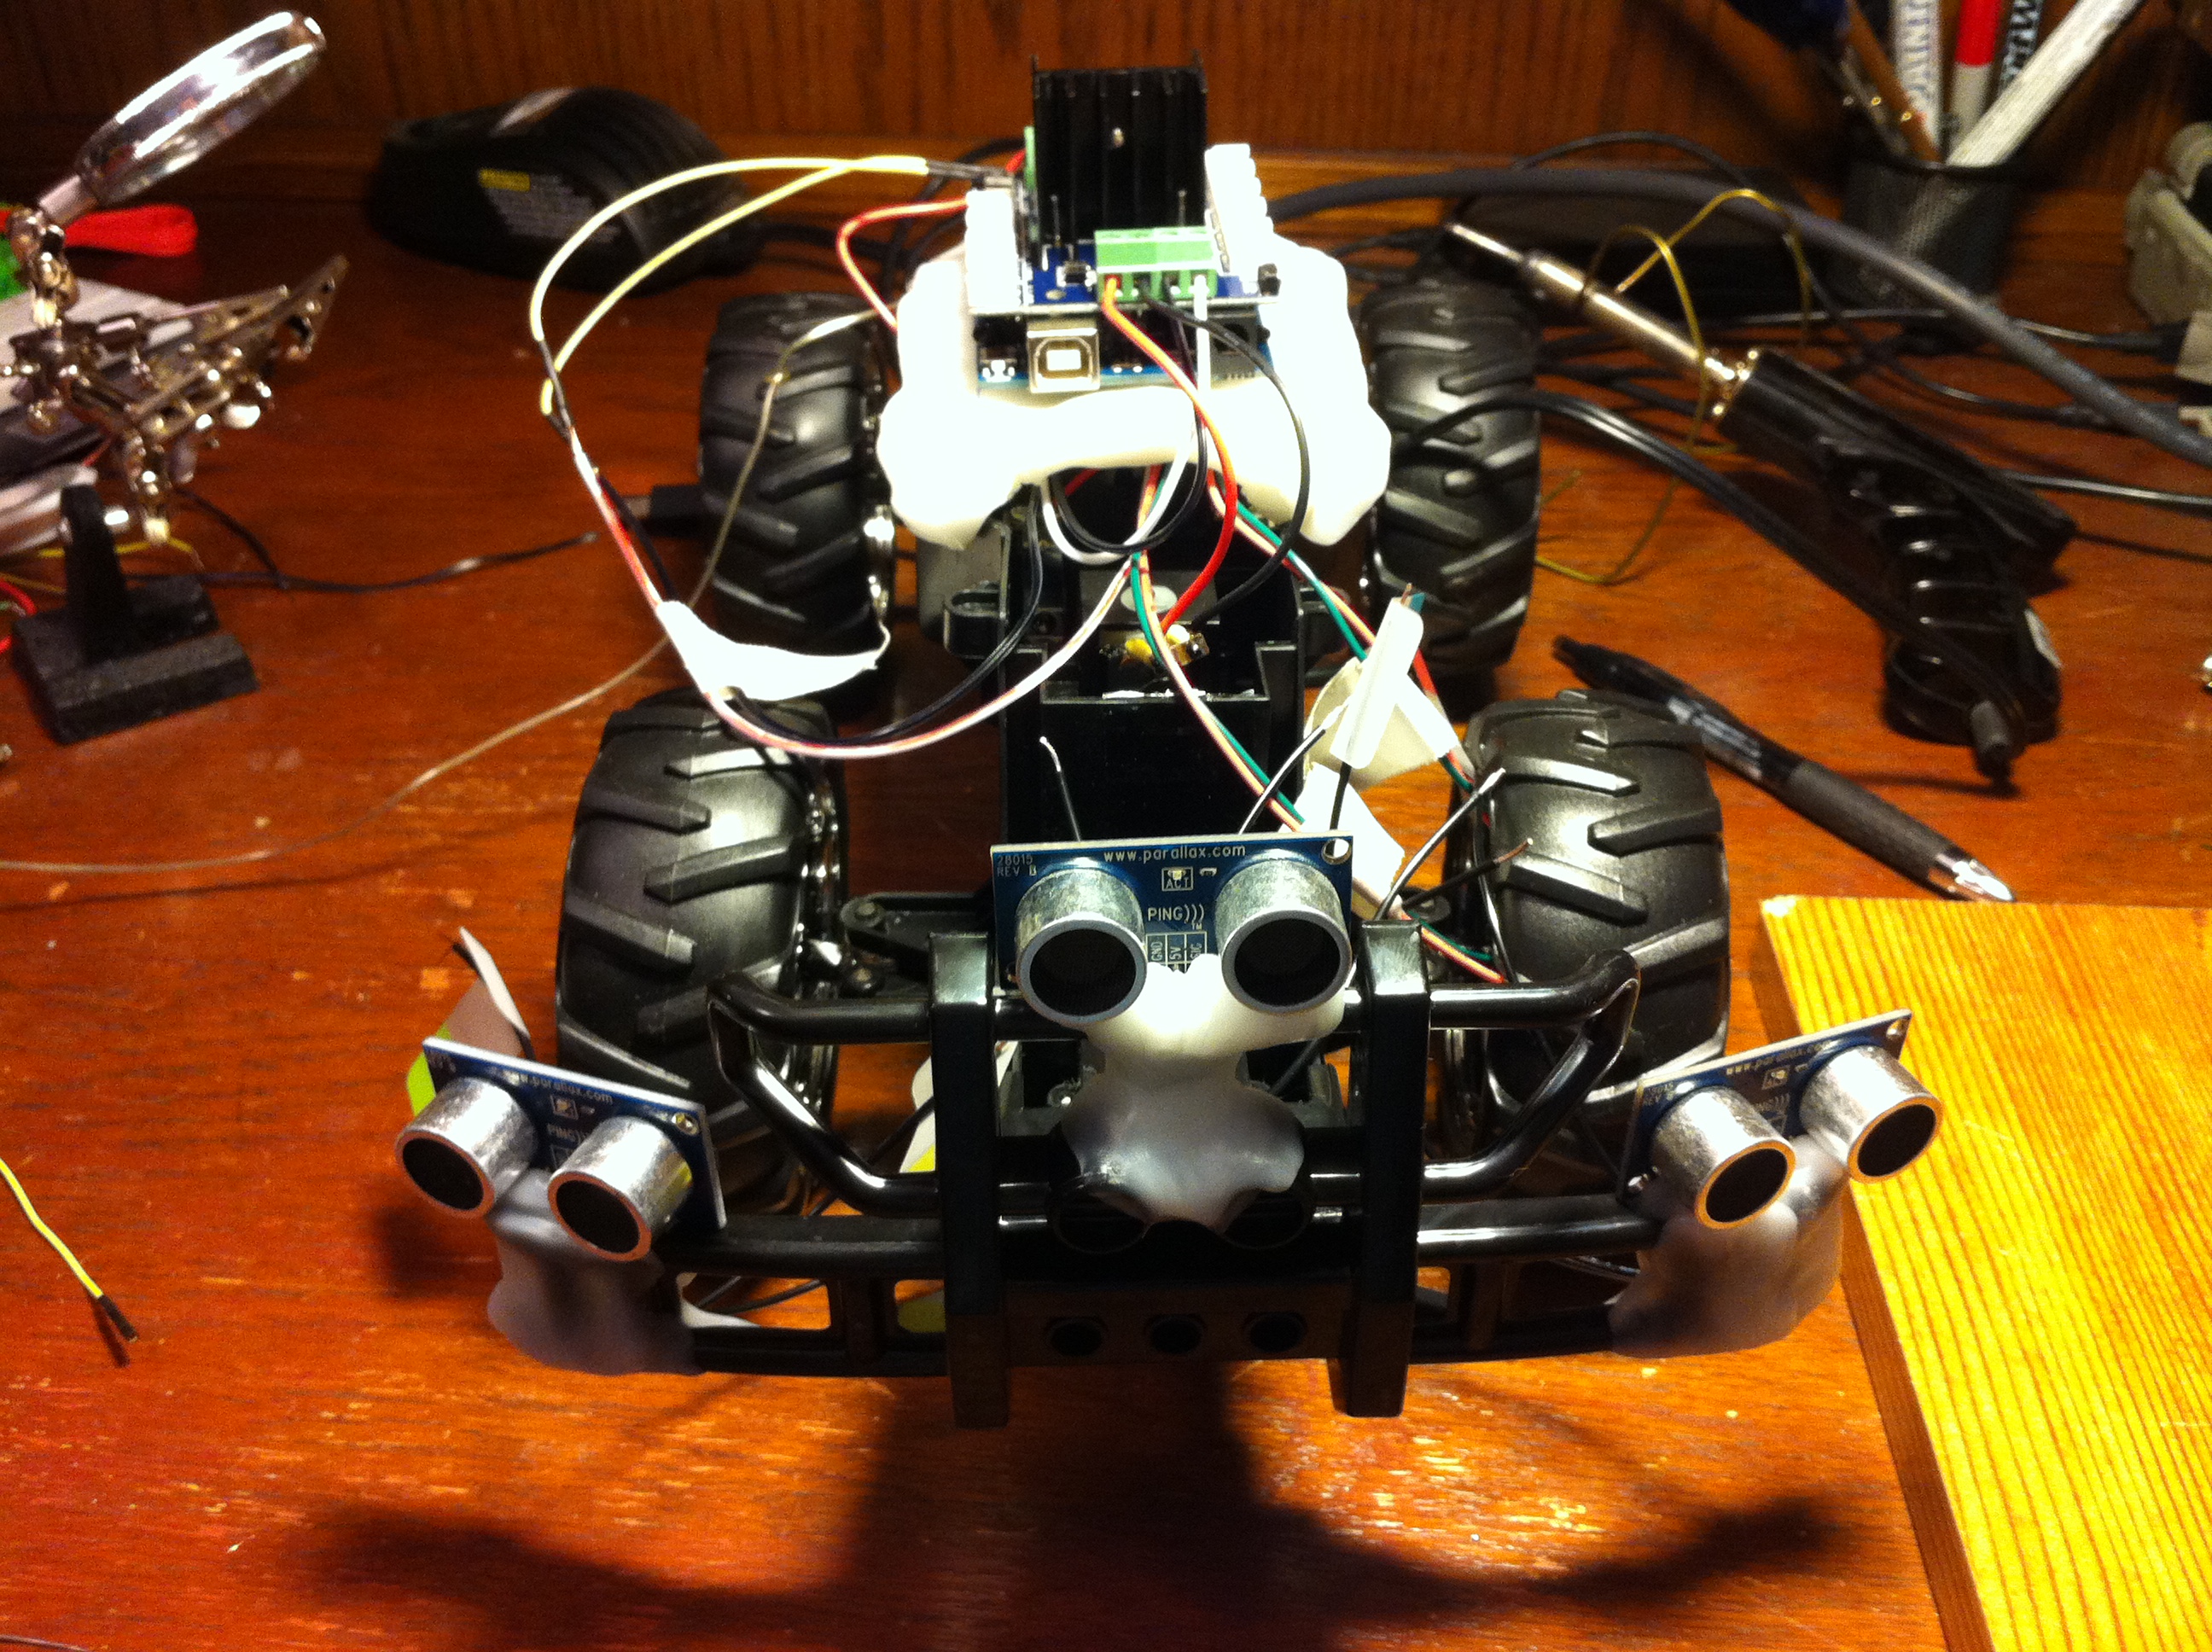
- Use the U Mold plastic again to mount the sensors onto the frame.
- I used approximately 1 tablespoon per sensor.
- Only heat enough plastic for one sensor at a time.
- Mount the sensors in the fashion pictured above. Remember we do not want 3 sensors all facing straight forward. The left and right sensors should have a slight outward angle to them.
- Make sure your labels are still attached to your wires as you may inadvertently cross two while securing the PING with the U Mold.
Power
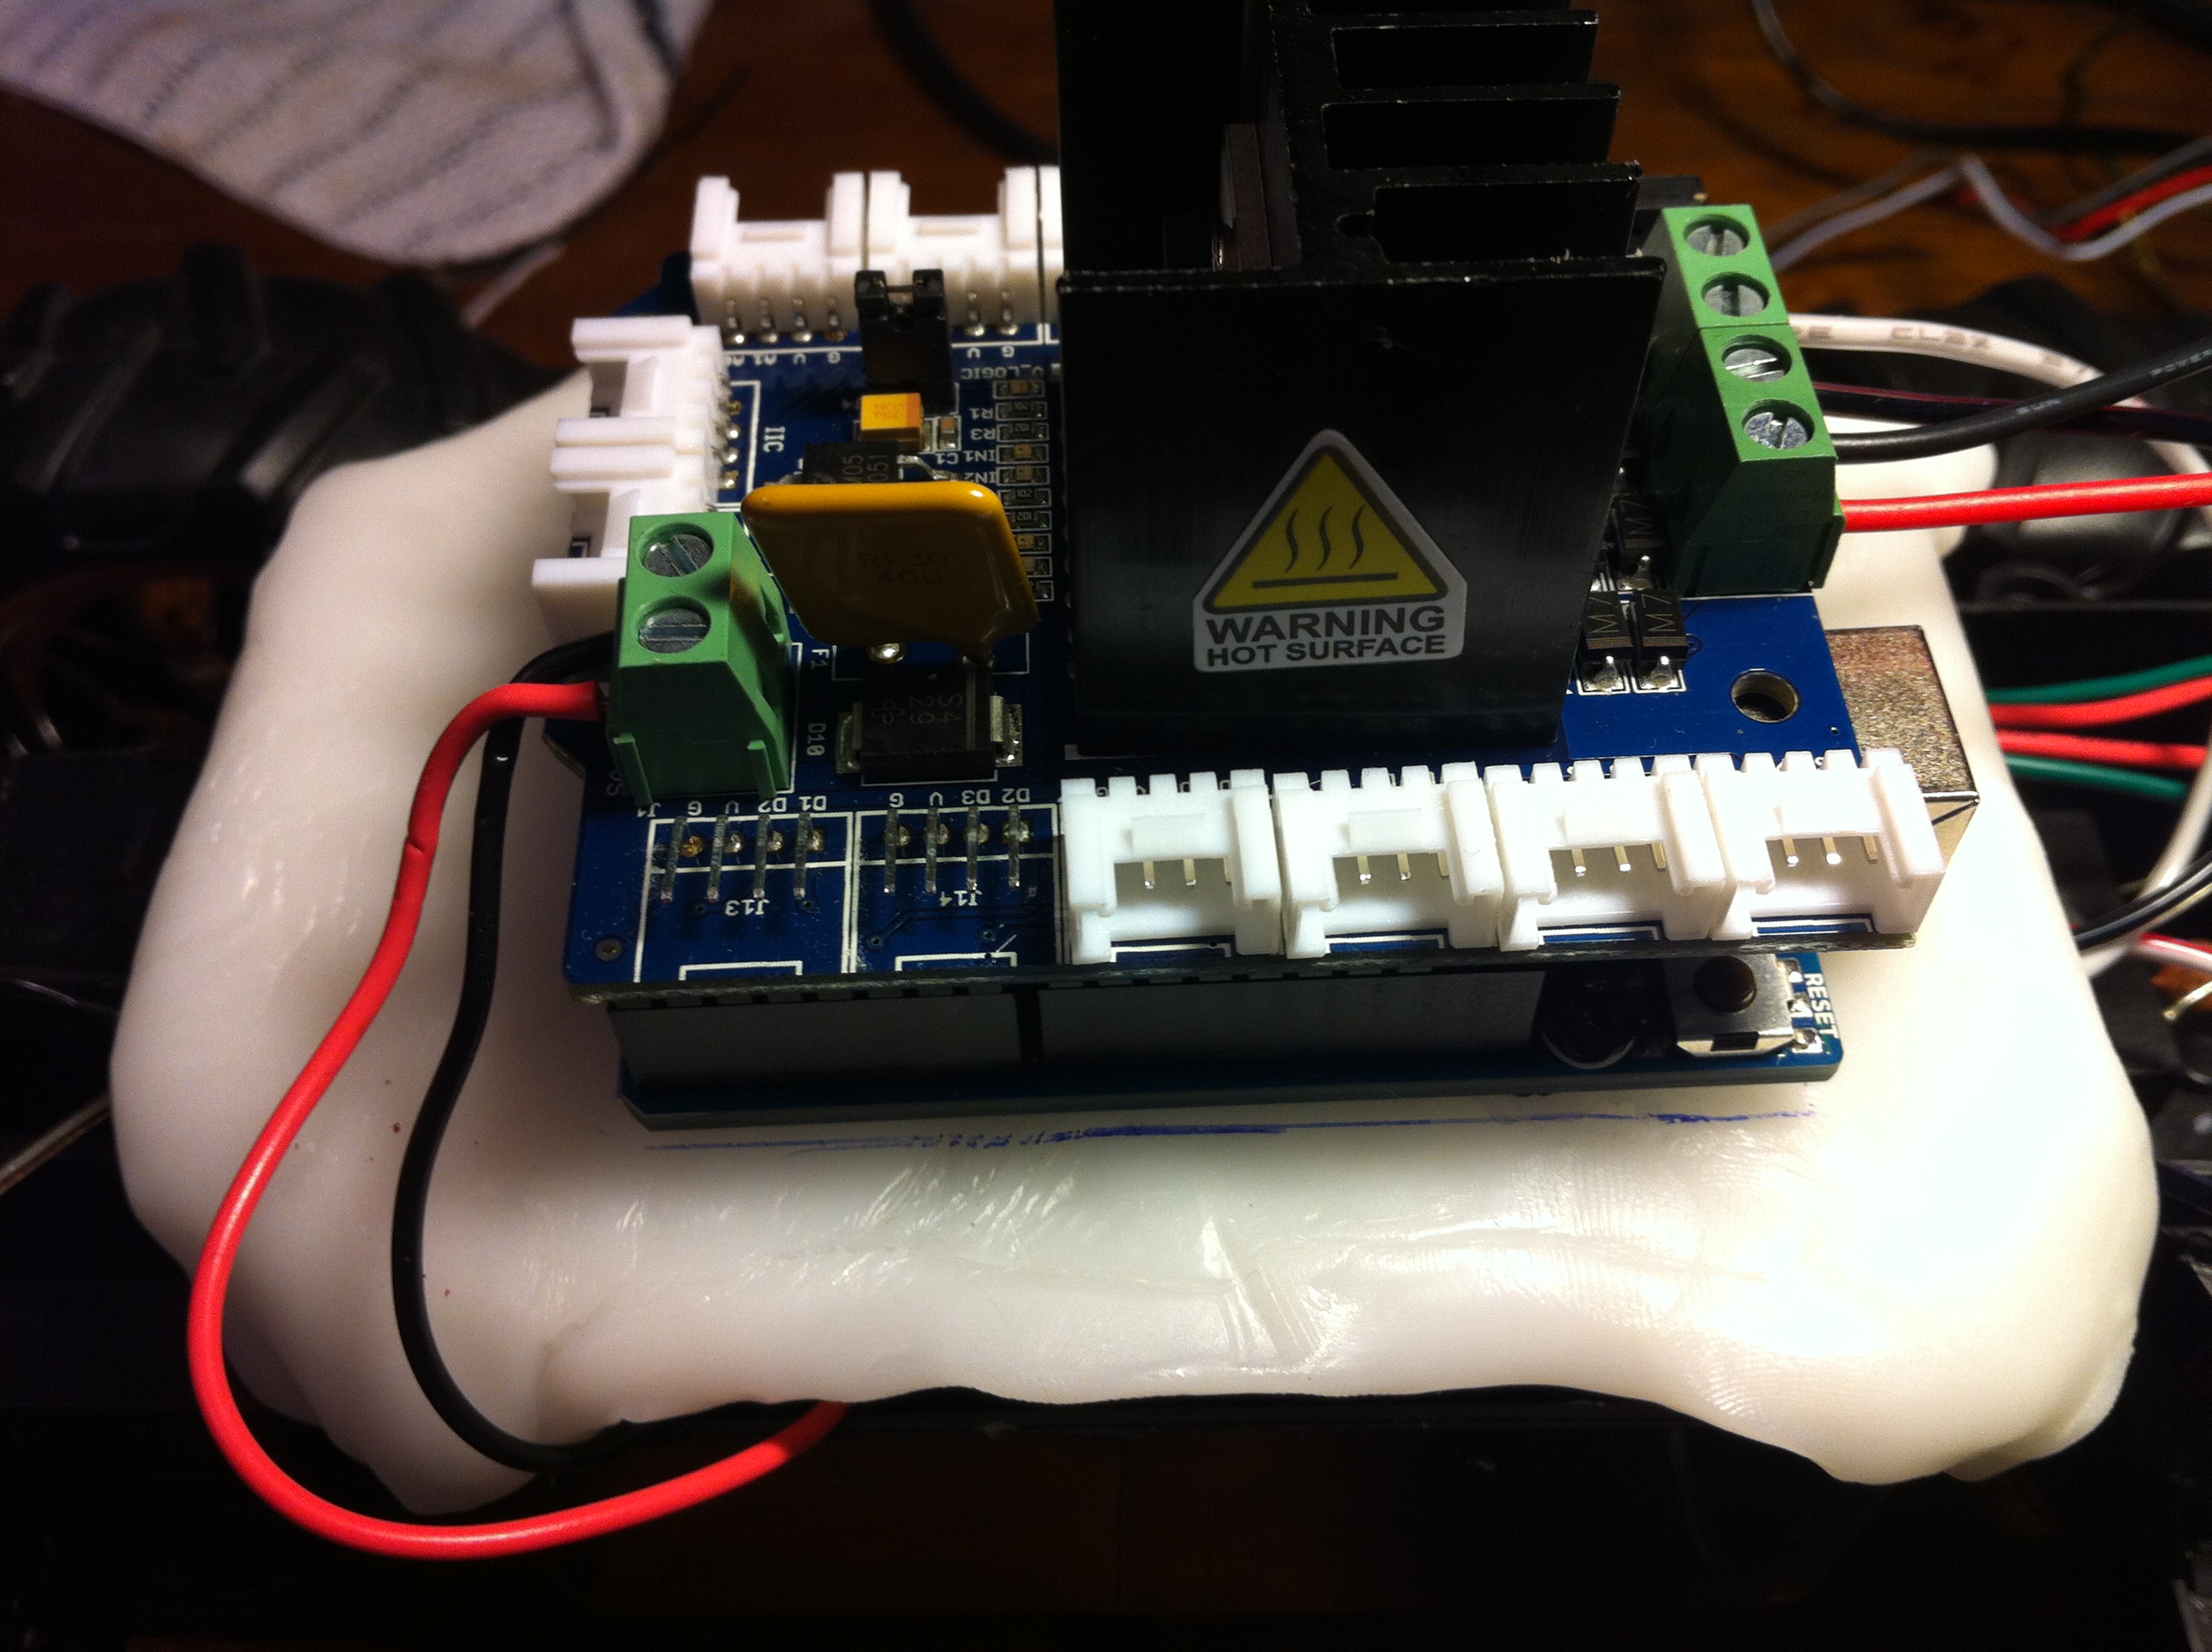
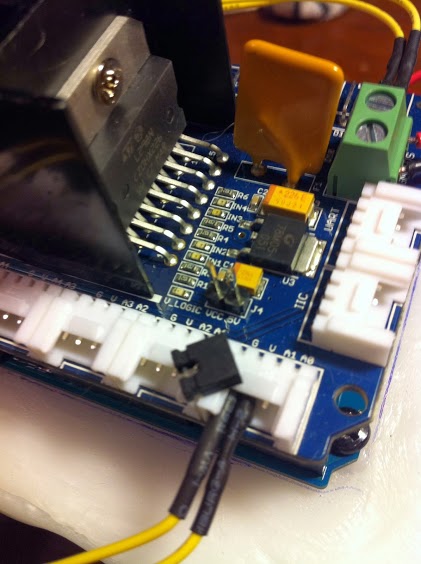
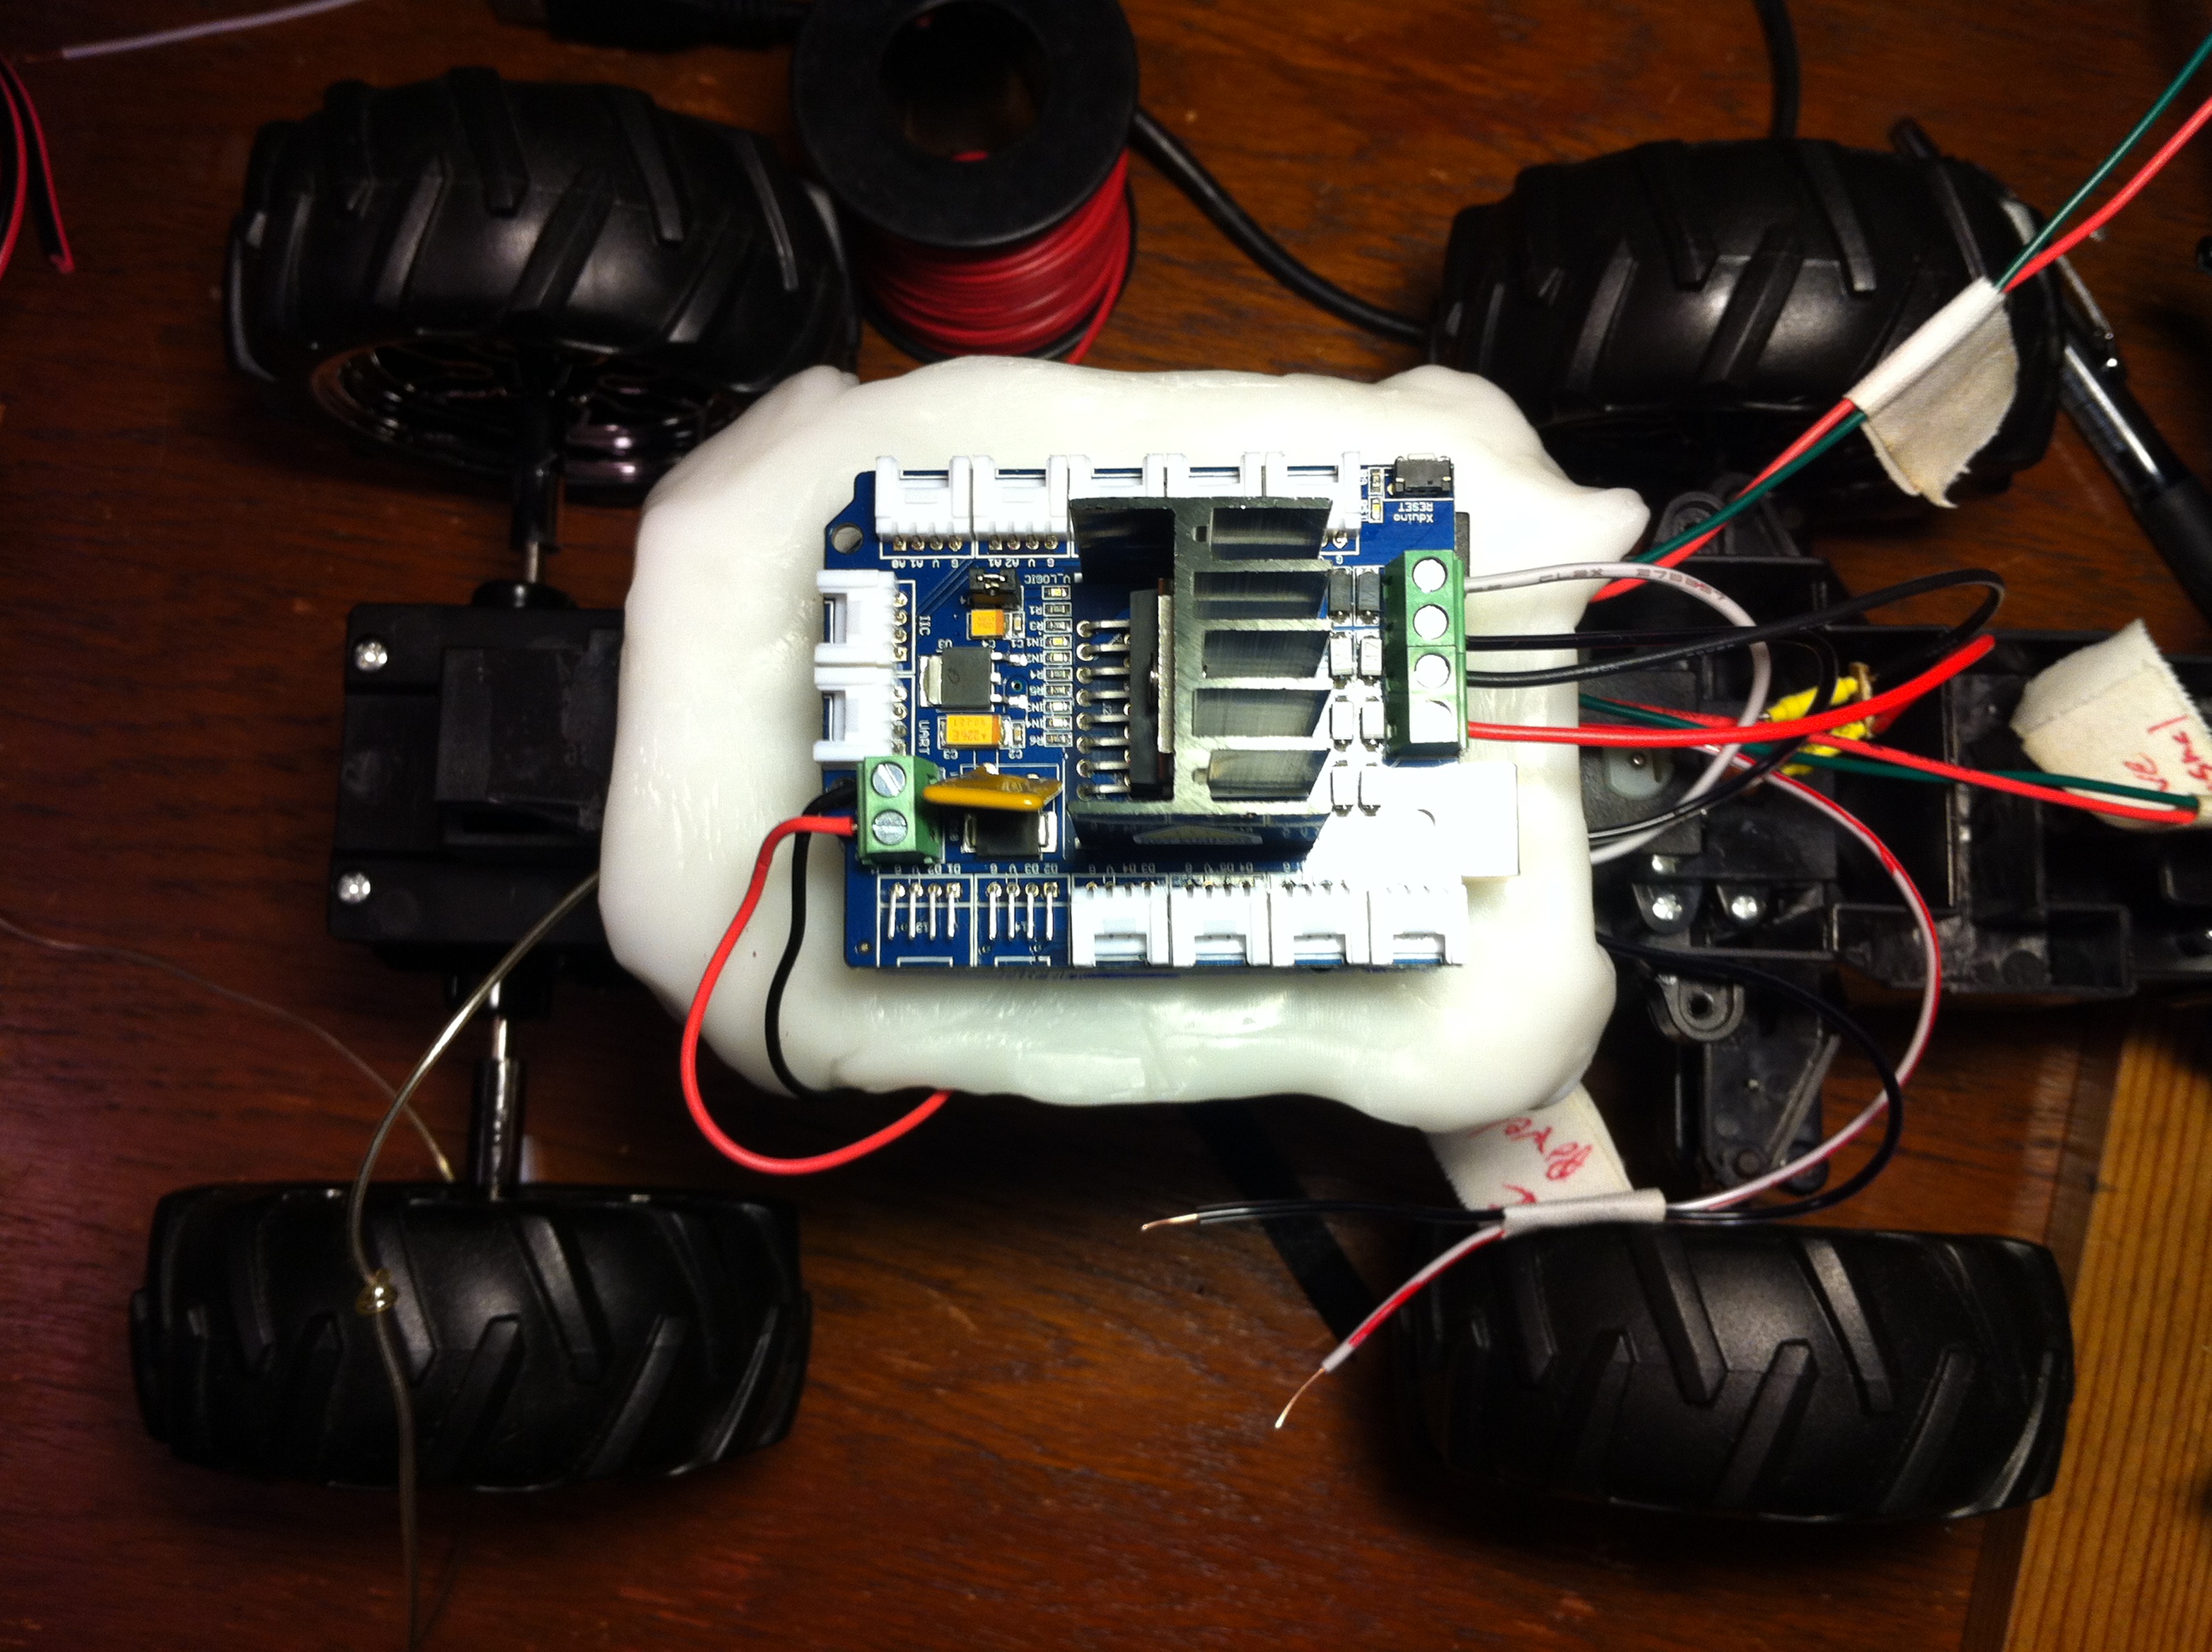
- Using needle nose pliers and a flat tipped screwdriver, carefully remove the white plastic clips around the pins. They are for SEEED brand add ons that we will not be using and will only get in our way. I removed more than just the two pictured.
- Remove the shunt on the Motor Shield. Keeping this in place would allow us to power the Arduino and PINGs off of the RC truck battery. However, we will be powering our board and sensors with a 9V battery so that we do not have power issues when operating both motors.
- Attach the power supplying wires to the appropriate terminal (as pictured). The board indicated which side is for the positive (Vin) and which is for the negative (0V).
Connect Your Sensors
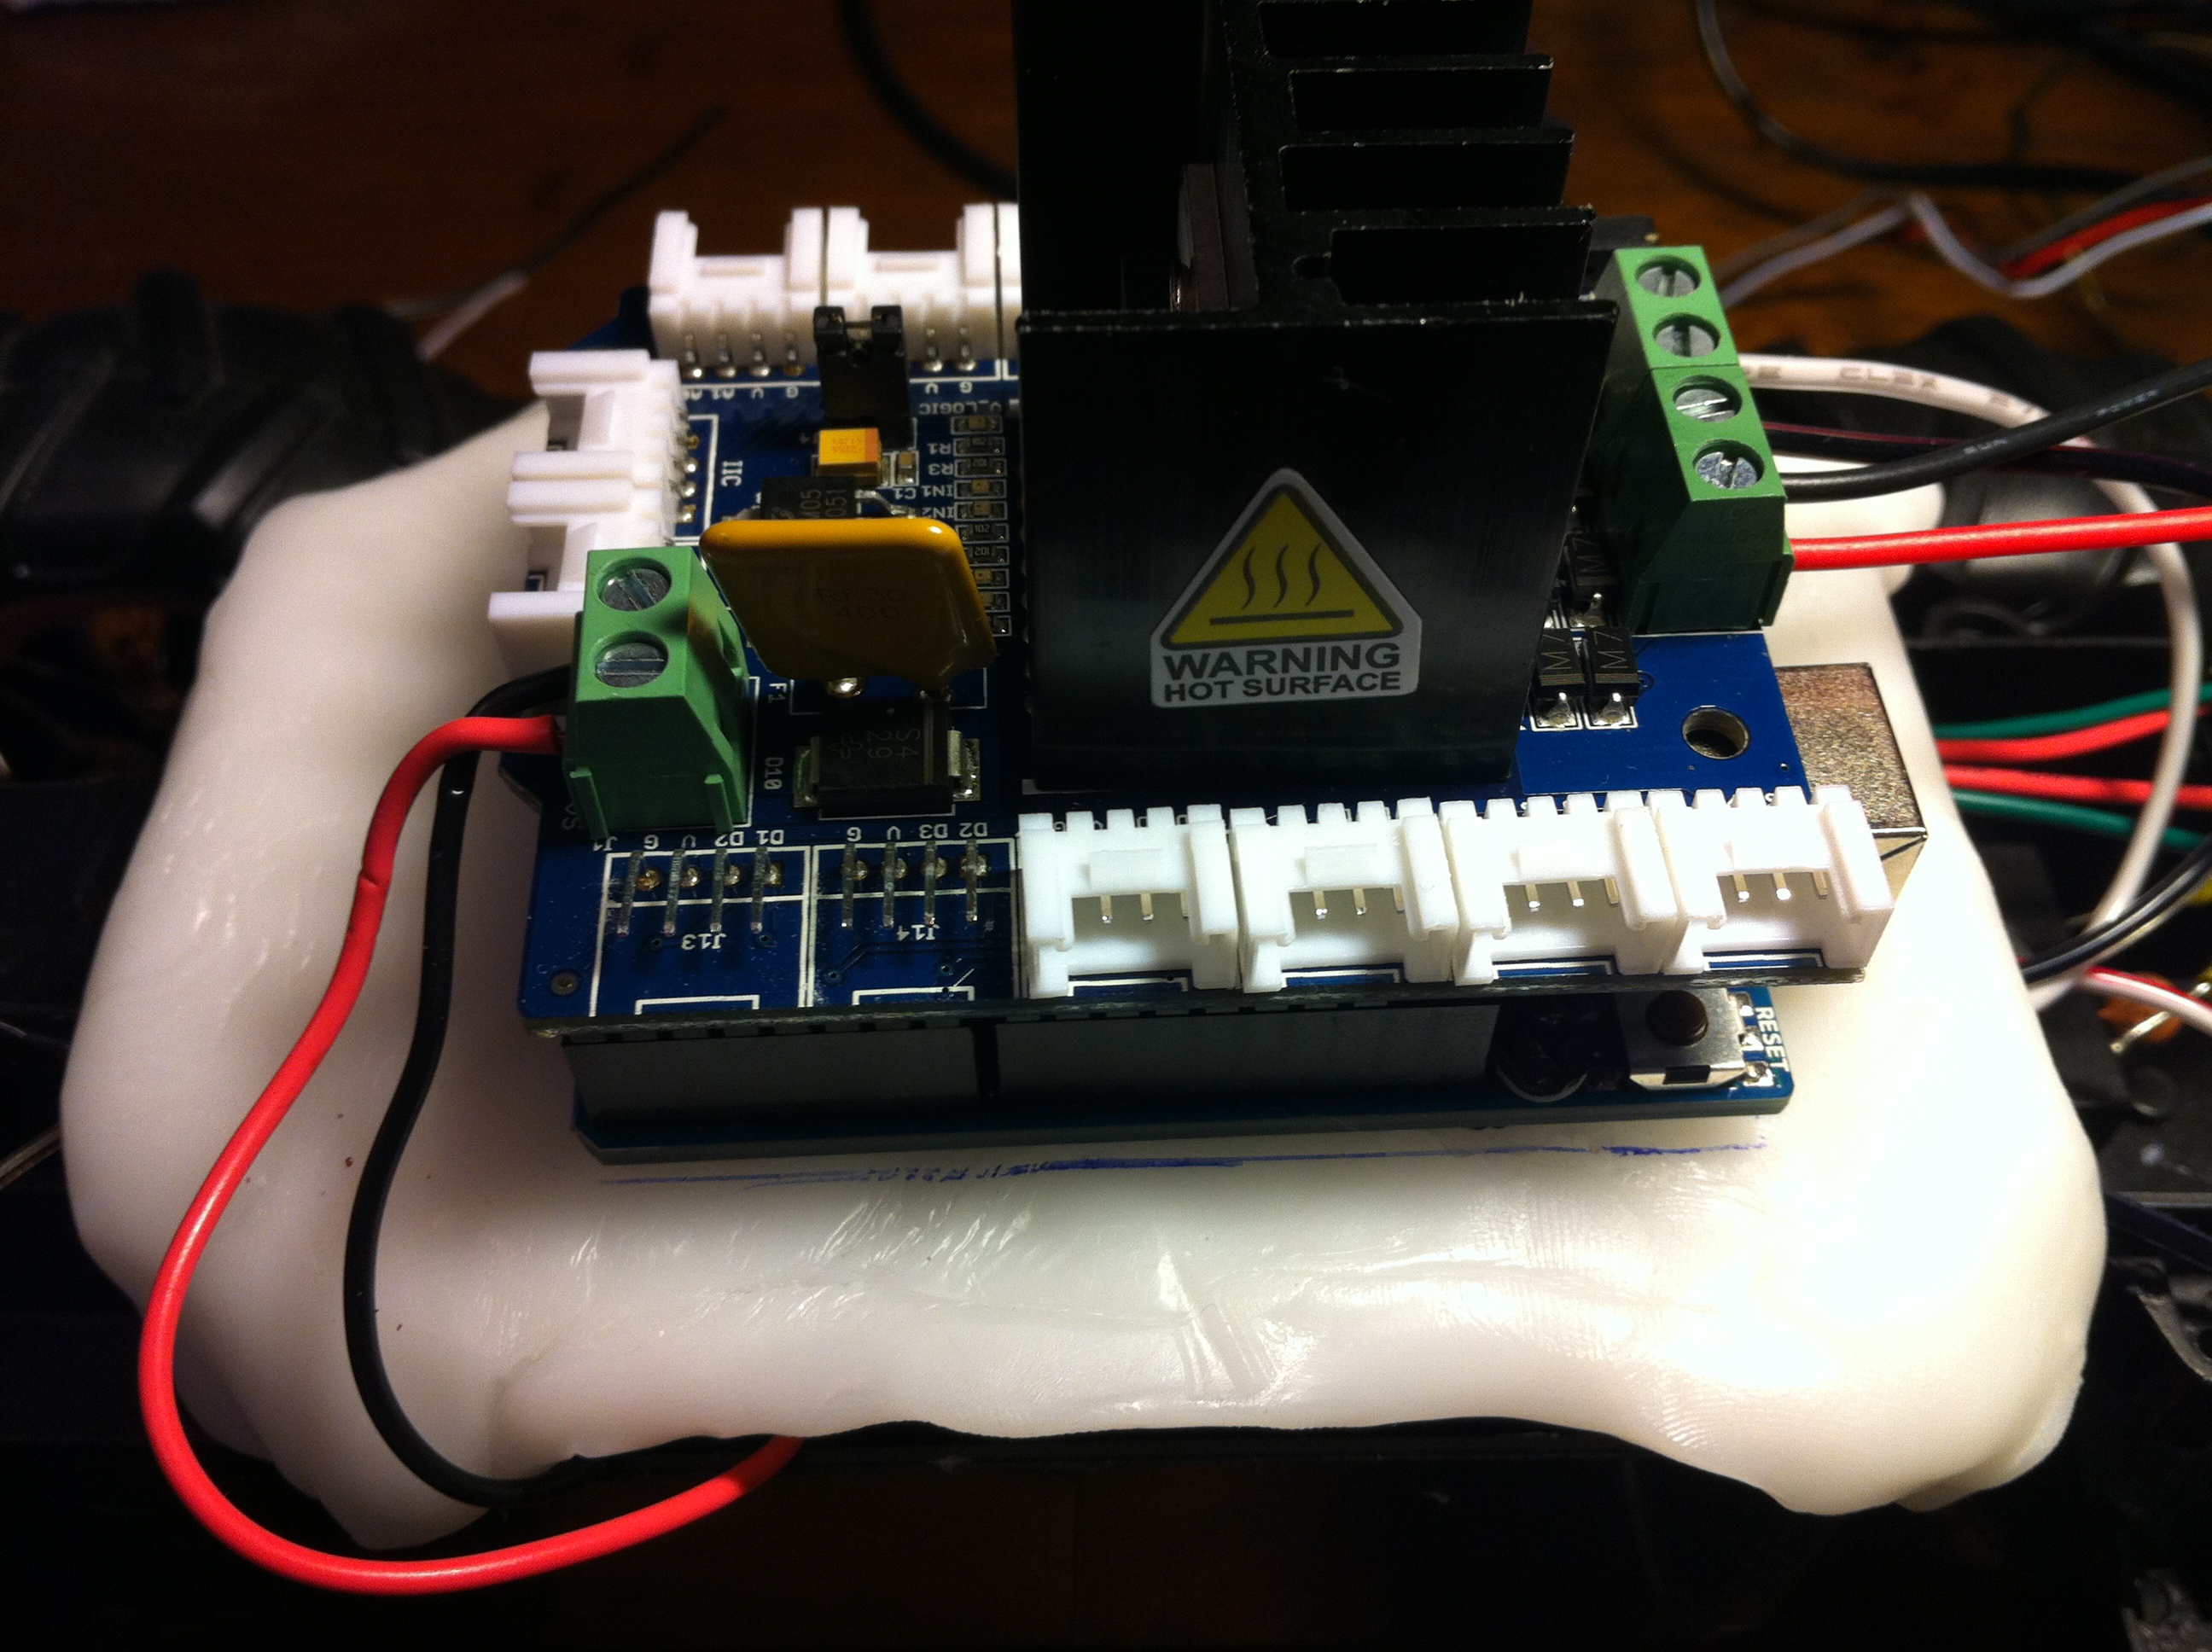
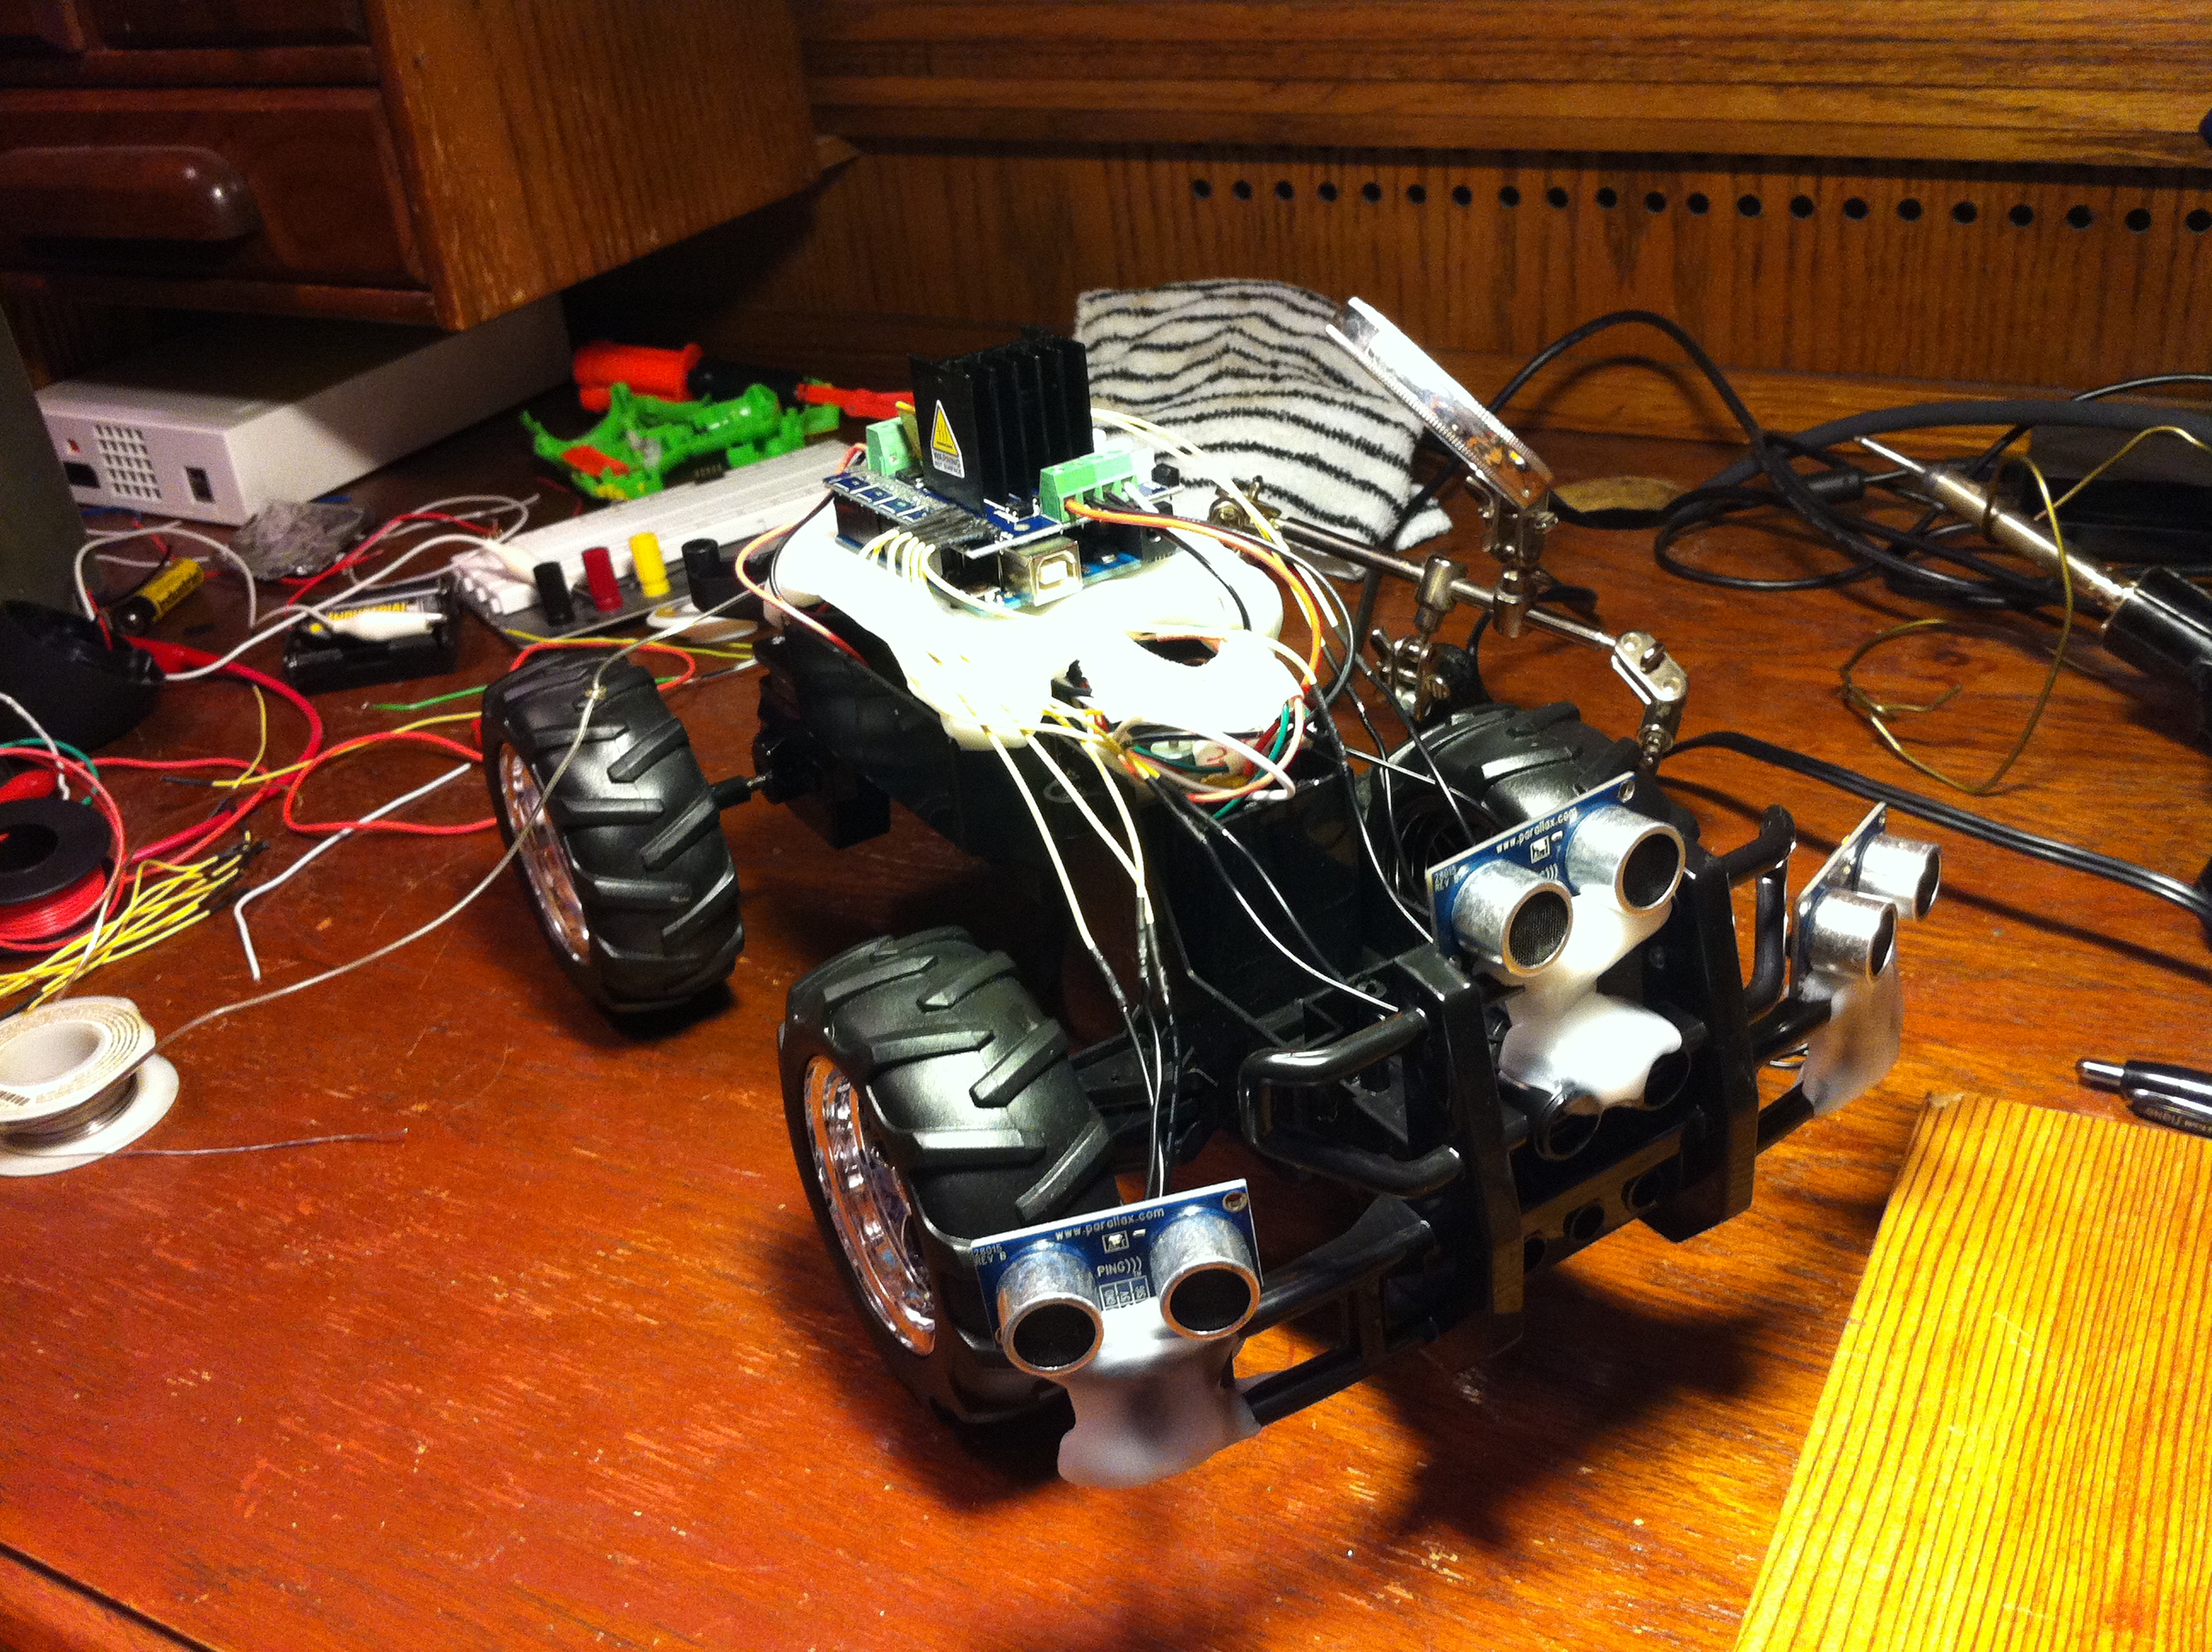
Looking at your Motor Shield you should see the pin labels. Repeat the below for all three PING sensors.
- Connect the PING's GND lead to any pin labeled "G". This is the sensor's, and one of the shield's, ground pin.
- Connect the PING's 5V lead to any pin labeled "V". This is the sensor's power in pin, and one of the shield's power out. The shield and automatically outputs the 5V required by the sensor.
- Connect the PING's SIG lead to pin:
- D5 for the left sensor
- D6 for the center sensor
- D7 for the right sensor
Copy This Sketch Into the IDE and Upload to Your Arduino
/*
Sketch written by ImMrRoboto to convert an RC truck into a robot using 3 PING sensors,
an Arduino UNO and a SEEED Studio Motor Shield.  It is built upon PING example code by
Tom Igoe and a motor shield tutorial sketch by SEEED Studio.
*/
int pinI1=8;//define I1 interface
int pinI2=11;//define I2 interface
int speedpinA=9;//enable motor A
int pinI3=12;//define I3 interface
int pinI4=13;//define I4 interface
int steerpinB=10;//enable motor B
int speed_drive =420;//define the speed of drive motor
int speed_steer =1524;//define the speed of steering motor
const int pingPin_R = 7;//sets the pin for the PING sensor on the right side of the car
const int pingPin_C = 6;//sets the pin for the PING sensor in the center side of the car
const int pingPin_L = 5;//sets the pin for the PING sensor on the left side of the car
long duration_C, inches_C,duration_R, inches_R,duration_L, inches_L;

void setup()
{
  pinMode(pinI1,OUTPUT);
  pinMode(pinI2,OUTPUT);
  pinMode(speedpinA,OUTPUT);
  pinMode(pinI3,OUTPUT);
  pinMode(pinI4,OUTPUT);
  pinMode(steerpinB,OUTPUT);
}

void loop()
{
  int i;
  int j = 1;
  delay(5000);
  for(i=0; i<1; i*1){
  j++;
  getping_all();


//all clear, no obstacles within 30" in any direction
  if(inches_C >= 30 && inches_R >= 30 && inches_L >= 30)
  {
   forward();
  }

//obstacle(s) within 0-6" range
  else if (inches_L < 6 || inches_C < 6 || inches_R < 6)
  {
   stop();
   backward();
   delay(1500);
   stop();
     if(j%3 == 0){ //This if/else statement is designed to build a little "randomness"
     back_right(); //into the robot's movements, so it is less likely to become stuck
     back_right(); //in a loop, performing the same actions over and over which only.
     left();
     j=1;
     }
   else{
     back_left();
     back_left();
     right();
     }
  }

//obstacle(s) within 6"-12" range

  //obstacle on left and center and right
  else if (inches_R < 12 && inches_C < 12 && inches_L < 12)
  {
   stop();
   backward();
   delay(1500);
   back_left();
   stop();
   right();
   forward();
  }
  //obstacle on center OR left and right
  else if (inches_L >= 12 && inches_R >= 12 && inches_C < 12 ||
            inches_C >= 12 && inches_R < 12 && inches_L < 12)
  {
   stop();
   backward();
   delay(1500);
   back_left();
   stop();
   right();
   forward();
  }
  //obstacle on left and center
  else if (inches_R >= 12 && inches_C < 12 && inches_L < 12)
  {
   stop();
   backward();
   delay(1500);
   back_left();
  }
  //obstacle on right and center
  else if (inches_L >= 12 && inches_C < 12 && inches_R < 12)
  {
   stop();
   backward();
   delay(1500);
   back_right();
  }
  //obstacle on right
  else if (inches_L >= 12 && inches_C >= 12 && inches_R < 12)
  {
   left();
   left();

  }
  //obstacle on left
  else if (inches_R >= 12 && inches_C >= 12 && inches_L < 12)
  {
   right();
   right();
  }

//obstacle(s) within 12"-30" range

  //obstacle on left and center
  else if (inches_R >= 30 && inches_C < 30 && inches_L < 30)
  {
   right();
   right();
  }
  //obstacle on right and center
  else if (inches_L >= 30 && inches_C < 30 && inches_R < 30)
  {
   left();
   left();
  }
  //obstacle on right and left
  else if (inches_C >= 30 && inches_L < 30 && inches_R < 30)
  {
   forward();
  }
  //obstacle on right
  else if (inches_L >= 30 && inches_C >= 30 && inches_R < 30)
  {
   left();
  }
  //obstacle on left
  else if (inches_R >= 30 && inches_C >= 30 && inches_L < 30)
  {
   right();
  }
  //obstacle on center
  else if (inches_L >= 30 && inches_R >= 30 && inches_C < 30)
  {
   if(j % 2 == 0){
     left();
     j=1;
   }
   else{
     right();
    }
  }
  }
}

void forward()
{// turns on drive motor in forward and leaves it on
     analogWrite(speedpinA,speed_drive);//inputs speed_drive value to set the speed
     digitalWrite(pinI2,LOW);//turn DC Motor A move anticlockwise
     digitalWrite(pinI1,HIGH);
}
void backward()//
{// turns on drive motor in reverse and leaves it on
     analogWrite(speedpinA,speed_drive);//inputs speed_drive value to set the speed
     digitalWrite(pinI2,HIGH);//turn DC Motor A move clockwise
     digitalWrite(pinI1,LOW);
}
void right()//
{
     analogWrite(steerpinB,speed_steer);
     digitalWrite(pinI4,HIGH);//turn DC Motor B move clockwise
     digitalWrite(pinI3,LOW);
     forward();
     delay(300);
     analogWrite(steerpinB,LOW);
}
void back_left()//
{
     analogWrite(steerpinB,speed_steer);
     digitalWrite(pinI4,HIGH);//turn DC Motor B move clockwise
     digitalWrite(pinI3,LOW);
     delay(250);
     backward();
     delay(500);
     stop();
     delay(250);
}
void left()//
{
     analogWrite(steerpinB,speed_steer);
     digitalWrite(pinI4,LOW);//turn DC Motor B move anticlockwise
     digitalWrite(pinI3,HIGH);
     forward();
     delay(300);
     analogWrite(steerpinB,LOW);
}
void back_right()//
{
     analogWrite(steerpinB,speed_steer);
     digitalWrite(pinI4,LOW);//turn DC Motor B move anticlockwise
     digitalWrite(pinI3,HIGH);
     delay(250);
     backward();
     delay(500);
     stop();
     delay(250);
}
void stop()//stop both motors
{
     digitalWrite(speedpinA,LOW);// Unenble the pin, to stop the motor.
     digitalWrite(steerpinB,LOW);// Unenble the pin, to stop the motor.
}
 void getping_C()//get distance from center PING
{
      pinMode(pingPin_C, OUTPUT);
      digitalWrite(pingPin_C, LOW);
      delayMicroseconds(2);
      digitalWrite(pingPin_C, HIGH);
      delayMicroseconds(5);
      digitalWrite(pingPin_C, LOW);
      pinMode(pingPin_C, INPUT);
      duration_C = pulseIn(pingPin_C, HIGH);
      inches_C = microsecondsToInches(duration_C);
}
 void getping_R()//get distance from right PING
{
      pinMode(pingPin_R, OUTPUT);
      digitalWrite(pingPin_R, LOW);
      delayMicroseconds(2);
      digitalWrite(pingPin_R, HIGH);
      delayMicroseconds(5);
      digitalWrite(pingPin_R, LOW);
      pinMode(pingPin_R, INPUT);
      duration_R = pulseIn(pingPin_R, HIGH);
      inches_R = microsecondsToInches(duration_R);
}
 void getping_L()//get distance from left PING
{
      pinMode(pingPin_L, OUTPUT);
      digitalWrite(pingPin_L, LOW);
      delayMicroseconds(2);
      digitalWrite(pingPin_L, HIGH);
      delayMicroseconds(5);
      digitalWrite(pingPin_L, LOW);
      pinMode(pingPin_L, INPUT);
      duration_L = pulseIn(pingPin_L, HIGH);
      inches_L = microsecondsToInches(duration_L);
}
  void getping_all()
{
  getping_C();
  delay(2);
  getping_R();
  delay(2);
  getping_L();
  delay(2);
}
  long microsecondsToInches(long microseconds){
    return microseconds / 74 / 2;}

/* The above converts the time of the return to inches as explained here: <a href="http://learn.parallax.com/kickstart/28015" rel="nofollow">http://learn.parallax.com/kickstart/28015
</a>*/
Test Your Robot Out
Just because the preceding worked for me does not necessary mean the same will hold true for you. There still may be some troubleshooting left in your future. So before we re-install the truck body let's take our new robot on a test run.
Possible problems
Below is a video of one of my robot's first runs. As you can see I had the speed of the drive motor dialed down too far resulting in a slow robot that easily became stuck.
Here is an even earlier run, which illustrates what happens when your robot is too fast for the distance parameters you established for avoiding obstacles.
- Plug the 9V battery into the Arduino.
- Insert the RC truck battery and flip the switch.
- If the robot does not come to life immediately, it is because of a 5 second delay built into the program...hopefully.
Possible problems
- Suggested fix
- Swap the positive and negative leads of the offending motor on the SEEED Motor Shield's terminal.
- Adjust the number of the "speed_drive" variable in your sketch and re-upload it to the Arduino. The higher the number the faster the motor.
- If you want a faster robot you may need to increase the threshold ranges of your sensors in the sketch as well as the delays in the turning methods. (right(), left(), back_right(), etc.)
- Make sure your 9V battery is not dead or dying.
- Double check all your sensor connections.
- You did remember to remove the shunt from the motor shield right?
- Same as above.
- The object might be too soft to adequately reflect the ultrasonic sound created by the PING.
- The object may be hard but shaped or angled in a way it reflects the sound waves away from the PING.
- Also your robot might simply be moving too quickly to react in time based off of the various obstacle avoidance parameters we have written into our sketch.
- Post it here and I or a stranger from the interwebs will help you troubleshoot it.
Below is a video of one of my robot's first runs. As you can see I had the speed of the drive motor dialed down too far resulting in a slow robot that easily became stuck.
Here is an even earlier run, which illustrates what happens when your robot is too fast for the distance parameters you established for avoiding obstacles.
Keep Improving
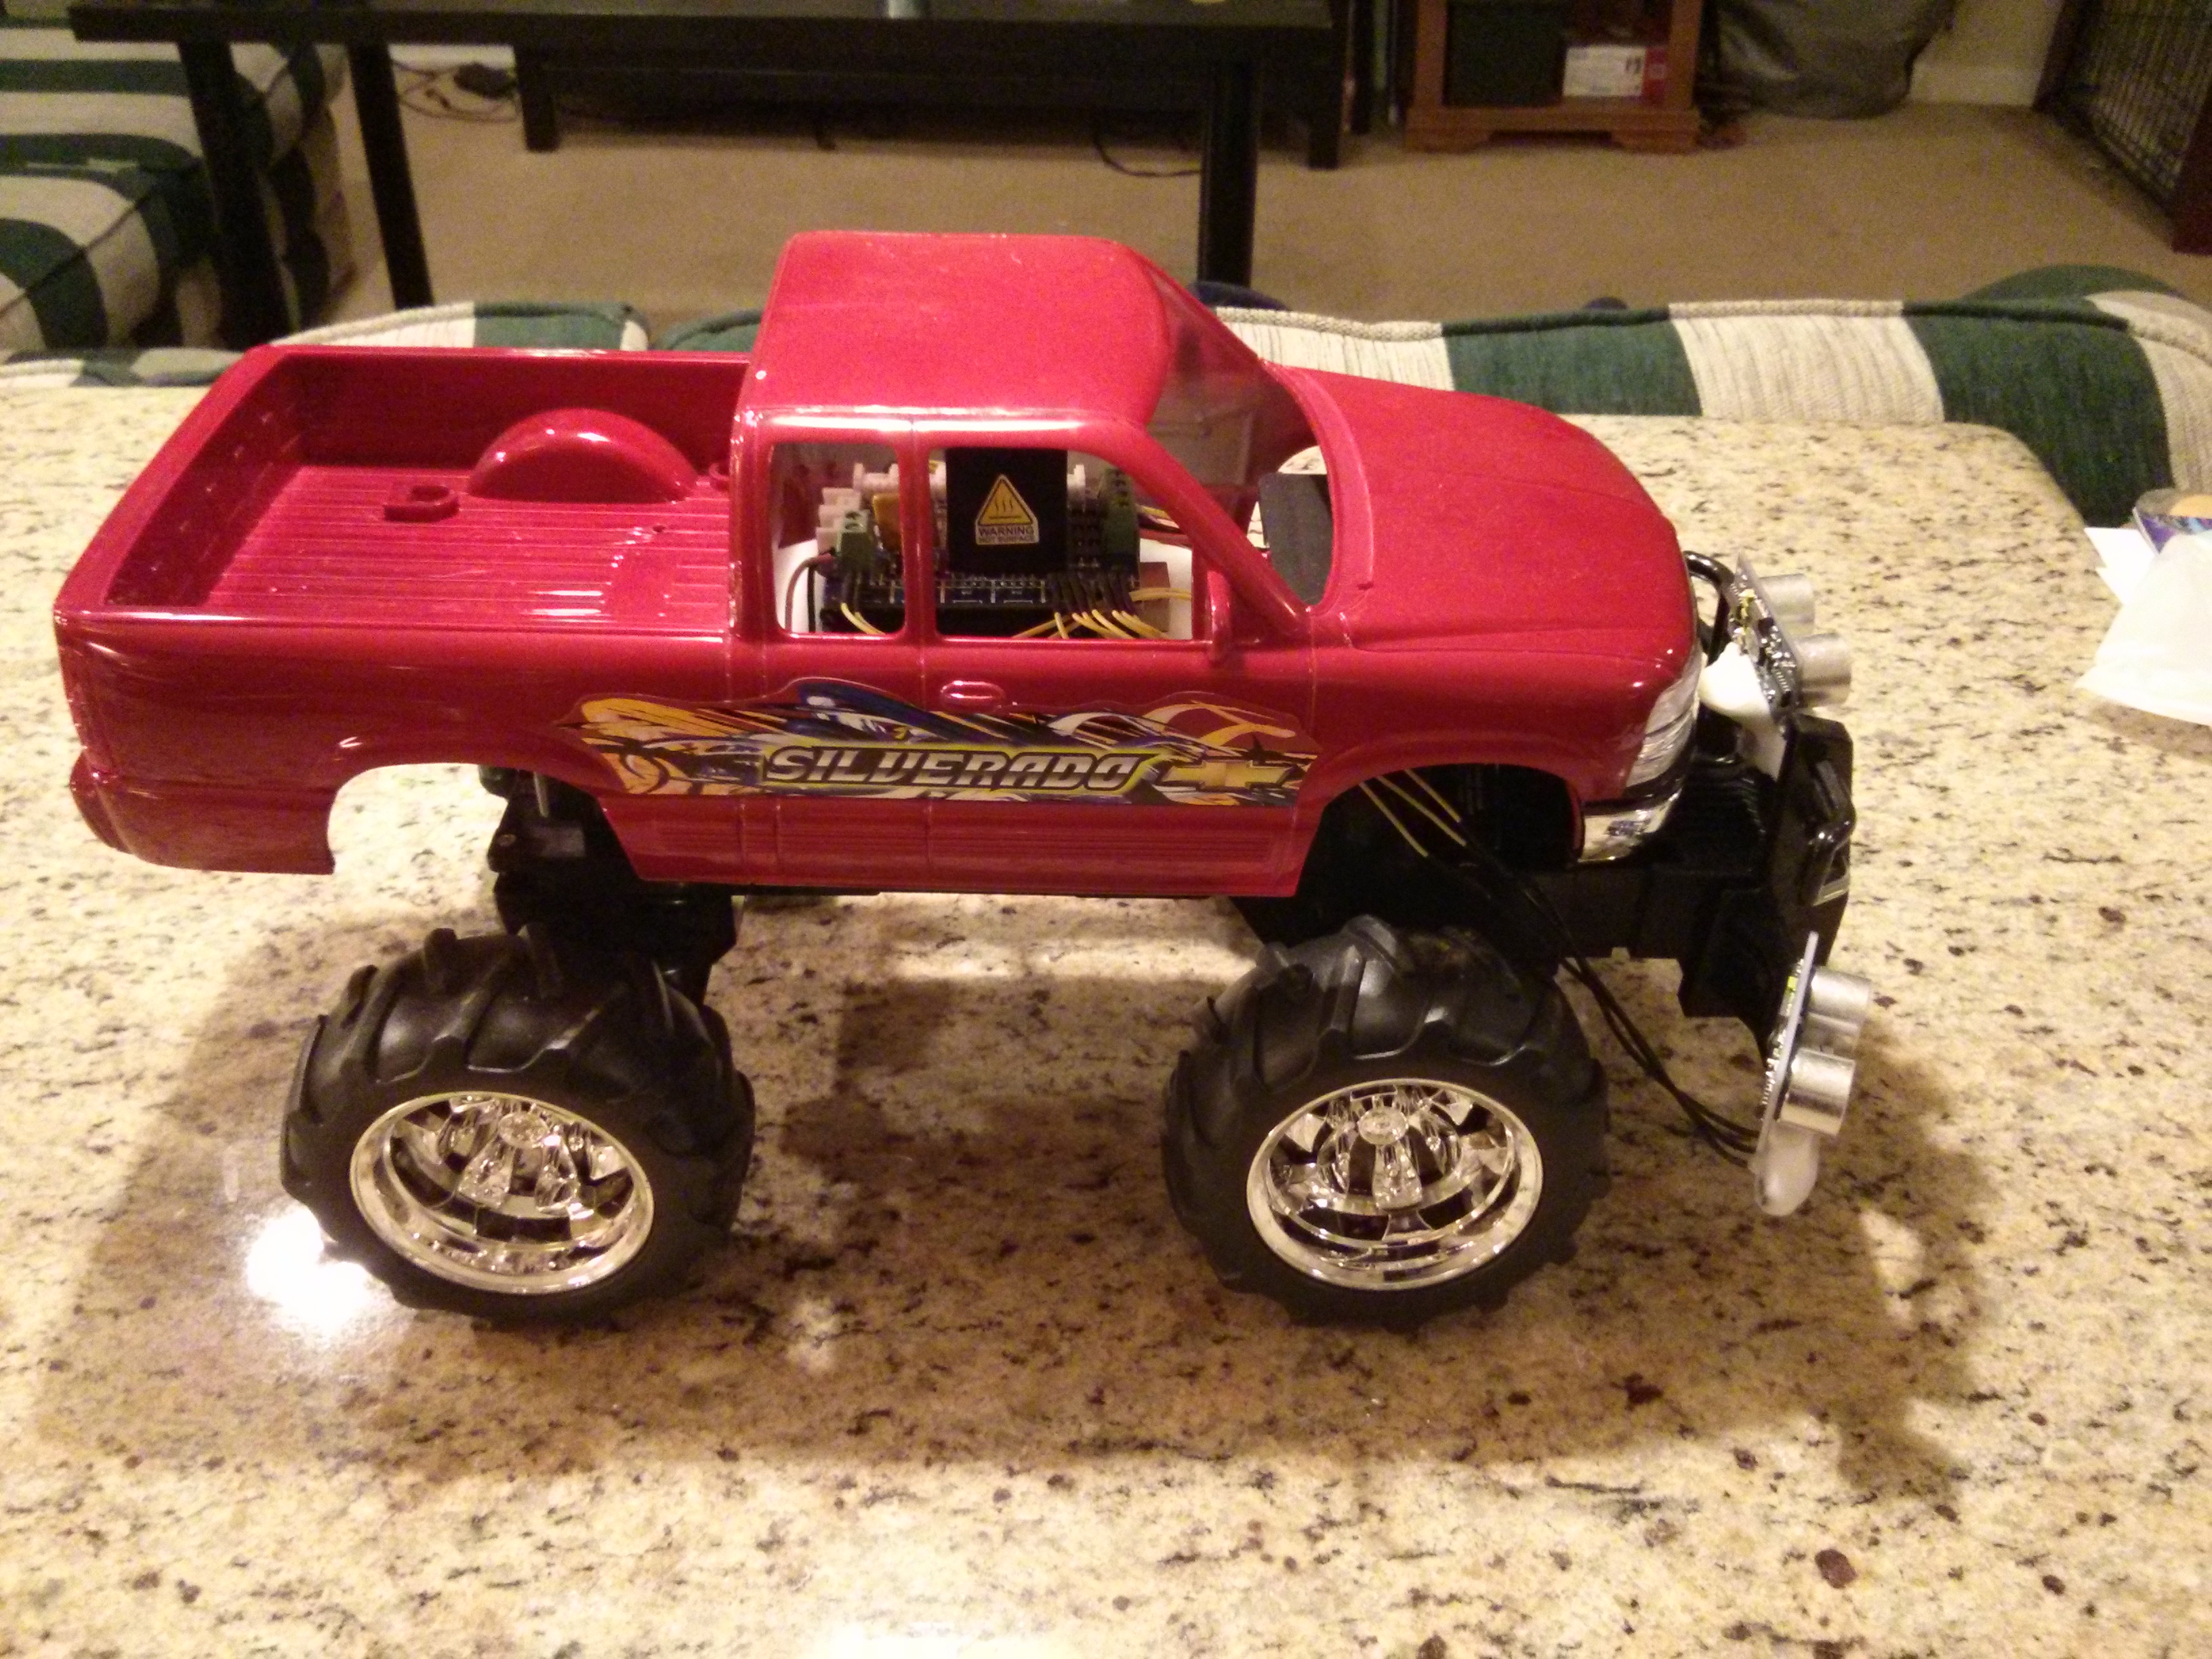
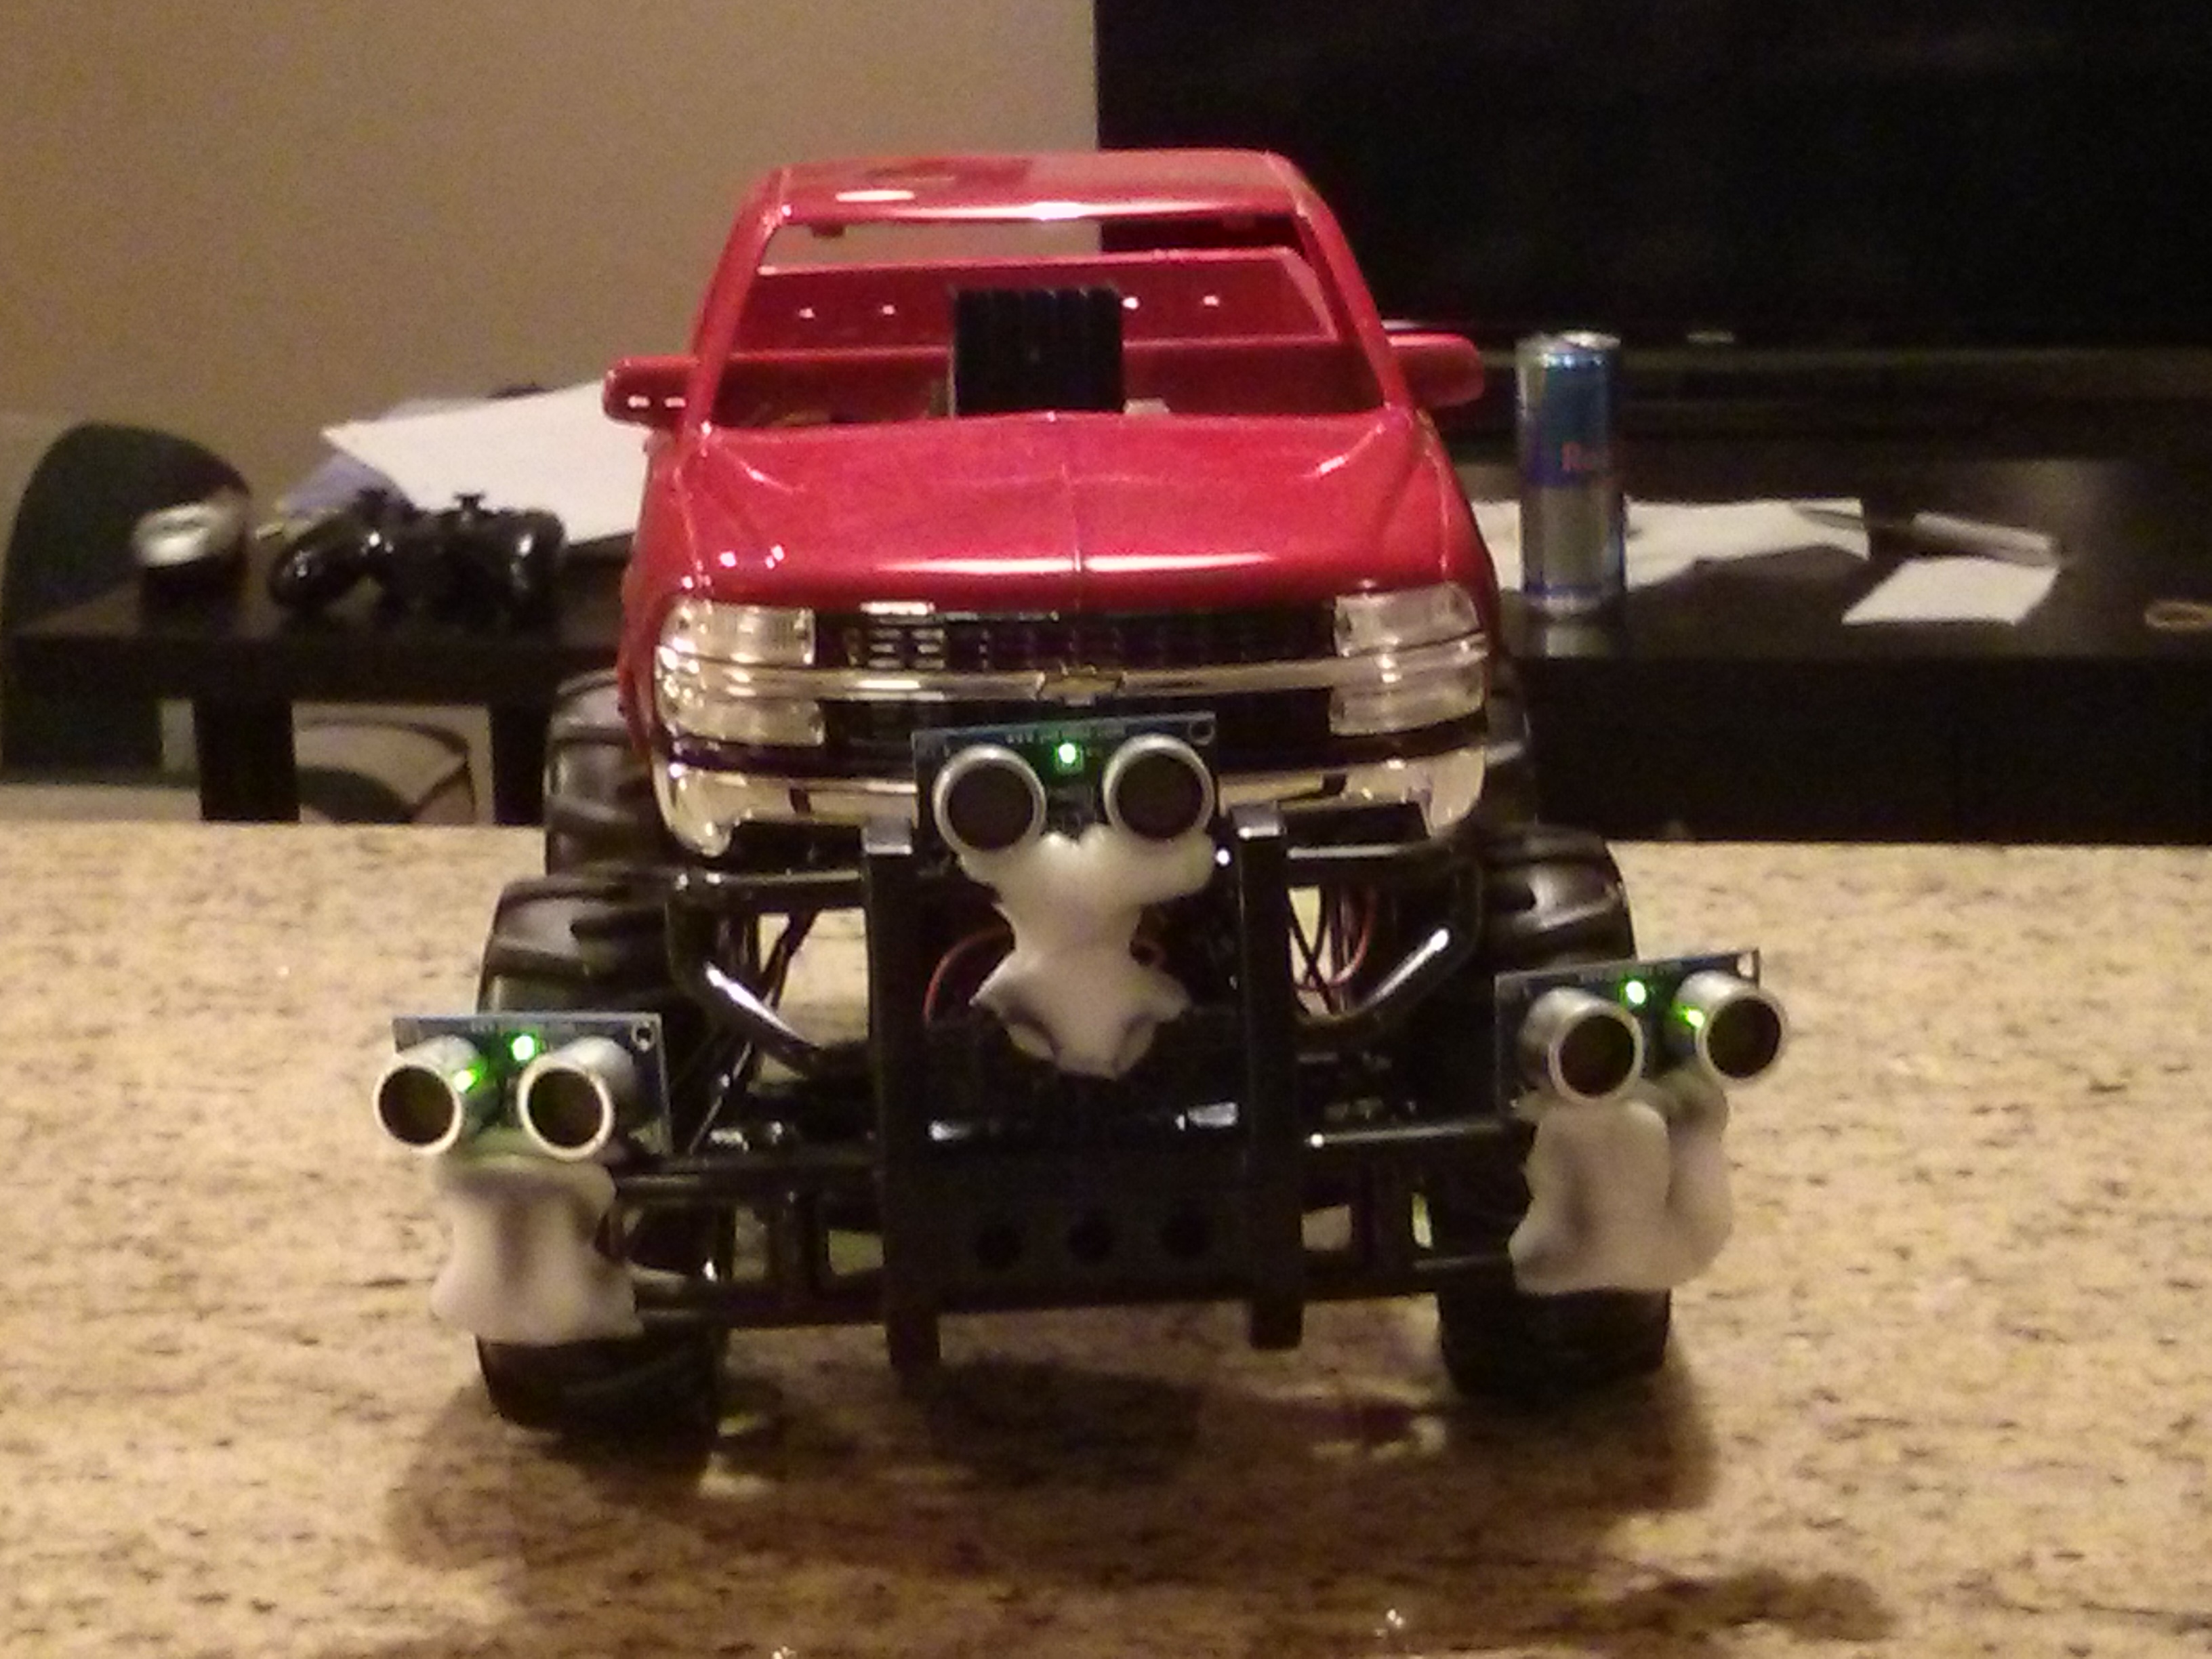
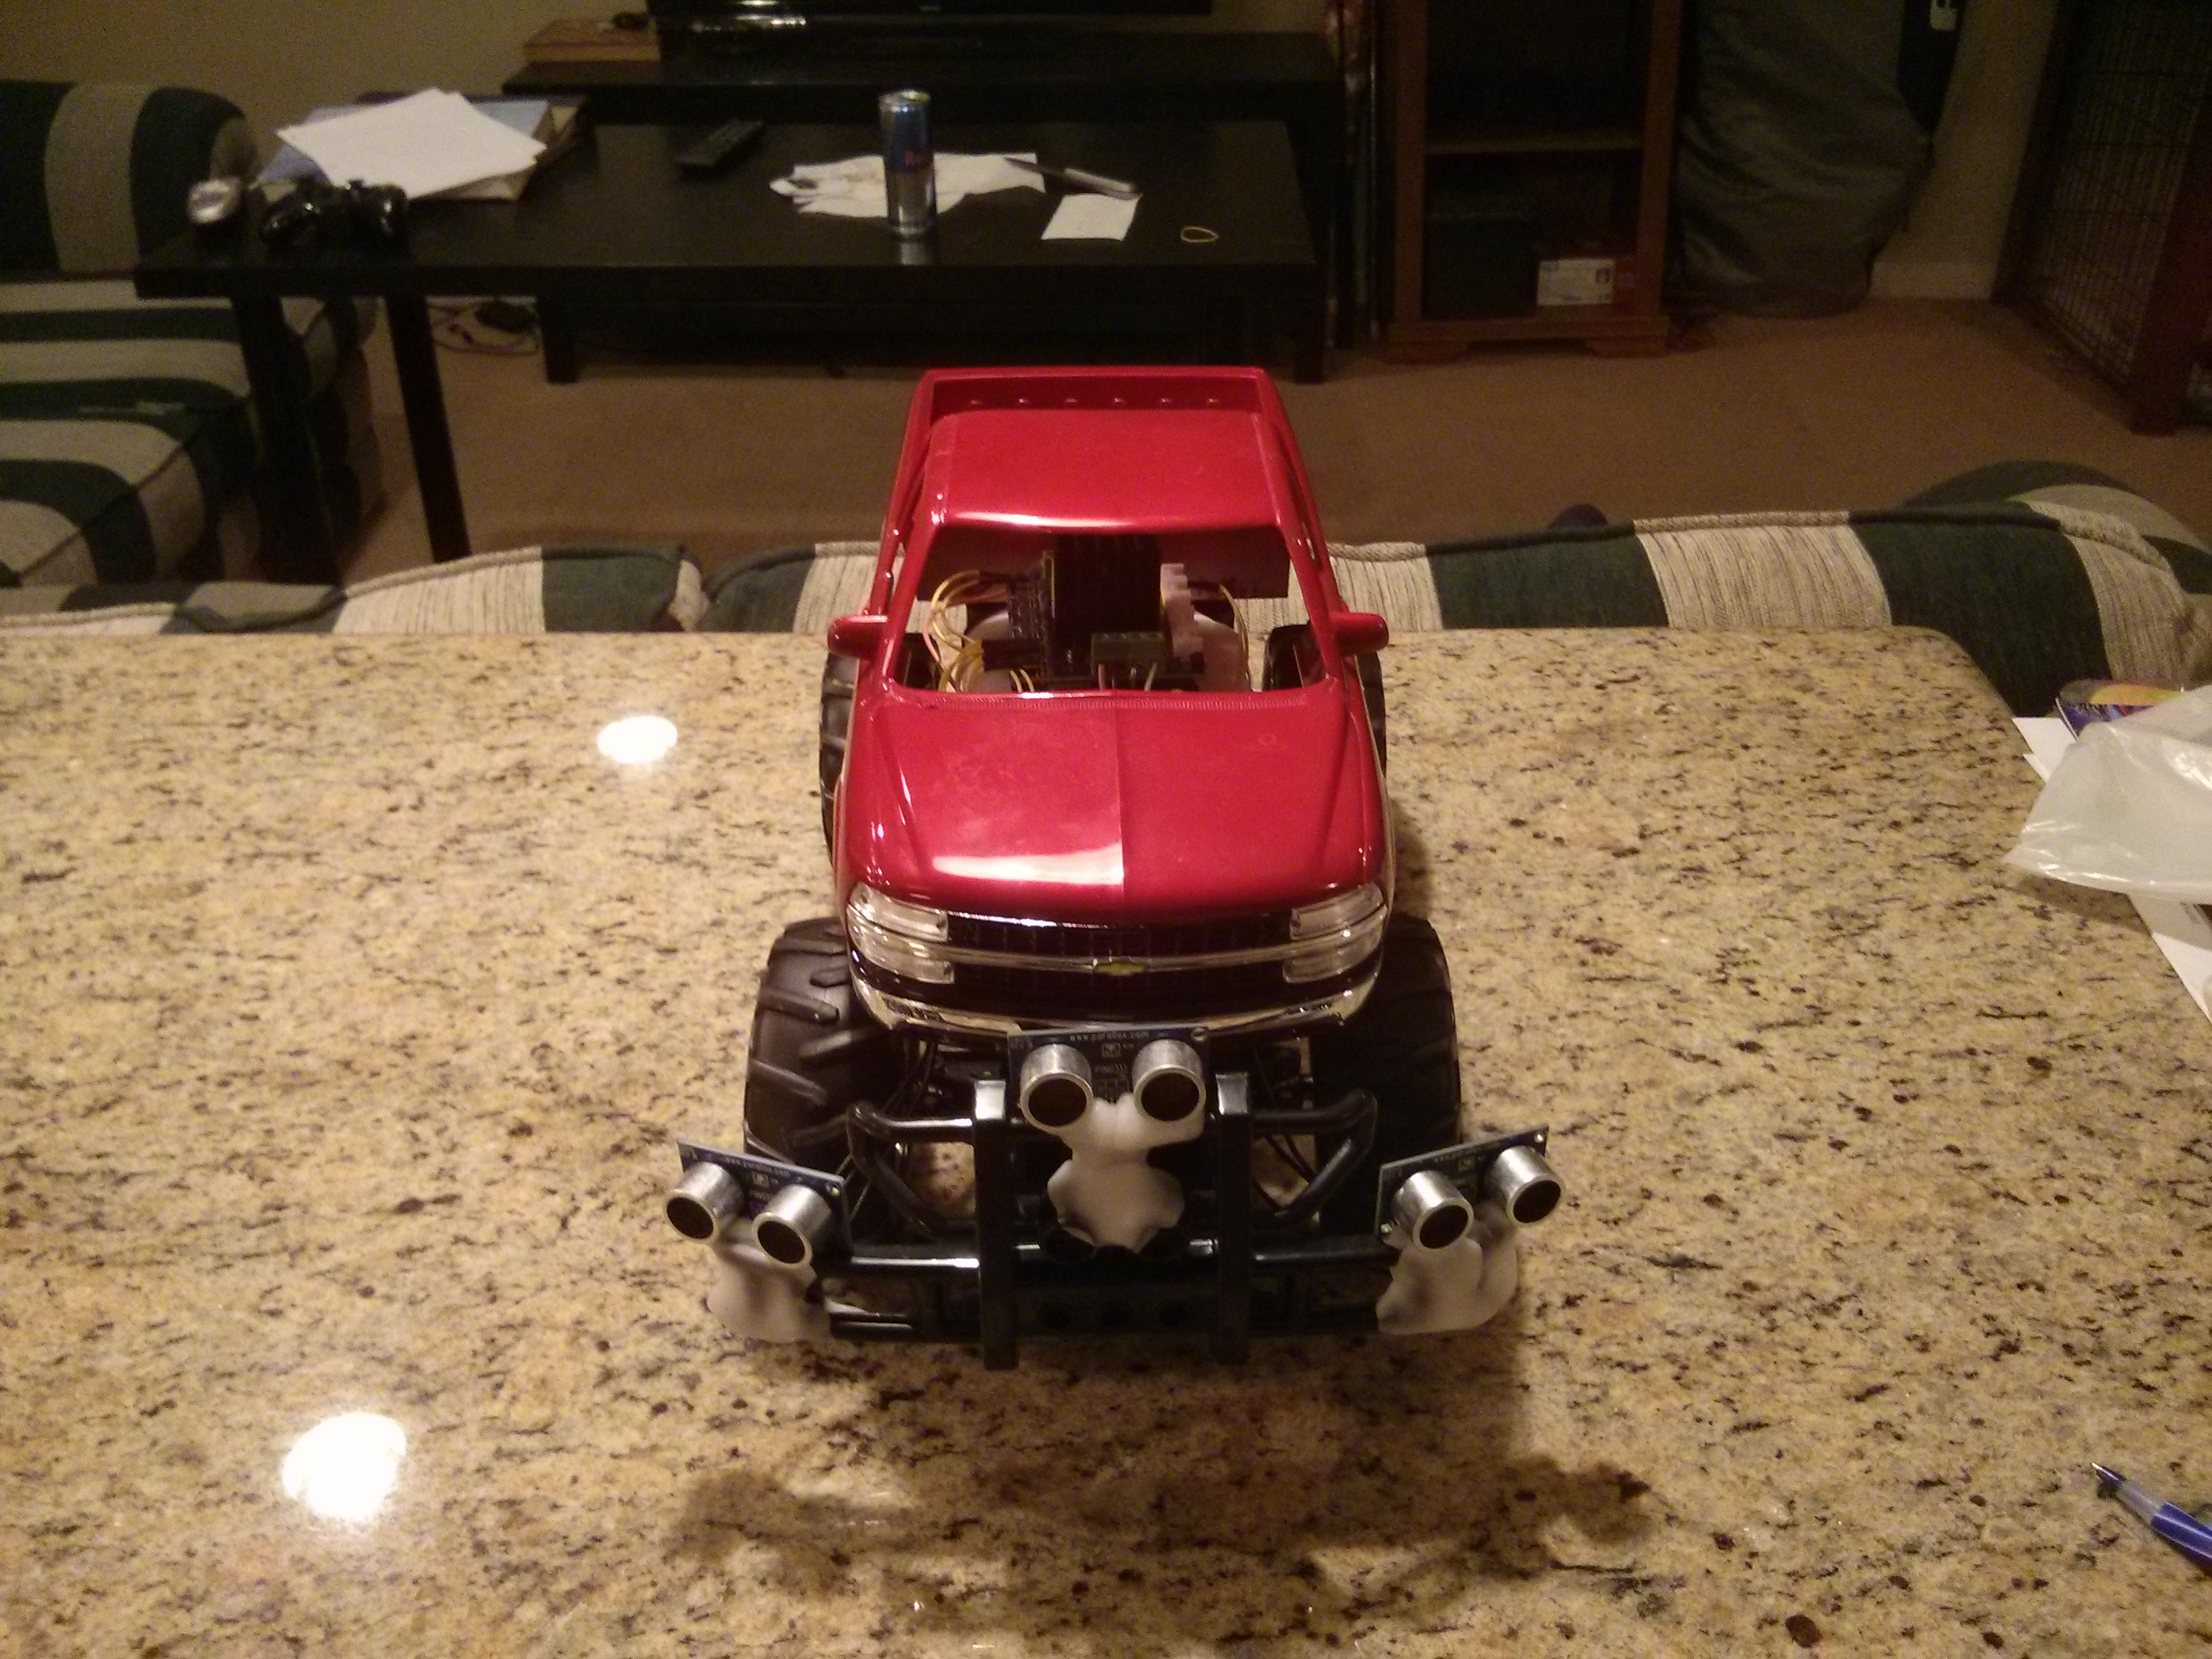
Now that your robot is dialed in you can add the truck body back on if you wish.
Here are a few of the ideas I had for what capabilities to add next.
Here are a few of the ideas I had for what capabilities to add next.
- Ability to adjust speed and turning times based off of distance measured by sensors, so that the bot can still navigate in confined spaces.
- An array of PIR sensors for K9 following or avoidance.
- Knight Rider lights.
- RC override of steering and drive controls.
- Speaker and microphone to react to noise for R2D2 like entertainment purposes.
- PIR array for tracking and a solenoid plunger inside of a tube for Nerf dart launching.
- I also really like this Instructable for a seed spreading robot.