R/C Lego NXT Flamethrower Battle-bot
by GavinS34 in Circuits > Remote Control
5279 Views, 39 Favorites, 0 Comments
R/C Lego NXT Flamethrower Battle-bot
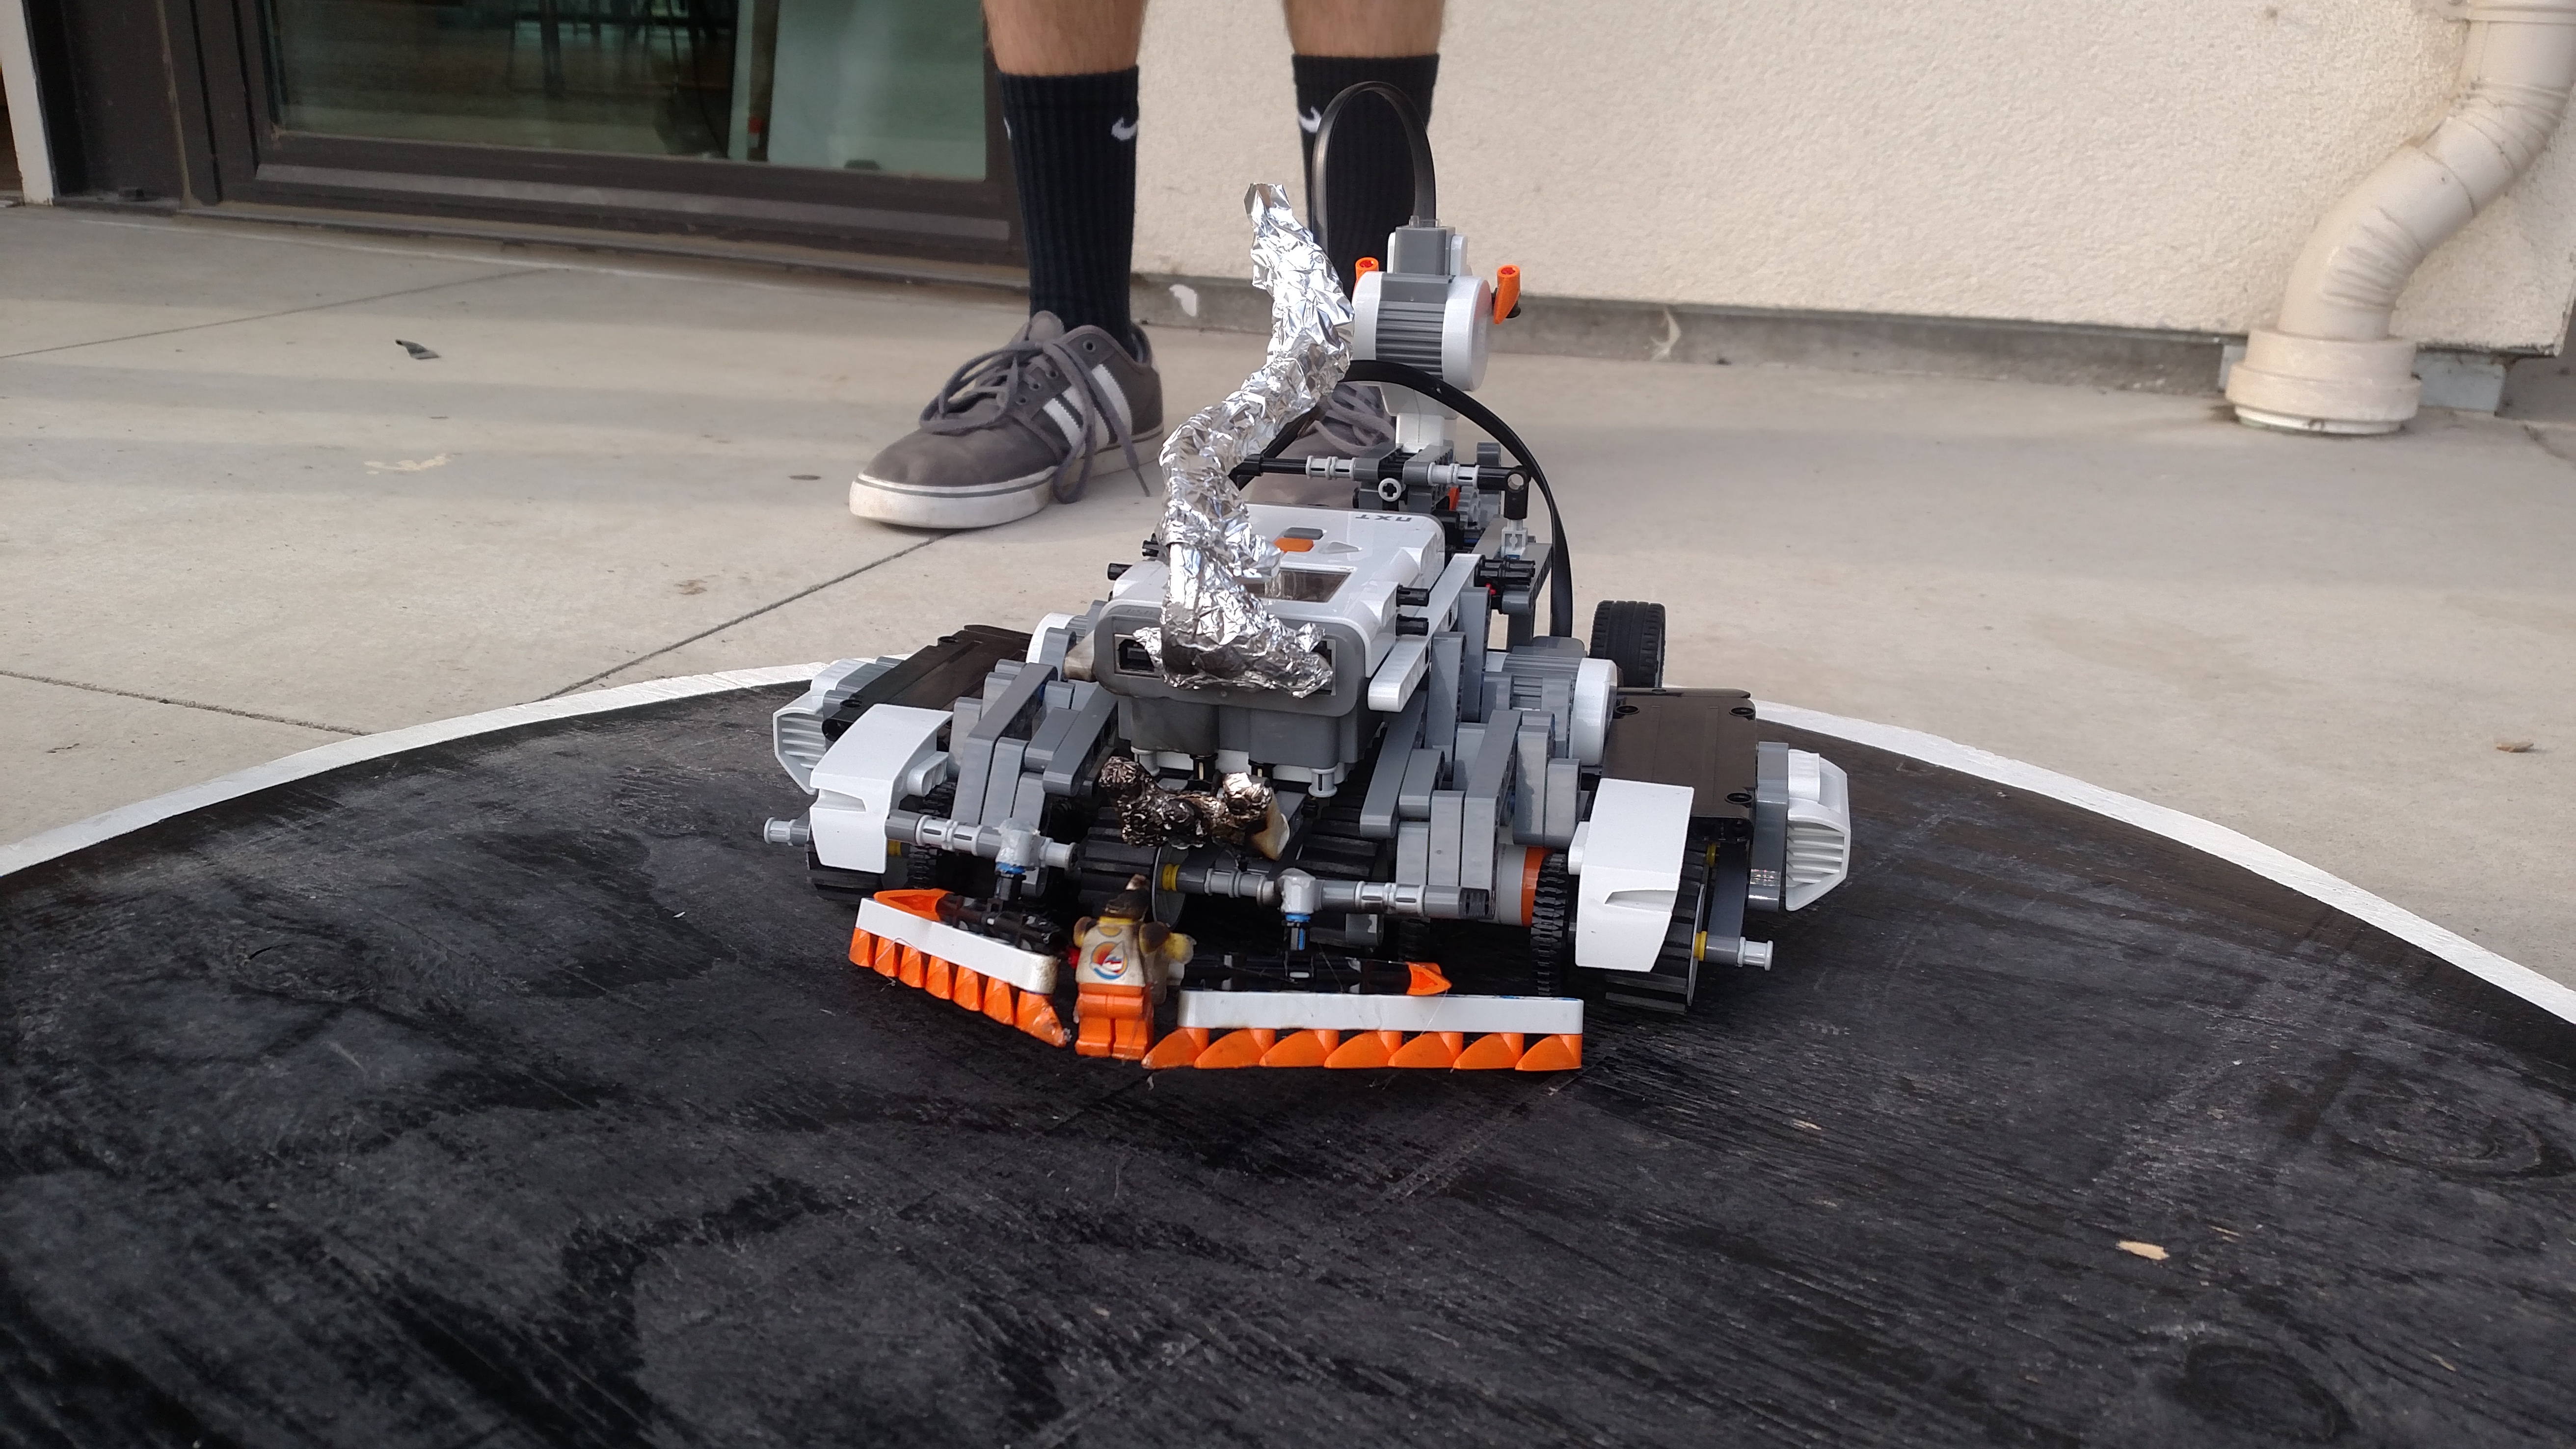
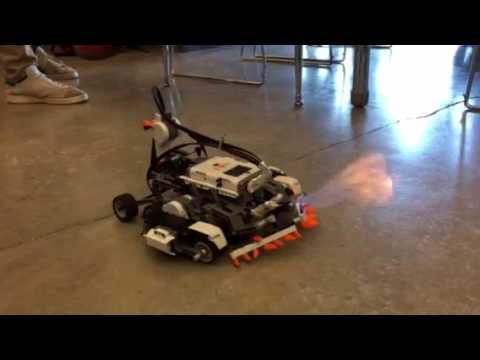
For our robotics class, we built a battle bot. We decided to use a flamethrower as a weapon. we tore apart a barbecue lighter to obtain the butane tank and hose. Our second goal was to make the robot remote controlled. After experimenting with integrating other platforms to attain RC we decided it would be easier to use the NXT built in Bluetooth. The build process is a bit vague because we struggled to recreate our original steps but the assignment was more focused around the remote control aspect anyway. Therefore, if you bot looks different, you can still use the same basic principals to create a functioning project.
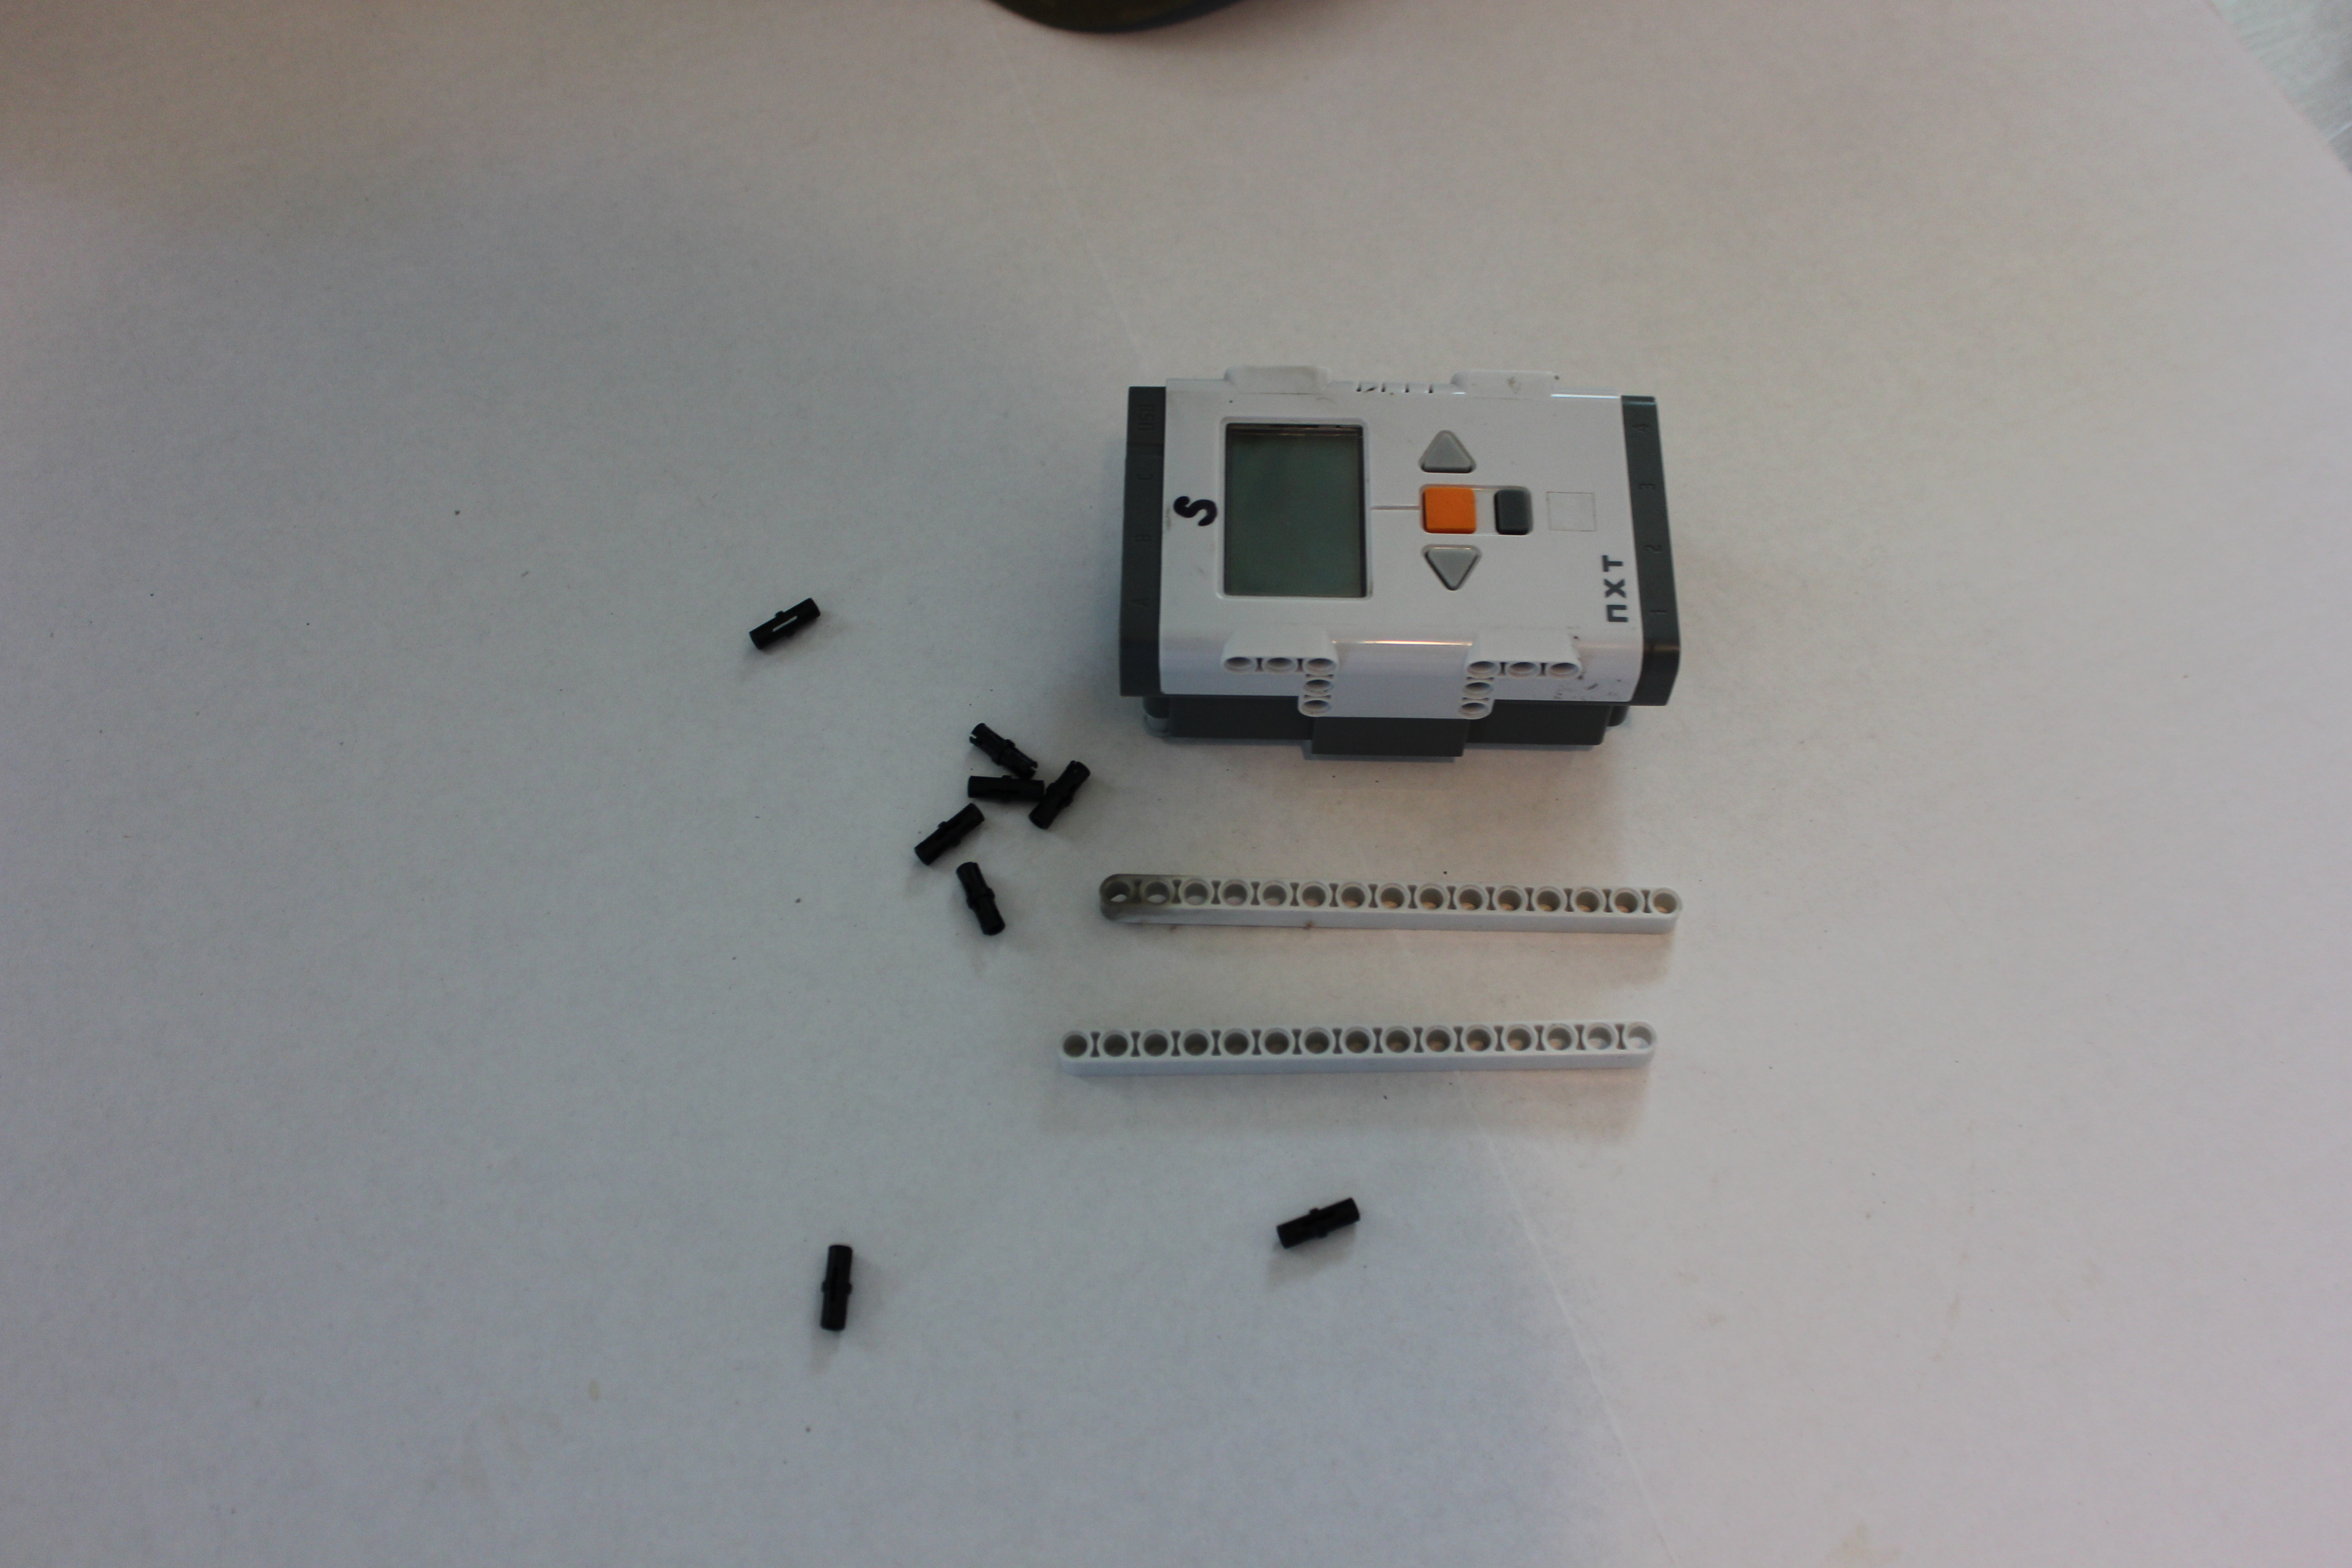
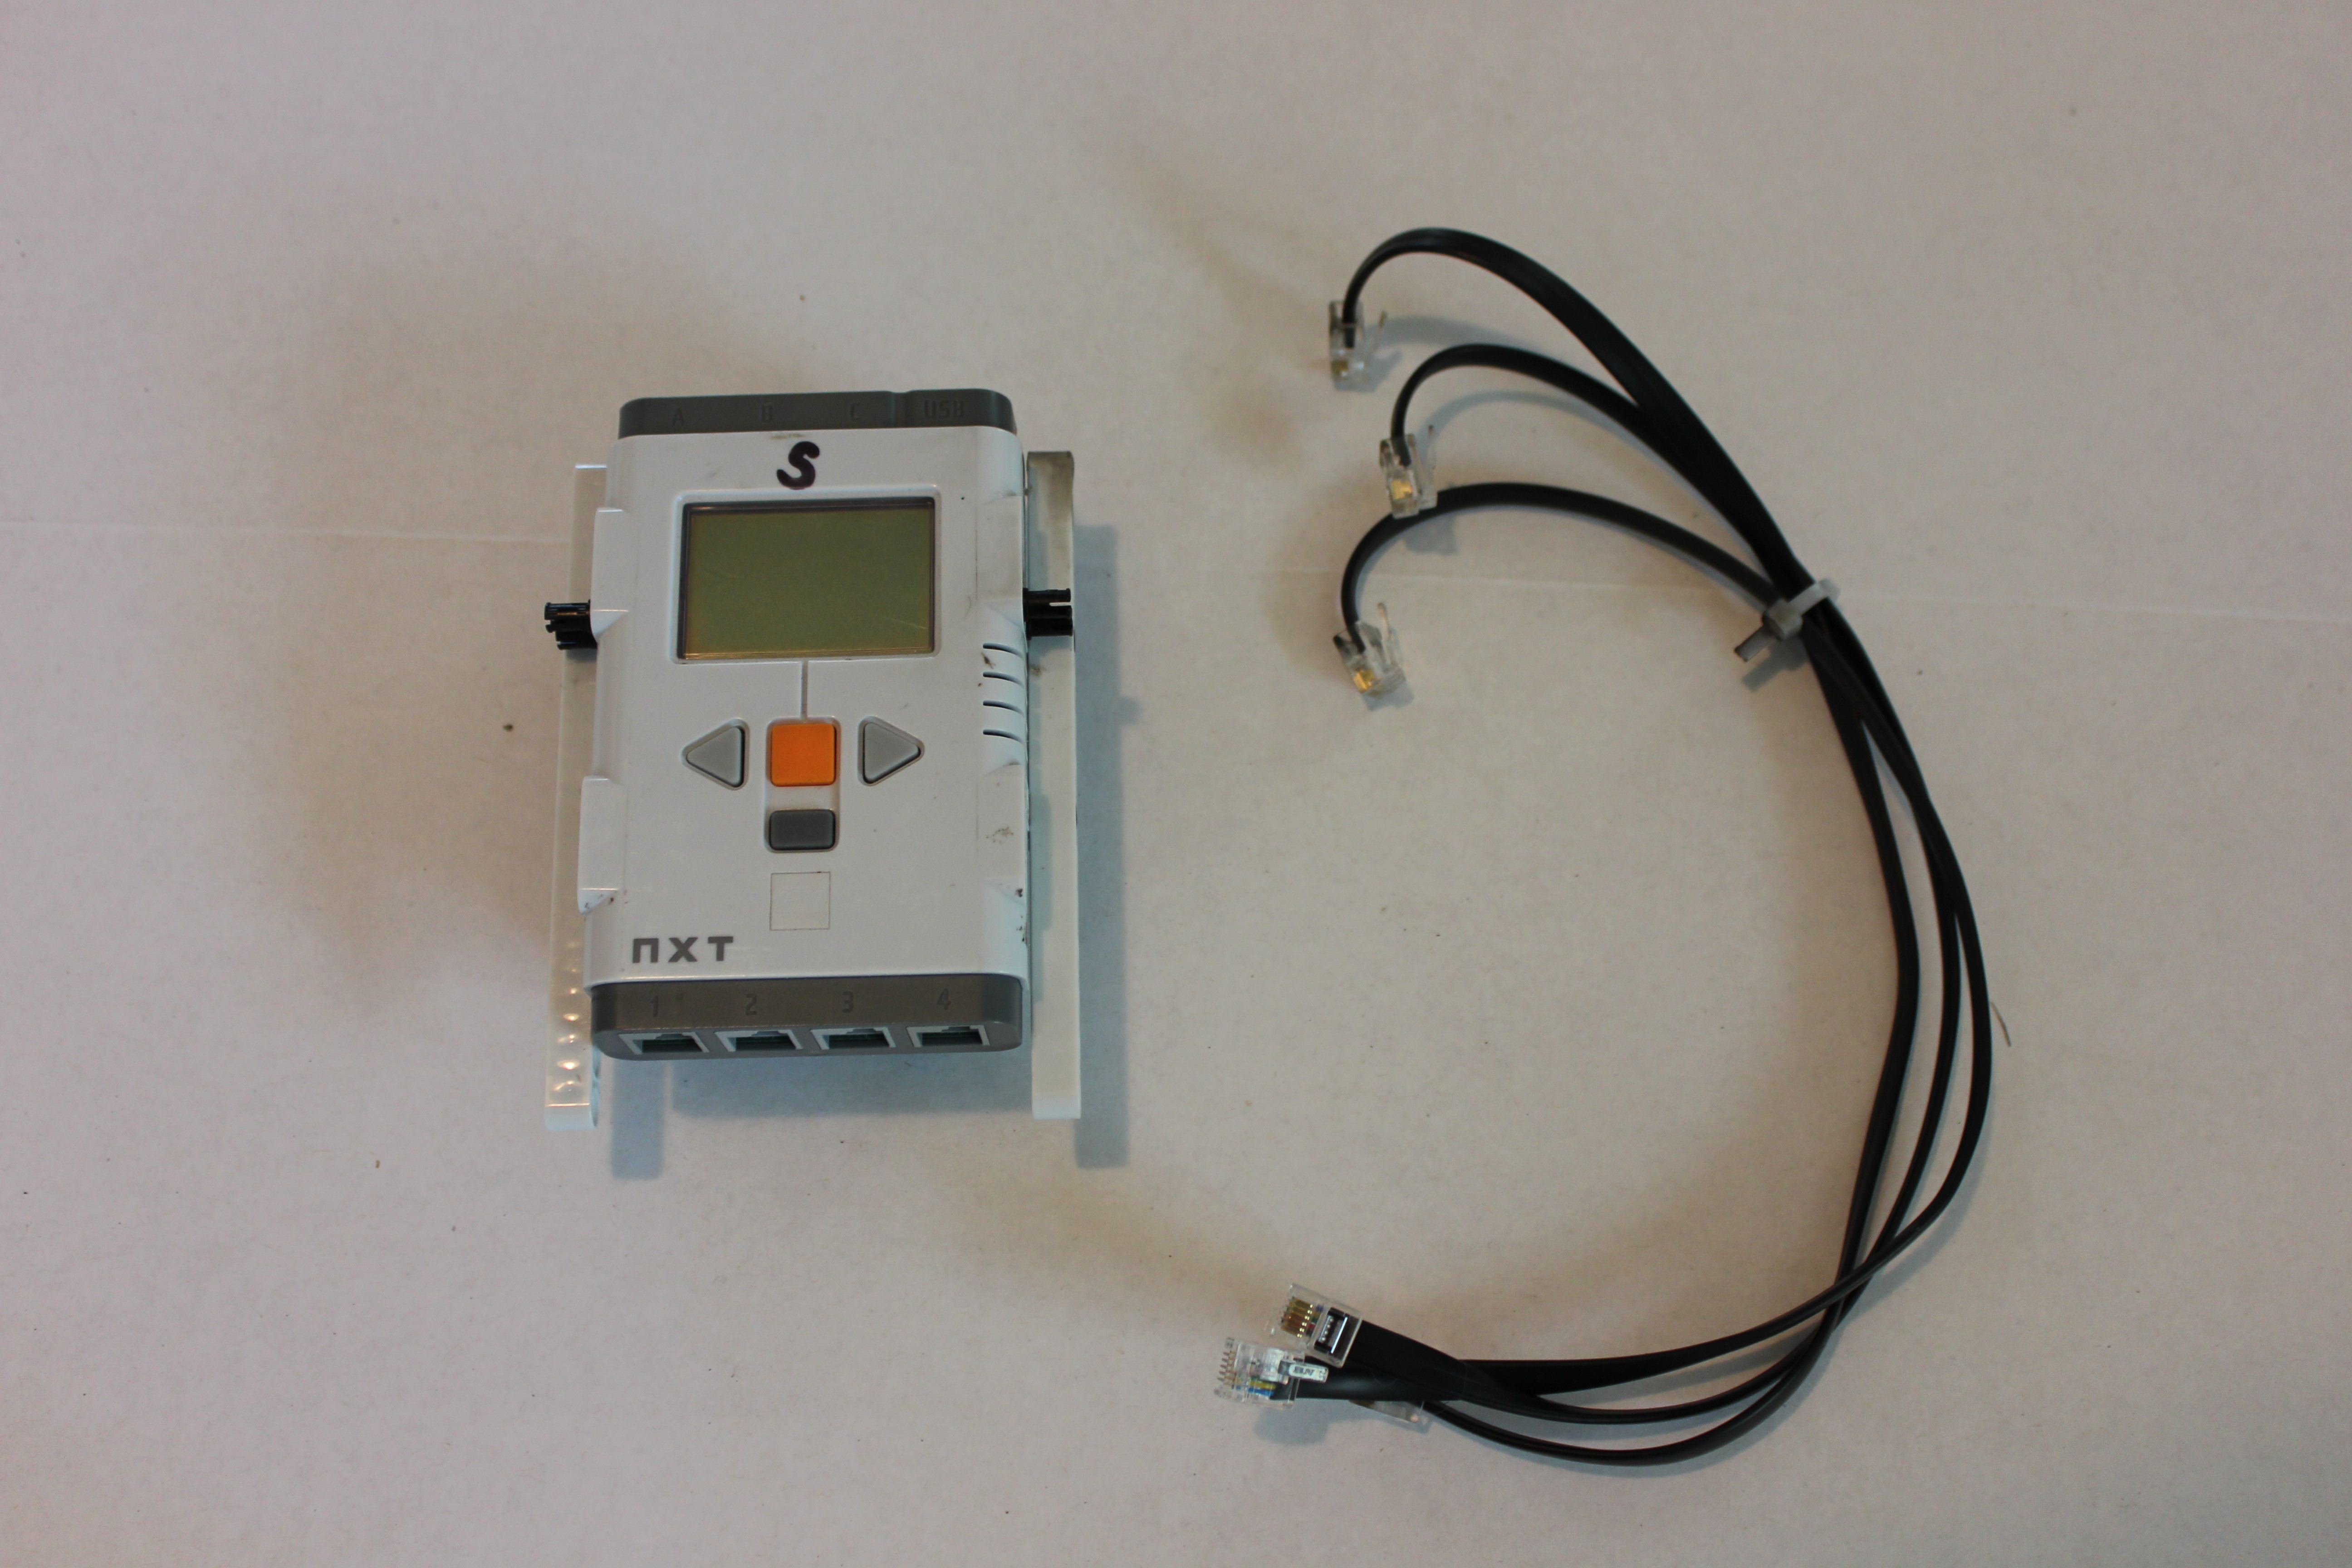
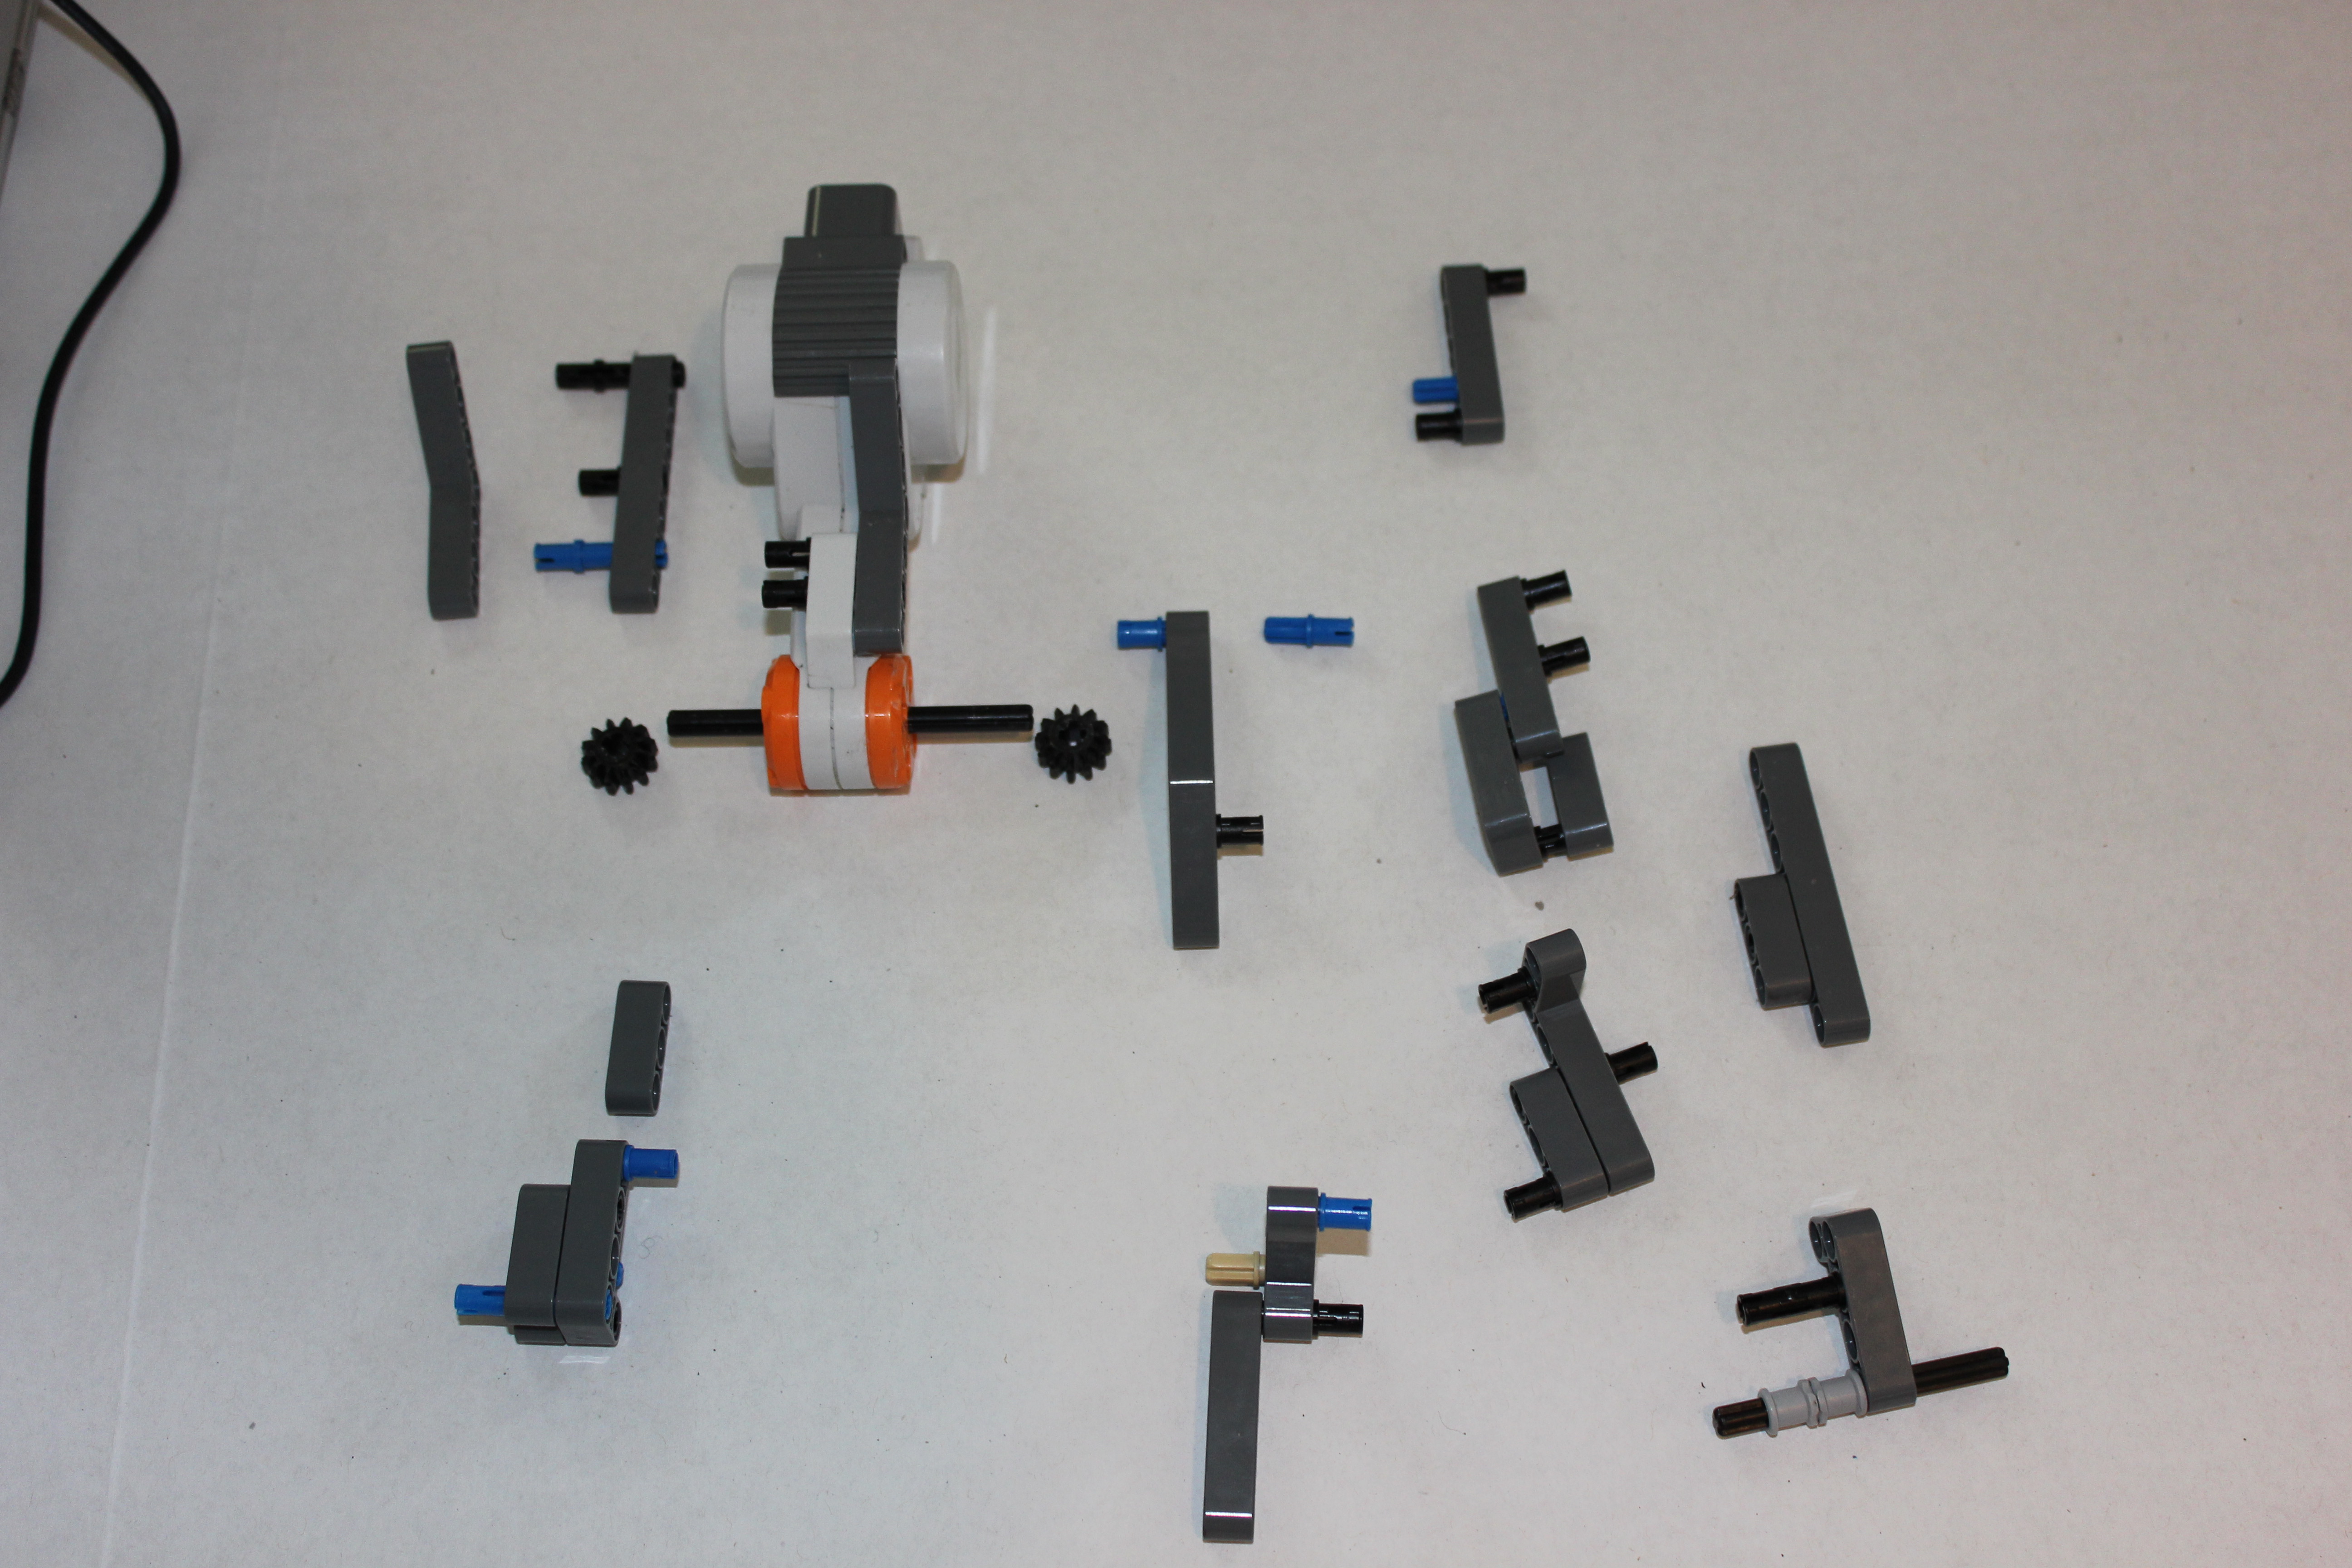
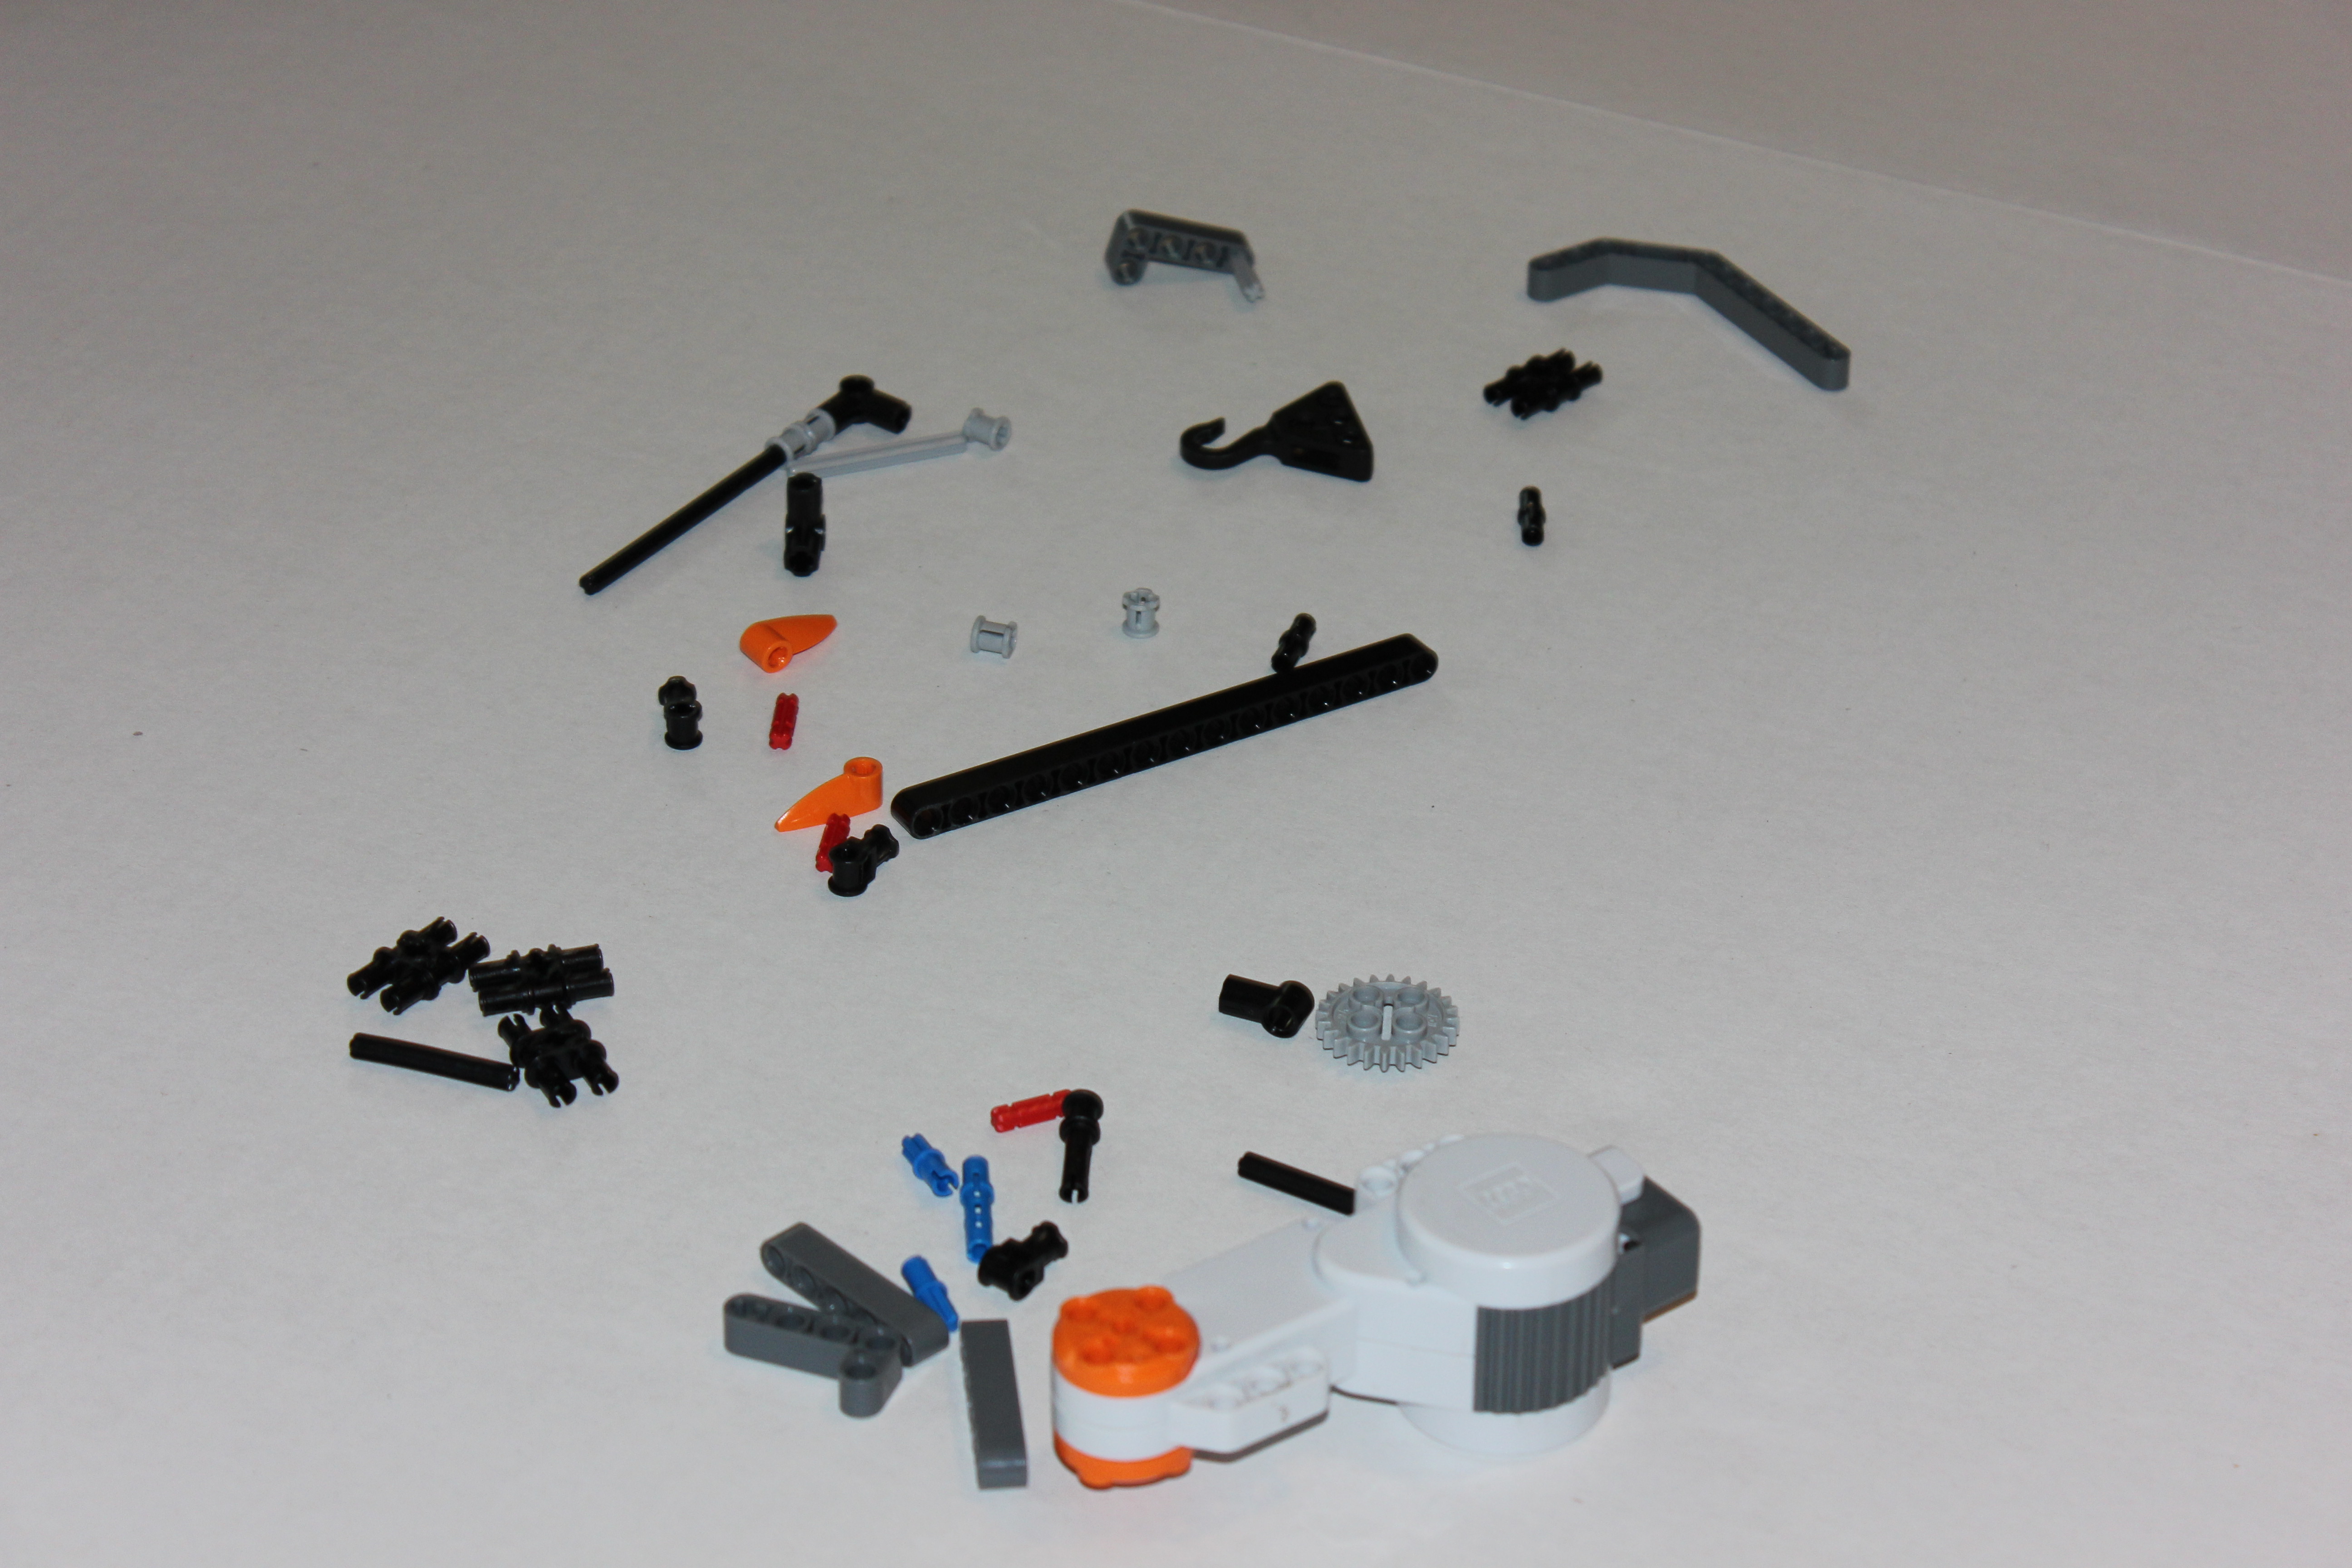
start with the NXT brick and assemble the shown pieces to form the main control pod.
set aside.
Tread Pieces

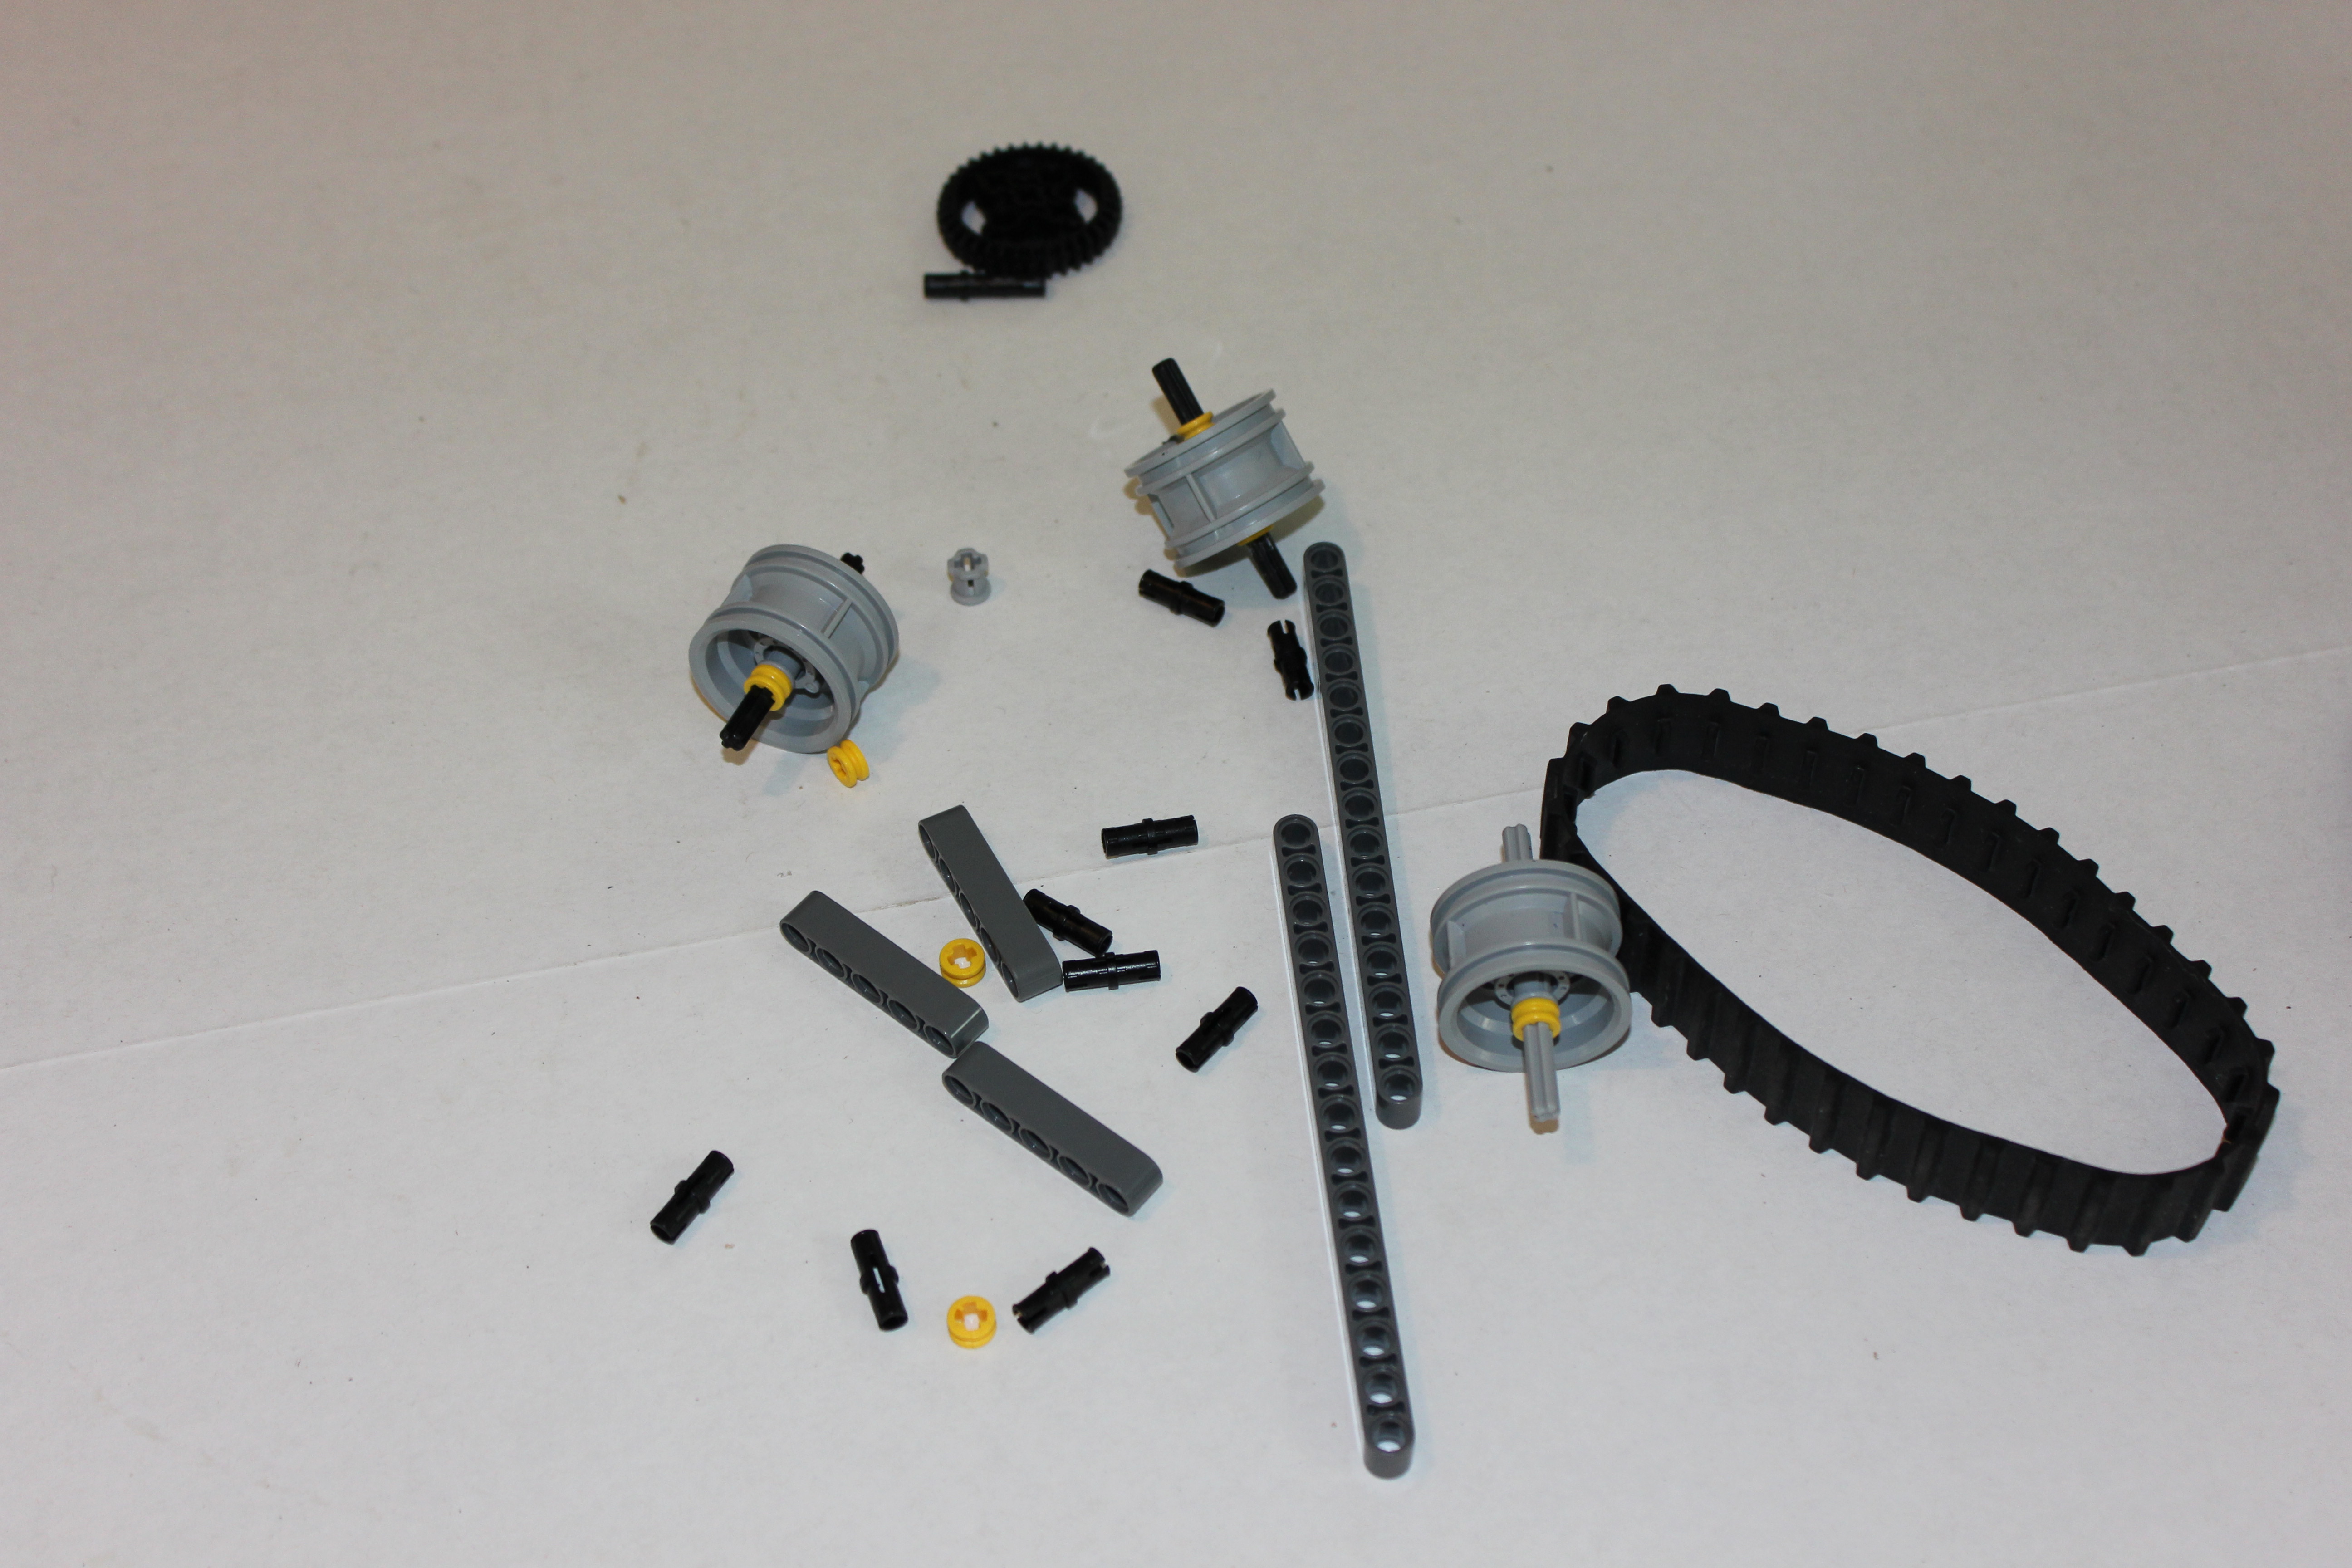
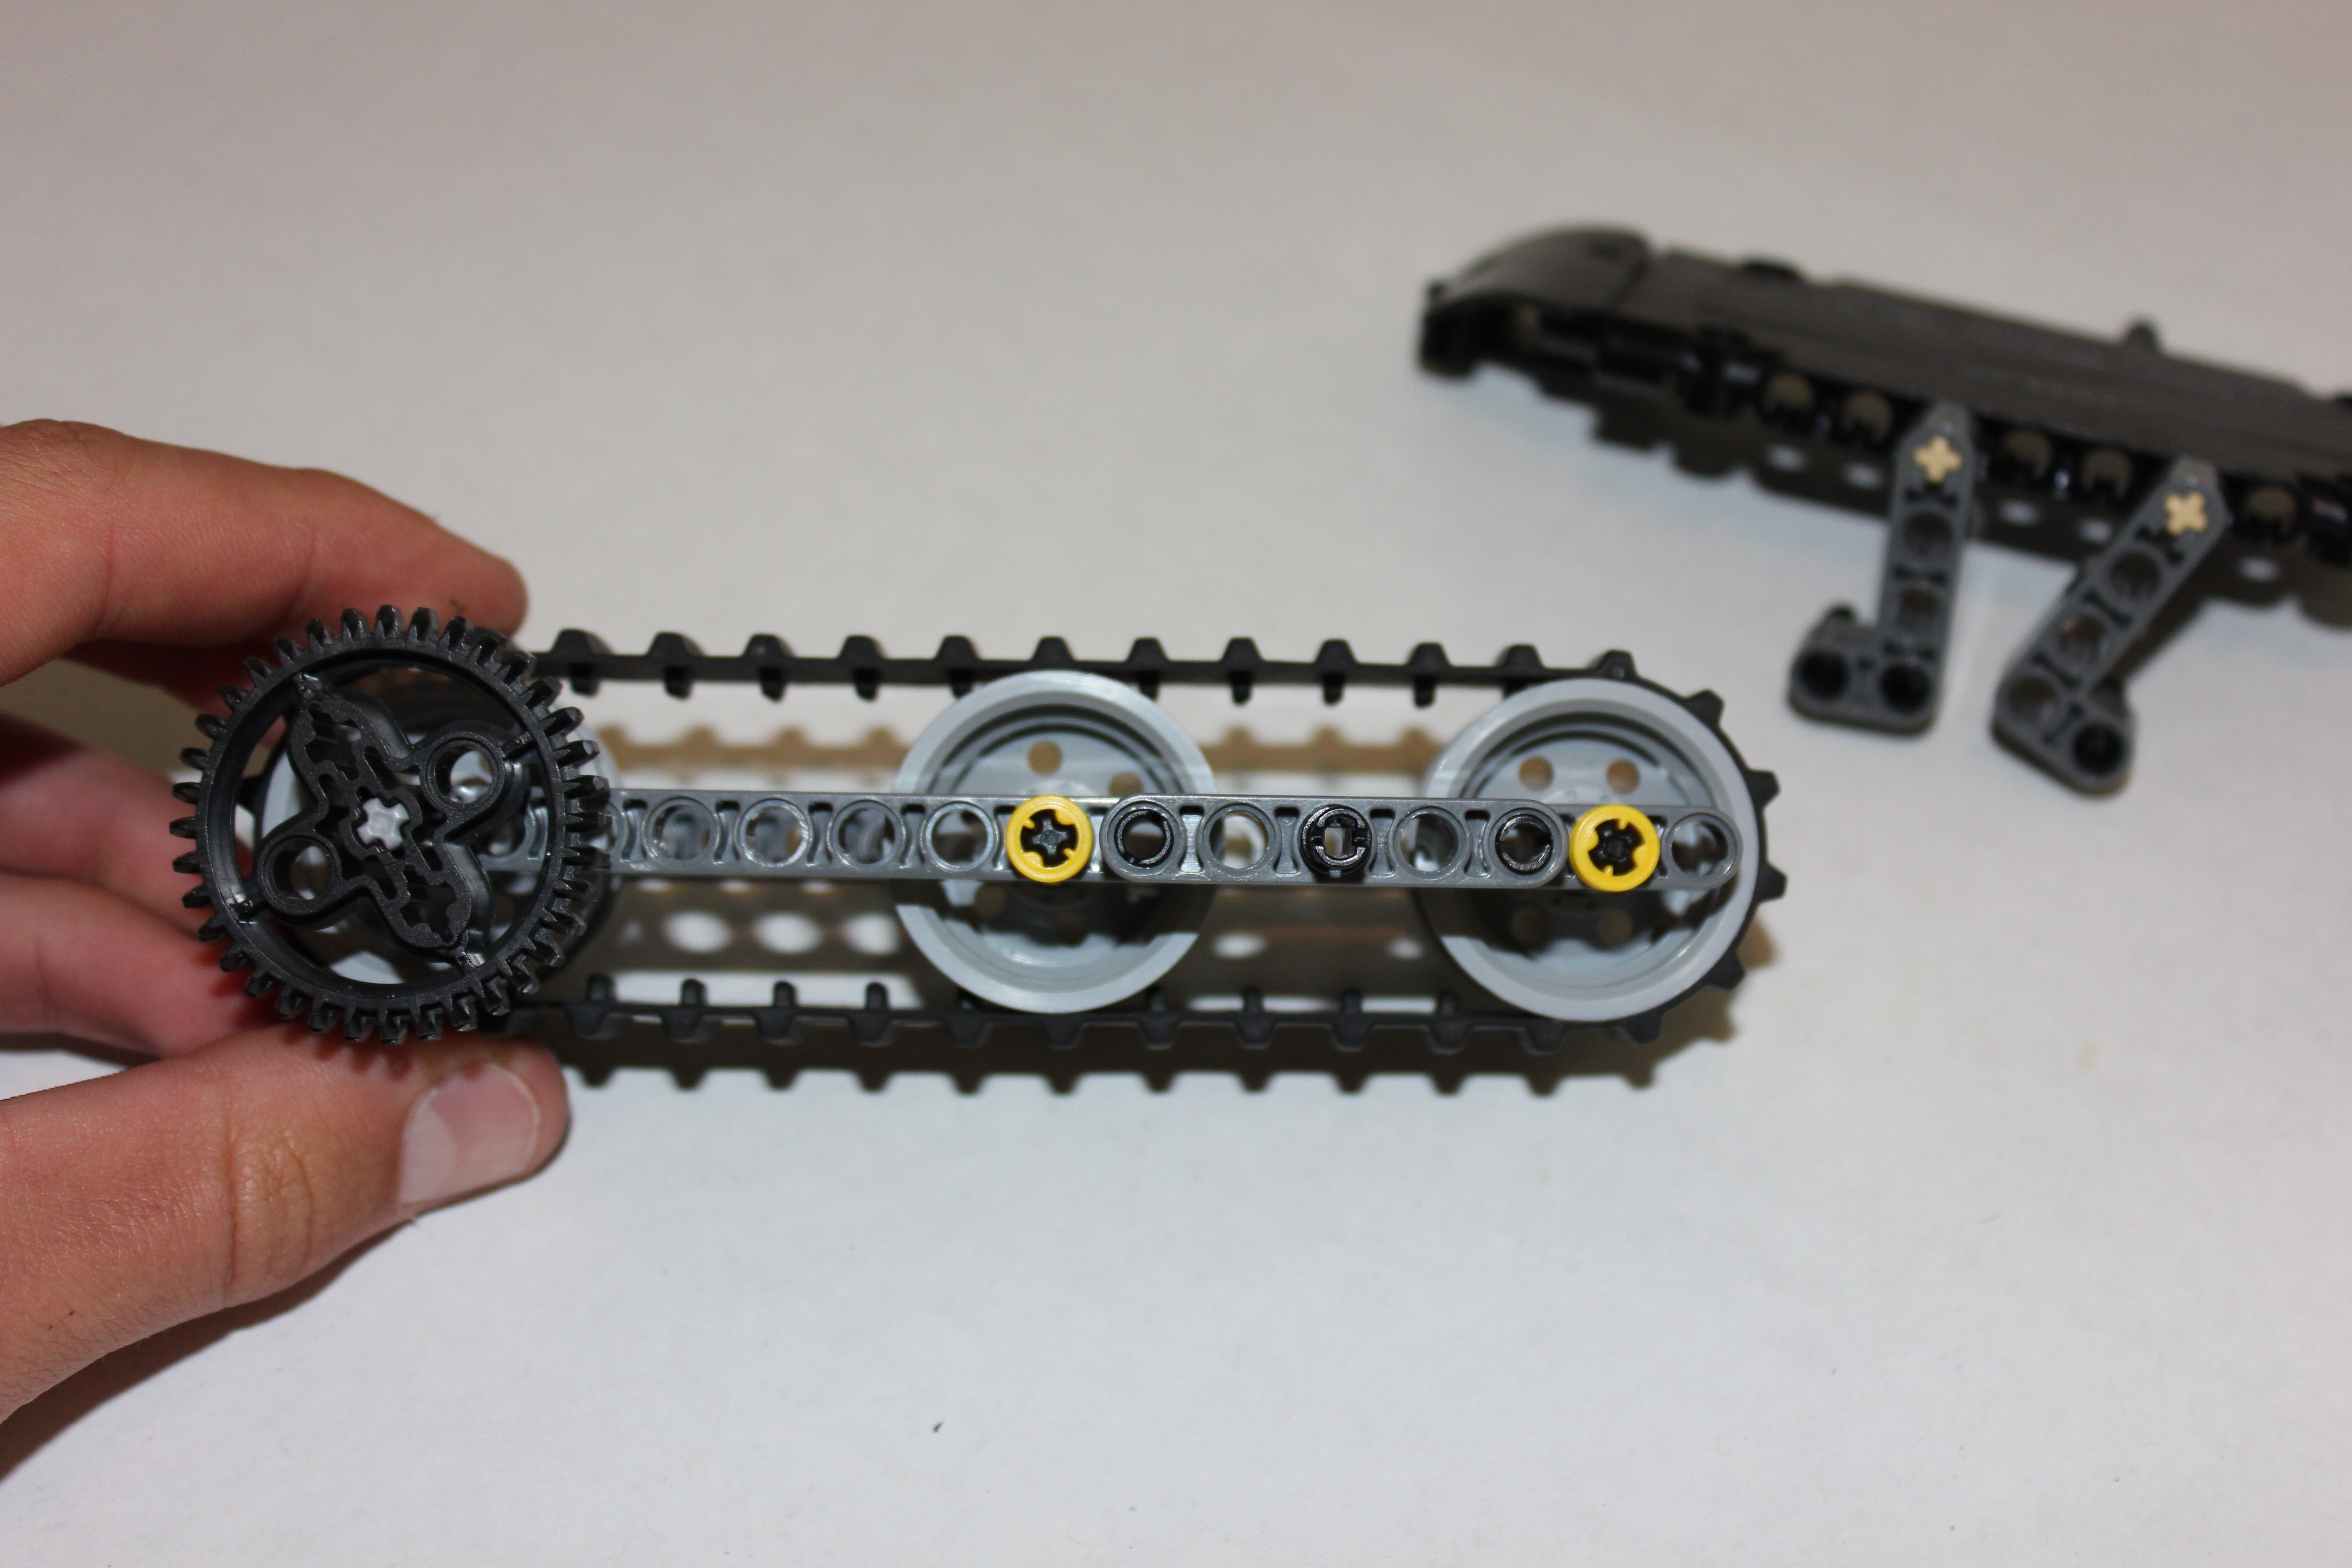
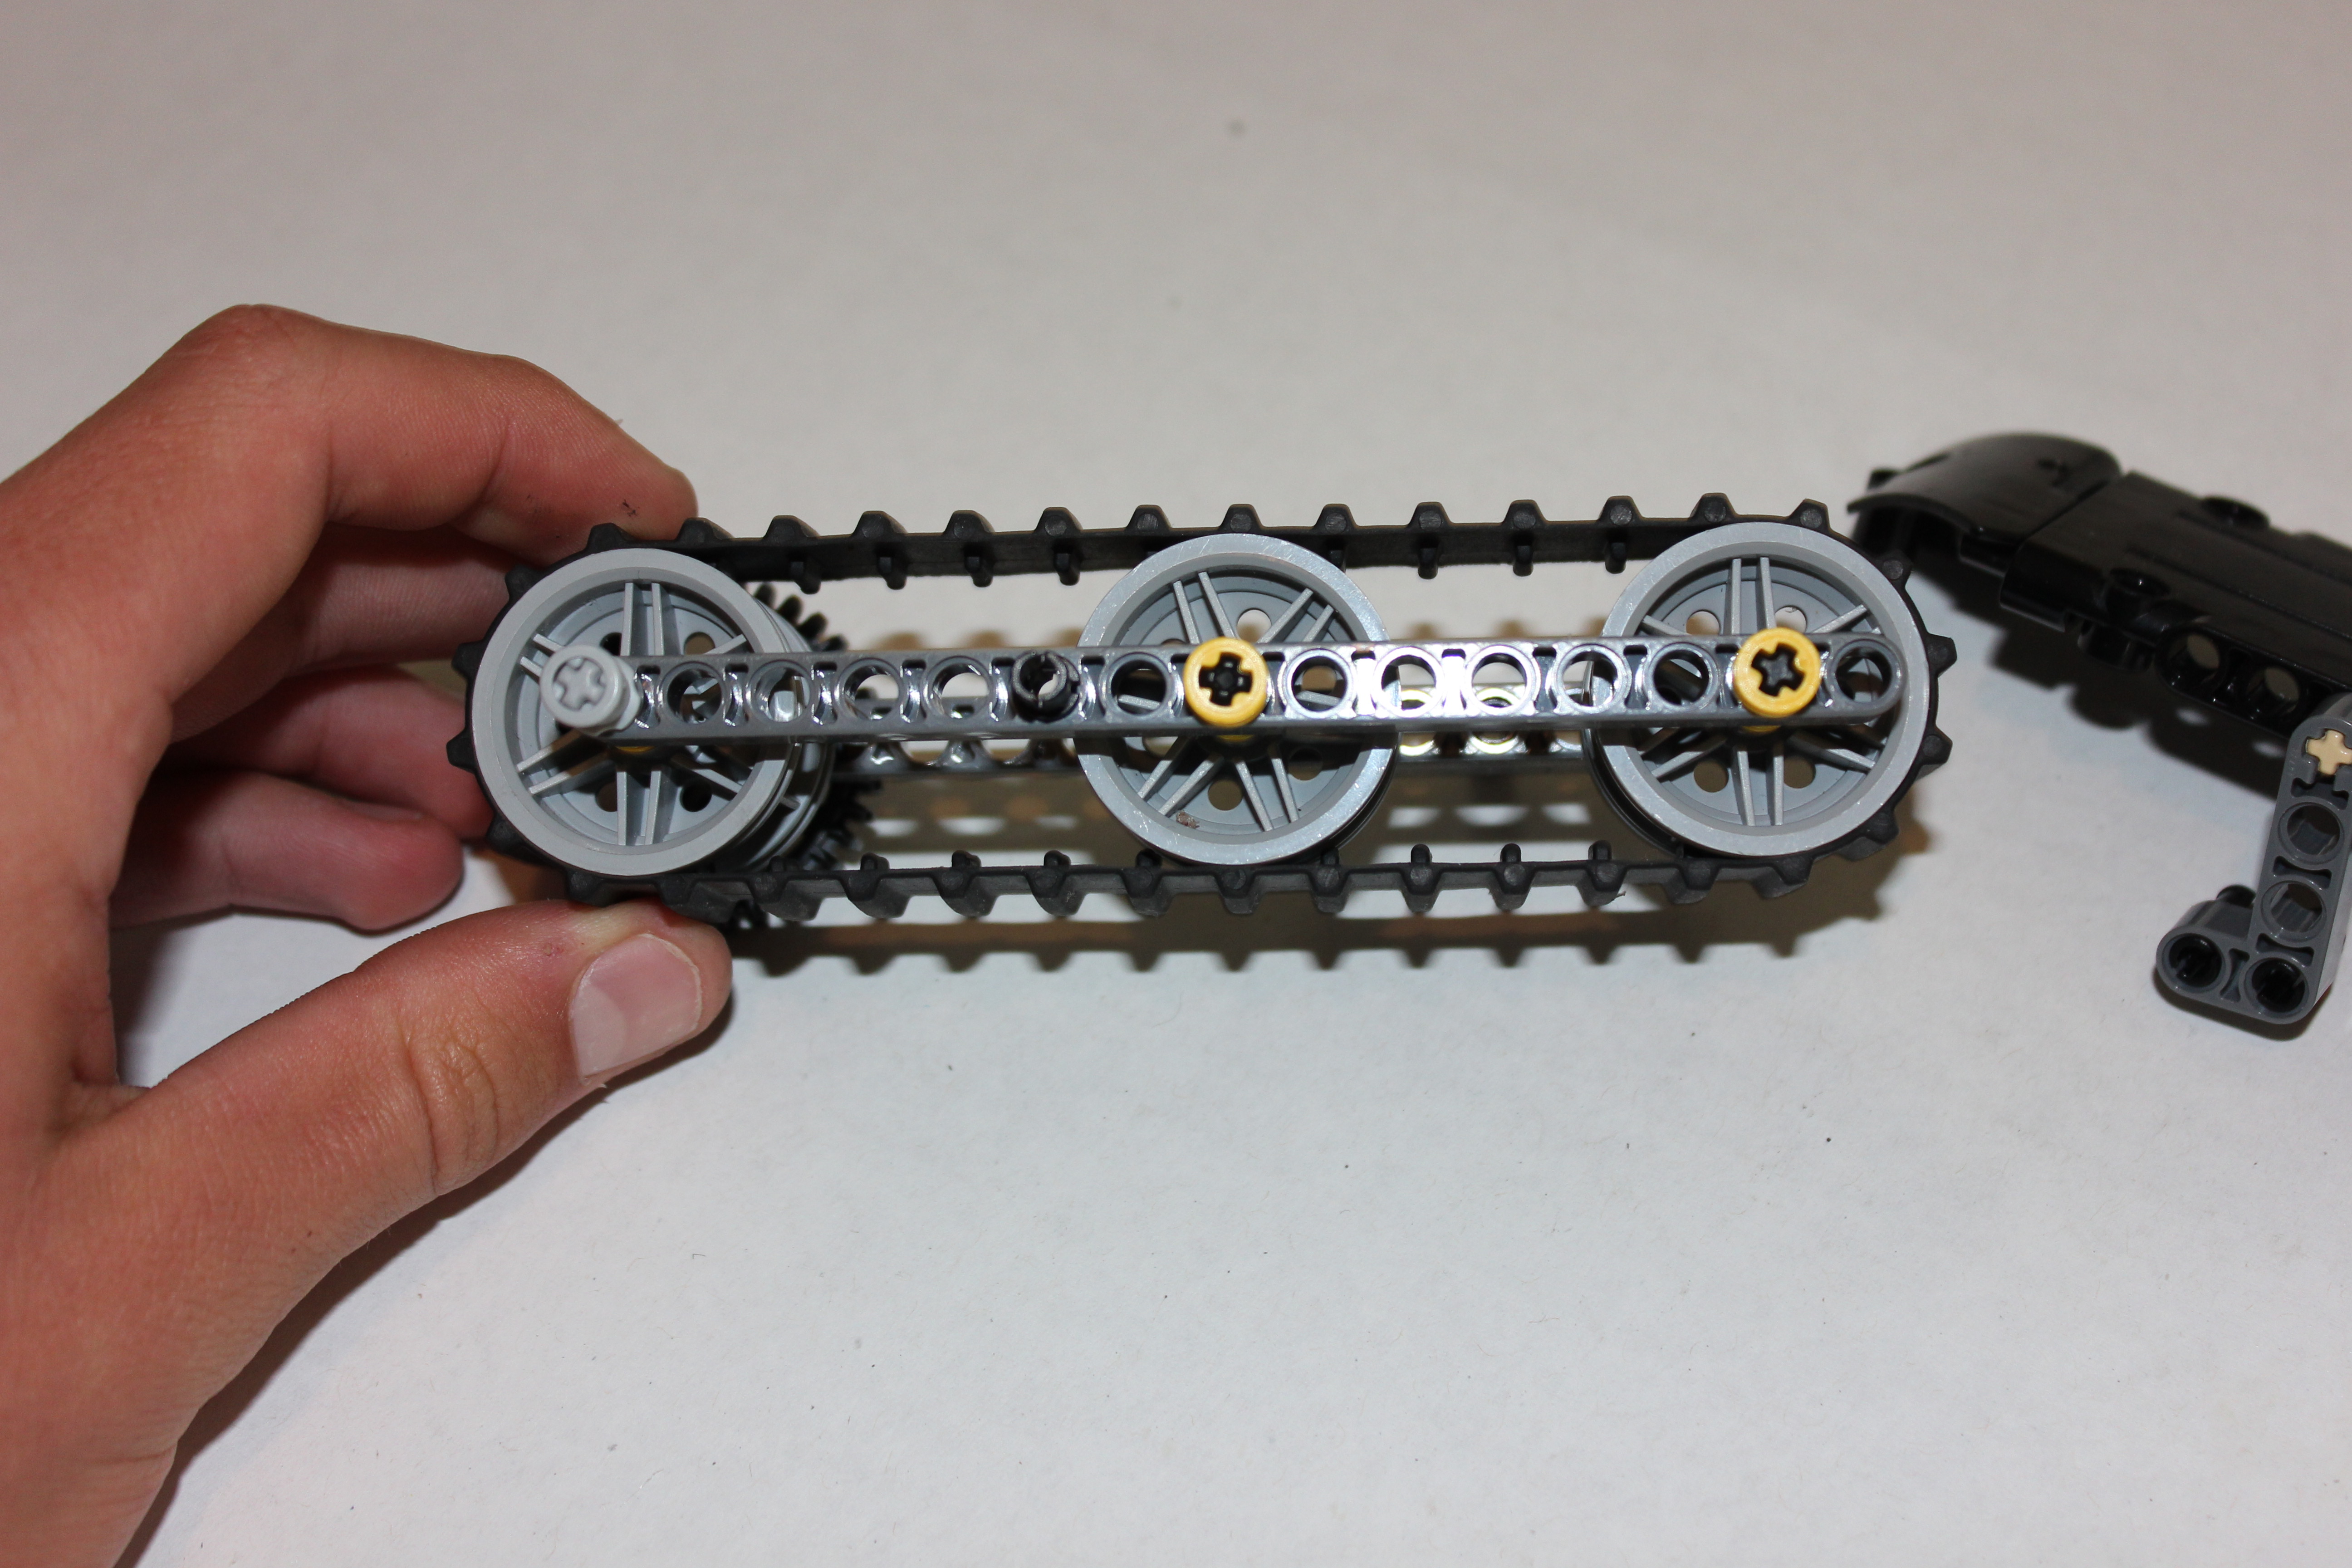
Build the treads using these pieces.
assemble 4 of these.
set aside.
Bulldozer Assembly
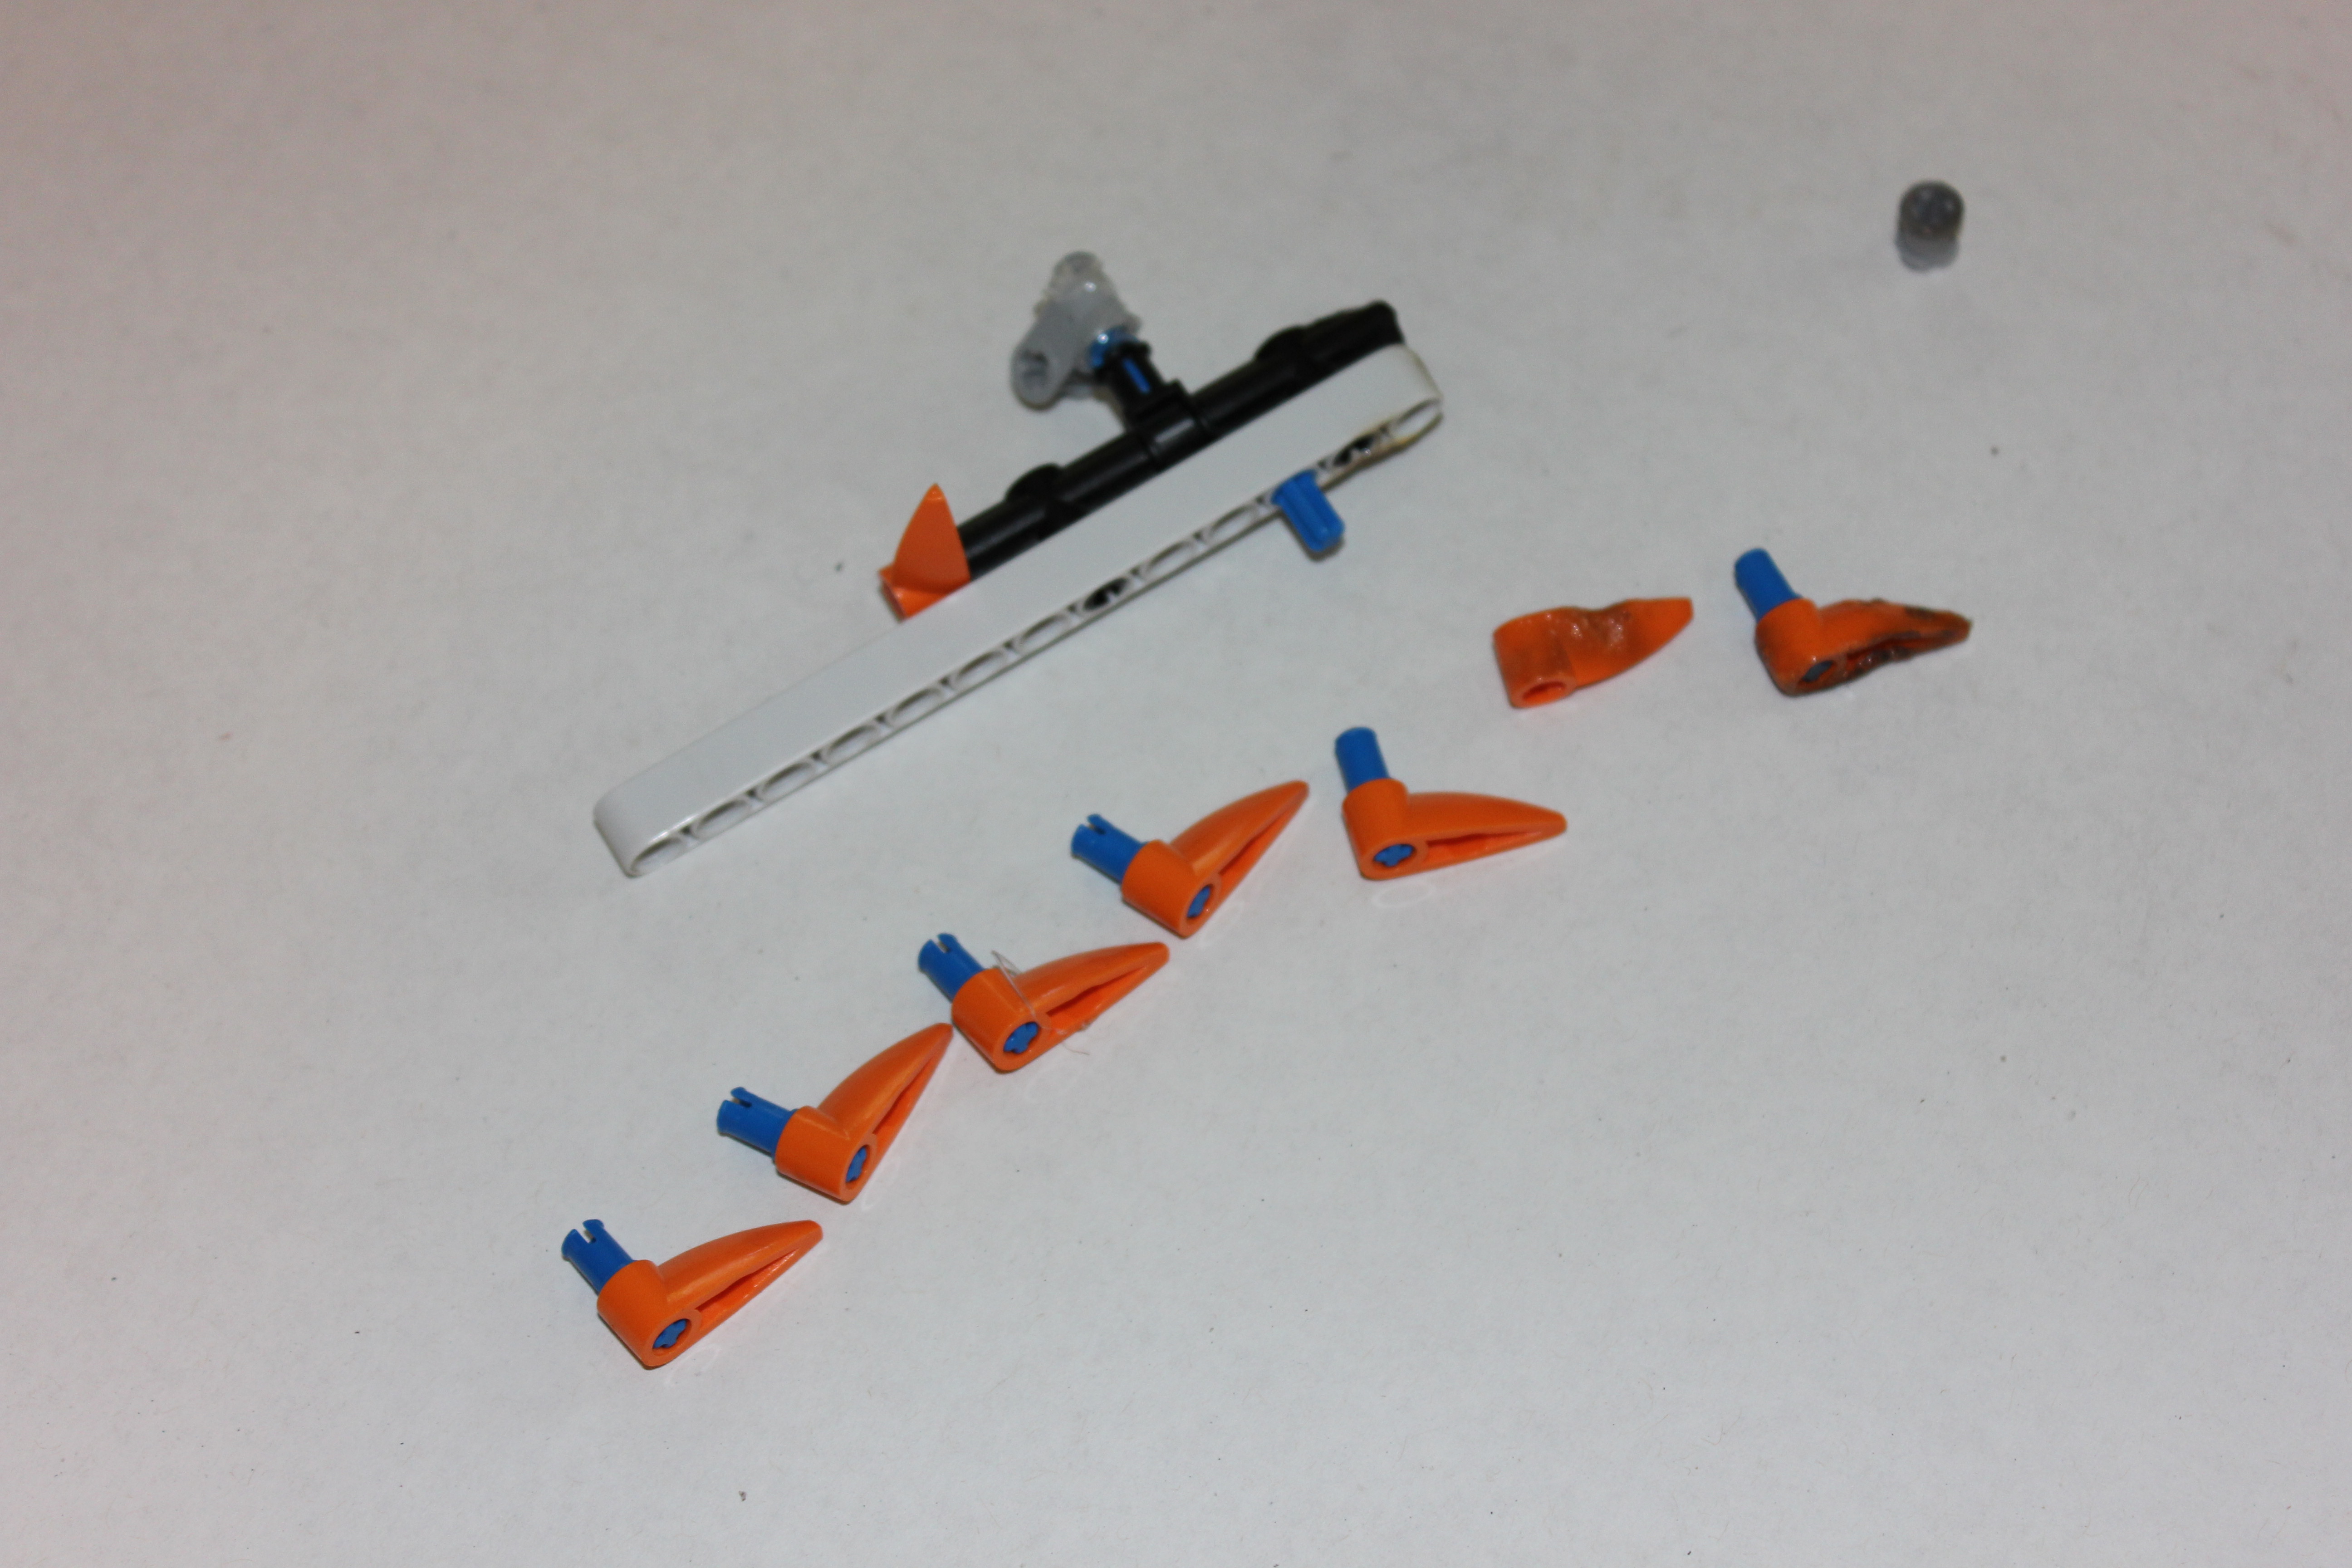
assemble two of these. they combine to form one v-shaped shovel.
We glued the pieces together.
set aside.
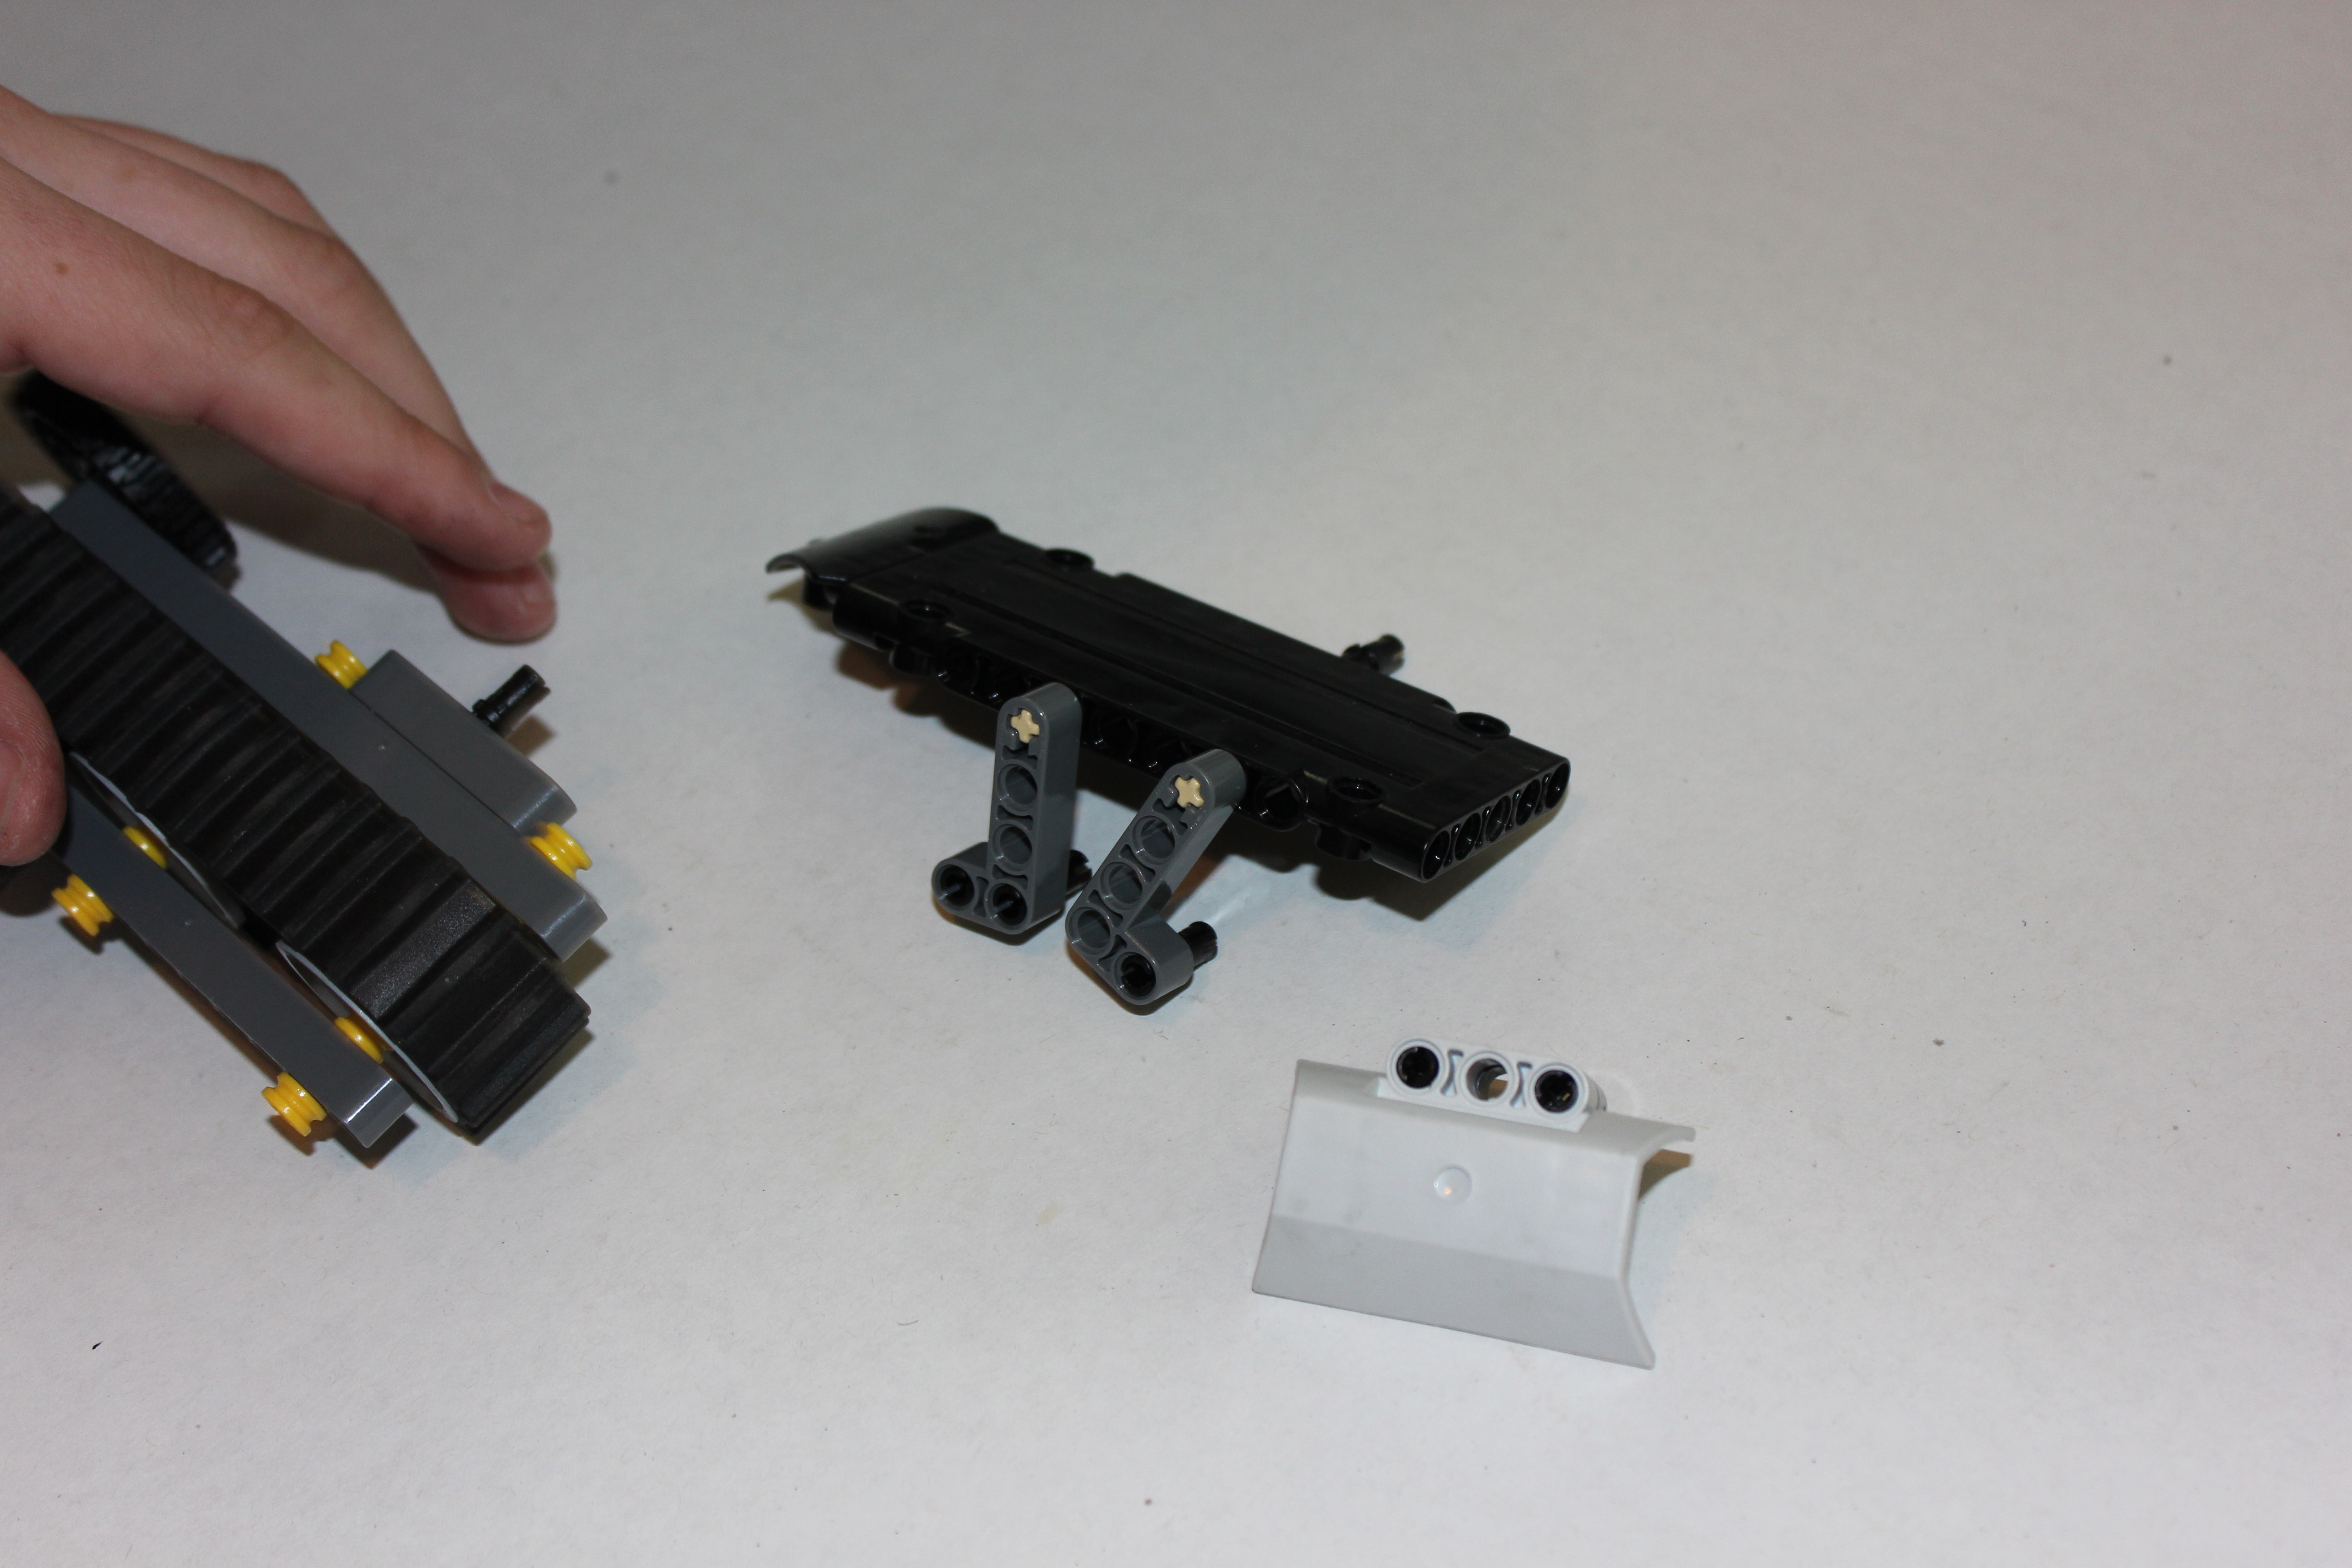
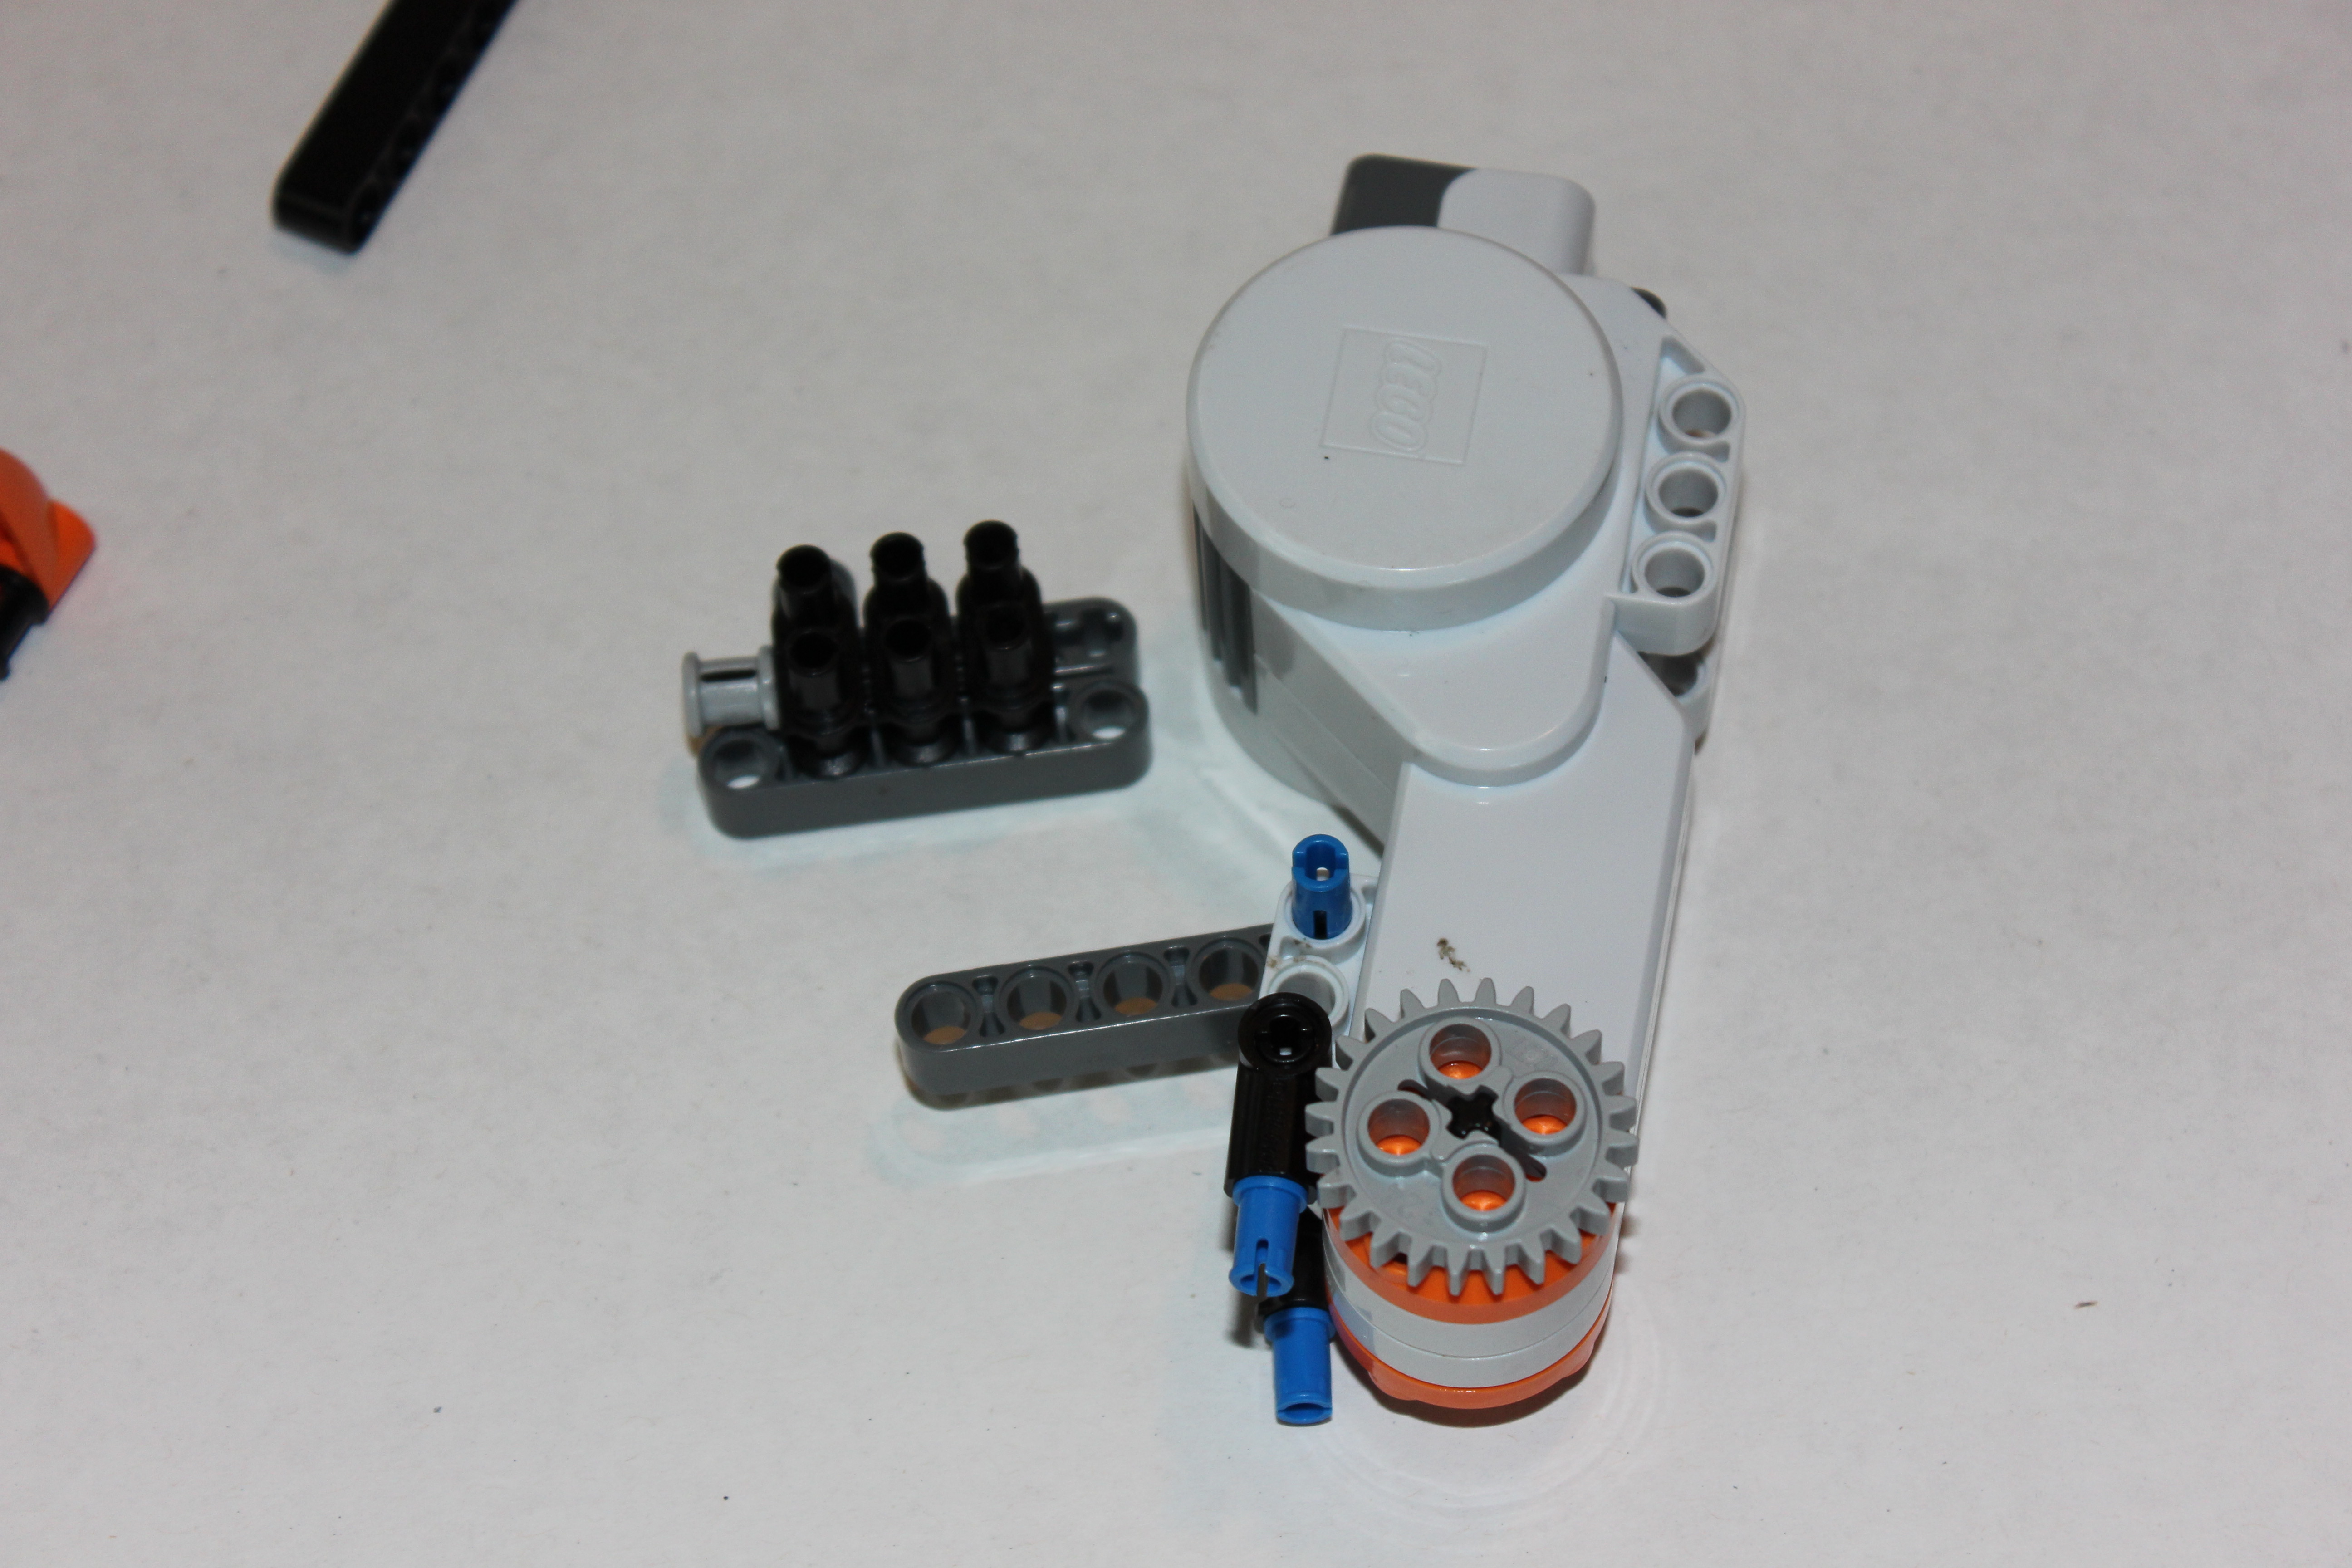
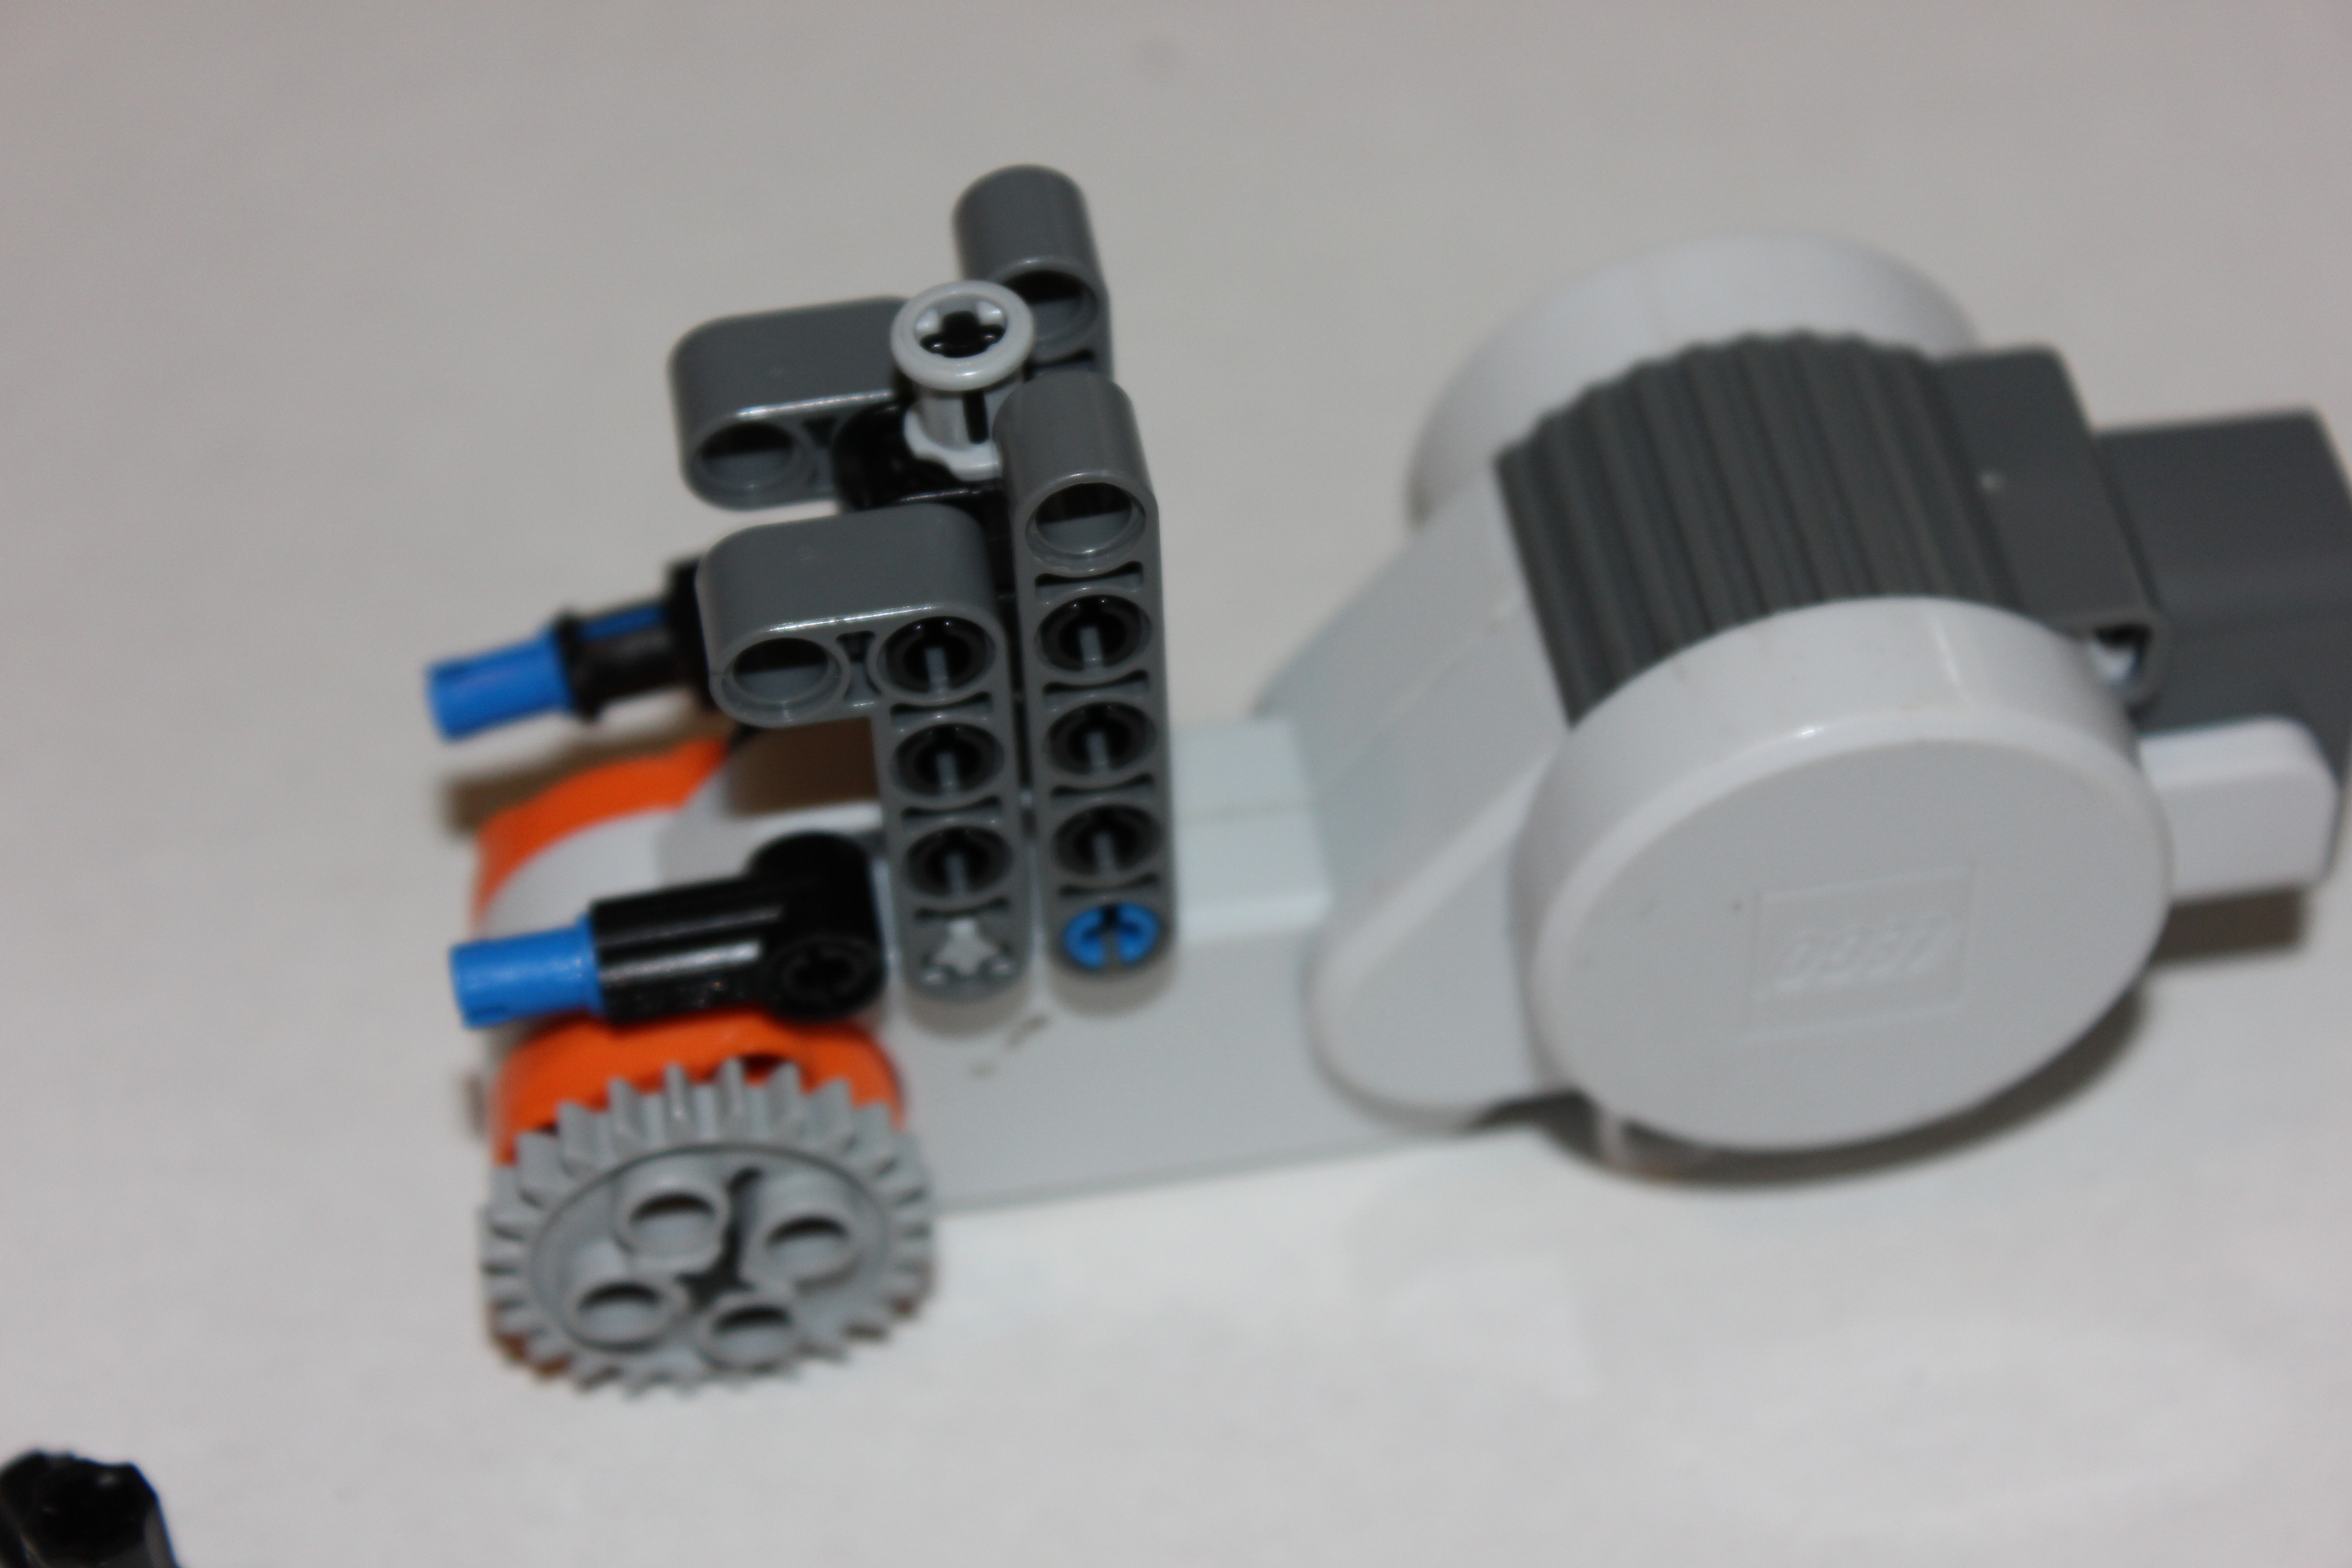
Left and Right Motor and Arm Assembly


We are now building the main motors and the 'arms'. These are the motors that will eventually be attached to the treads.
the bulldozer shovel from the previous step can now be attached.
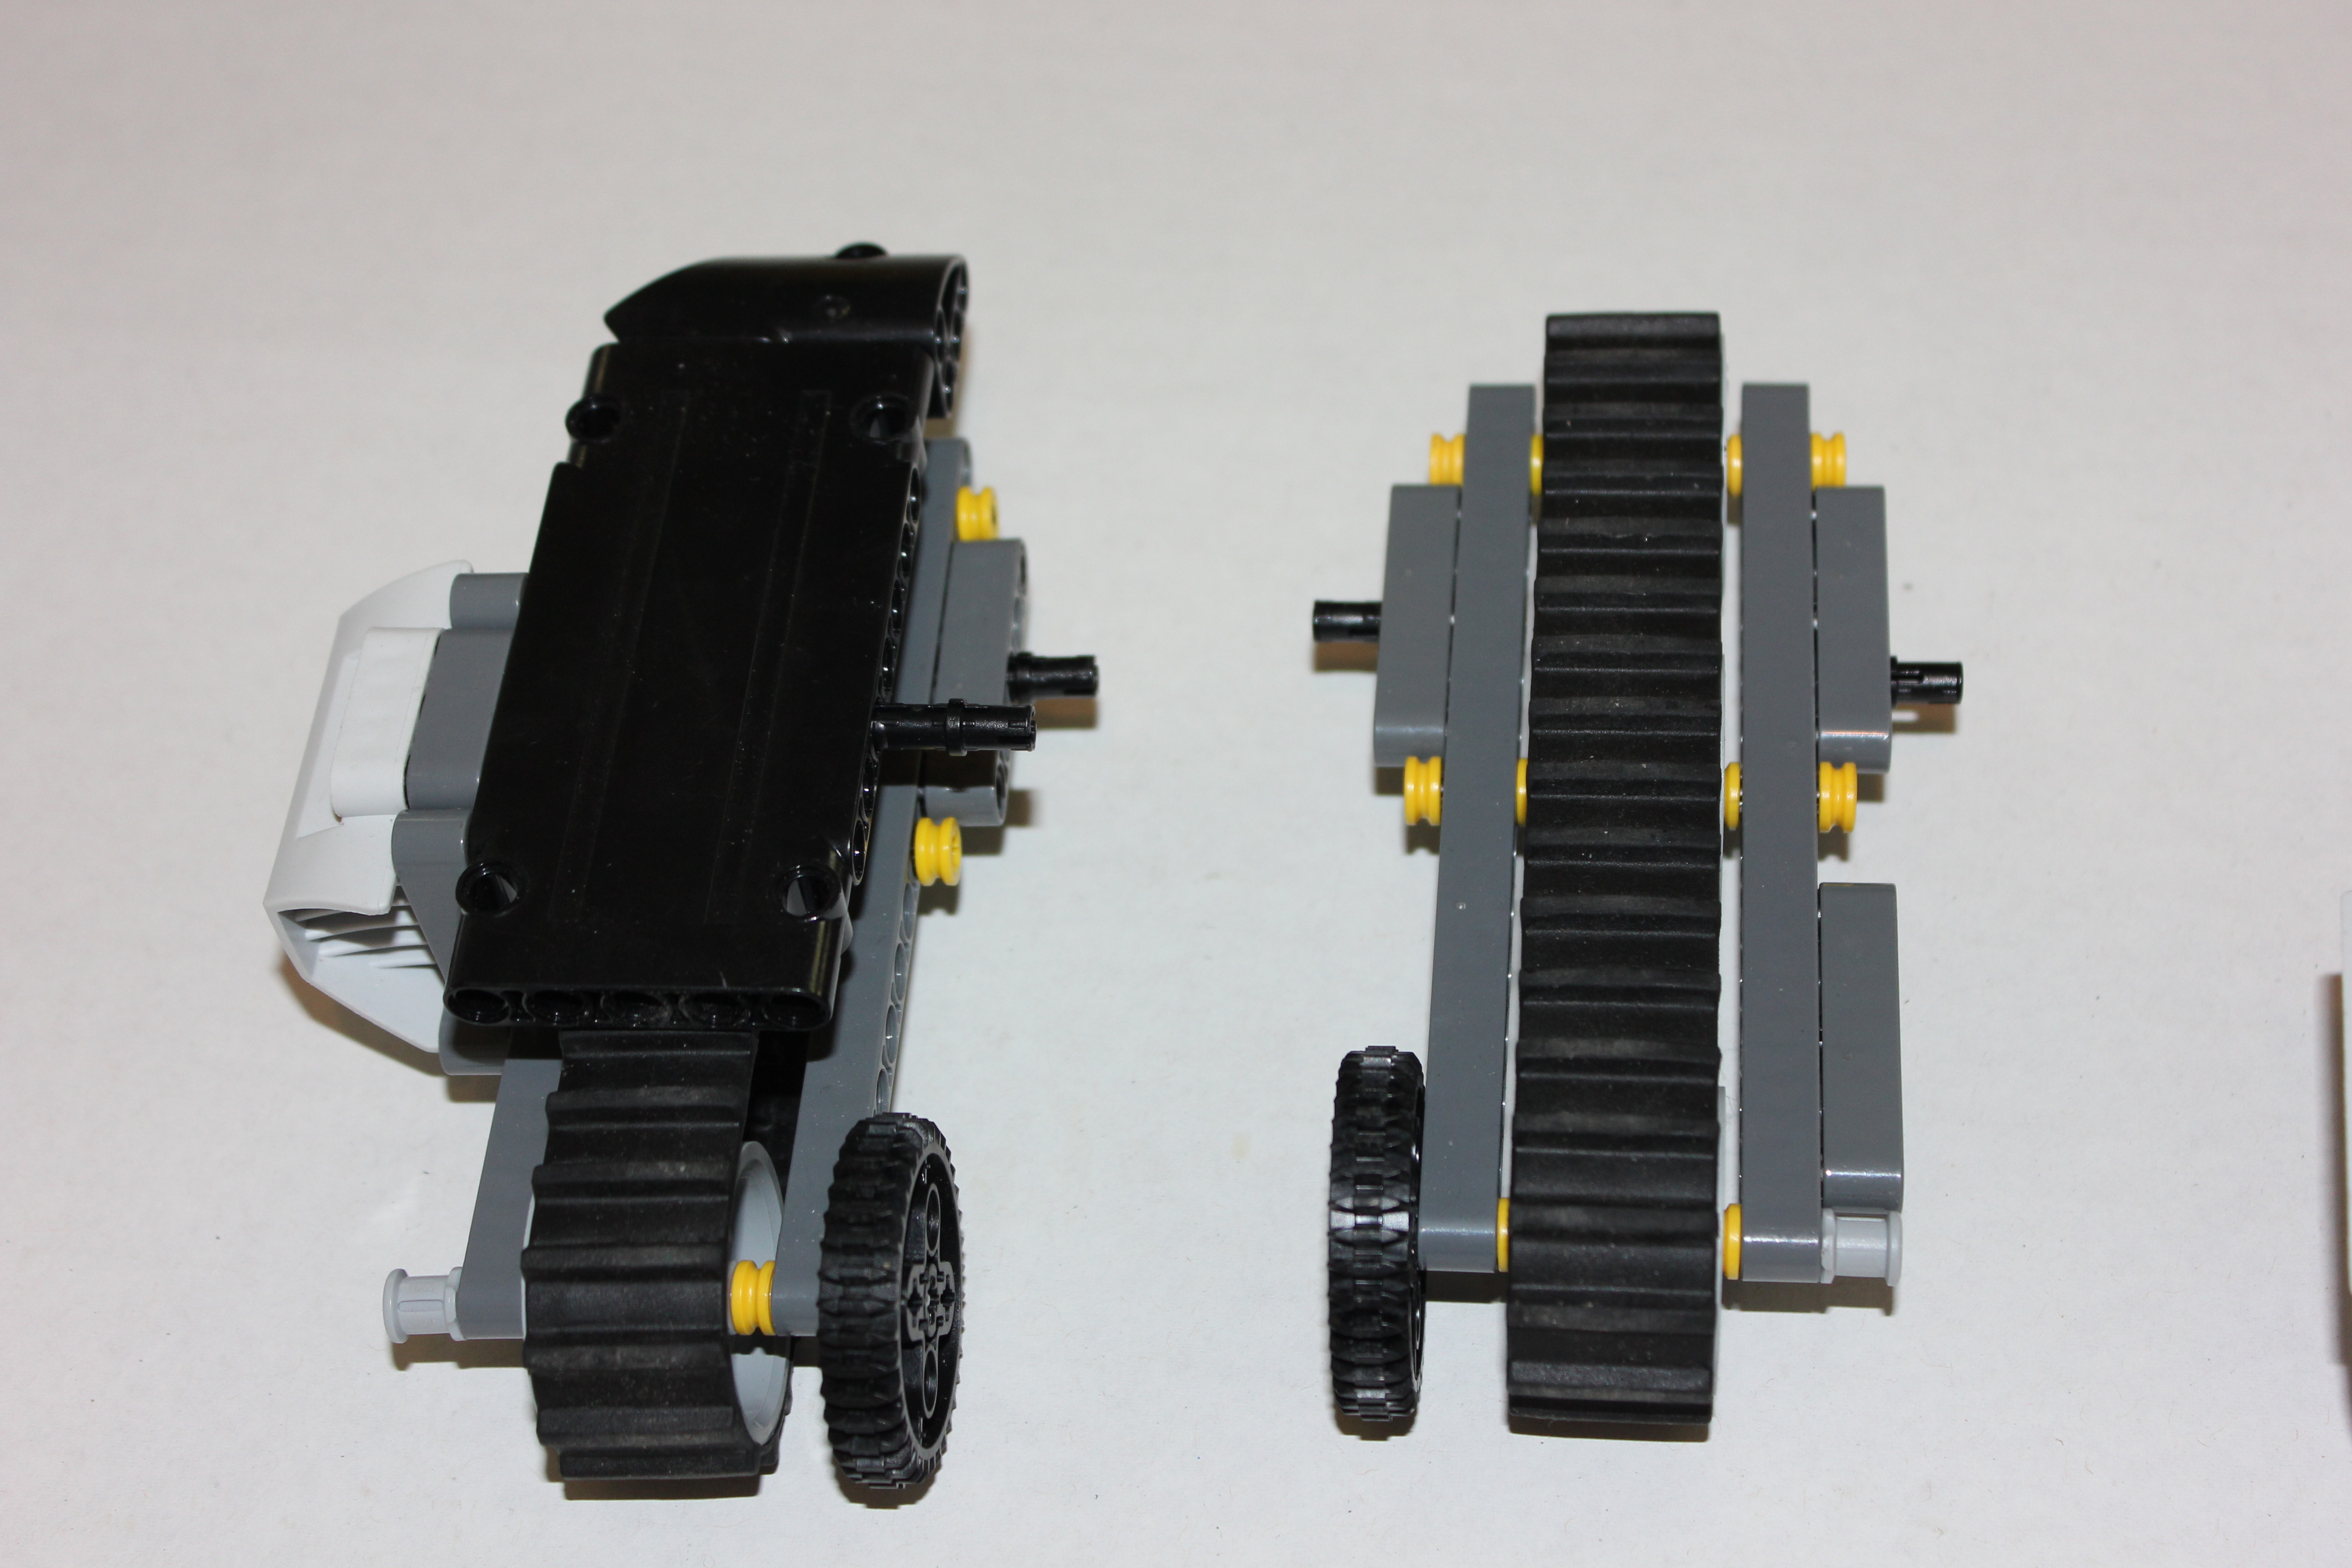
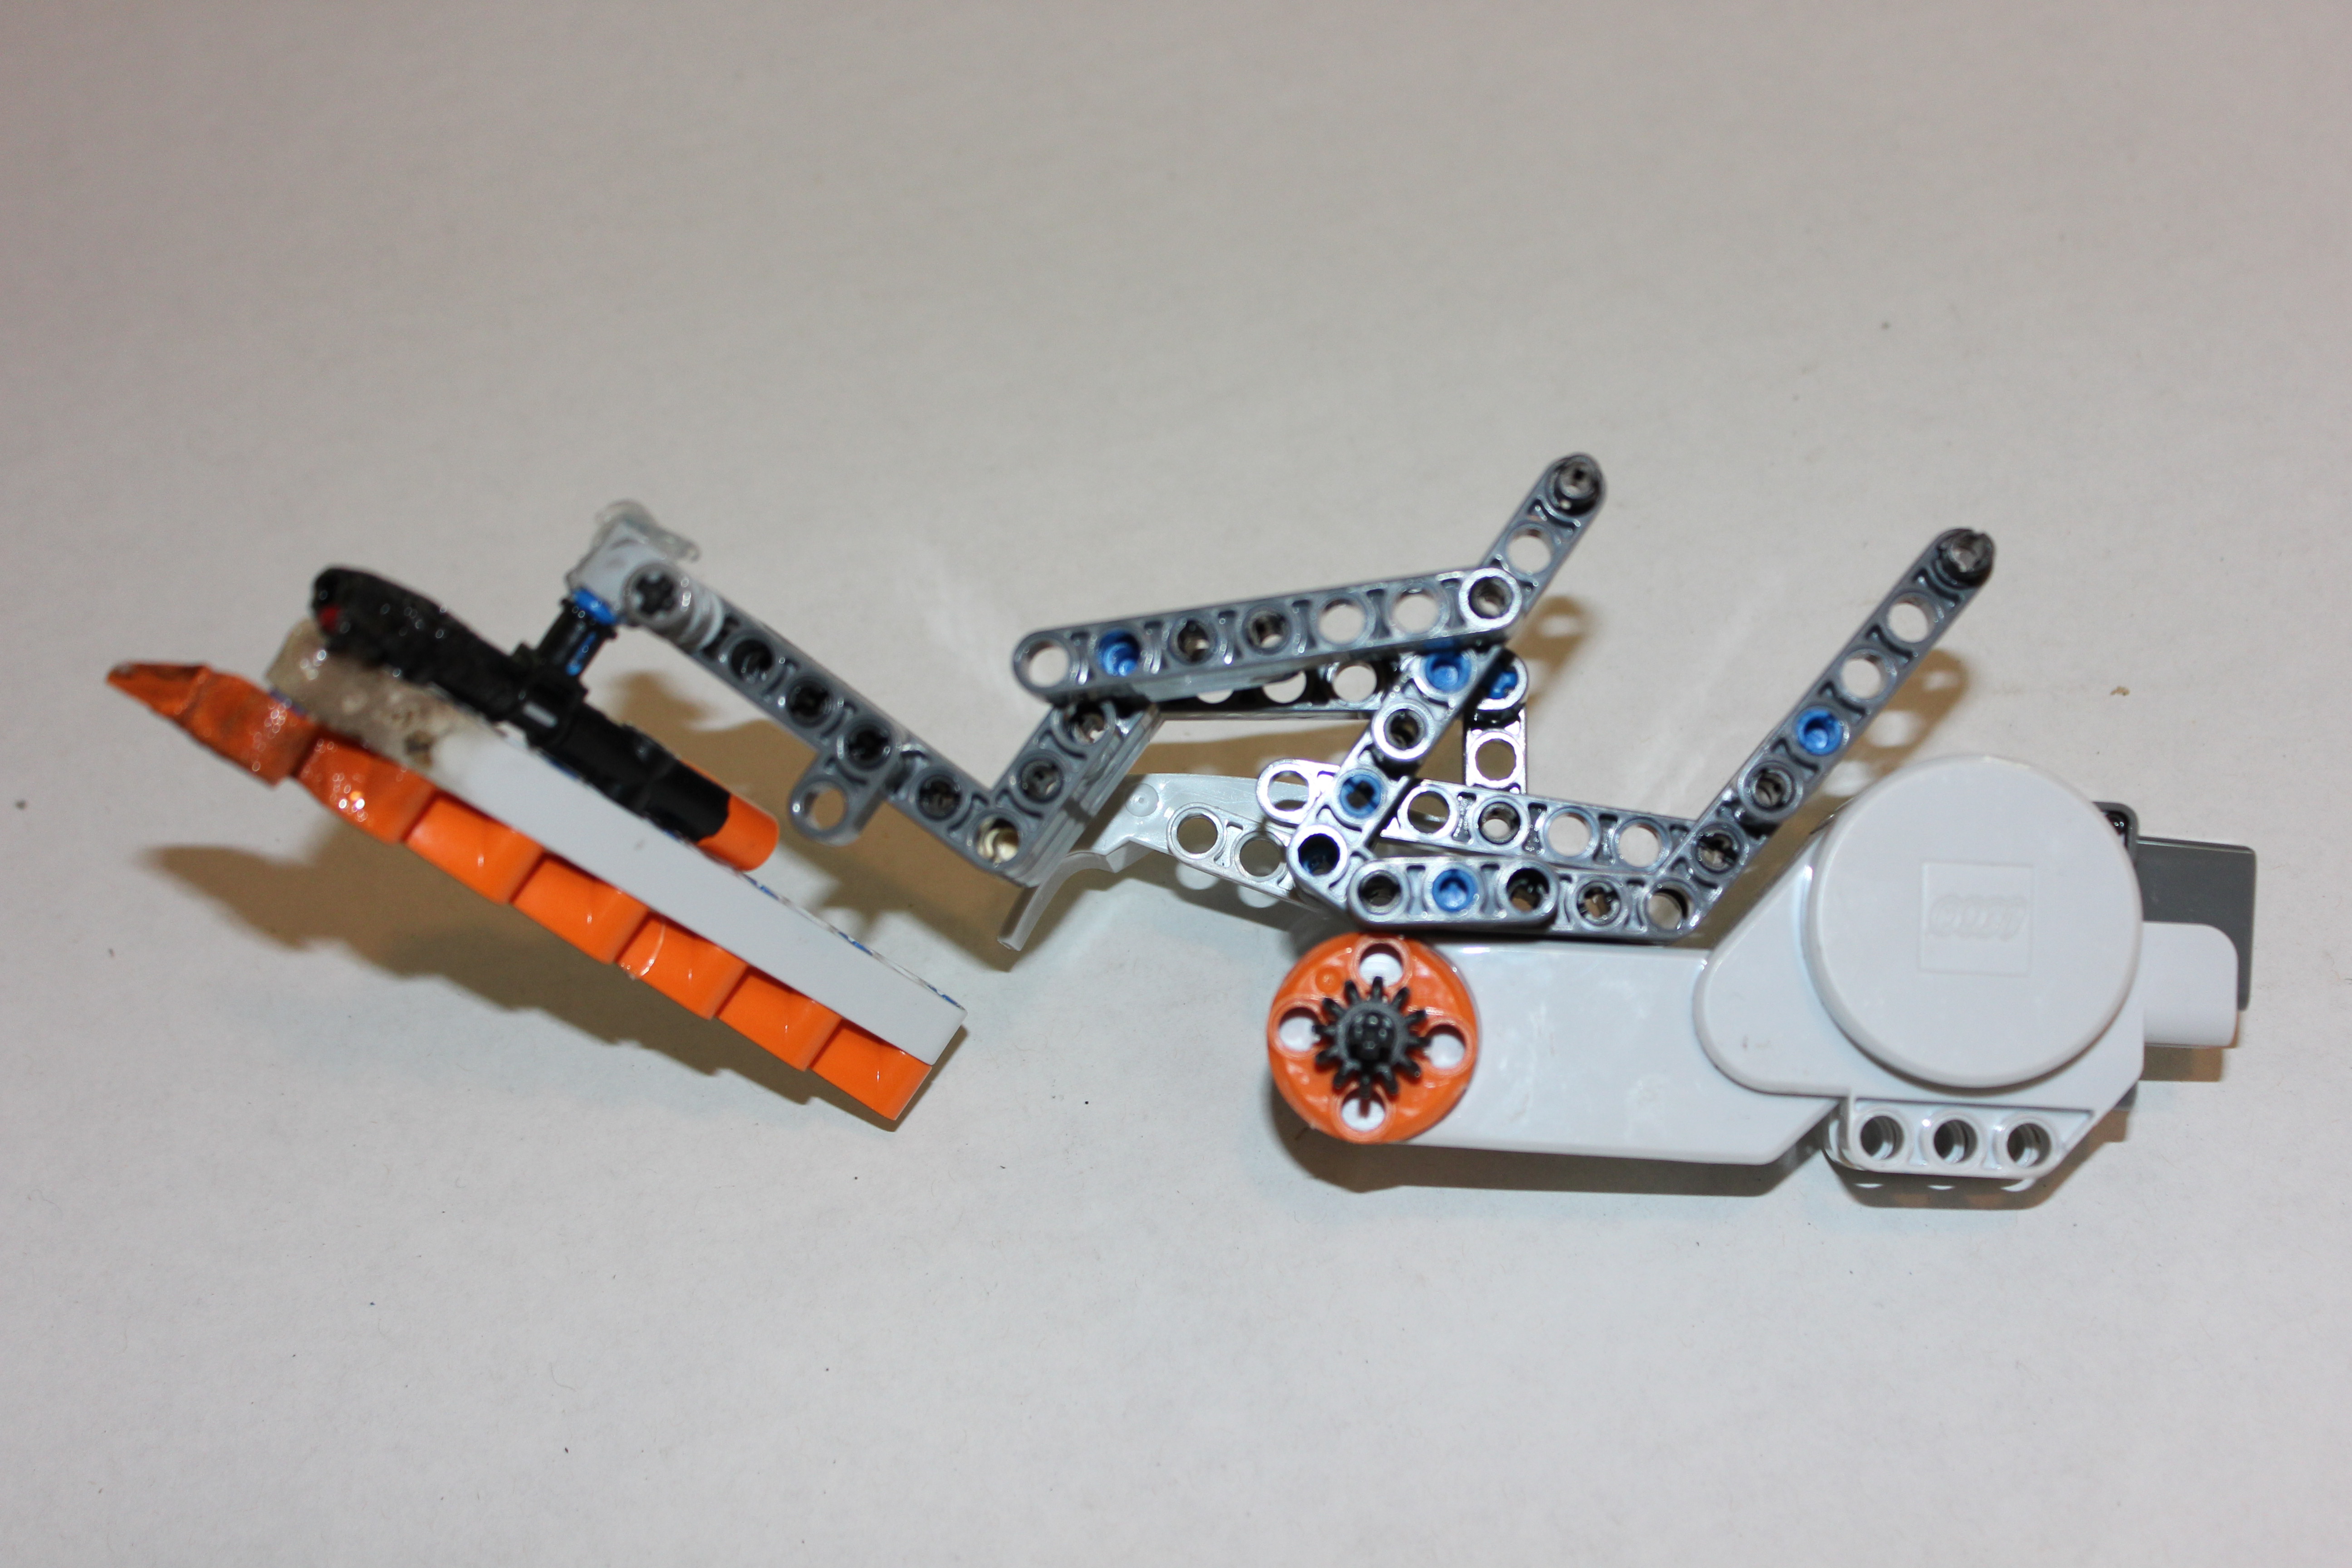
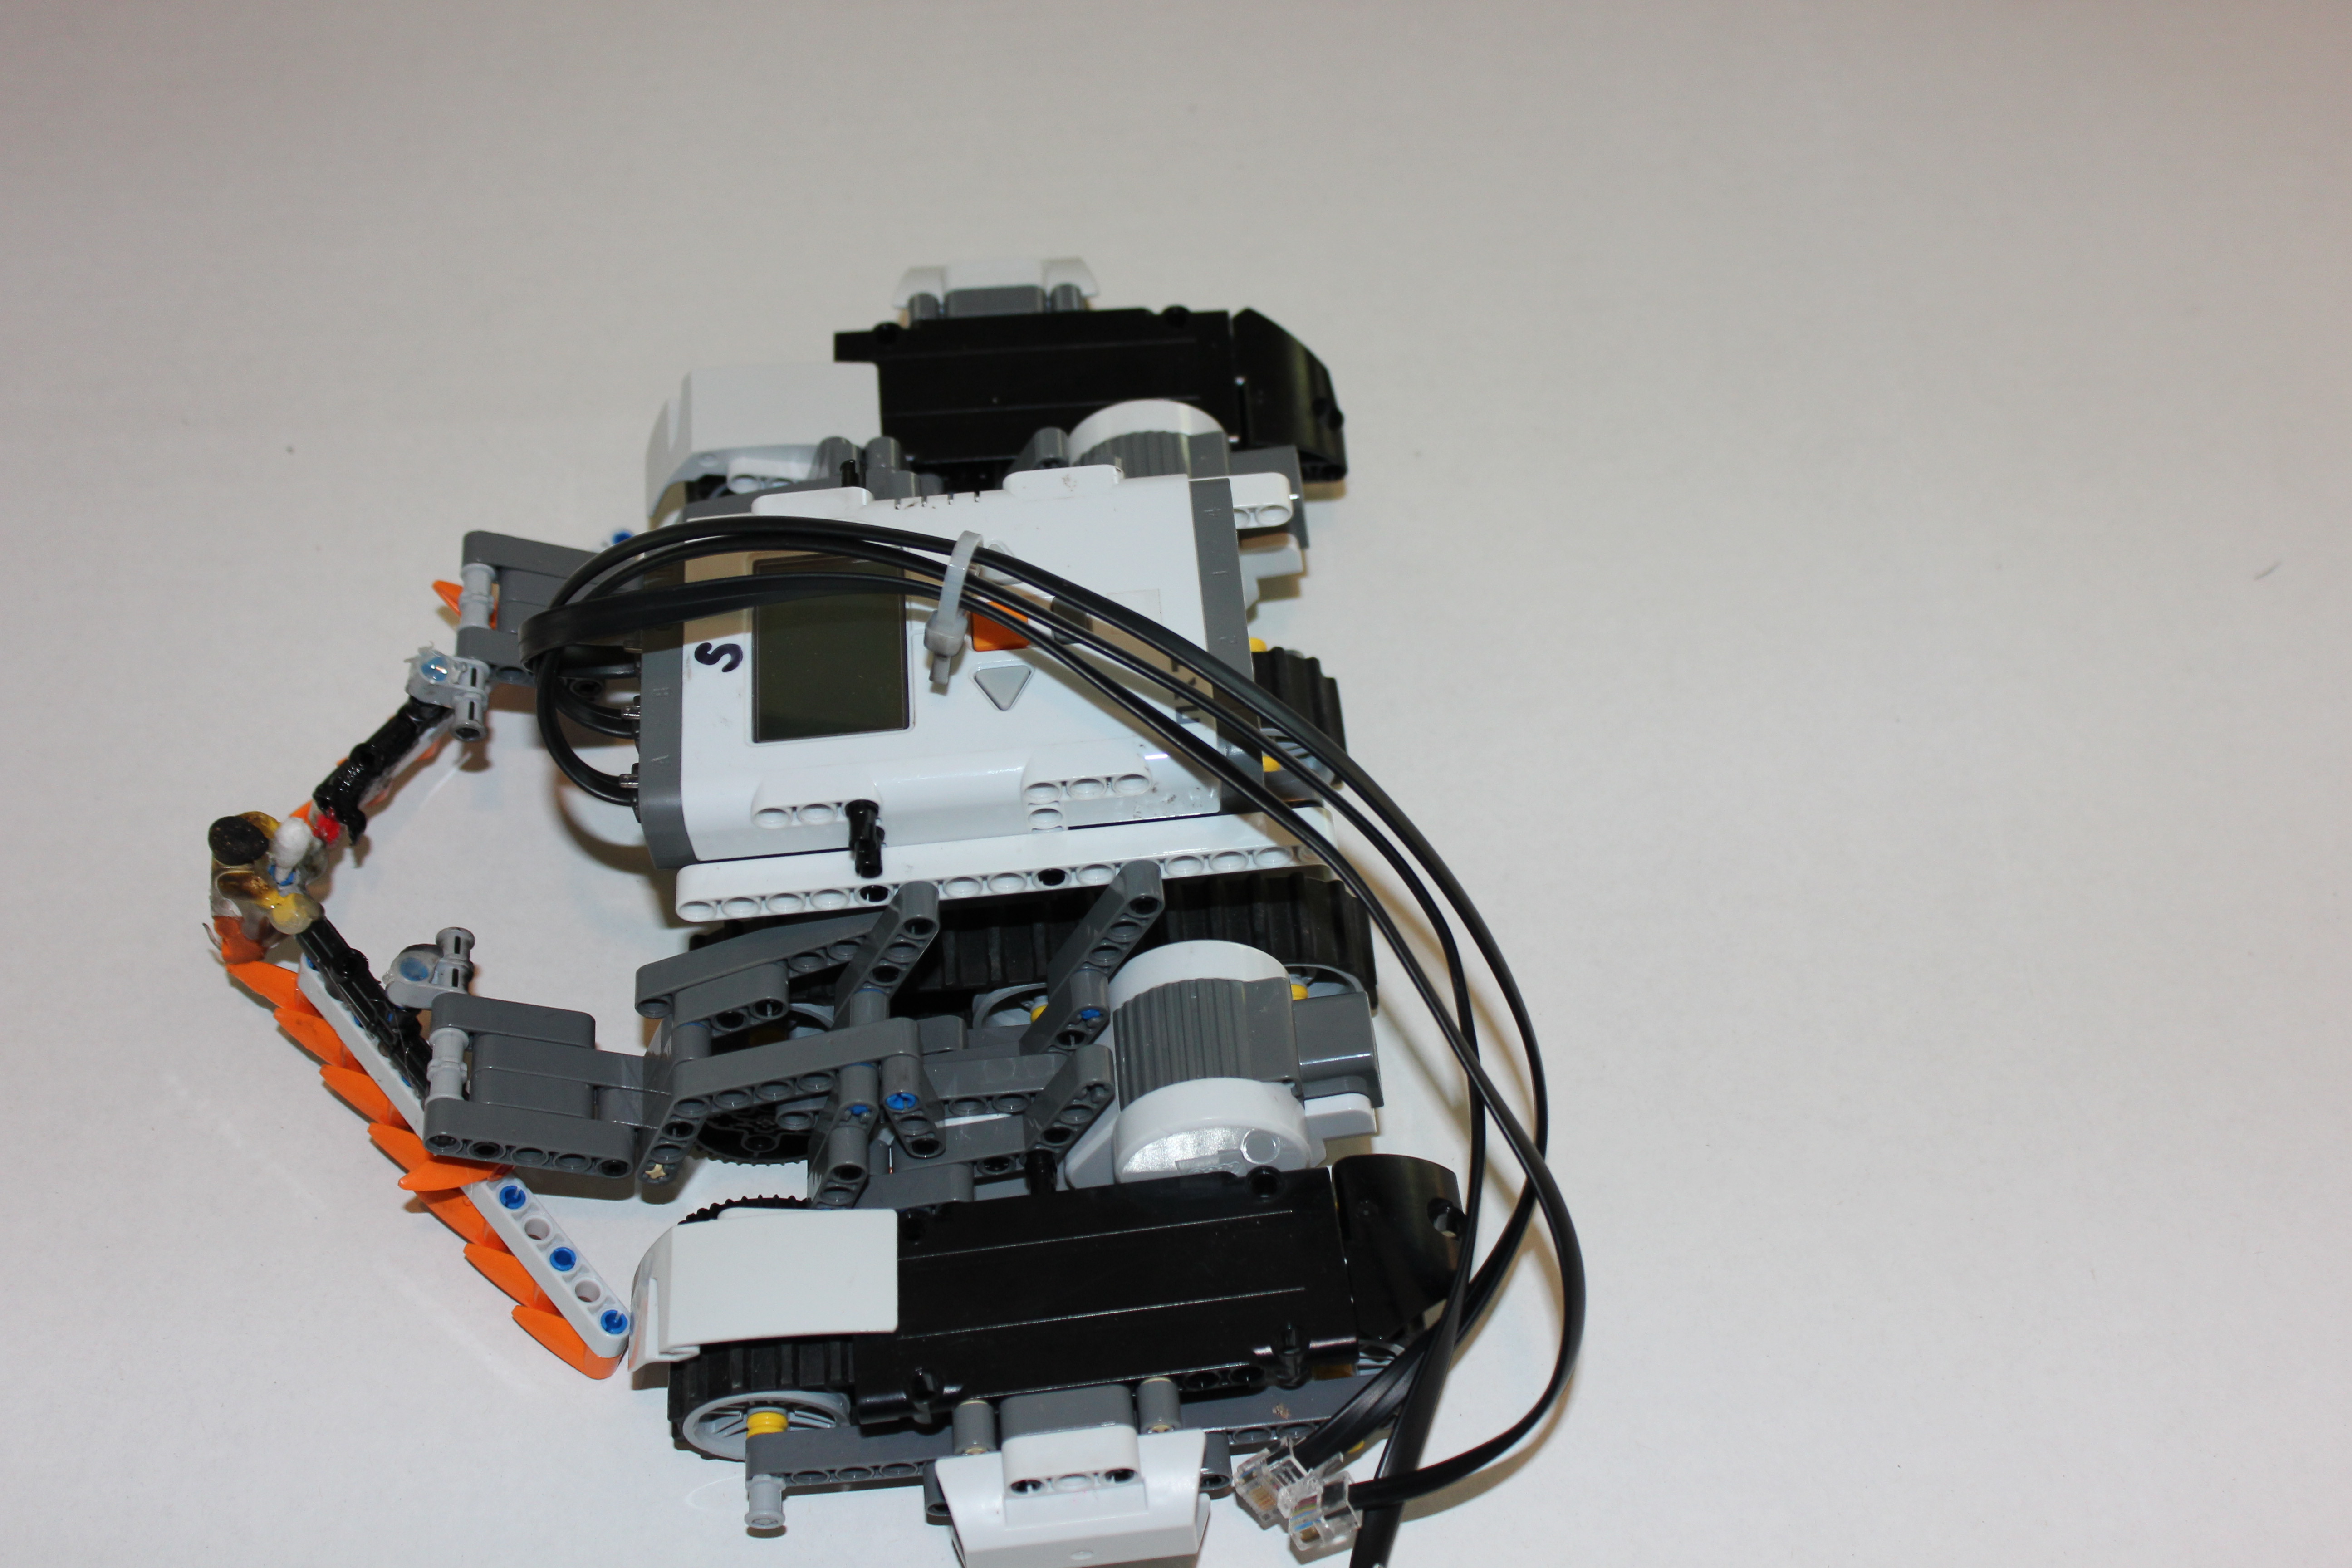
Assemble Completed Sections
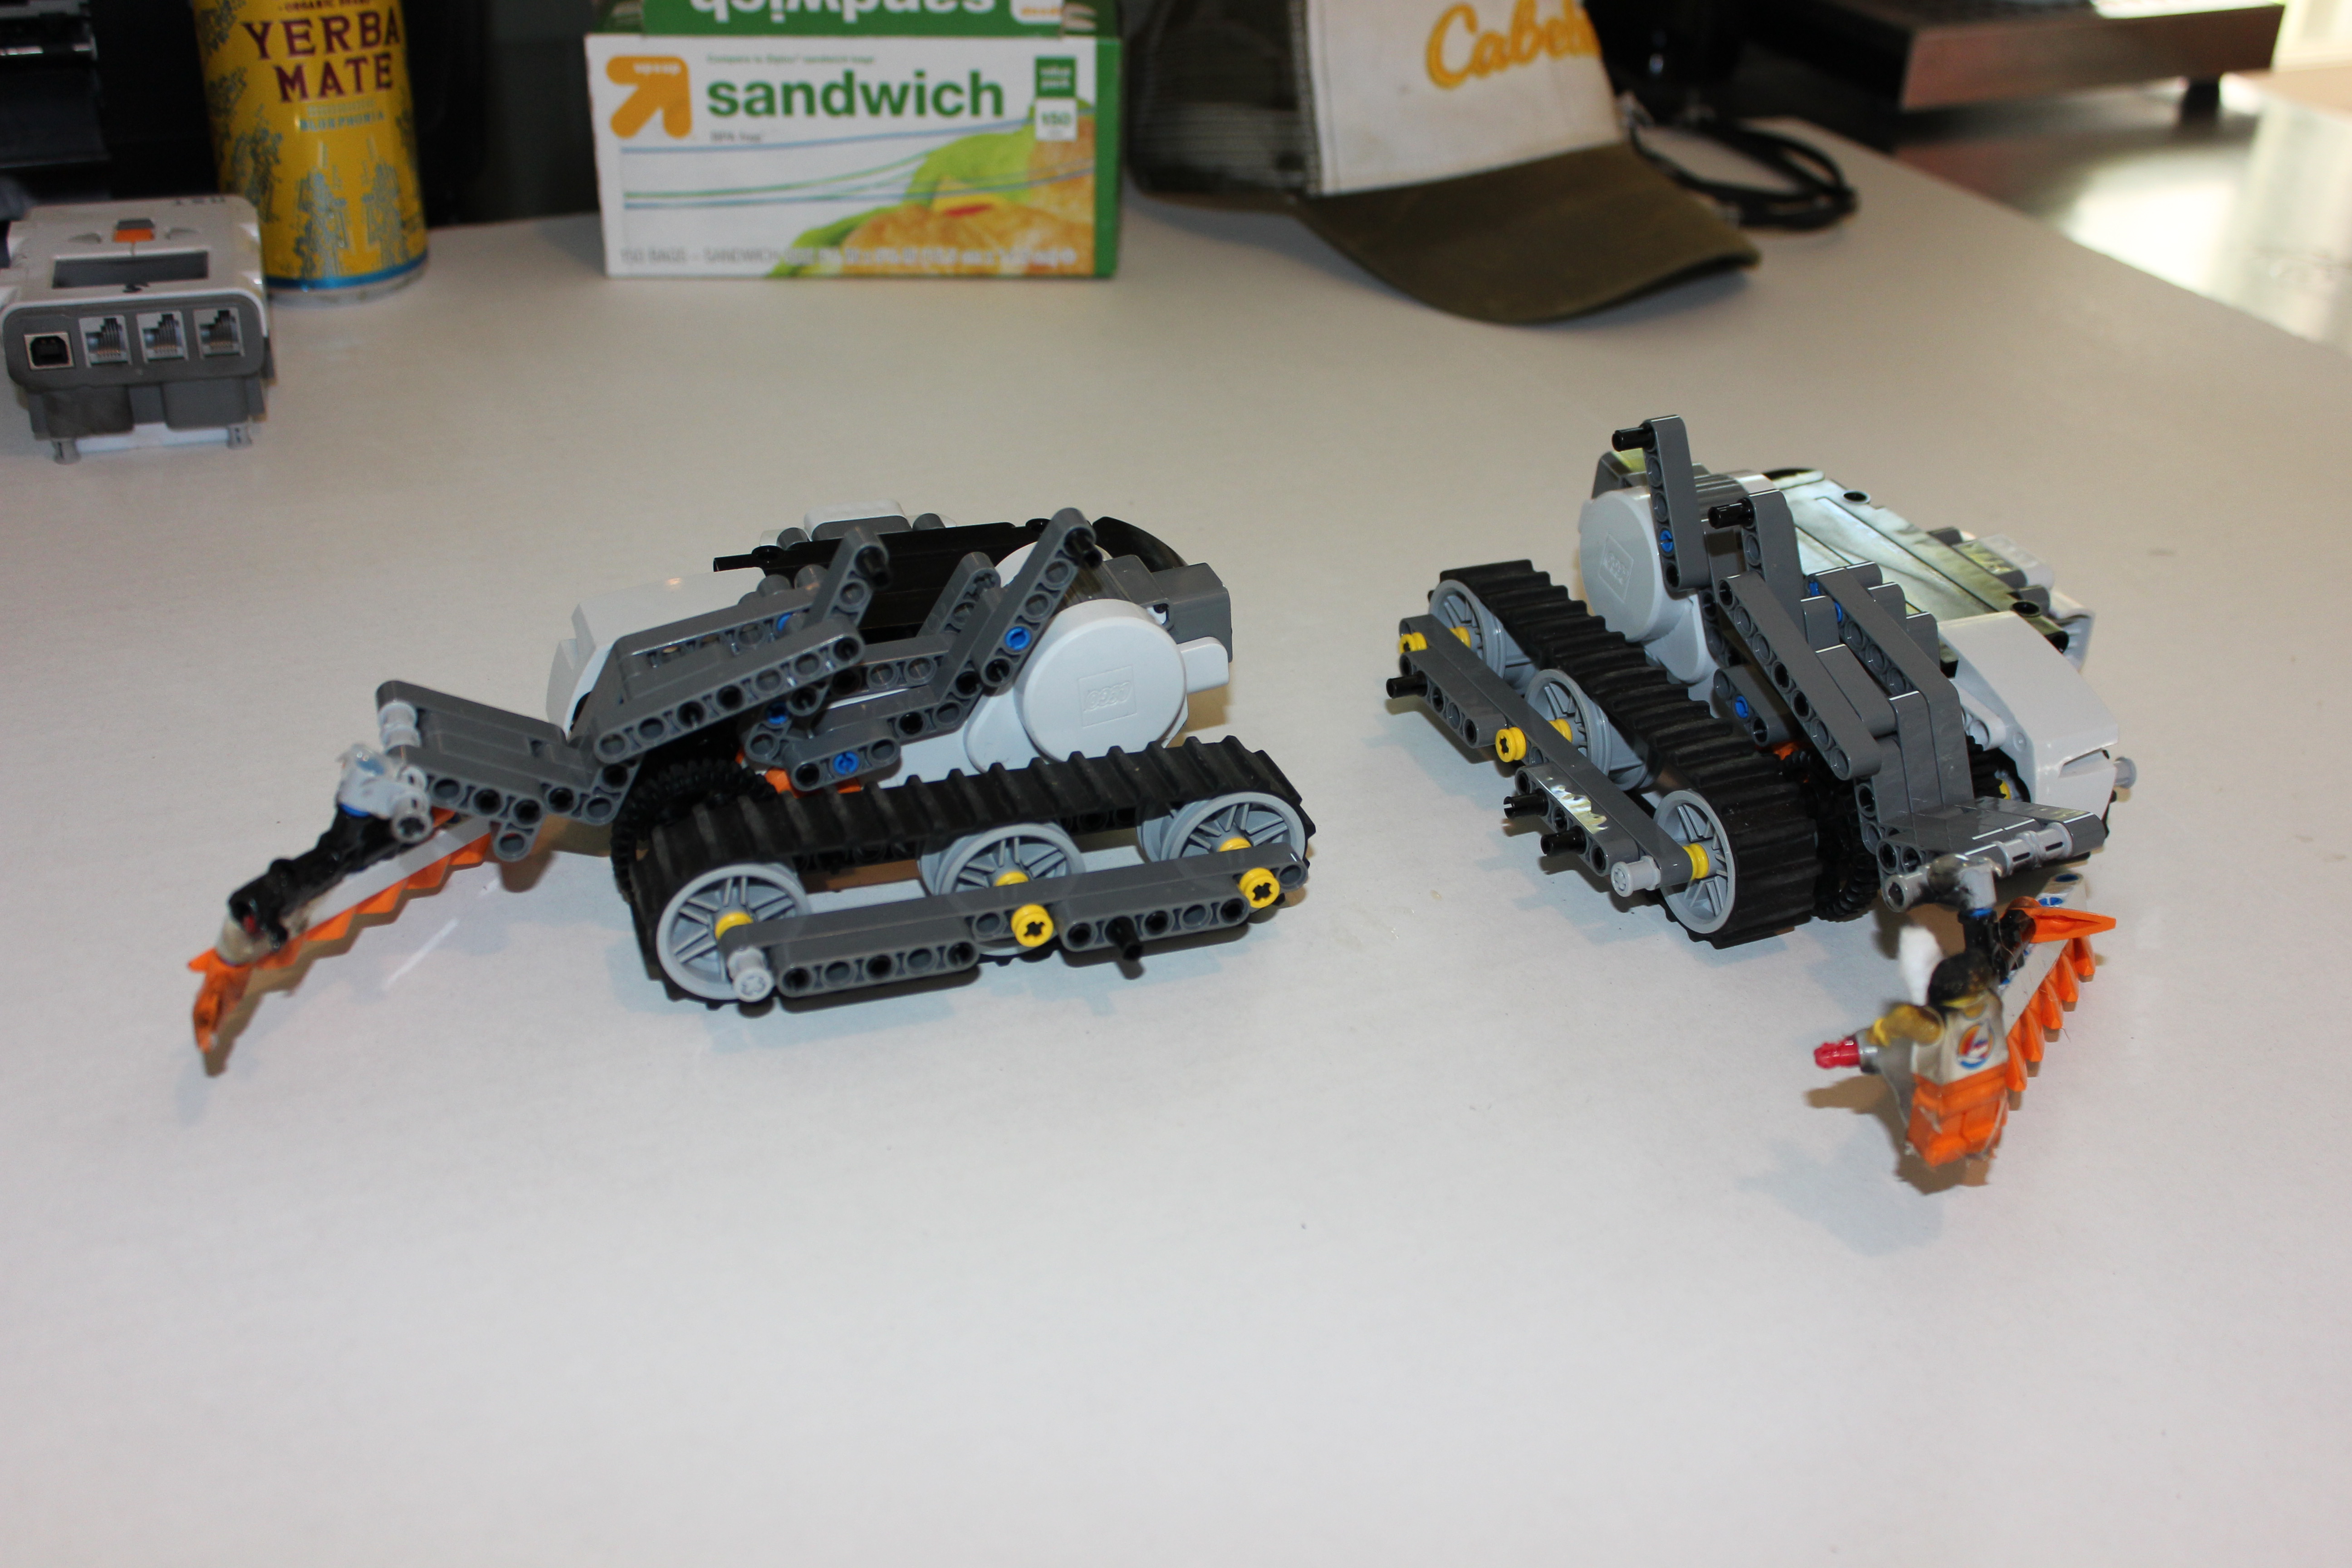
it's now time to assemple the completed sections. these should be the two motor/arm assemblies, four tread assemblies, two shovel assemblies, and the NXT brick.
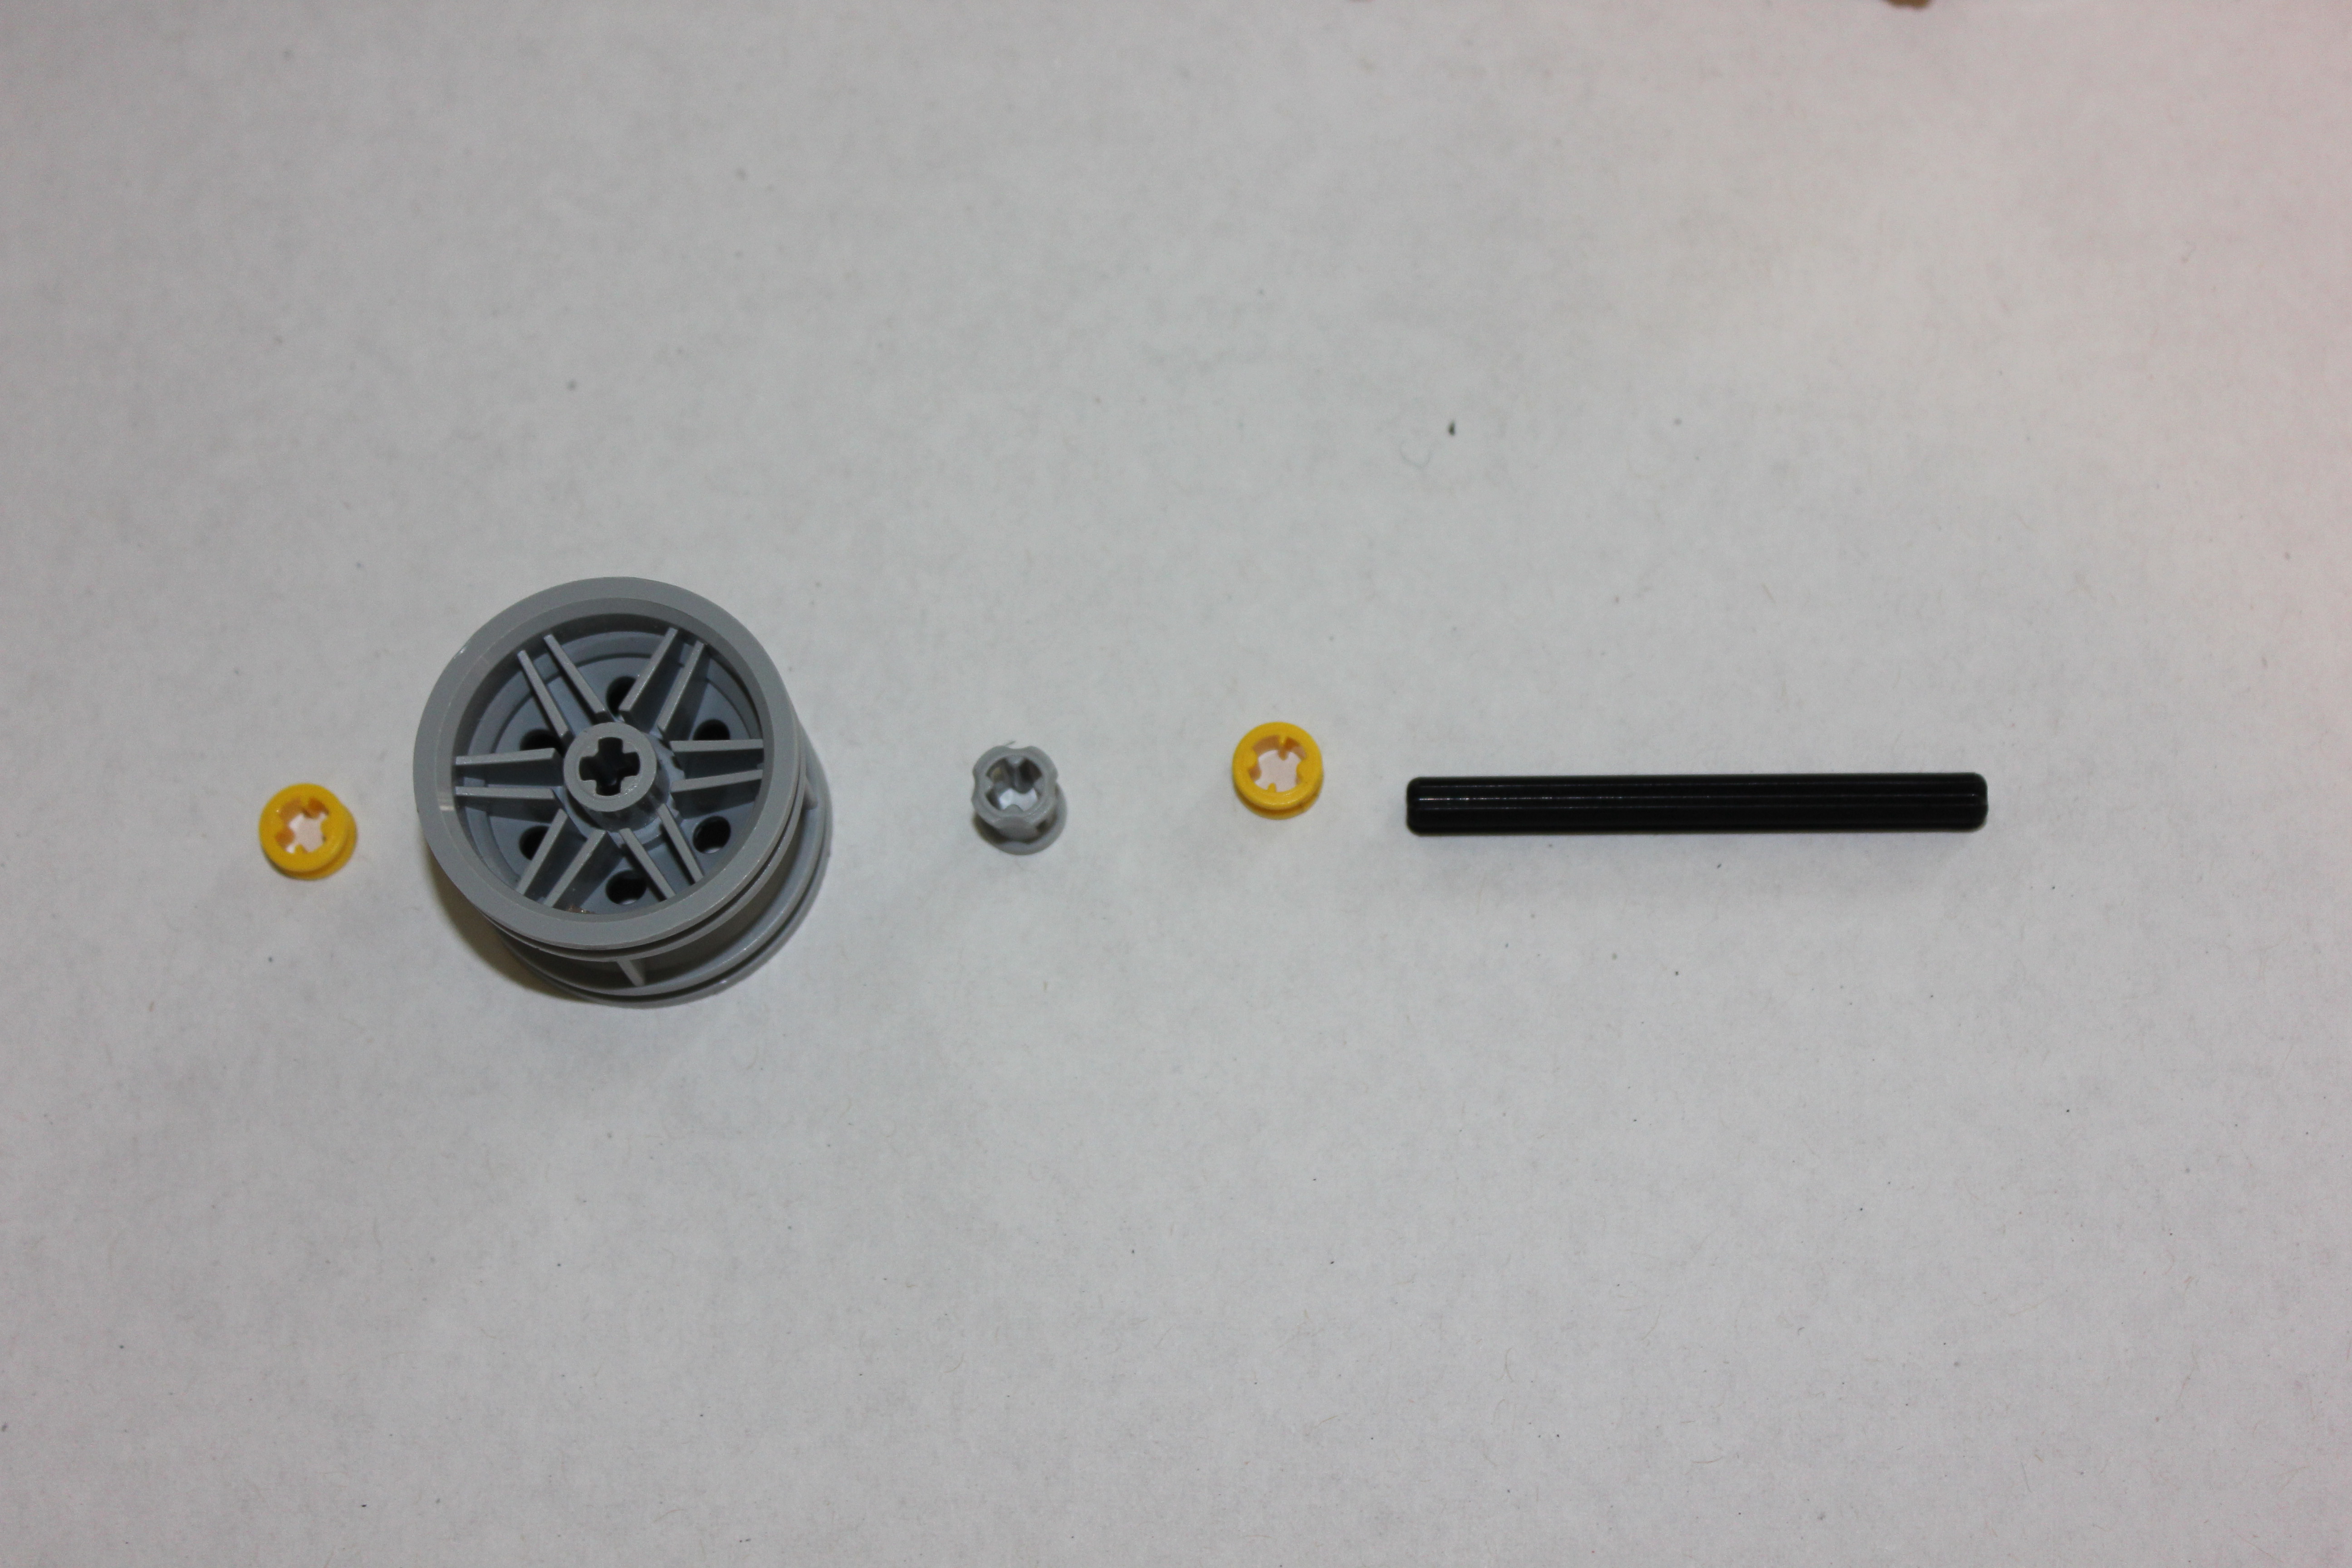
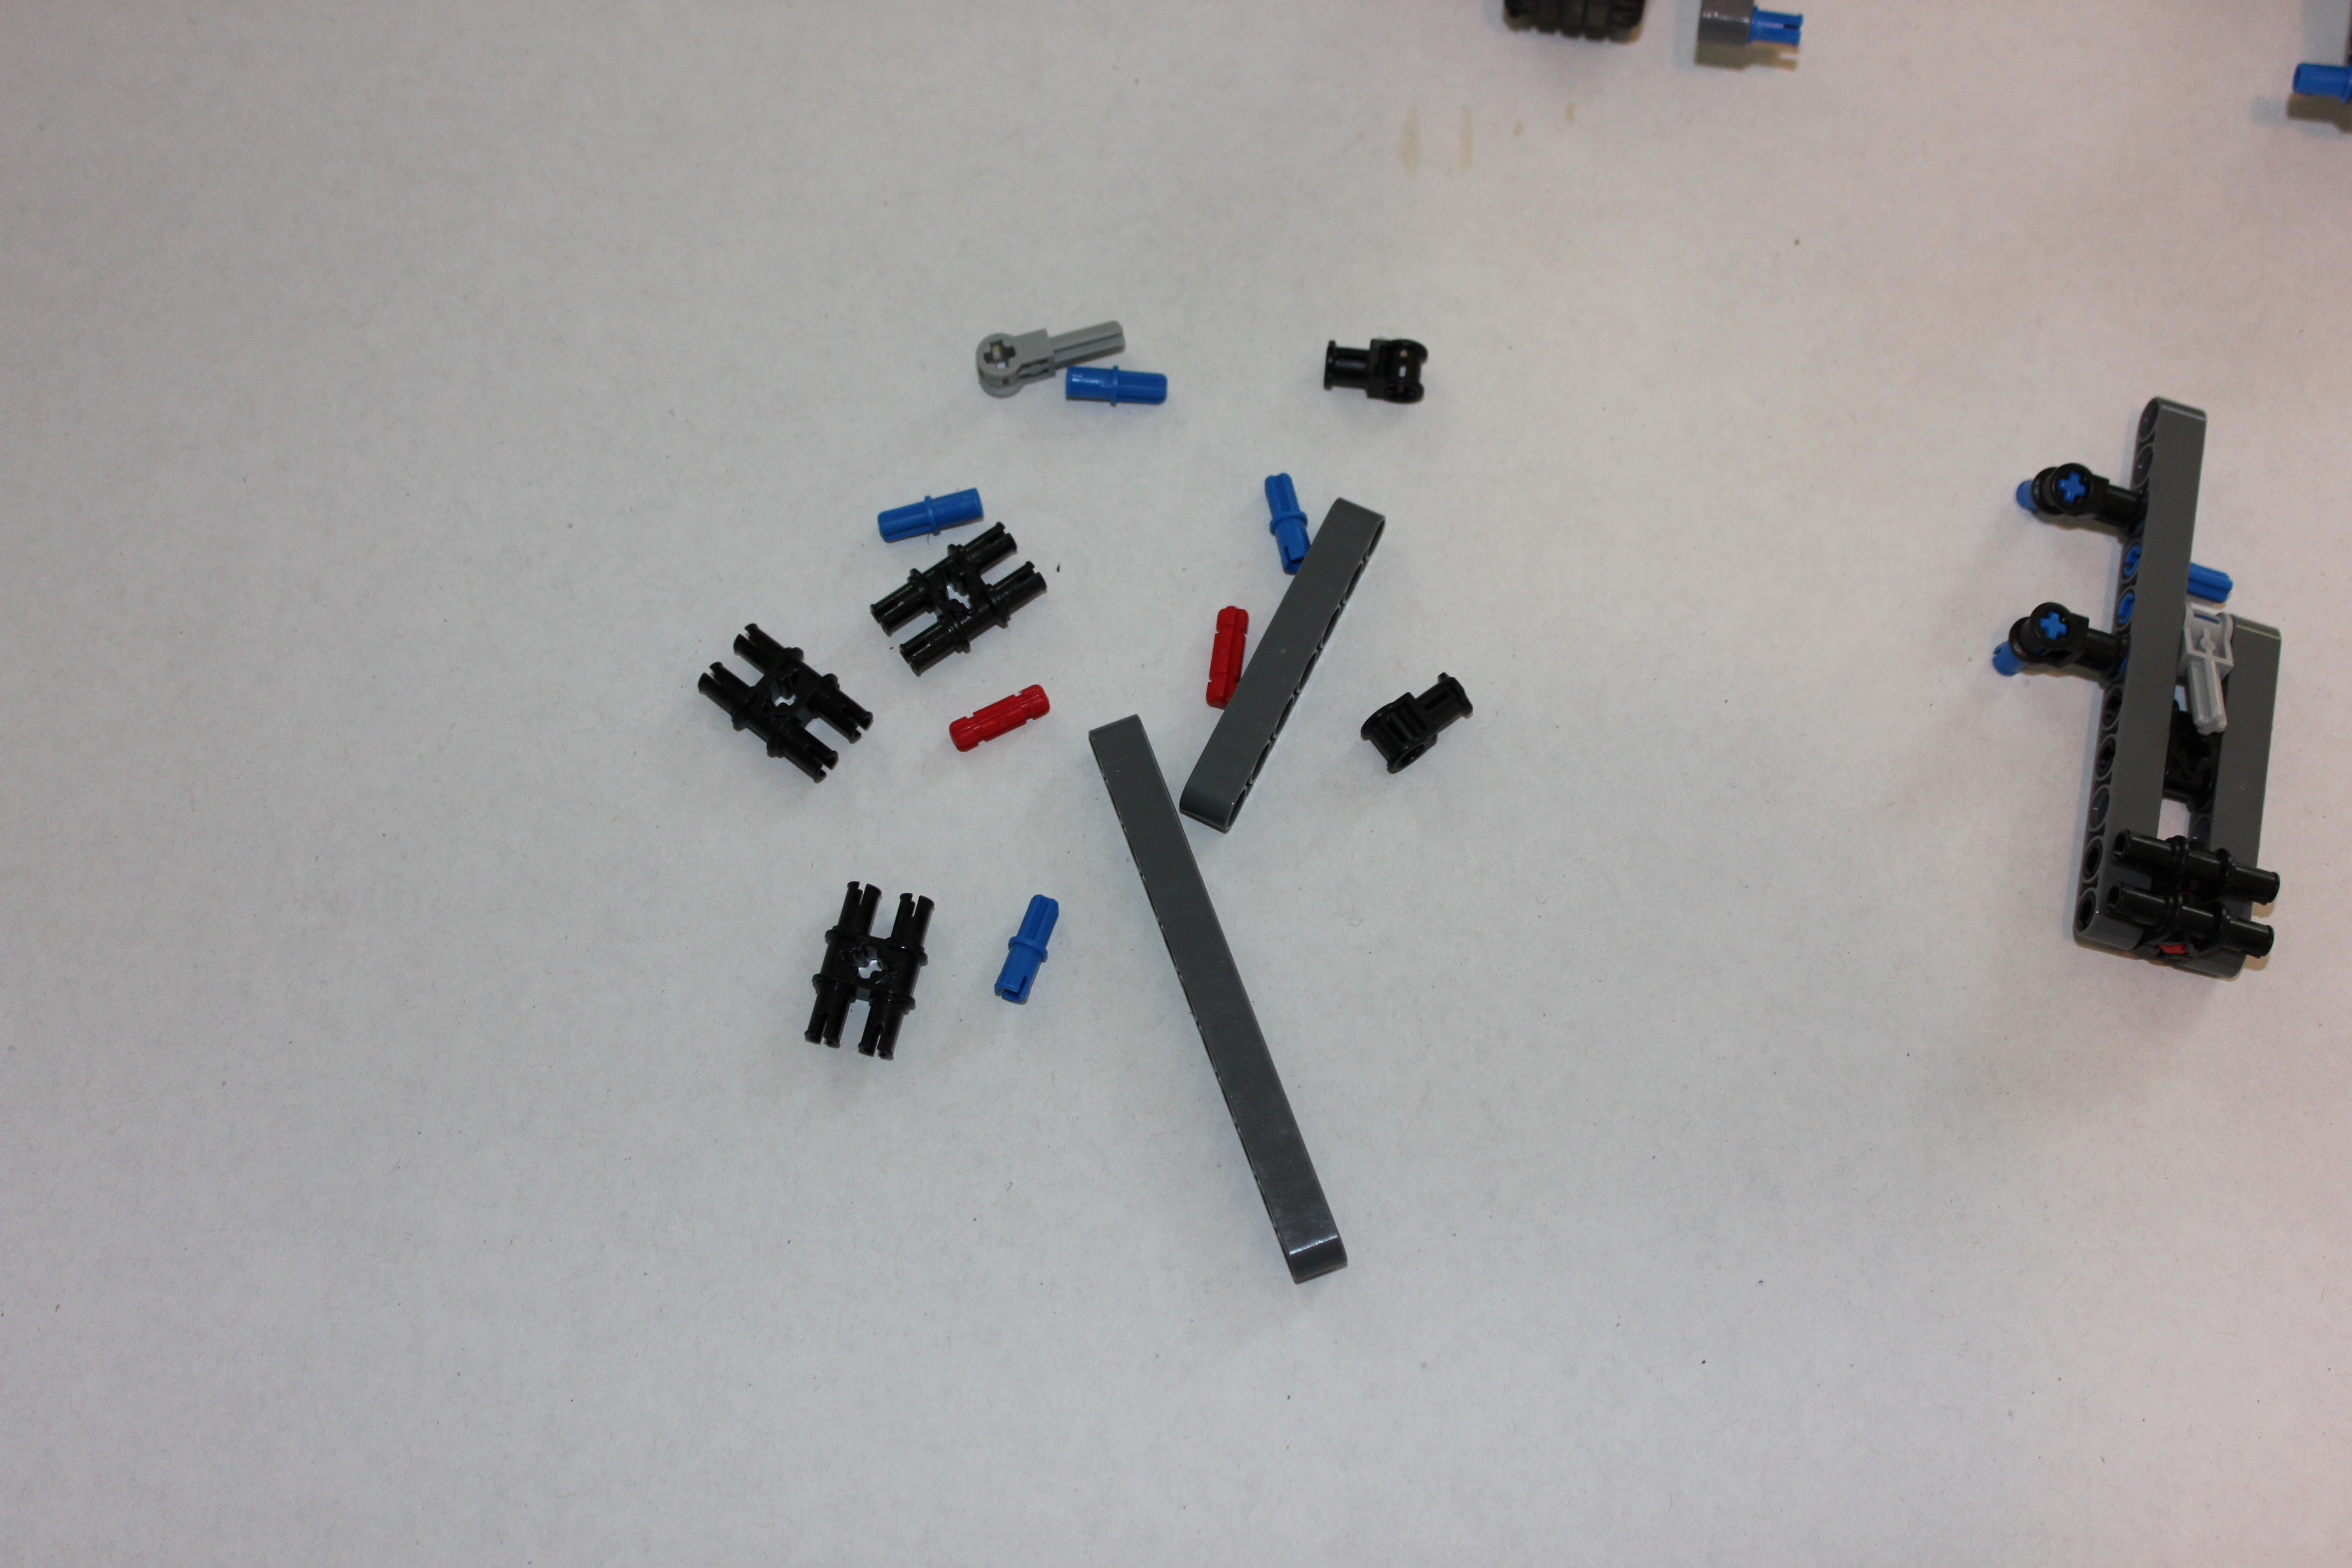
The Support System
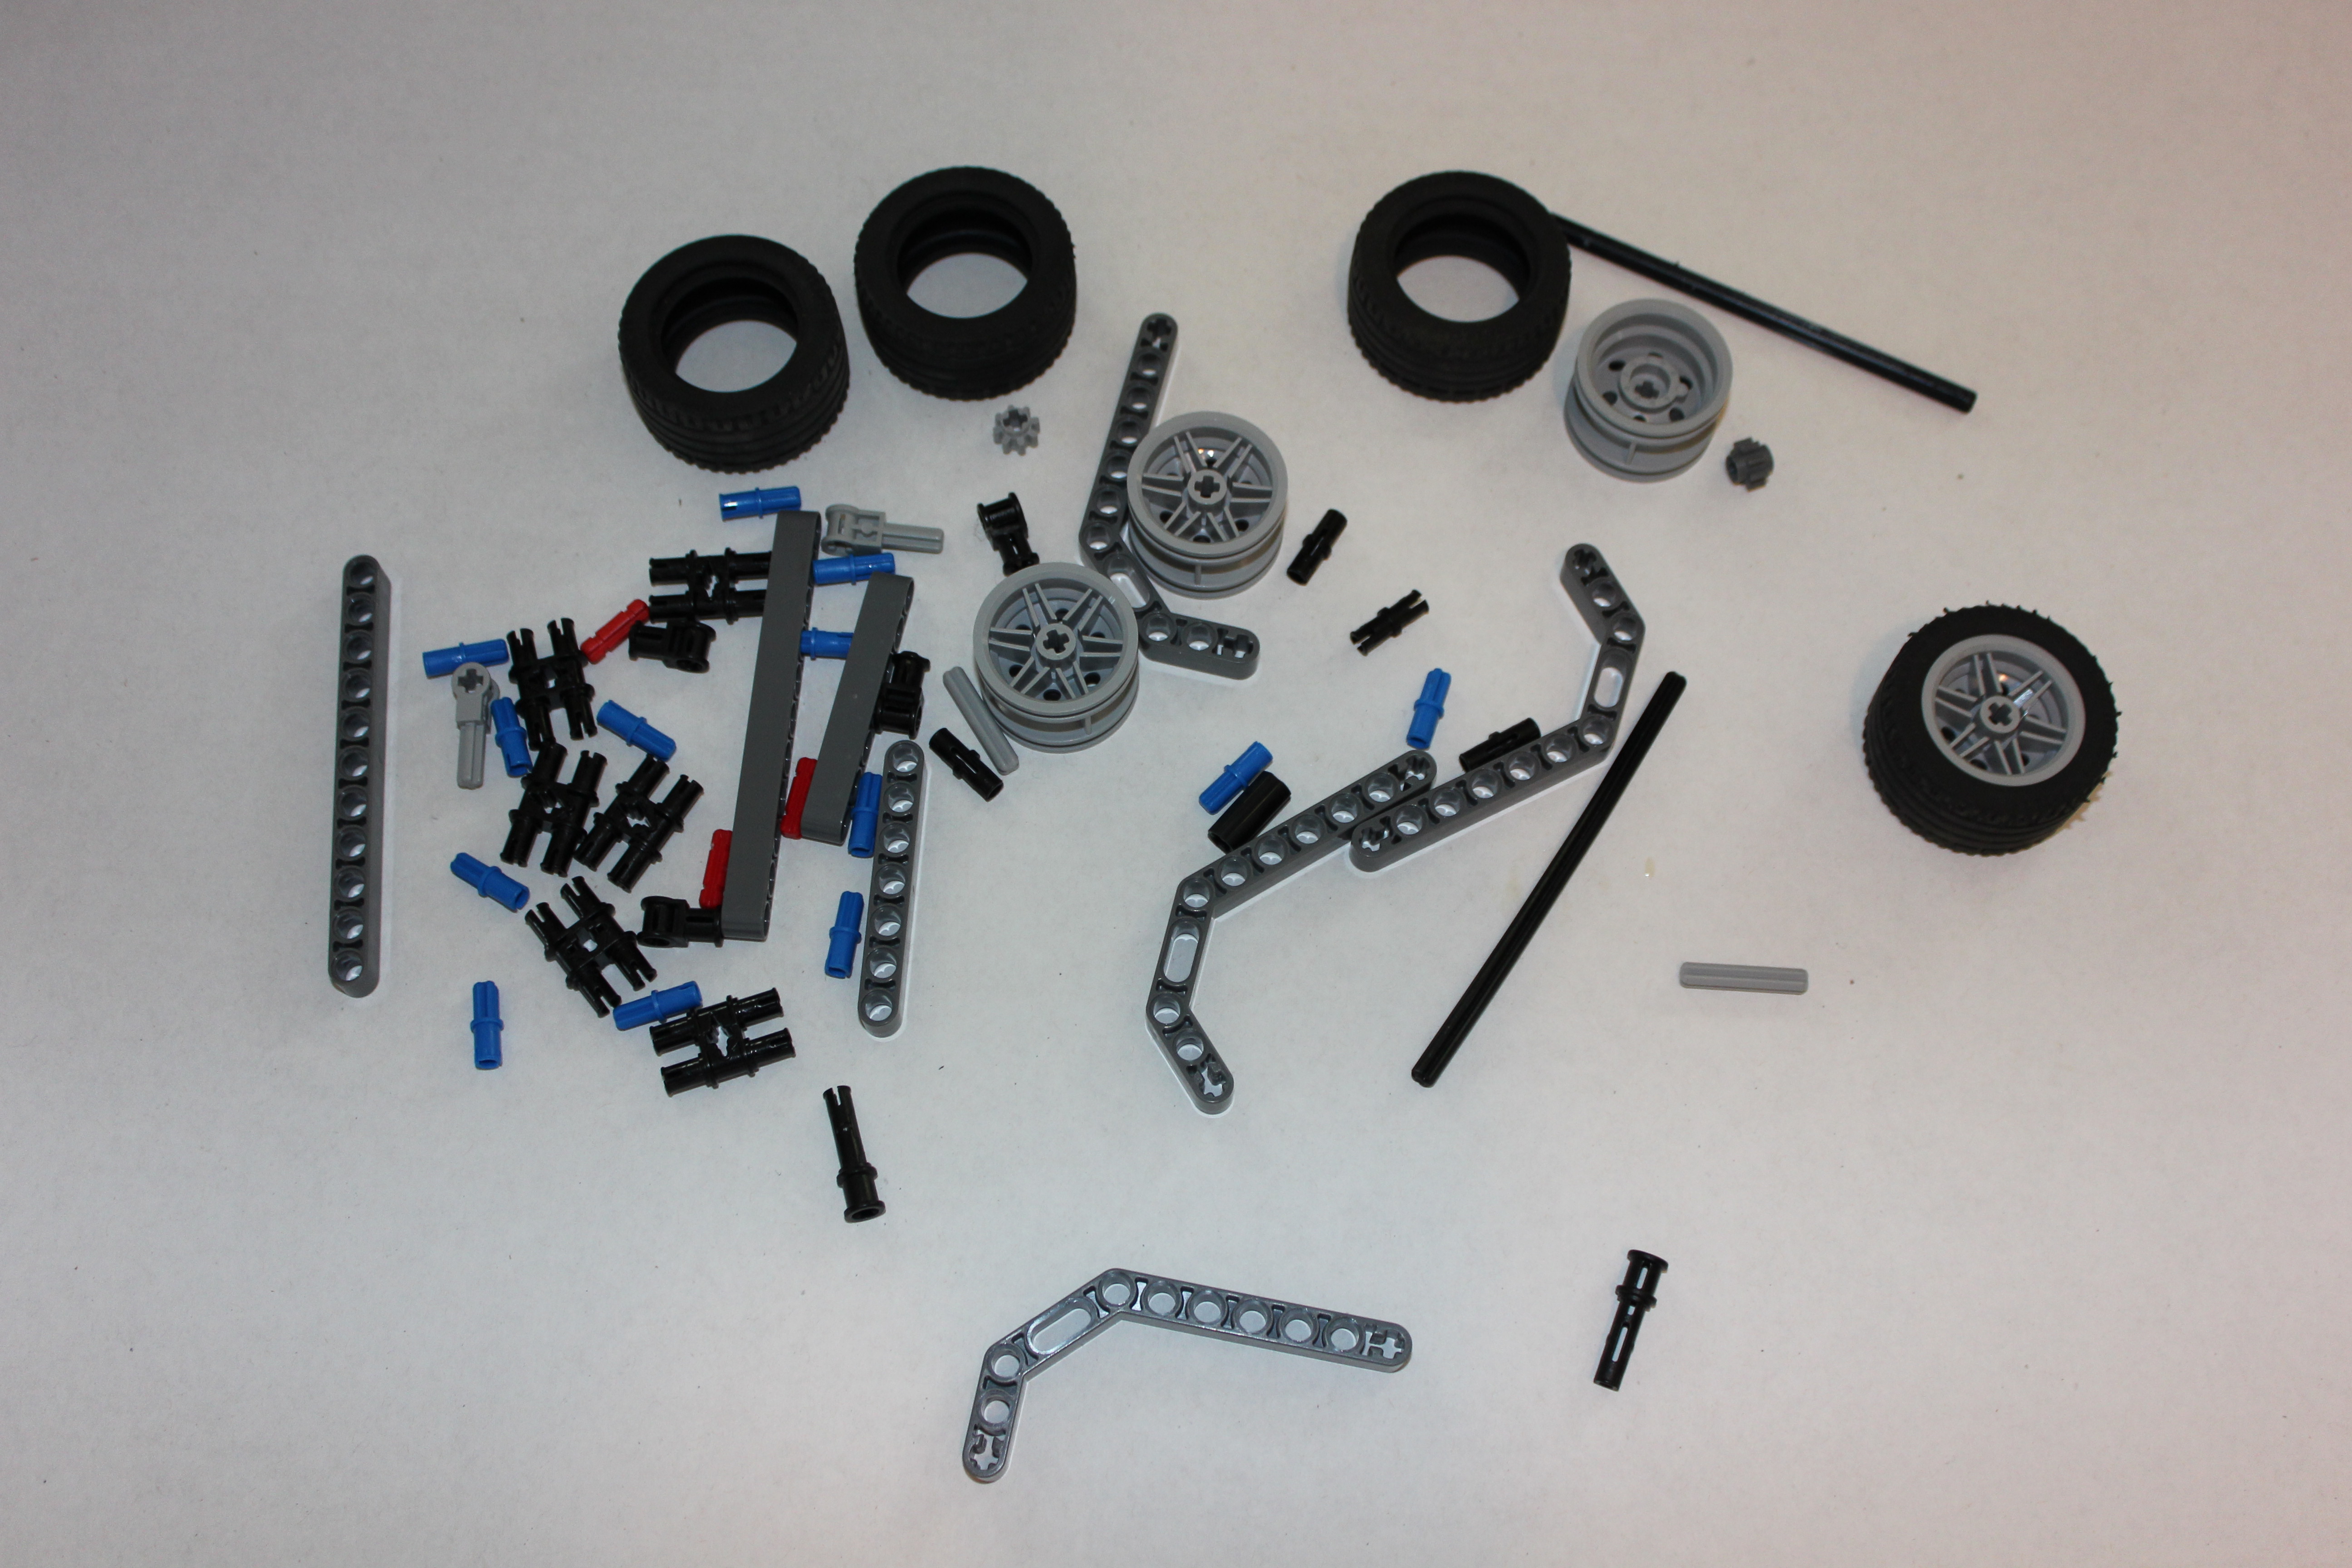
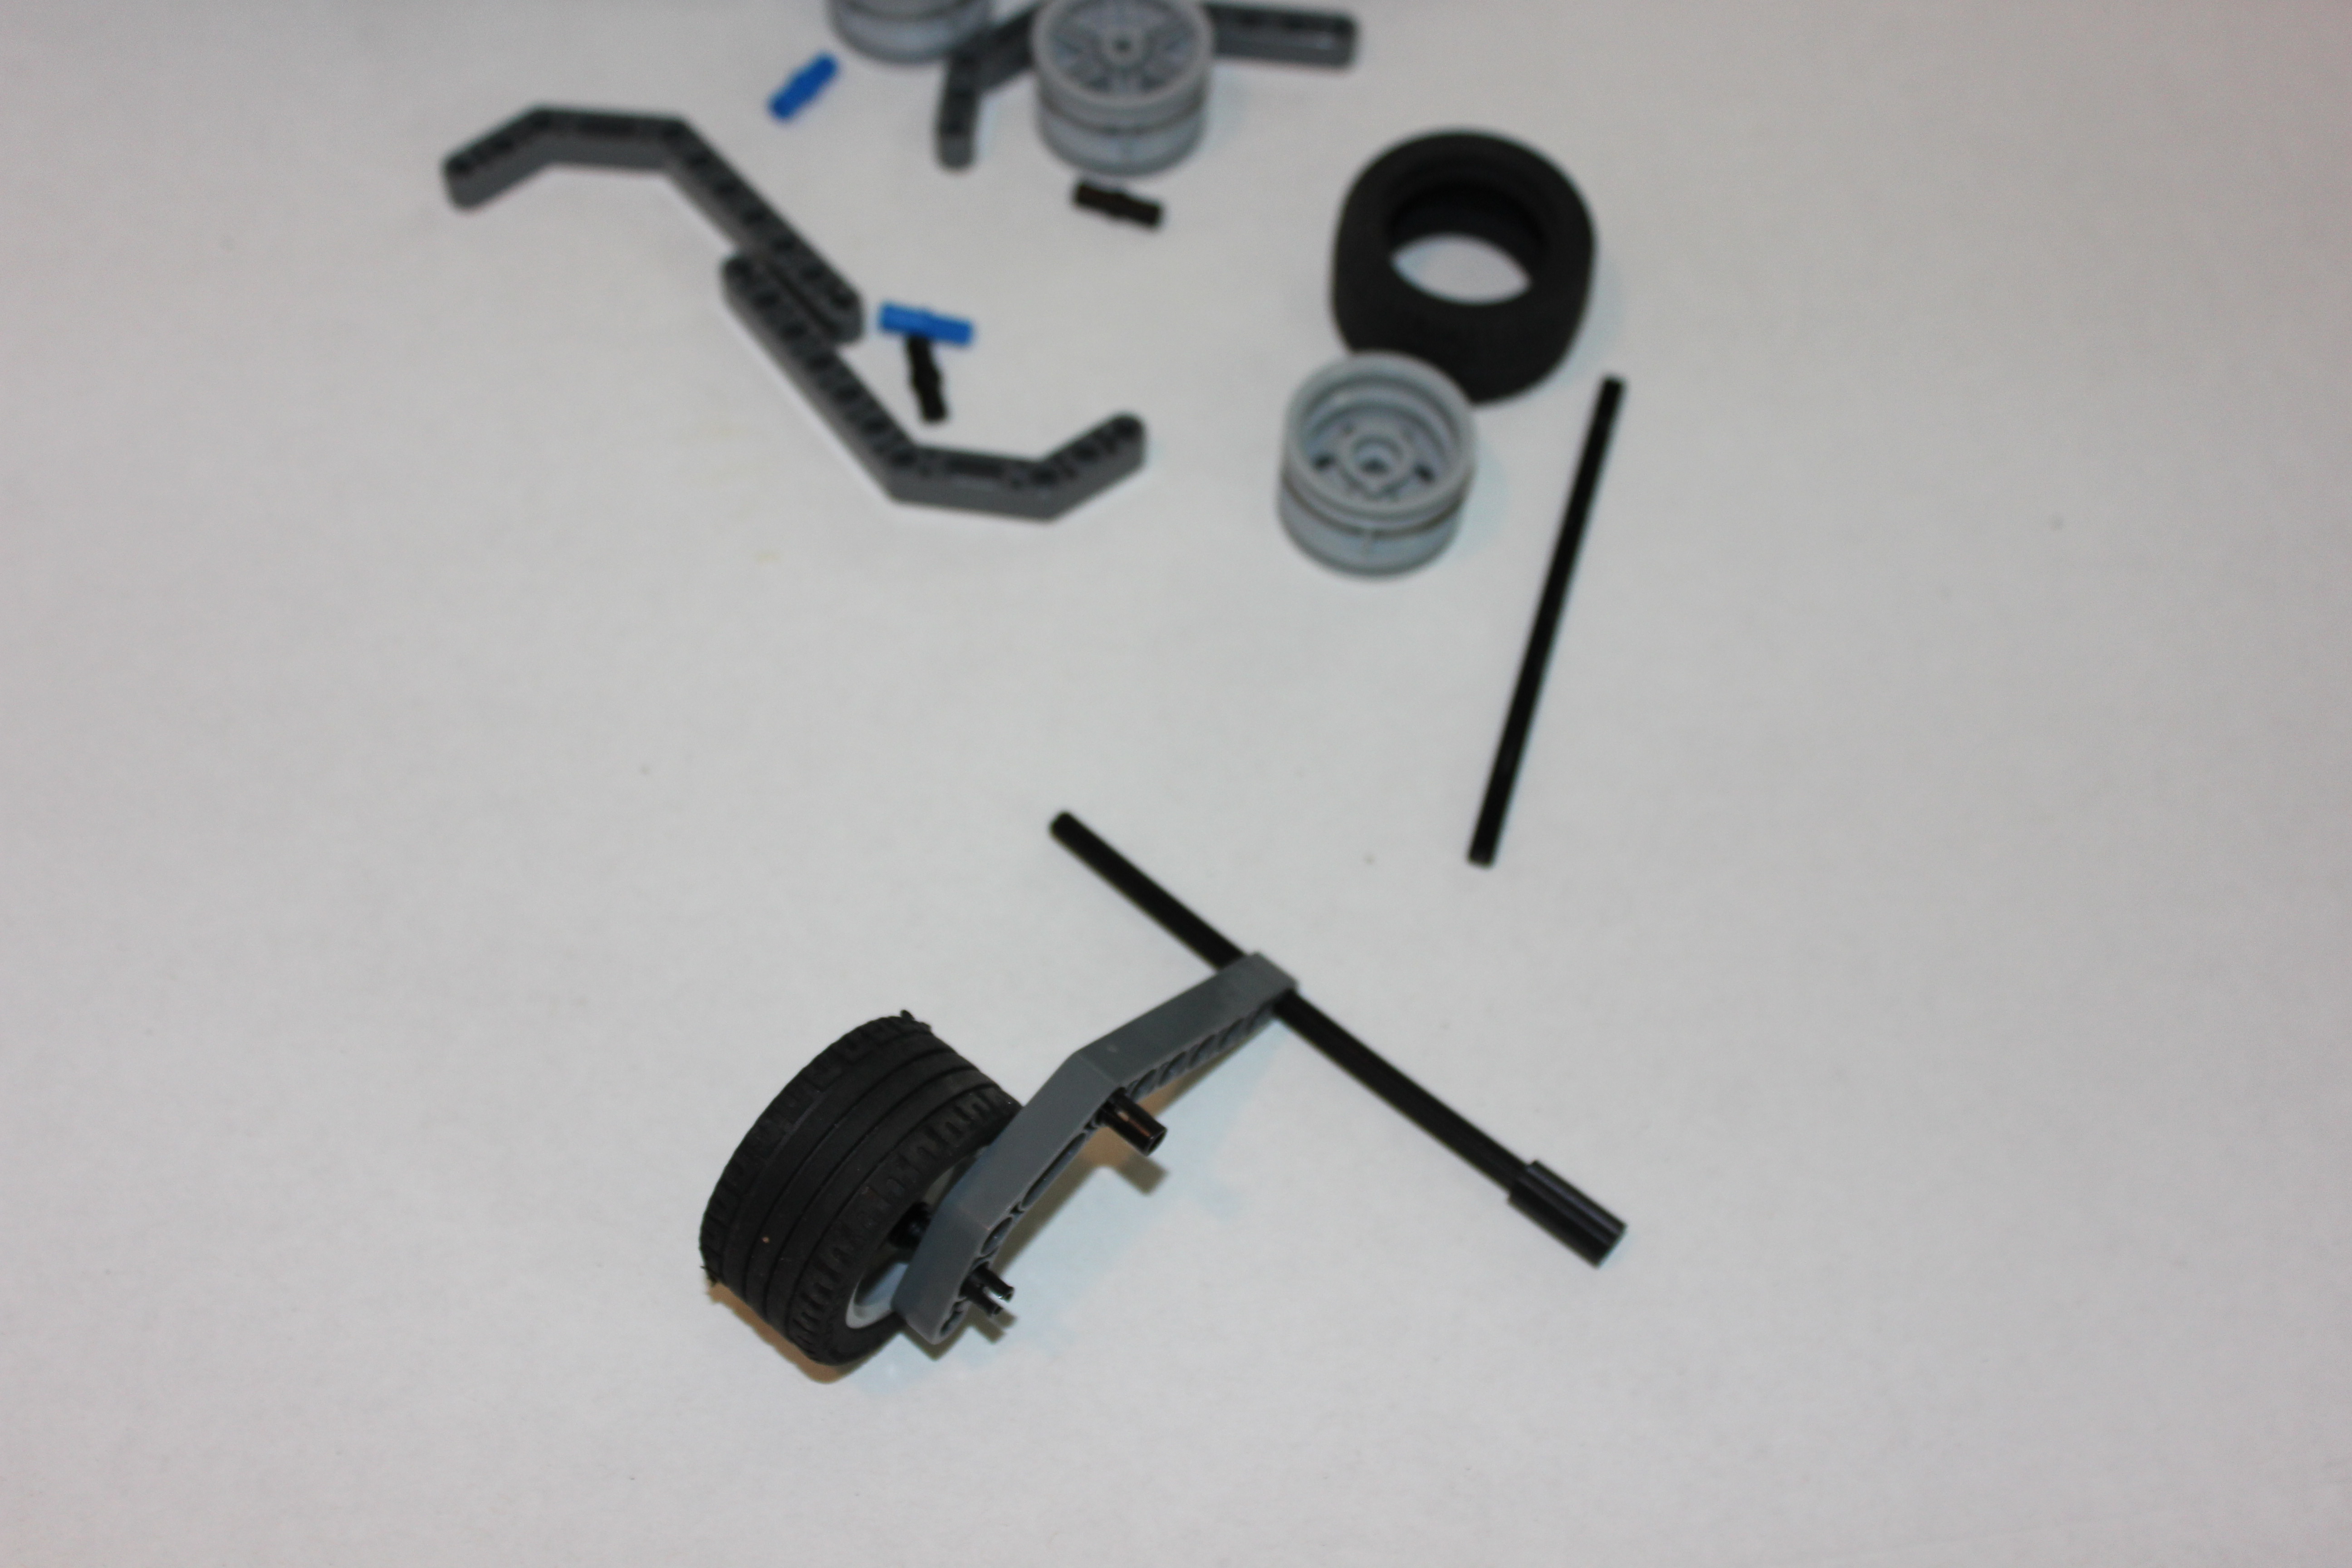
start with these pieces.
Build the Attachment Arms

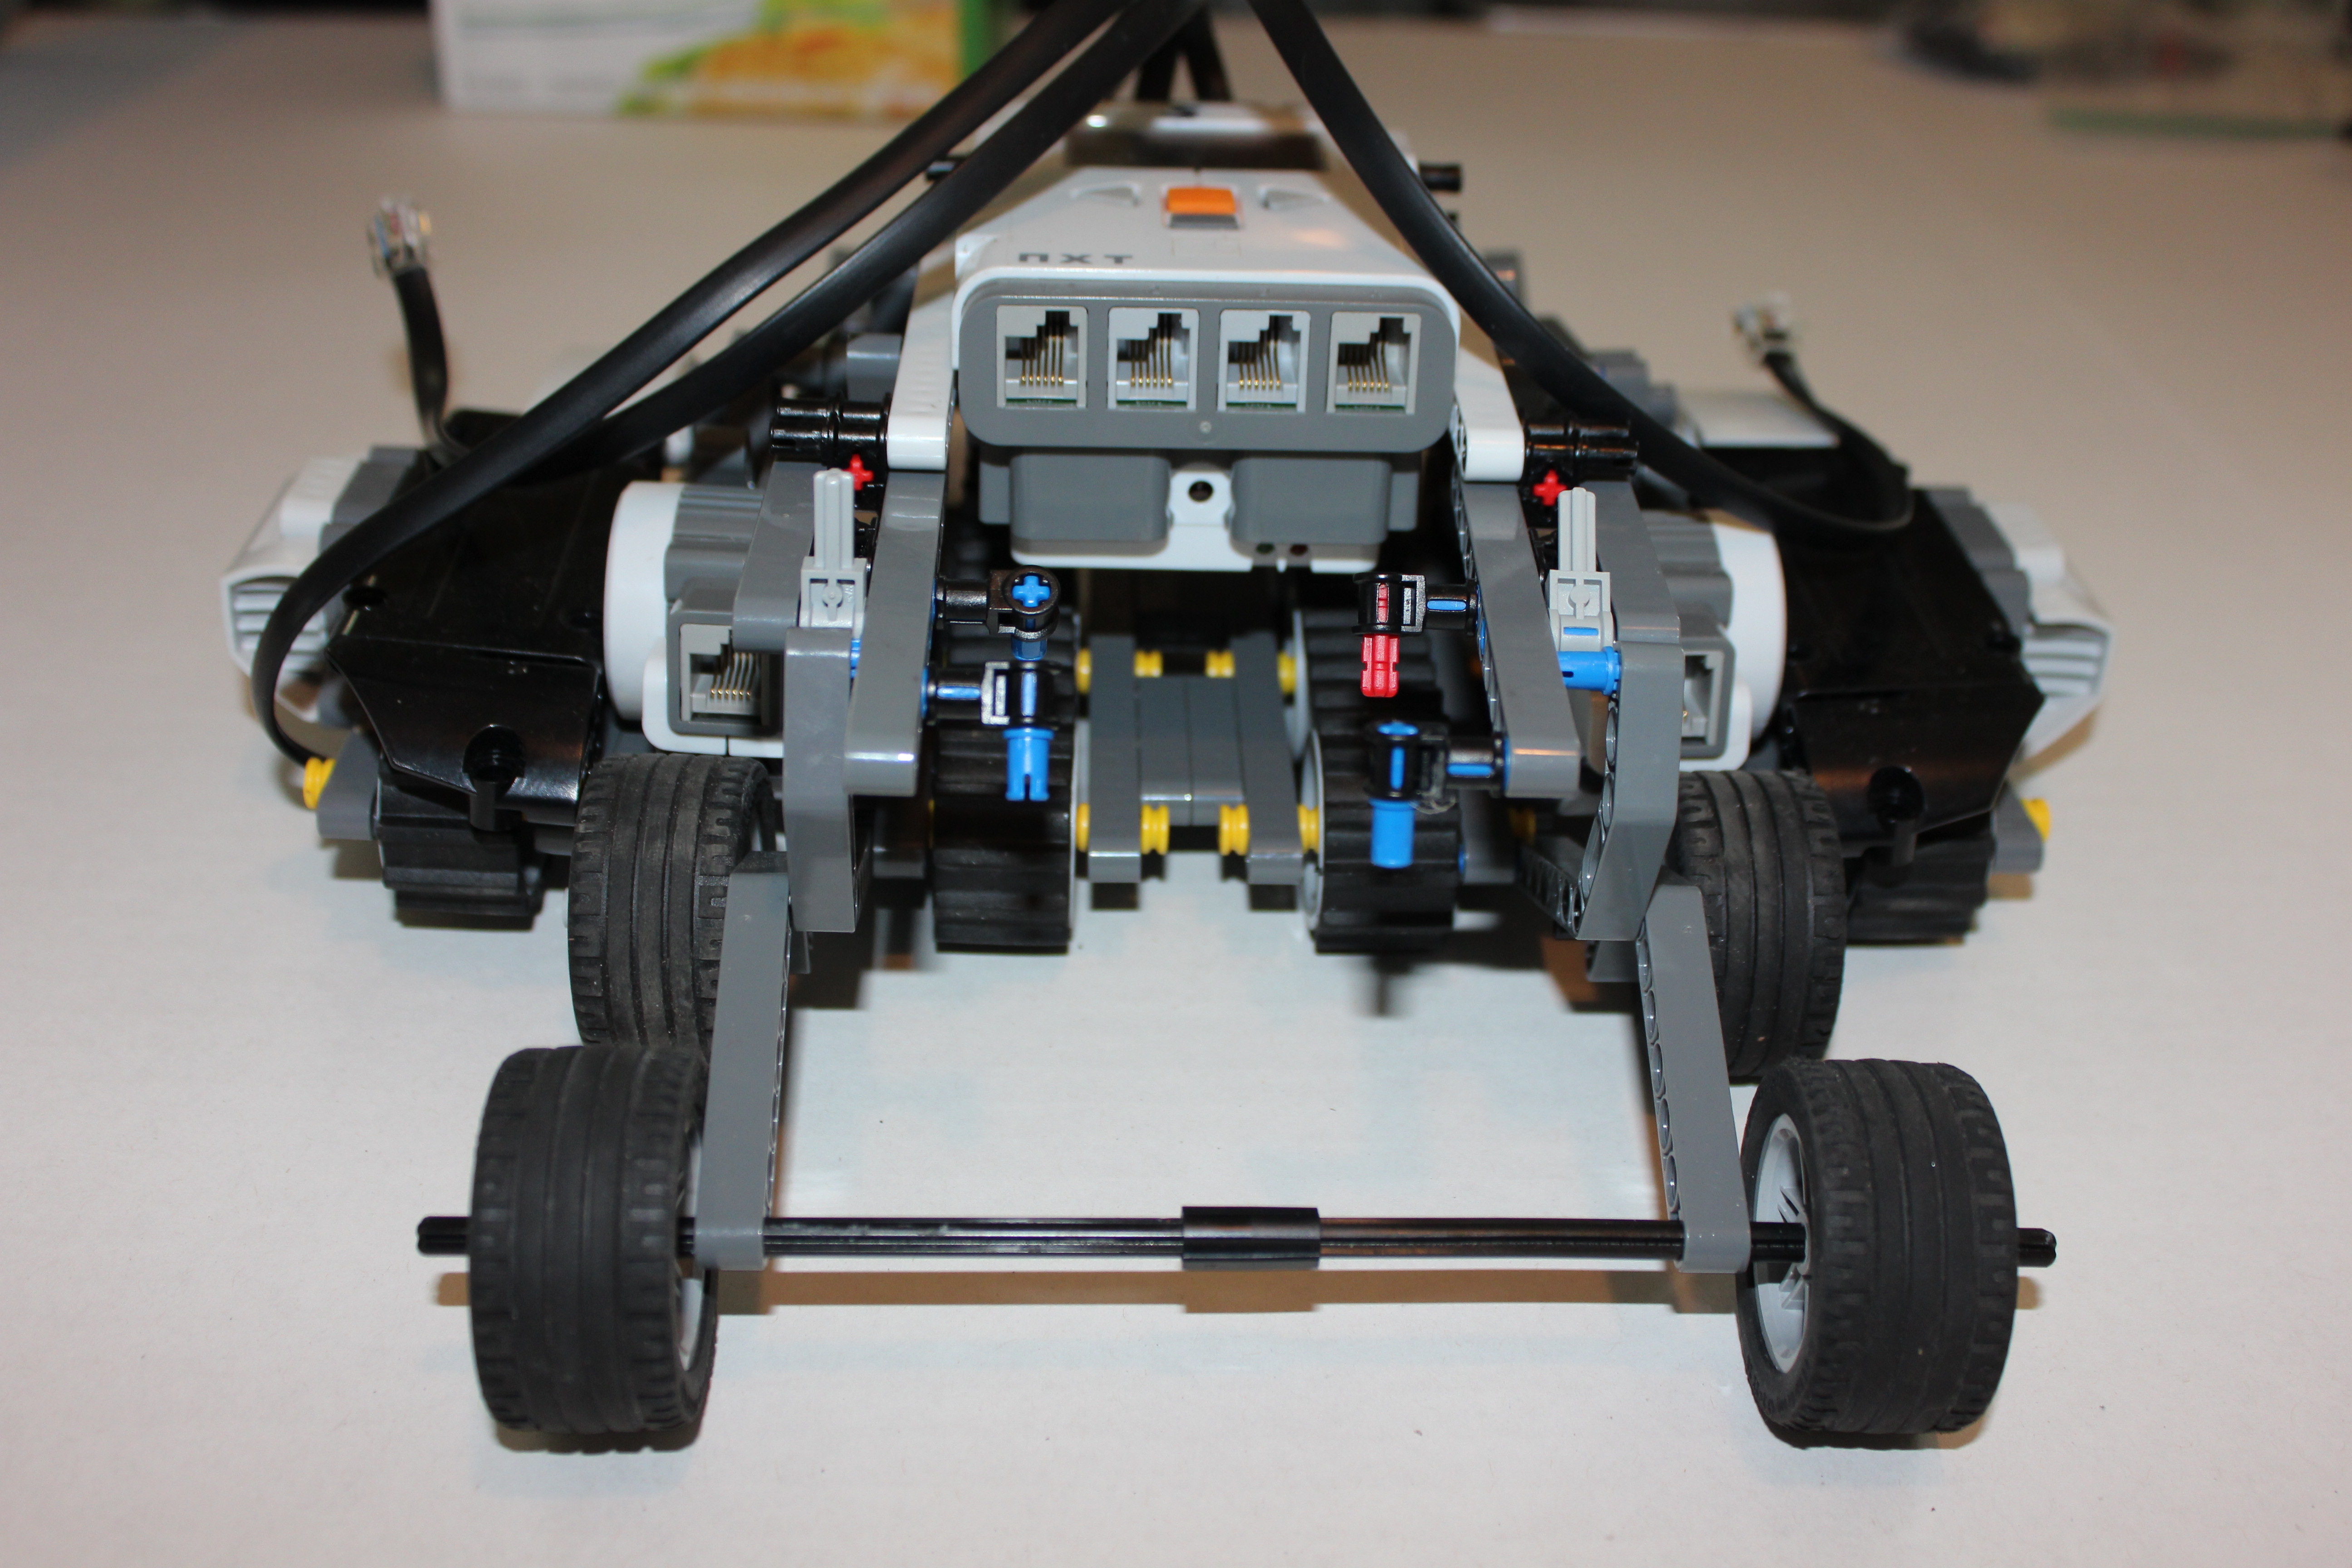
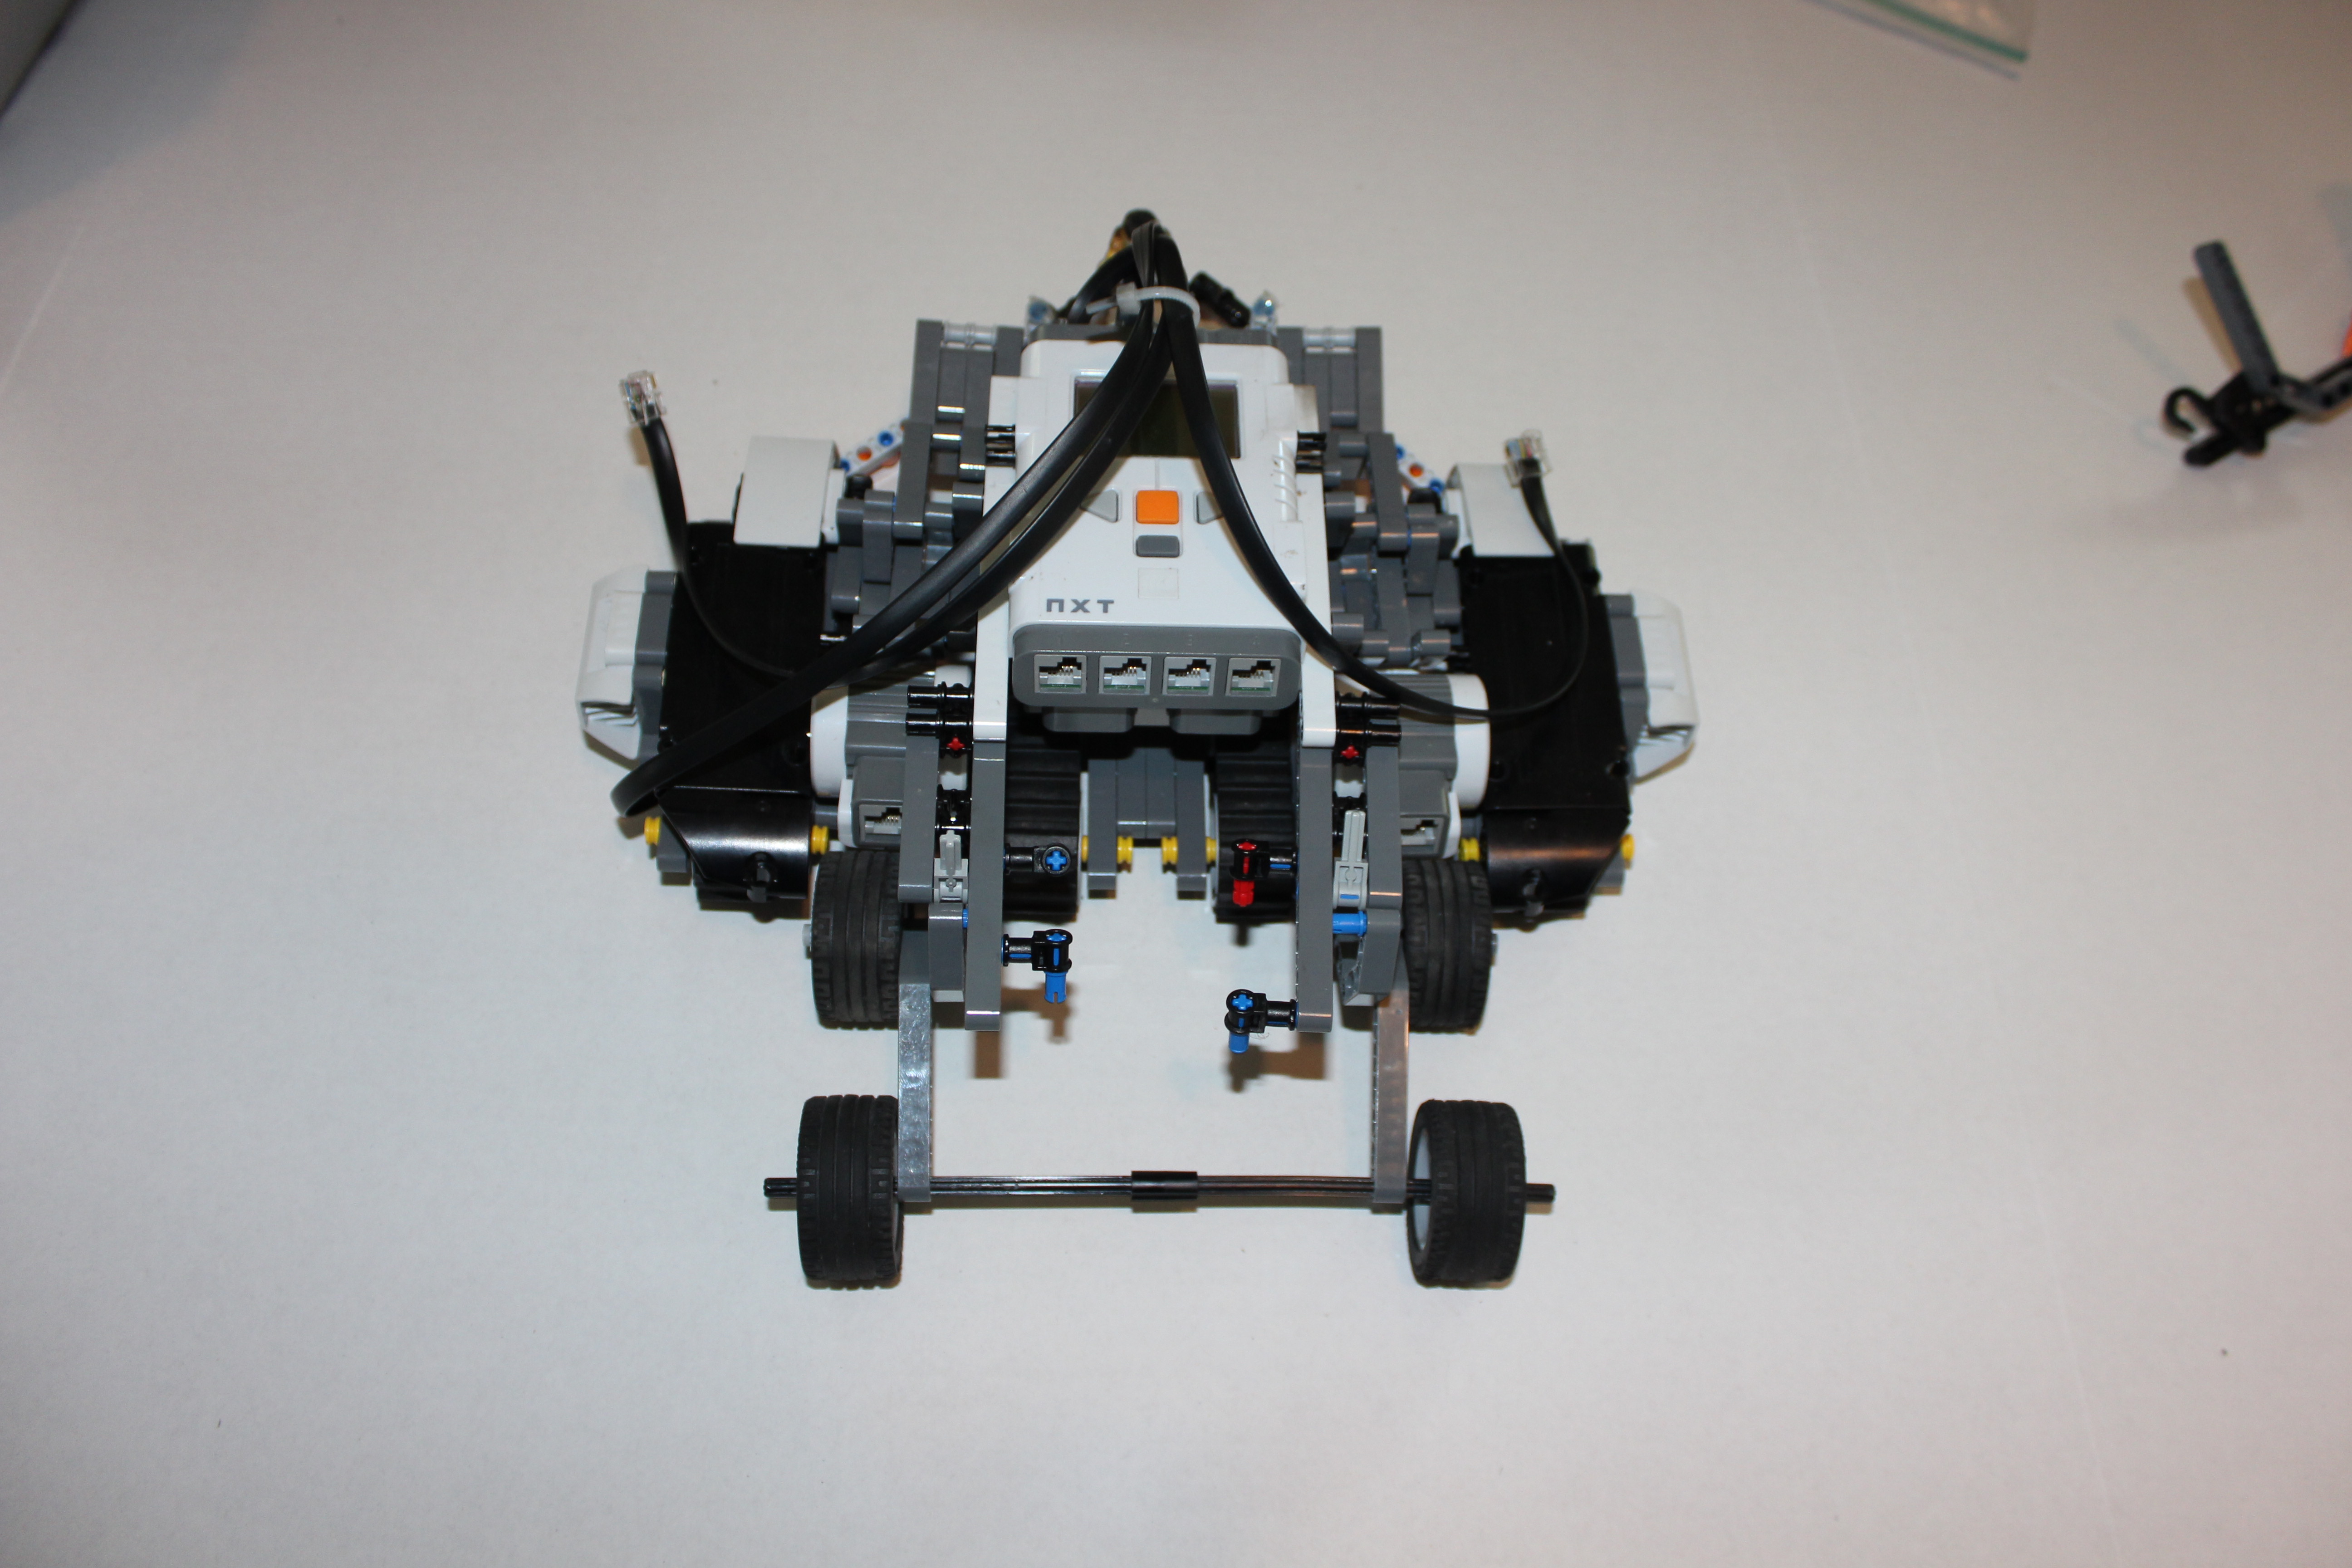
Support System
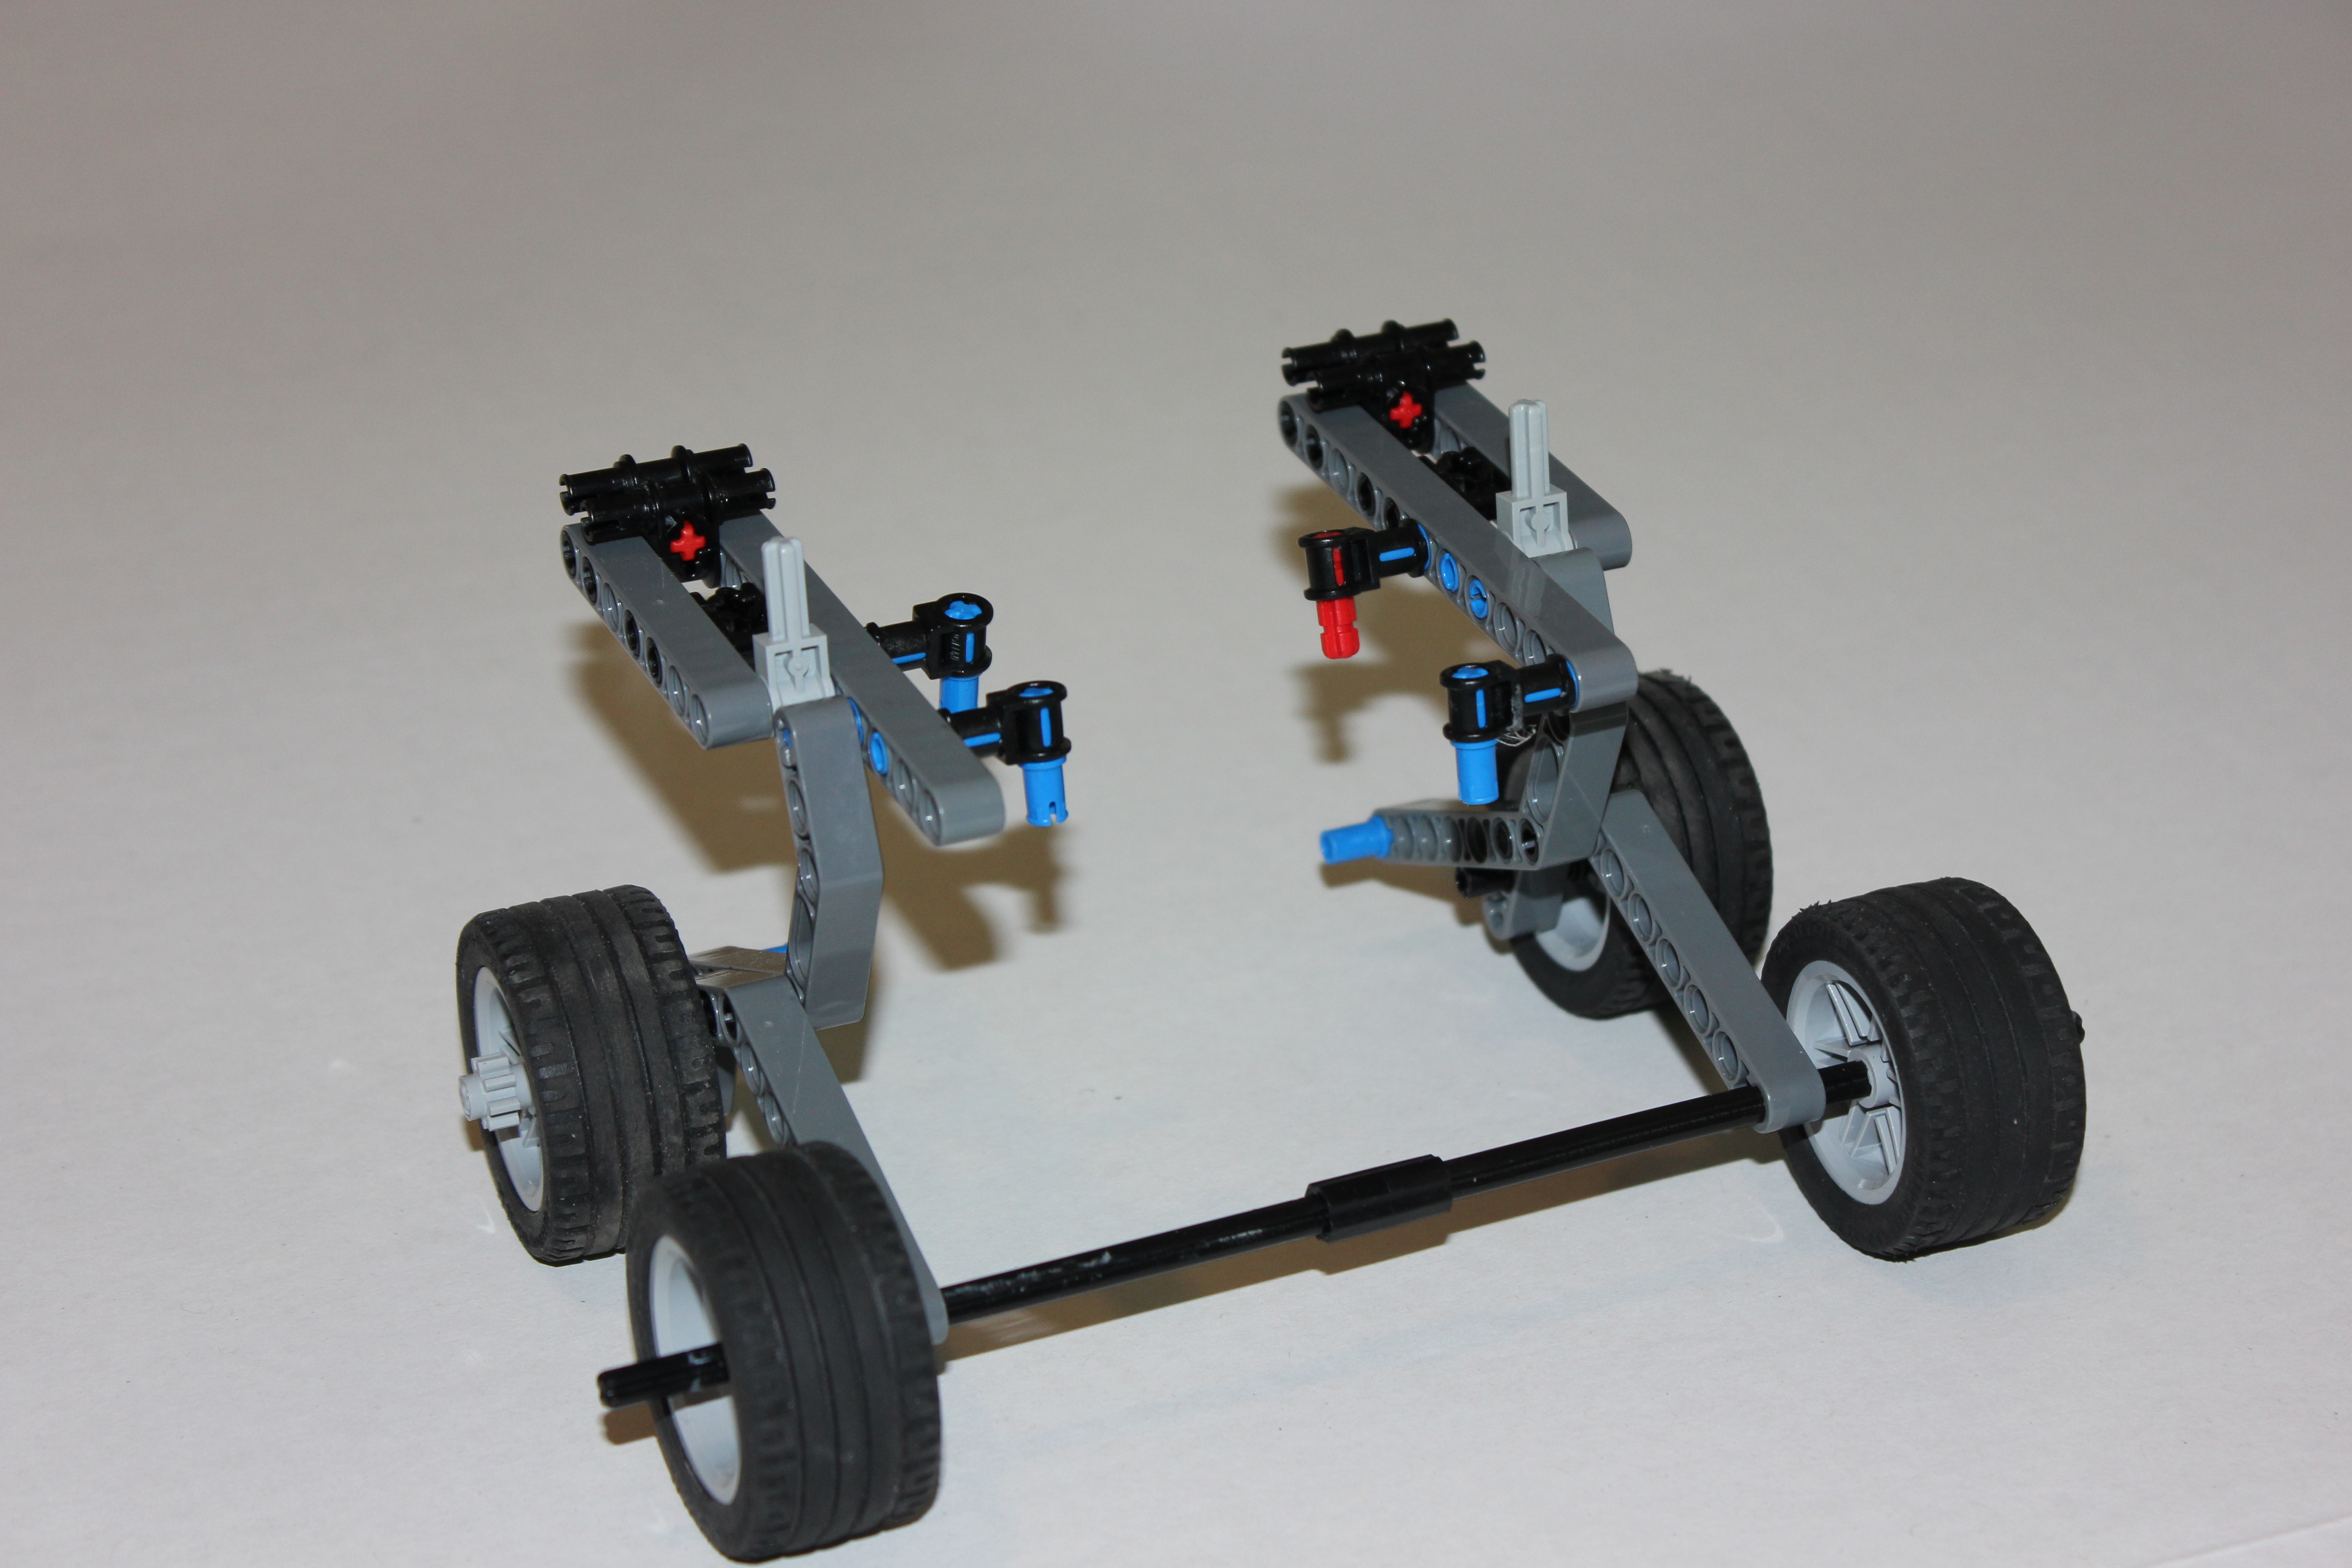
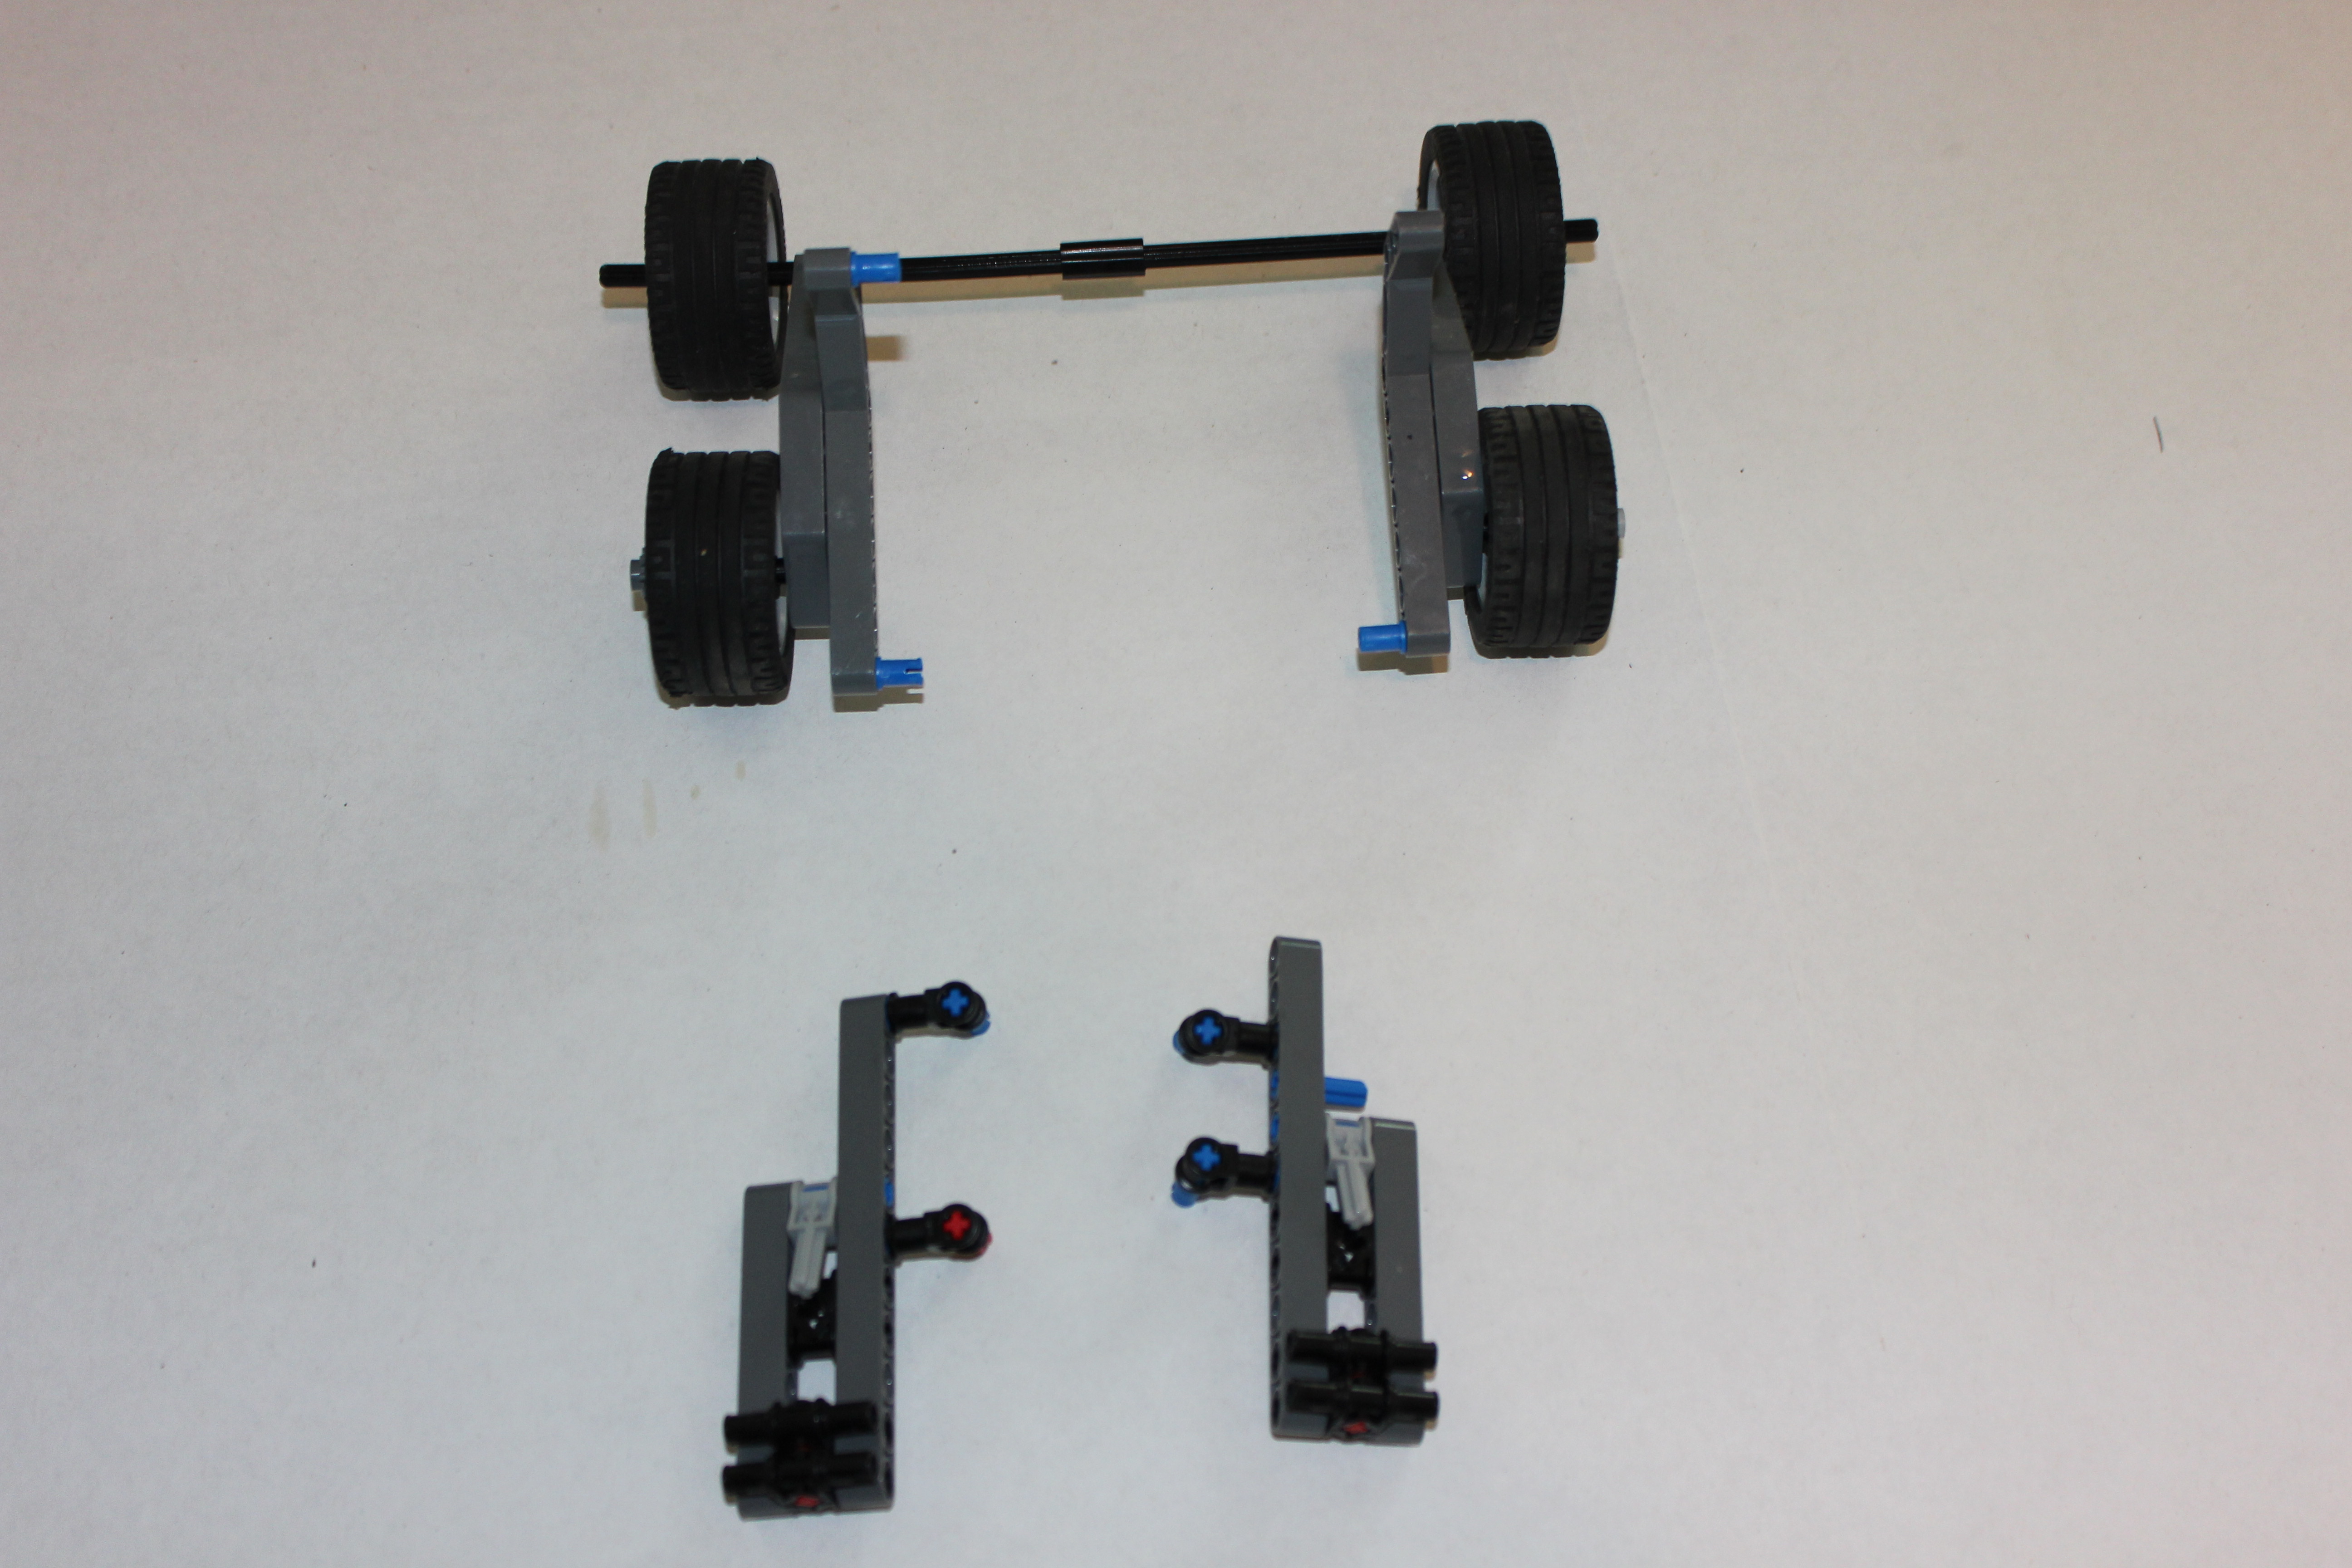
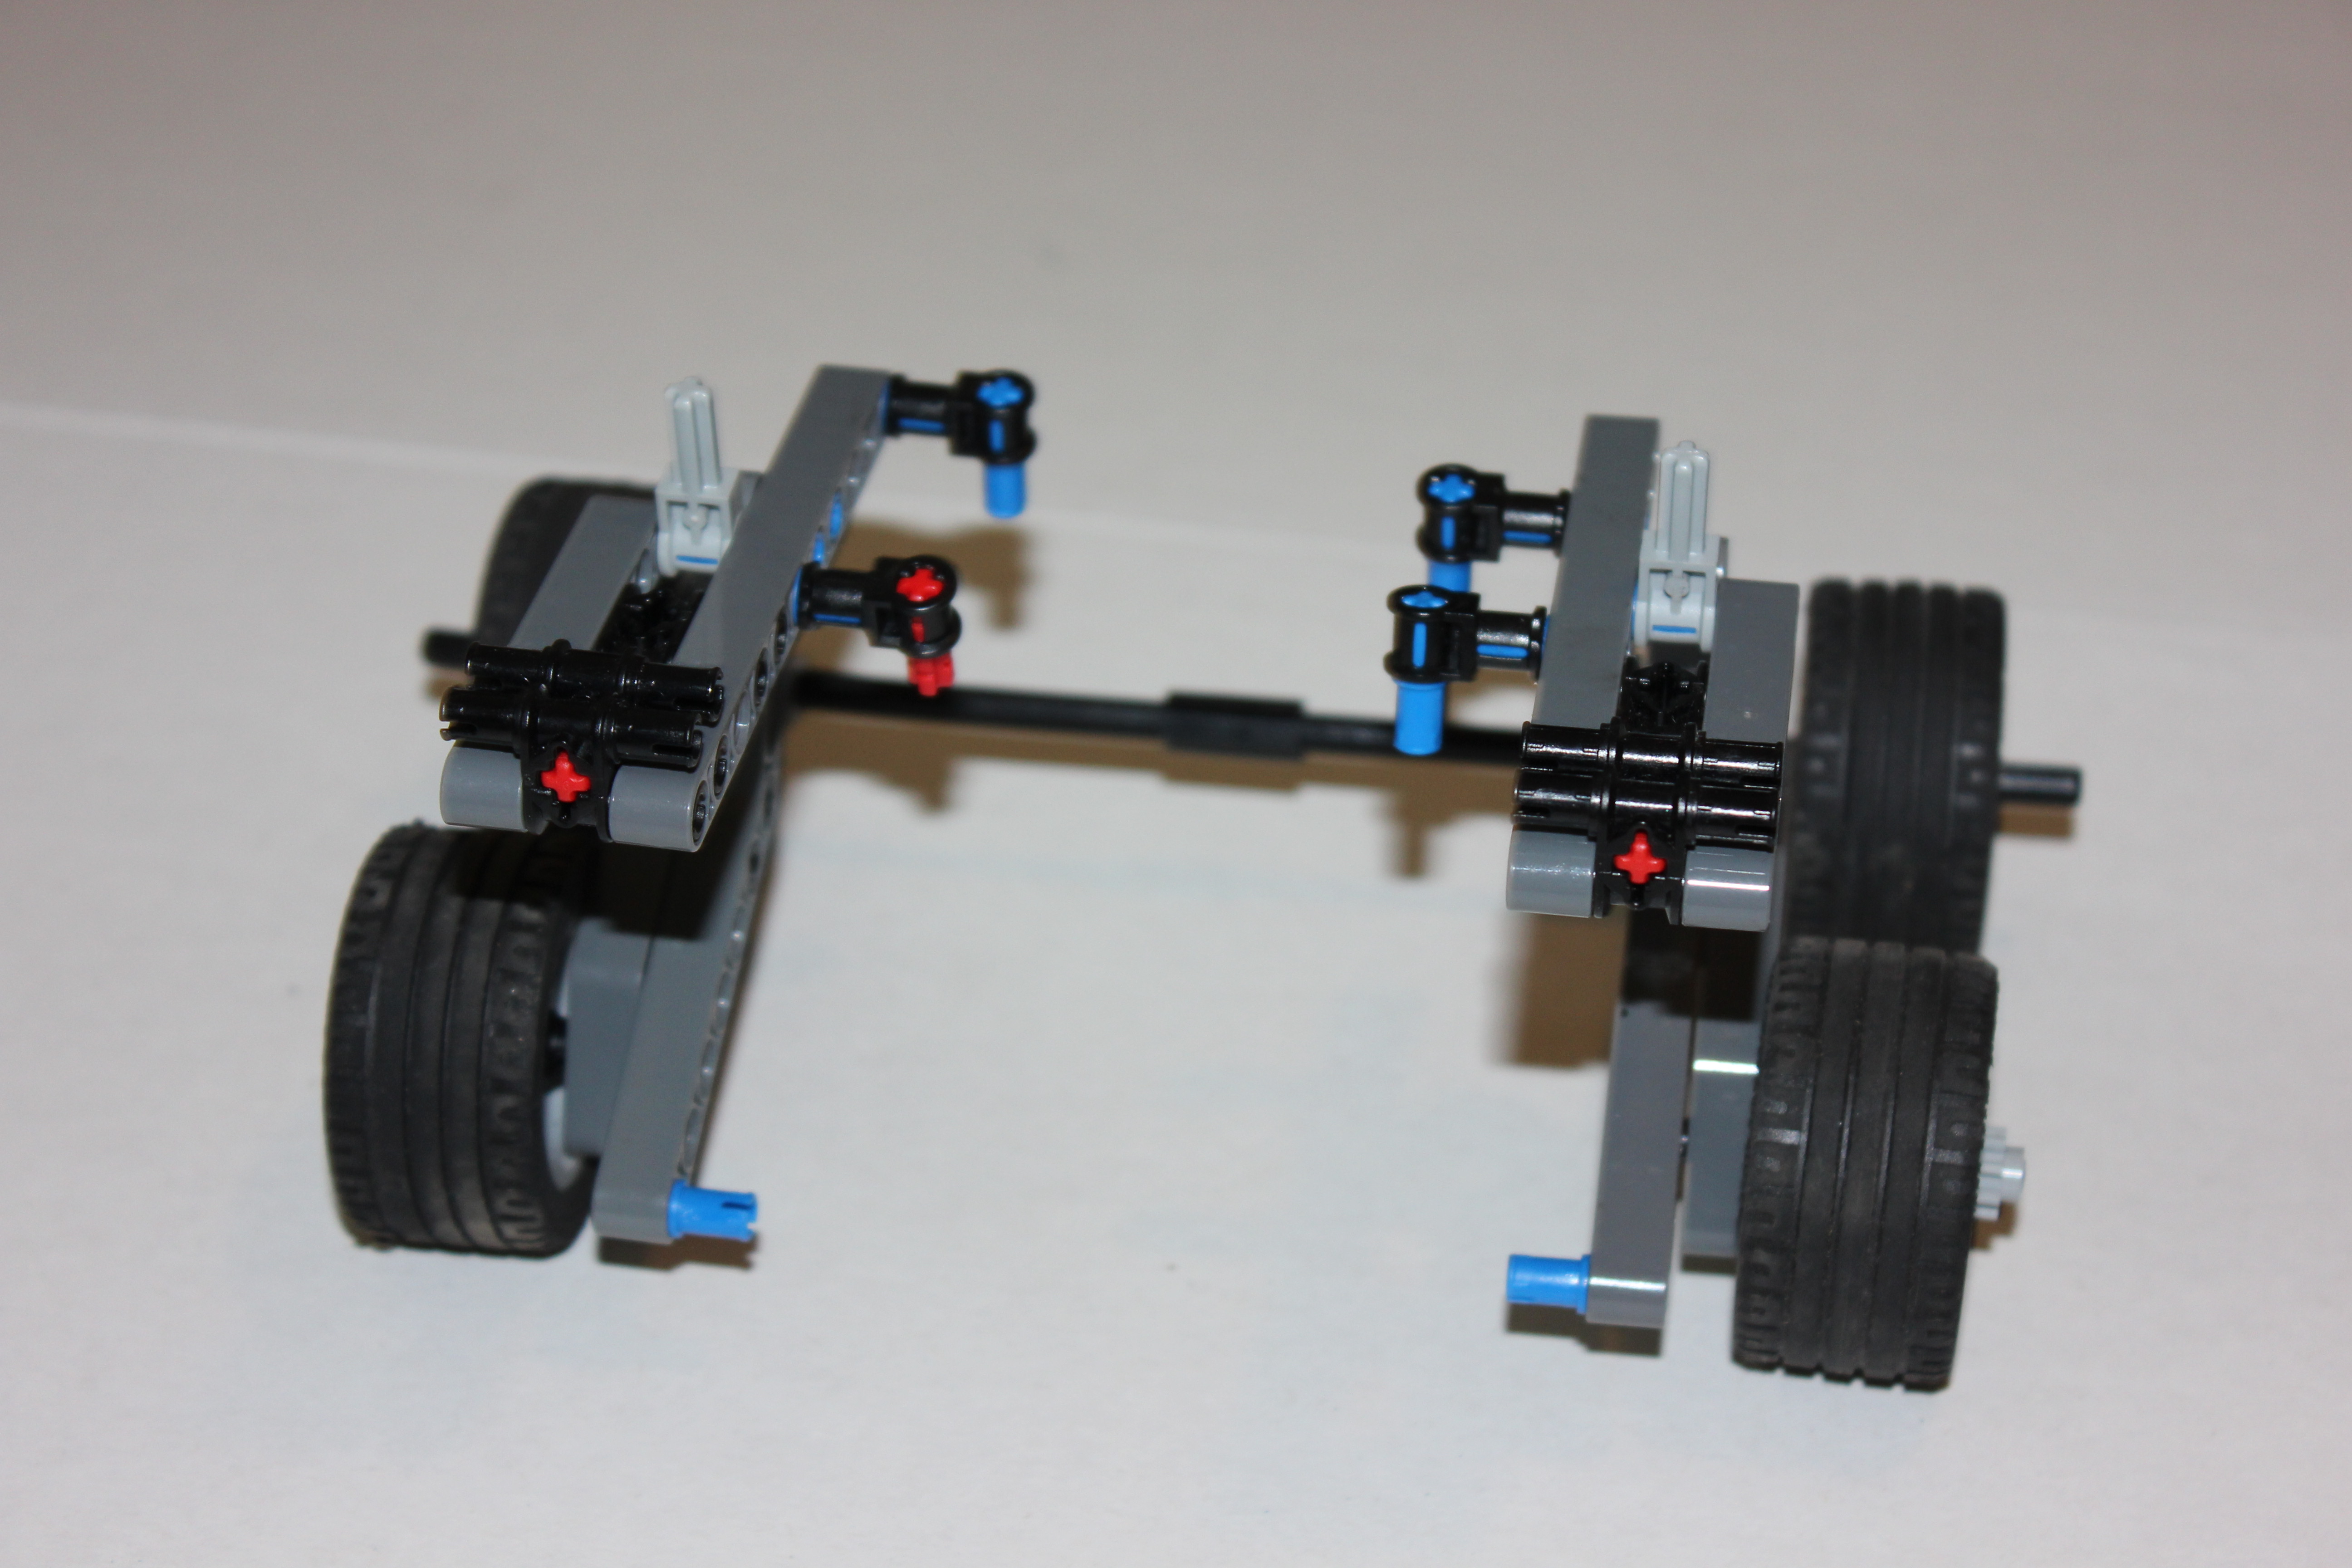
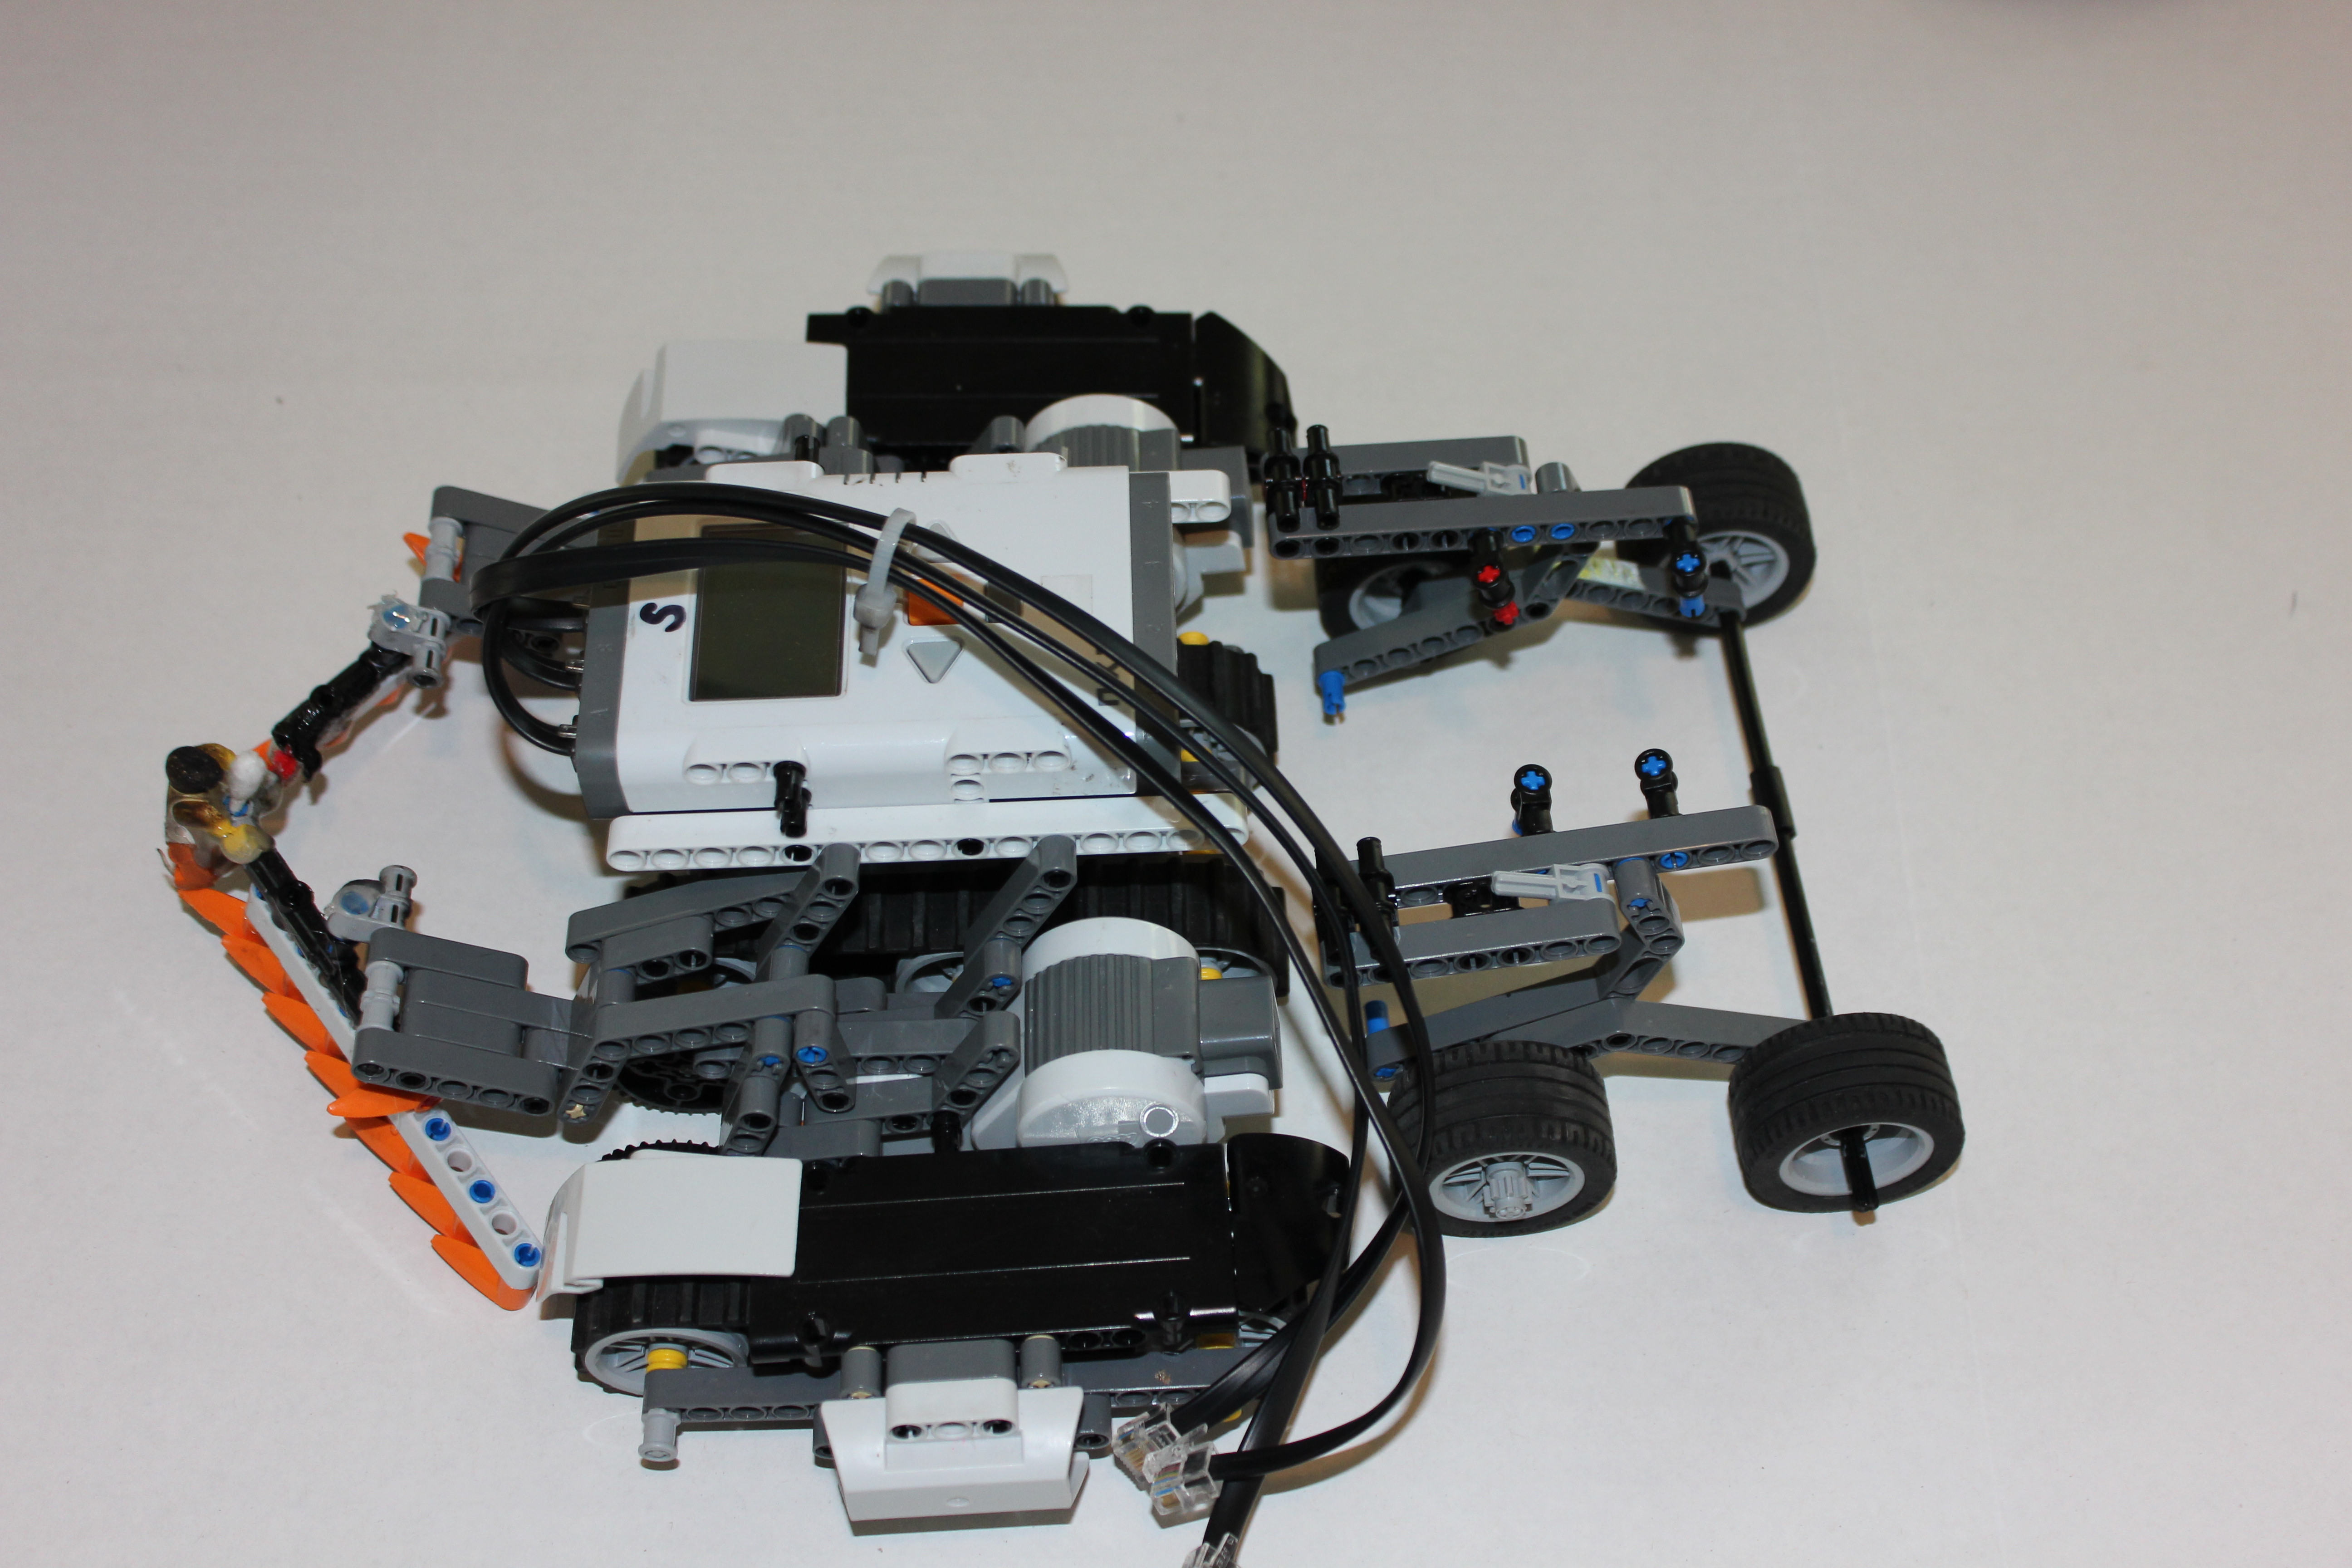
The support system consists of the support wheels and the attachment beams for the flamethrower actuator and butane housing. Attach to the rear of the bot.
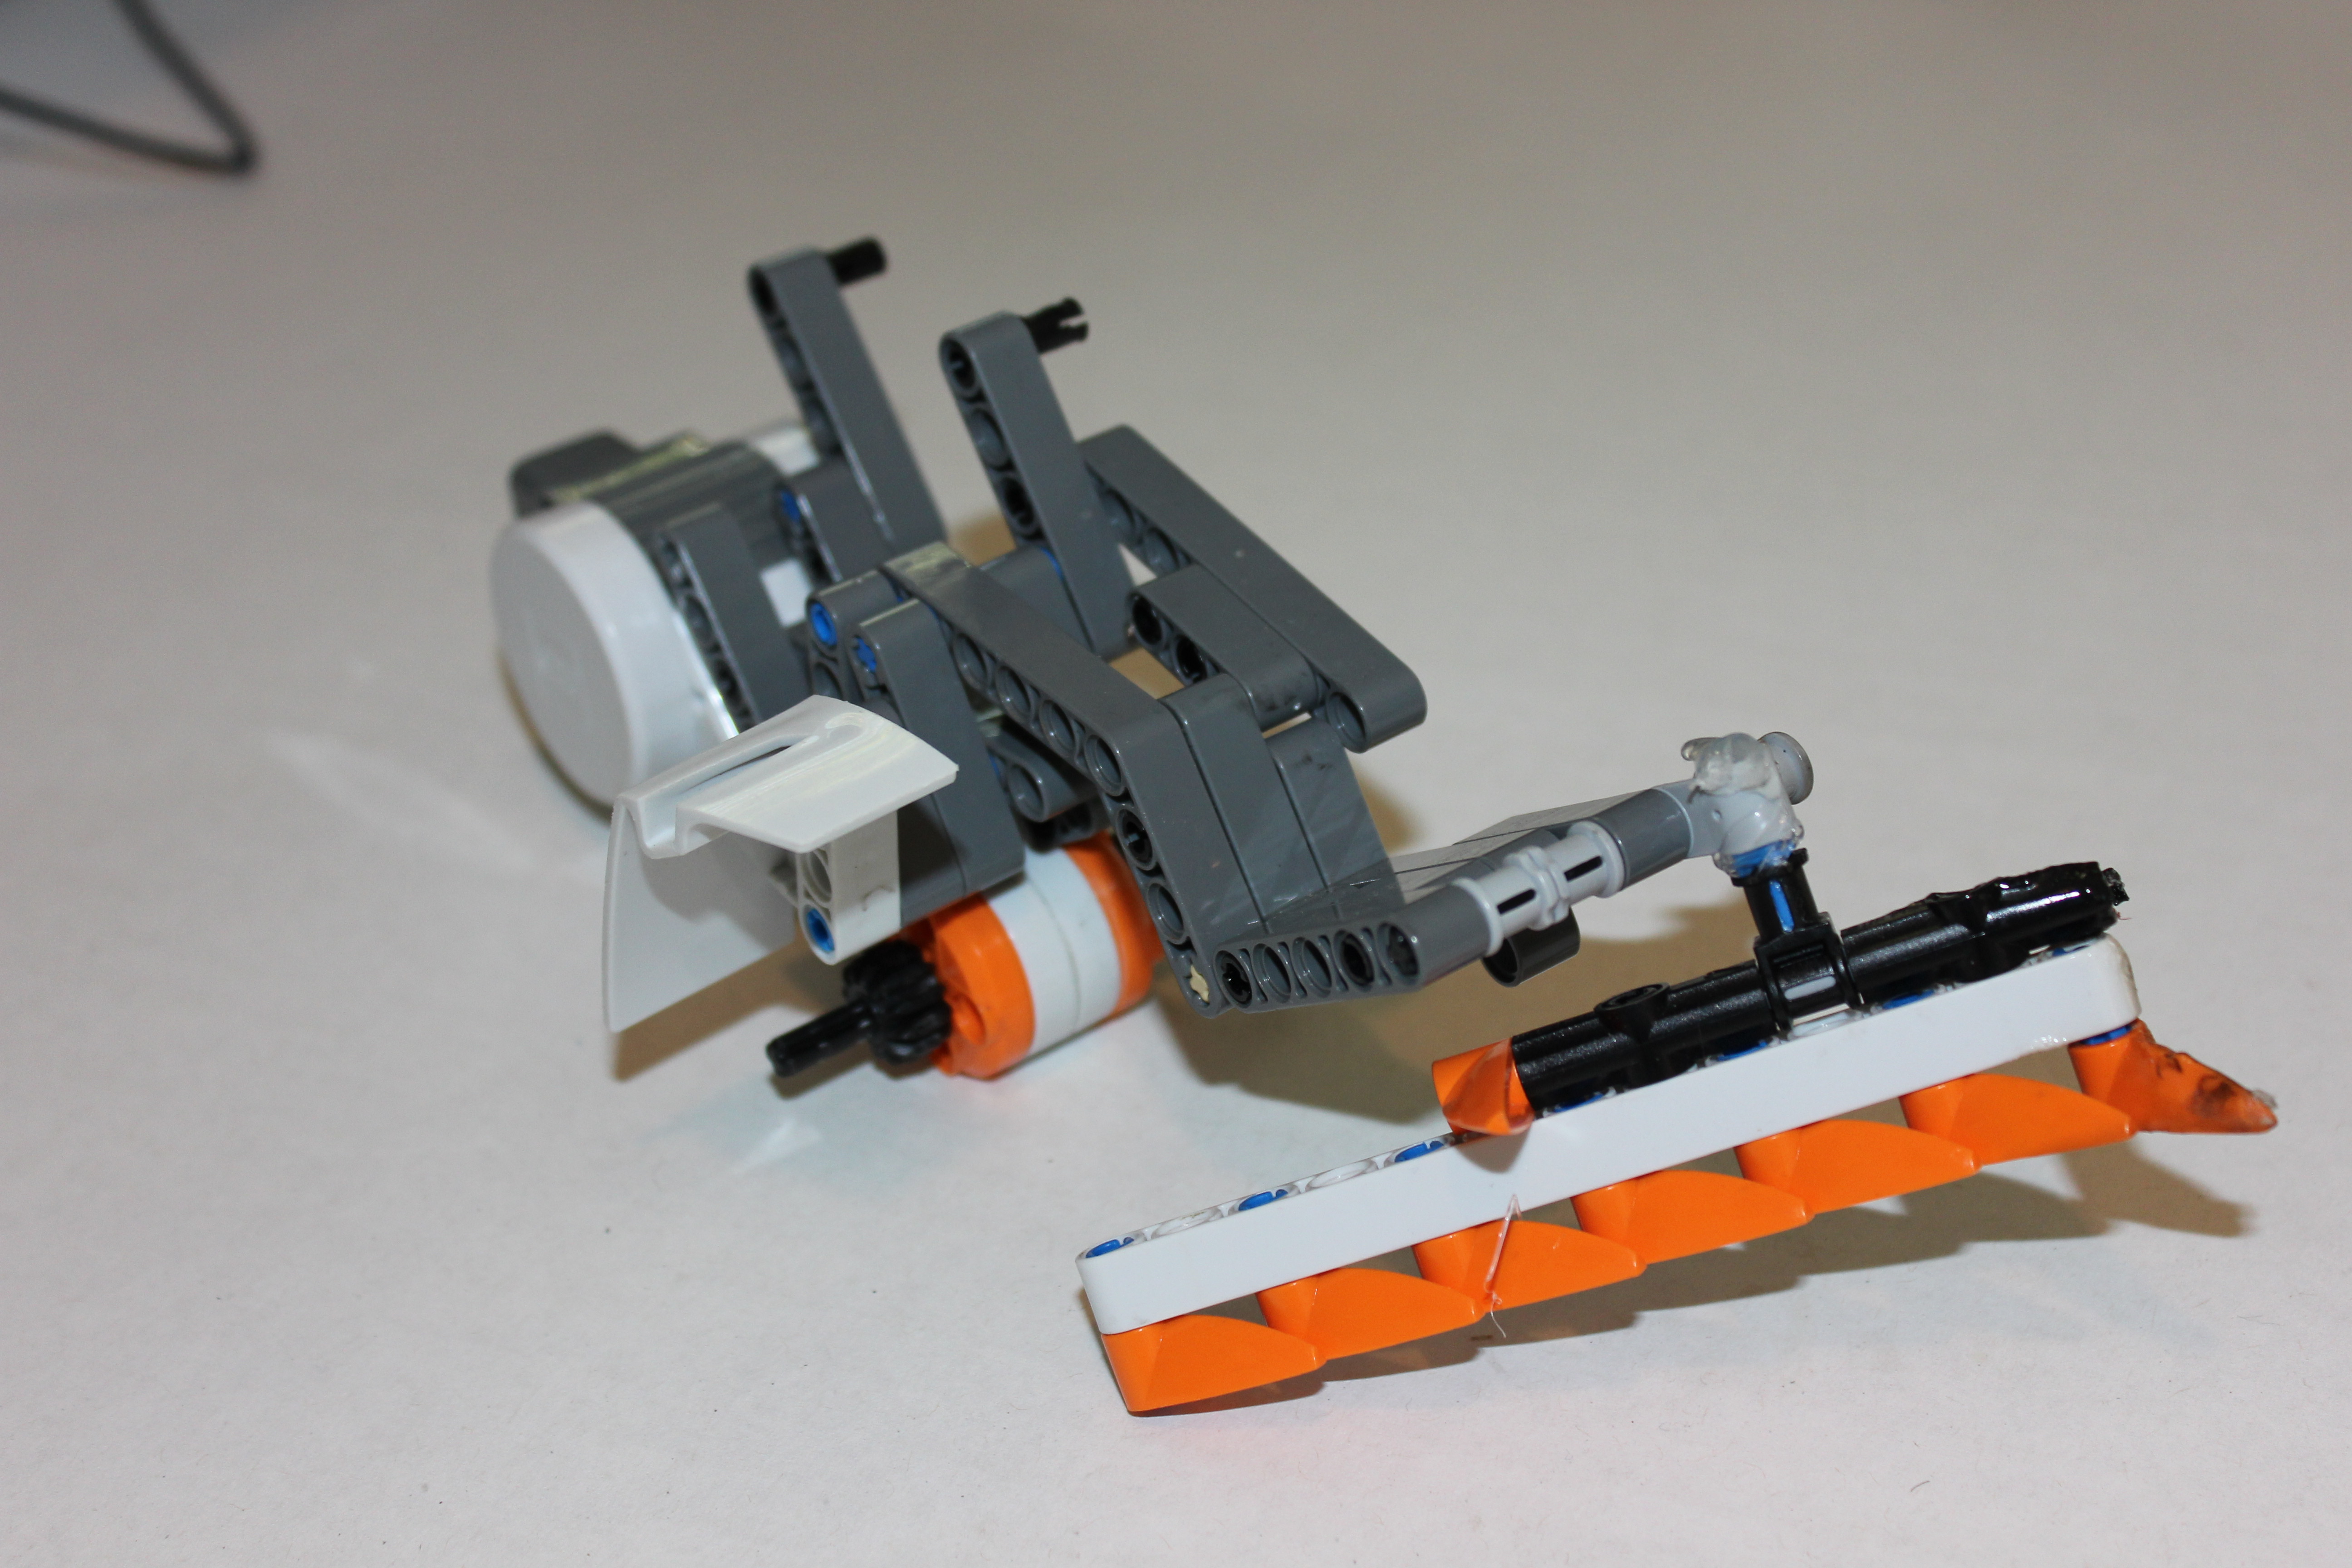
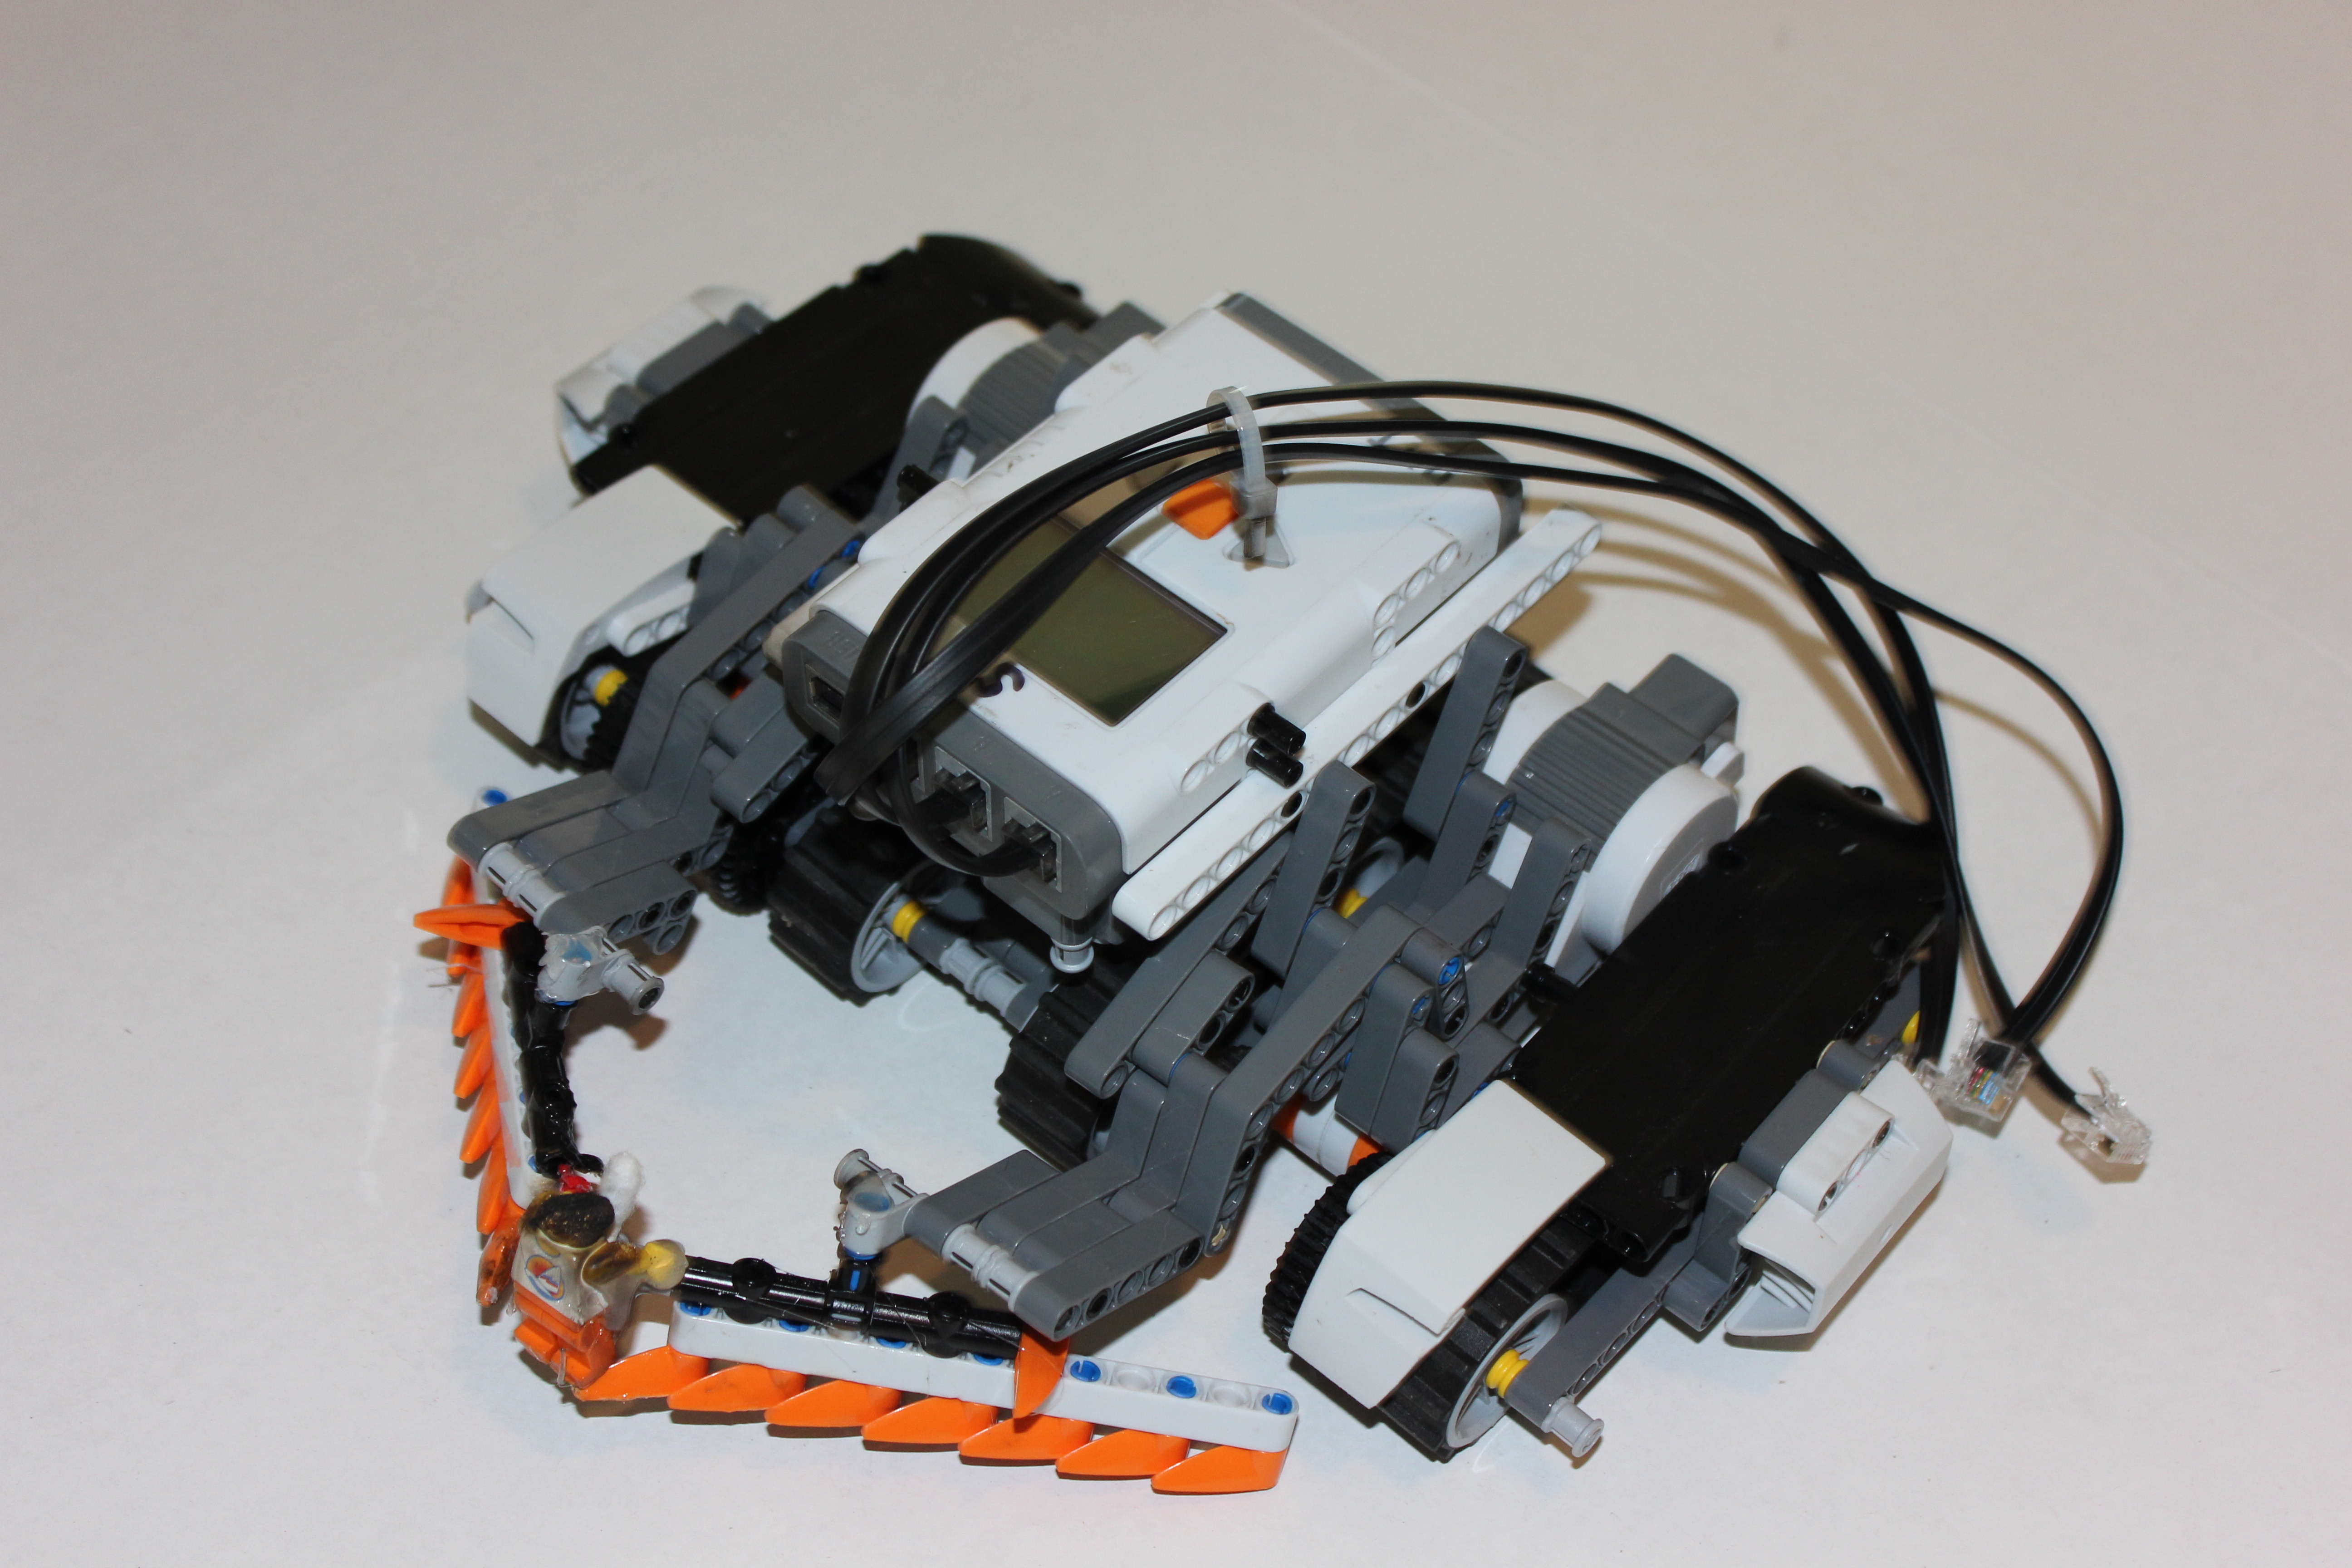
Flame Thrower Assembly
Now for the flame thrower assembly; It consists of two parts The flame thrower, and the flame thrower actuator.
Flame Thrower Main Section

now we will build the flame thrower main section. this will hold our butane tank as well as the second half of the actuator assembly.
use these pieces to assemble the flame thrower section
build to look like this
attach to main chasis
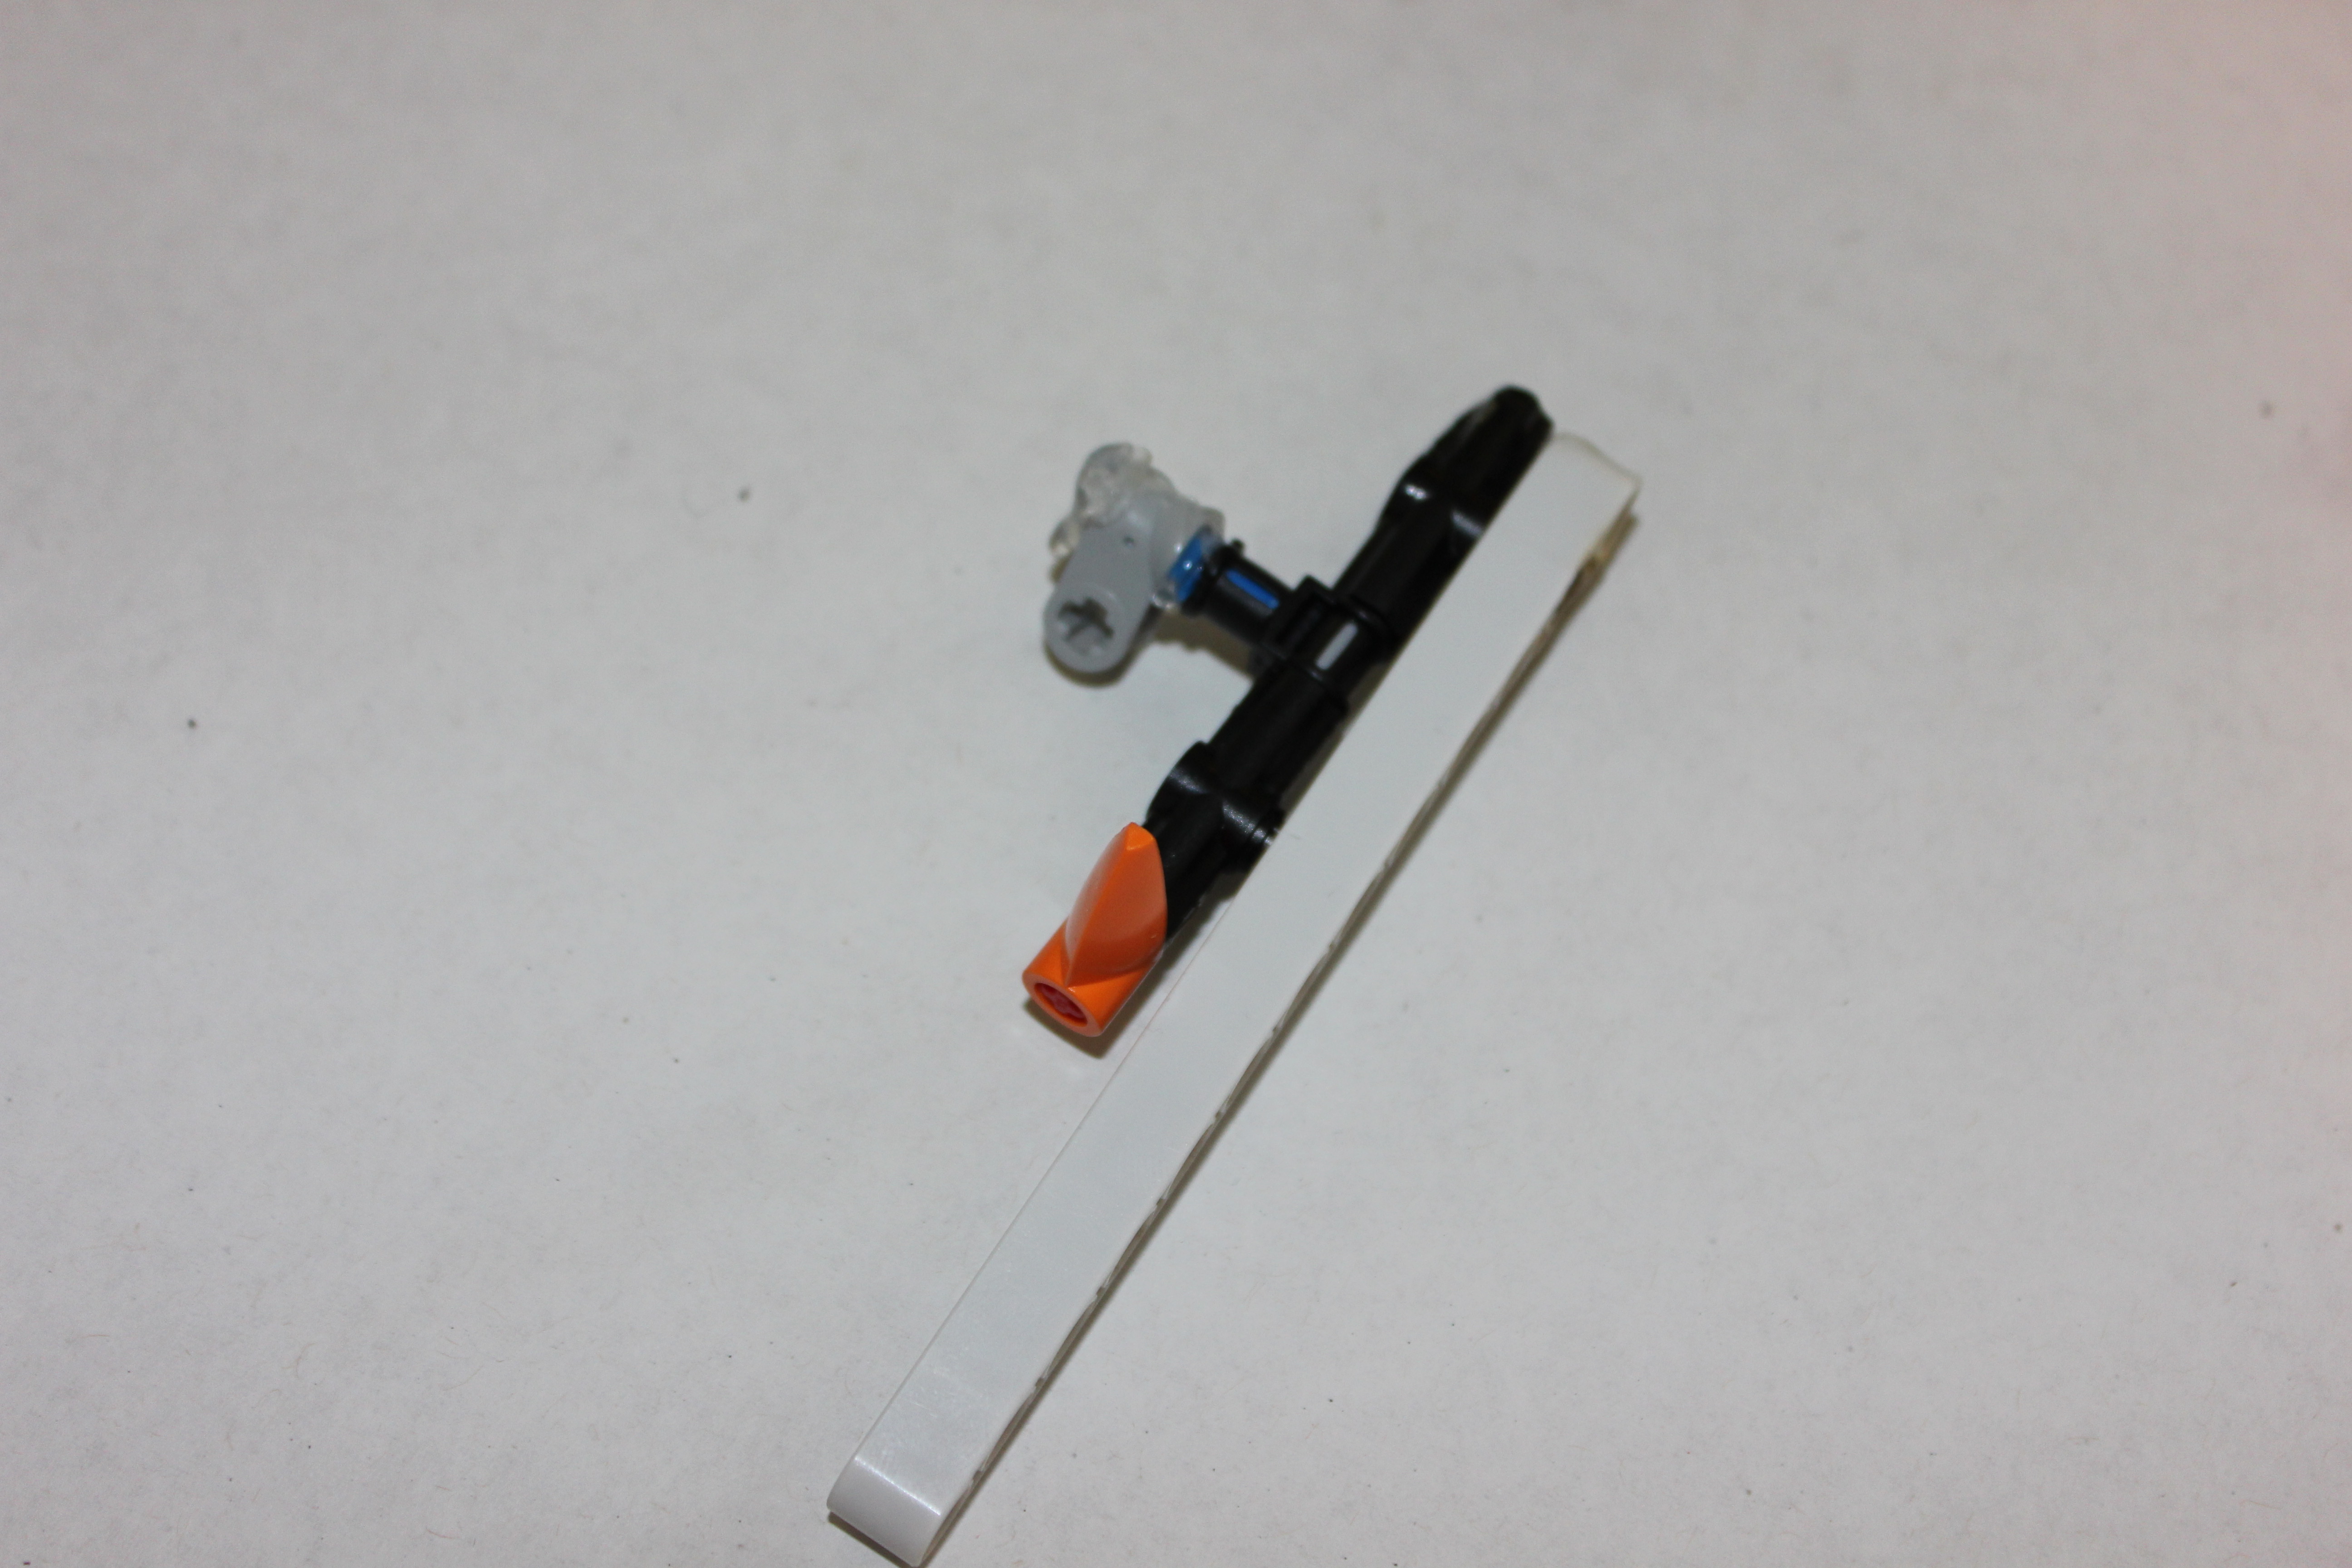
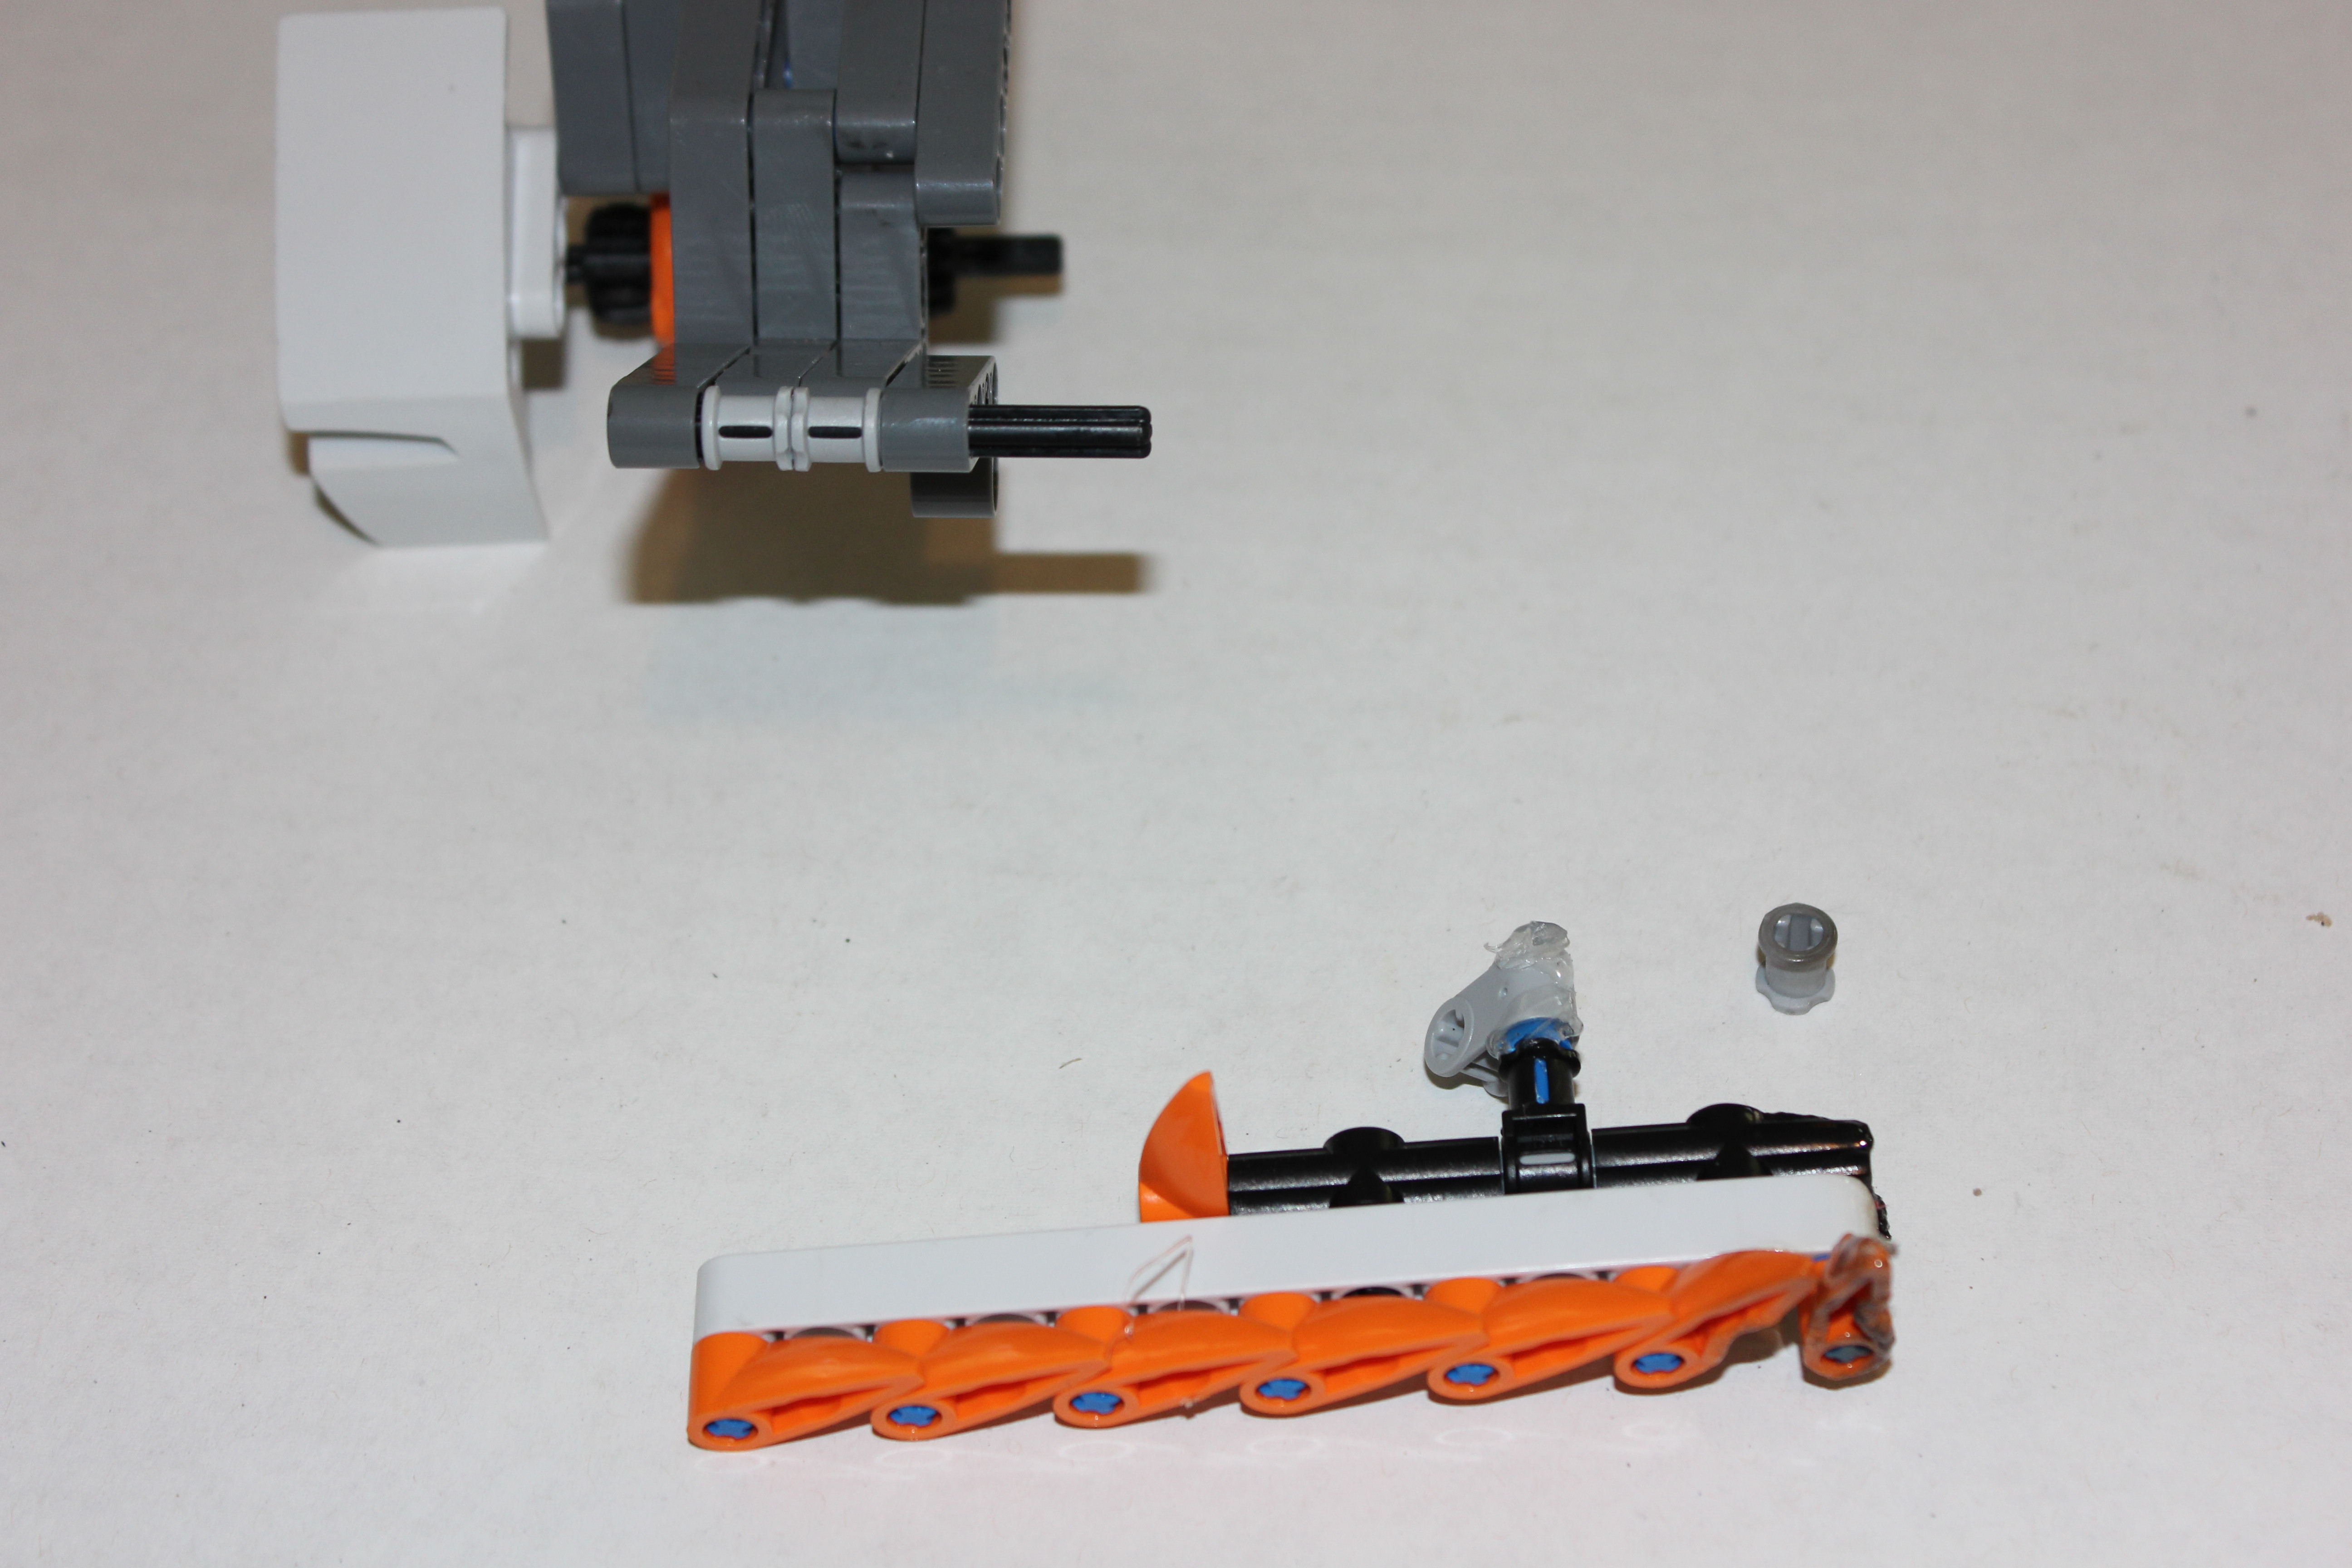
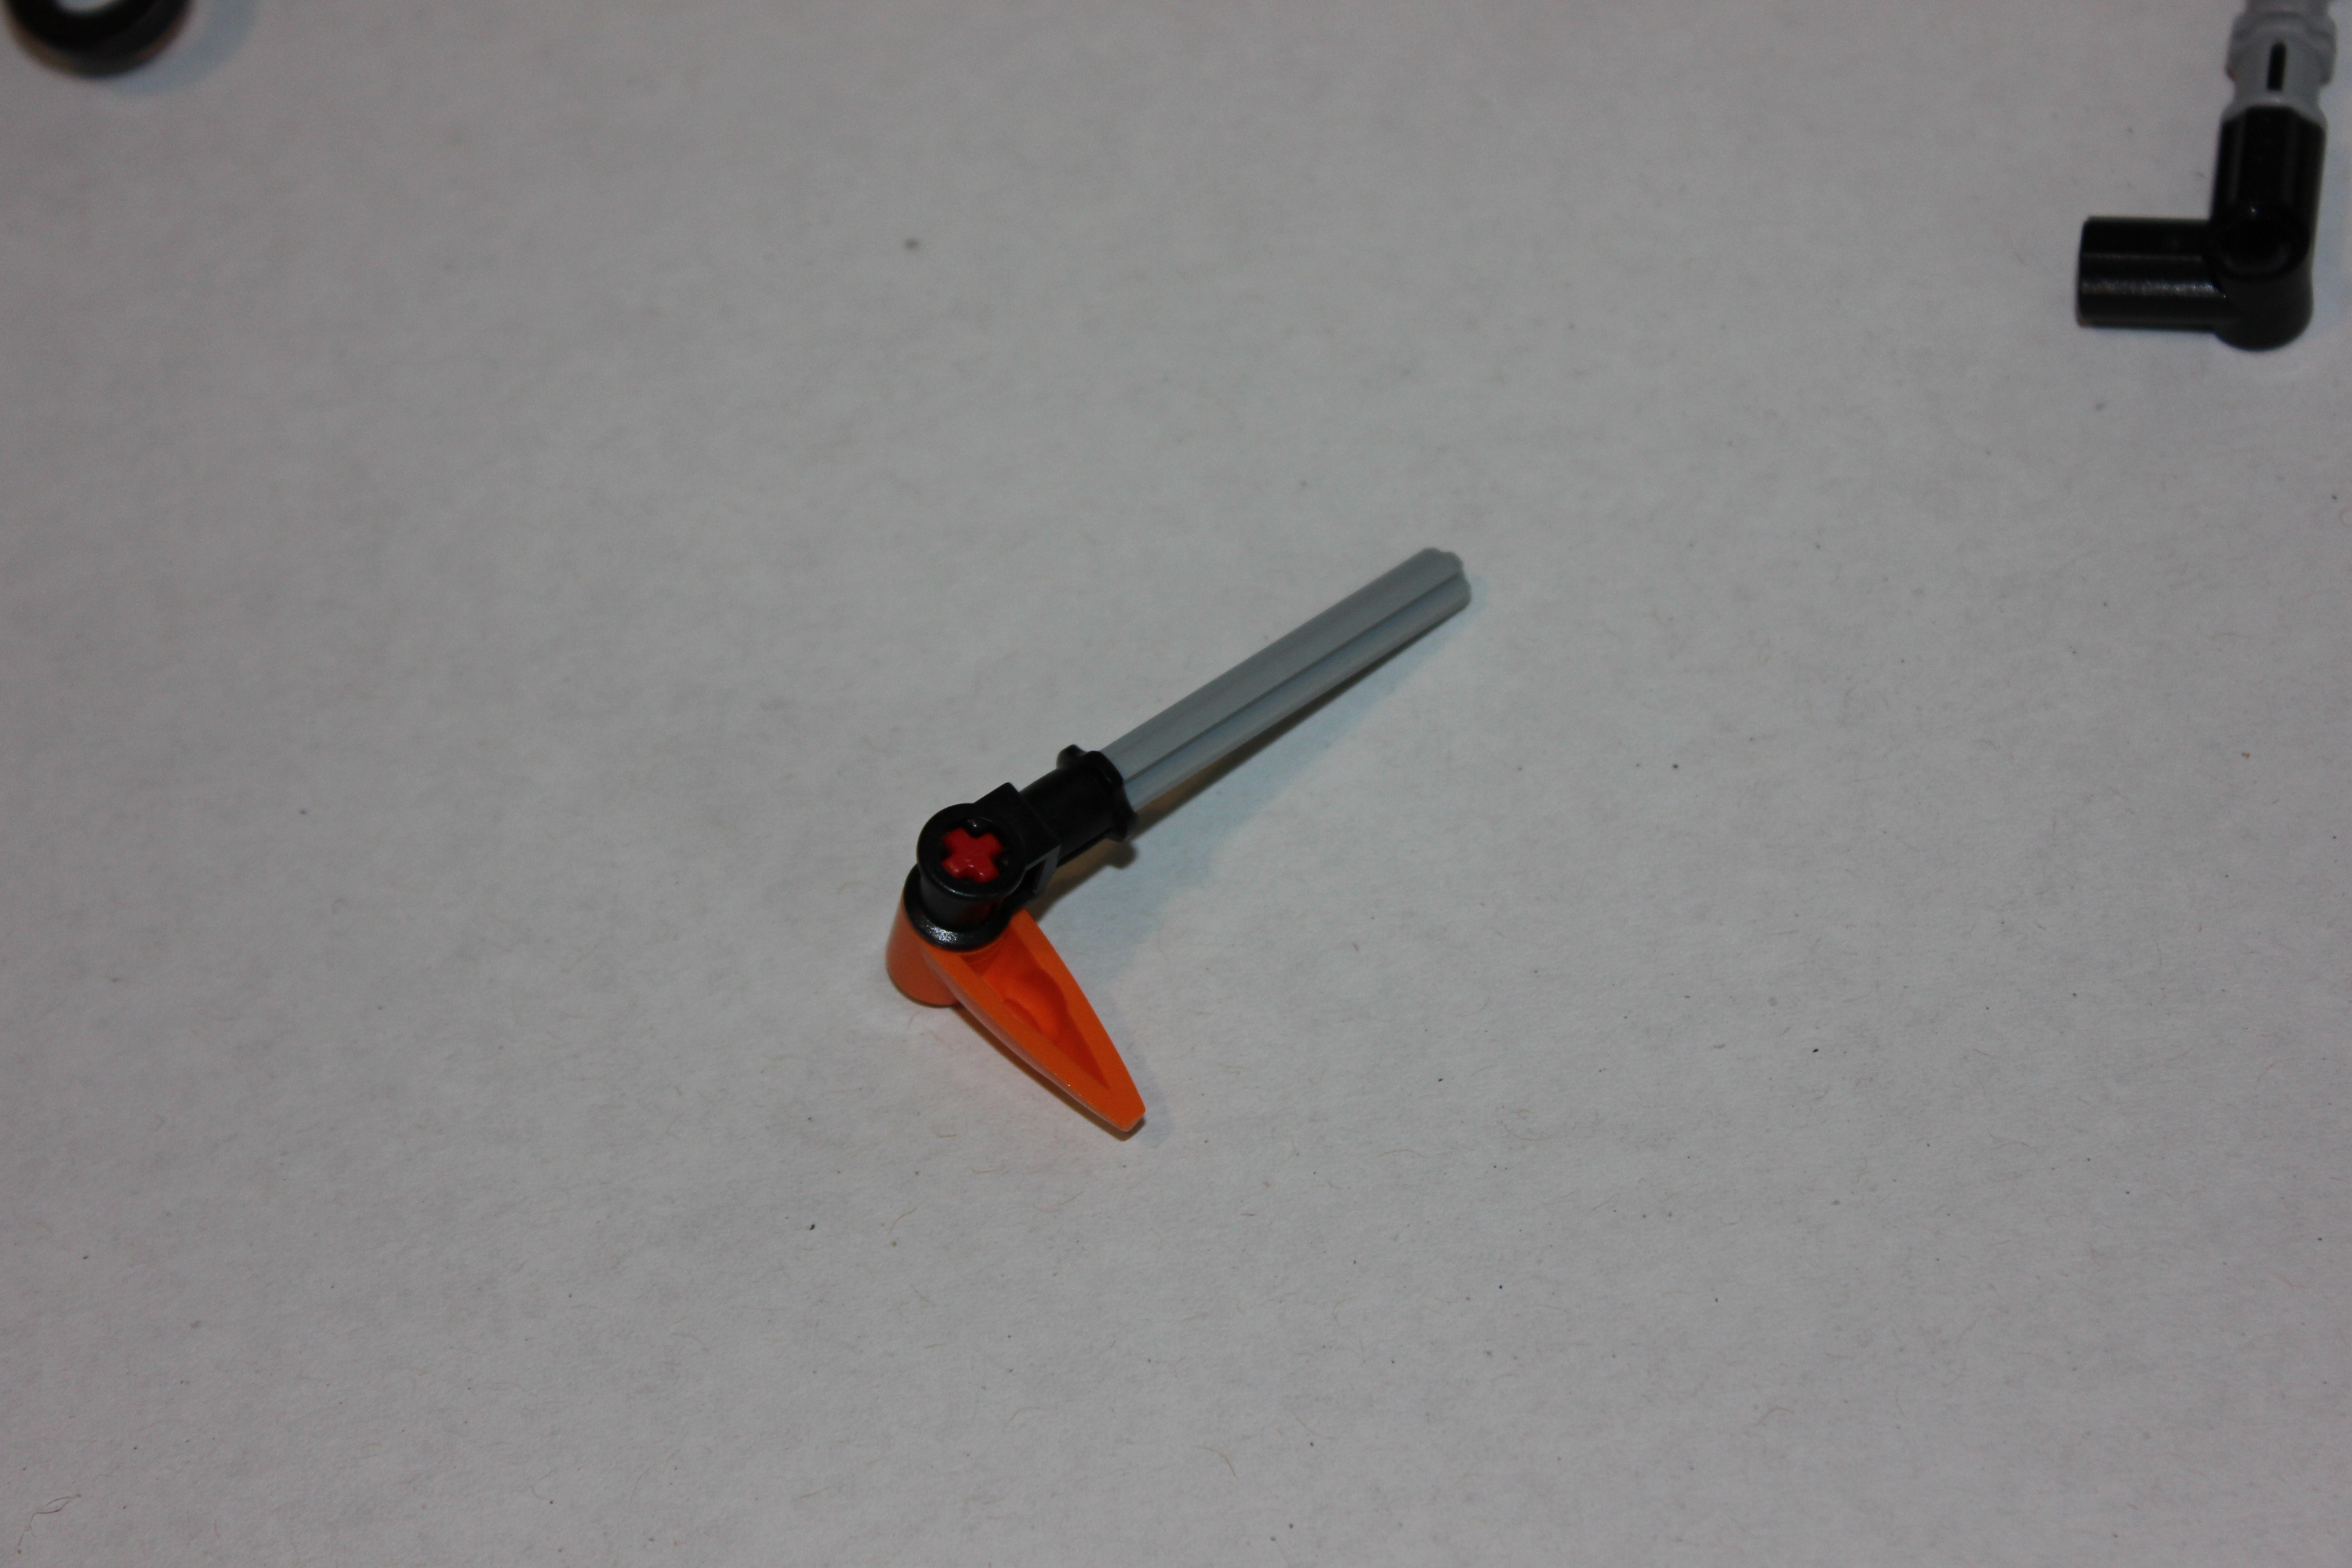
Build the Flame Thrower Actuatior.
This section consists of a motor and some linkage. the motor spins a gear which interacts with a gear in the previous step. This attaches to butane tank housing. there is a tow hook attached below the arm which opens the butane valve.
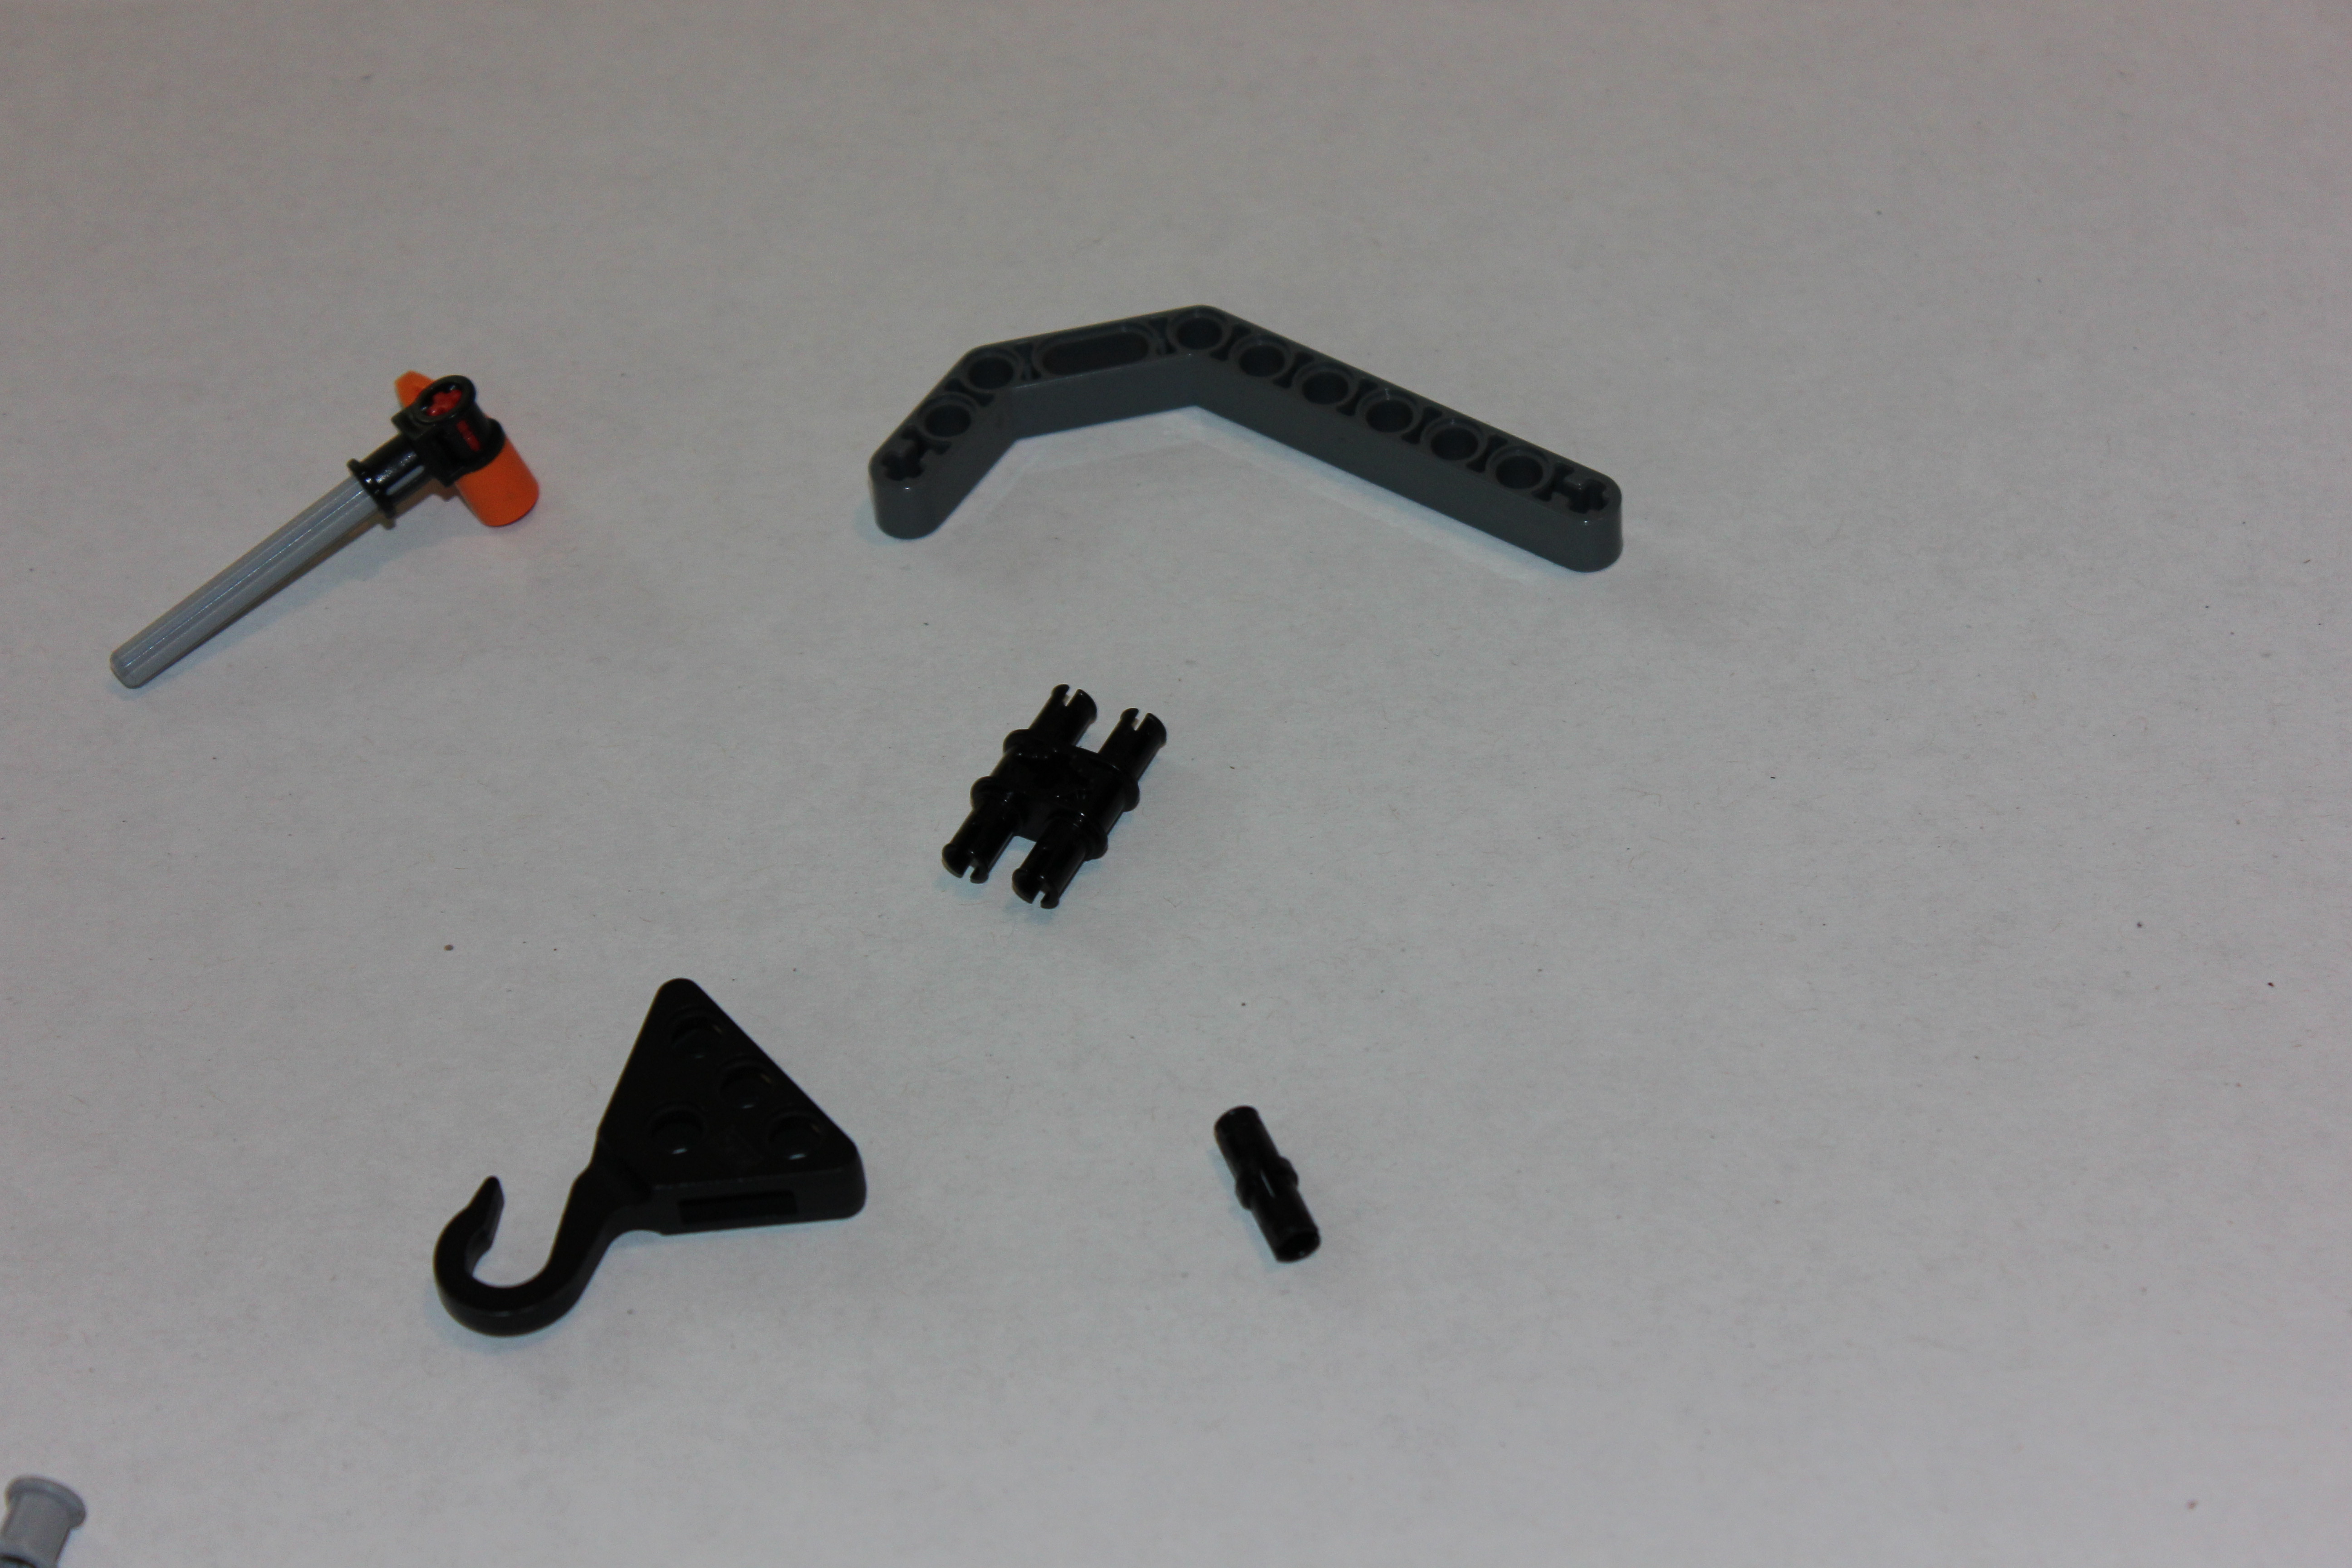
Use These Pieces
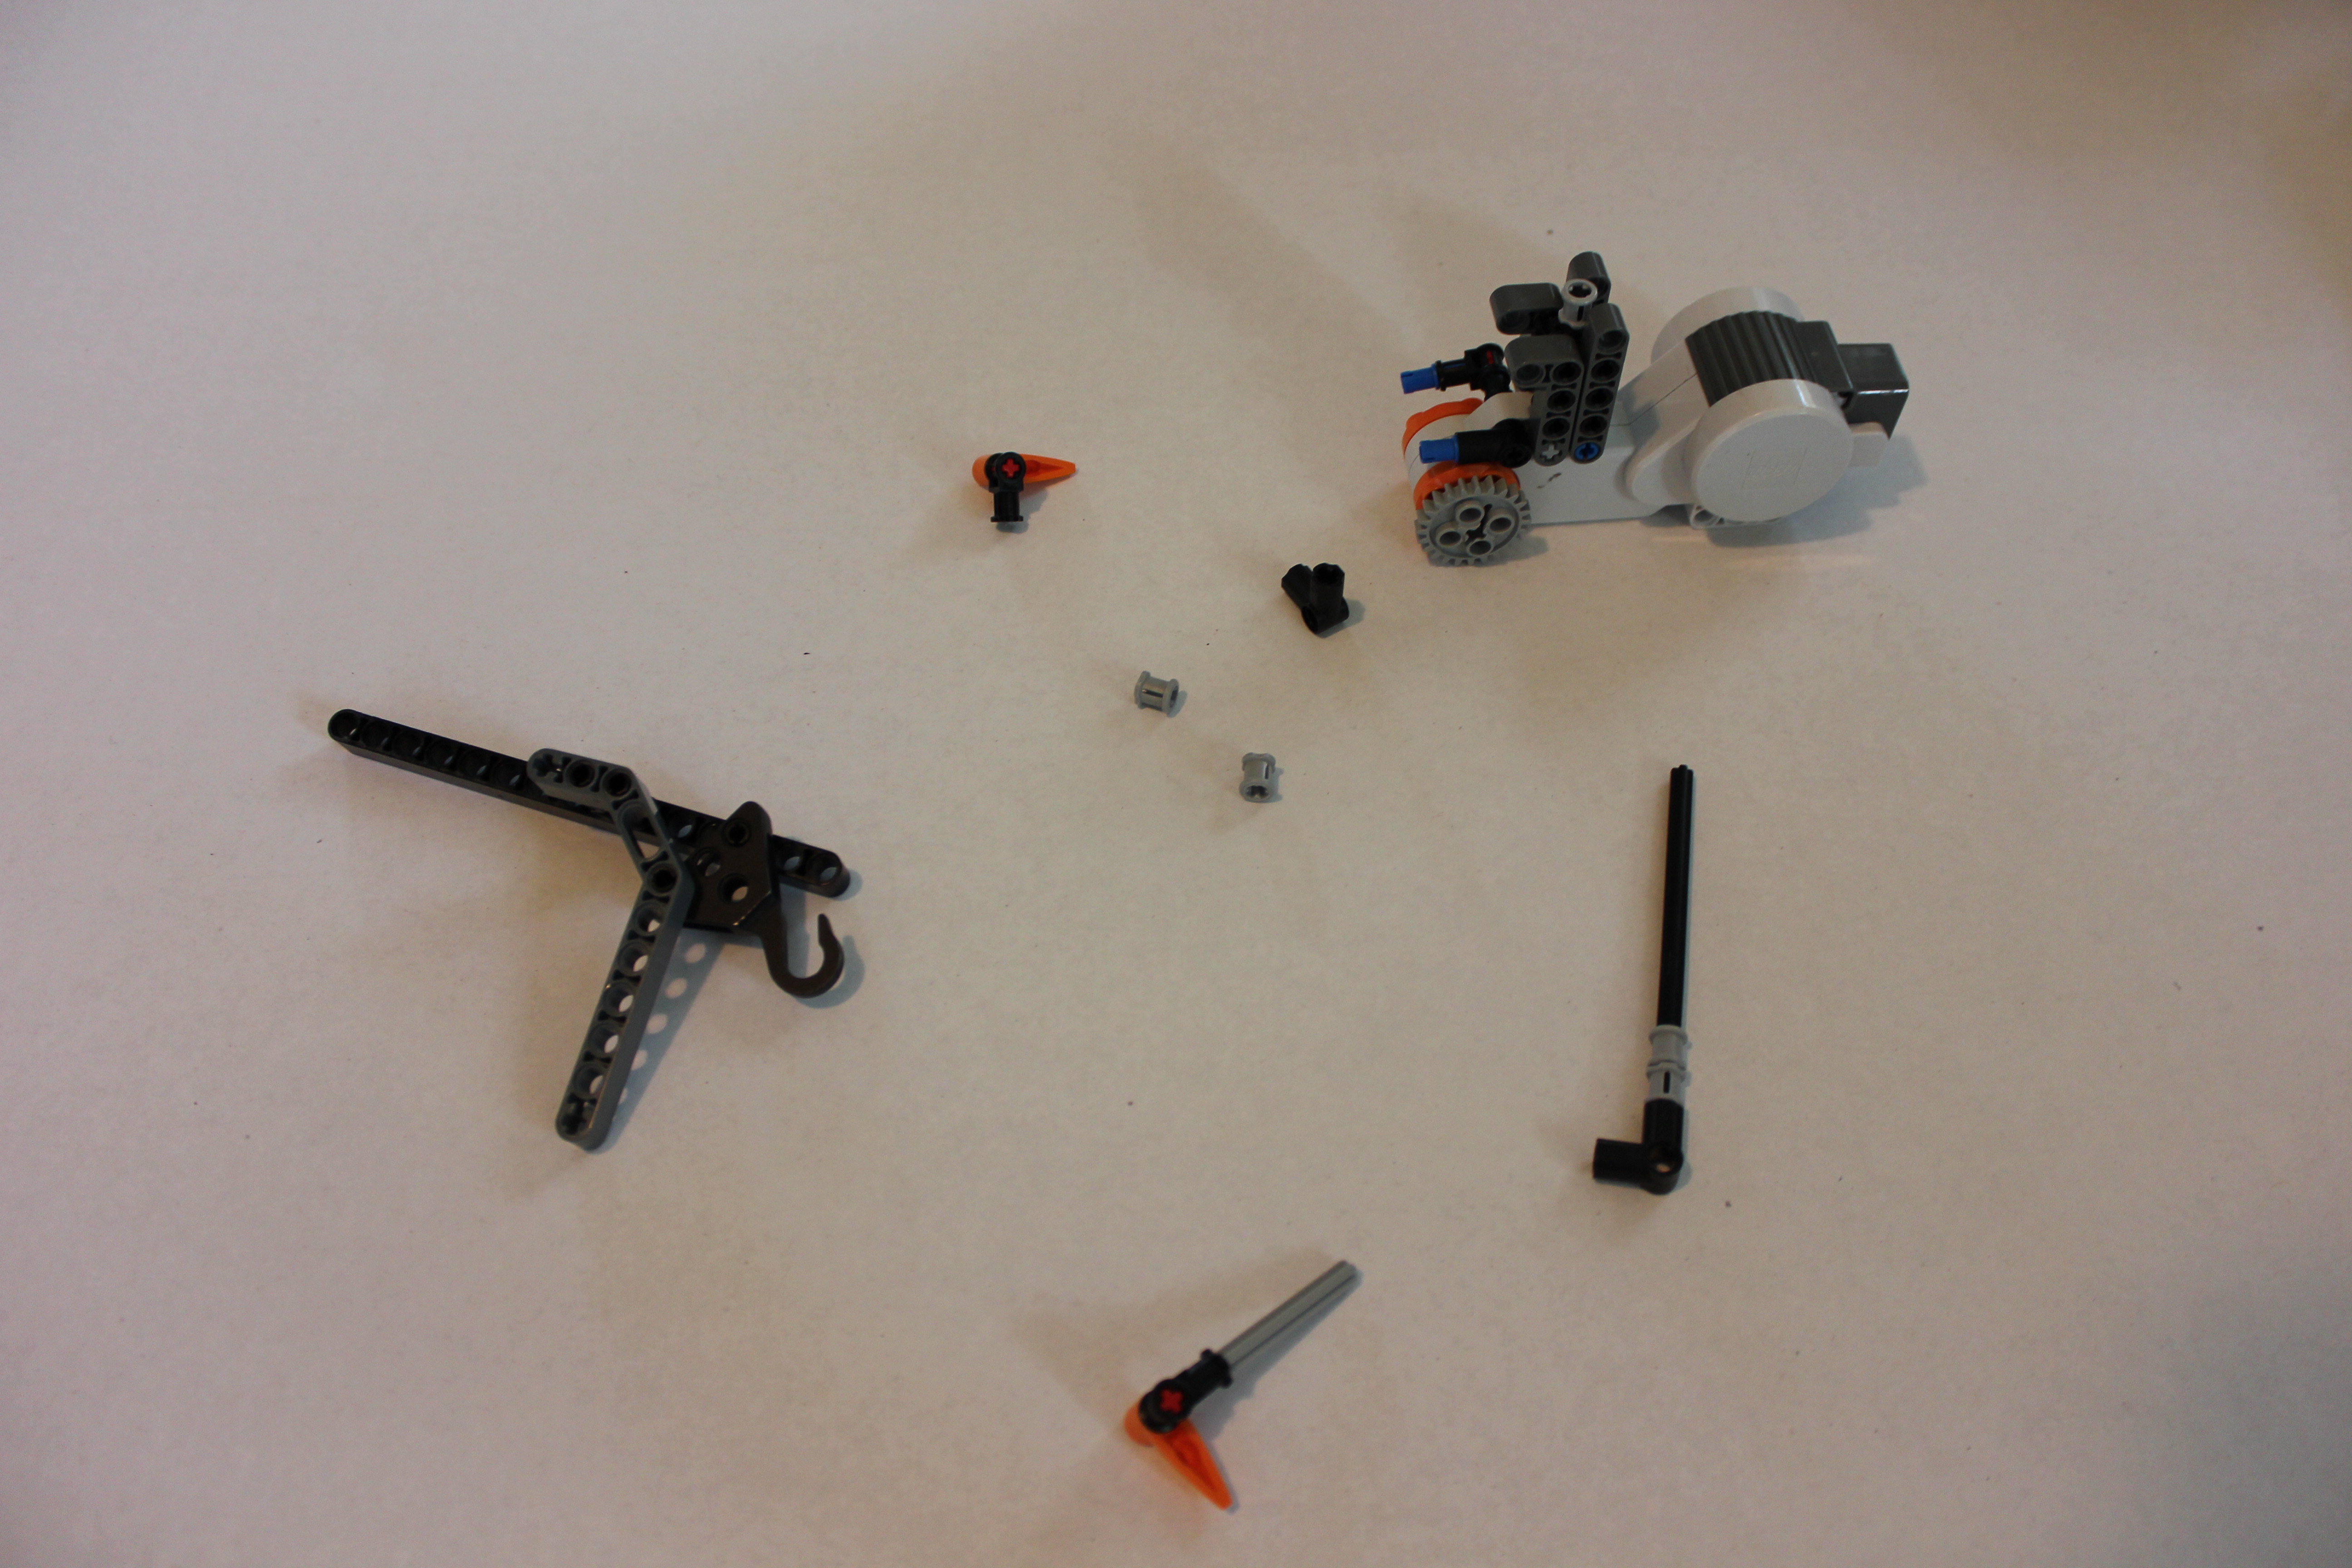
Assemble Like This
R/C
- So to get R/C you have to go ahead and open up the NXT software.
- Next create a program. the cool thing is you don't actually need to program anything.
- then open TOOLS and select REMOTE CONTROL.
- select CONNECTIONS and find your next brick. make sure the bluetooth is turned on on your brick.
- it might also be useful to rename your brick if your in a classroom with many other bricks. This can be done on the right after selecting your brick. enter a new name.
- select CLOSE then select CONFIGURE. In the CONFIGURE menu it is a good time to tell the brick what is plugged in where.
- finally exit the configure window.
now your should be able to operate the robot using the arrow pad. the ACTION button should open the butane valve (if it doesn't, simply reverse the input in the NXT software.) Just remember to ignite some form of pilot light. we used an alchahol soaked q-tip as our pilot light.