R2D2 Mini Edition
by Arnov Sharma in Circuits > Microcontrollers
3326 Views, 16 Favorites, 0 Comments
R2D2 Mini Edition

.gif)
.gif)
So here's something special, A Mini R2D2 PCB that speaks Astromech.
Astromech is a fictional language in the star wars franchise consisting of whistles and beeps.
This Mini R2D2 that I made is a Keychain.
Its brain is an Attiny85 and is powered by a CR2032 Coin Cell holder.
I was inspired by this Instructables- https://www.instructables.com/R2D2-Sound-Generator/
MarceloLarios made a simple Arduino Uno setup that produces random beeps every 3 seconds.
I took the concept and prepare the whole thing by using an Attiny85 with a standalone circuit instead of using a whole Arduino UNO.
Checkout this PCB on Tindie- https://www.tindie.com/products/makerpals/droid-themed-badge-v2/
Supplies
These were the materials used in this built-
- Attiny85 SOIC8
- BUZZER
- CR2032 Coin Cell Holder
- CR2032 Coin Cell
- Slide Switch
- Custom PCB
- 0805 Package LED RED x2
- ATtiny Programmer
Attiny85 Setup

.gif)
.gif)
Before getting started, I prepared a simple Attiny85 Setup that consist of an Attiny Connected with a Buzzer and one LED.
I followed the below schematic for connection and made a Breadboard edition first.
I programmed the attiny85 with my Arduino as ISP Programmer just by putting the attiny85 onto the IC Socket and flashing the MCU.
PCB Design
.jpg)


After finalizing the breadboard edition, I started making a schematic in my PCB Designing suite.
The Schematic consists of an Attiny85 connected with a CR2032 Cell, Two LEDs are connected in parallel are attached with Pin D2 and a Buzzer is added to Pin D0. (Buzzer Pin must be a PWM Pin)
A Switch is also there between CR2032 and Attiny85.
After Finalizing the Schematic, I move on to the designing part of the board.
I first searched for R2D2 2D Image on google and selected this one, it was minimal and will look good even after converting into Black and white BMP.
I had to convert this images into a BMP image as my OrCad PCB Suite only imports Images from BMP format.
After converting the image, I imported it as a silkscreen TOP layer and prepared the board around this image.
I put the Attiny85 and LEDs on the TOP side and added the remaining THT Components from the BOTTOM Side.
I also added a few solder mask openings on the copper layer and on FR4 to increase the aesthetics of the board. (to make it look great)
Getting PCBs From PCBWAY
.gif)
After completing the design, I uploaded the Gerber data on PCBWAY's quote page, I selected the solder mask color which was BLUE and placed the order.
I choose BLUE Soldermask as R2D2 is Blue and Silver, White Silkscreen will replace silver color.
After placing the order, I received the PCBs in a week and the PCB quality was pretty great.
Really loved the end result.
You can checkout PCBWAY from here- www.pcbway.com
PCB ASSEMBLY
After unboxing the PCBs, I started the assembly process which had the following steps.
- Solder Paste Dispensing
- Pick & Place Process
- Hotplate Reflow
- Adding THT Components
- Flashing Process of Attiny85
Solder Paste Dispensing
.gif)
The first step is to apply solder paste to each component pad.
I used a normal Sn-Pb solder paste which has a melting temp from 140 to 270 °C.
PICK & Place Process
.gif)
I then used an ESD Tweeaser to carefully pick and place each component on their assigned place one by one which took like 30 Seconds tops but the result was a perfect PCB with all the components placed in their location.
Hotplate Reflow
.gif)
.gif)
After the "PICK & Place Process", I carefully lifted the whole circuit board and place it on my DIY SMT Hotplate which is also homemade just like this project.
After a Few mins when the hotplate reaches the Solderpaste melting TEMP, all the components will get soldered by this Hot Reflow process.
We then remove the PCB from the Hotplate to cool down all components and board surface.
Adding THT Components
.gif)
.gif)
.gif)
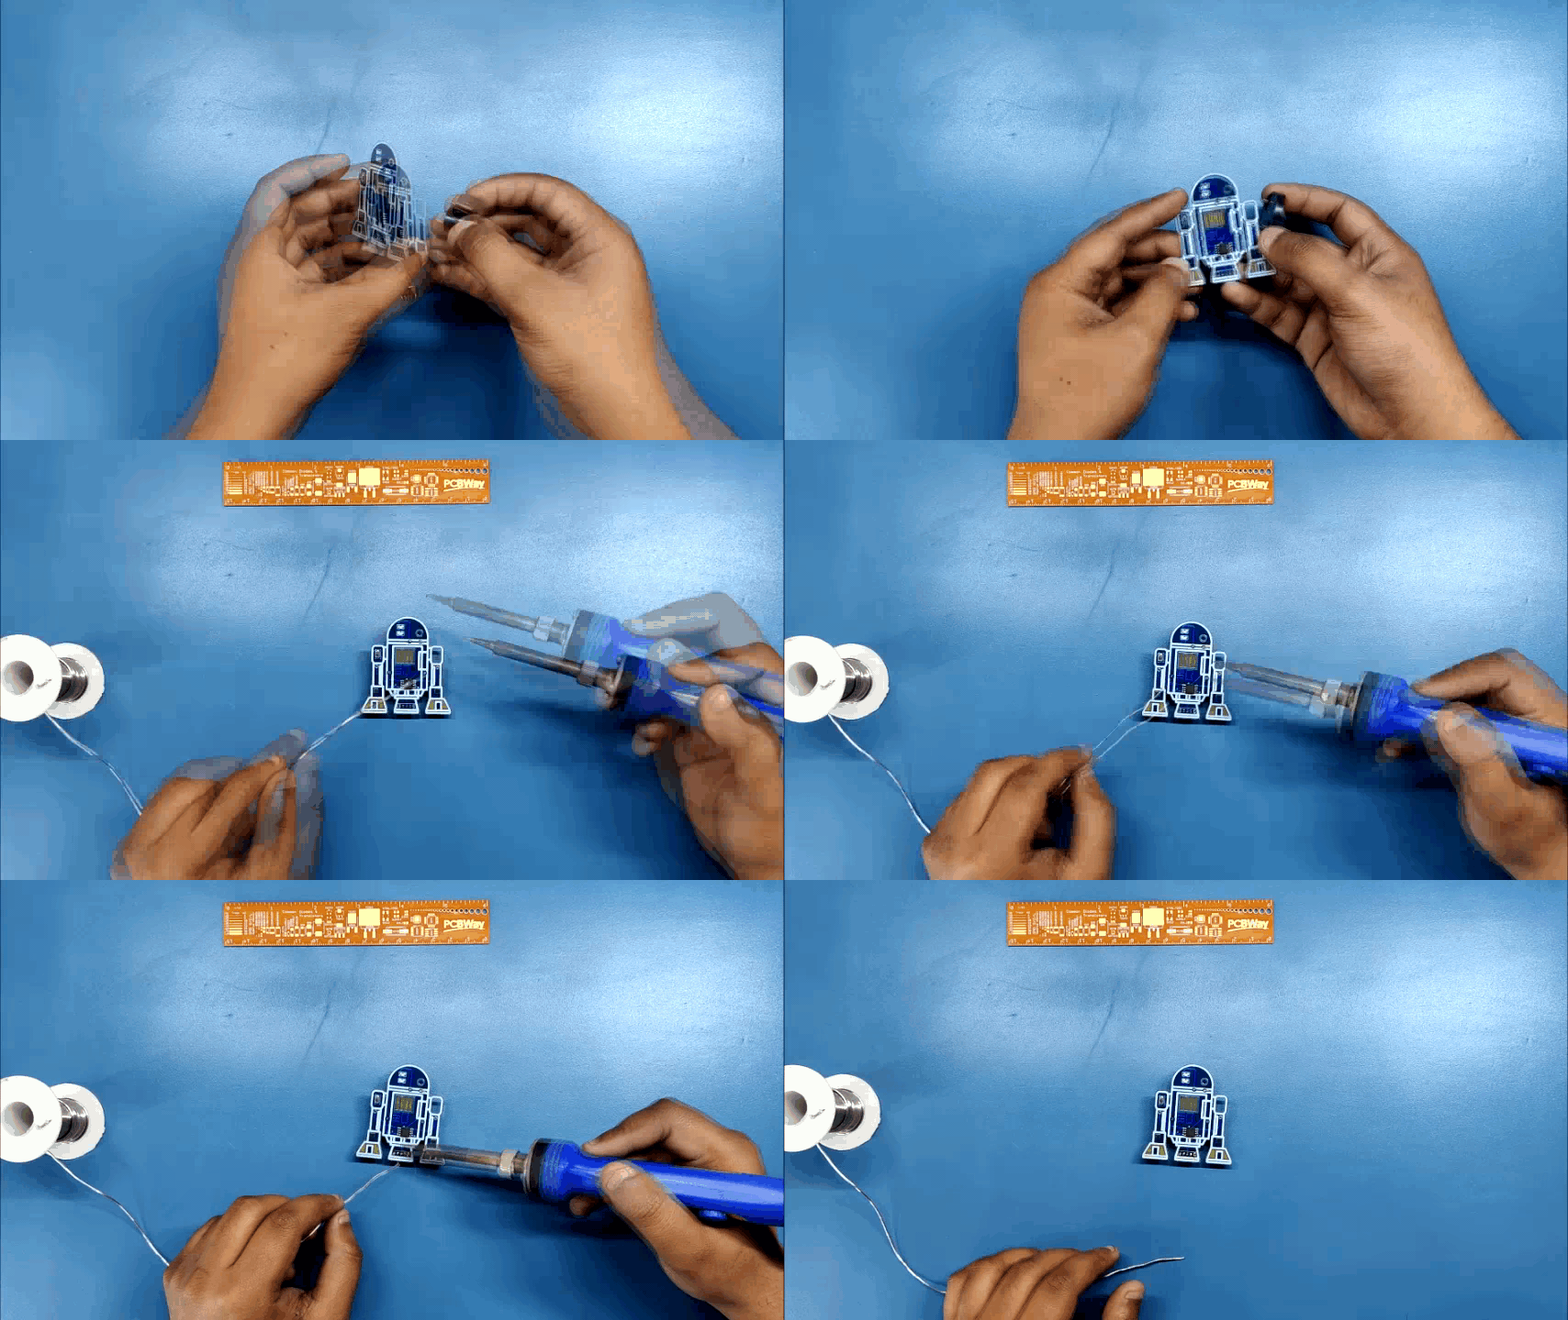
After Reflow Process, we add the remaining THT components which are the Coin Cell holder, Buzzer, and a slide switch with a soldering iron.
After adding the THT Components, our circuit is completed.
The Circuit is completed but to make it work, we have to burn the sketch into the Attiny85 MCU.
Code and Flashing
.gif)
.gif)
This is the code that I have used in this project, it was made by Marcelo Larios, and it's basically a random sound generator that generates two phrases.
/*************************************************** <br> Project R2D2 Sound Generator To all fans of StarWars and Arduino!</p><p> Written by Marcelo Larios BSD license, all text above must be included in any redistribution****************************************************/#define speakerPin 0#define ledPin 2void setup() { pinMode(speakerPin, OUTPUT); pinMode(ledPin, OUTPUT); randomSeed(analogRead(0));}void phrase1() { int k = random(1000,2000); digitalWrite(ledPin, HIGH); for (int i = 0; i <= random(100,2000); i++){ tone(speakerPin, k+(-i*2)); delay(random(.9,2)); } digitalWrite(ledPin, LOW); for (int i = 0; i <= random(100,1000); i++){ tone(speakerPin, k + (i * 10)); delay(random(.9,2)); } }void phrase2() { int k = random(1000,2000); digitalWrite(ledPin, HIGH); for (int i = 0; i <= random(100,2000); i++){ tone(speakerPin, k+(i*2)); delay(random(.9,2)); } digitalWrite(ledPin, LOW); for (int i = 0; i <= random(100,1000); i++){ tone(speakerPin, k + (-i * 10)); delay(random(.9,2)); } }void loop() { int K = 2000; switch (random(1,7)) { case 1:phrase1(); break; case 2:phrase2(); break; case 3:phrase1(); phrase2(); break; case 4:phrase1(); phrase2(); phrase1();break; case 5:phrase1(); phrase2(); phrase1(); phrase2(); phrase1();break; case 6:phrase2(); phrase1(); phrase2(); break; } for (int i = 0; i <= random(3, 9); i++){ digitalWrite(ledPin, HIGH); tone(speakerPin, K + random(-1700, 2000)); delay(random(70, 170)); digitalWrite(ledPin, LOW); noTone(speakerPin); delay(random(0, 30)); } noTone(speakerPin); delay(random(2000, 4000)); //(1000, 2000) }As for Programming ATtiny85, I've used a SOIC8 Clip which is connected with my DIY Arduino as an ISP programmer. It's a setup that I made for flashing any AVR MCU through Arduino as ISP.
You can check this process out in detail from here- https://www.instructables.com/Multiple-ATtiny8513A-Programmer/
But Let me explain how to program an Attiny85 in short bullet points.
- we first need to download and install the Attiny85 Core files in Arduino IDE.
- which you can download from here- https://github.com/SpenceKonde/ATTinyCore
- go to the tools menu and choose the Arduino as ISP option in the programmer section.
- select the right board which should be newly added Attiny85
- Hit Burn Bootloader and wait for a few mins.
- Now Open the sketch that you want to upload to the Attiny85
- Go to the Sketch menu and select Upload using the programmer.
- and your Sketch will get uploaded onto the attiny85.
Adding Coin Cell
.gif)
To power this setup, I used a CR2032 Coin cell which I then put on the coin cell holder and then turned the slide switch.
Doing this turns ON the R2D2 and it starts its beeping sequence.
Result
.gif)
Here's the END RESULT of this built!
Thanks for reading this whole article, really appreciate it.
Do leave a comment or DM me if you need any help regarding this project, and I'll be back with a new project soon.
Peace