R-PiAlerts: Build a WiFi Based Security System With Raspberry Pis
by imjasonc in Circuits > Raspberry Pi
95935 Views, 625 Favorites, 0 Comments
R-PiAlerts: Build a WiFi Based Security System With Raspberry Pis
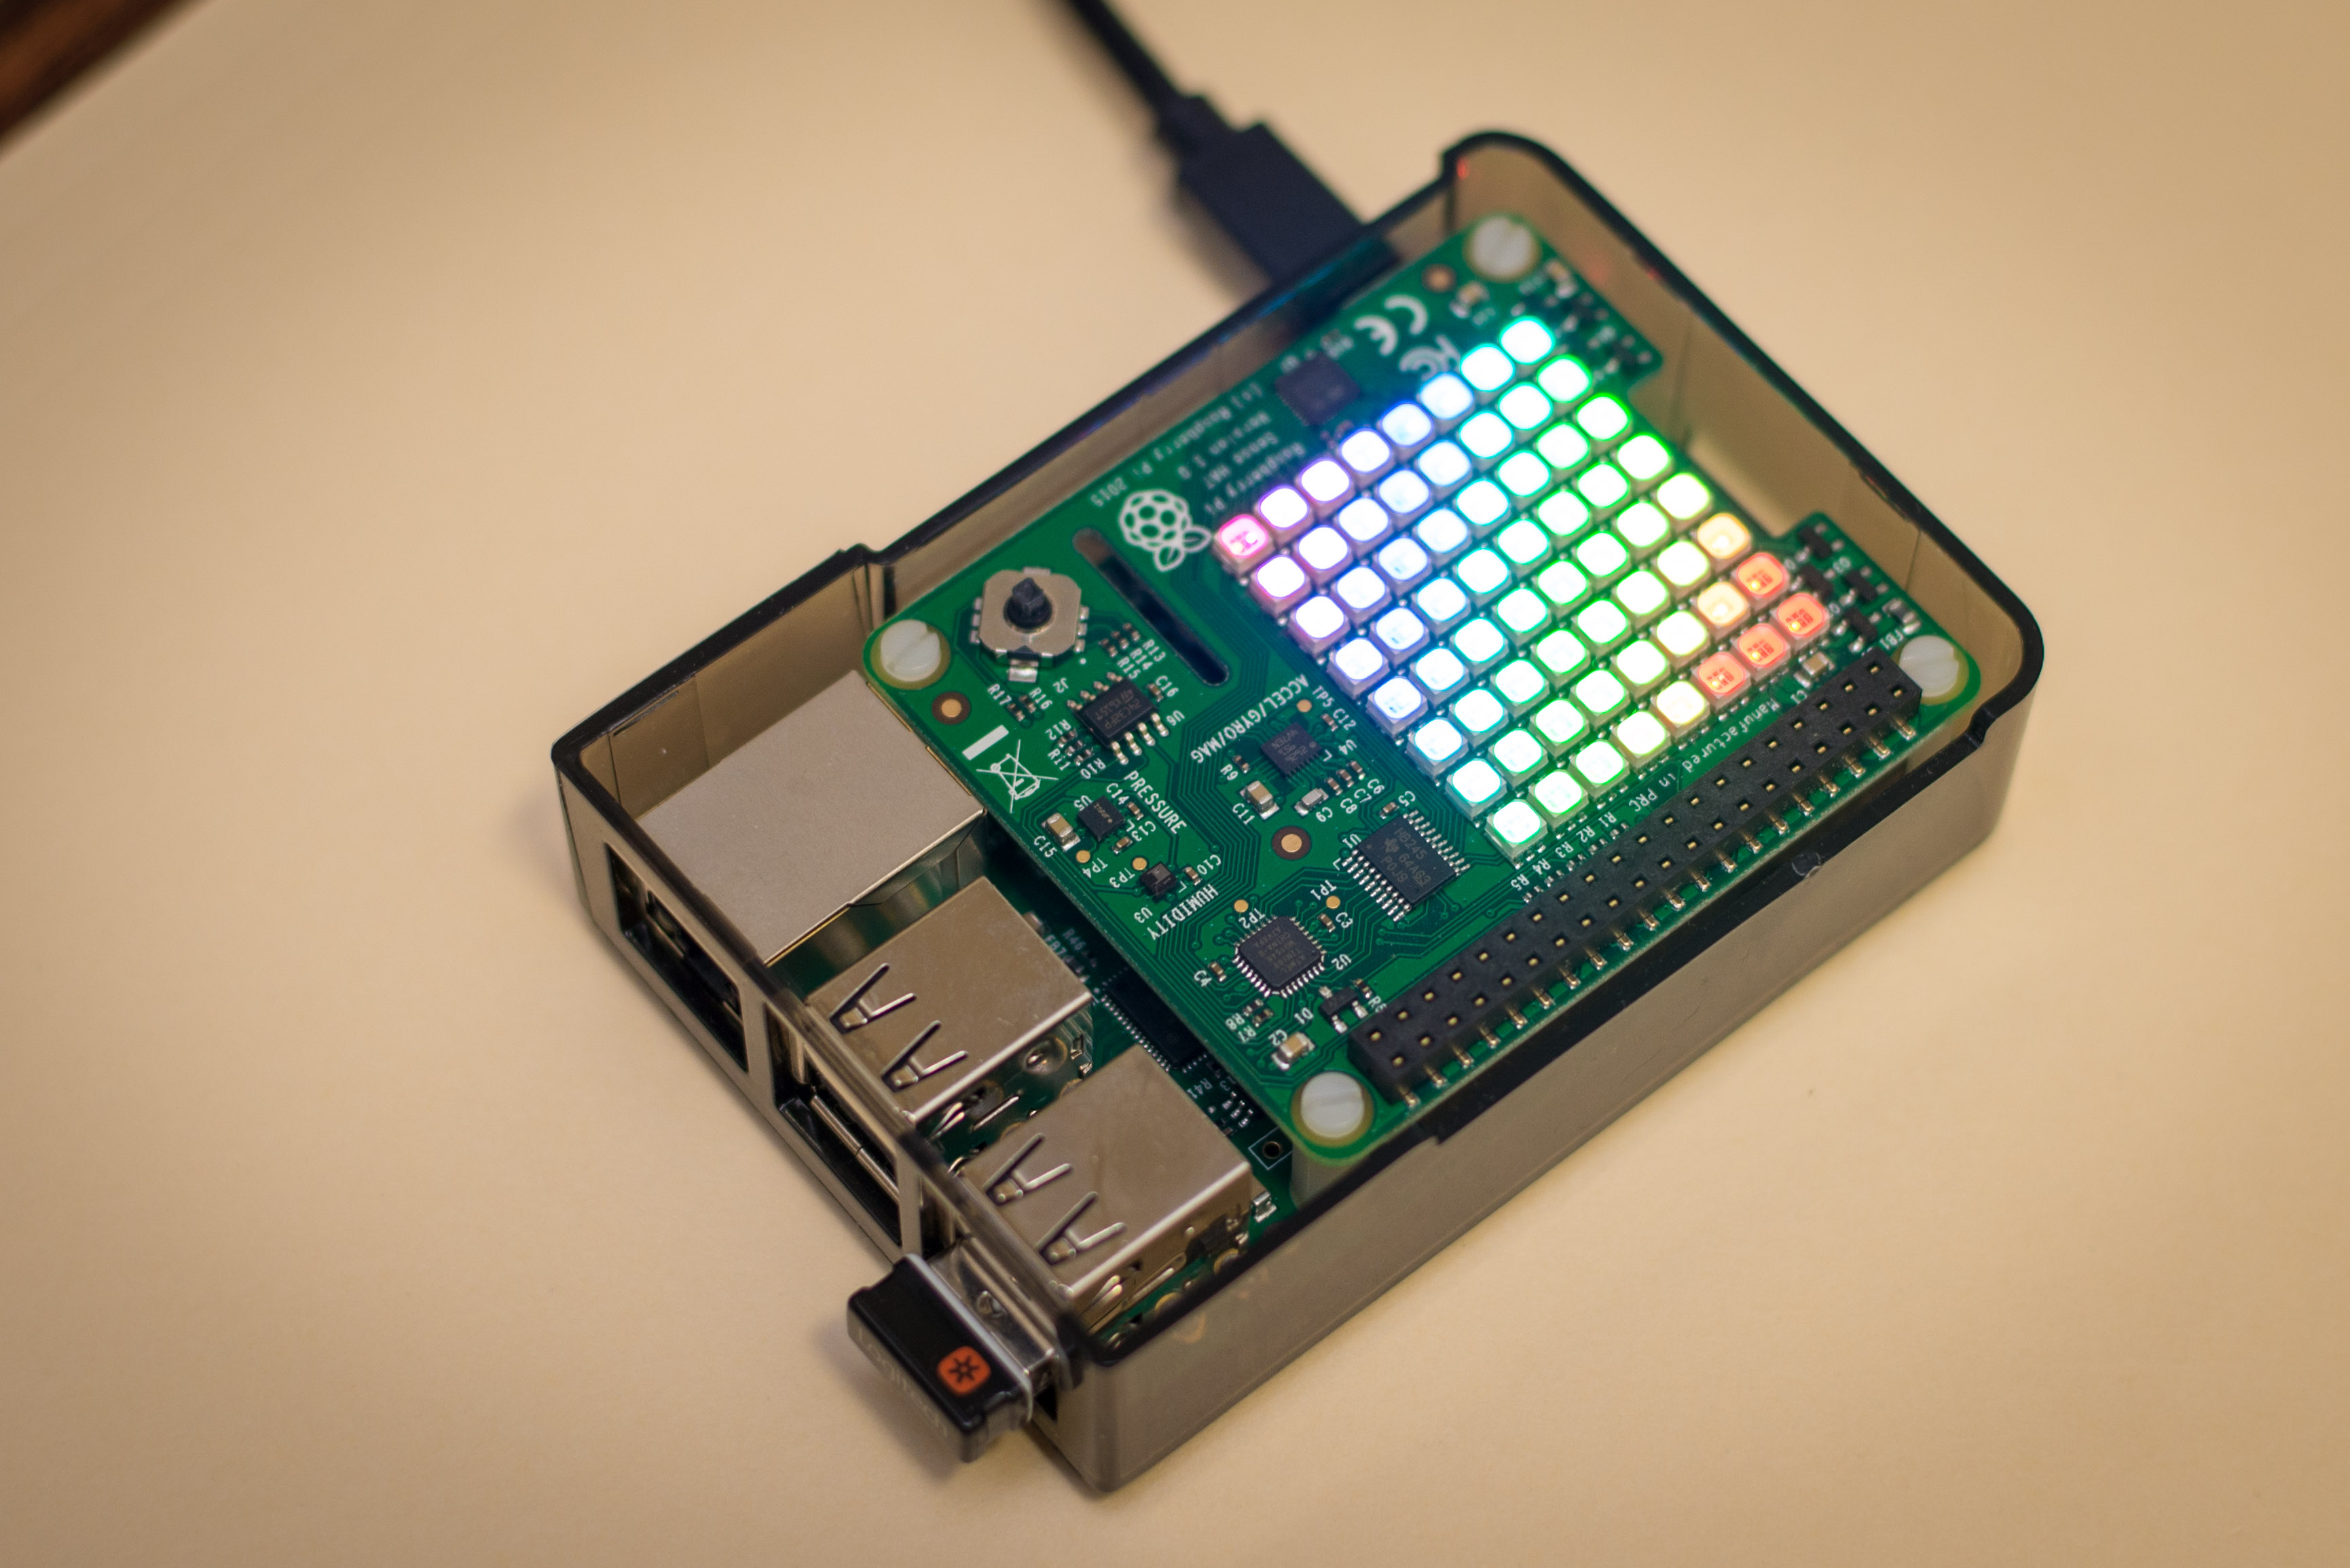
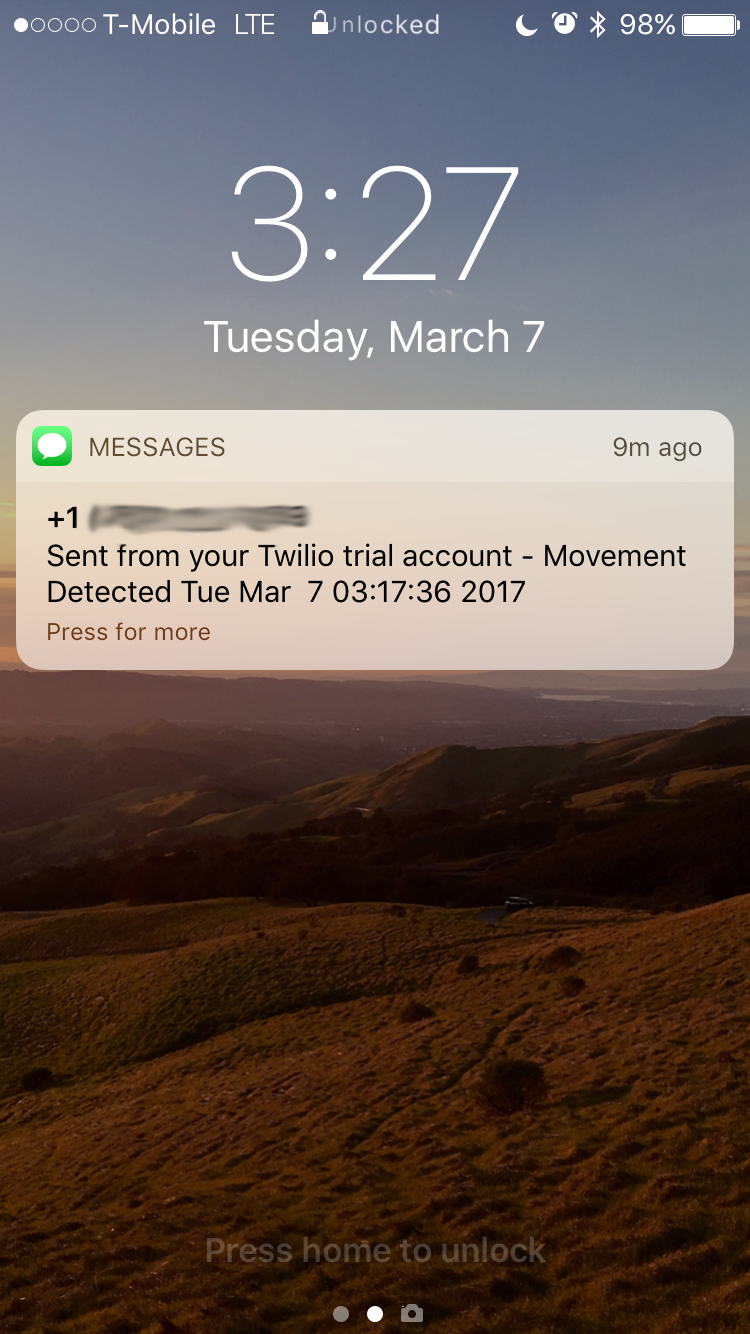

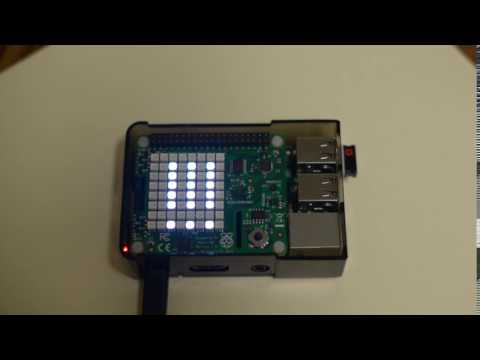
While working at your desk, suddenly you hear a distant noise. Did someone just come home? My car is parked in front of my house, did someone break into my car? Don't you wish you got notification on your phone or at your desk so you can decide whether or not to investigate? Well question no more! R-PiAlerts is here!
What is R-PiAlerts?
R-PiAlerts is a Raspberry Pi3 based security system built around Firebase's Cloud. If movement is detected, the system will notify the user of a potential break-in with a text message and a blinking LED display (silent visual alarm of sorts). Once user receives a notification, he or she can investigate. All detected movement will be logged to the Firebase database. Besides viewing the movement log on a web browser, the user can also access the movement log via an iOS app. I decided to build this due to the recent rise in break-ins to both vehicles and homes around my area.
Why the Pi3?
I needed something small that can detect movement and run off of a battery if needed. Then, I can hide the unit behind a door or in a car. Also the unit needs to be able to send me notifications or alerts. The Pi3 can do all these things with the built in wifi and its ability to run off an USB battery pack. Other reasons on why I chose the Pi3:
- The Pi is relatively inexpensive
- Its easy to deploy and scale up
- Its configurable from the software standpoint
- Ability to use displays and sensors. This project will use the SenseHat
- Operate Headless (without monitor, keyboard or mouse)
How Does it Work
- Ideally the user will need 2 Raspberry Pis connected to the Firebase database, but a single Pi will work also.
- Utilizing the SenseHat, the first Pi (Pi1) will detect movement with the accelerometer while the second Pi (Pi2) will display notifications of movement.
- When the Pi1 detects motion, it does 3 things
- log movement to the database
- create a notification entry on the database for Pi2 to display
- send the user a text message notifying the user of movement.
- When Pi2 detects a notification to display from the database, two things happen
- Pi2's LED display will show the notification continuously
- User can clear the notification by press down on Pi2 SenseHat's button. This will also clear the notification entry on the database.
- With the iOS app, the user can
- access the database; read and delete the movement log
- the user can send Pi1 to display a message on Pi1's LED display.
Practical Applications
- If you street park your car within wifi range. Attach a battery pack to Pi1 (see pic). Hide Pi1 in your car. Place Pi2 somewhere easily viewable such as next to your desk (see pic).
- Another application is to place Pi1 in your house to the side of a door. The Pi is so tiny that most people will not notice it especially if its behind the hinge side (see pic). Then place your Pi2 at your work desk.
- Dog getting into a spot in the house it's not suppose to? Place a Pi1 in that area. Make sure you put the Pi in a sturdy box so your dog doesn't chew it up.
As long as your Pis are in wifi range, they can alert or notify you of movement. If you don't have a second Pi, you can just use Pi1 to detect movement and receive SMS notifications via your cell phone.
Bill of Materials
- Two(2) Raspberry Pi 3s running Raspbian (Raspberry Pi 2 will work too with a wifi dongle)
- Two(2) SenseHats
- Mac and iOS device
Software Needed
- Pyrebase library (connecting to Firebase)
- SenseHat library (for accessing accelerometer and LED display)
- Twilio library (for sending SMS)
- Python 3, built in with latest Raspbian
- Raspbian with IDLE
- Xcode8 and Cocoapods on your Mac
- Willingness to learn and explore
Side Note
This is not the only Pi based security solution. If you have any ideas, suggestions, or just want to refactor my code, please leave a comment below! =)
Setup Firebase and Twilio Accounts


First off, before we start fiddling with our Pis, we need to setup Firebase and Twilio. Firebase is Google's backend as a service. Firebase includes such features such as database, cloud messaging, authentication, storage, etc. For this project, we will only need to use Firebase's realtime database and authentication. Authentication will be needed to read and write to the your Firebase database. To setup Firebase:
- Register for a free Firebase account
- Go to the console. Create a new project and give it a name.
- Under the left menu, click on the "Overview"
- Click "Add Firebase to your web app", copy your APIKey and projectid (not the url). Project ID is located in the different URLs such as the database: https://projectid.firebaseio.com/
- Under the left menu, click on the "Authentication". Go to "Sign in Method" and enable "Email/Password"
- Under "User" create a new user account with email/password of your choice. You will use this credential to log into the database.
- Under the left menu, go to the "Database"
- This is your Database. It is empty right now. When filled, it will be in JSON format. The URL should be the same as the one you saw earlier.
Twilio allows developers to send messages to their customers. We will use it to send SMS to your phone when the Pi detects movement. Twilio will provide you with a phone number to send out SMS. To setup Twilio:
- Sign up for a free account at Twilio's site
- Copy your accountSID and authToken
- Click on "Trial Restrictions" and select "get your first Twilio phone number"
- Copy your new phone number
Set Up Your Pis
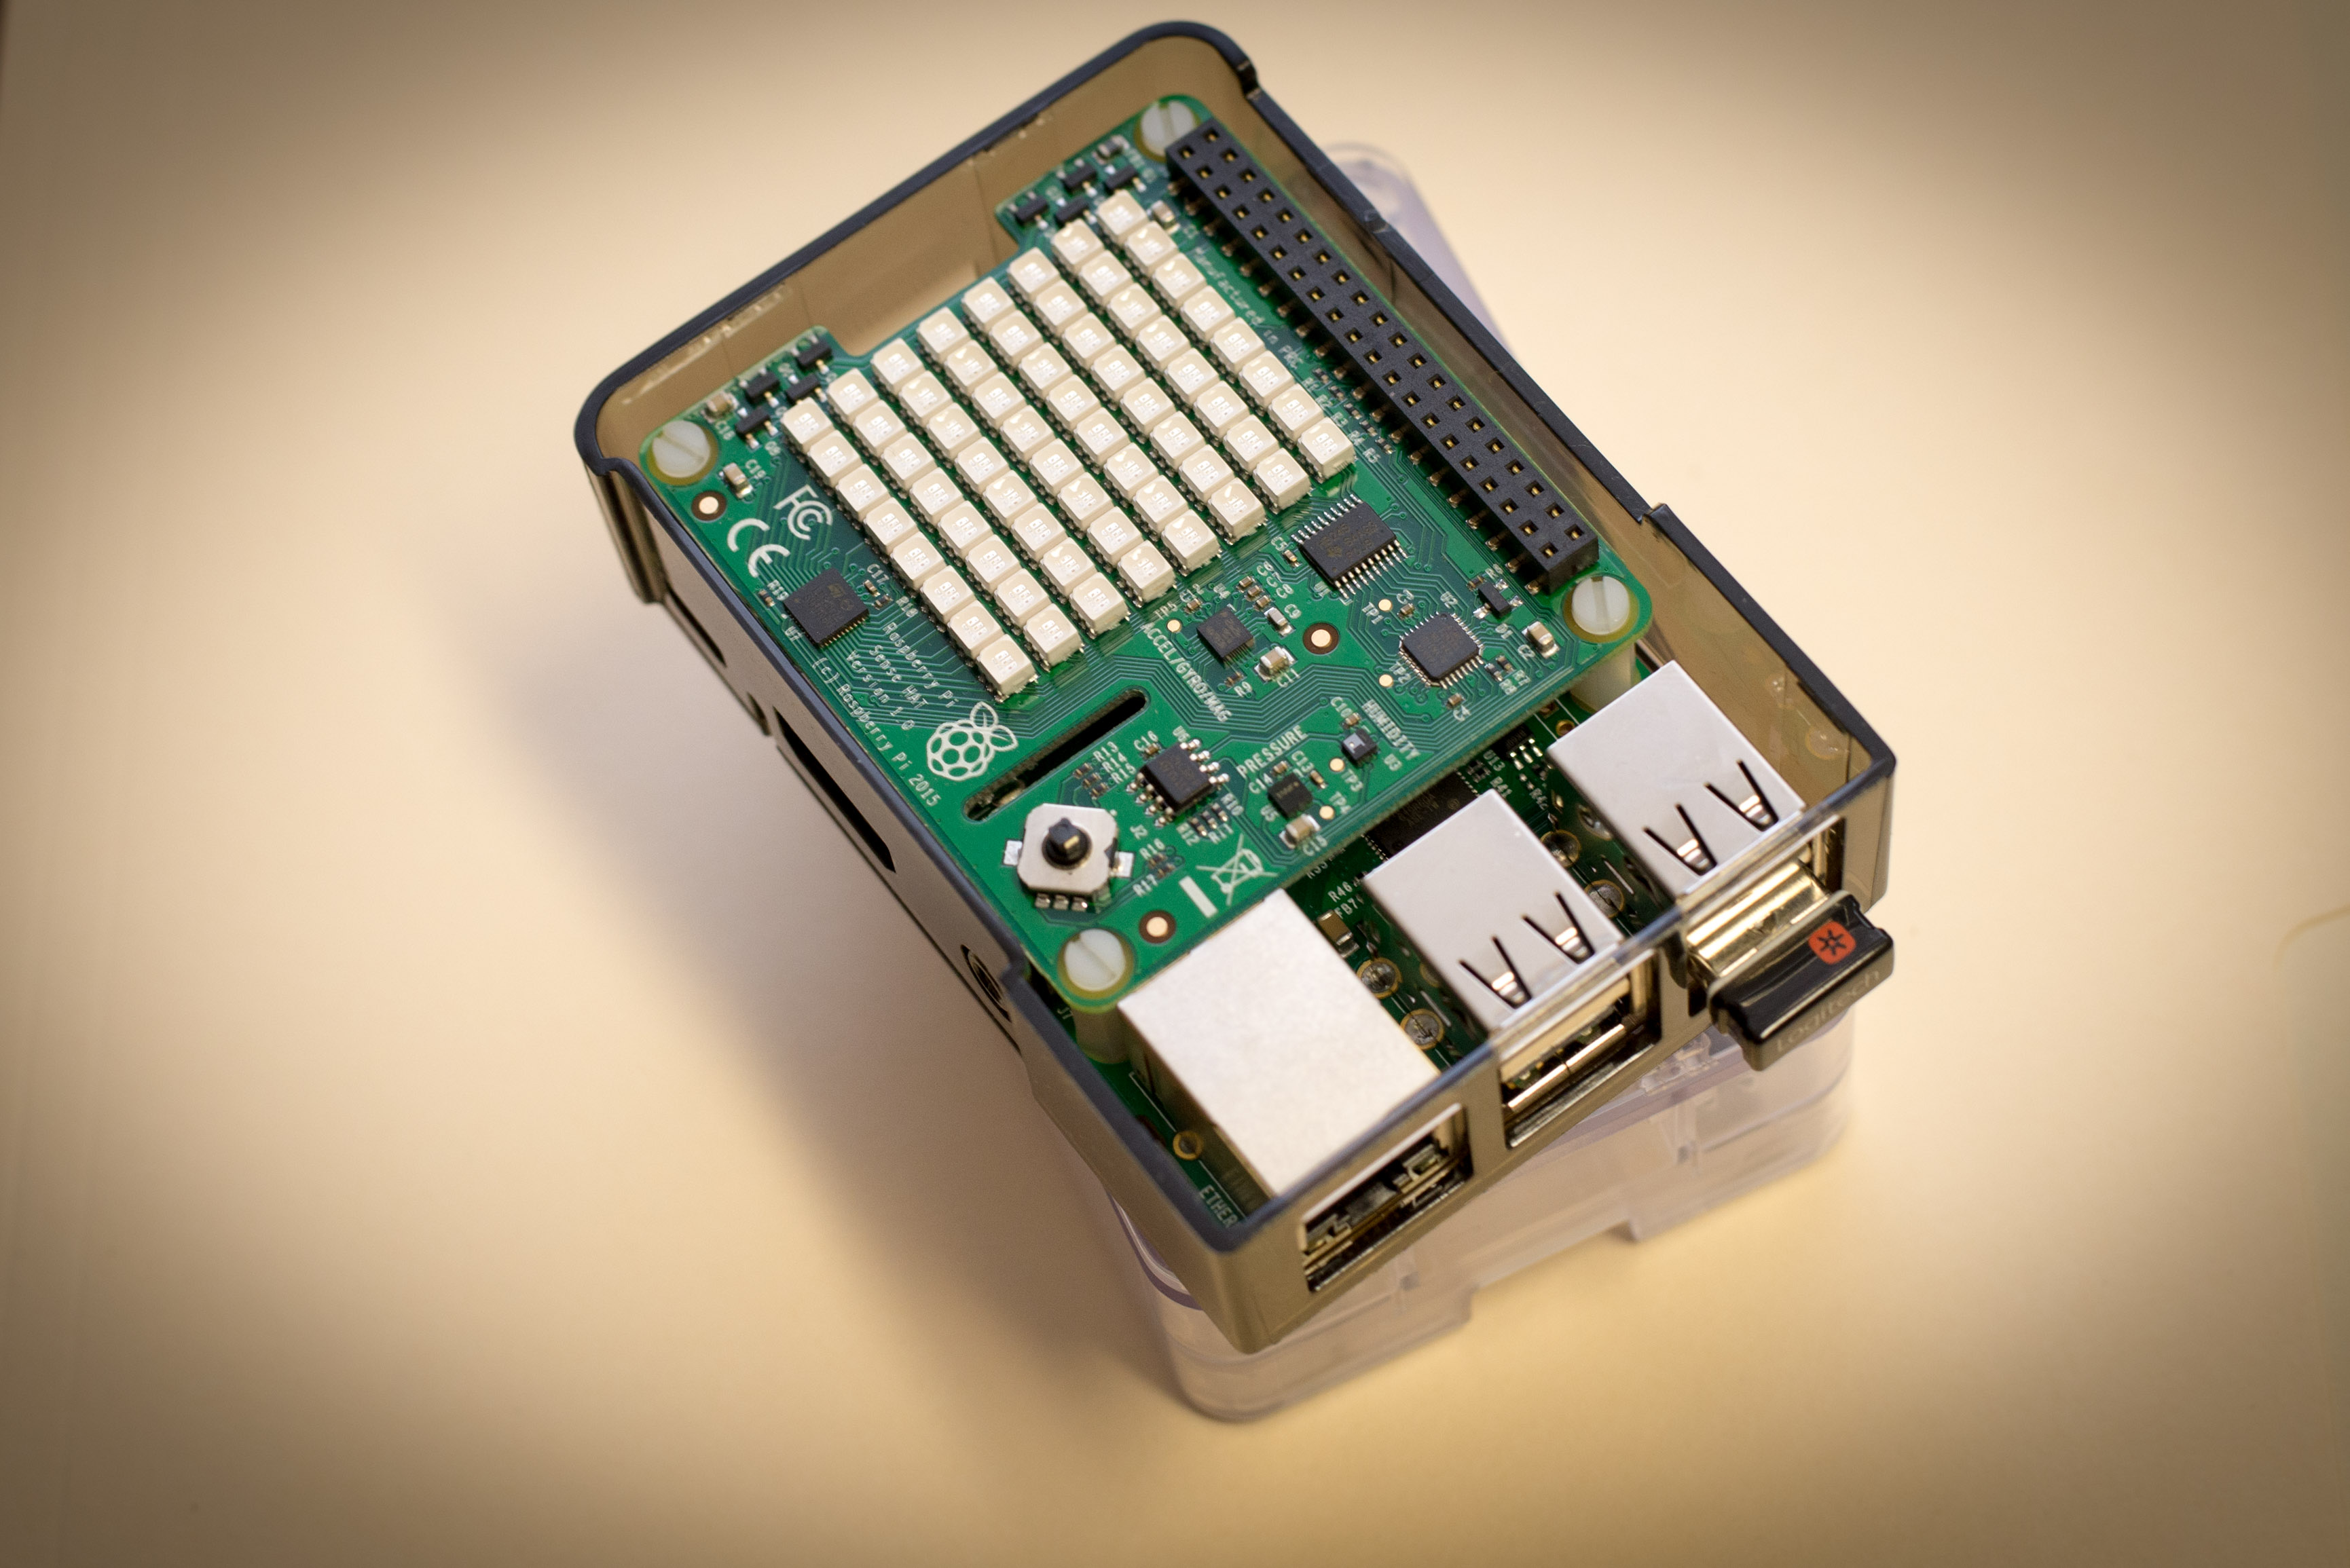
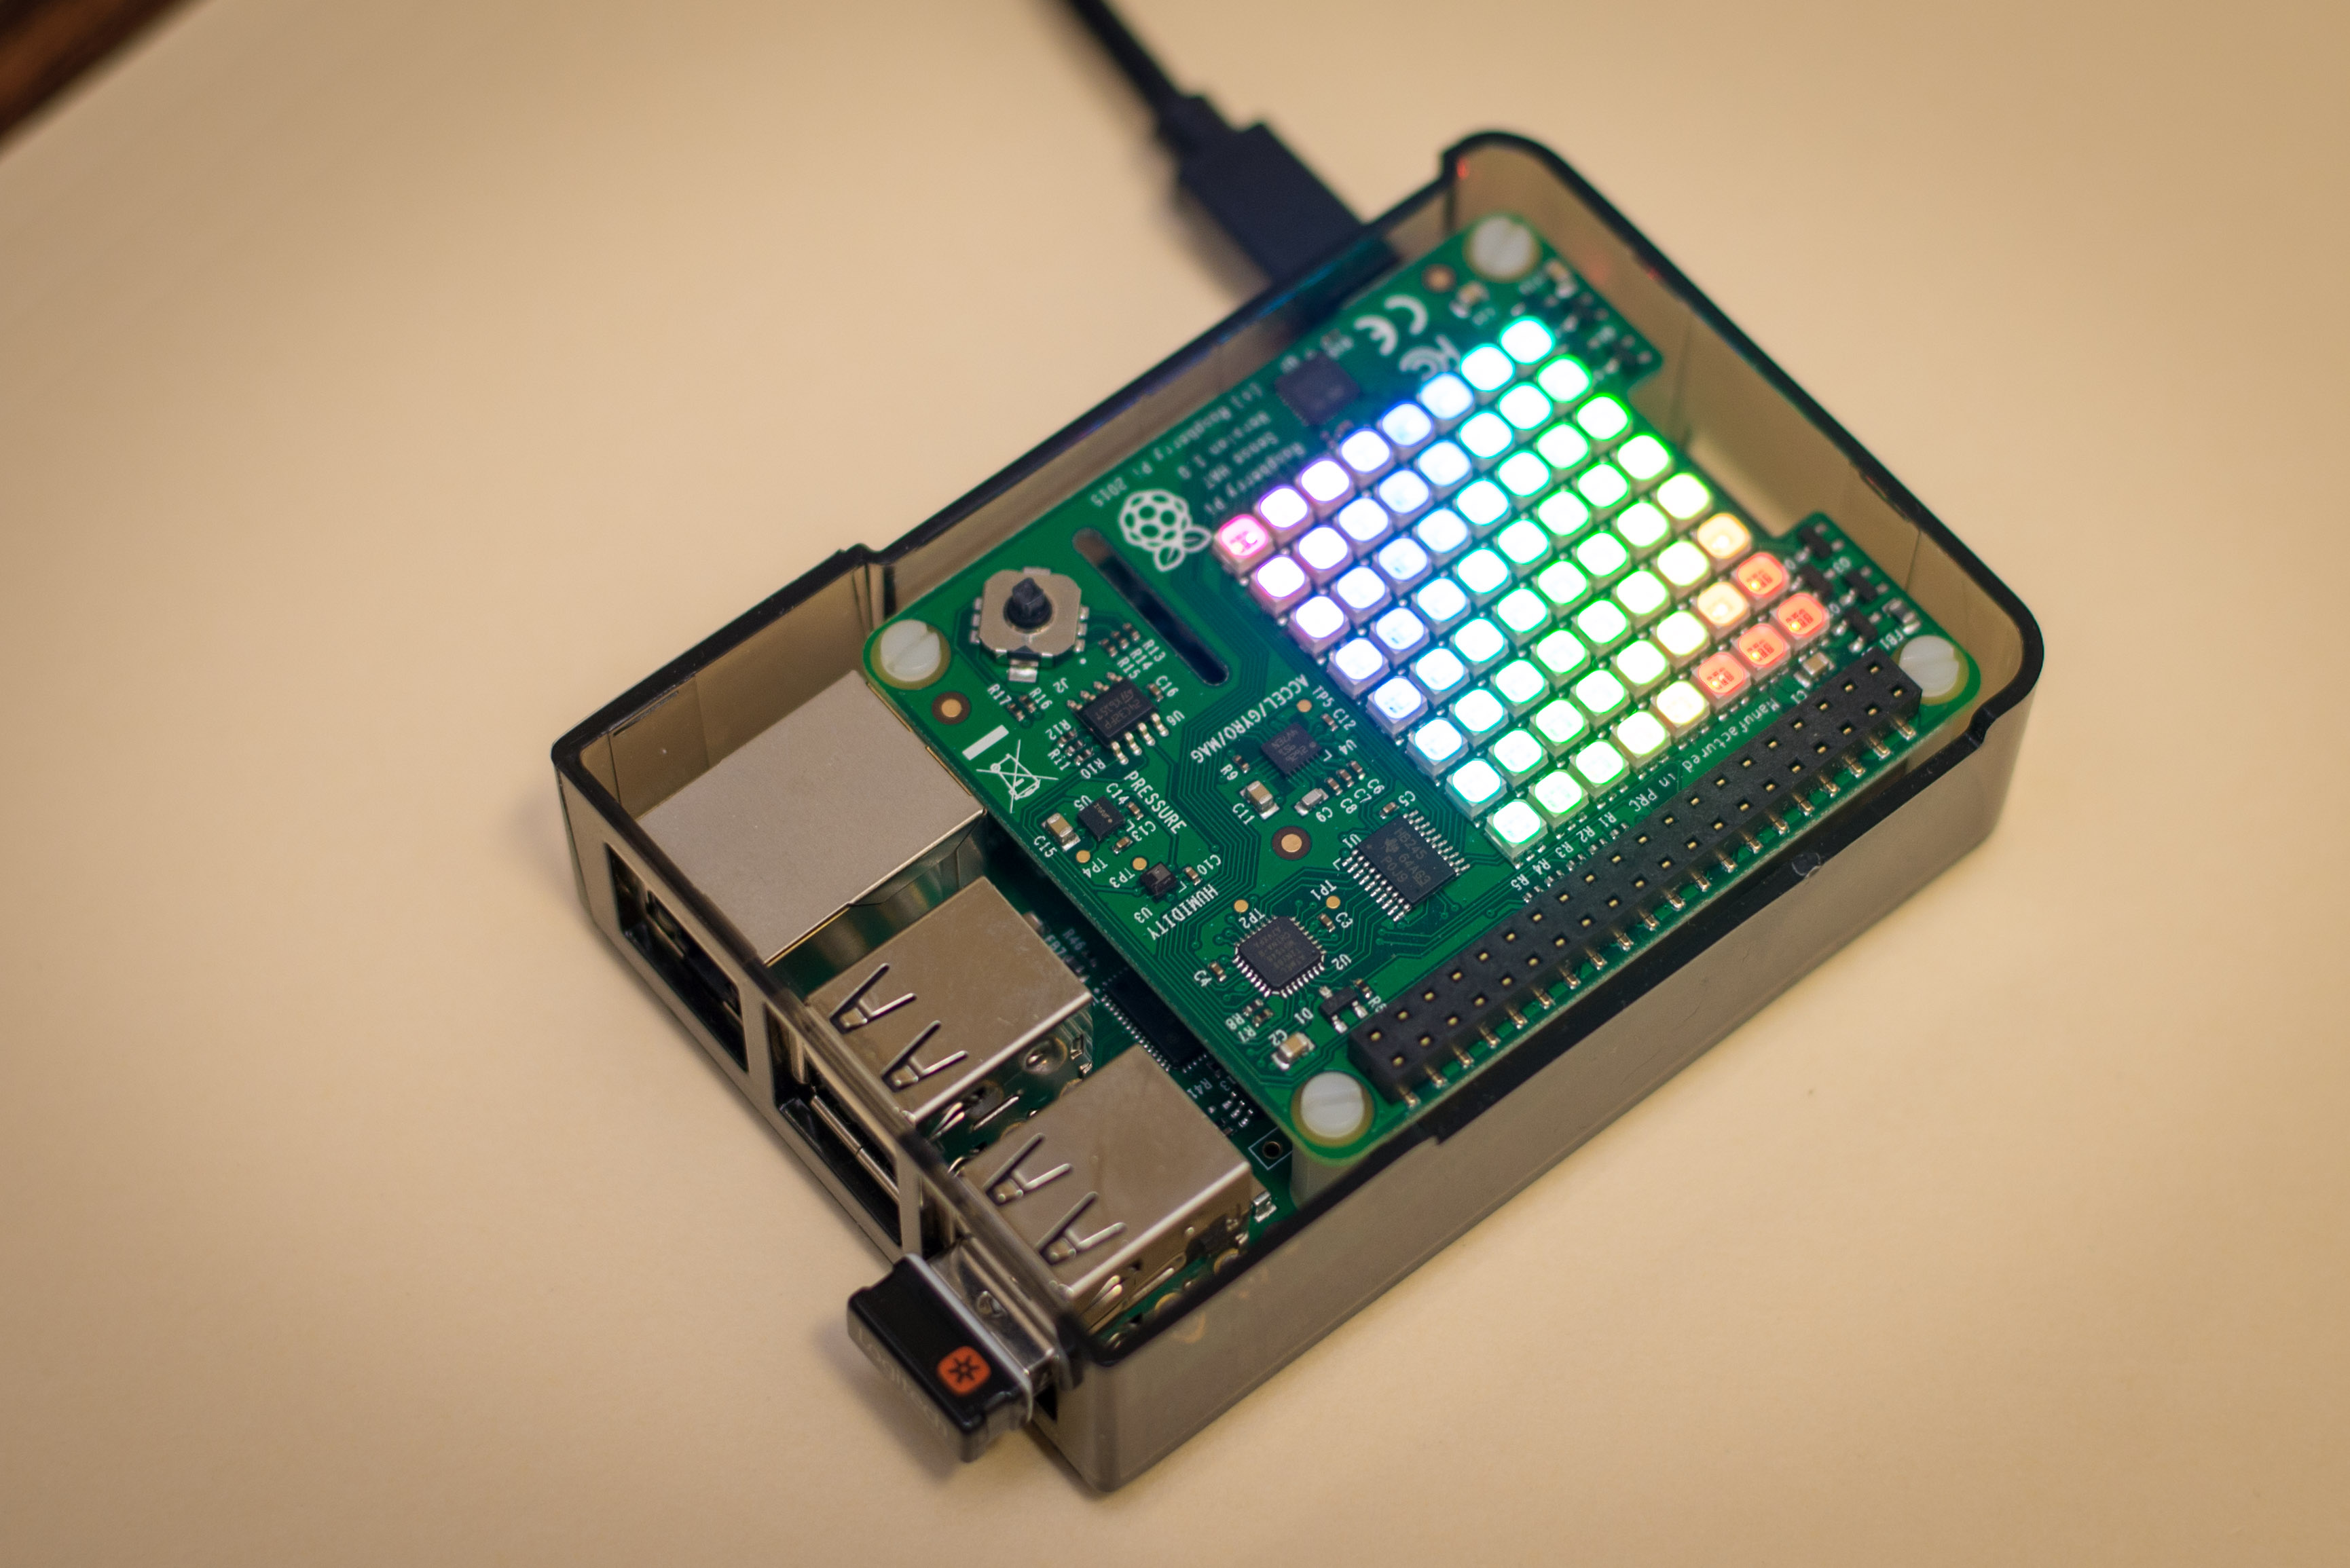
Before we can start programming the Pis, we need to do some setup. Make sure you have a password login for your Pis. First we will physically connect the SenseHat boards to the Pis. Next, we will install the necessary SenseHat, Twilio and Pyrebase libraries. Firebase real time database was designed for mobile devices or websites. However, we can read and write the cloud database through the Rest API with a helper library like Pyrebase.
Connect the SenseHat
Make sure the SenseHats are connected to your Pis. If you have an unusual case, you may need to remove the Pi before connecting the SenseHat.
Installing Libraries
All the library installations will be done in the Terminal
- Boot up your Pis if you havn't already.
- Upon bootup, you get this colorful LED rainbow on your SenseHat! (see pic)
- Go to terminal and update/dist-upgrade, type:
-
sudo apt-get update
-
sudo apt-get dist-upgrade
-
- After upgrades are done, type the following to install SenseHat libraries:
-
sudo apt-get install sense-hat
-
- To install Pyrebase, type:
-
sudo pip install pyrebase
-
- Lastly, install Twilio
-
sudo pip install twilio
-
Python Script for Pi1
As we mentioned earlier, Pi1 will be the Pi that will be used to detect movement. The SenseHat's accelerometer's values will be used to determine movement. Thus, the code for Pi1 will be around accessing the accelerometer g force values and logging the motions detected to the Firebase Database. Here is a overview of process flow:
- If Pi1 detects movement, it will add an entry to the "alerts" child in the Firebase DB.
- Pi1 will also update the "notifypi2" child with a notification message regarding the movement.
- Pi2, then reads "notifypi2" and display the notification on its LED matrix display.
I've included the Pi1 Python script for you to follow. Comments in the script explain what the code is doing.
Additional notes and insights for the Pi1 script
- For Firebase and Twilio setup. Fill in the appropriate API keys, IDs, passwords, etc that you copied from the previous steps.
- Regarding Firebase authentication, for extra security, you can ask for user input instead of hard coding these credentials. Each time we write or read from the database, we will need to include
user['idtoken']
with theget(), push(), set()
methods. - CPU temperature is needed so we can intervene in case the Pi overheats in a car or a closed environment.
- We also take the absolute value of the G forces since we do not need to know negative values. We only need to know if there are G forces.
- If statement will check the accelerometer's values. If G forces are greater than 1 in any direction, Pi1 will log the movement time and display an exclamation mark on its own LED display. It will also update the "notifypi2" child. When "notifypi2" is updated, Pi2 will read it and display "!!!" on its LED display to notify the user of possible movement/break-in. Pi1 will also send the user a SMS notification of movement.
- When using the push() method, Firebase will autogenerate a child with a new entry. This needed so the logged movement data will be unique. the set() method on the other hand will overwrite previous data.
- 10 second loop to check the database is necessary so your Pi doesn't repeatedly request data from Firebase. If you continuously spam Firebase, Google will log you out in about 10 mins.
- Firebase will also kick the user out every 60 mins if the token is not refreshed. I have the refresh set to 1800 seconds (30 mins).
Downloads
Python Script for Pi2
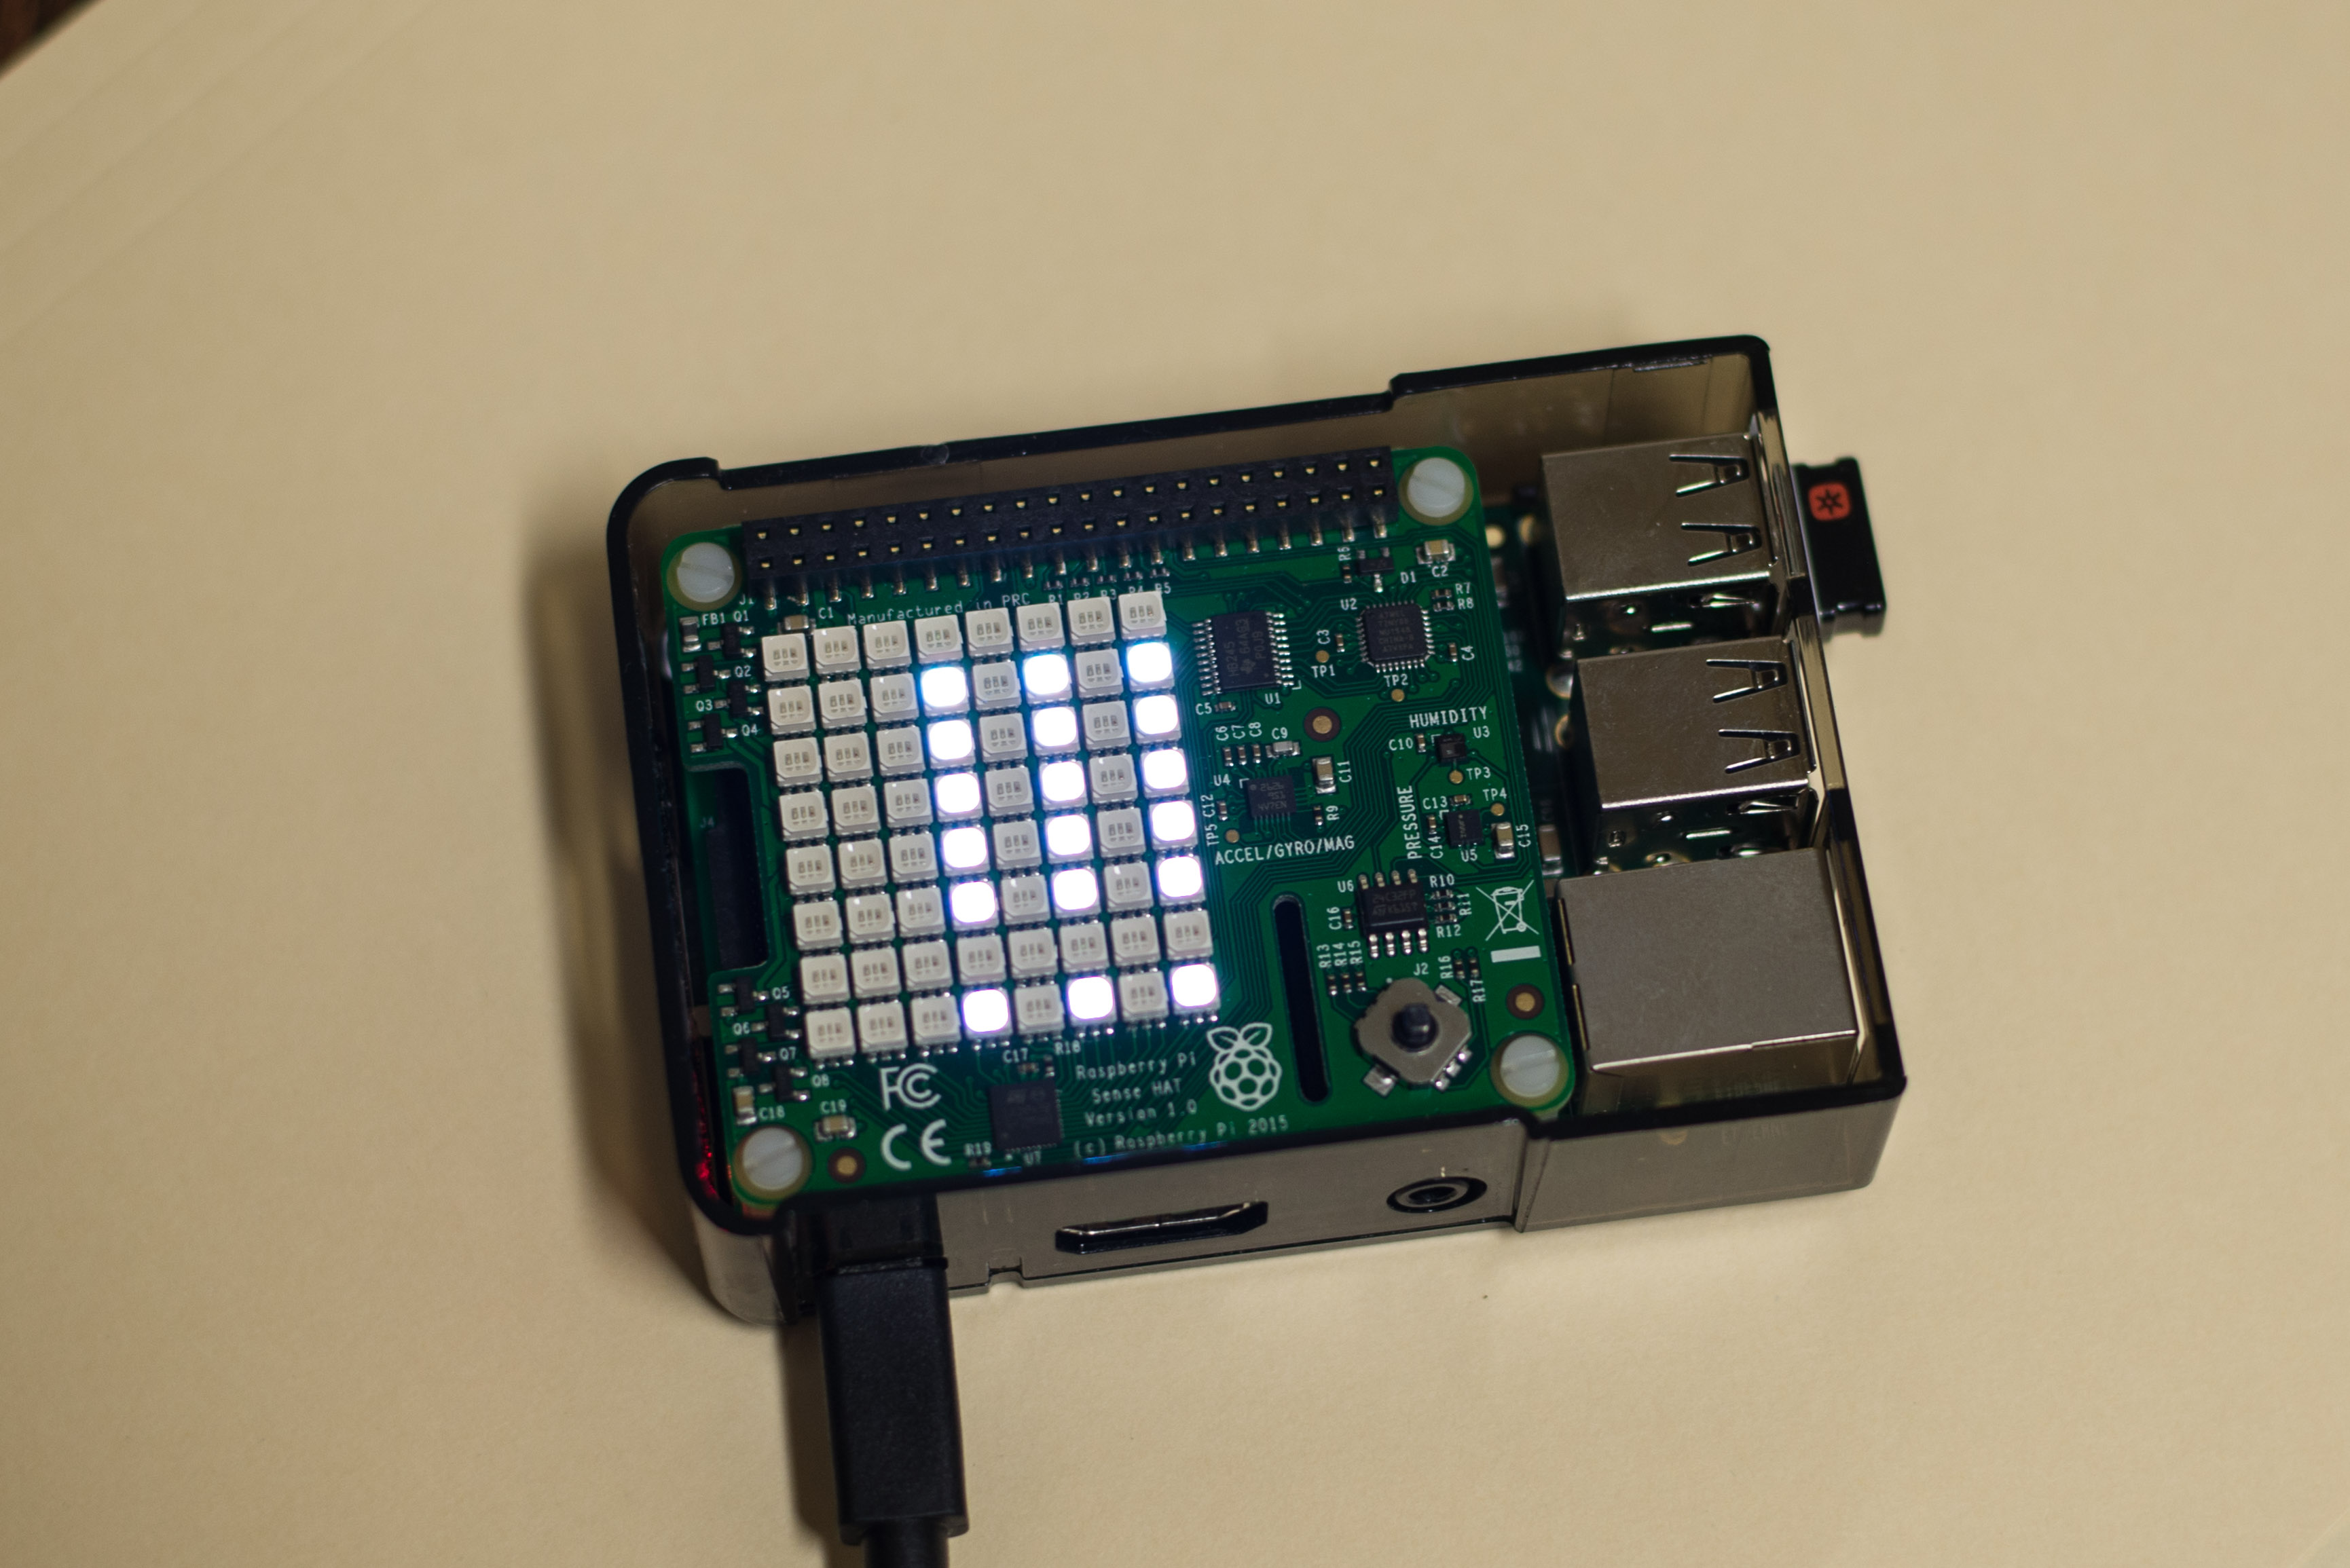
If you look at the photo, that is of Pi2 displaying a notification of possible movement.
Pi2's script is pretty much exactly the same as Pi1 except the script does not detect movement. Pi2 only displays or resets notification messages from the "notifypi2" child. Since thats the only difference, I will explain that below.
- Every 10 seconds, Pi2 will check "notifypi2" to display. If there is a notification message to display, the Pi2 will display it continuously so the user sees it.
- Only the user intervention of pressing the joystick button will the message clear and reset on the database side.
Downloads
Test the Pis
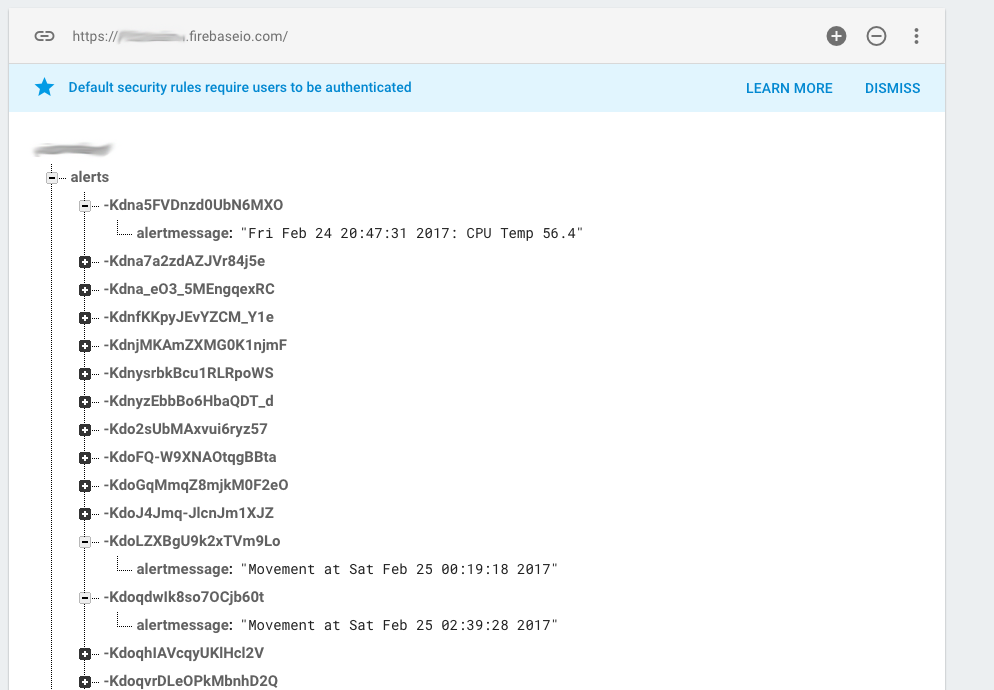
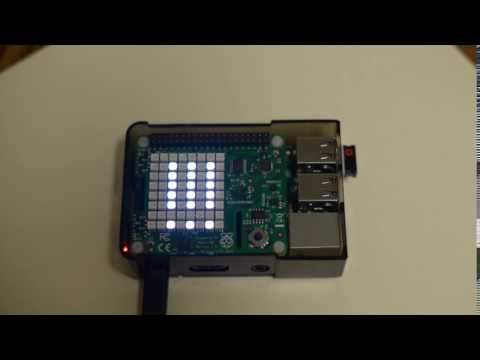
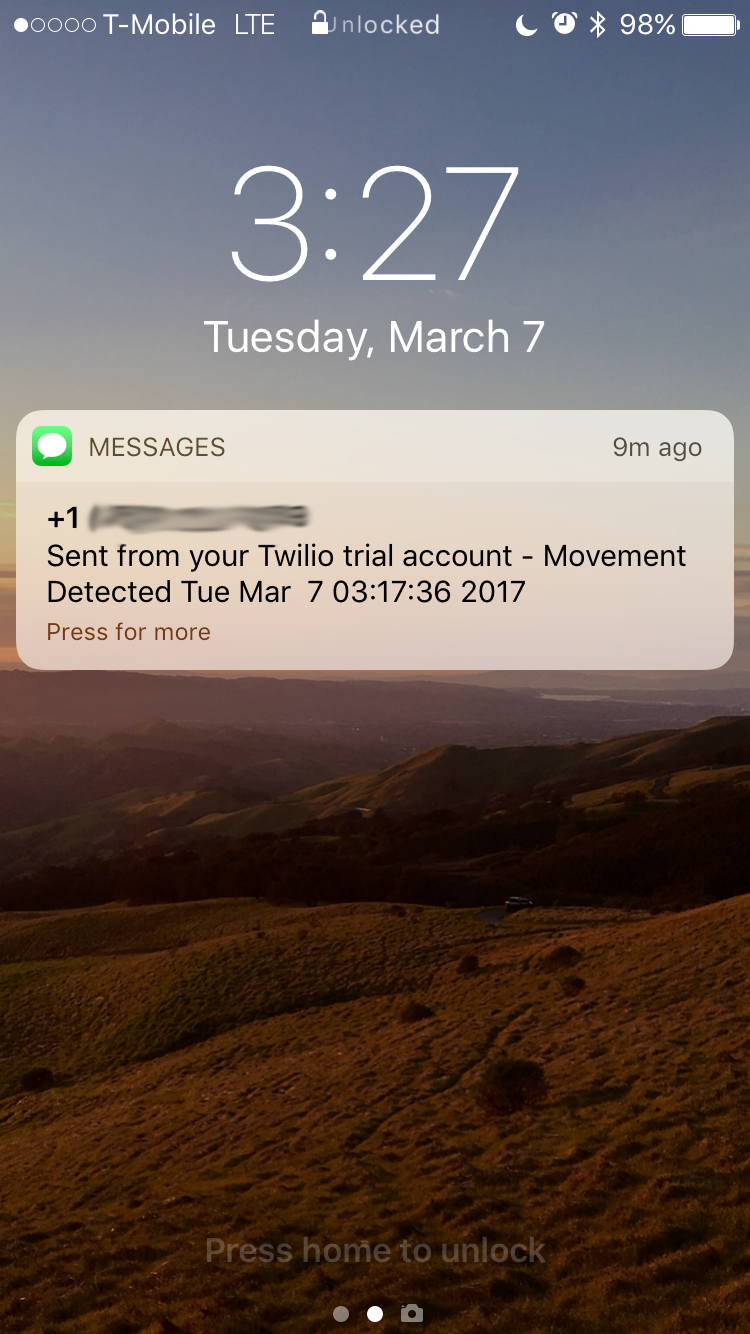
Time to test the Pis.
- Run the scripts for the respectively Pis.
- Log into Firebase and go to your projects database section.
- Shake your Pi1, you should see a red exclamation mark on the Pi1 LED display. You should also get a SMS message.
- Check the database, alert entries should start showing up. "notifypi2" should also be updated.
- Take a look at Pi2. You should also scrolling "!!!" To clear this notification message, just press on the joystick. "notifypi2" should be resetted. Check your Firebase to confirm.
- If you find the Pi1 too sensitive to movement, increase the threshold to greater than 1G in the Pi1 script.
If all goes well, your scripts will not crash. Now, you have a working notification system. Once Pi1 detects movements or vibrations, you will get a SMS message notification and a visual LED notification on Pi2.
Building the R-PiAlerts IOS App
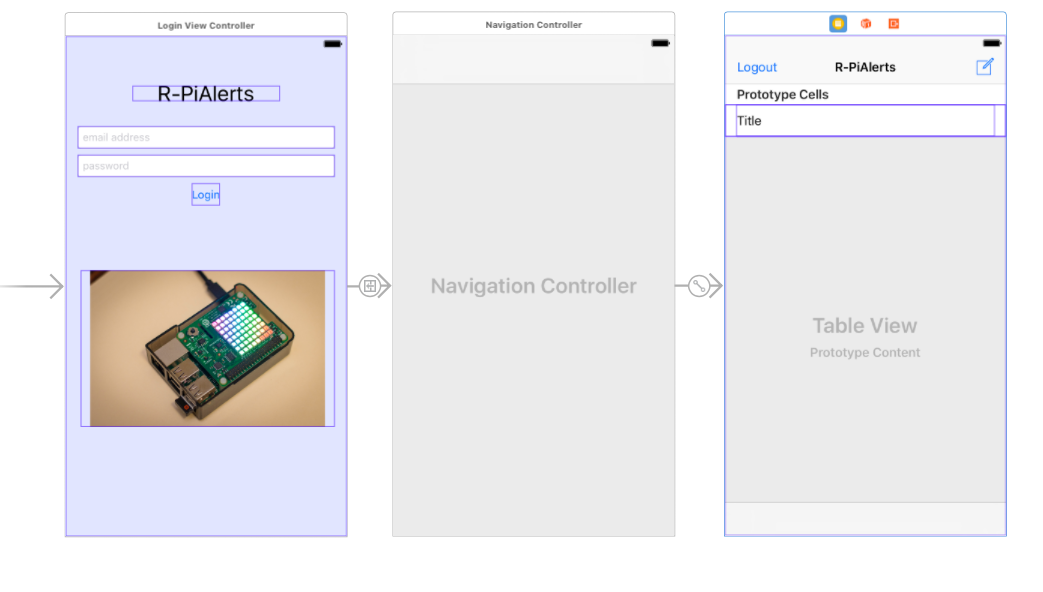
Time to build the iOS app! App will be fairly simple. It will have a LoginViewController and a ItemsTableViewController. ItemsTableViewController will display alert notifications from the "alerts" child. One can also delete database entries from the app. To save you some headache, if you plan to look at online tutorials for Firebase, make sure you look for tutorials dated after March 2016 as there were major changes last year around that time. Anything before March 2016 will be legacy. I've you're interested in the swift files, please review the comments in the code. If you want a detail tutorial on how to build a Firebase app that reads the database, check out Ray Wunderlich's tutorial.
Set Up Your iOS Project Overview
- Create a single view iOS project in Xcode.
- Copy the bundle identifer
- Go to your Firebase project on the website and create a info.plist file with the bundle identifier.
- Add the GoogleService-info.plist file to your project. This info.plist only works with the specific Firebase Project you've created.
- Close out of Xcode and install Firebase via Cocoapods. Make sure to install Auth and Database.
- Restart Xcode, then configure your AppDelegate.swift for Firebase. It only takes 2 lines of code.
Import Firebase
andFIRApp.configure()
. Optionally, Firebase has a persistence feature that only takes 1 line of code:FIRDatabase.database().persistenceEnabled = true
- Detail installation steps can be found on Firebase's Website
How the App Interacts with the Firebase Database:
- The app will need to authenticate the user.
- Once authenticated, the app takes a snapshot of the Firebase database and stores it as an "Item" object.
- Said object will fill an array. Said array will be used to fill the tableview.
- An observer will watch for changes to the Firebase database and create a snapshot.
- Once changes are detected, array will be appended from the new snapshot.
- Tableview will then be reloaded to show the changes.
General Outline on How to Build the App
- Take a look at image on how the app is laid out in Xcode's interface builder.
- Create a ViewController in interface builder and point the custom class to LoginViewController.swift.
- Add textfields for email and password. Don't forget to turn on "Secure Text Entry" for the password field. Add a login button.
- Link up the textfields and button to the LoginViewController.swift. LoginViewController.swift will handle the authentication.
- Add a Navigation Controller in interface builder. Create a segue from the LoginViewController to the Navigation Controller. Make sure to give the segue an identifier.
- Set the custom class of the new tableview that came with the navigation controller to point ItemsTableViewController.swift. I also have 2 buttons on the ItemsTableViewController: Logout and an Add button. Link up the buttons to ItemsTableViewController.swift.
- Regarding the LoginViewController.swift code. The user will input the login credentials and Firebase will return an user. If an user is present, it will perform a segue with the identifier. (see code attached)
- Add the Item.swift class (see code attached)
- Regarding ItemsTableViewController code, it's pretty standard tableview code. There will be an observer to monitor changes to your database saved as a snapshot as an Item object. Then the Item object will append the array to fill the tableview. The Add button sets an entry in the Firebase database for Pi1 to read and display. For giggles, I also added code (see attached code)
Test the App
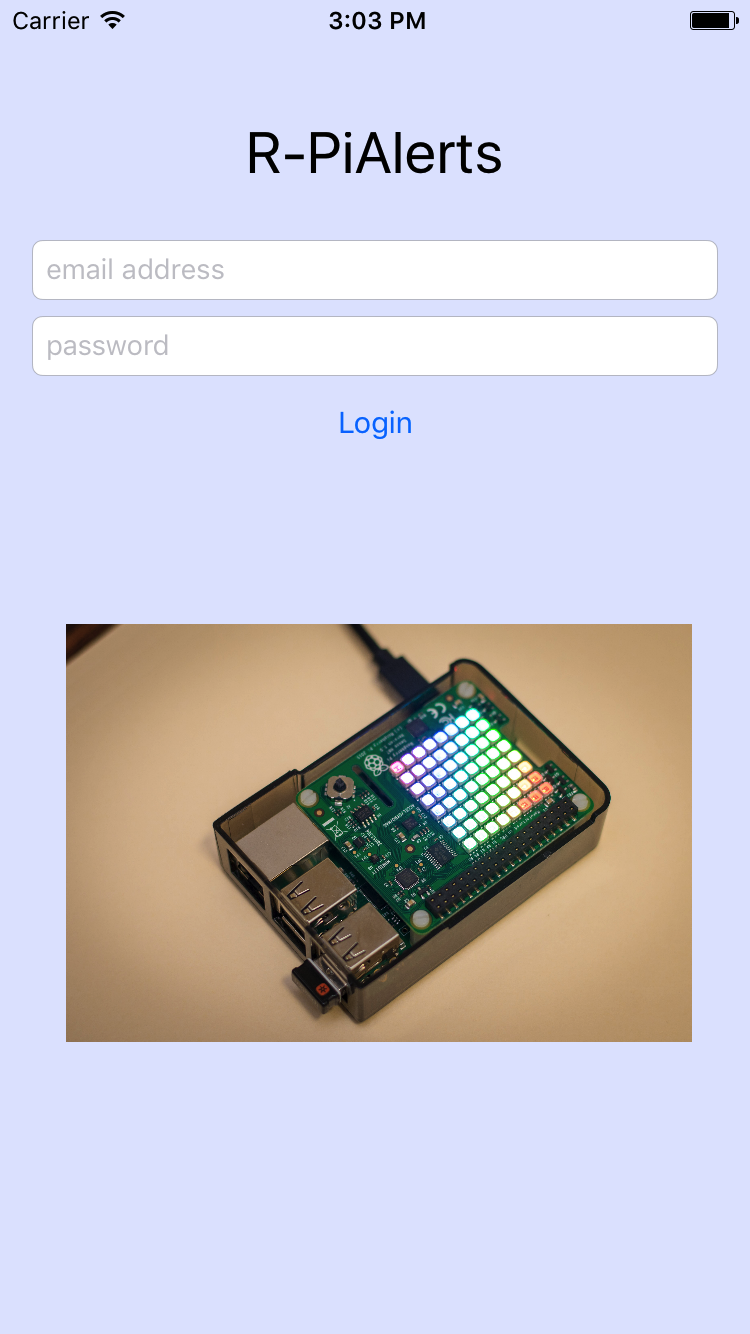
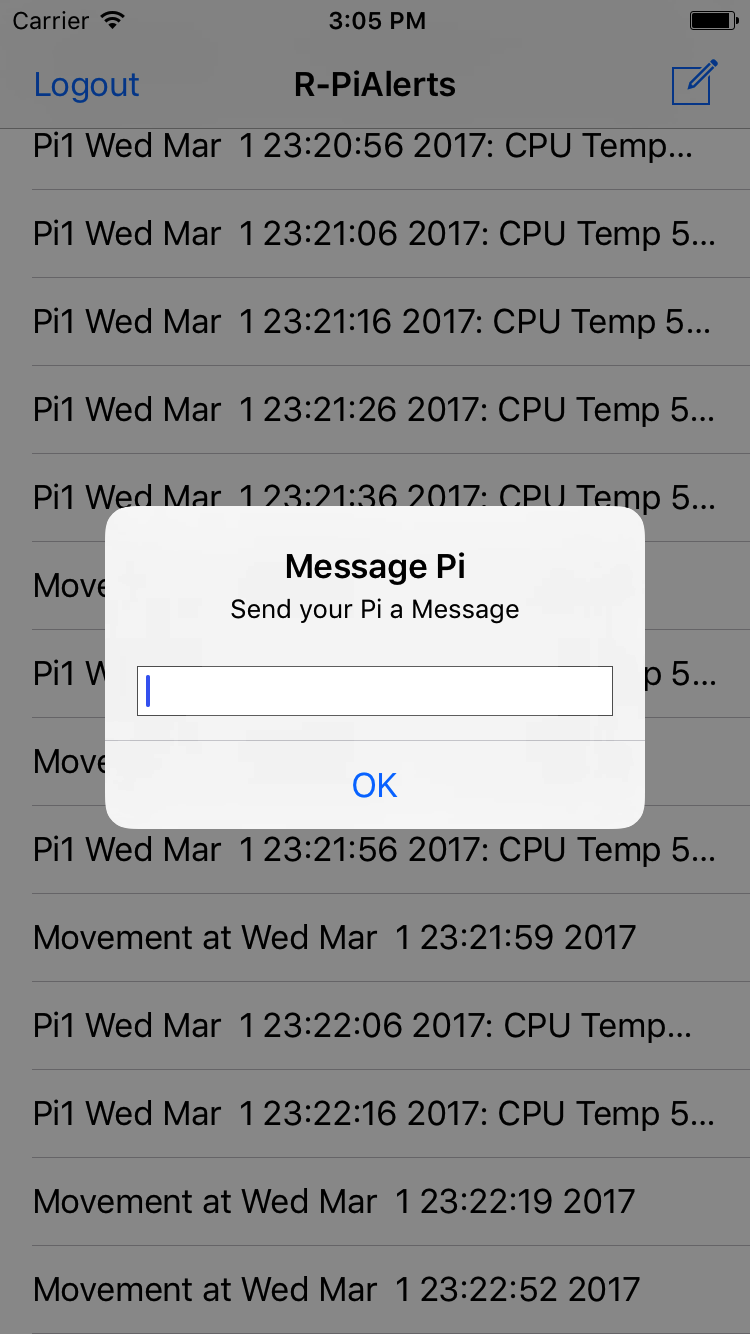
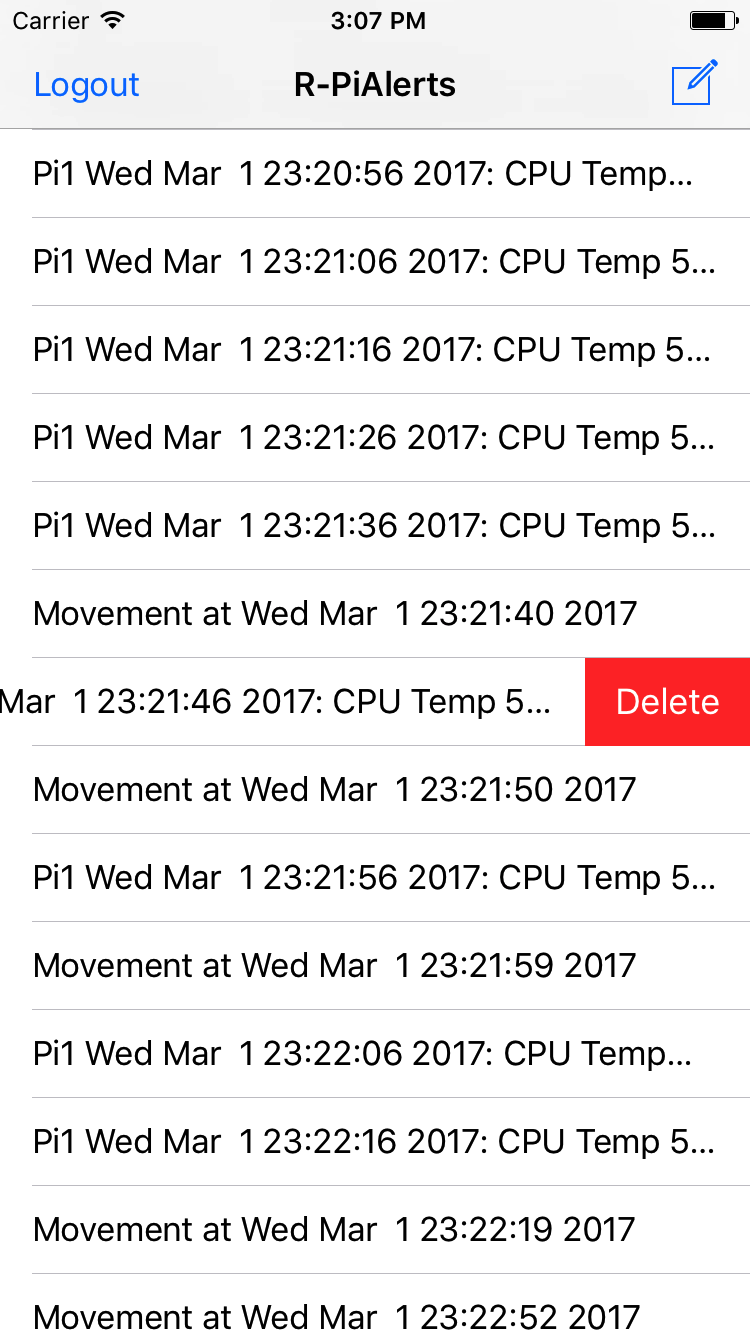
Run your app!
- Login and shake your Pi1. You should start seeing new alert notifications show up.
- Tap the add button and watch your Pi1 display your message.
- Swipe left, see "Alerts" entries get removed.
- Receiving too many notifications in rapid succession? adjust the accelerometer threshold or increase the sleep time in the Pi1 script.
Conclusion

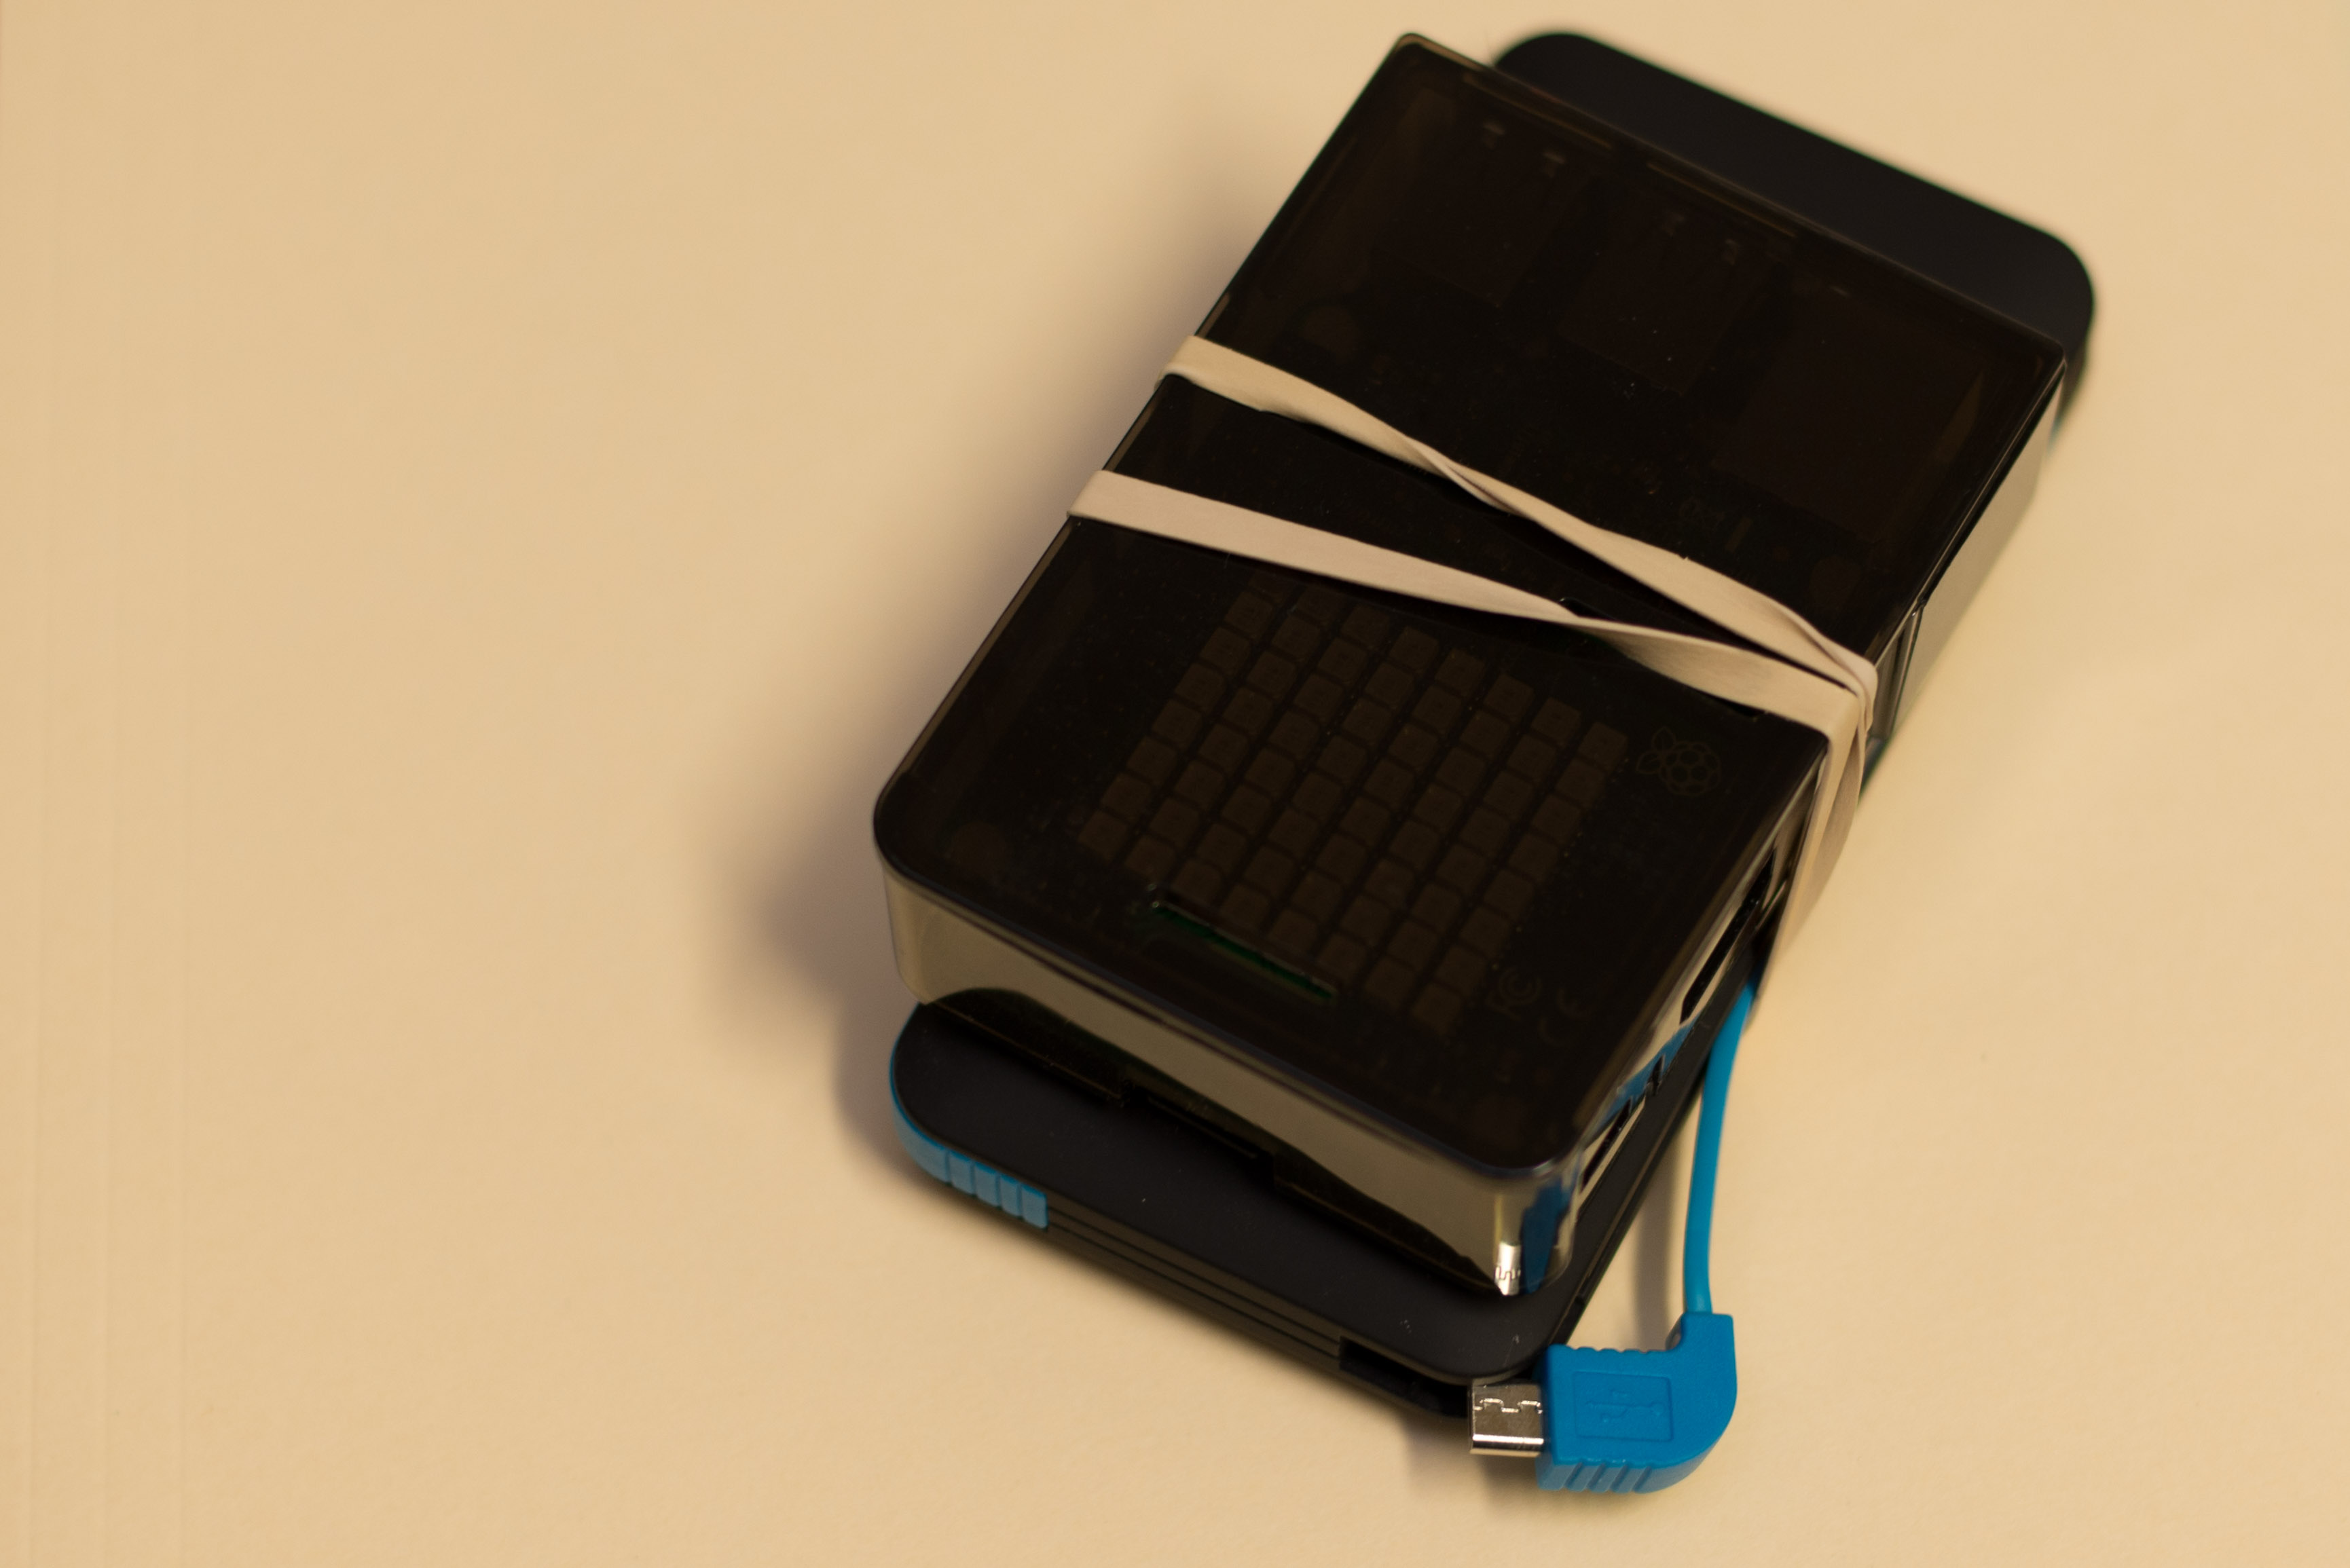
Awesome! Now we have Pis that can detect movement and send you notifications of movements. On top that, you can manage on your alert message log with your iOS device! Time to deploy the Pis. Put Pi1 next to your door and Pi2 around your work area. Next time someone comes in, you can check out the situation! Or better yet, try to hide at Pi in your car with a battery pack. Slam the doors a few times, see what happens!
This is only a beginning to the possibilities on what you can do with a Raspberry Pi and Firebase. The SenseHat also includes environmental sensors, gyros, and a compass. You can set up your Pis to log certain changes to the environment. Want to step up your game? When your Pi detects movements, use a camera capture images and have the Pi text you the photos. Also try to use a computer vision algorithm to recognize faces. if its a face of someone you know, you can get notified! Have fun!