Quillow
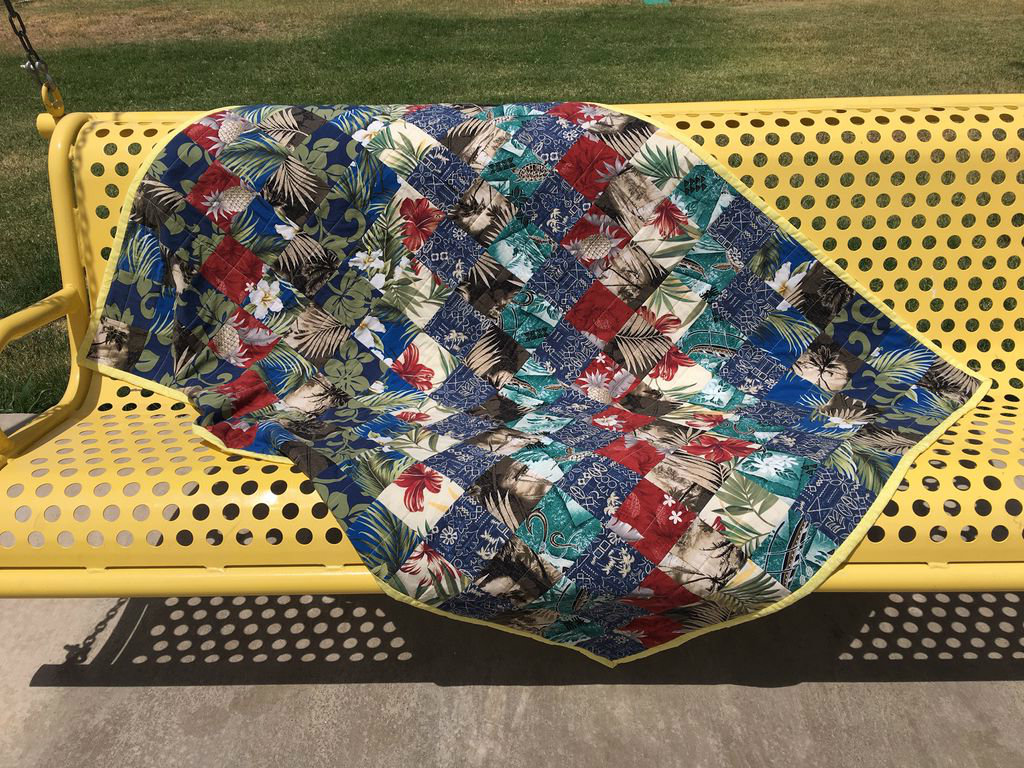

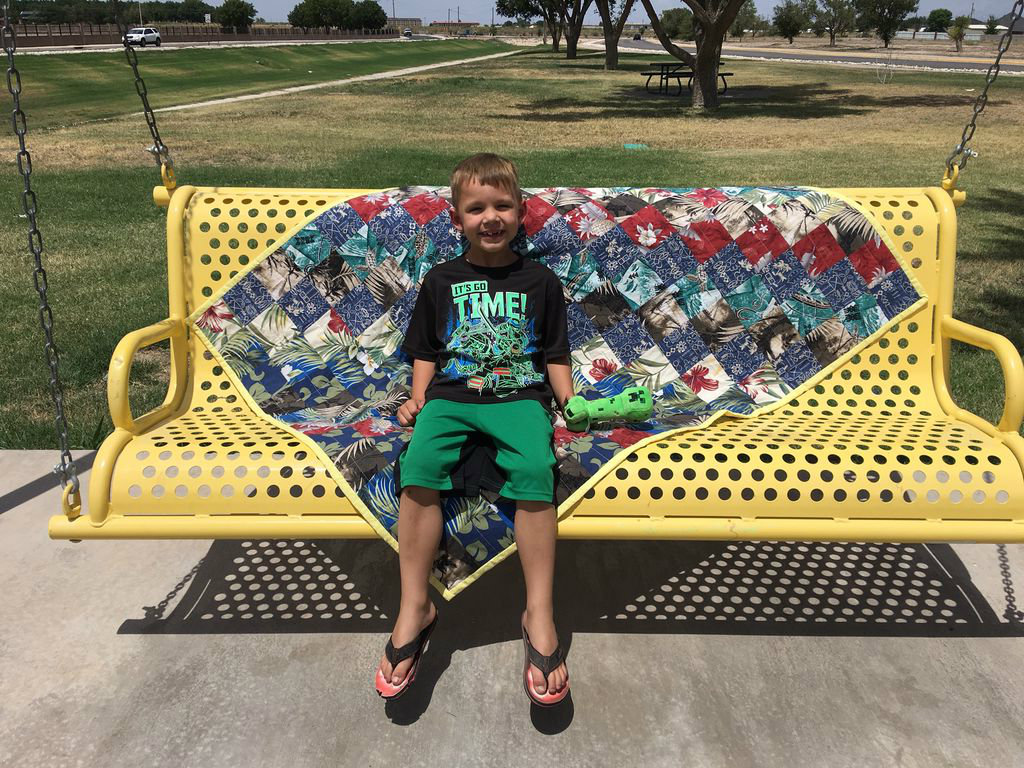
Here's a handy item to have around the house, it's perfect for taking to hometown football games or to the beach!
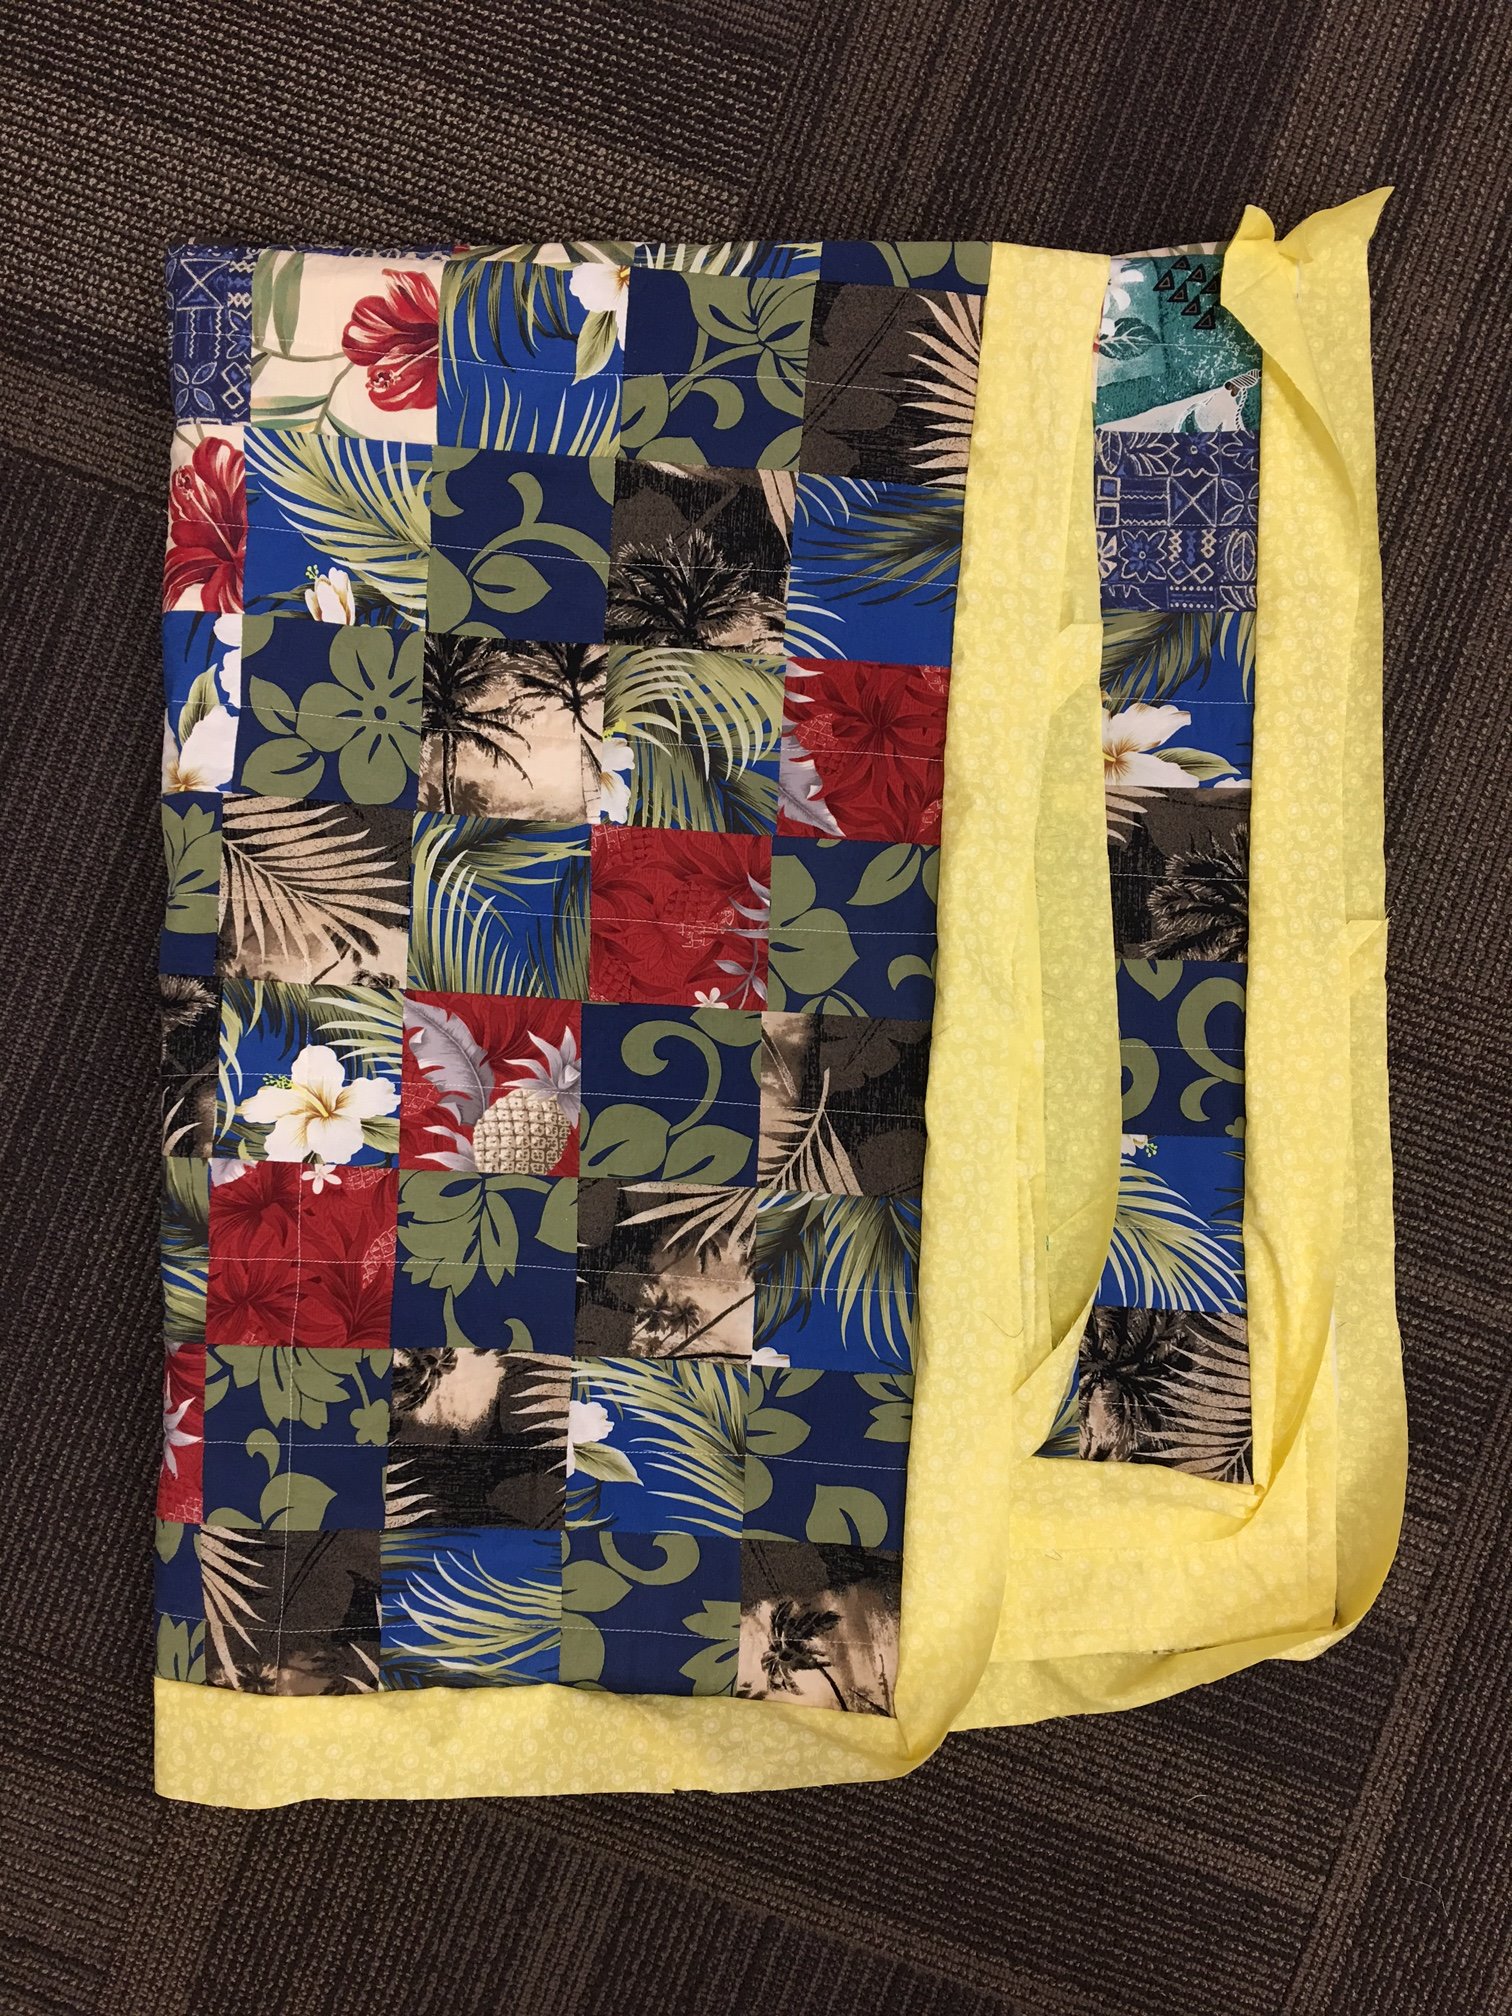
A quillow is a combination quilt/pillow. It is a small lap quilt that folds up and it has a pocket sewn on the back that you tuck the quilt into. Keep this clever throw on your couch, so most of the time it's a pillow but during those chilly fall and winter evenings, unfold it and in a few seconds you've got a blanket!
This is a good beginning sewing project. It is a bit time consuming but it's all straight lines and if you take your time measuring and sewing the squares together using a 1/4" seam allowance, it will come together quickly after the quilt top is done.
This makes a wonderful gift!
Supplies

6 or 7 old Cotton shirts
sewing machine
scissors
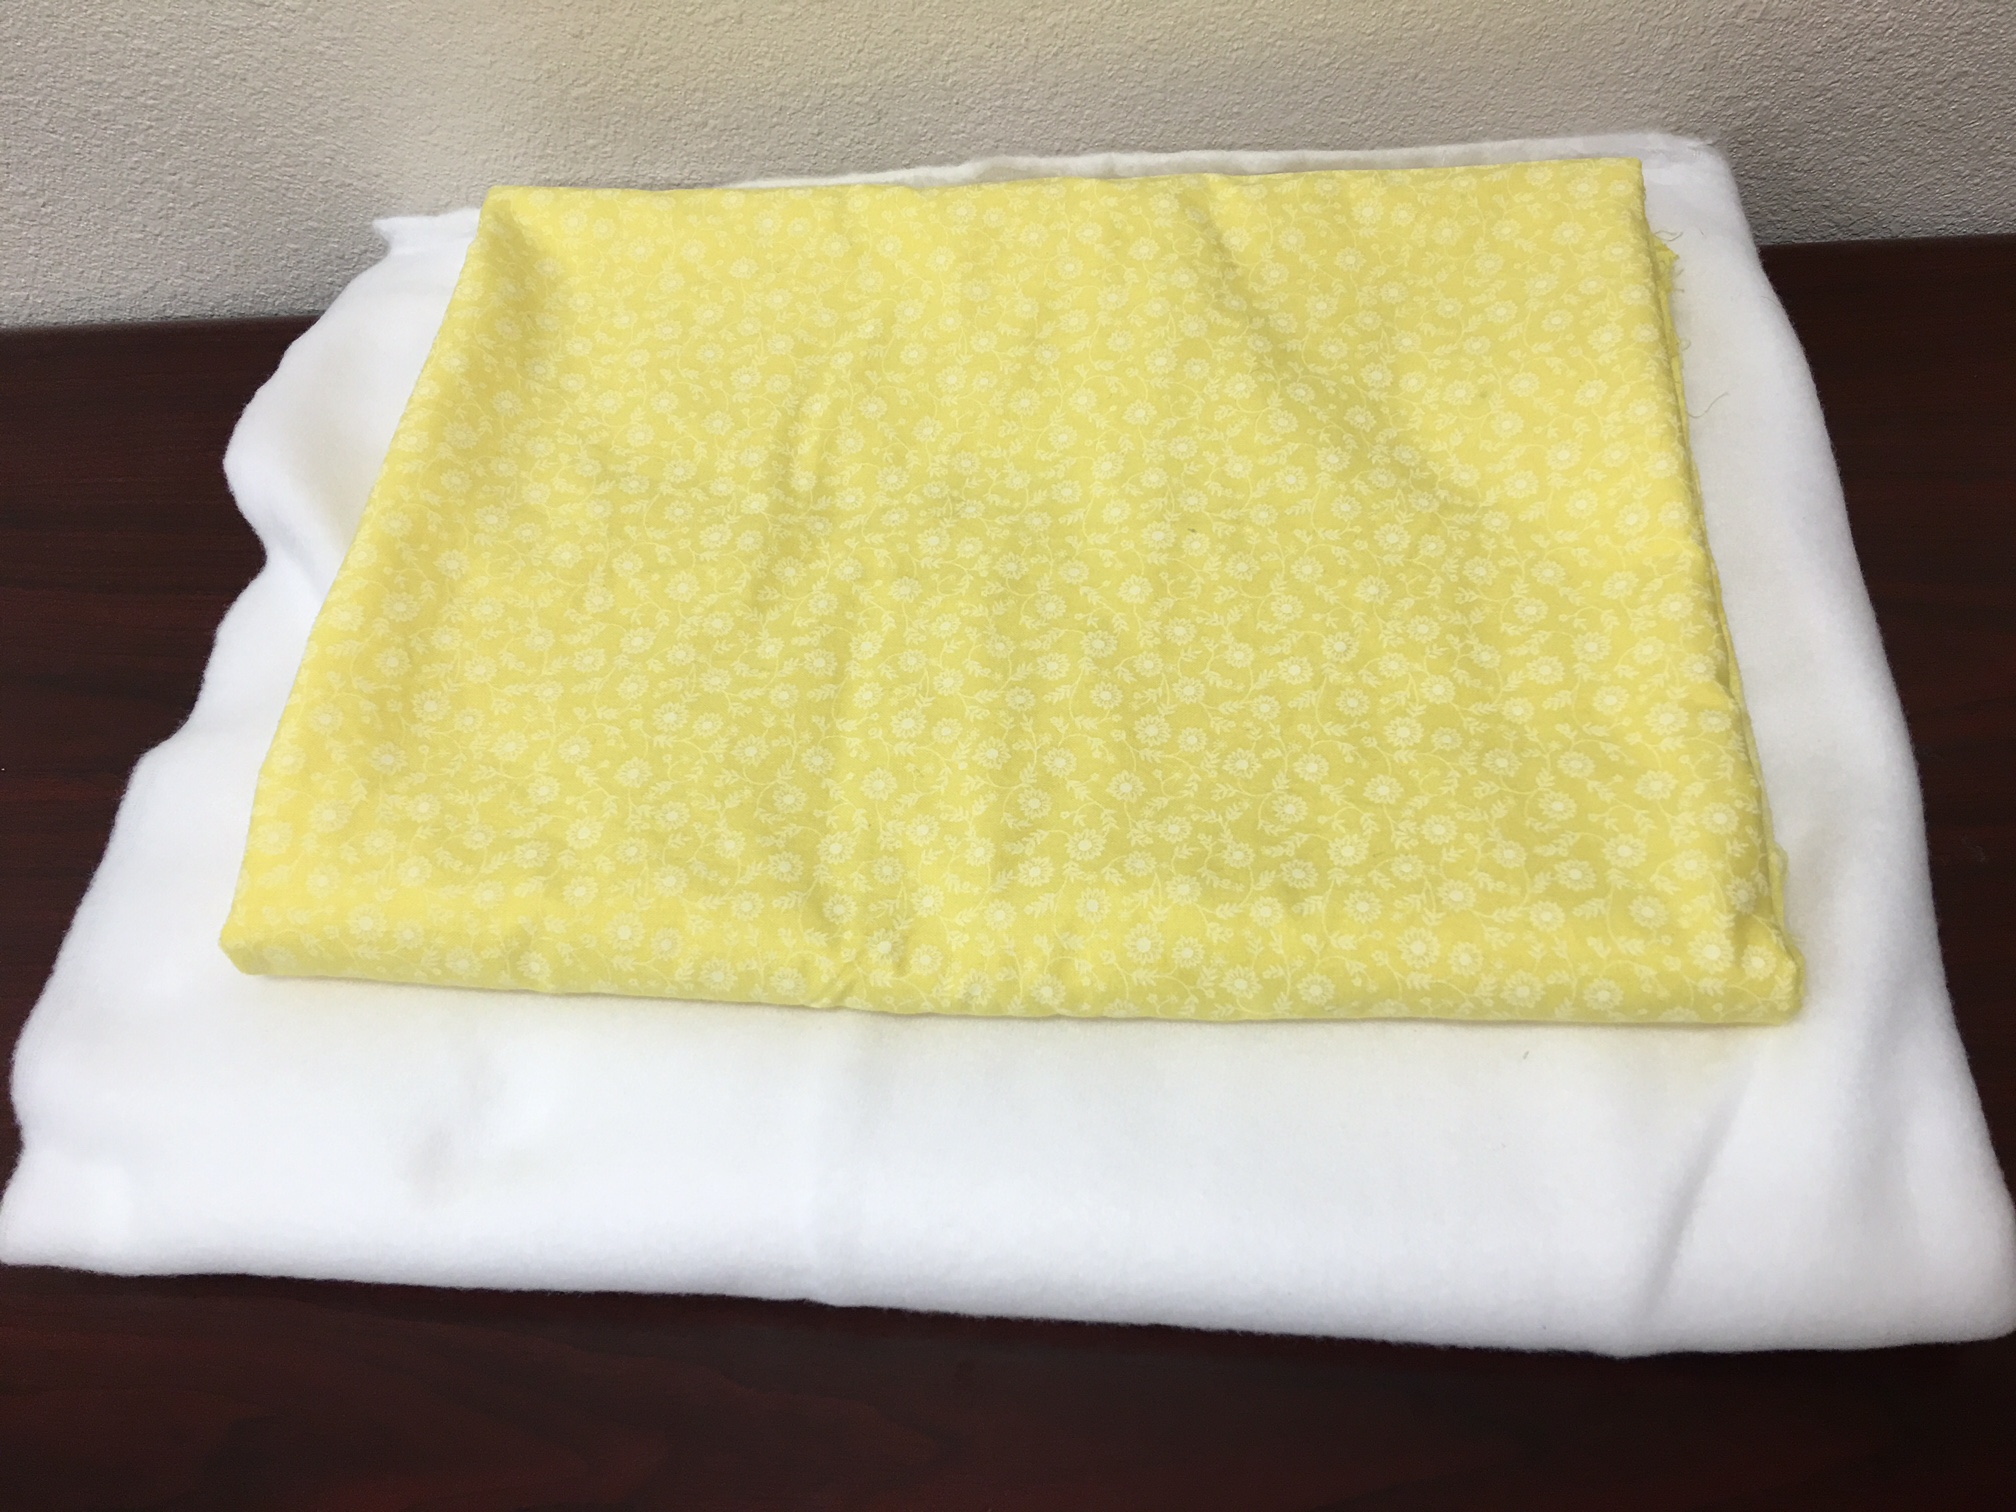
batting or fleece- 45" x 60"
3-1/2 yards of 45" wide fabric for backing and binding
thread
measuring tape
straight pins
safety pins
paper for pattern and diagram
Iron
Cut Out Squares
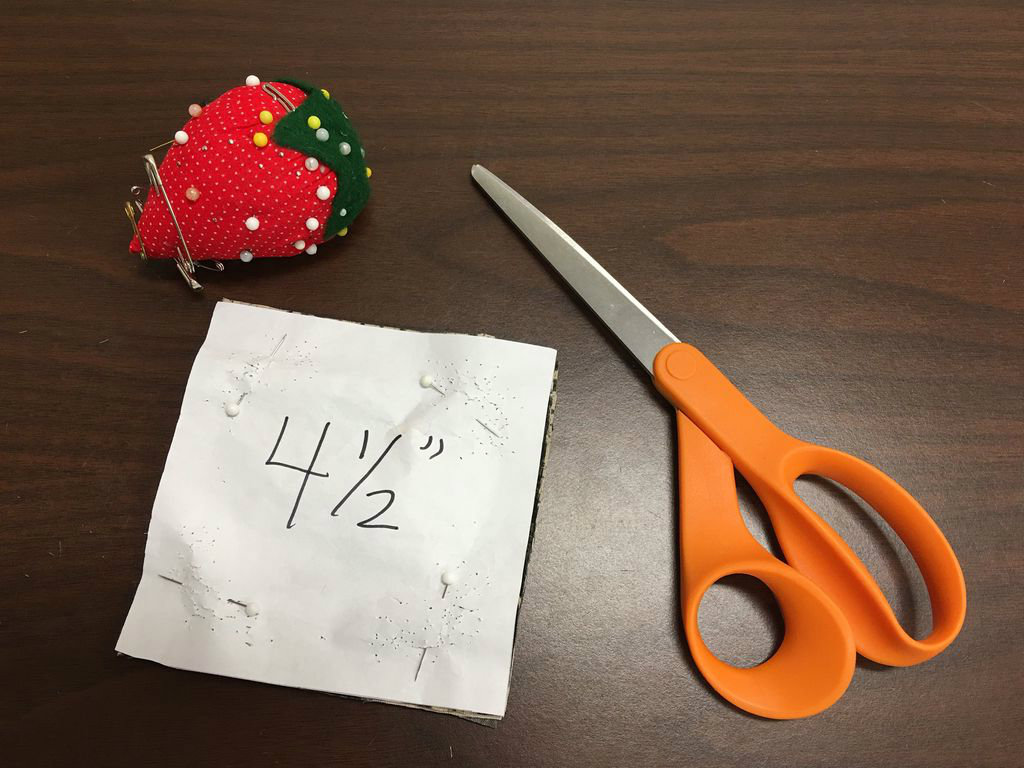

Cut a 4-1/2" square out of paper.
Cut up the cotton shirts at the seams and cut into squares, using the pattern.
I prefer to use Men's cotton shirts because they don't have darts sewn into them.
Count and stack each different color, stick a post-it note on top with the amount.
You should be able to get 40 or 50 squares from each shirt, depending on the size.
For this project you will need 165 squares. (11 rows across x 15 rows down)
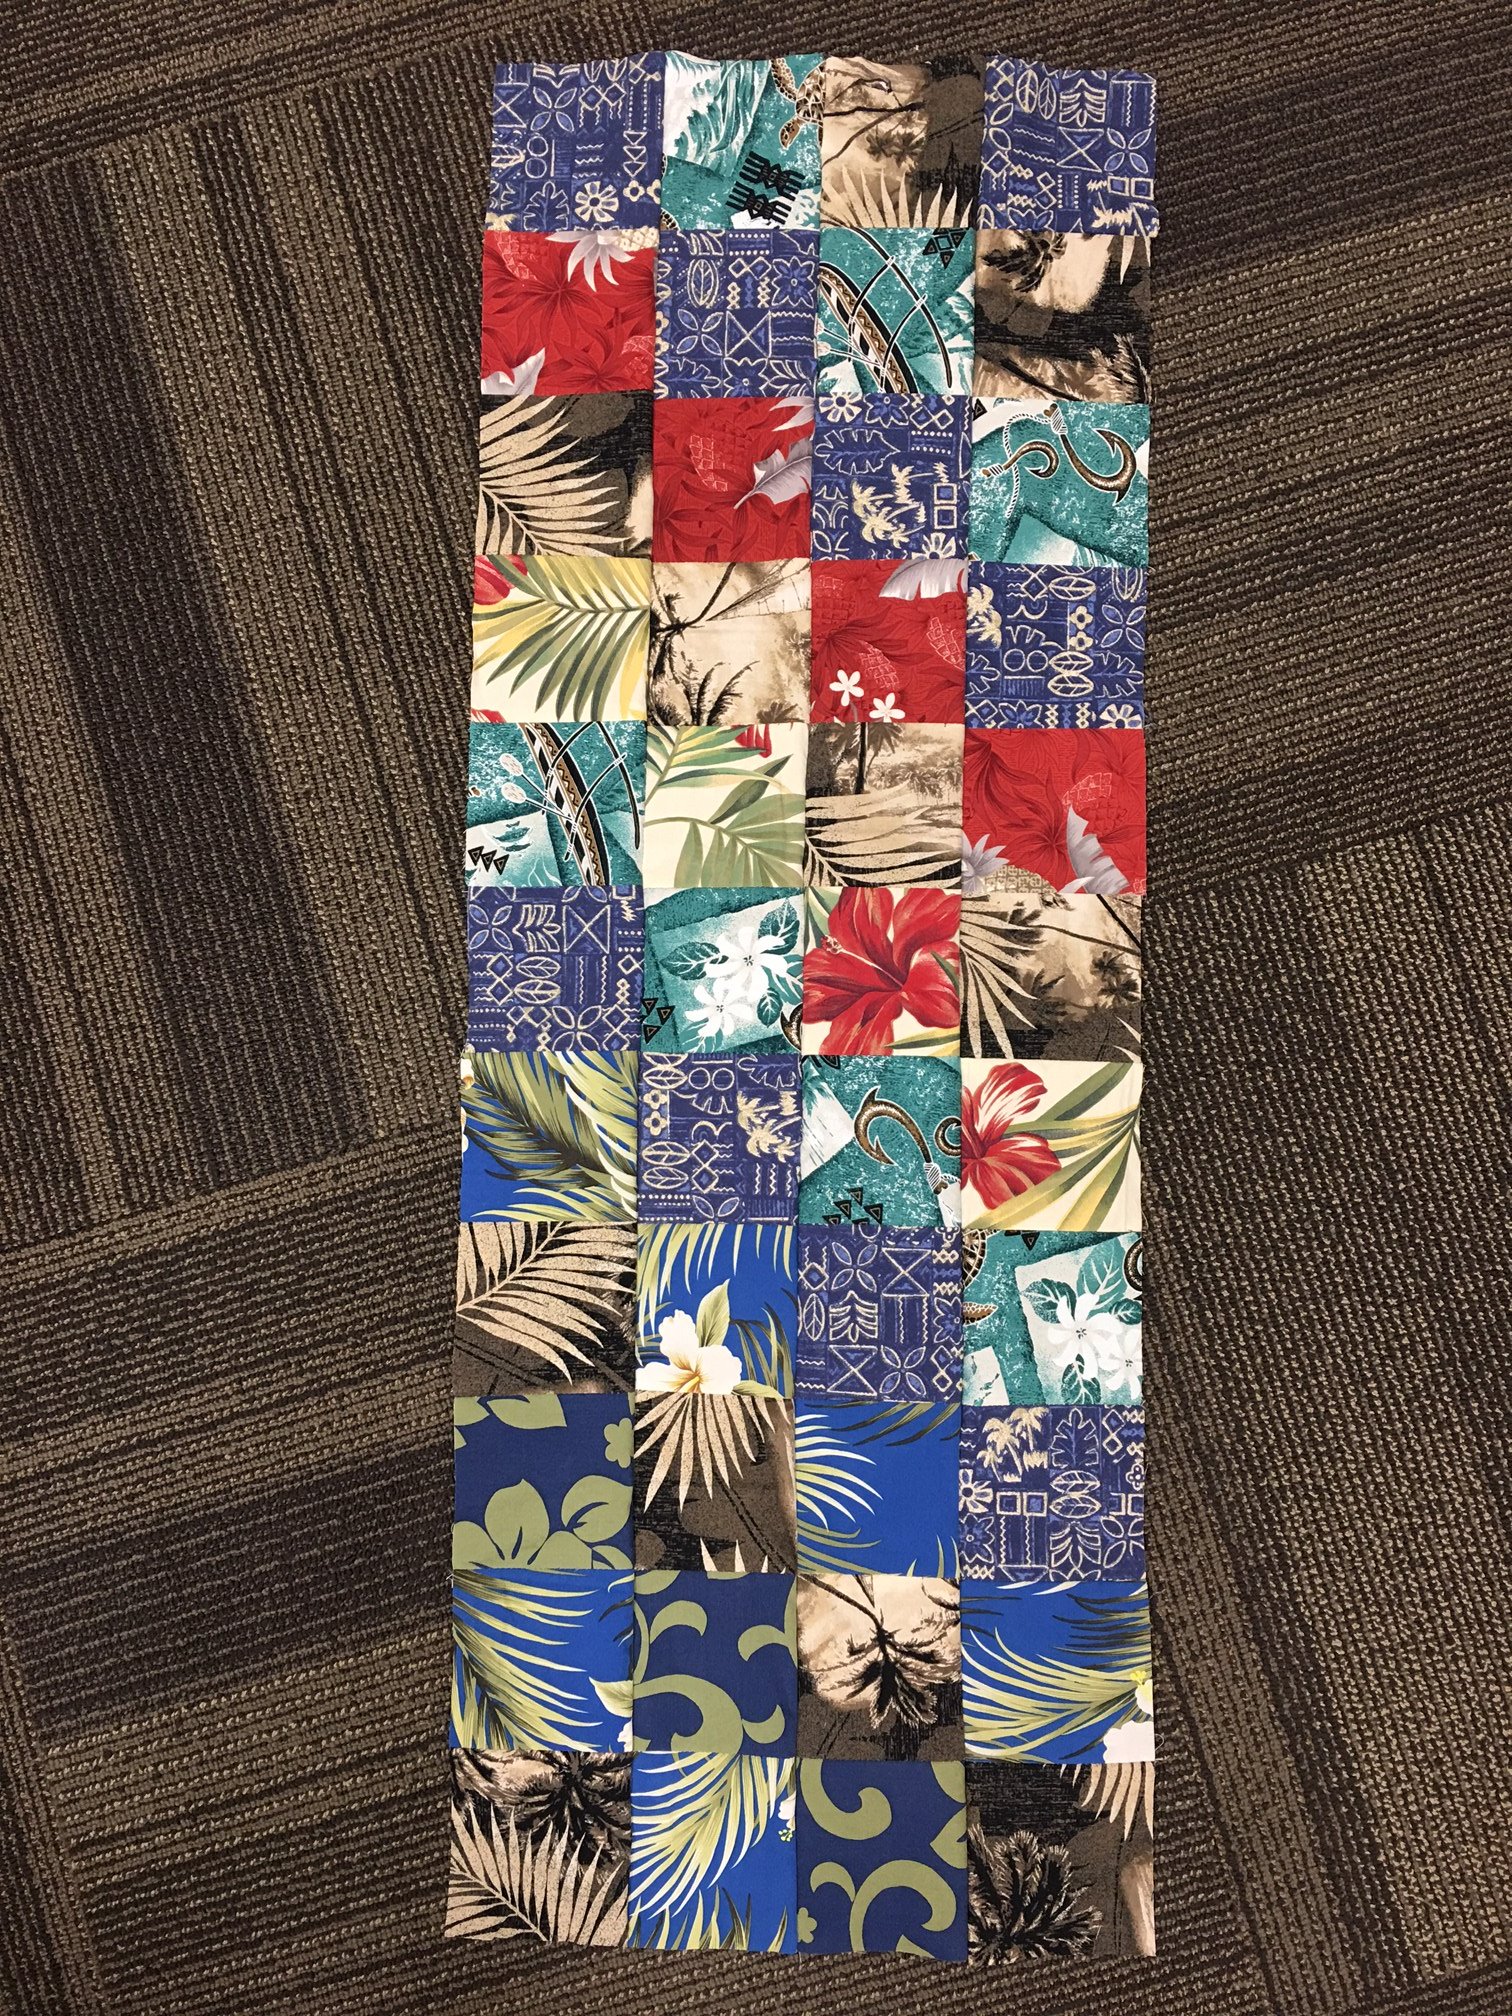
Sew Squares Together

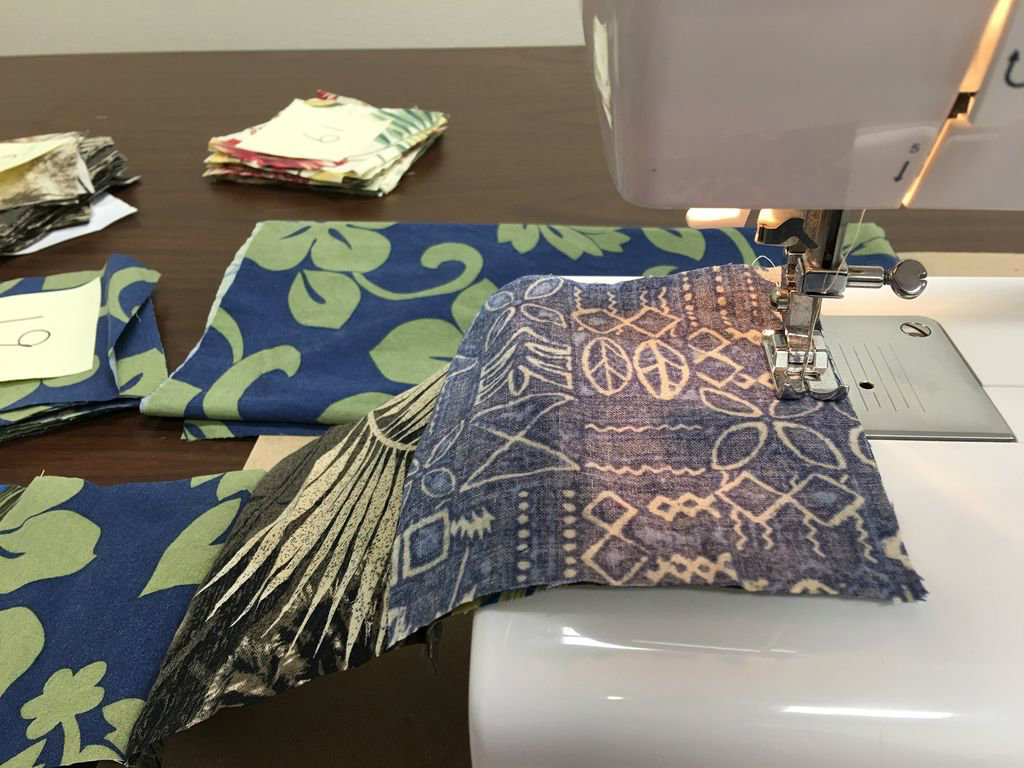


I wanted to follow a pattern so I drew a diagram using a number for each different print.
For instance, since I had 18 of the turquoise print squares (#1) I placed 11 of those diagonally which left 7 for another diagonal row.
It was easier drawing it out on paper instead of laying and rearranging the actual squares onto the floor.
By referring to the diagram, I sewed the top row of squares together. I then placed that down on the floor and began sewing the second row together.
Sew Rows Together


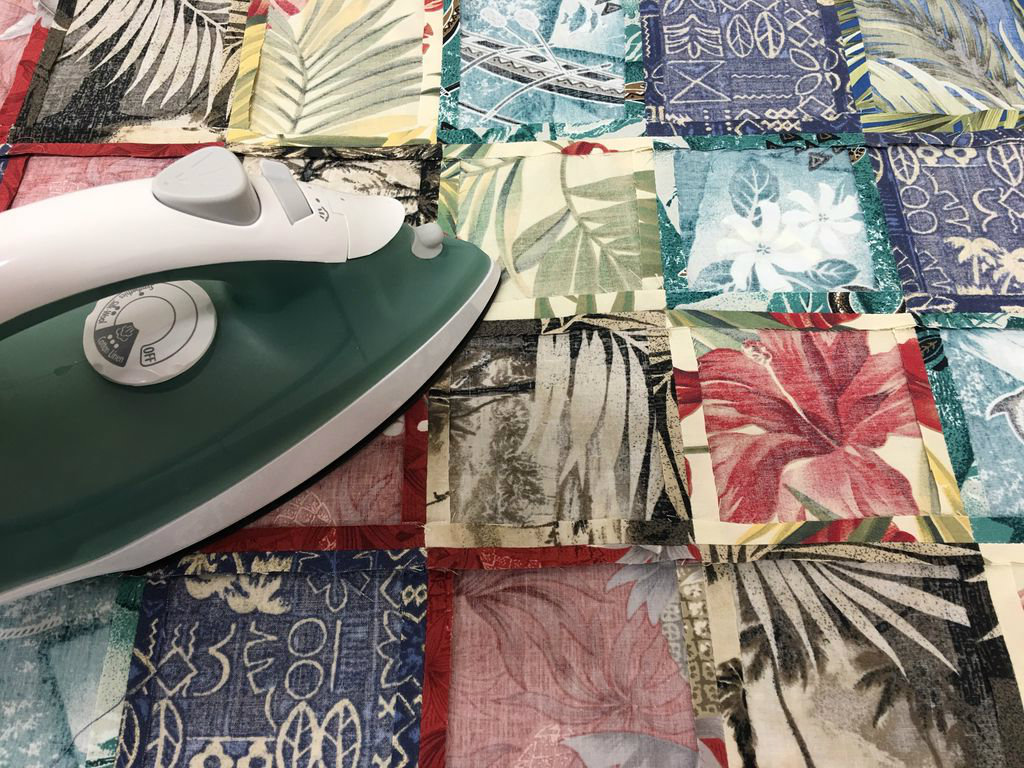

Once I had the first 2 rows made, I Pressed the seams open and pinned them together, matching seams.
I sewed the 2 rows together and pressed the seam open. Lay this down on the floor and continue sewing the remaining rows, referring to the diagram.
Press the seam allowances open.
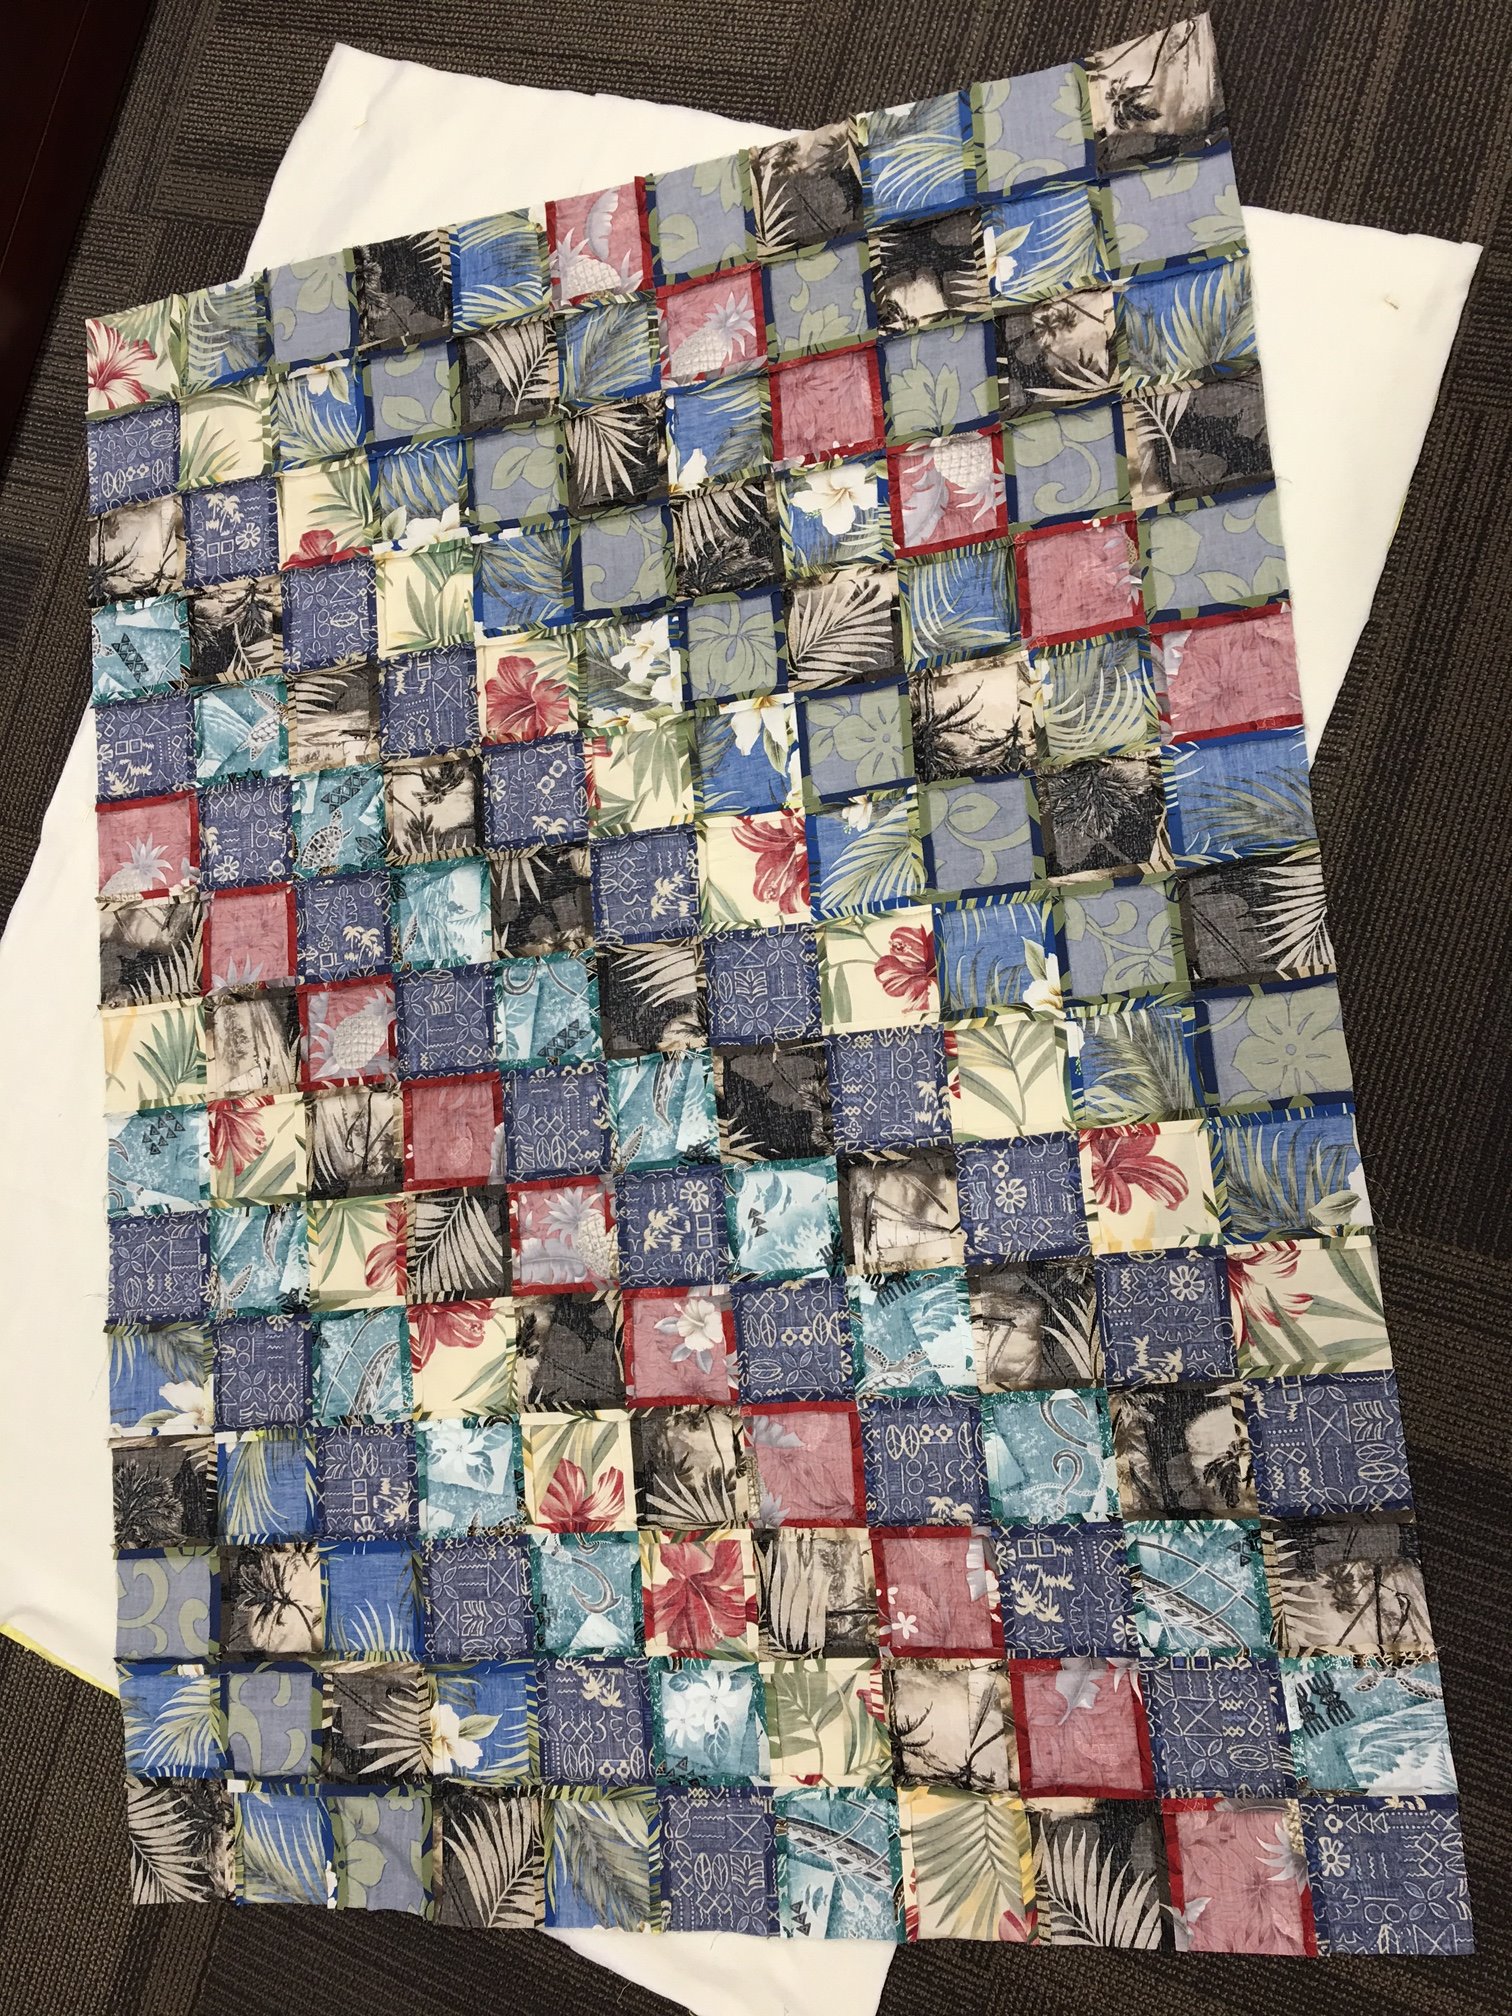
Pin Layers Together


Lay the backing, wrong side up, onto the floor.
Lay the batting or lightweight fleece, over the fabric.
Lay the quilt top over the batting.
Pin the layers together using safety pins.
Sew Layers Together


Using the large safety pins, pin the quilt every 3 blocks or so
Starting in the center of the quilt, machine stitch down the middle row of squares.
Pin the next row and sew down the center of it.
Continue pinning and sewing all the way across the quilt.


Cut 2 squares 16", out of the backing fabric. Pin right sides together. Sew around 3 sides with 1/4" seam allowance. Turn right side out and top stitch around the 3 sides.
Pin the pocket to the back of quilt at the middle of bottom edge with the raw edge on the outside edge of quilt.
Machine stitch both sides of the pocket to the back of quilt at the bottom center, leaving the top open.
Binding

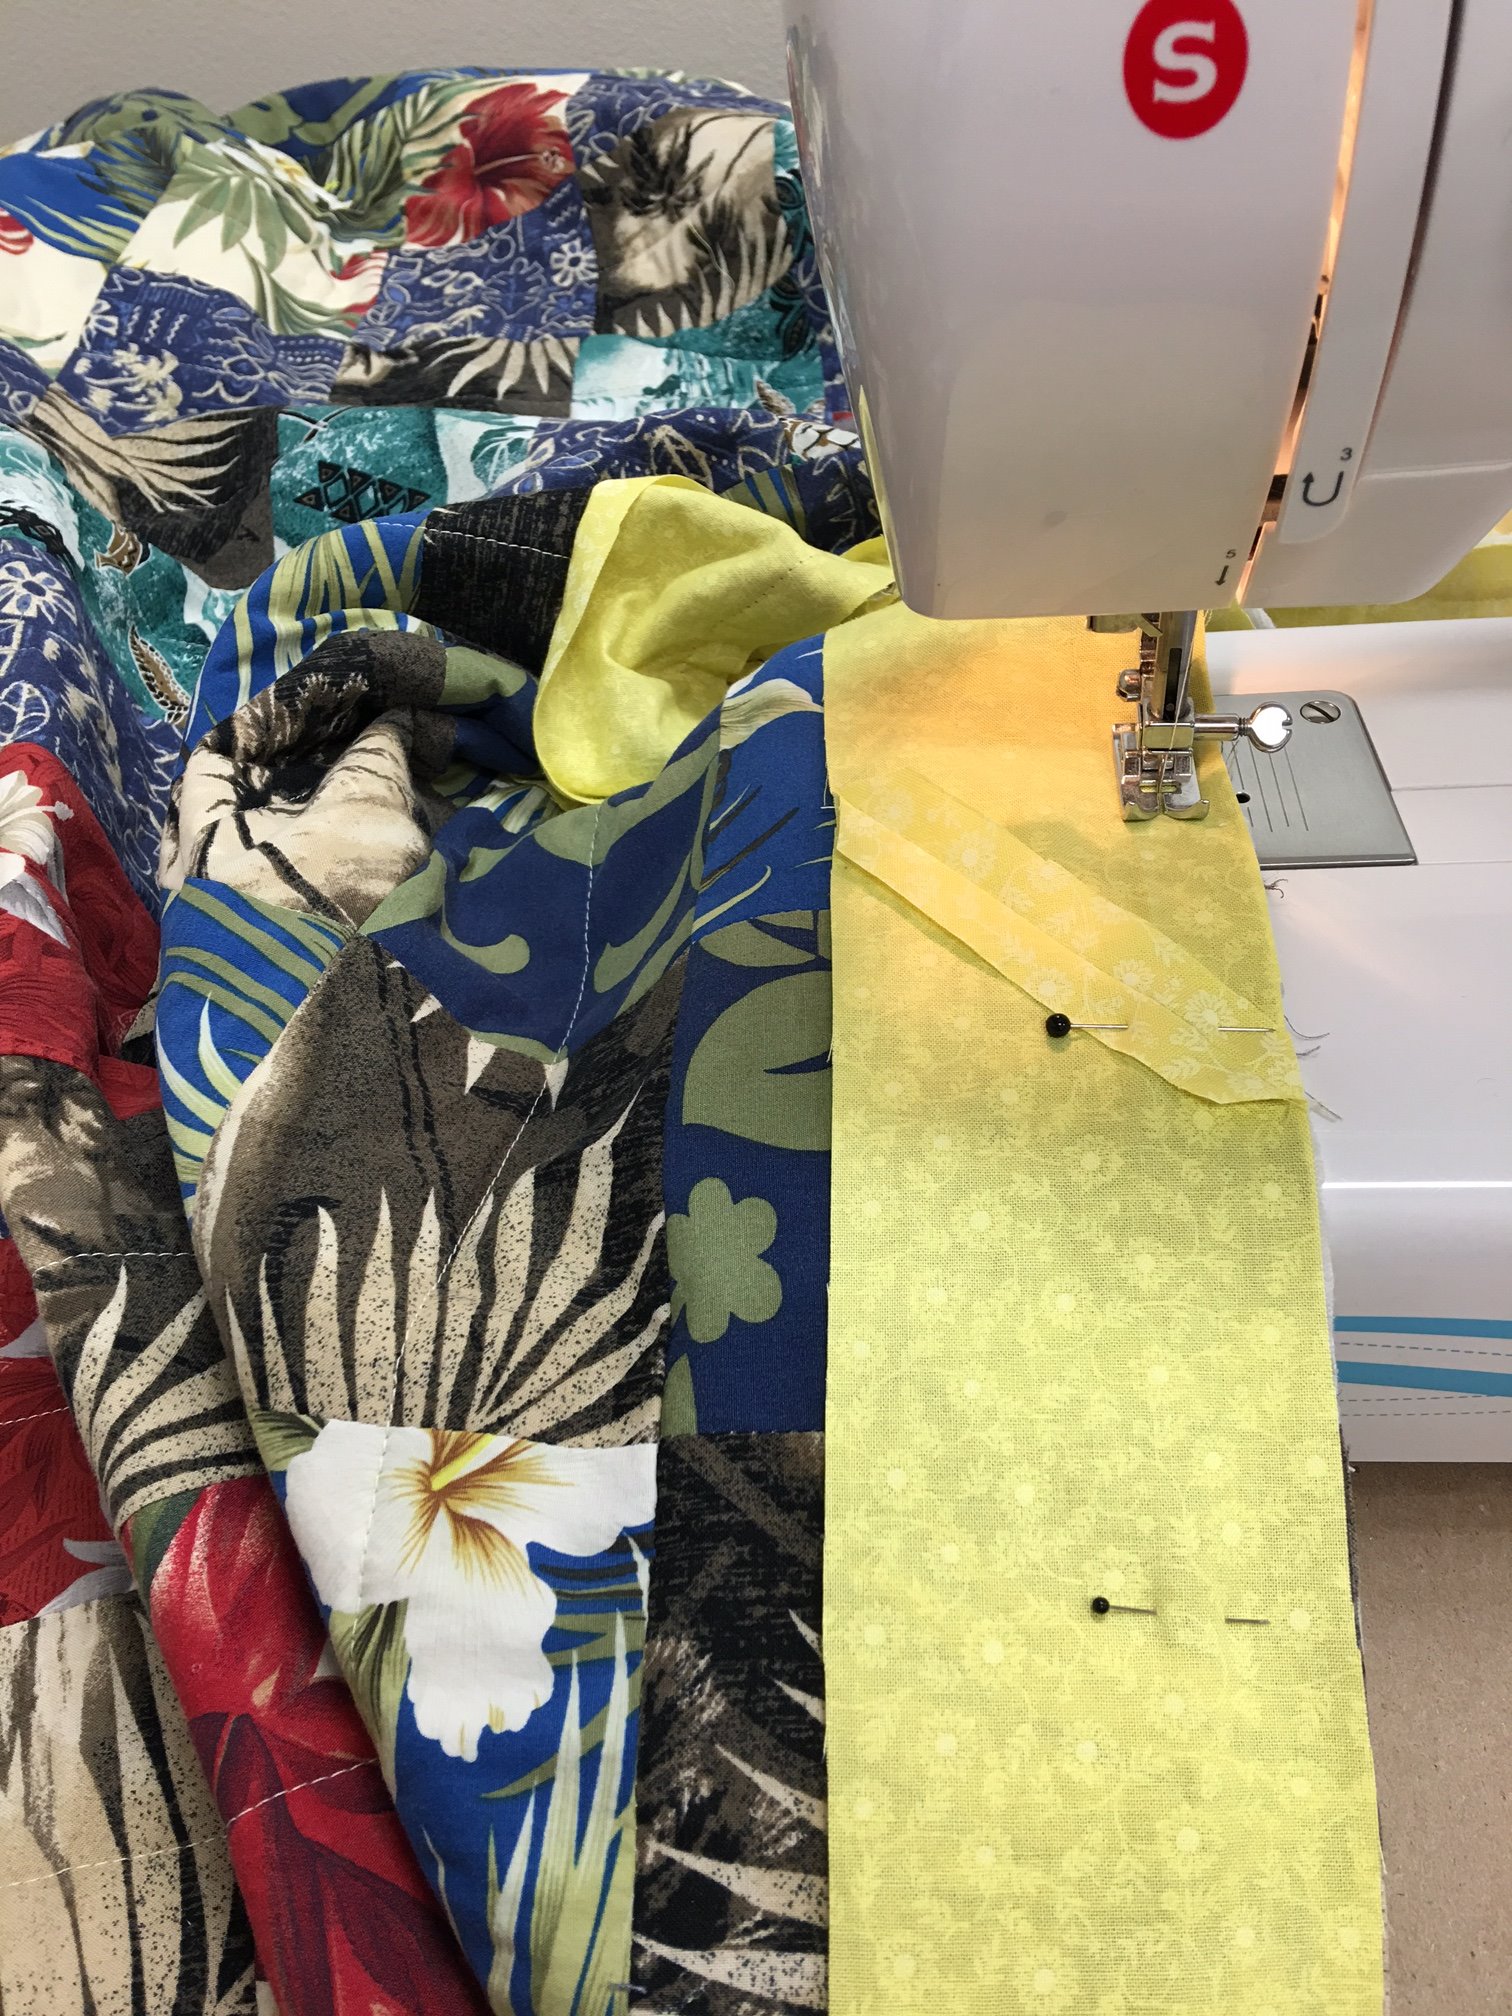

Cut 3" wide strips of fabric. Sew the strips together with the ends cut diagonally.
You will need a total of 215 inches of binding.(6 yards)
Pin wrong sides together around all 4 sides of the front.
Stitch binding to quillow.
Turn raw edge under and fold around toward the back, pin.
Hand sew to the back of the quillow.
Finished Quillow


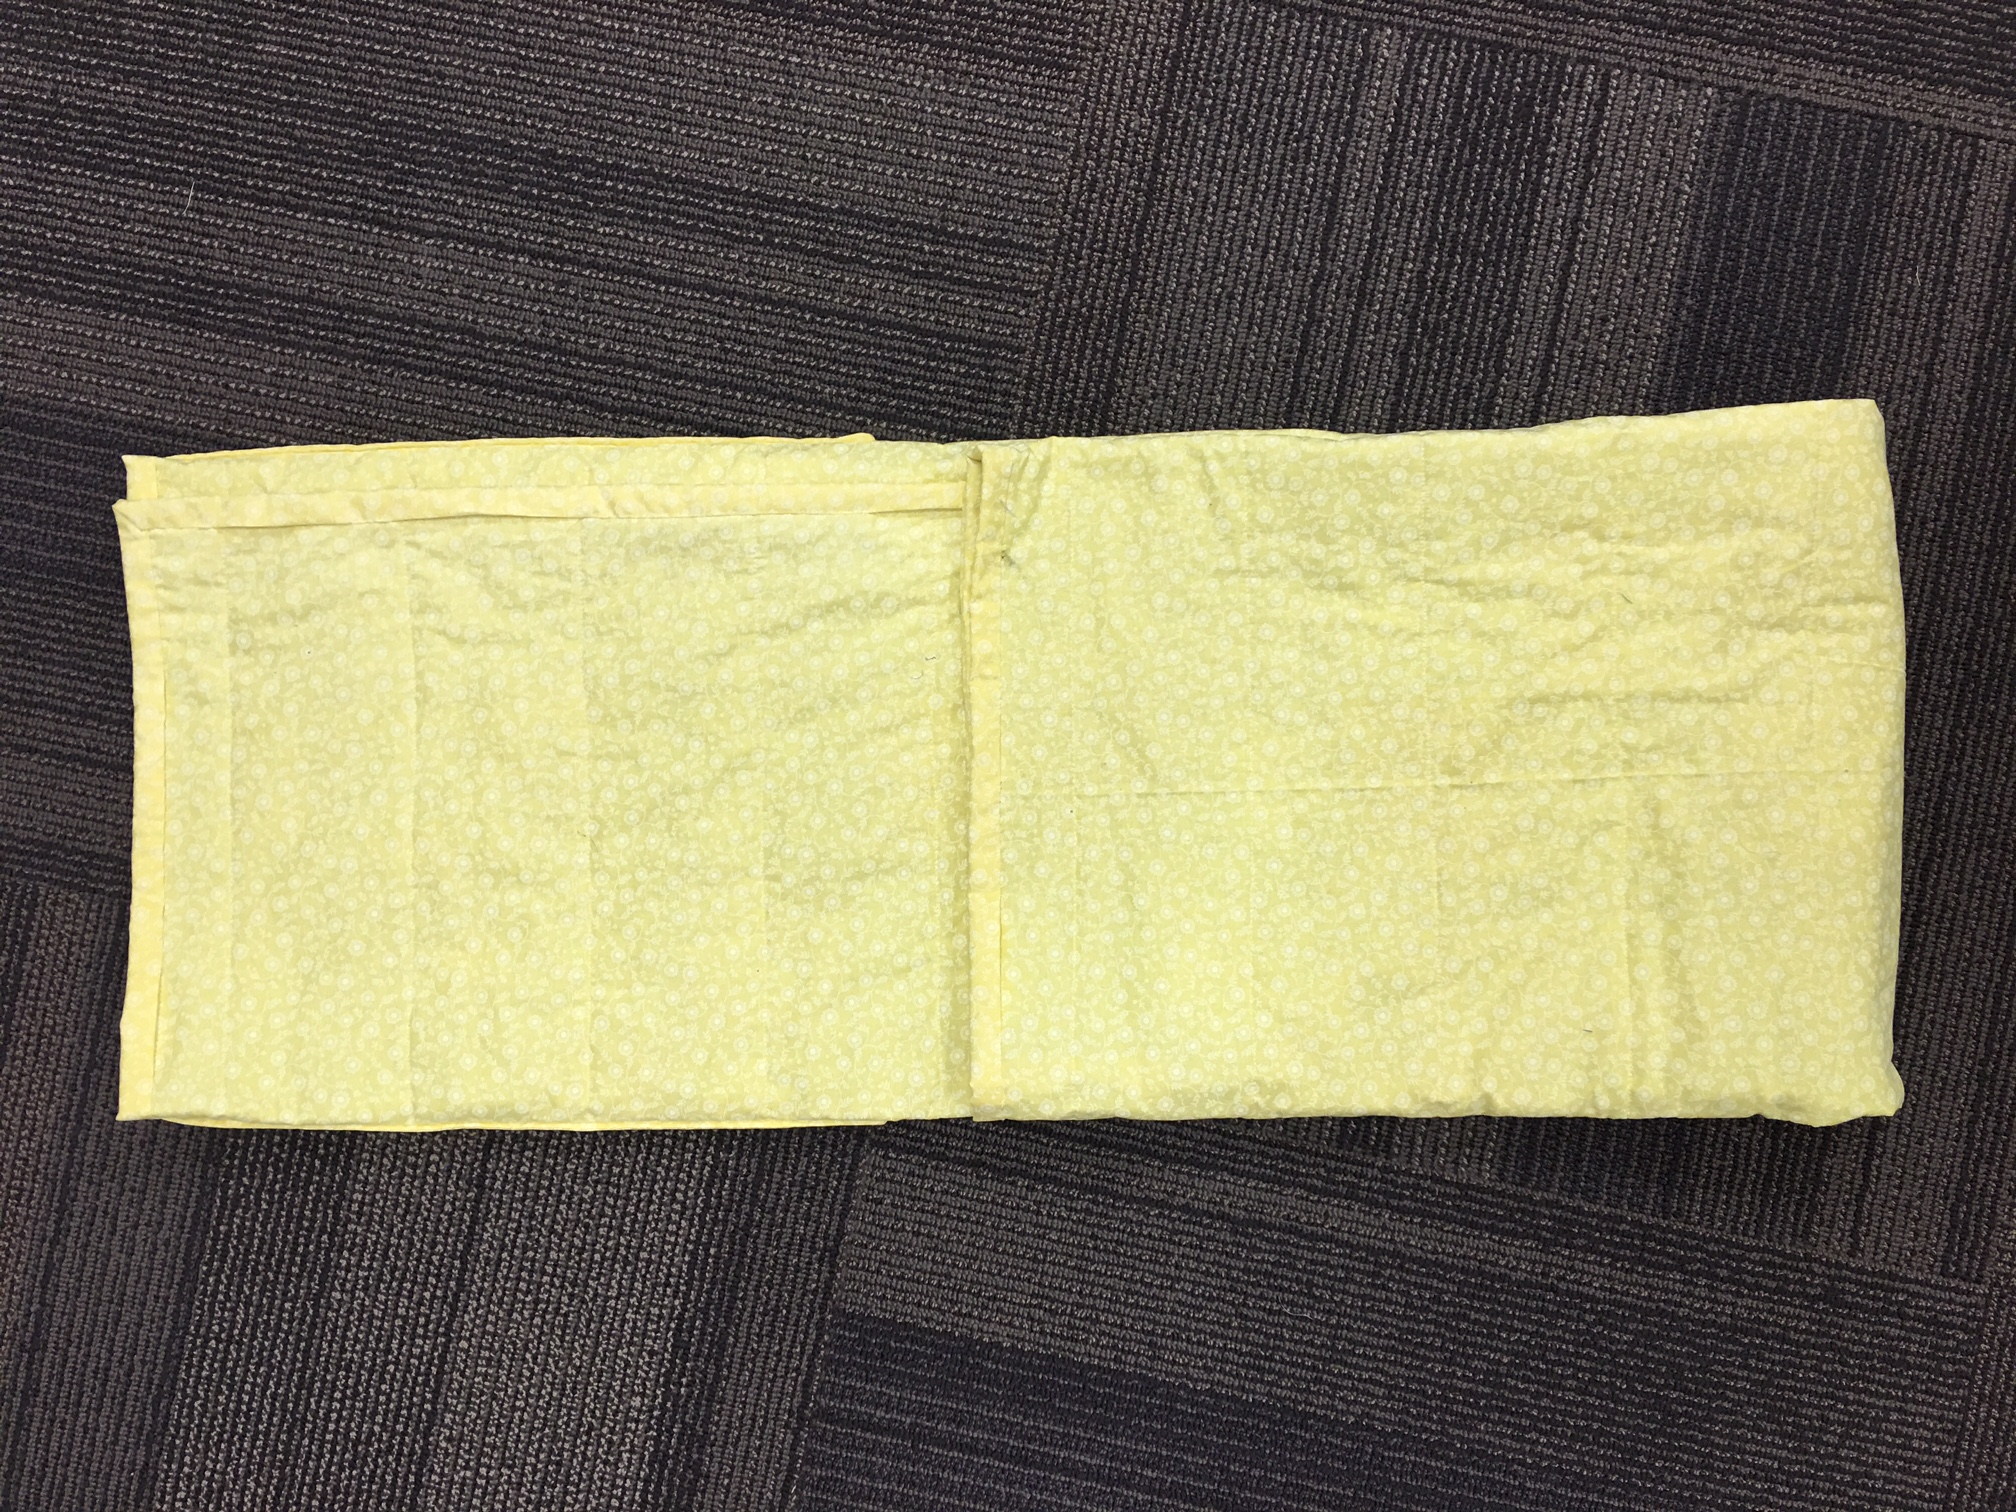

To fold into a pillow, lay down with the top side up. Fold the sides over the center.
Fold the top down 1/3. Fold again, you should now have a square.
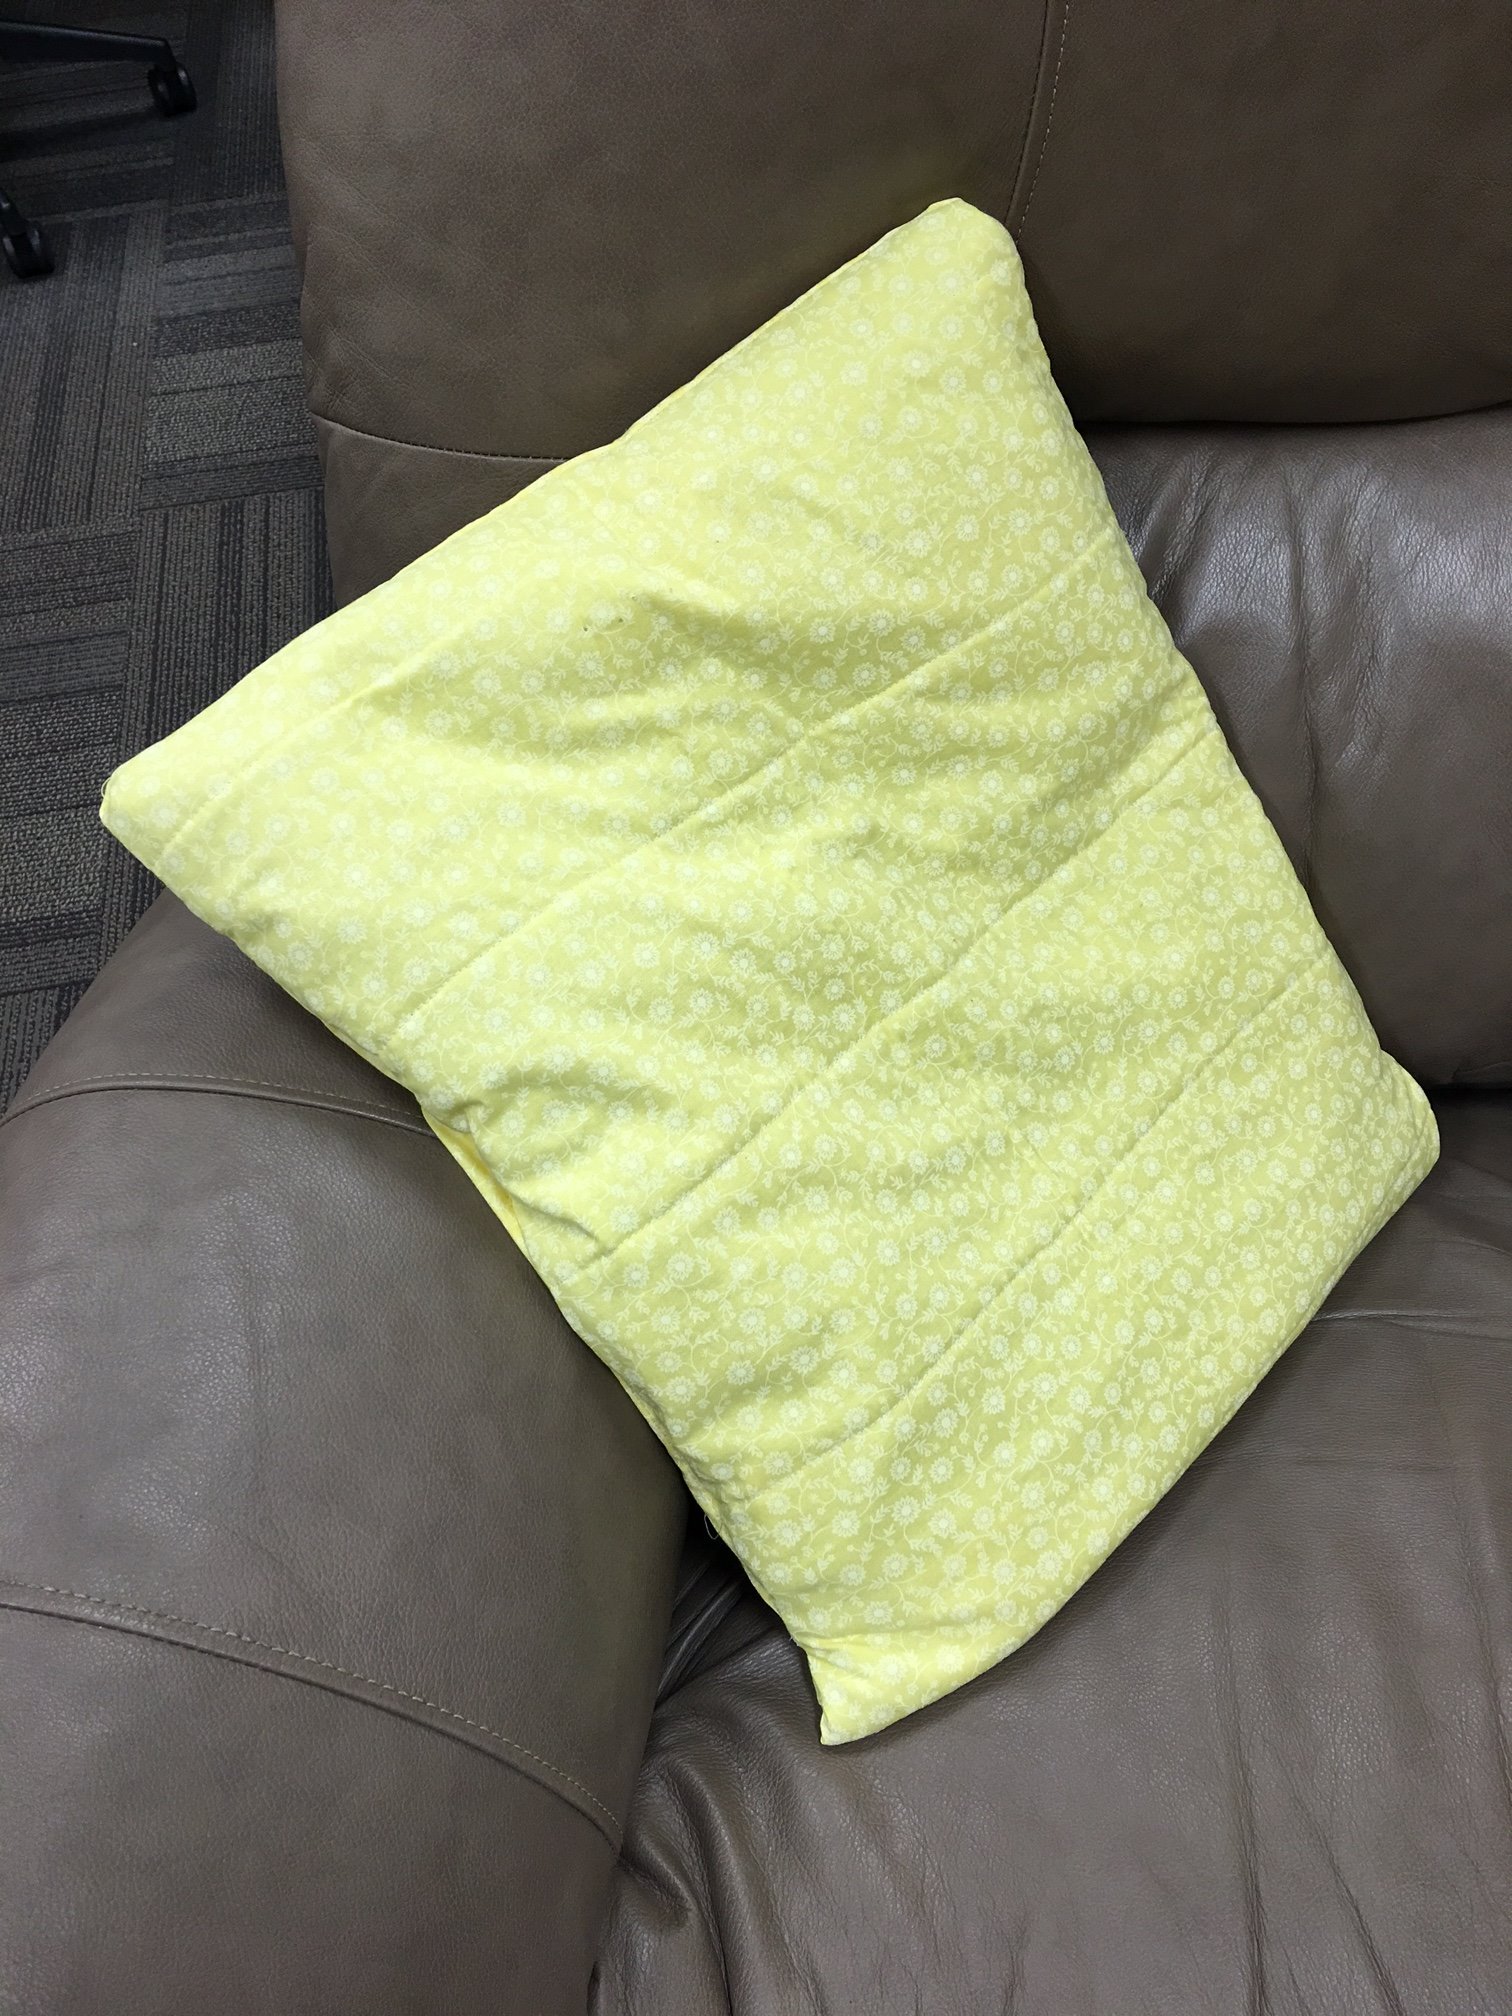
Now you can tuck the quilt into the pocket, making a pillow.
As you can see, it's good to have one of these for the Grandkids!