Quick and Great Photo Editing With Picasa
by fungus amungus in Design > Photography
75421 Views, 47 Favorites, 0 Comments
Quick and Great Photo Editing With Picasa
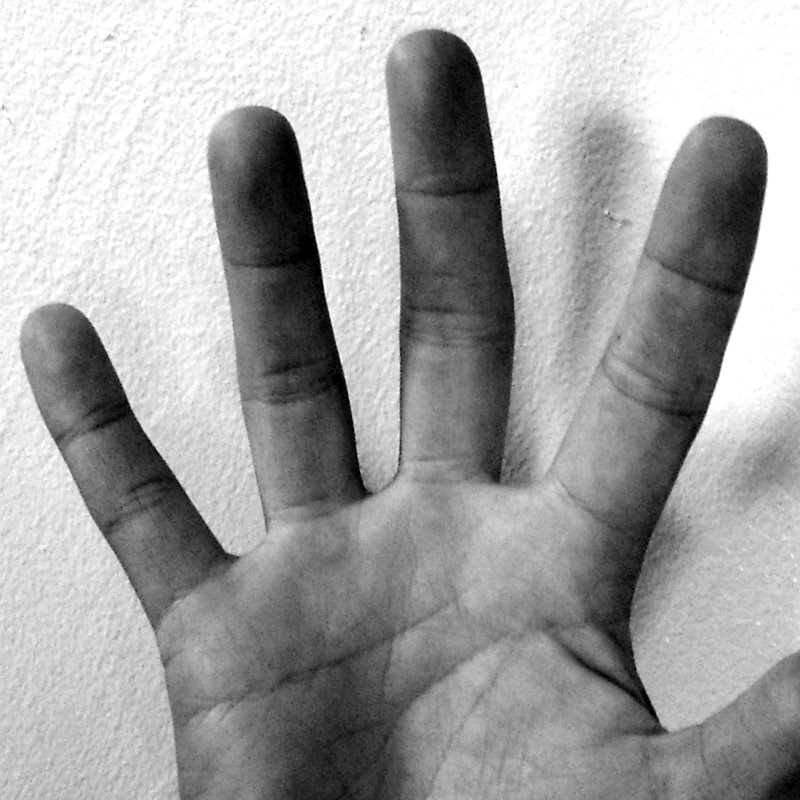
With a great digital camera comes great responsibility to manage thousands of photos. This can be a pain, especially if you want to use them to document a process for Instructables. I know my way around Photoshop, but more often than not I turn to Google's free Picasa program to do the heavy lifting.
With Picasa you can import a picture, straighten it, color correct it, crop it and resize it in under a minute. Here I'll run though these main processes, but there are still more tricks to play with if you want to check it out.
With Picasa you can import a picture, straighten it, color correct it, crop it and resize it in under a minute. Here I'll run though these main processes, but there are still more tricks to play with if you want to check it out.
Download Picasa
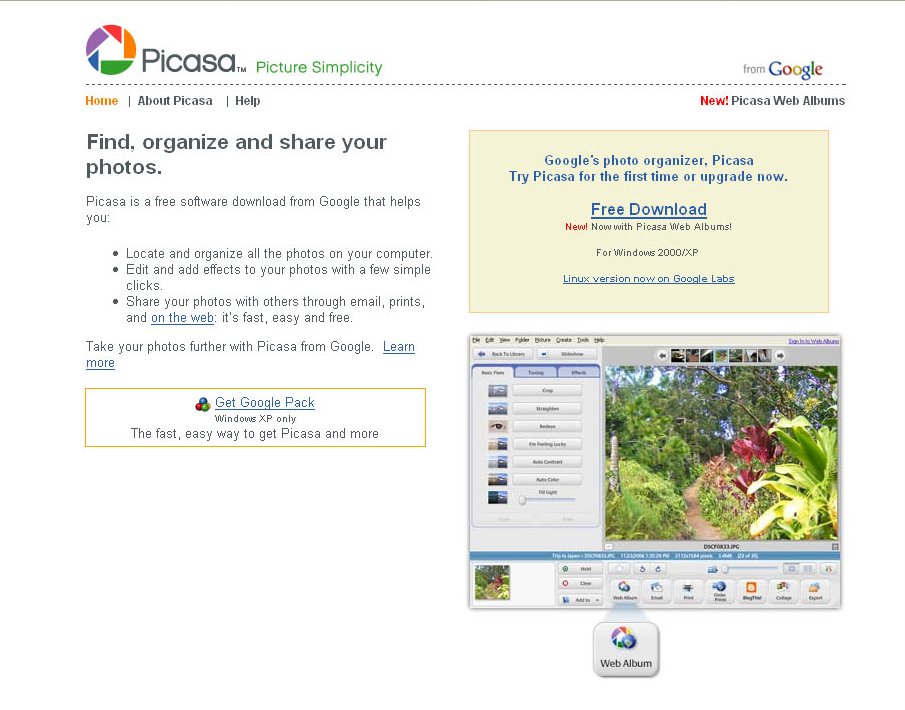
Go to picasa.google.com and download Picasa. It's only for PC right now. Sorry, Mac users.
Upon installation, Picasa will catalog all of the images on your hard drive. You can take some time to organize and rename these folders if you want. It's a fun way to kill an afternoon, but let's move on to the processes we're after.
Upon installation, Picasa will catalog all of the images on your hard drive. You can take some time to organize and rename these folders if you want. It's a fun way to kill an afternoon, but let's move on to the processes we're after.
Import a Picture
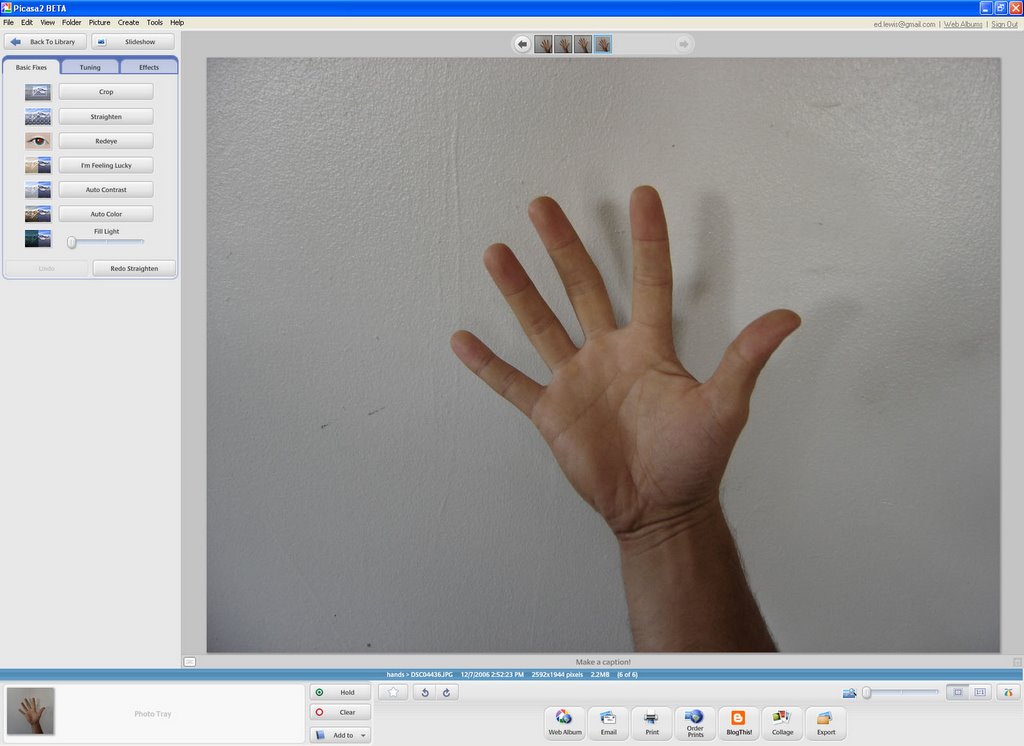
This is super easy. Picasa can scan a memory card and import new photos. It can also detect new photos on the machine so if you import a photo in a different way it will still appear in the top of the list.
Here, I shot a photo of my right hand to use as an example. The goal is to mimic the Instuctables hand icon. But the hand isn't straight so the first thing to do is...
Here, I shot a photo of my right hand to use as an example. The goal is to mimic the Instuctables hand icon. But the hand isn't straight so the first thing to do is...
Staighten the Image
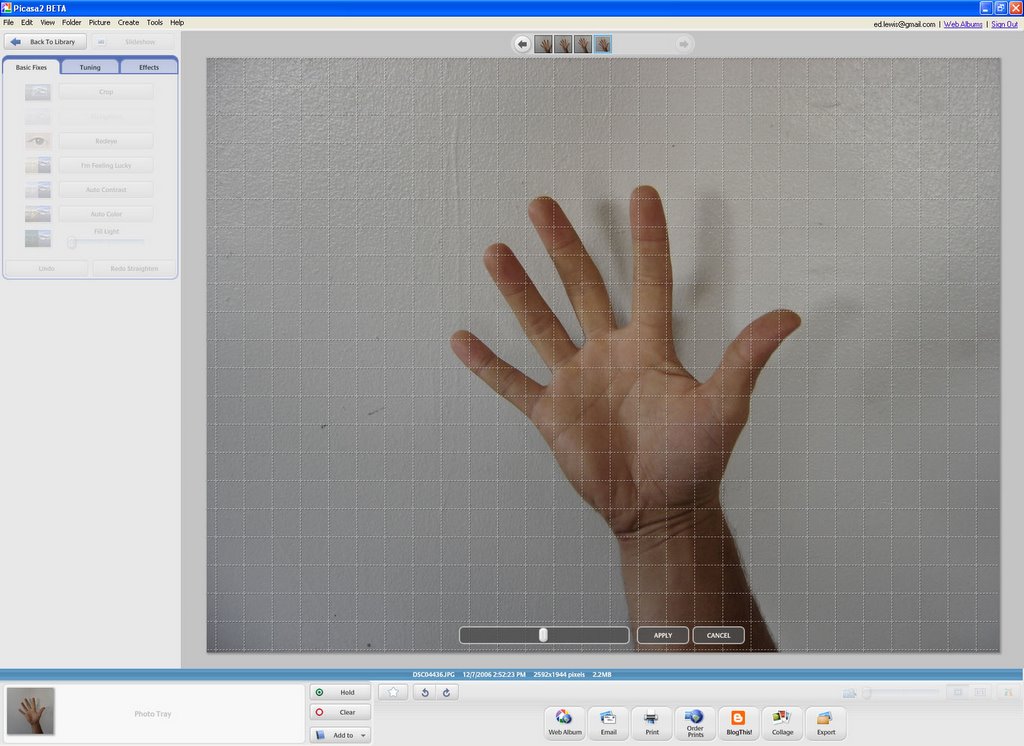
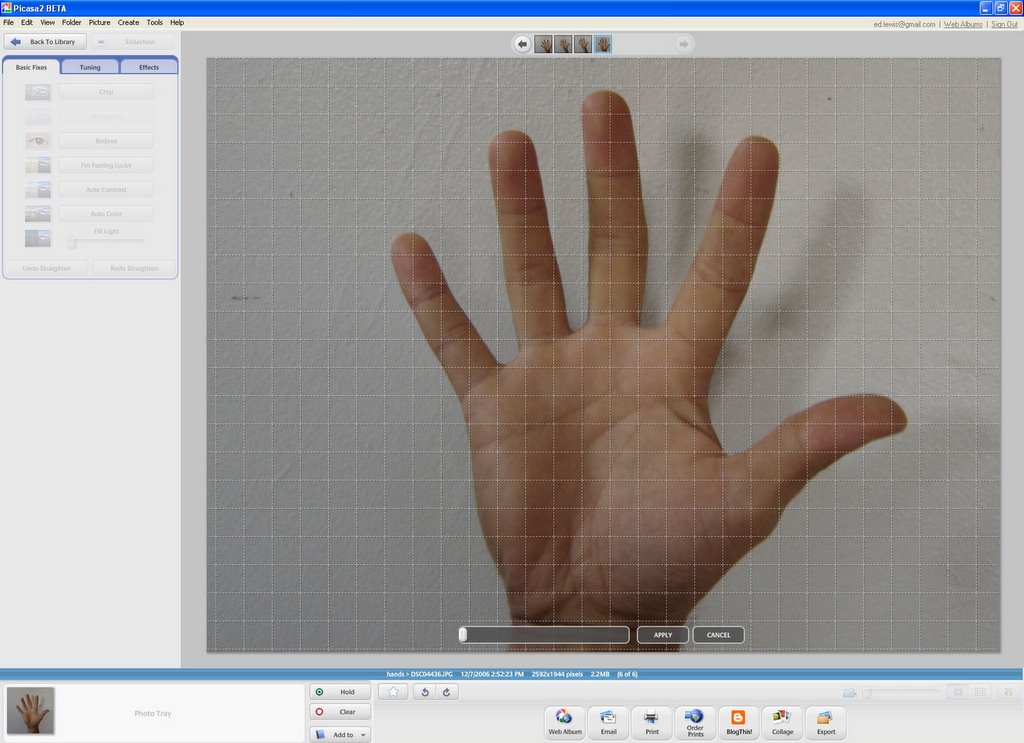
Click the Straighten button on the top left and a grid will appear on the screen. These are guides for your alignment. Now click and drag the slider on the bottom to rotate the image. The image will zoom in in the process to keep the same aspect ratio.
My hand had a big angle so I had to do this twice.
My hand had a big angle so I had to do this twice.
Get Lucky!
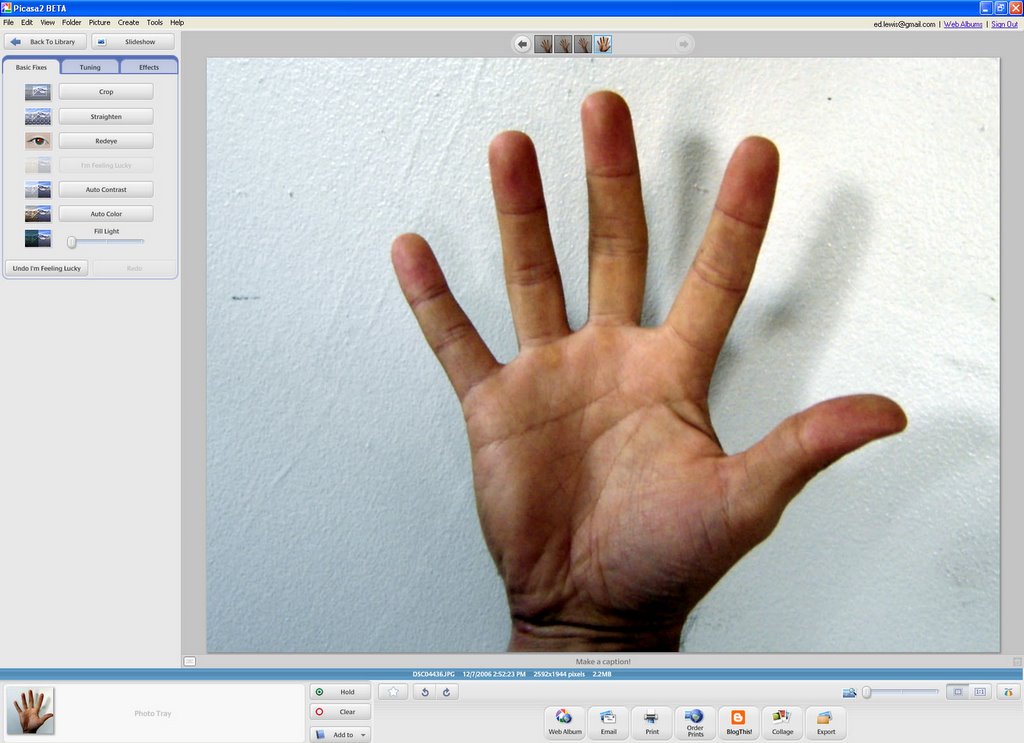
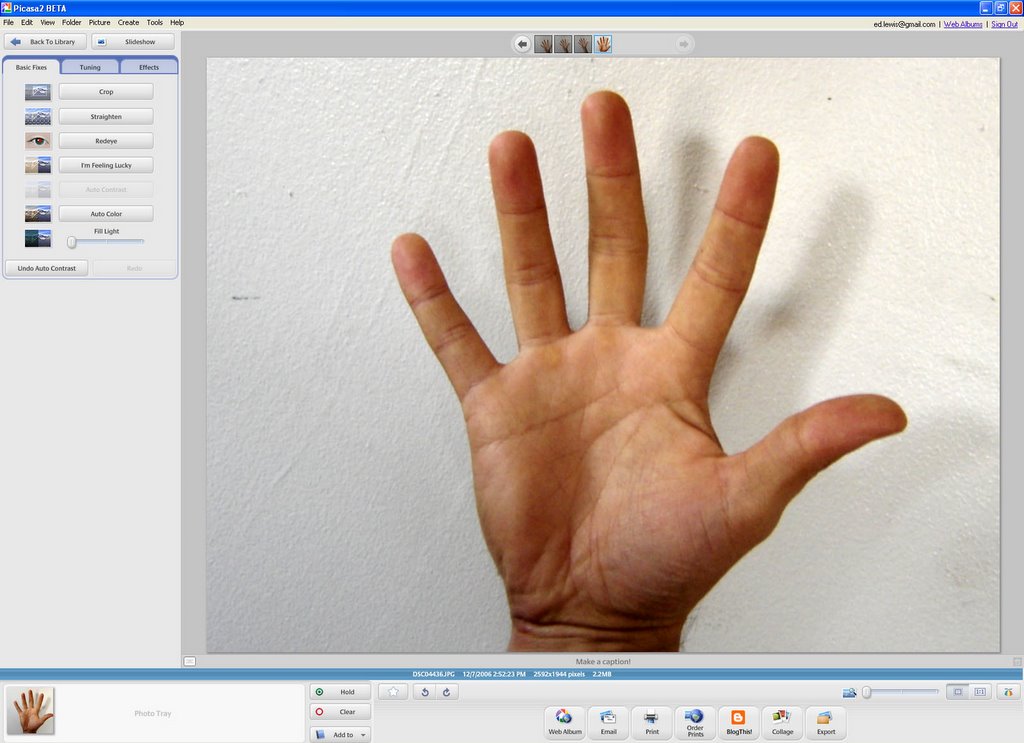
Just like on google.com, there's an "I'm Feeling Lucky" button. Click it and it will auto adjust the contrast and color. This usually works pretty well. This time, however, it didn't so I undid that and hit the "Auto Contrast" button instead for the second image here.
More Options
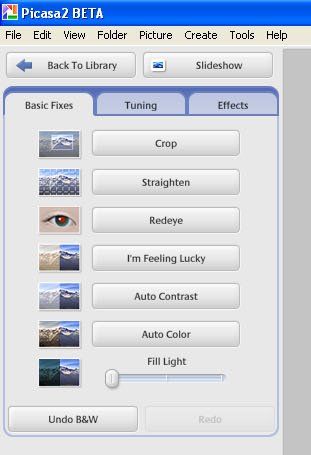
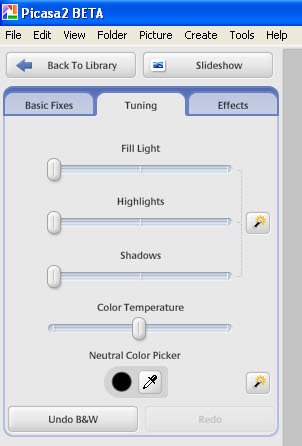
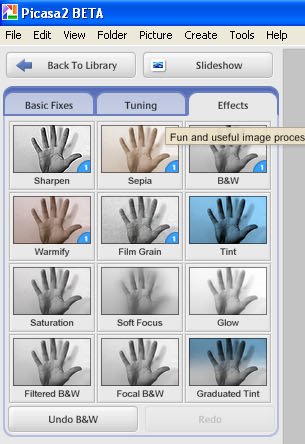
Here are close-ups of the three groups of options for photo tweaking.
Black & White
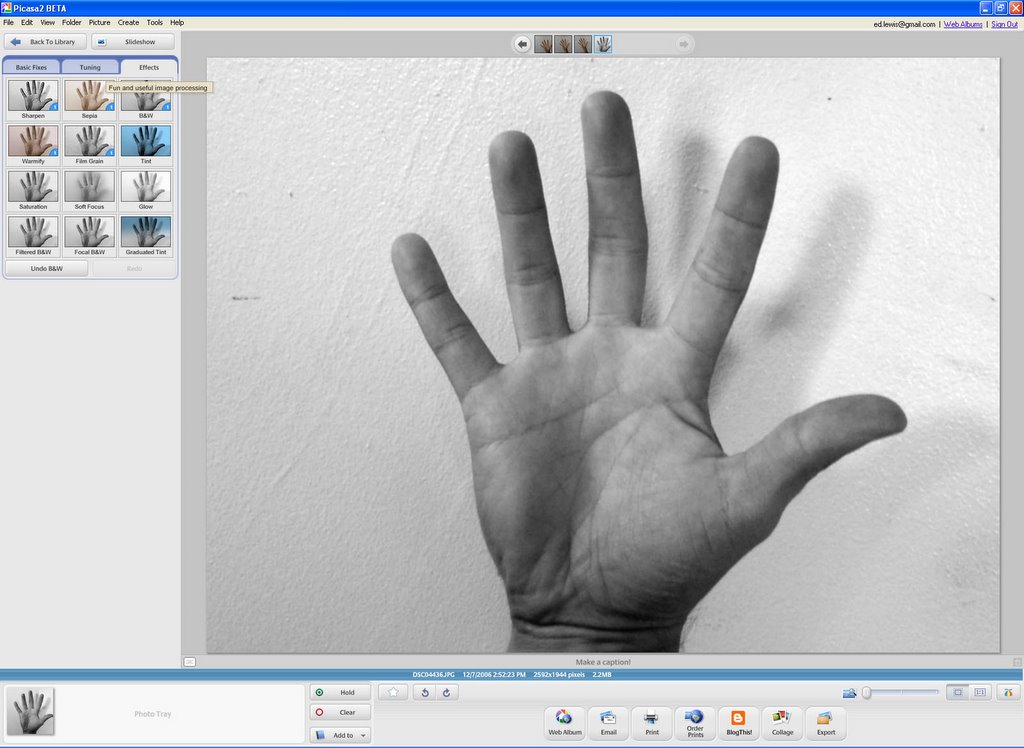
Here I opted for a black & white filter.
Cropping
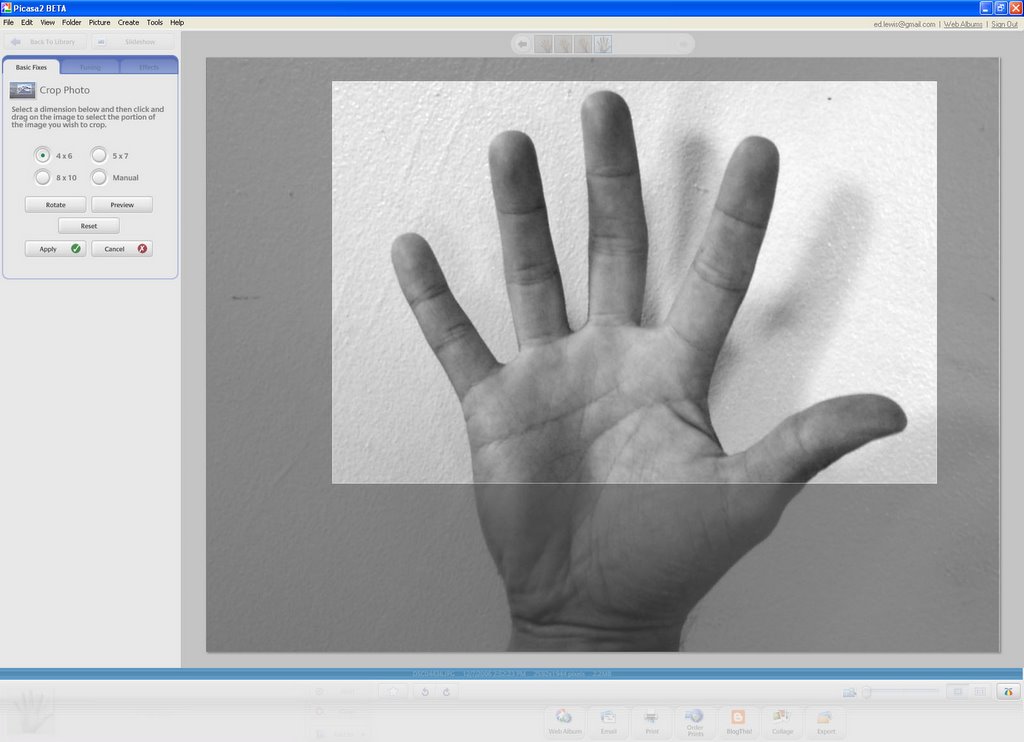
This is one of the best reasons to use Picasa. You can quickly crop the size and it even has preset ratios for photo sizes. If you print a digital photo at a photomat you run the risk of them cropping off the sides randomly. Set your crops to the right proportions and you know just what you'll print out.
Here is an example of a 4x6 ratio.
Here is an example of a 4x6 ratio.
Square Cropping
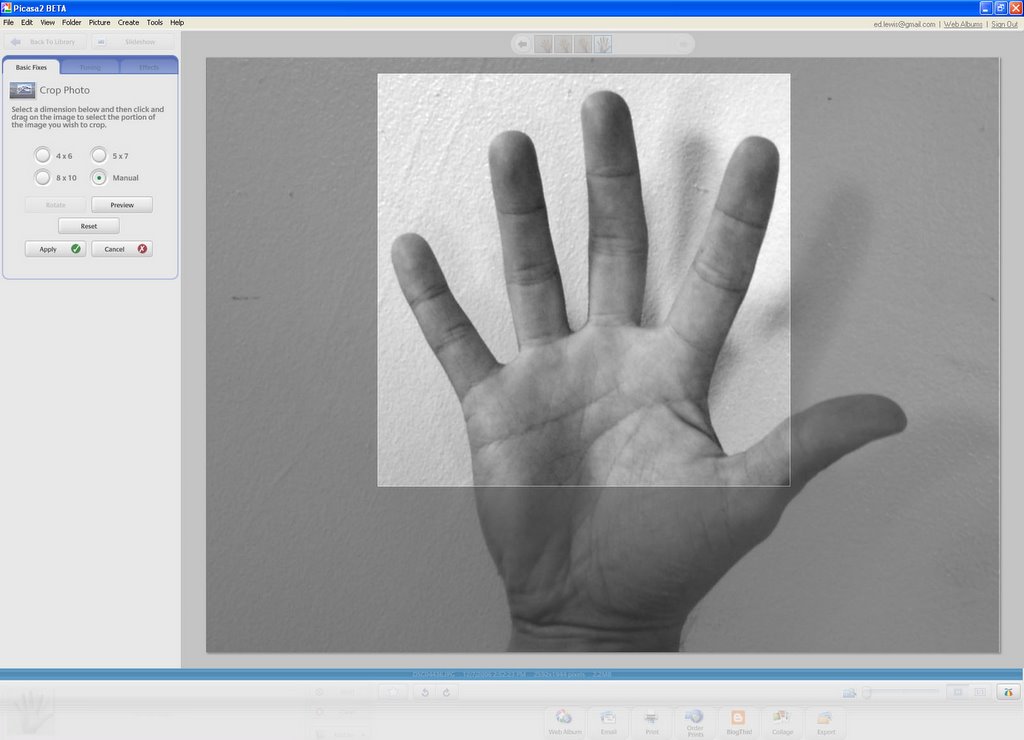
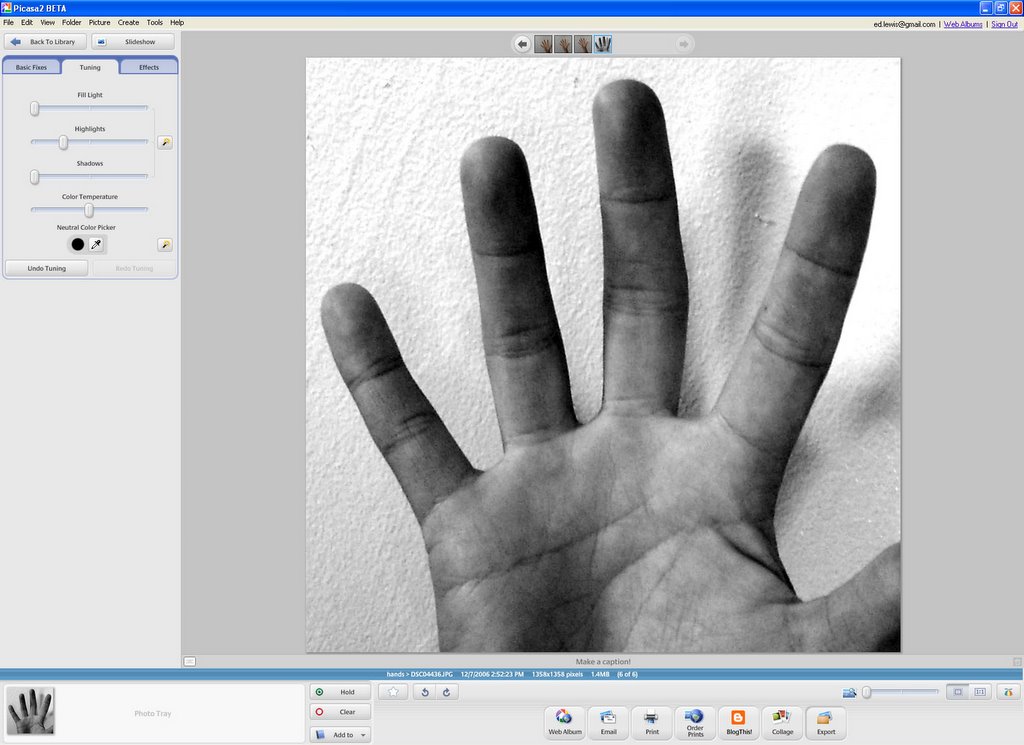
Instructables likes the square format for the small photos so why not have better control of how the project looks in the list? Choosing the Manual cropping and holding down the Shift button delivers square crops.
Exporting
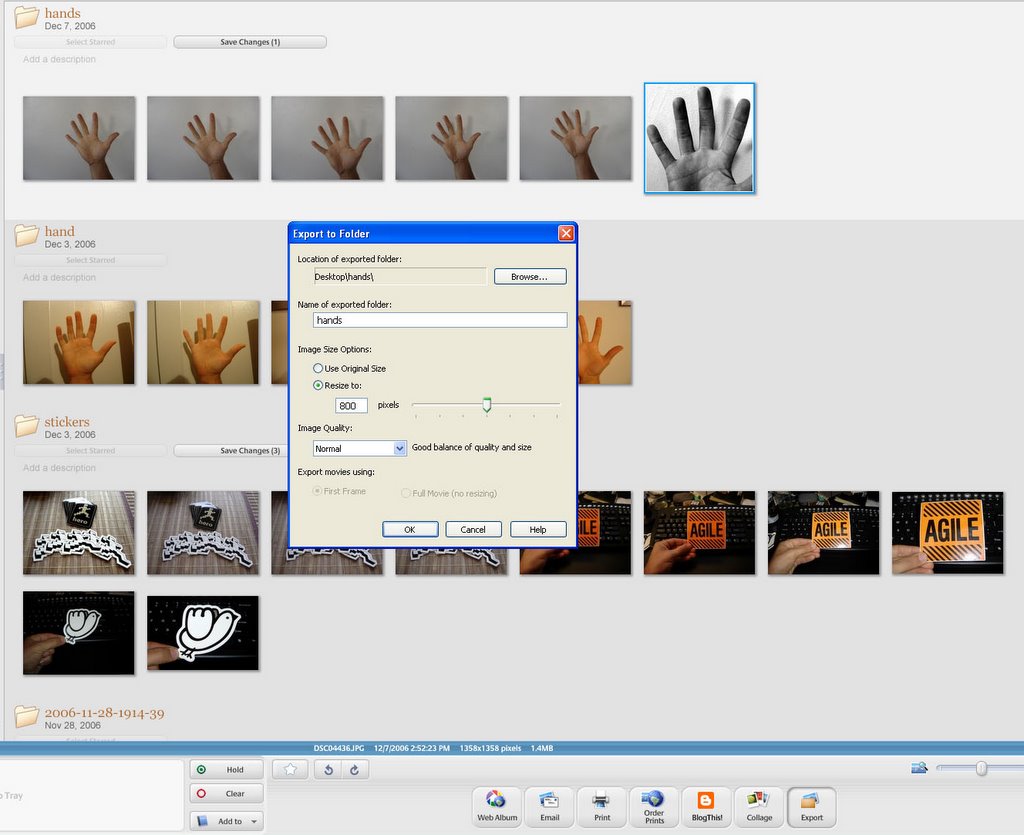
The other beautiful option is exporting. All of the edits you make aren't really applied to the image until you Save Changes or export the image. The difference of exporting is that it puts the resulting image into a new folder on your desktop and can resize it.
Exporting in the individual image view will just export that one image. In the library view you can export groups of images from a folder.
In the option menu that pops up you can choose to export at the original size or shrink it down to other preset sizes such as 640, 800, or 1024. These sizes apply to the longer side of the image.
You can also select image quality.
Get Ready to Upload

Now that you have the resulting tweaked and resized image you can upload it to Instructables. The smaller file sizes will make for faster uploads. Now you can get to the fun part of writing it up and moving on to the next thing.