Quick and Dirty Notebook You'll Actually Use.
by PlainsPirate in Living > Life Hacks
741 Views, 2 Favorites, 0 Comments
Quick and Dirty Notebook You'll Actually Use.
I have tried many notebooks over the years, never filling one, some untouched. I feared leaving garbage on the pristine pages. For many years I kept a folded paper in my pocket that got used daily, for notes, journal, doodles, lost/ discarded whatever I needed. Having to replace it every few days was annoying and troublesome as it was often my memory of important stuff. one day I stumbled on a video by Map Crow where he make his own notebook for the same reasons I dislike the whole notebook thing.
This is my process for making the crappy notebooks I actually use.
This is the video i made but i like to add anythings i missed in the video to my instructables.
Supplies
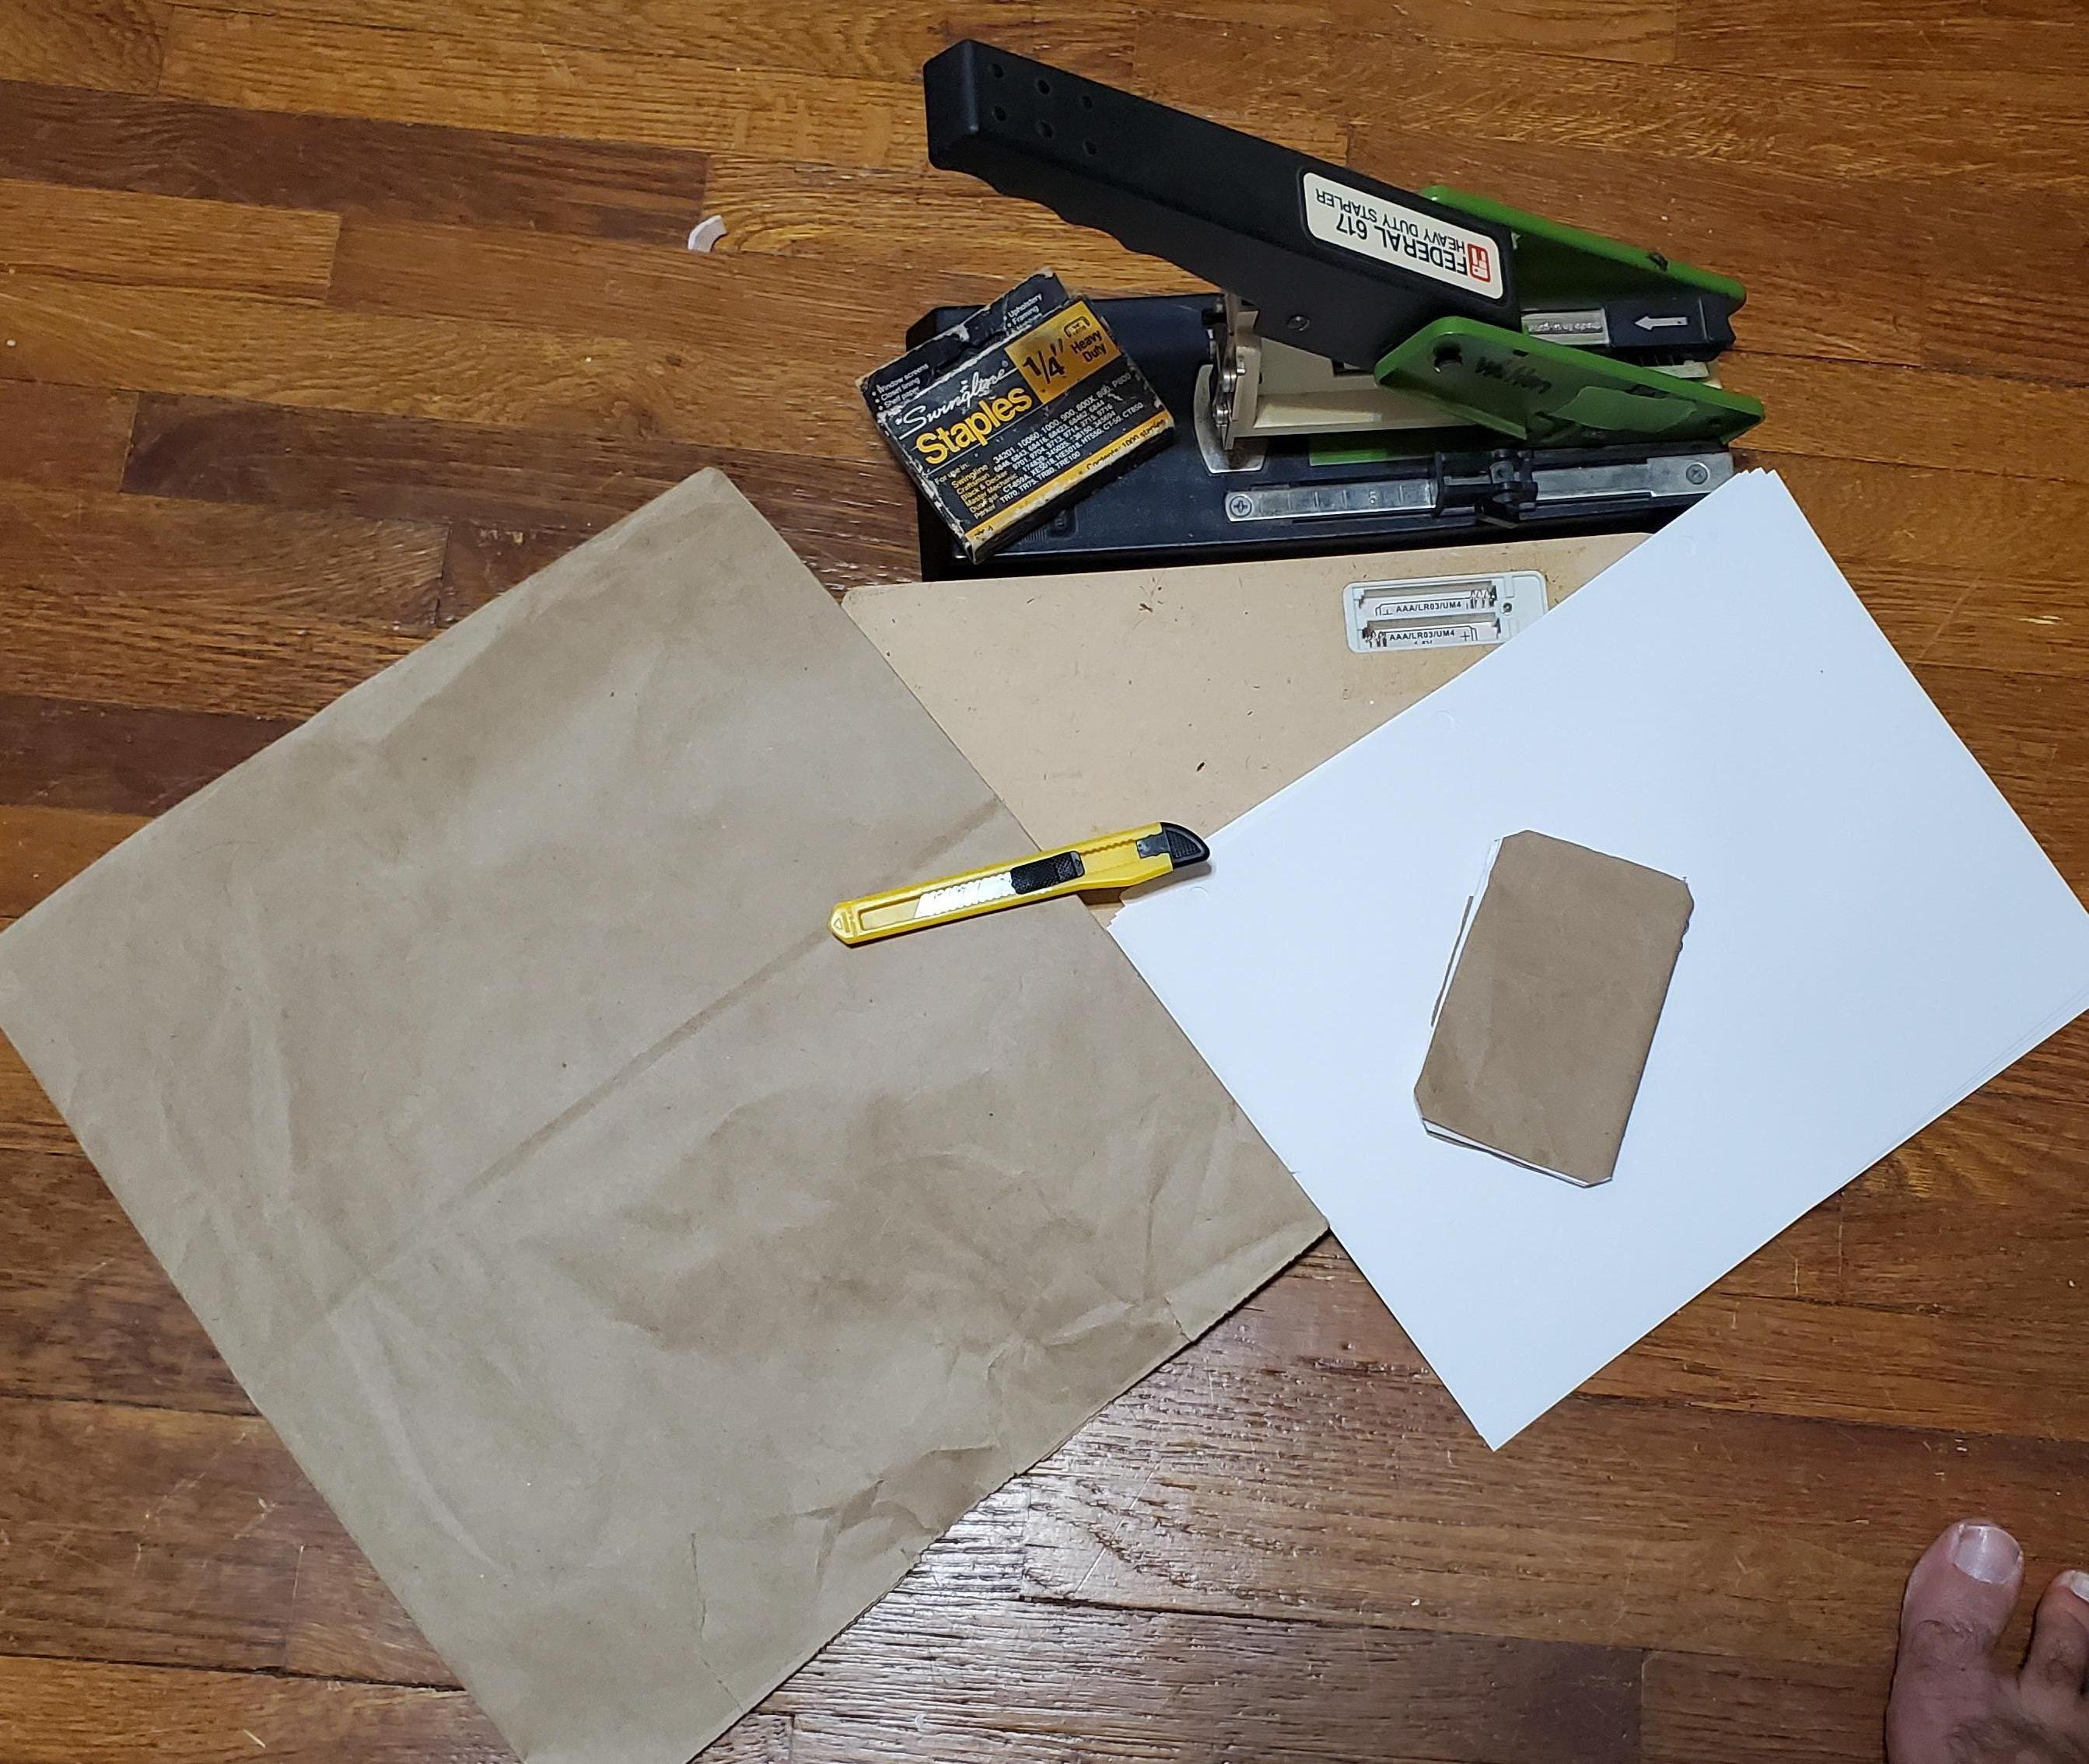
You will probably need somethings like this. Do feel free to do it your way.
- Cover material (used paper bag)
- Pages (A5 copy papers my go to)
- Something to cut with and on (snap knife, back of kids puzzle lost all parts)
- staples and stapler (stapler needs to have a deep space for your note book to be opened and stapled in the center)
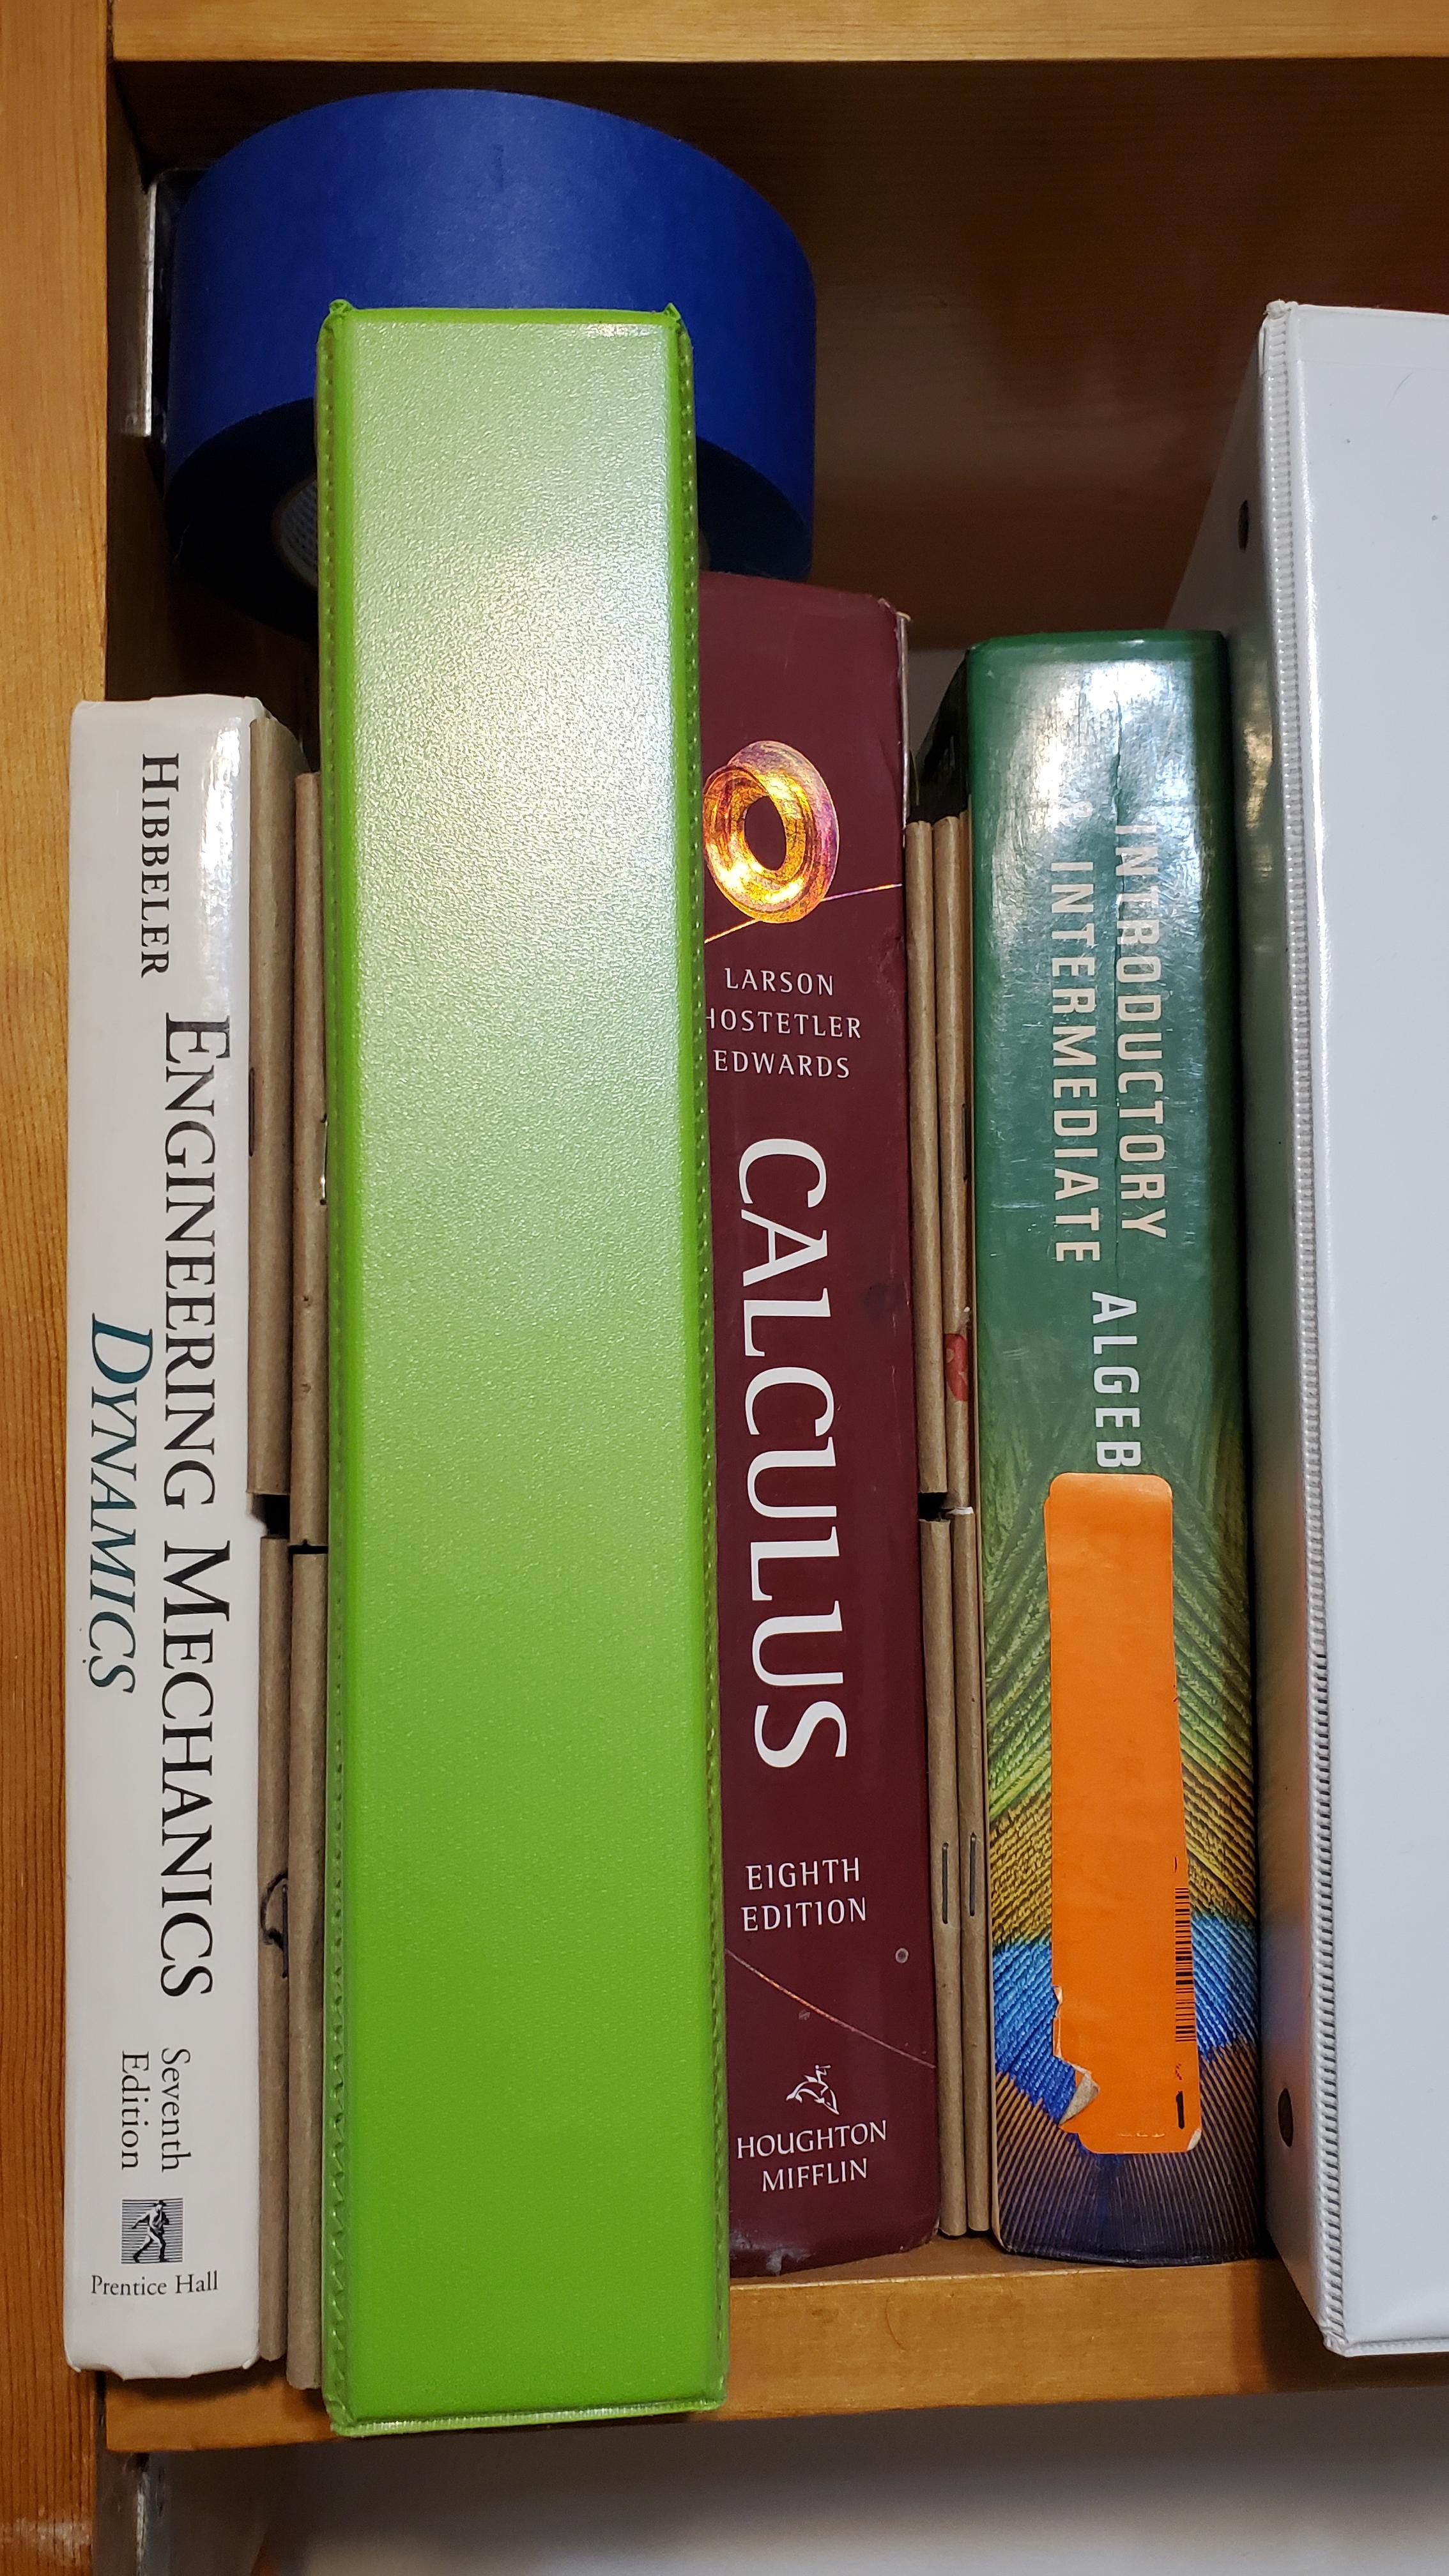
- some place heavy or tight to store completed notebooks temporarily (so the pages relax and stay closed)
Size Your Notebook and Cover

- How many pages do you want in your notebook? I like notebooks that can fit in my shirt pocket, one fold (at spine) of a sheet makes 4 doodlable surfaces, 2 folds halving cut produces 8 surface. I fold 3x (one becomes the spine) and 2 cuts to make 16 surfaces. Most times I use 3 sheets of paper making 48 surfaces have done as many as 80 surfaces. (20 pages 80 surfaces 5 papers is hard to staple through)
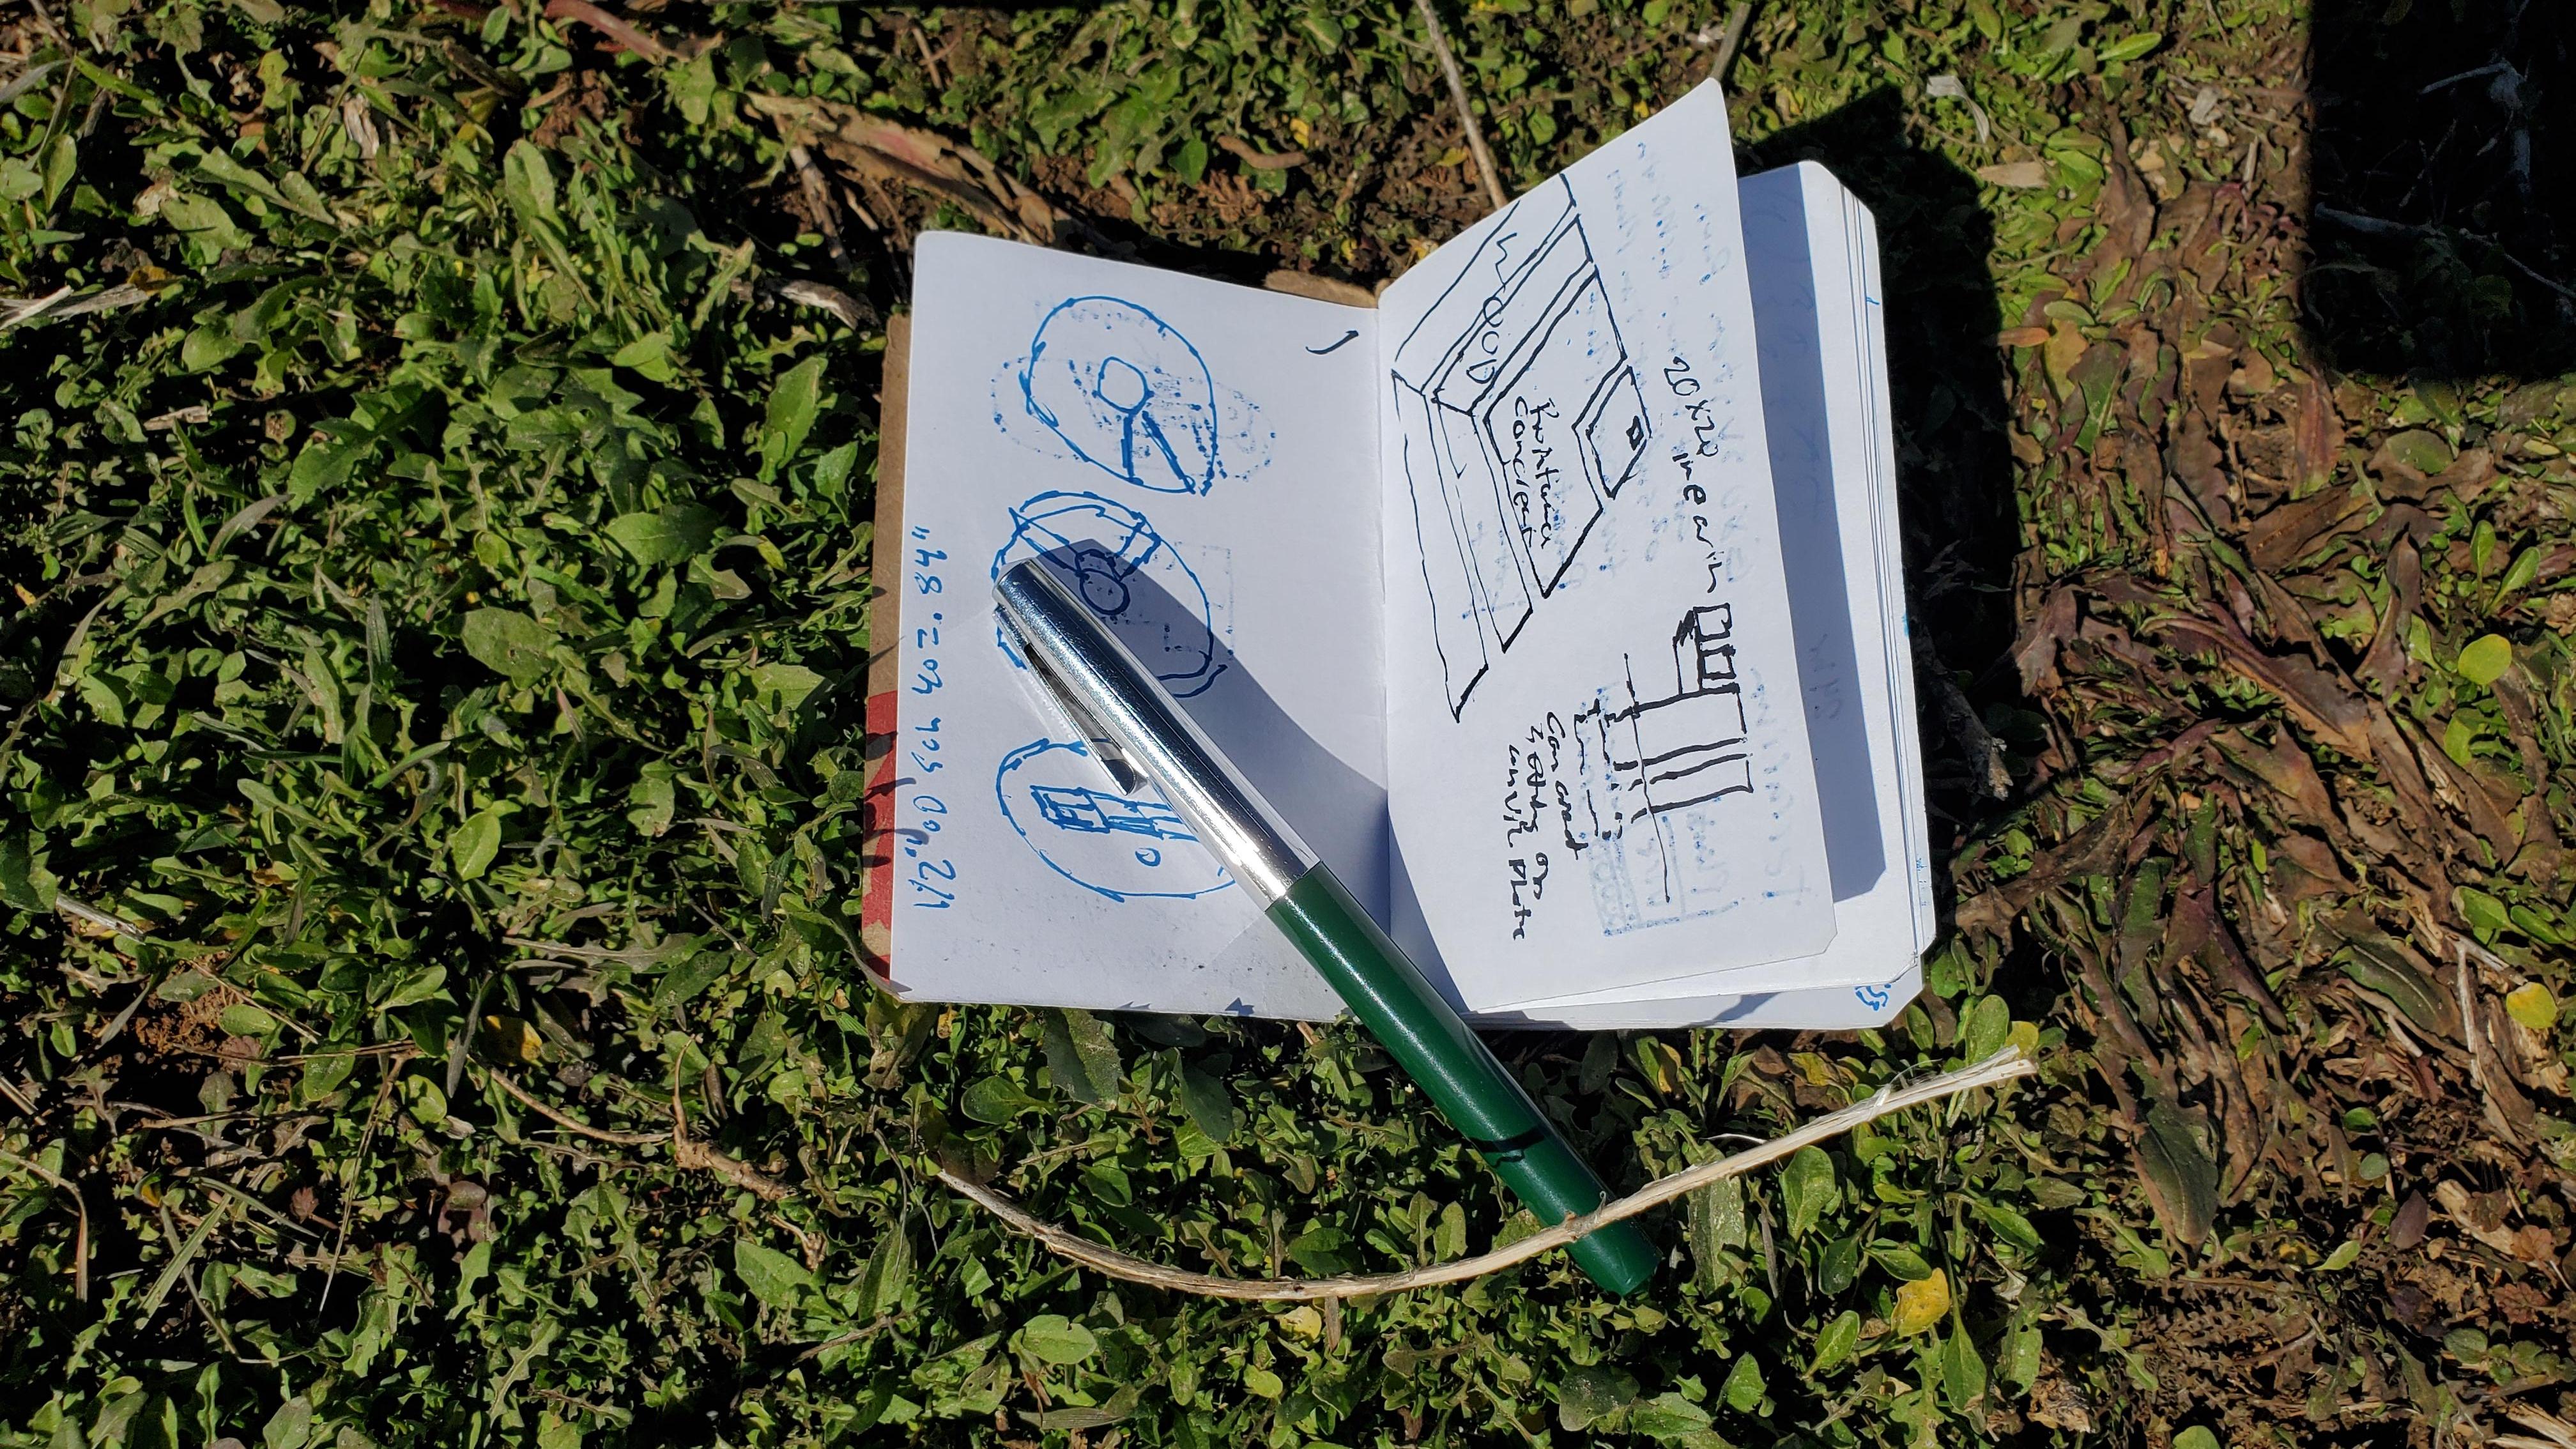
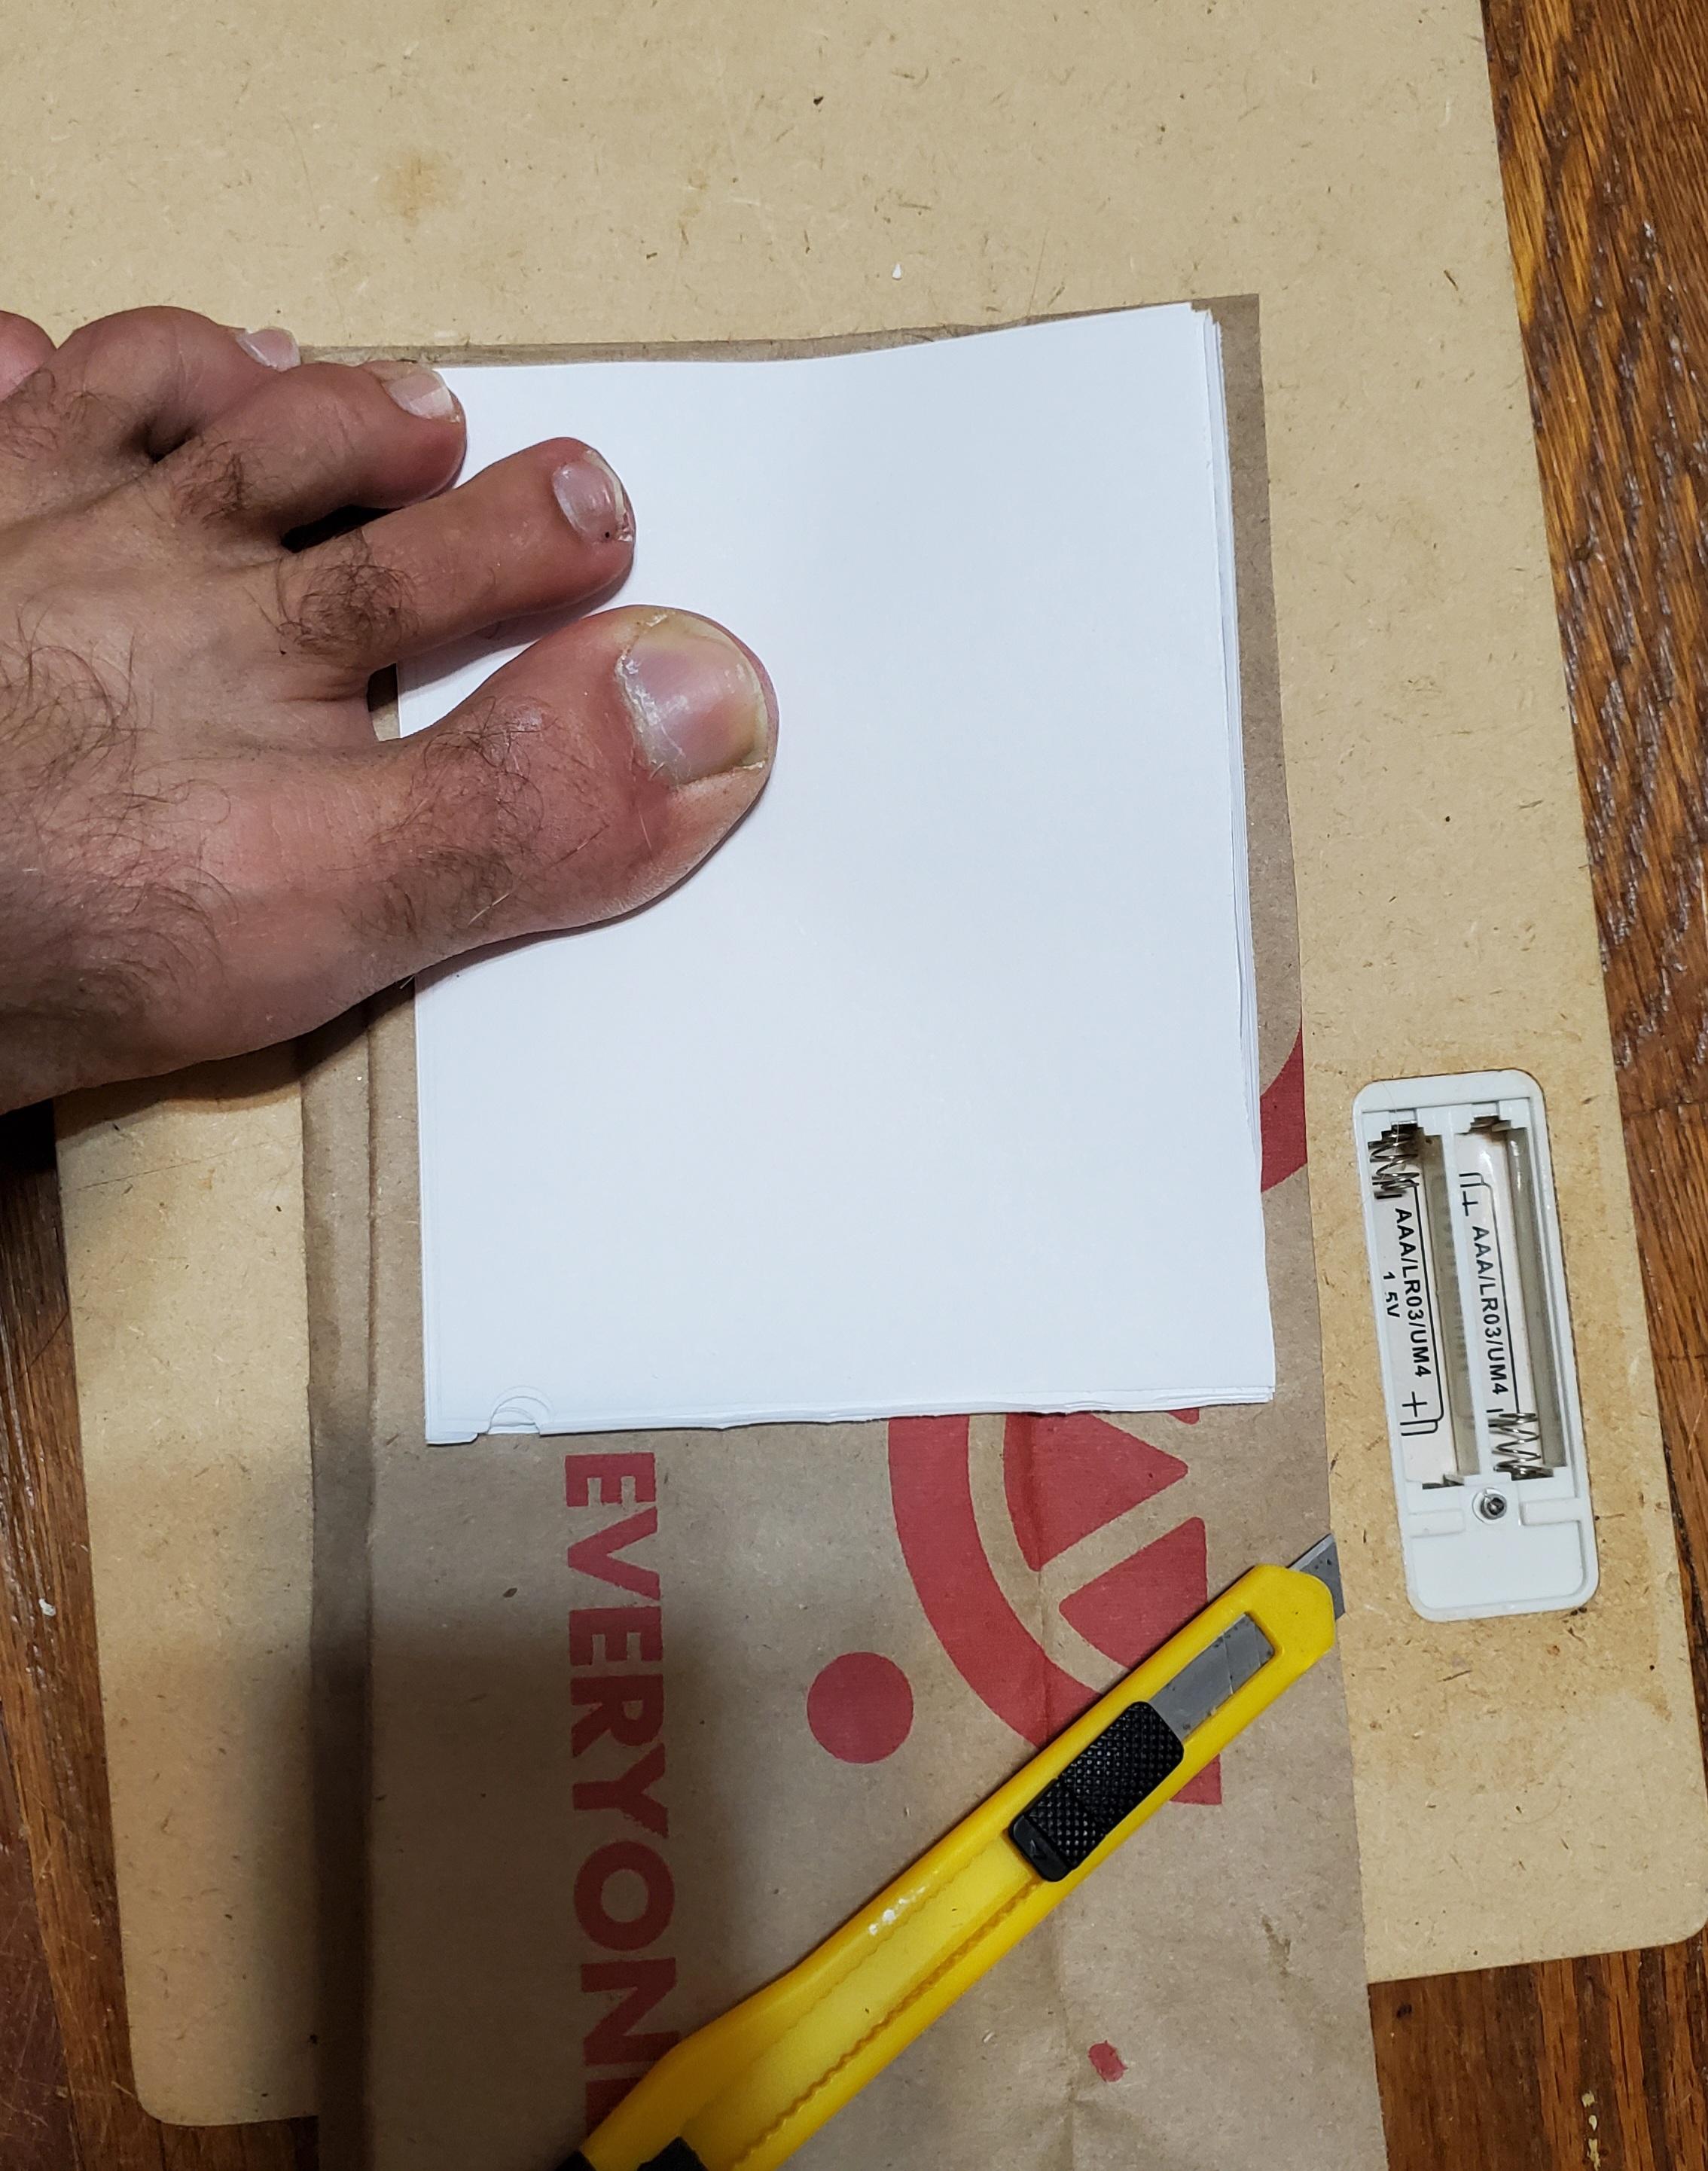
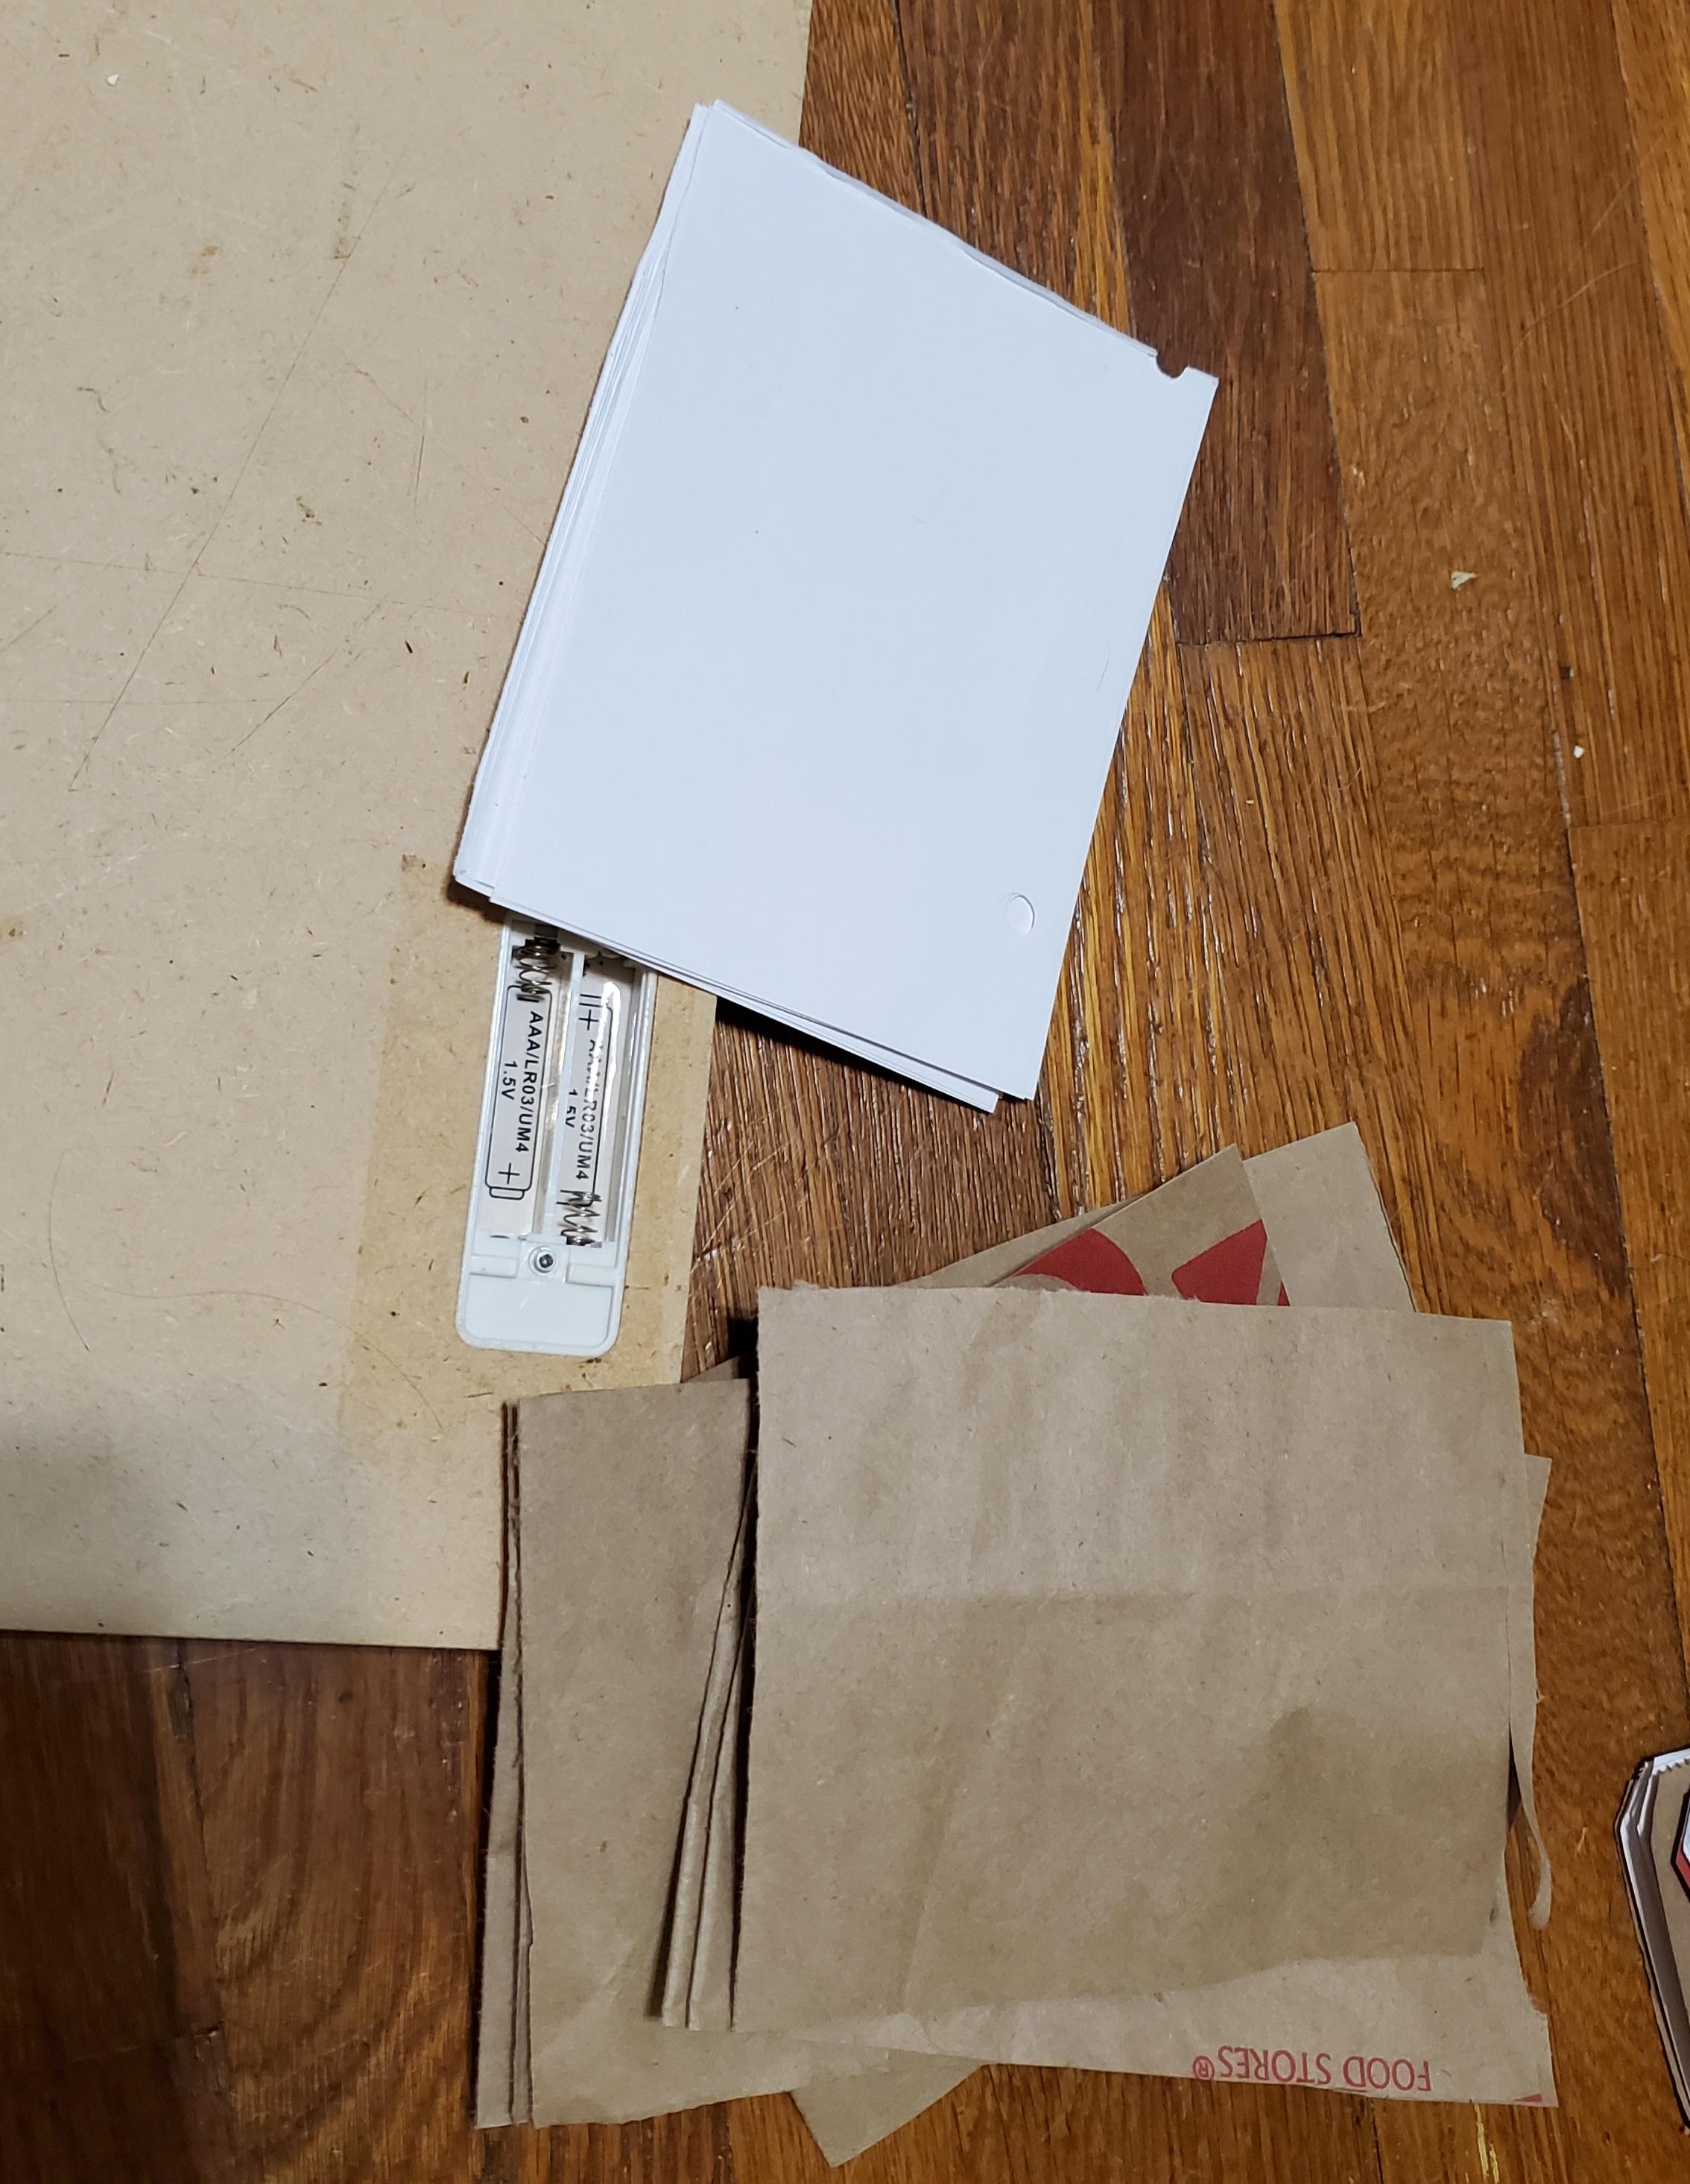
- Cut your paper to the size you want (remember the book is folded so the sheets need to be twice as wide as the fished book will be). Folding the paper in quarters and cutting the creases works well. images 1,2
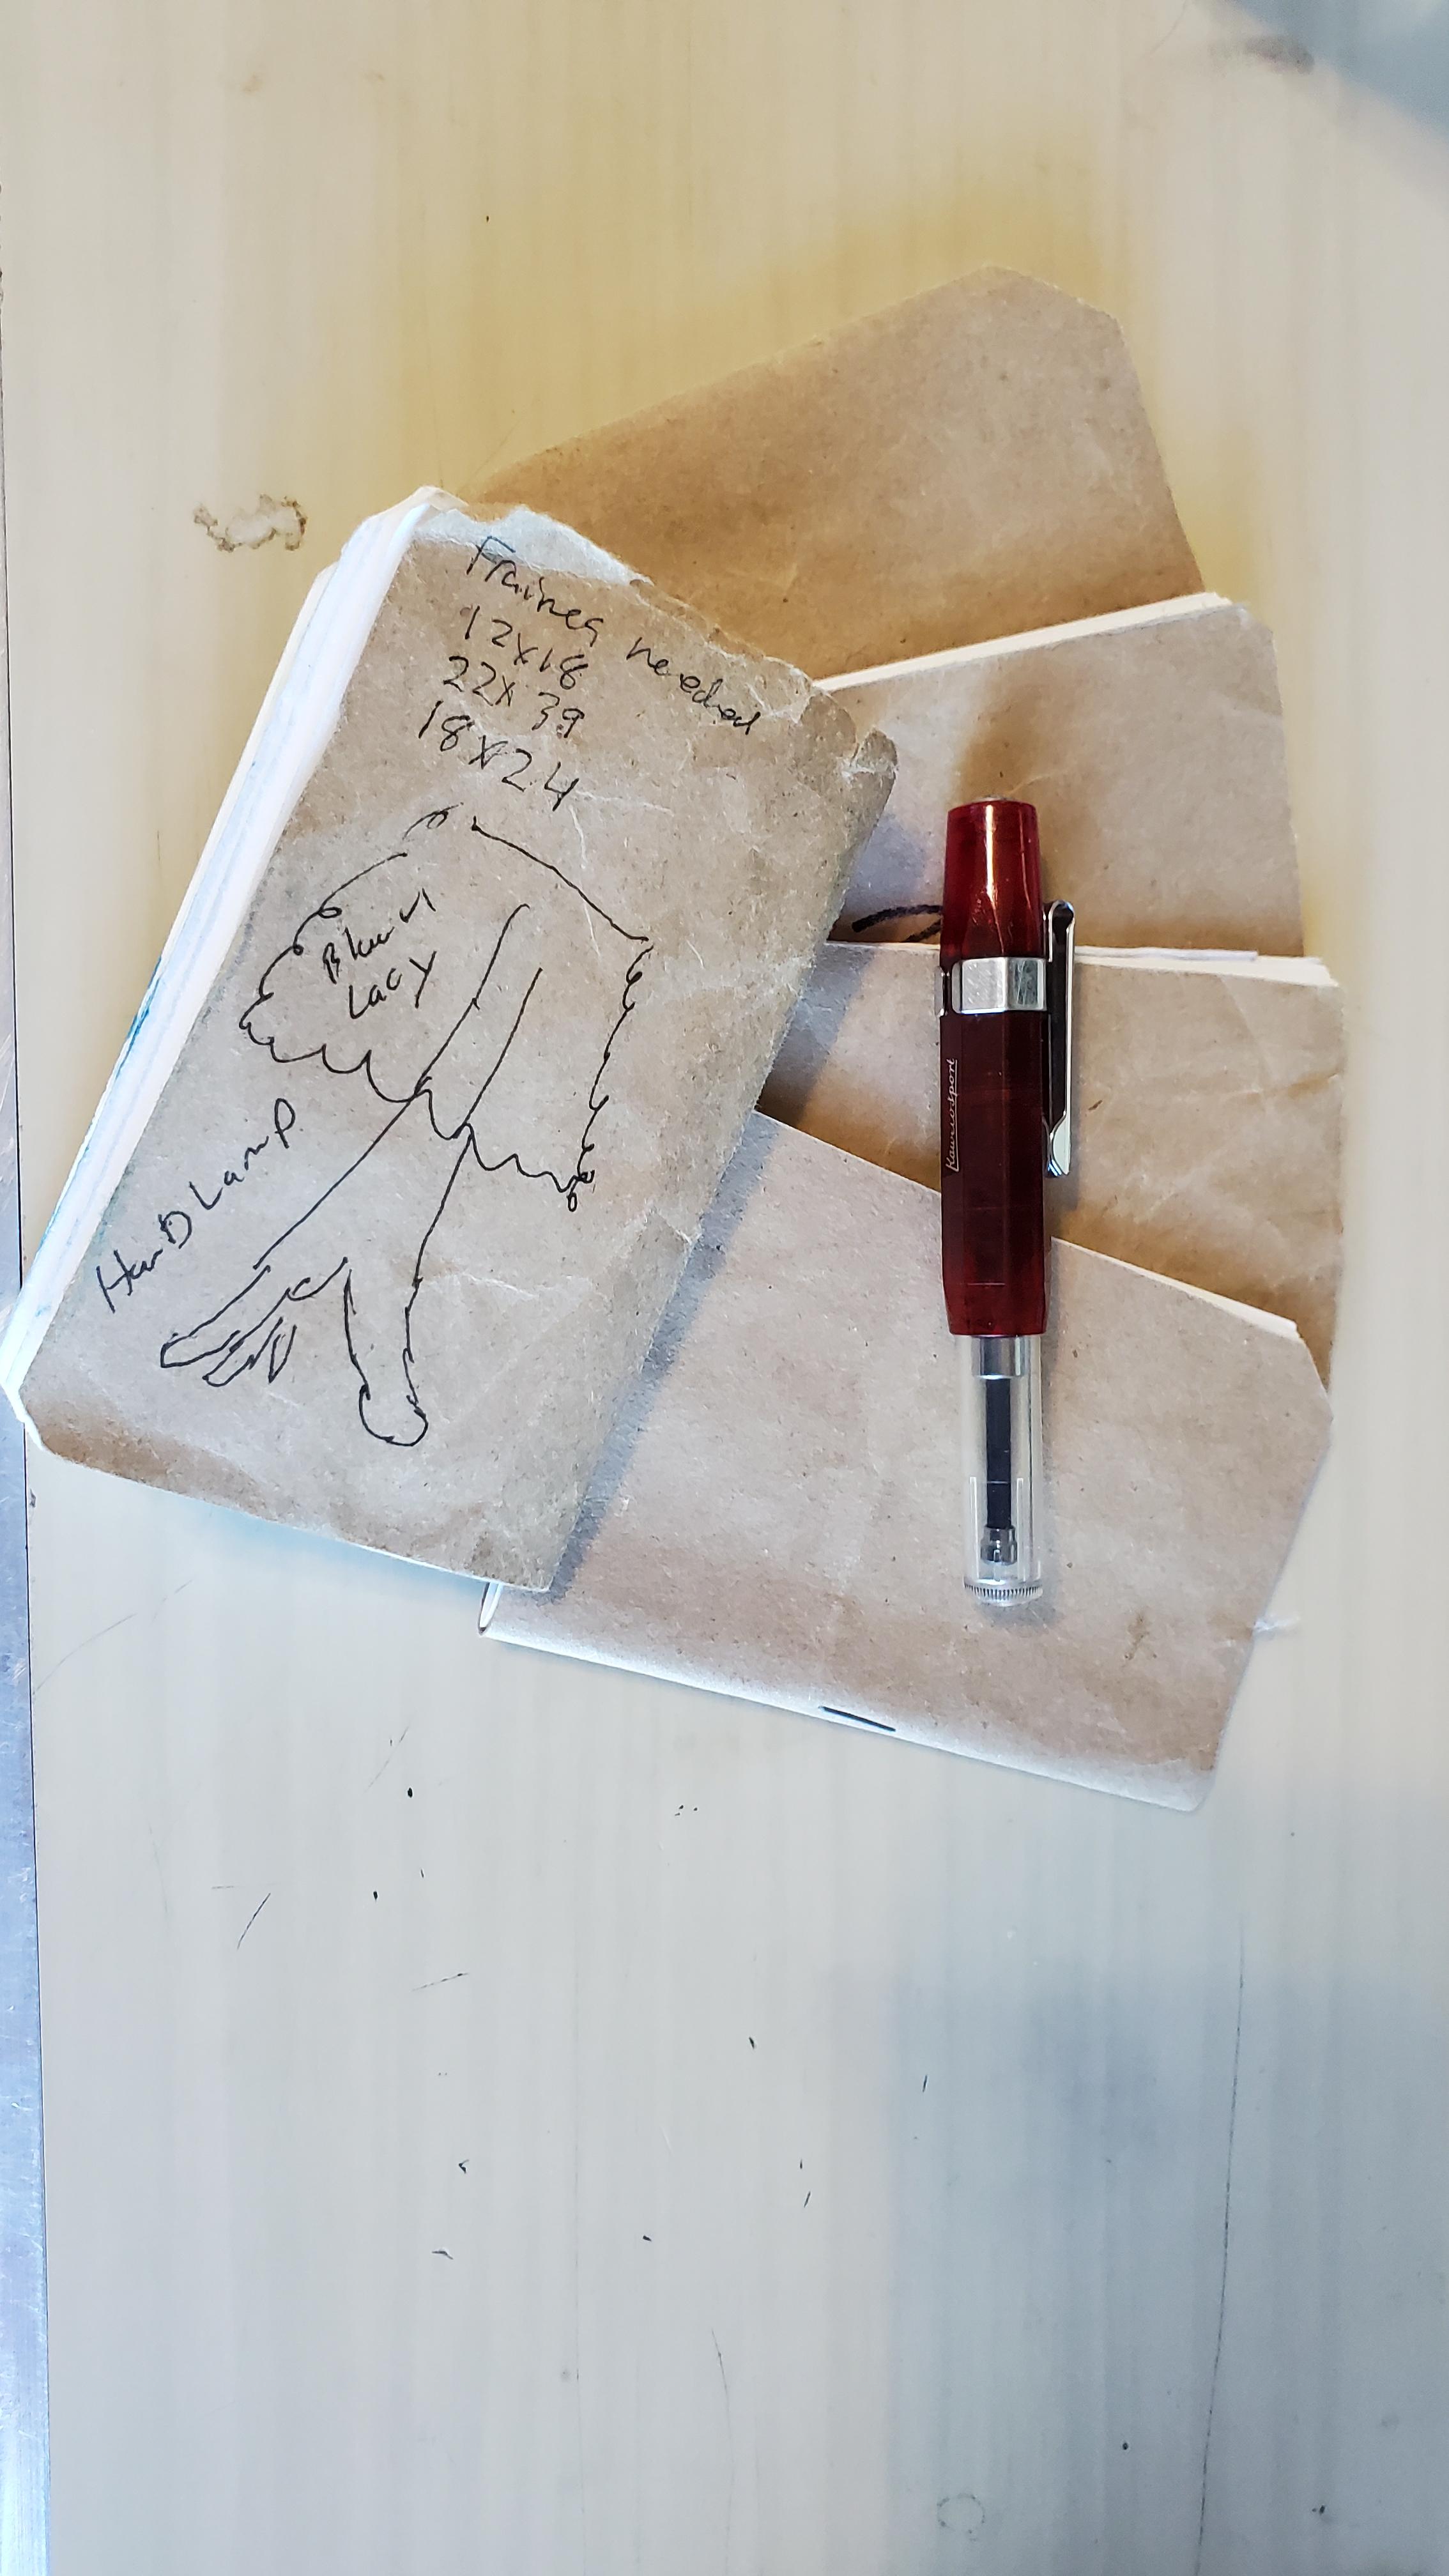
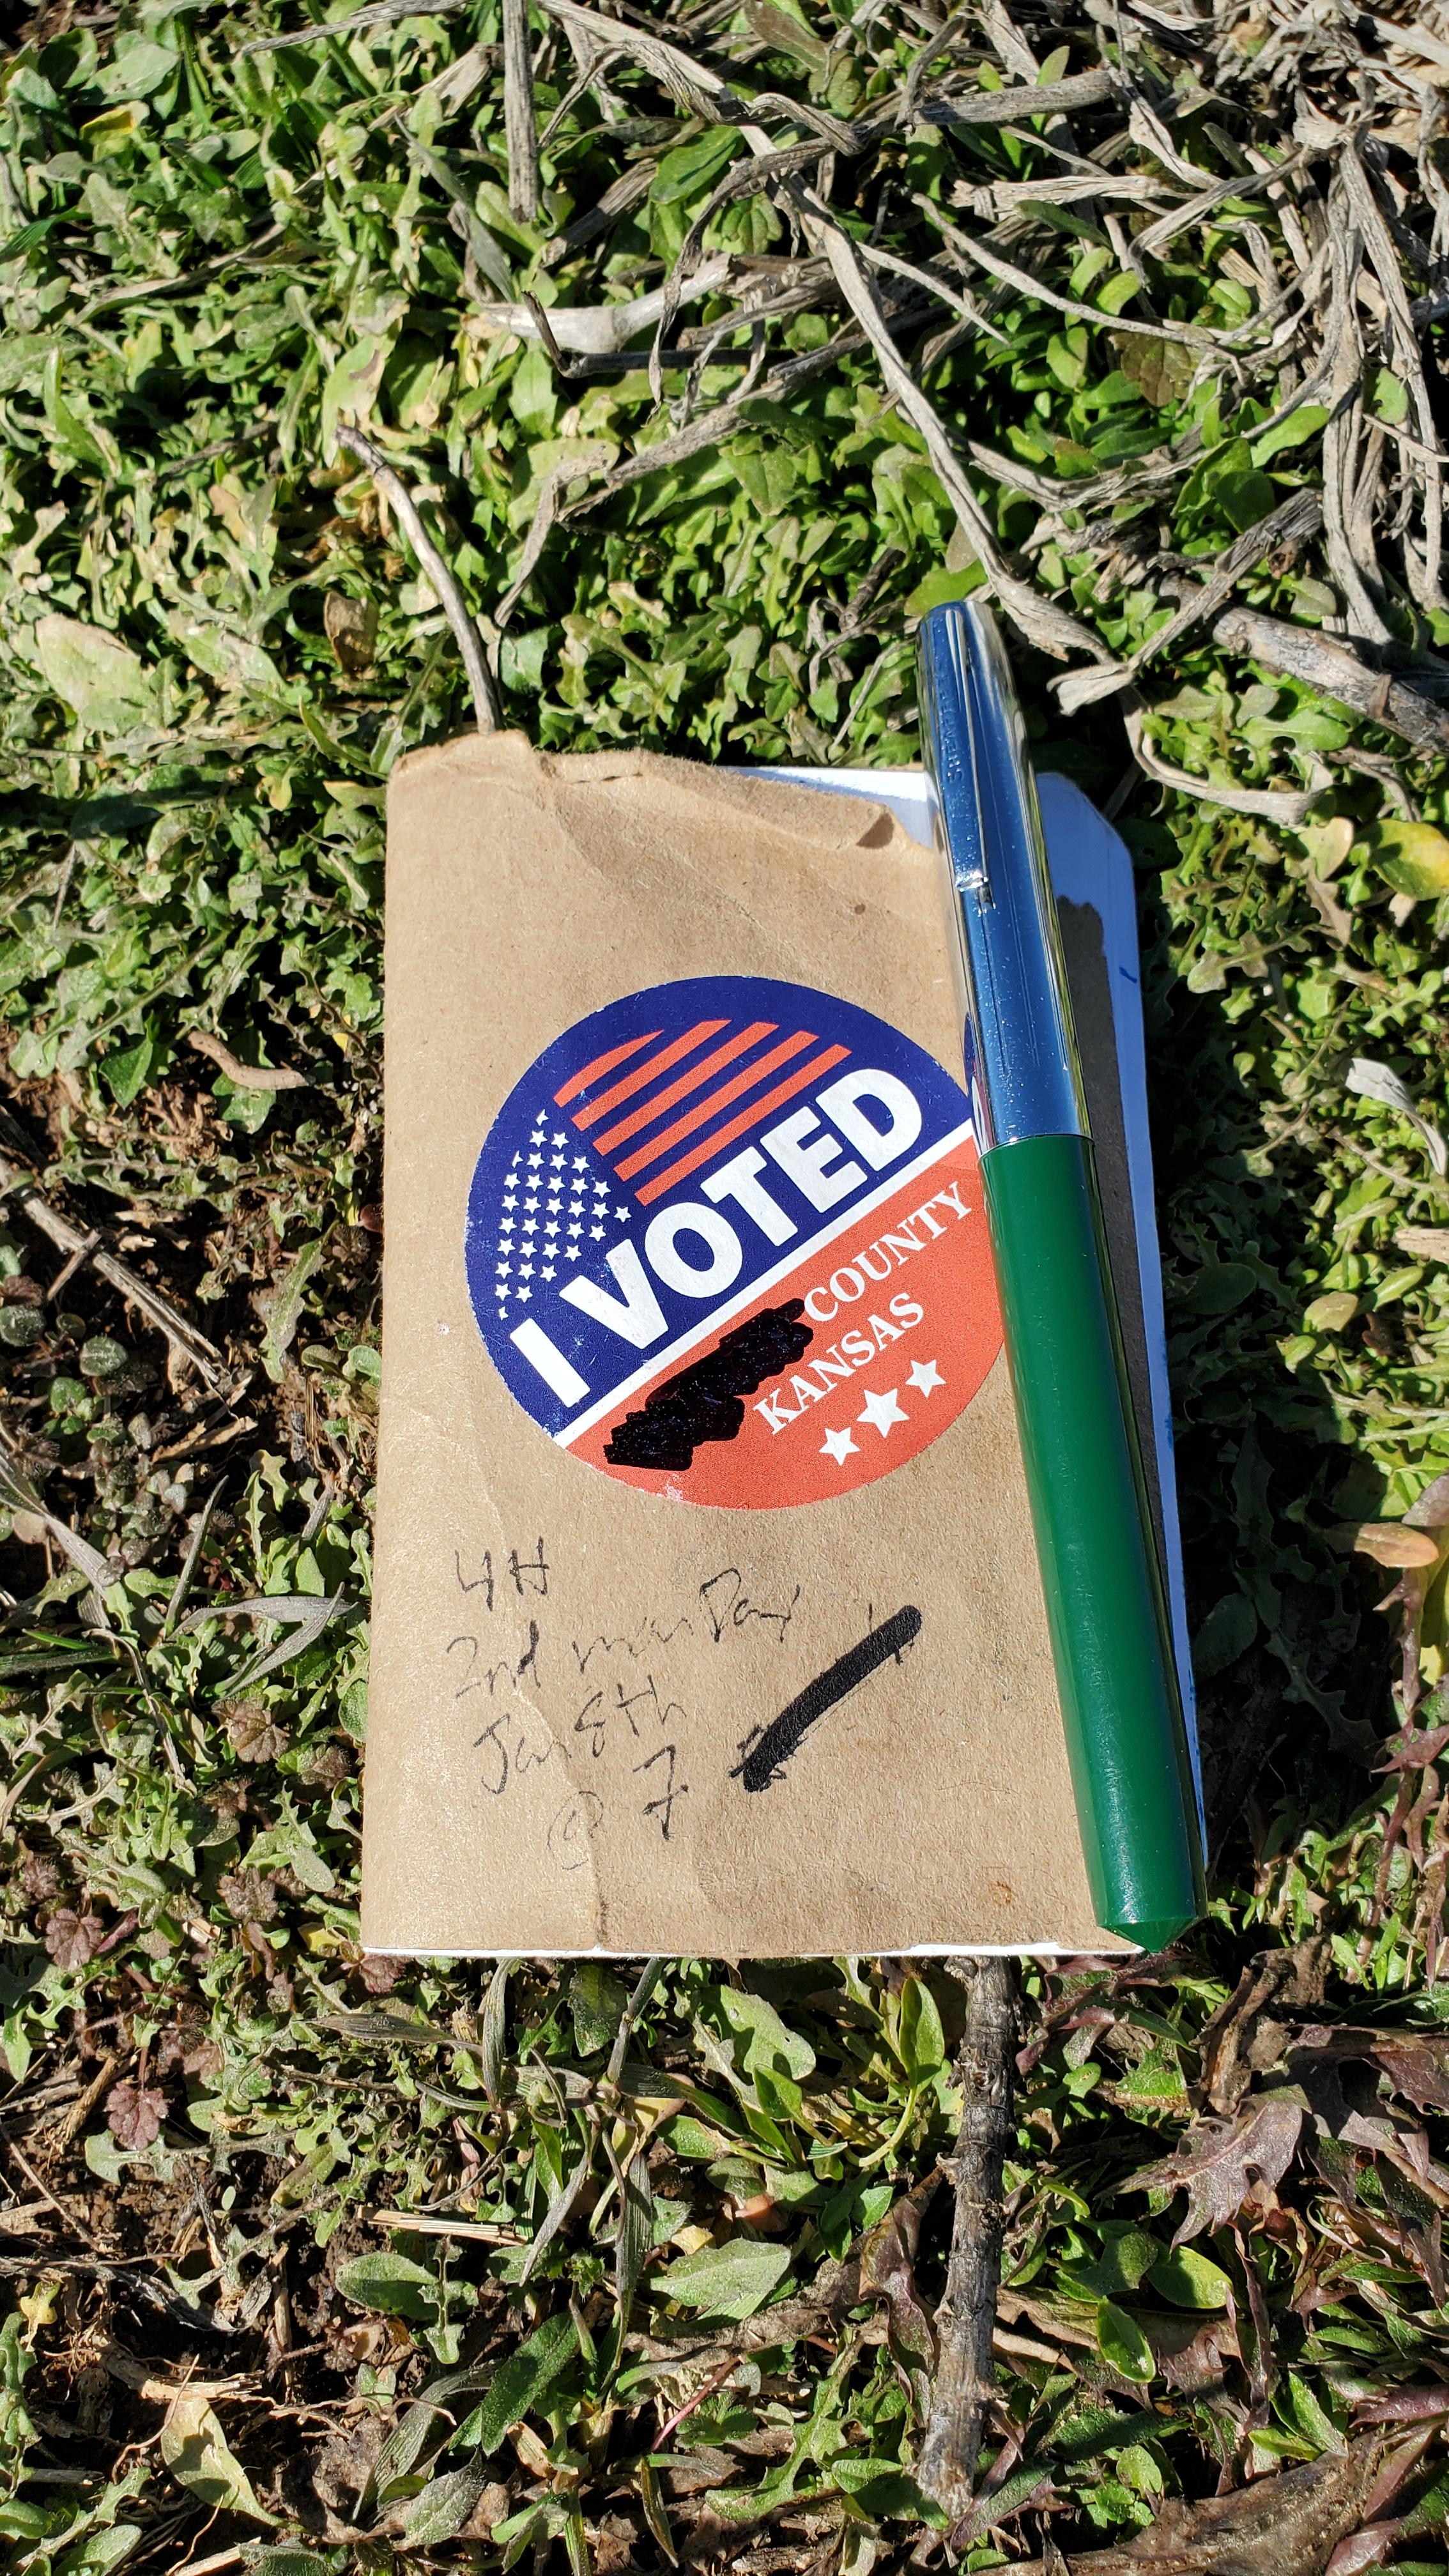
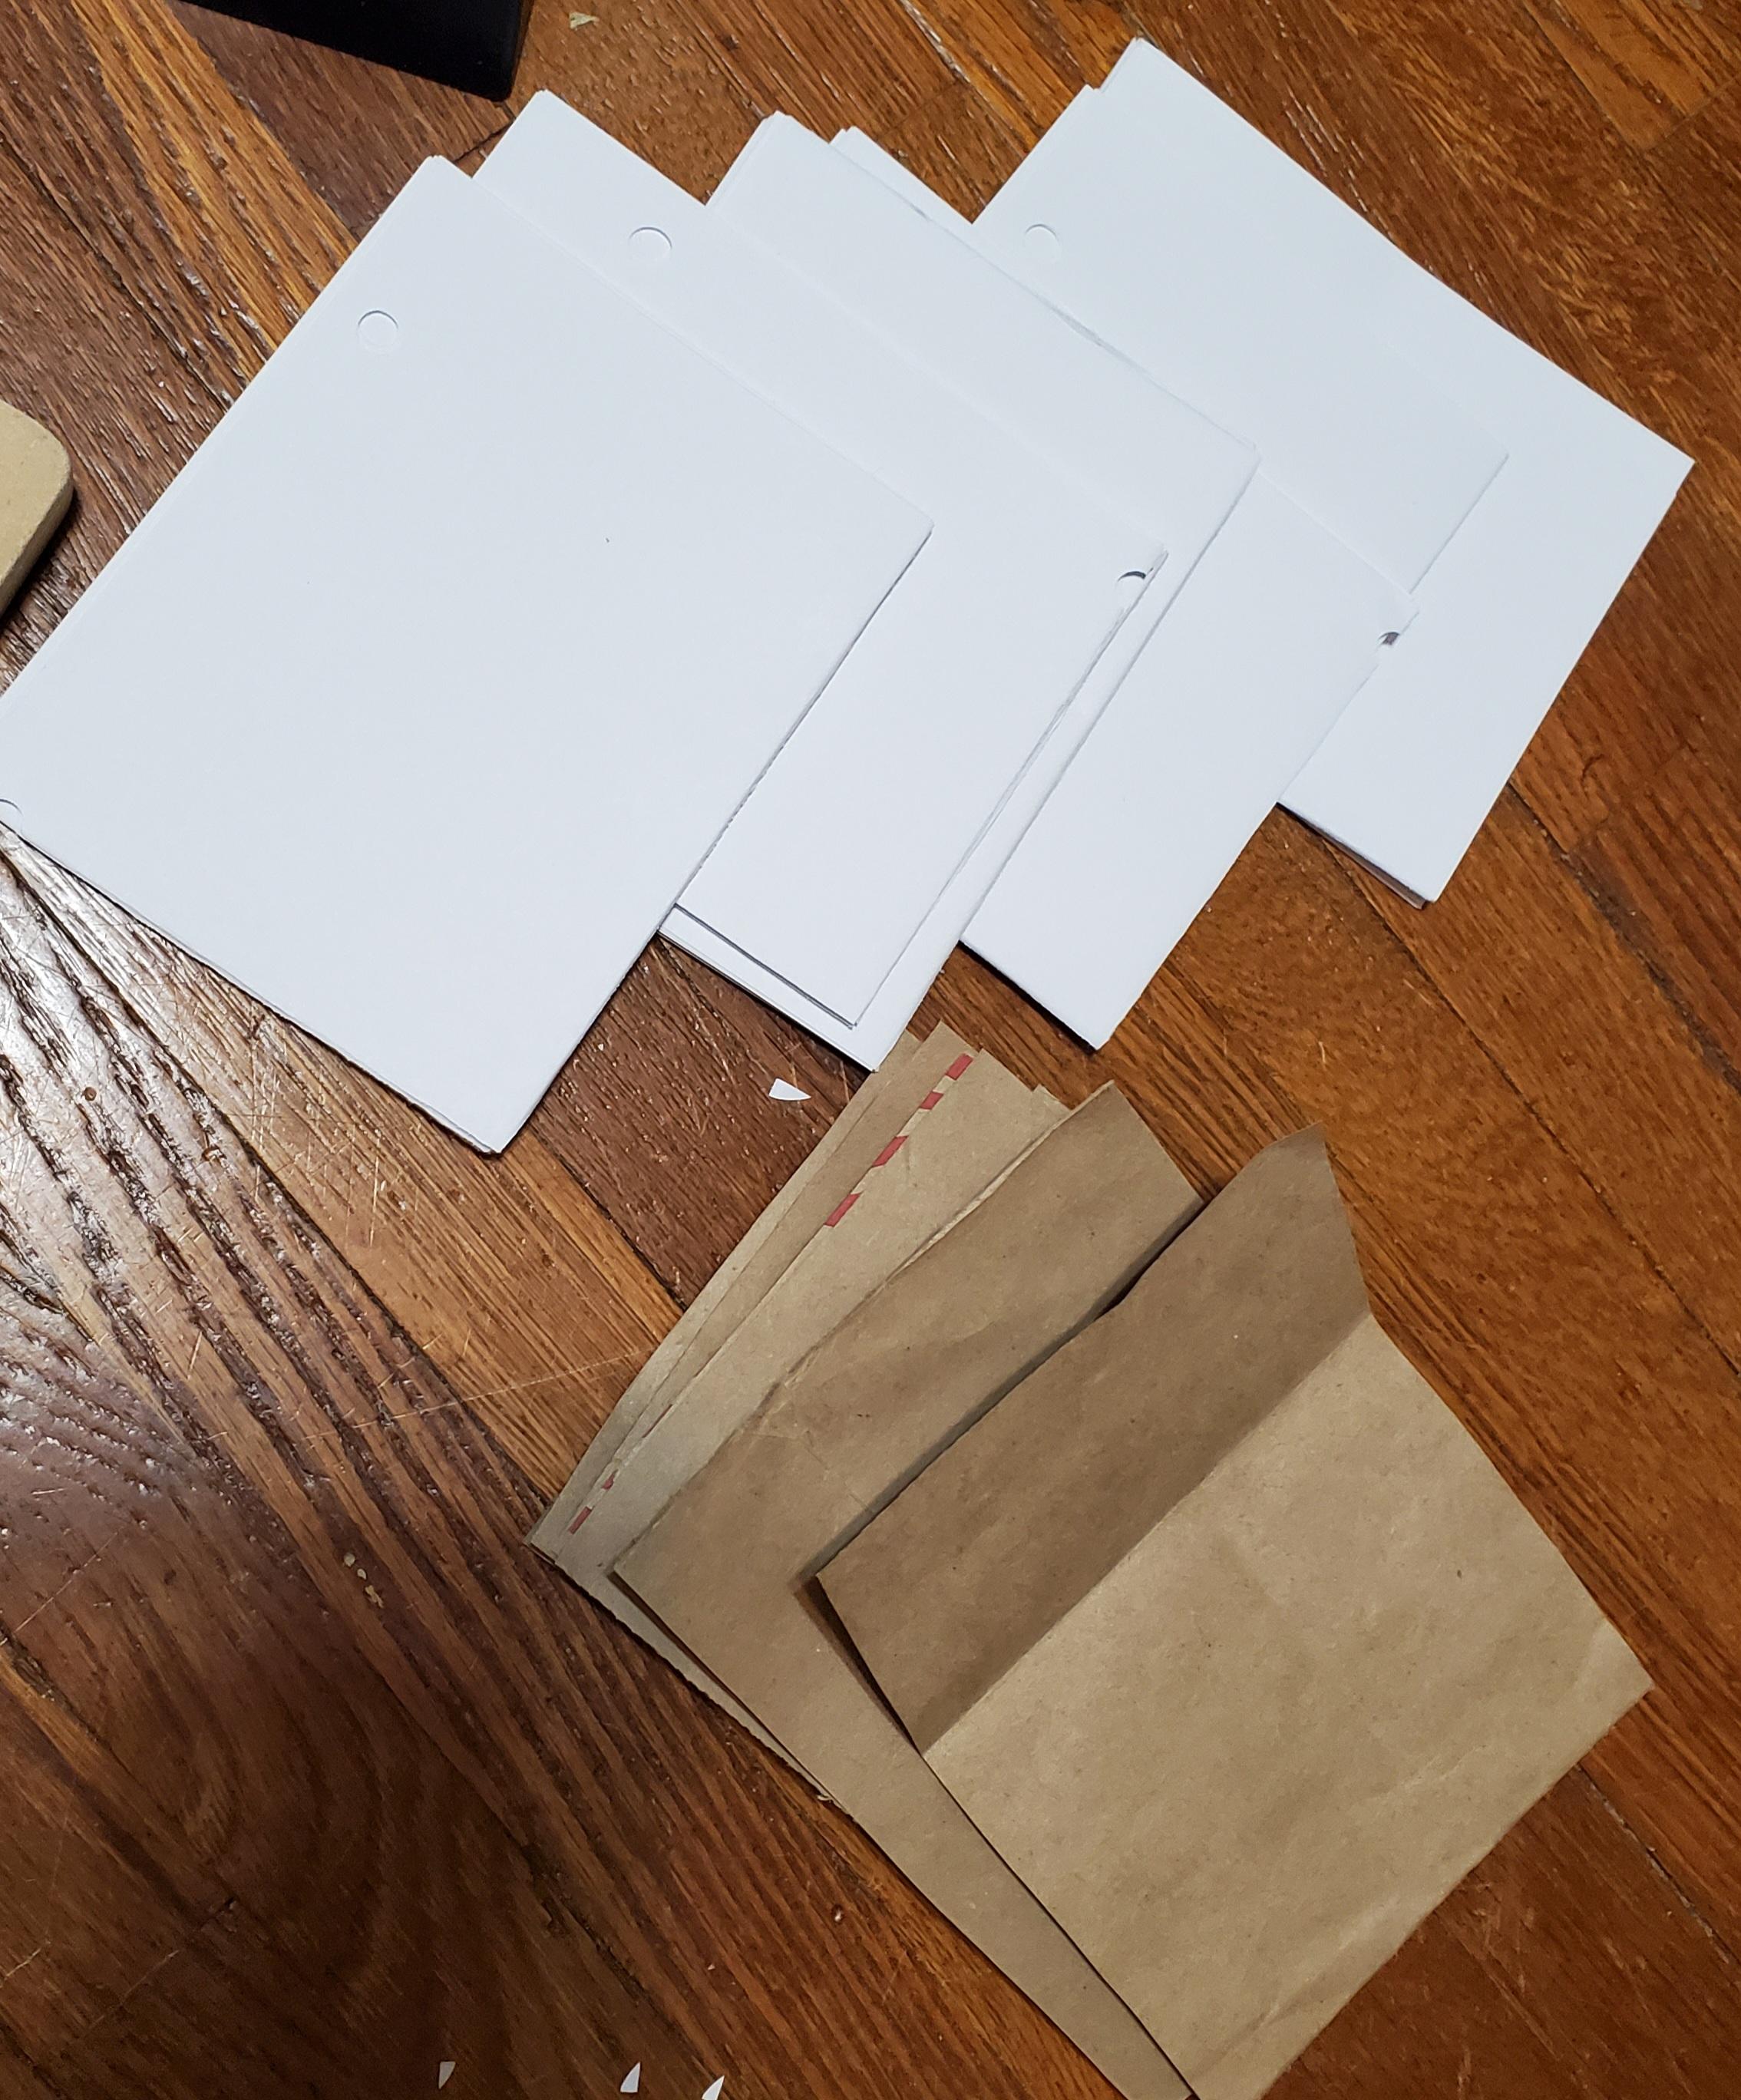
- Use your sheets to trace/ cut out some paper bag covers. images 2,3,4.
- Making a bunch at a time is a real time saver.
Staples Time.
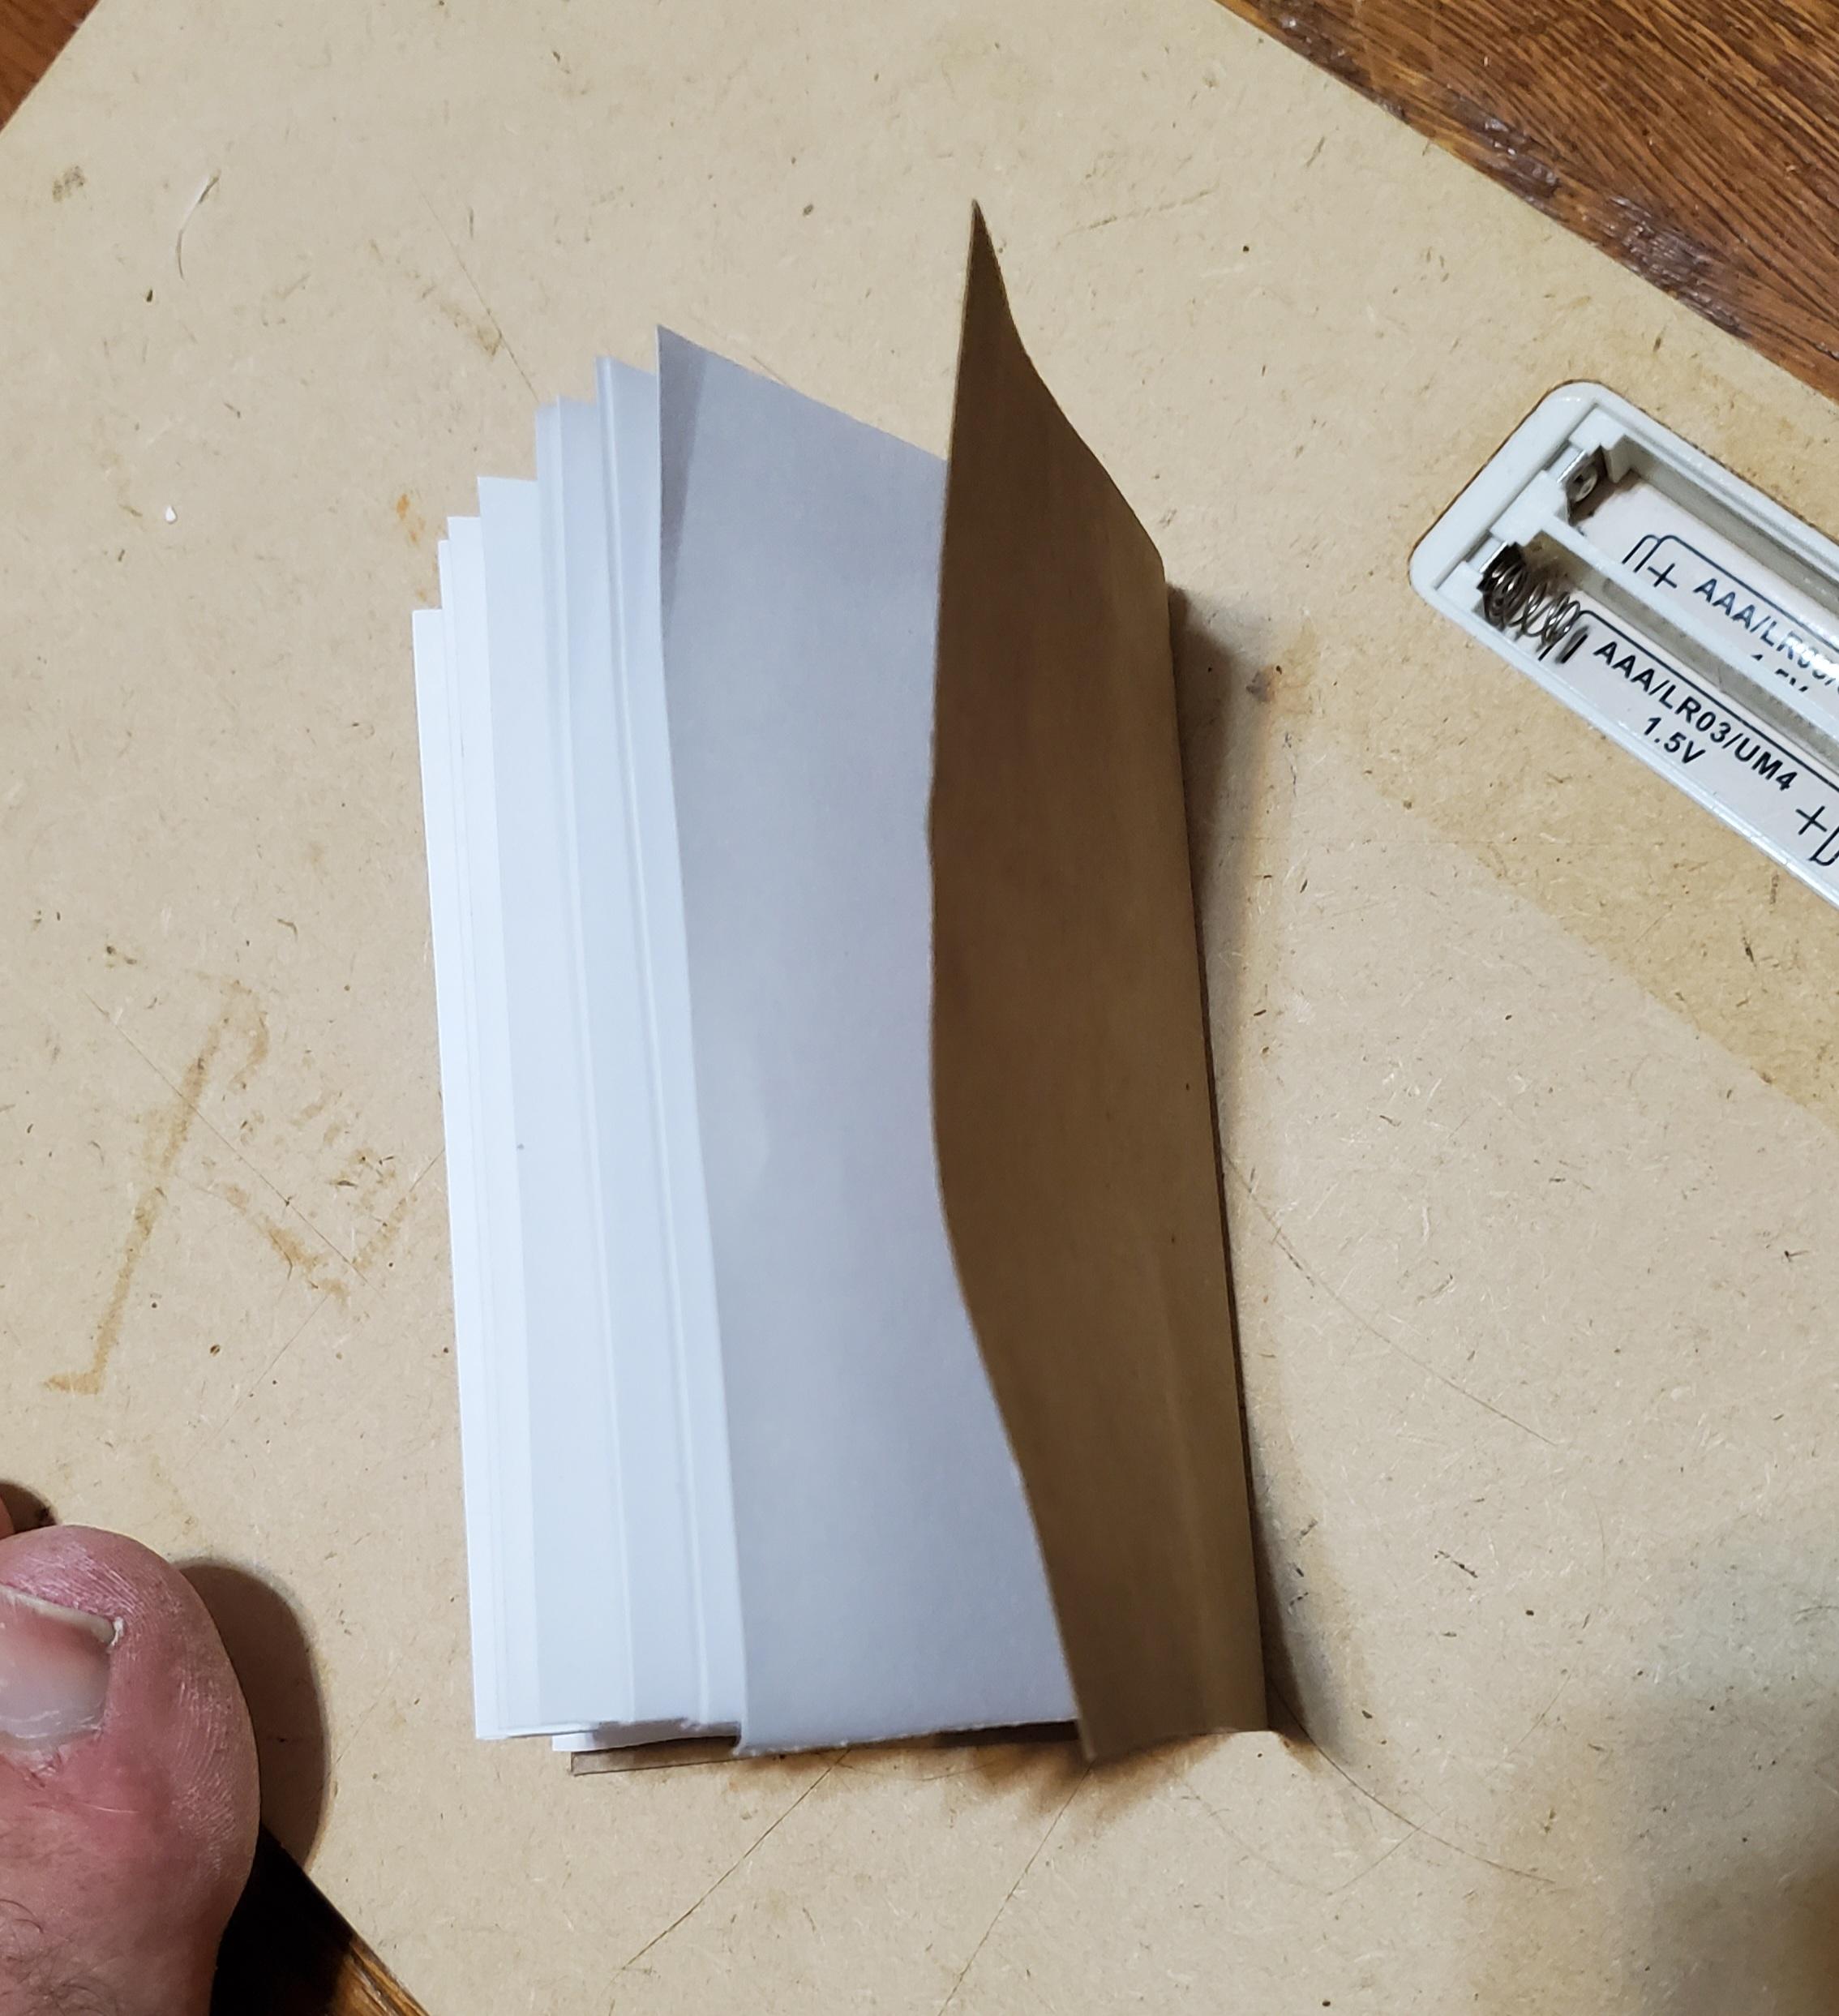
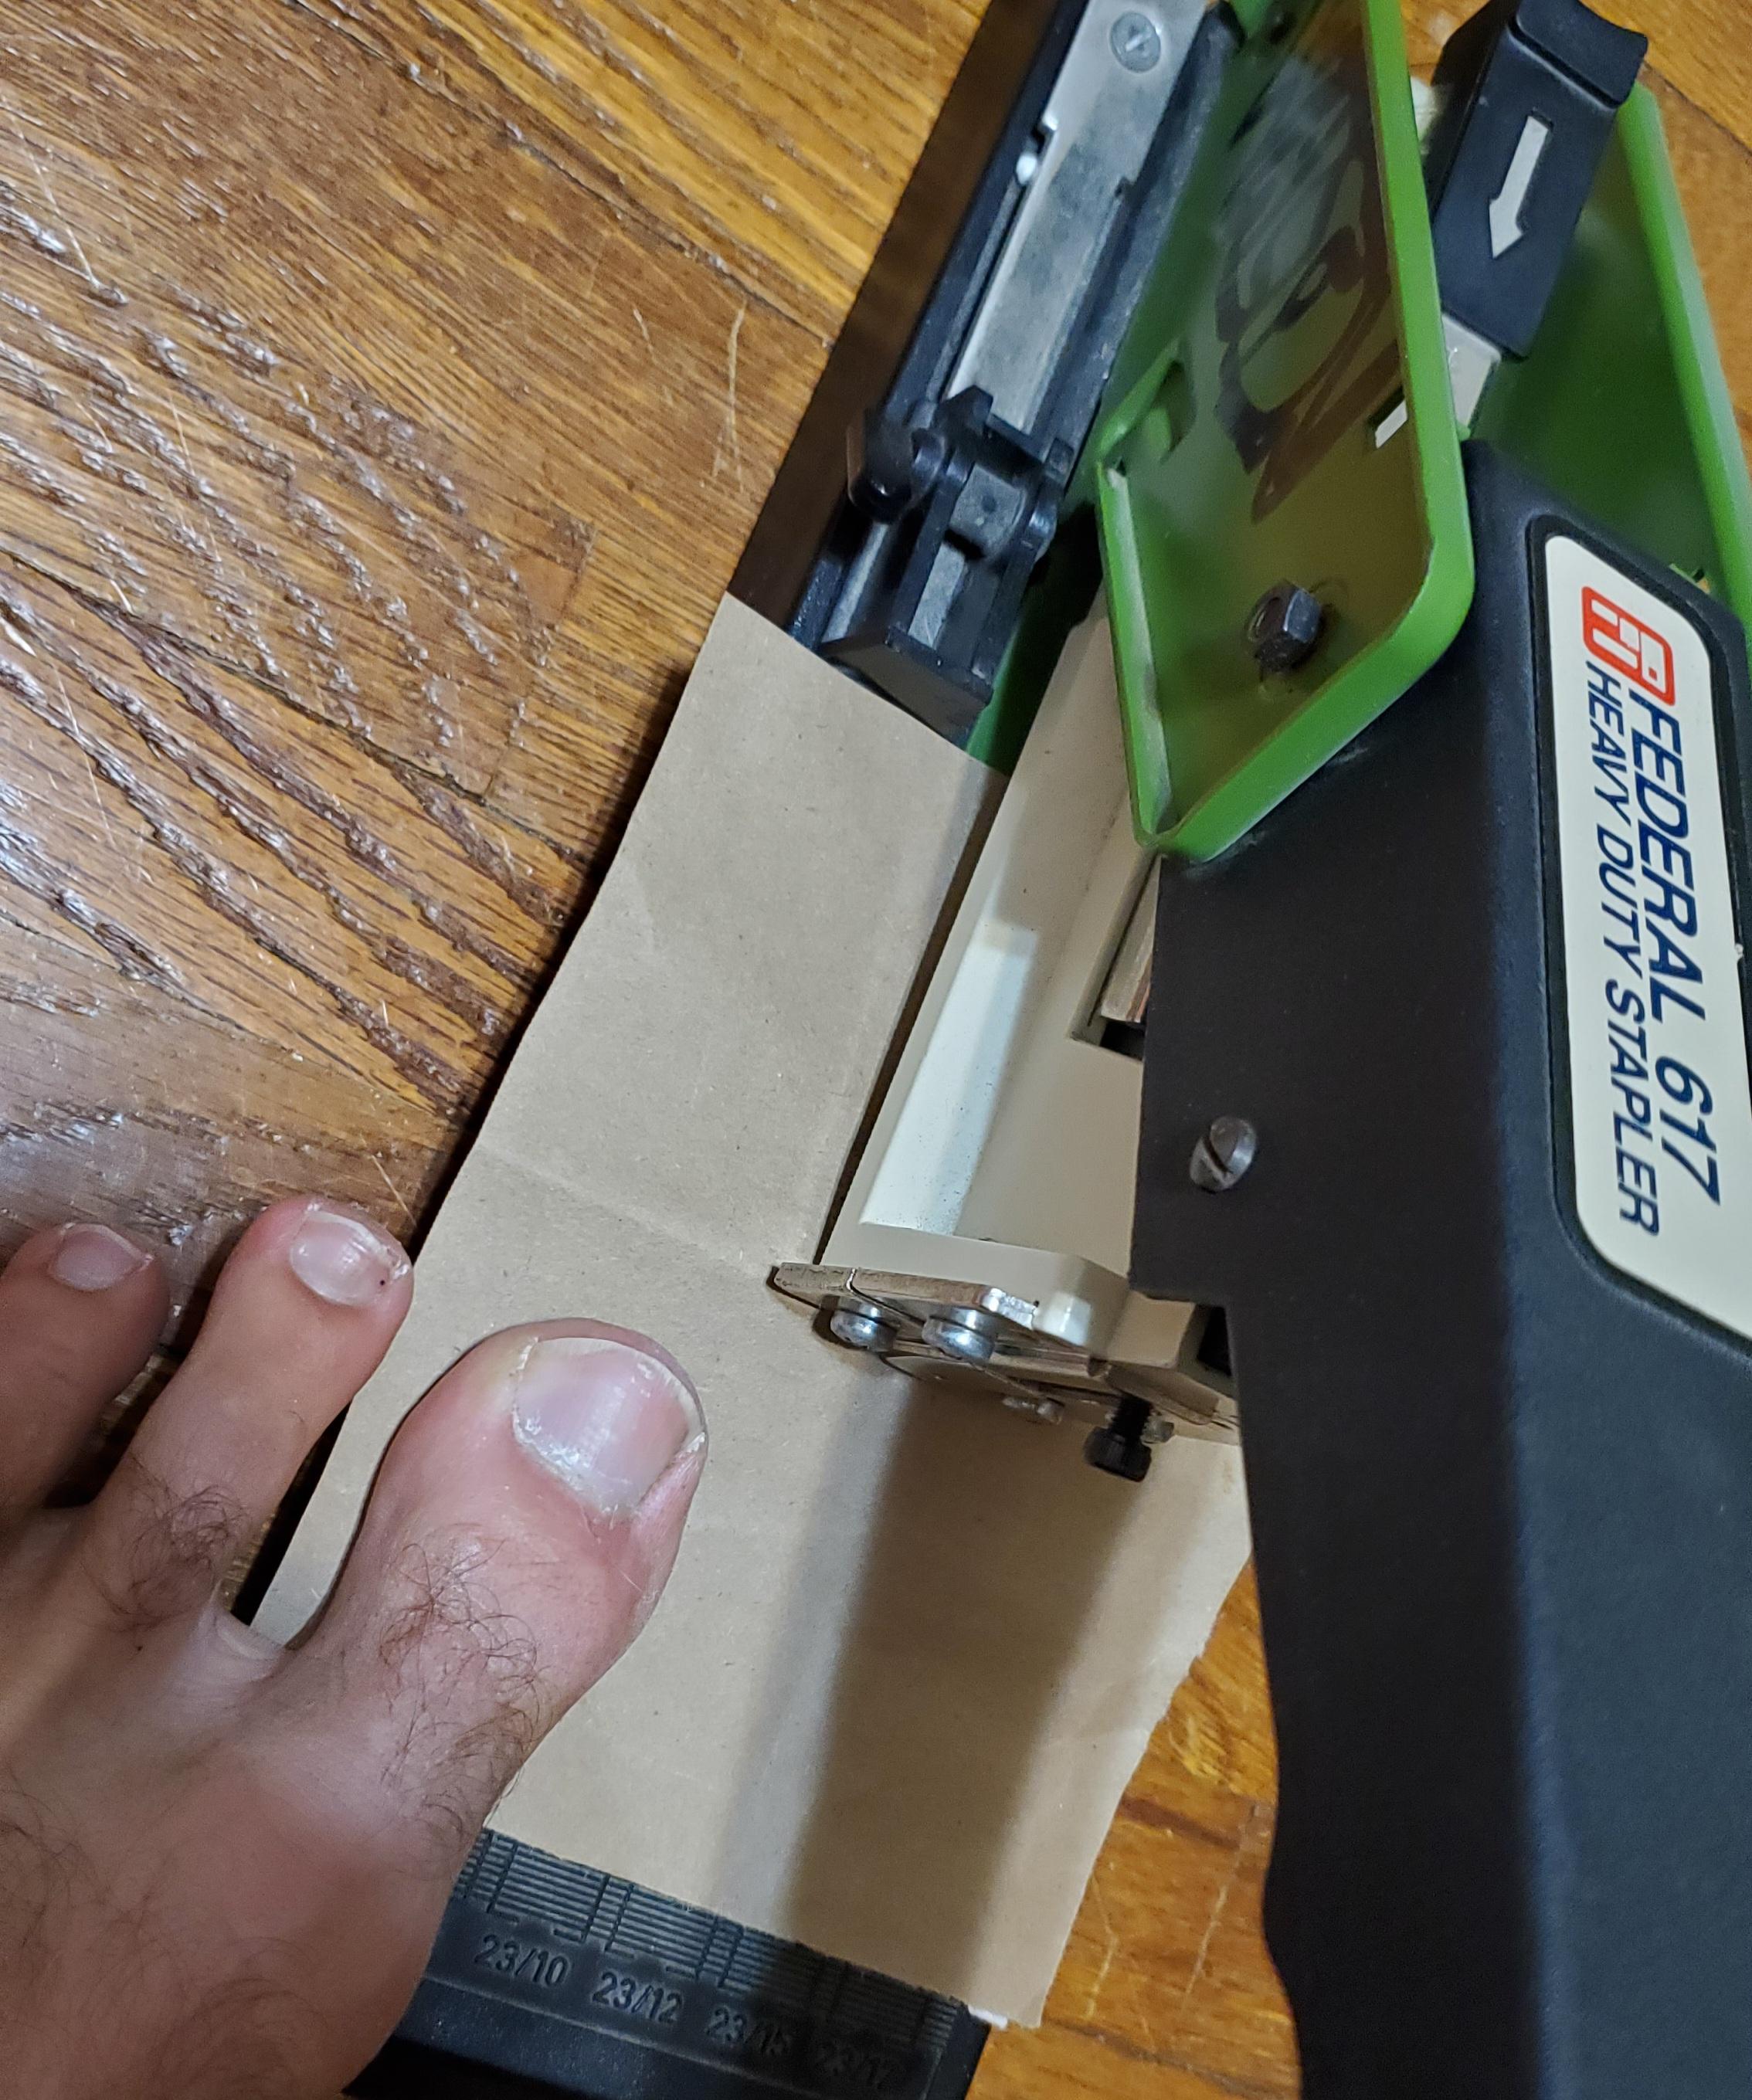
- Take the cut sheets as many as you want/ can staple trough and a bag cover. stack them up and fold in half (as close as possible). image 1
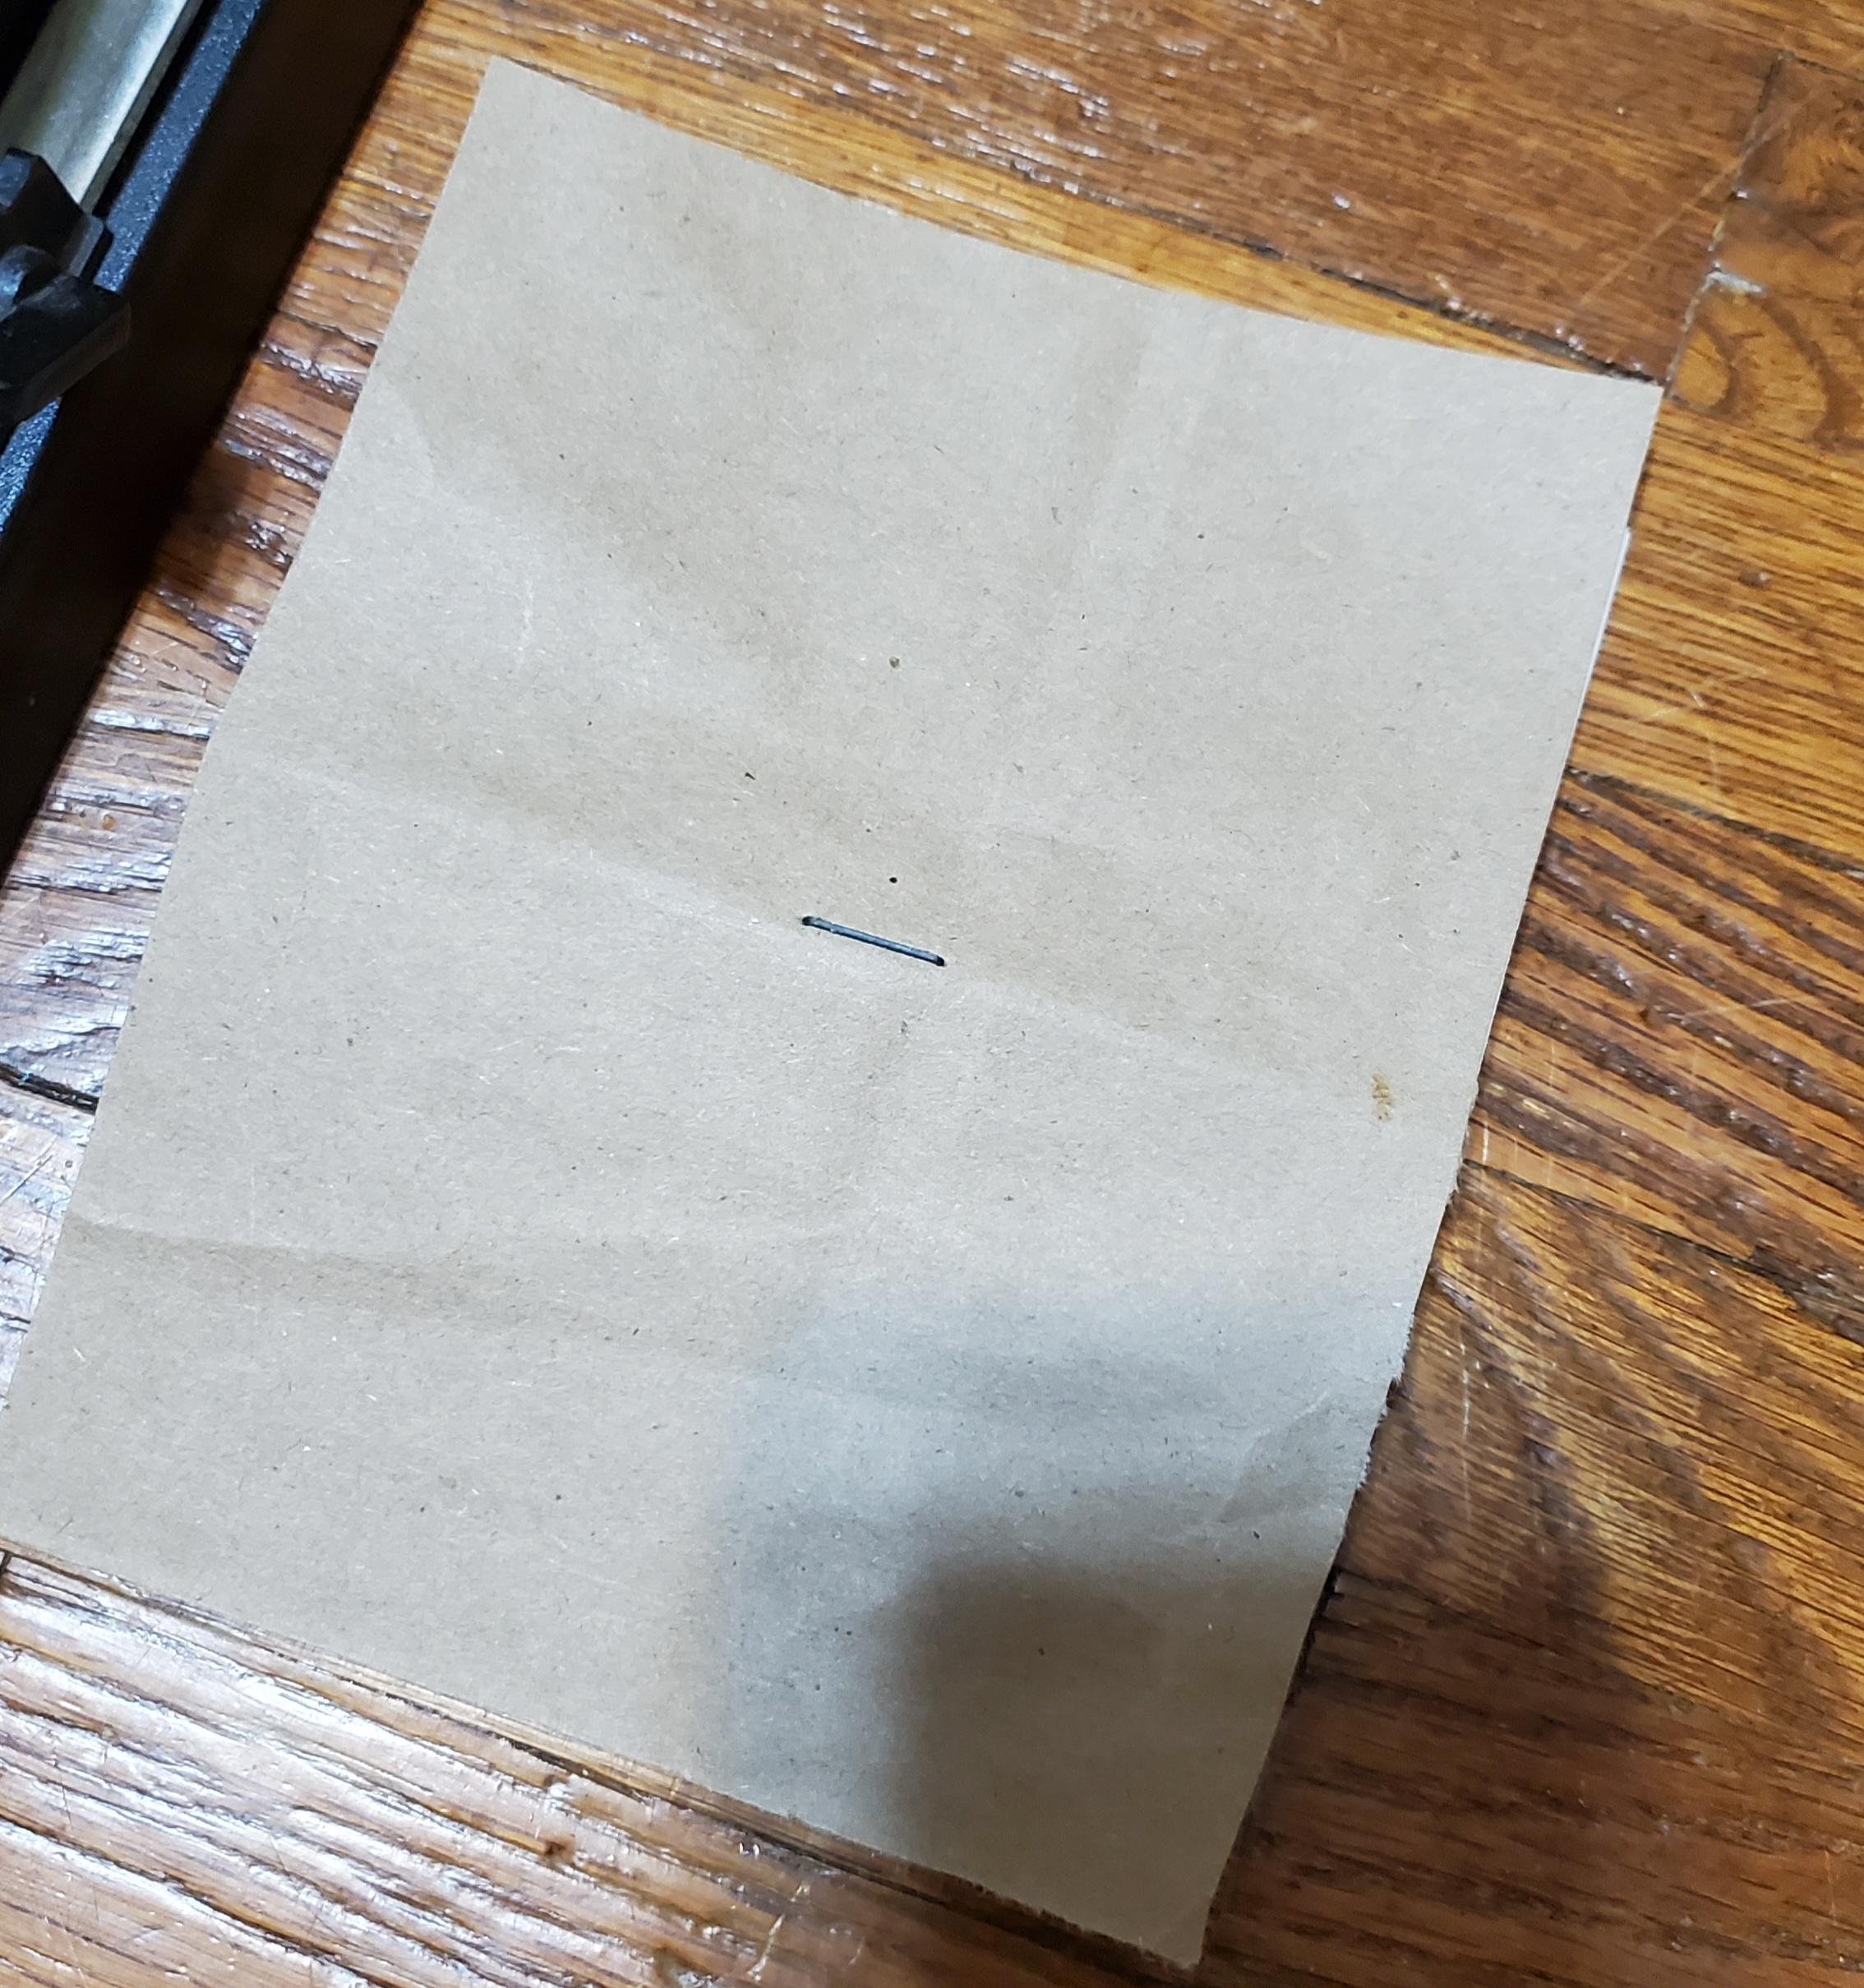
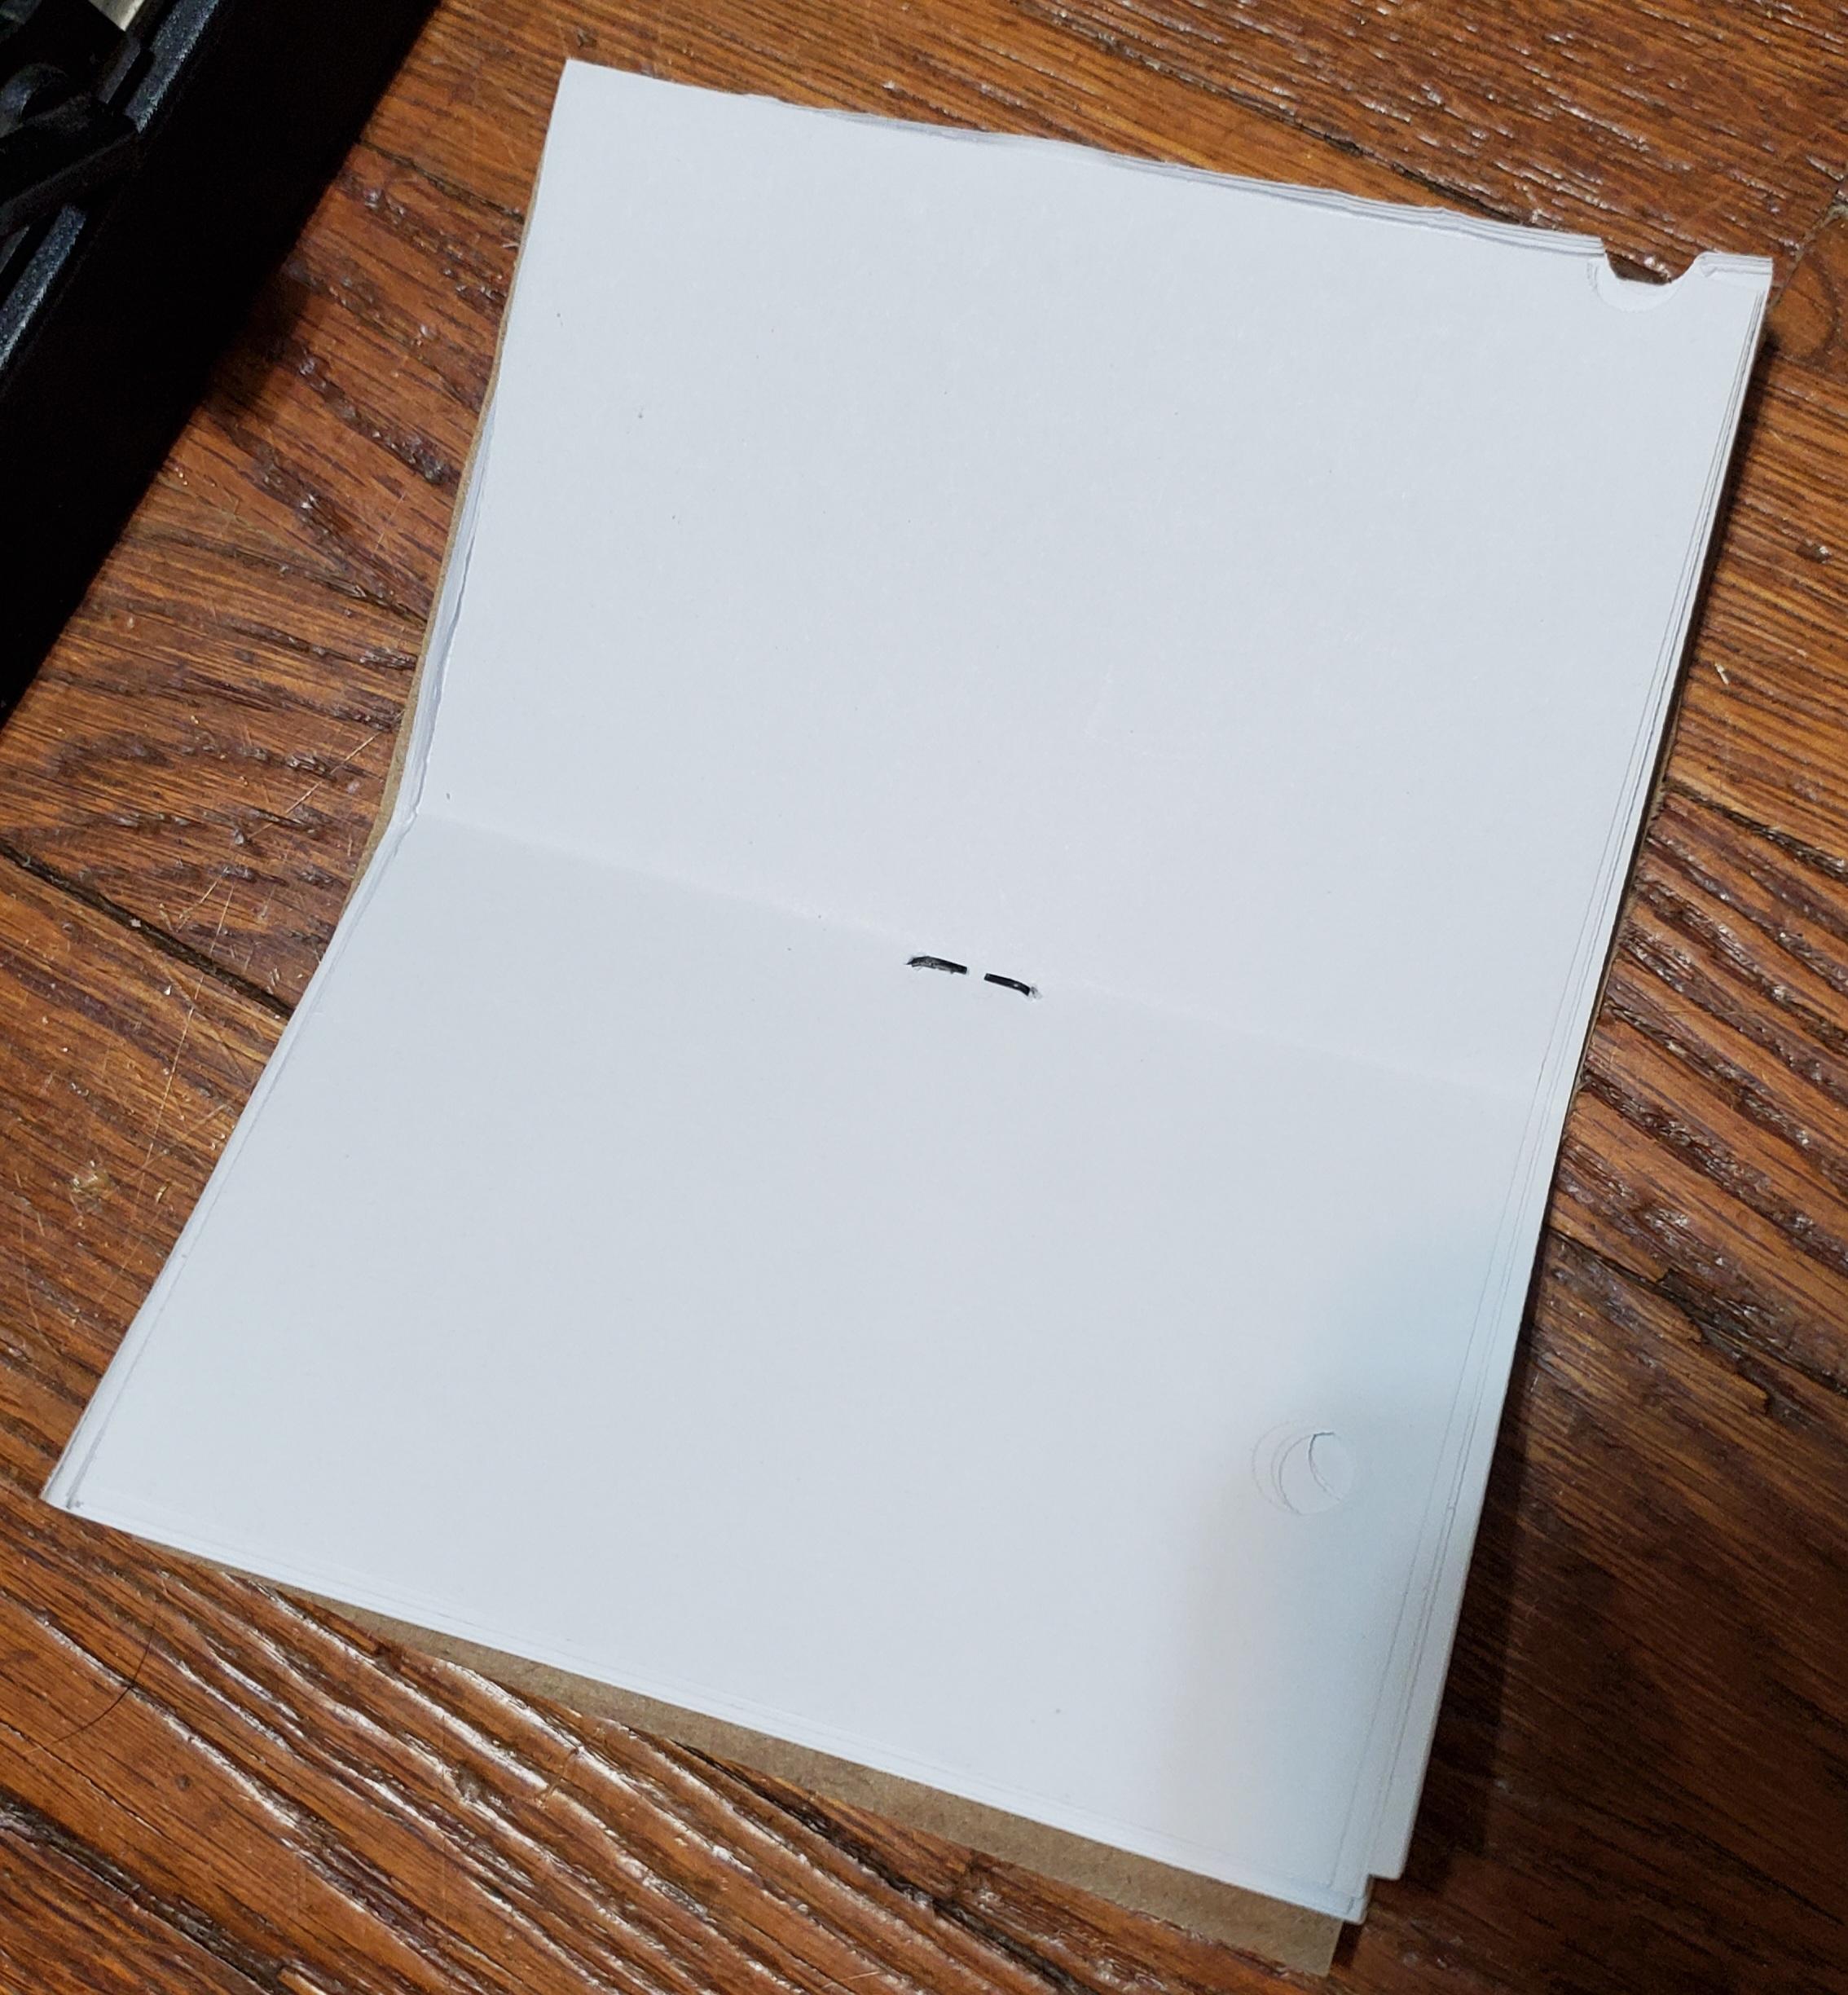
- Open the book back up and staple it along the crease formed by the folding. One in the middle usually works. image 2,3,4.
Finish and Enjoy
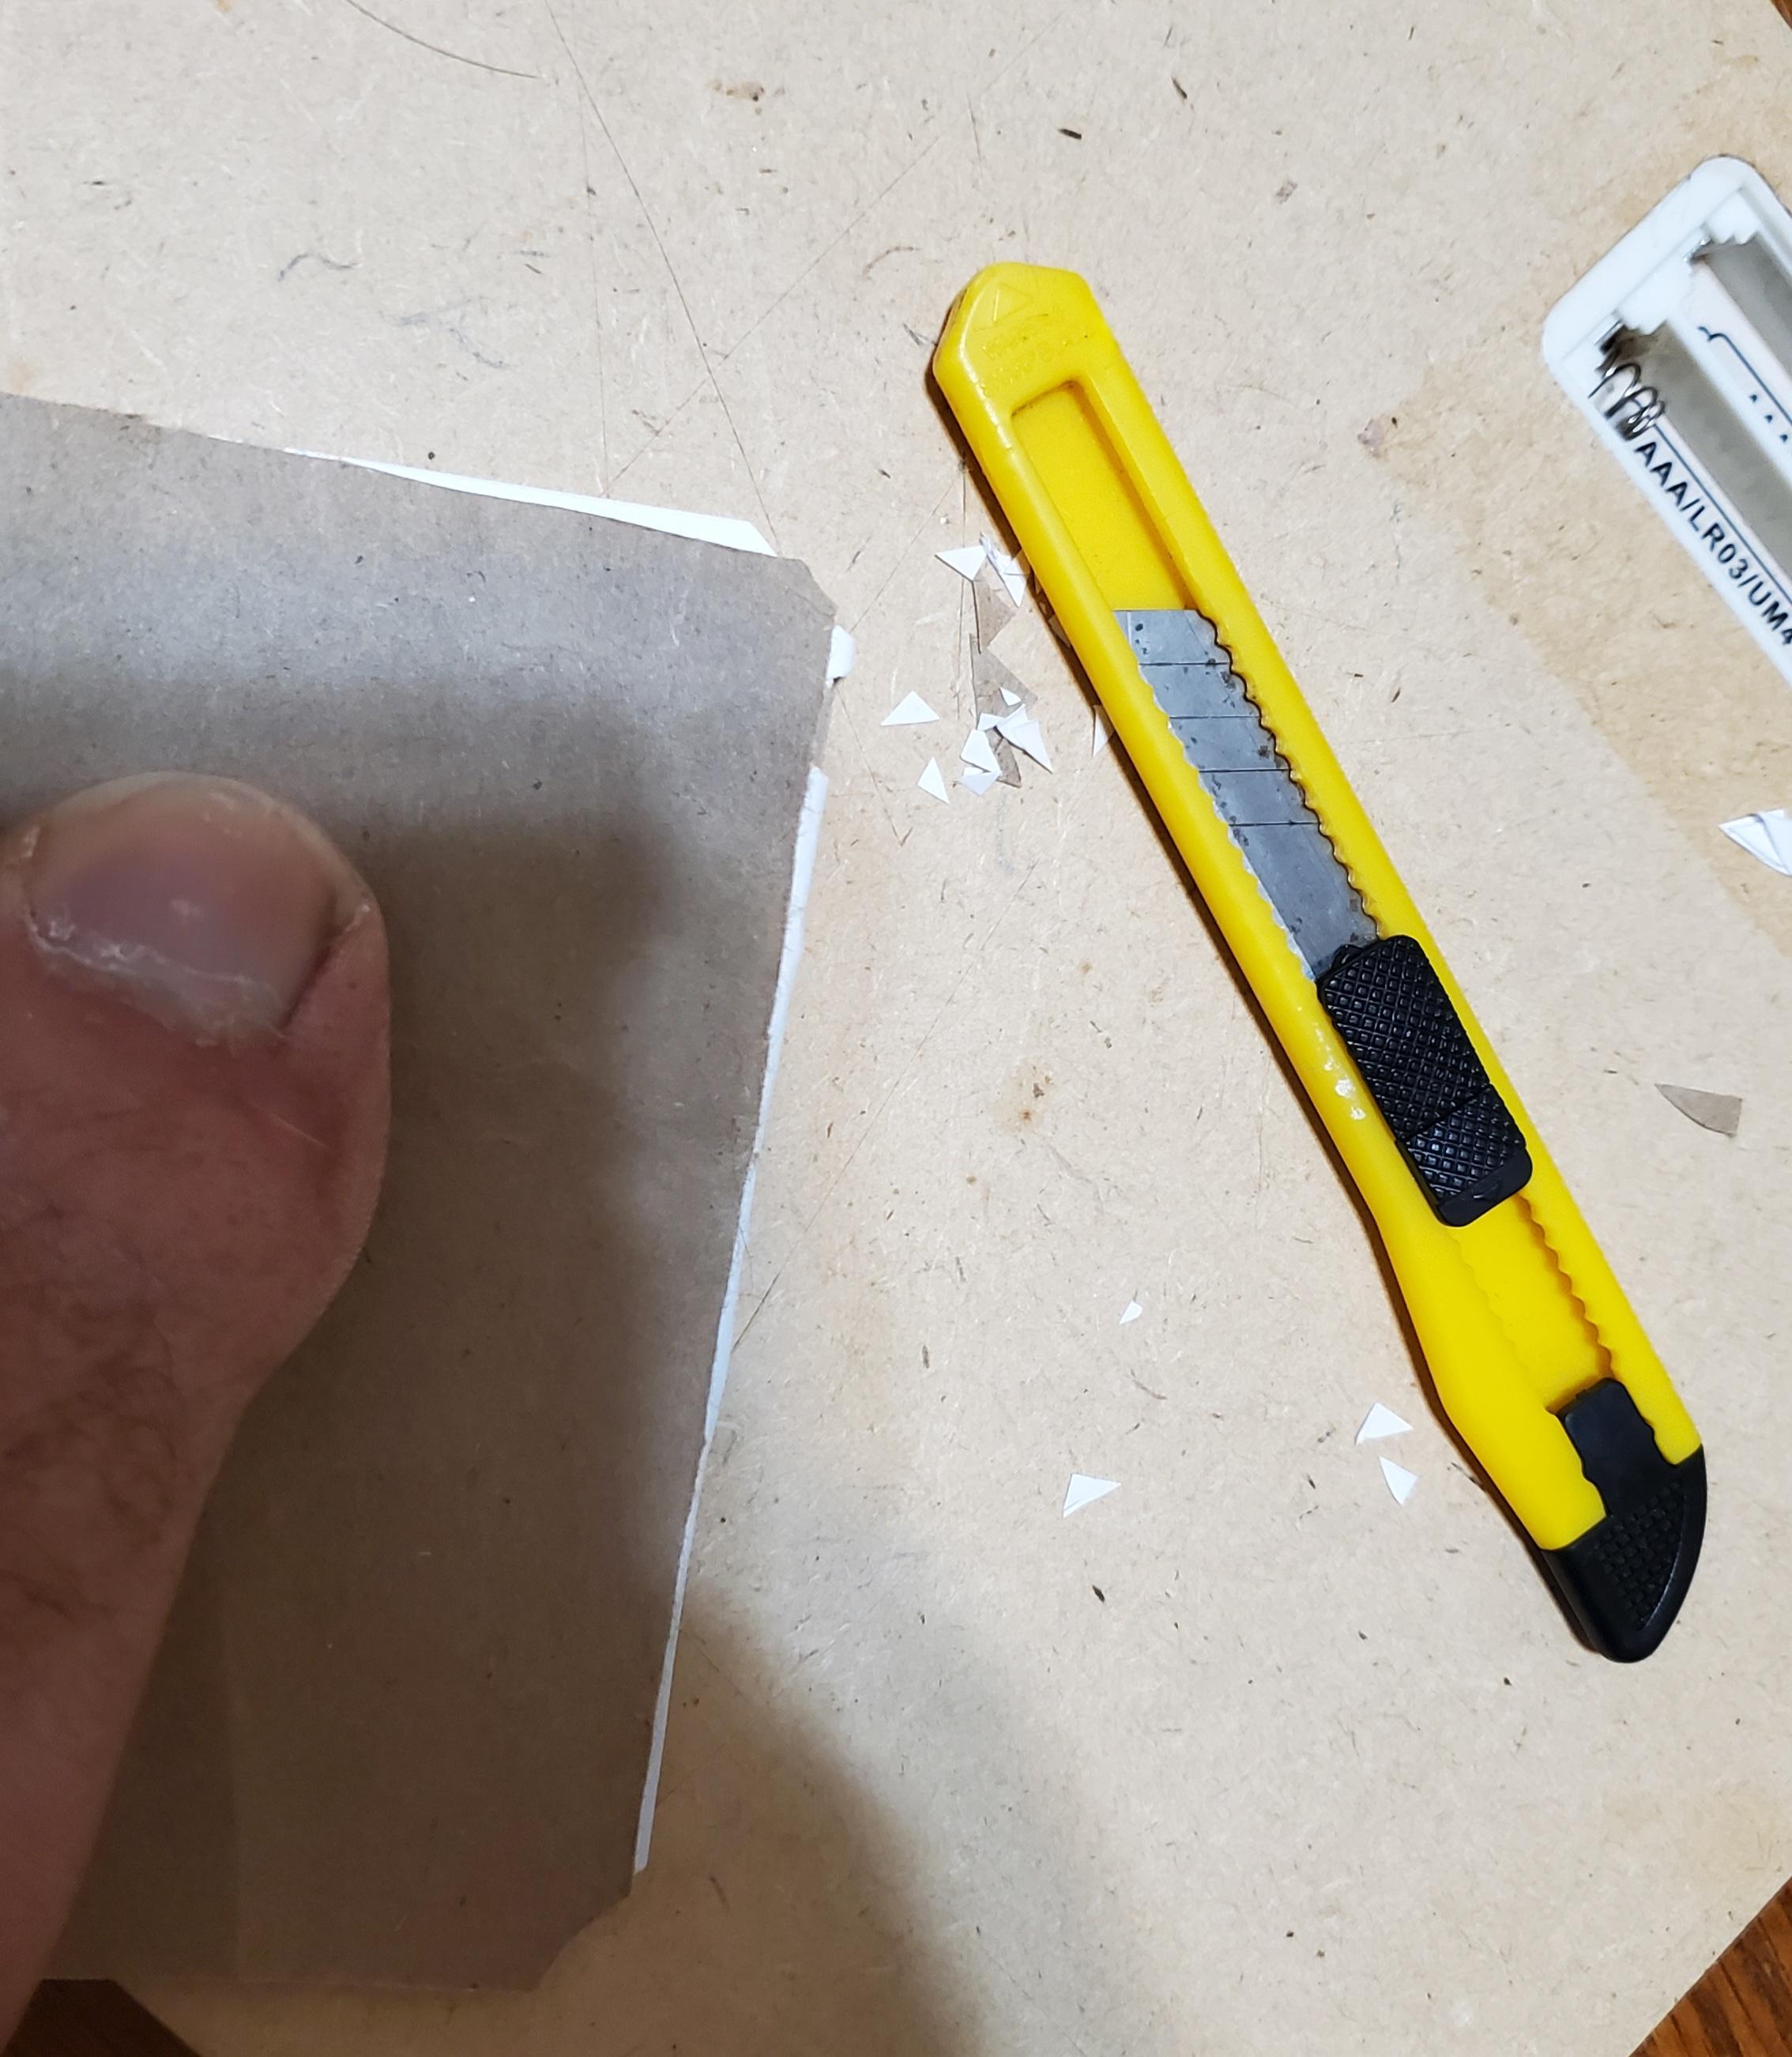
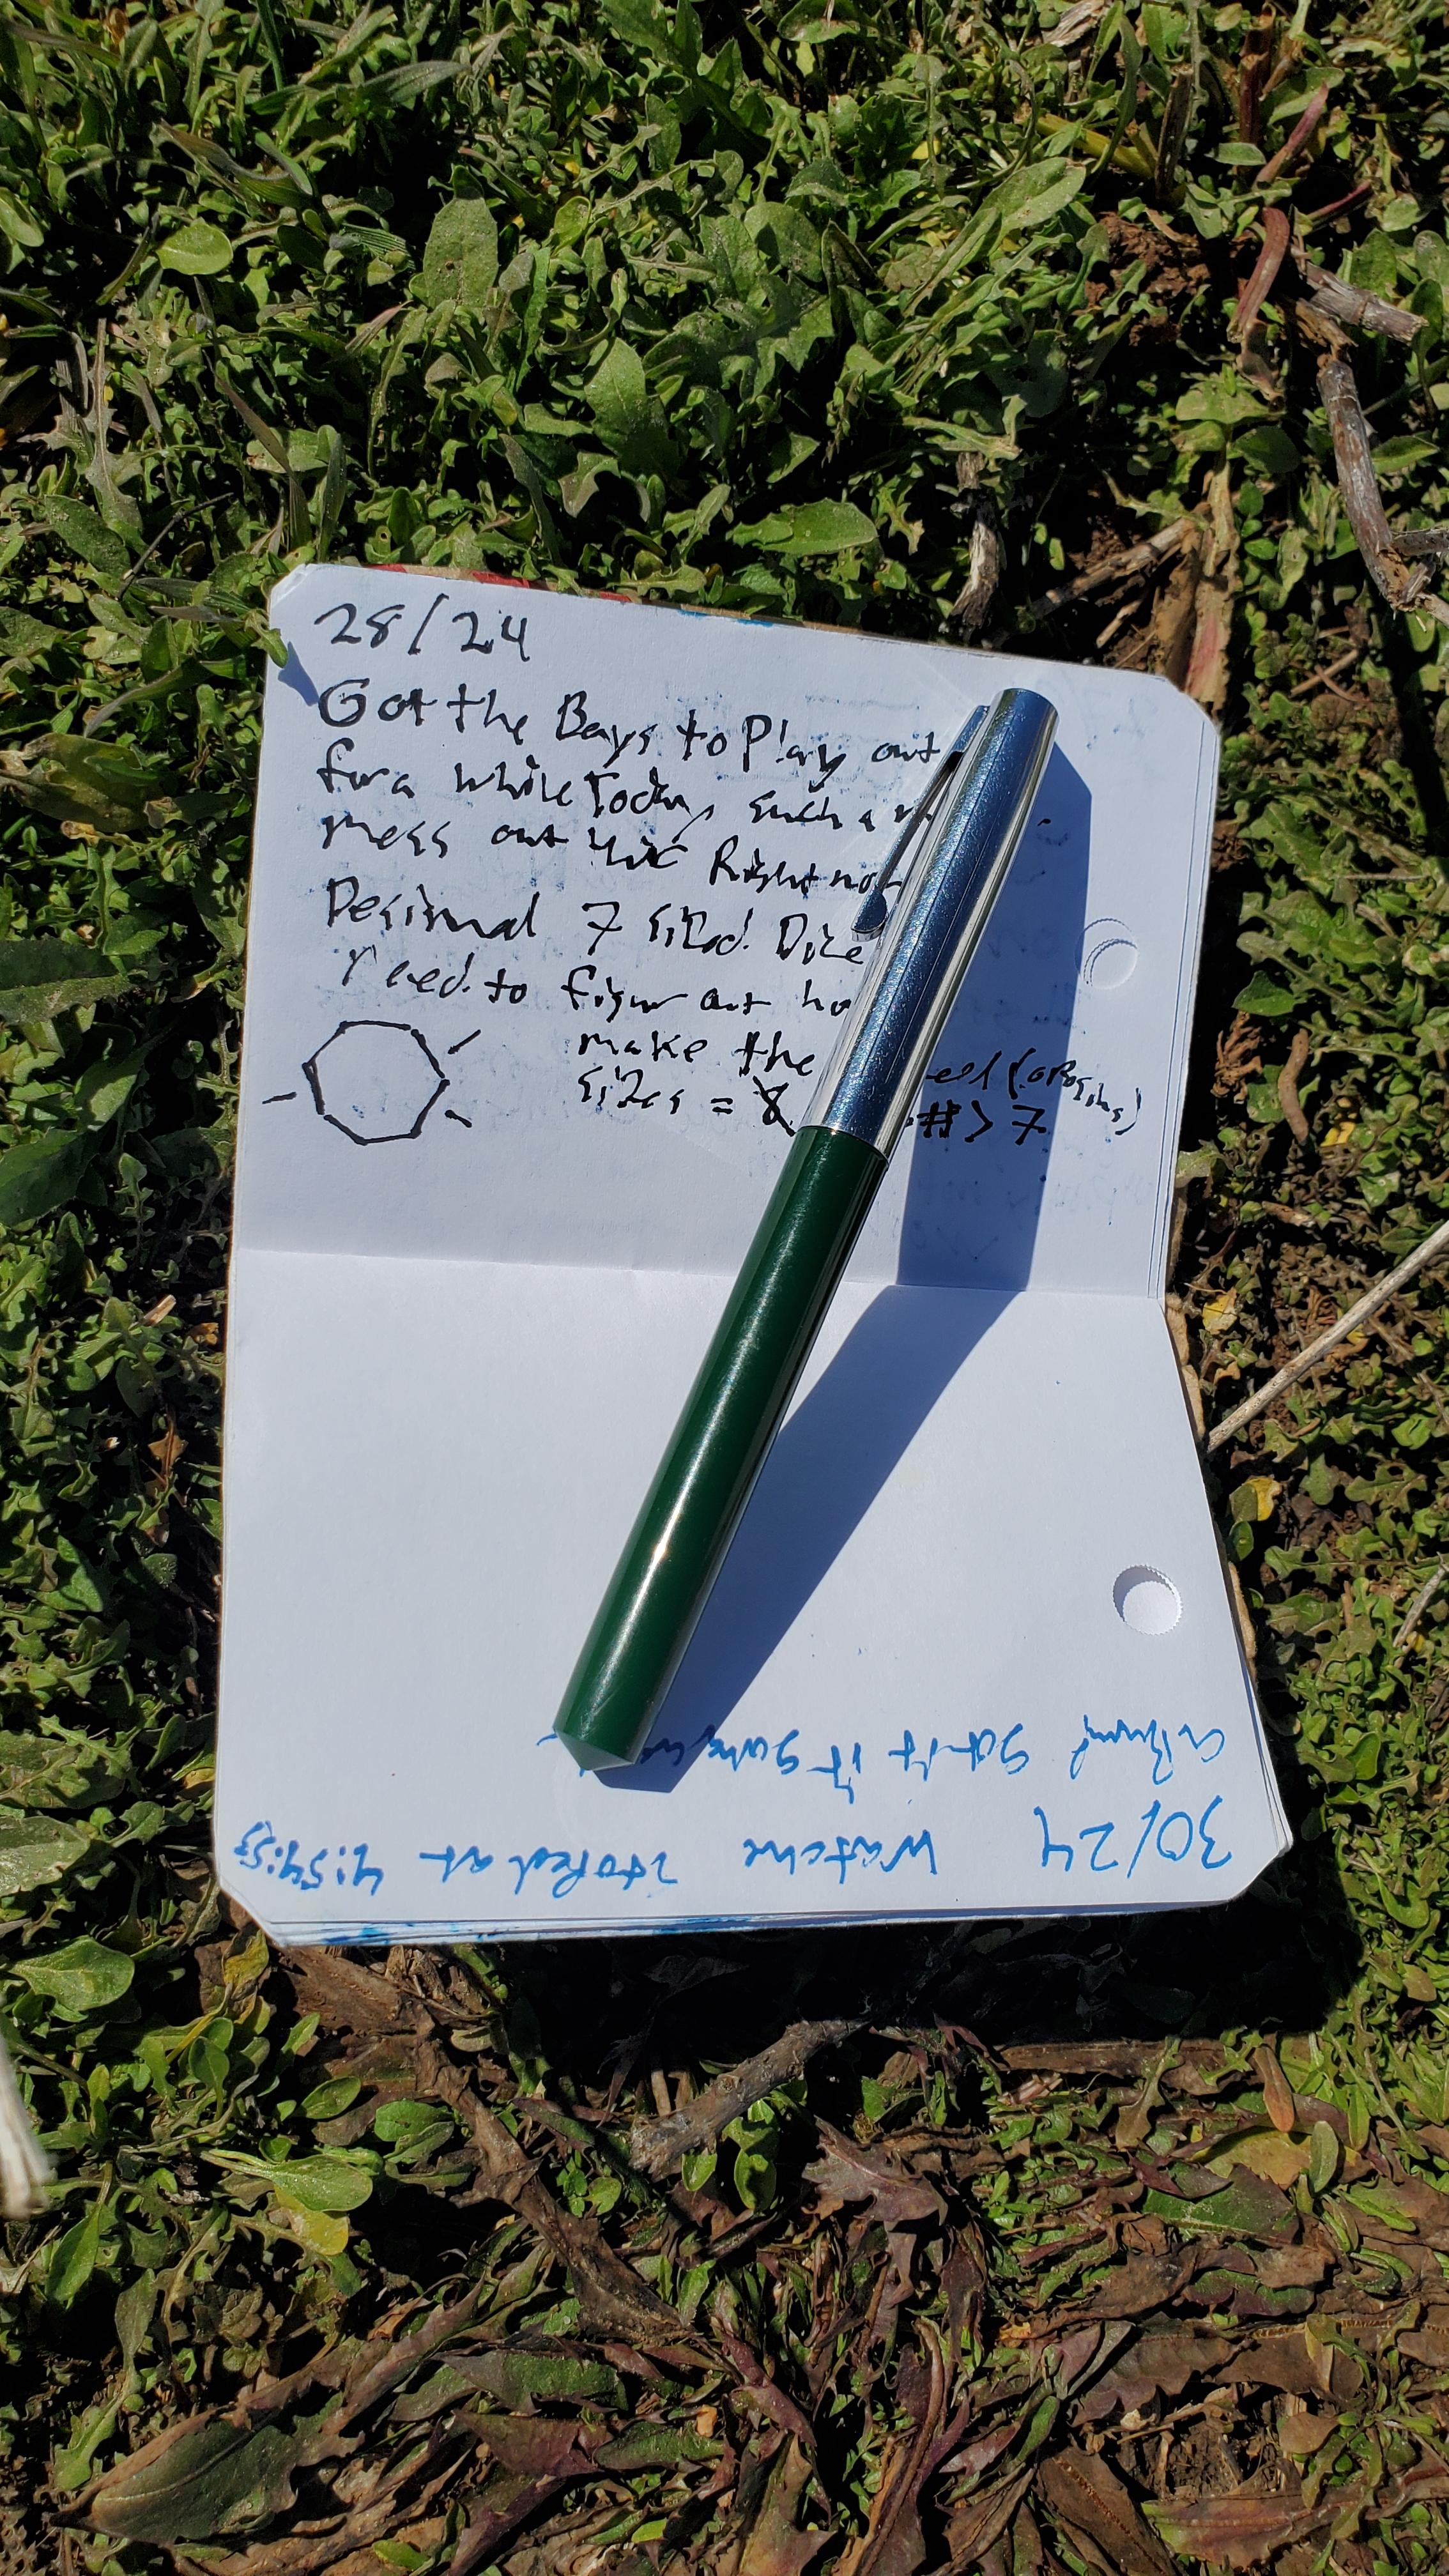
- "Optional" Trim the corners. This helps minimize the corners getting curled. image 1
- "Advised" Stick the complete notebooks in tight places or under heavy things for a while till needed. (this relaxes and presses the spine helping them stay closed.) image 2
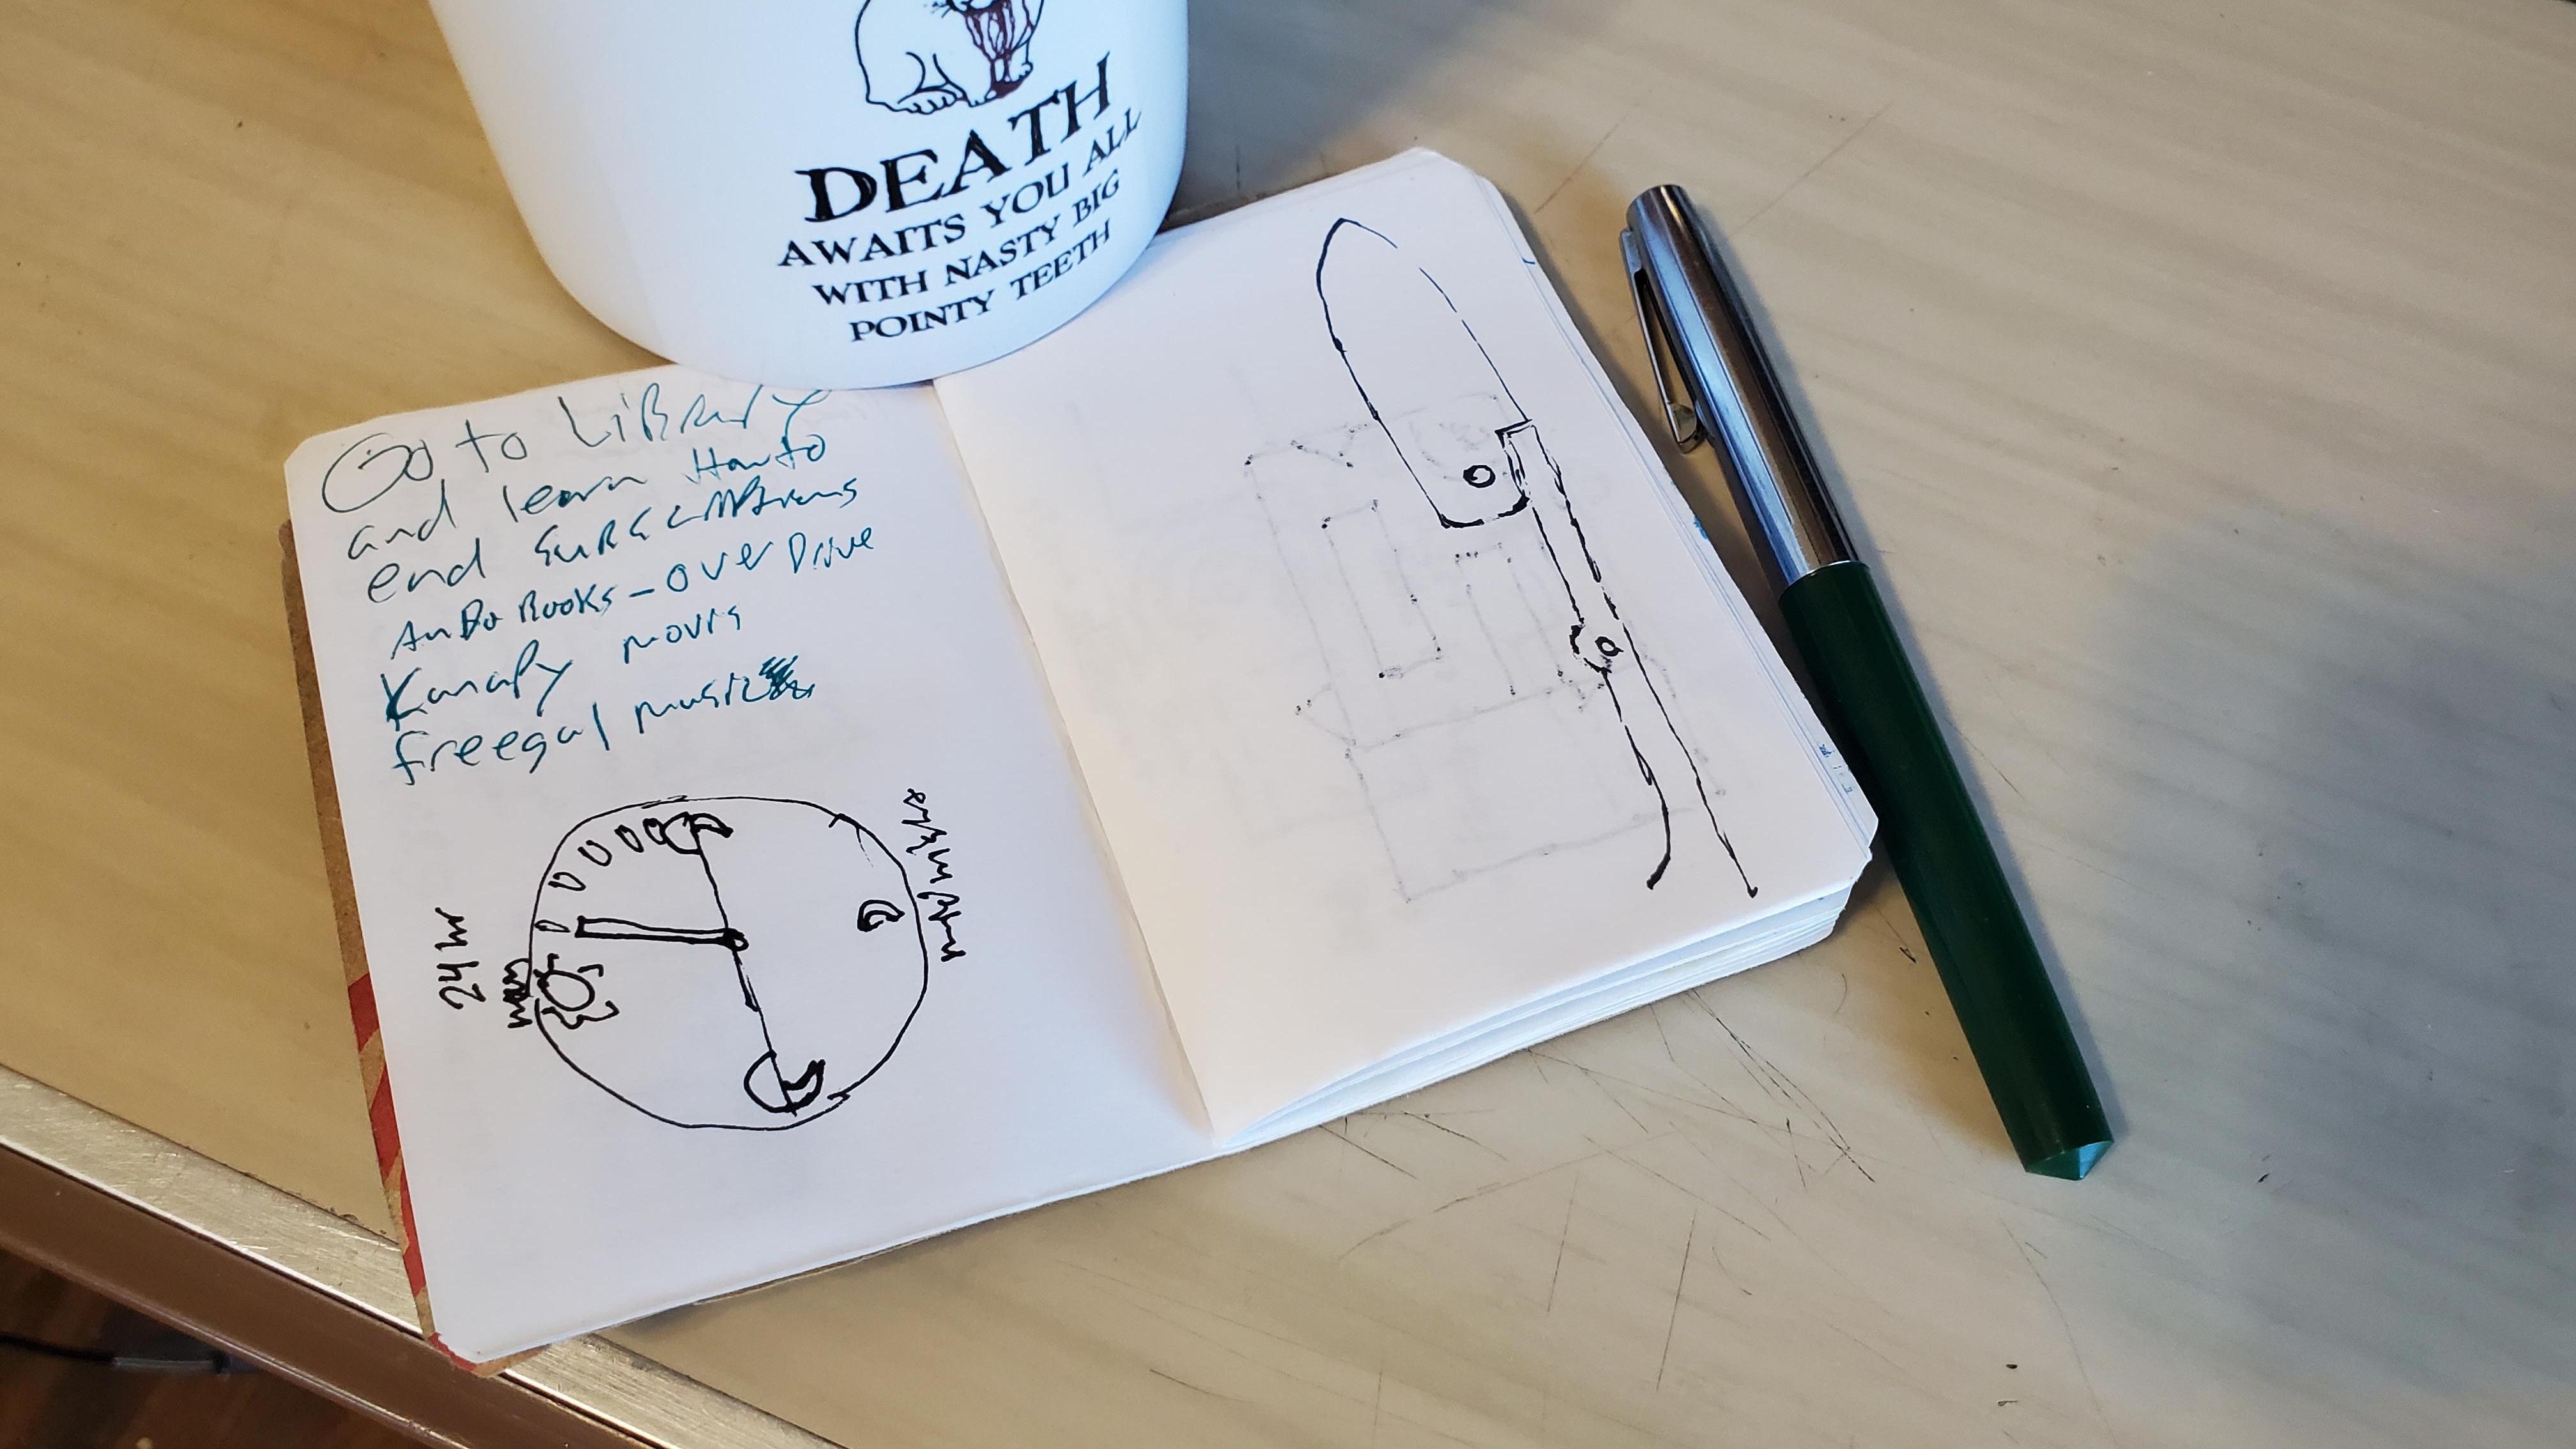
- ENJOY, use, abuse and share with others often. image 3,4
I hope this helps your notebook journey.