Quick and Dirty Gardening (and Still Life) Photography
by AngryRedhead in Craft > Photography
8677 Views, 36 Favorites, 0 Comments
Quick and Dirty Gardening (and Still Life) Photography
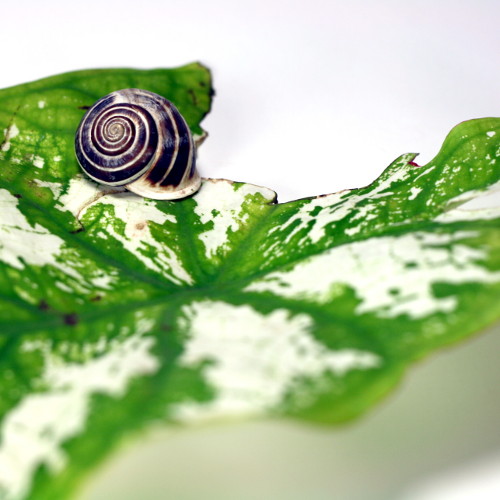
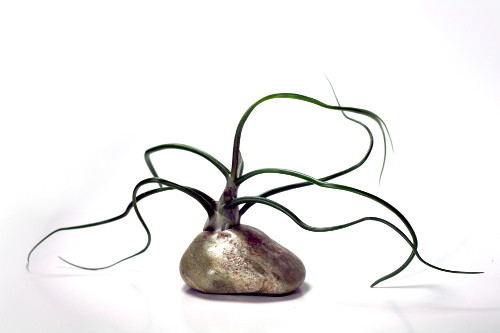
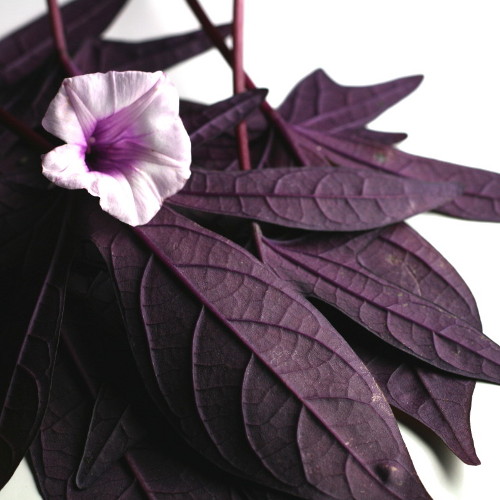
Personally, I'm not really off-put by yellowed photos or even slightly blurry ones or whatever - I can see past those imperfections for the subject of the photo, but I like to take good photos just for myself so I can have as accurate of a record as possible.
I imagine I'm not alone on this one. Who doesn't want to capture that perfect moment of a bloom FINALLY opening or that perfect beautiful leaf before the moths and caterpillars get to it? But who really wants to invest in fancy stuff and learn a whole bunch of stuff just to take photos?
I'm all for taking well-lit, beautiful photos, but I'm lazy, don't want to spend a lot of money, and don't want to have a bunch of junk around. So the plan is simple, and there isn't a whole lot to know/understand.
Note: You can always learn more and create a different sort of "studio" and lighting scheme, but this is what I do and it seems to work pretty well most of the time.
Lighting
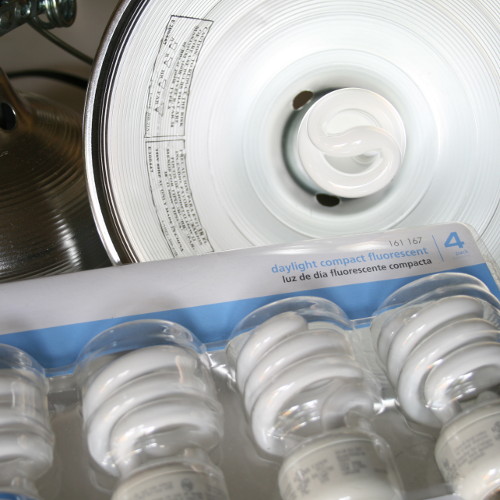
The first thing to know is that most bulbs (the lights, not the plants) you find in the house will cause a photo to be yellow/orange which is really hard to color correct and will take forever to do so and still maintain some integrity for what the plant looked like.
Flashes on cameras will sometimes cause odd lighting if you aren't diffusing the flash or bouncing it off a nearby surface. You can also use gels and filters, but that's tricky stuff. Sunlight is the best kind of light but is difficult to control and isn't always around when you need it.
The only option left for indoor (or controlled) lighting is to use a natural white bulb or a color-corrected bulb which aren't all that expensive, will last a good long time, and are available at big box stores like Home Depot. Use them in bell work lights, which you probably already have if you're a gardener or a DIYer, and you're on your way to a mini photo studio.
Note: I'm glossing over a lot when it comes to photography and light, but this seems to be the most pertinent.
Background
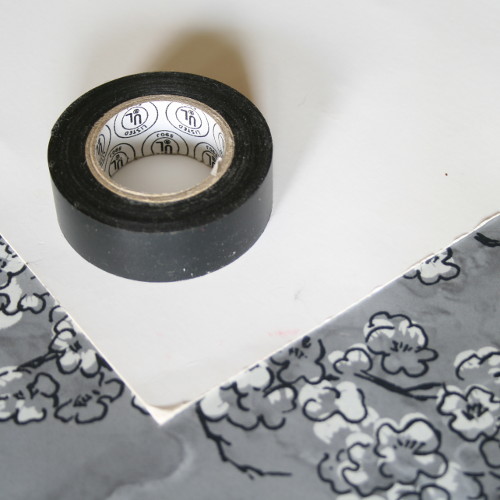
Next is a background. I like unfettered backgrounds because I want the focus to be on the plant. You can get really fancy with these, but me? I use a sheet of white poster board ($0.33) and a piece of electrical tape ($1/roll). Sometimes I get really fancy and use two sheets for the larger shots.
Setup
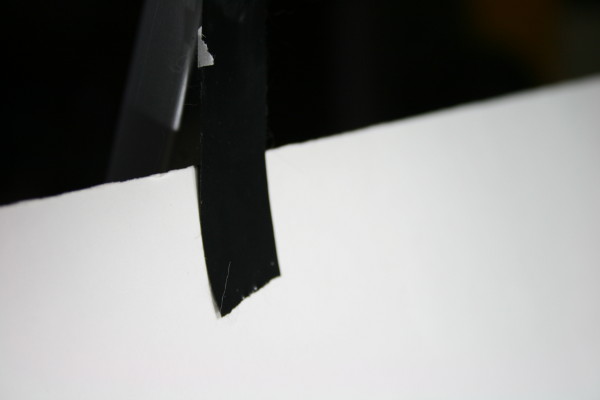
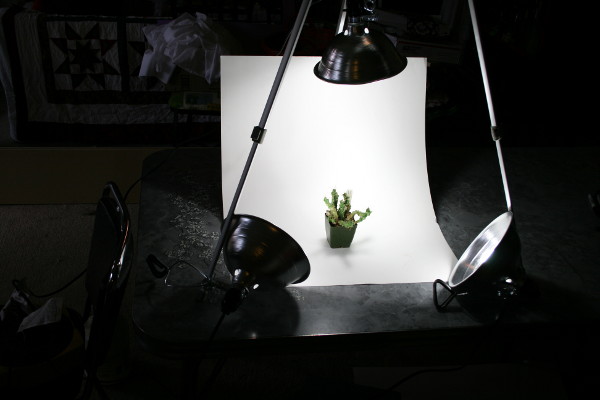
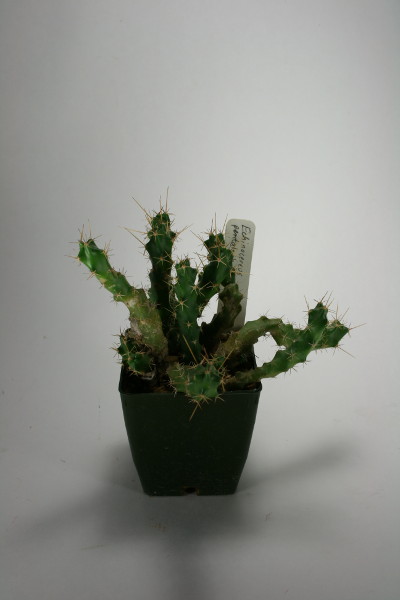
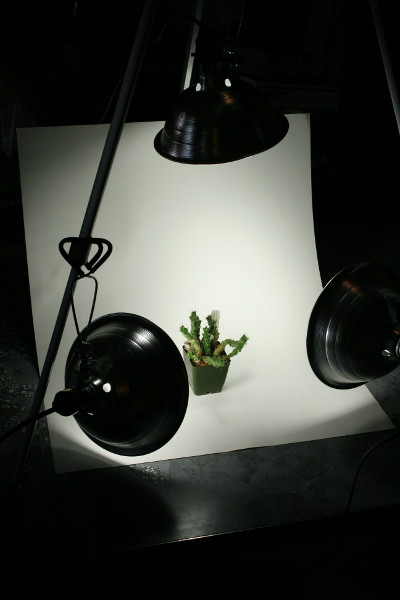
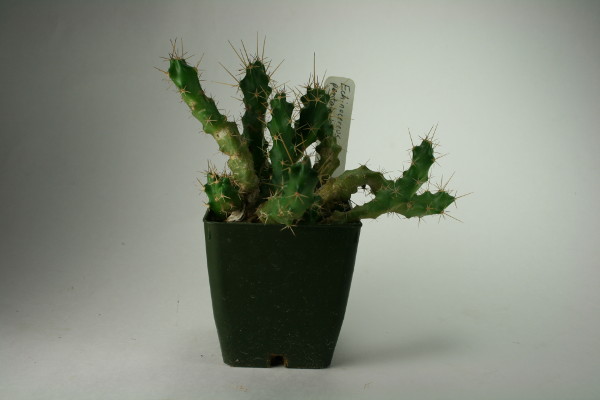
Then it's setting up the lights, the background, and the subject (err, plant) which doesn't take long at all, and you can tweak it as you go. Turn off the flash on the camera and start snapping away.
I "hang" the poster board on the interior side of a tripod leg, and I'll rest, clamp, or hang the lights from the tripod as well.
I "hang" the poster board on the interior side of a tripod leg, and I'll rest, clamp, or hang the lights from the tripod as well.
Photo Editing
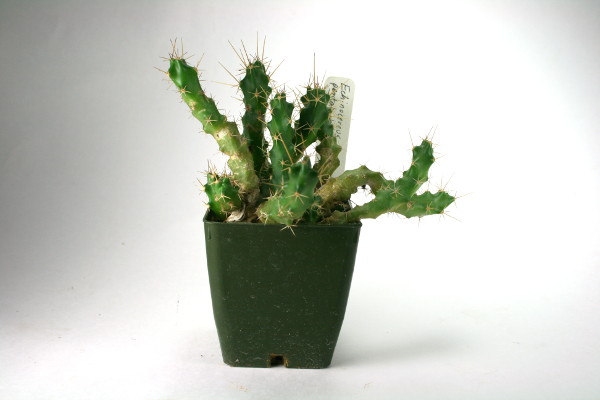
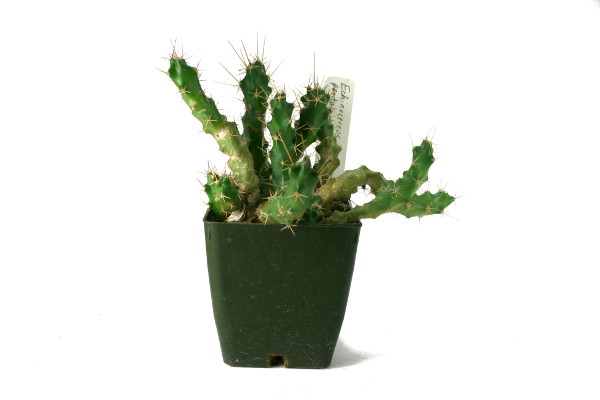
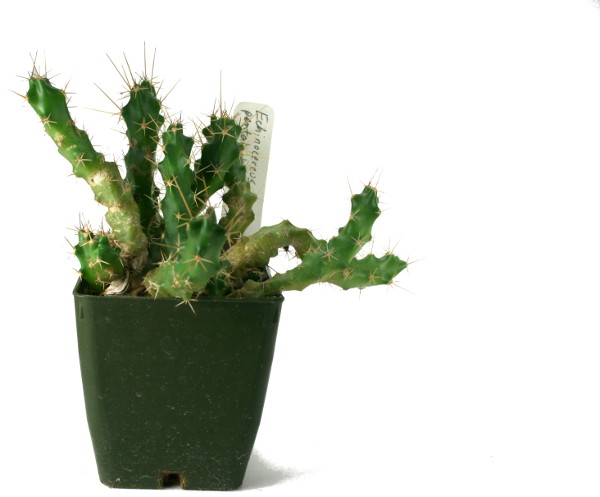
Finally, it's time for processing, "color correcting", editing where necessary to remove "clutter", and cropping/resizing. I use GIMP and generally rely on the Rectangle Select tool for cropping, the Color Levels feature, and the Blend Tool.
For Instructables in particular, I will use a 1:1 Fixed Ratio for the Rectangle Select because that seems to work the best for viewing images on the site, but outside of that, I'll crop accordingly.
For adjusting Color Levels, you will have to fool around a bit. The Pick White Point feature works pretty darn well as does the Auto. A lot of times I'll just fiddle with the Input Levels on the Value Channel.
A white background really comes in handy when it comes to removing superfluous or distracting shadows. This is when I use the Blend Tool set to Normal Mode, 100% Opacity, FG to Transparent, Reverse, 0 Offset, Radial Shape, No Repeat. It might take a few passes, and it might not be perfect. That's the cost when it comes to this setup.
Only once all that is done do I resize. For Instructables in particular, I resize to 500x500.
There you have it using stuff a lot of people already have or can get inexpensively, a simple set of things to worry about and some things that aren't really necessary unless you're anal retentive like I am, and a photo that's as true to the real life thing as can be captured.
If this sort of photography doesn't appeal to you, that's fine. Just remember the part about the lighting. If you want to know more or want a more professional setup, just check on Google for how to make a photo studio, how to light a photography subject, how light affects photography, etc. Or check around Instructables... You'll learn a lot and very quickly too.