Quick Start Guide to Arduino IDE With NodeMCU ESP8266
by Netaji Bandi in Circuits > Arduino
6496 Views, 9 Favorites, 0 Comments
Quick Start Guide to Arduino IDE With NodeMCU ESP8266
Arduino IDE Configuration for NodeMCU ESP8266
Update Preferences - Additional Boards Manager URL
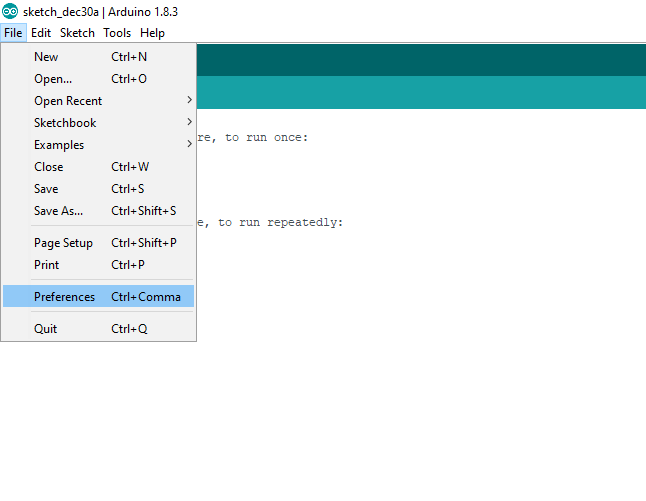
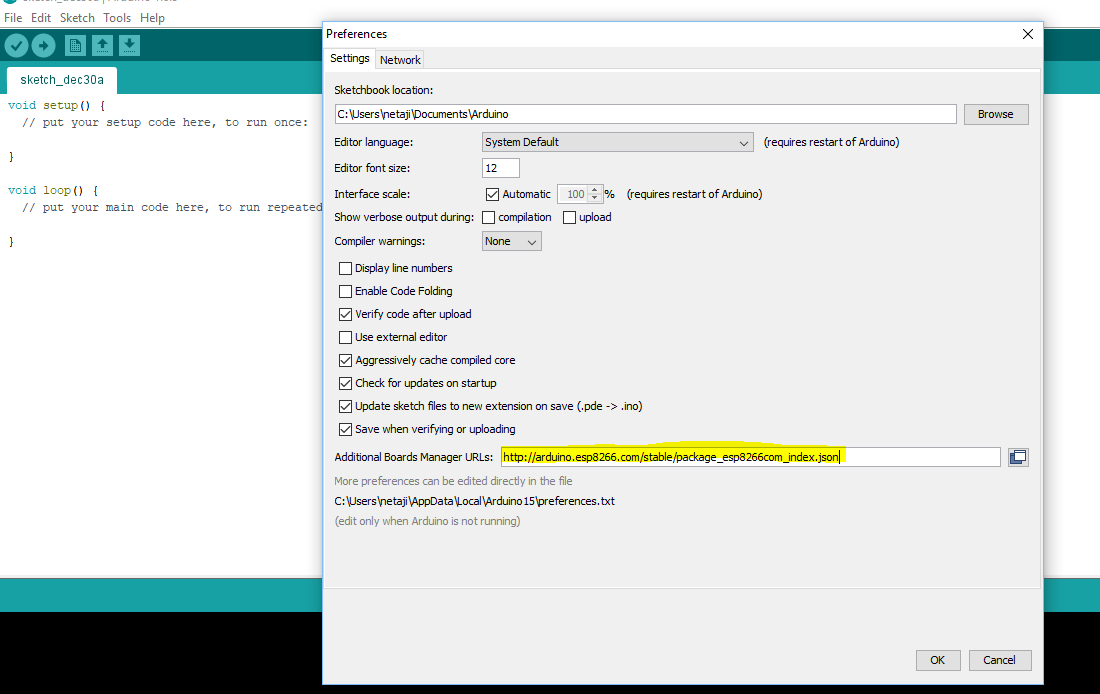
After installing Arduino IDE downloaded from its official website, add the below URL under preferences.
Download ESP8266 Package
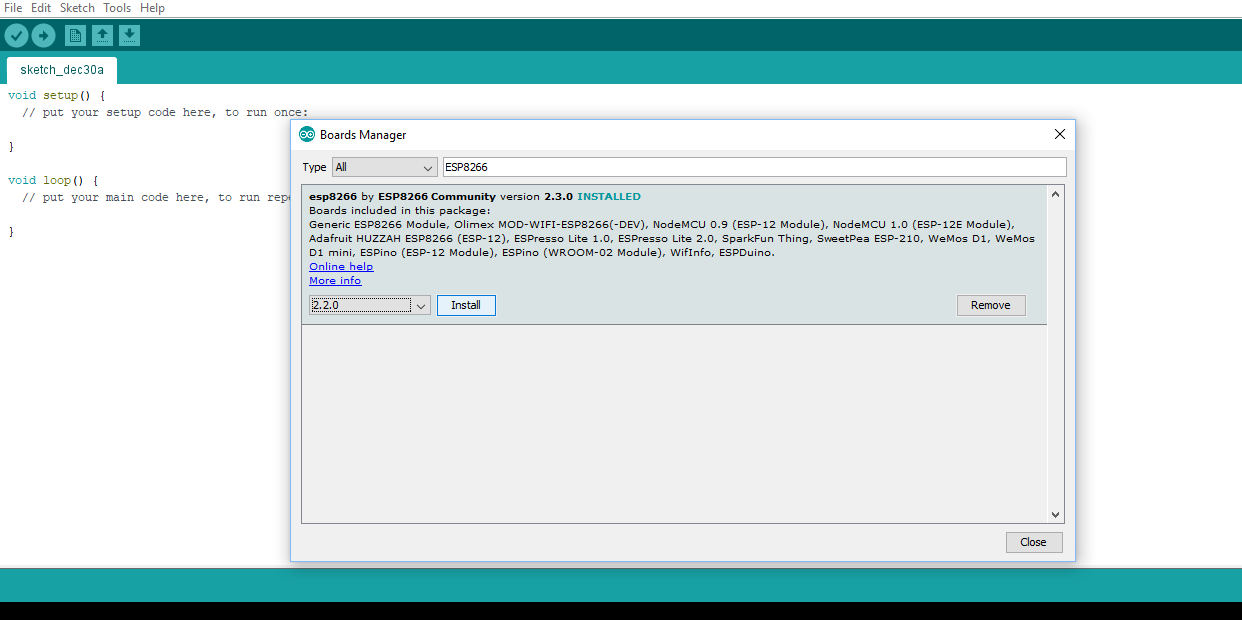
Type "ESP8266" in the board manager search and install the latest version available.
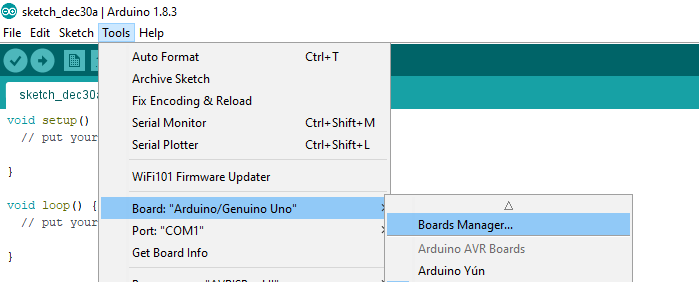
Select the Board
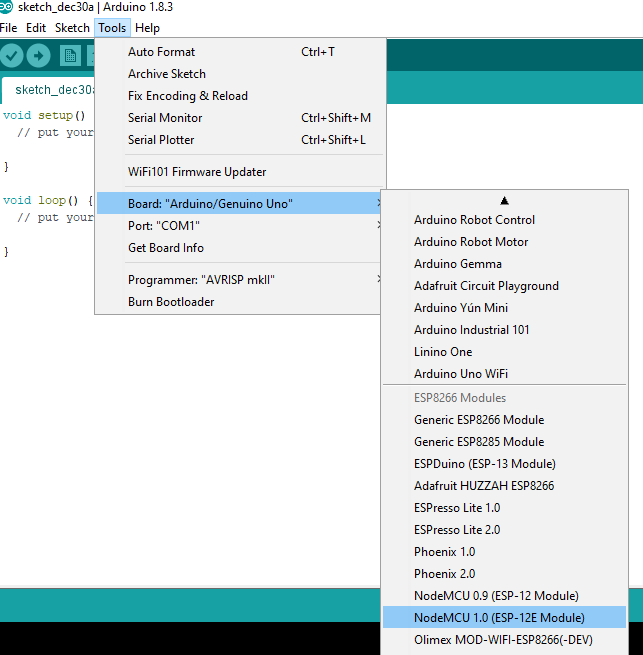
Set to latest available board(NodeMCU 1.0)
Port Selection
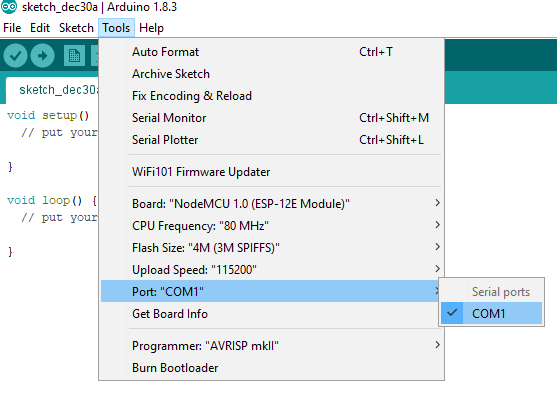
Once the boards are installed, make sure to select the Port(COM1) under Tools menu appropriately
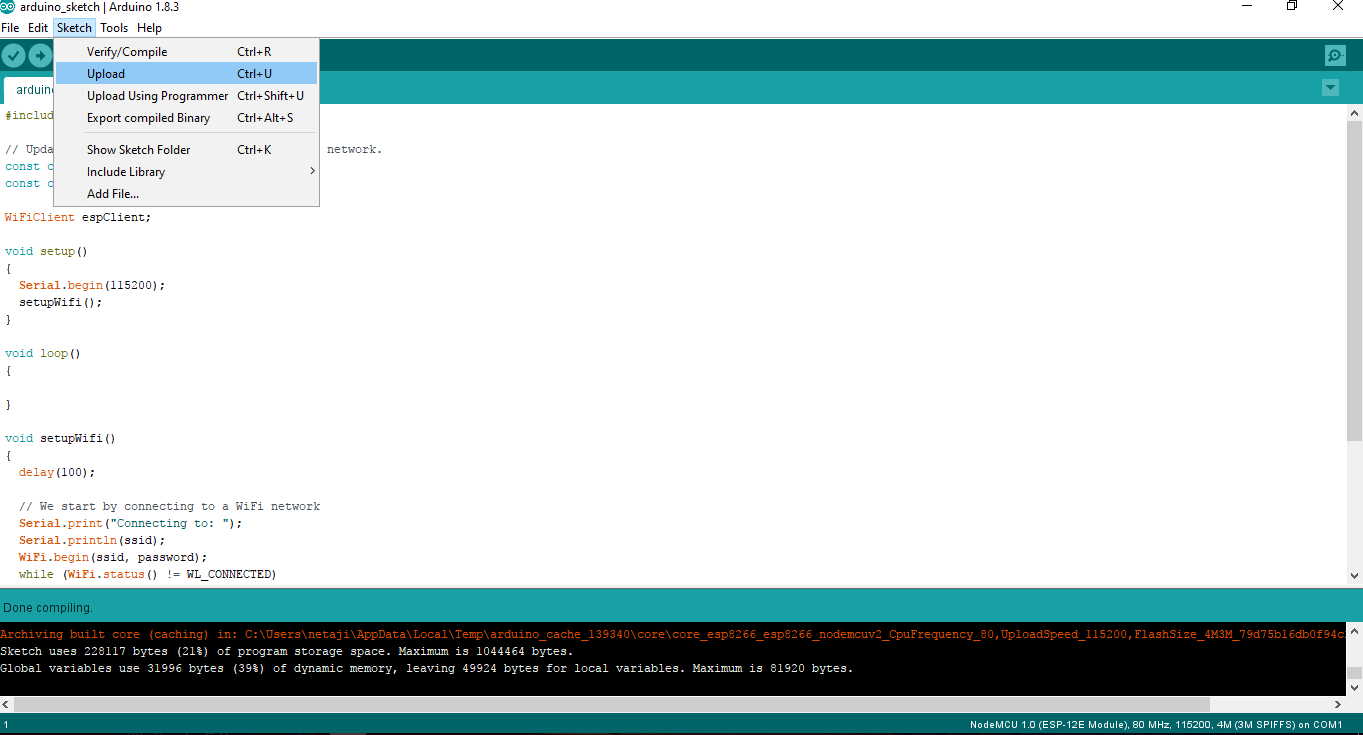
Verify the Setup
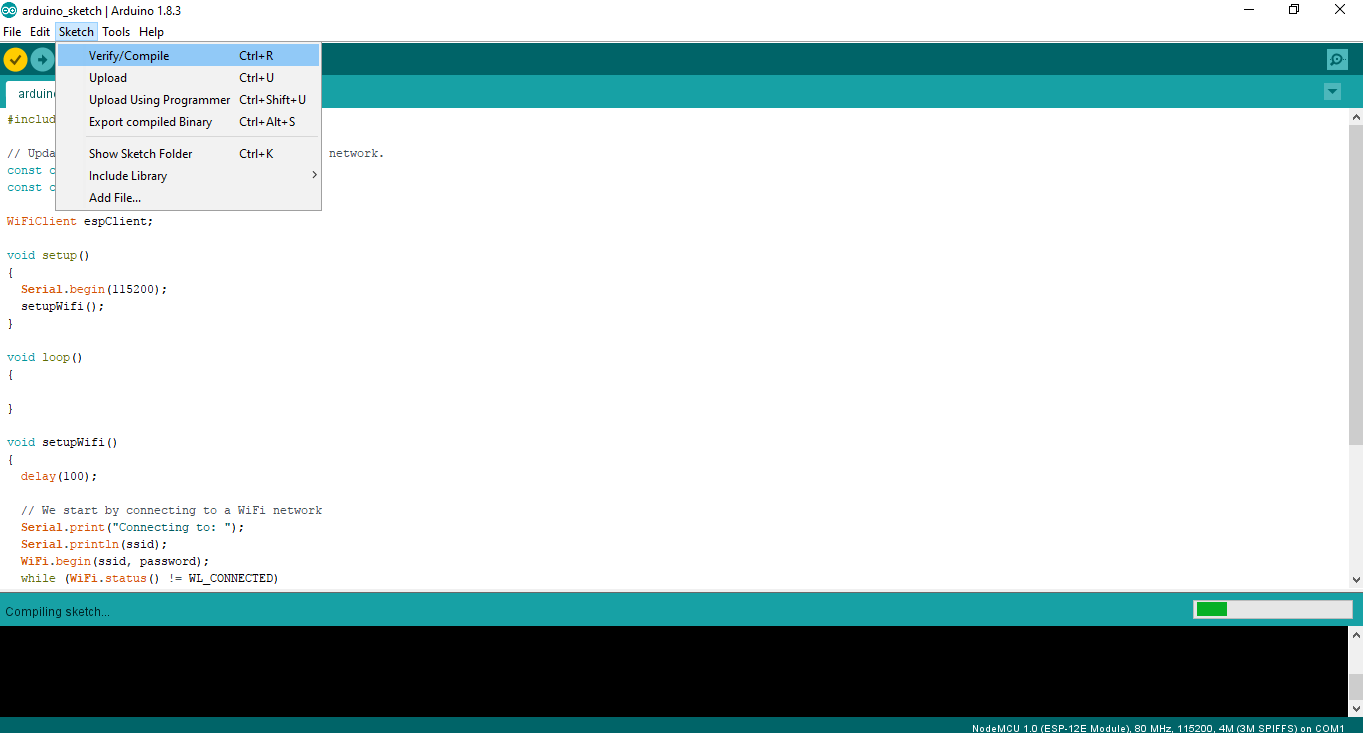
Download and compile the arduino sketch. If the compilation is successful then we are almost done.
Downloads
See It Working in Action.!
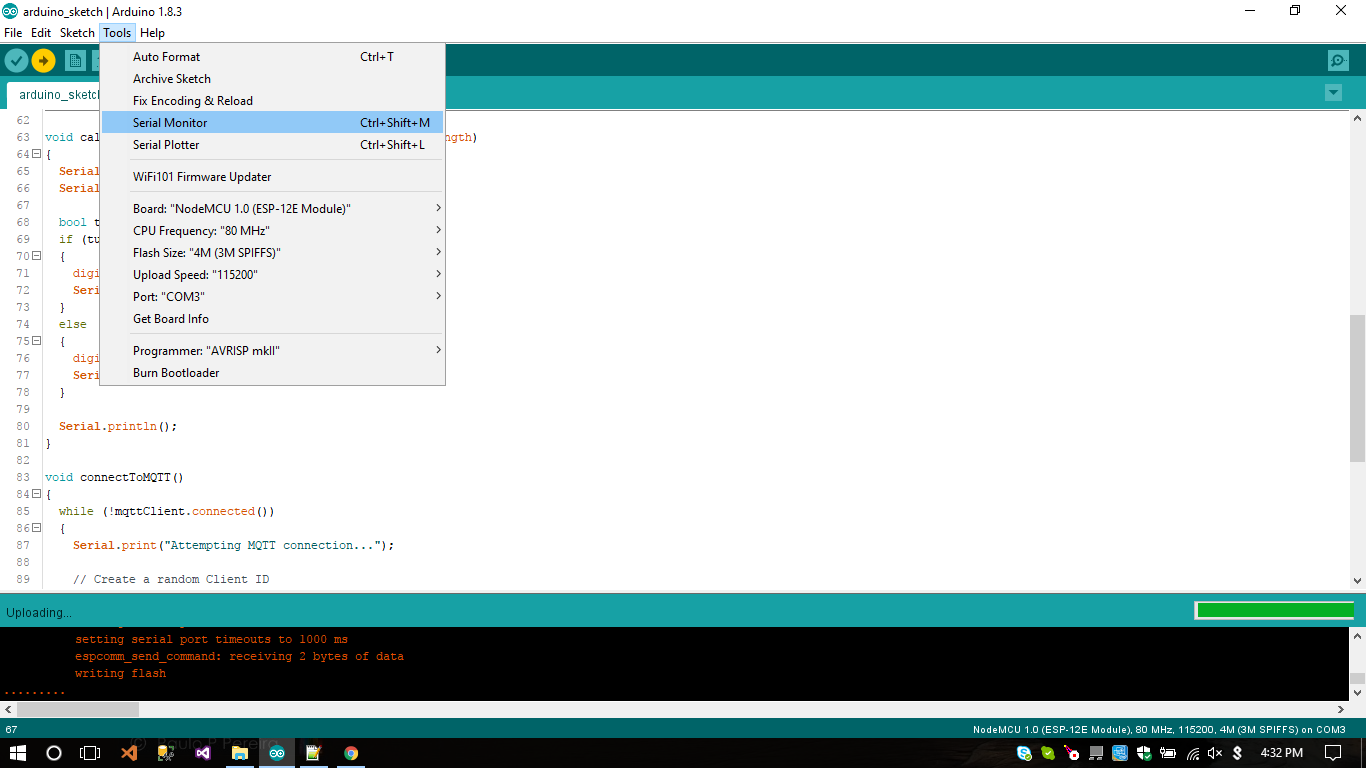
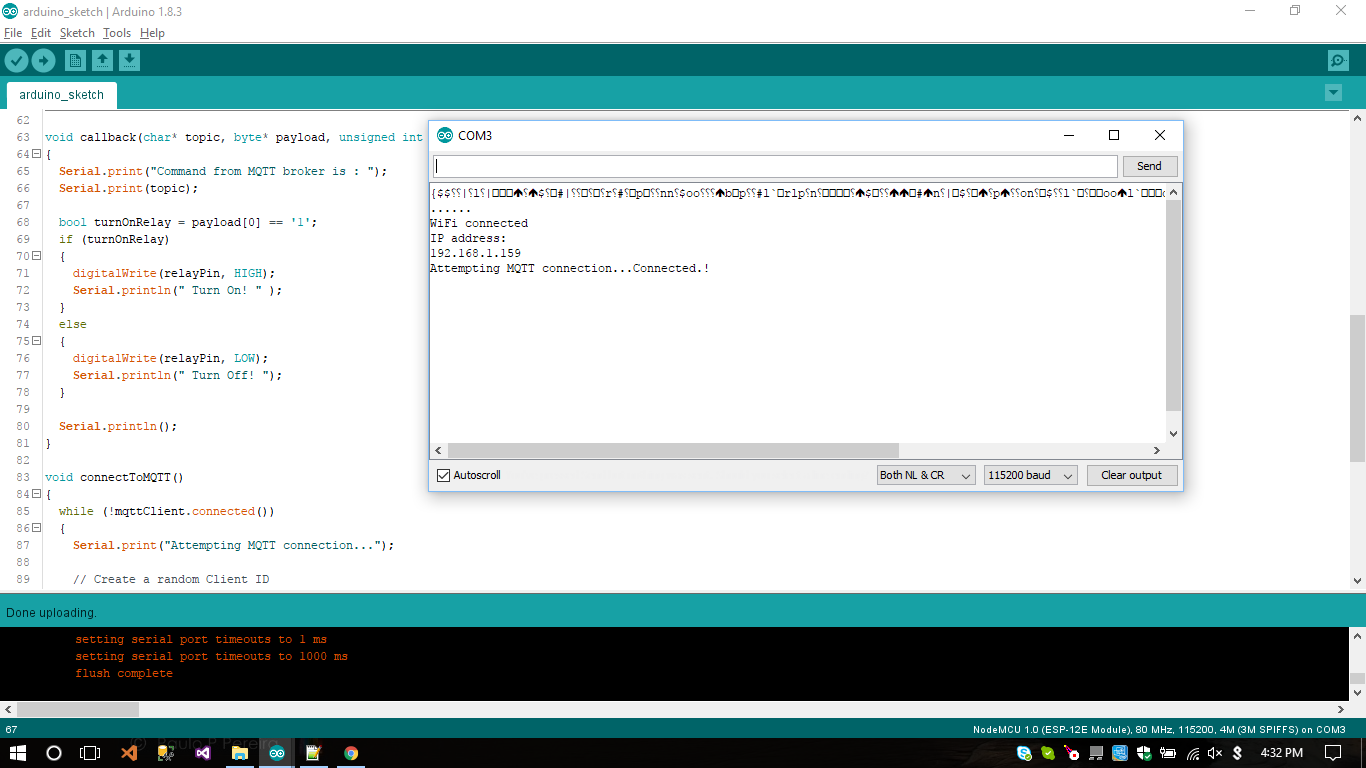
In case you want to see your NodeMCU and ESP8266 is working then you just have to flash your NodeMCU with the code you have already downloaded in the previous step.