Quick Guide to Learning Adobe Illustrator's Pen Tool
by TSSJ-ryan in Circuits > Art
62585 Views, 56 Favorites, 0 Comments
Quick Guide to Learning Adobe Illustrator's Pen Tool
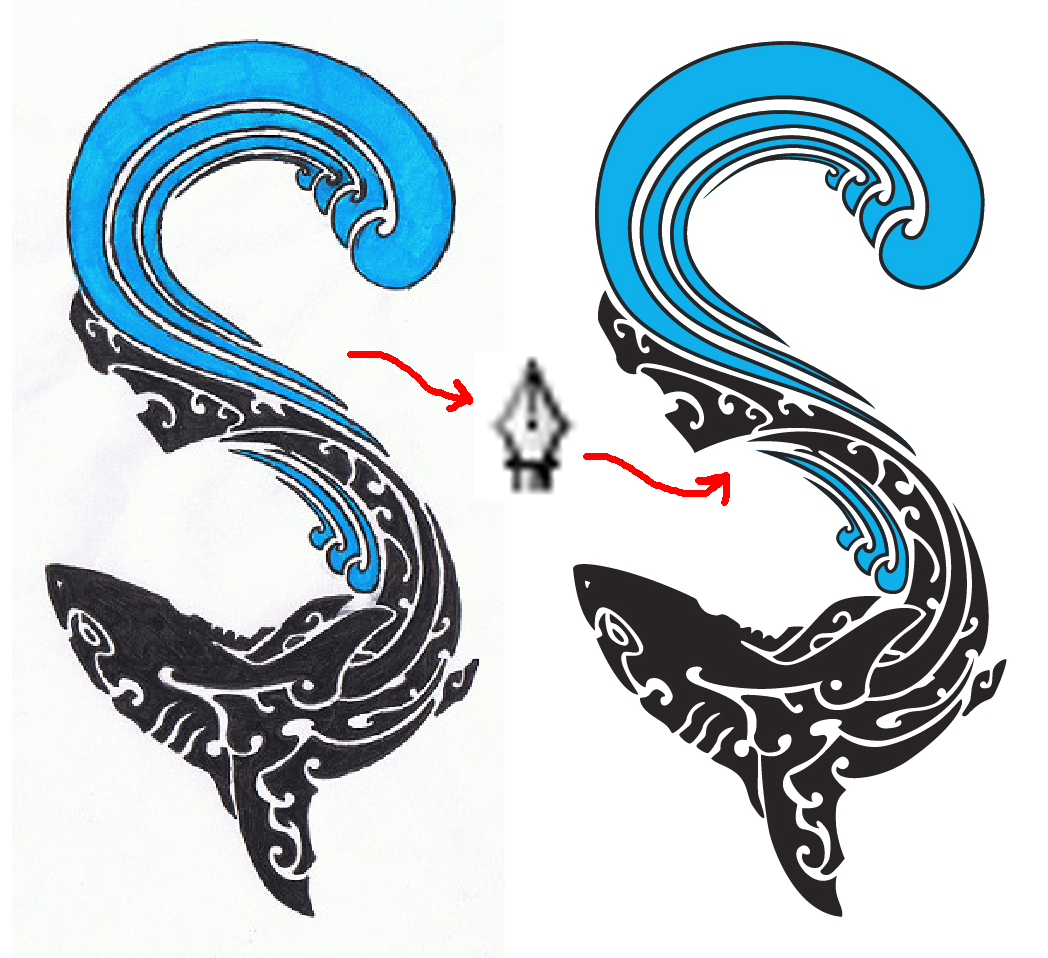
In this Instructable I will show some of the basic tips&tricks I have picked up
to maximize the efficiency of Adobe Illustrator's Pen Tool. When I started using
Illustrator, the Pen Tool was one of the most frustrating tools. After hours
of messing around and finding many different tutorials, I have finally become
quite proficient. I love that Illustrator has the Live Trace feature nowadays,
but there are still many times when I prefer to manually trace an image
(the Pen Tool also comes in very handy when trying to clean up a Live Traced
image). No matter what vector program you are using, learning to use the
Pen Tool (or Bezier curve tool, spline tool, edit path... whatever they call it)
will always give you the most control over your path lines and anchor points.
Each program's tools are slightly different, but once you get the hang of one,
it's fairly easy to figure out the rest.
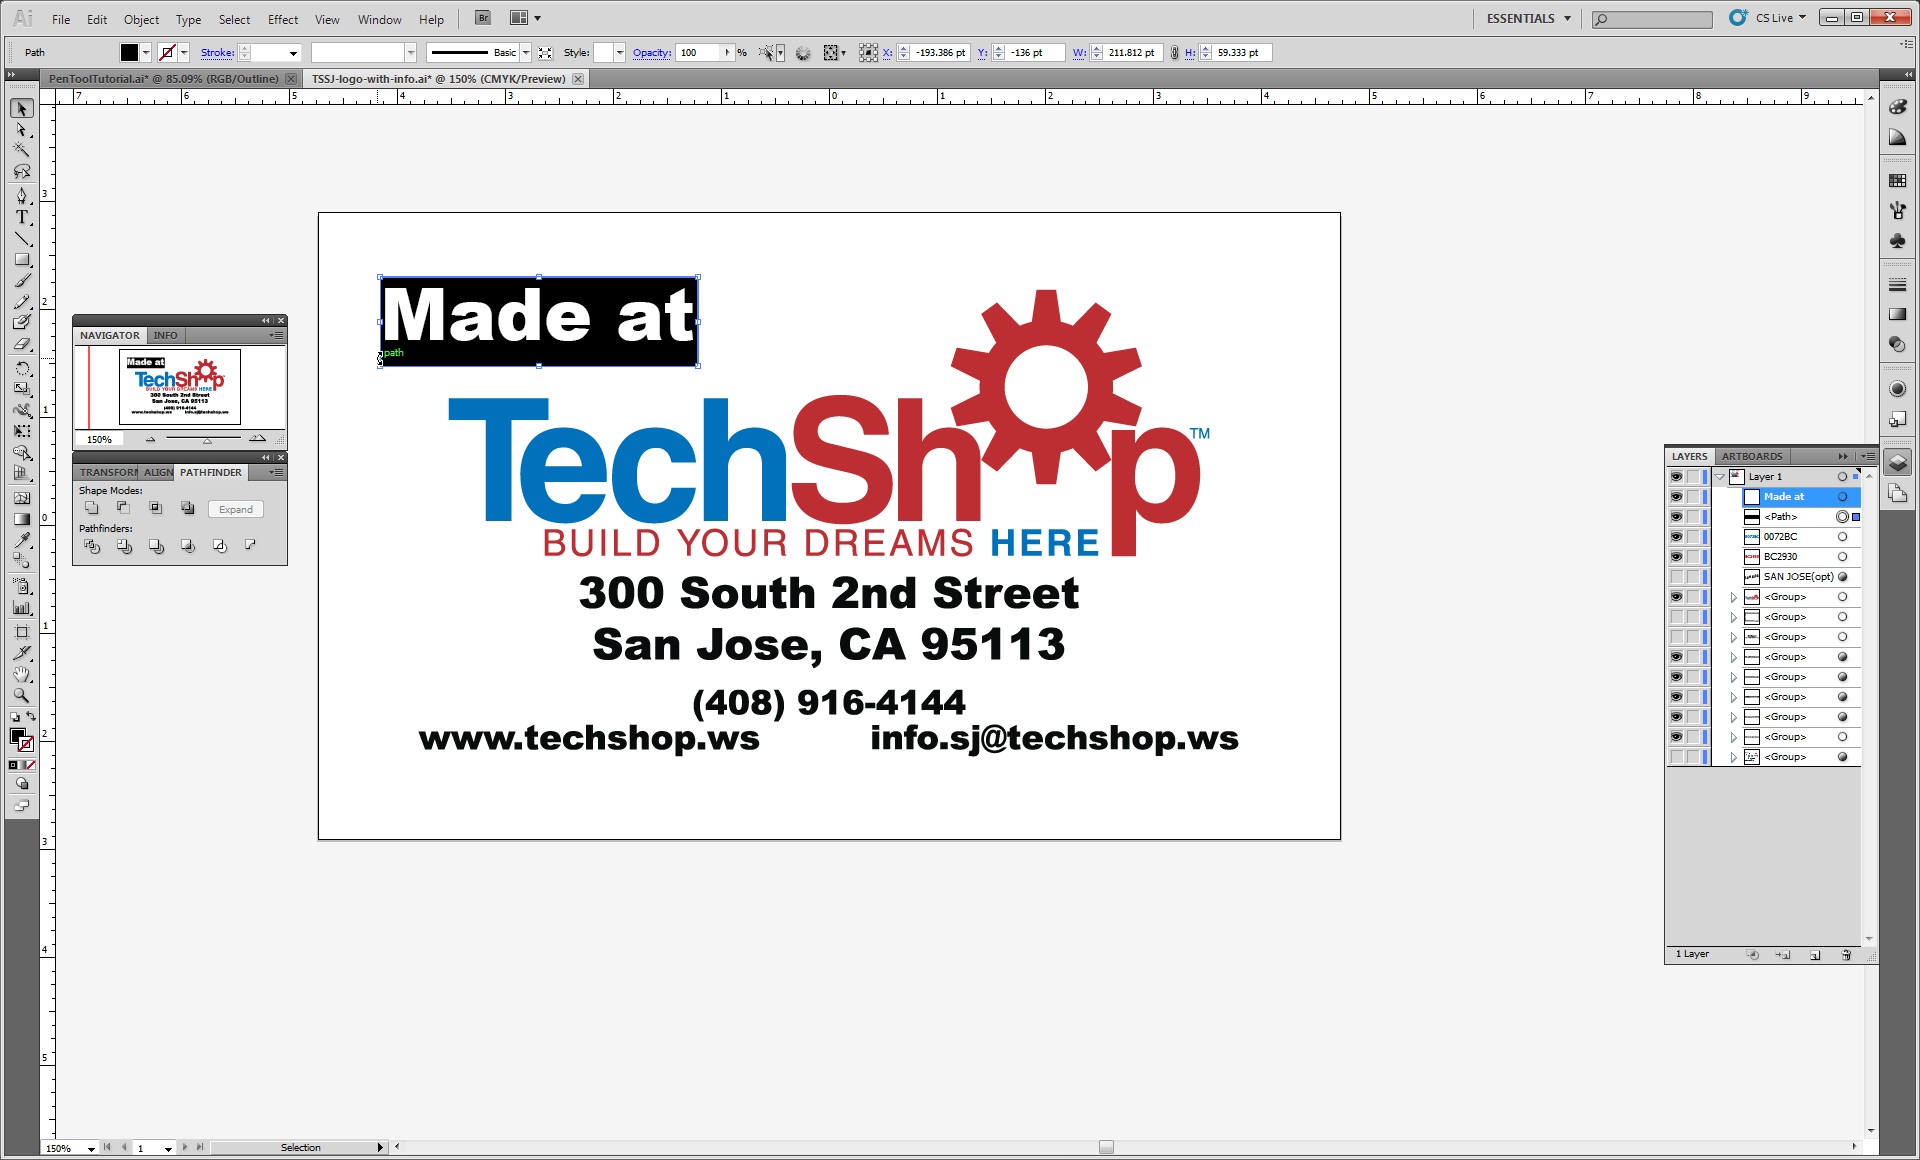
If you would like to learn more or receive personal training come check out TechShop!
We are open 9am-Midnight everyday, and have plenty of computers with
loaded with Adobe Illustrator to vectorize your images.
Lock Your Image
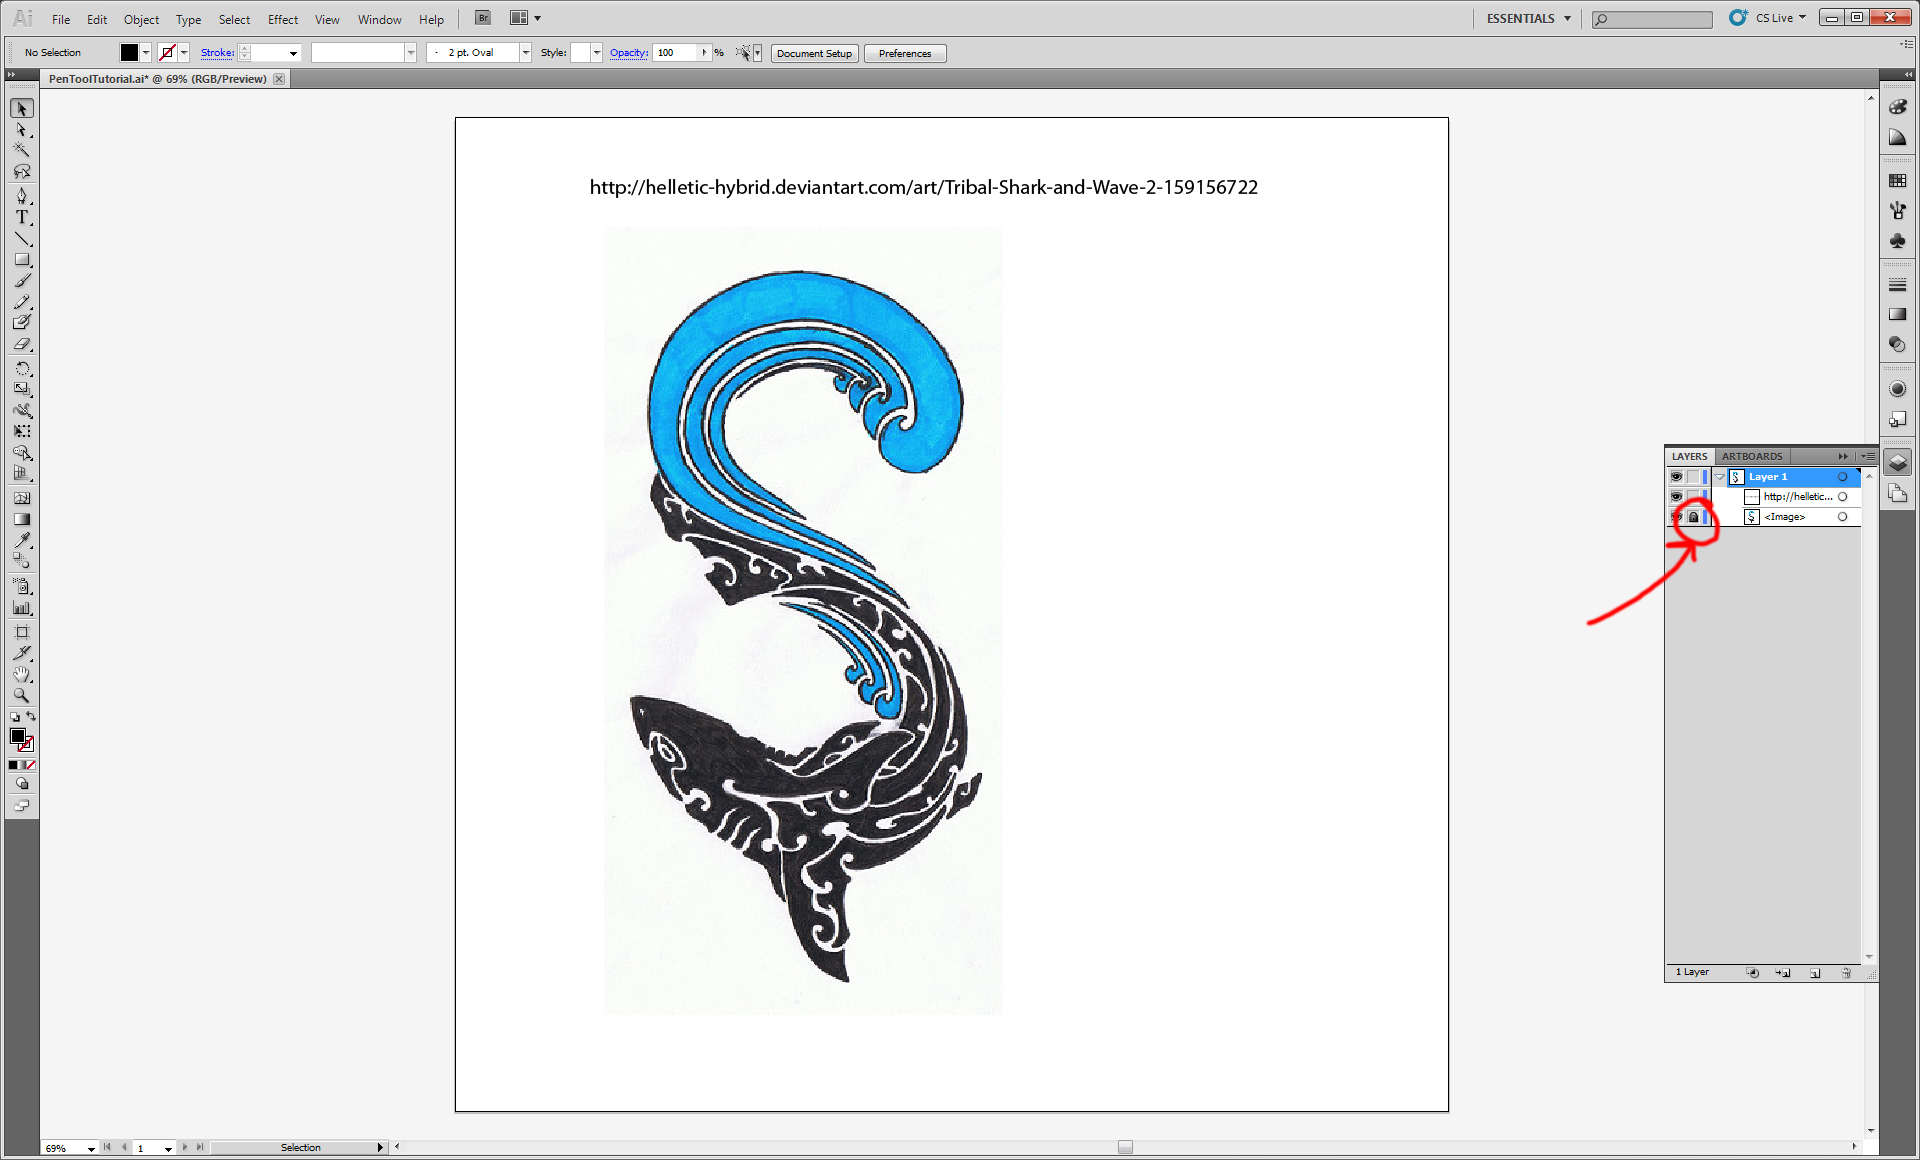
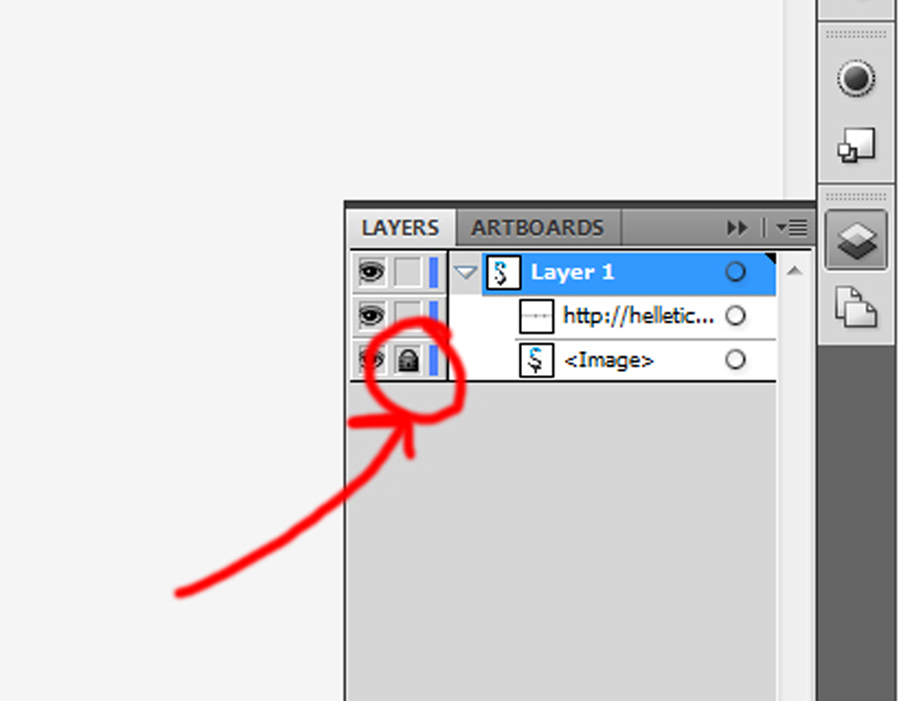
So, to start this tutorial I will trace an image with distinguishable objects.
First I always lock the image in the Layers panel. This helps prevent accidentally
moving the image in the middle of tracing.
First I always lock the image in the Layers panel. This helps prevent accidentally
moving the image in the middle of tracing.
Select Your Tools
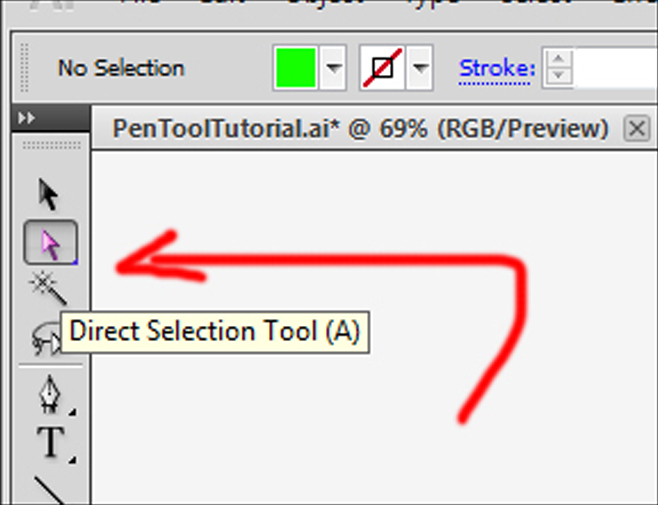
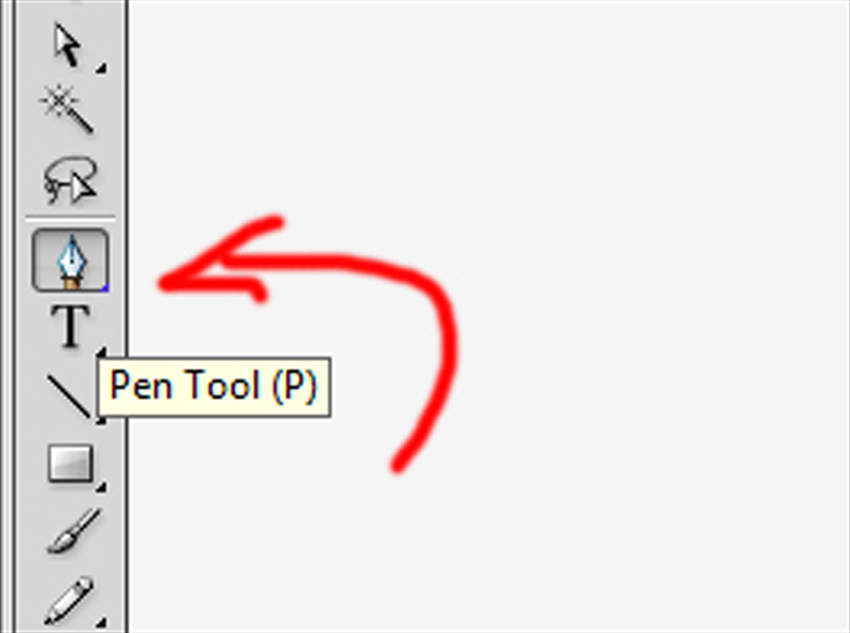
This step is somewhat optional, but I highly encourage it because not only will I be
referencing the shortcuts in the upcoming steps, but also is a huge time saver
(and if you have any vector/CAD experience you know how long things can take,
especially as the amount of detail increases).
So, to choose my tools I first select Direct Selection Tool (press A on the keyboard).
This will allow you to adjustments to your anchor points as you trace without having to
deselect the Pen Tool. Next, I select the Pen Tool (press P). I will go over this in
more detail a bit later, but now that you selected the Direct Selection Tool and then
the Pen Tool you can access the features of the Direct Selection Tool whenever you
hold down the Ctrl key!
*Note: Ctrl key trick works with most Tools by allowing you to use the
previously selected tool, without deselecting the current tool.*
Tracing/Drawing and the Ctrl Key Trick
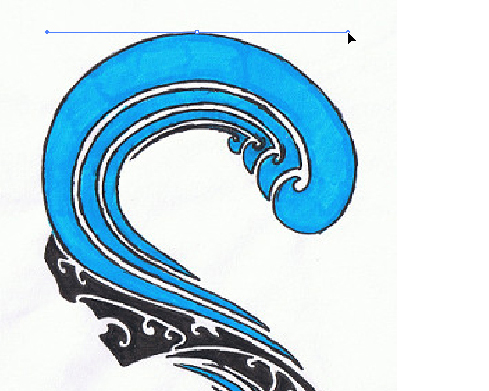
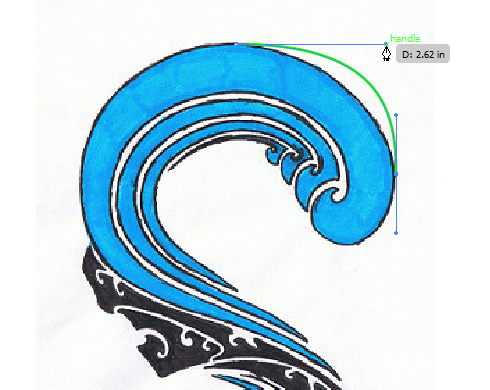
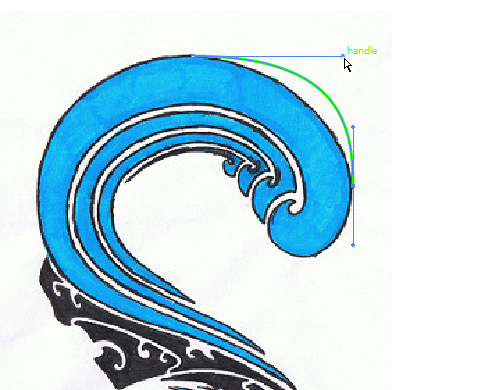
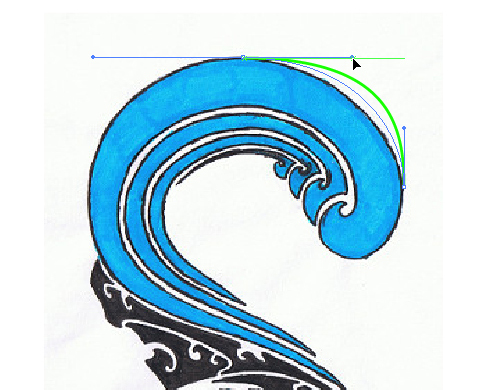
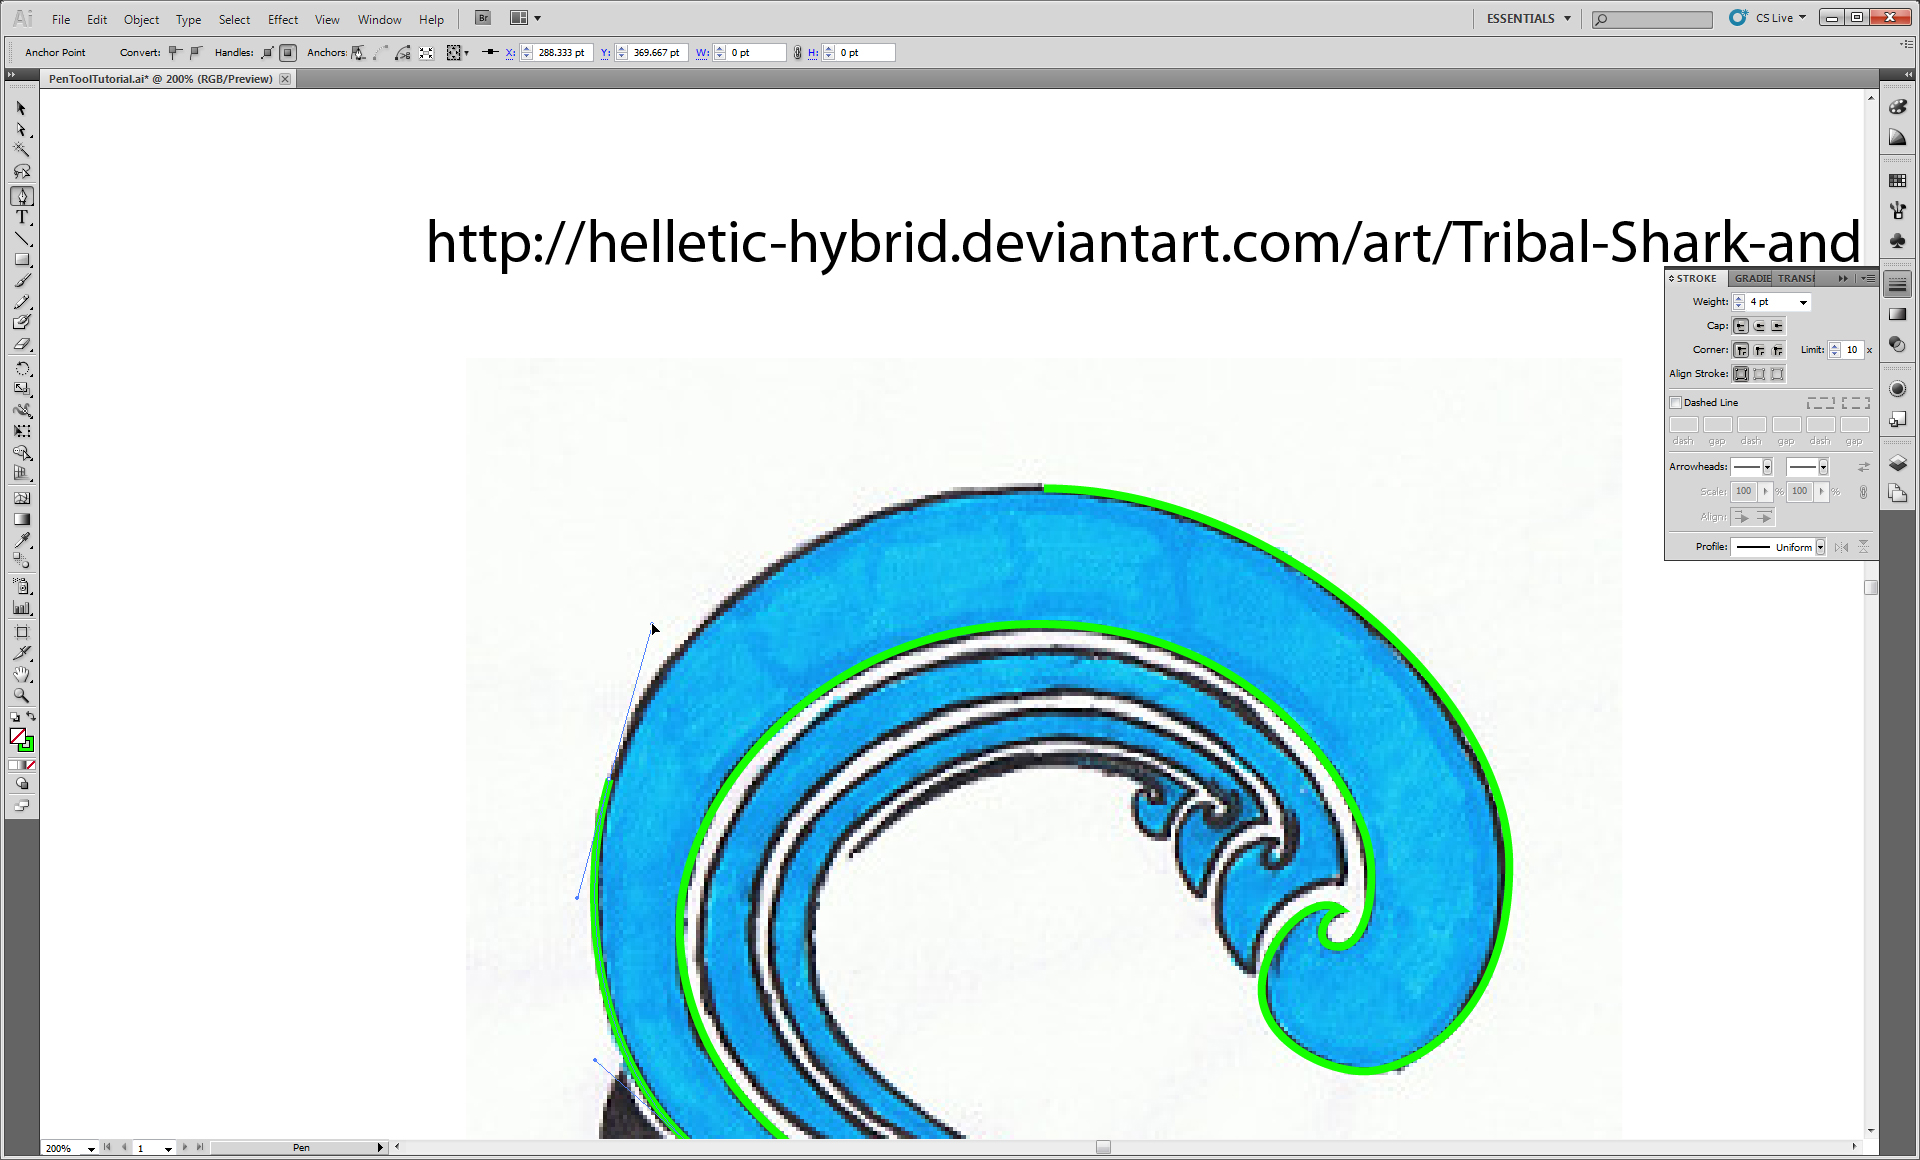
Now I start to trace. It doesn't really matter where you start because you can always
go back and edit your points later. I typically choose to start in the middle of nice
arc or on a corner point (if you choose to start on the arc I recommend dragging out
your first handle by click & hold while dragging, rather than a single click which will
simply make a anchor point). Click again to make the arc, holding down shift will
constrain the handles to 45 degree increments.
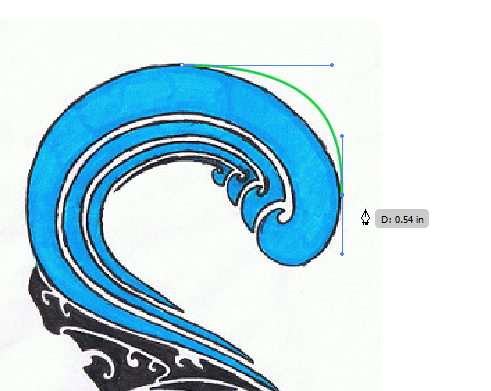
In the second picture you can see that I clearly did not give the handles the appropriate
length to fit the curve I was trying to trace. Now, trick #1 (Ctrl key trick). To edit this
curve, while still maintaining the continuity of the Pen Tool (so you can click and make
another connecting line after) hold down Ctrl and click on one of the two handles. You'll
notice that when you hold Ctrl the cursor changes from the Pen Tool cursor to the Direct
Selection Tool cursor (and consequently changes back to Pen Tool when you release Ctrl).
This Ctrl key trick is very useful because after you have made many anchor points, you
can always go back and edit sections by Ctrl-clicking on the line inbetween two points to
see the handles you wish to edit. And Ctrl-click to edit the handles or anchors themselves.
Turning a Sharp Corner
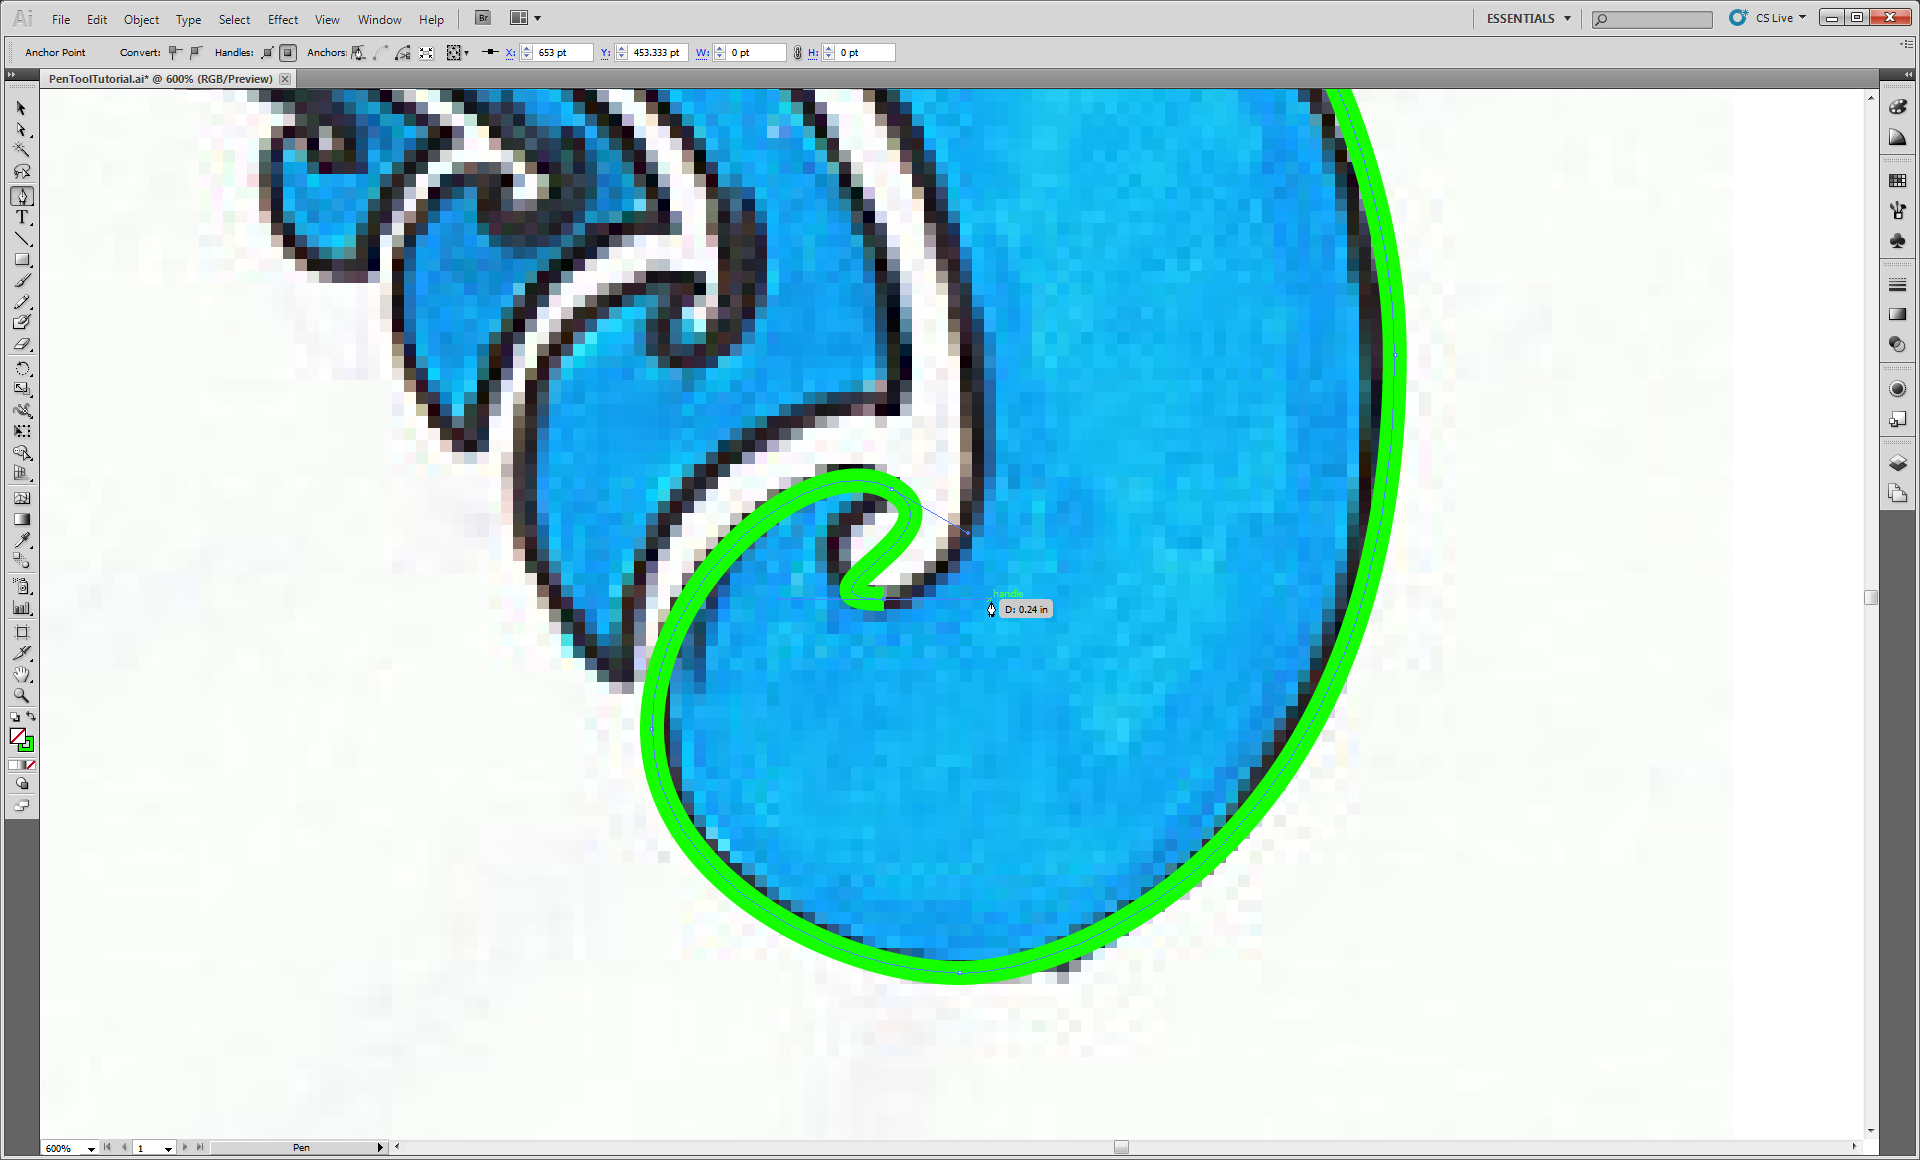
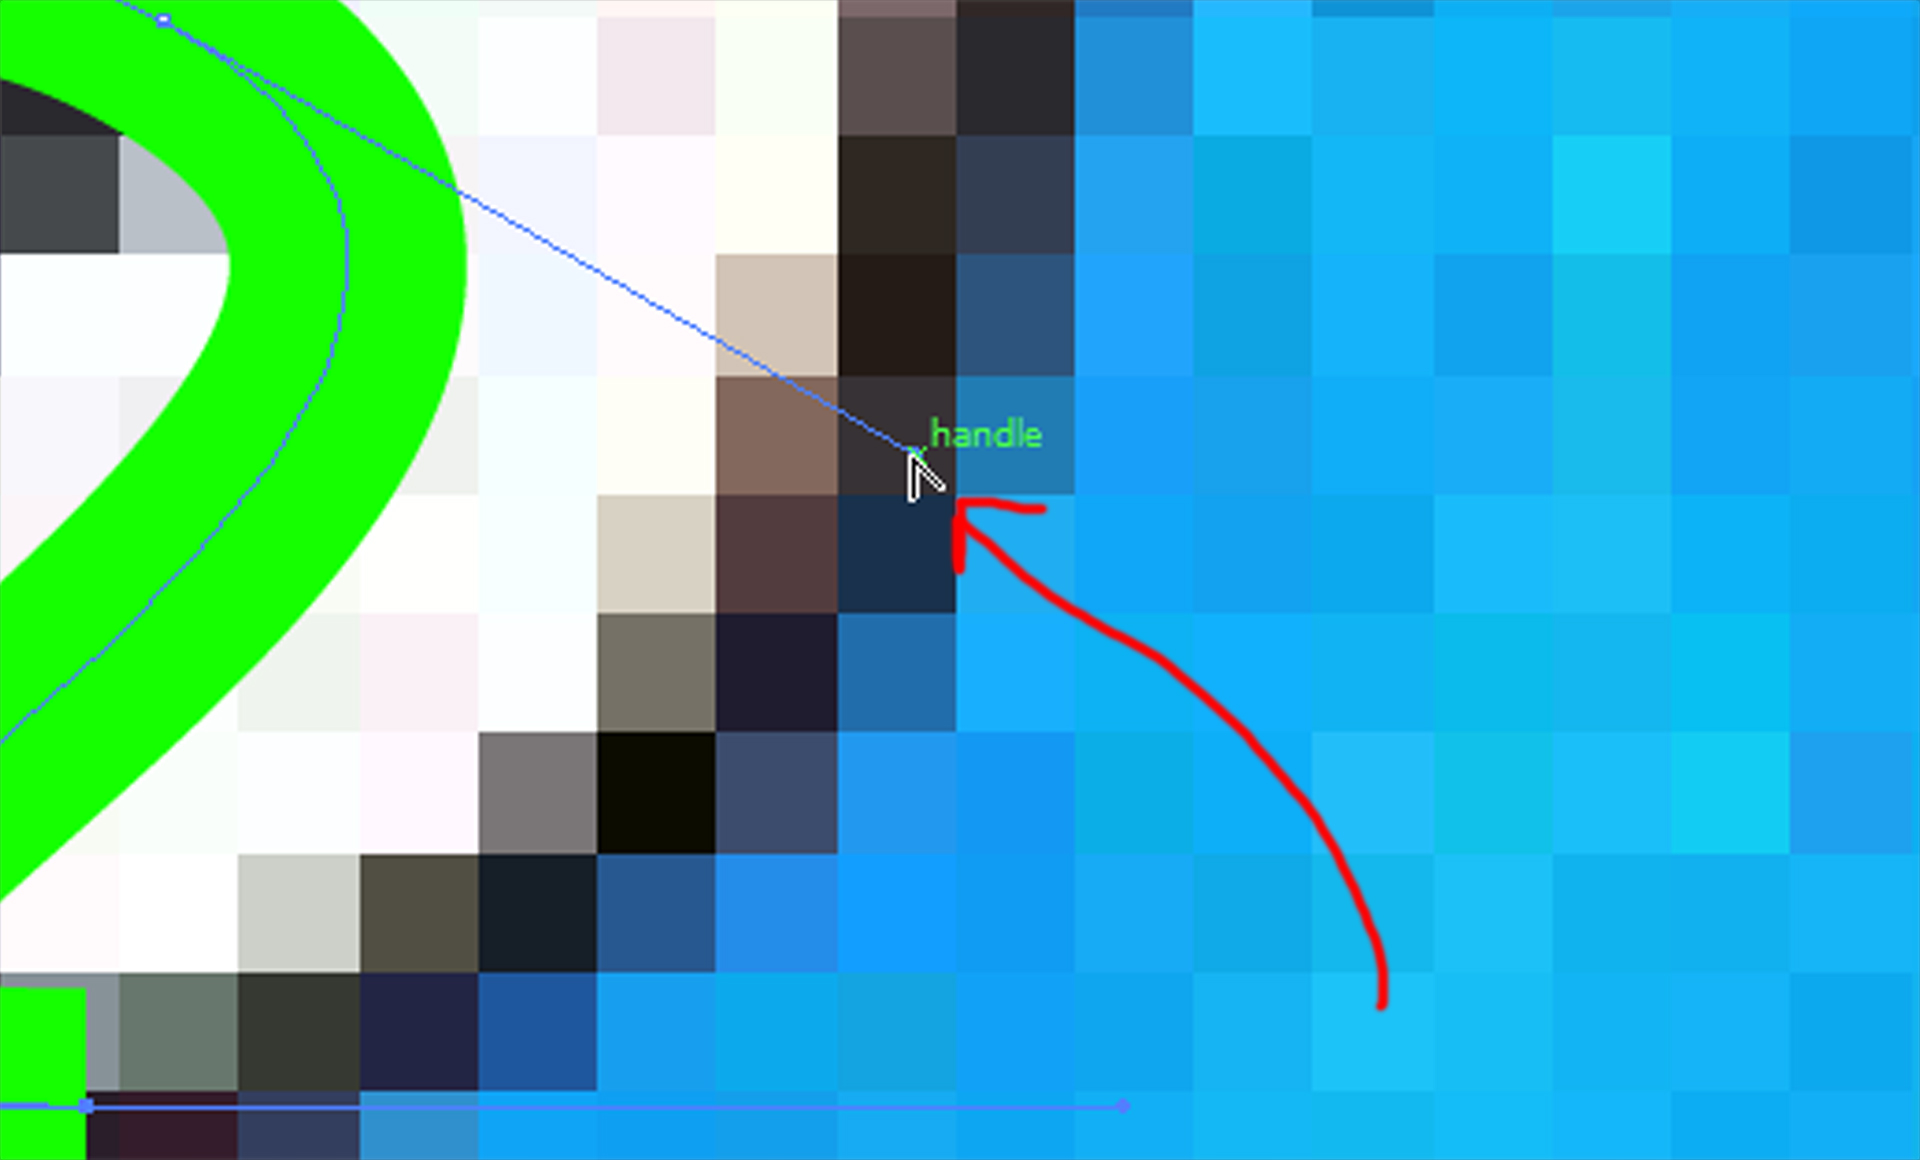
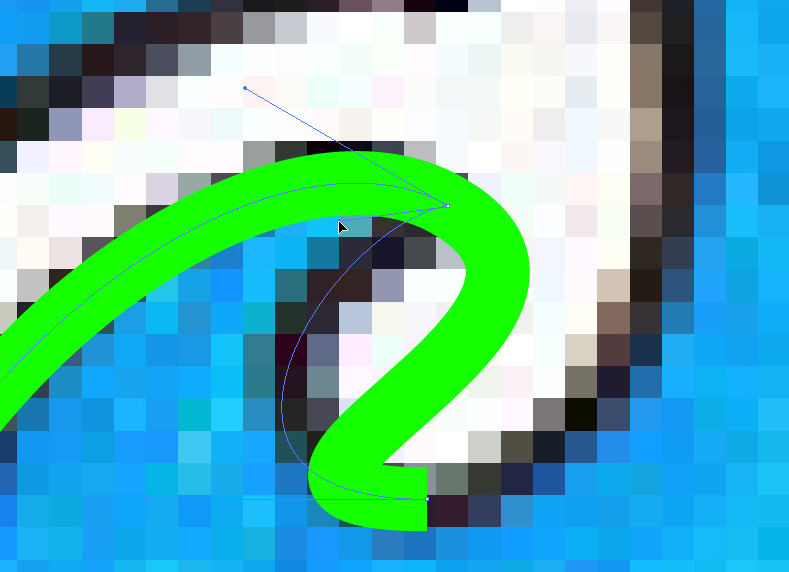

Turning the sharp corner. Now we come across a hurdle in the design. We have two curves
connected by a sharp turn.
The Pen Tool naturally creates a smooth curve with two handles
equal in length and opposite in direction and locked at 180 degrees.
When you use the Ctrl key trick you will notice that the length of each handle can be changed,
yet the handles remain locked in opposite directions. In order to turn the sharp corner we
must break the link between the handles that keep them locked at 180 degrees.
Time to introduce trick #2 (Alt key trick). This time we will hold down the Alt key to get
the Convert Anchor Point Tool (CAP tool). While holding Alt, click the handle and now you
are able to move just the one handle and not both simultaneously. Place your anchor
accordingly and contintue tracing. (If you want to reconnect the link between handles,
Alt-click a second time on the anchor itself and drag out new handles)
Additional Tips
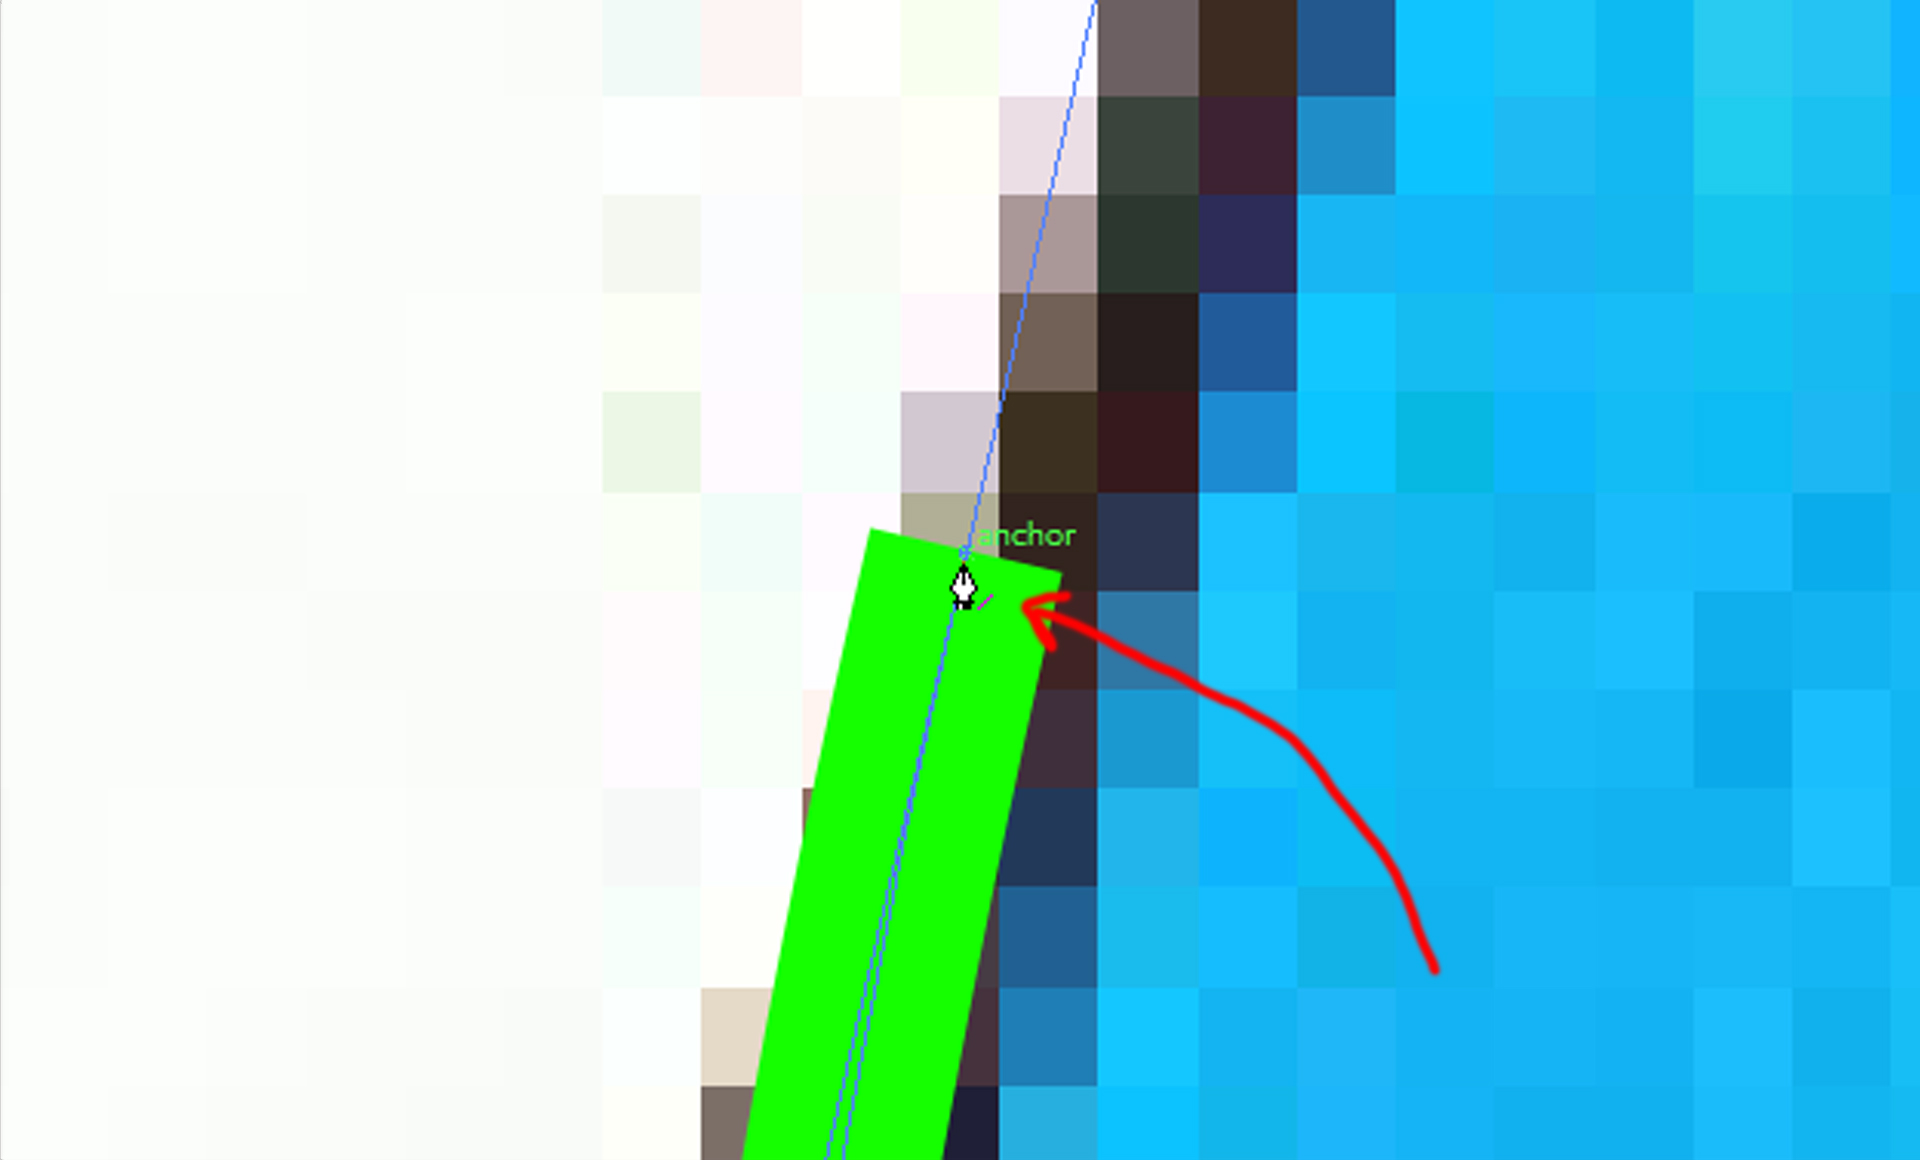
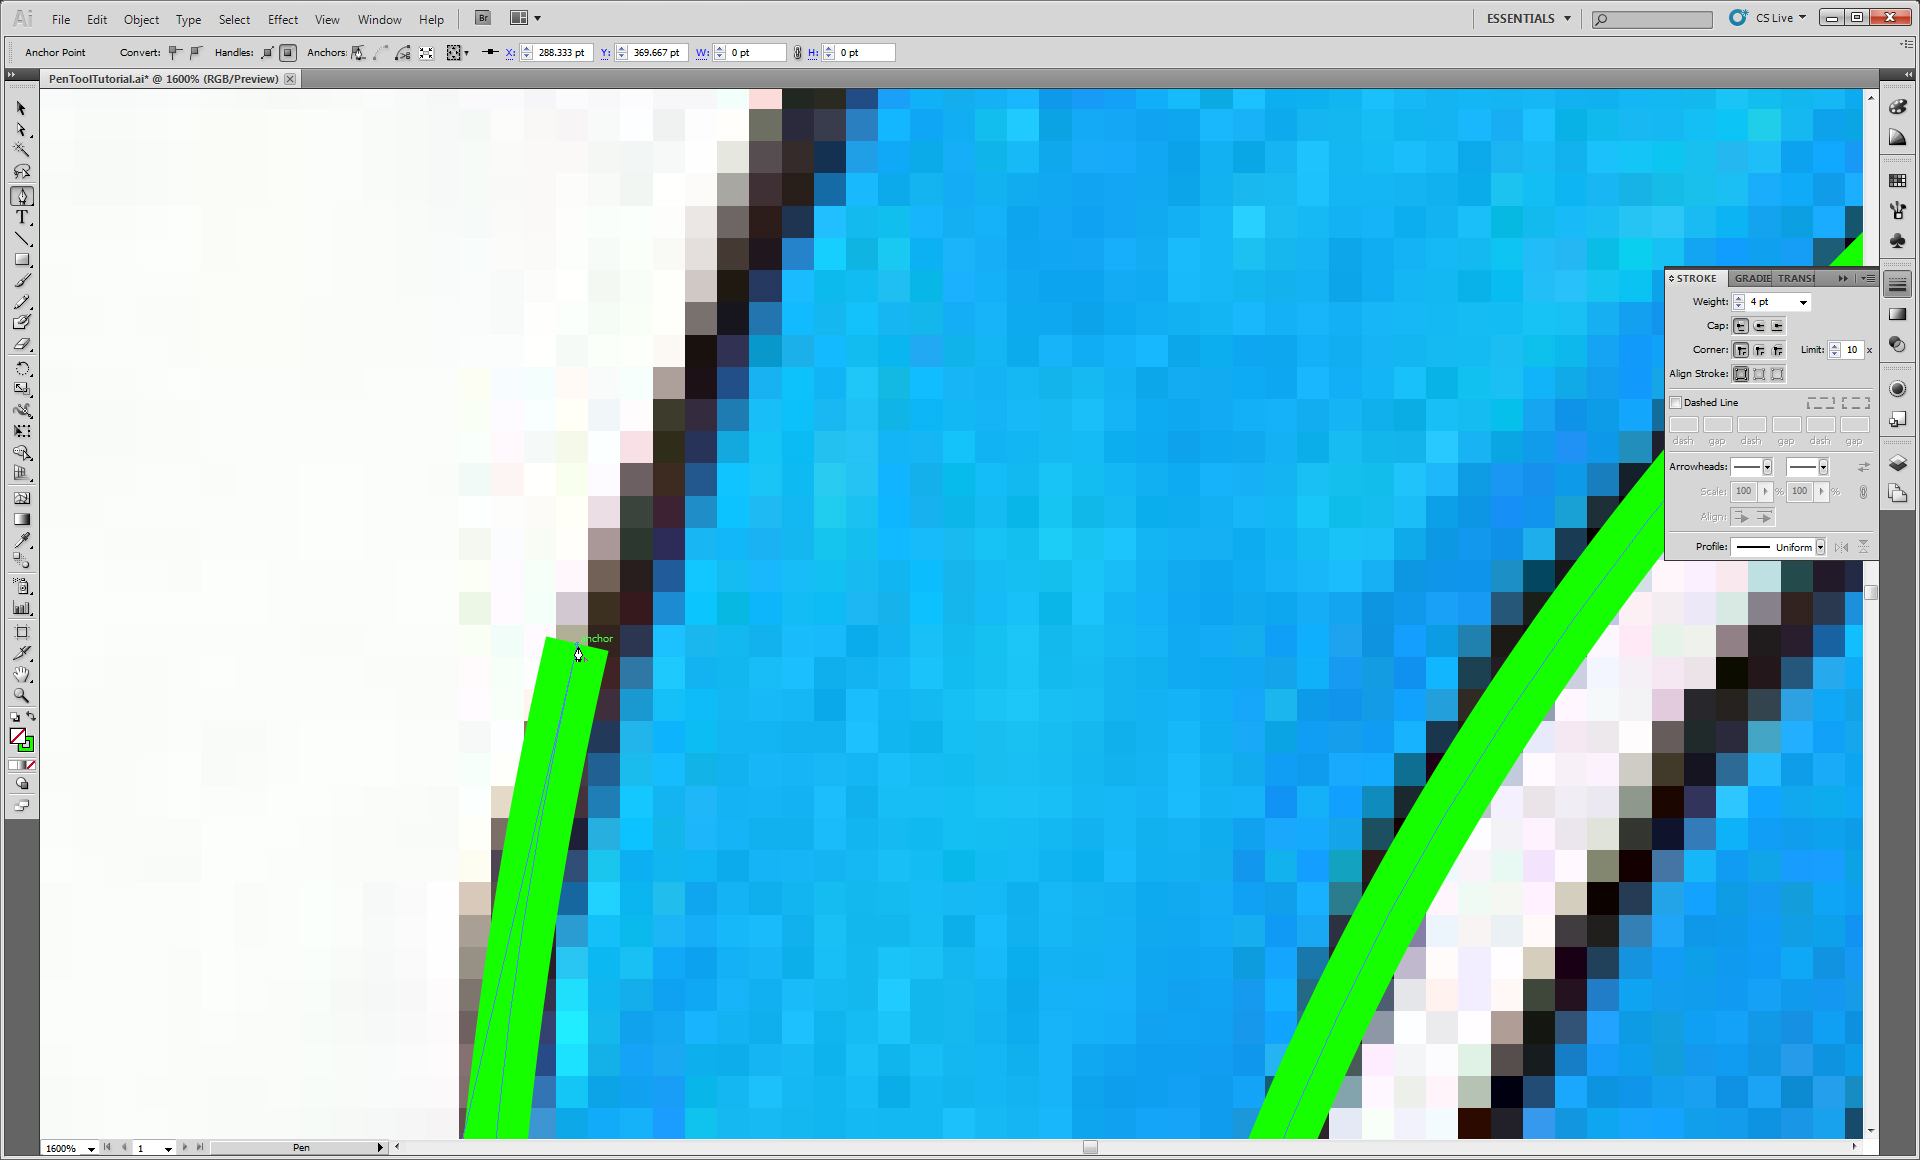
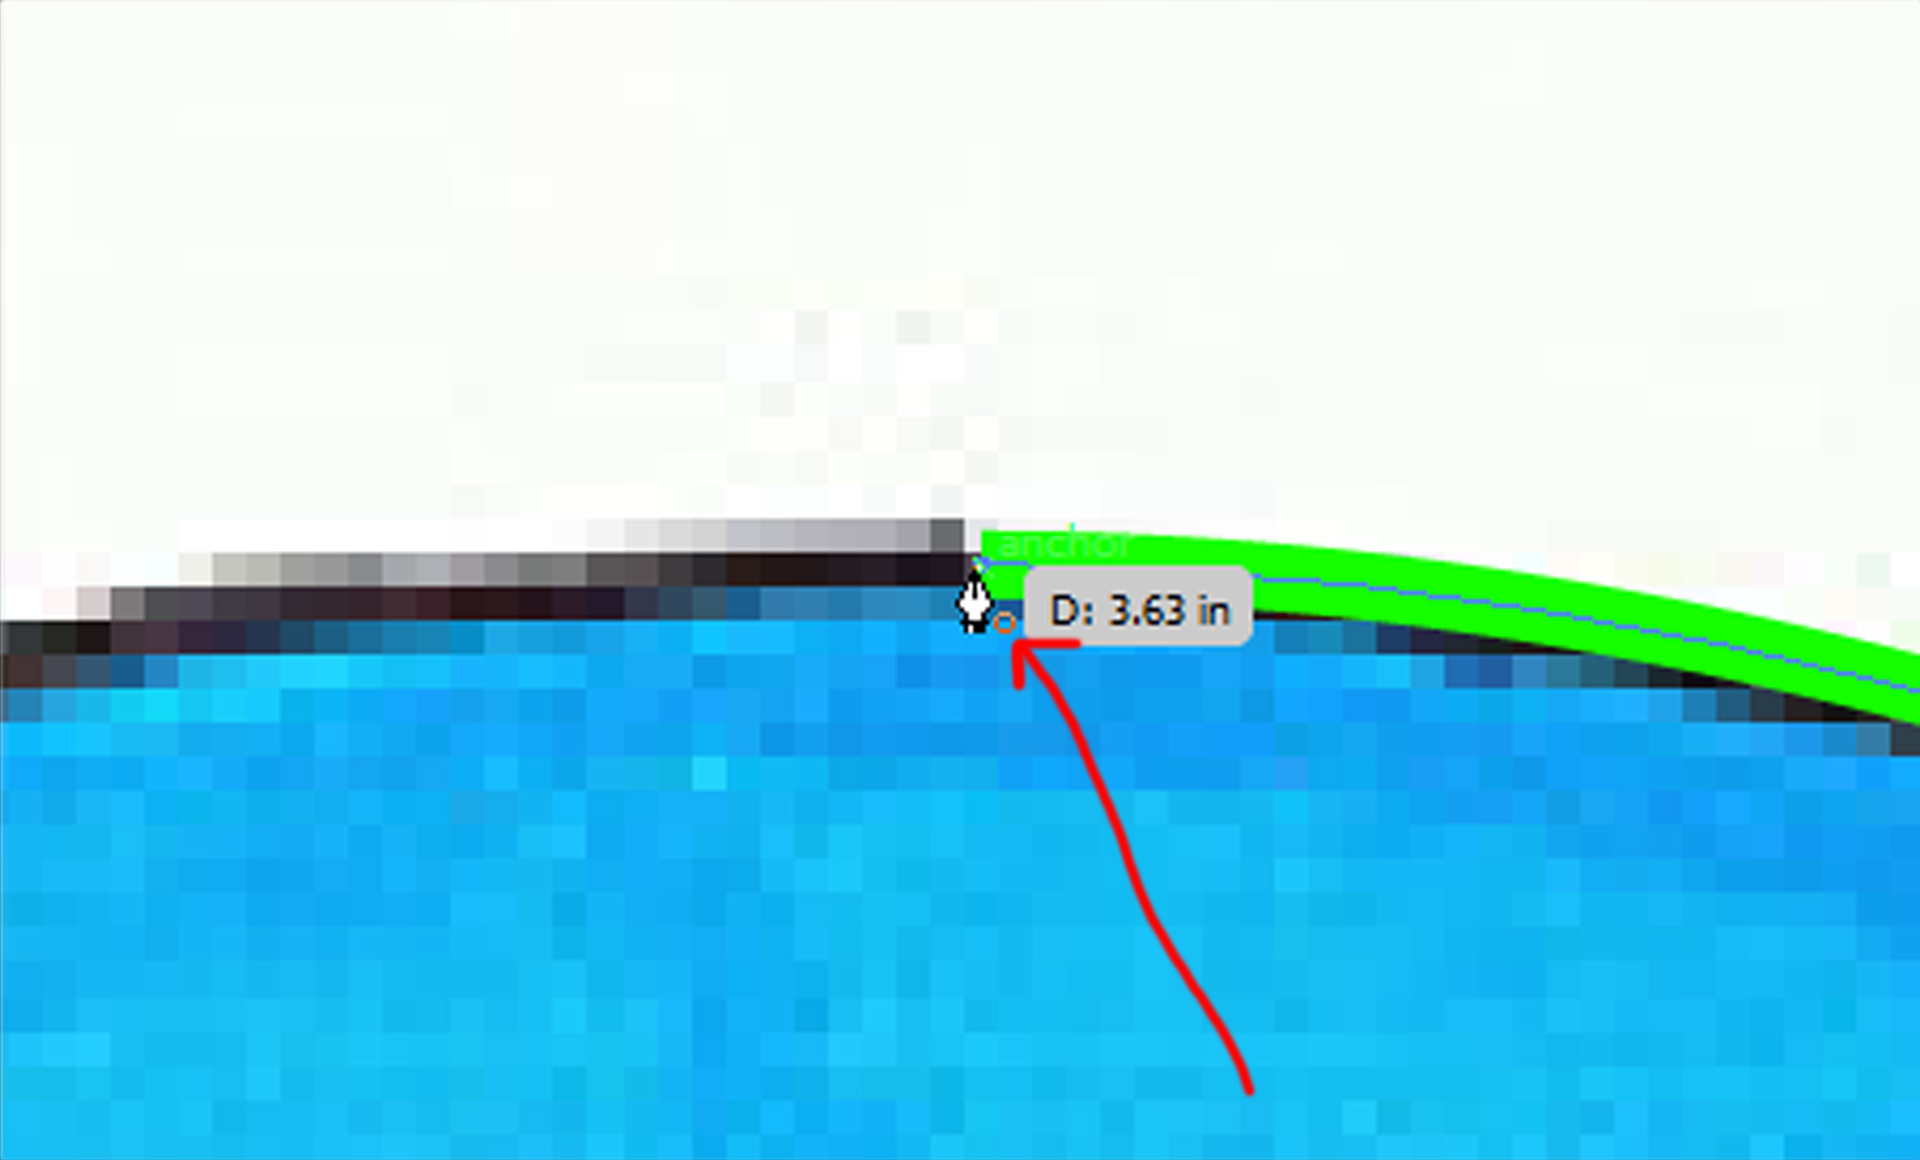
If you ever click anywhere outside of your path line while using the Ctrl key trick, you will
break the continuity of the Pen Tool. When this happens, simply click on the last anchor point
you left off on. Notice a little slash pops up on the bottom of your cursor. This indicates
that when you click the Pen Tool will resume at this anchor point and all further clicks will
result in connected lines. (Having Smart Guides turned on [under View tab or shortcut Ctrl+U]
will also help by displaying the words Anchor and Handle when you hover your cursor over these
points) This click should be treated just like the first anchor point, click and drag to create a handle.
When you re-join an existing path, a simple click will keep the handle on the side of the existing
path but not on the other side.
Another thing to notice, is when you go to finish an object and connect the last two anchors make
sure you see a little circle pop up next to your cursor. This will indicate that the next click will
complete the object with no holes.
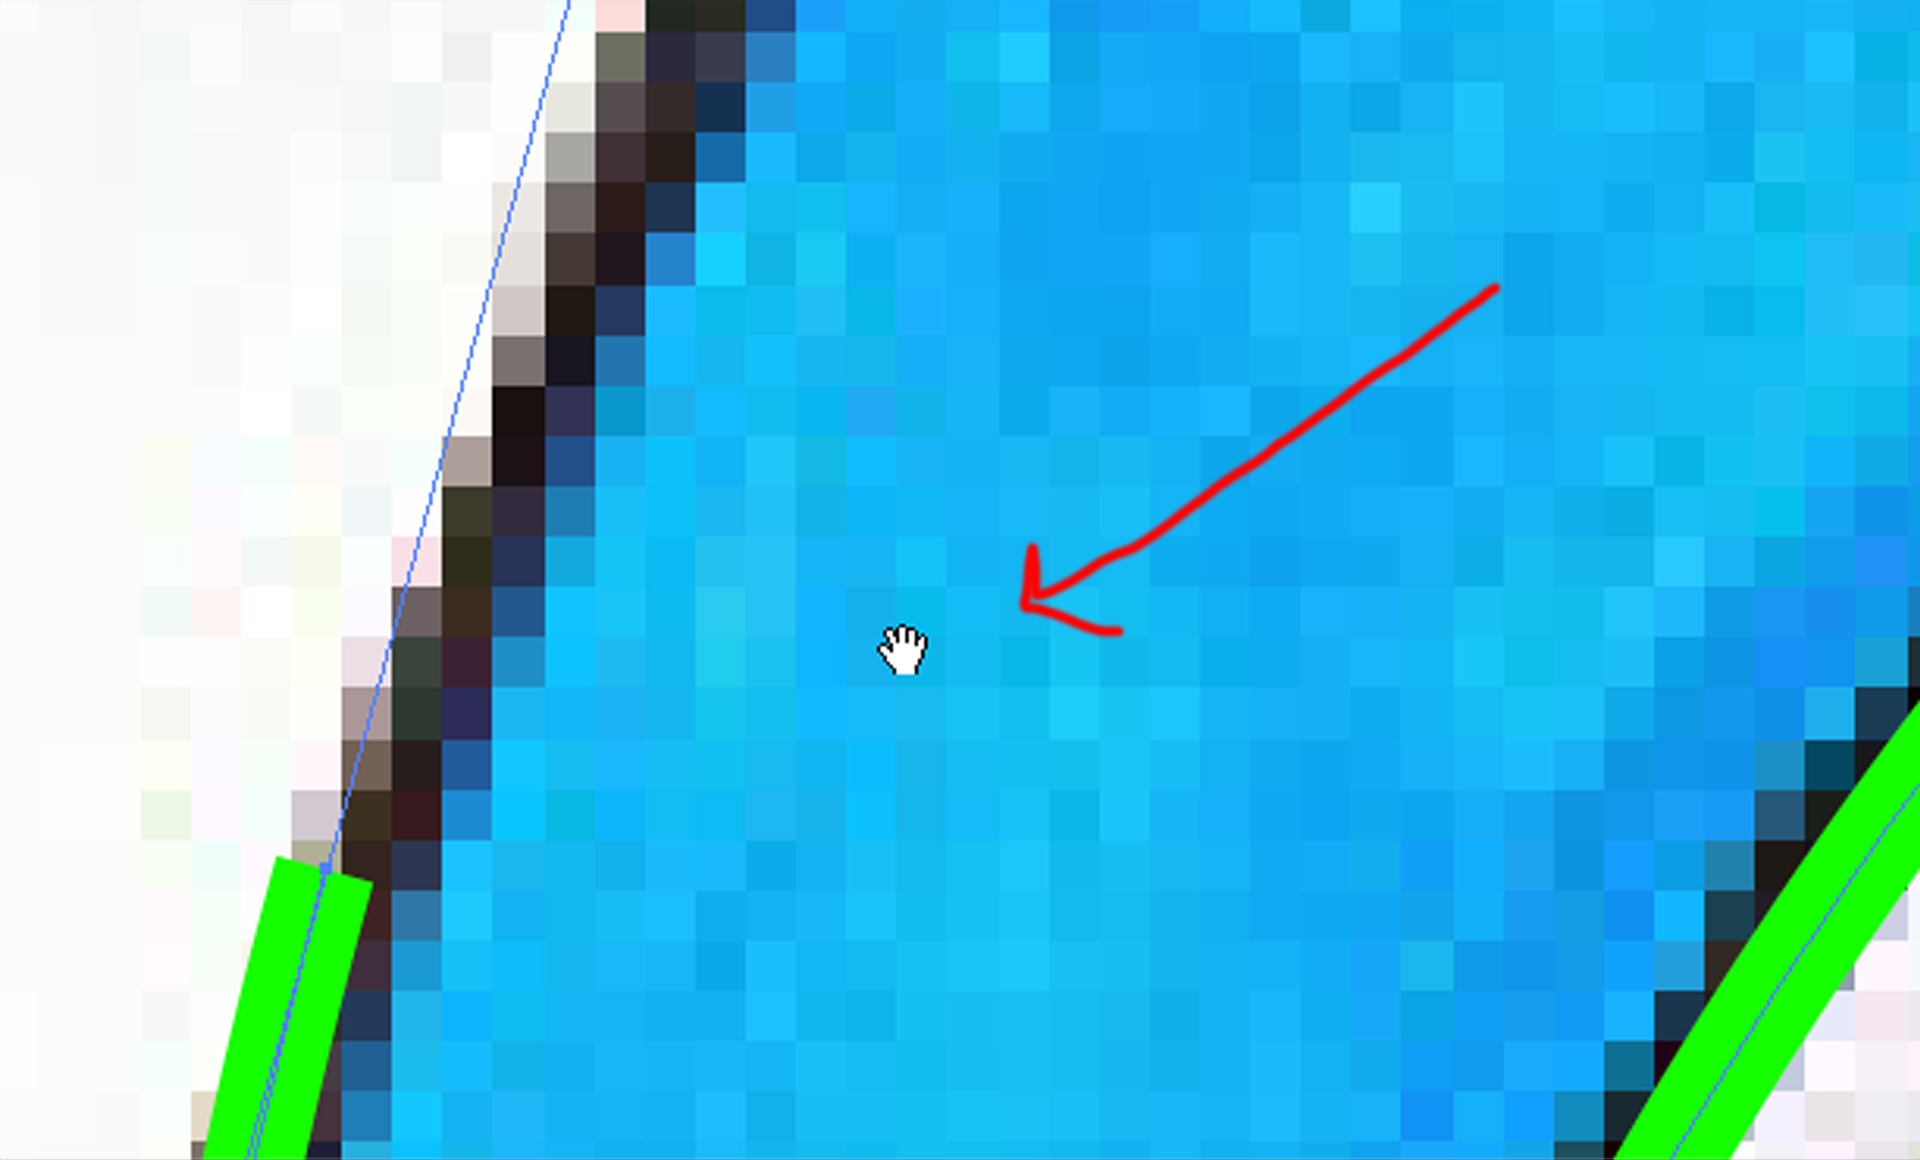
At times it is important to zoom in on areas (hold down Alt and use a mouse wheel to easily
zoom in on where the cursor is located without loosing Pen Tool continuity).
Once zoomed in it is also necessary to move your window around to see where you are tracing.
There are two good options (that I know of) to adjust your view while maintaining Pen Tool continuity.
First is to use the Navigator (which can be found in the Window tab), and second is the hold down
the Space Bar to use the Hand Tool (again this works similar to Ctrl and Alt key tricks, where
the Pen Tool will still be active after you release the Space Bar).
Review
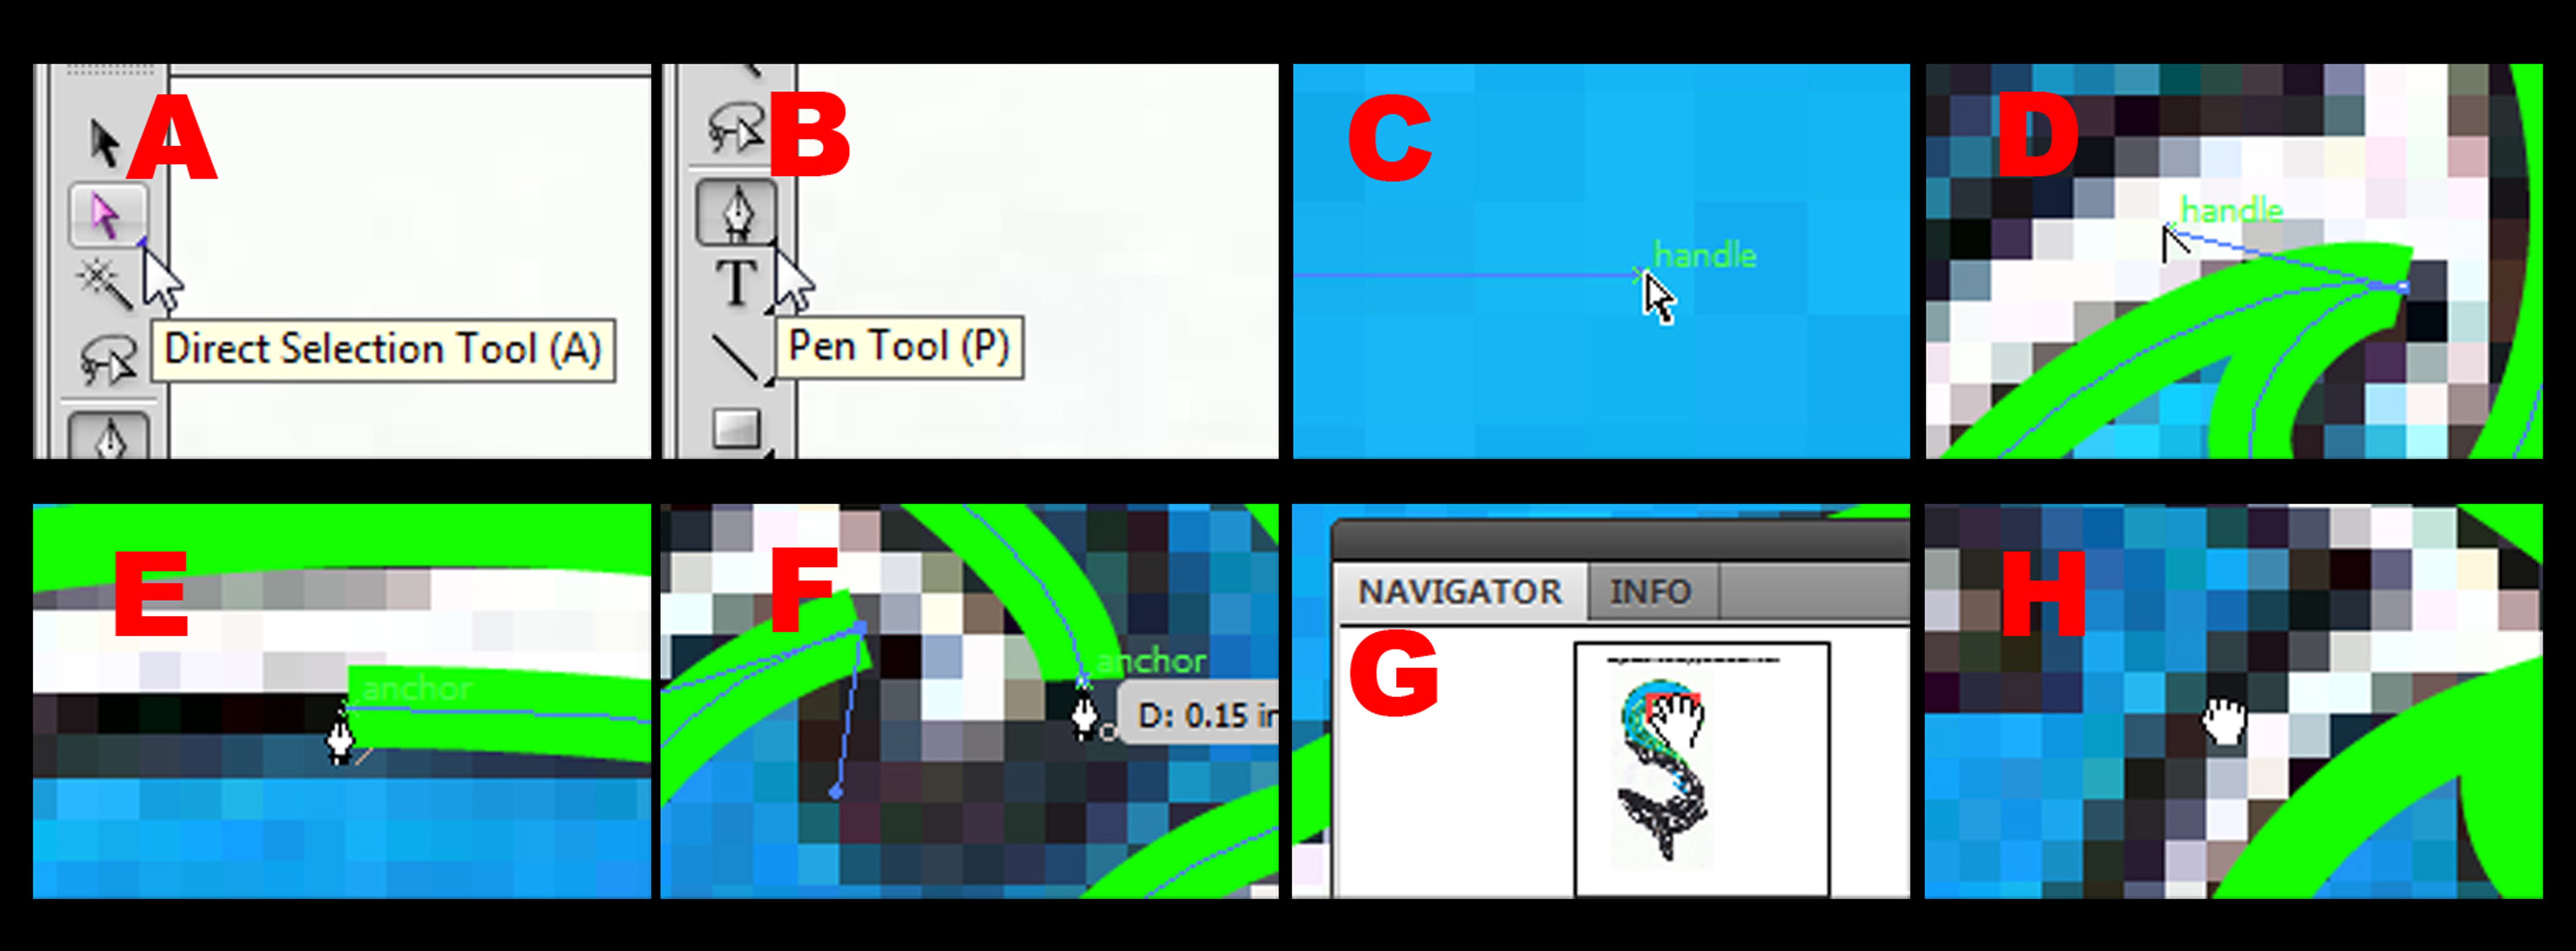
A) 1st select the Direct Selection Tool
B) 2nd select the Pen Tool
C) Hold down Ctrl for quick access to Direct Selection Tool to manipulate anchors and handles
D) Hold down Alt for quick access to Convert Anchor Point Tool to break connection between handles
E) Make sure you see a the slash when rejoining a path.
F) Make sure you see a the circle when finishing a path.
G) Hold down Alt and use the Mouse wheel to zoom in/out on your cursor location
or
Use the Navigator to click on the area you want to look at
H) Hold down Space Bar to move and readjust your view.
Have Fun!
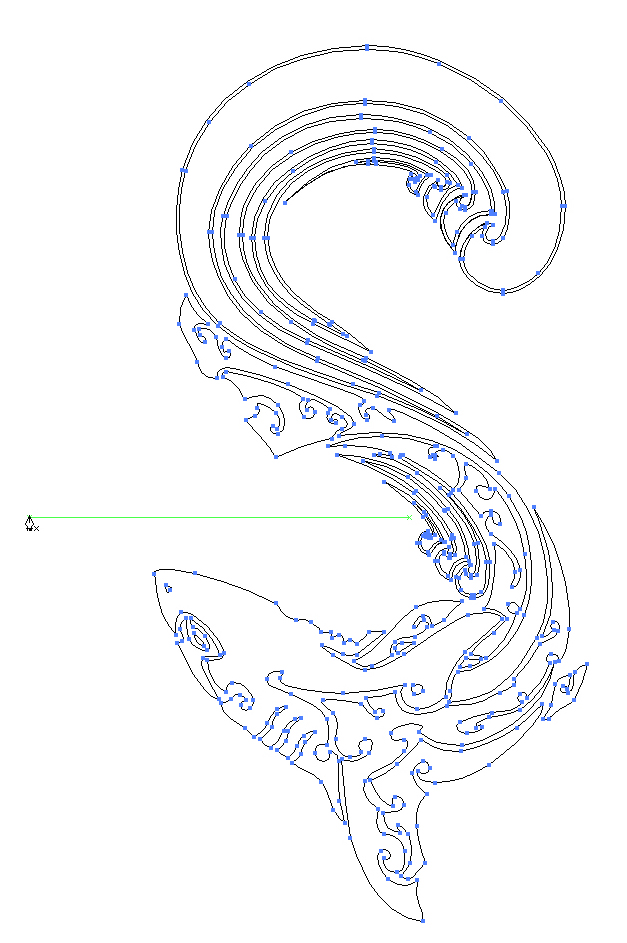
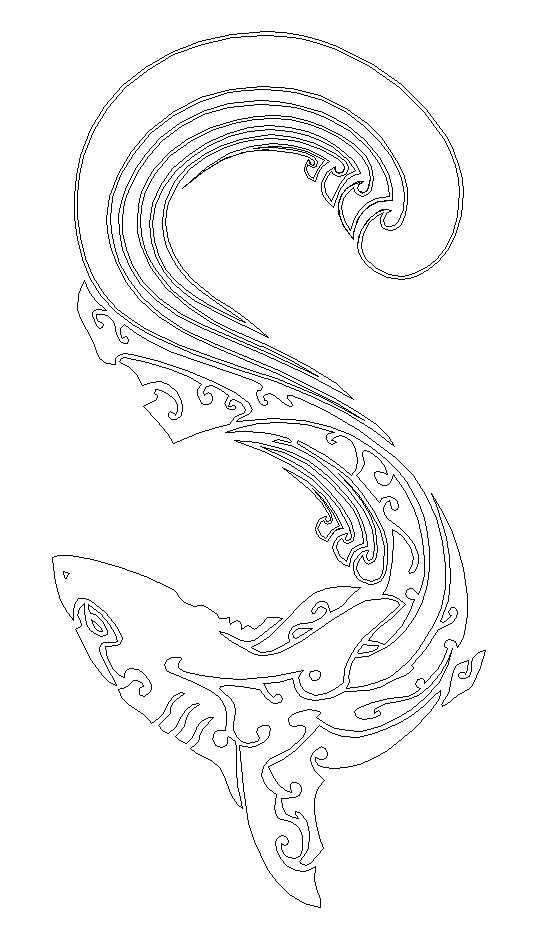
It will probably take a bit of practicing to get the hang of these short cuts, but this tutorial
should make tracing and drawing with the Pen Tool much easier. As a general rule, the fewer anchors
you can use the better. Pick your anchor positions carefully as to use as few anchors as possible
to create the desired shape.
and as with everything.... with practice comes speed, skill, and confidence. happy vectorizing!
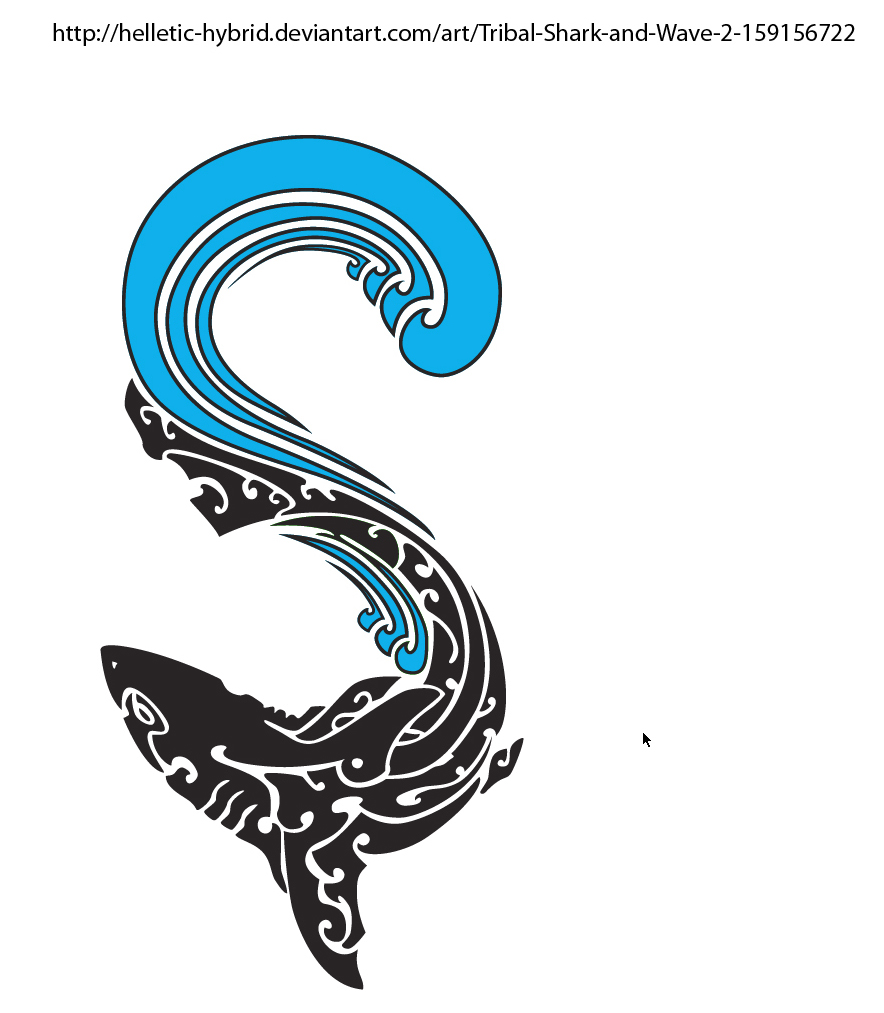
and thanks to Helletic-Hybrid for the awesome tribal shark art =)
http://helletic-hybrid.deviantart.com/art/Tribal-Shark-and-Wave-2-159156722