Quick Easy Cheap Phone Dock + Passive Speaker + Accessory Organizer Using Old Desktop Calendar
by lllshreelll in Circuits > Mobile
4630 Views, 7 Favorites, 0 Comments
Quick Easy Cheap Phone Dock + Passive Speaker + Accessory Organizer Using Old Desktop Calendar
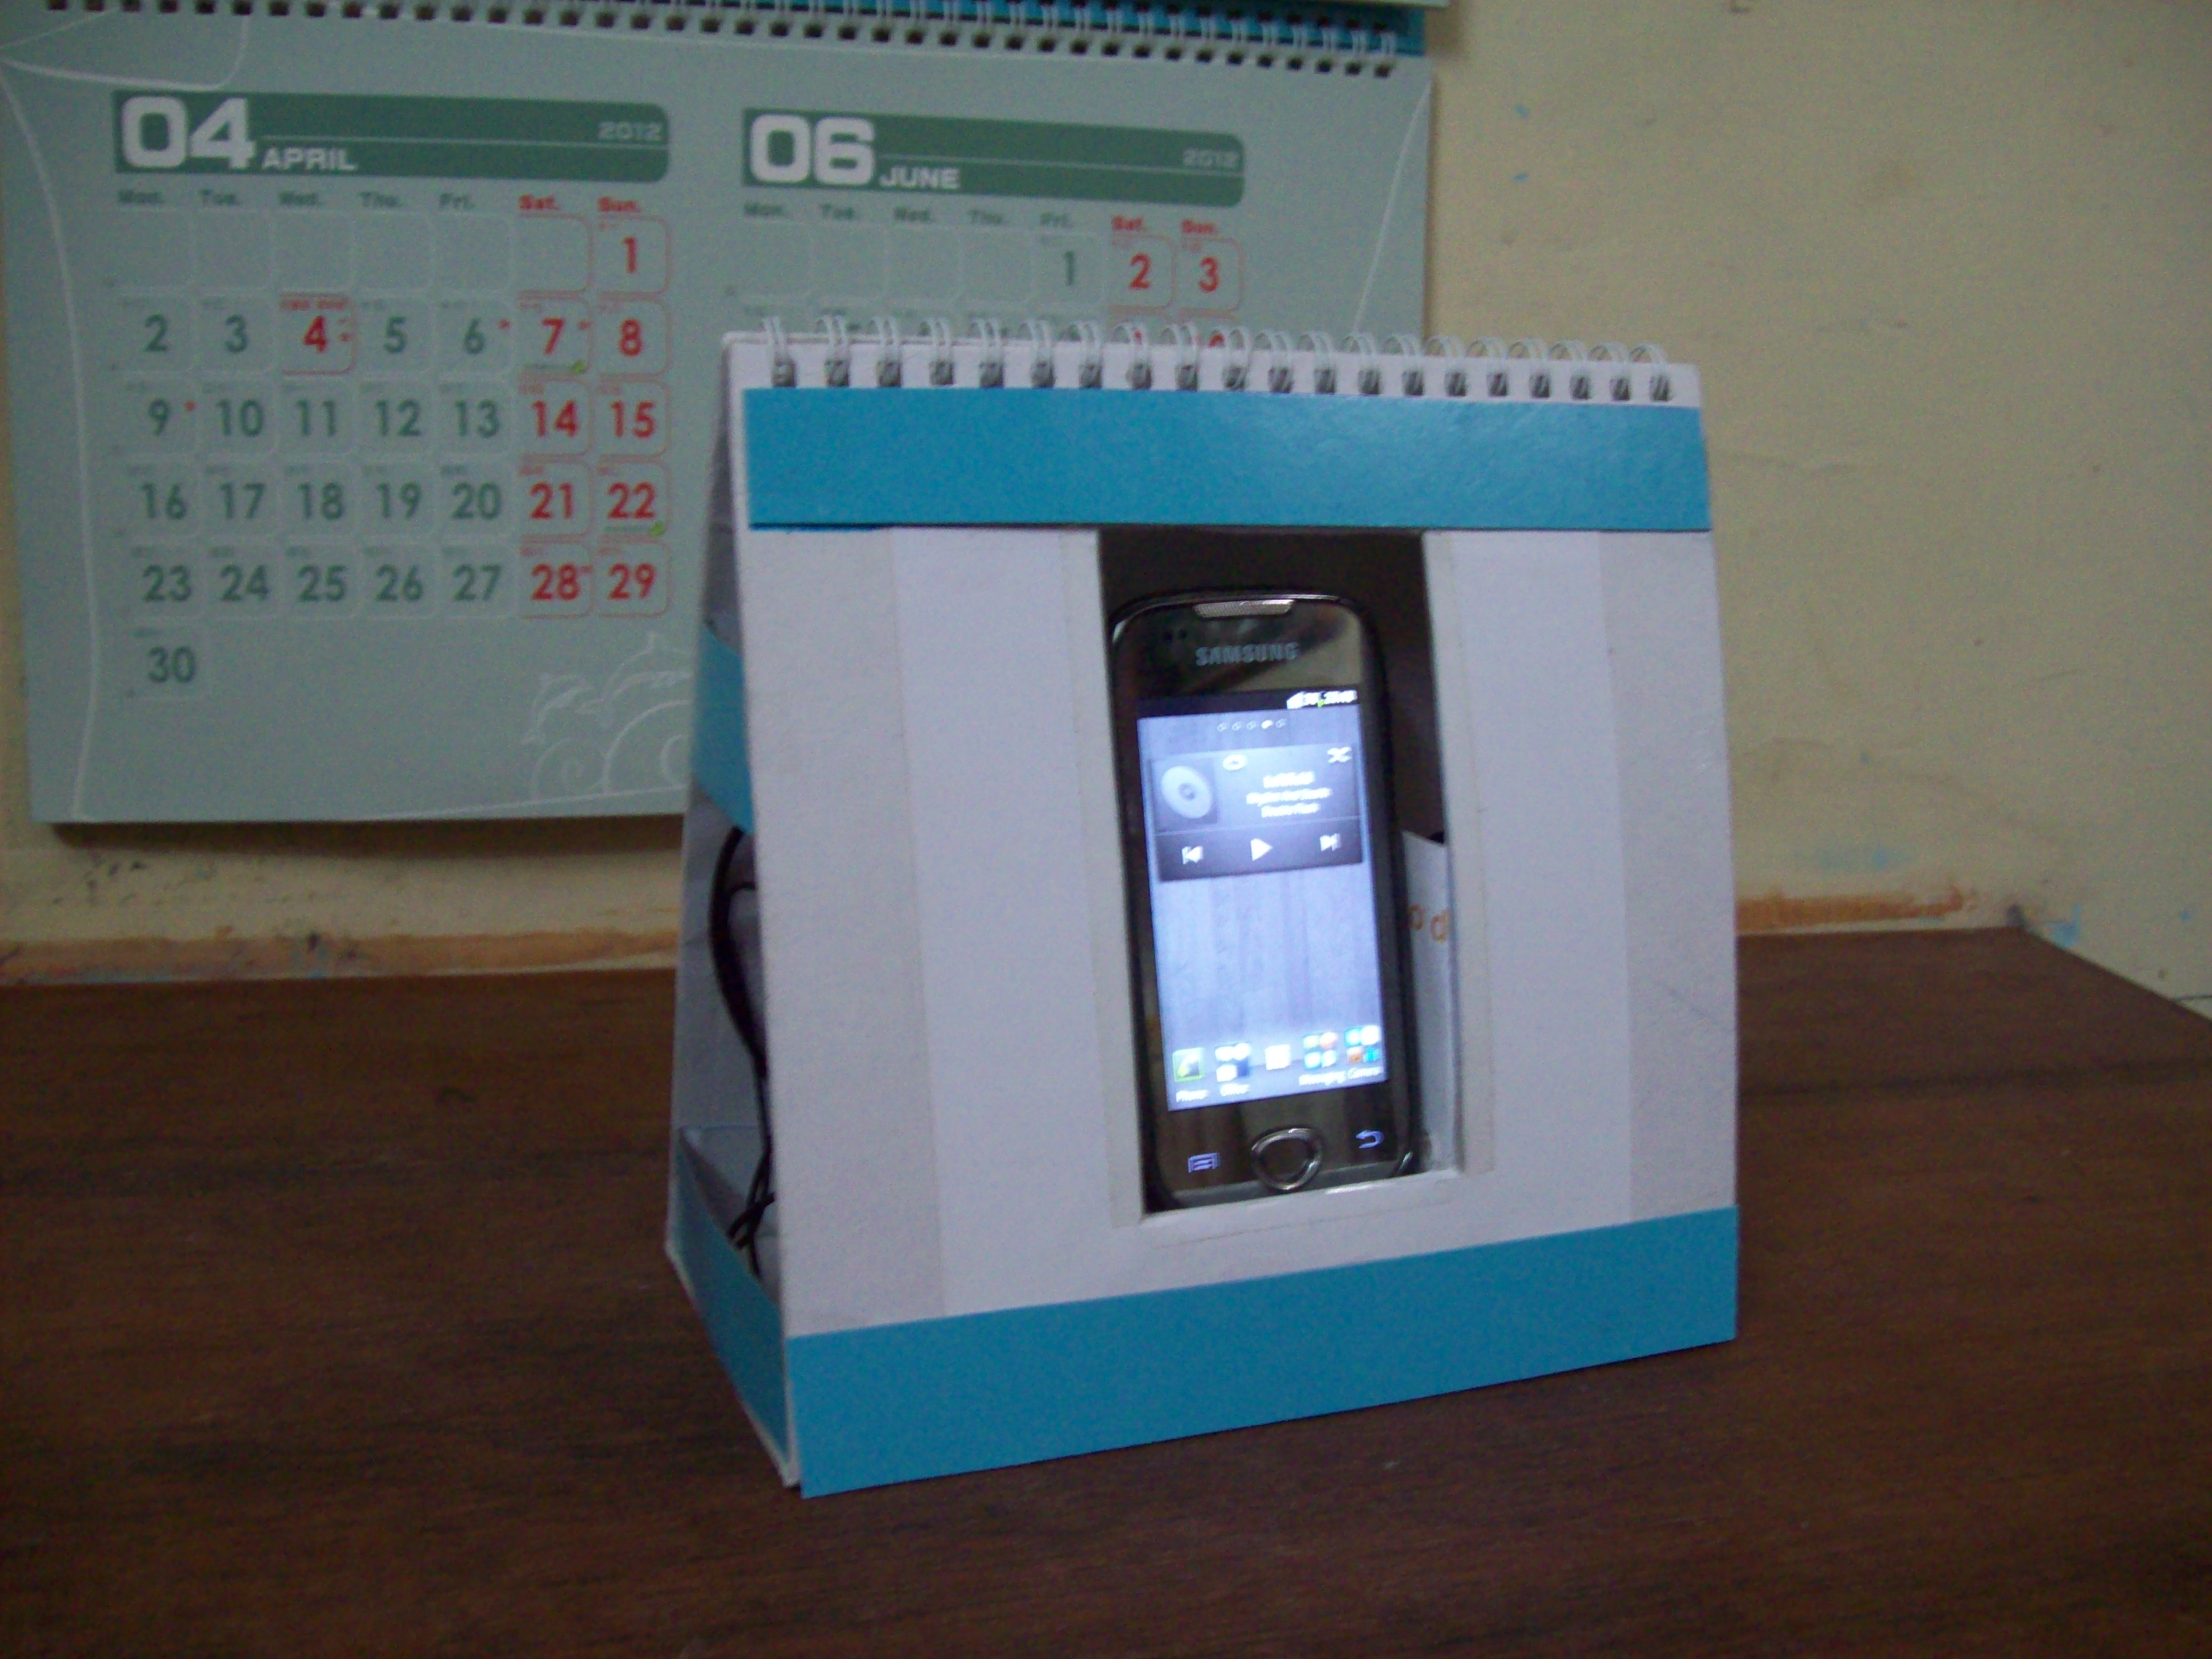
Hi! Here's an Instructable that shows how I made a Phone dock using an old desktop calender I had lying around. They are made of thick cardboard and sturdy enough.
This setup will..
1. House the phone & orient it at a comfortable angle
2. Act as passive speakers i.e. amplify sound without any powered amplification. (more like direct the sound). It's like
how you cup your hand over the speaker phone and the music feels louder. That kind of a deal.
3. Organize the charger and headset so they can be stored when not in use.
Requirements
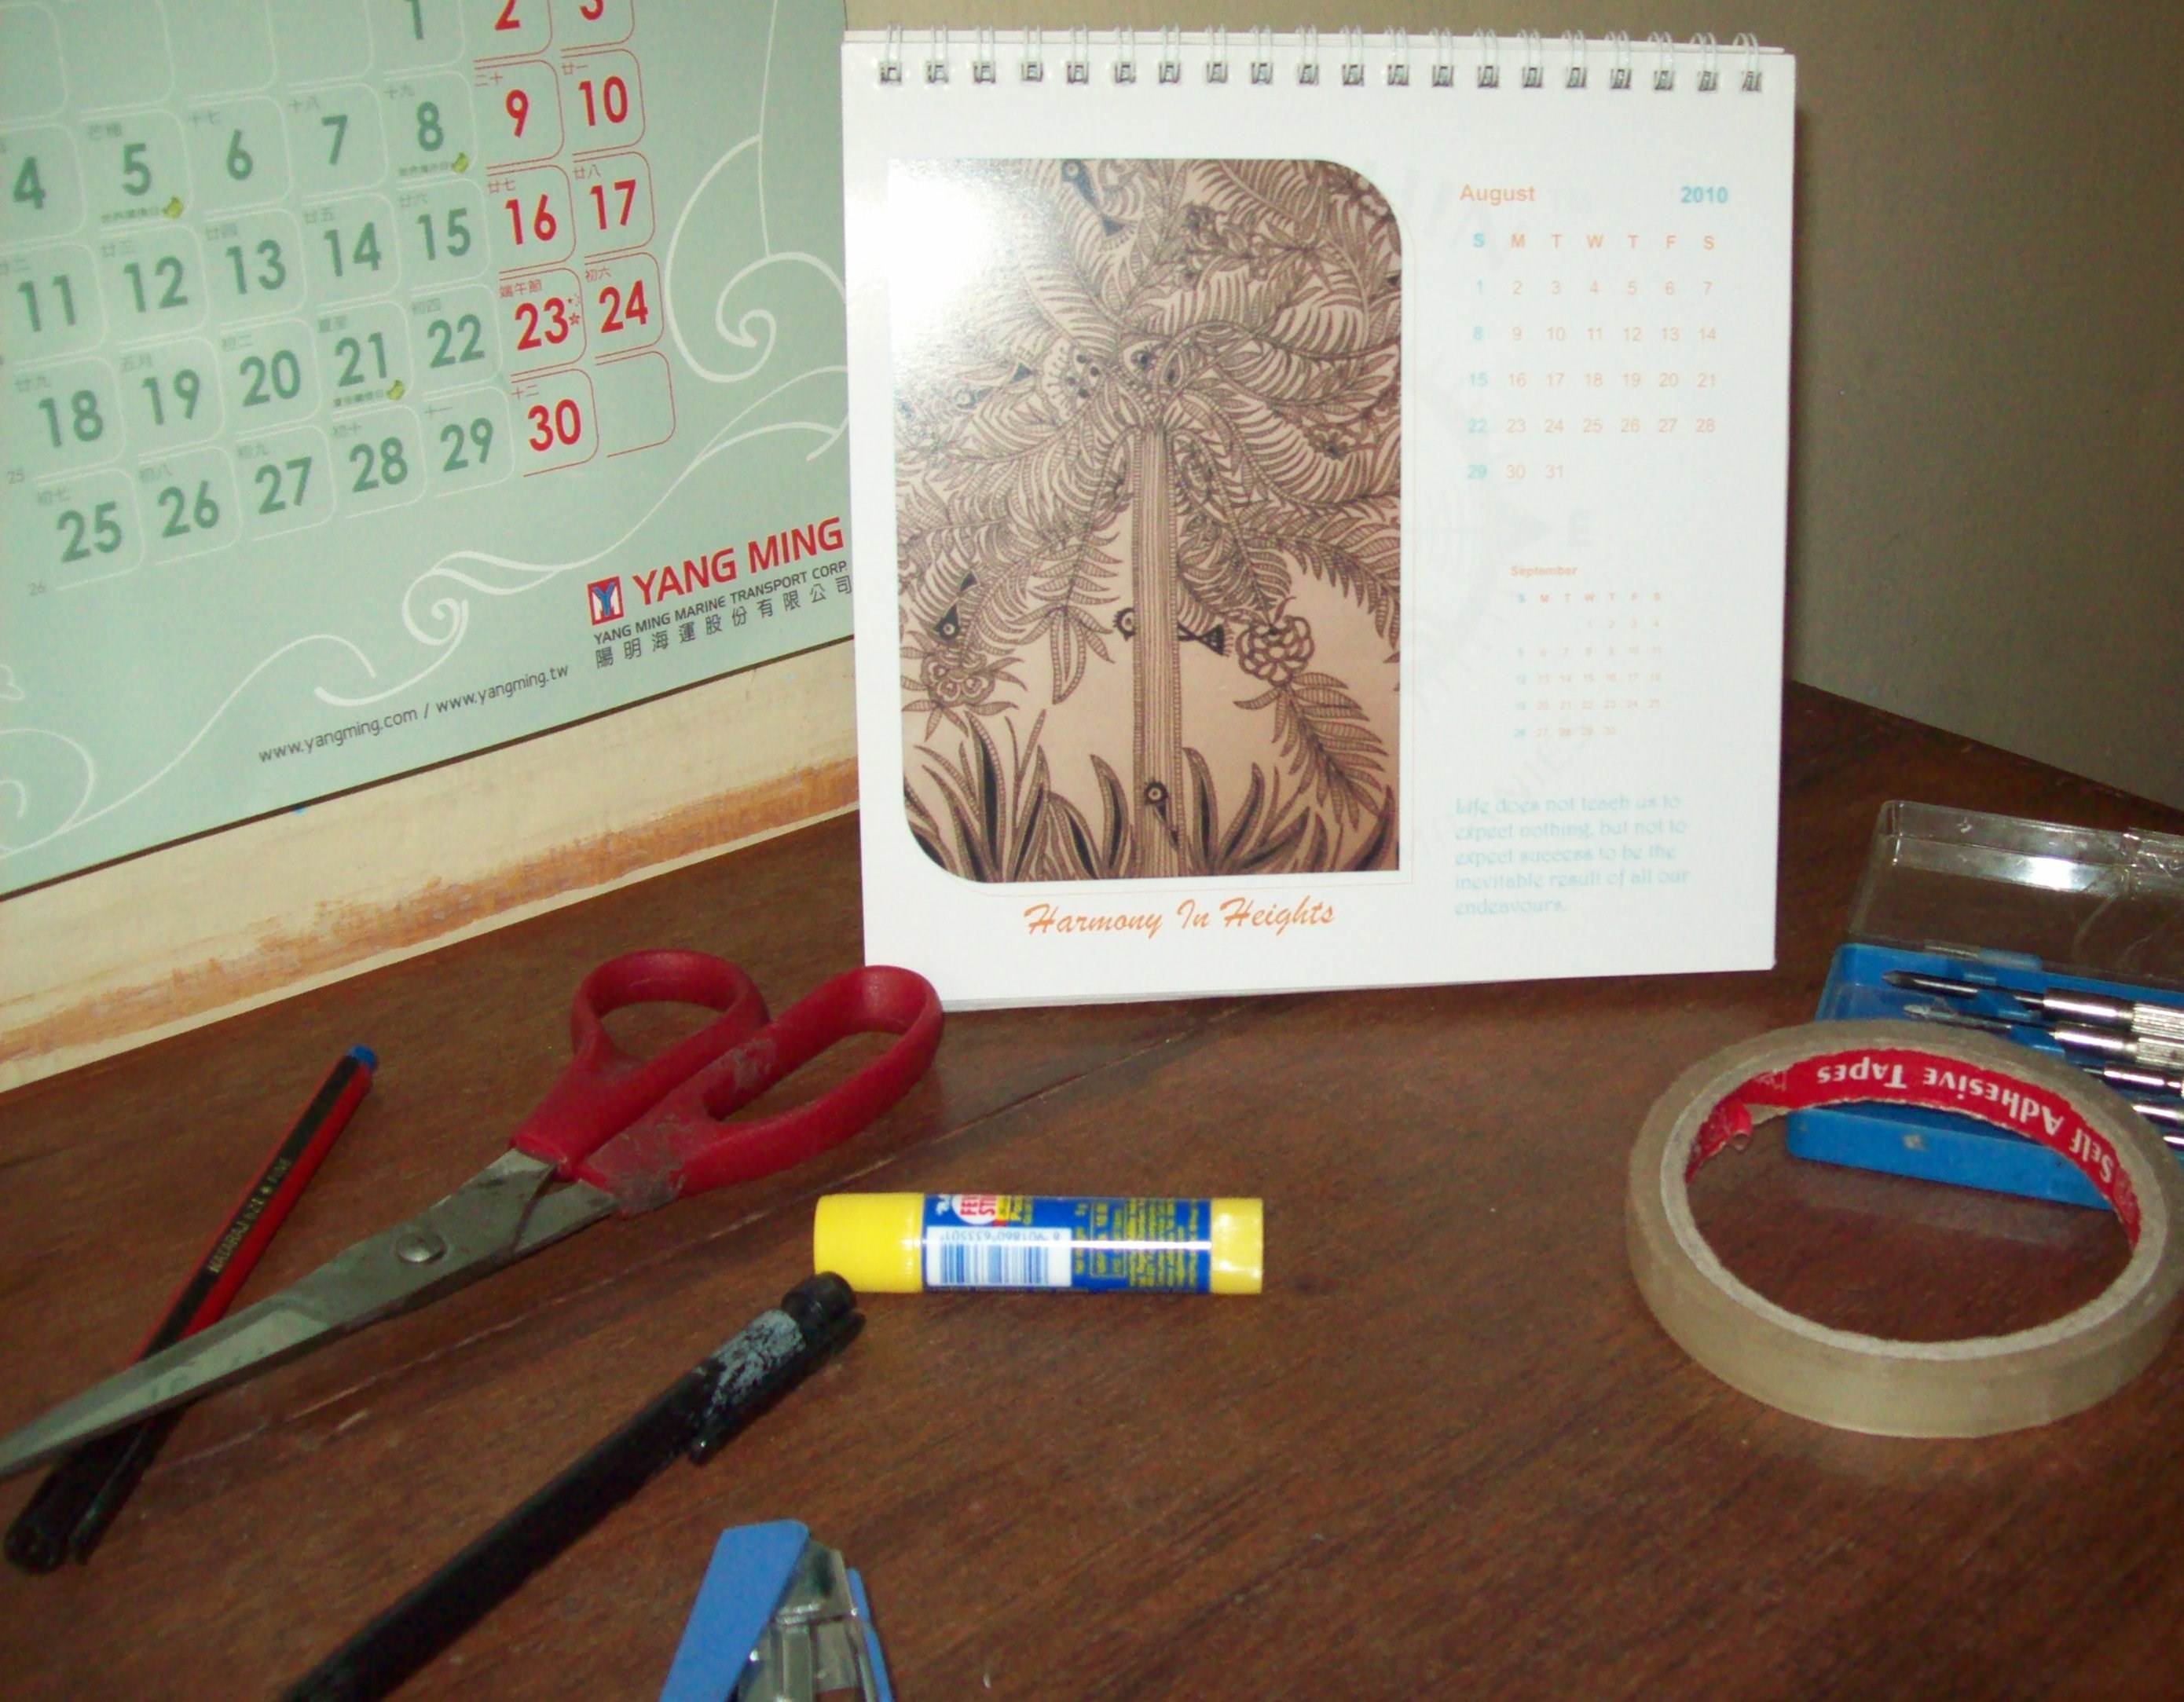
Desktop Calendar
Pair of Scissors
Tape
Glue
Pencil
Ruler
Paper cutter (I used a scalpel)
Glossy colored Paper (Optional)
Pair of Scissors
Tape
Glue
Pencil
Ruler
Paper cutter (I used a scalpel)
Glossy colored Paper (Optional)
Prepare the Calender - Markup
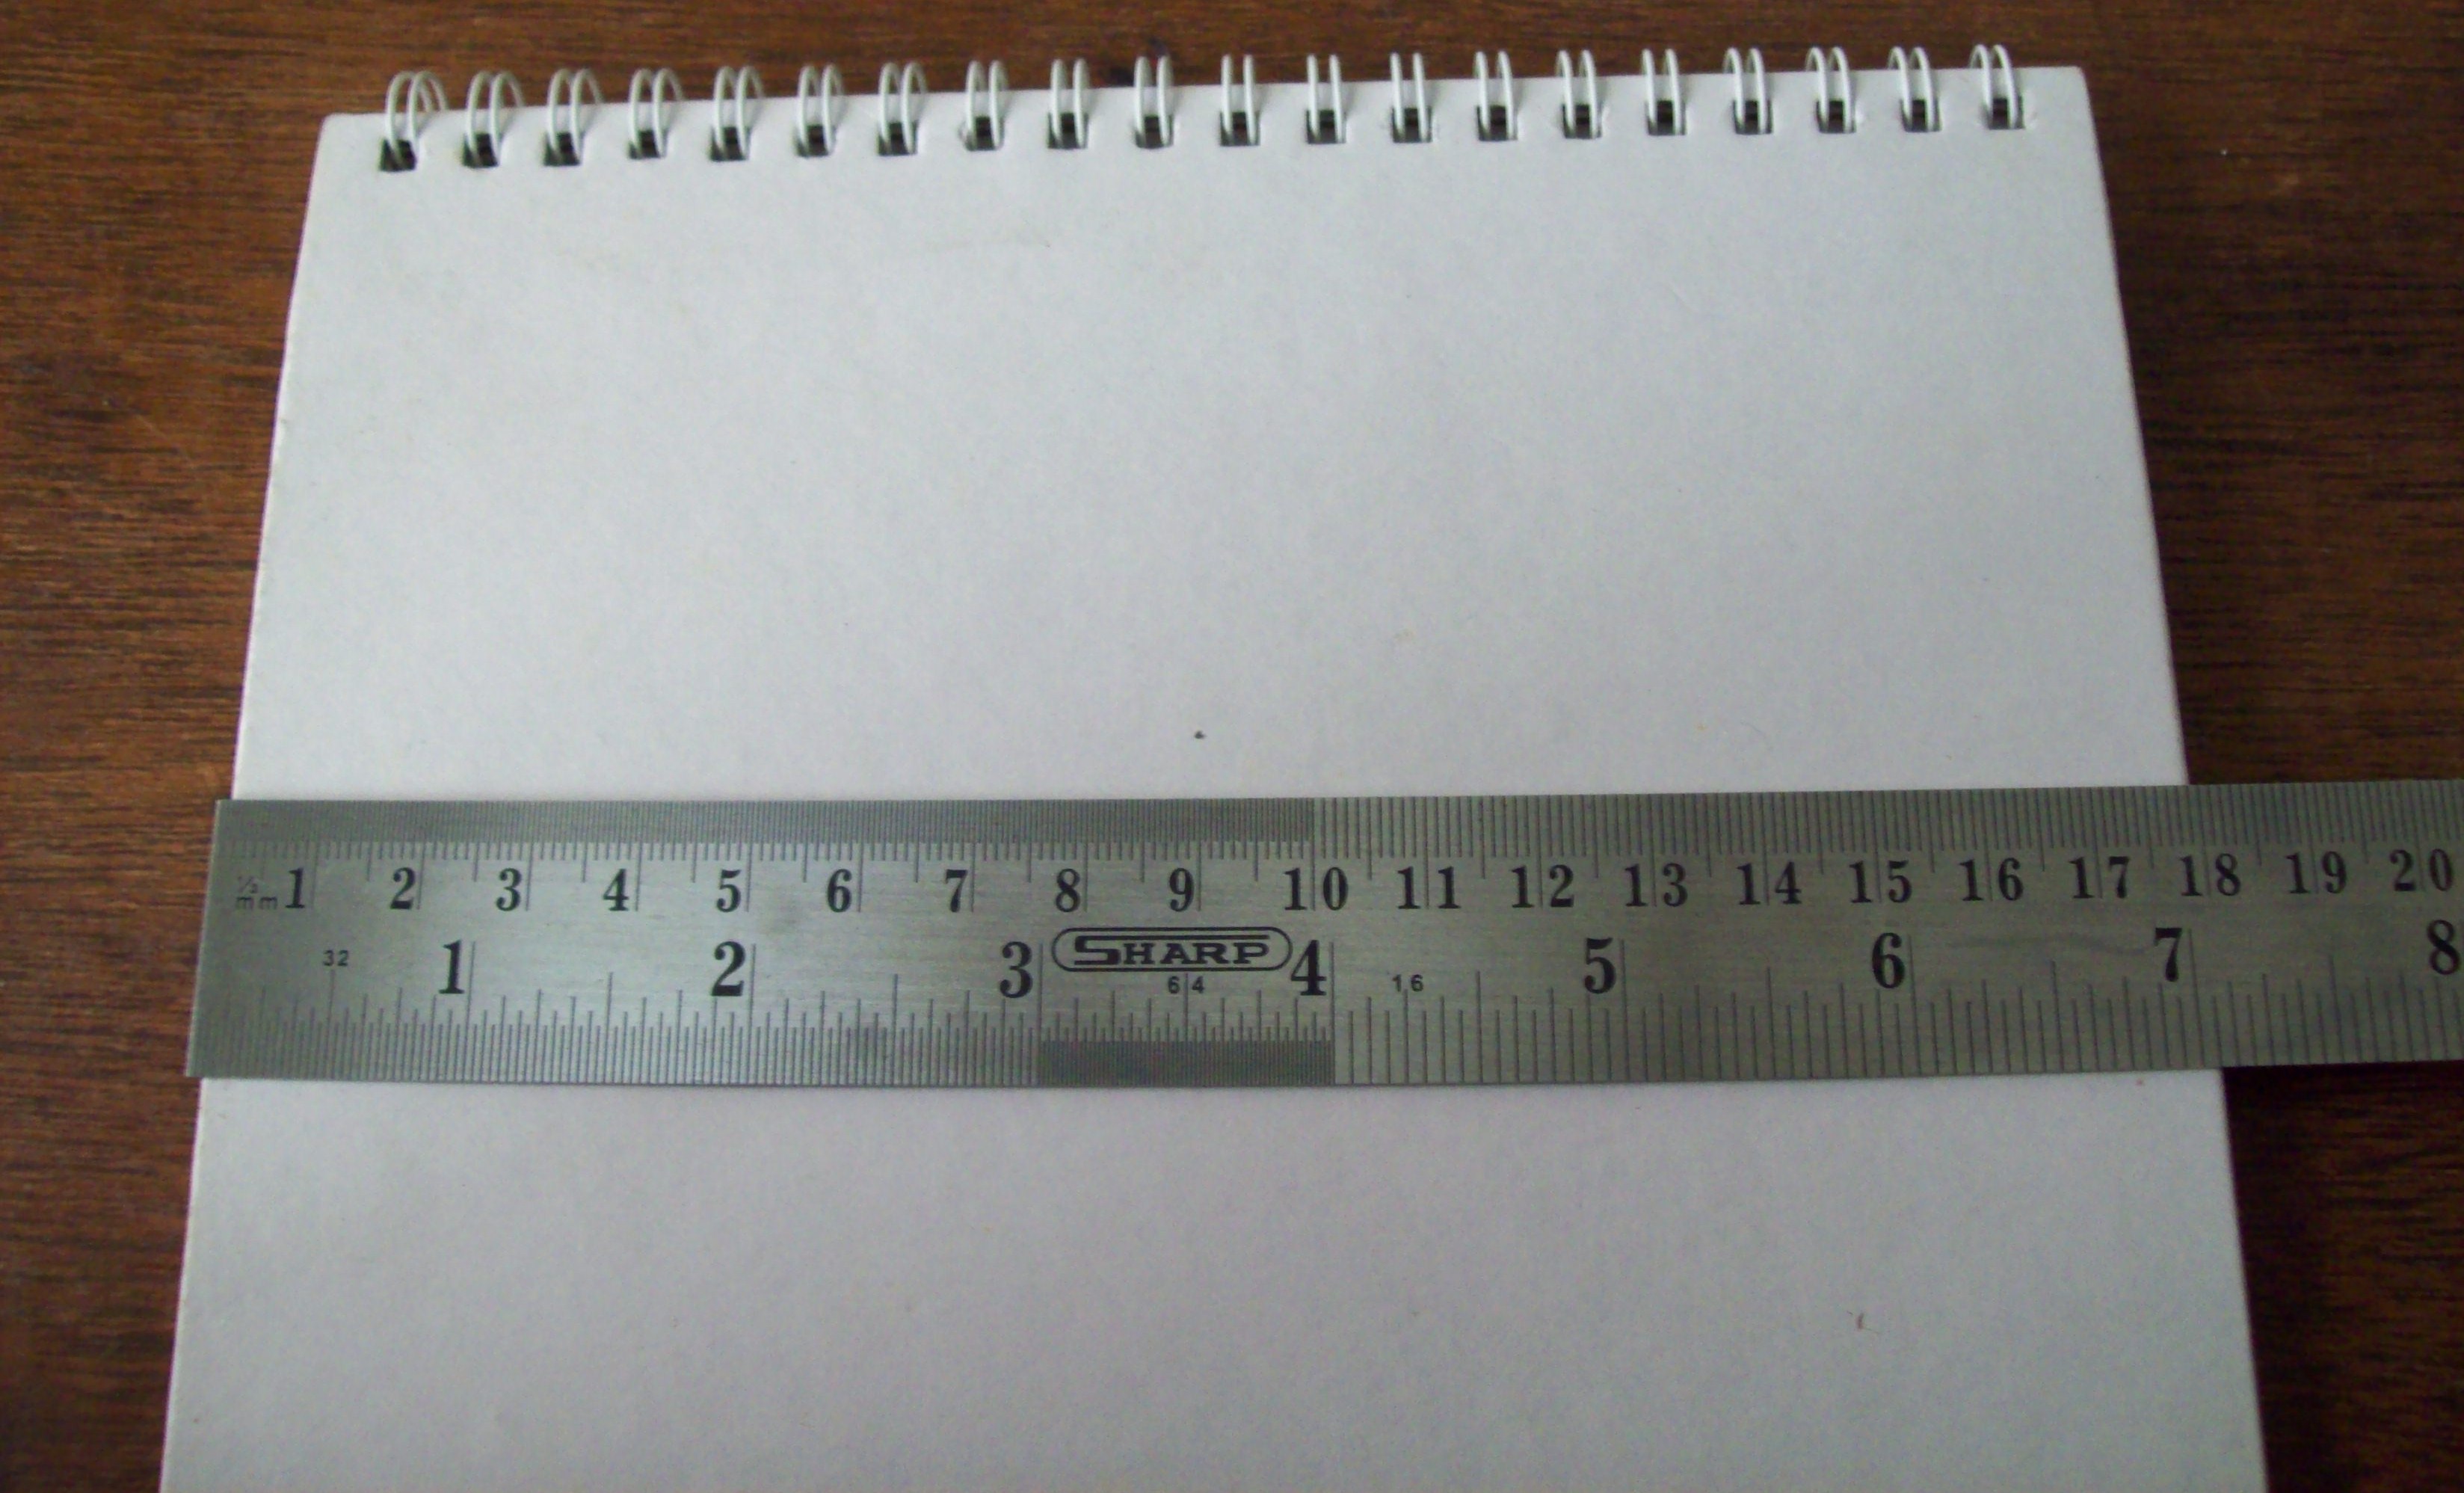
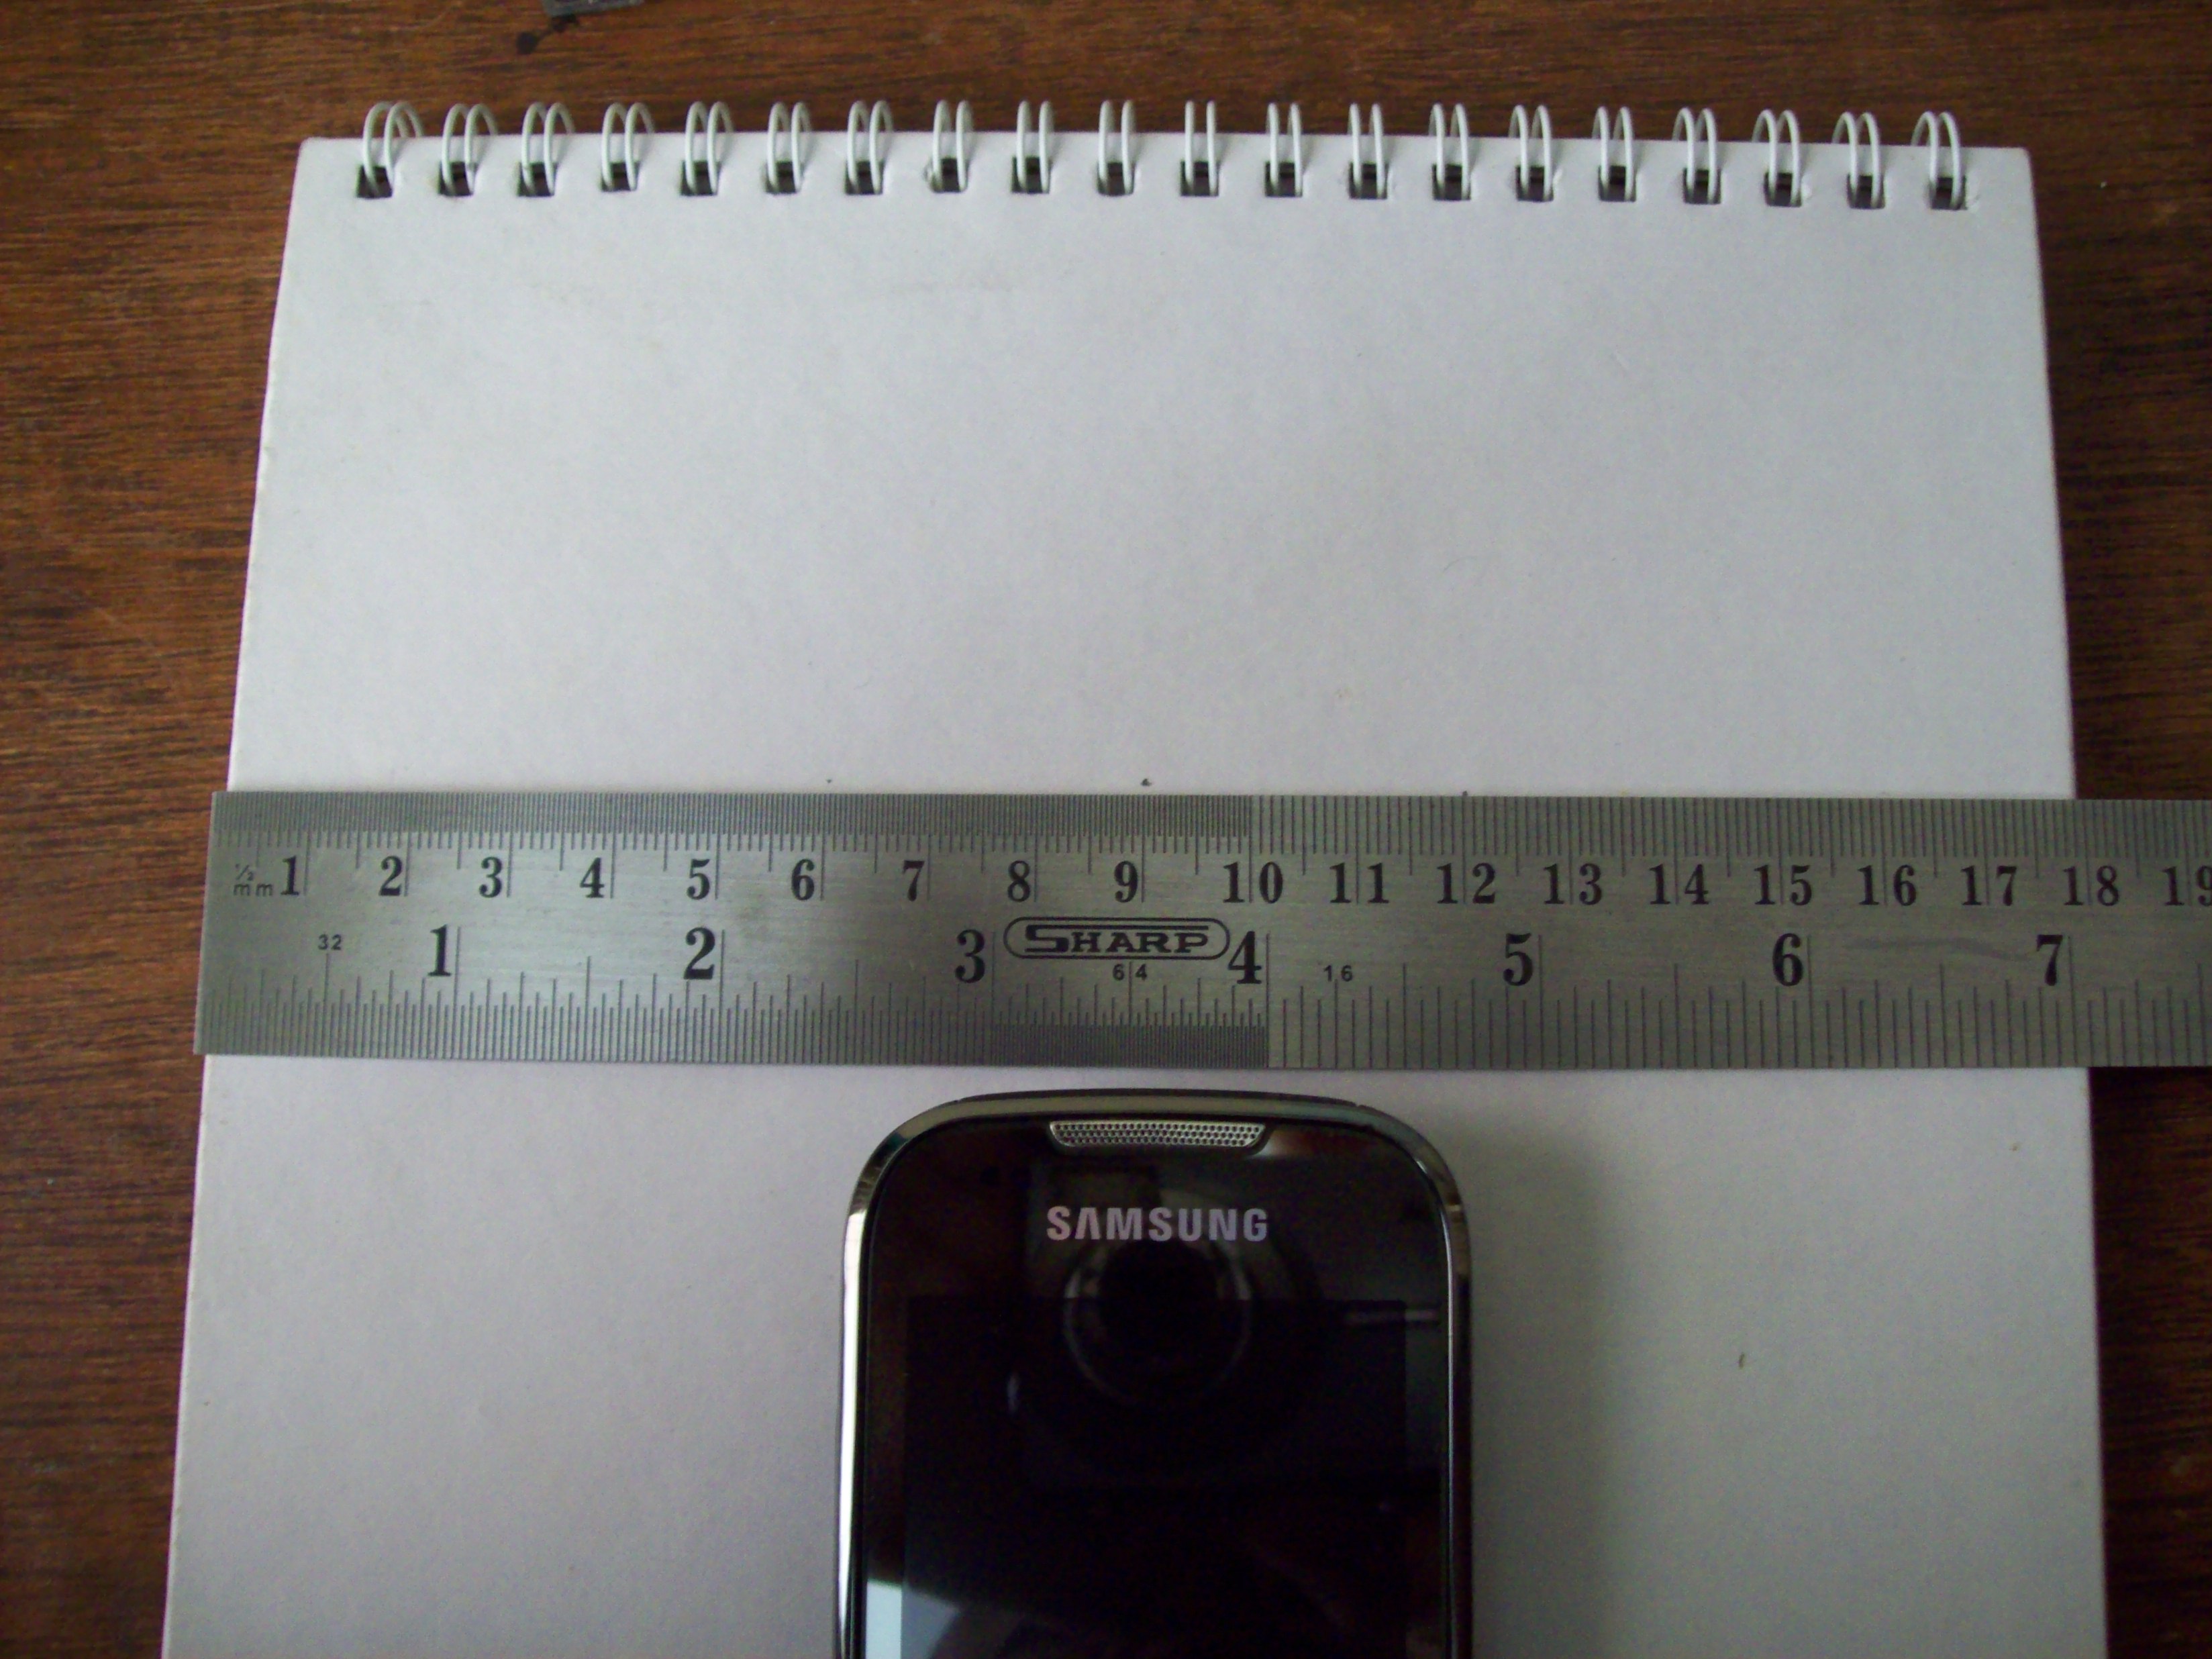
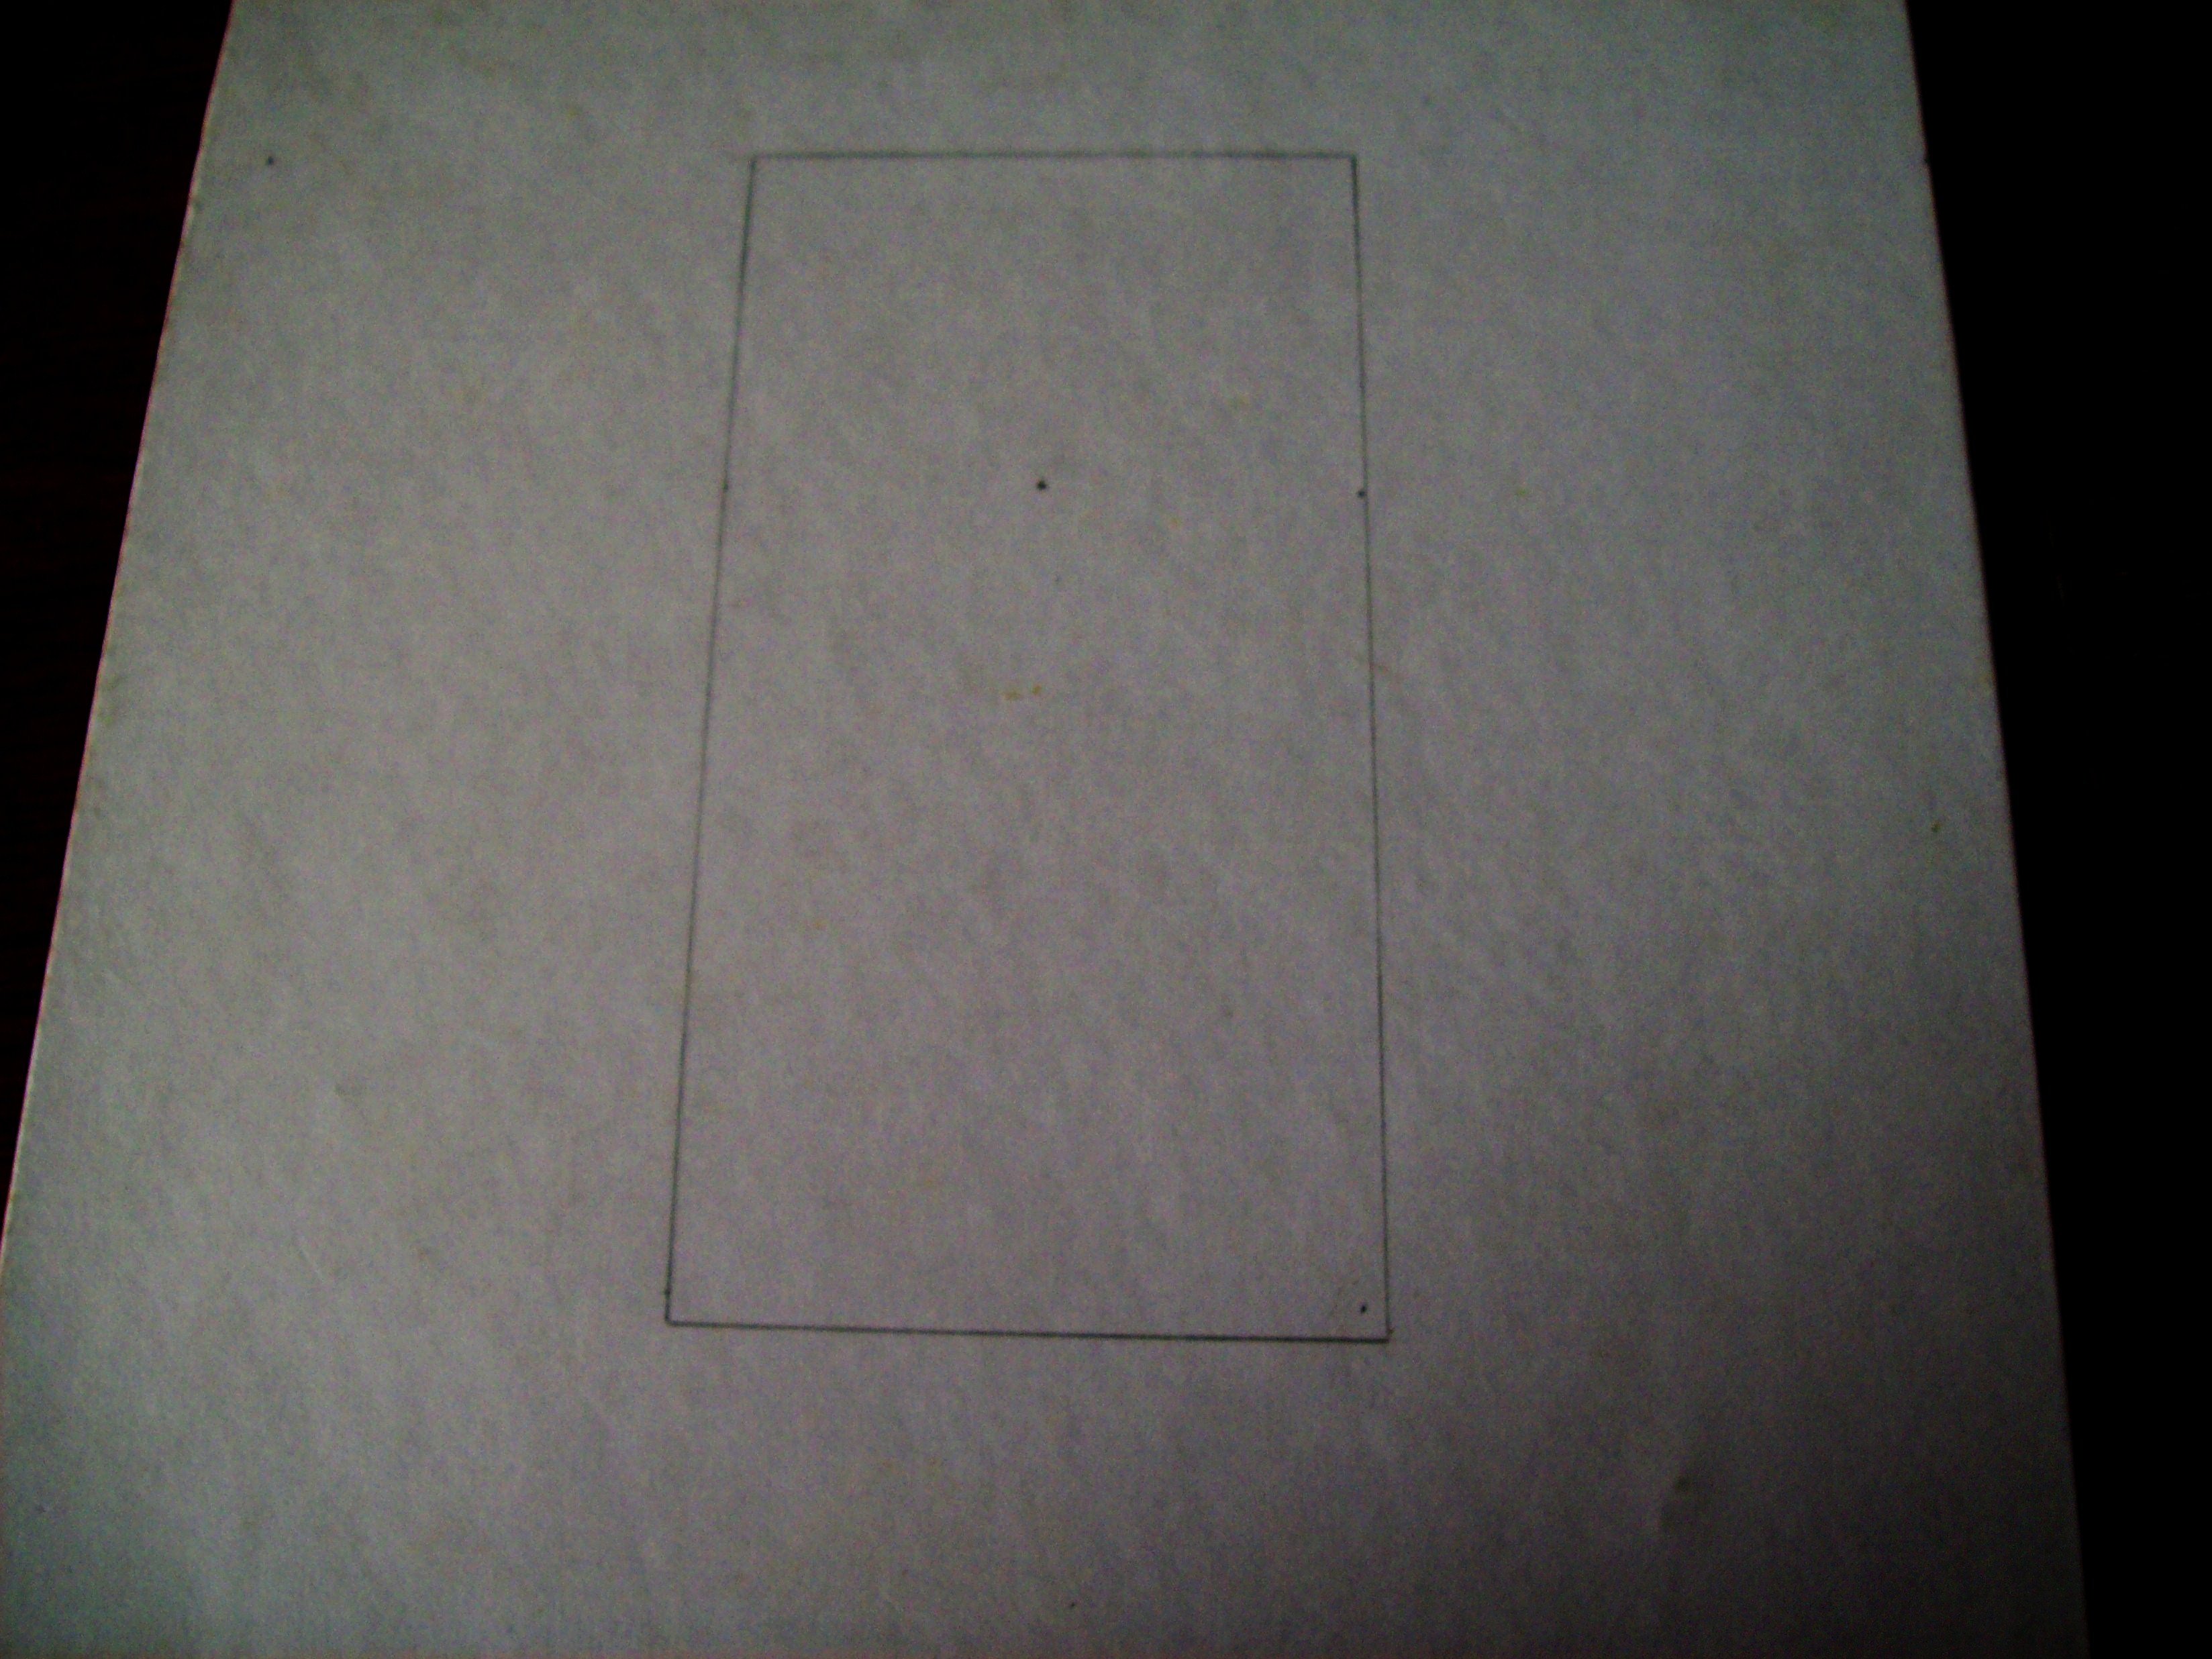
We need to make a window in the cardboard which is slightly larger then length & breadth of phone. It should be perfectly centered.
Pics 1. 2. & 3.
1. Mark the center with pencil.
2. Then align your cellphone with the mark. Now mark the sides of the phone. Make them more or less equidistant
from the center.
3.Make the rectangle complete.
Pics 1. 2. & 3.
1. Mark the center with pencil.
2. Then align your cellphone with the mark. Now mark the sides of the phone. Make them more or less equidistant
from the center.
3.Make the rectangle complete.
Cut Out the Rectangle
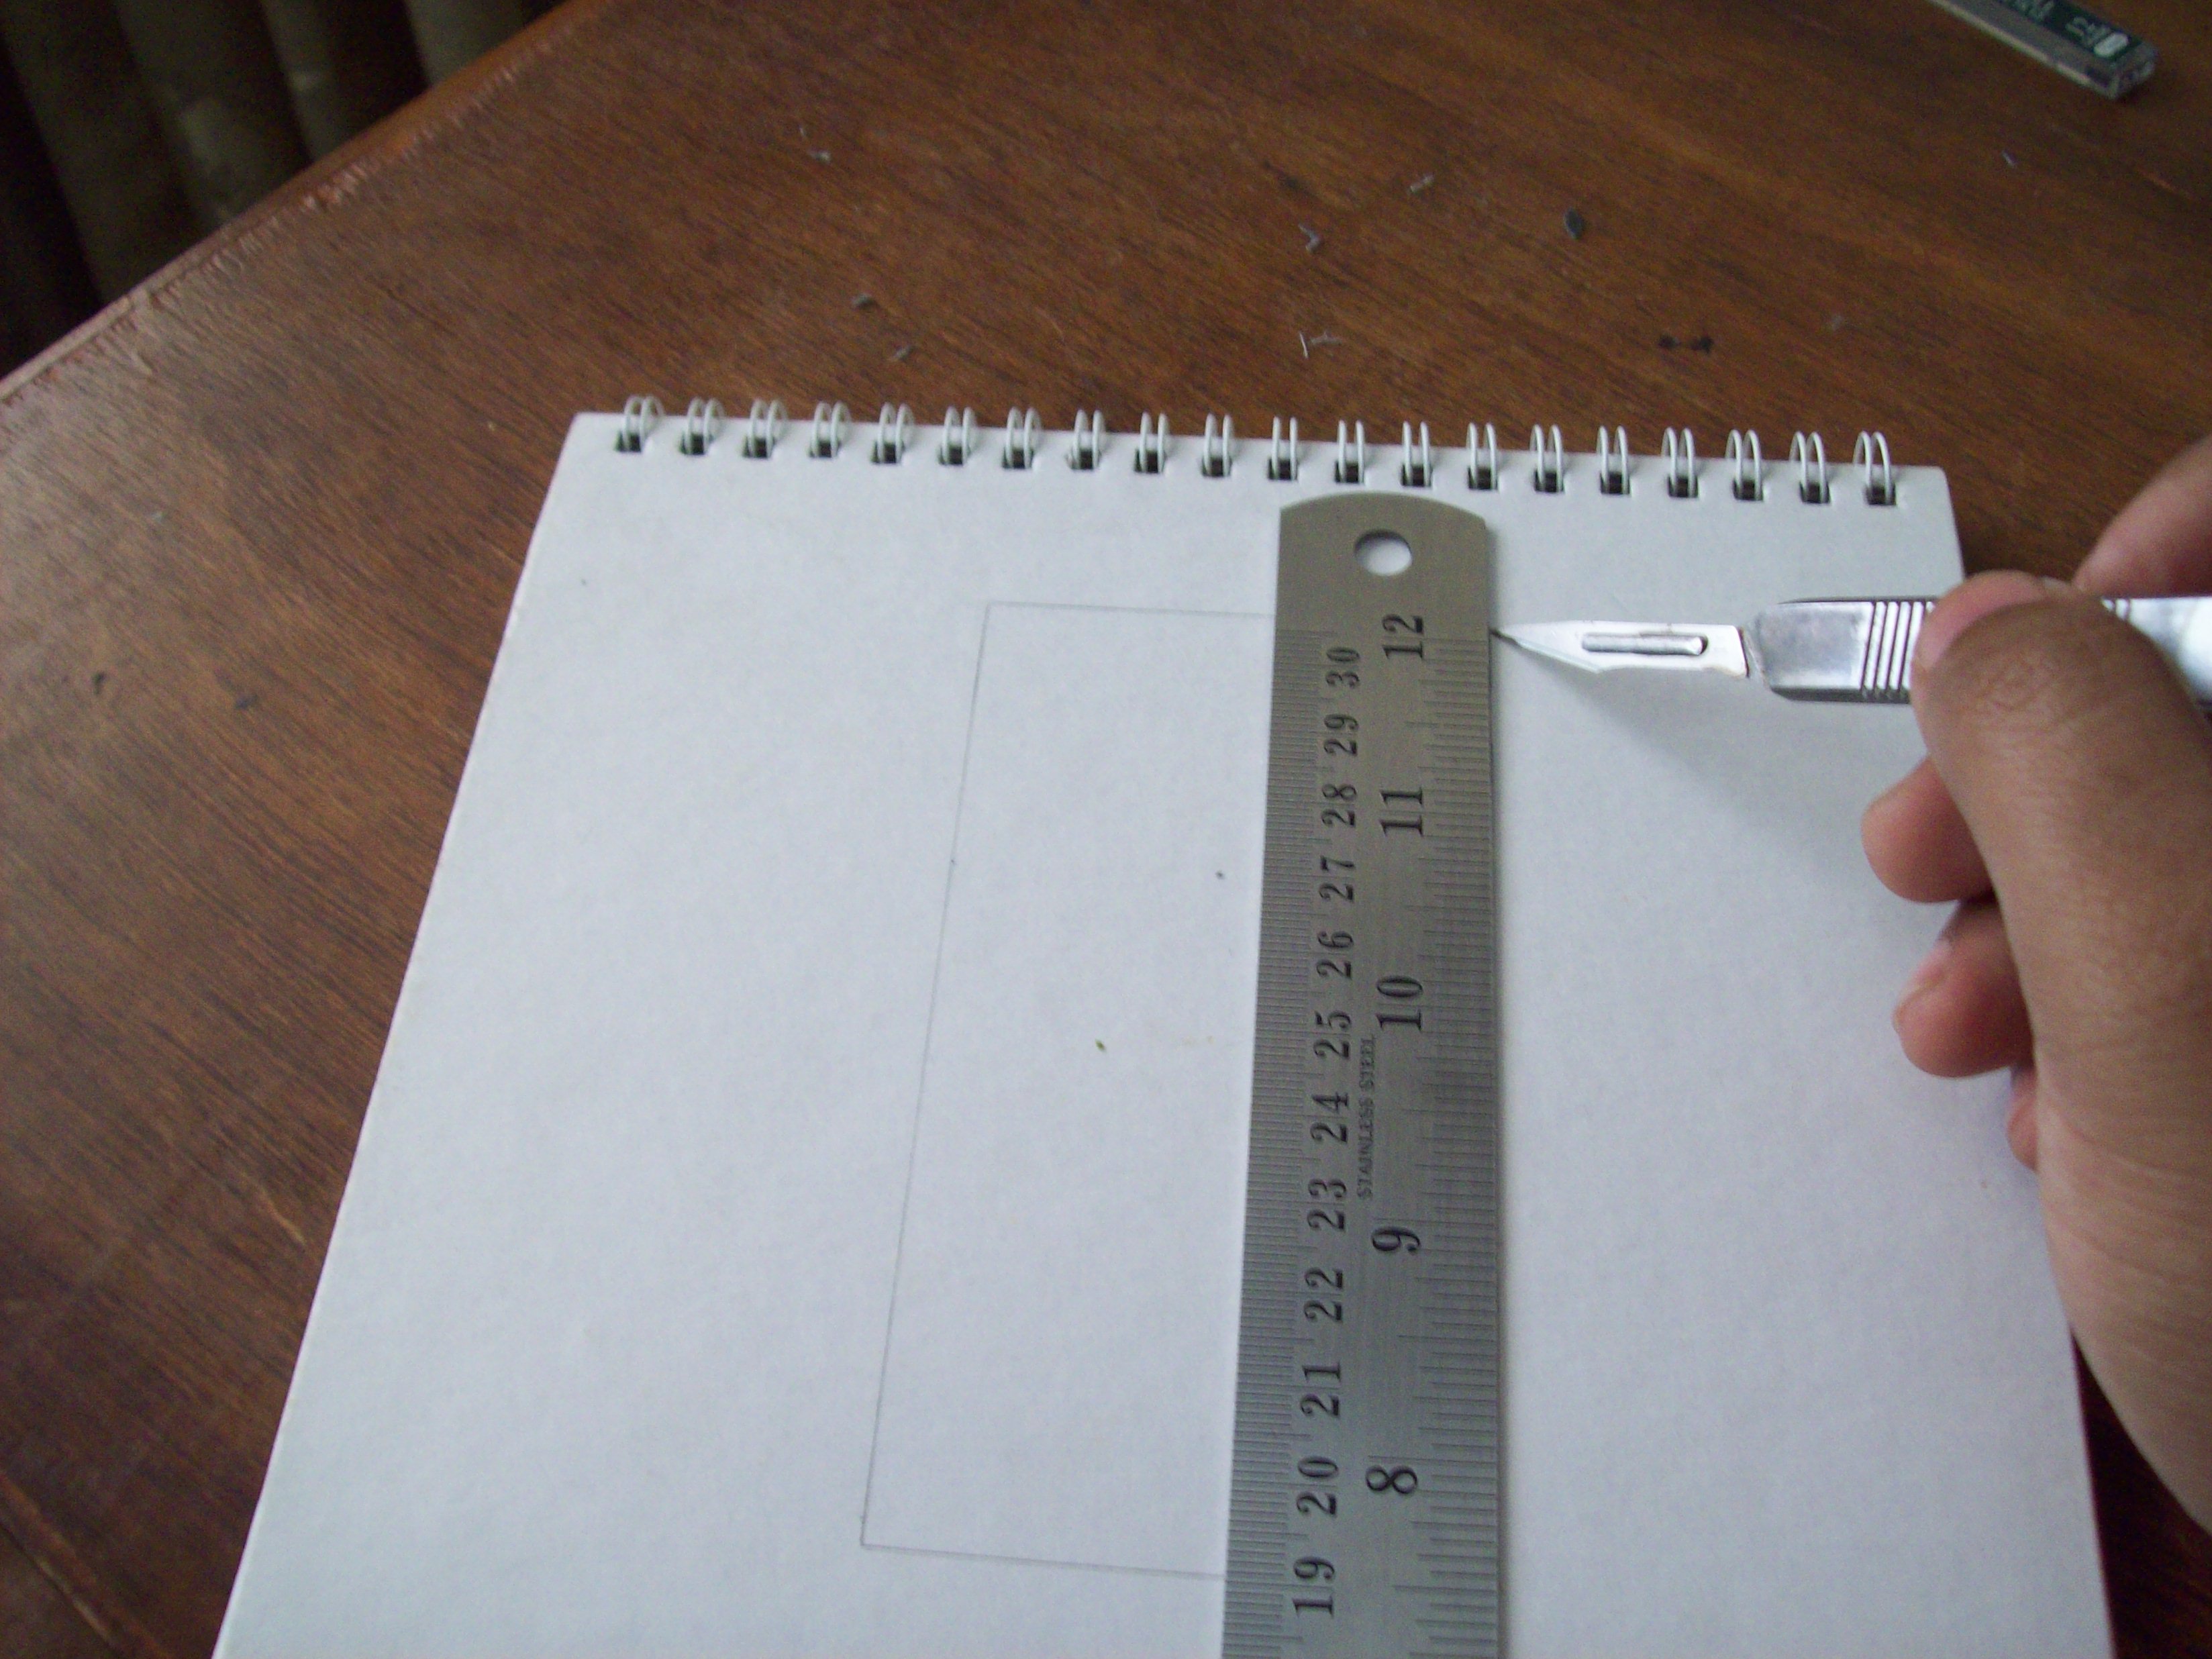
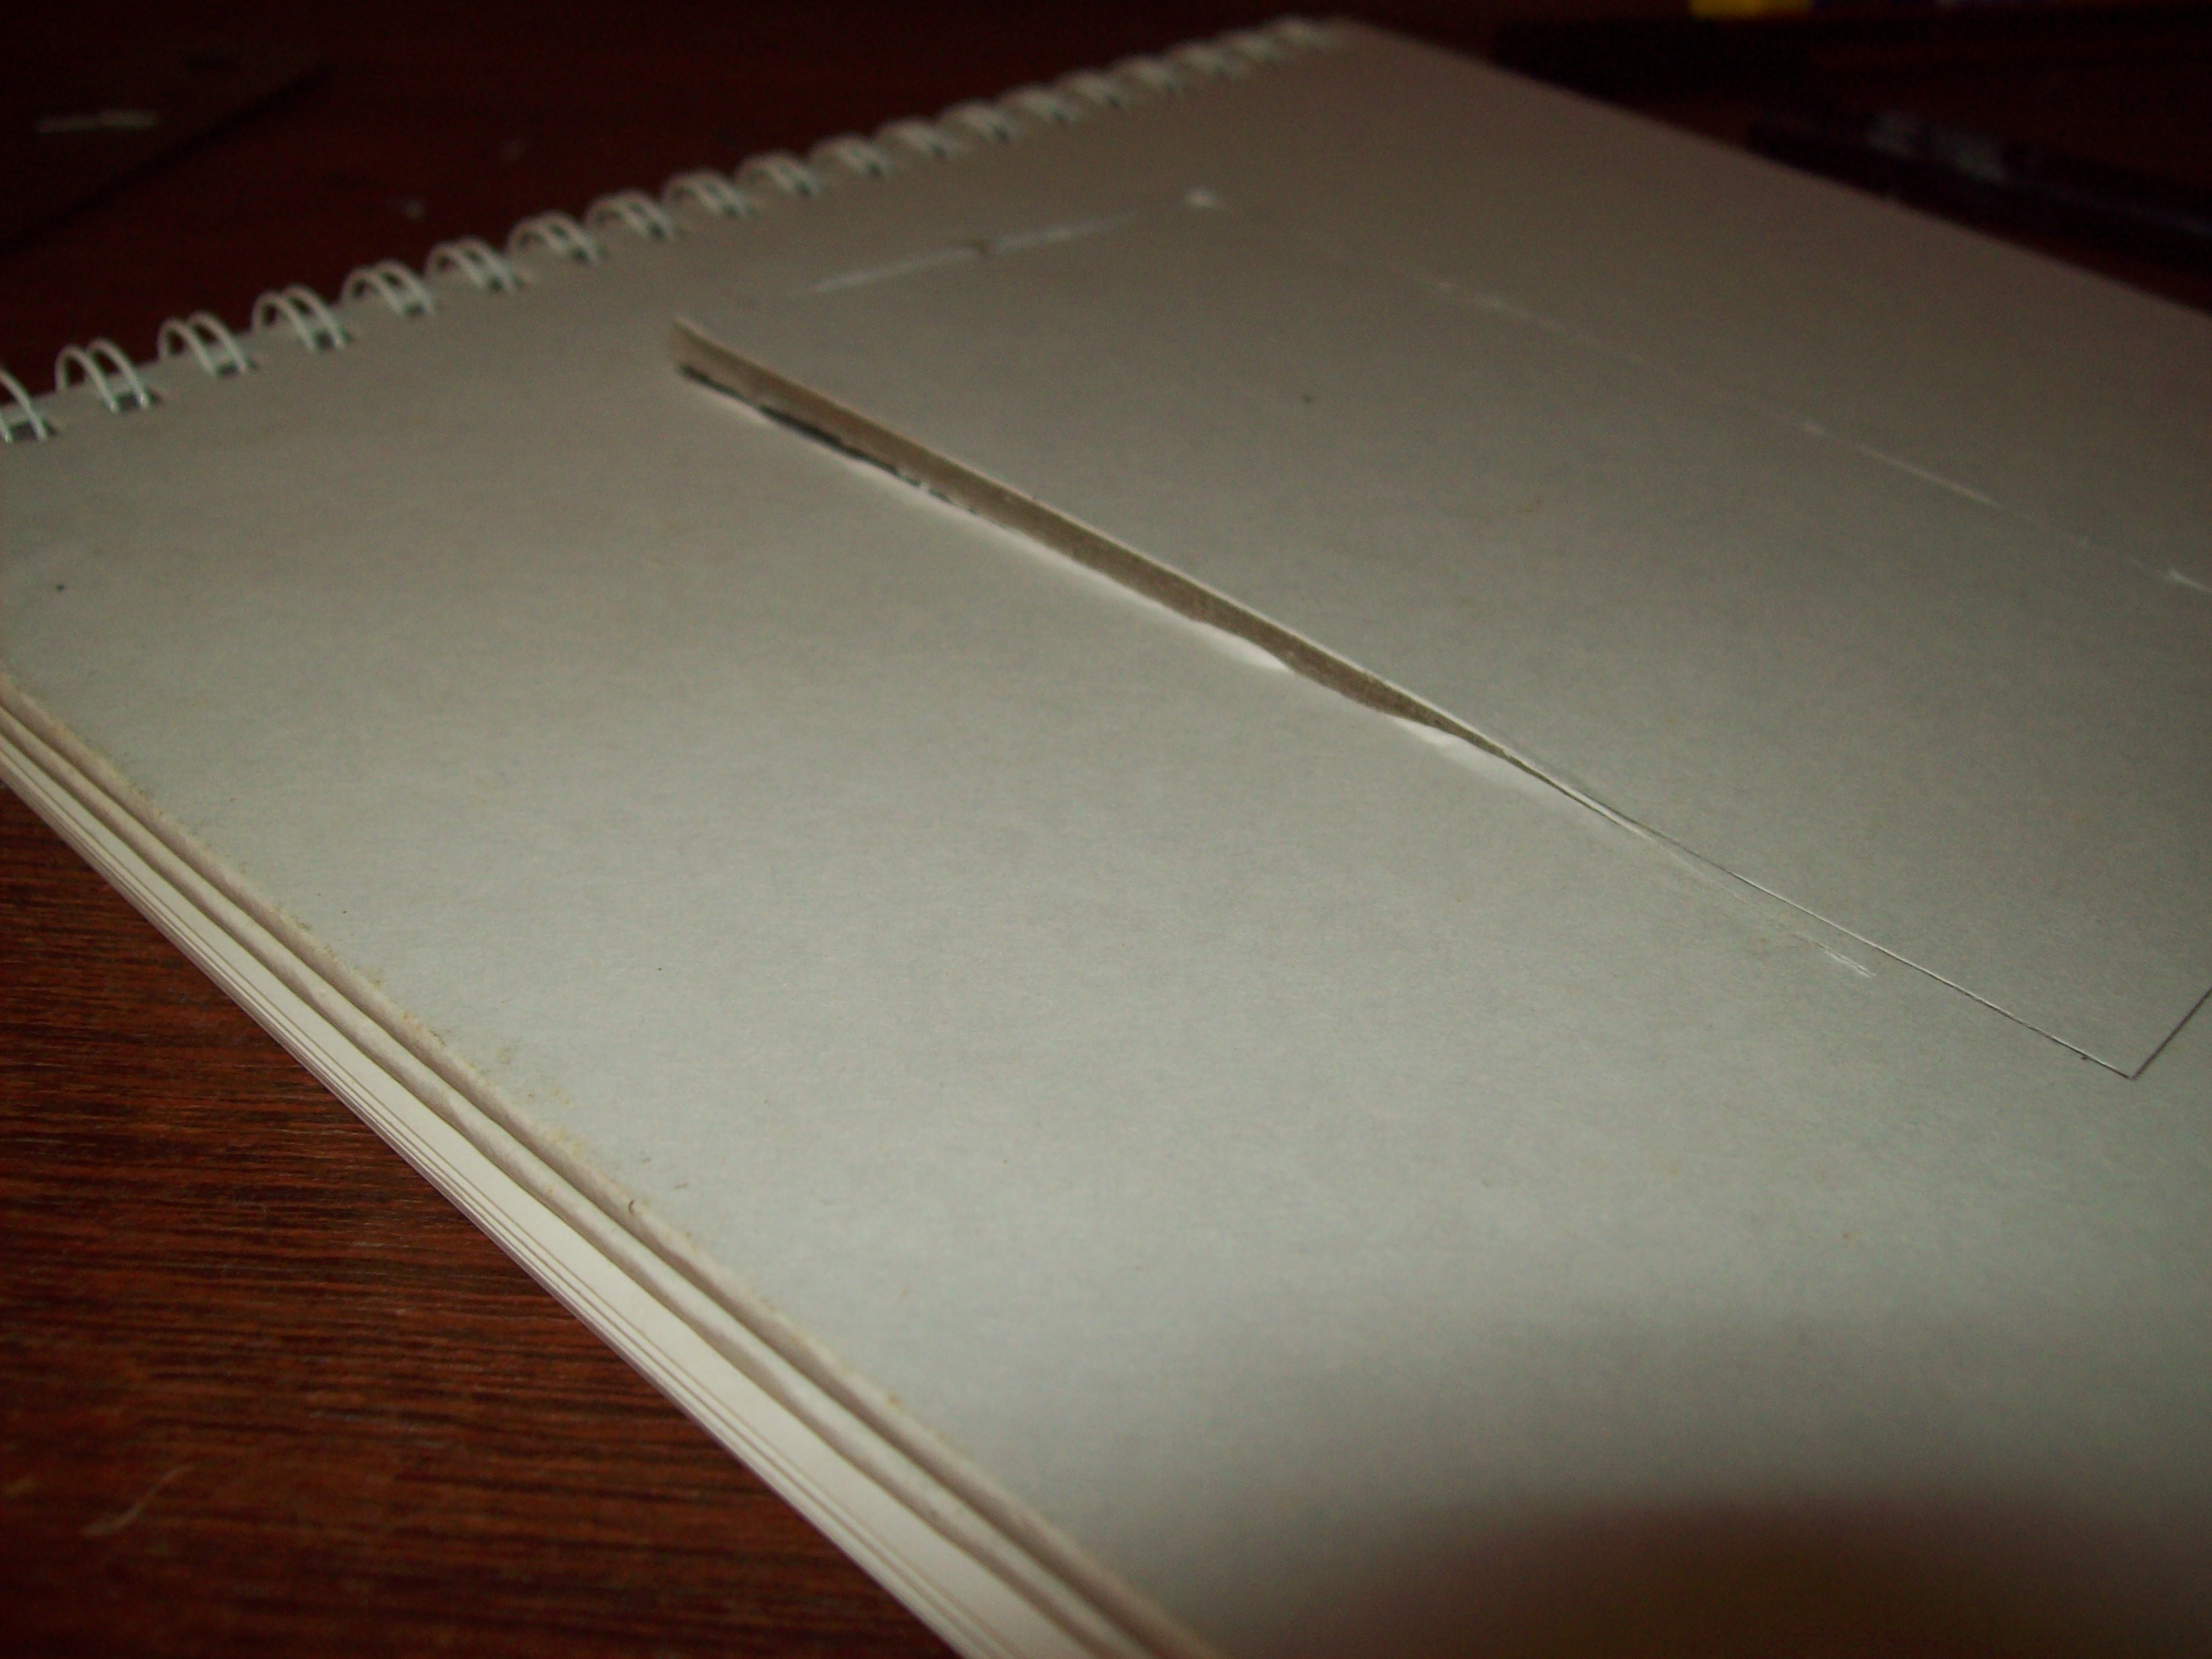
Using a ruler as a guide, cut out 3 sides of the rectangle.
Remember Cut only three sides. Right , Left and Top. We want the bottom portion to be intact so we can fold it later & make a base for the phone.
I didn't have a paper cutter so I used my scalpel.
Remember Cut only three sides. Right , Left and Top. We want the bottom portion to be intact so we can fold it later & make a base for the phone.
I didn't have a paper cutter so I used my scalpel.
Fold Cardboard to Make the Base Cradle
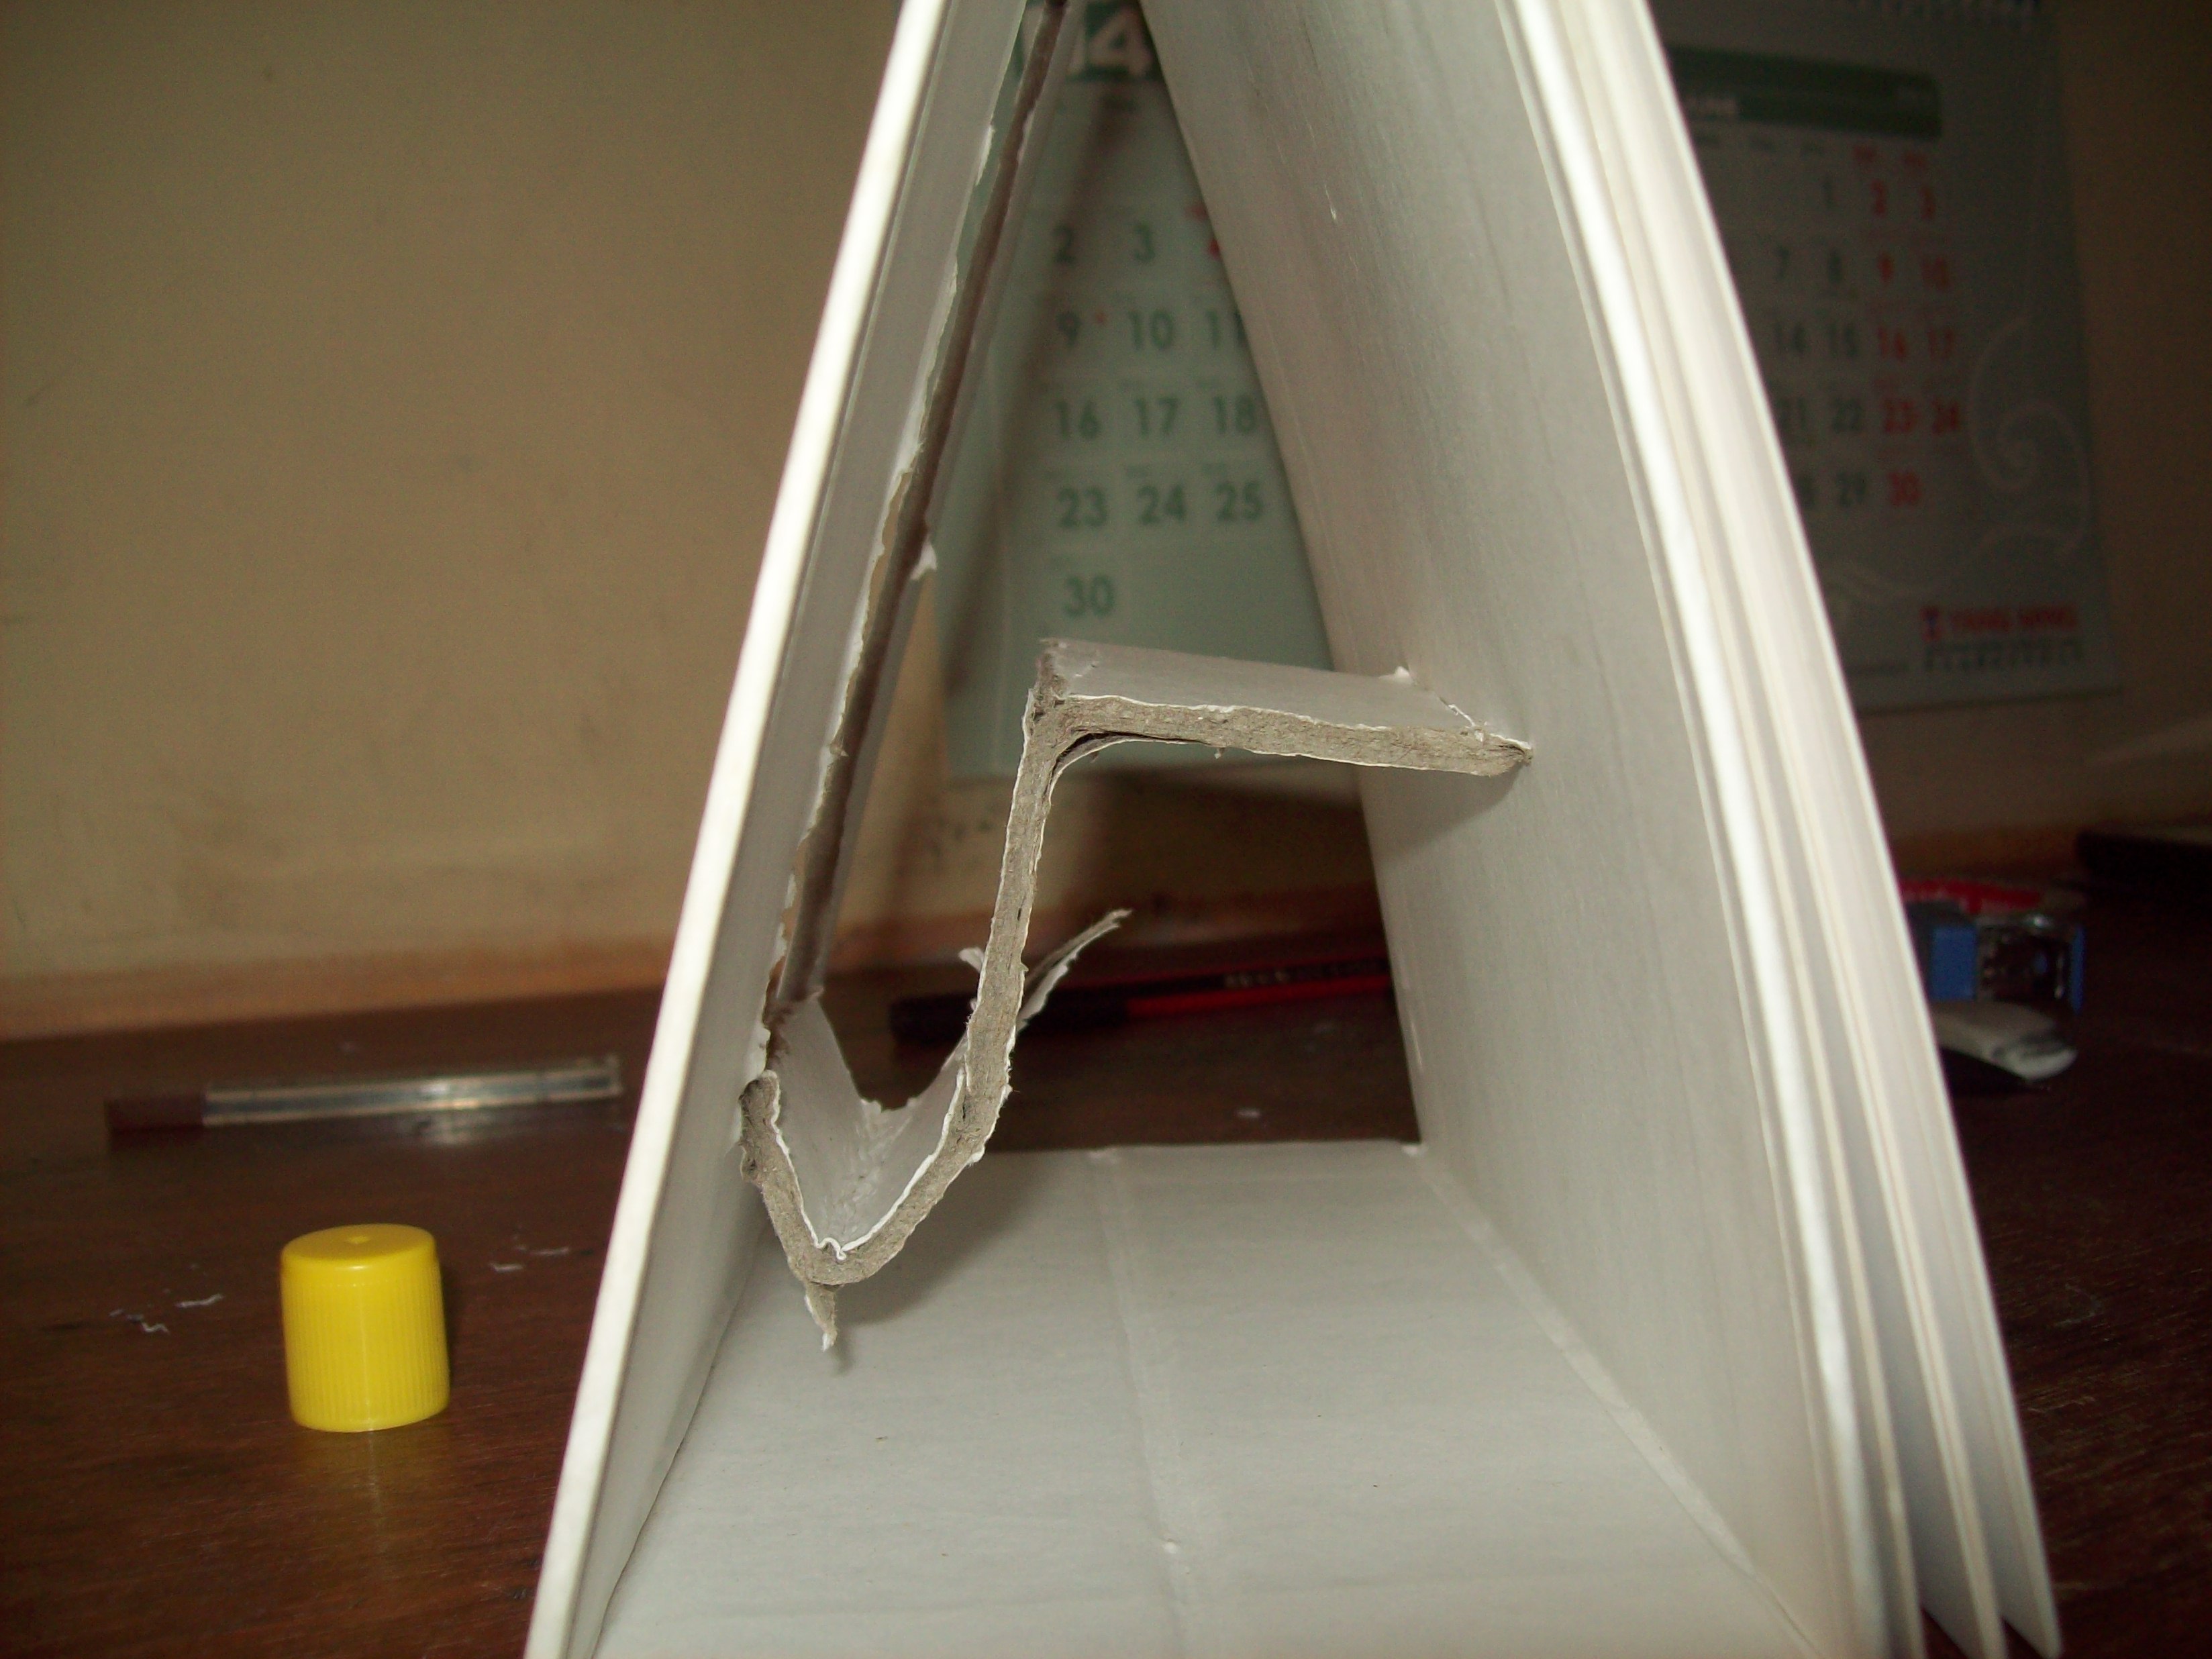
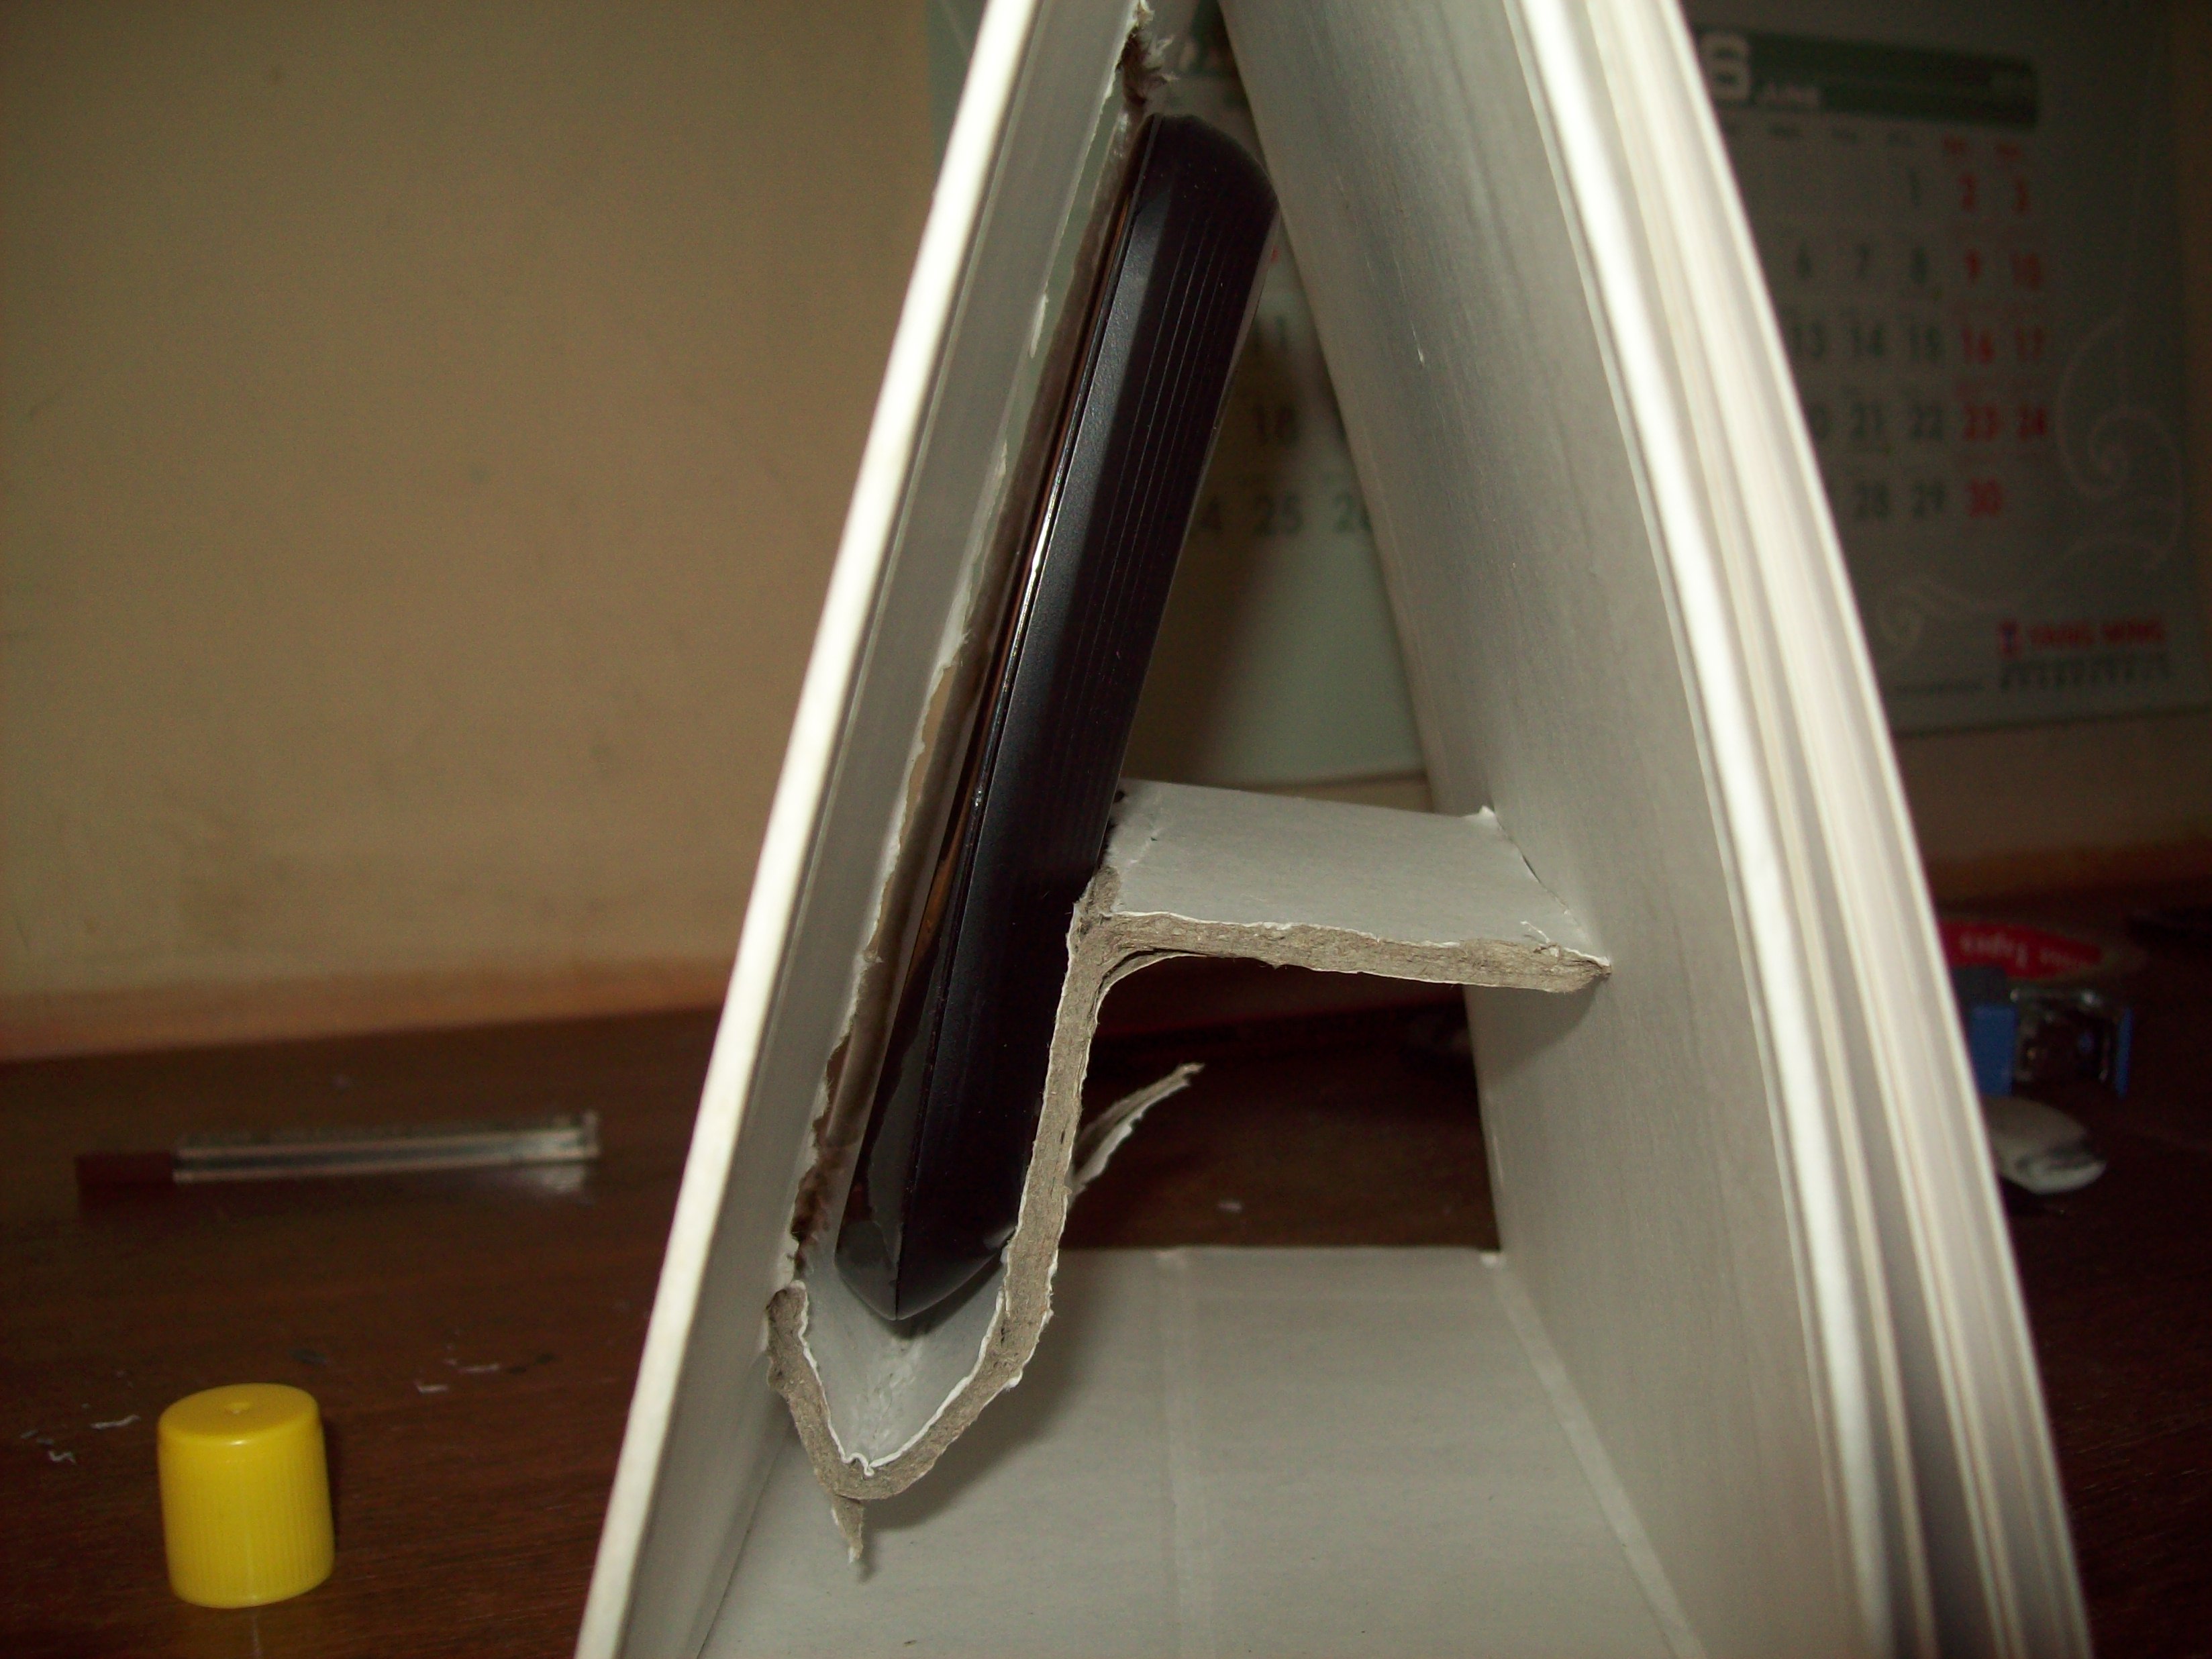
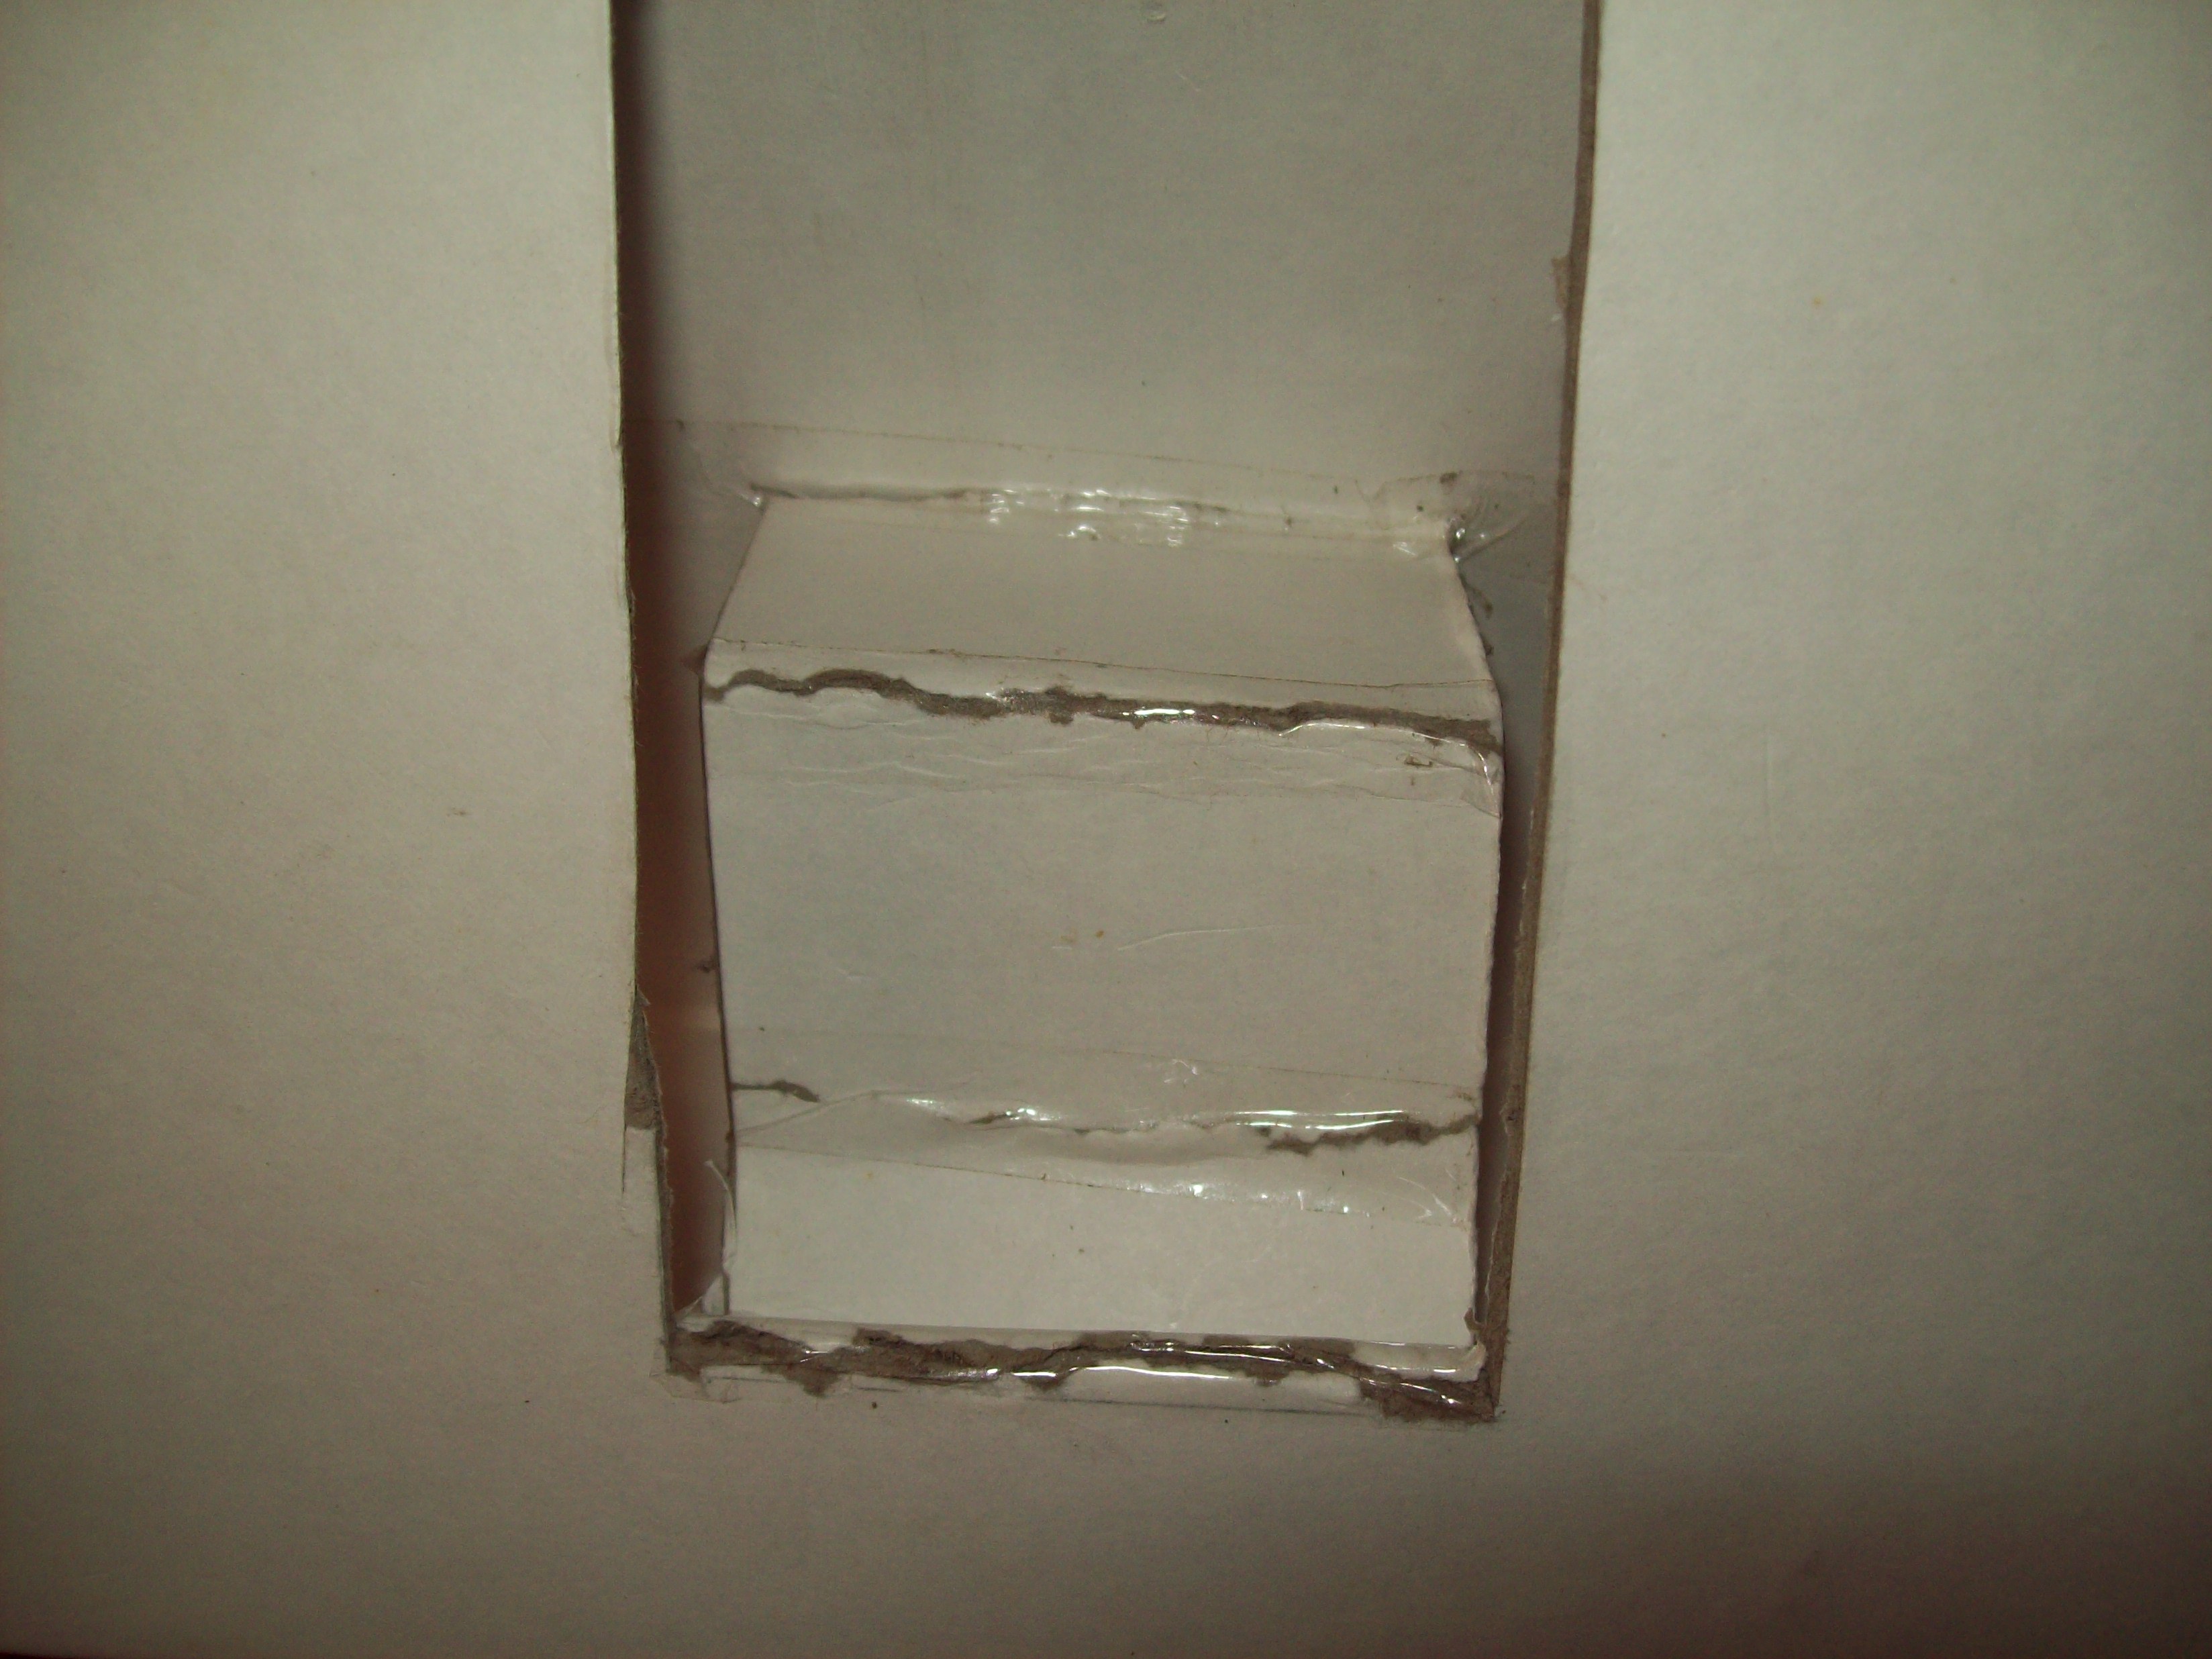
As shown in pictures 1, 2 & 3
1. Push the cutout portion inside & using roughly 2/3rd of it's length, bend and make a cradle out of it (This
depends on the design of your phone. My phone has a curved pointed base.)
Bend the Remaining 1/3rd portion towards the back. It will act like an anchor and provide support. Secure with
tape.
2. Place the phone inside and check if it fits perfectly in the cradle.
3. Stick tape over the folded bends.
Make Side Walls
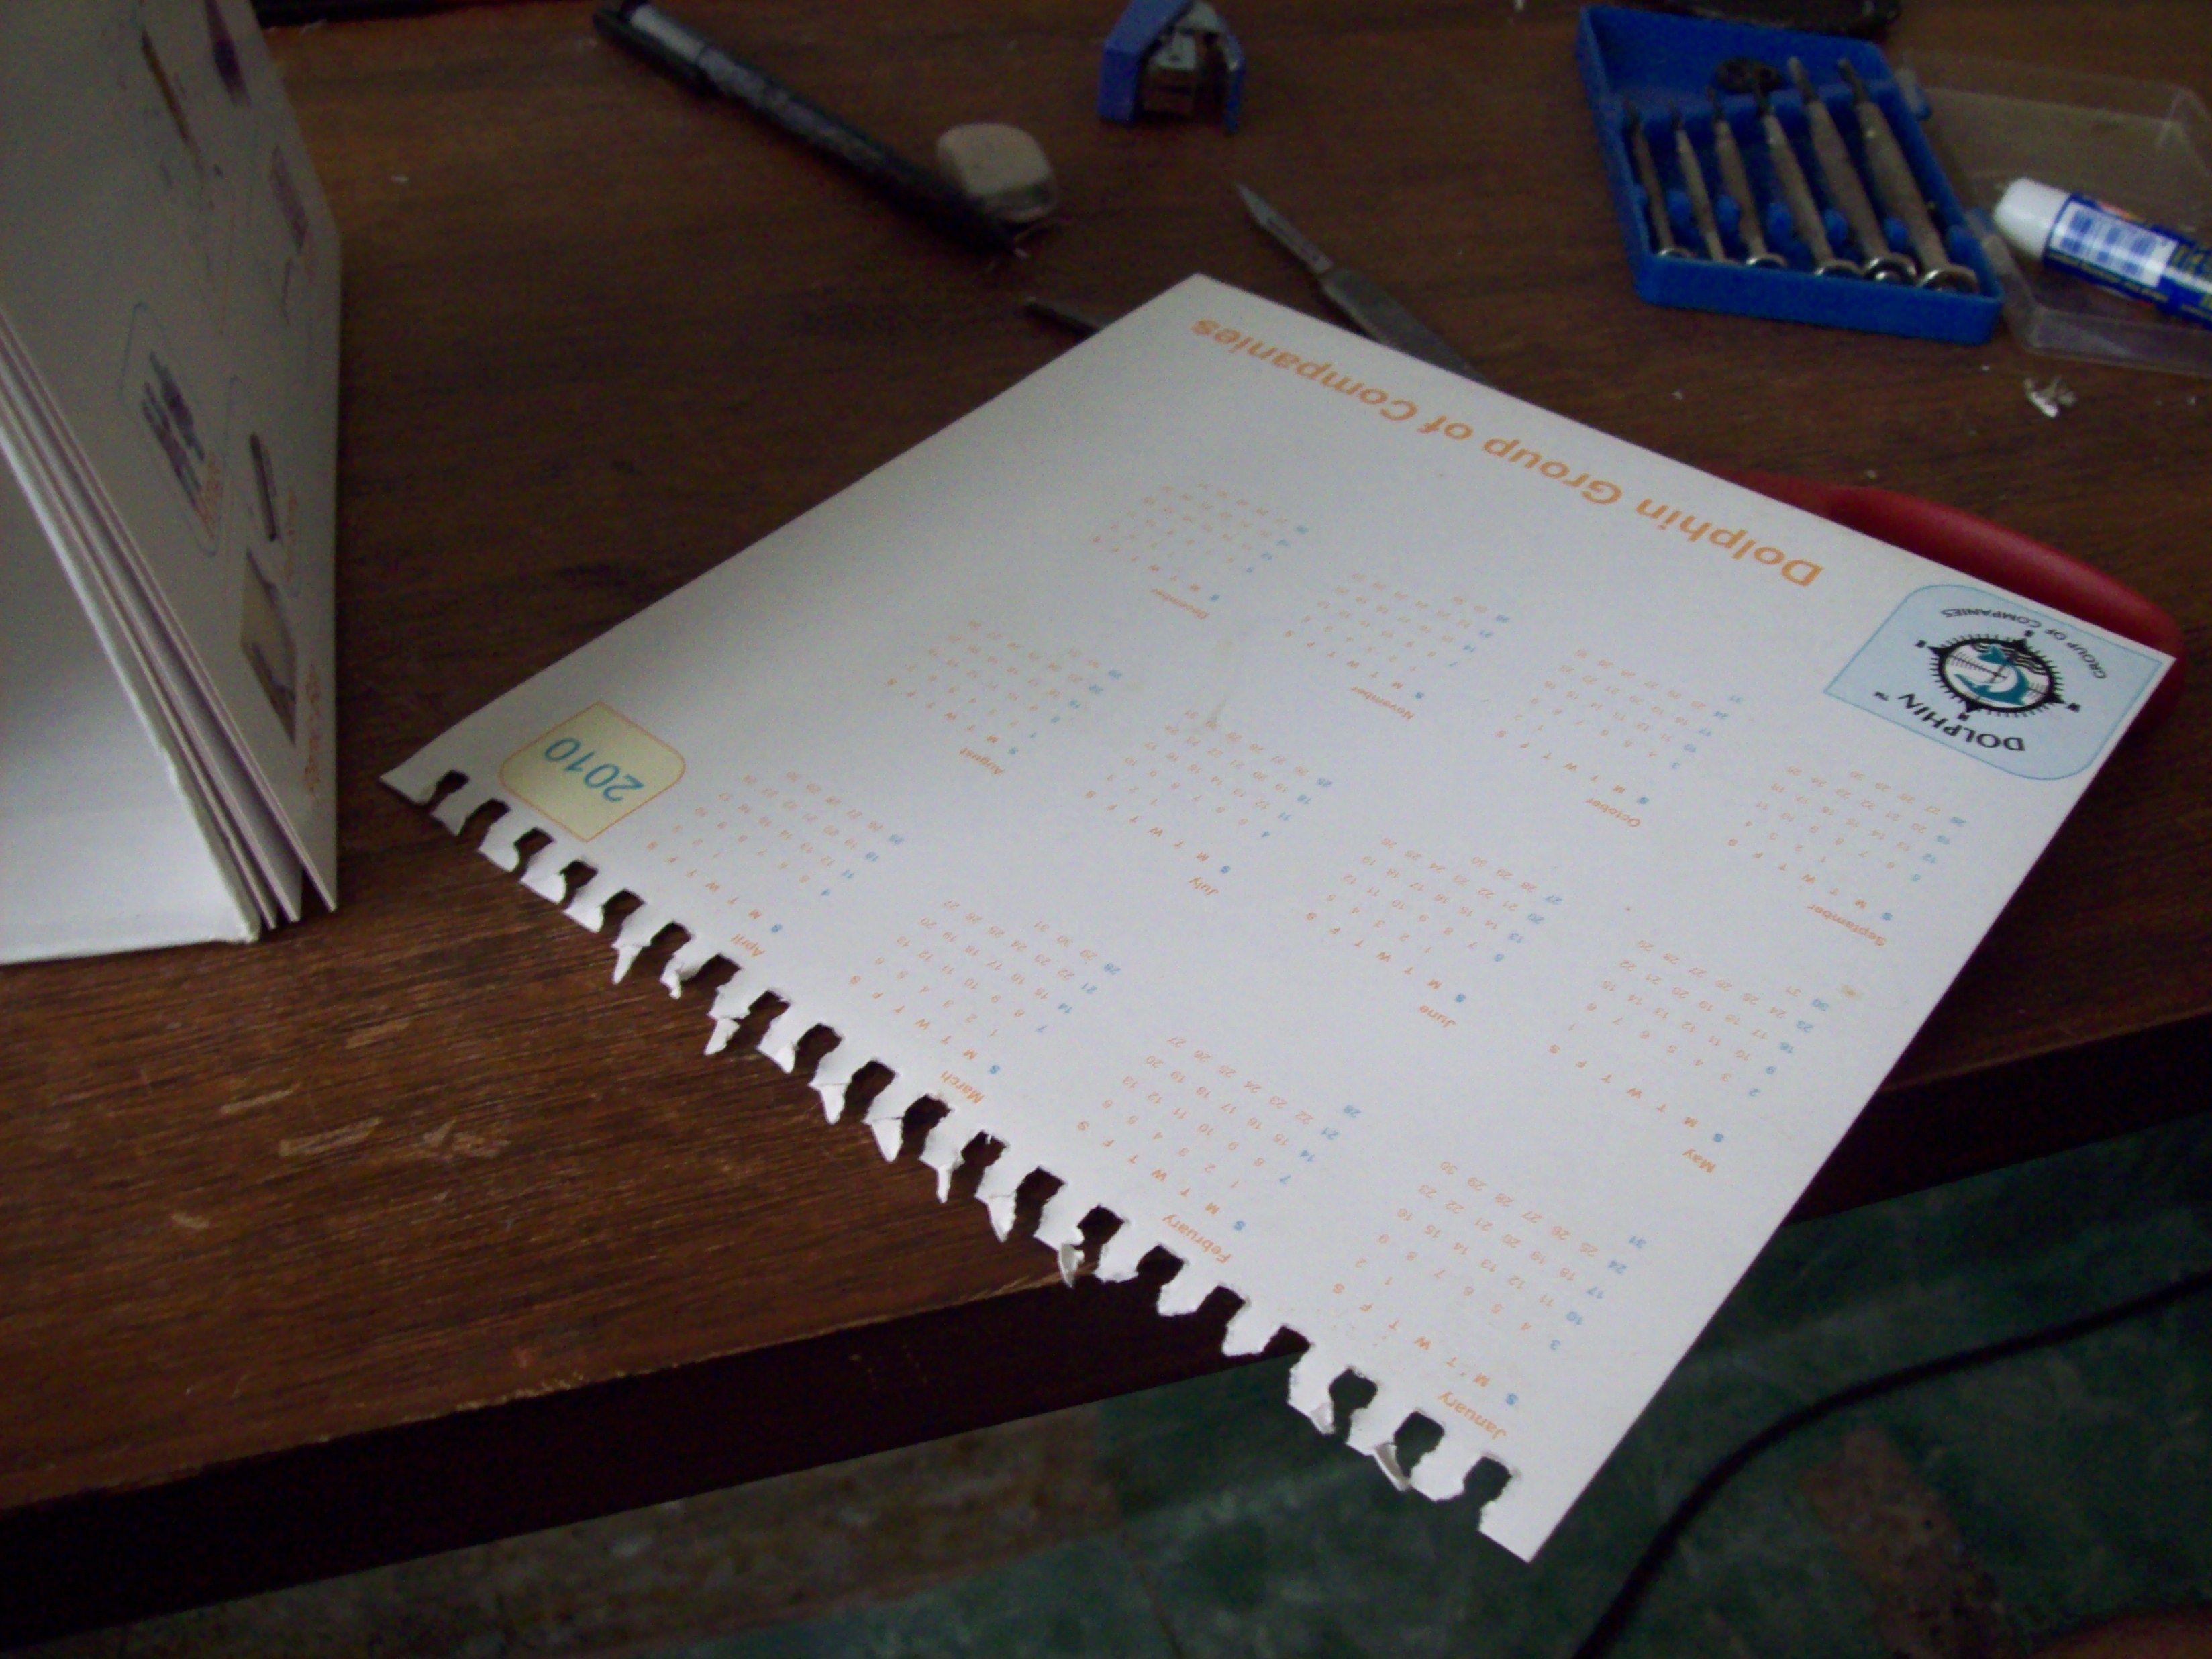
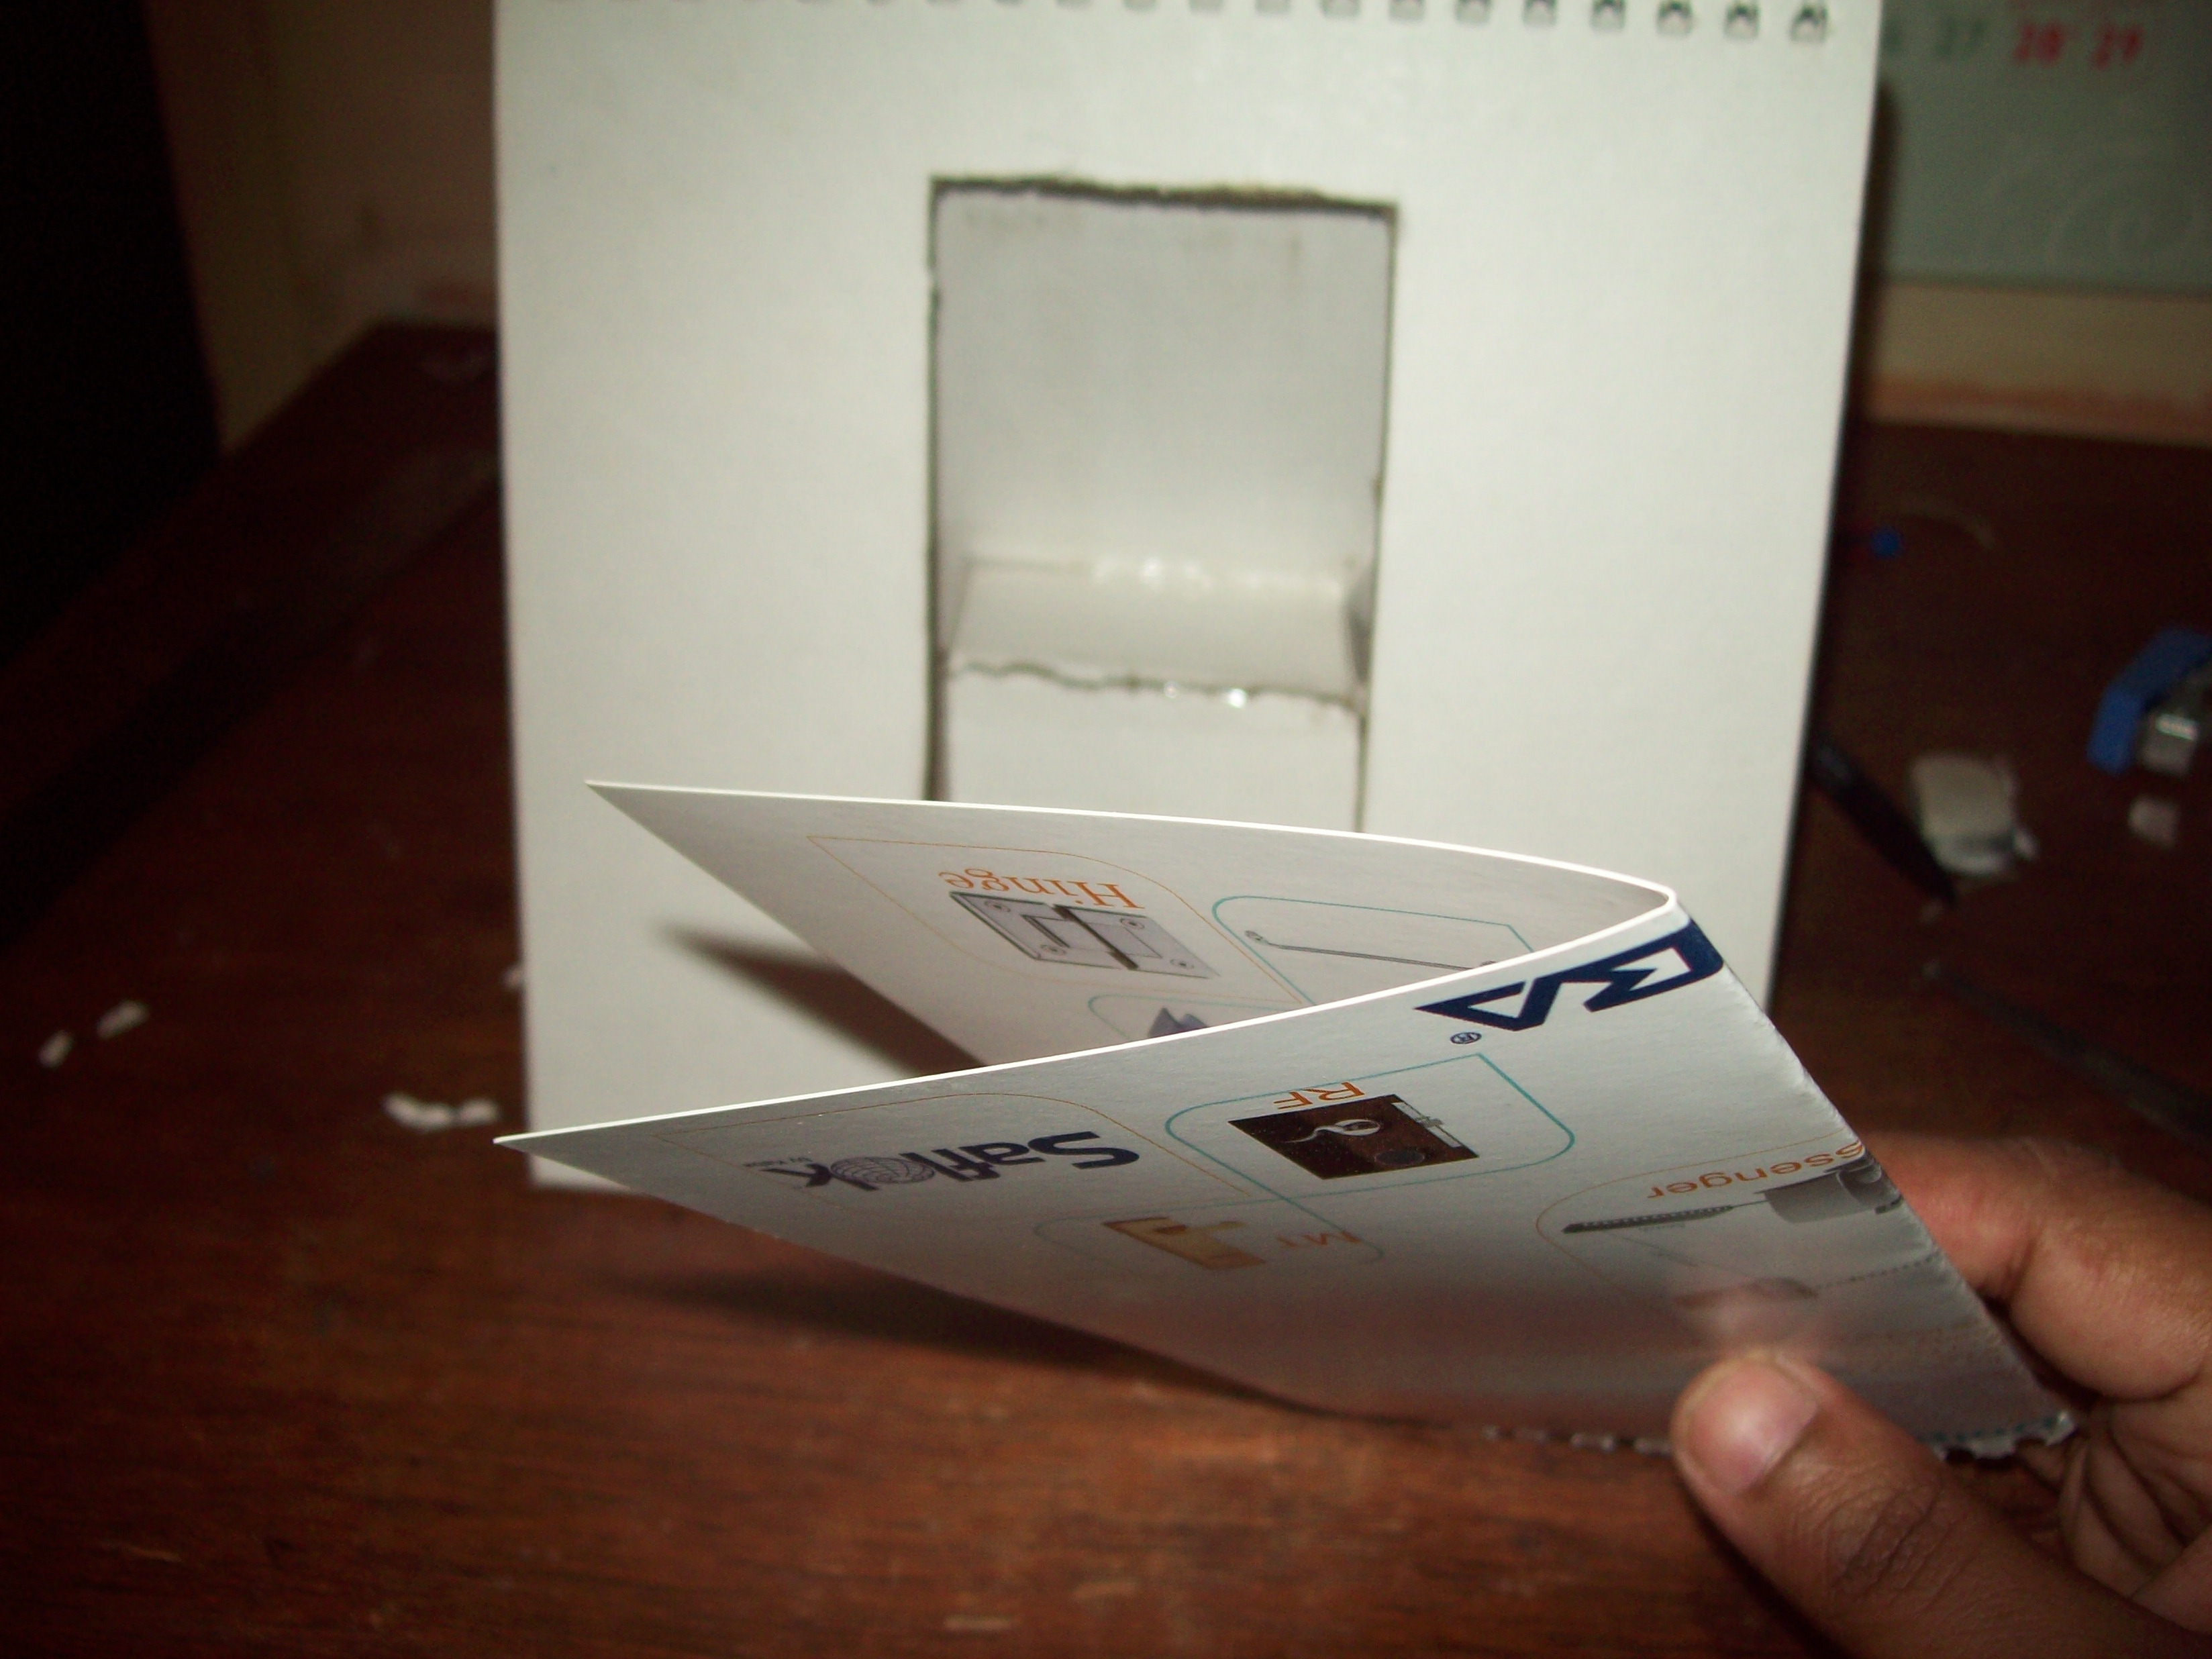
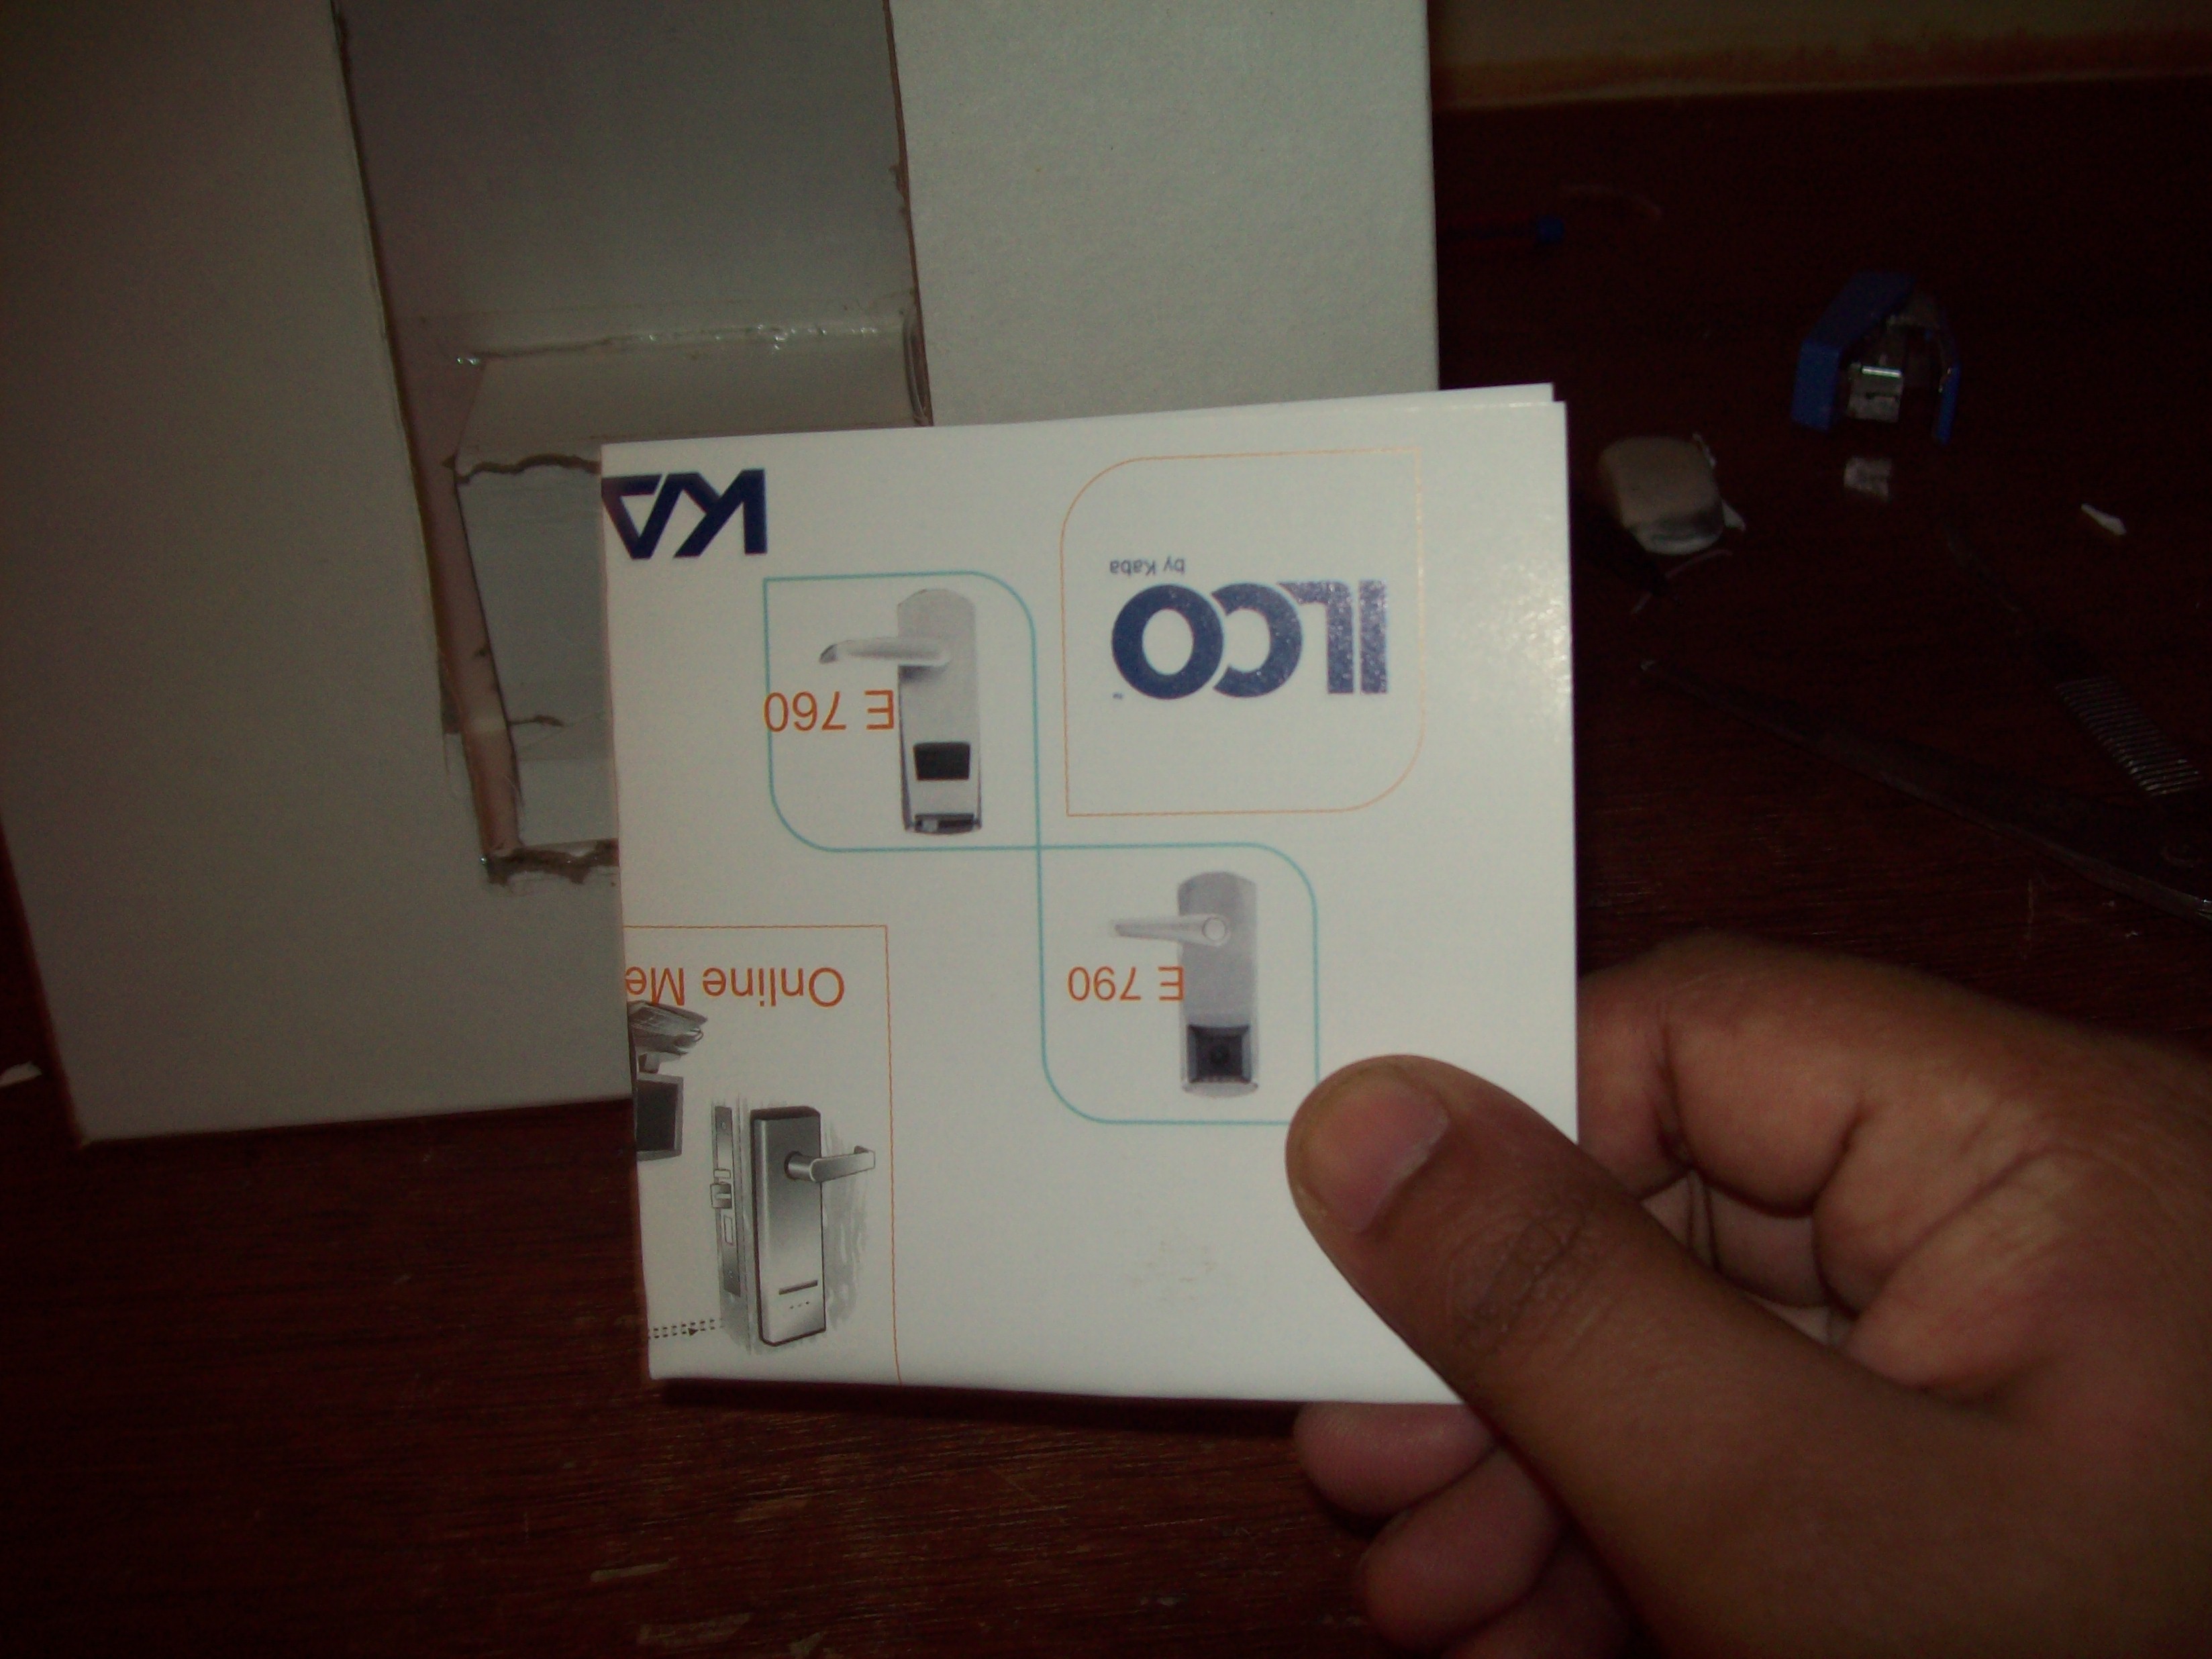
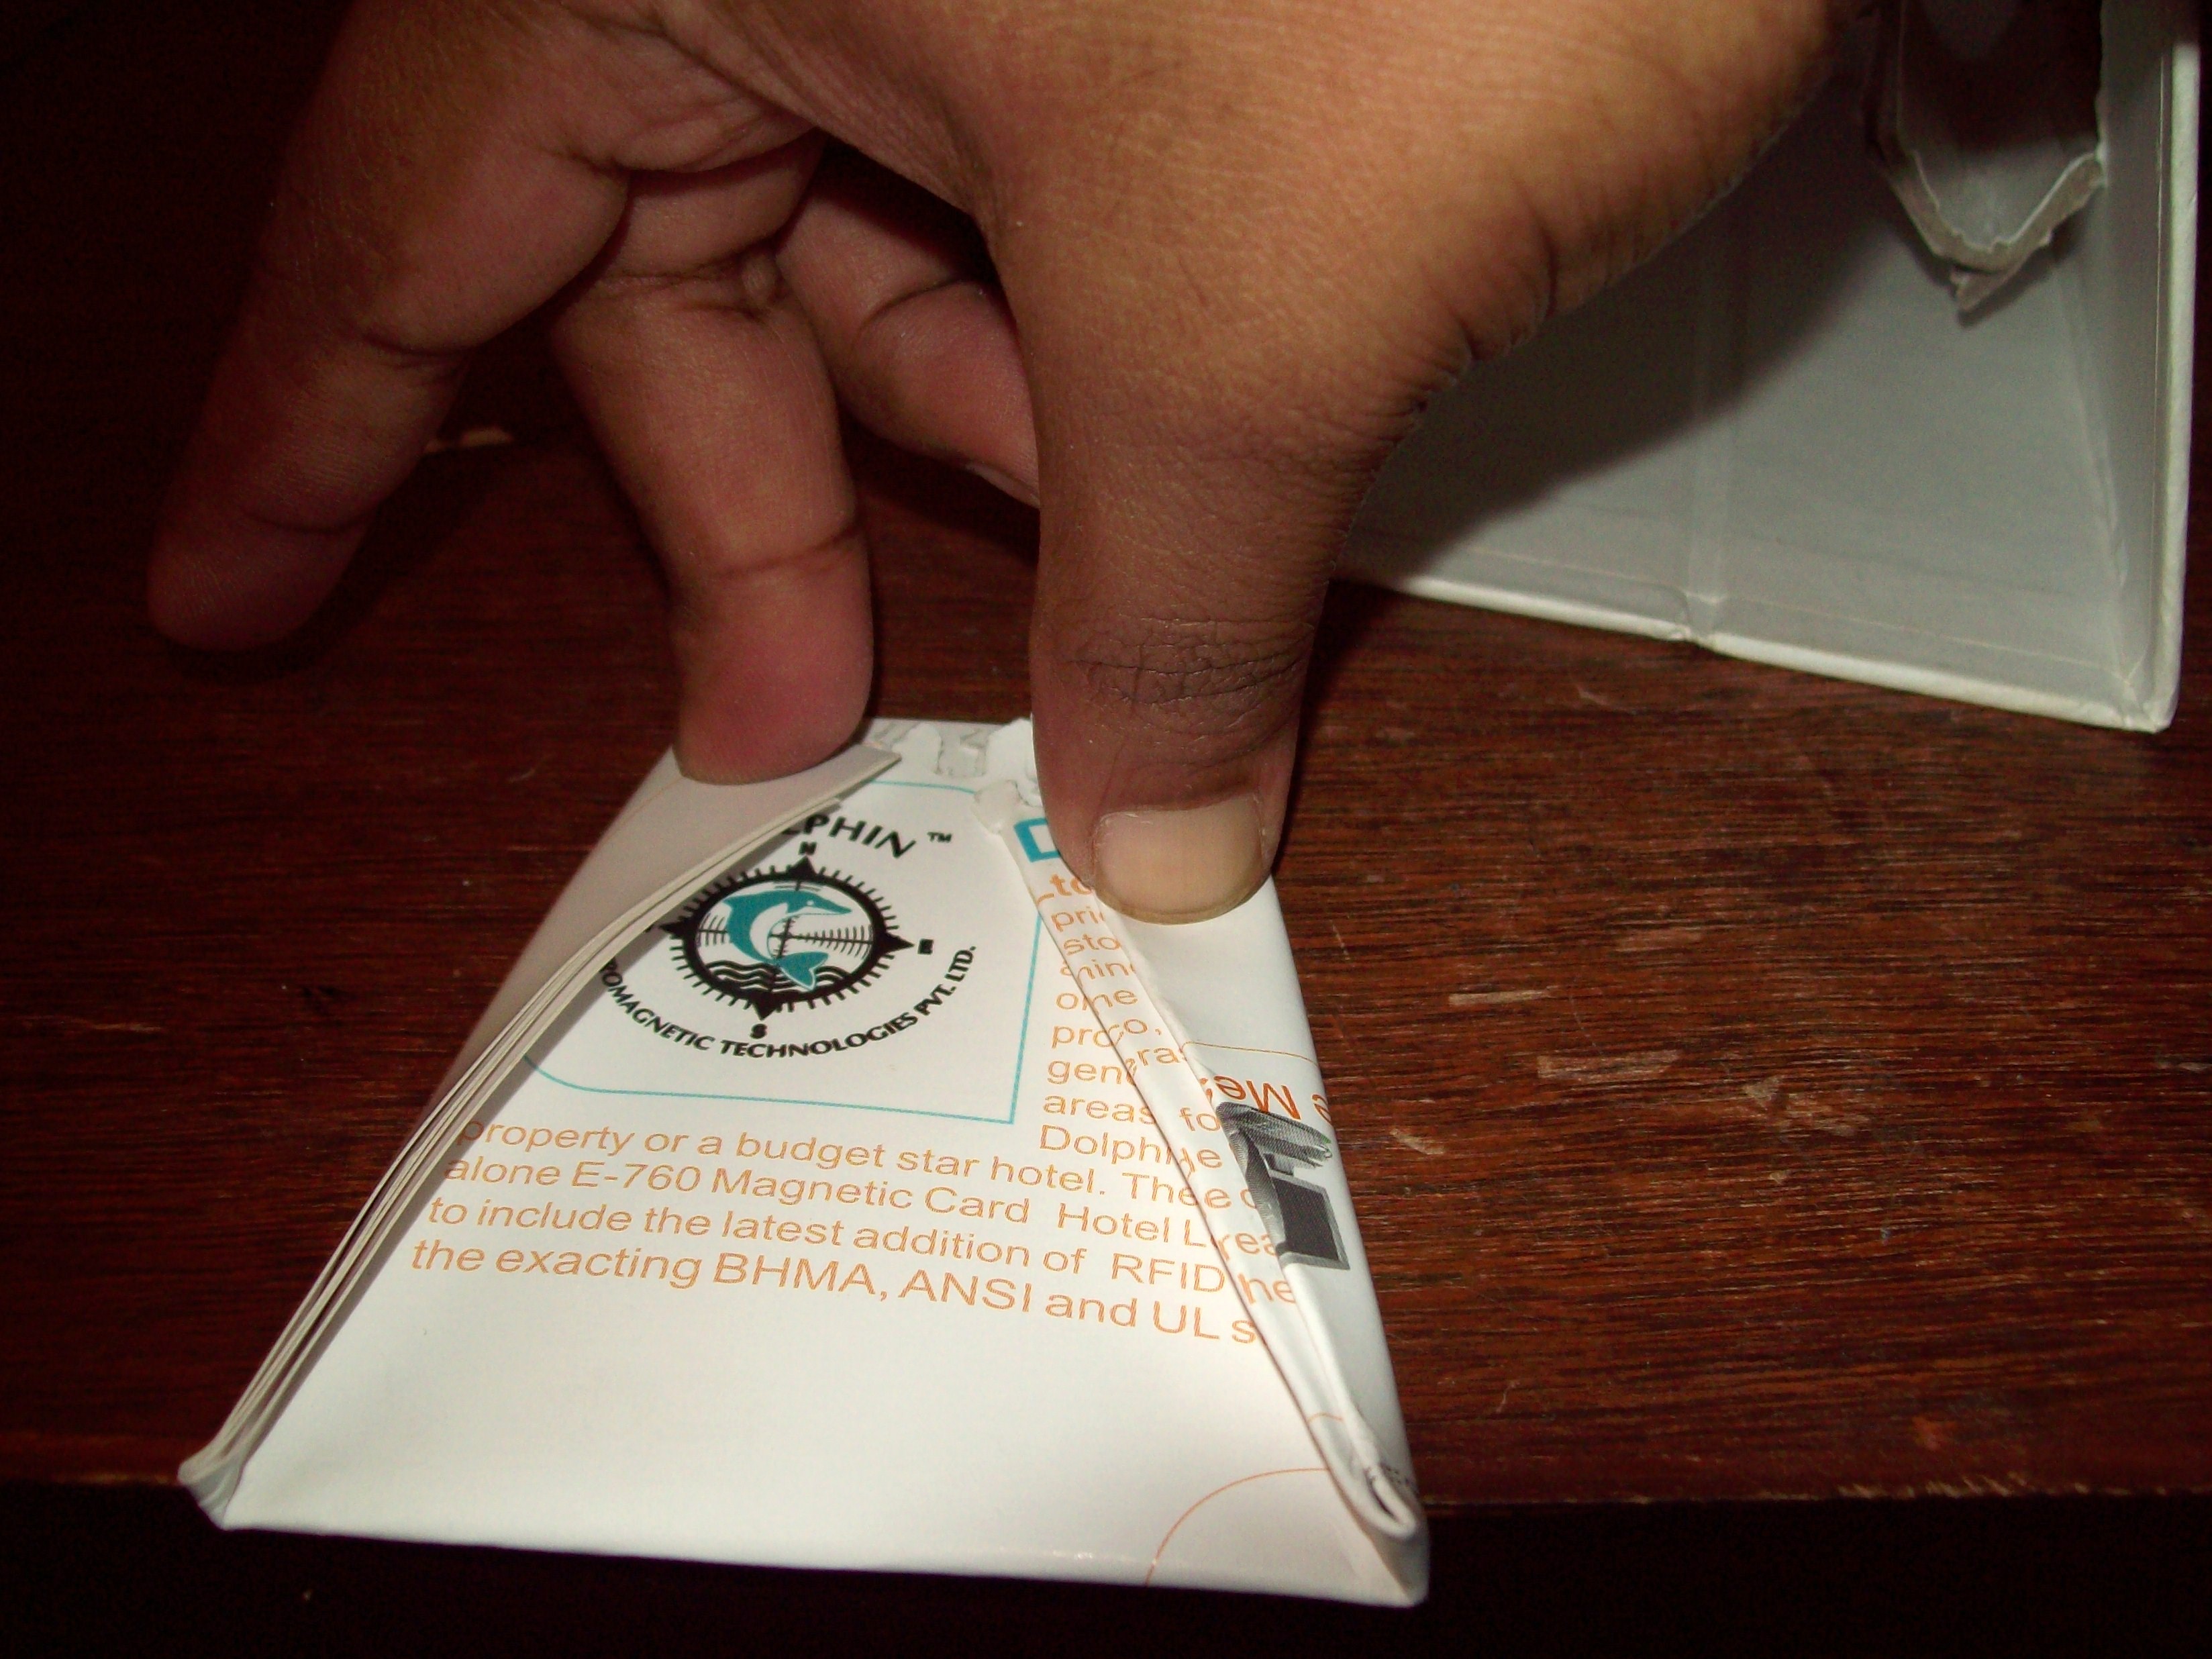
As shown in Pictures 1, 2, 3, & 4
1. Tear out 2 pages.
2 & 3 . Fold it twice to make a thick square.
4. Fold diagonally along the edges so as to match the insides of the main dock.
1. Tear out 2 pages.
2 & 3 . Fold it twice to make a thick square.
4. Fold diagonally along the edges so as to match the insides of the main dock.
Glue the Side Walls in Place and Make Ports for Speaker & Charger.
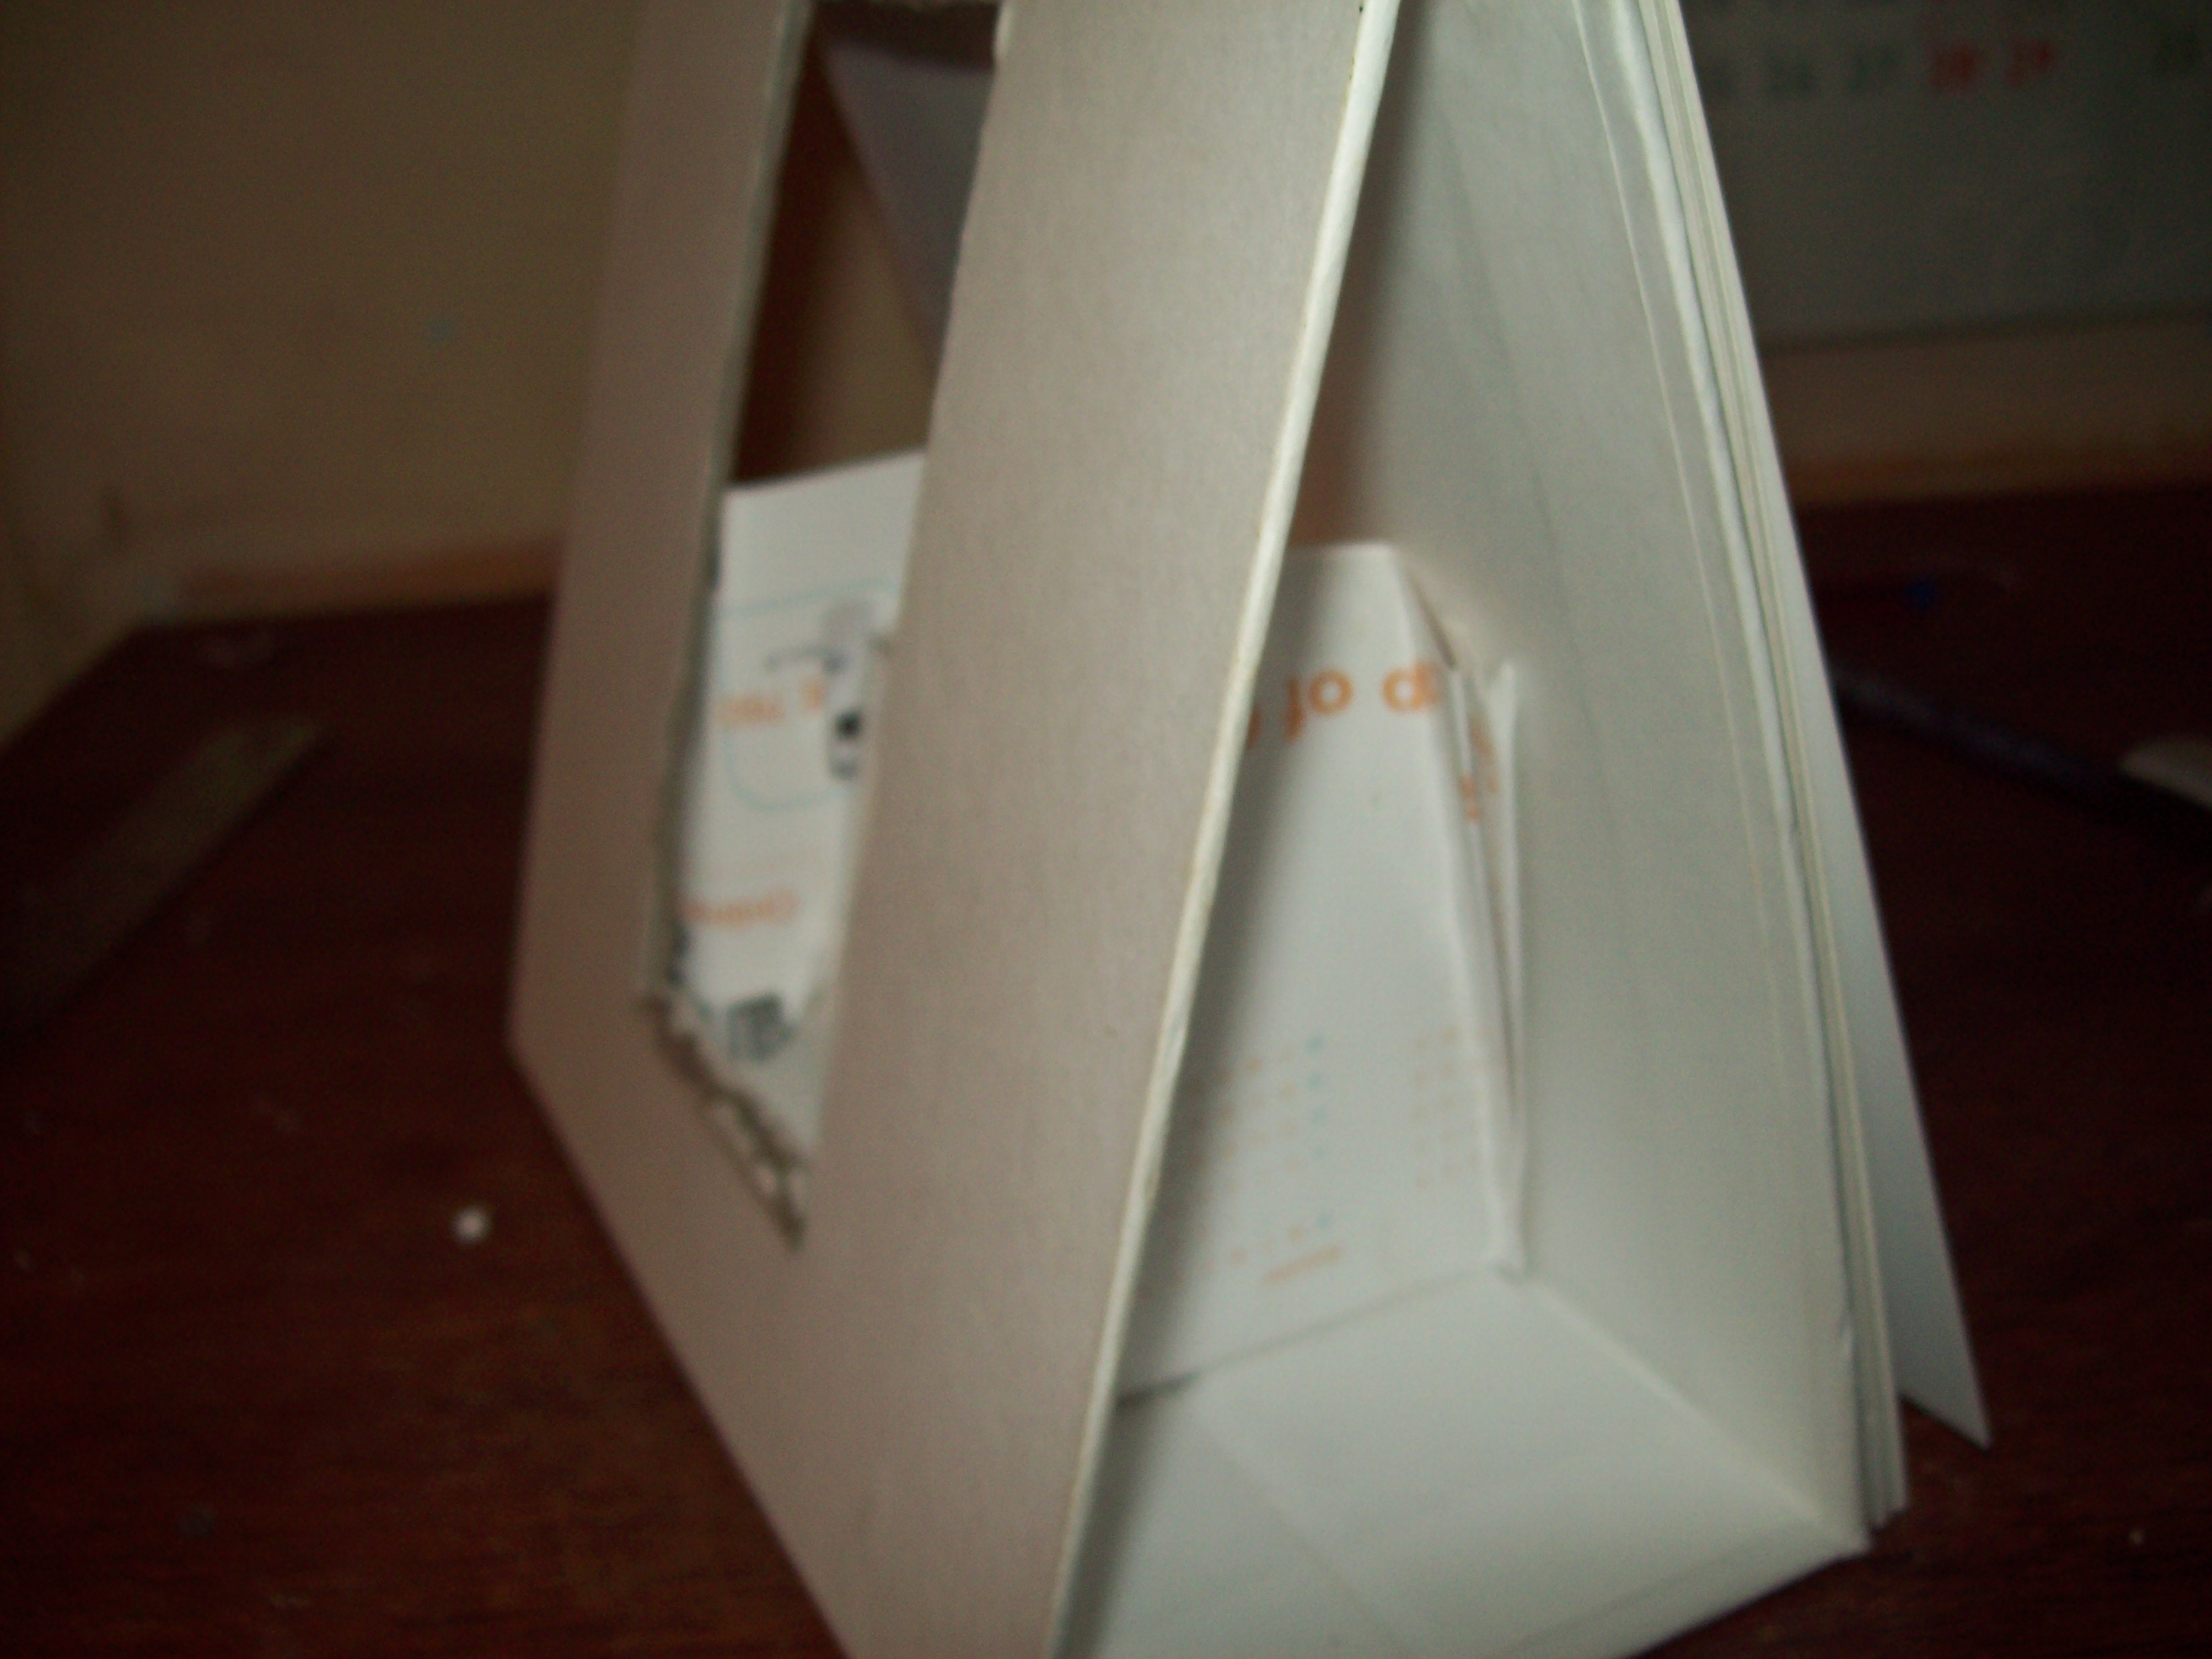
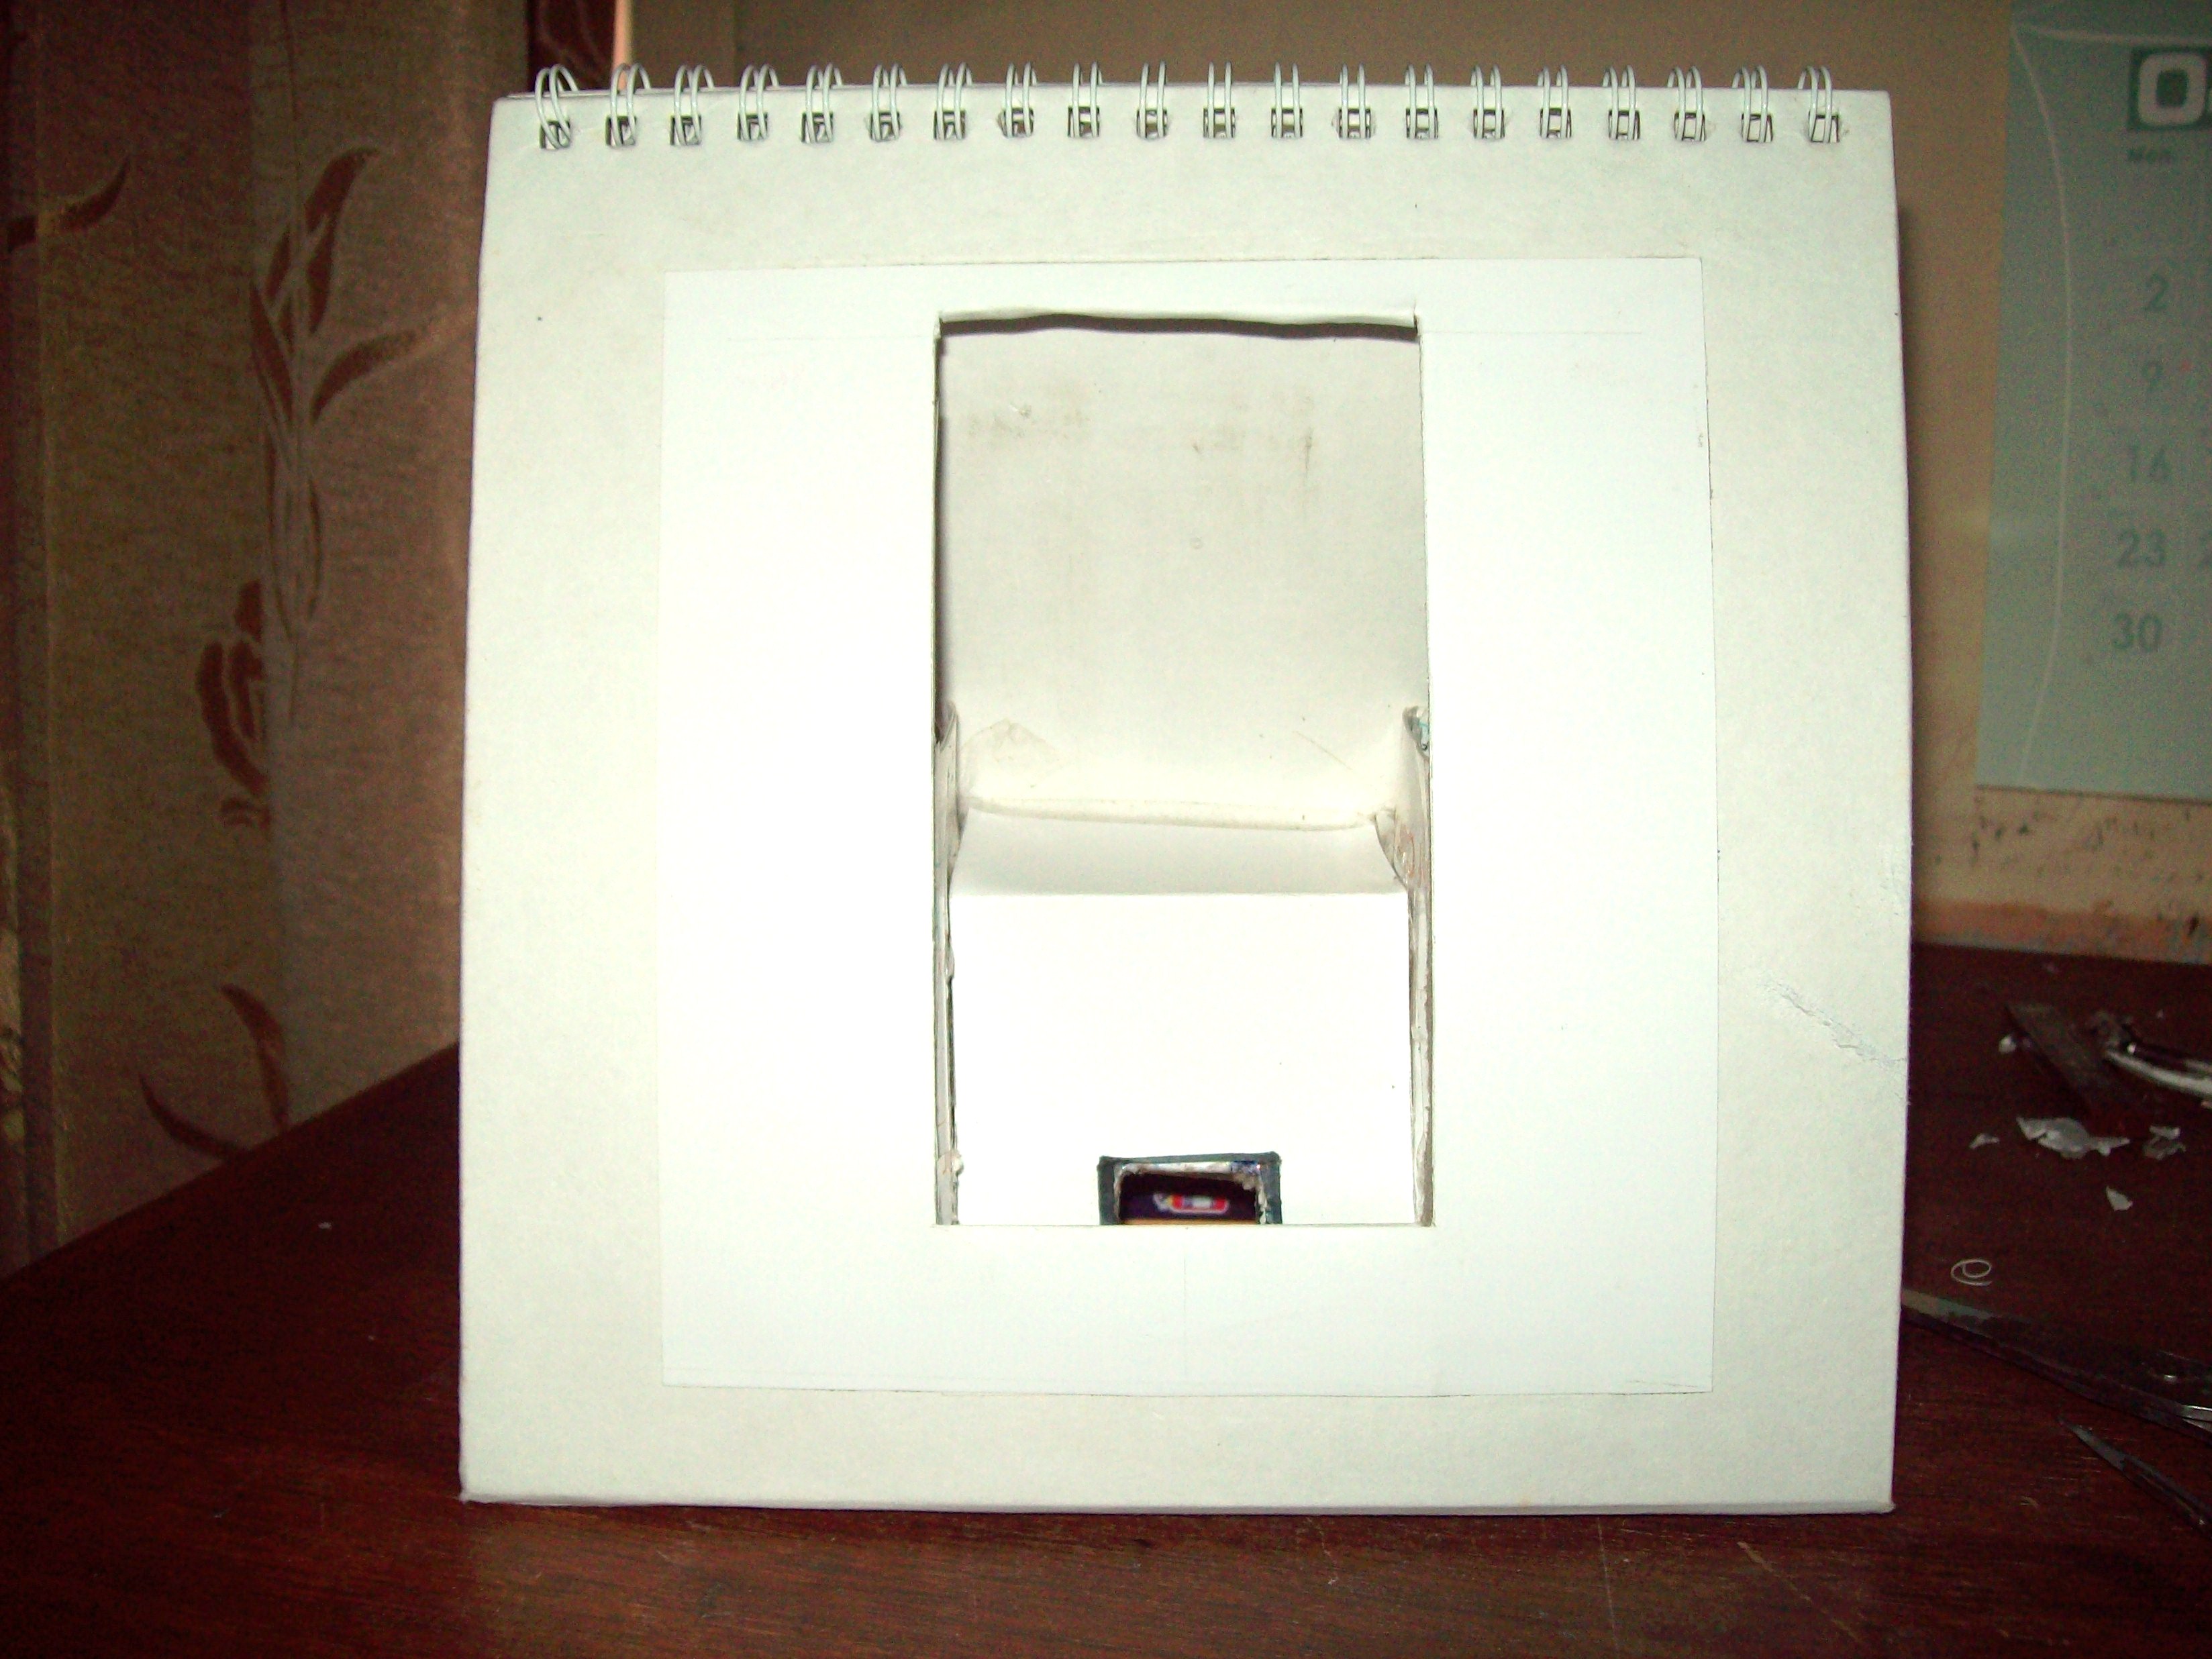
As Shown in picture 1,2,3 & 4
1. Glue the two walls in place. They will hold the phone in place and prevent it from tipping sideways & basically
falling. (Distance between the two is of course the breadth of the phone.)
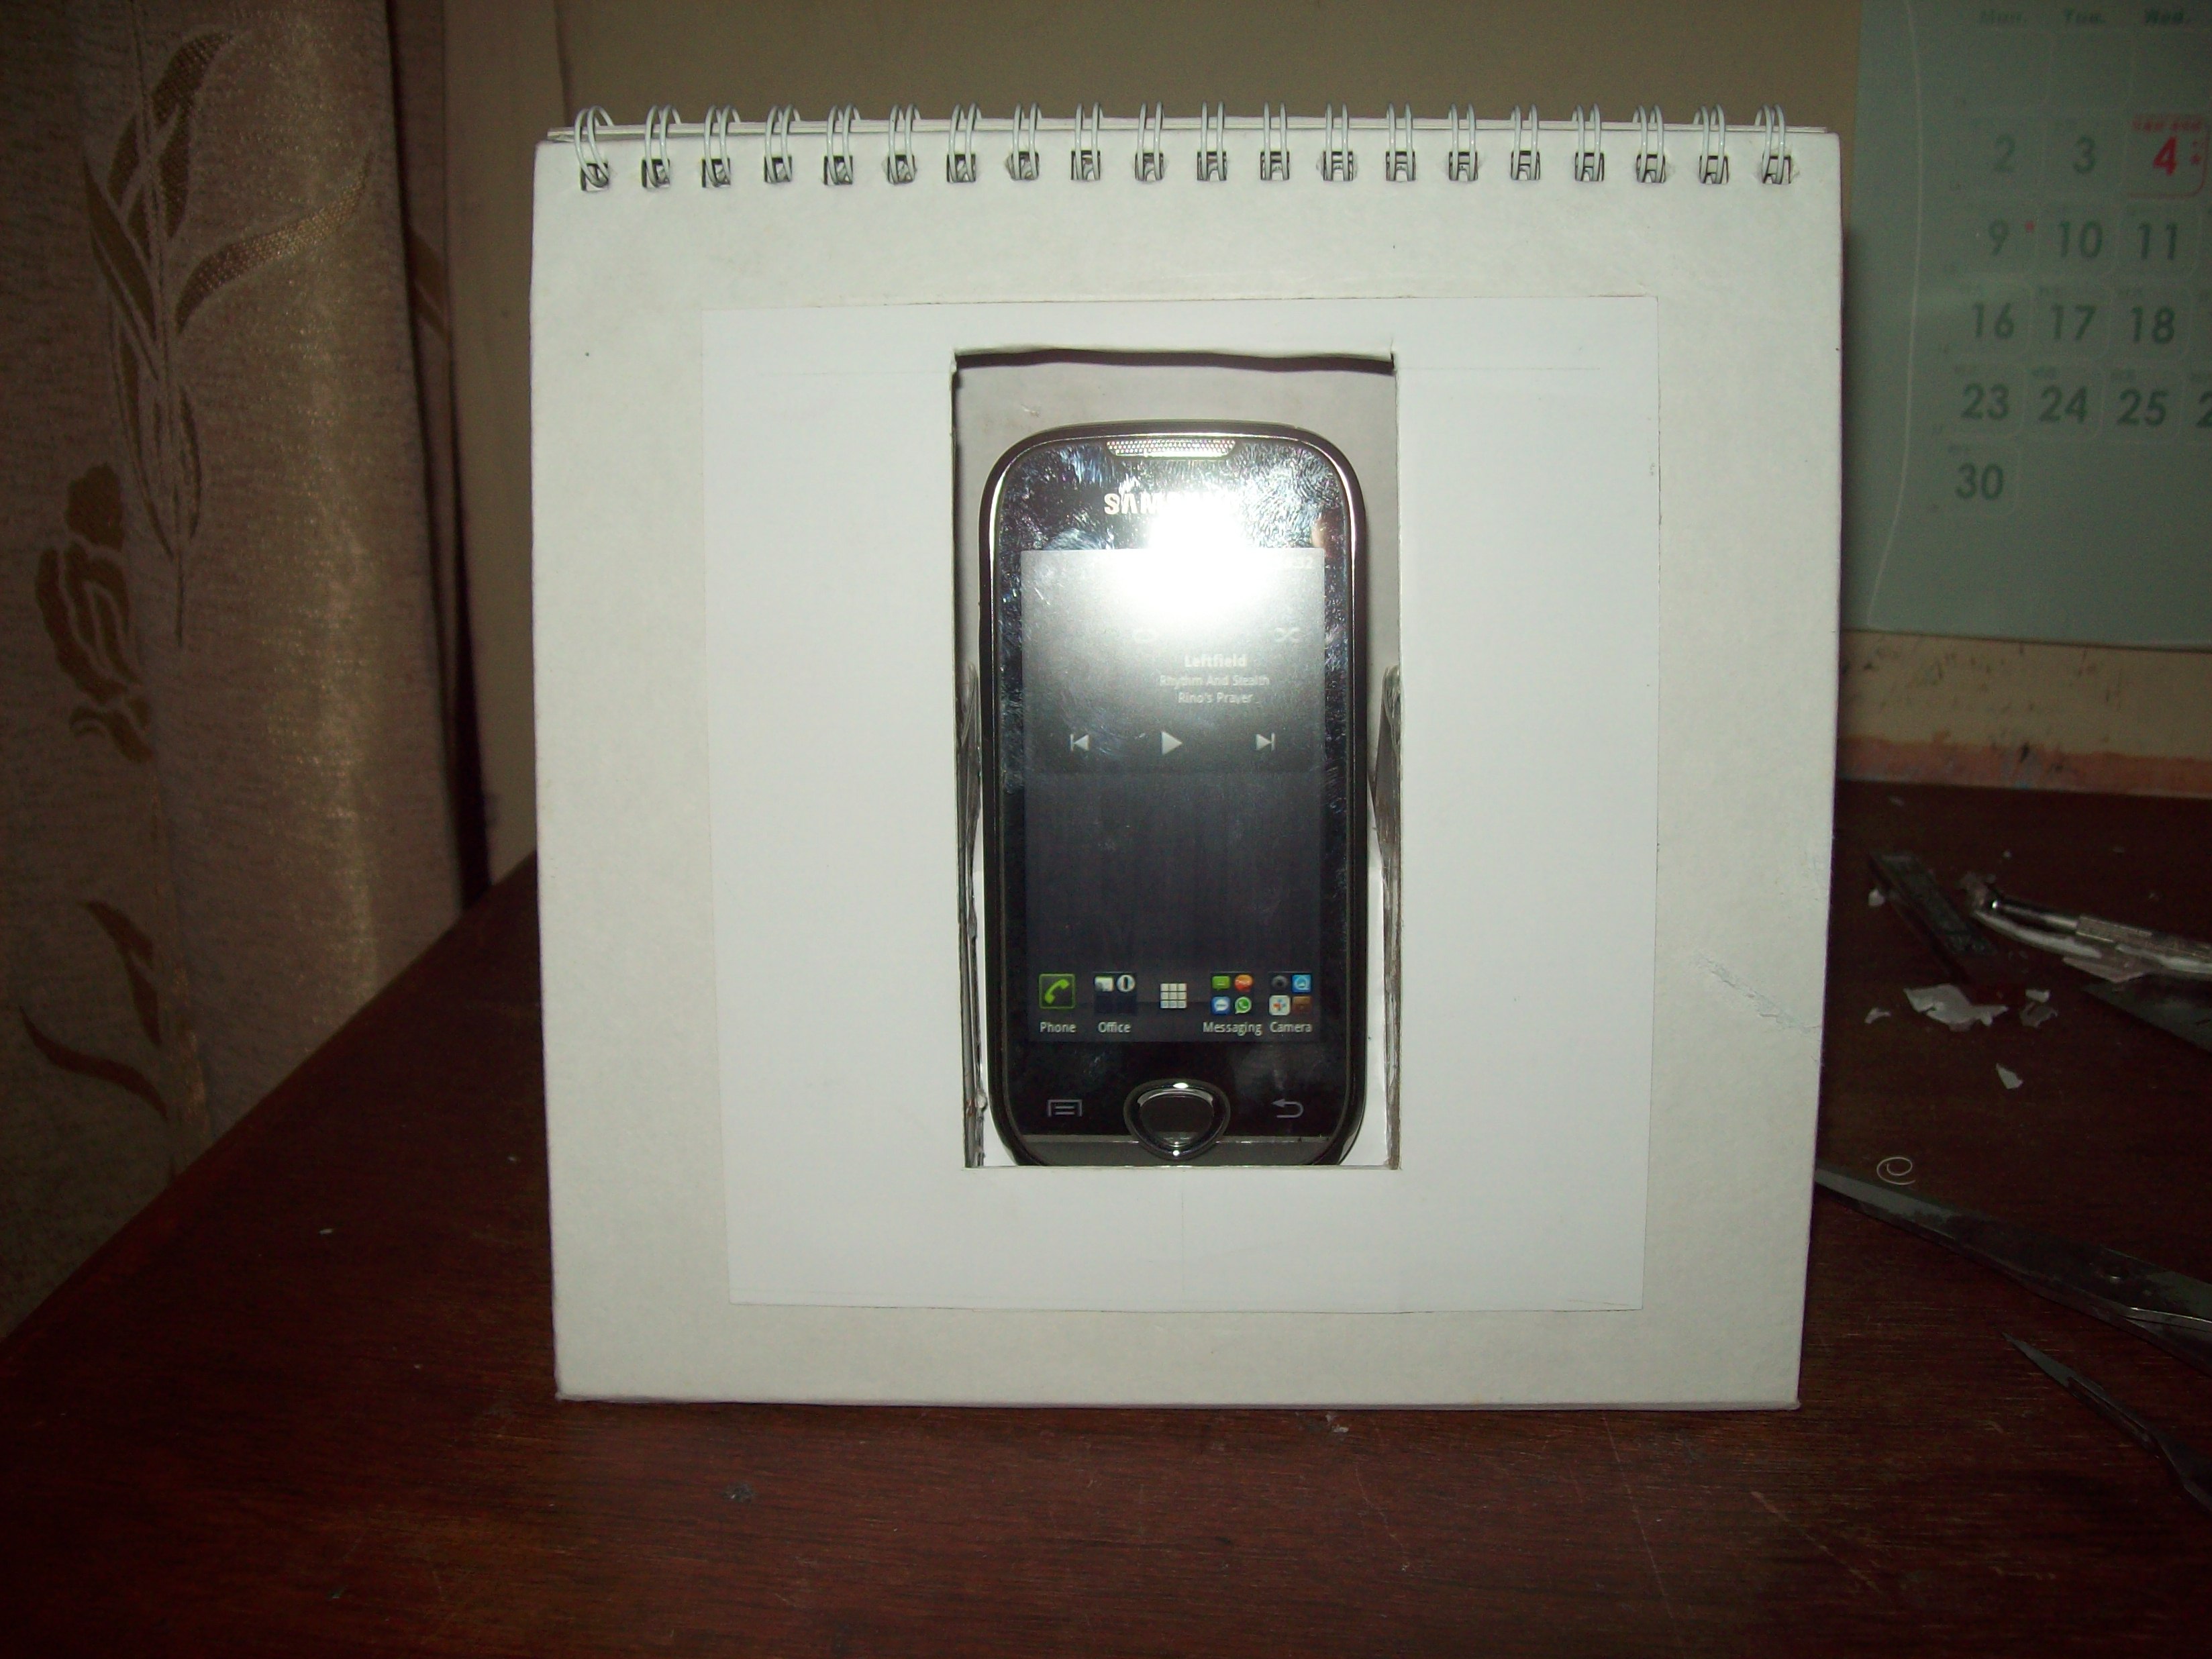
2. Cut out a port for the loudspeaker. Then Cut out similar window on a plain piece of paper & glue it over the window
and on the surface of the cradle to hide irregular bends and to give a clean look. Sort of like, give it a new face.
(Use any colored paper if you wish.)
3. Place you phone in there and play some music. The port should be perfectly aligned with the loudspeaker.
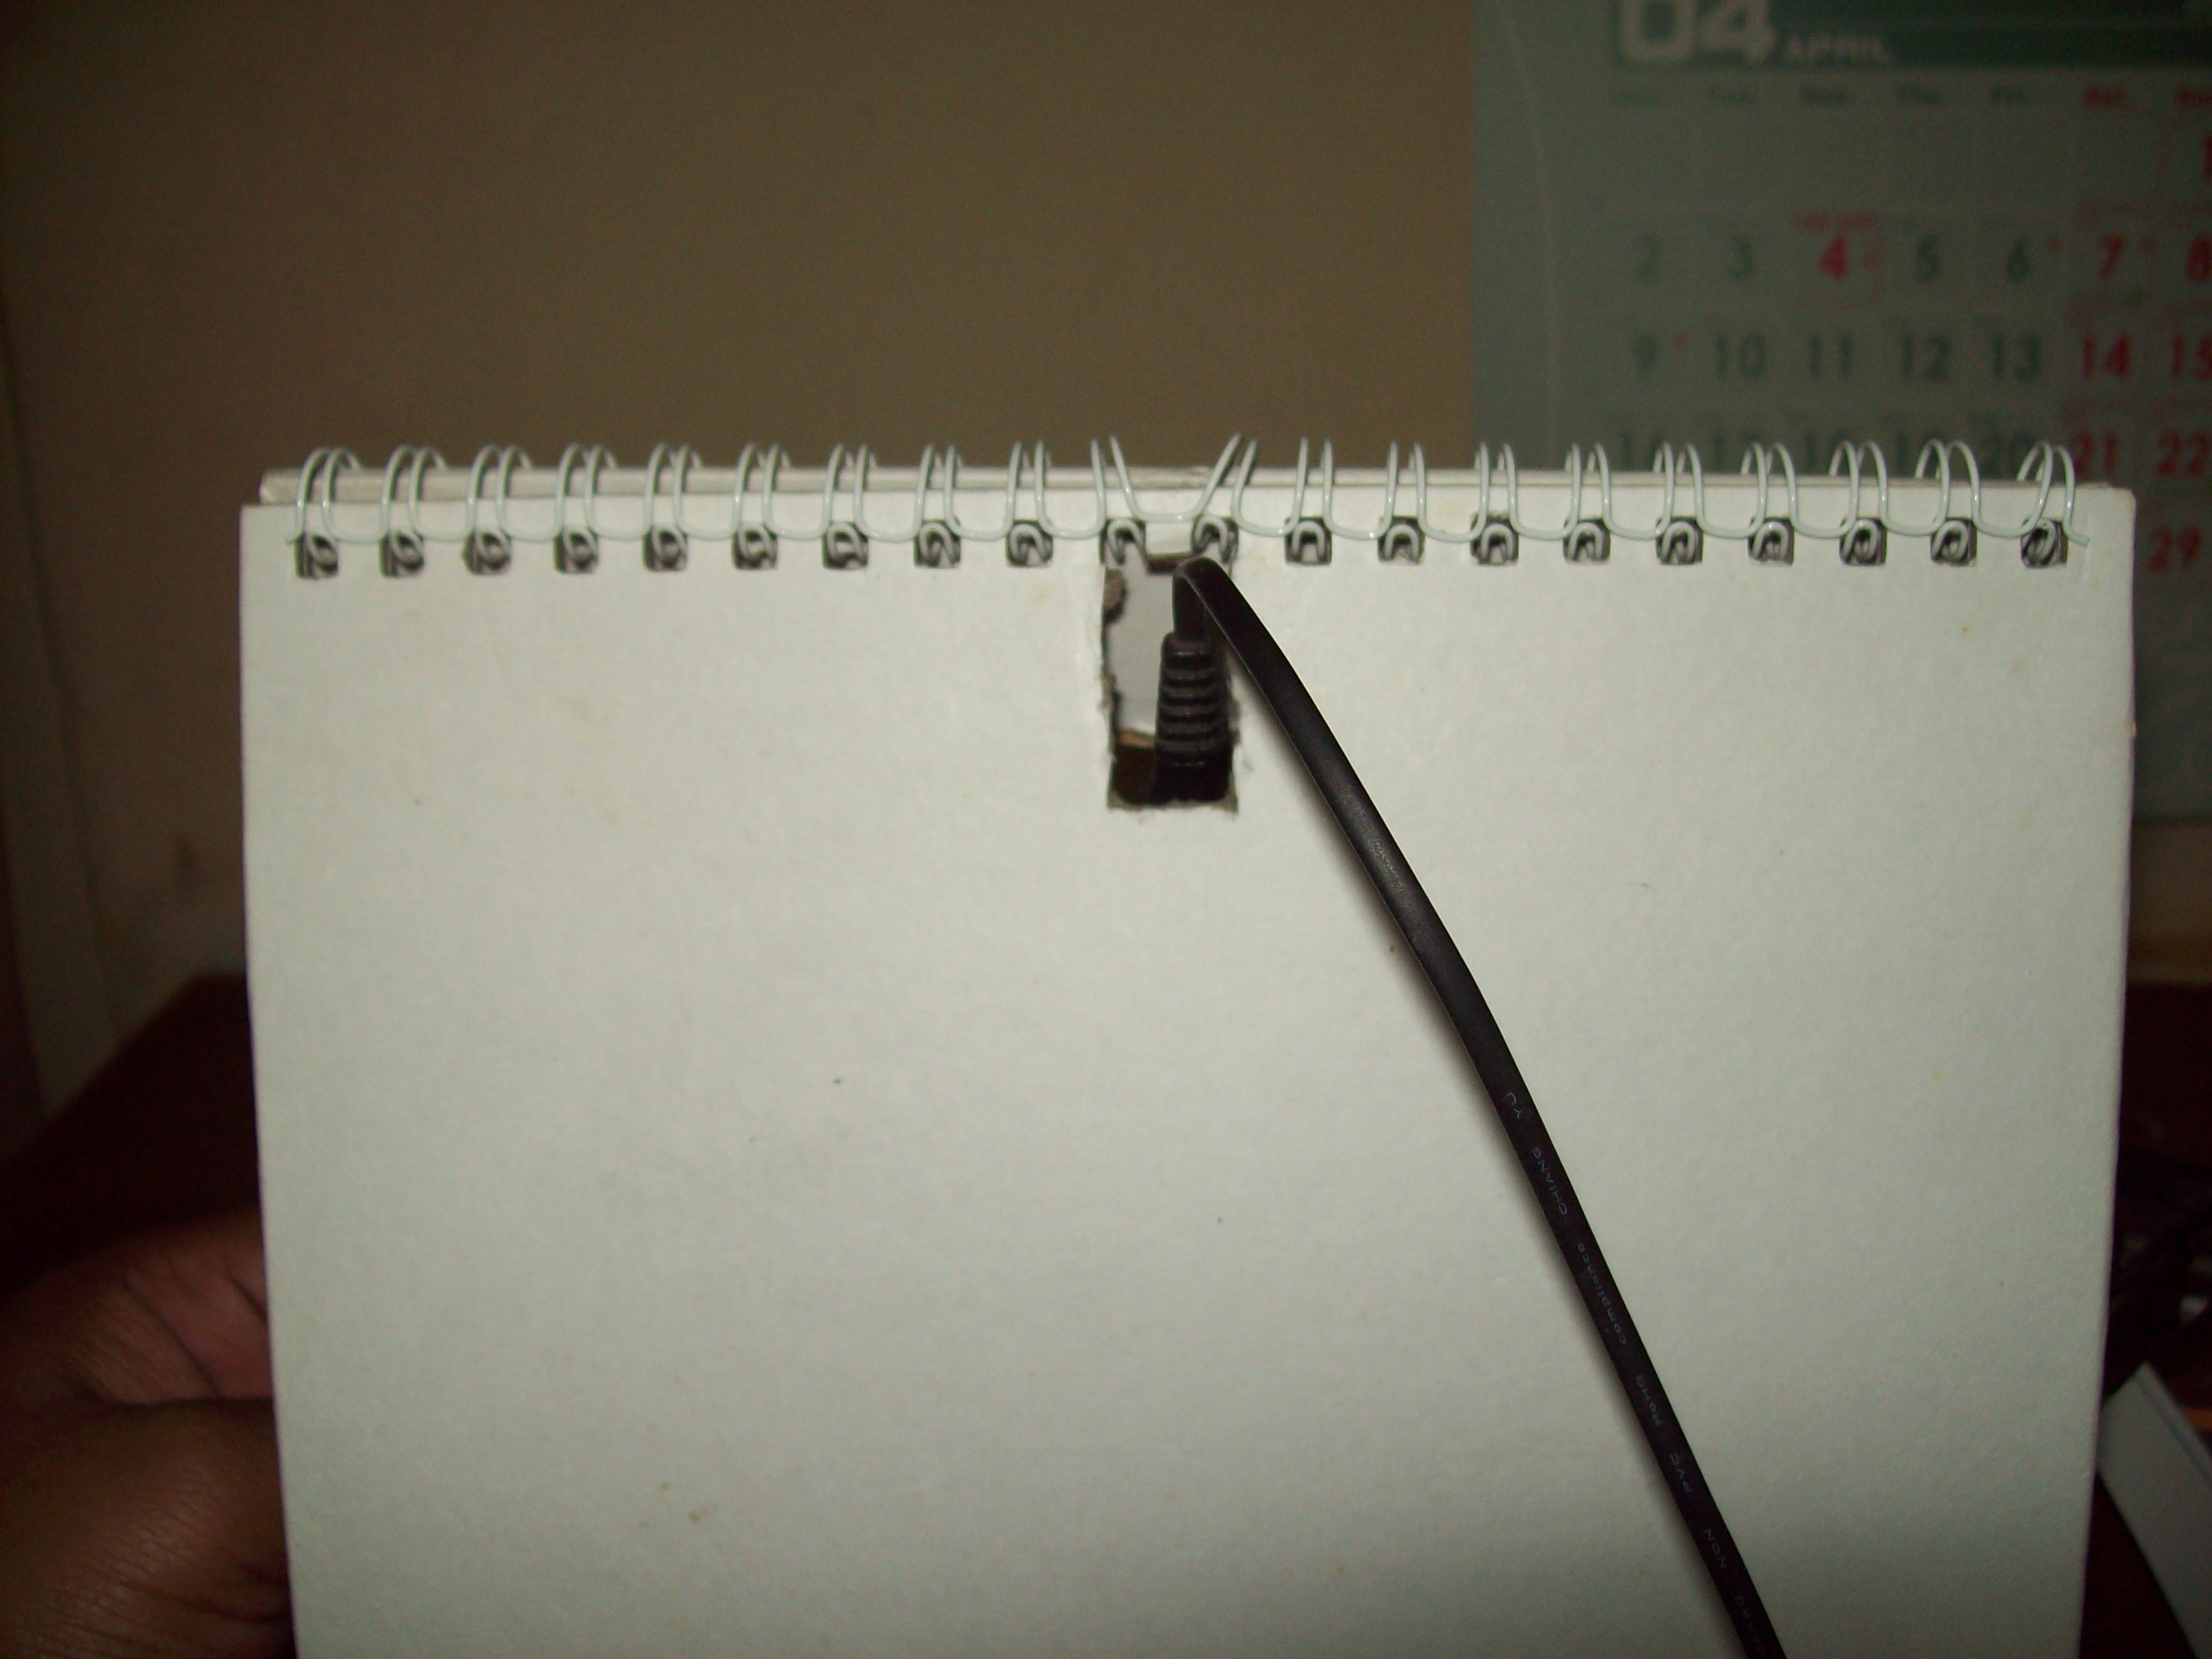
4. Cut out port for charger.
Test the Accoustics
Fine-tune the Sound
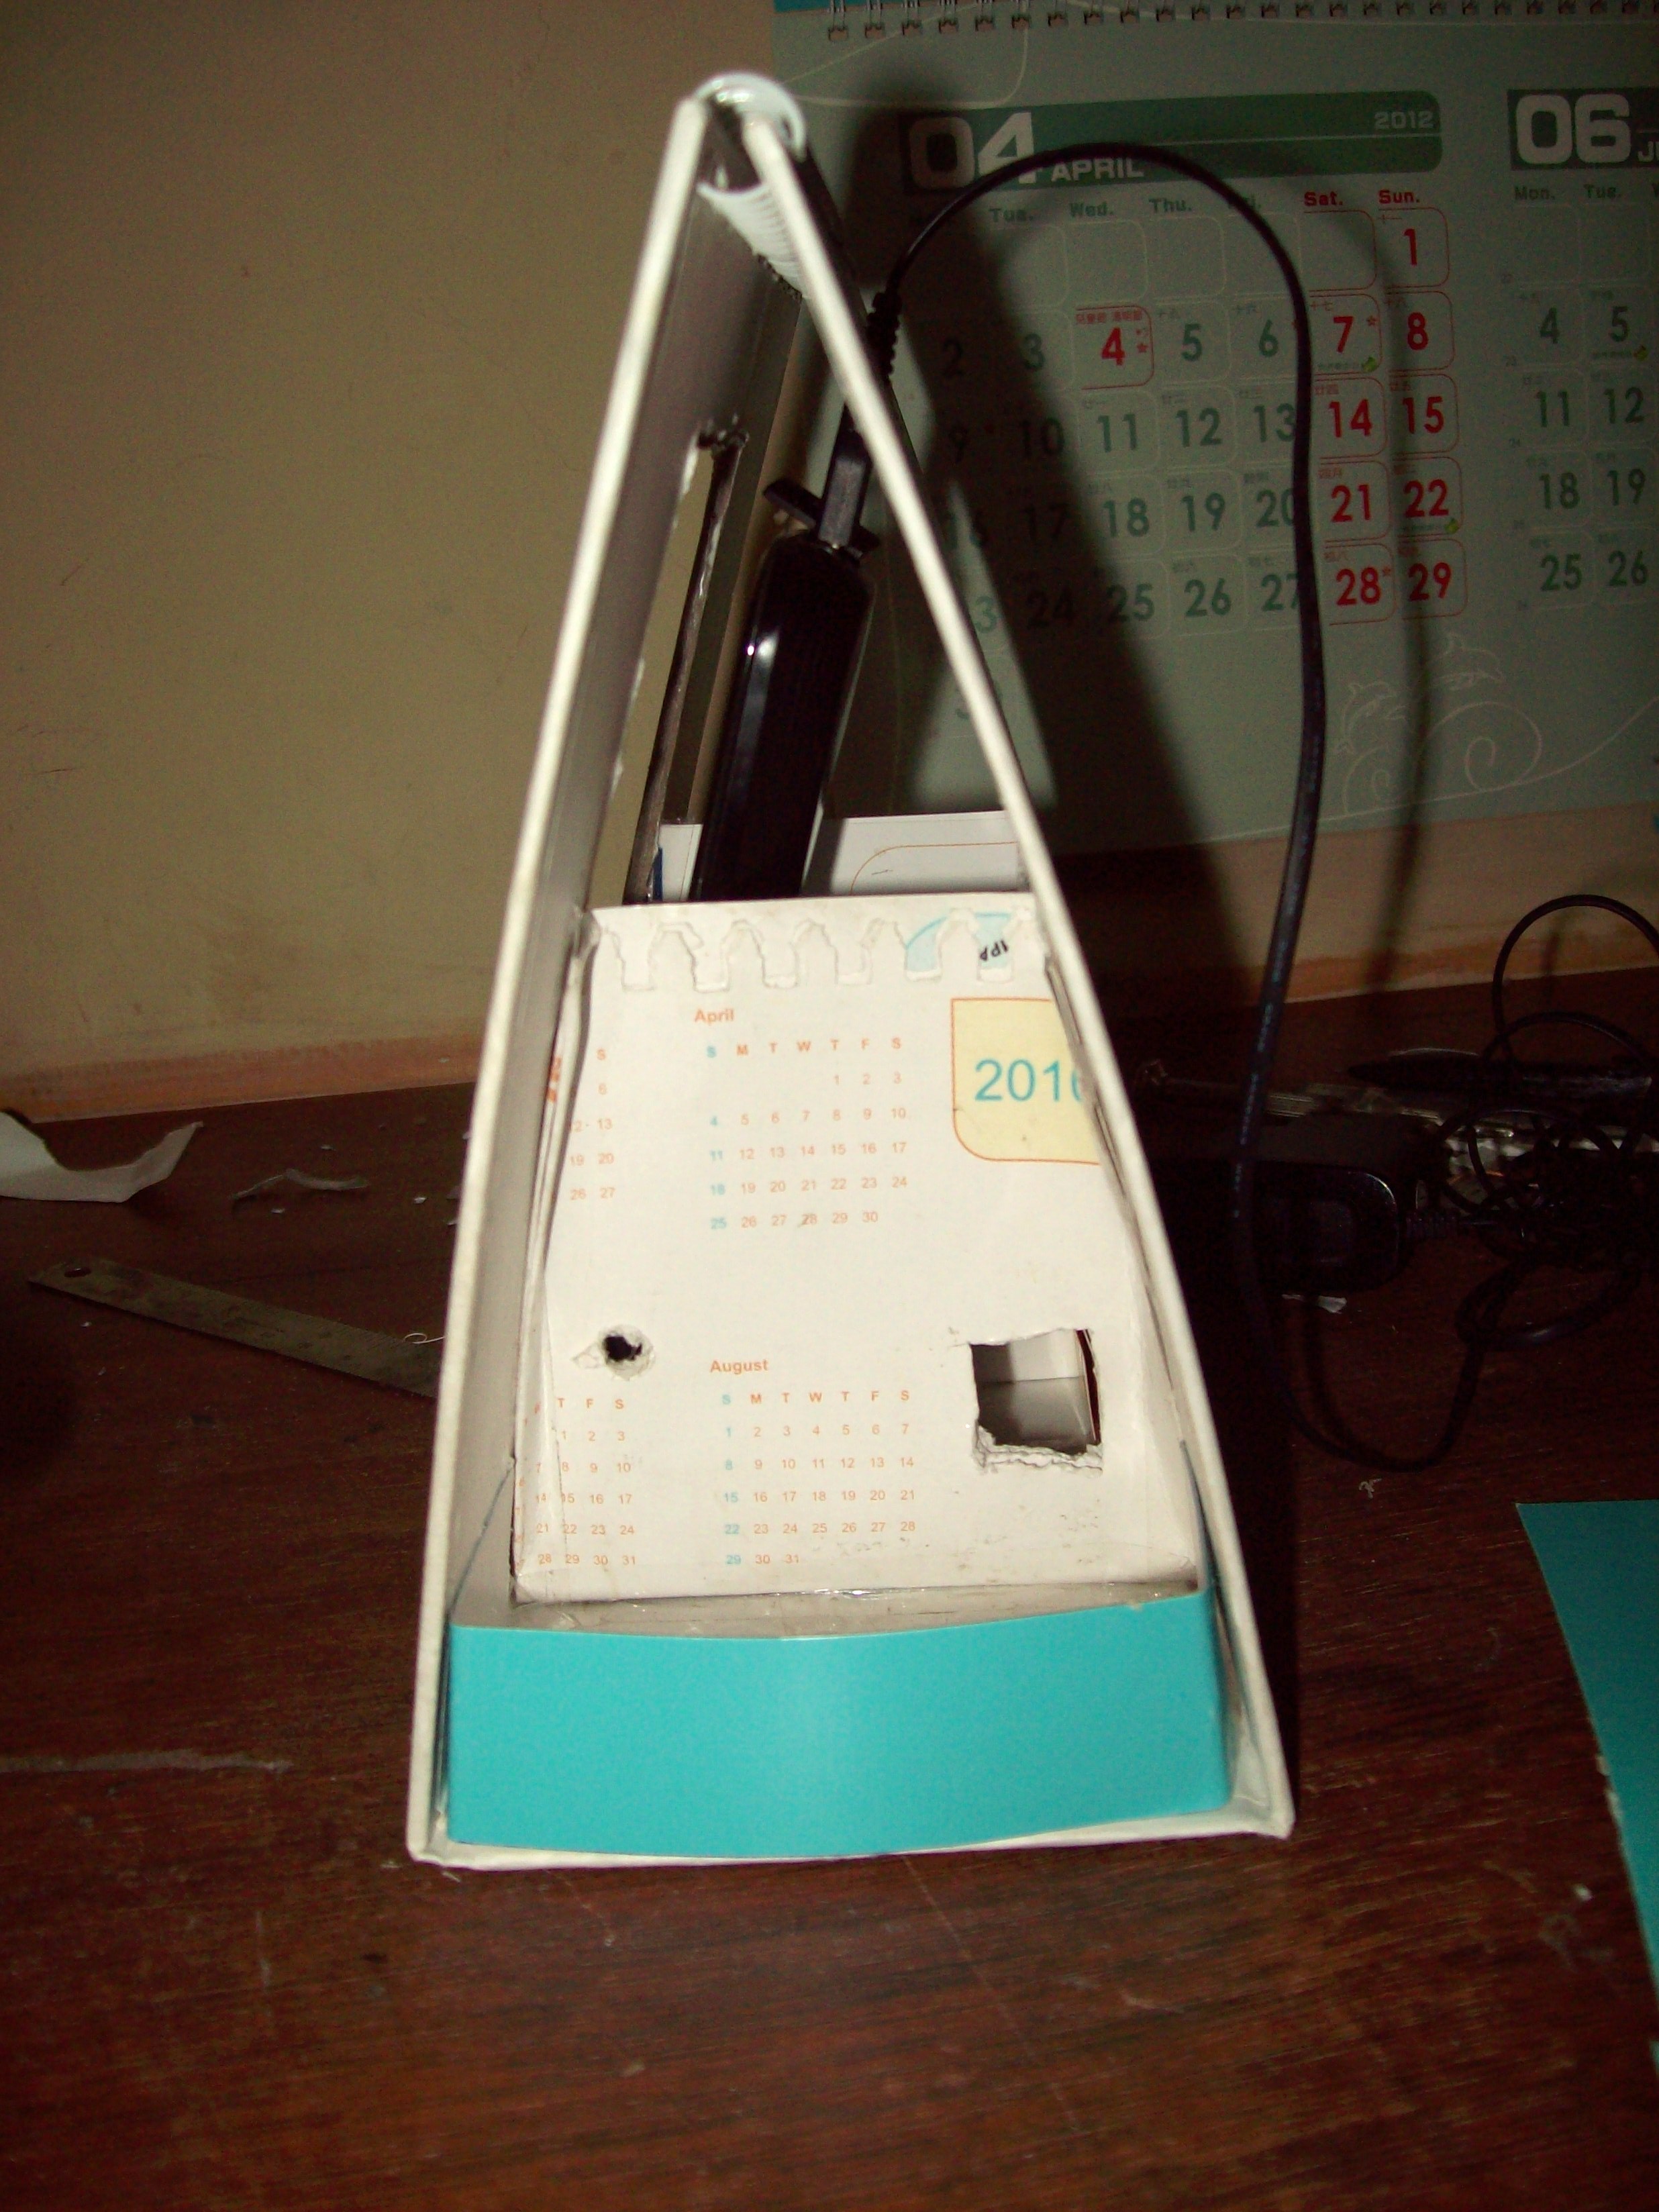
Make ports on the sides of the paper walls.
Make Small Ports on both sides of cradle & Bigger ports at the back. Its going to take some trial and error.
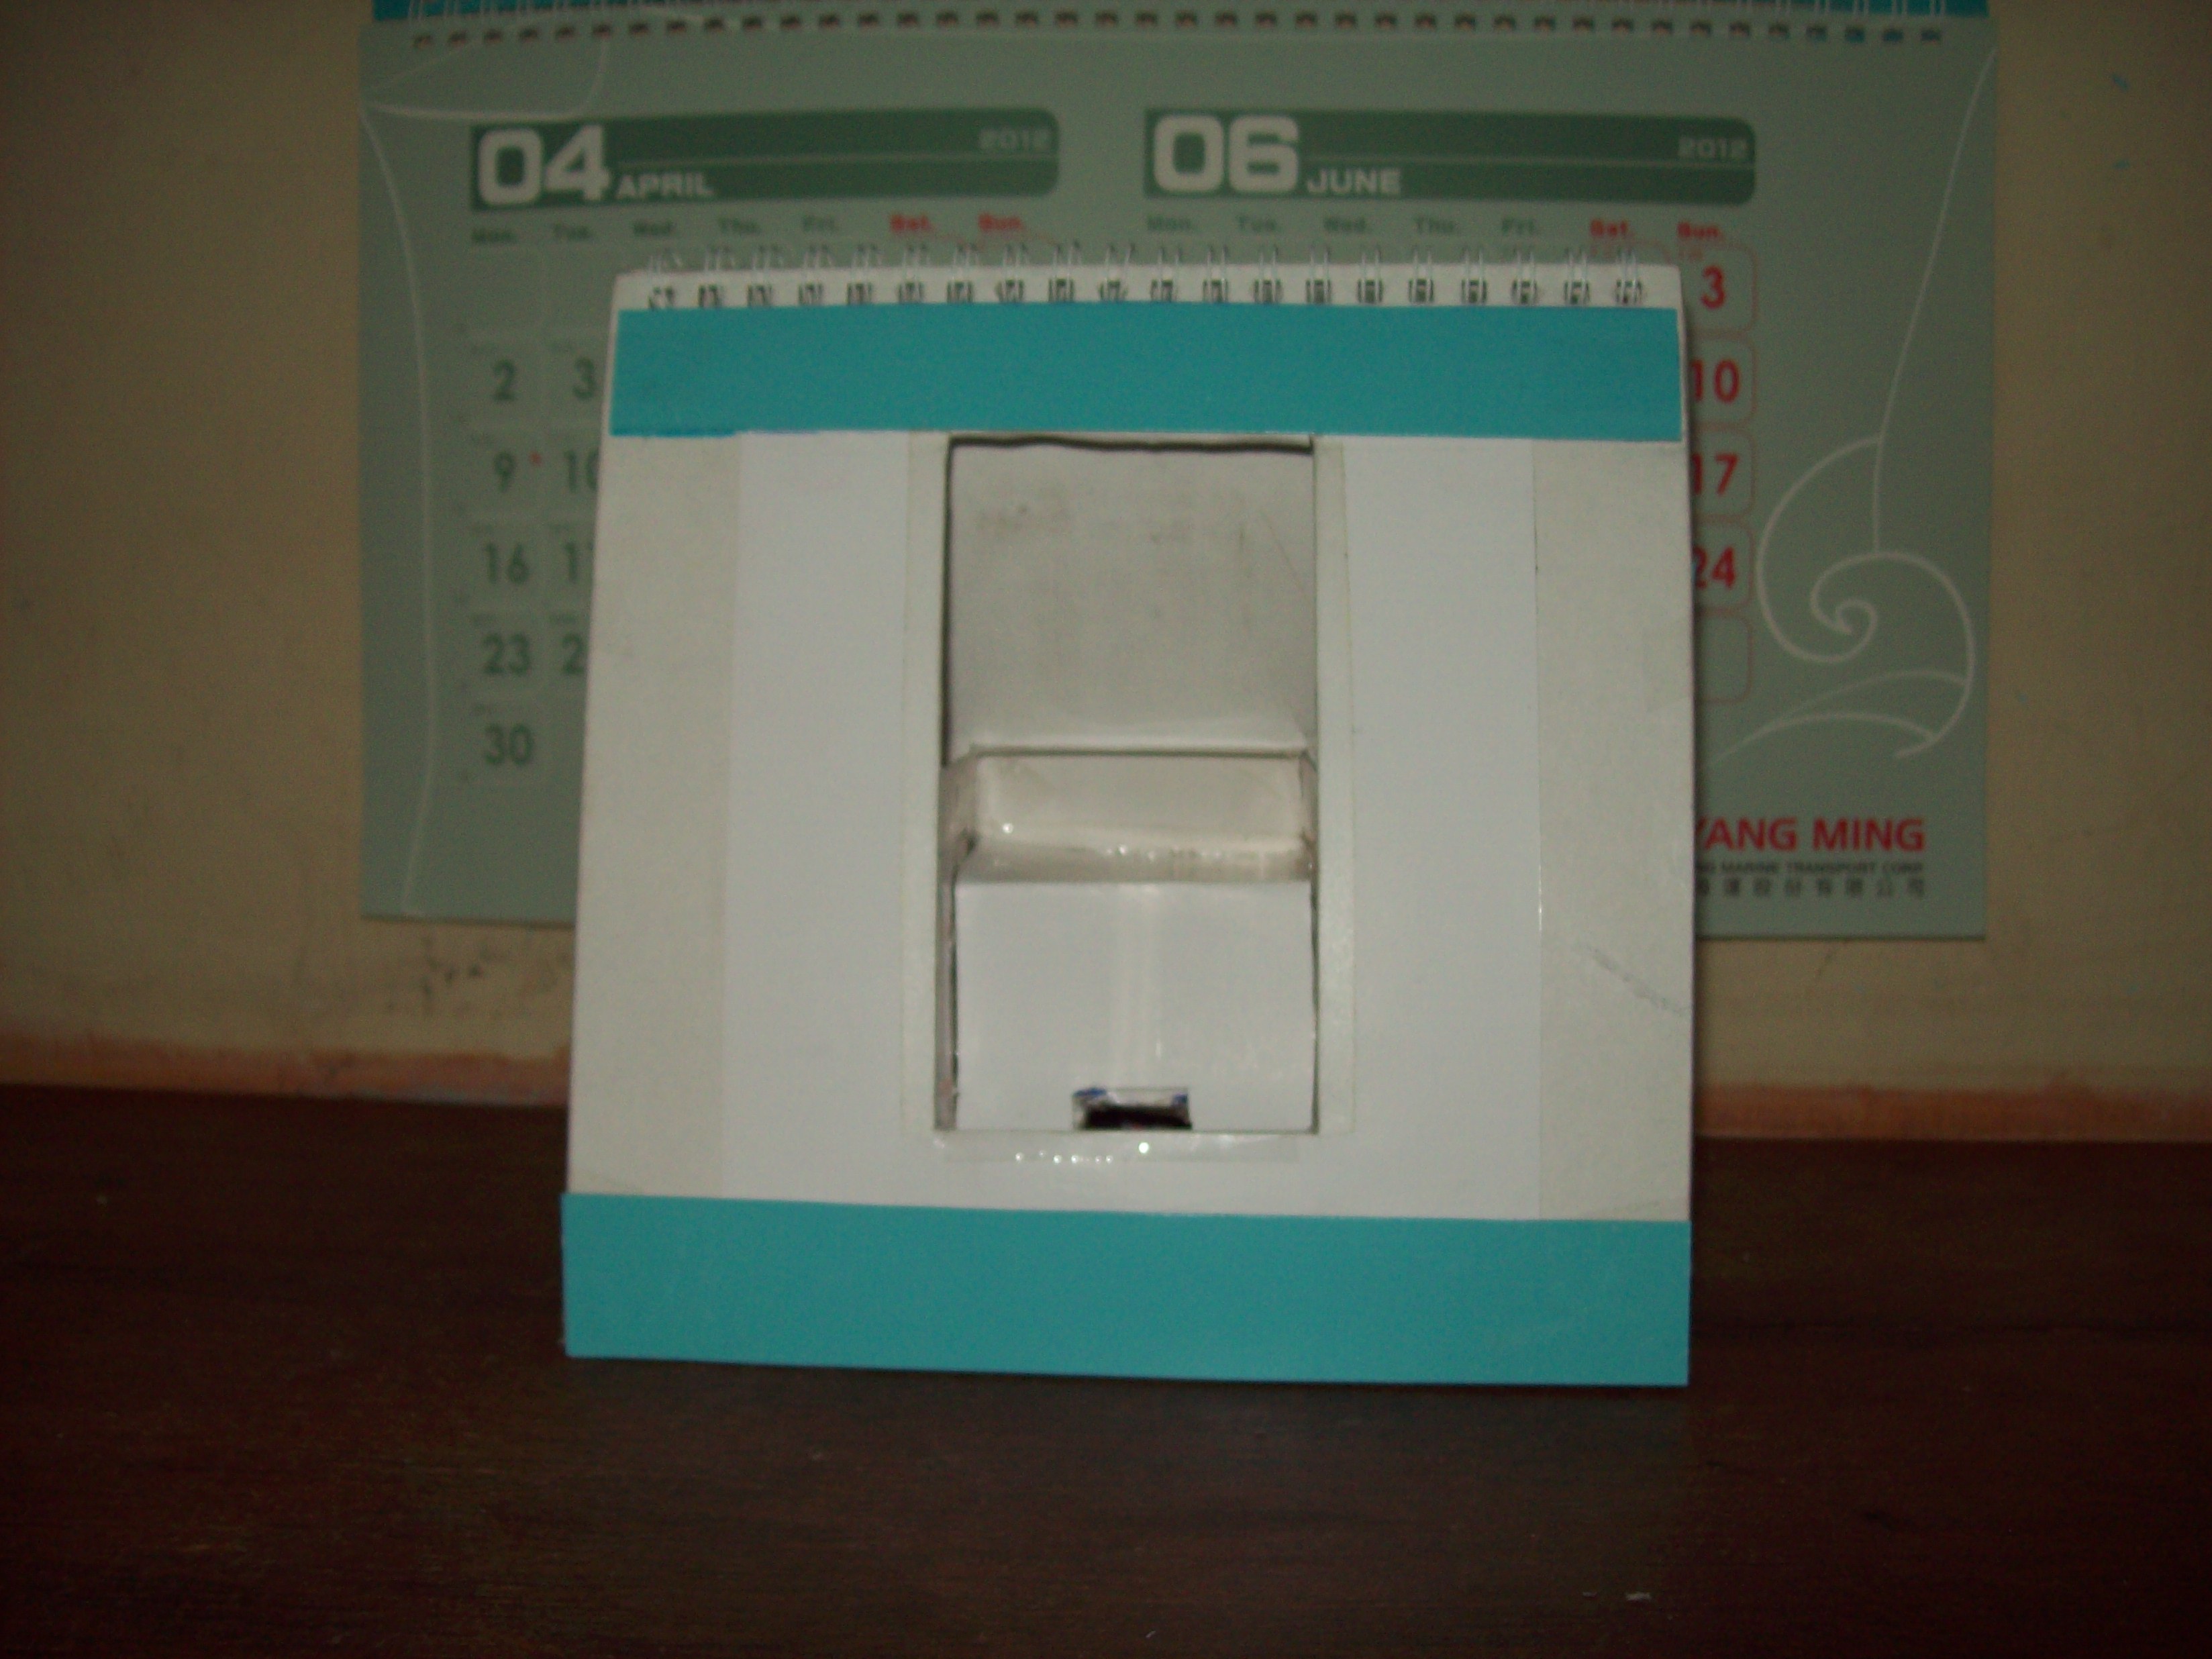
Cut out strips of colored glossy paper, cardboard or any thick paper and make side panels. This will make 2 compartments on both sides for organizing earphones & charger.
Give some accents, motifs etc, basically decorate as you wish. Secure the strips with tape.
Done!
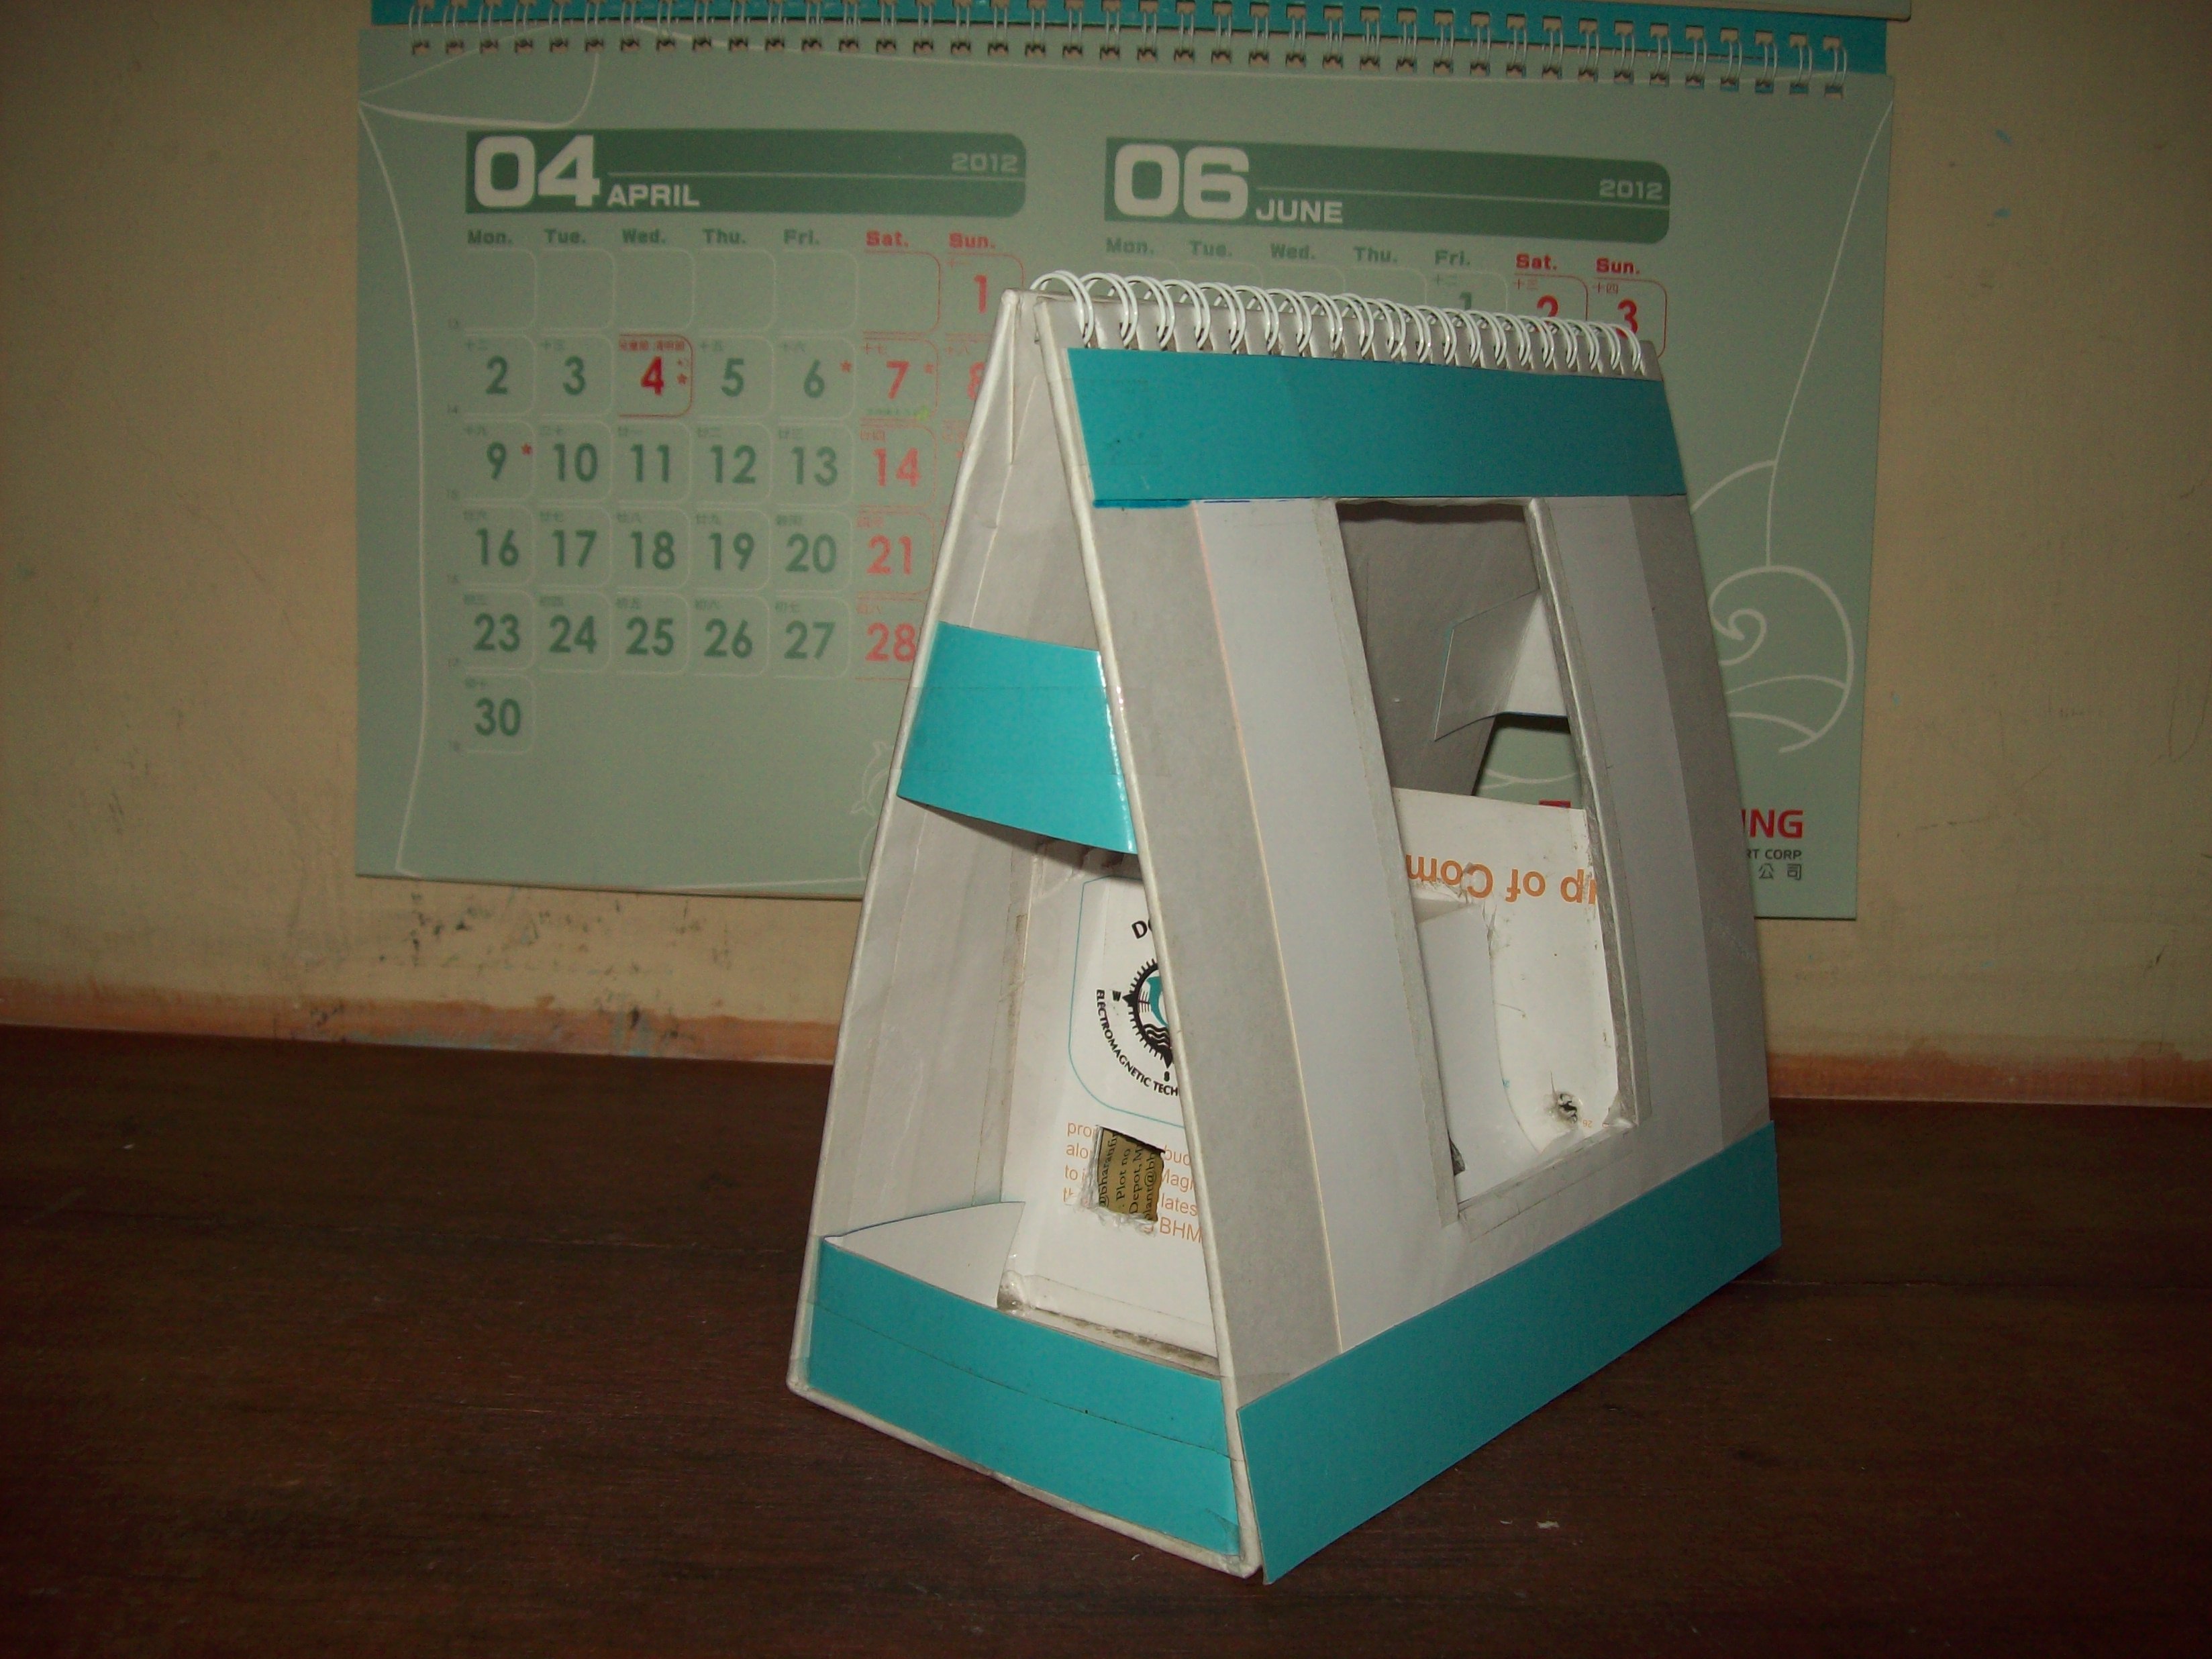
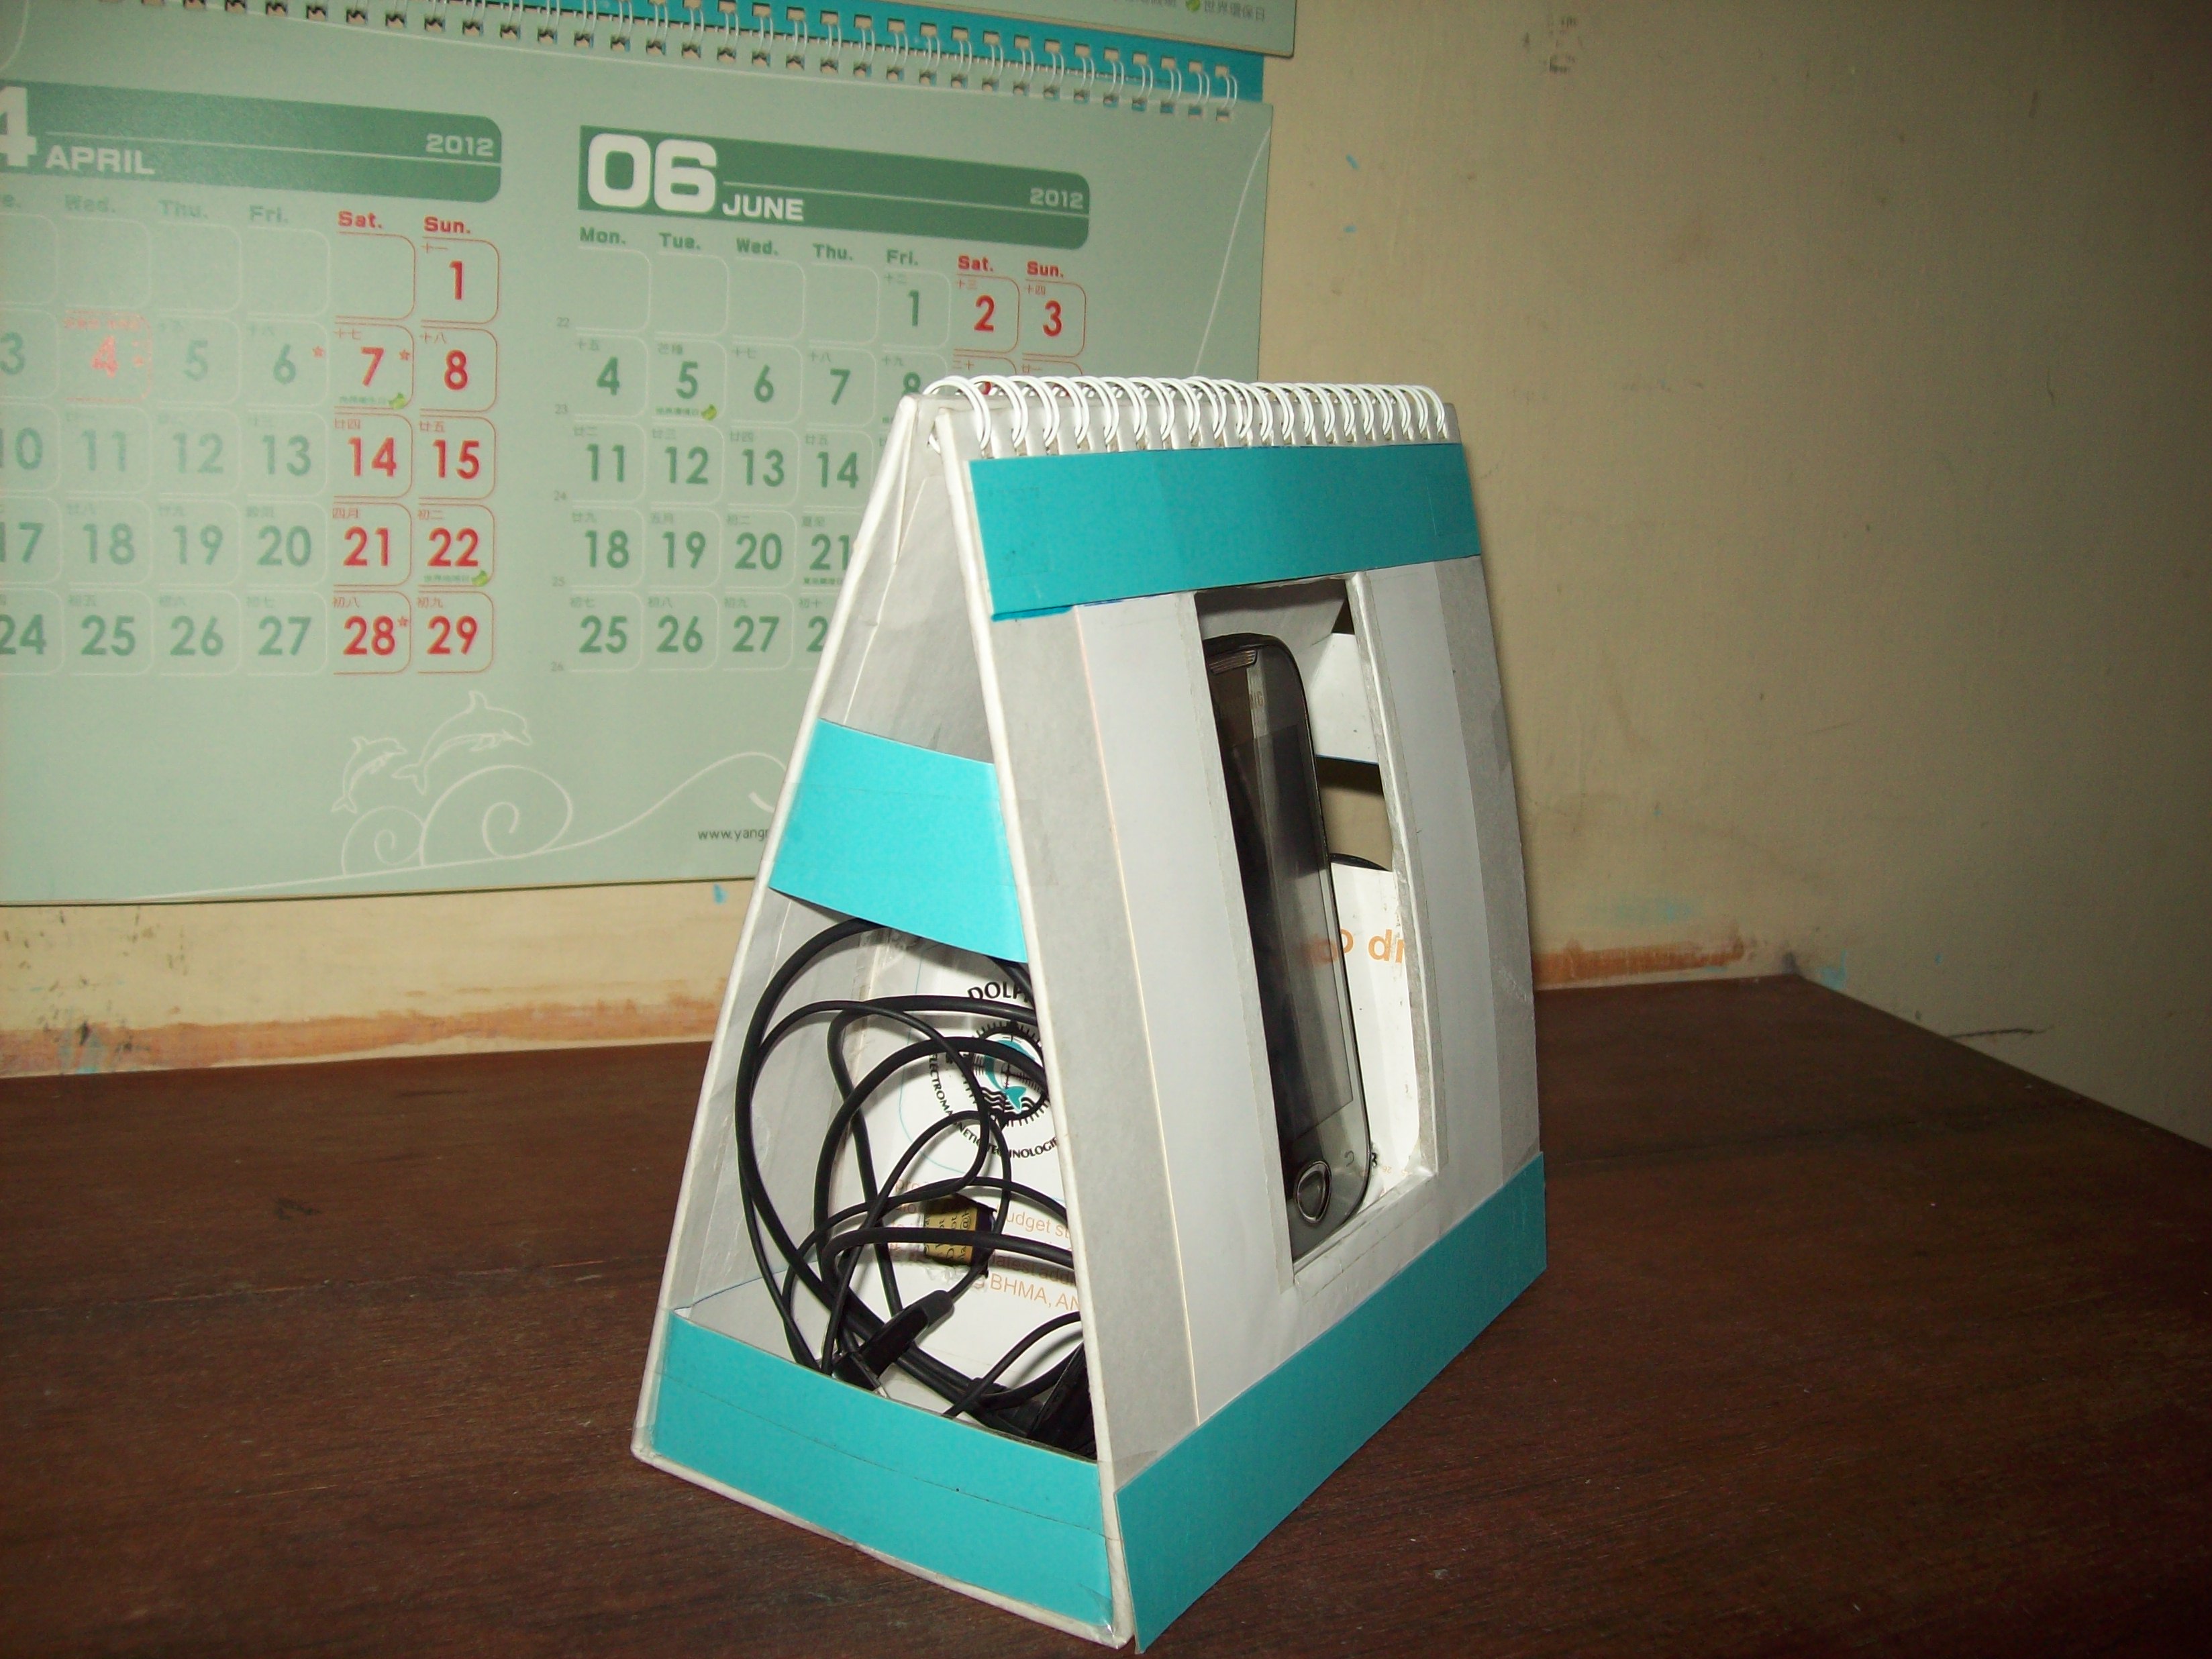
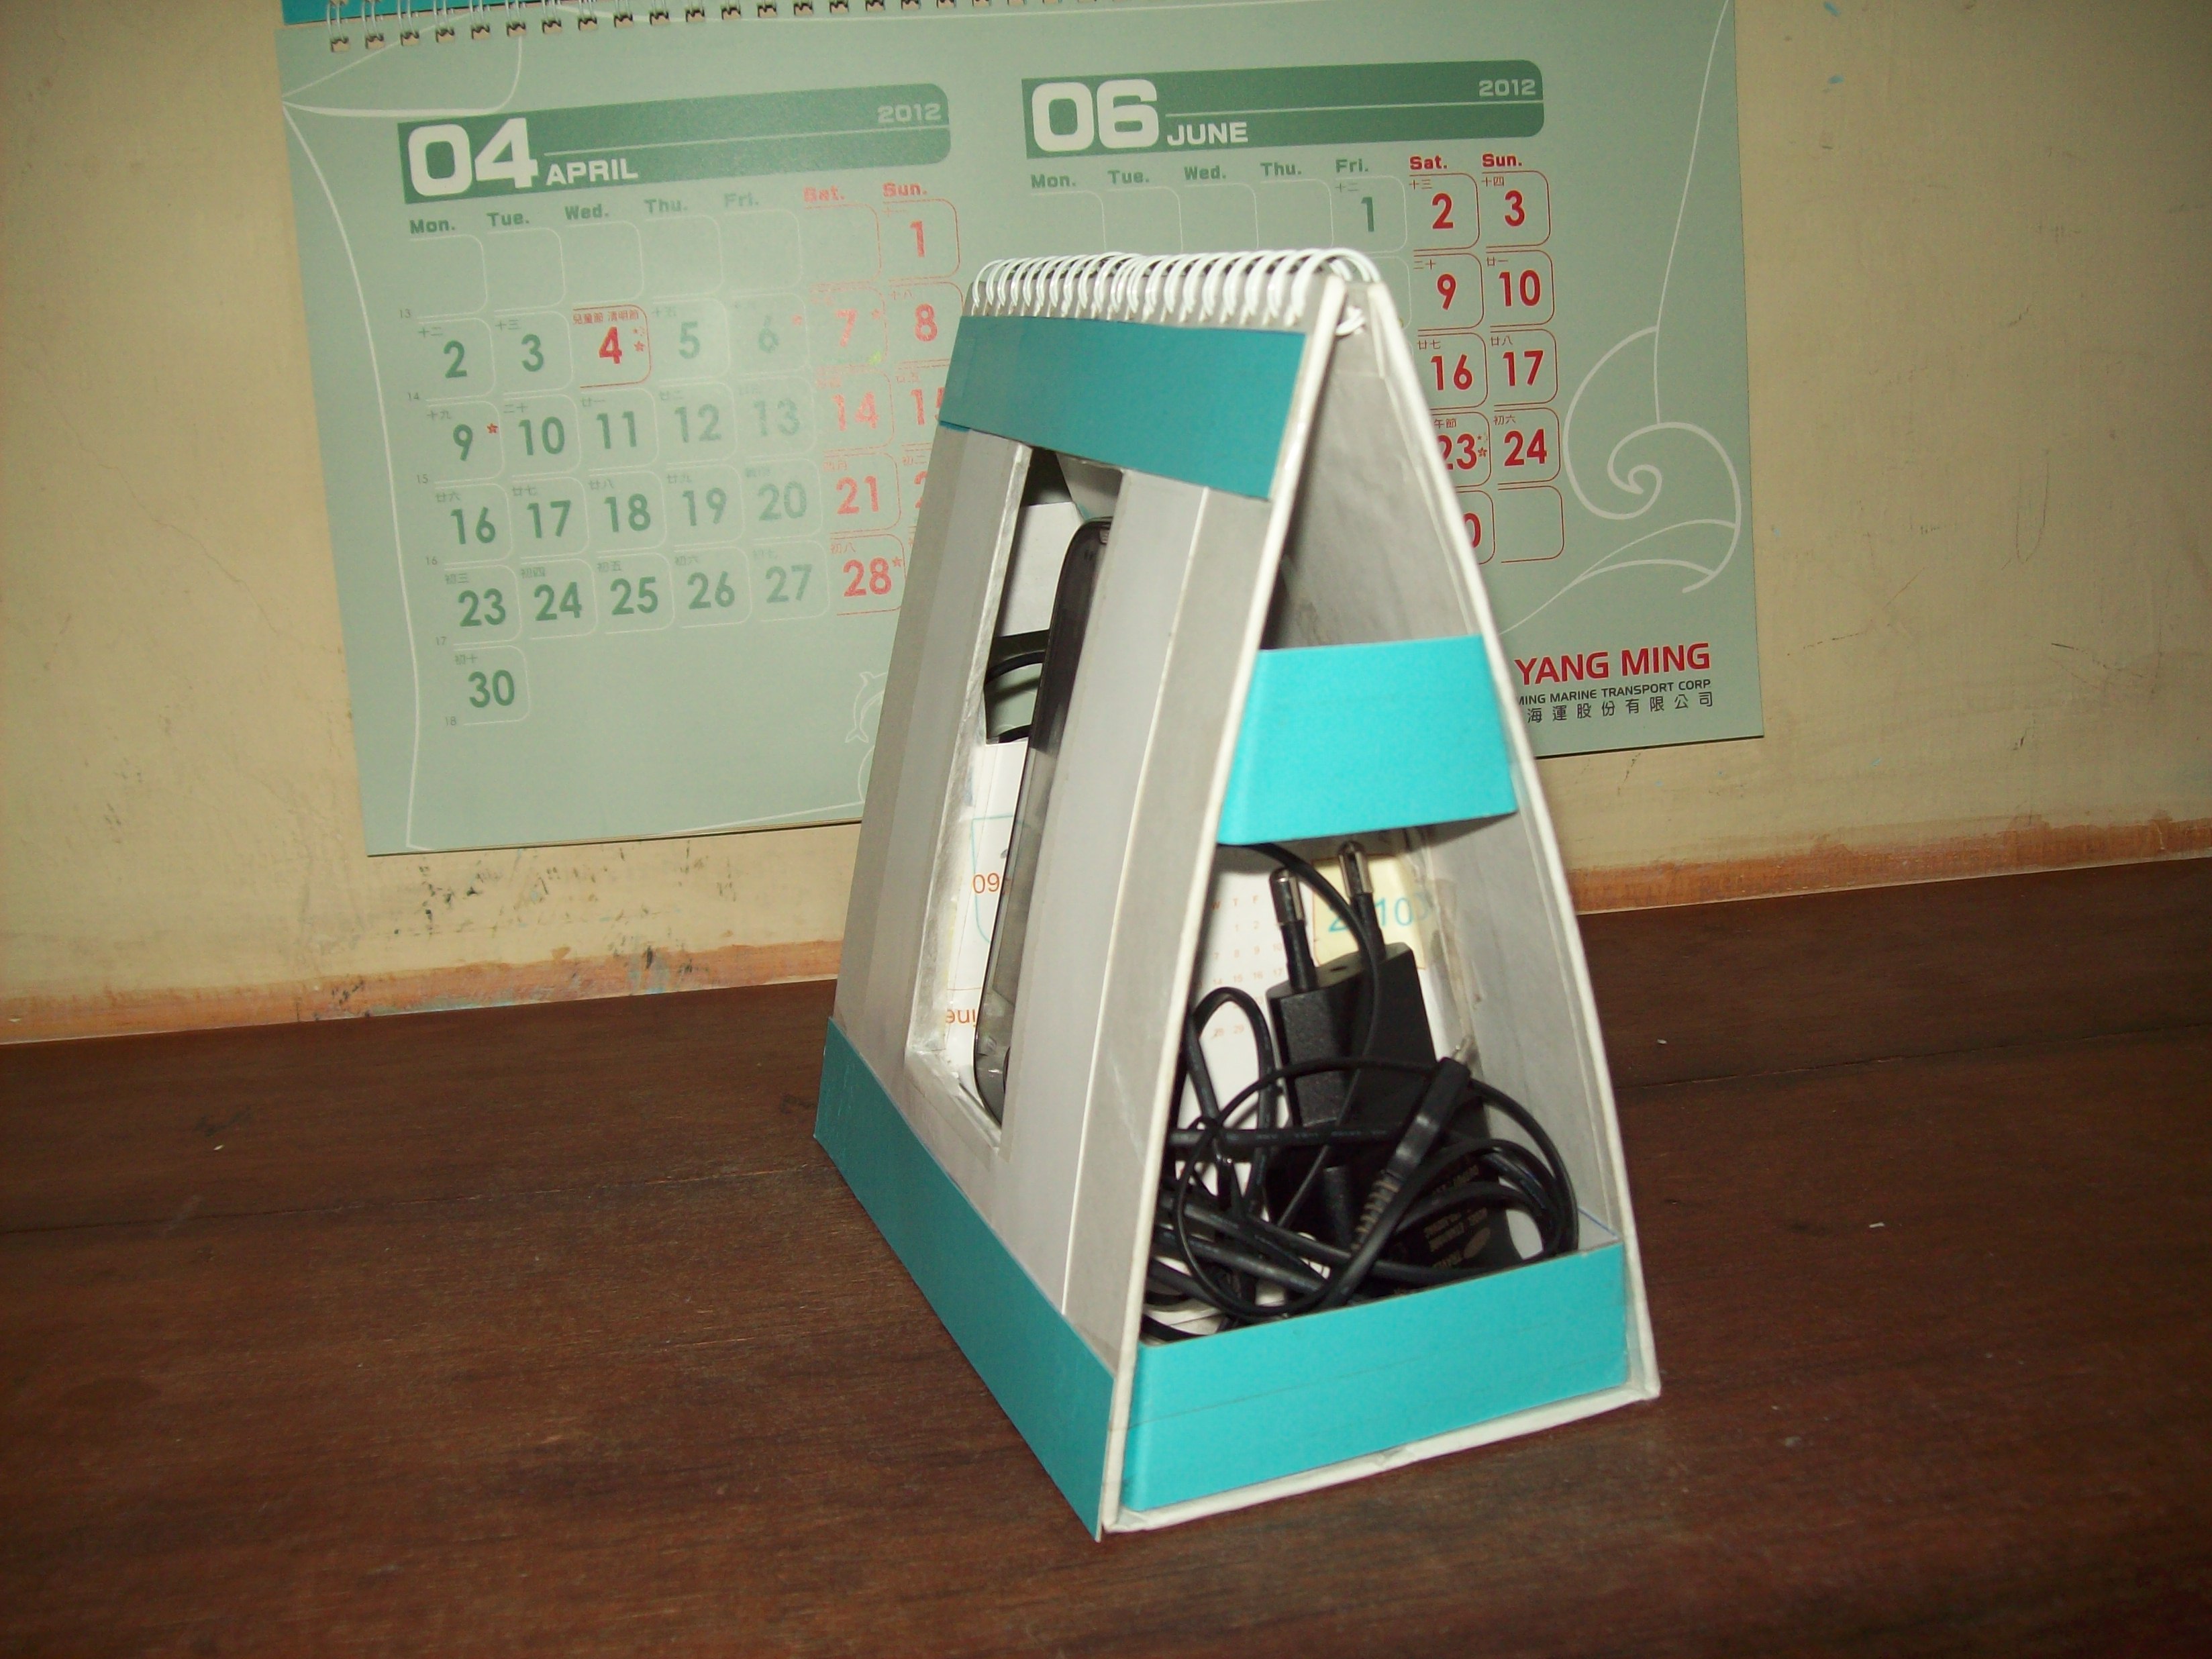
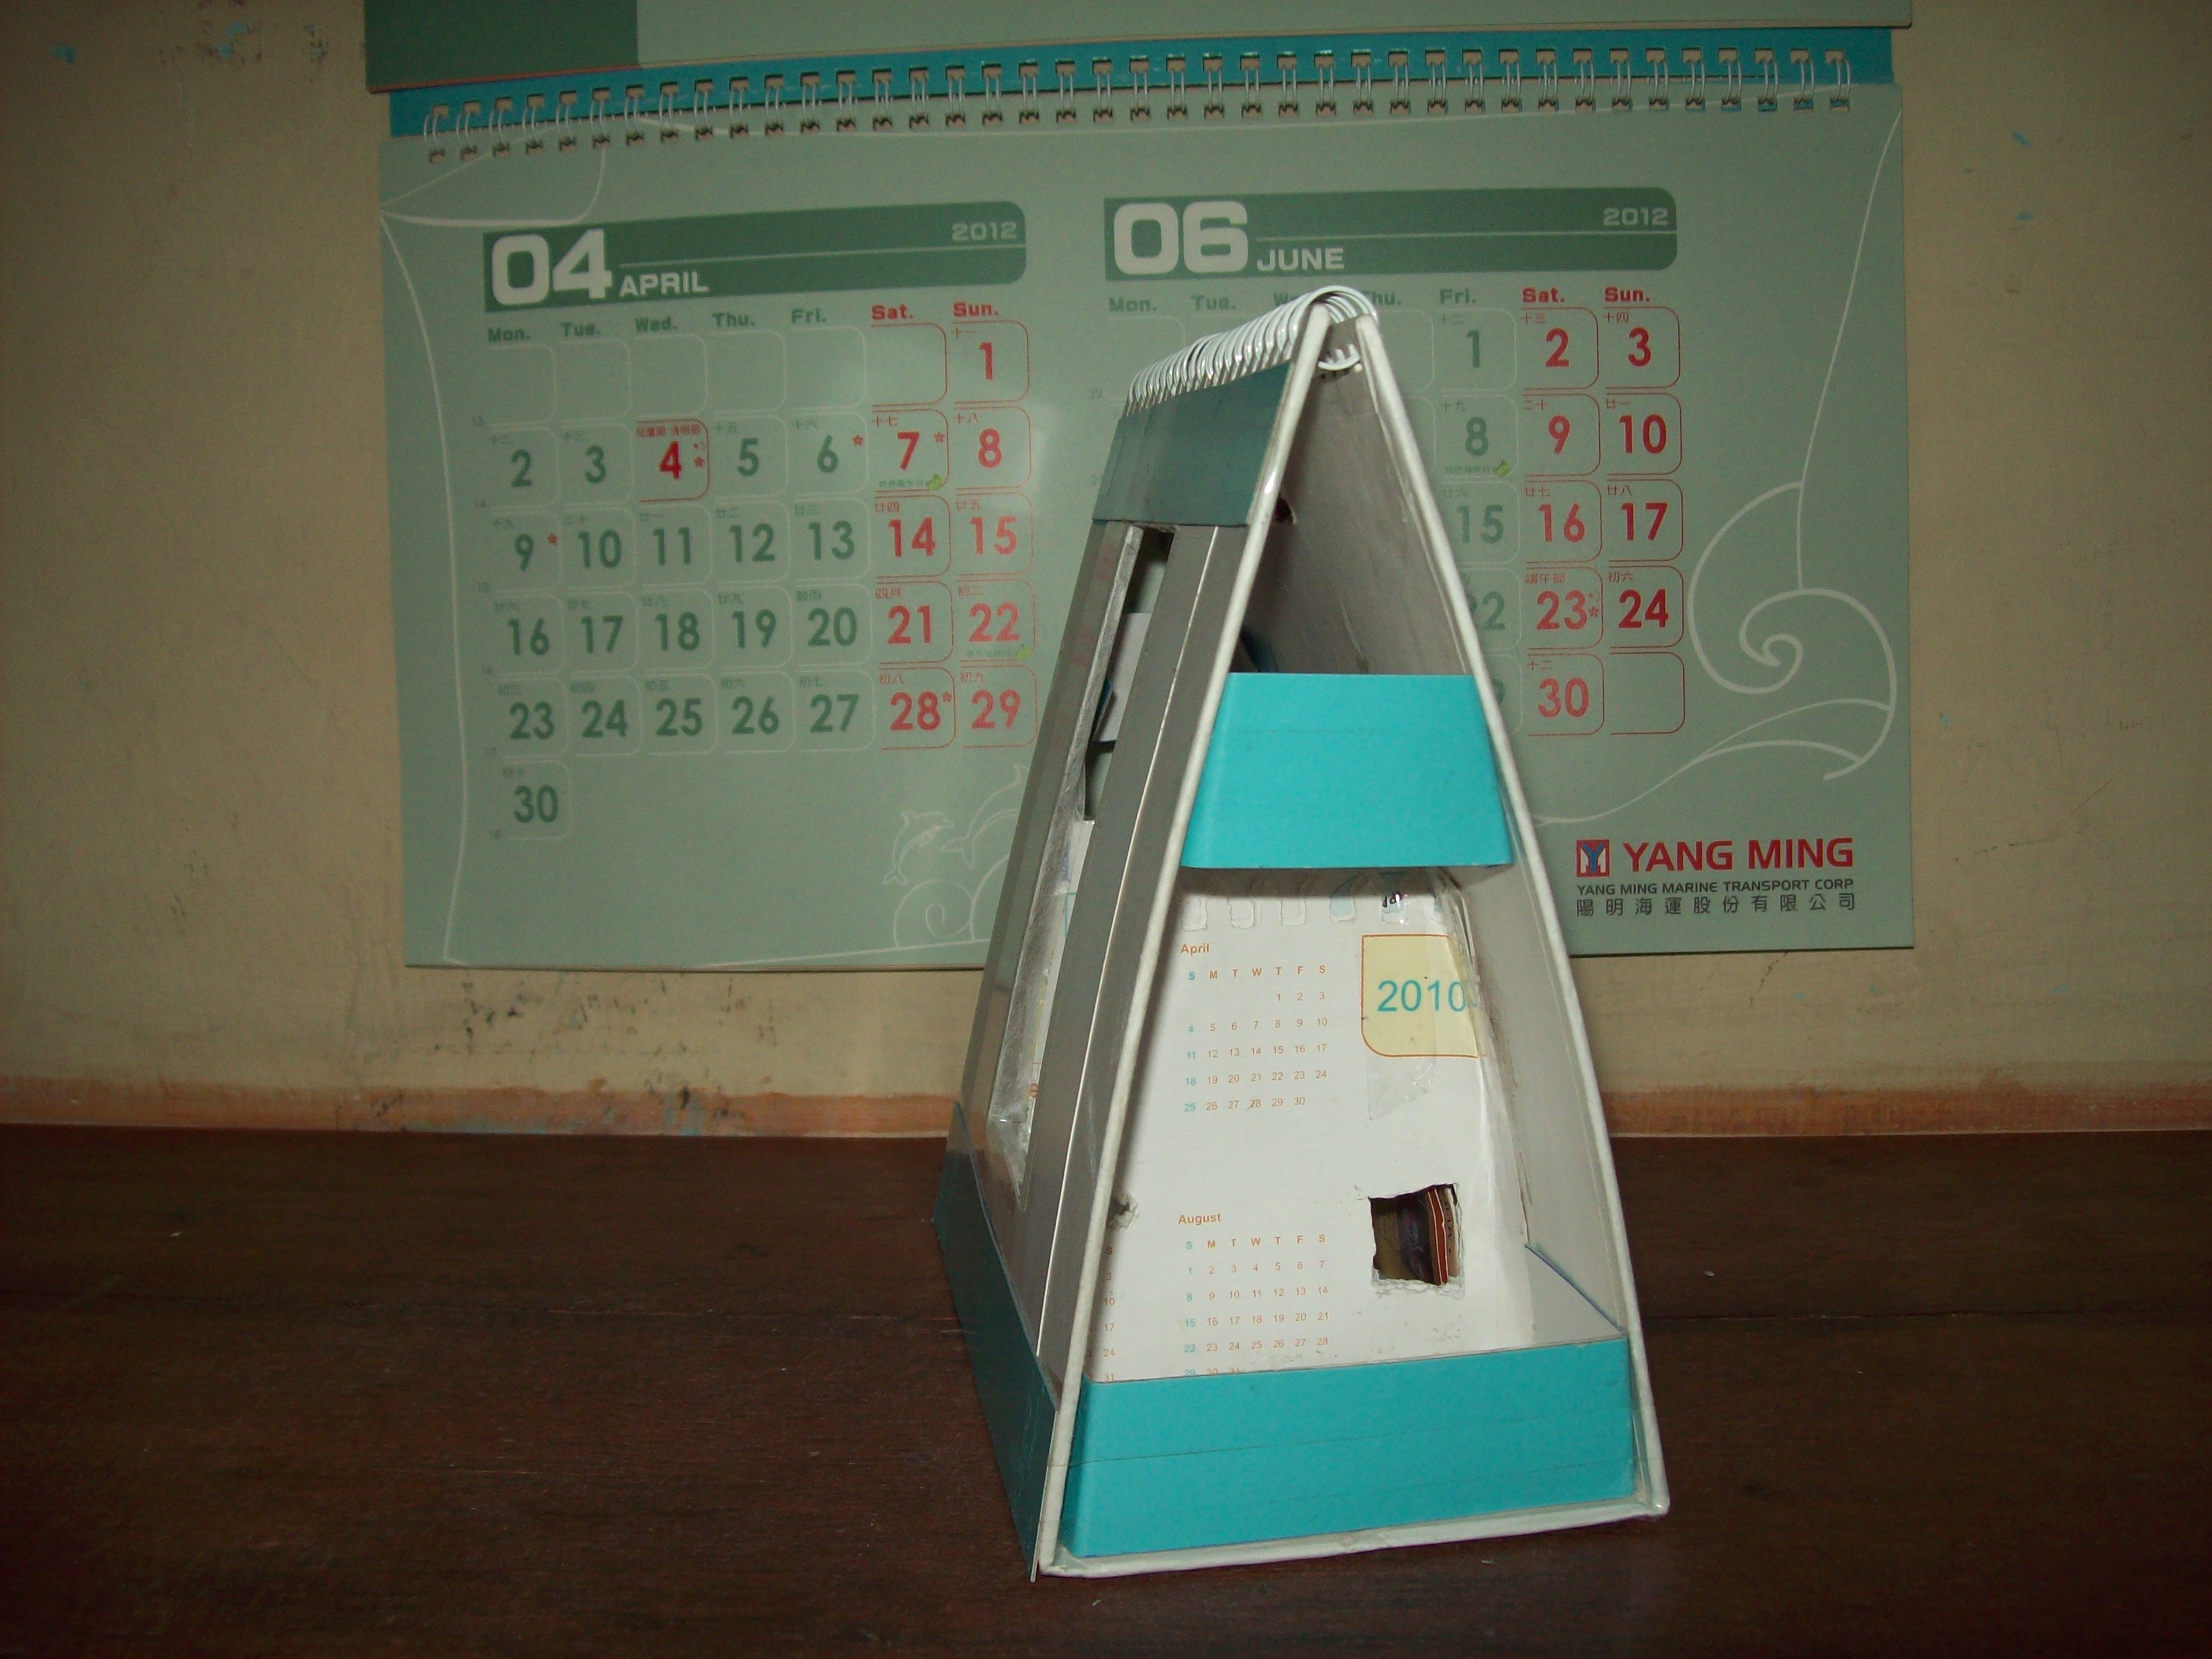
1. Stick some more panels on both sides. Looks cool & gives extra strength.
2. On one side you can store the earphones
3. On other side, the charger can be stored.
2. On one side you can store the earphones
3. On other side, the charger can be stored.
Test Final Setup.

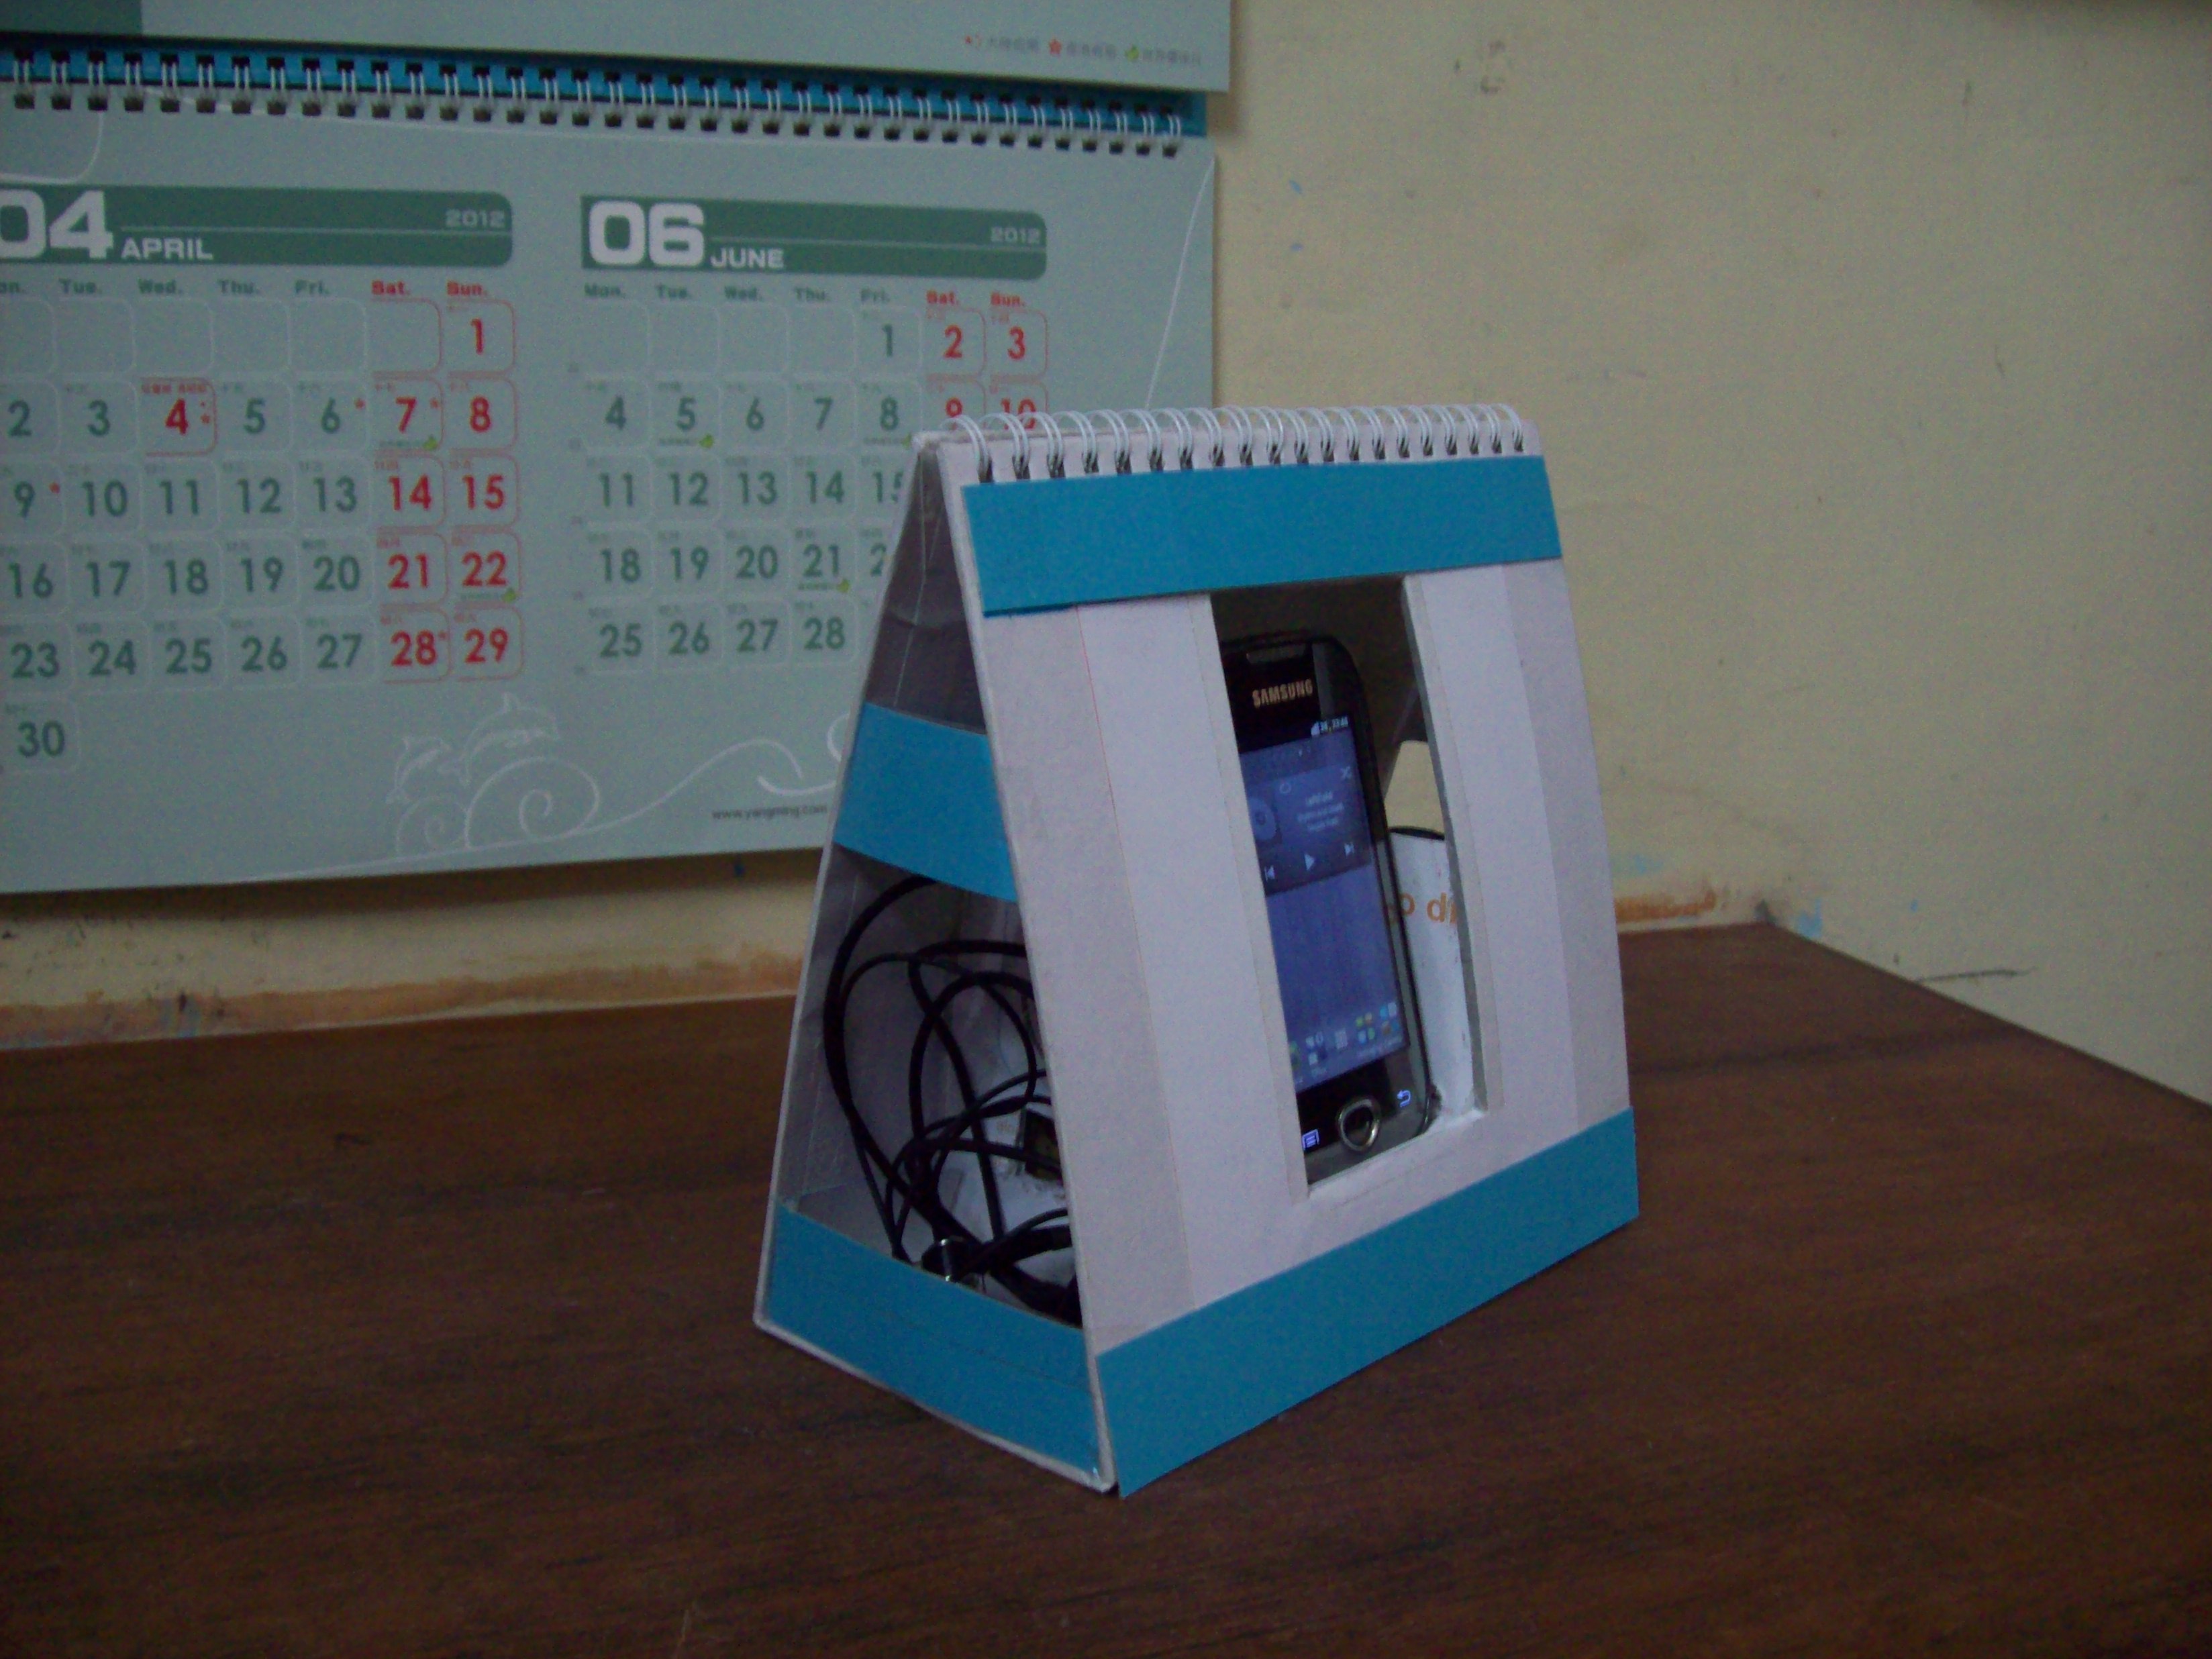
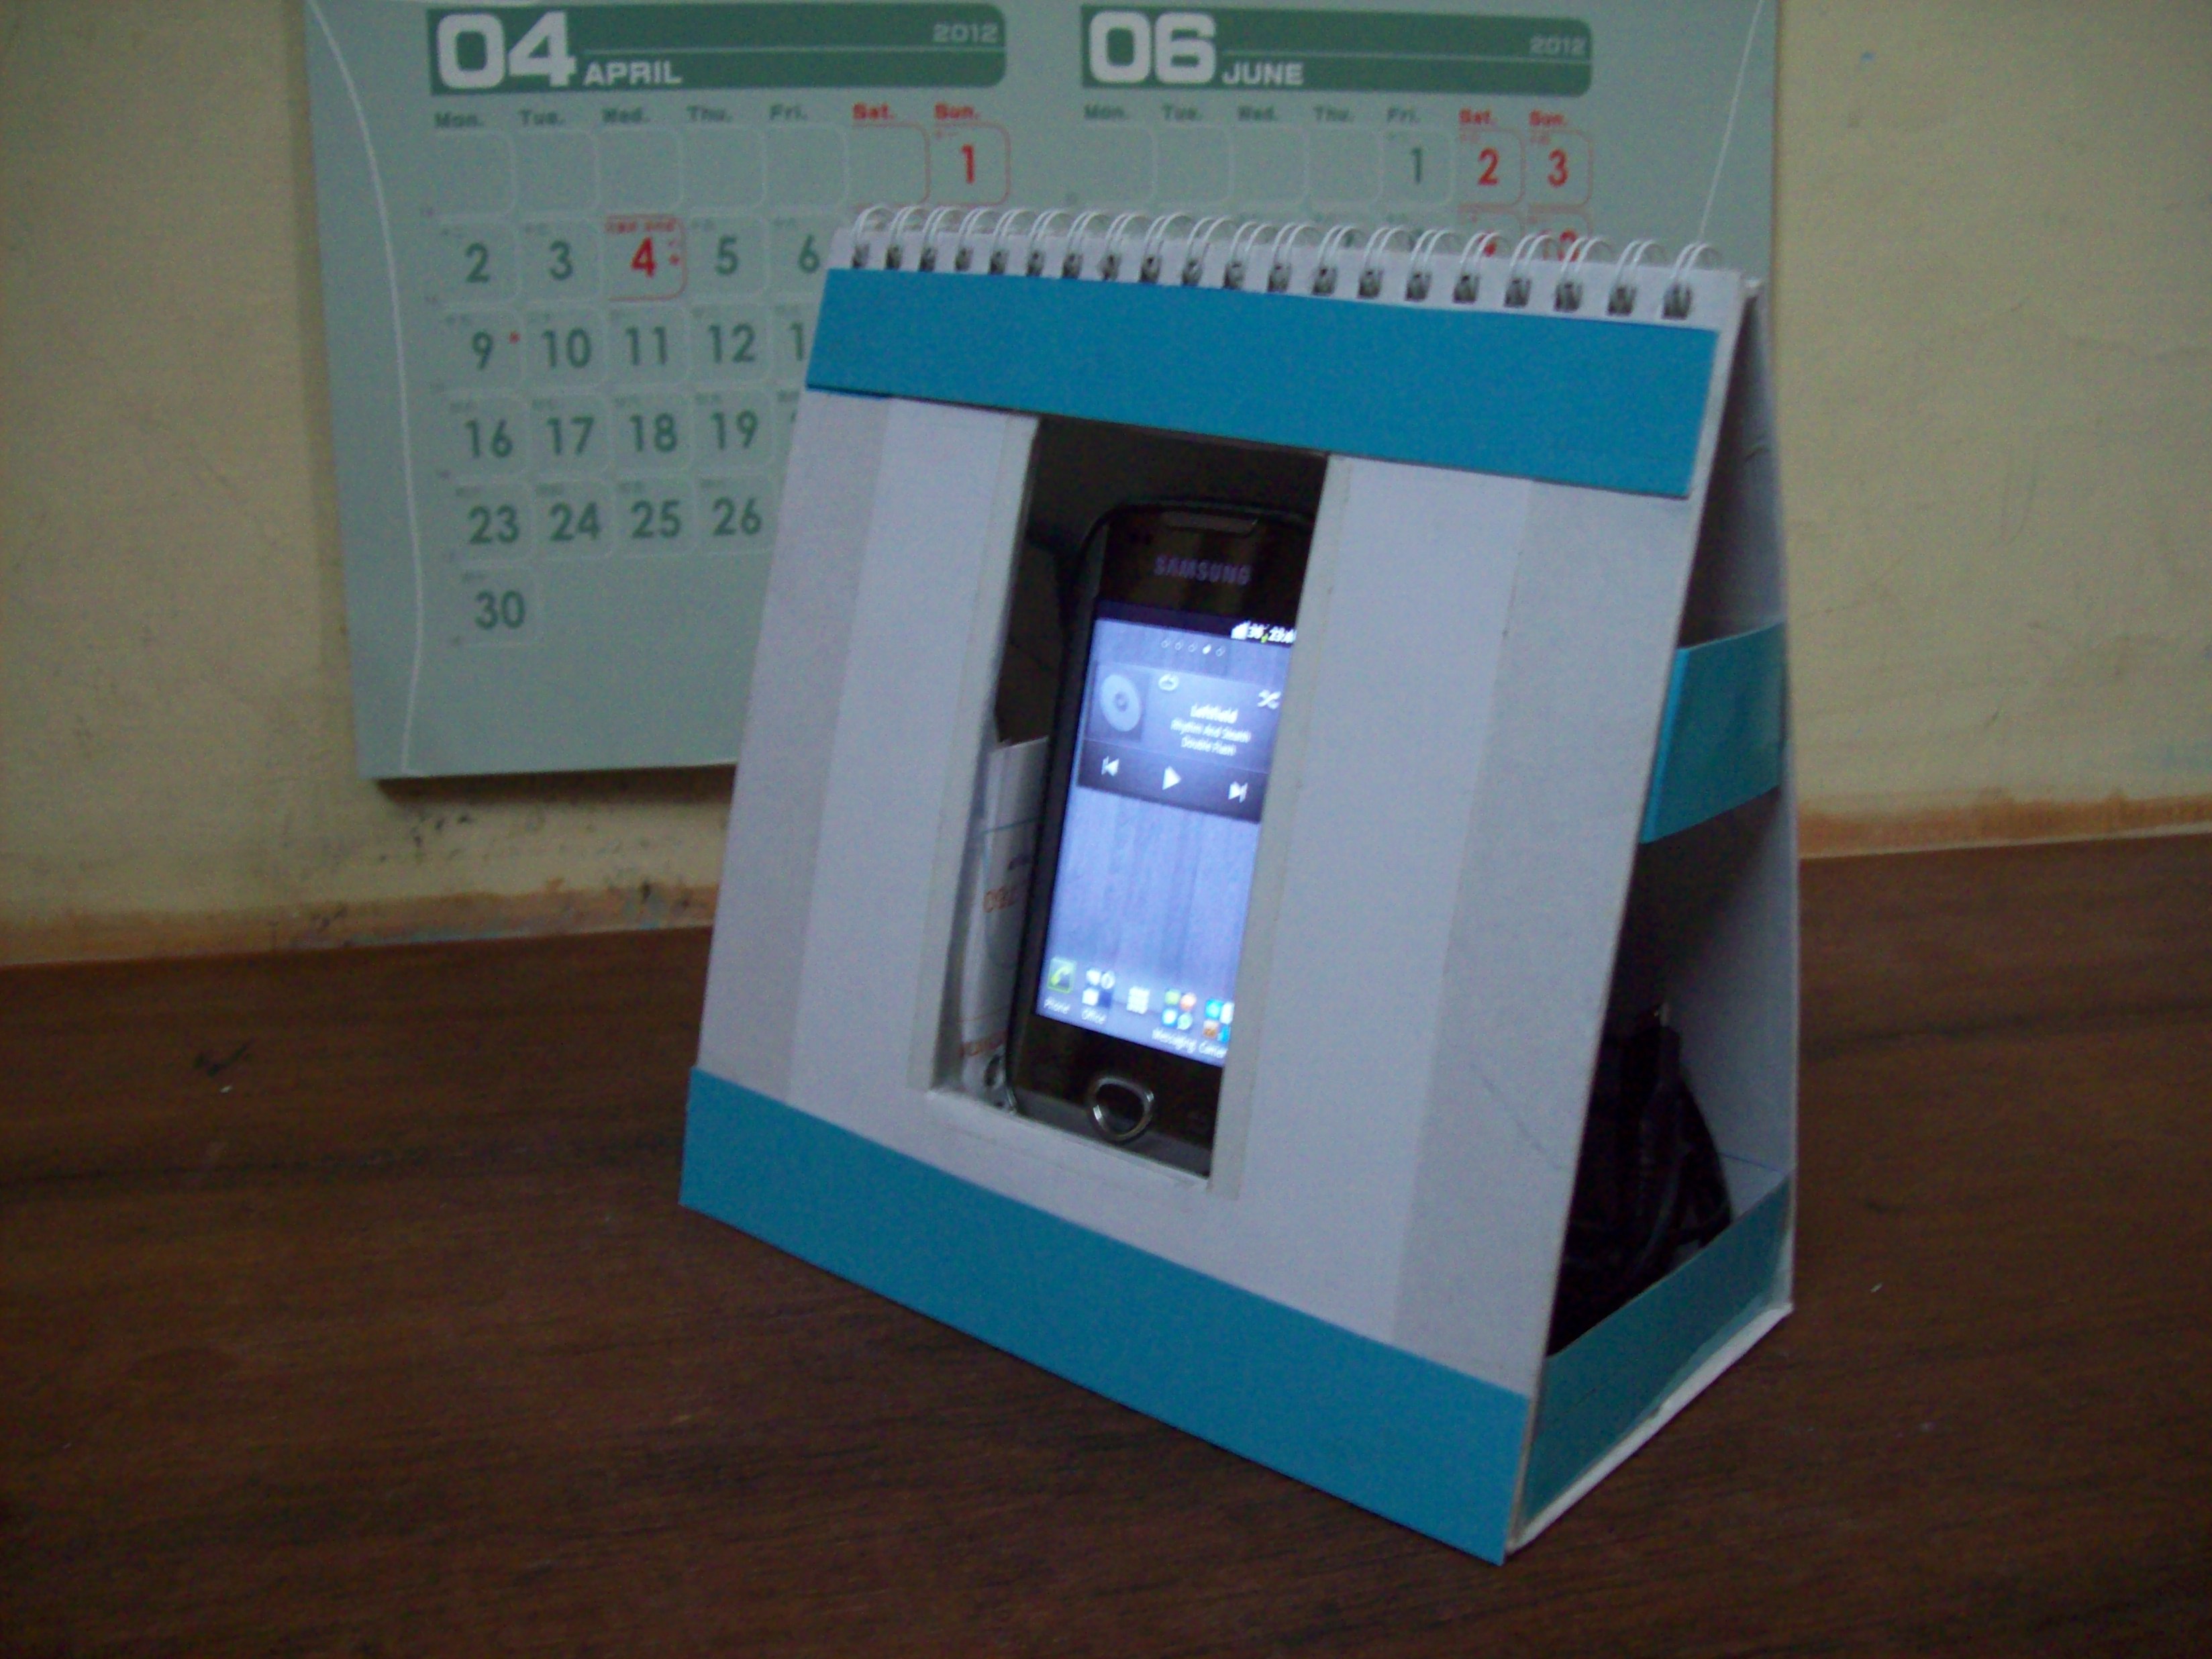
Finally test the sound, Charging etc. and display it!