Quantoscope - Dirac Three Polarizer 3D Printable Tool
712 Views, 4 Favorites, 0 Comments
Quantoscope - Dirac Three Polarizer 3D Printable Tool
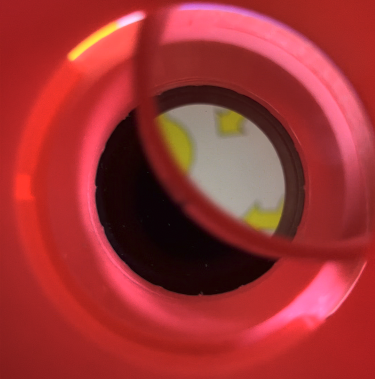
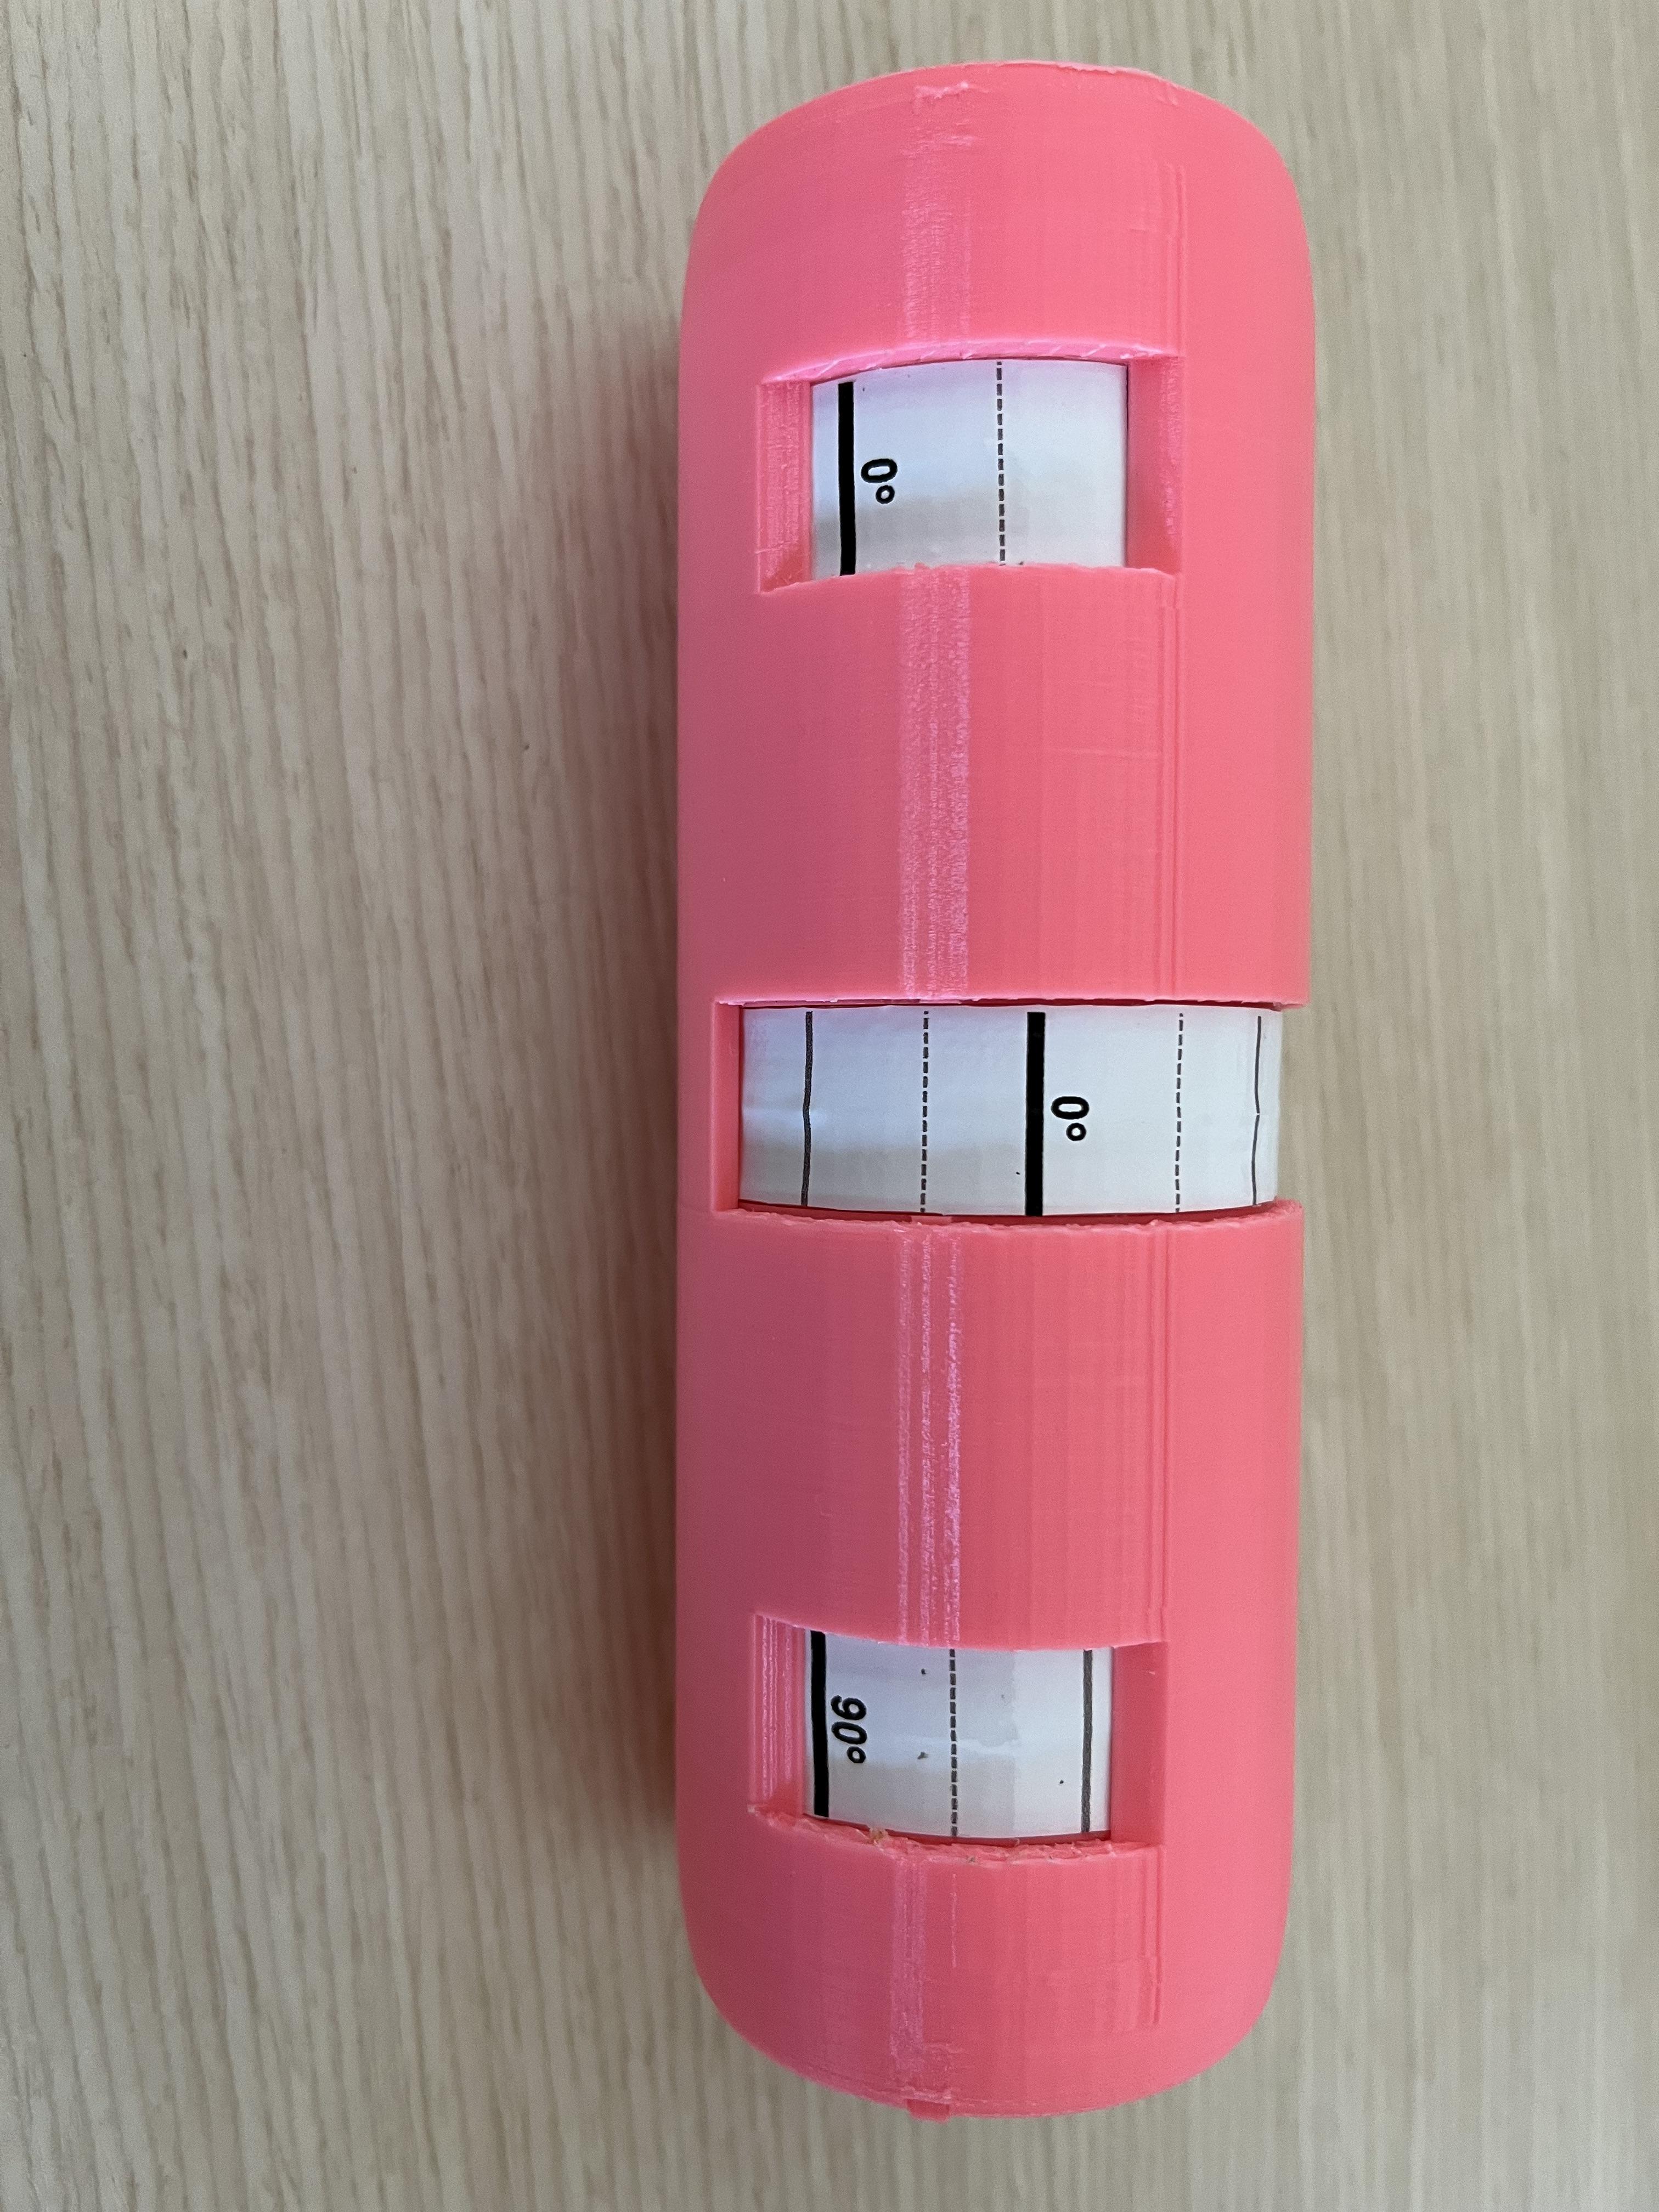
The Quantoscope is a tool that lets you experience quantum phenomena that fits in the palm of your hands.
Dirac three polarizer experiment showcases the weird effect that occurs when three polarized lenses are superposed together. Each polarized lens filters photons (particles of light) according to their orientation. Sunlight has photons of all orientations, however upon entering a polarized lens, the output photons will have been filtered according to their orientation, some photos will have been absorbed and converted into heat while the remaining photons will all pass any new lens of the same orientation.
Putting two opposing lens back to back therefore cancels out all light. The first lens filters photons with a preferred orientation A and the second filter only those of perpendicular orientation B, therefore no photons make it through.
However the curious thing is that adding a third lens in between (of an orientation other than A or B) suddenly lets photons pass through.
This is a surprising effect as it goes counterintuitive to our concepts of filters. That is because polarized lenses are not normal filters and photons orientations are not singular. According to Quantum physics a photon's orientation exists in a distribution of multiple orientation at the same time. Additionally, a polarized lens will let photons through according to their distribution of orientation, some are very likely to go through A because their distribution is maximal at or near A (meaning they are very likely to be of that orientation when observed) while others have no or nearly no chance of passing through A because their distribution is maximal at or near B (the orthogonal orientation). However once a photon has passed a lens, then their distribution gets shifted to be maximal at the phase of that filter.
With this new knowledge we can now understand why light through the Quantoscope behaves so weirdly:
The photons that make it through A have no chance of making it through B, however, if before arriving to B they pass through an intermediary lens, then some of them will pass and be re-oriented to that intermediary lens' orientation, which is no longer orthogonal to B, making a fraction of the remaining photons able once again to pass through B.
More about the phenomenon can be found here: https://www.informationphilosopher.com/solutions/experiments/dirac_3-polarizers/.
Supplies

For this project you will need:
- A 3D printer to print all 11 pieces:
- Two large grooved inner tubes
- One small groover inner tube
- One medium grooved inner tube
- Three lenses
- Three lenses sliding doors
- One main outer tube
- Three 1.25 inch square polarized films OR at least a 2.5 Inch square (or 1.25 by 3.75 Inch rectangle) of polarized film and a pair of scissors.
- (optional) sandpaper
Downloads
Cut 1.25 Inch Squares of Polarized Film (x3)
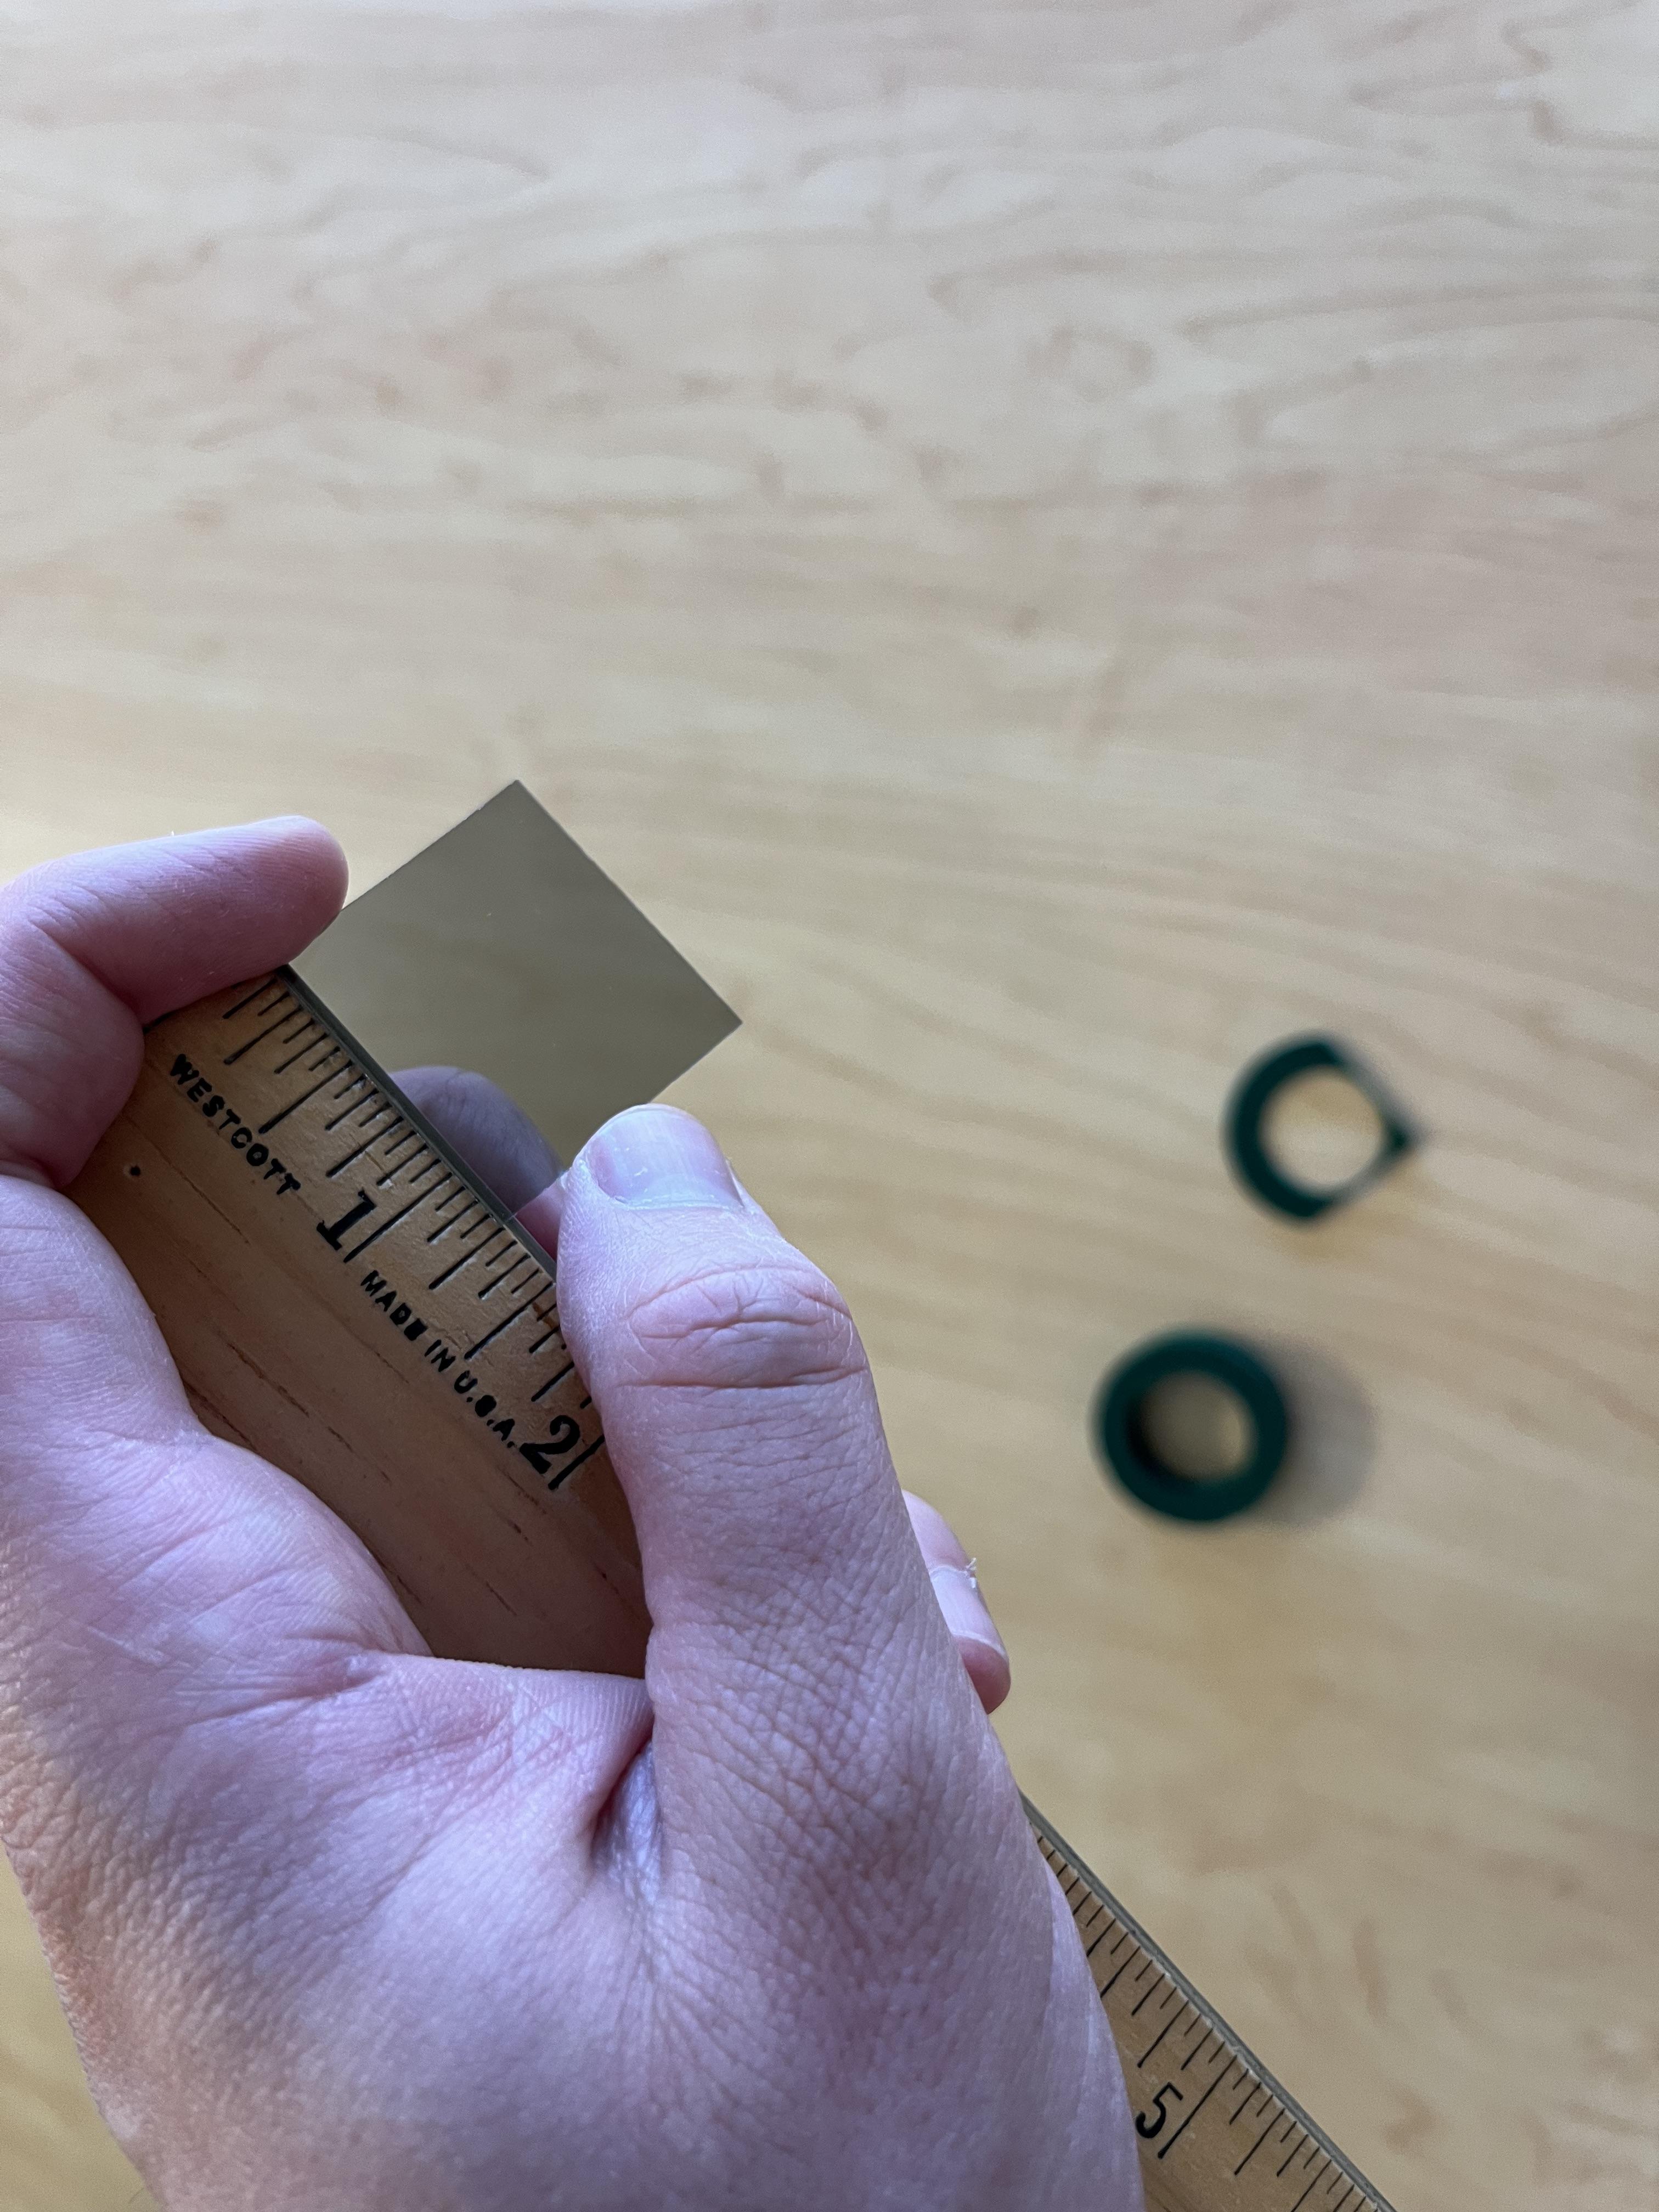

Cut your squares of polarized film to be 1.25 Inch by 1.25 Inch.
Repeat this step 2 more times.
Assemble Lenses (x3)


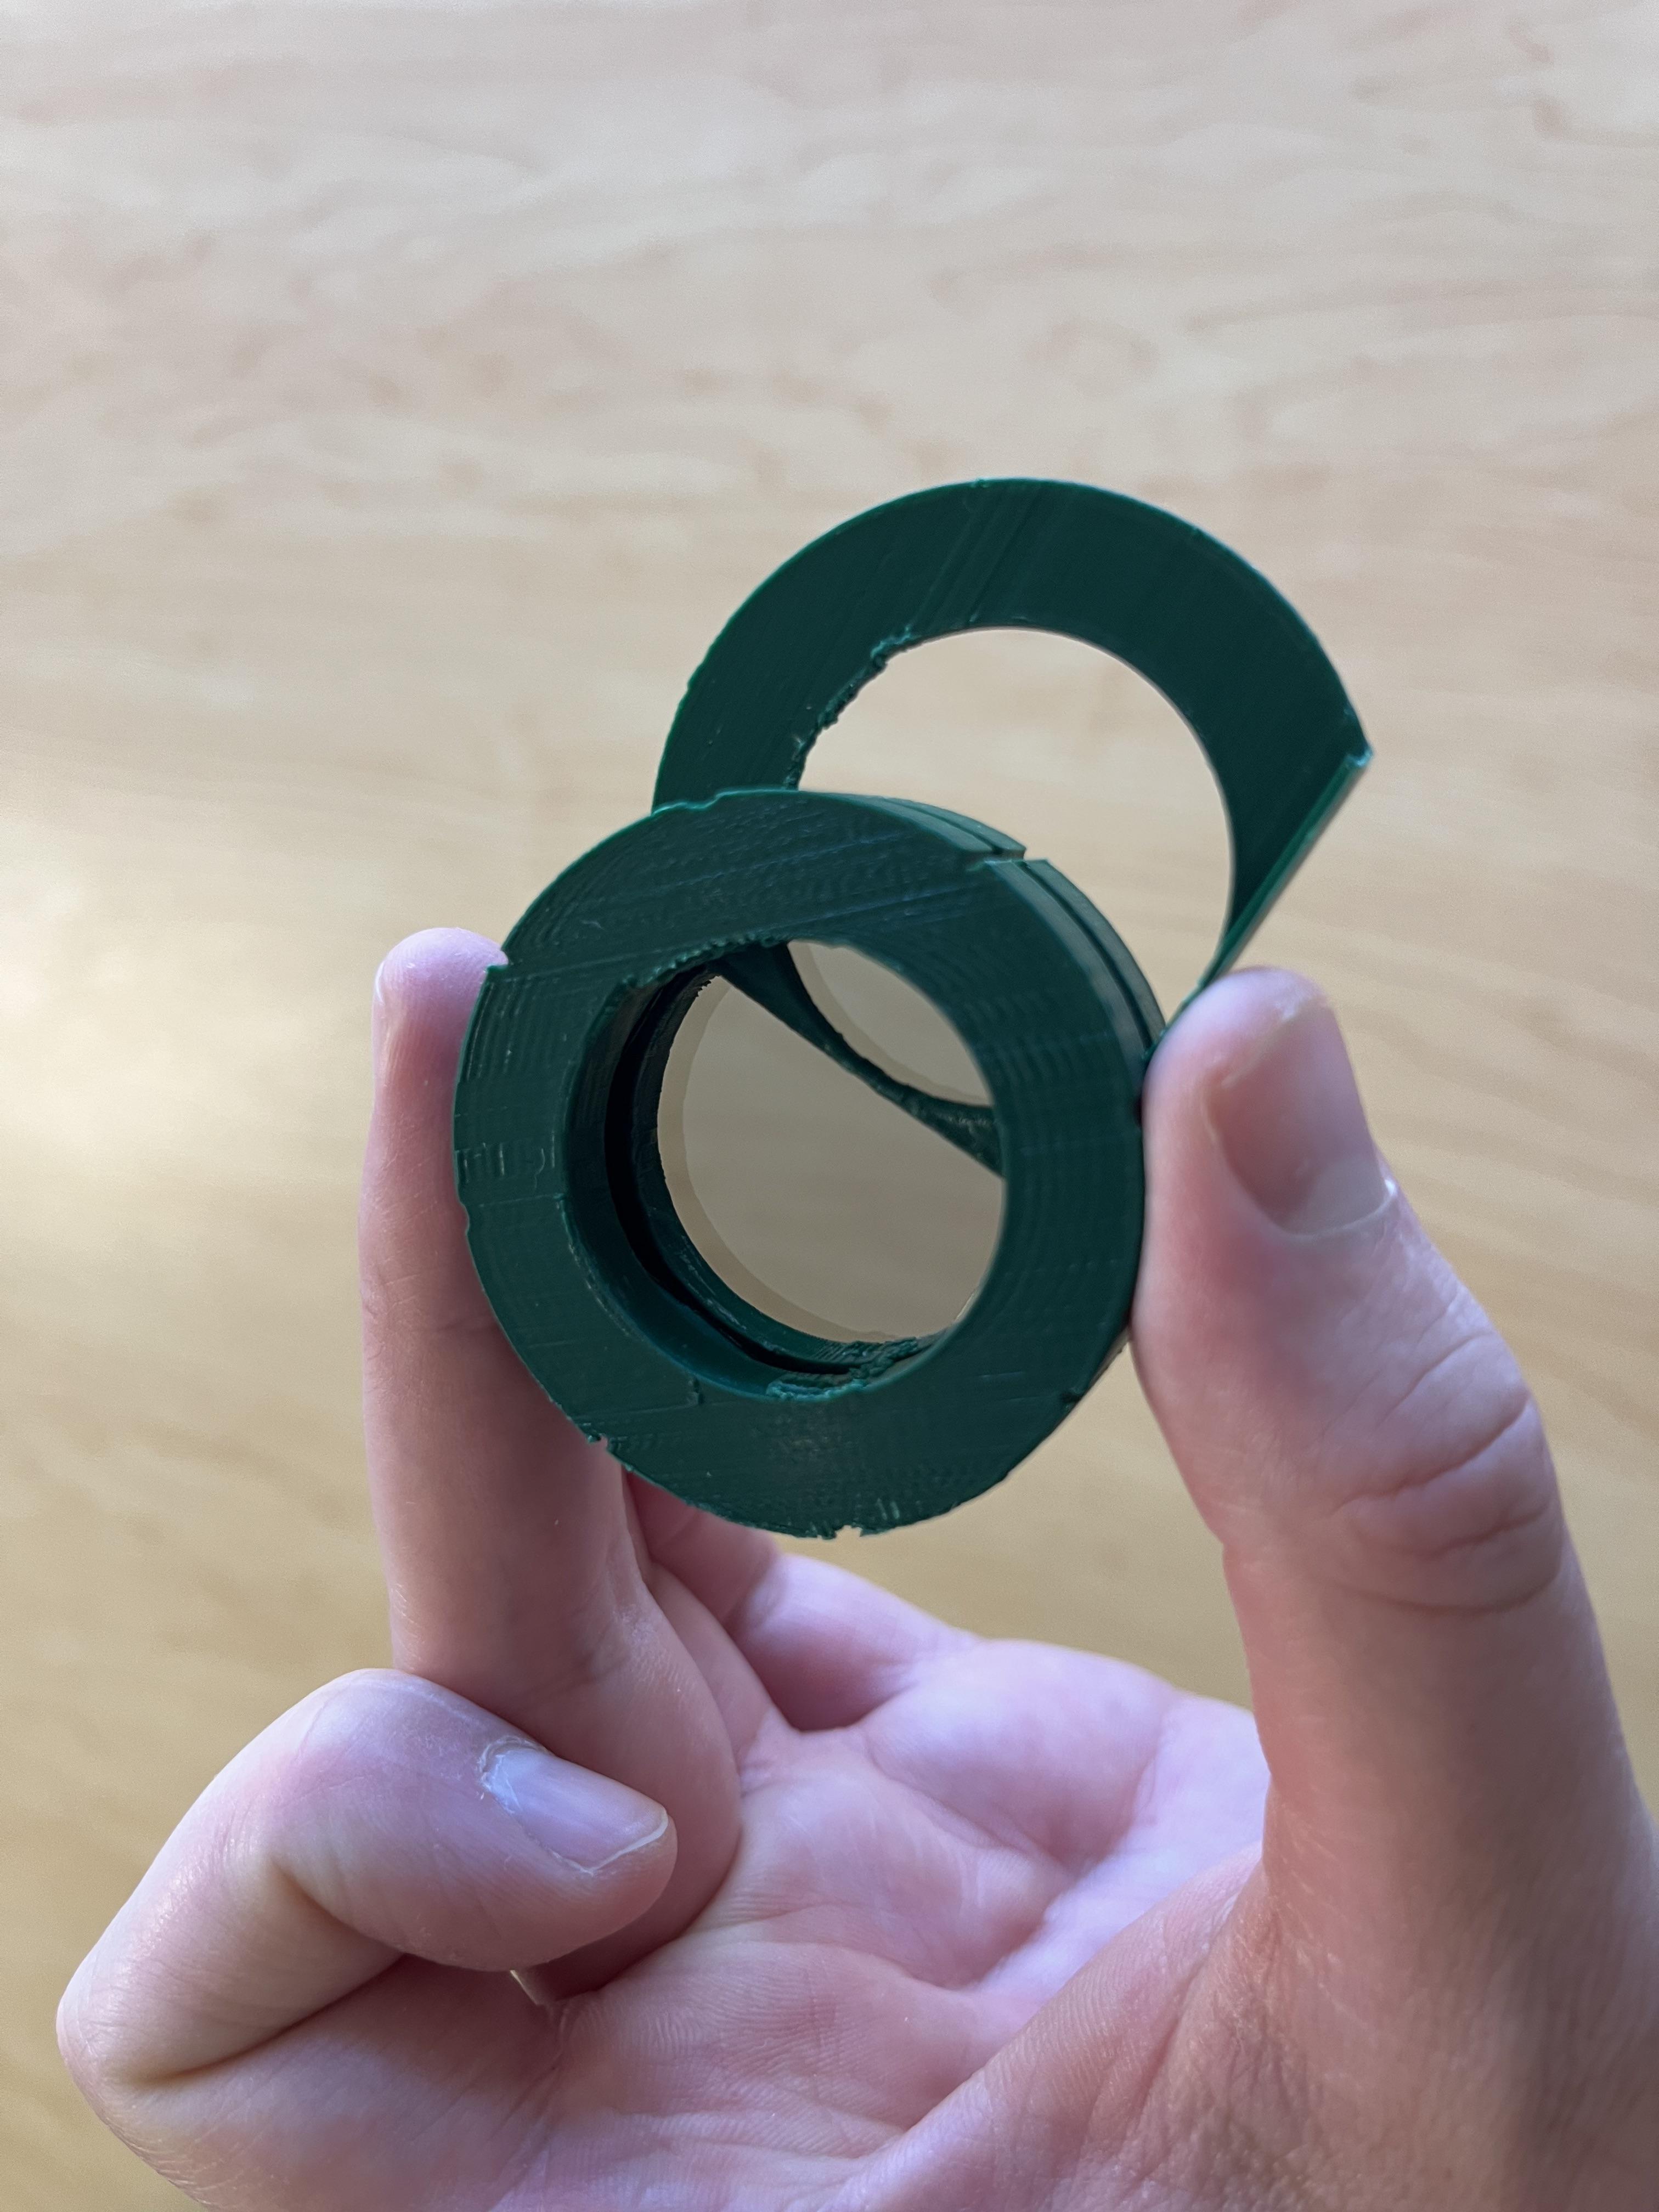
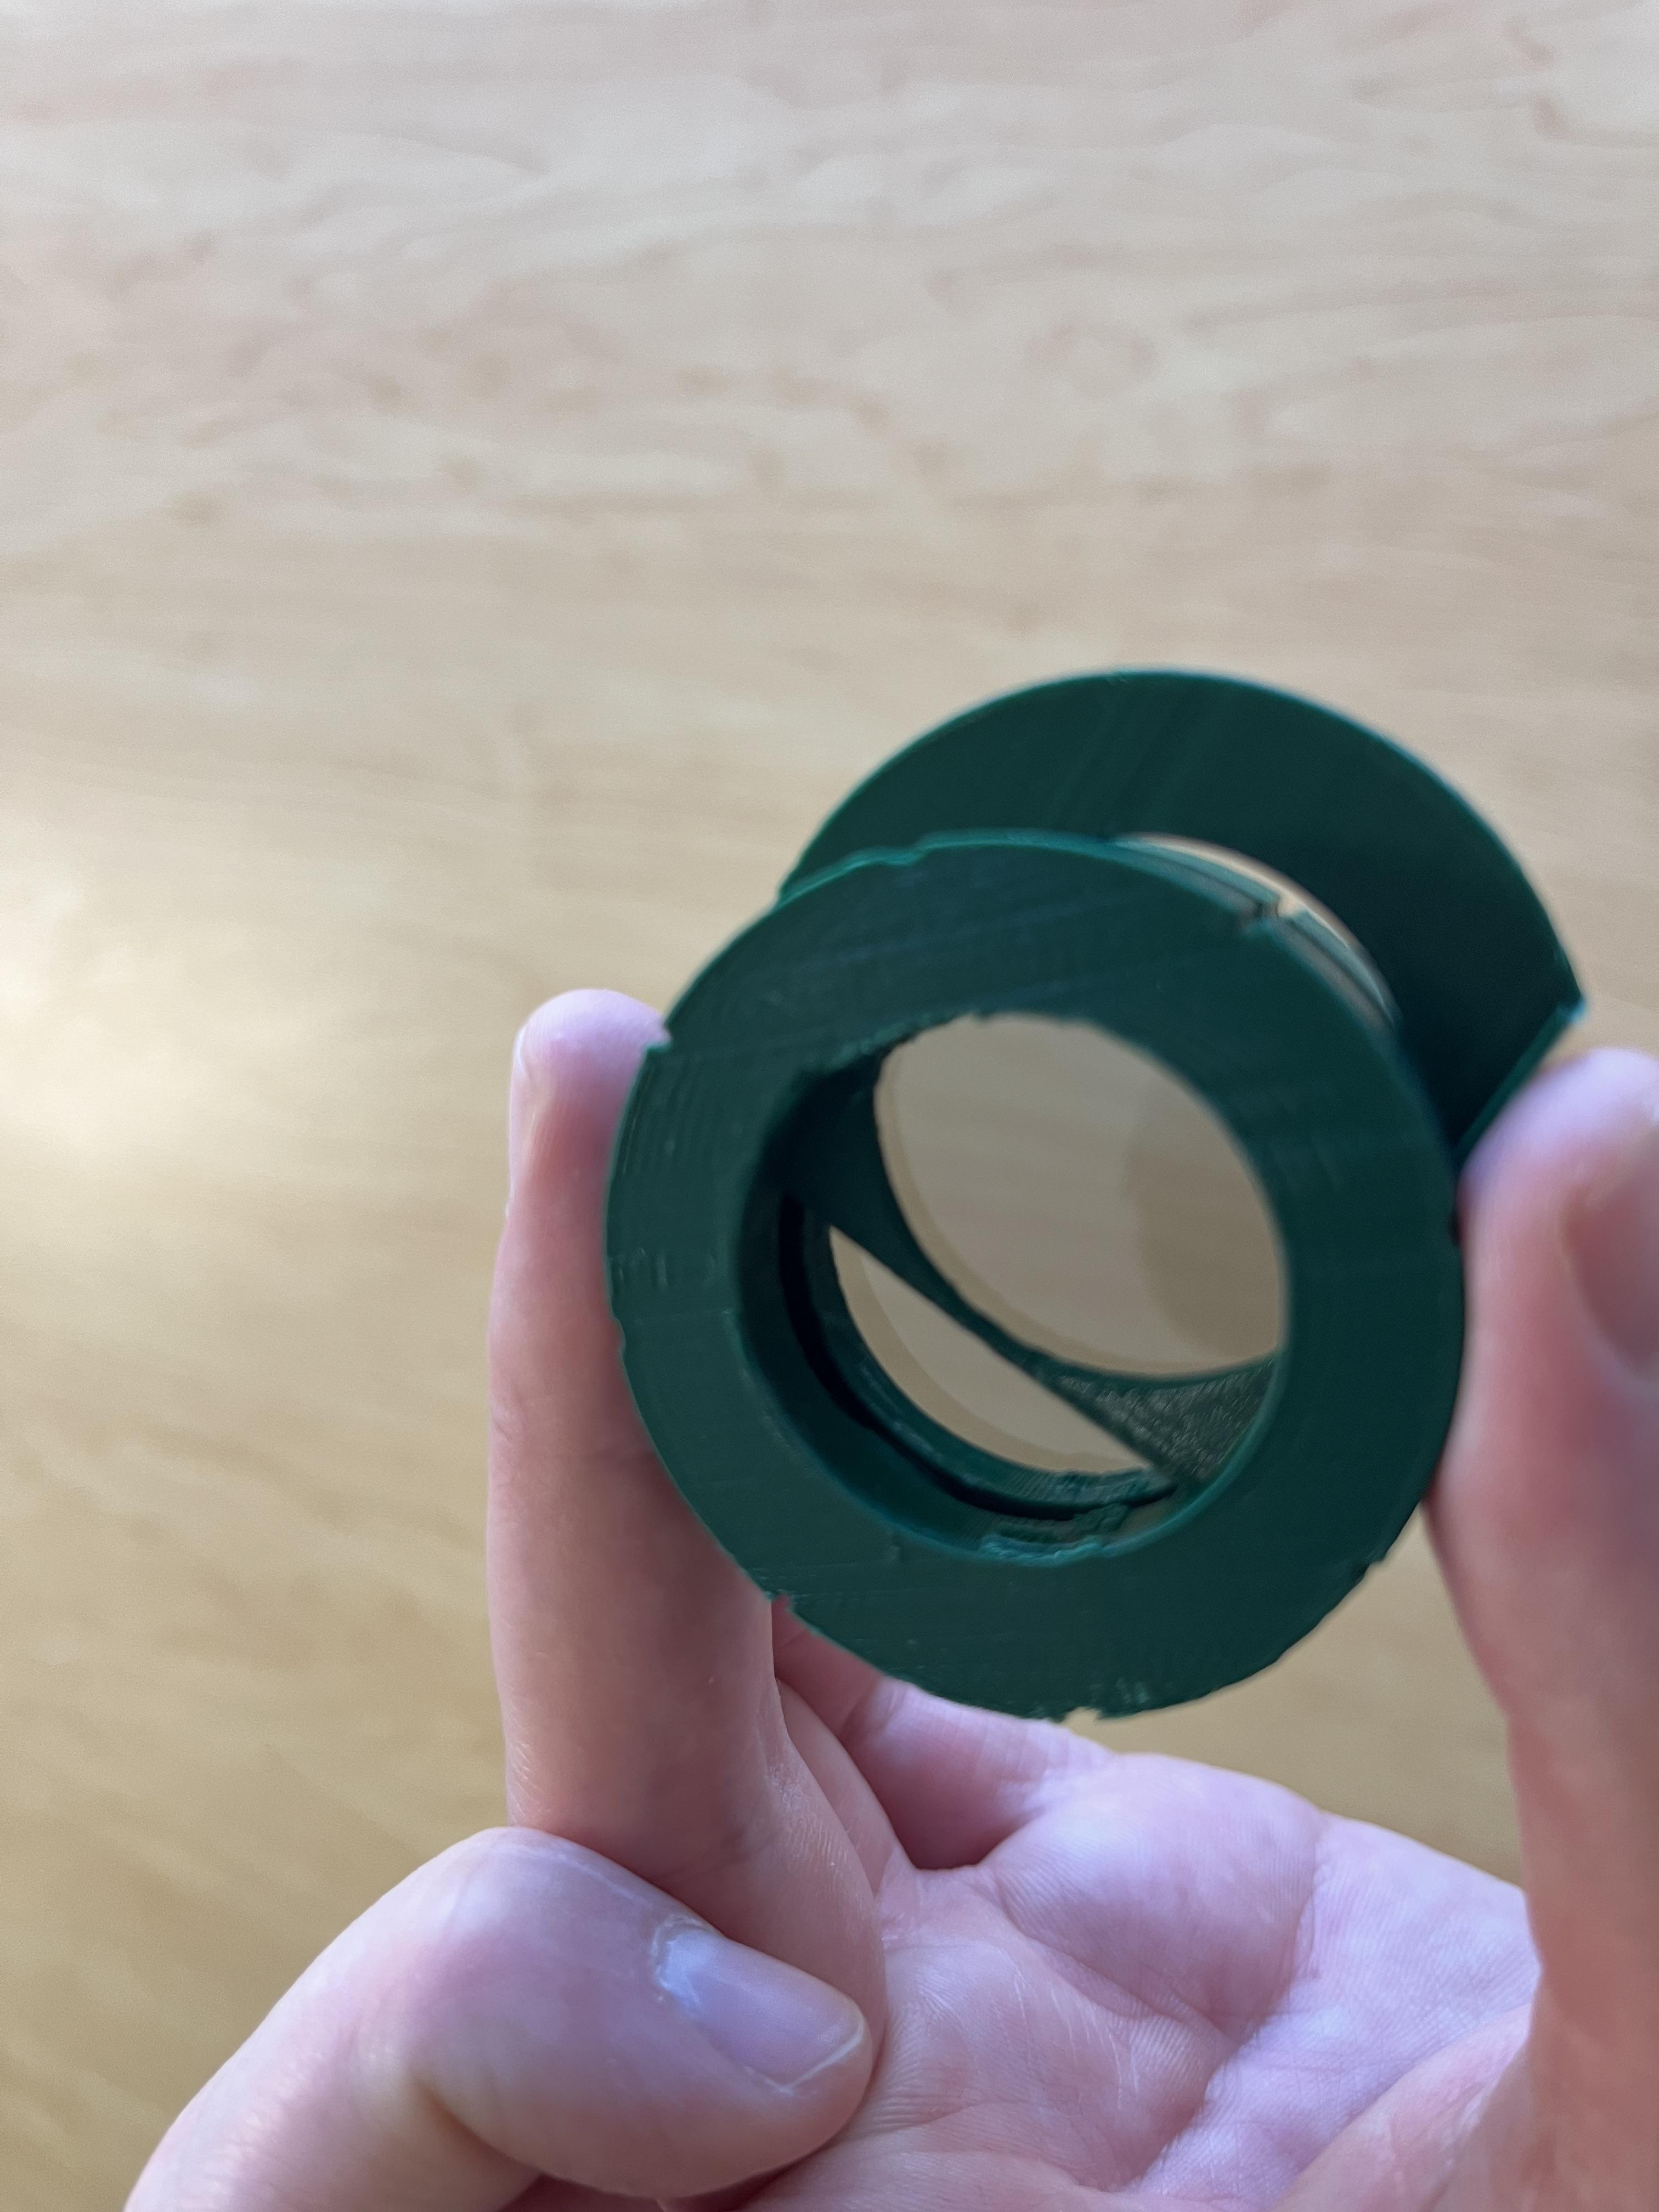
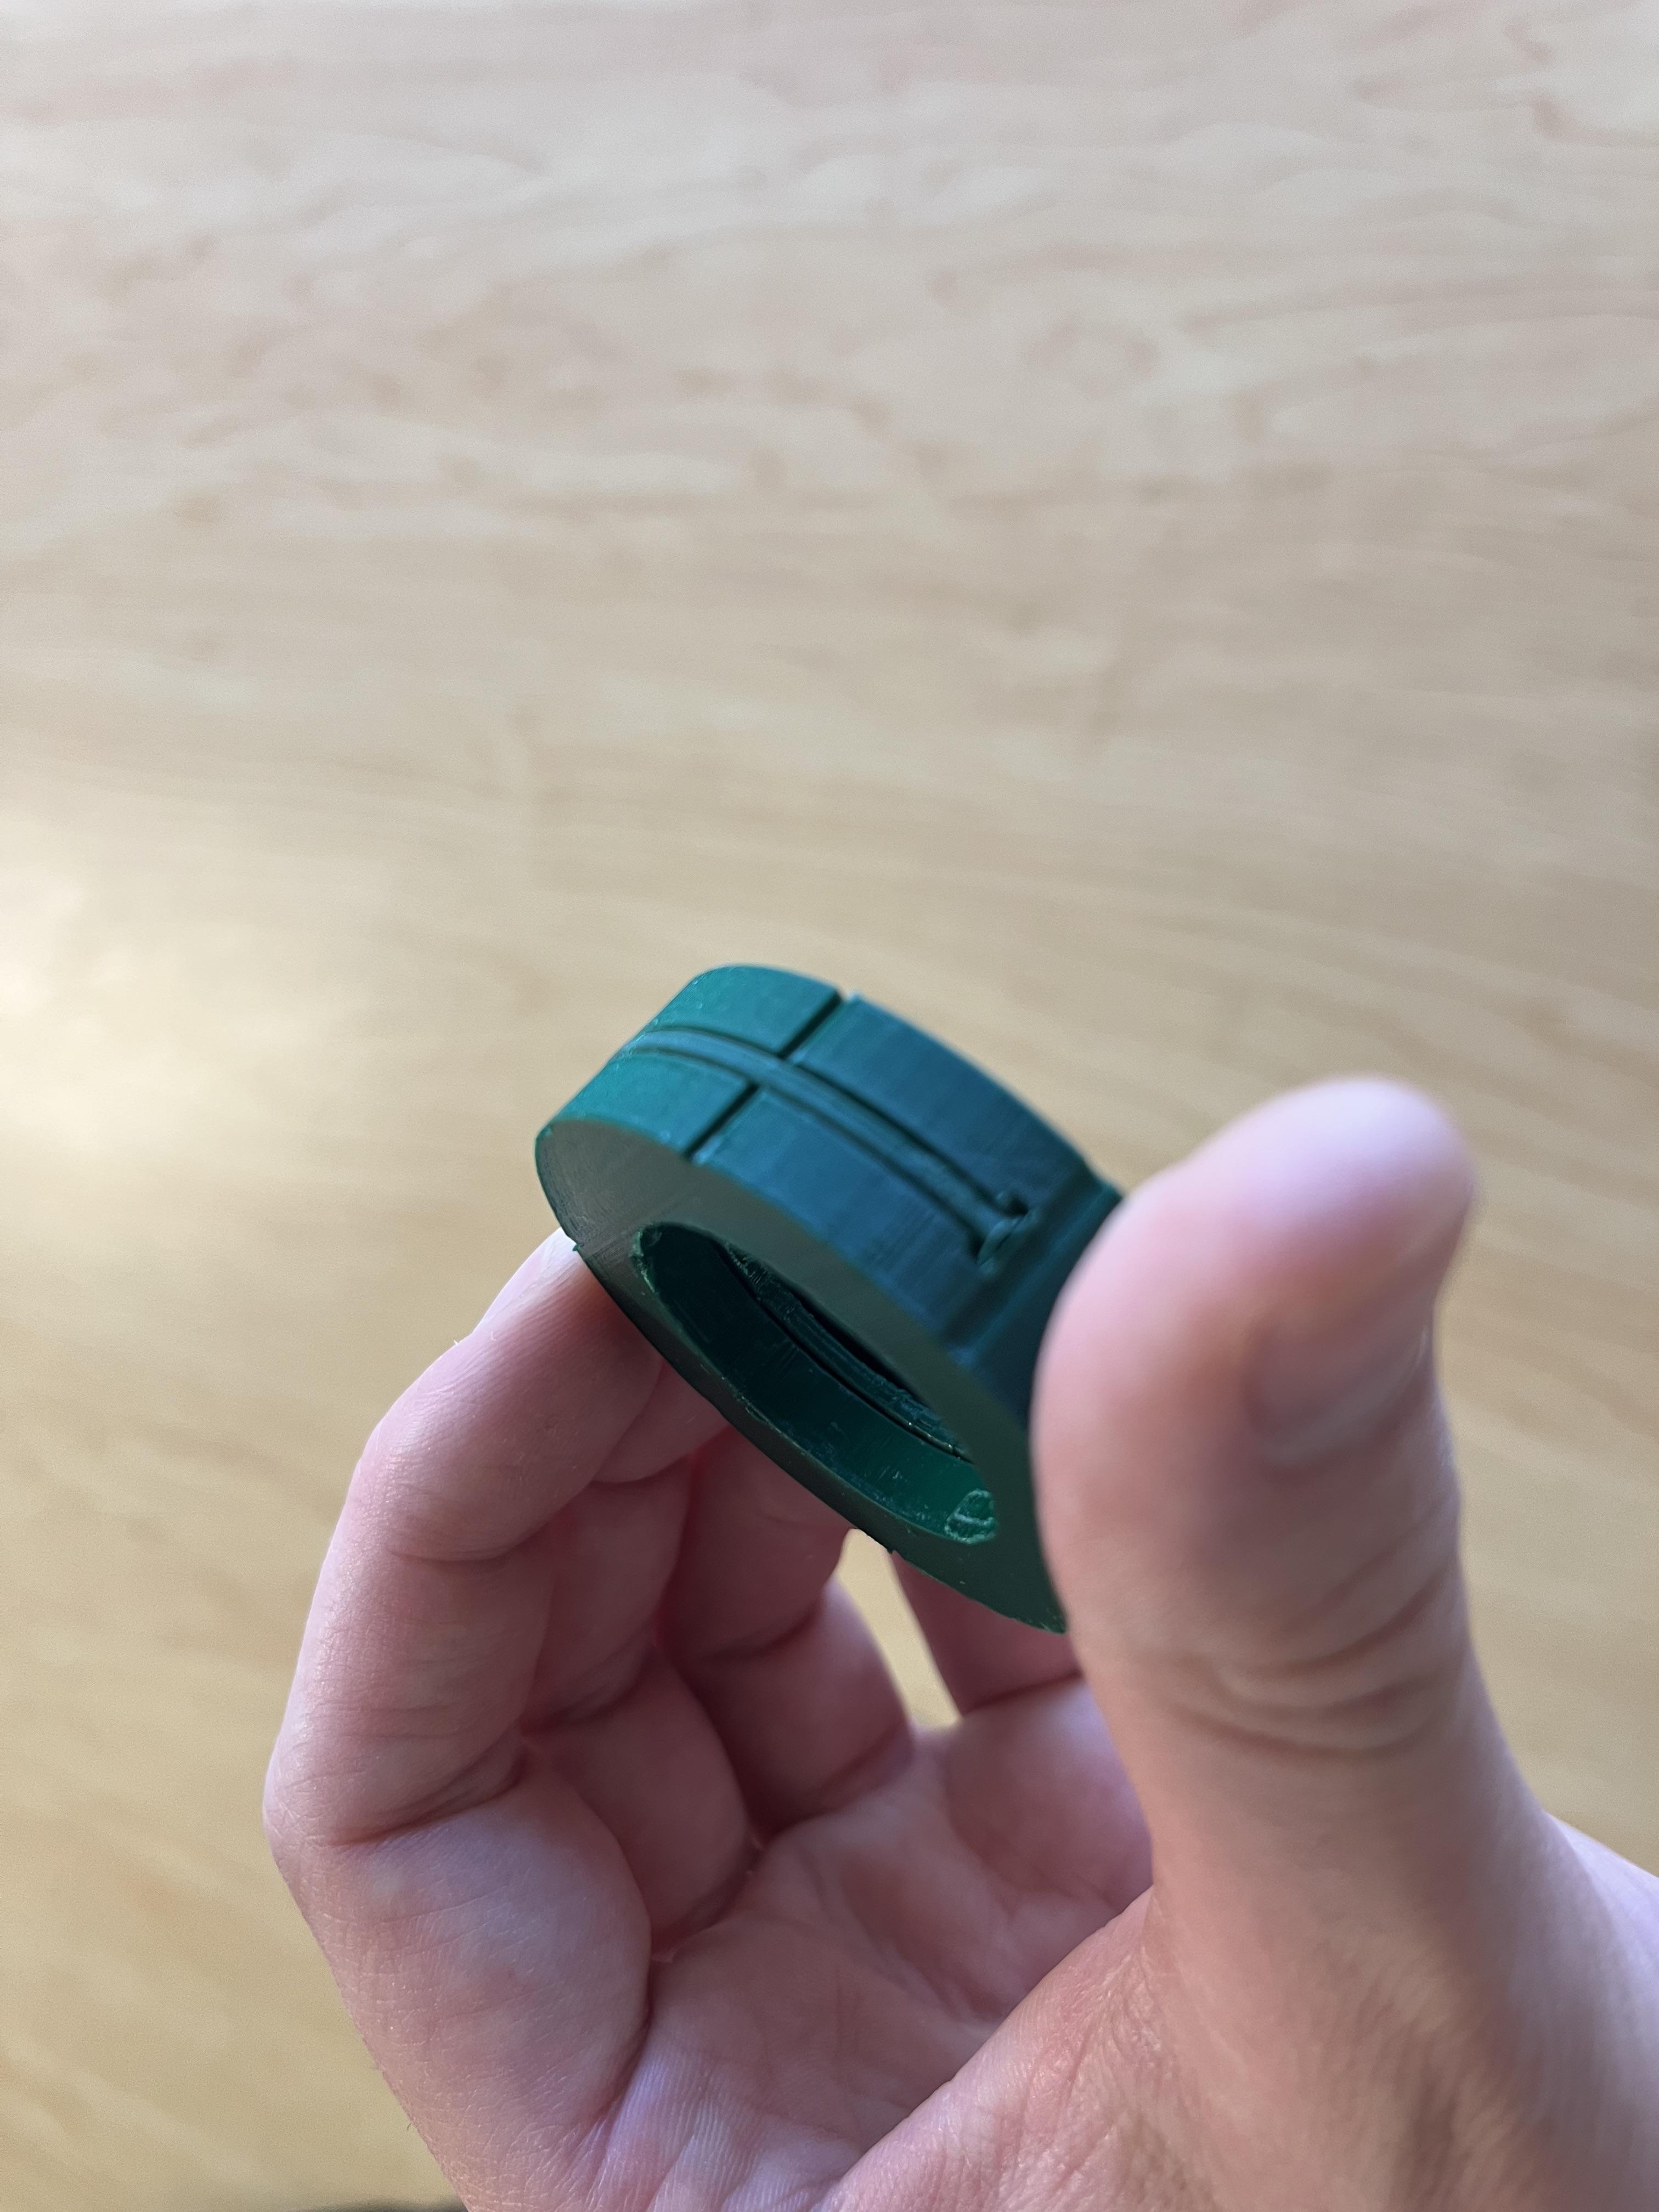
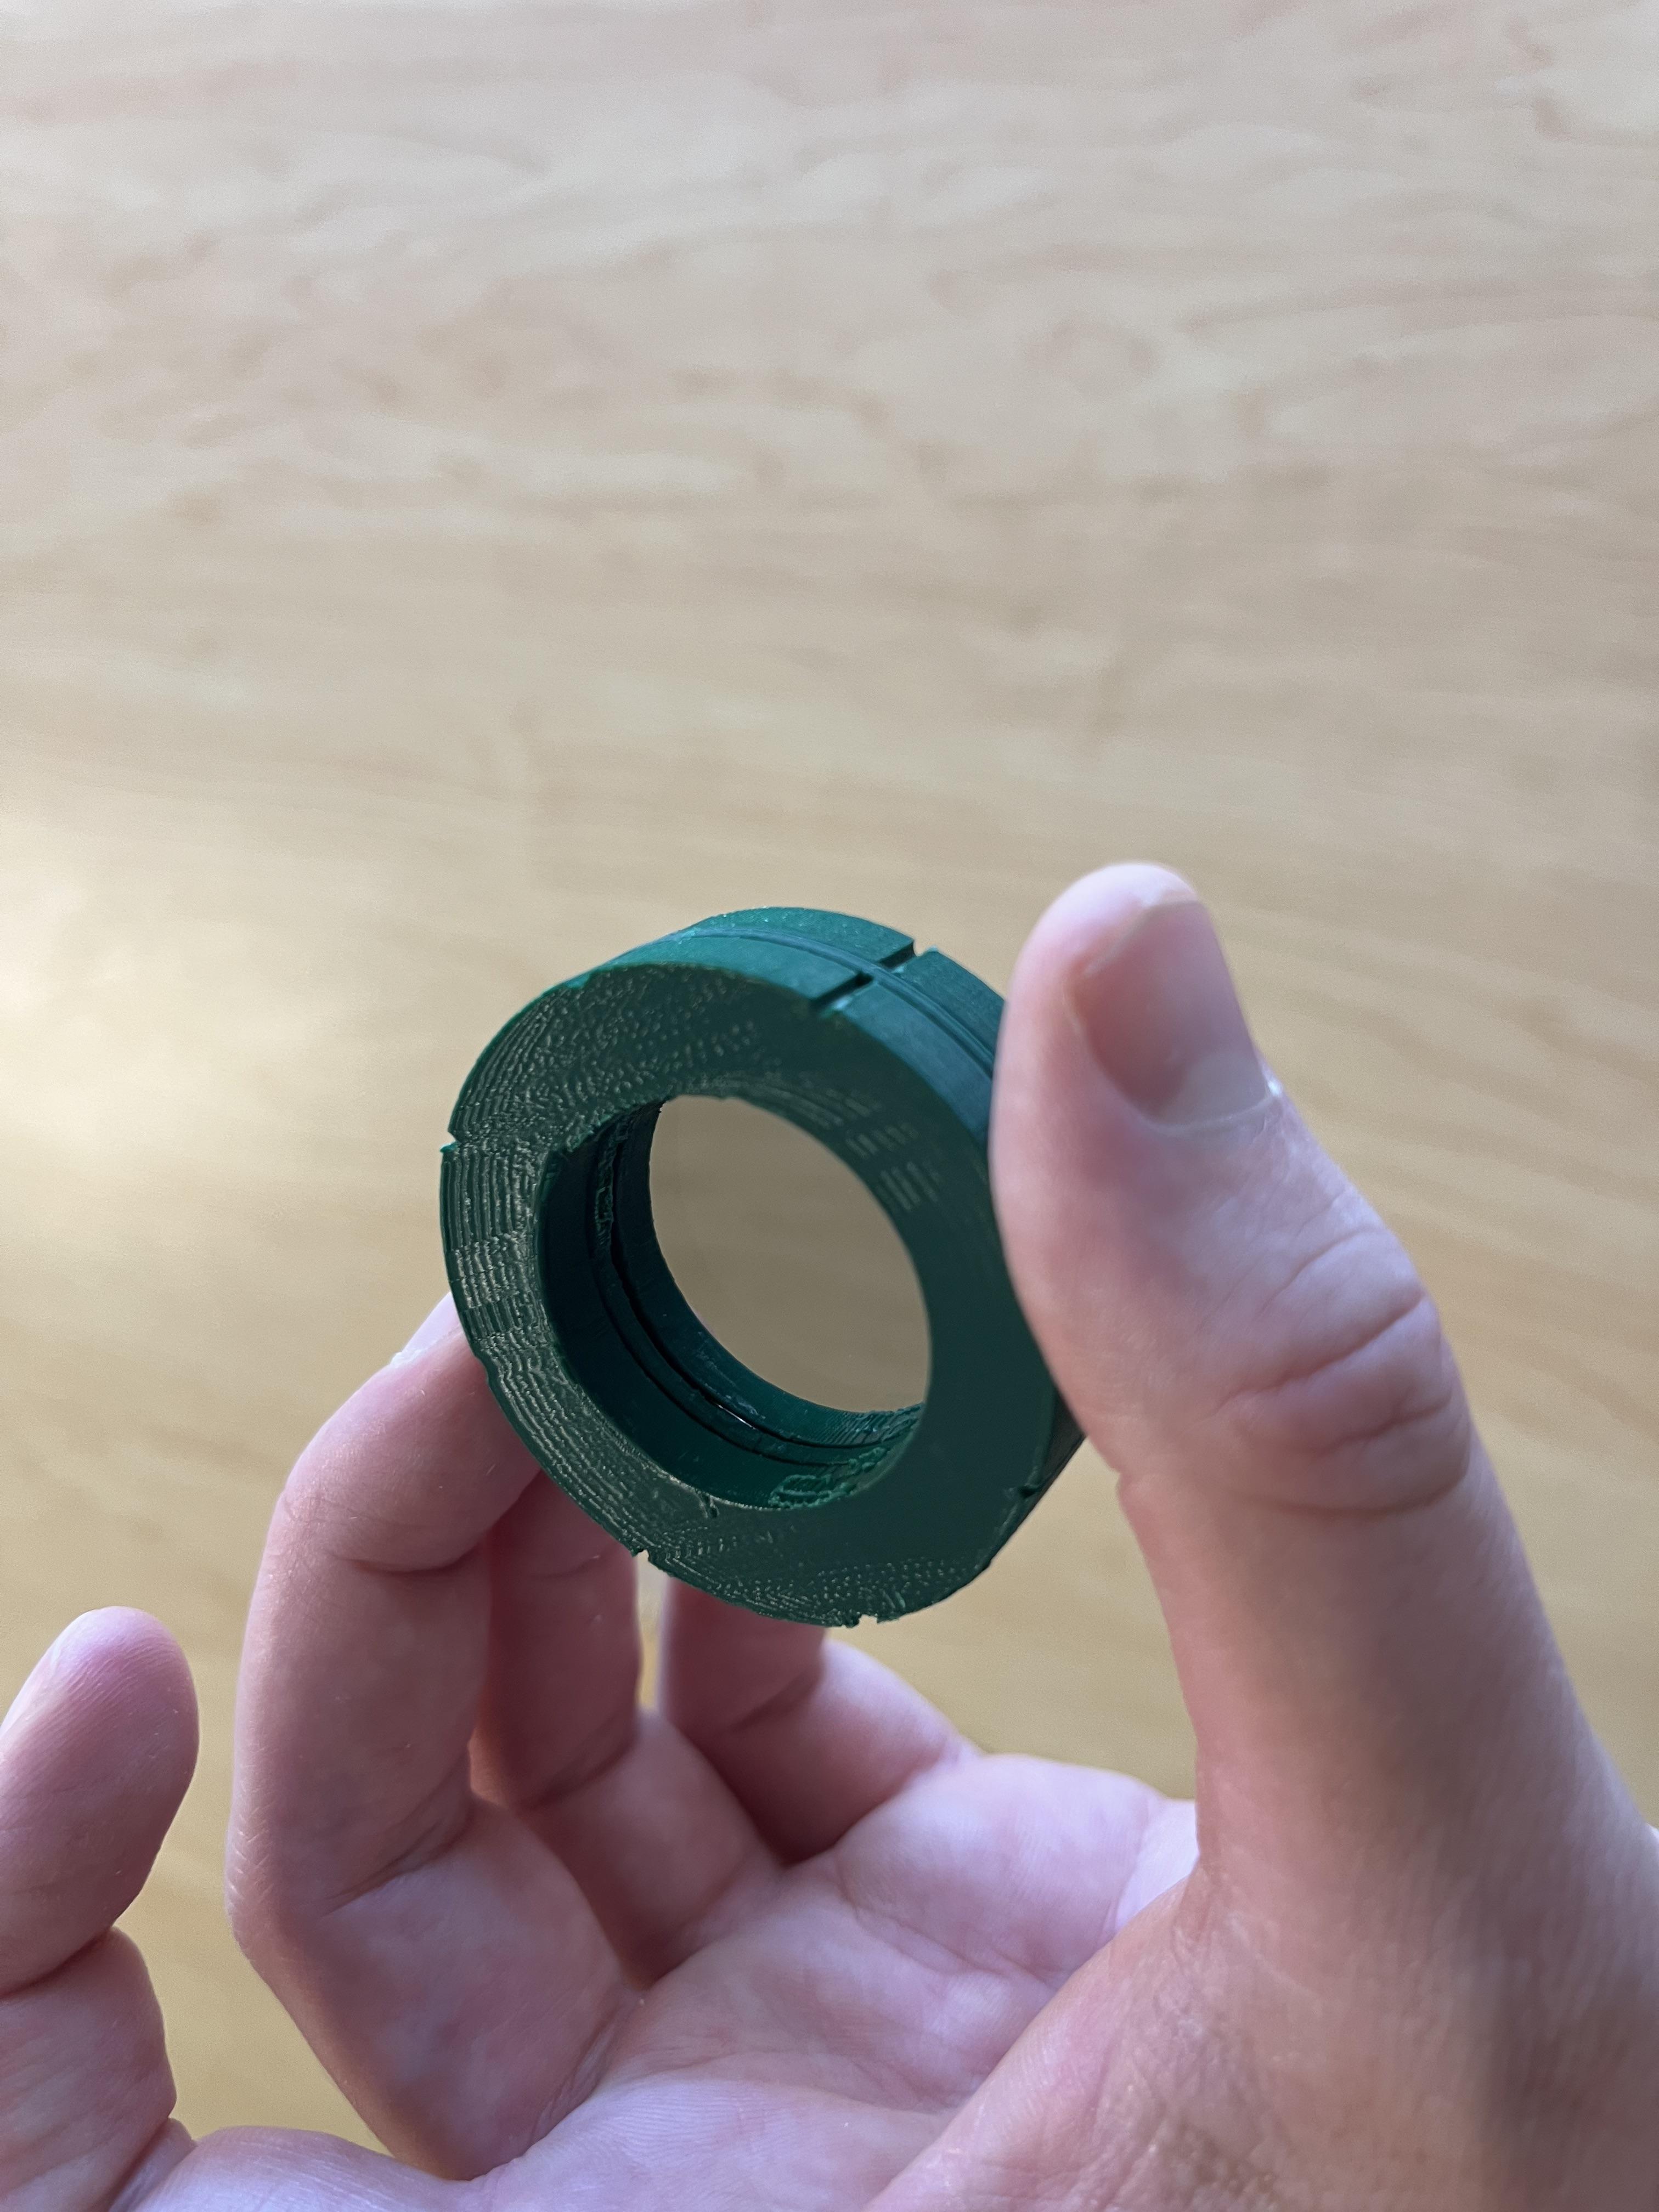
Place a 1.25 Inch squared polarized film into the slit on the side of the main lens piece.
Push it in gently until it falls into place. Once it is set, slide the lens door slowly to avoid bending the polarized film. Push it shut.
Repeat two more times.
Main Assembly - the First Piece
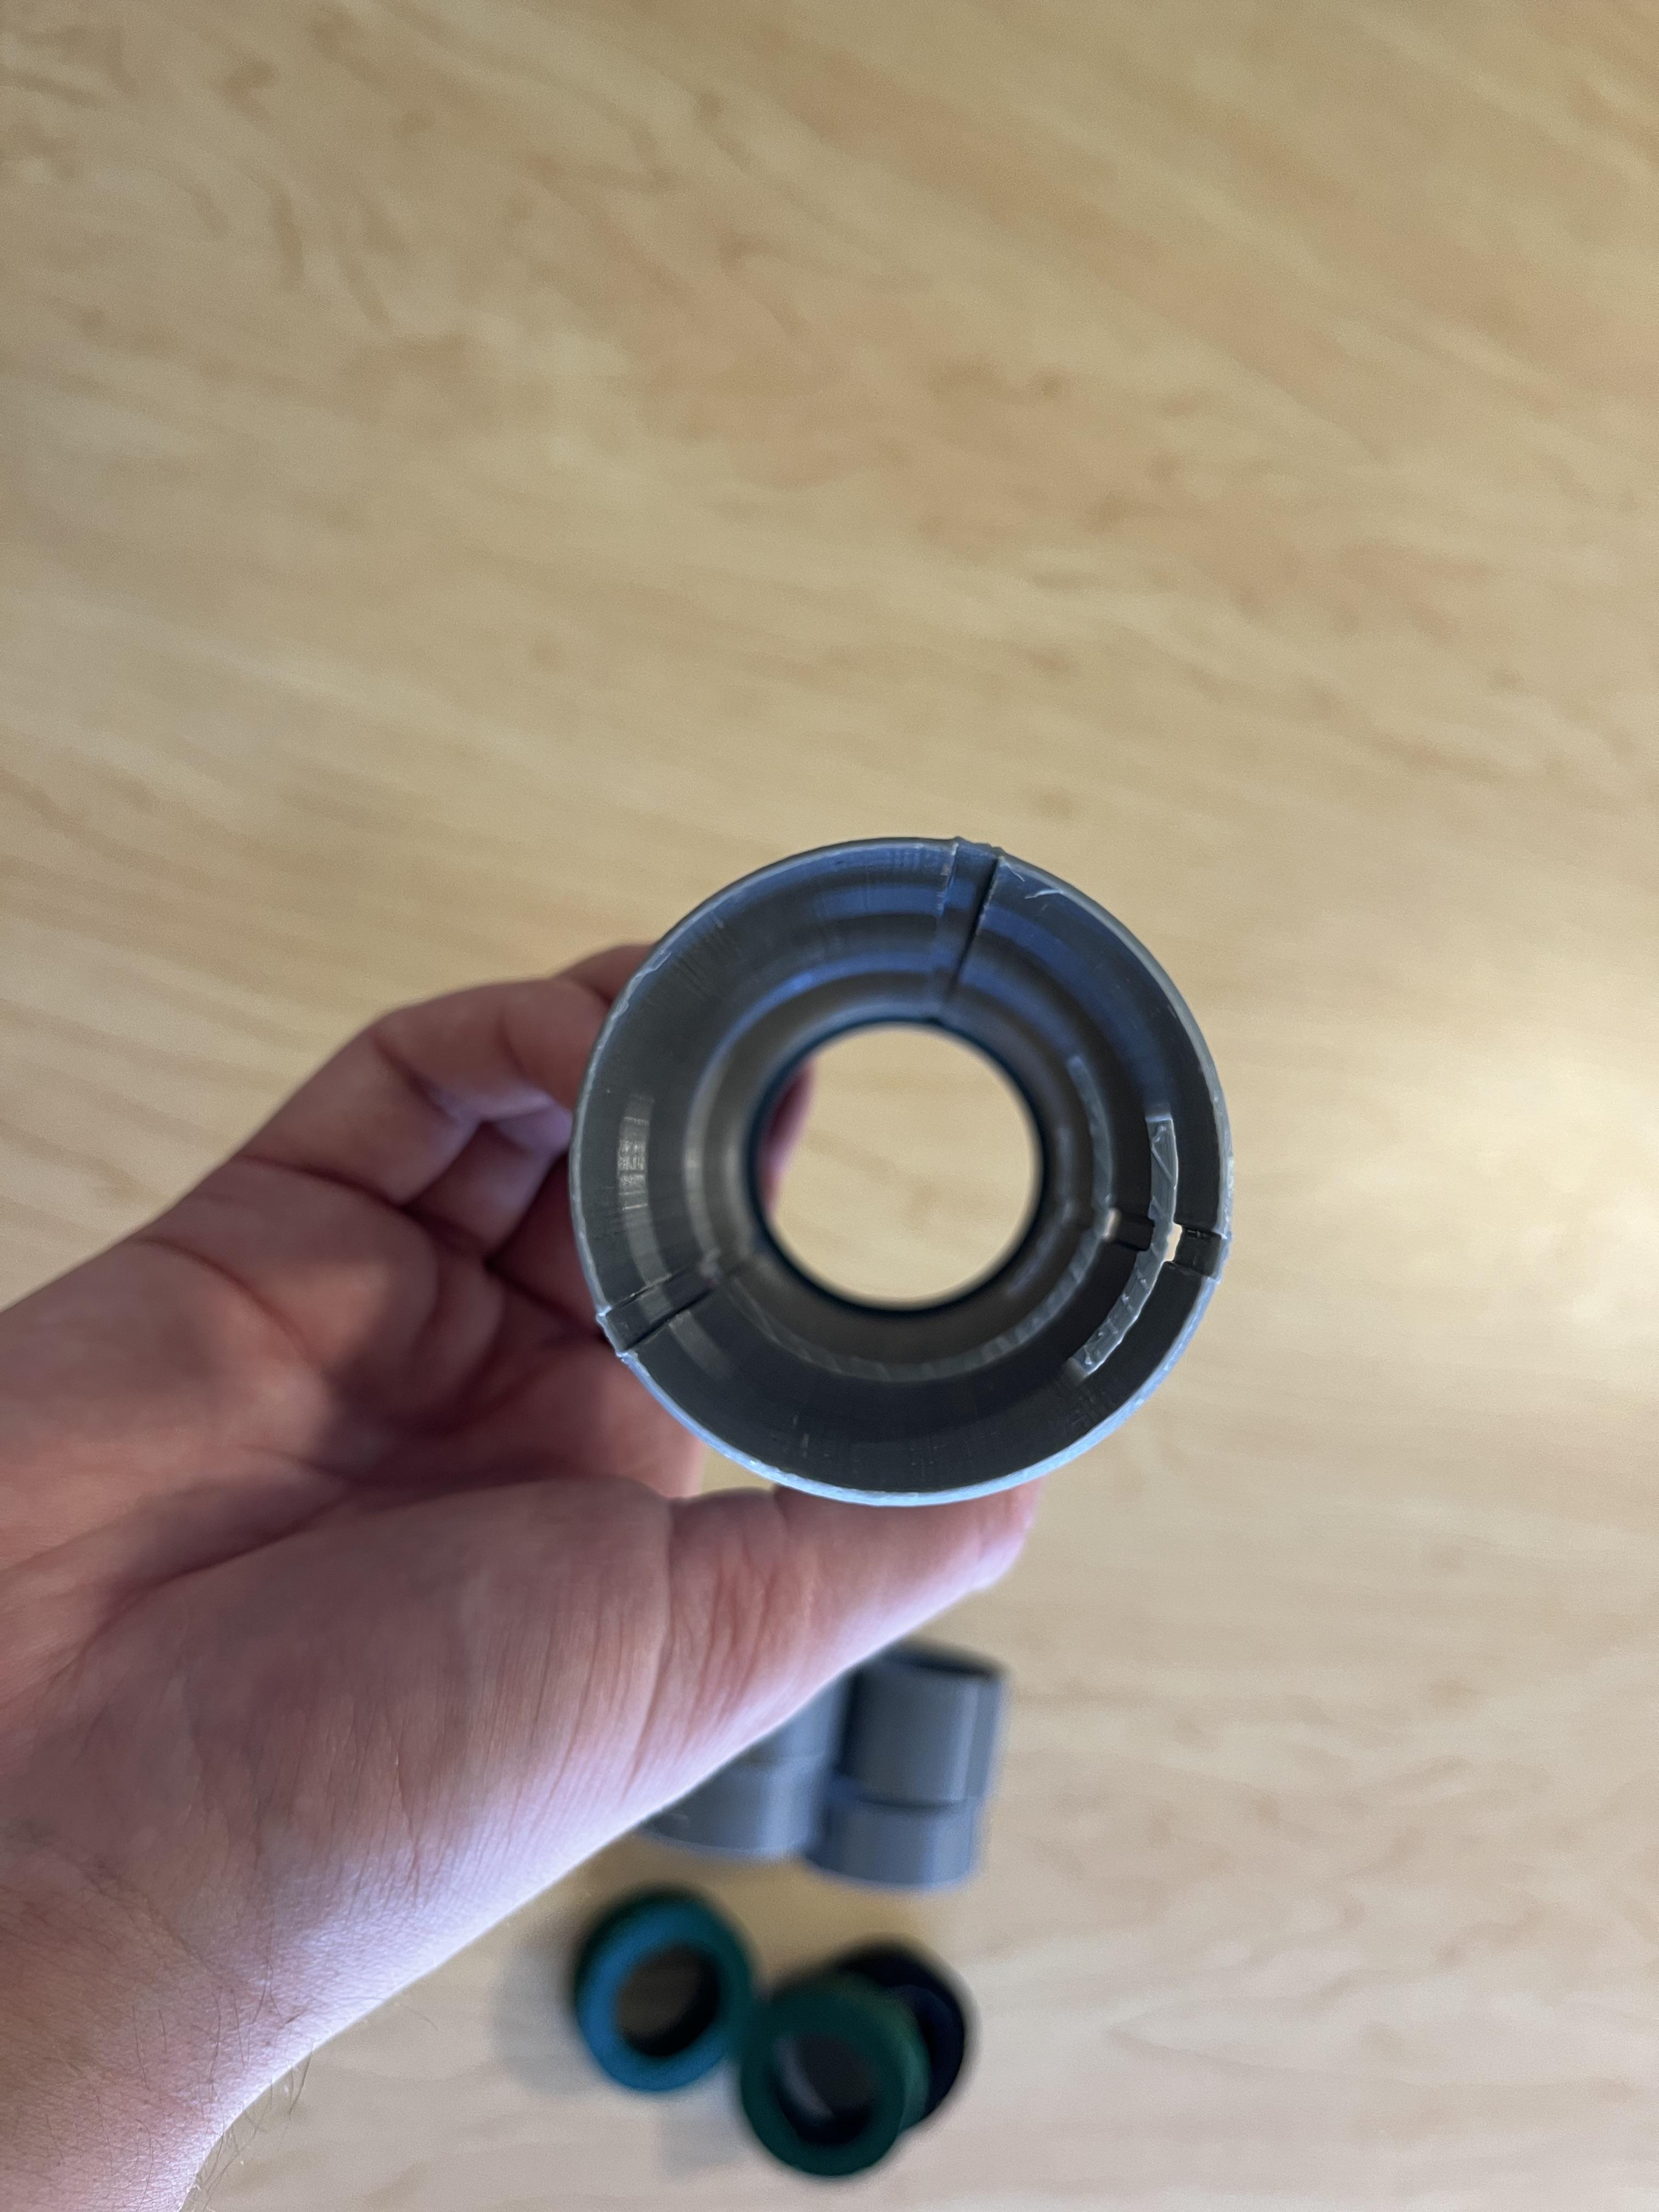


In this first step of the main assembly take the tube (first photo) and take the smallest grooved circle (top of second photo). Slide it in according to the rest of the photos until it is all the way at the bottom of the tube.
There is a little edge at the end of the main tube that will stop it from falling out of the bottom.
Main Assembly - the Second Piece

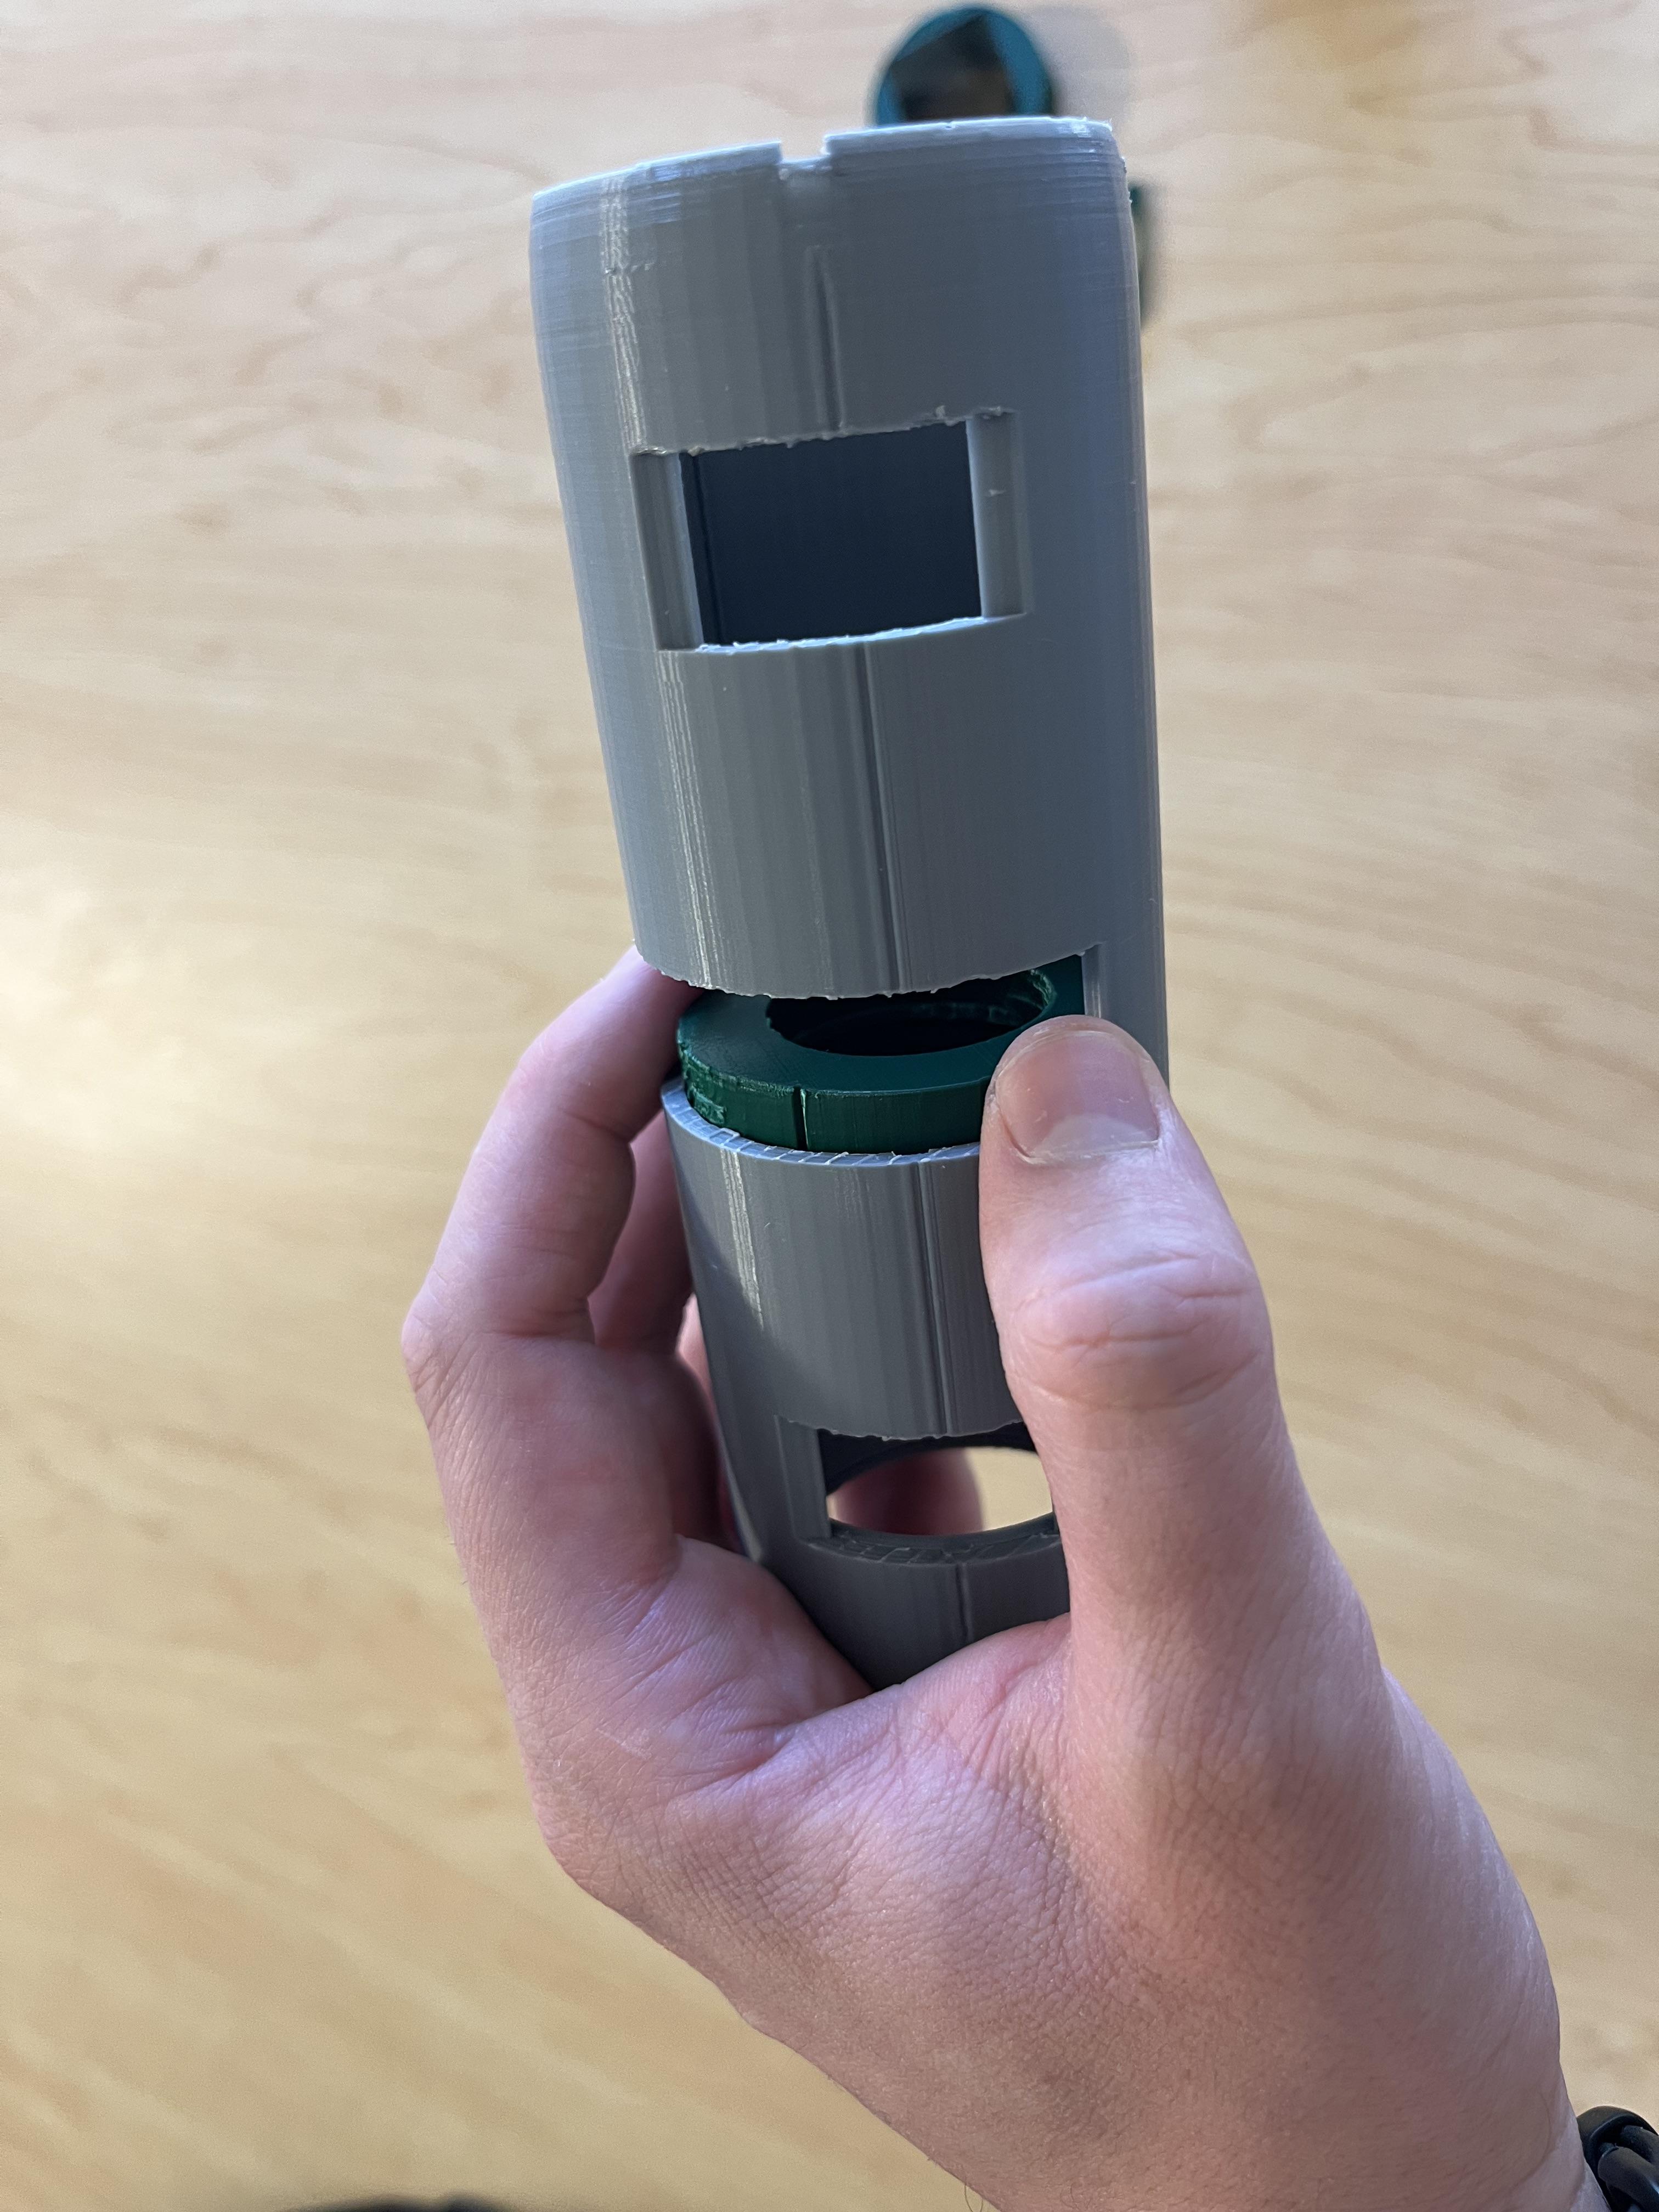

Take one of the assemble lenses (any) and slide it in next. It should fit nicely and appear in the last window just as it does in the 3rd picture here.
Main Assembly - the Third Piece
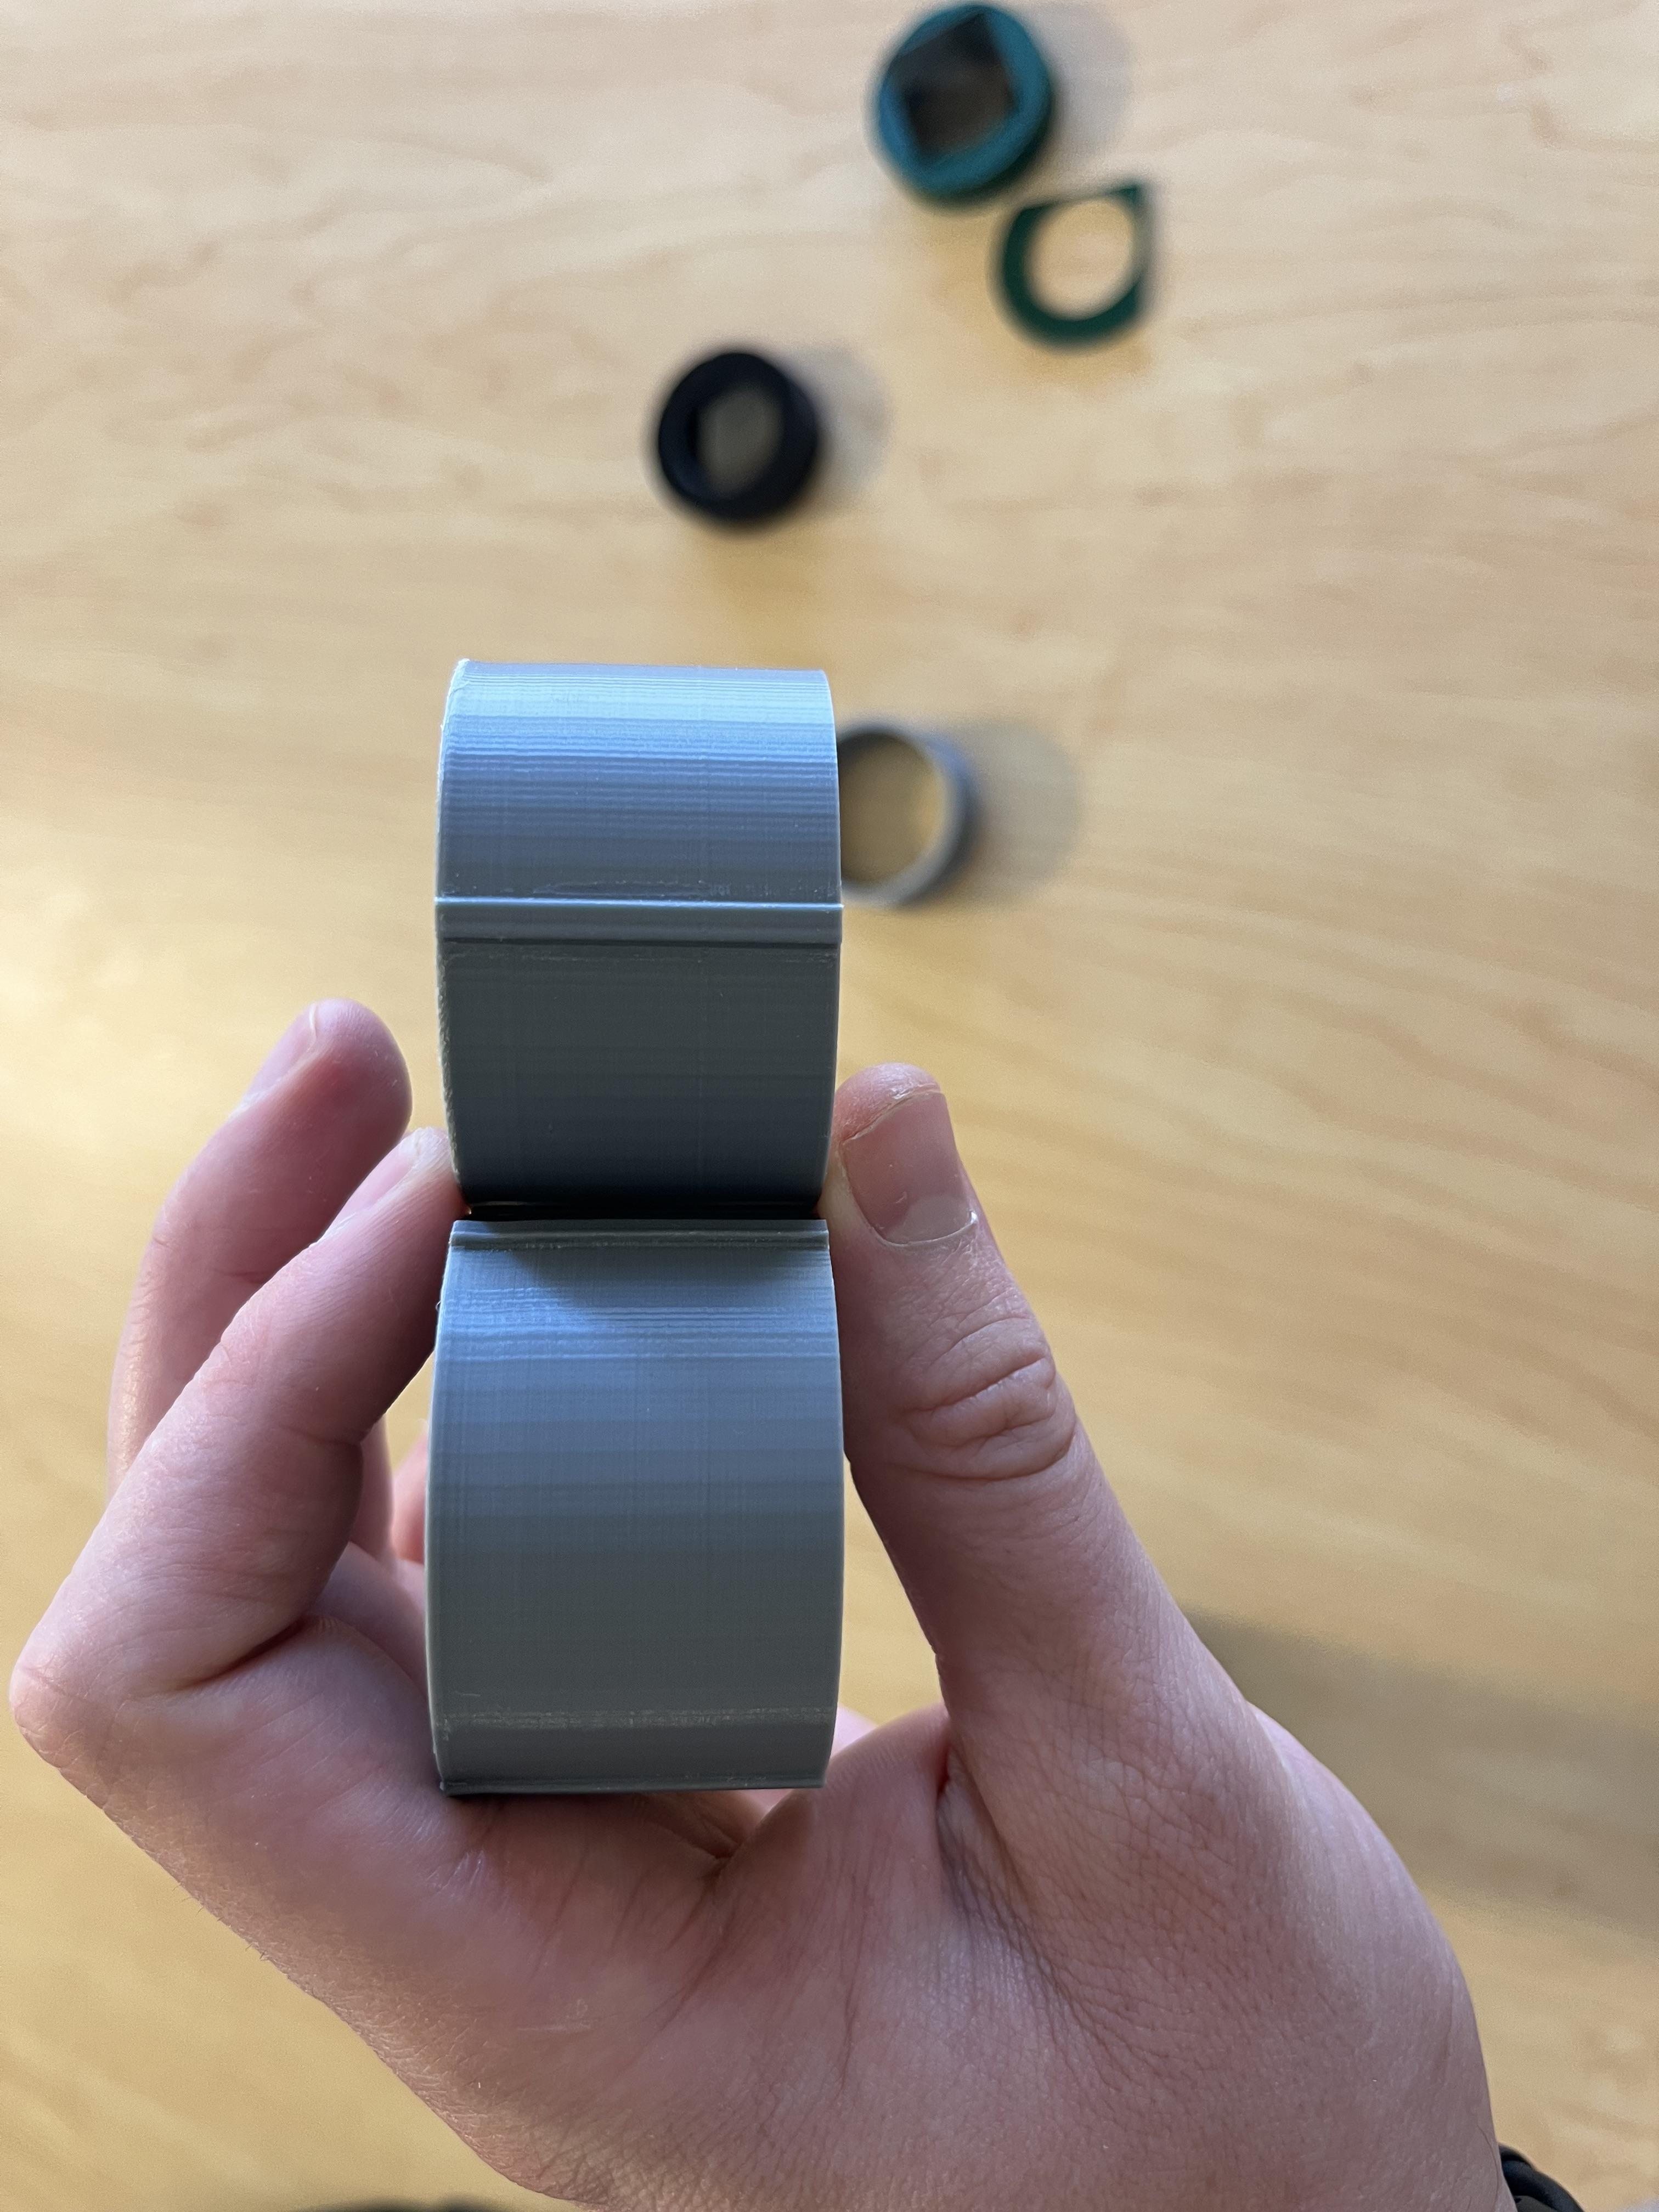
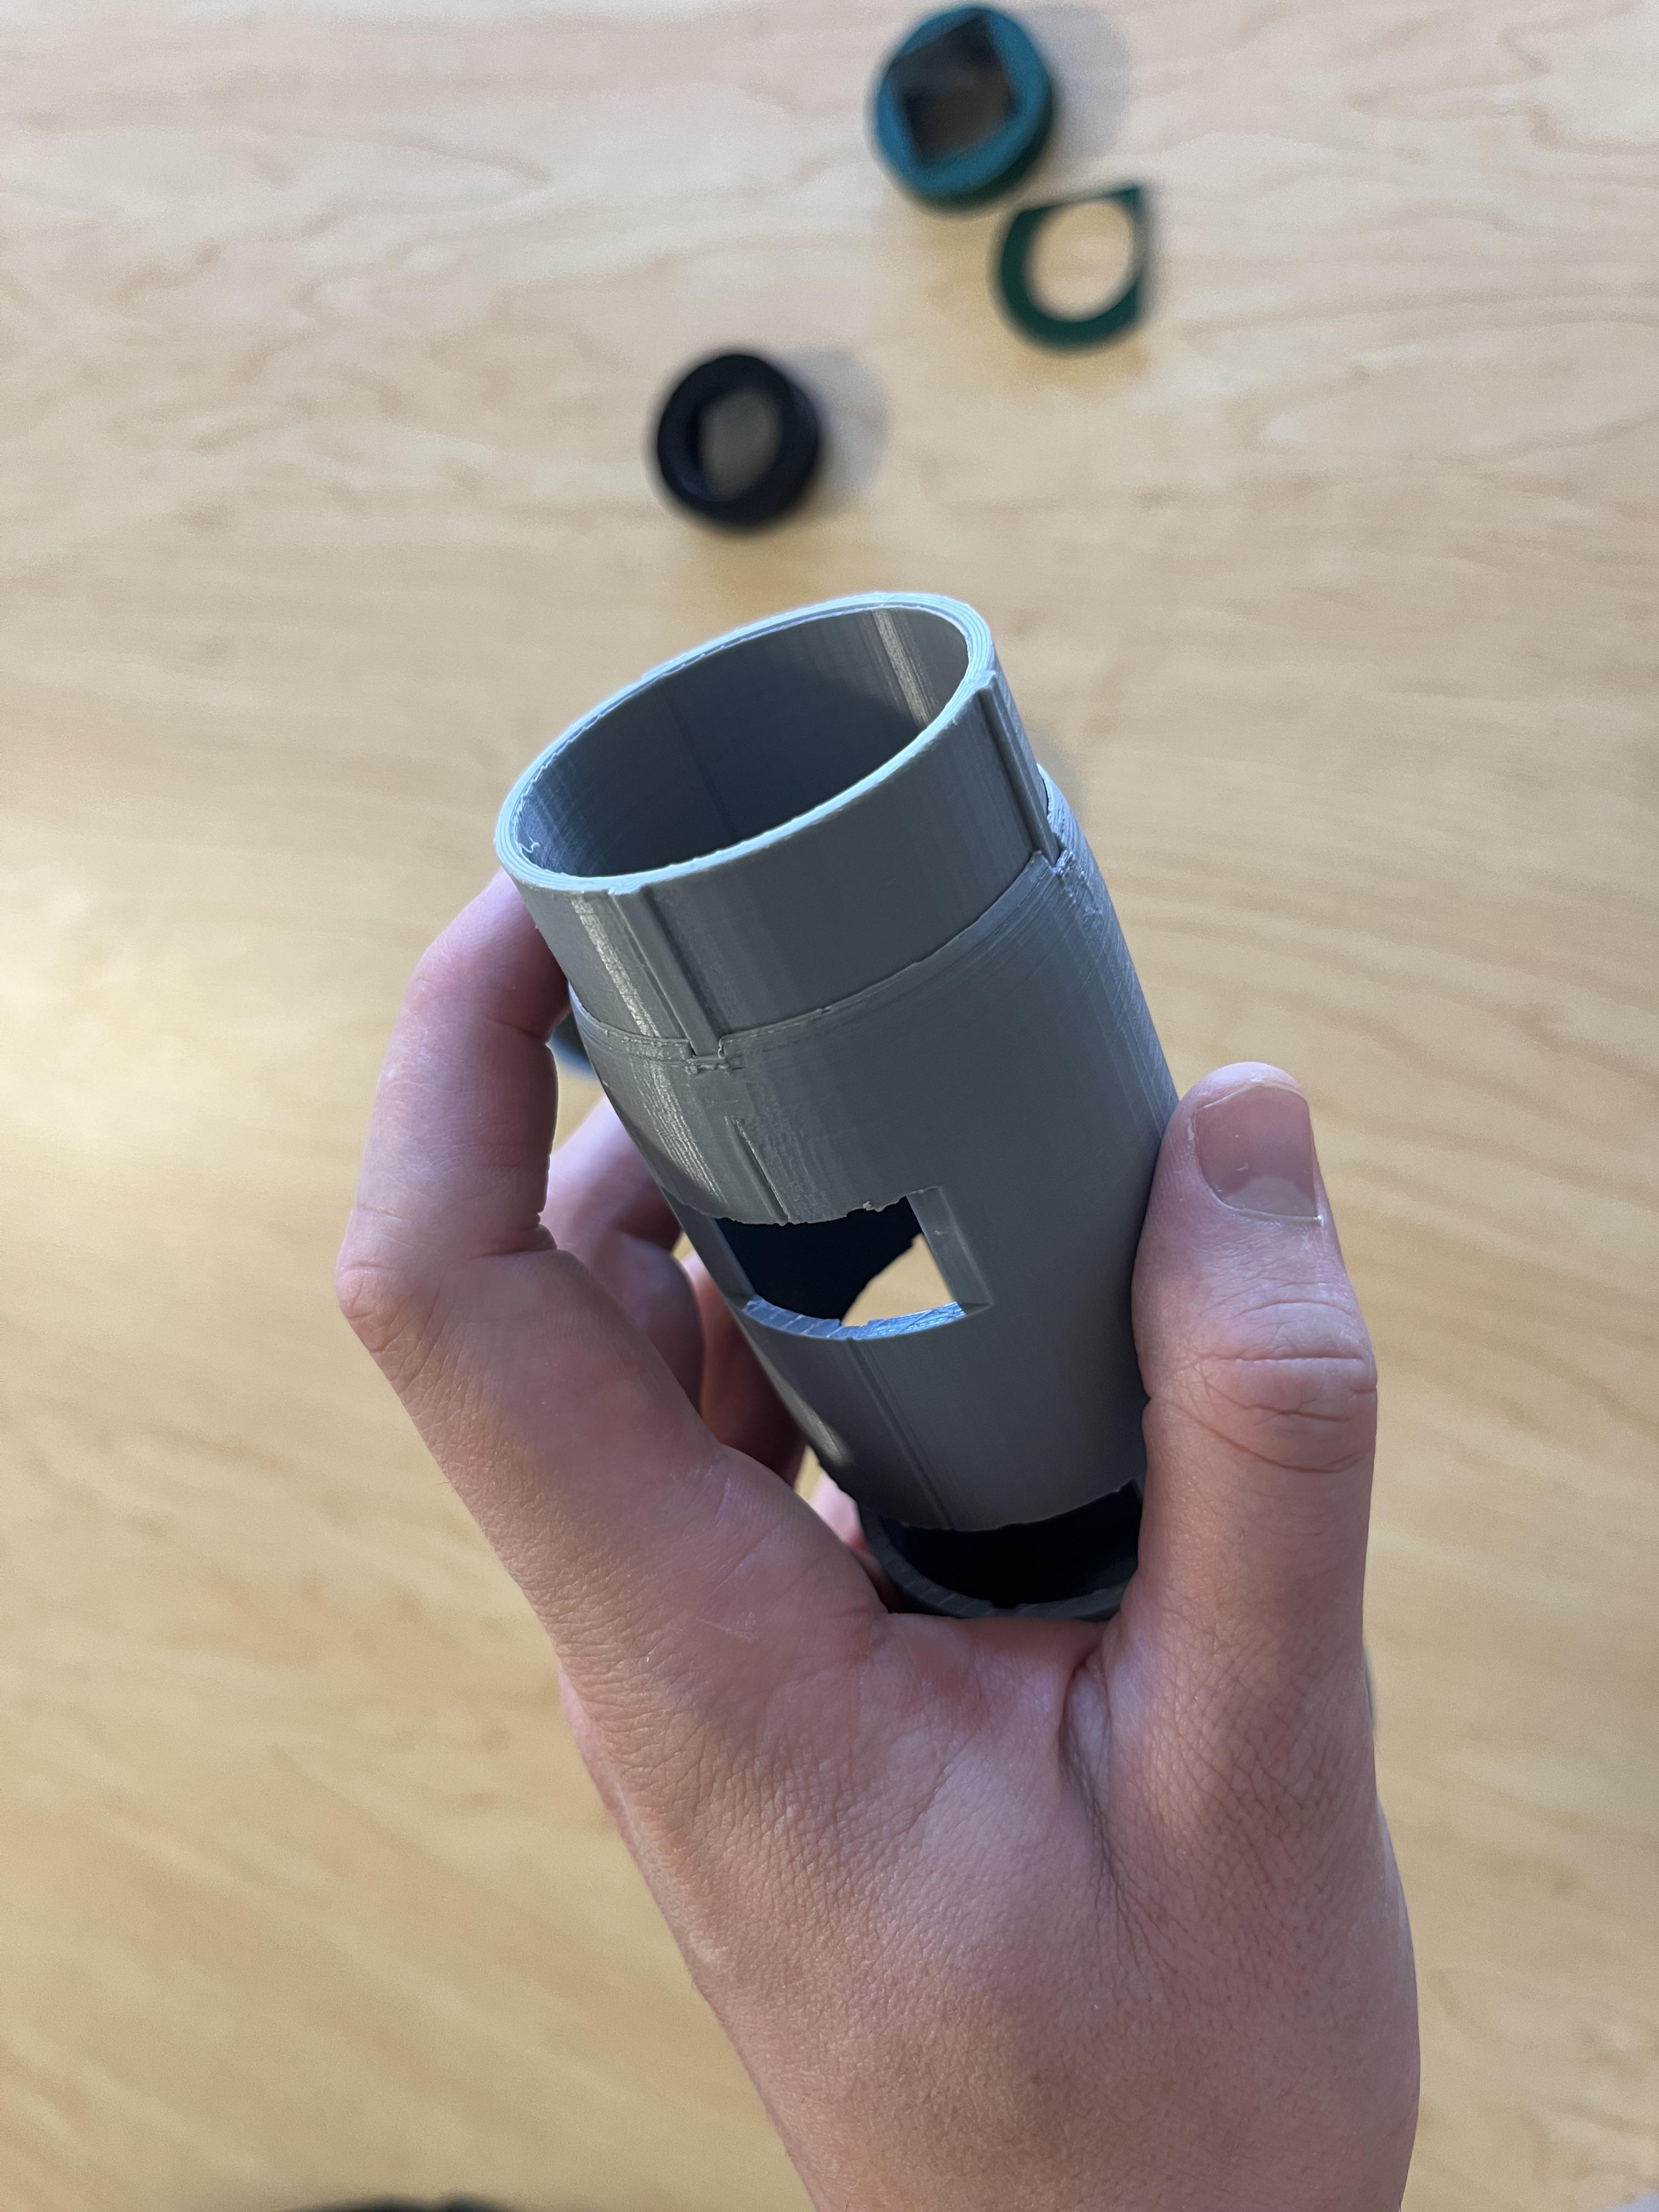
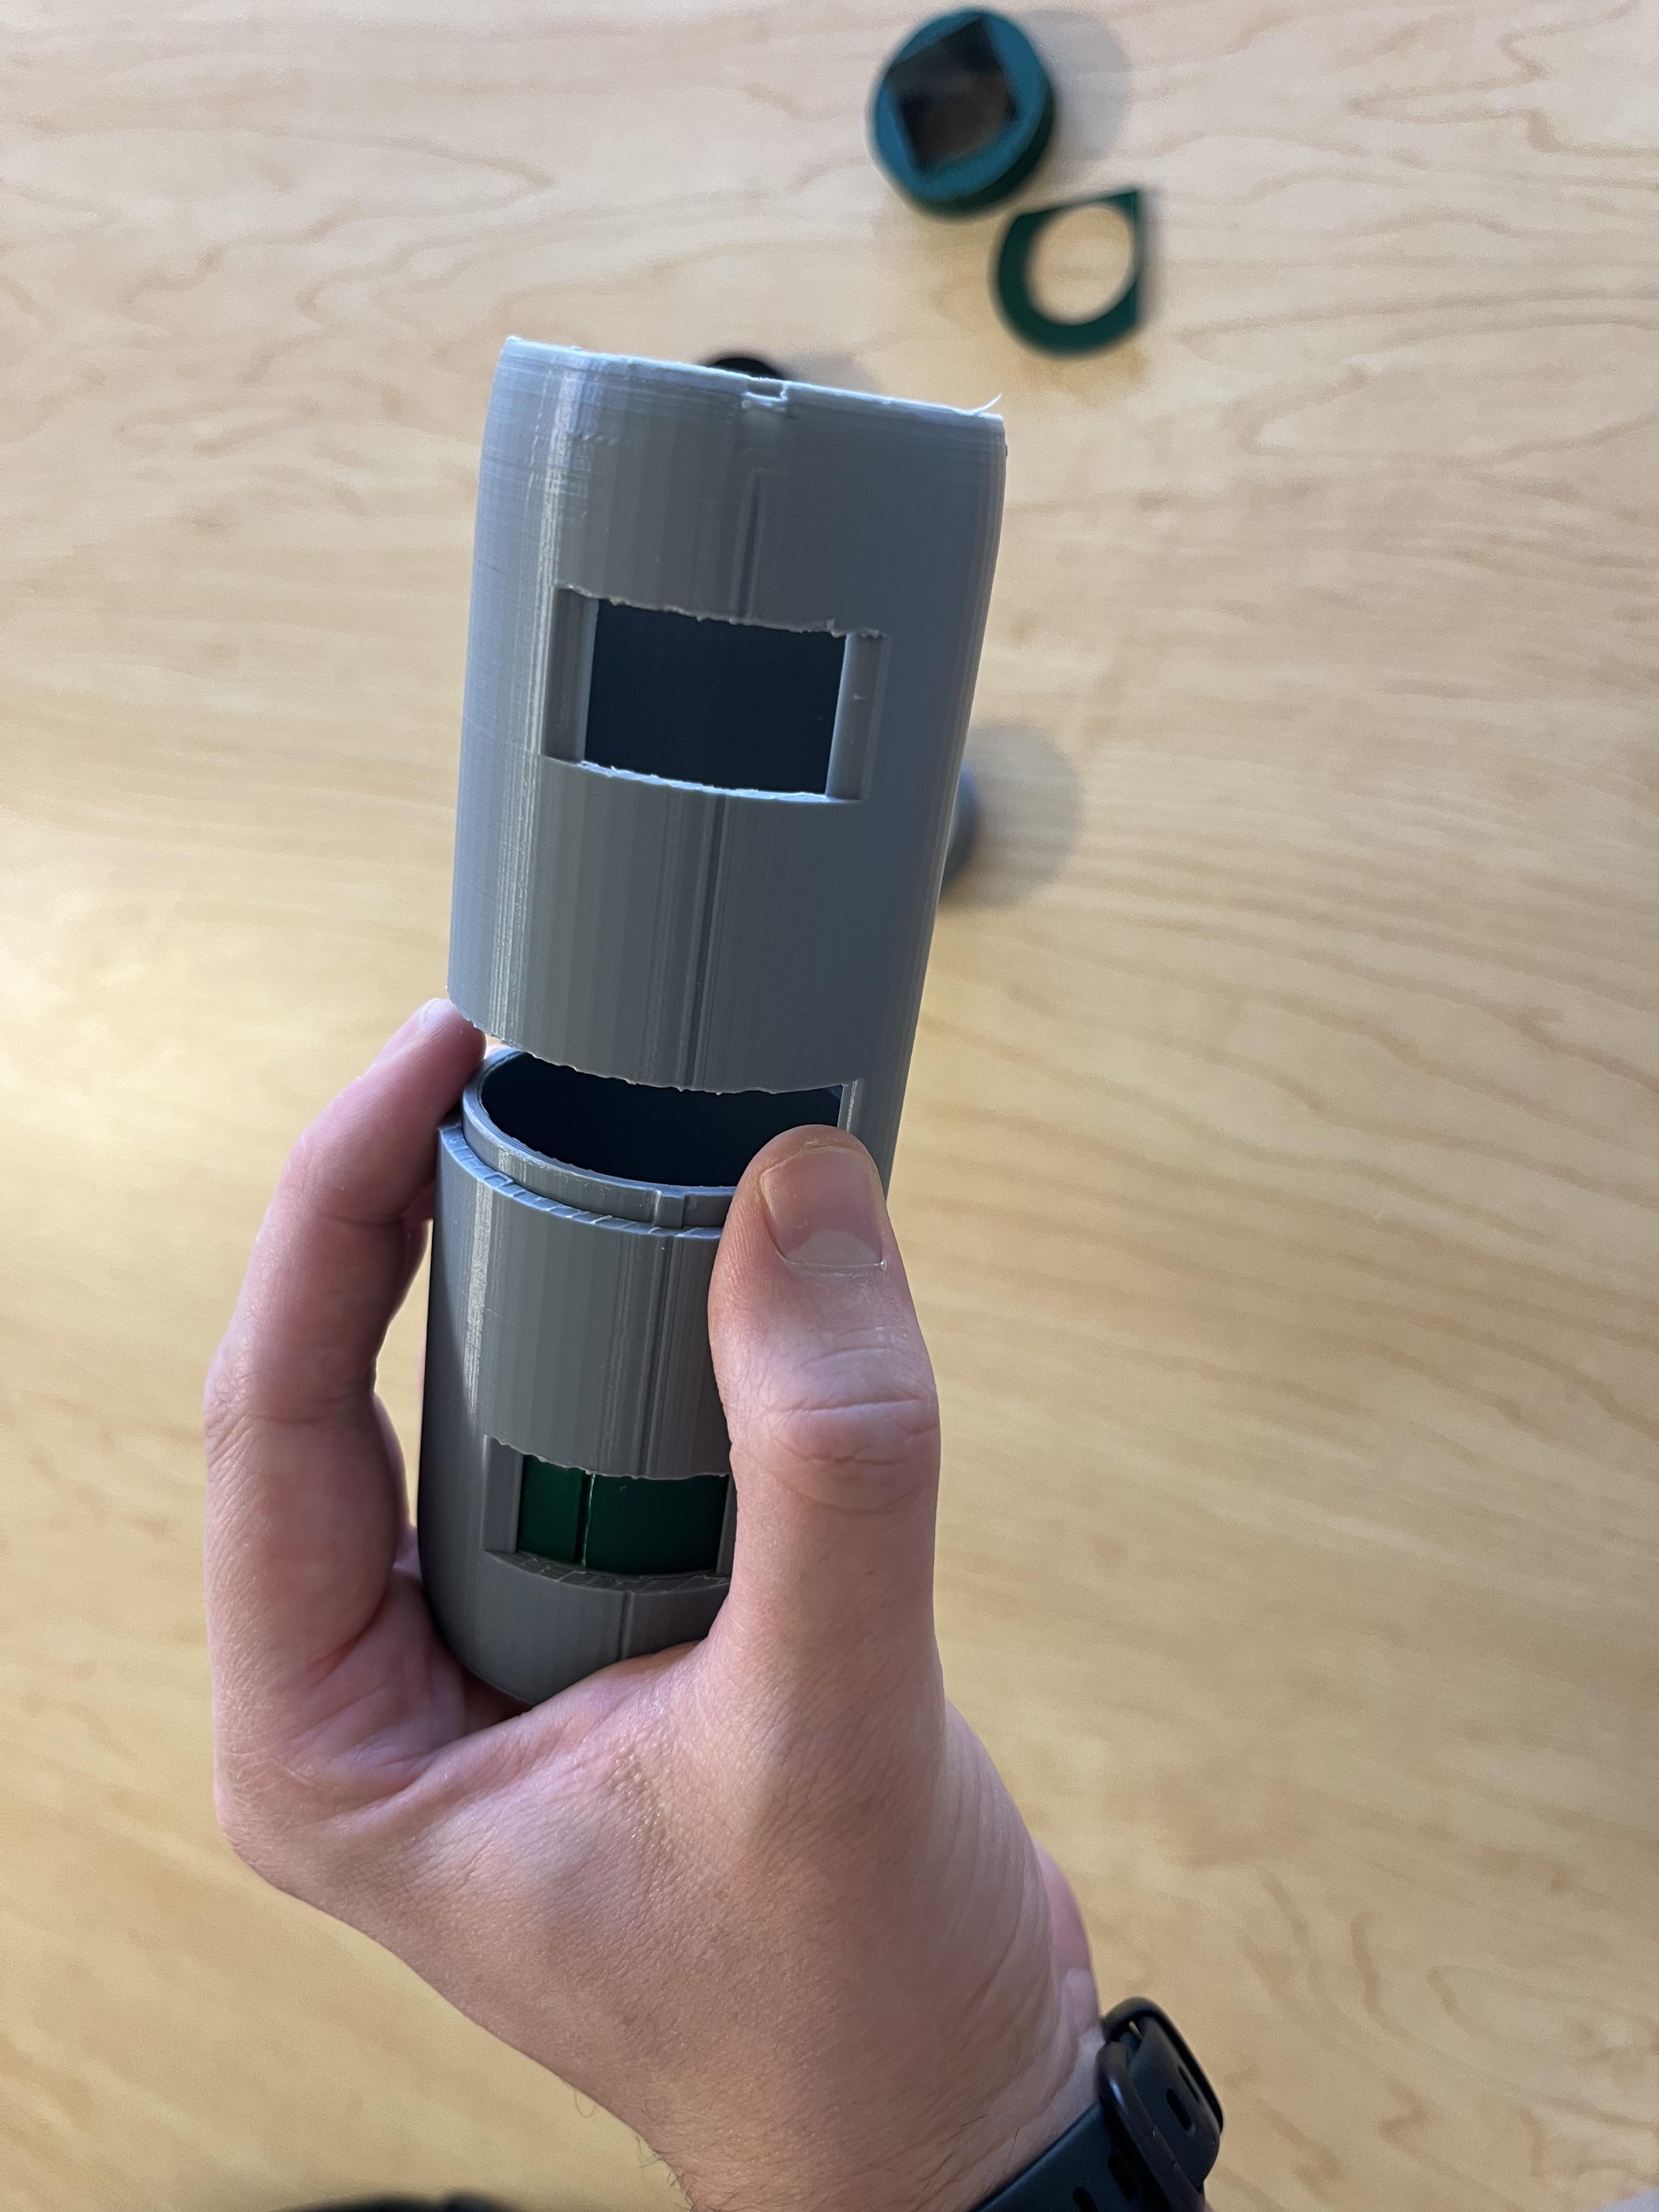
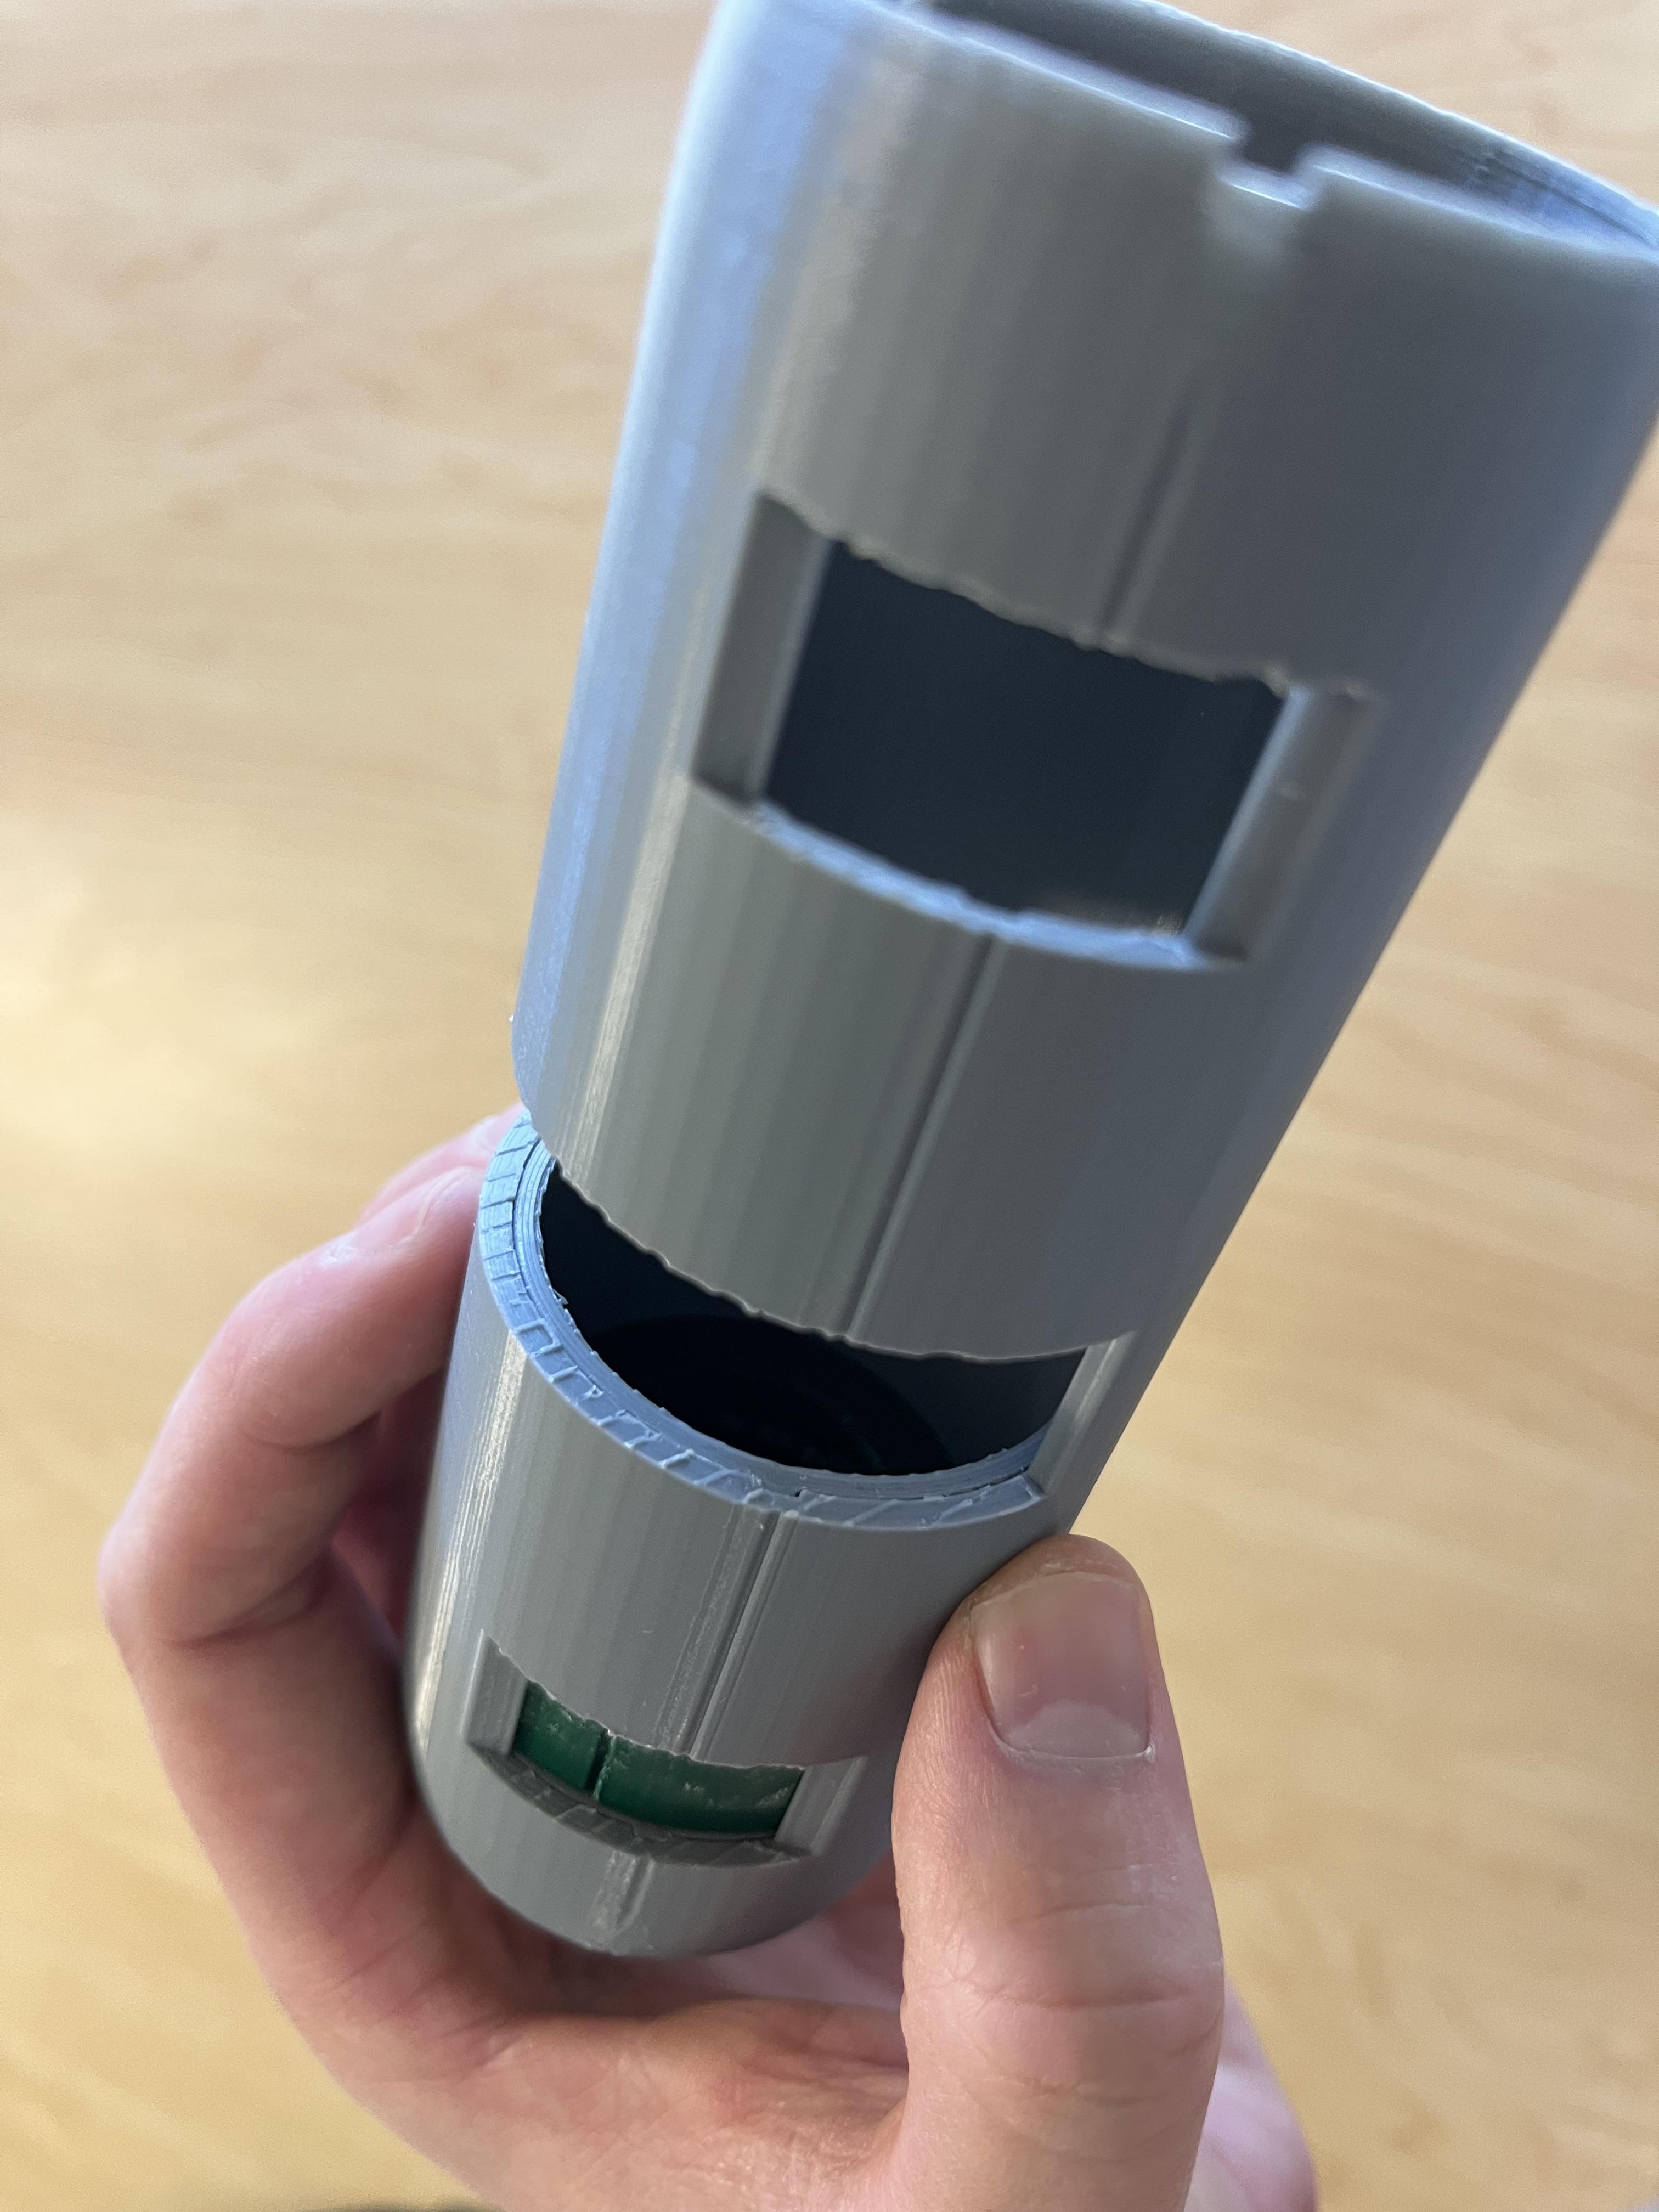
Take one of the large grooved inner rings (any) and slide it down next. Make sure it goes all the way, it should look like the last picture when you look through the middle window.
Main Assembly - the Fourth Piece
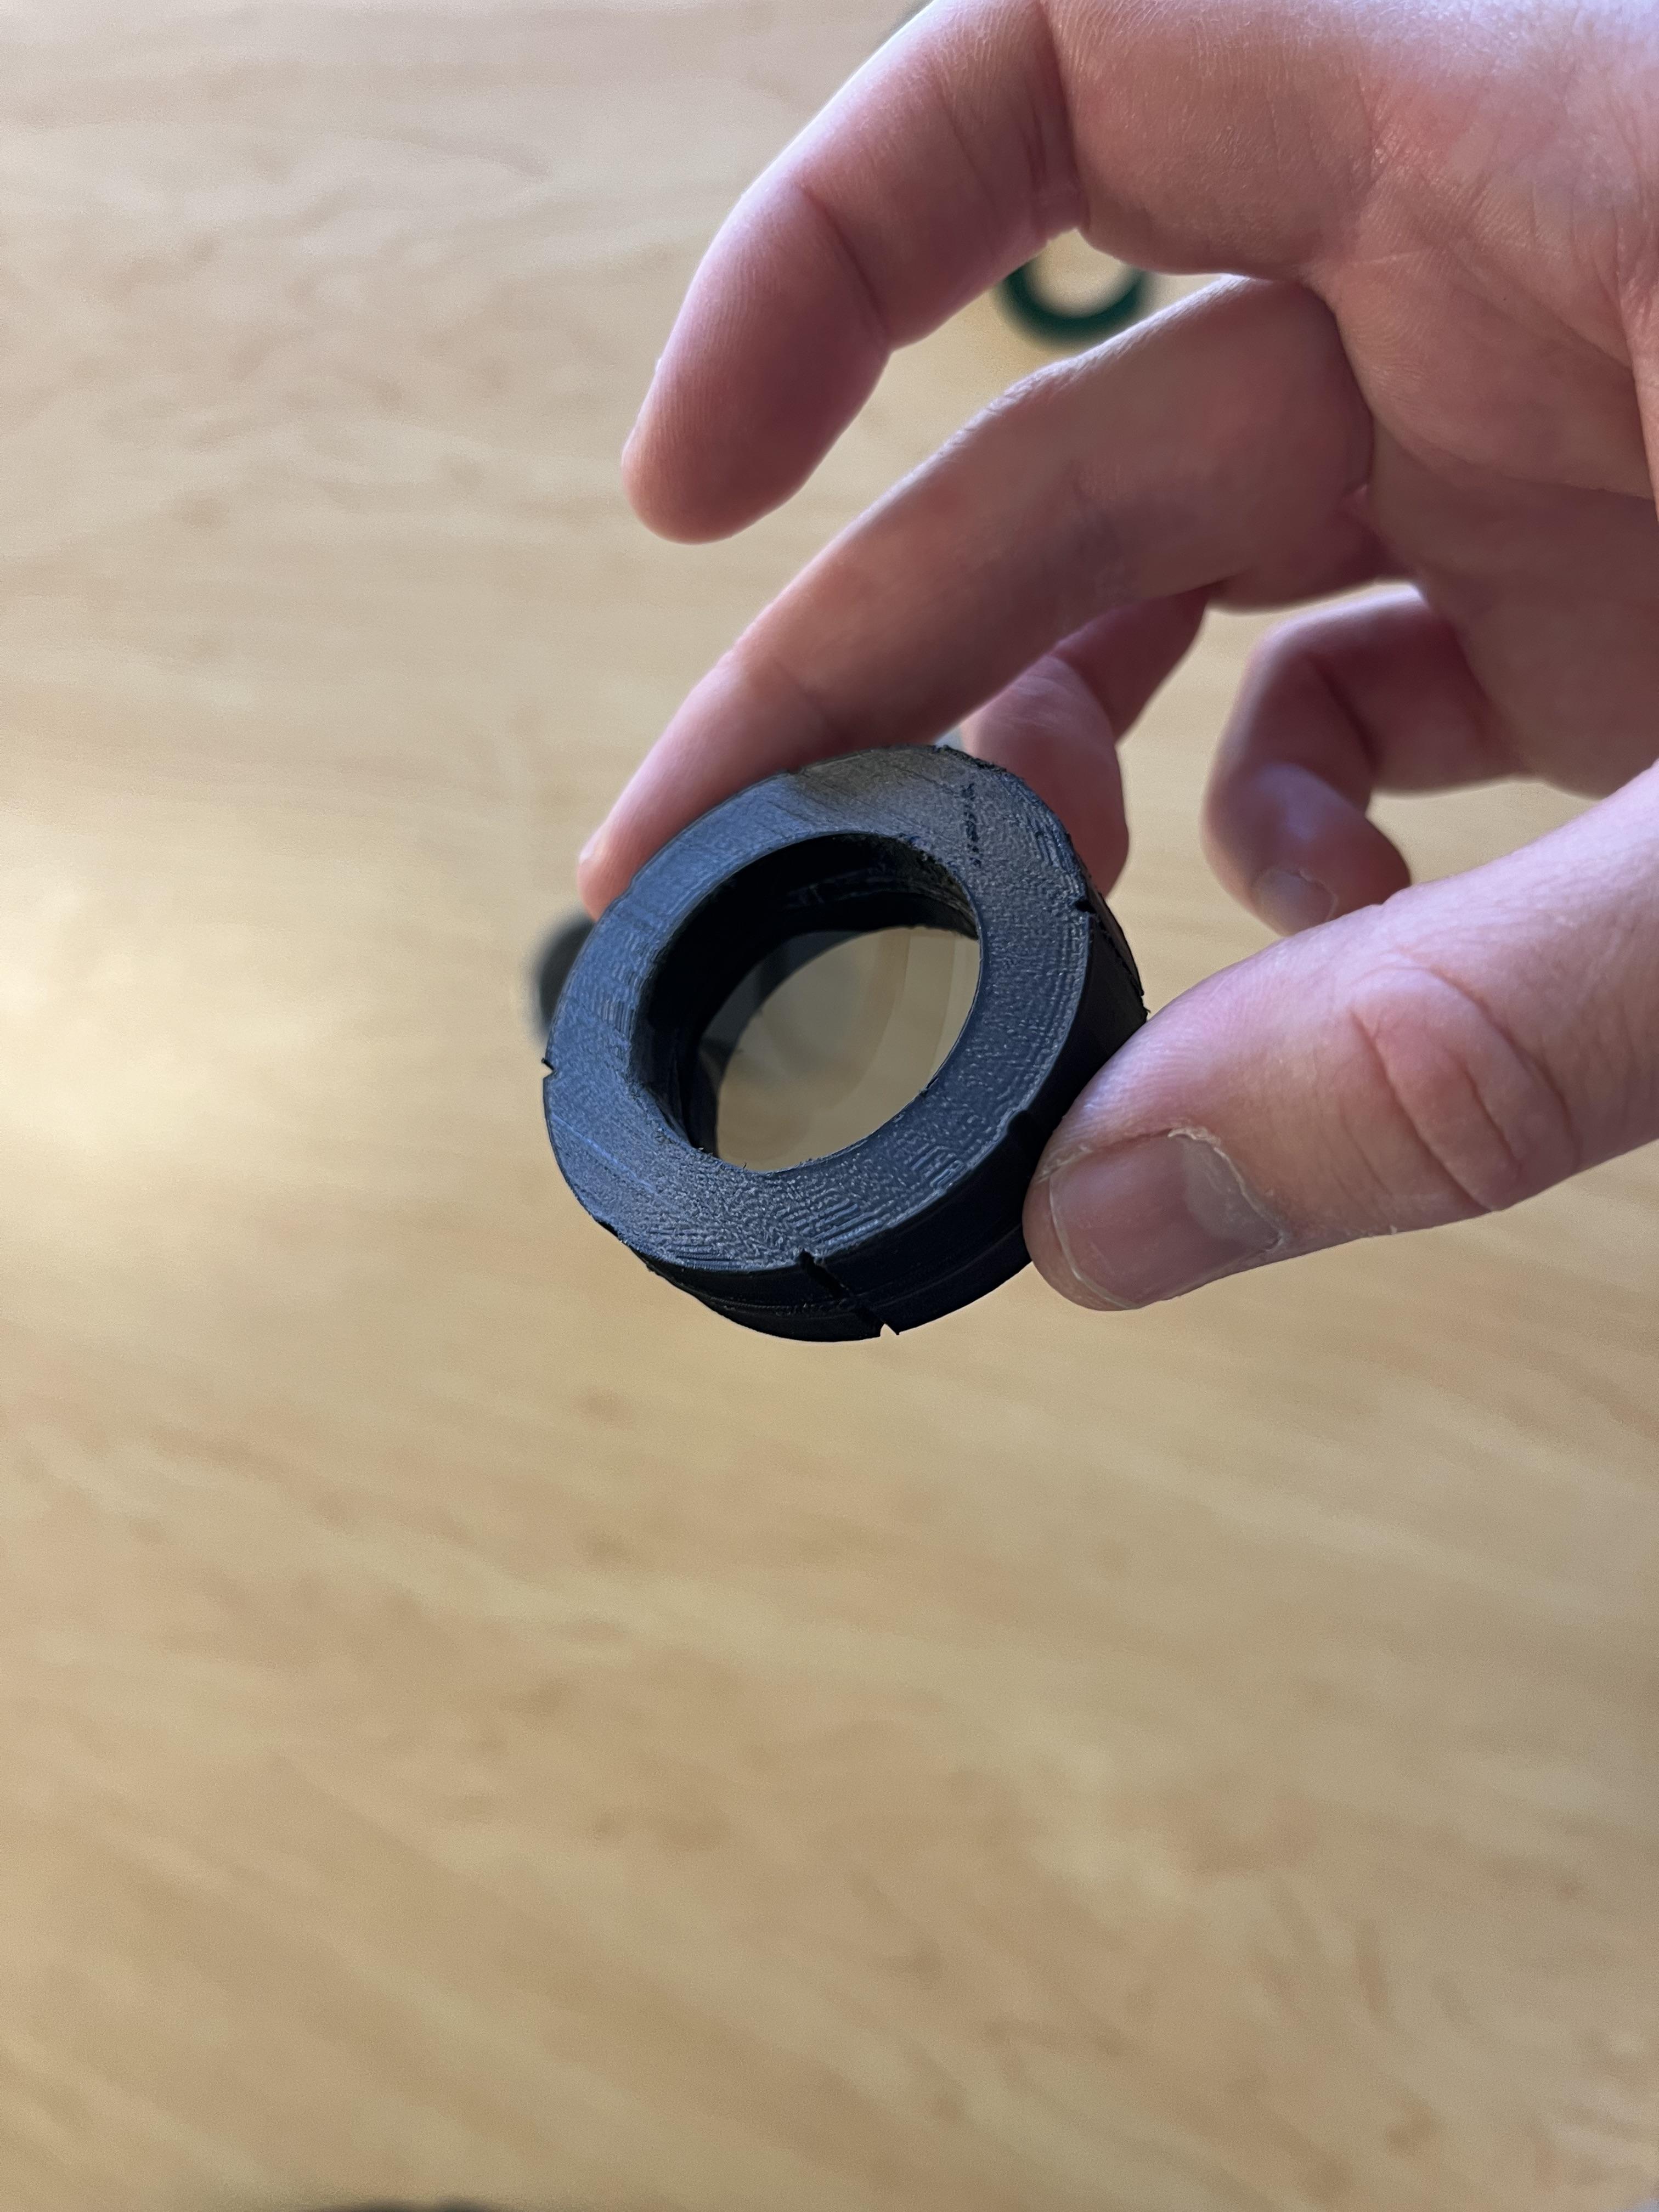


Take a lens (any) and insert it through the middle window. The result should look like the third picture.
Main Assembly - the Fifth Piece
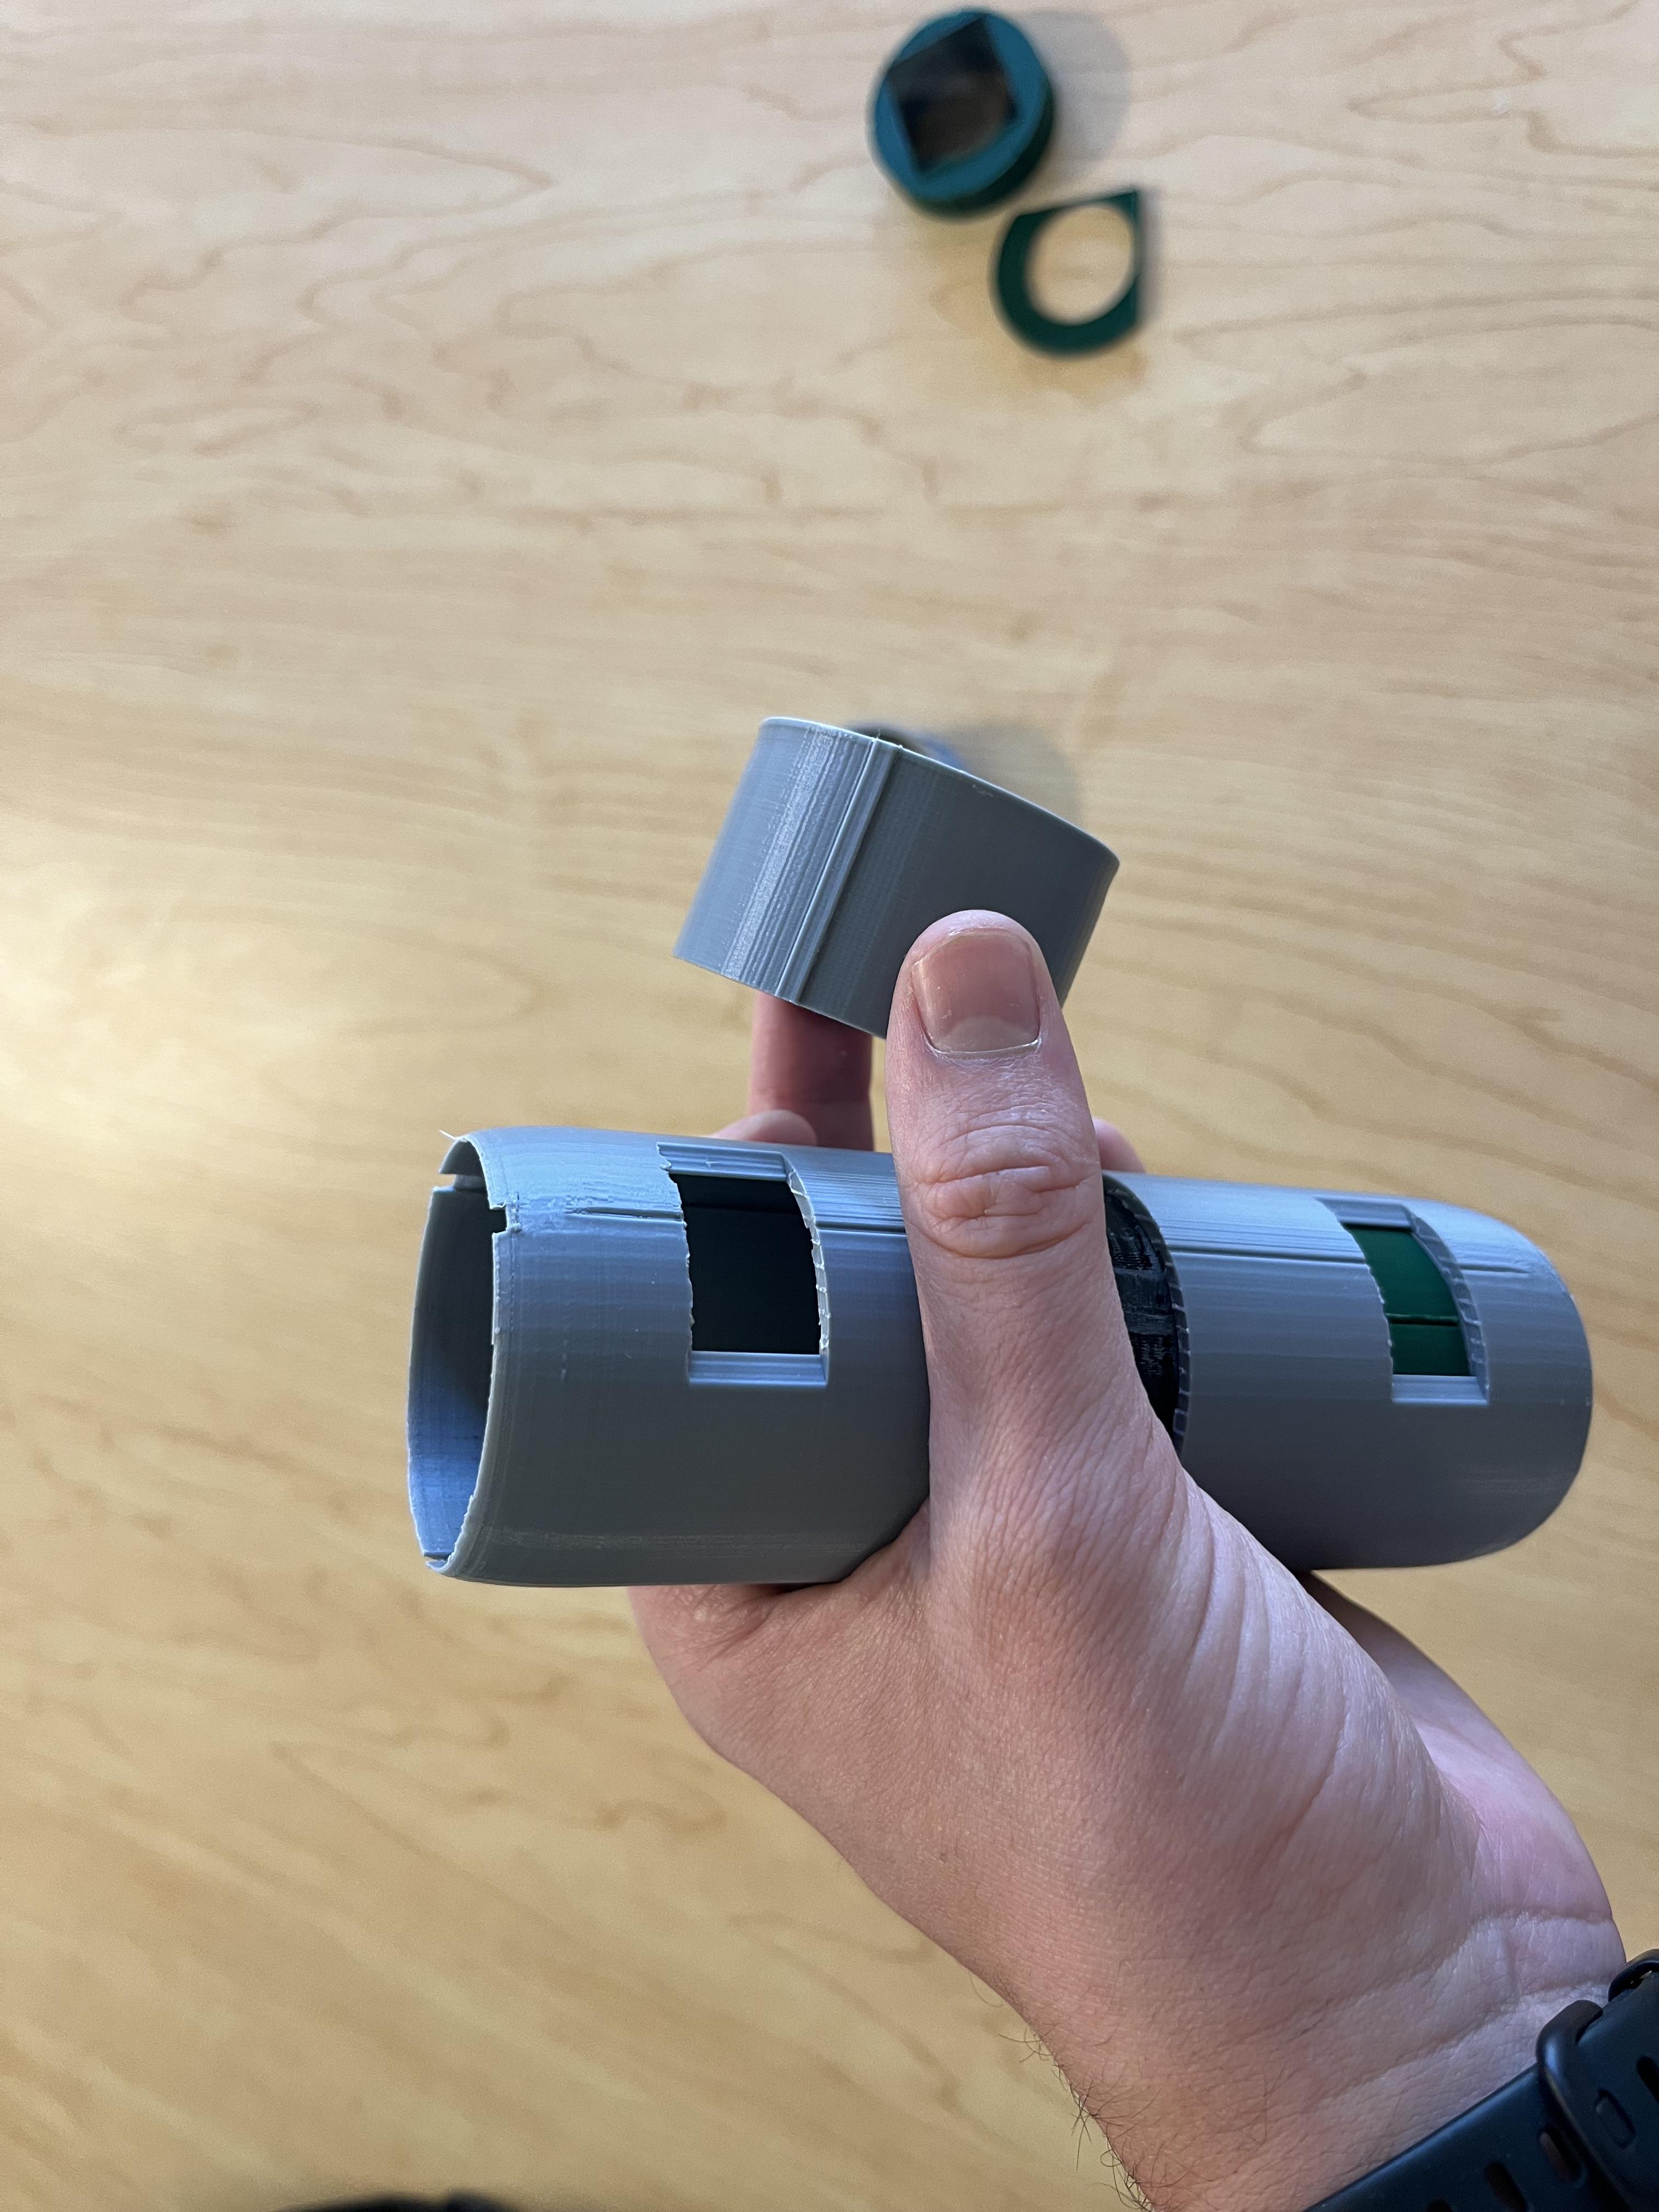
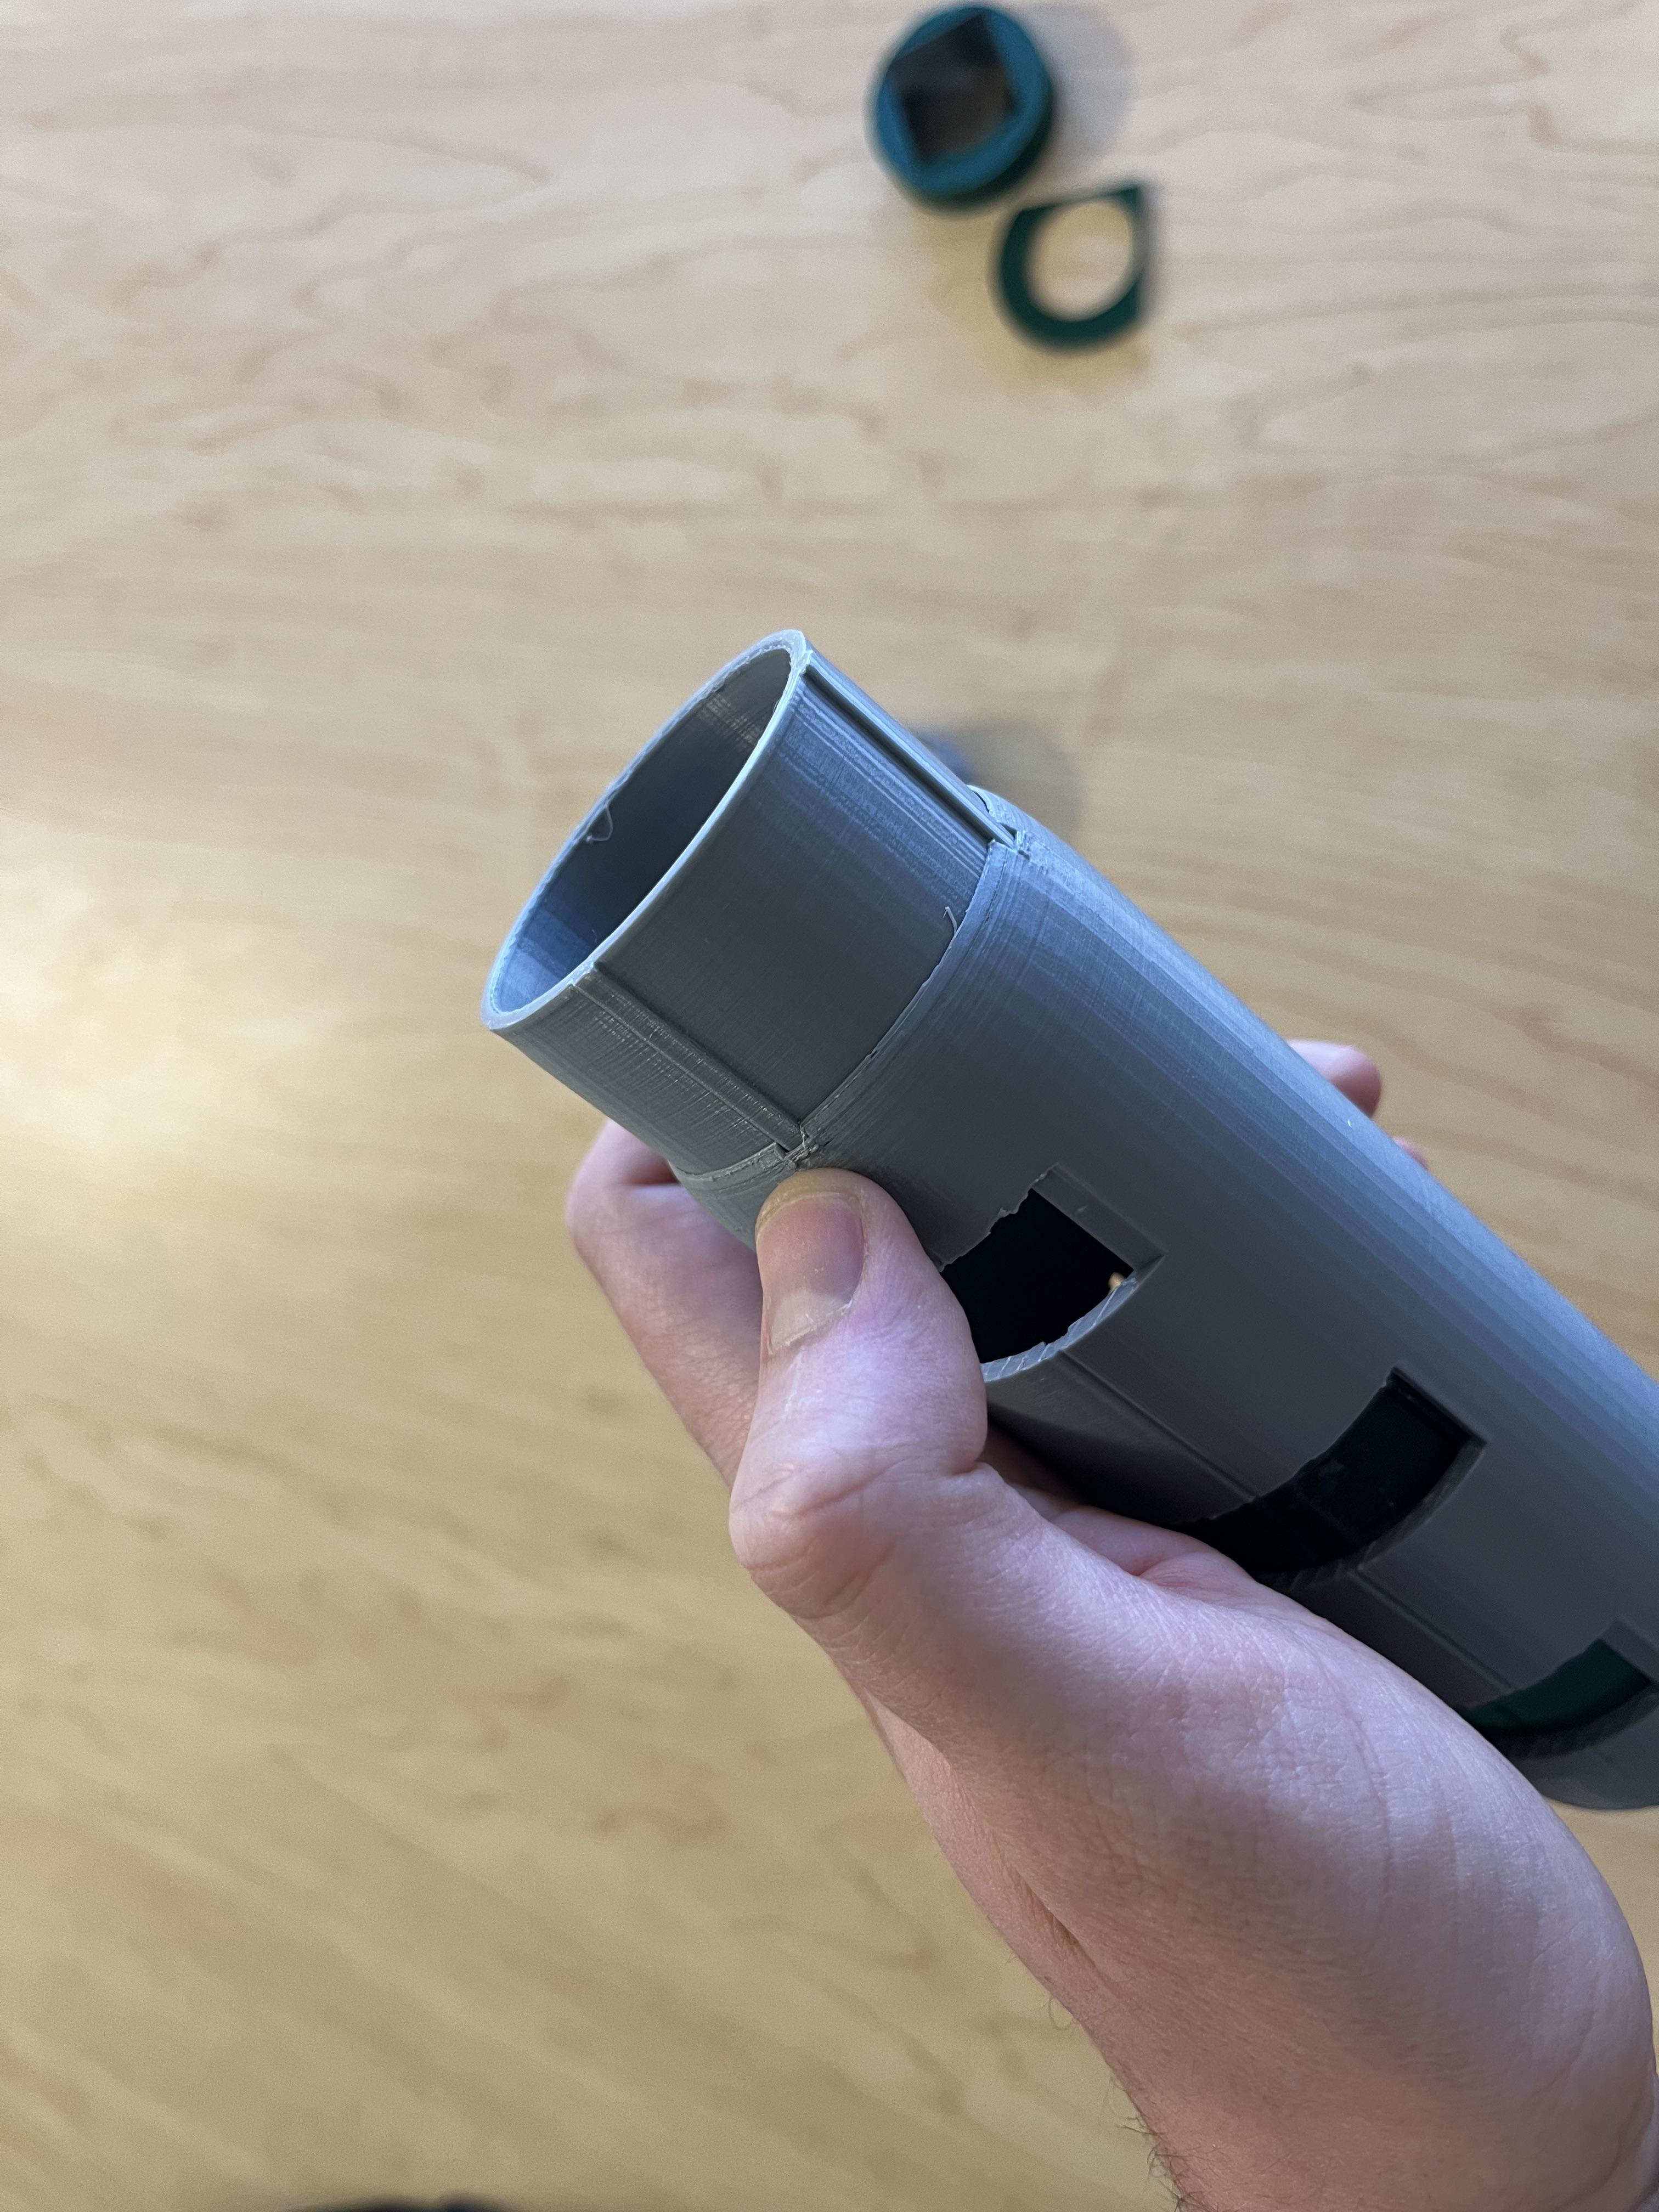


Take the remaining large grooved piece and insert it until you can see it line up with the top window (see the fourth picture)
Main Assembly - the Sixth Piece


Take the remaining lens and insert it until you can see it appear in the top window (last picture).
Main Assembly - the Seventh Piece


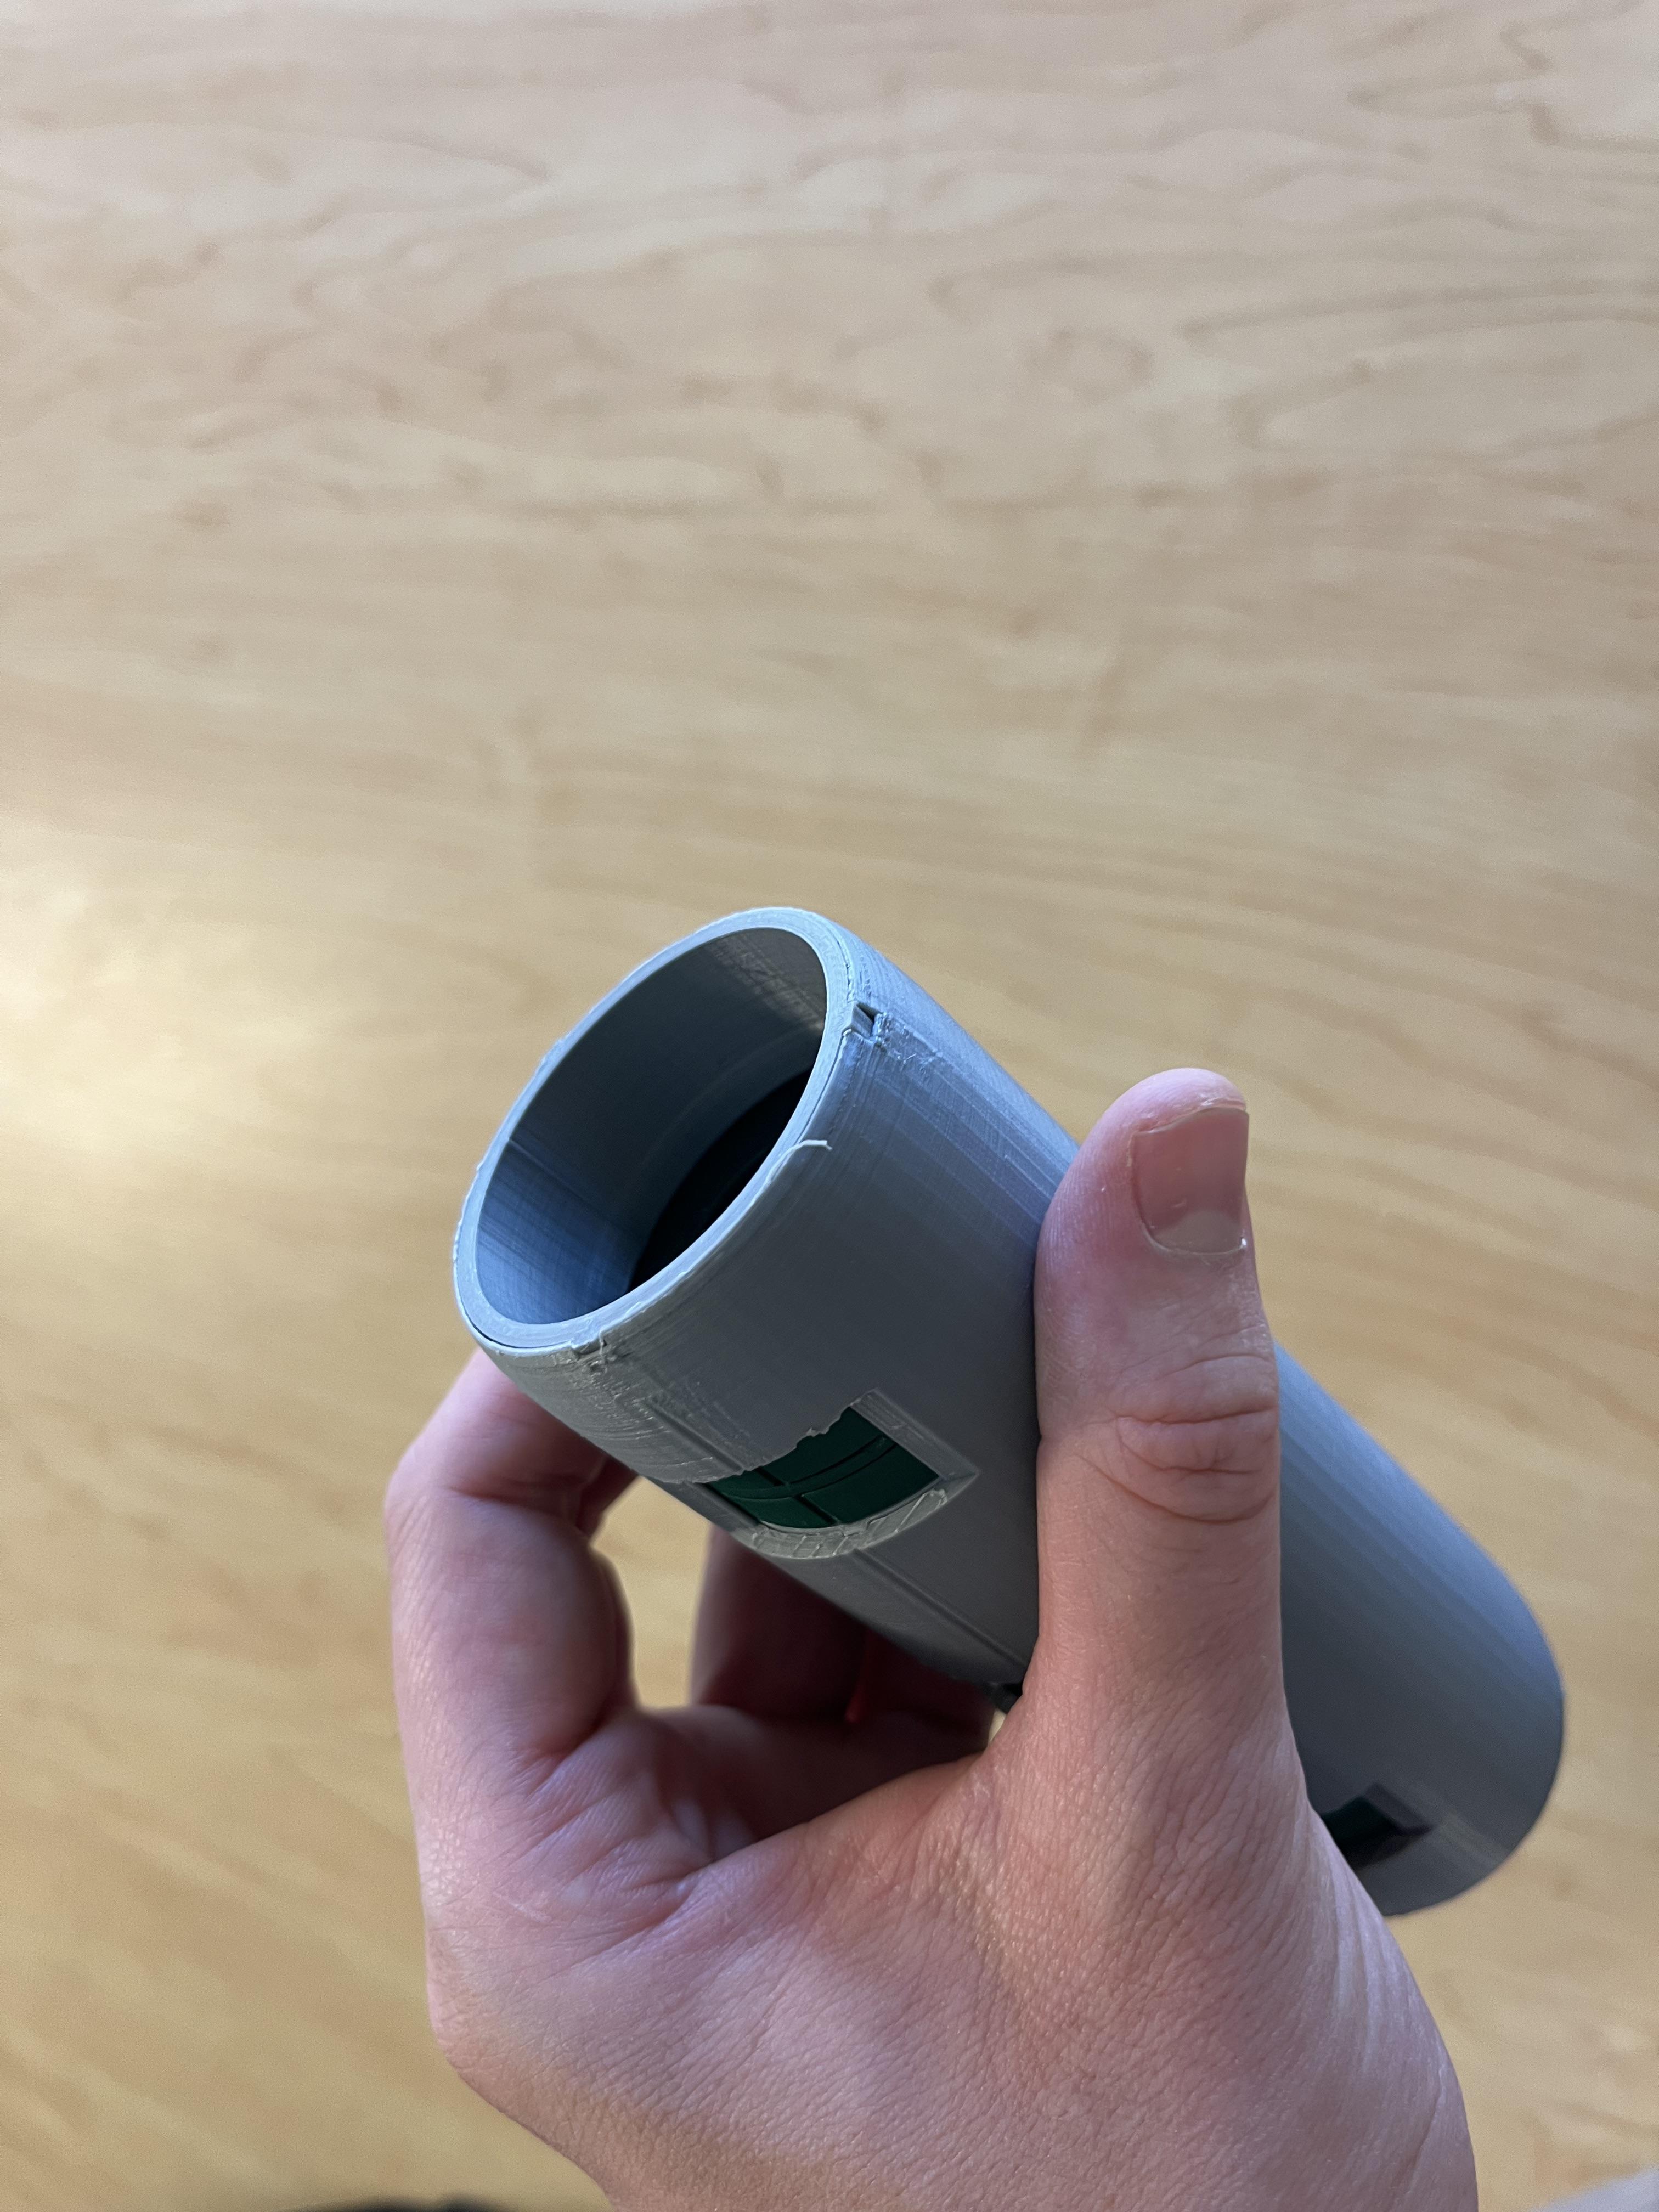
Take the remaining grooved piece then slide it in fully until it looks like the last picture.
How to Use It?


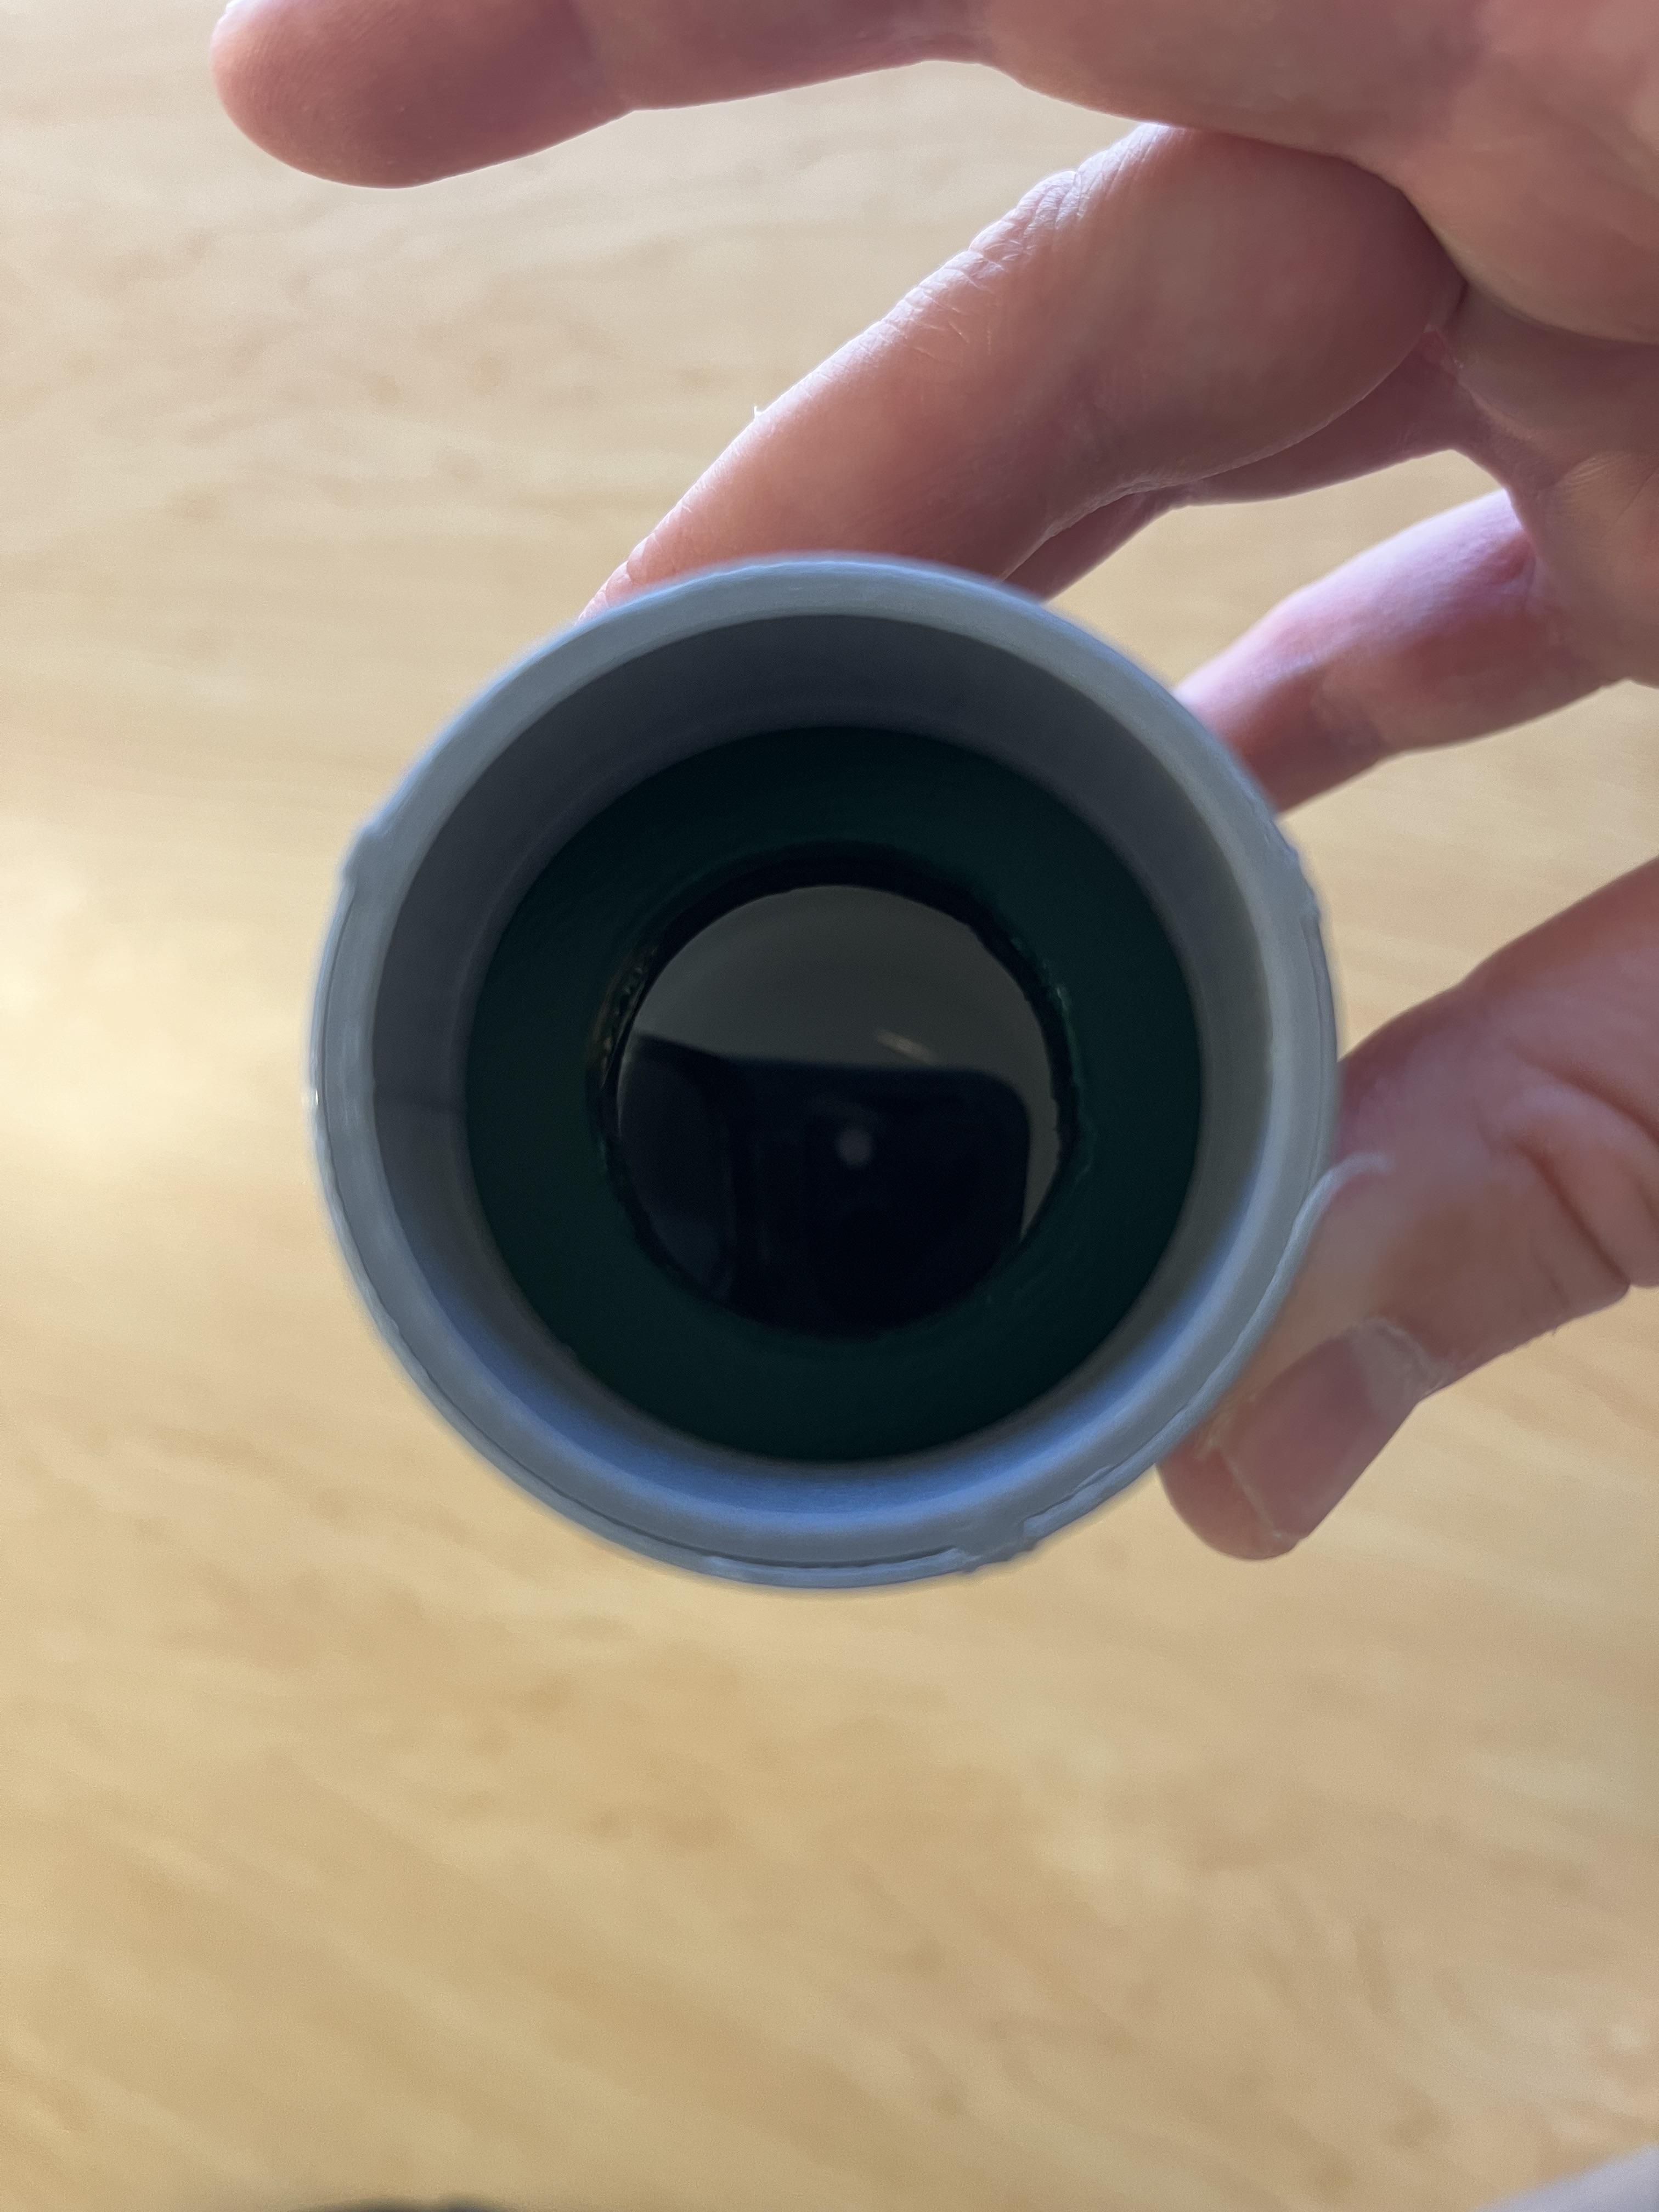

Well done, the Quantoscope is completed.
Remove the central length and align the outer lenses so that they block all light.
Insert the central lens back in and observe quantum physics with your own eyes.
Use the attached guide to learn more and better understand this phenomenon.