QR Code Payment Device Using Intel Edison
by bontorhumala in Circuits > Linux
2505 Views, 10 Favorites, 0 Comments
QR Code Payment Device Using Intel Edison
.png)
Skip the next 2 paragraphs if you are not interested in our motivation.
There was a point in time when cash is a sufficient payment method. As our daily life gets busier and technology moves forward, we have a lot of options to pay: cash, mobile banking, internet banking, or card (magnetic, chip, RFID). We think they are not enough. Imagine when you are hungry but cannot buy a meal because you forgot to bring your bank card and you do not bring any cash. Or when you are out jogging/biking and you did not bring your wallet because it is not convenient to bring along, you cannot buy a fresh drink after you jog.
Smart phone is something that people bring 24/7 nowadays. Unfortunately, there is no easy way to pay using smartphone: NFC is not yet adopted by smartphone companies, payment apps is not convenient and not many stores/restaurants accept them. Thats why we come up with a payment method based on QR code: user generates QR code containing payment information, Intel Edison-based QR code EDC will scan and verify the payment to the server. Its cheap and easily integrated to current payment mechanism.
In this tutorial you will need:
- Intel Edison (you need new firmware because older release does not have uvc module installed)
- Intel Edison Arduino expansion board
- USB webcam (must be supported by uvc module: http://www.ideasonboard.org/uvc/)
- Grove sensor shield
- Buzzer, for notification
- LCD 16x2
- Adaptor 7-15VDC
- 3D printer or cardboard box to make the enclosure
Lets start!
Connect the Sensors, Display, and Inputs
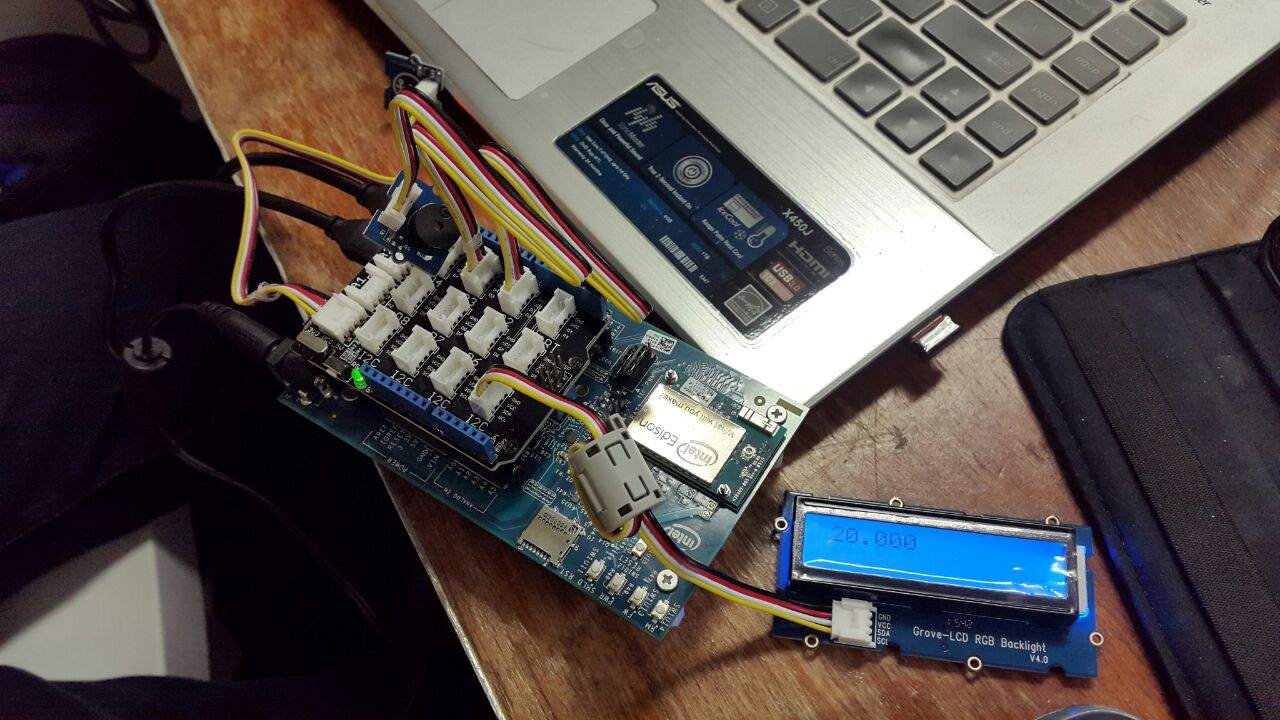
Prepare your Intel Edison board until you can upload program from XDK, login to the board, and connect it to network using WiFi. Follow the nice instruction here: https://software.intel.com/en-us/iot/library/edison-getting-started
Connect the following modules to the Groove sensor shield:
- LCD 16x2
- Touch sensor
- Buzzer (we play monotonic sound with it, using PWM output)
Upload the following program code using Intel XDK IDE:
https://gist.github.com/andrewflash/b99b38d006d888eda8fe0f2ef9889e1c
Right now, your Alstublieft EDC is able to show
- Notification when payment is successful (LCD color is turned green) or failed (LCD color is turned red and buzzer are turned on)
- LCD shows amount to pay and payment status (ready to scan, processing, and validating)
- Touch sensor identifies valid cashier staff (as if it is a fingerprint reader)
- Send payment information data and receive confirmation whether payment is valid or not
Next, we will connect the webcam to Alstublieft EDC and do even cooler things with it: get webcam image, decode QR code, and verify decoded payment information to the server.
Decode QR Codes Using Edison
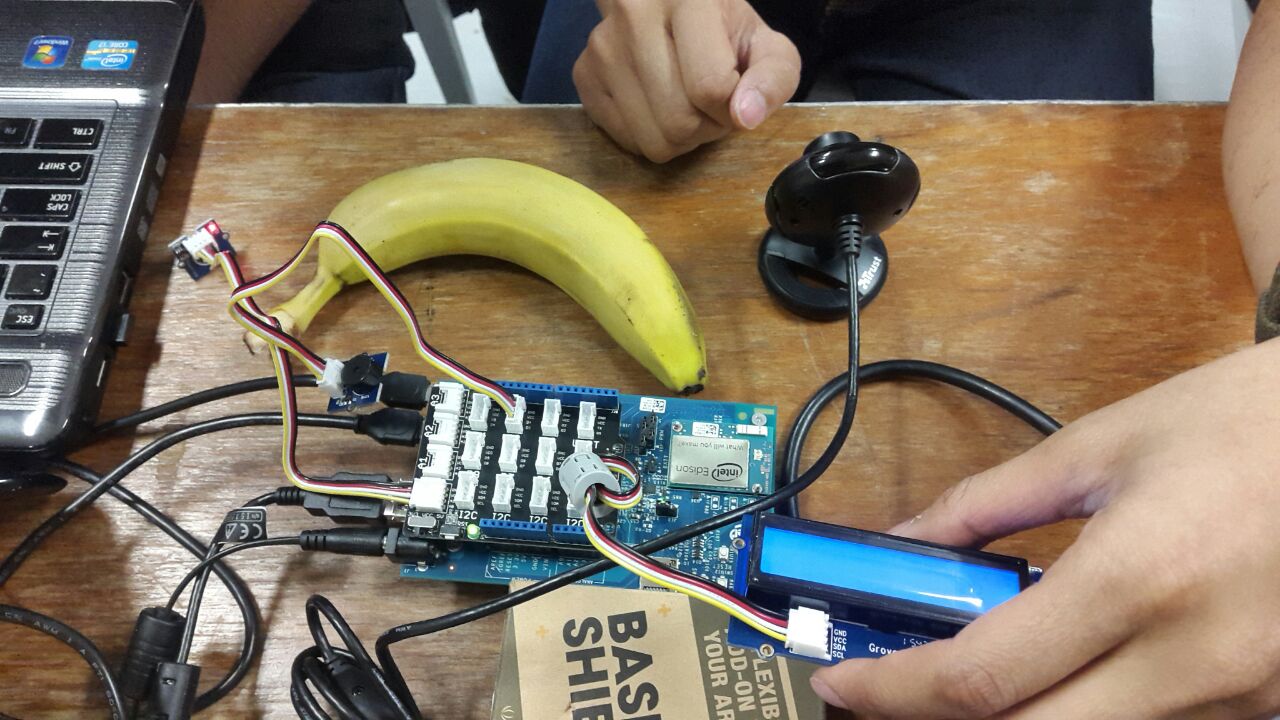
Intel Edison is a powerful board and it allows us to decode QR codes quite fastly. In this step, we use several python libraries to process QR code and communicate to the server.
- Update opkg repositories, see http://alextgalileo.altervista.org/edison-package-repo-configuration-instructions.html
- Install numpy and opencv: opkg install python-numpy opencv python-opencv
- Install zbar: opkg install zbar
Now, create the following Python script that will scan QR code and communicate the result to main Javascript in step 1.
https://gist.github.com/andrewflash/33d182097a3ac9cd93425fabe963e411
Next, create this Javascript code that contains functions that will execute the Python scripts:
https://gist.github.com/andrewflash/b99b38d006d888eda8fe0f2ef9889e1c
Now that we are able to control sensors and display and decode QR code using Alstublieft EDC, we will move to the server application that will verify the payment transaction.
Make the Payment Server and Cashier Application
Cashier Application
Every EDC machine requires cashier application. In this project, we use simple local web application where the cashier can input the items price. The web application communicates to Alstublieft EDC that runs a simple webserver. Alstublieft EDC receives HTTP POST and then displays the price on its LCD16x2.
See the code for the Cashier Application here:
https://gist.github.com/hendrahc/032edaa998c546a1d1990e87b28ccdc5
Run this code on your browser (open via browser).
The code for the cashier server application on the Alstublieft EDC (Intel Edison) is actually included in step 1.
Payment Server and Dashboard Application
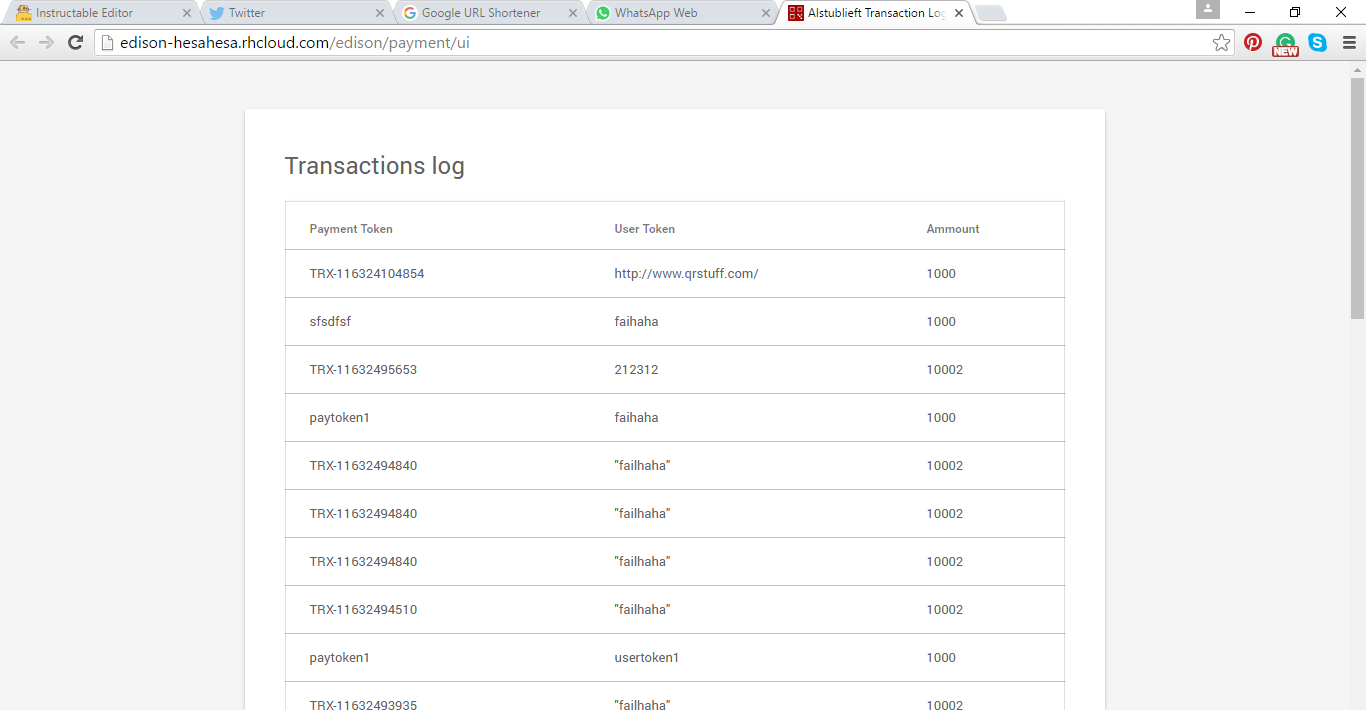
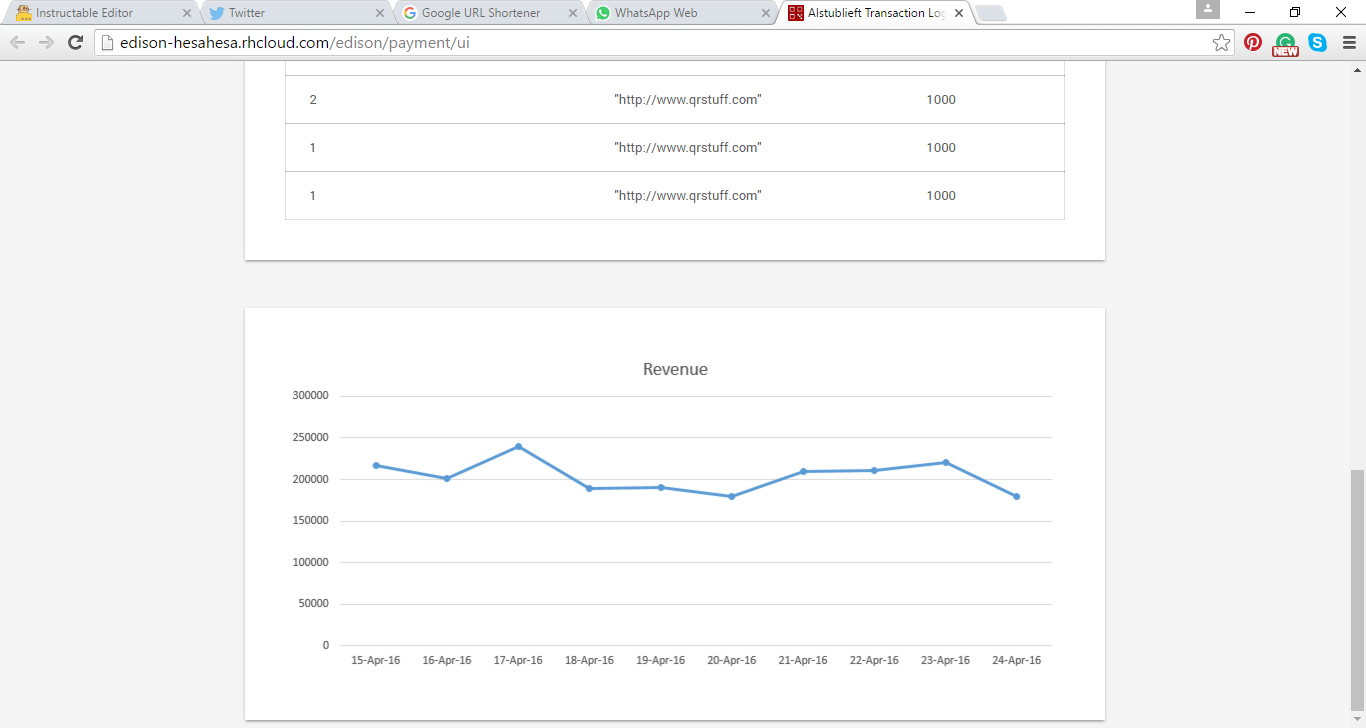
Finally, our Alstublieft EDC needs a server to verify that the payment is valid (correct user, enough balance, etc). In order to verify this, we develop an application that will receive the payment information via the internet and send the result to Alstublieft EDC, again via internet.
This cloud application also includes a GUI where the user can see list of transactions and some analytics regarding his/his business revenue.
See the code for the Payment Server and Application here:
https://gist.github.com/hesahesa/8d54852e9ef0546b9...
Run this code on an Express.js webserver on your cloud server.
Next, we will integrate everything!
Integrate Alstublieft EDC, Sensors+displays, and the Payment Server
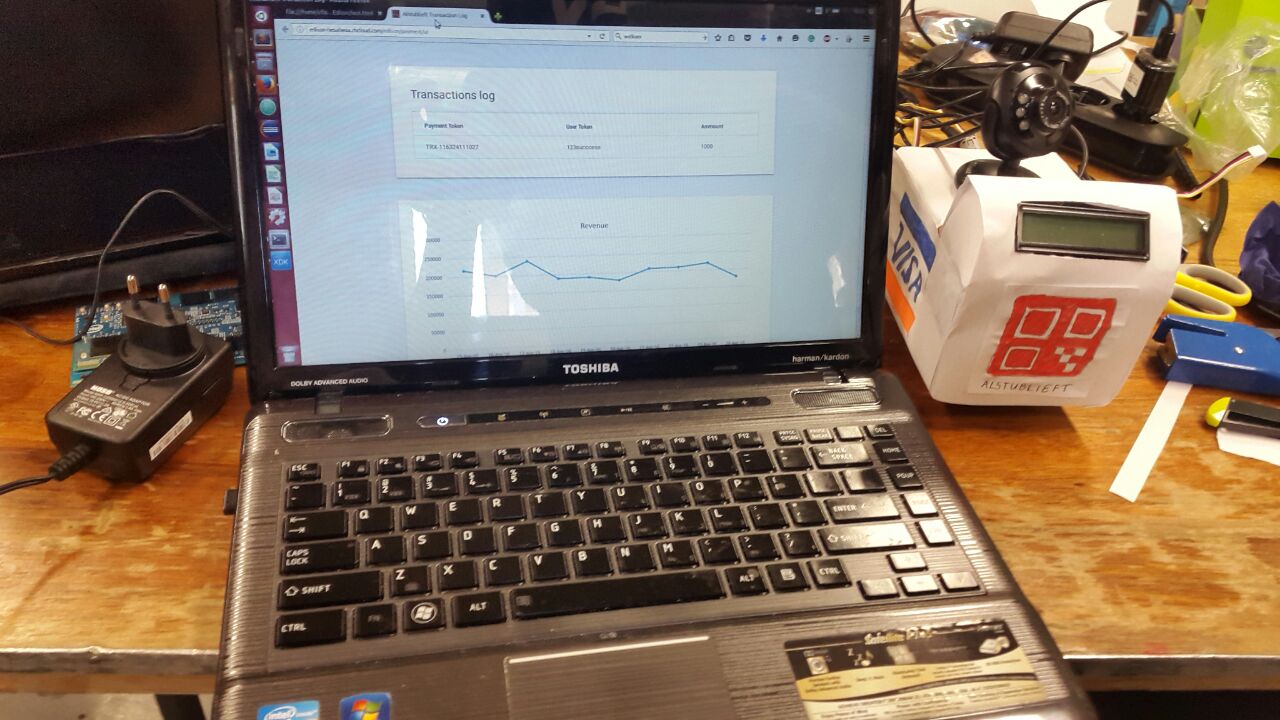
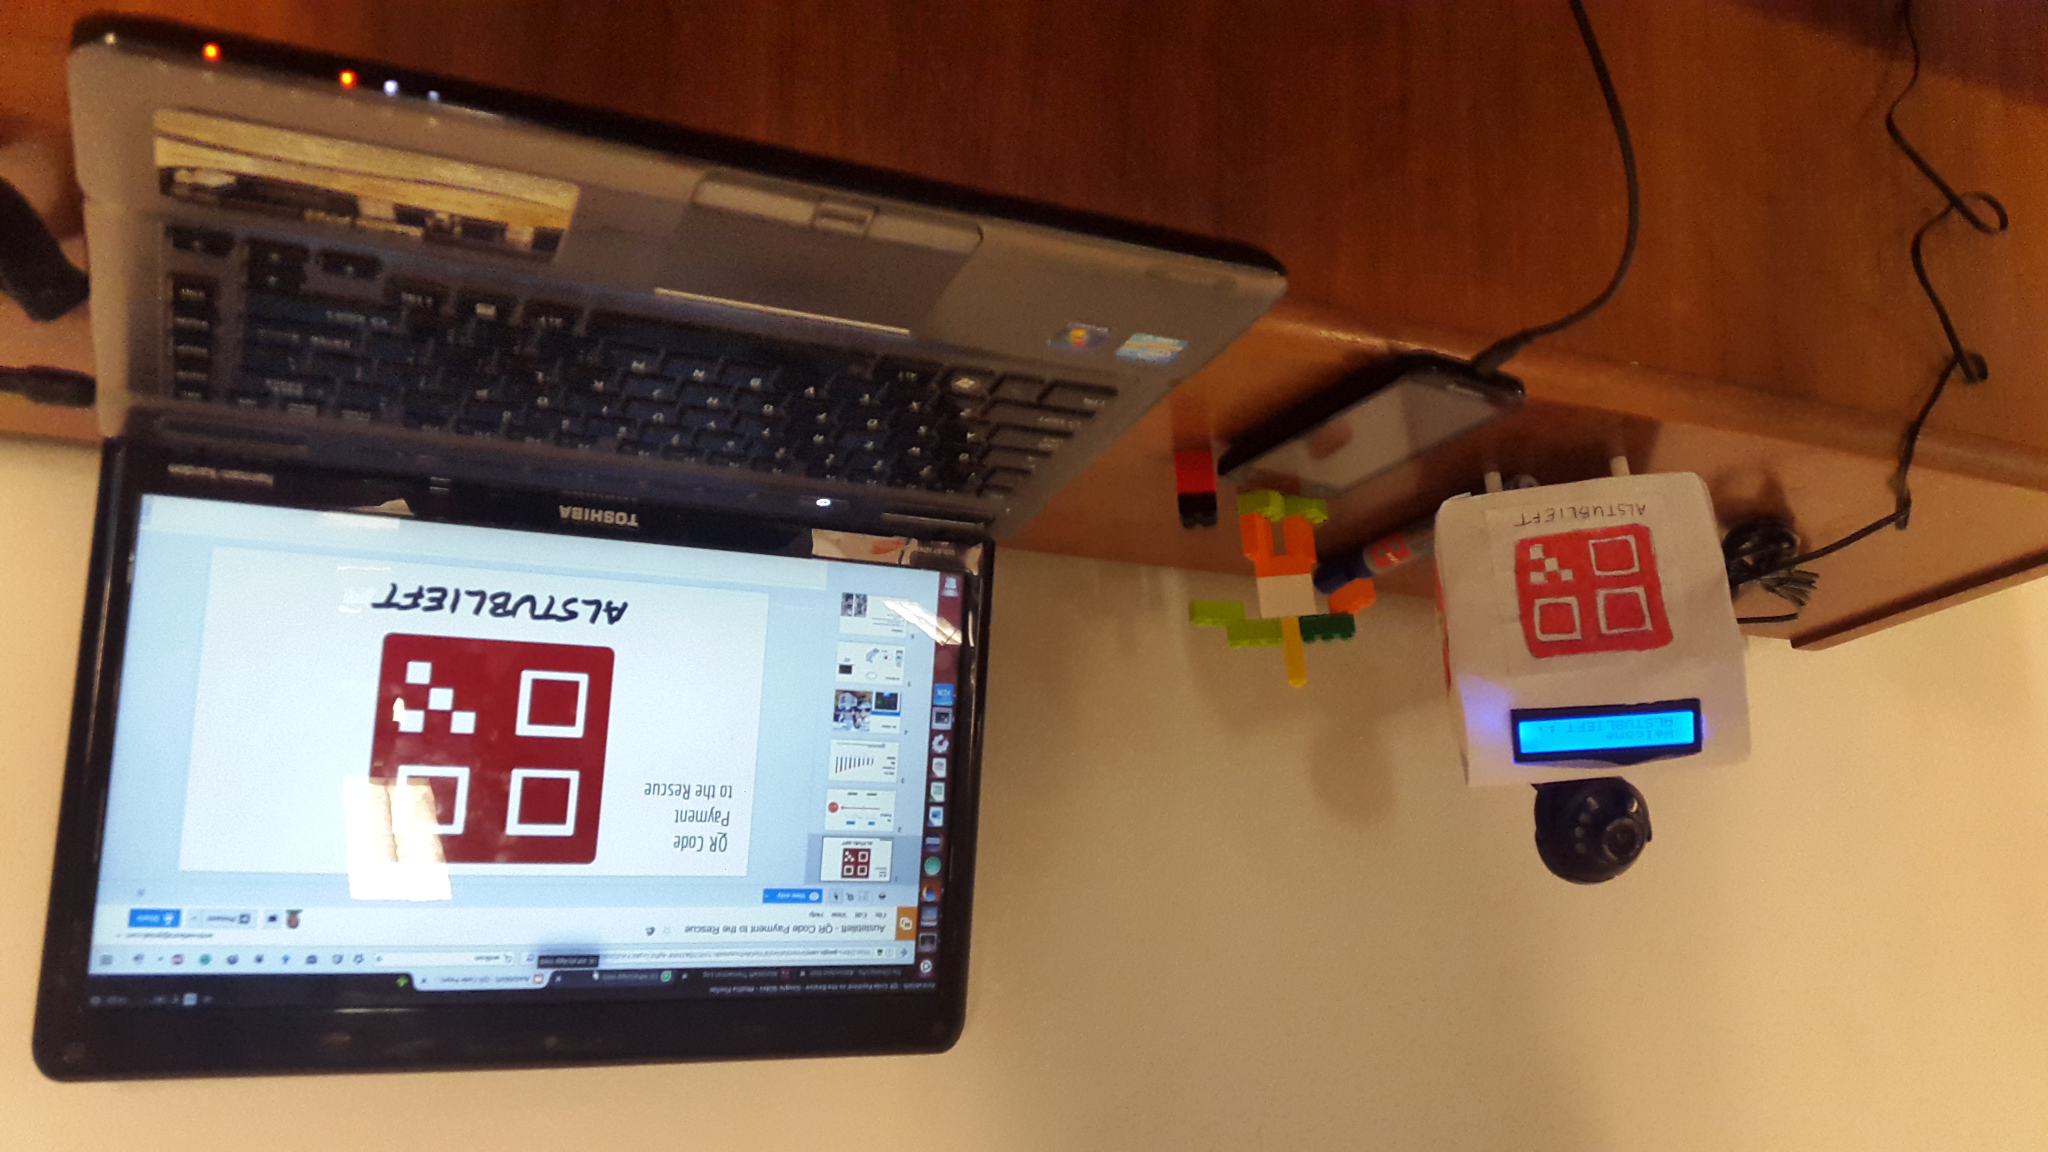
We have all components done, including the QR code generating Android app (not discussed here, you can use any QR code generator app from Android Playstore). Now it is time to integrate them all. By the end of this step, you will be able to:
- Act as a cashier, put total payment amount via cashier web app
- Alstublieft EDC will display the amount on its LCD 16x2
- Show the QR code on your phone app to Alstublieft EDC
- If payment is successful, you will see Alstublieft EDC displaying confirmation on its LCD
- Payment is recorded on Alstublieft Payment Dashboard
In order to do this, you have to:
- Turn on Edison board, with the code and modules as described in step 1 and 2
- Ensure your cloud server is running, with the code described in step 3
- Download a random QR code generator app on your android phone
- Perform the use case as described by the previous paragraph
That's it! Make your own EDC and develop this idea to a cool business.