Puzzles With TinkerCad
I teach middle school students Tech ed. I have used TinkerCad for four years and use these puzzles as a warm-up to start the class. I give students a basic cube shape with a pattern missing, which they have to solve by using TinkerCad.
Starting Your Puzzle
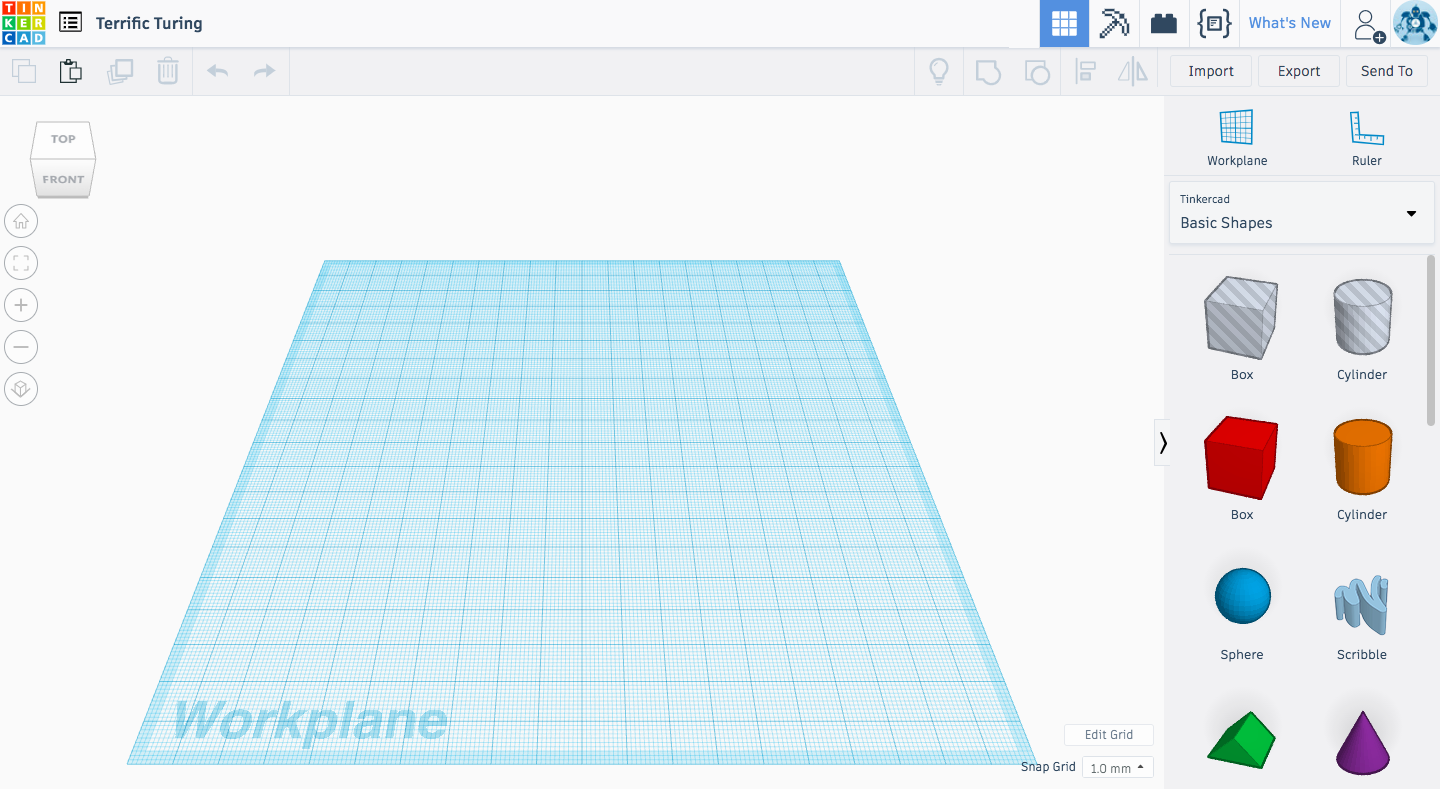
Once you've created an account, create a New Design. You can work with inches or millimeters by pressing the Edit Grid button in the lower right corner.
Start Building
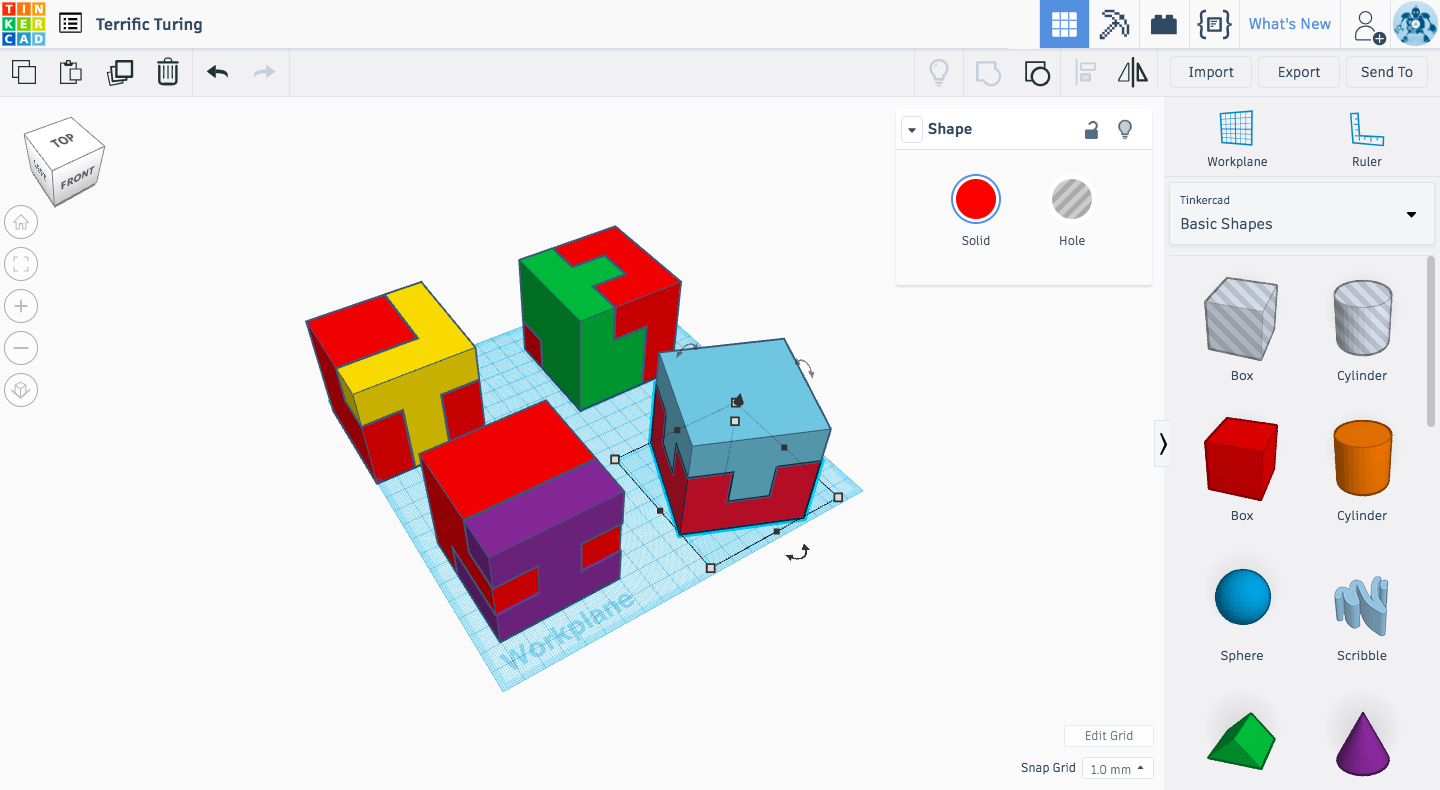
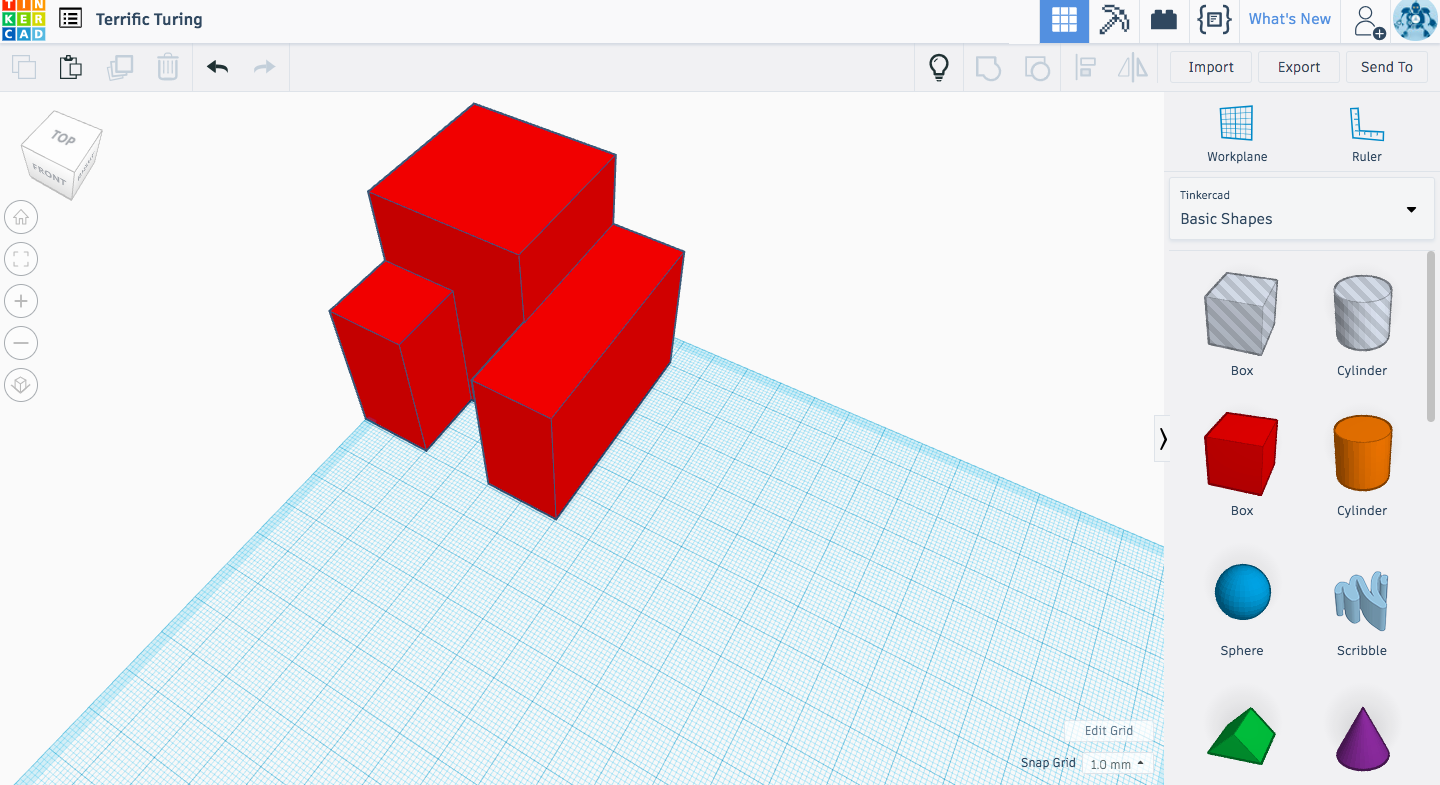
My puzzles are 3 x 3 x 3 cubes but you can try more cubes or different shapes.
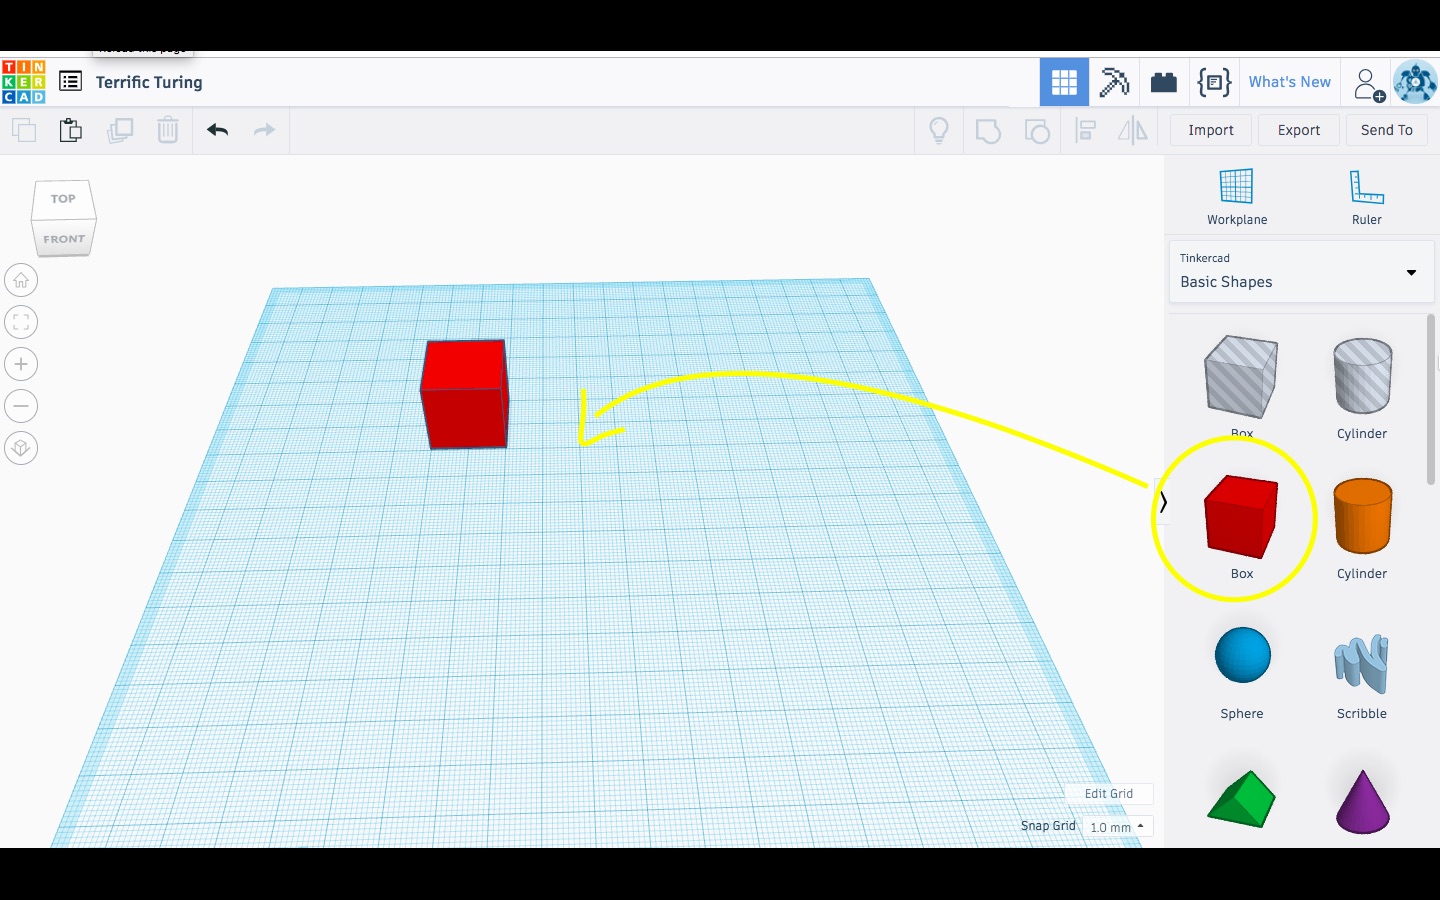
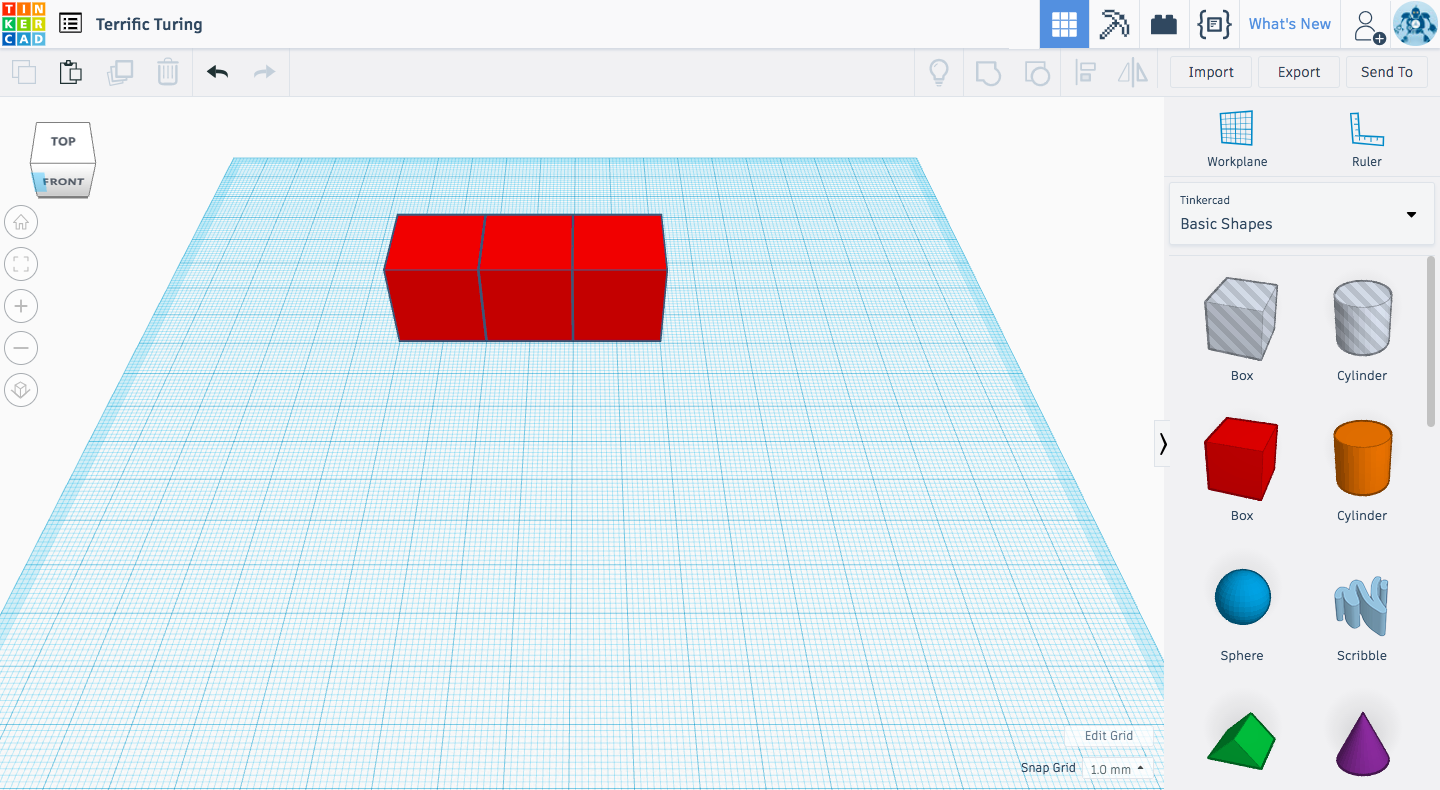
Start by dragging a box to the workplane. Copy and Paste, Duplicate (places a second shape in the same space as the original), or Drag and Drop two more boxes.
Complete the Layers
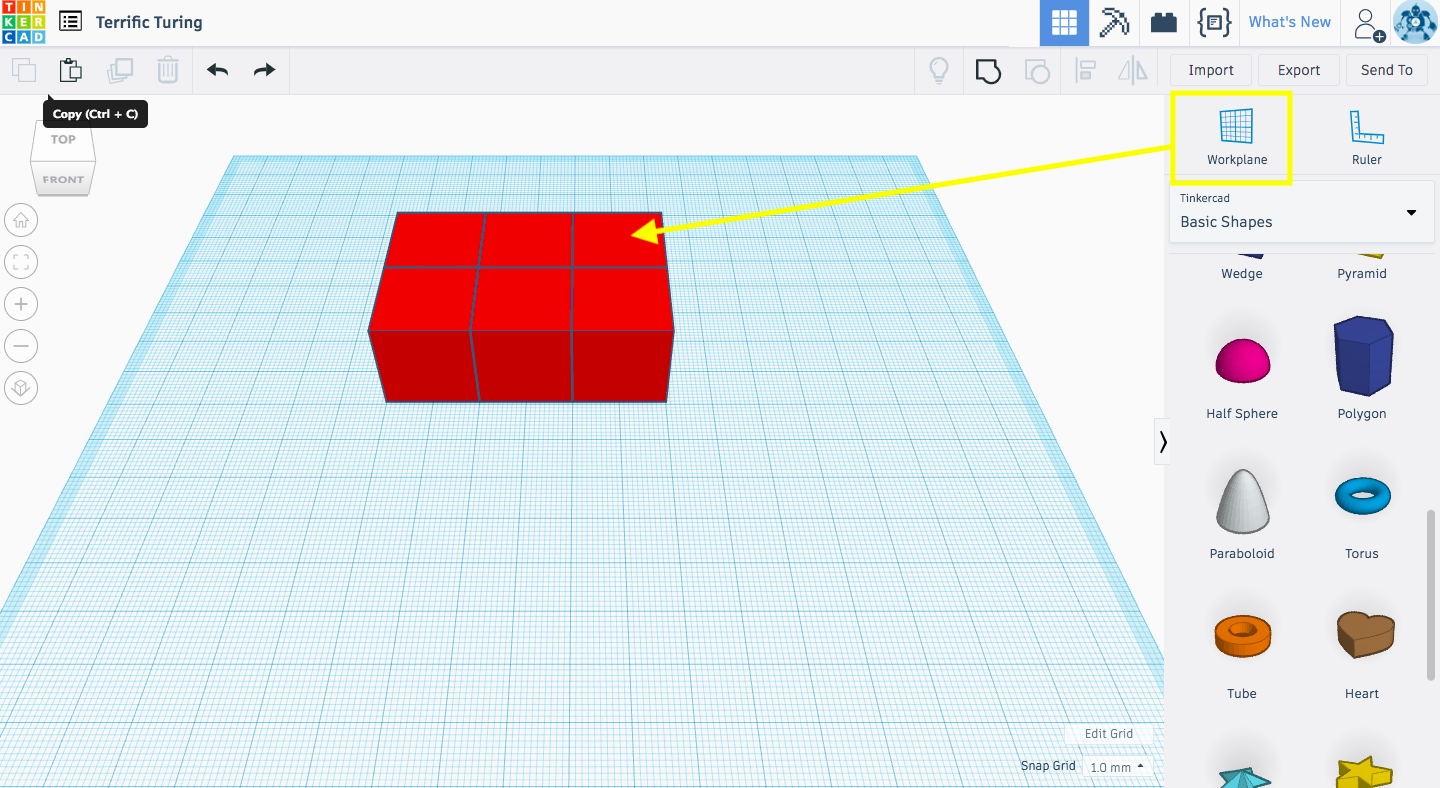
Select the row of 3 boxes and copy until the first layer is complete.
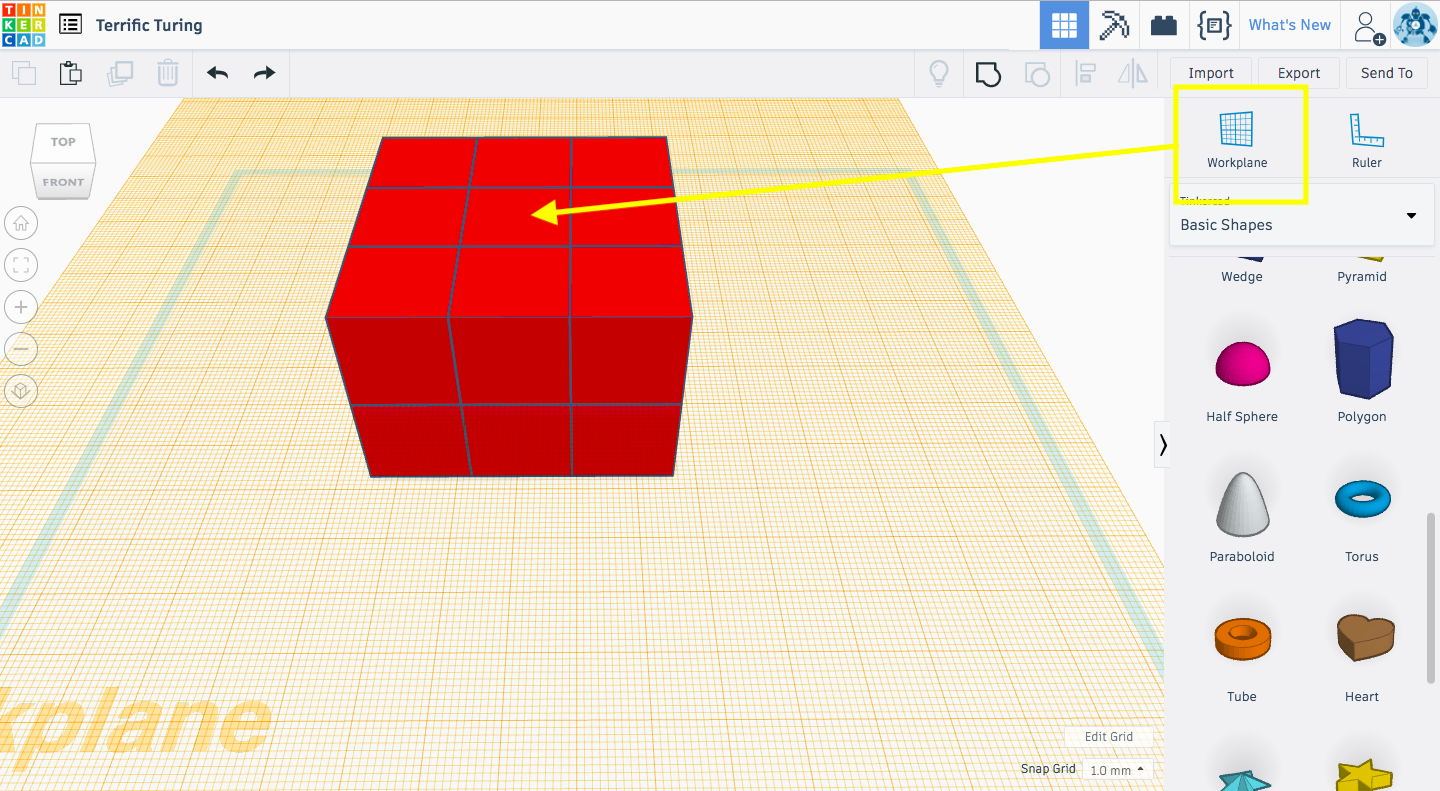
Drag a Temporary workplane to the top of your first layer.
Select all nine boxes, and hit Ctrl (Command) and D to Duplicate
Then press D a second time to place the second layer to the workplane. Or raise them using the single black arrow in the middle of the 9 boxes.
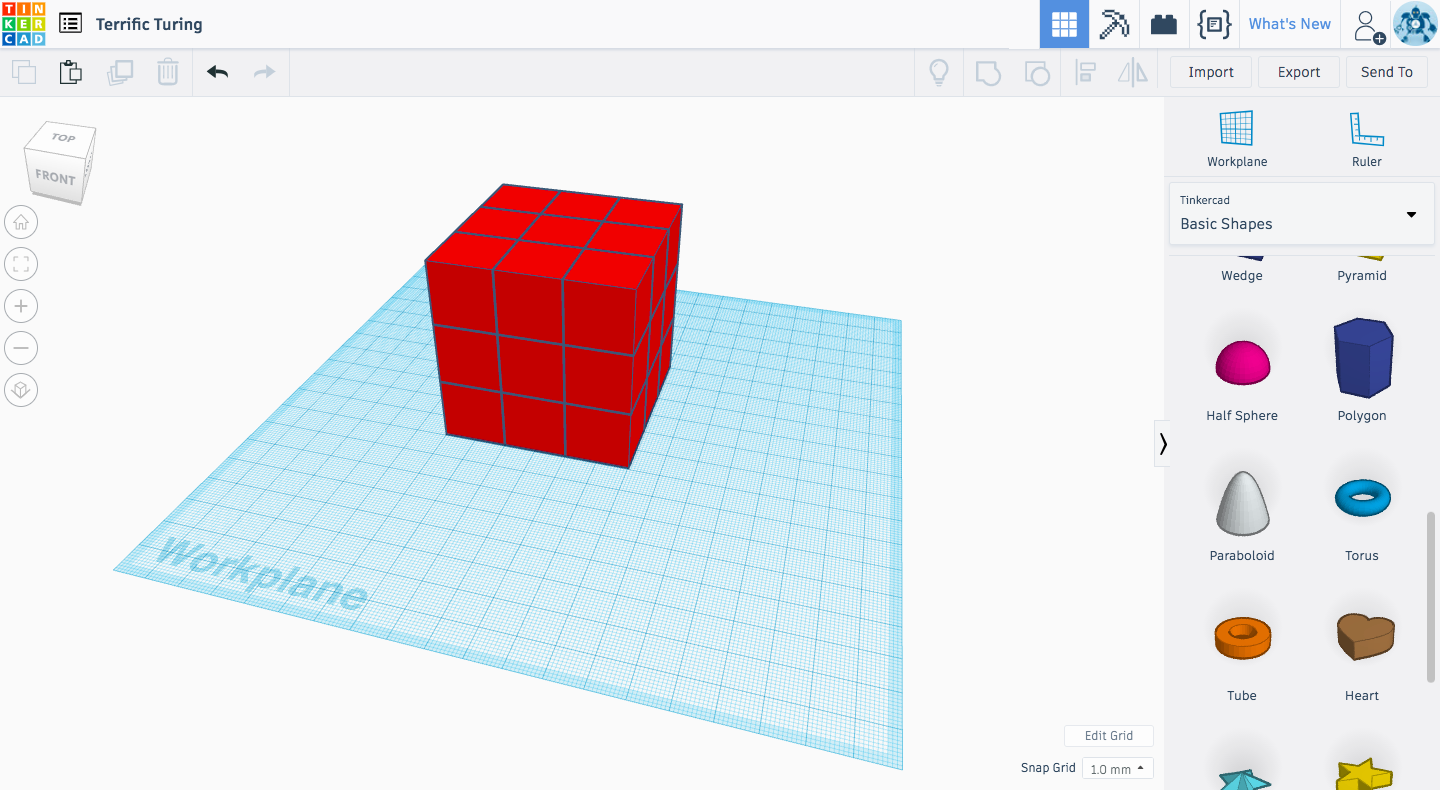
Repeat for third layer.
Finish Up
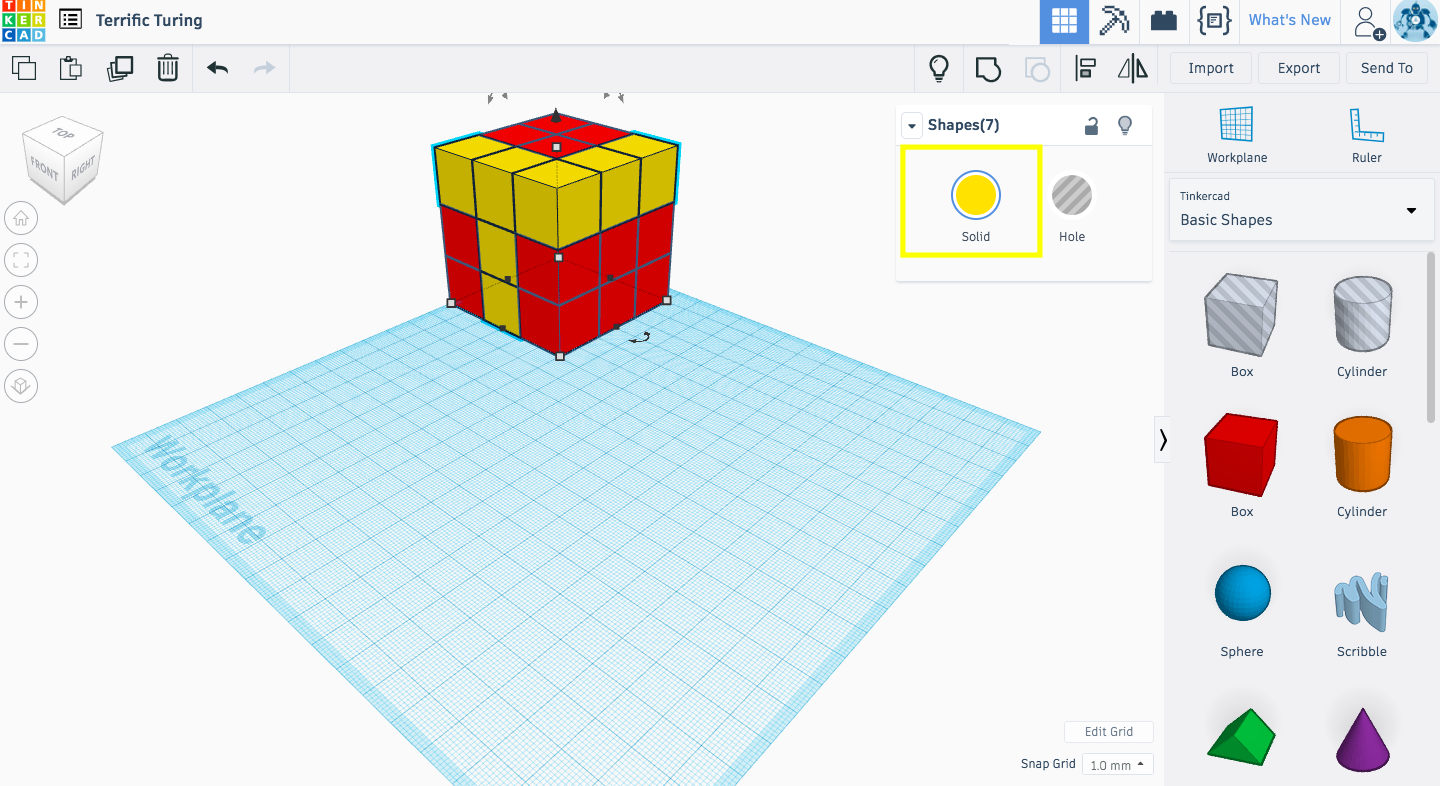
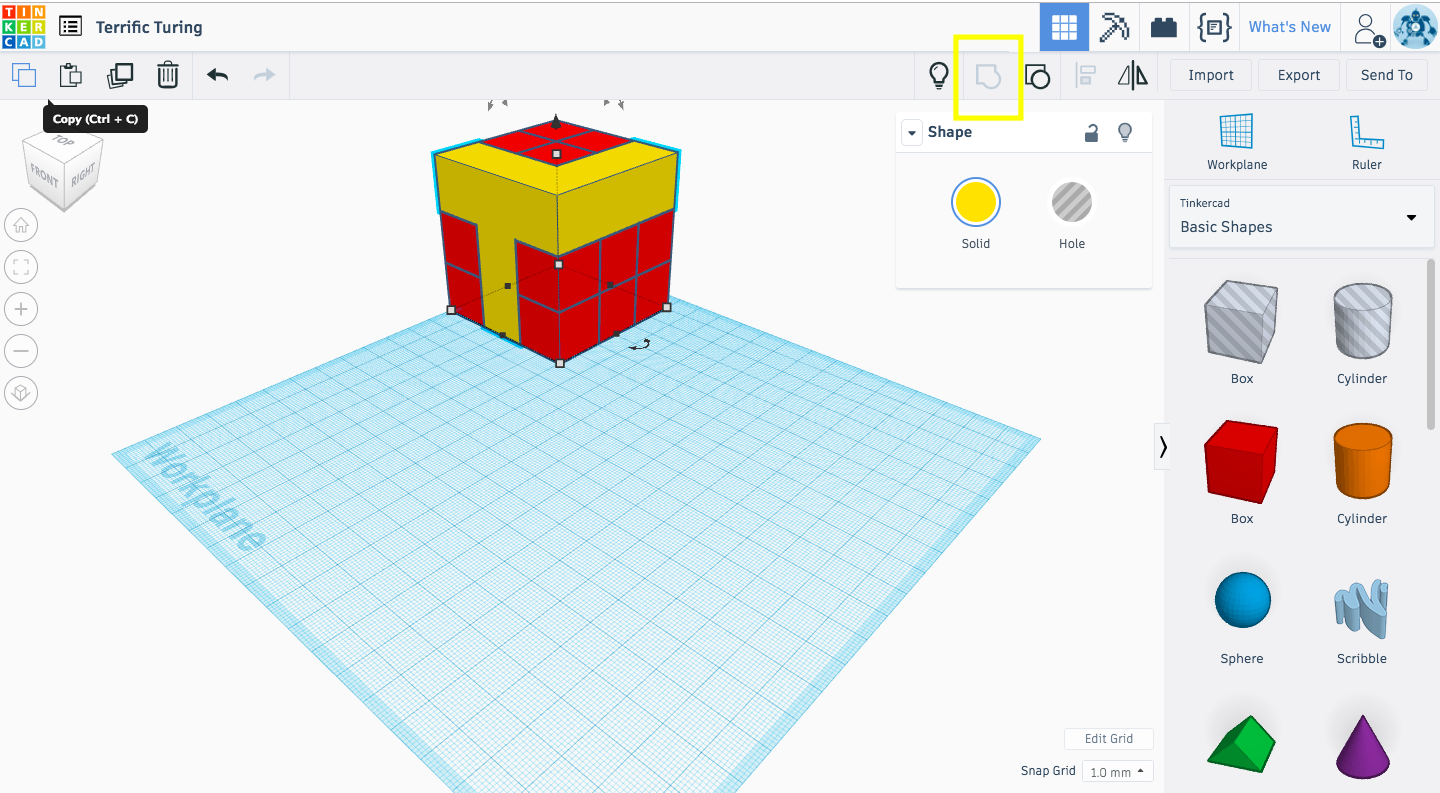
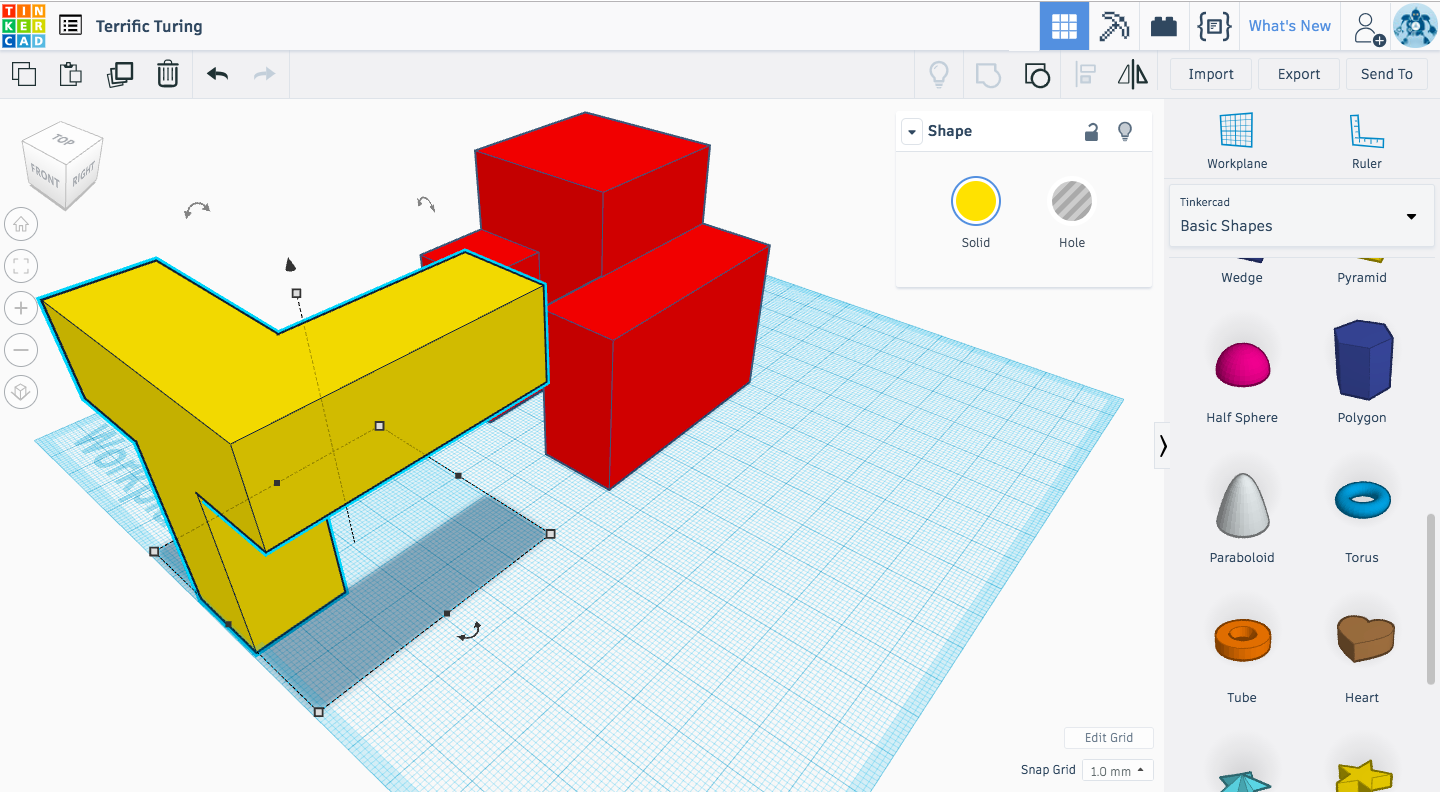
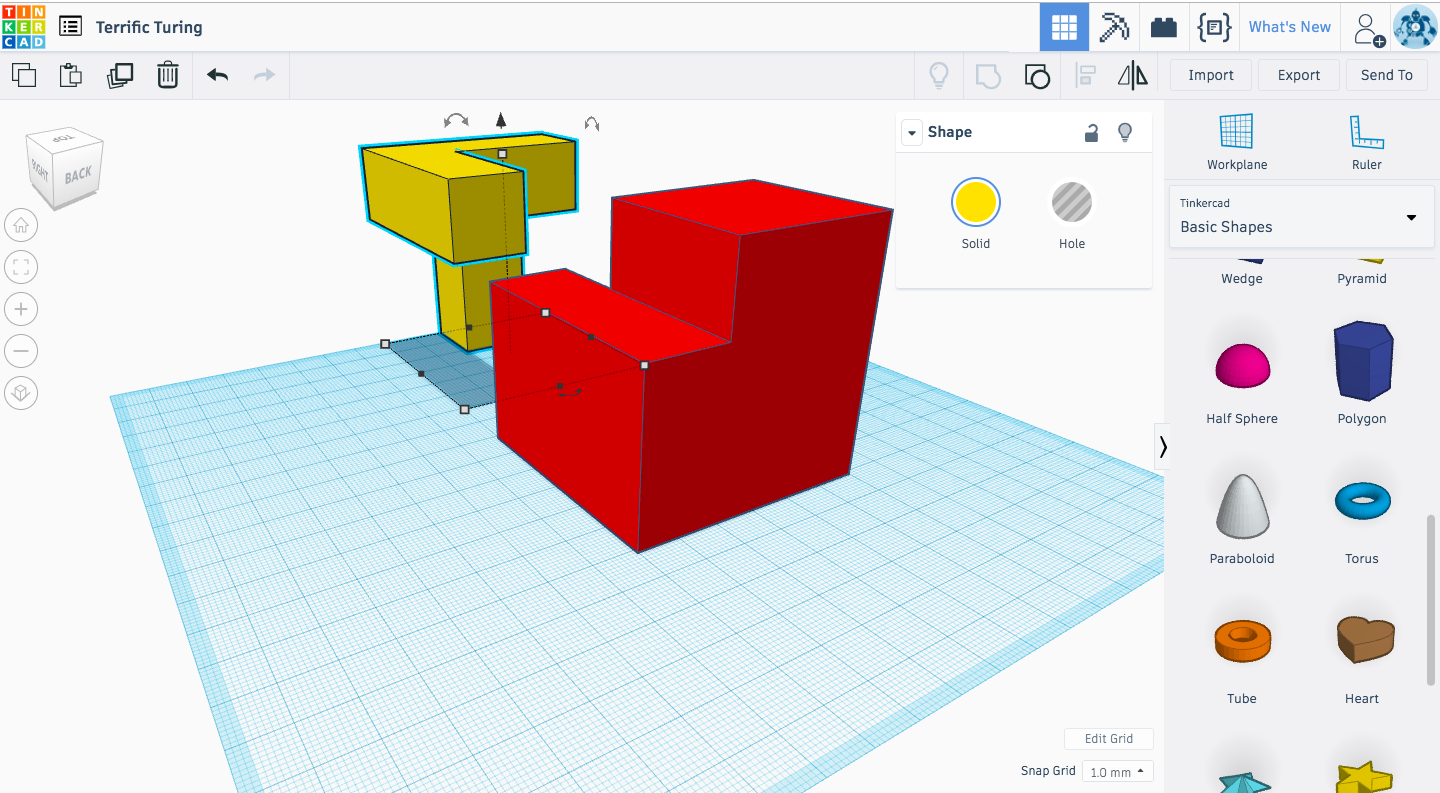
Select the pattern for your puzzle by holding Shift while clicking the boxes. Use the Group button to create your shape. You can select a different color.
Separate the new shape from the remaining boxes. Select the remaining boxes and group them together.
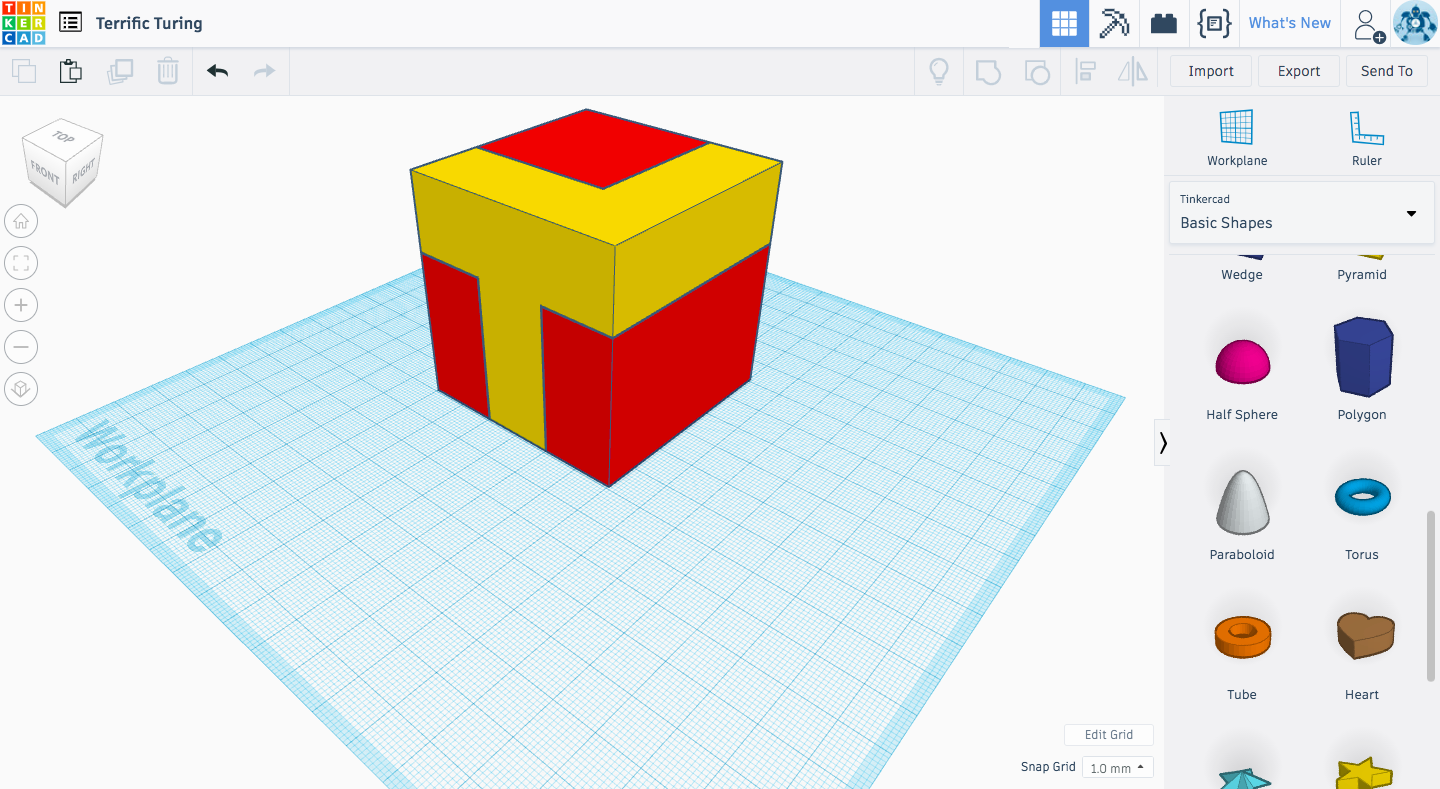
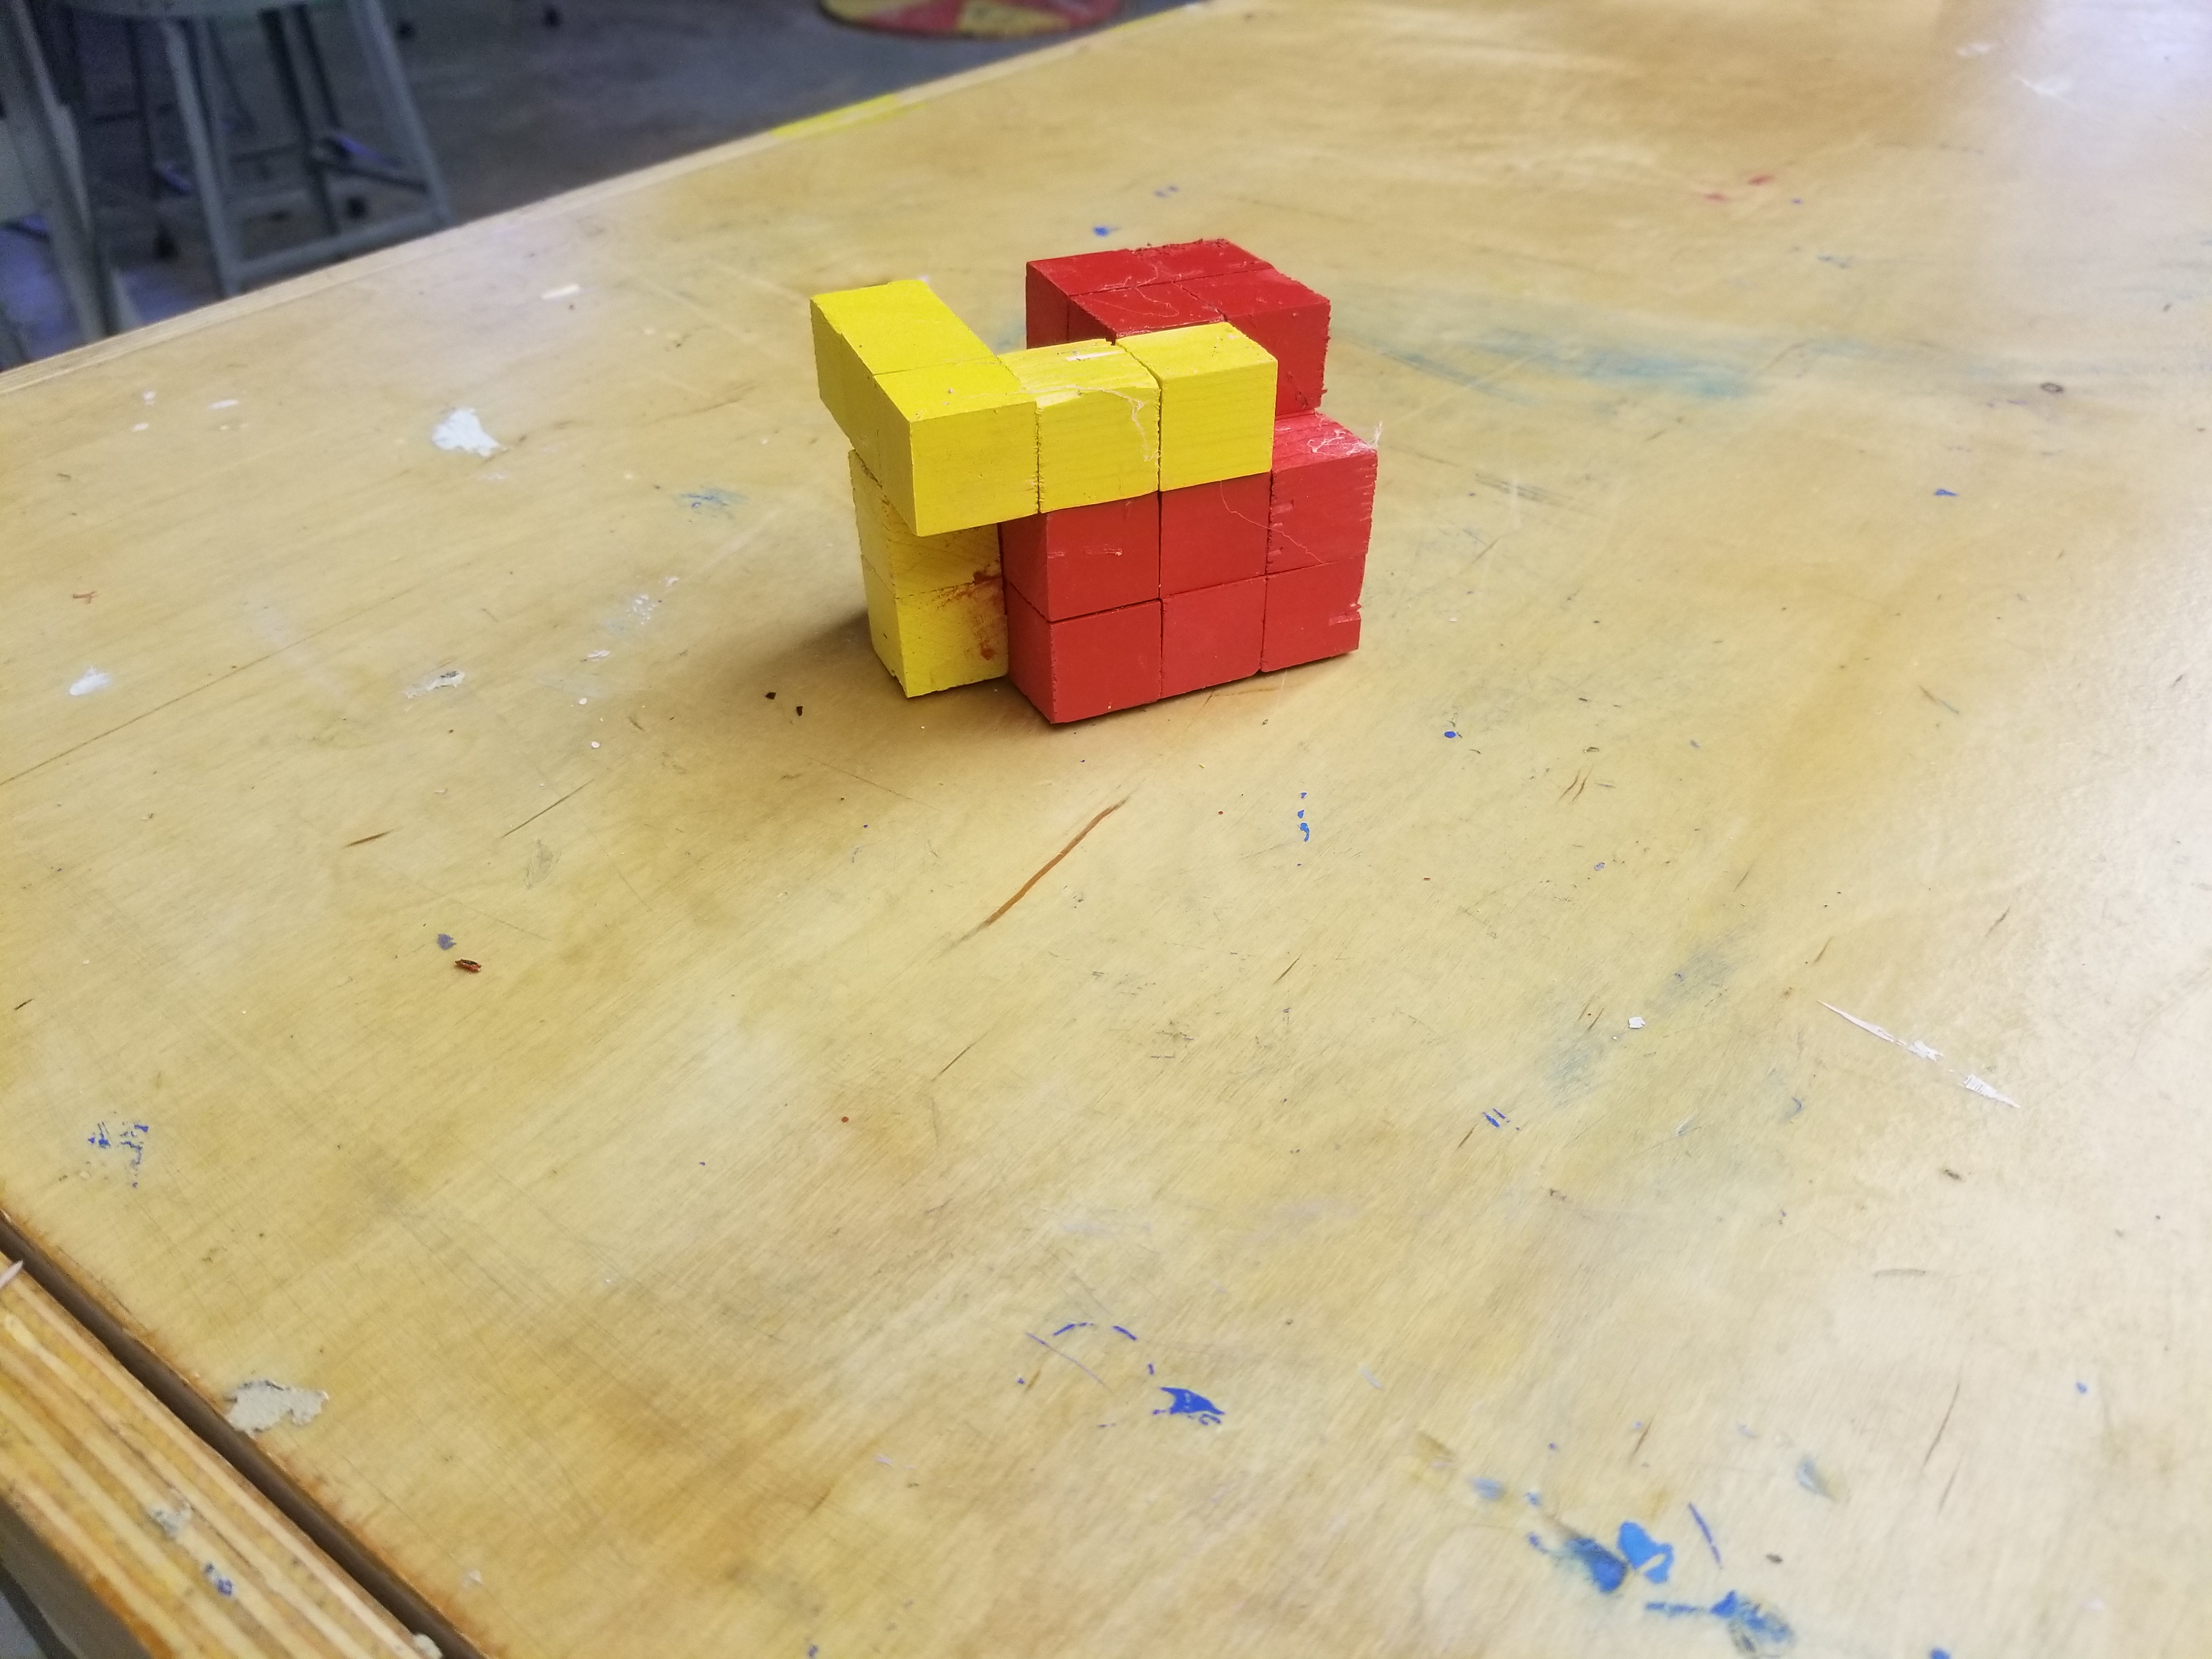
The objective of this activity is to have students create a missing part using the visual clues.
I use wooden cubes as a visual aid to help students.
Examples

Here are some examples I created in less than 5 minutes total. The kids love this activity.